Mass Produce an Army of Articulated Paper Dolls
7247 Views, 75 Favorites, 0 Comments
Mass Produce an Army of Articulated Paper Dolls
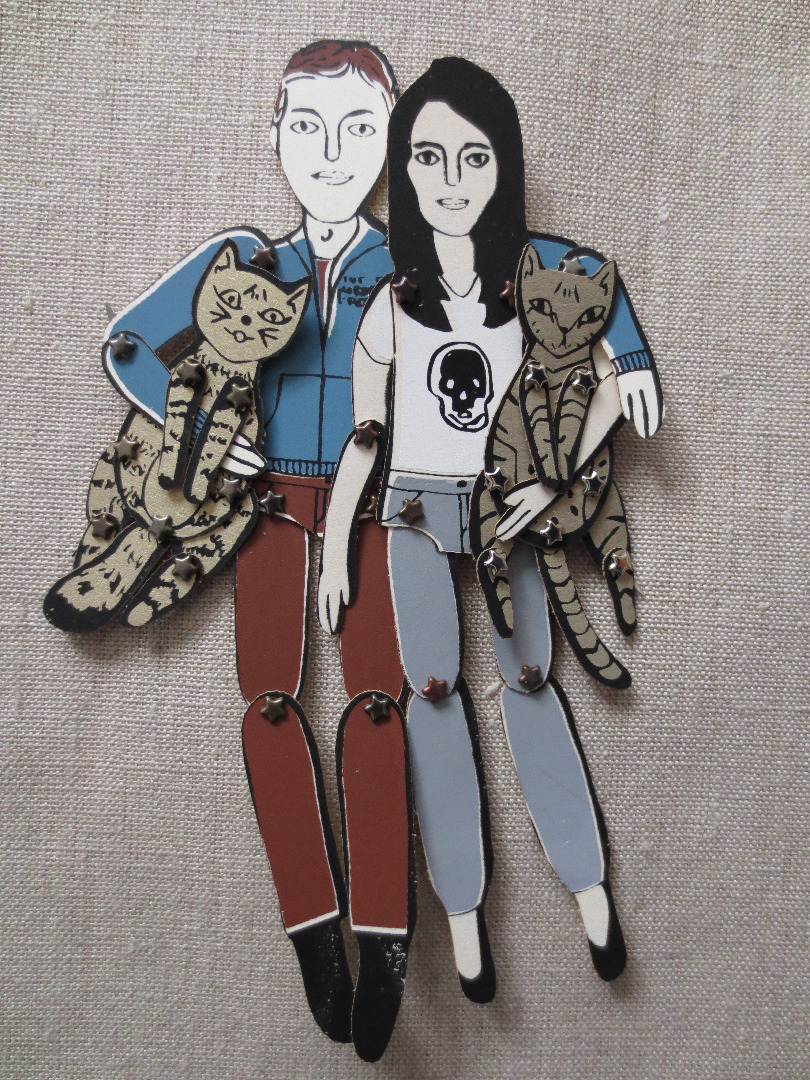
Although they are flat paper objects, paper dolls have an enormous appeal and a long history rooted in many cultures and countries.
Using digital fabrication, this tutorial takes a fresh look at the classic paper dolls you grew up playing with as a kid and allows you to produce dozens of identical paper dolls to give to your family and friends.
What you'll need:
- Adobe Illustrator or similar
- Silkscreen supplies (transparencies, photo sensitive emulsion, light table, blue painter's tape, screen, squeegee, and screen printing ink)
- 11 x 17-inch paper
- Scanner
- Laser cutter
- Mini brads
The paper dolls featured in this tutorial were inspired by:
- Me (Kurt)
- My wife (Emily)
- Our two cats (Starla and Bentley)
Prepare the Transparency Files
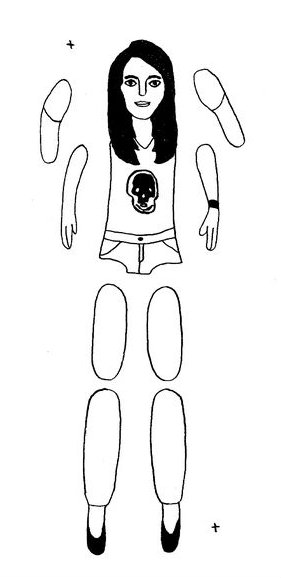

To start, sketch simple line drawings of the person/animal using pencil and paper. Once these line drawings are complete, create a second series of sketches focusing on the separation of limbs from torsos.
Since these dolls will be laser cut, shade in the areas adjacent to the areas that will be getting cut. This way, you'll have a little wiggle room if your registration is slightly off during the laser cutting process.
Since the "Emily" paper dolls featured in this tutorial were printed in three colors (black, white, and gray), create separate sketches for each color separation.
Once your sketches are complete, scan and upload them to Adobe Illustrator. Use the "live trace" feature to create black and white vector images. If room permits, maximize the amount of available space on the transparencies (and eventually the paper) by putting multiple paper dolls and/or multiple color separations on each page of your digital file.
Upload your final black and white vector images to a "Copying and Printing Service" vendor (like FedEx Kinkos) to create transparencies.
Downloads
Silkscreen the Paper Dolls
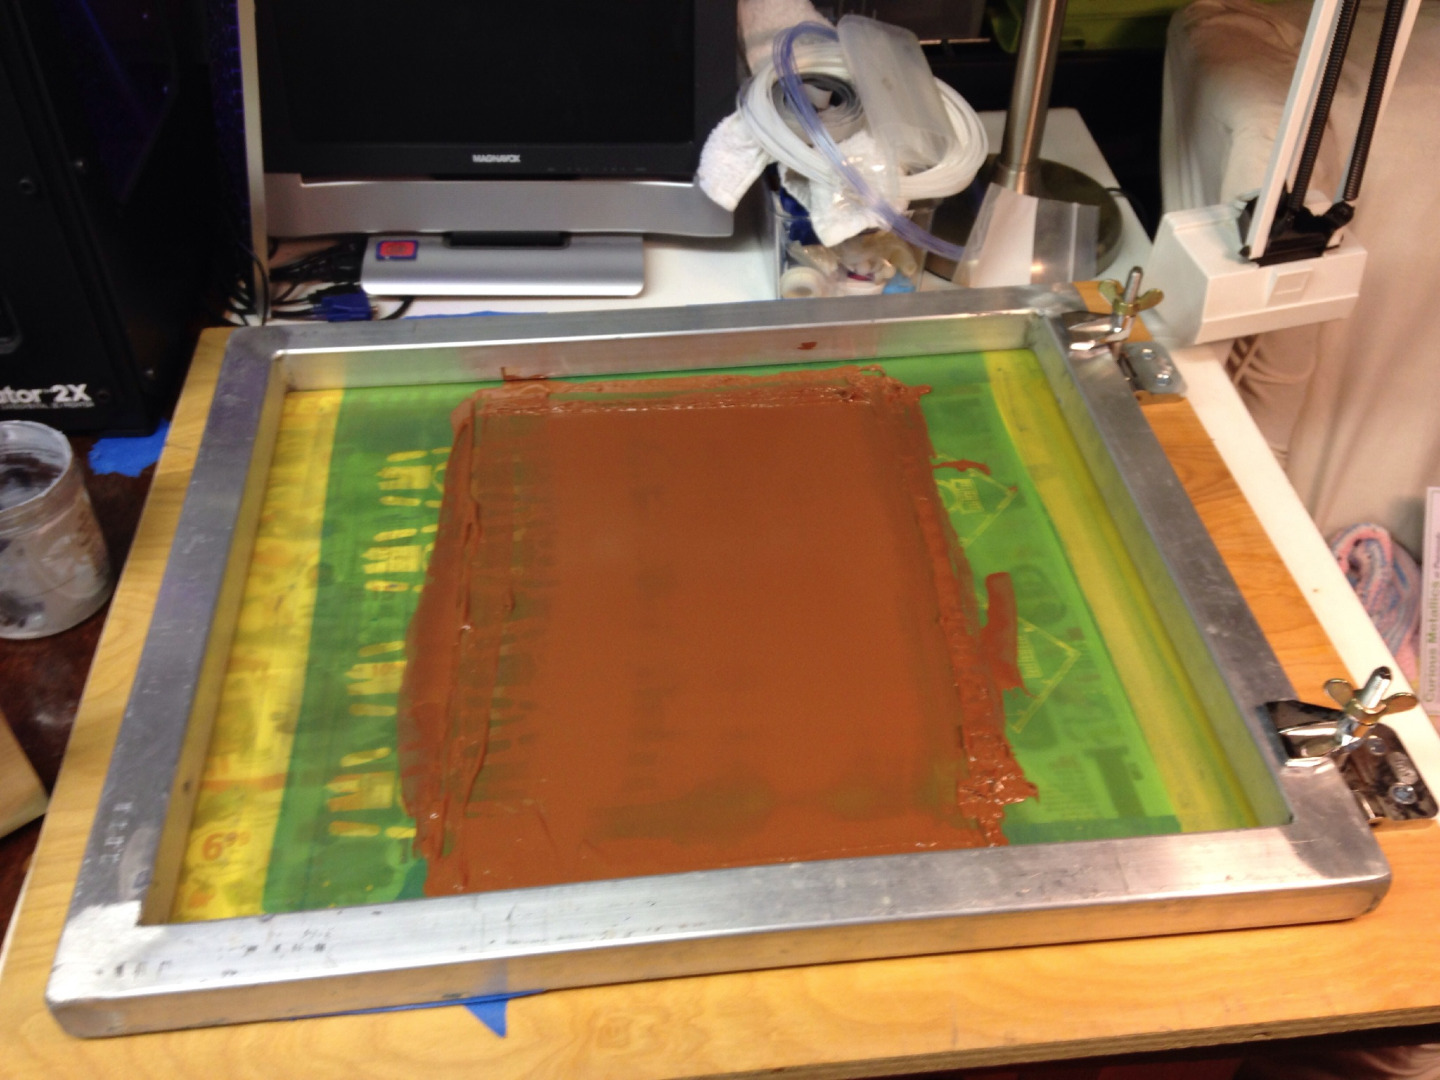
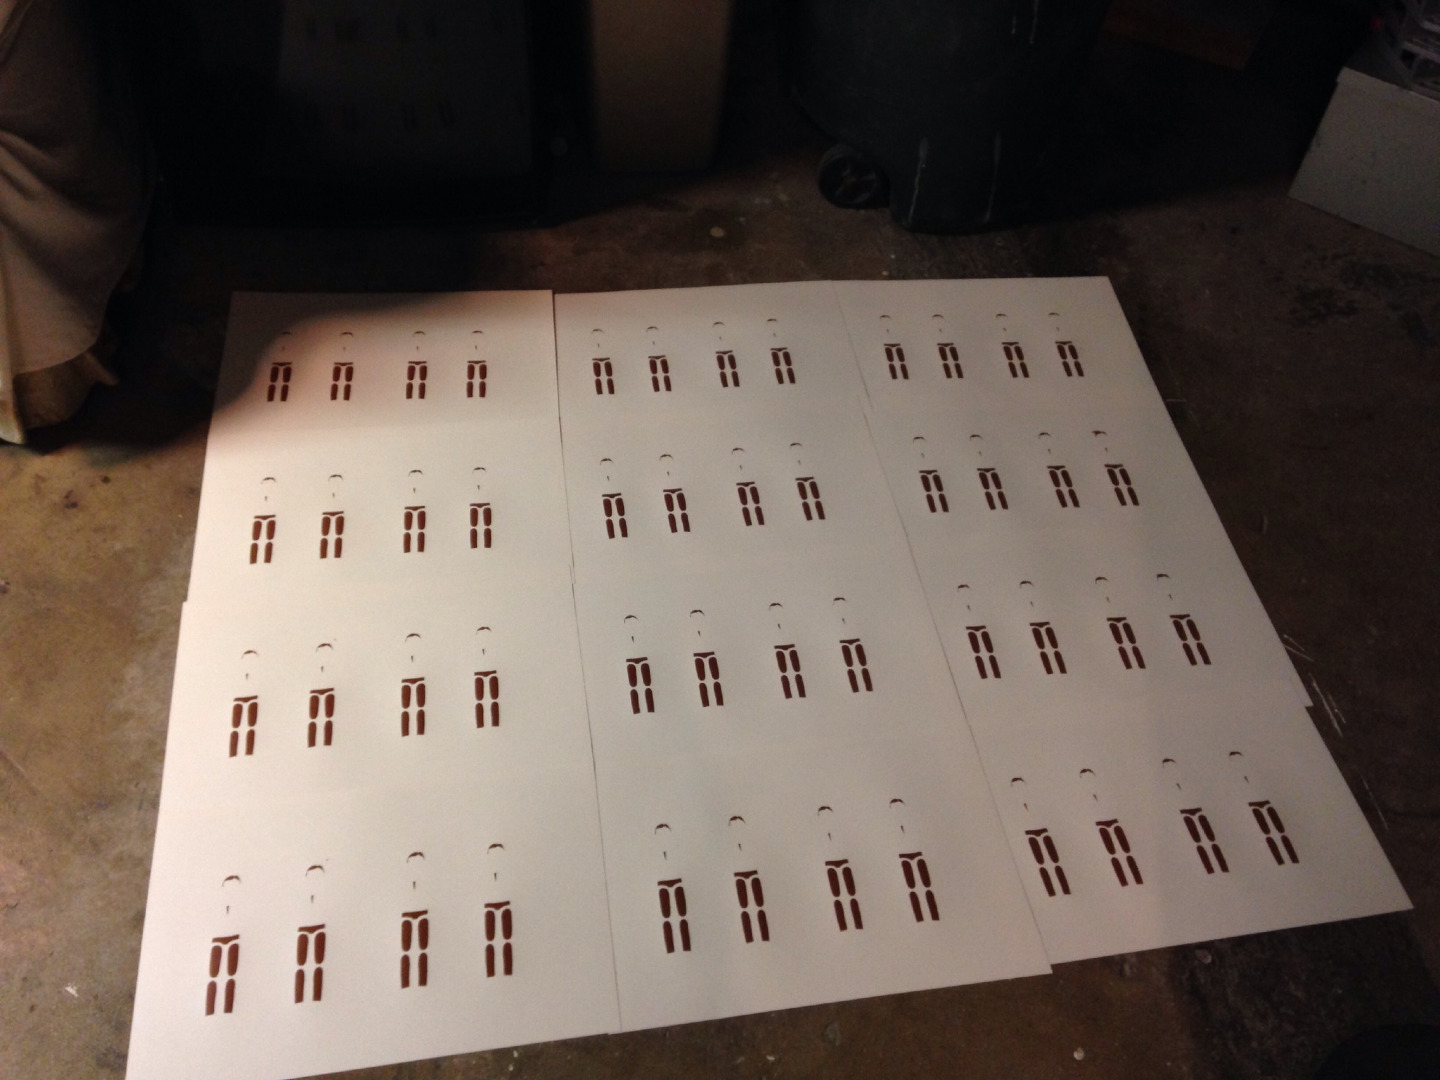
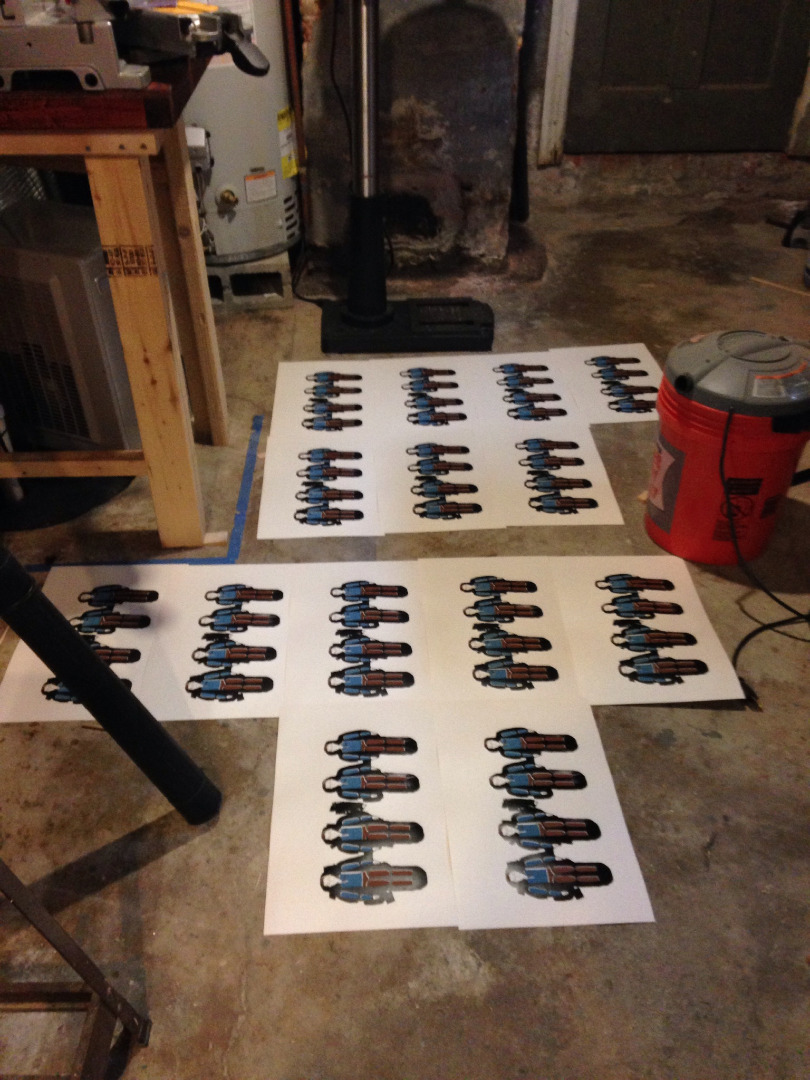
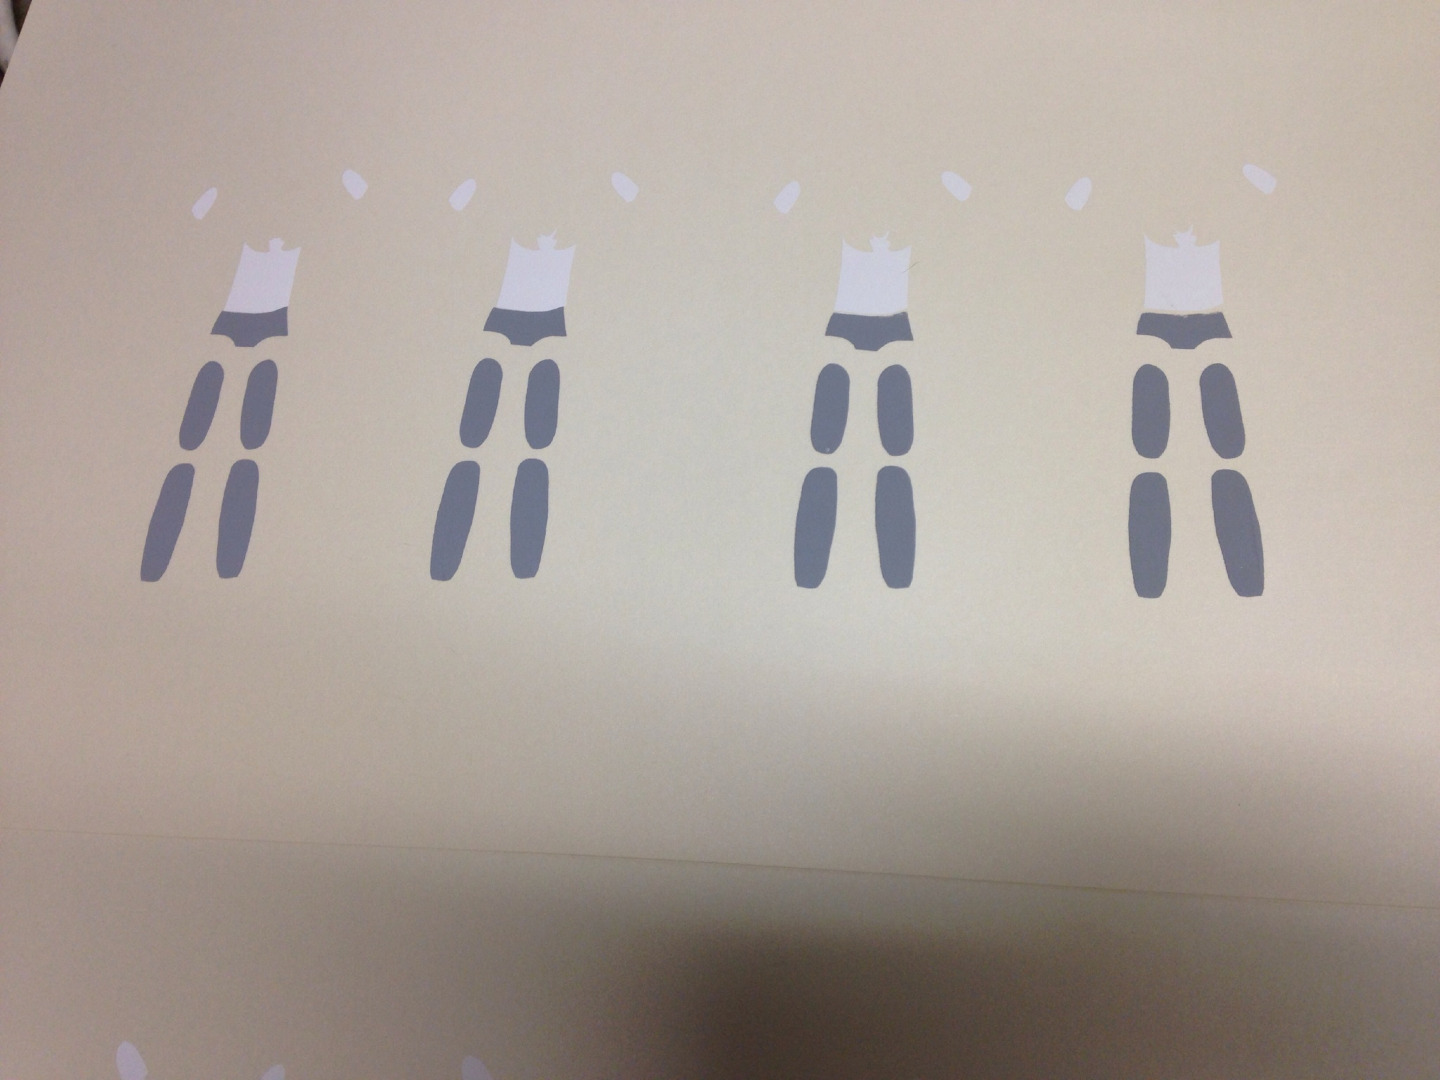
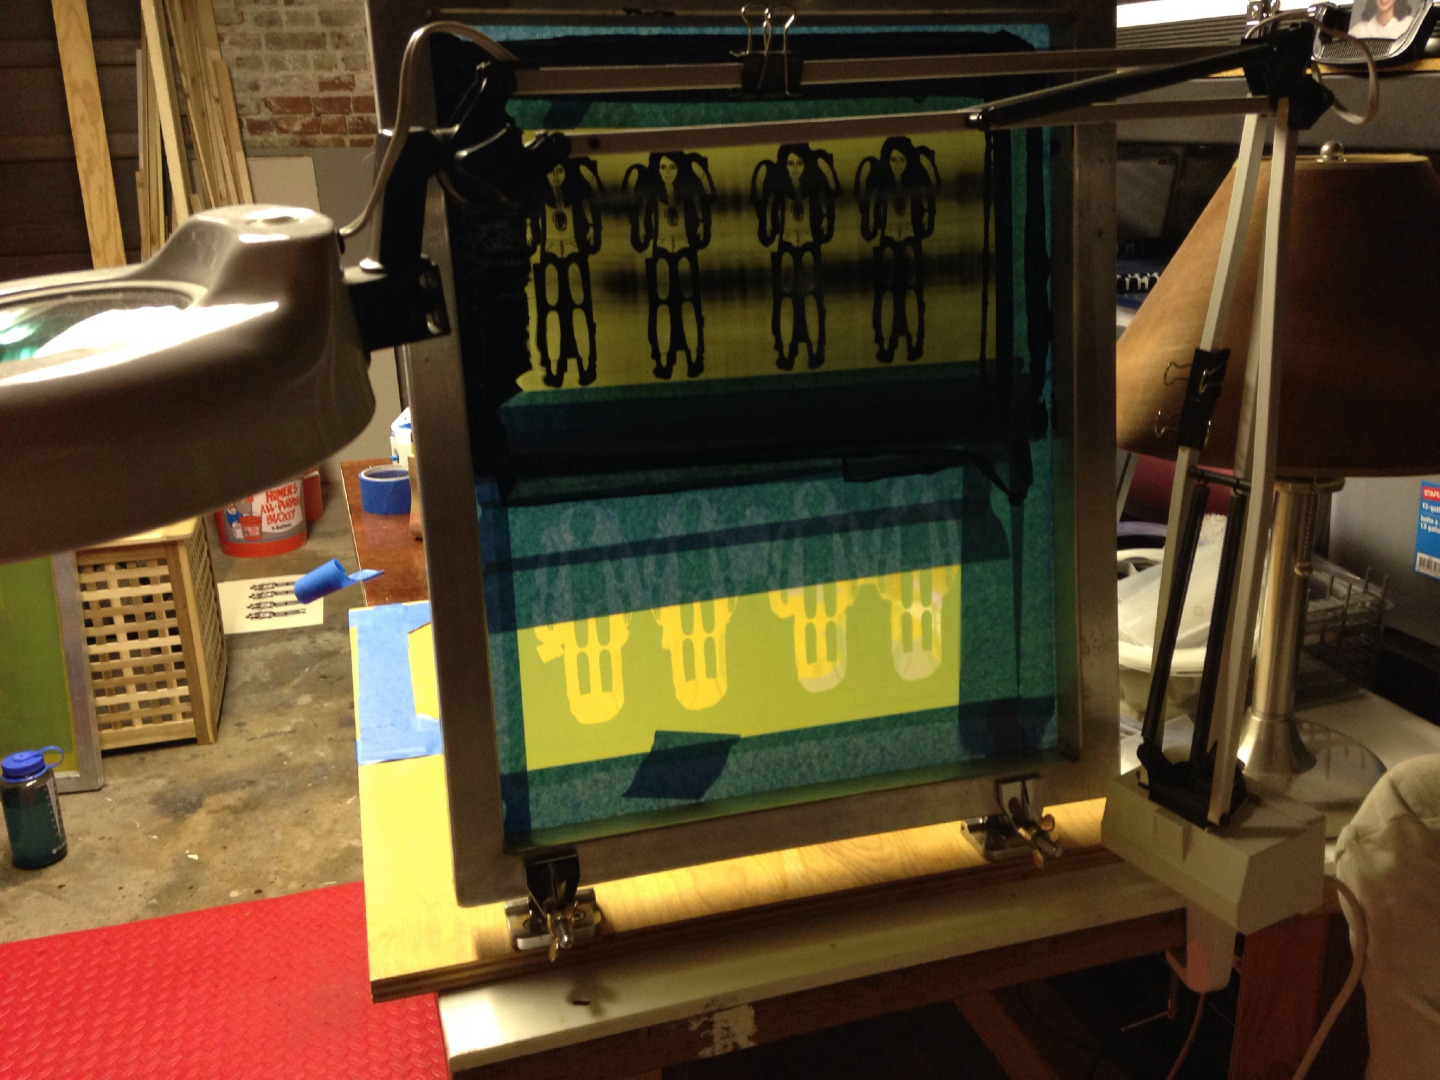
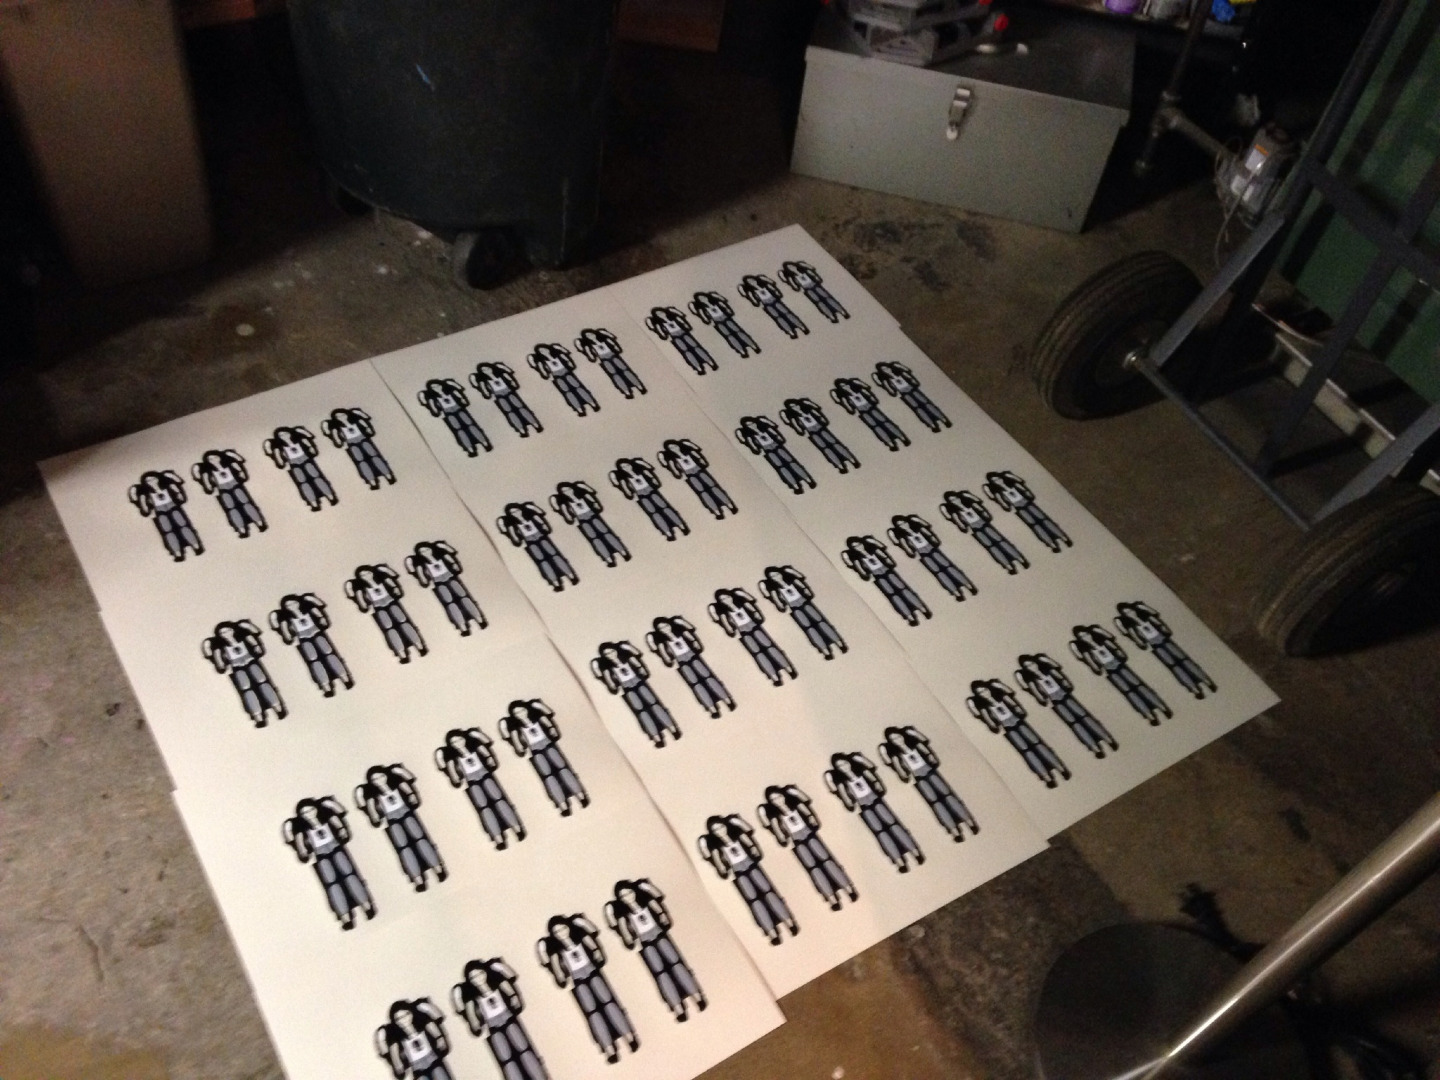
With the transparencies, use the standard photo emulsion technique to create the screens.
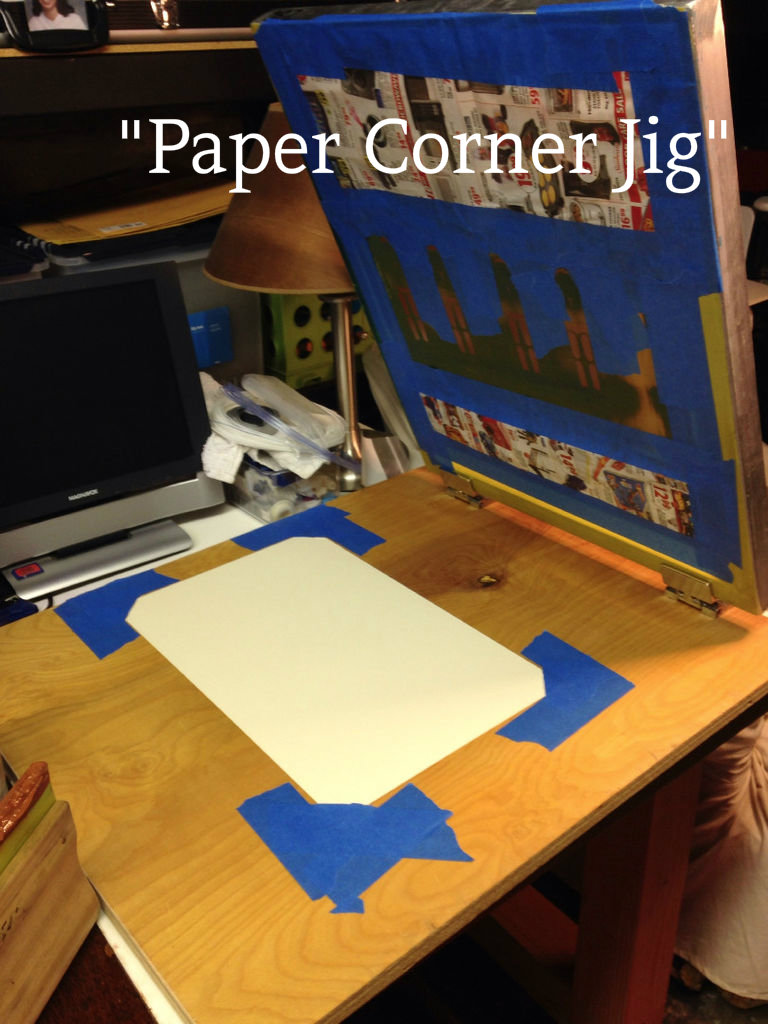
Since each sheet of printed paper will be laser cut, it is of utmost importance that your print is located on the exact same place on each piece of paper. This precise registration can be achieved by creating a "paper corner jig" (a term I made up). Similar to the photo corners used in photo albums, create disposable paper corners from copy paper and use blue painter's tape to hold down each of the four corners. Simply slide the paper into and out of this "paper corner jig" for each print.
The dolls in this tutorial were printed on 11x17-inch "Curious Metallics" paper in the cover weight (111lb/30g).
Create the Laser Cutting File
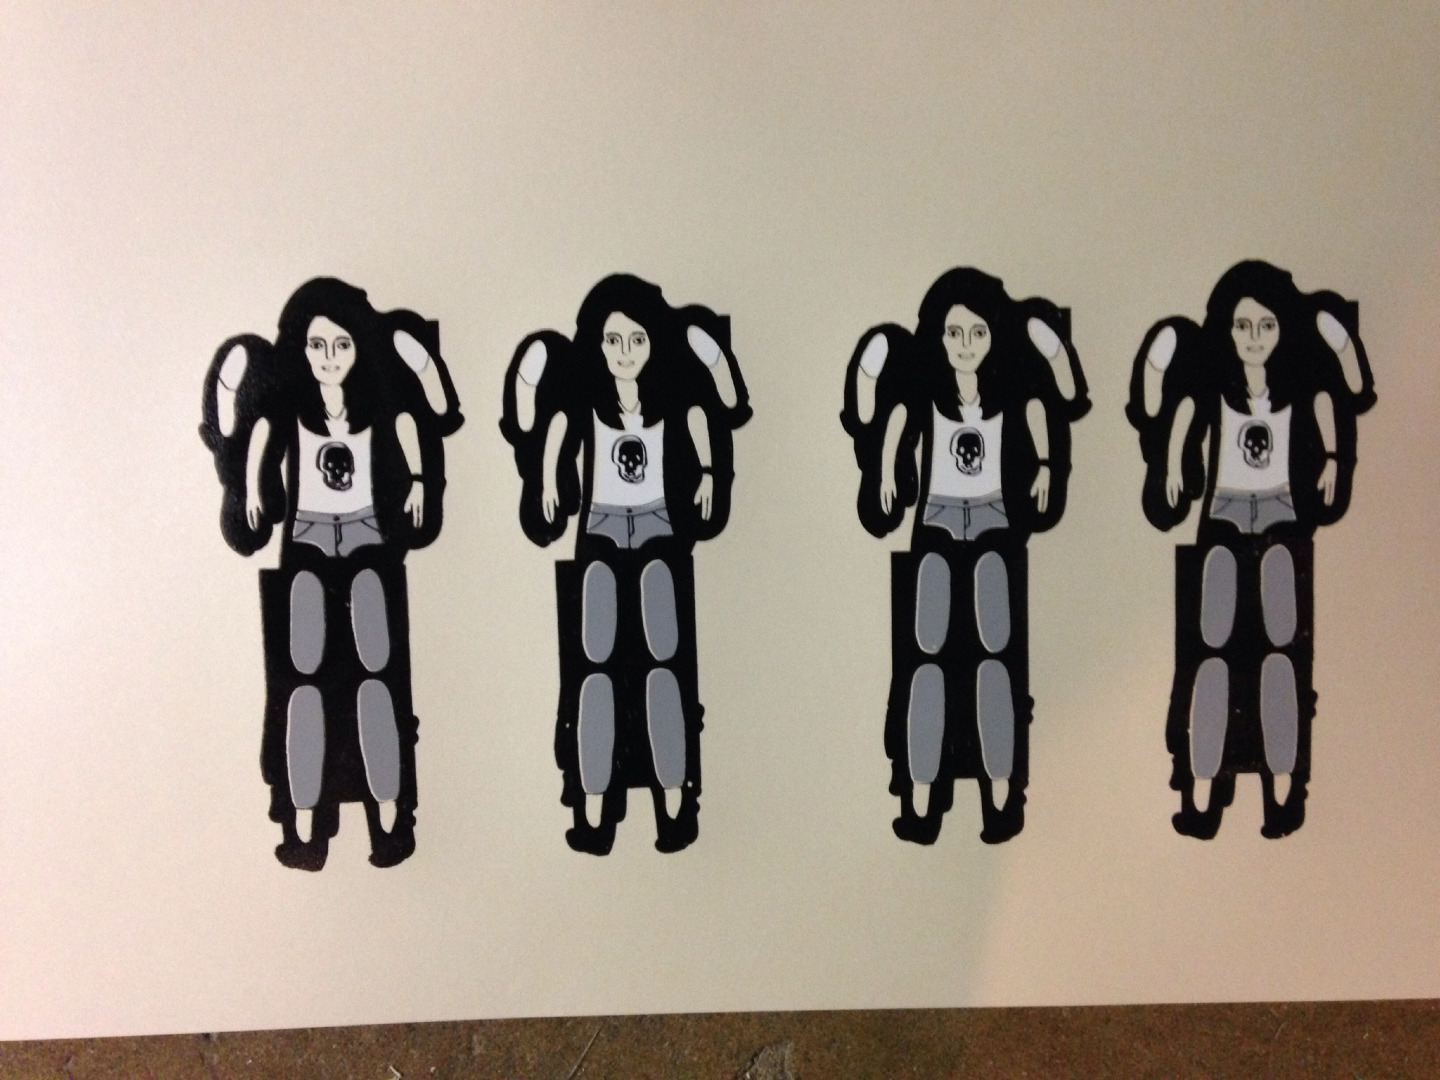
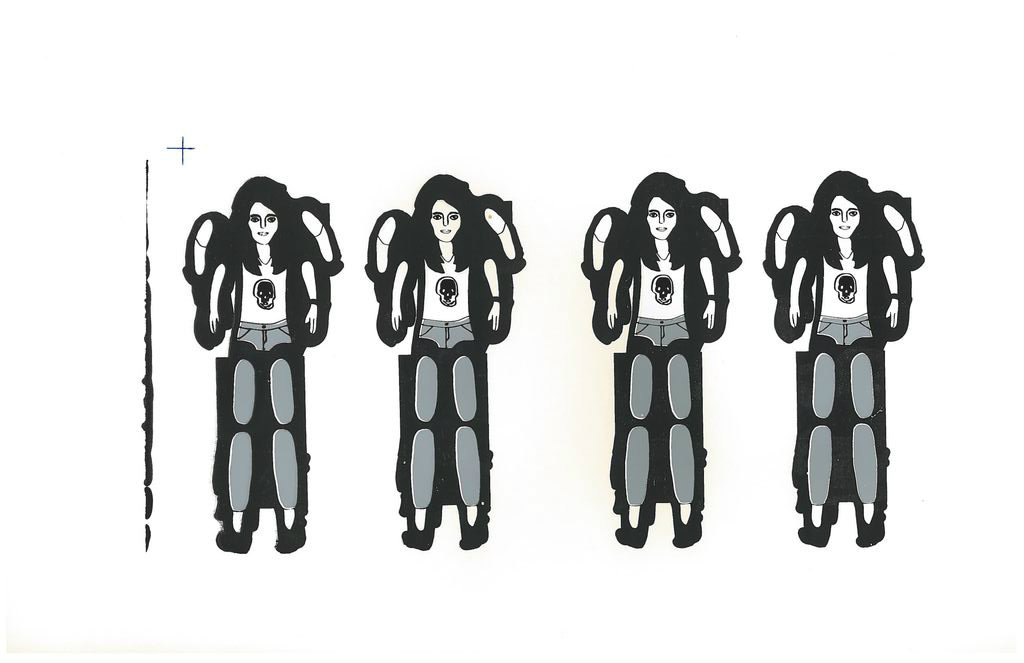
Once the paper dolls are printed, add a registration mark (I typically use a cross) to one of the sheets of paper. Scan the sheet of paper with the registration mark and upload it to Adobe Illustrator.
Using the scanned image as a guide, outline the registration mark and the paper dolls using the pen tool. Don't forget to use the ellipse tool in each of the areas where the brads will be placed. My ellipses were set at 0.0417 x 0.0417-inches.
Downloads
Laser Cut the Paper Dolls
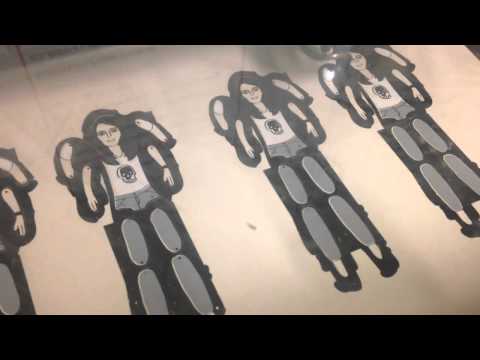
Load the sheet of paper with the registration mark into the laser cutter and use that sheet of paper as your guide. Hit print and have fun watching your dolls take shape before your eyes!
Assemble the Paper Dolls
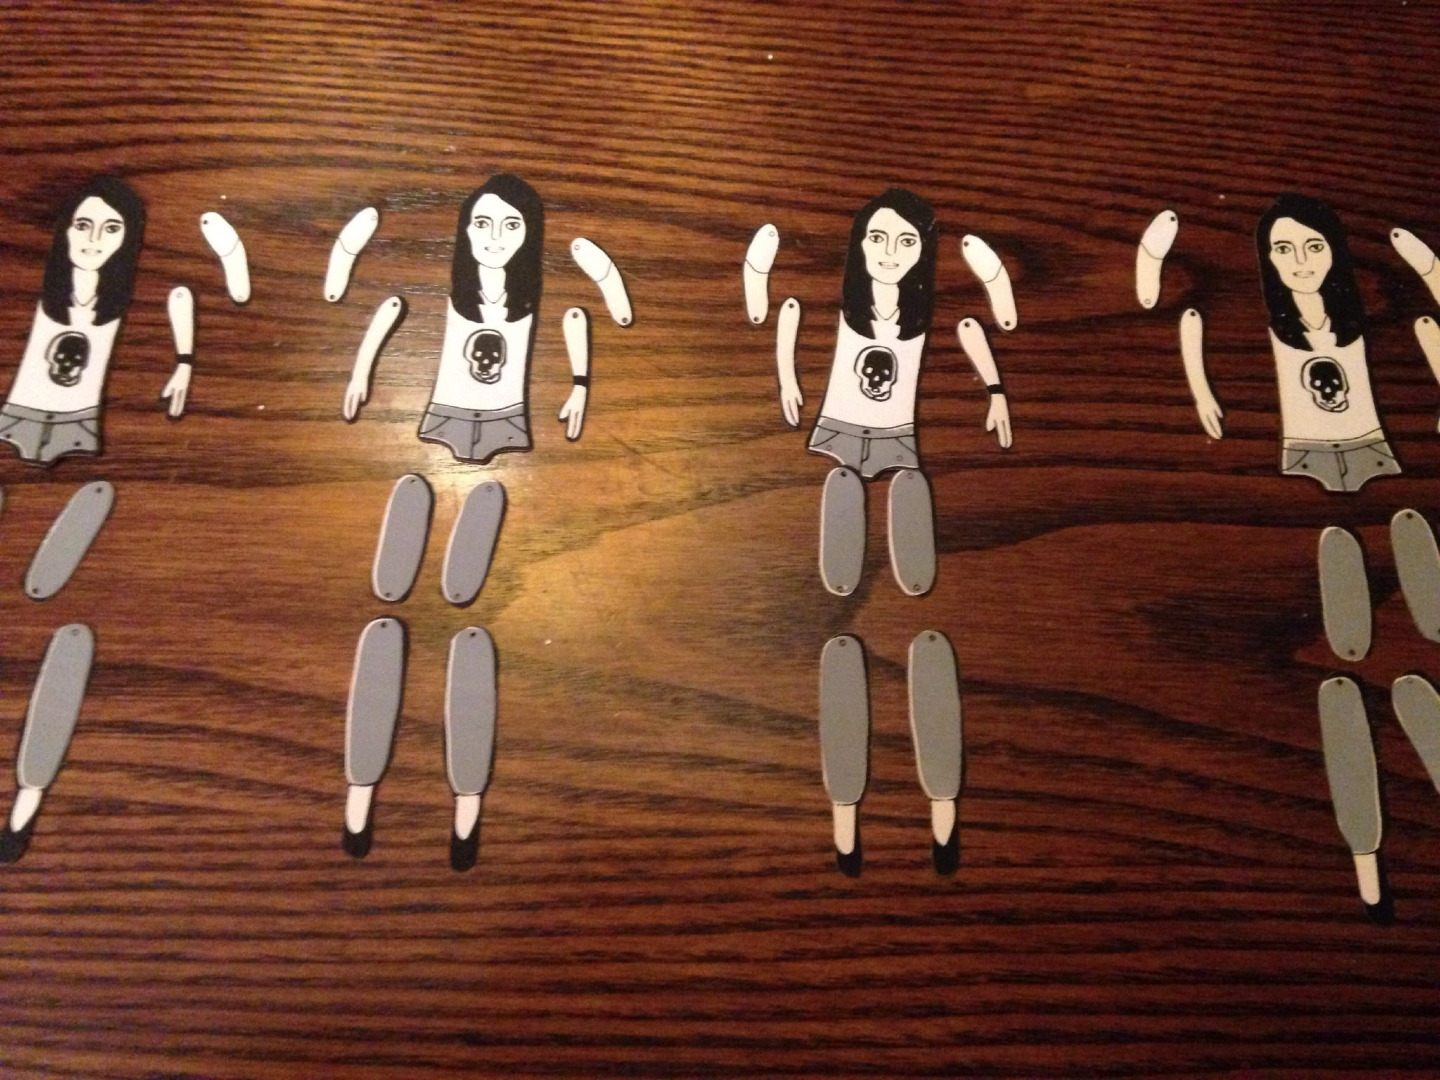
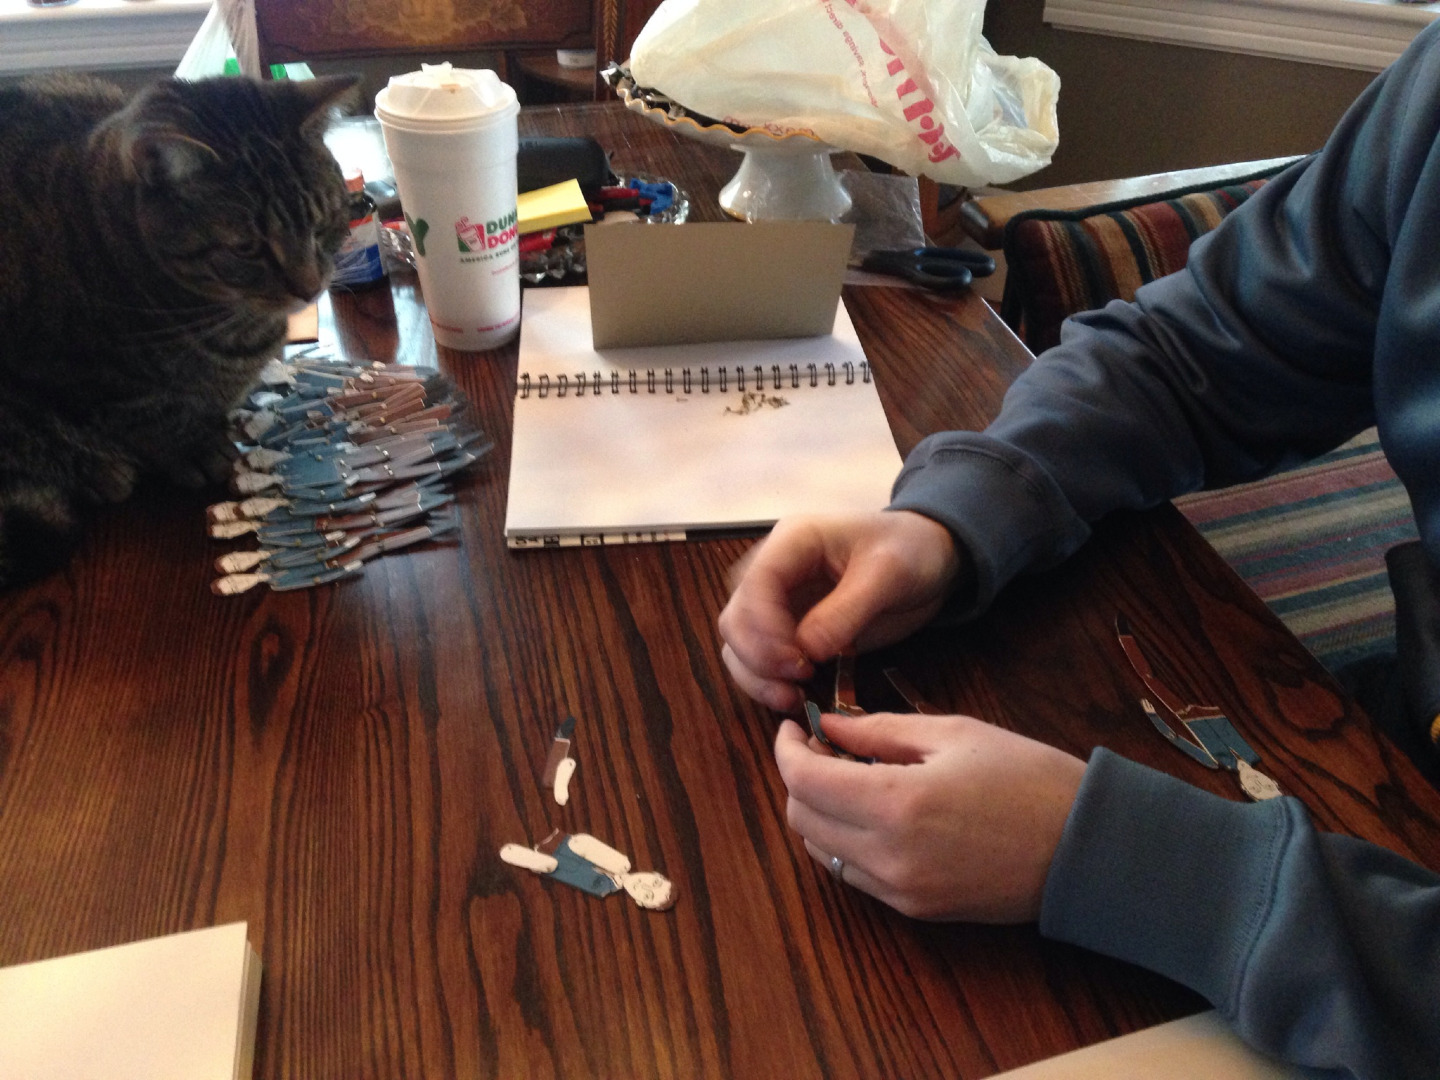
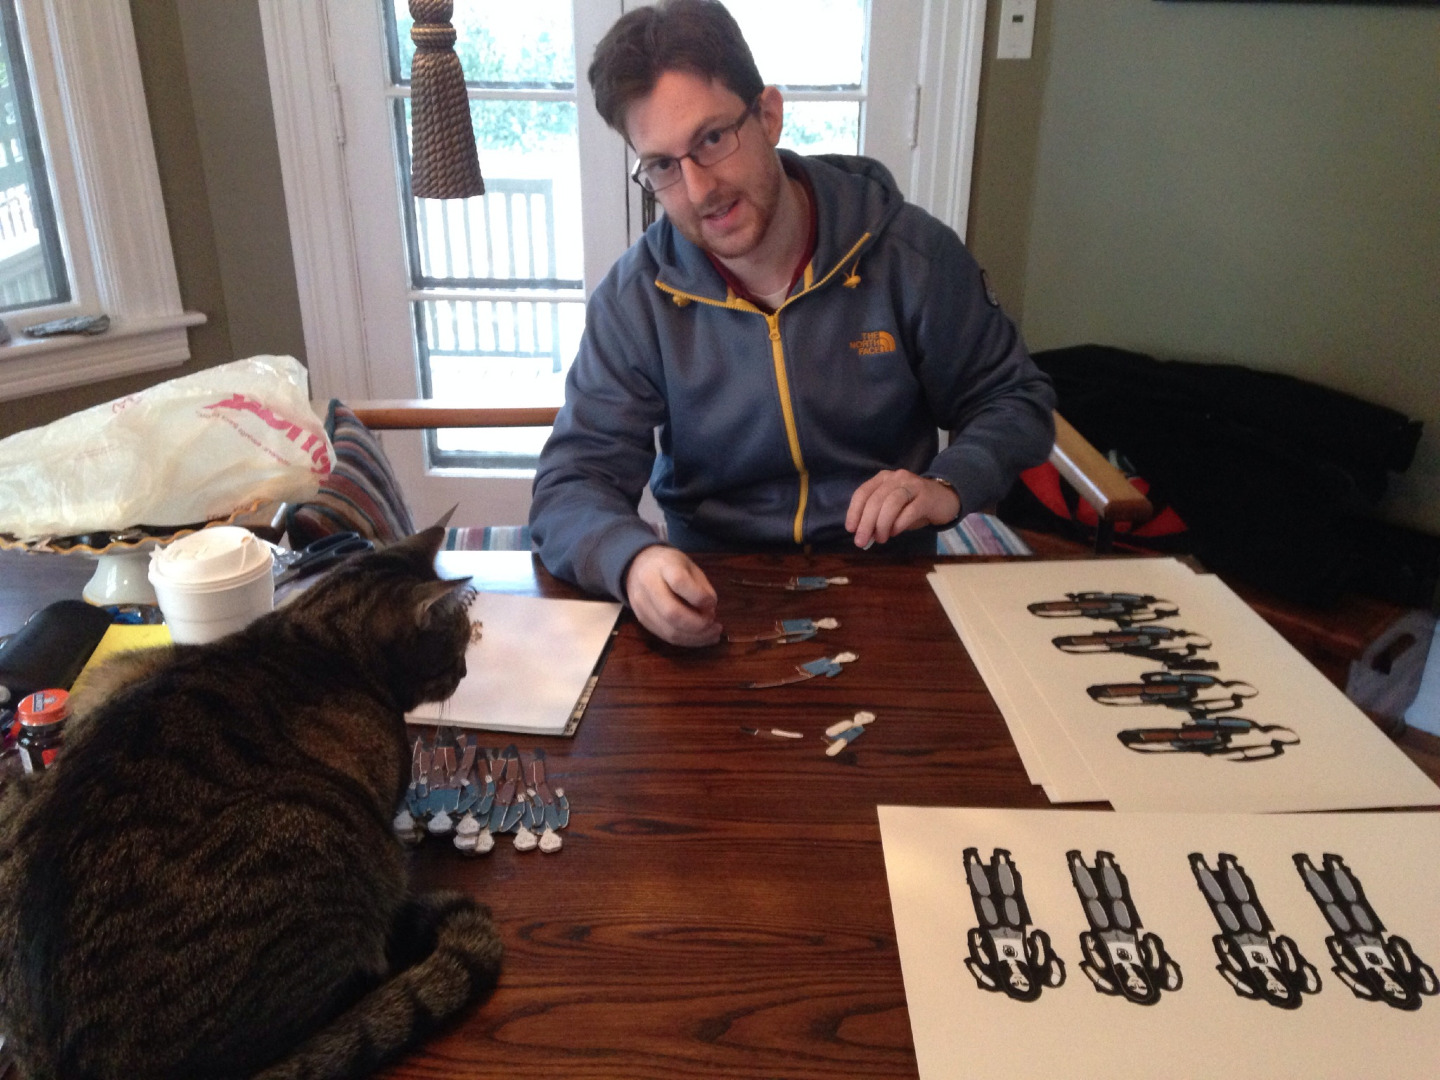
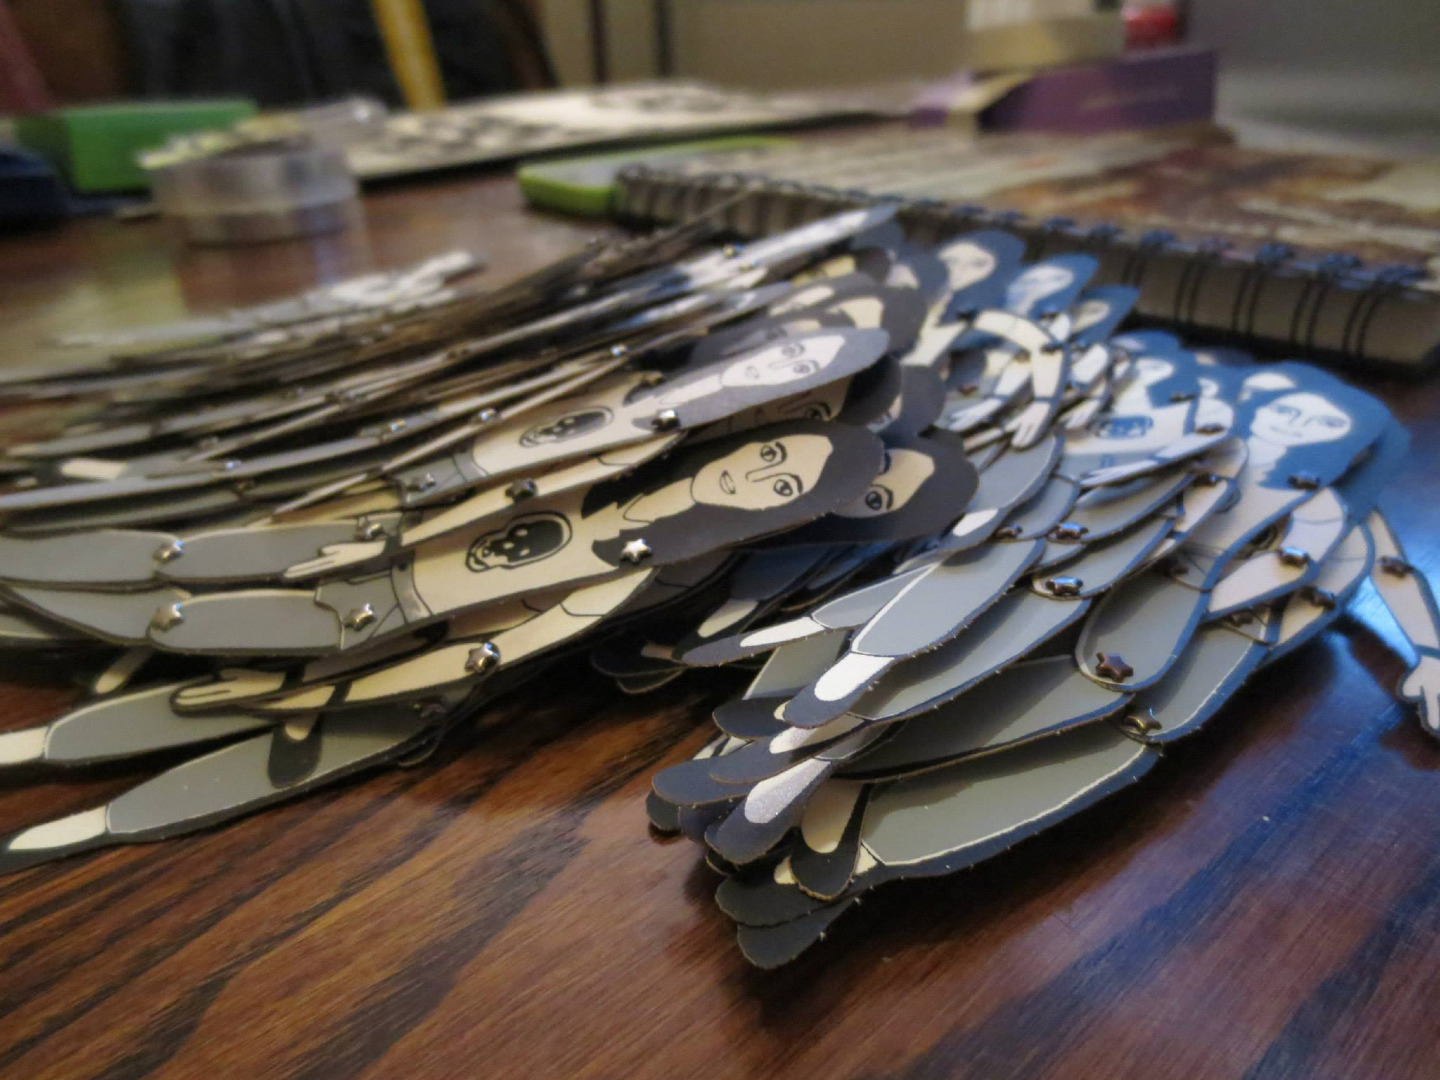
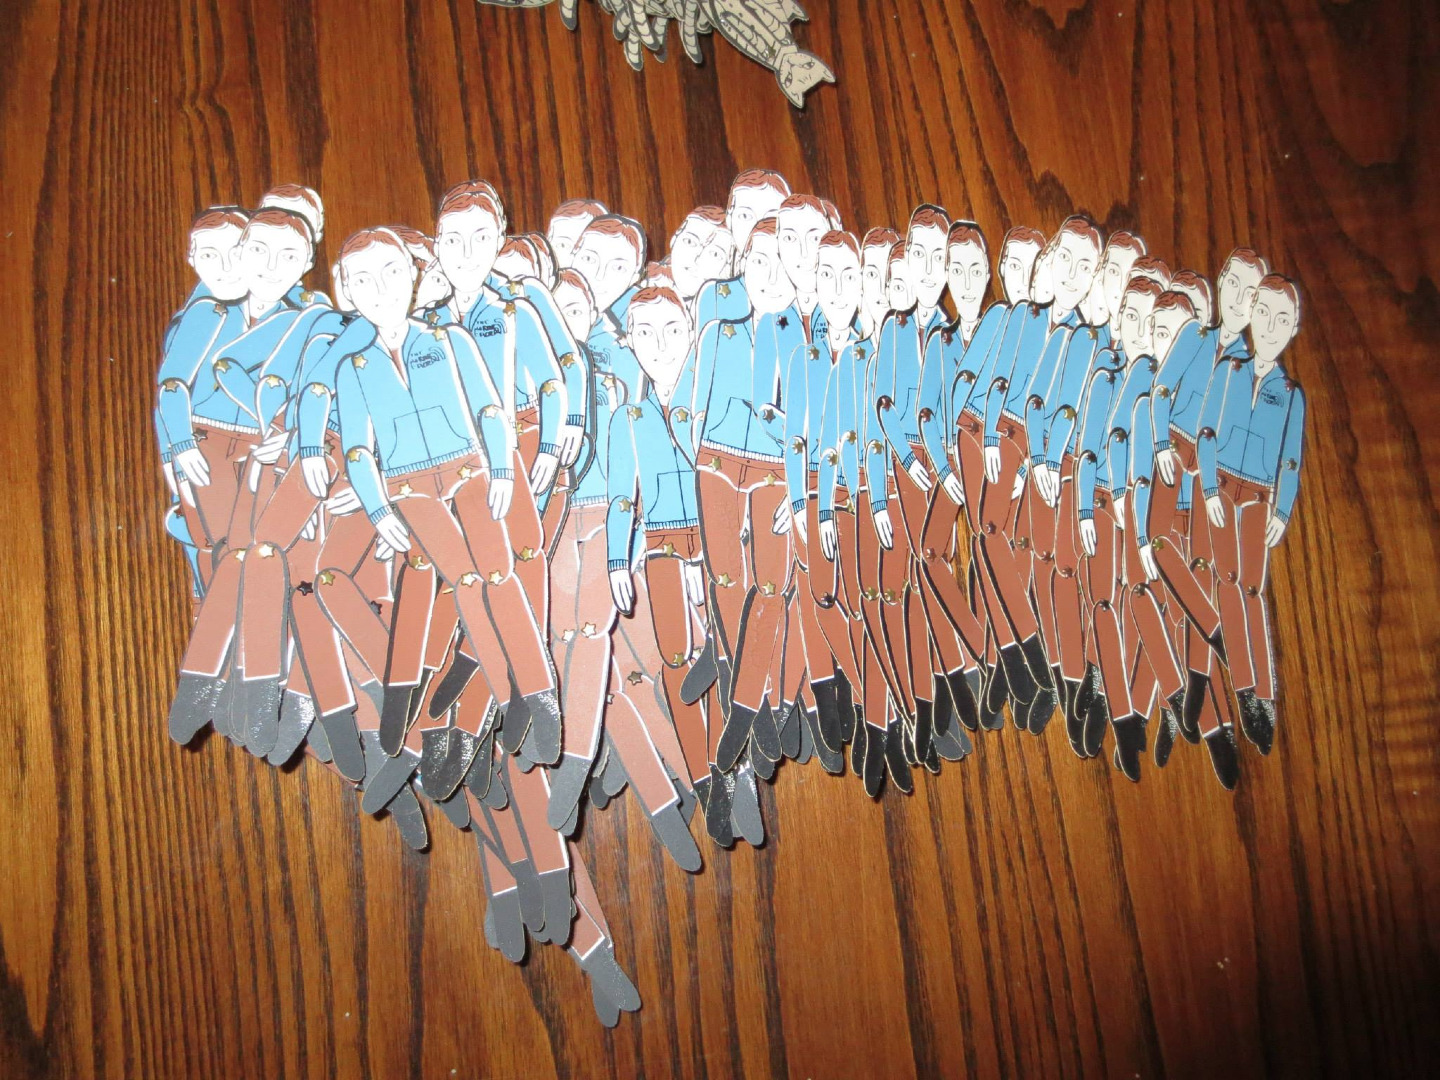
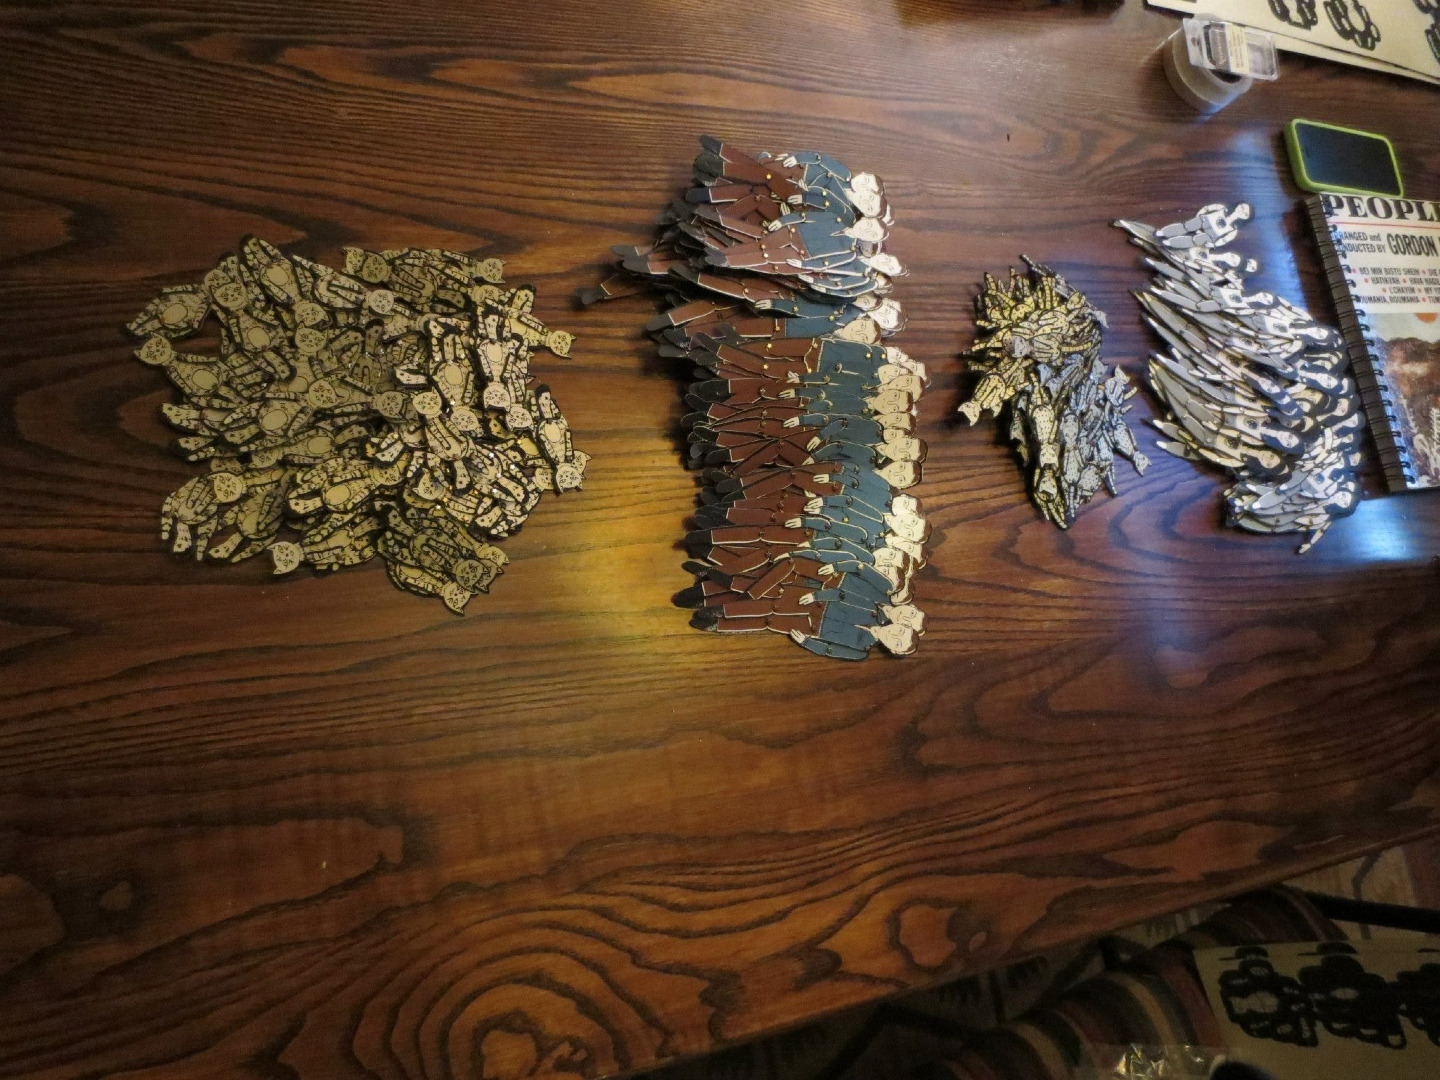
Once the paper dolls have been laser cut, use the mini brads to assemble each doll. In this example, I created approximately 80 Kurts, 80 Emilys, 80 Starlas, and 80 Bentleys.
Distribute the Paper Dolls to Family and Friends
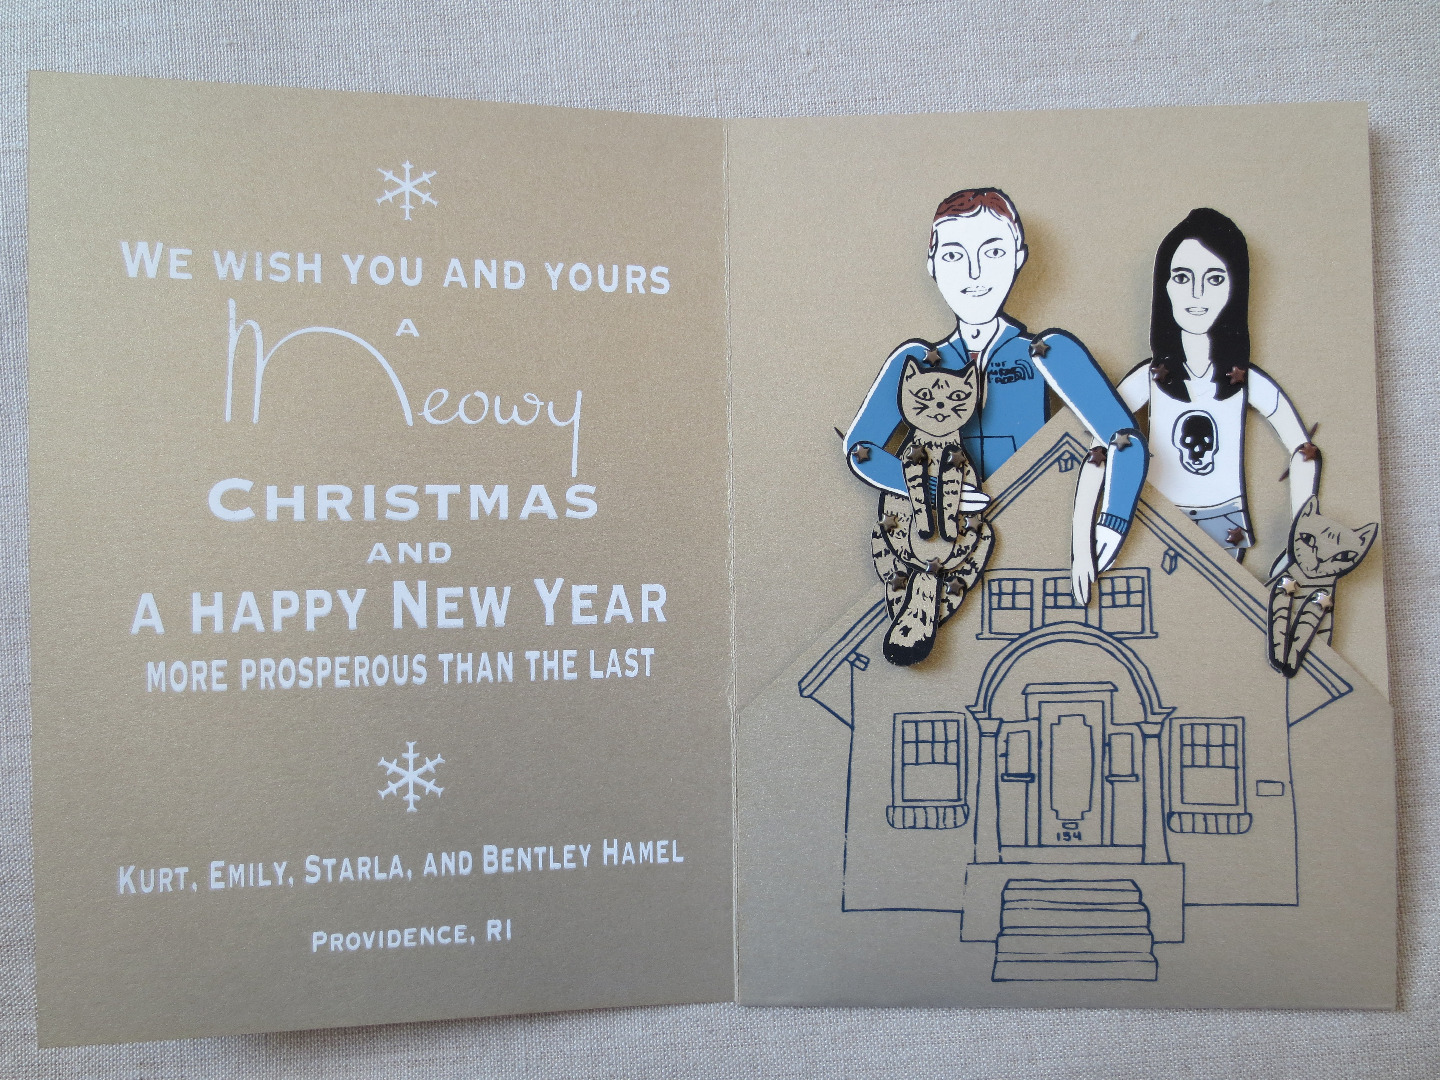
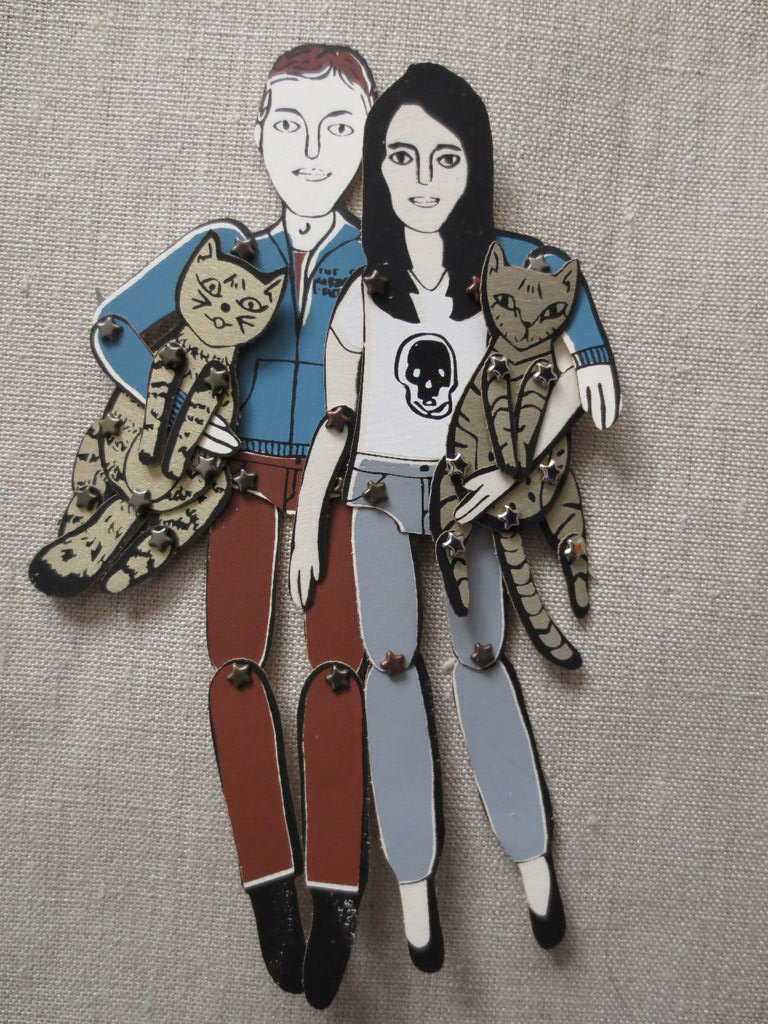
Lastly, distribute the finished paper dolls to family and friends for their amusement.