Masking Two Images Together
by scottdavenport in Circuits > Cameras
459 Views, 2 Favorites, 0 Comments
Masking Two Images Together
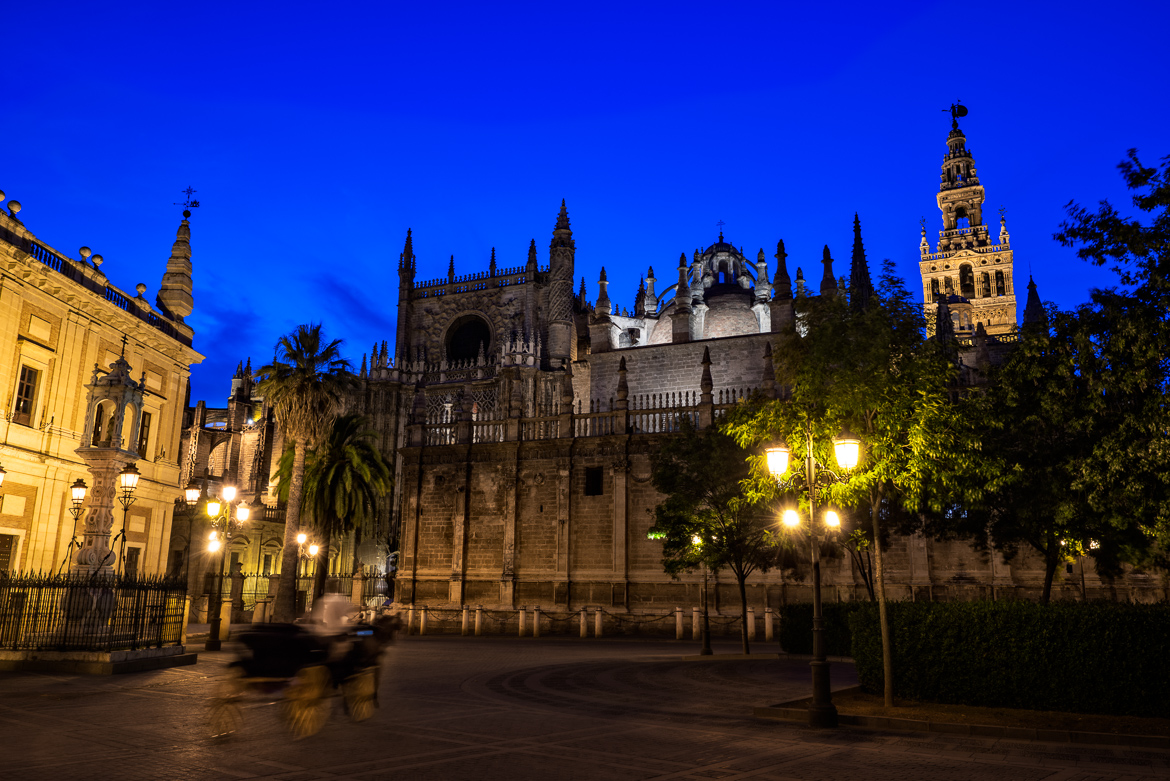
Photographers strive to capture the decisive moment in a single frame – and it is magical when you achieve that. Sometimes, we need help from the digital darkroom. In this installment of In Post, I mask together two images of the same scene to craft a complete story of an evening outside the Seville Cathedral in Spain.
Have a question? Ask me at http://www.scottdavenportphoto.com/contact
Capture Your Component Images
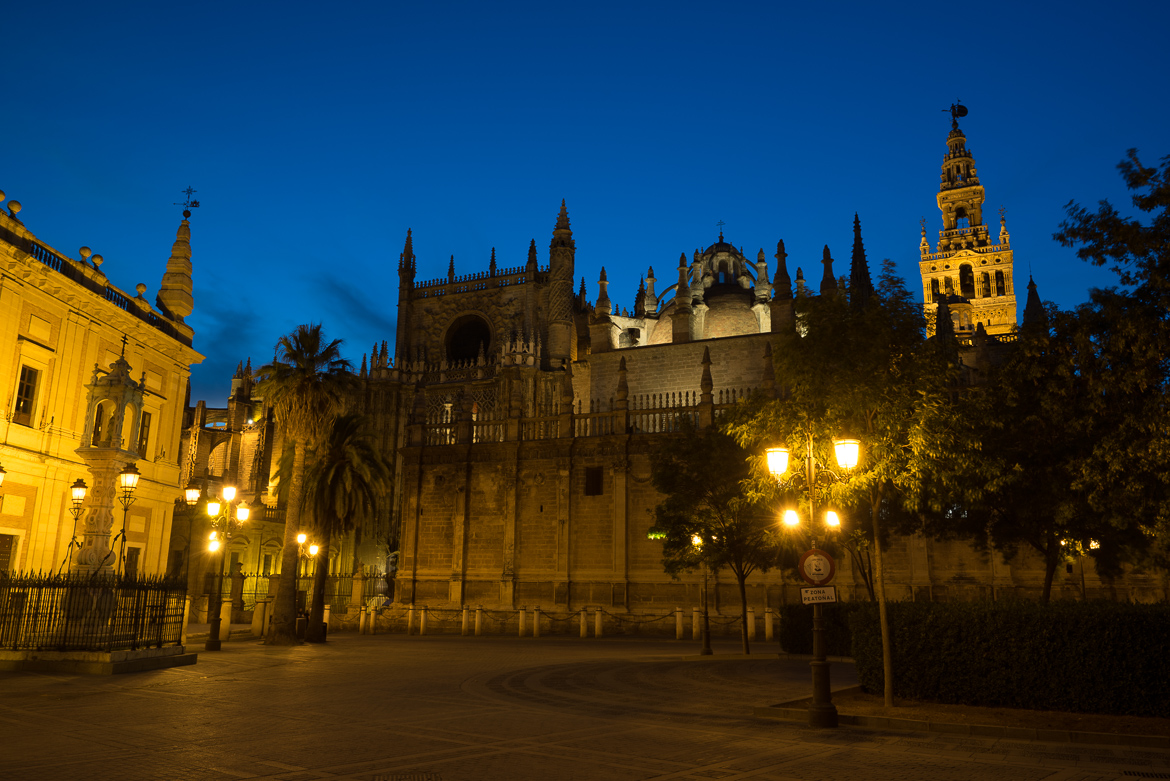
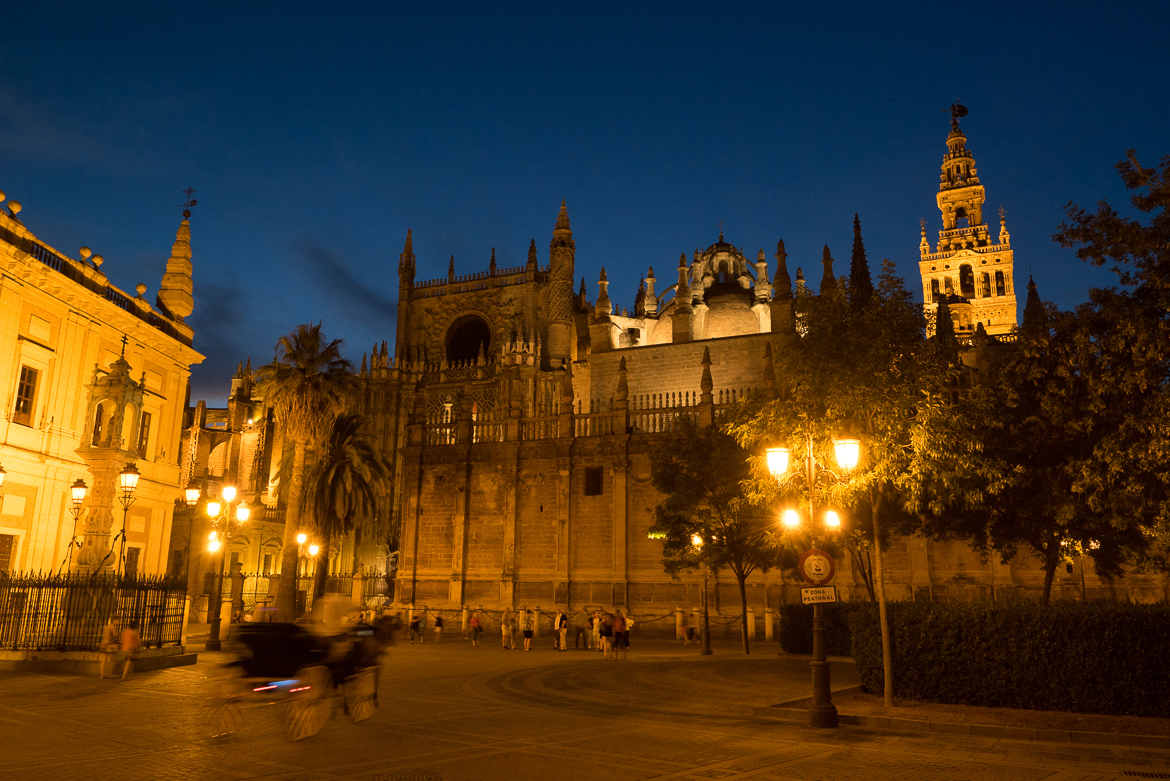
In this scene, I wanted to tell the story of a horse drawn carriage riding through the square outside the Seville Cathedral. I captured one photo of the square, patiently waiting for the square to be devoid of foot traffic. A few minutes later, I captured a second image of the horse and carriage moving through the square.
Adjust White Balance & Color
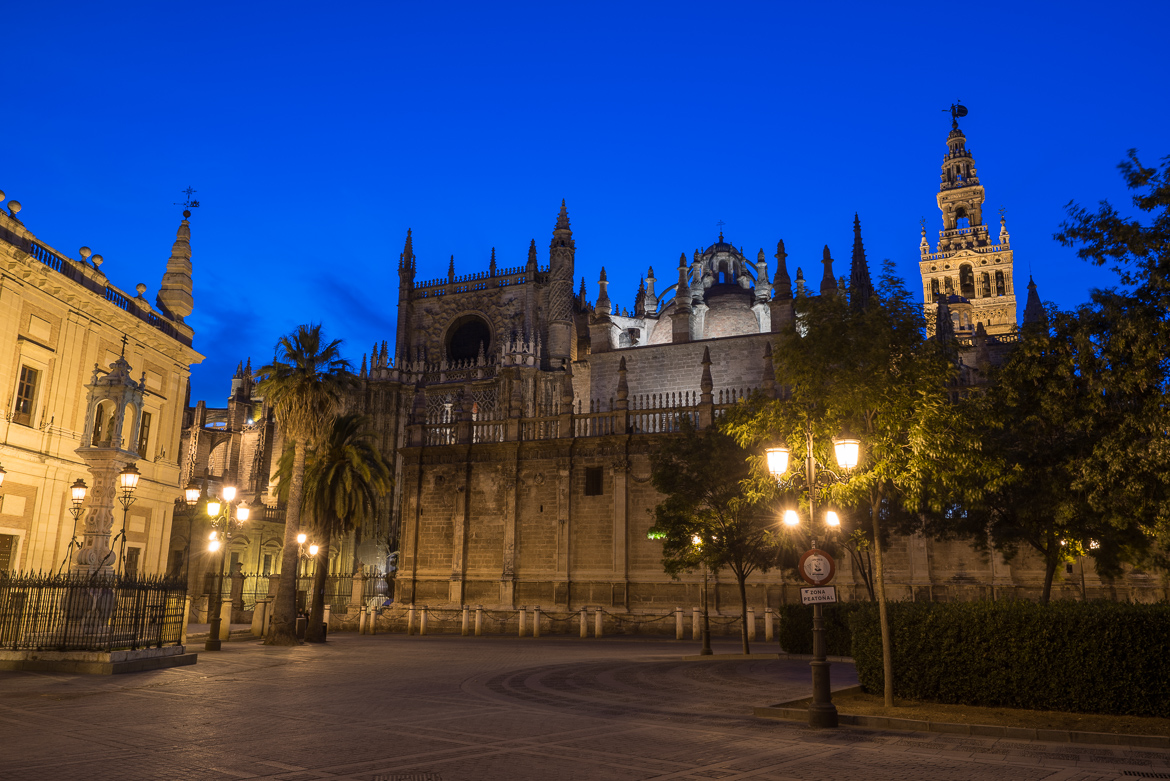
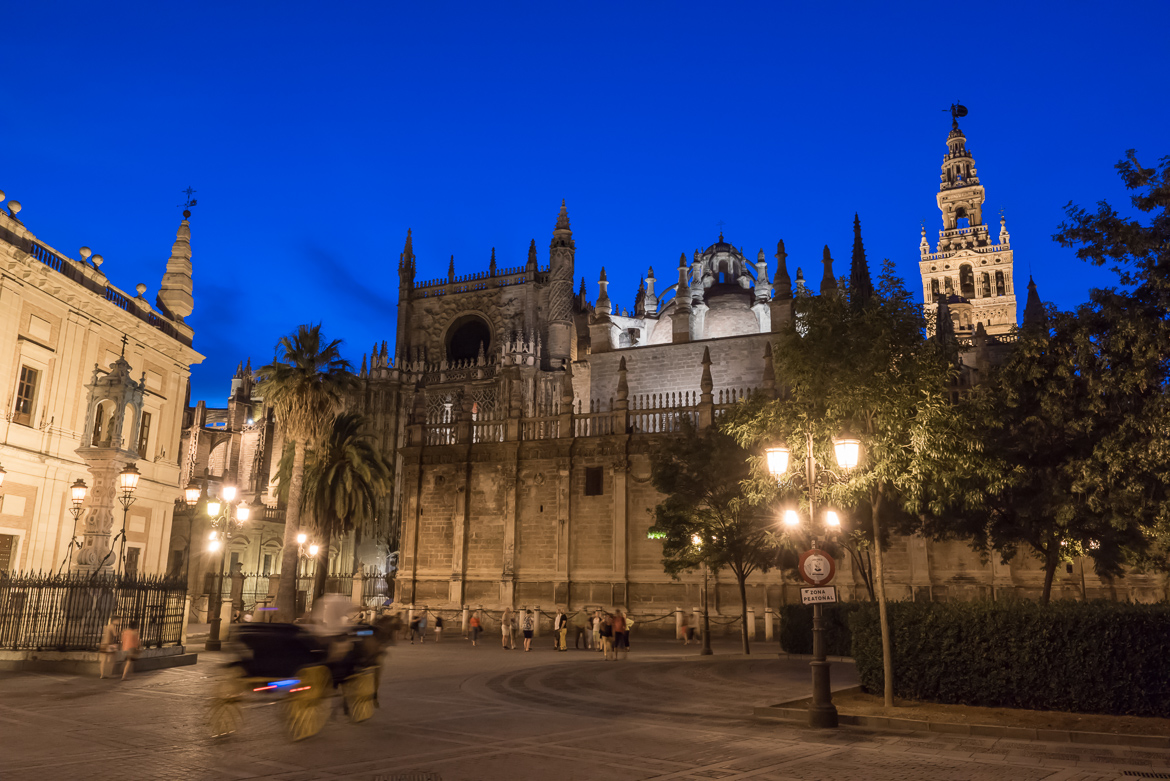
Make adjustments to the white balance, color and contrast on each of the images. The closer the images are in color and tone, the easier the next step will be. For these specific images, I also needed to apply some noise reduction to the horse and carriage (see the video for details).
Use Layering Software and Masks to Blend the Images Together

With your component images complete, load them into your favorite layering software (Photoshop, ON1 Perfect Layers, Gimp, etc.). I made the photo of the empty square my top layer and the horse & carriage the bottom layer.
Next, select the top layer, reach for your masking brushes, and paint away the are of the photo where the horse & carriage is. As you mask away the top layer, the bottom layer is revealed. Using brushes with wide feathers and opacities less than 100% will help you get a smooth blend. (See the video for details).
Once the masking is done, stylize to your taste. In this photo, I also chose to remove the distracting road sign in the final image.