Mask Making
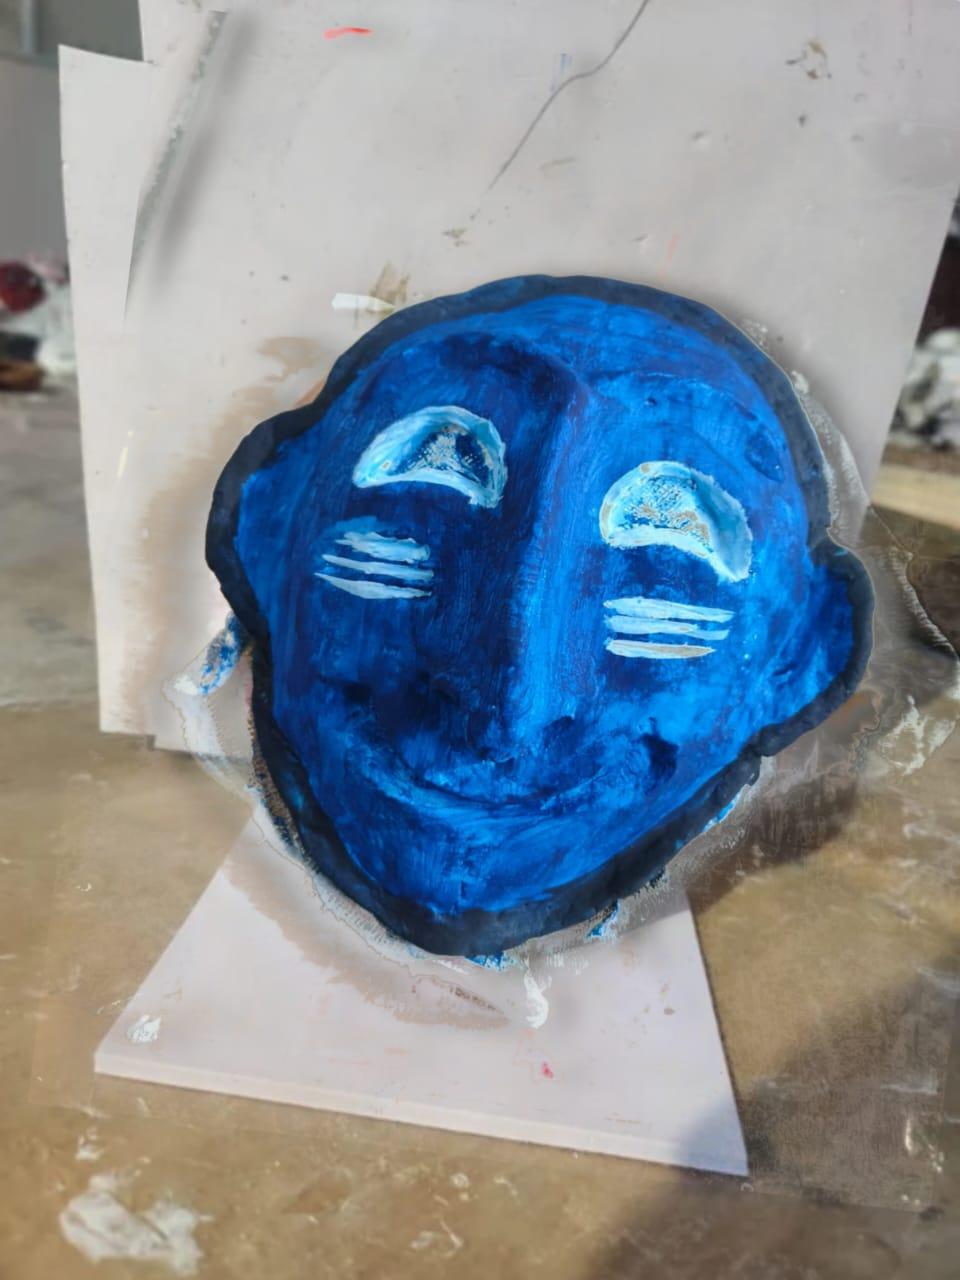
Mask-making with clay is a fascinating craft that combines sculpting and painting to create unique, attractive pieces. It includes various steps such as Choosing Your Clay, Preparing Your Workspace, Creating the Base Shape, Adding Facial Features, Drying and Hardening, and Painting and Finishing.
Supplies
Clay, Paints, brushes, Bandage, Newspaper, Clay Molding Tools, Cardboard for stand, etc.
Getting Started !
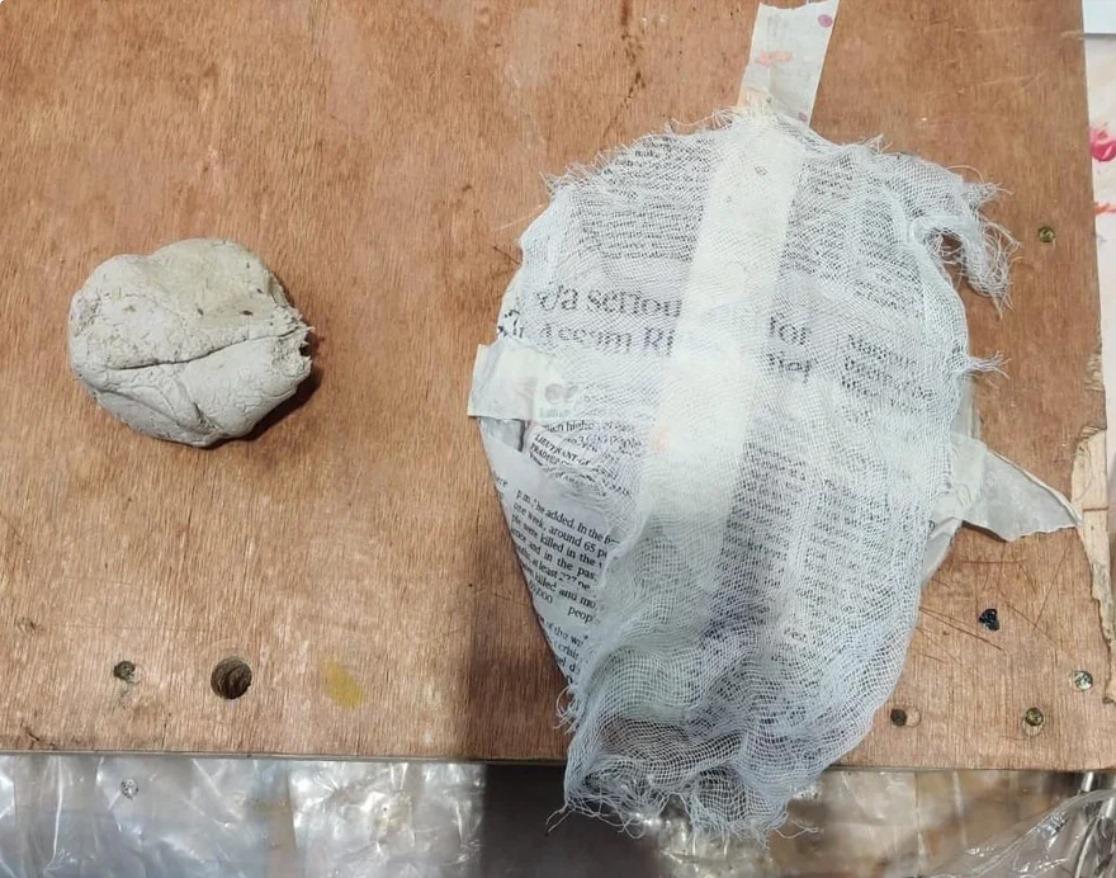
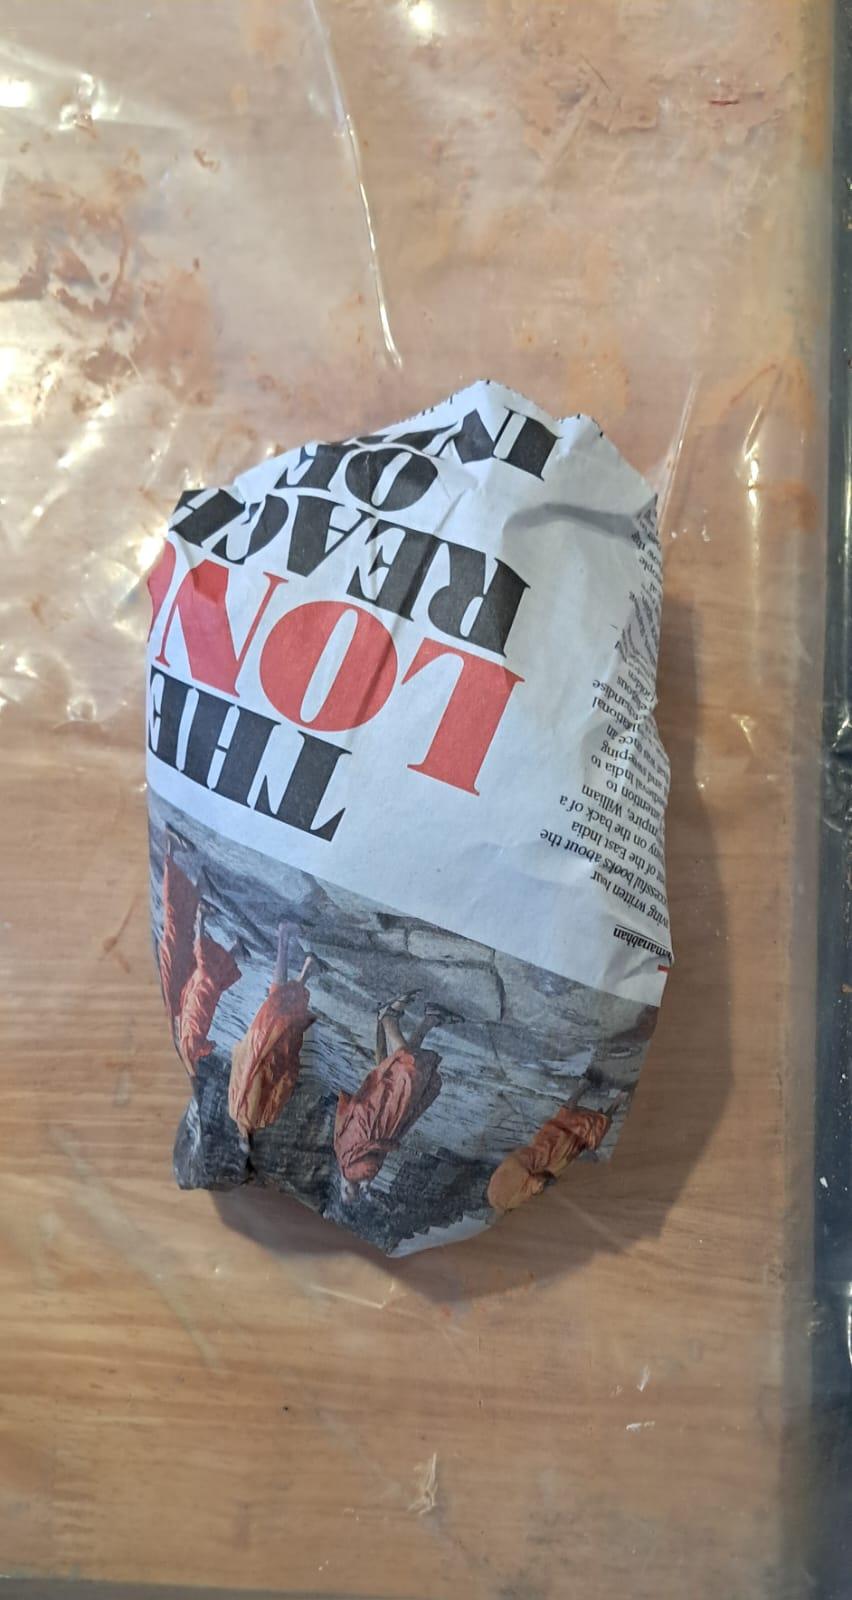
Begin with picking up a proper paper clay mold for the mask. Also make sure to take a good shaped newspaper base to give shape to your idea. It is good to have a masking tape so that the mask does not stick to the newspaper.
Take Clay
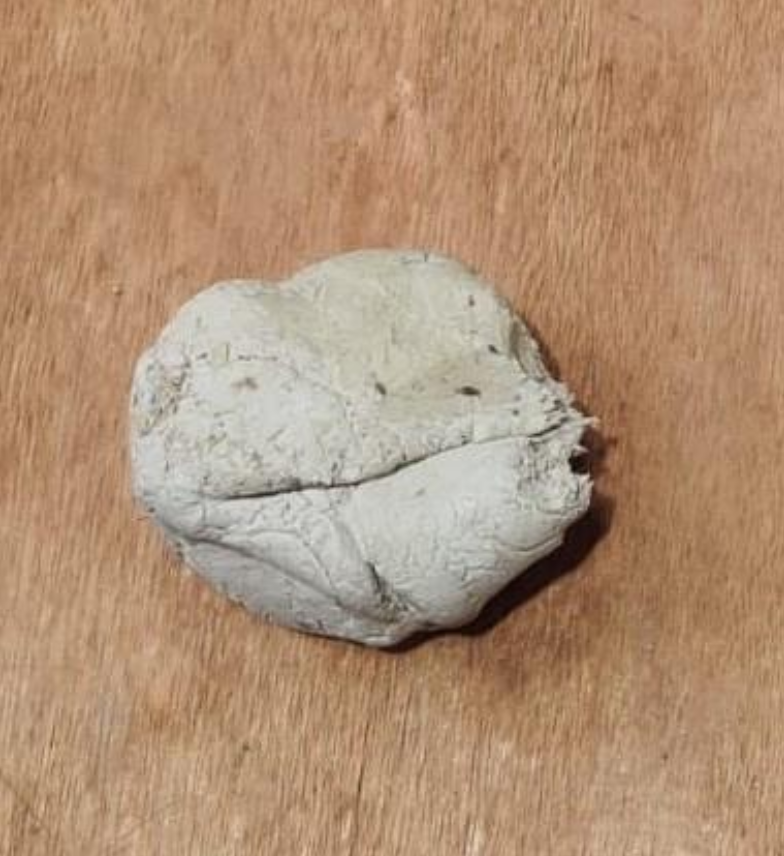
Take enough paper clay to start making a base structure of the mask.
Make the Base Structure :)
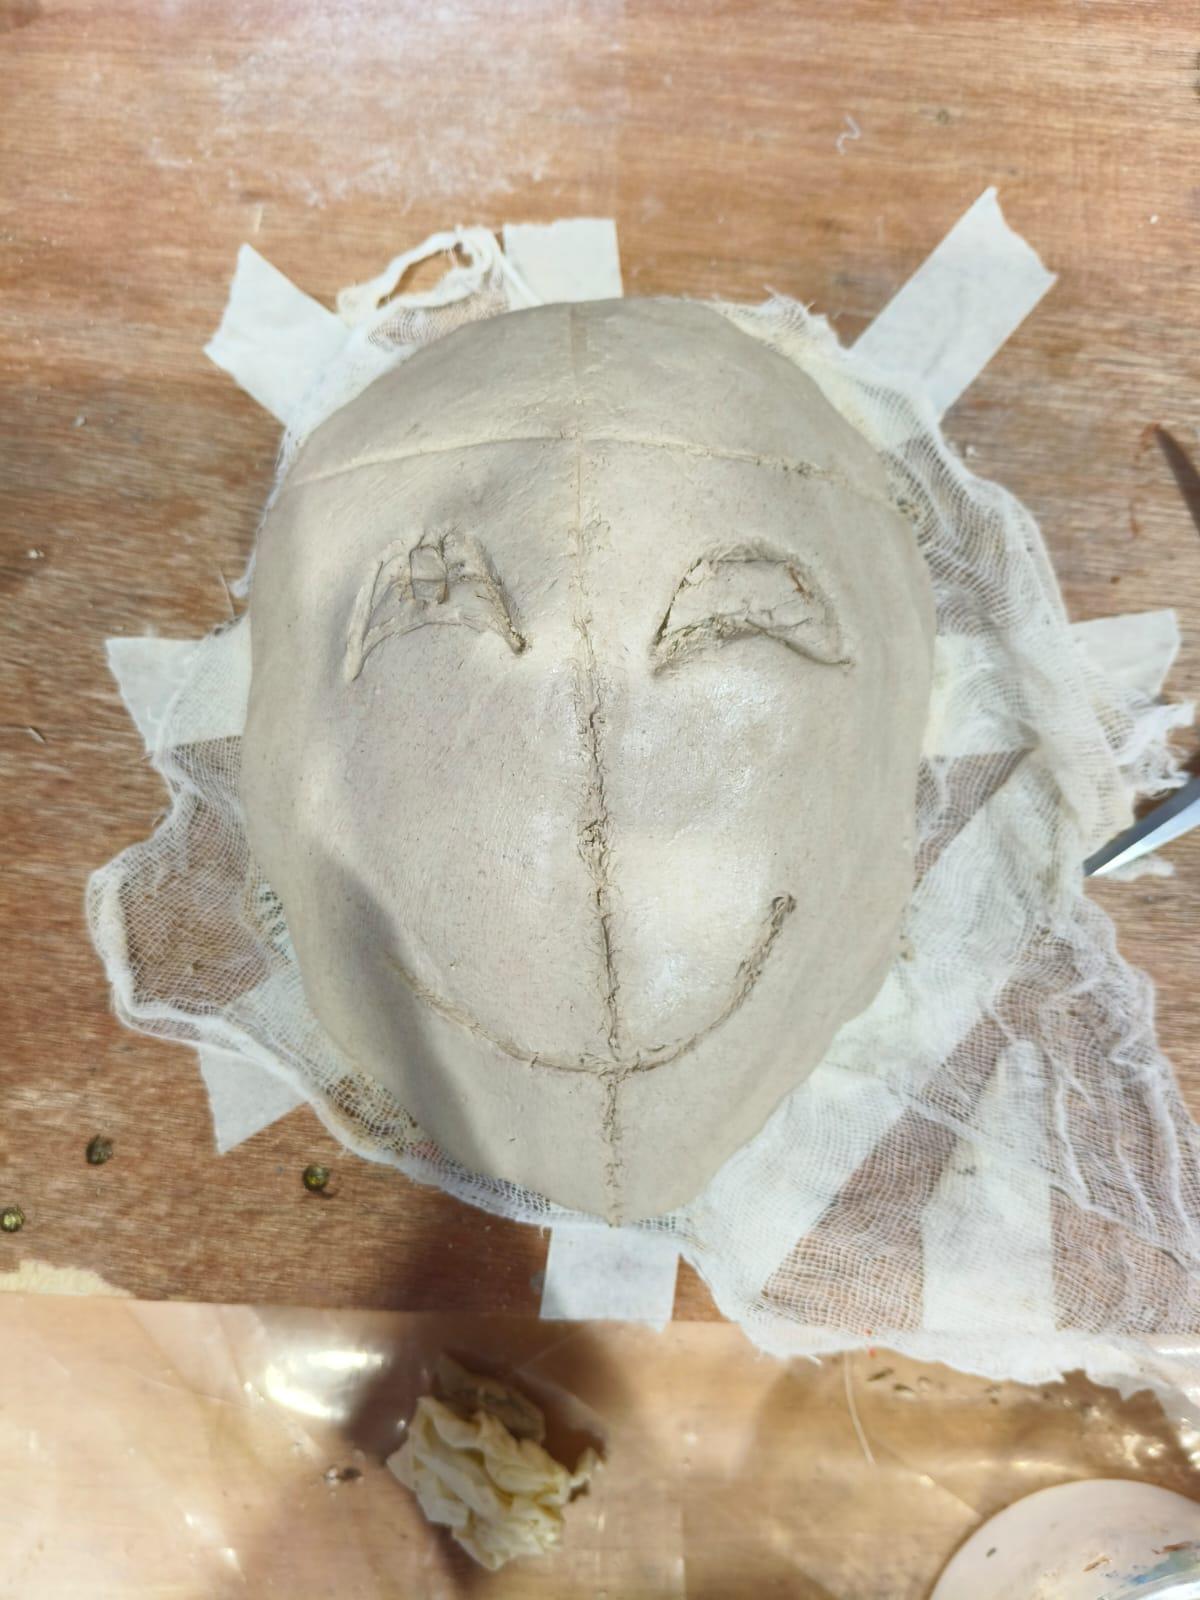
Start making the base of the mask by rolling the clay flat and putting it on the newspaper base. Then add some basic details with the help of clay tools.
Add Features ;)
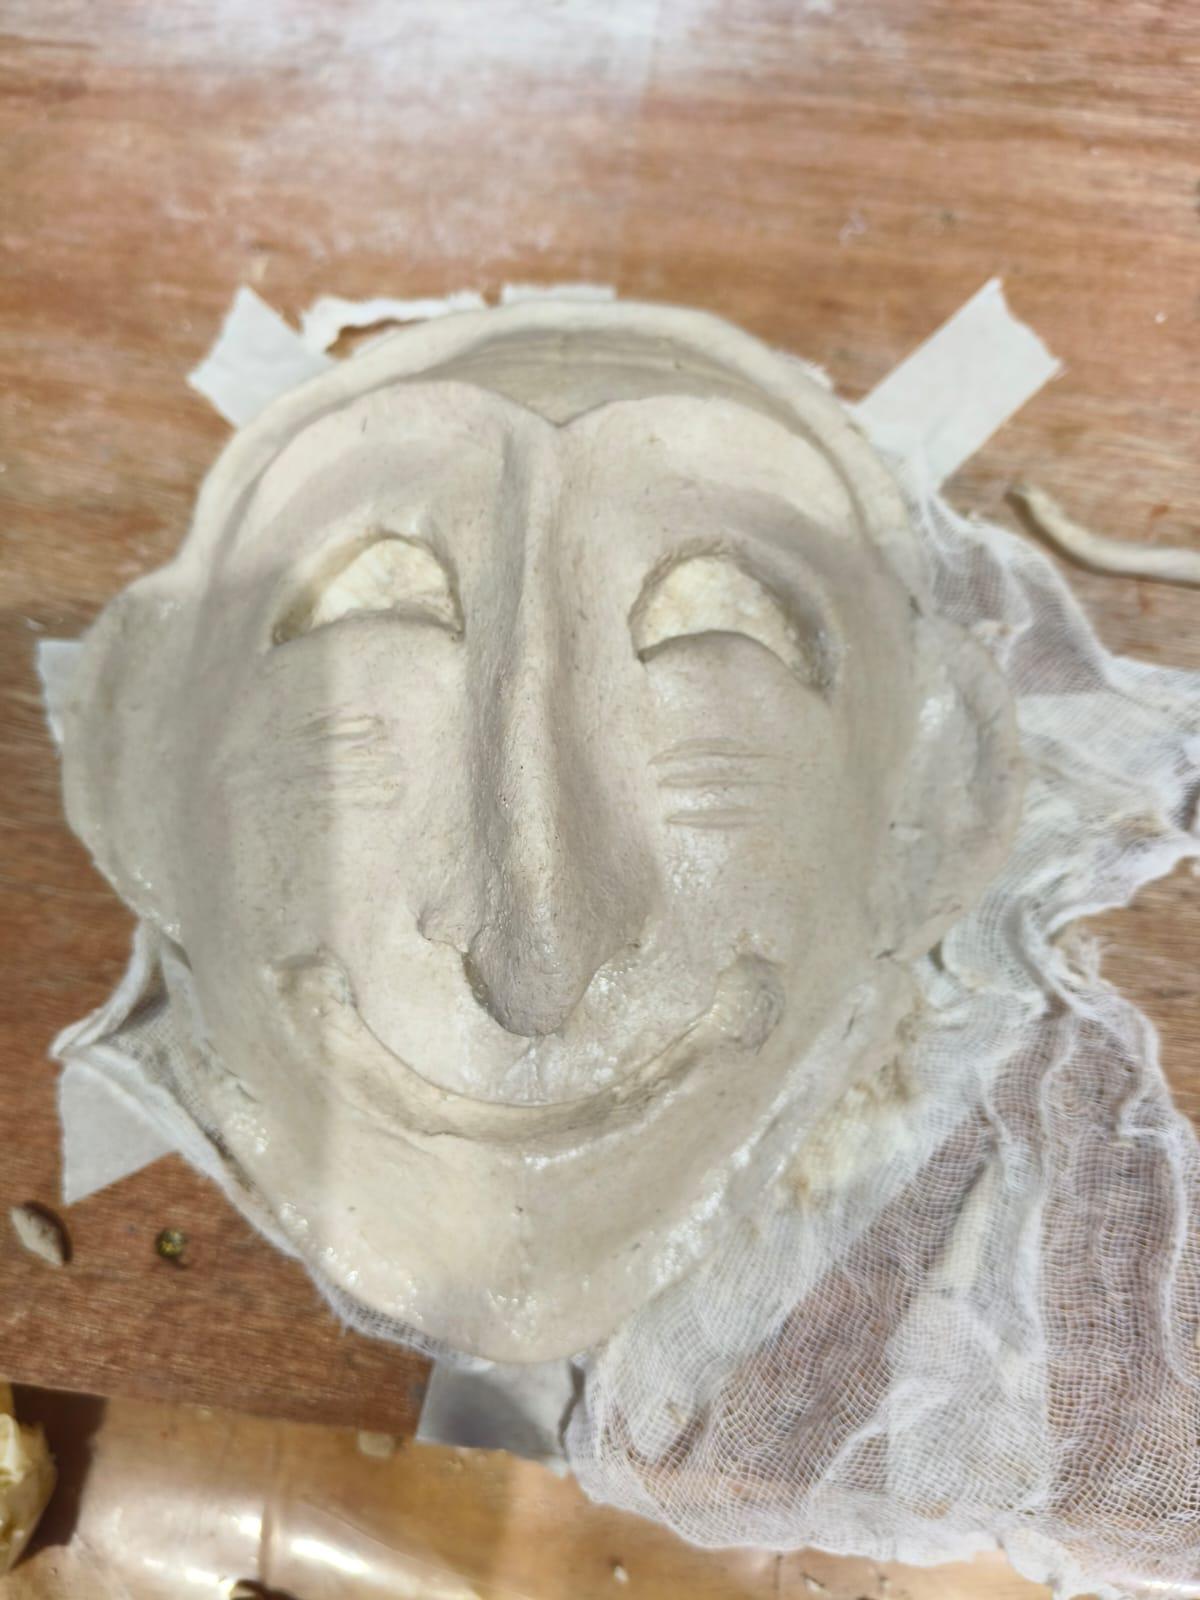
Start adding features to the mask such as eyes, nose, ears, mouth, eyebrows, etc.
Apply Primer
First keep the clay mask to dry for 24 to 48 hours and let it dry. Once the mask became dry, apply primer all over the mask.
Start Painting
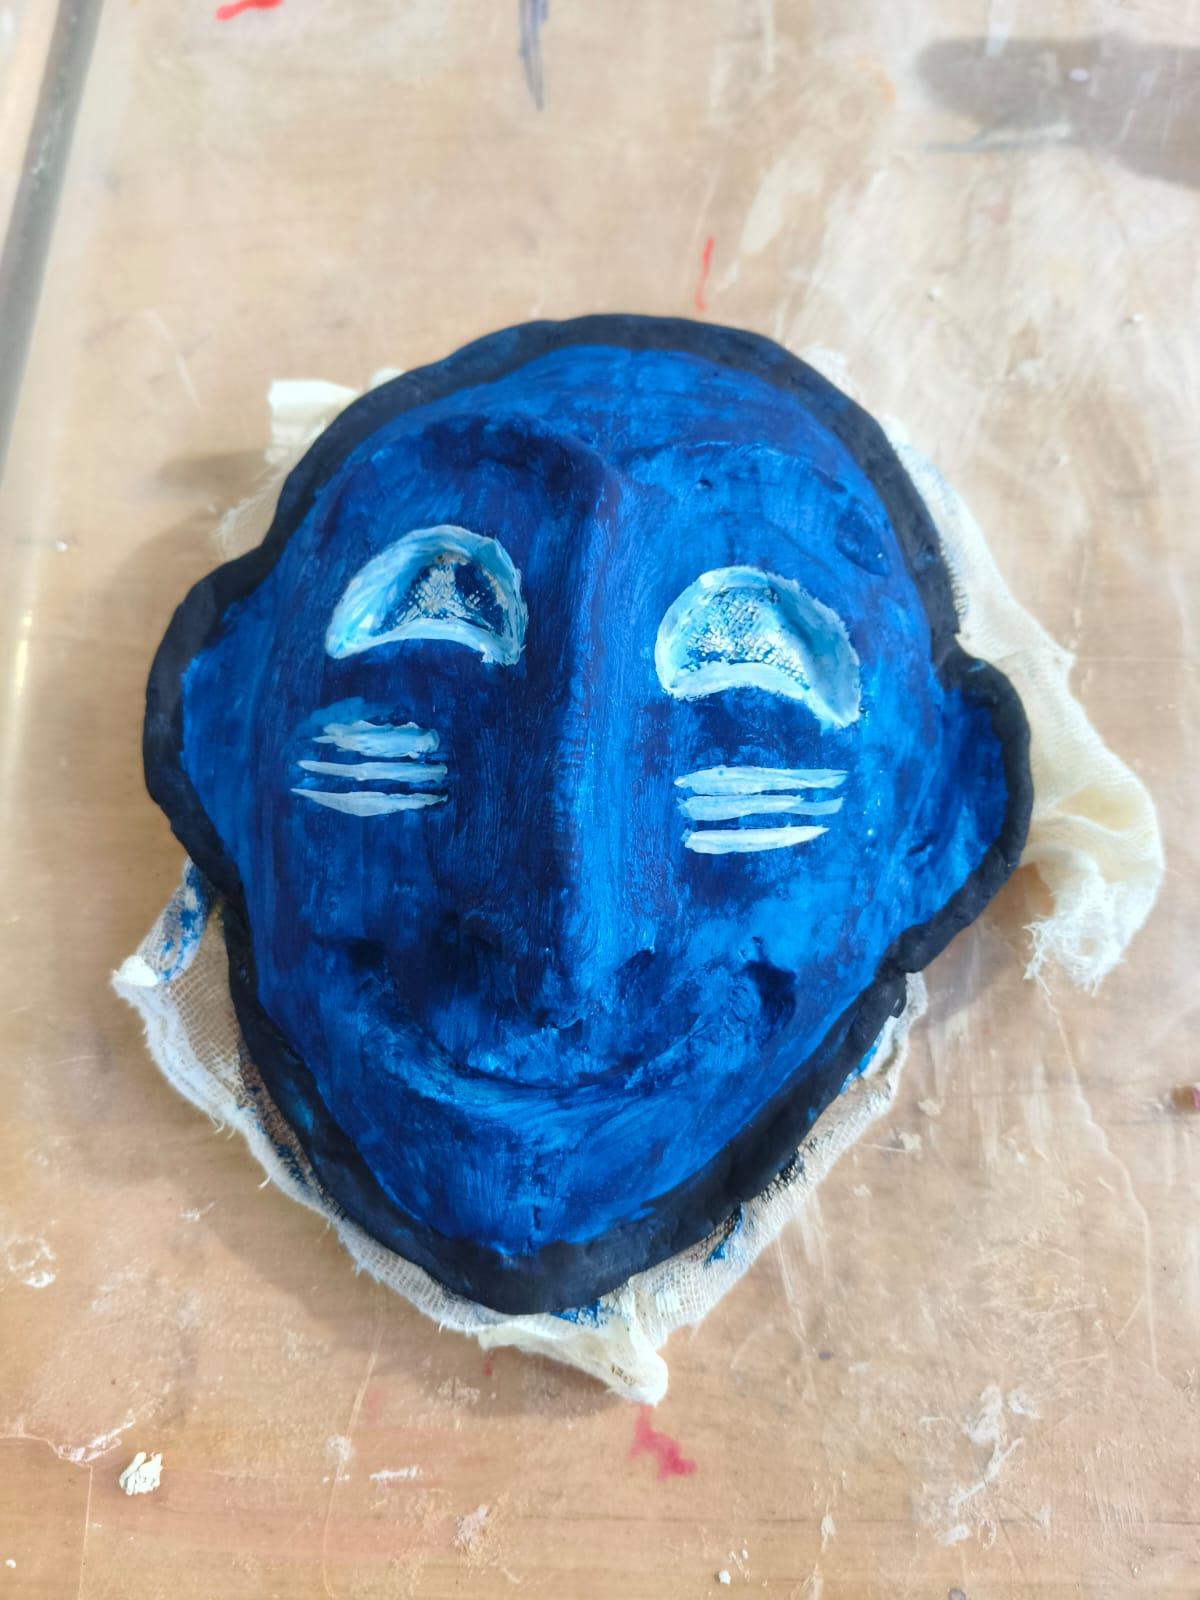
Wait for another 15-20 minutes for the primer to dry. Once the primer has dried, start painting on the mask. Make creative designs and make your mask look attractive.
Wait for the Paint to Dry !!
Take another 20 minutes to wait for the paint to dry, and when it has dried completely after that your mask will be ready !!