Maps for Your Projects 101
by Raitis in Design > Digital Graphics
6996 Views, 138 Favorites, 0 Comments
Maps for Your Projects 101
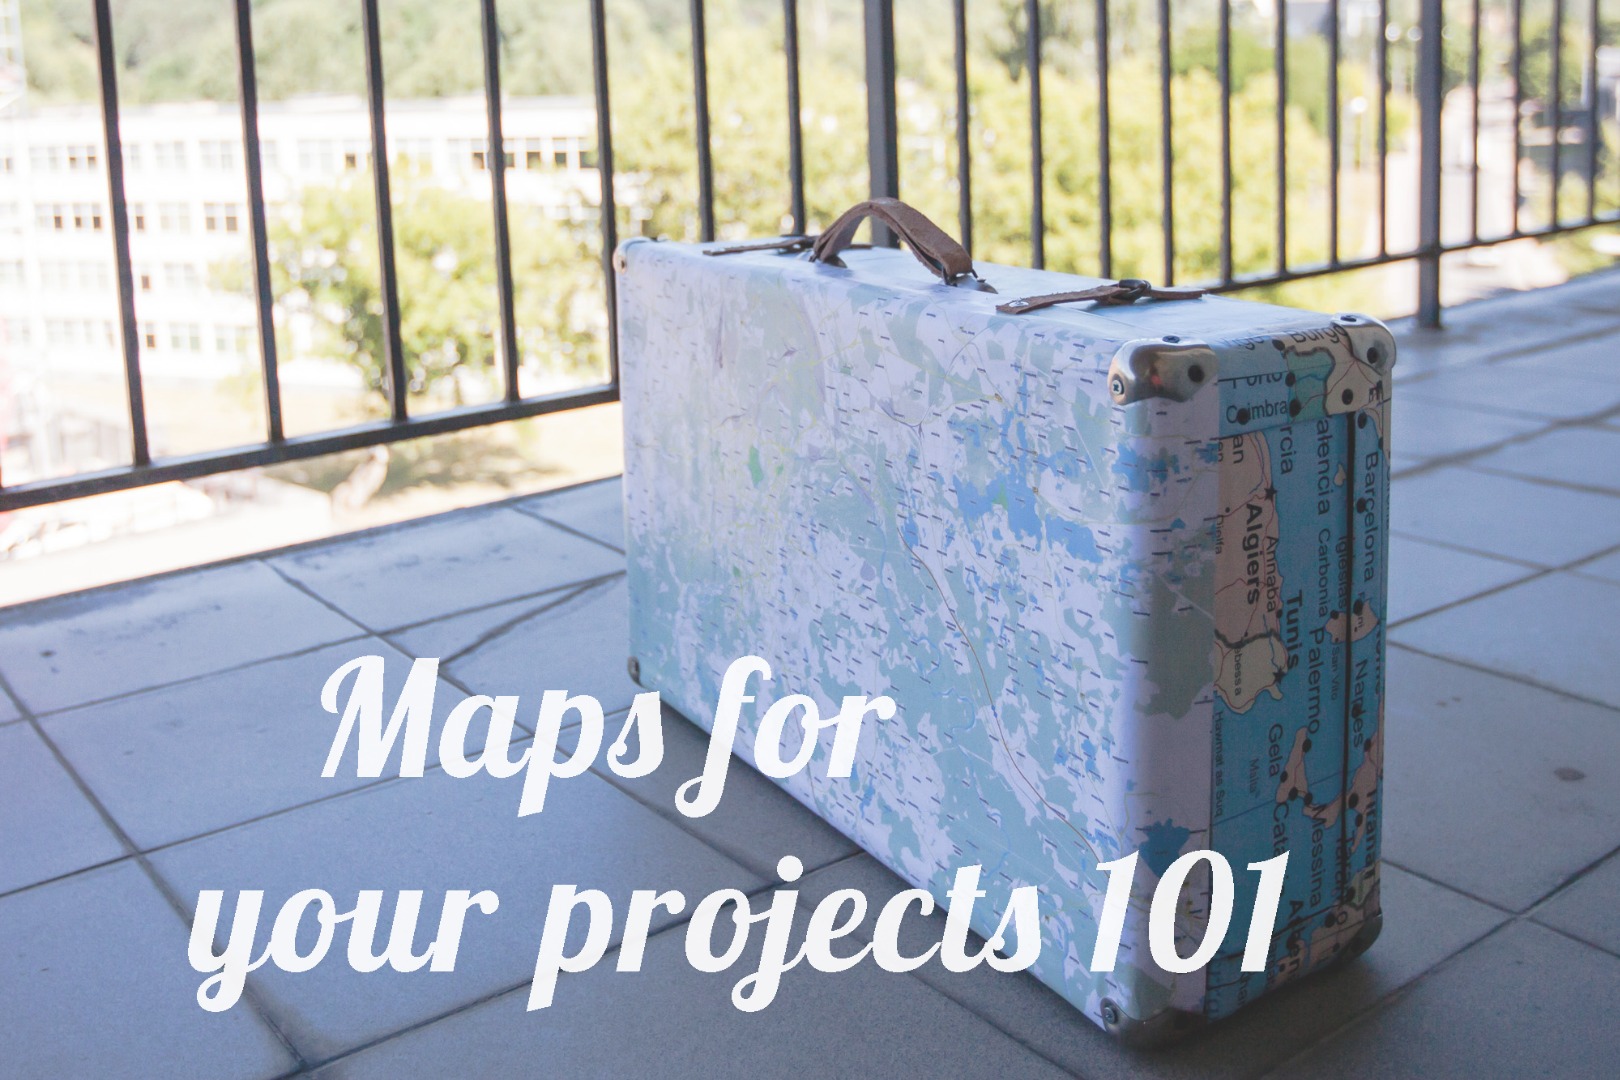
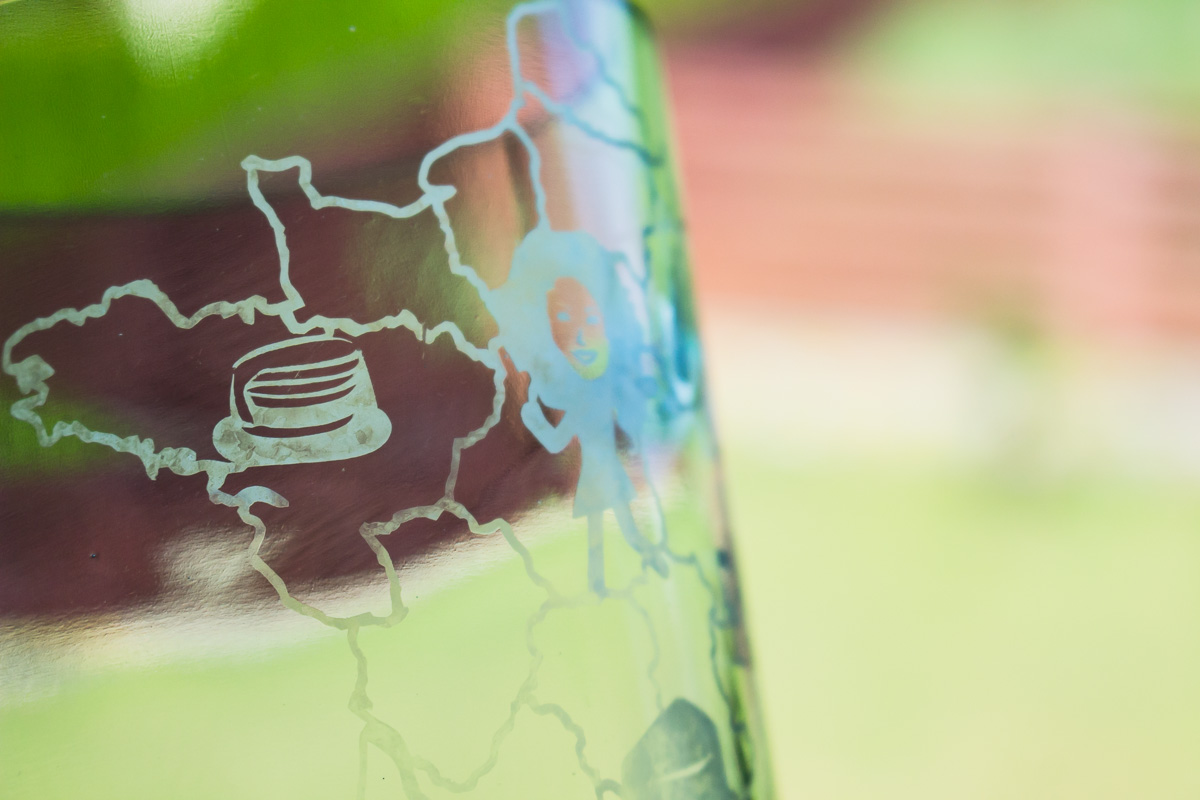
Have you encountered a project or product which uses maps and thought Oh, I'm so going to make this! yet while trying to do so you eventually got frustrated because you couldn't find a map to use?
Fear no more! With only 9 easy payments of 99$ each you will be able to harness the power of maps in no time! Oh, wait, this isn't TV shop...
On a more serious note, the case might have been that you needed only major street lines or area contours you wanted and there were none of those for your area. Or maybe as you printed the maps you found, it turned out that their quality is way too low to use in your project. Or, as often is the case, when you found a map you like, it wasn't free or the price was absurd. I don't know about you, but I have encountered all of these issues and tried various workarounds which weren't very convenient to say the least.
That was the case for me until a few weeks ago I needed to cover an old suitcase in maps and decided to print and glue them myself since I got to pick a look and area I wanted. The search process was pretty frustrating since I had a hard deadline for what I was making and that made me seek out a reasonably fast and well working solution. In the end I found the way to export a map of the style, size and color you want for basically any area in the world which is exactly what I'm going to share how to do.
Omg Yiss, I Need Maps, Show Me How!
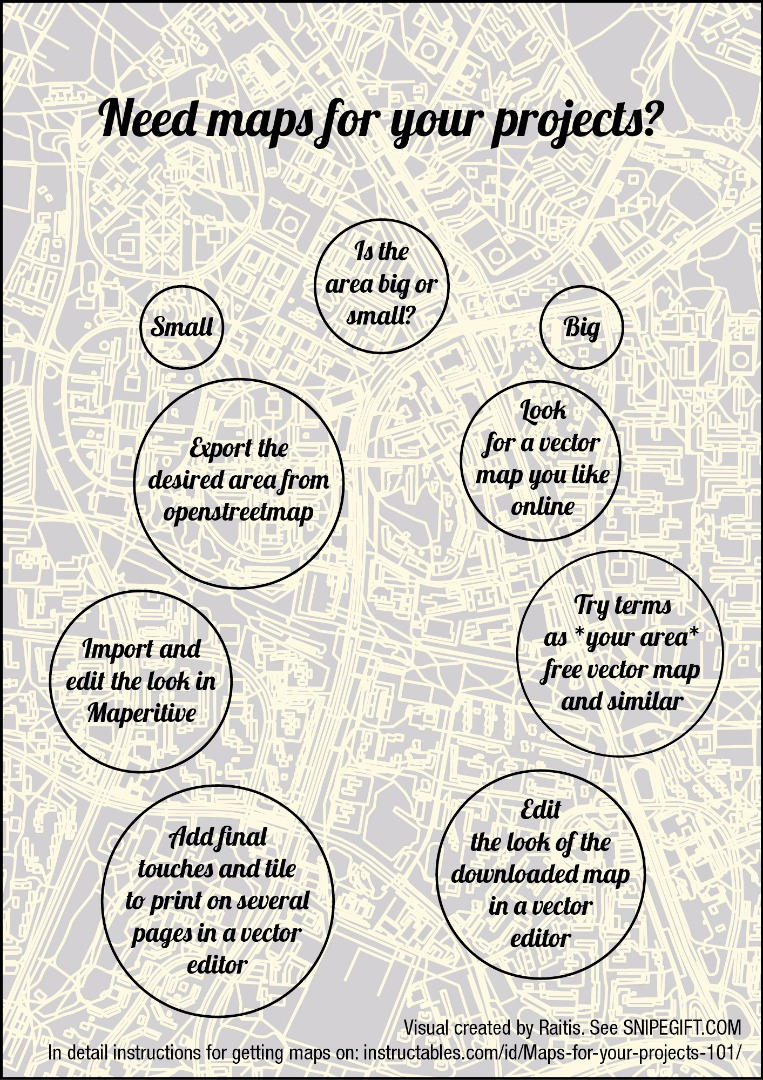
Your reaction might not have been as enthusiastic as the title for this step, I'll forgive you that for now. Here are some ideas for stuff you can make with maps:
- Map coasters with a city on each or arrangeable as a puzzle
- Map glasses or mugs, etched or painted
- Map wall art, heck, even custom printed wallpaper
- Map covered picnic suitcase
- Map whatever else you can't even imagine right now!
Now that you're properly motivated for all things maps, here's what you need:
- A computer (obviously)
- Vector editing software. I used Adobe Illustrator, but Inkscape (free) should do just as good
- Maperitive
- An openstreetmap.org account (probably)
- Willingness to learn and get frustrated a time or two, or twenty, depending on the project
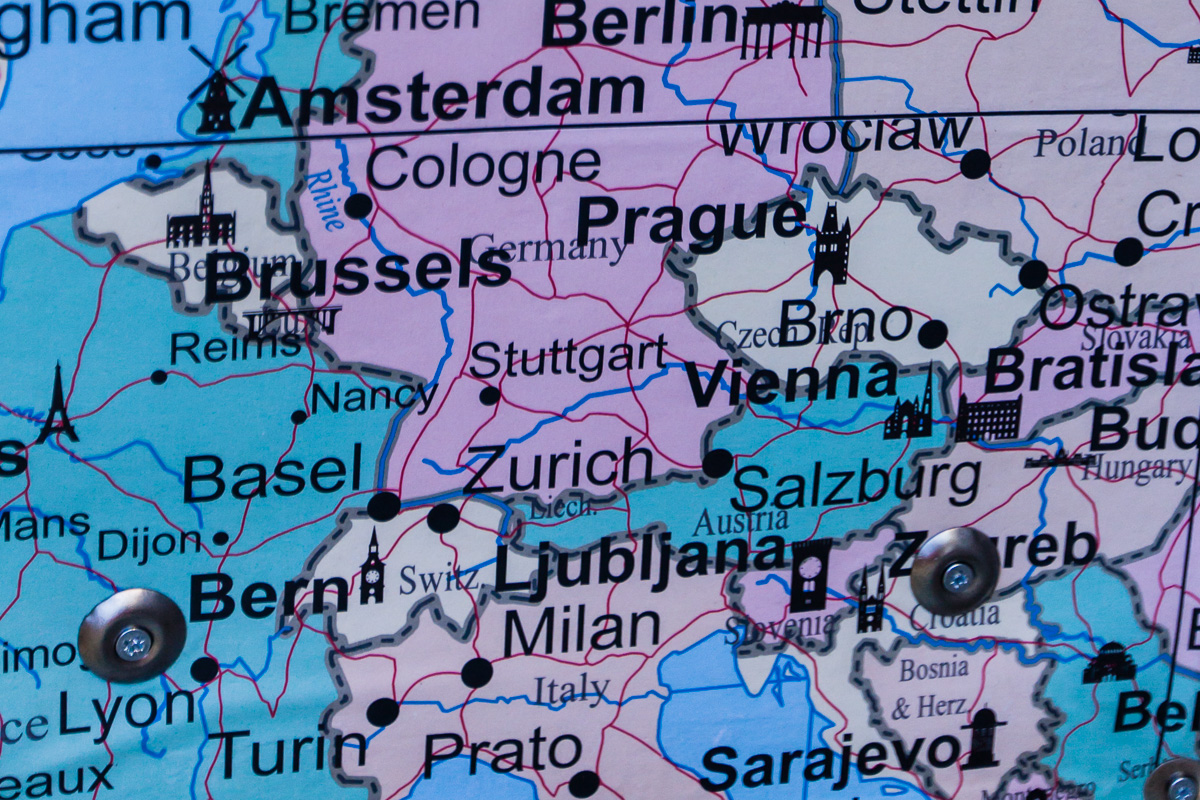
In case you wonder - for the picnic suitcase seen in some of the pictures I also used these icons from Creative Market to make the map more interesting. The many different icons used on the glass came from various free vector sites on the web mentioned in the next step.
For those who haven't had to deal with vectors before and have no idea what those are - one basic thing you need to understand is that you can resize vector graphics without any loss of quality. That is, you could use the same file to create a small print in a booklet or scale it up and use on a billboard. If you prefer to talk in technical terms, then a vector image is something that has its information saved as mathematical functions whereas raster images (the ones we usually see and use) consist of pixels i.e. small dots. When you scale an image, the vector, being a function adapts to the new size parameters, whereas the raster one just increases or decreases the size, not amount of the pixels.
Your Two Map Source Choices
Choice #1: Openstreetmap.org
Advantages:
Extensive customization of area, colors, markings, scale, etc.
Disadvantages:
Big file size with a lot of data may slow down computer while editing (e.g. whole Europe is over 20GB).
Where to get:
Openstreetmap.org or using Maperitive. Select download in vector format (more in further steps).
Alternatively, map files (to use in Maperitive) are available on Mapzen, geofabrik or Planet OSM.
Choice #2: Random open licence vector maps found on the internet
Advantages:
Usually smaller files with less data, good if you find something you like
Disadvantages:
Way harder to find a color scheme and especially the area in the detail you want
Where to get:
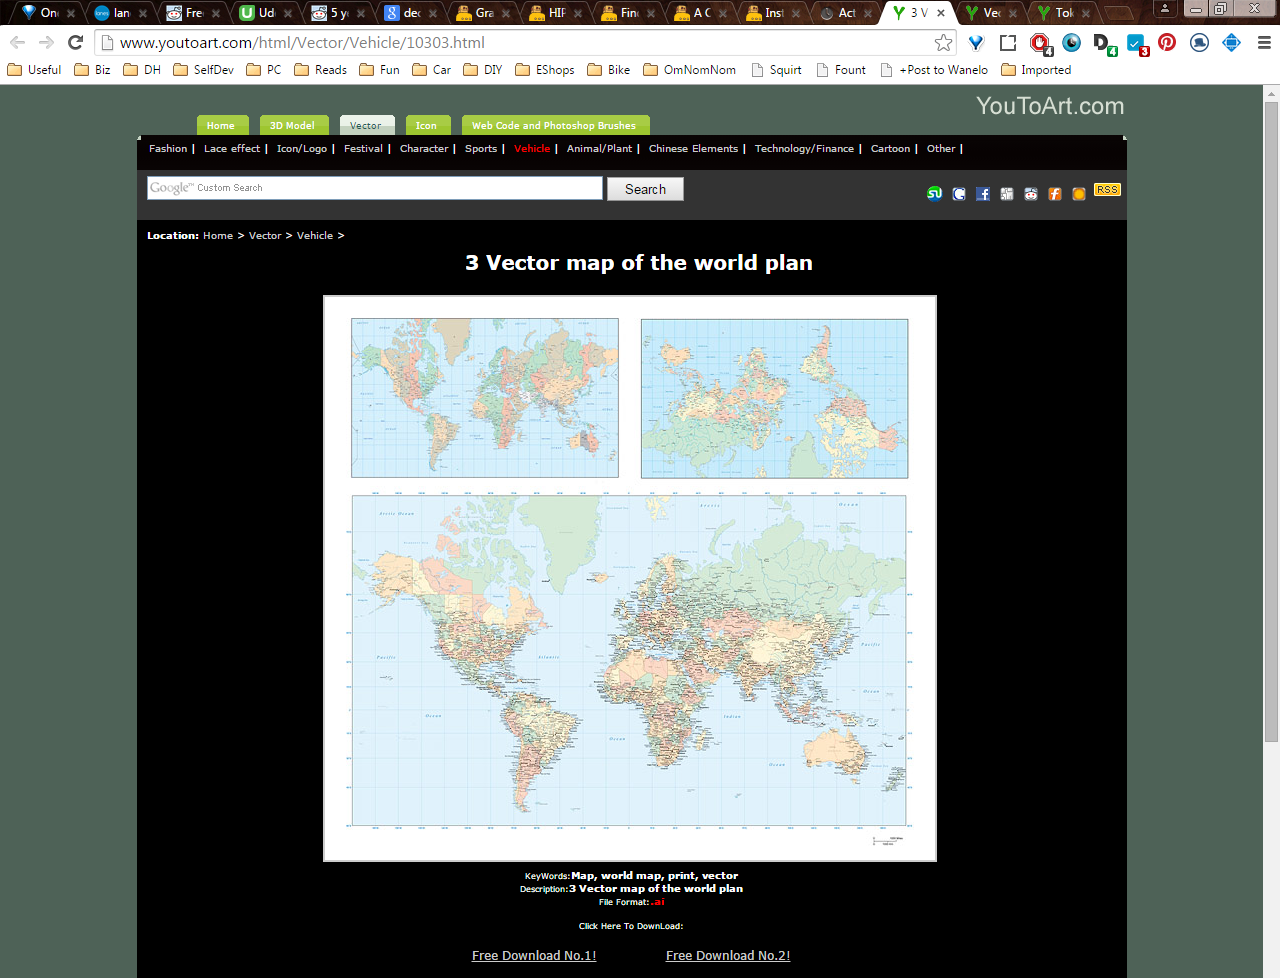
First and foremost Google. Search for such things as *your location* vector map, *your location* vector map free, you could also include a filetype:svg or similar before your search term. It's also not a bad idea to check the image search for your term and follow through some of the links these images are at. That way you already know if you like the map and only need to check the terms of getting it.
Alternatively, you could start by seeing if there is a pre-exported map you like on openvectormaps. The world map you see in some pictures was found here.
Since all this searching might get pretty frustrating, consider checking these sites for free maps as well:
http://www.freepik.com/
http://all-free-download.com/free-vector/
http://www.vecteezy.com/
When searching I prefer to start with freepik since it seems to have the most graphics. I am sure there are some other sites with large databases, so if you know one, just post in comments for everyone to see. :)
Obviously, if maps being free isn't a must you might as well get them on Creative Market or any other site selling digital goods for that matter.
Using Openstreetmap.org and Maperitive
If you decided to go the openstreetmaps.org and Maperitive route, read on. If you're looking for maps online, you can as well go ahead to the next step.
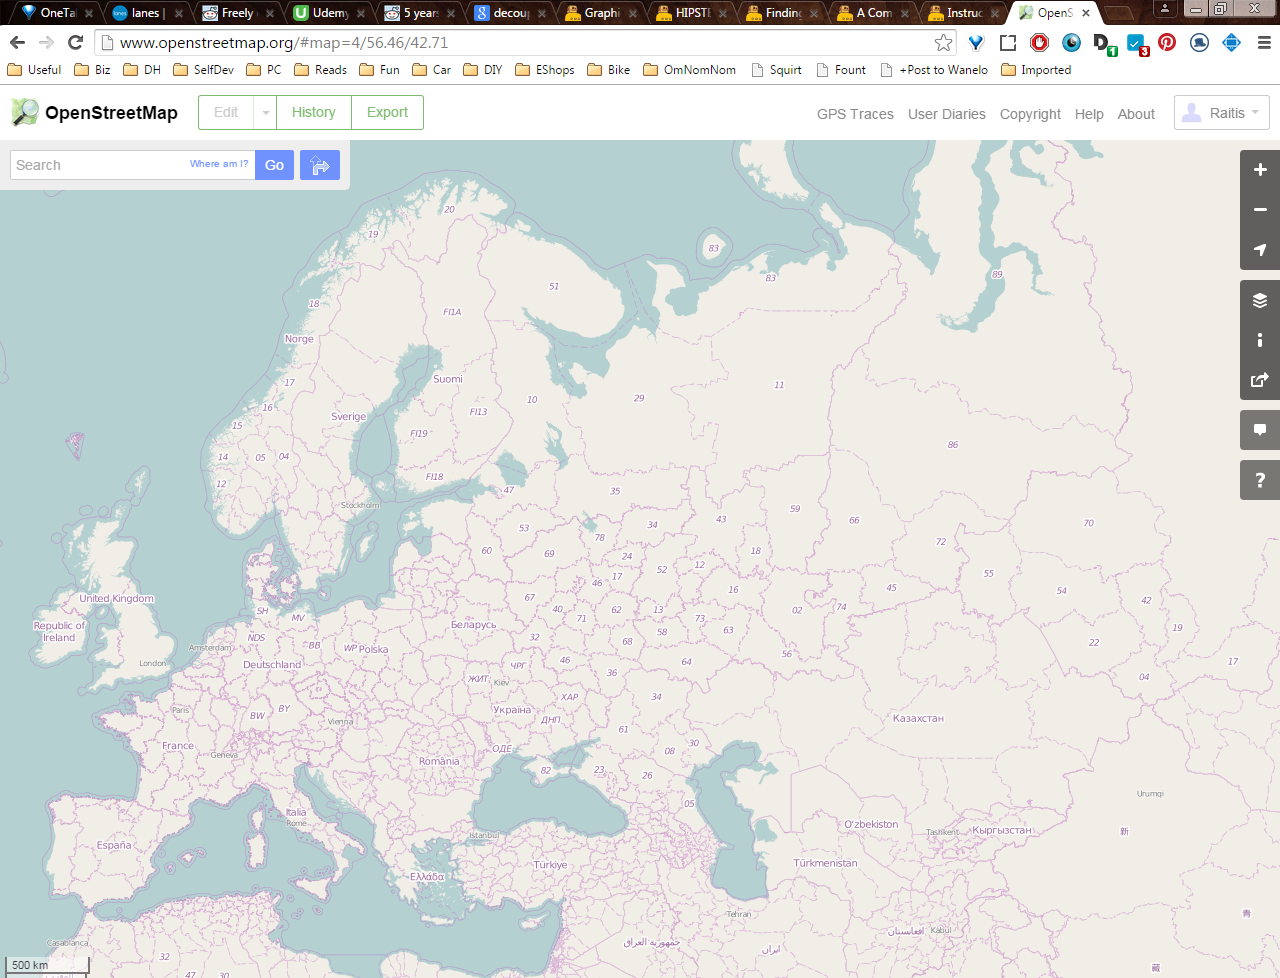
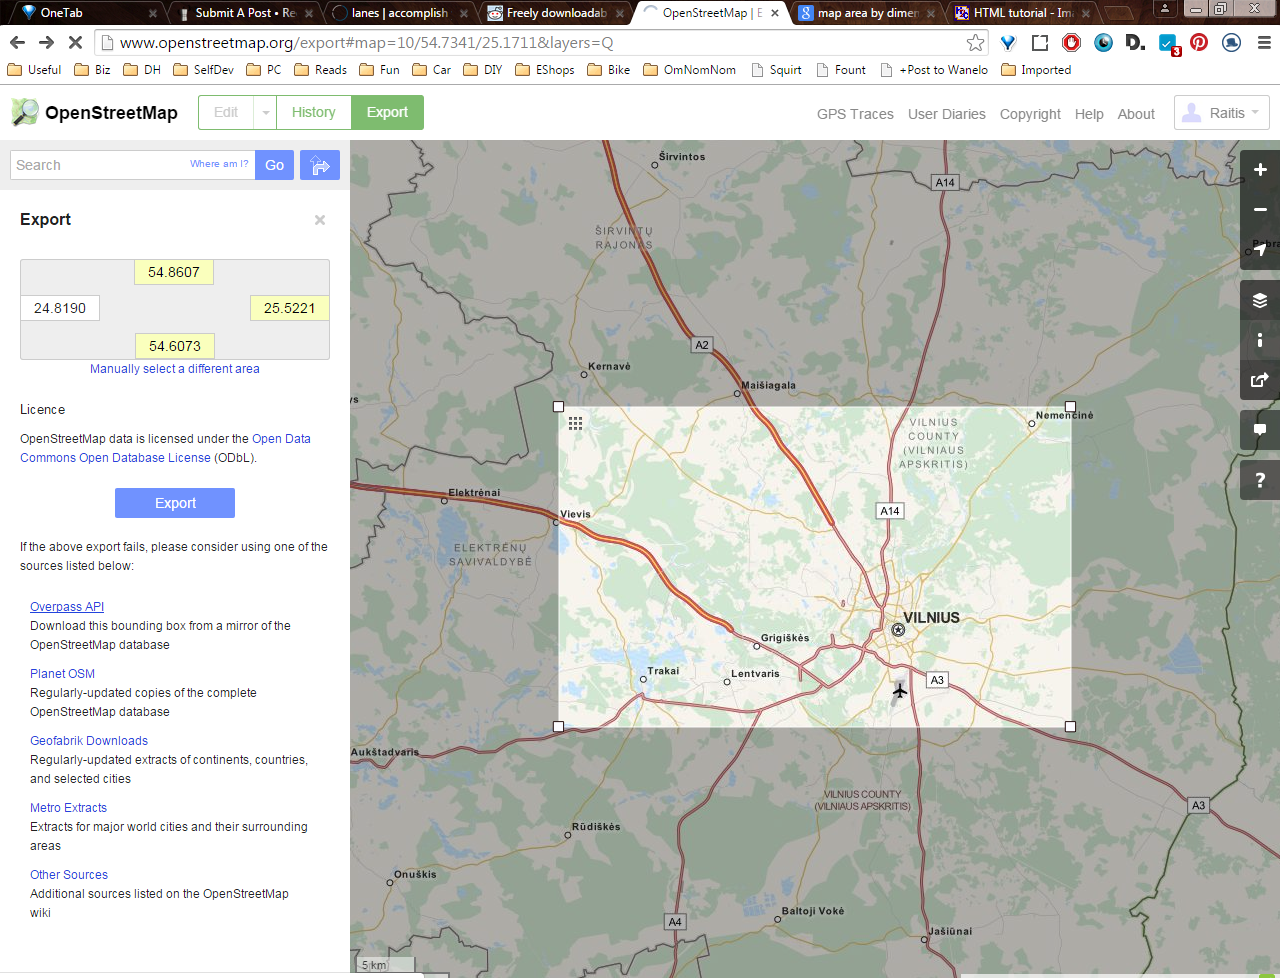
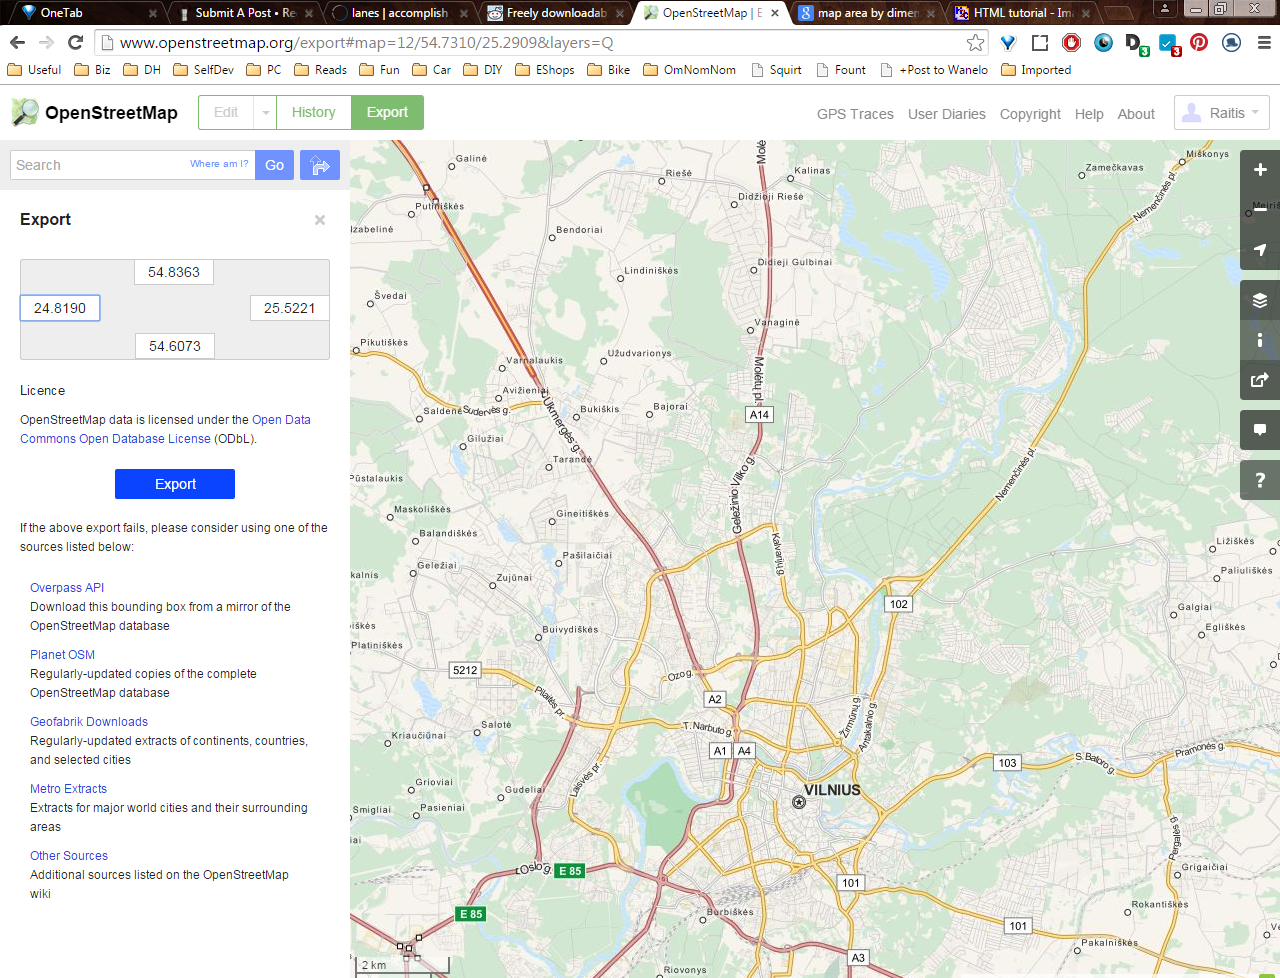
The quickest way which worked for me was to go to openstreetmaps website and, after selecting the area I want - export it as seen in the first picture. There are both fields for coordinates and the ability to select by dragging around the area you want, whichever is more convenient for you.
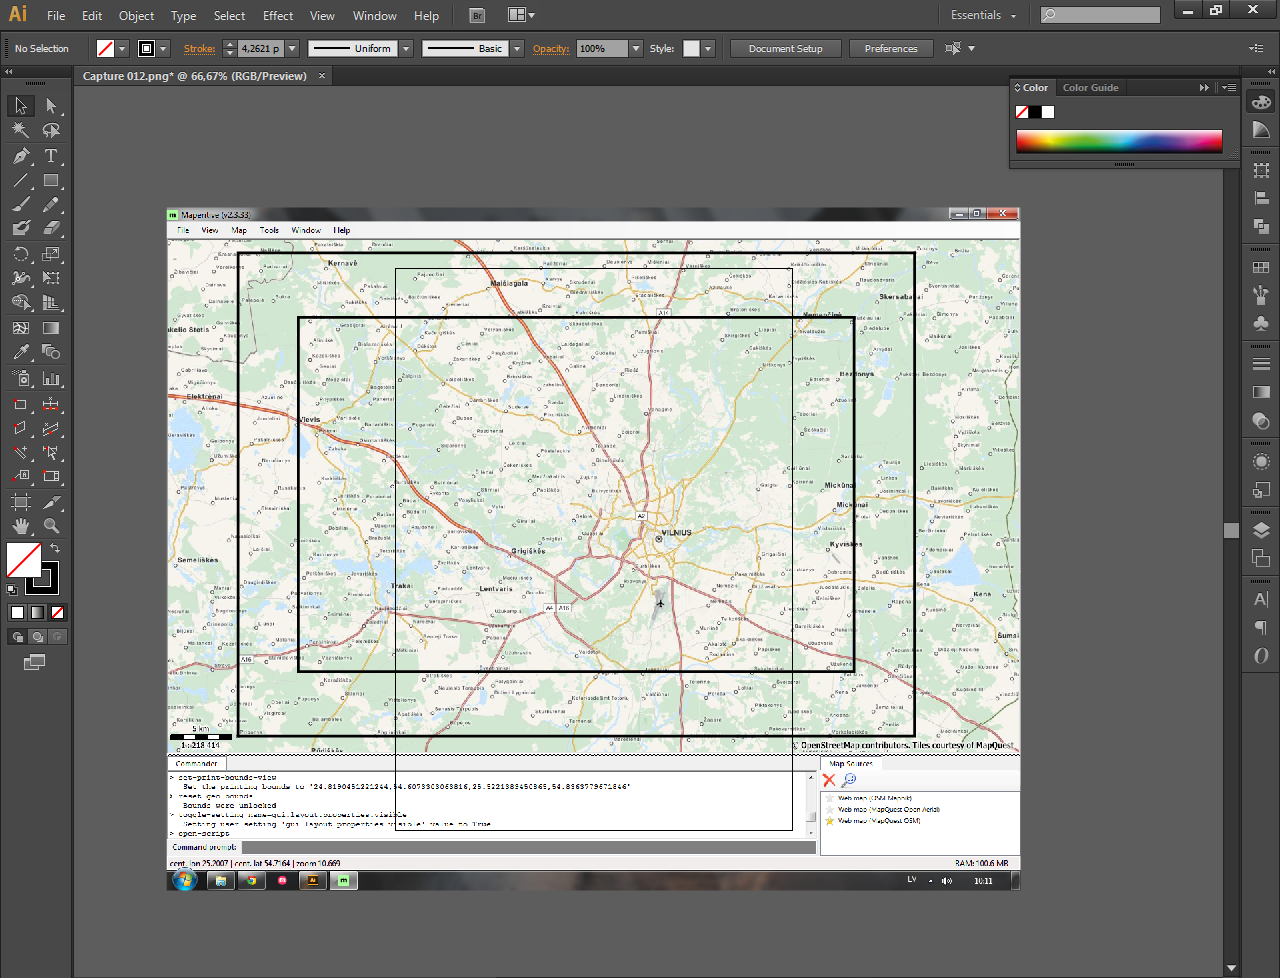
The trick here is selecting an area of the right size without blowing it out too big. Since I was both too lazy and time constrained to bother looking for ways to calculate the exact area size I need using coordinates, the way I did it was by taking a screenshot, importing that into illustrator and then drawing a rectangle of the size I need on the map. After a quick look at the map on the corners of the rectangle, I had a pretty good idea what to select in the website. That's the same tactic I used when exporting the map to a vector format in Maperative. If the vector file turns out to be of other dimension ratio than you want - don't worry, you can fix this later while editing.
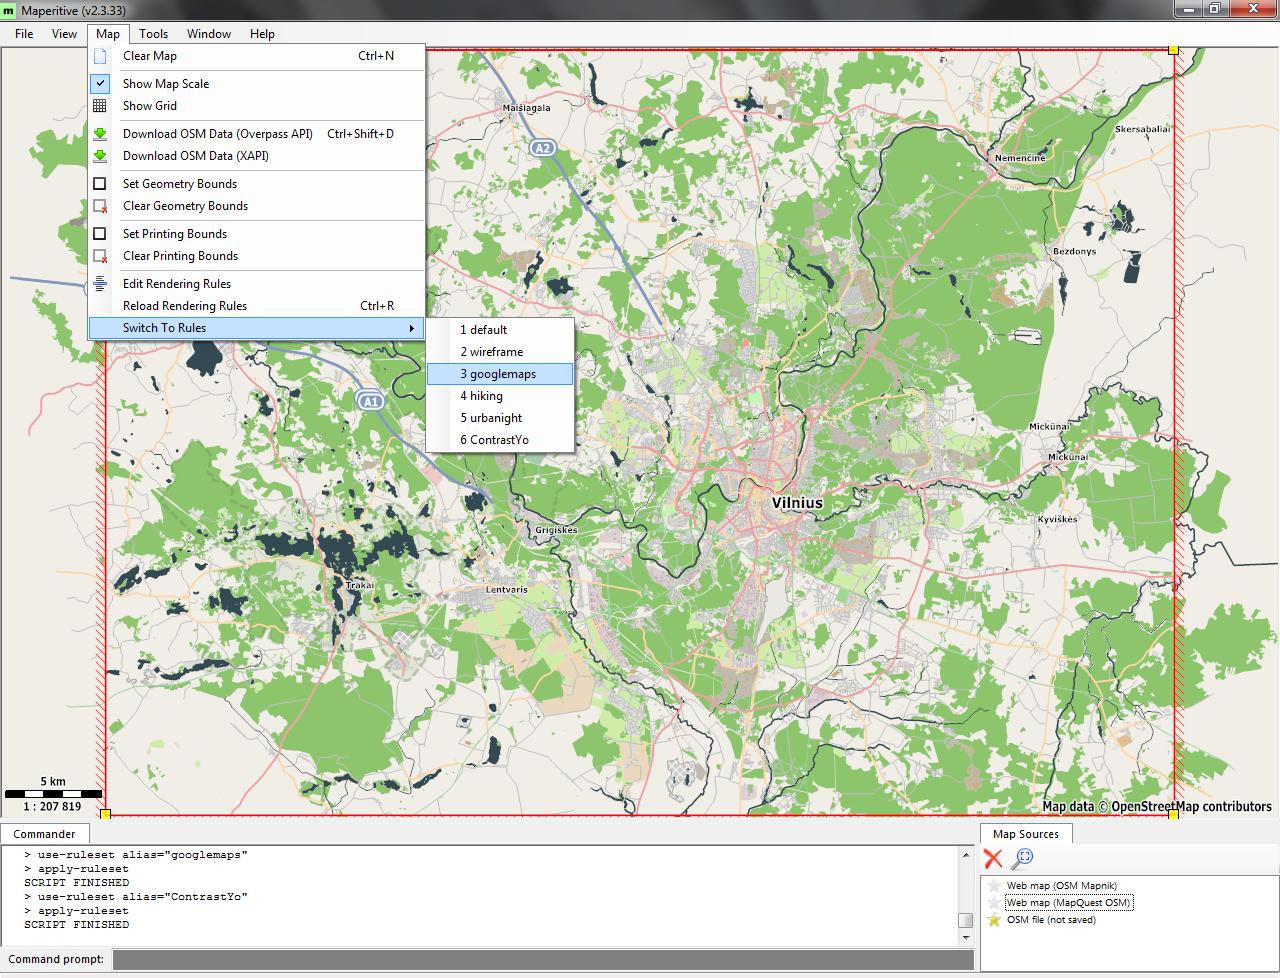
Before exporting the map to a vector format you will want to set the look of the map to something you like. You can do this the easy way by selecting Map>Switch to rules and then select a ruleset you like. If nothing matches your tastes, you can look for a ruleset to download from here, some visual samples here or even edit one to make your own. The editing is explained in detail here. My simplified idea of making a custom one was to simply take a ruleset which is the closest to what I wanted, copy the file, open it in any text editor and change the values in the lines you need. It might be a little confusing, but search tool will help to find the lines you need to change and to be more sure what does what, comparing two different rulesets is not a bad idea either. You can get HEX color codes in the same vector editor you intend to use for editing maps later. Alternatively, since the exported vector maps are pretty well layered, you can just edit the colors during the next step and skip this text editing Maperitive sorcery.
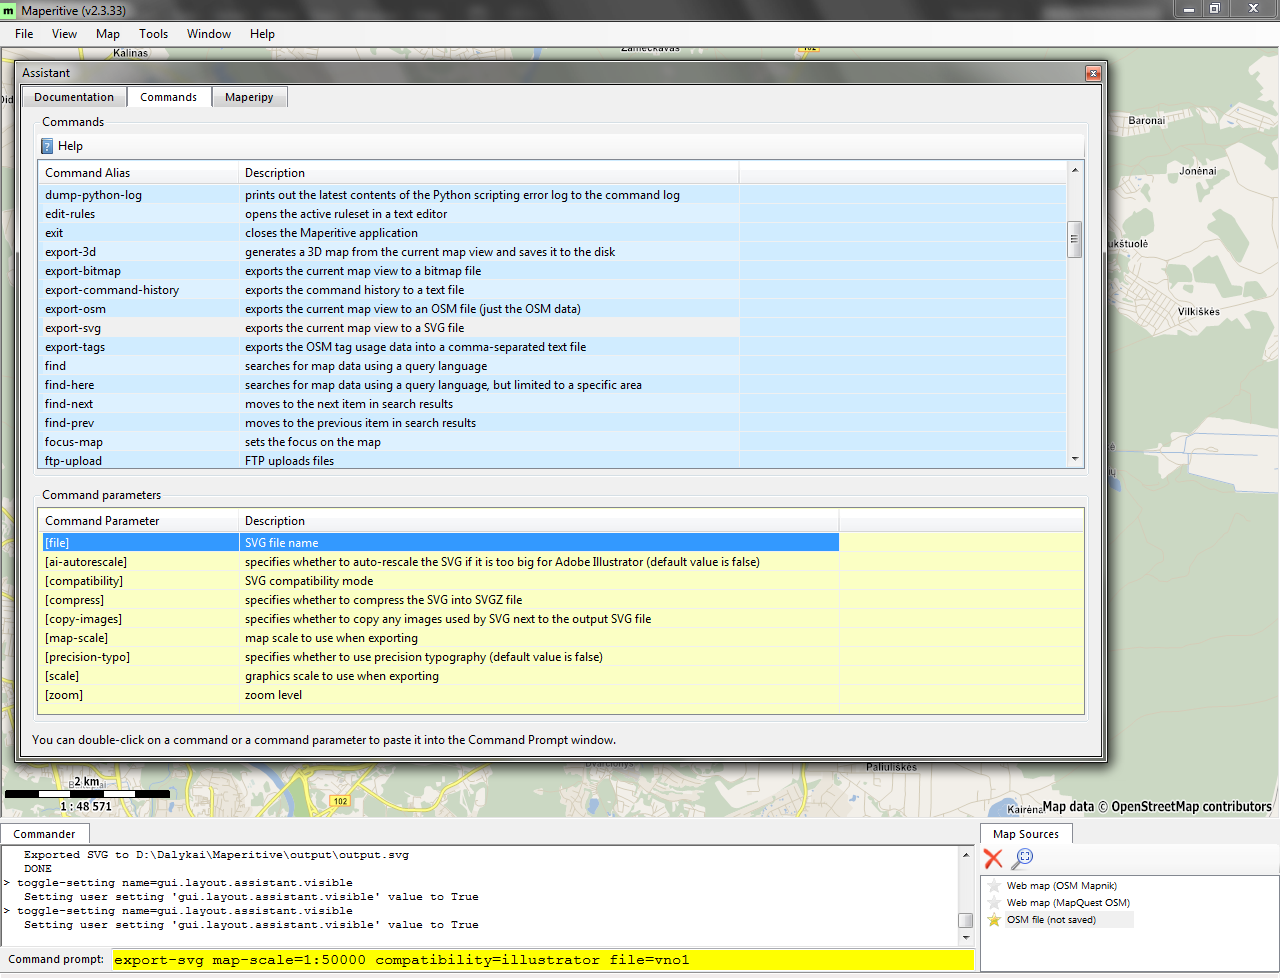
Exporting the map in Maperitive can seem difficult due to the use of command line, but there's really no reason to be intimidated. This kind of control works really well and fast when you understand it and you can even avoid writing stuff yourself by opening the command list (F1 and then commands tab) and double clicking on the command and its specifications you want. You will only have to write in the numbers for your specific case.
One more note: There actually are ways of exporting smaller sized maps from openstreetmap which only contain the layers you need, although I have not tried these methods and can't give you advice, only point in the right direction. If it seems better to you than handling big files in vector editors, check out this link and this link to see how that's done.
Editing Your Vector Maps in Illustrator
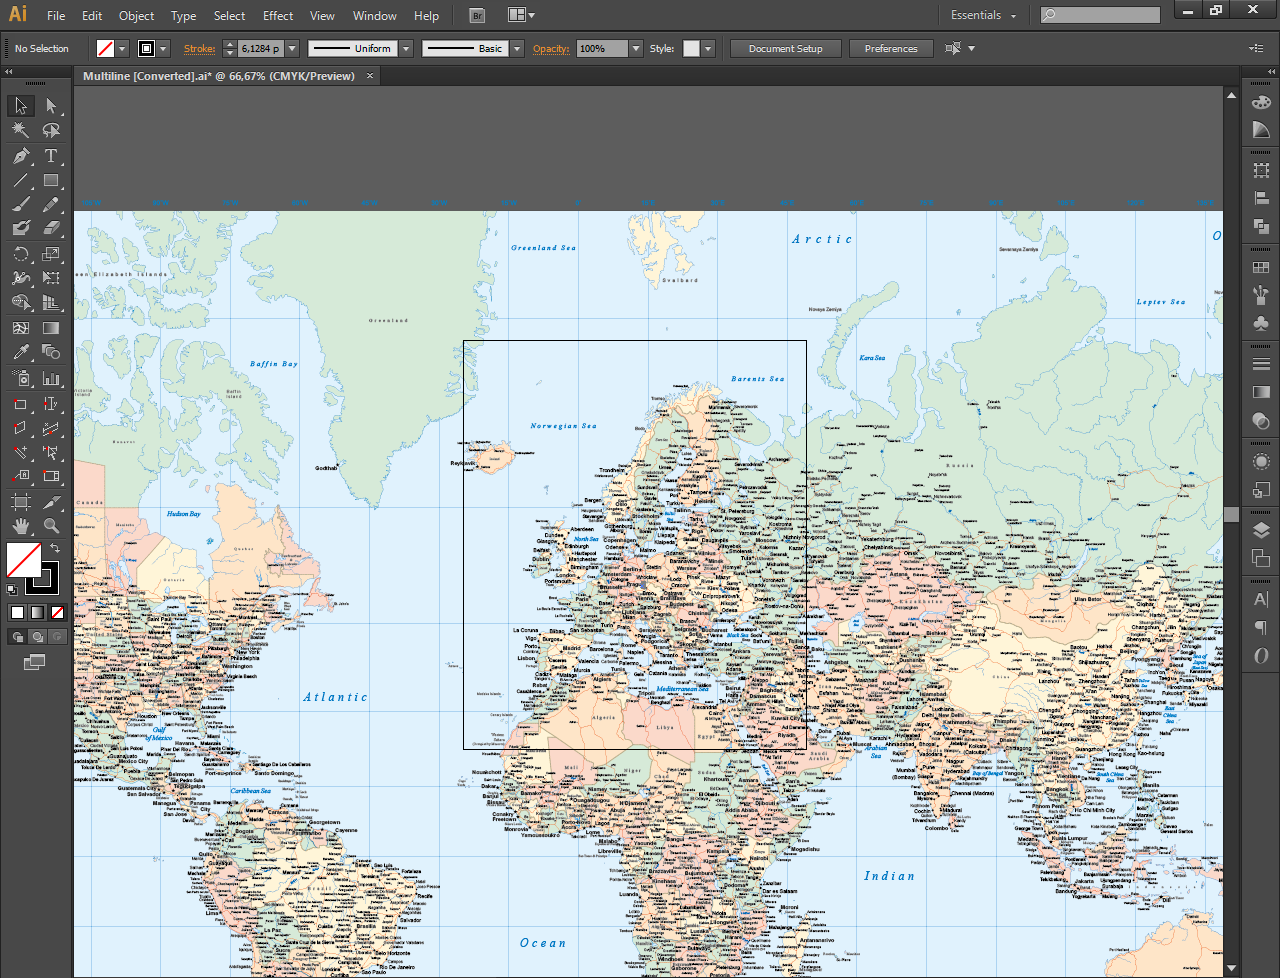
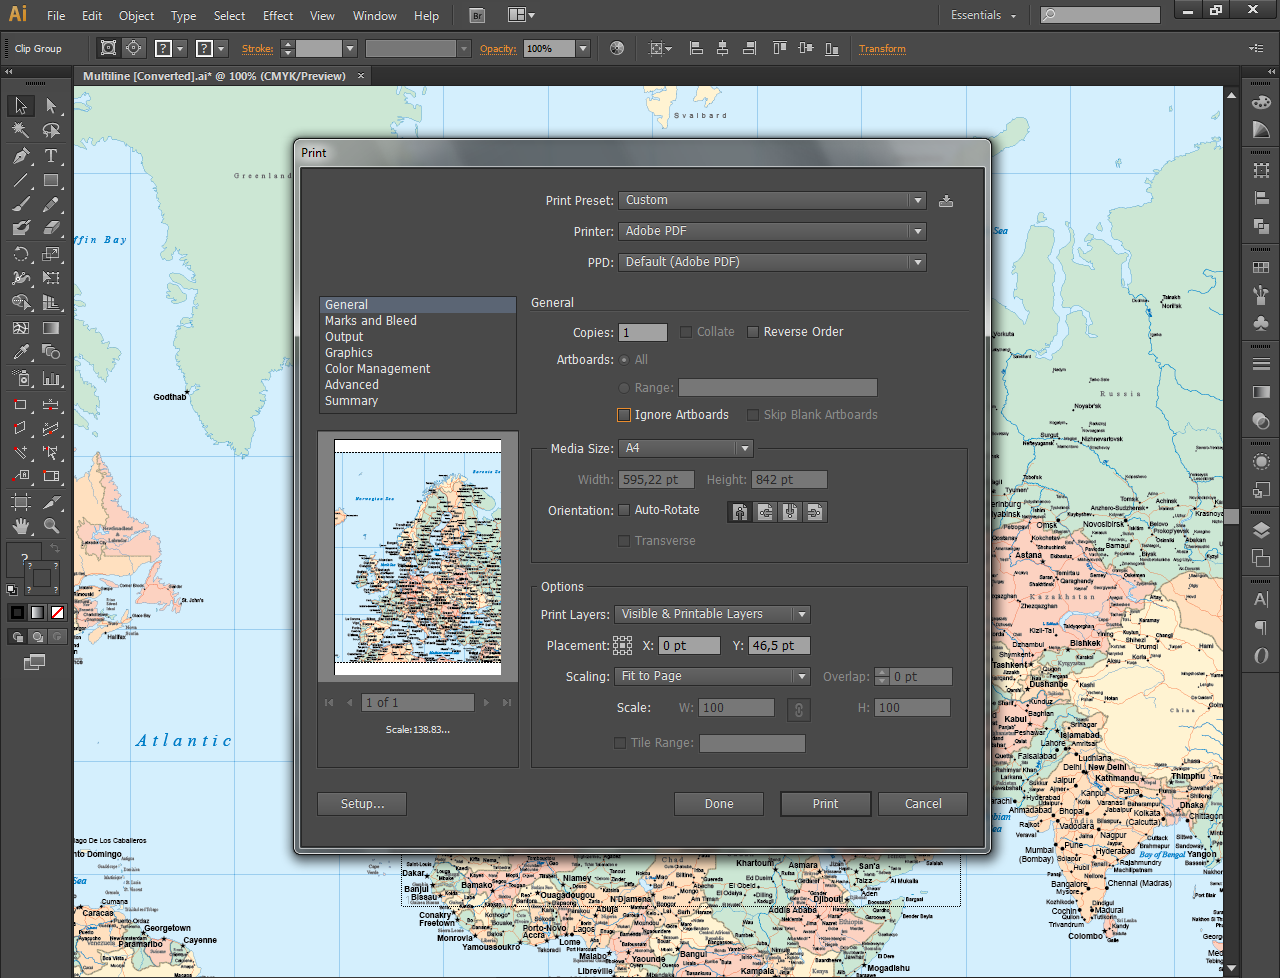
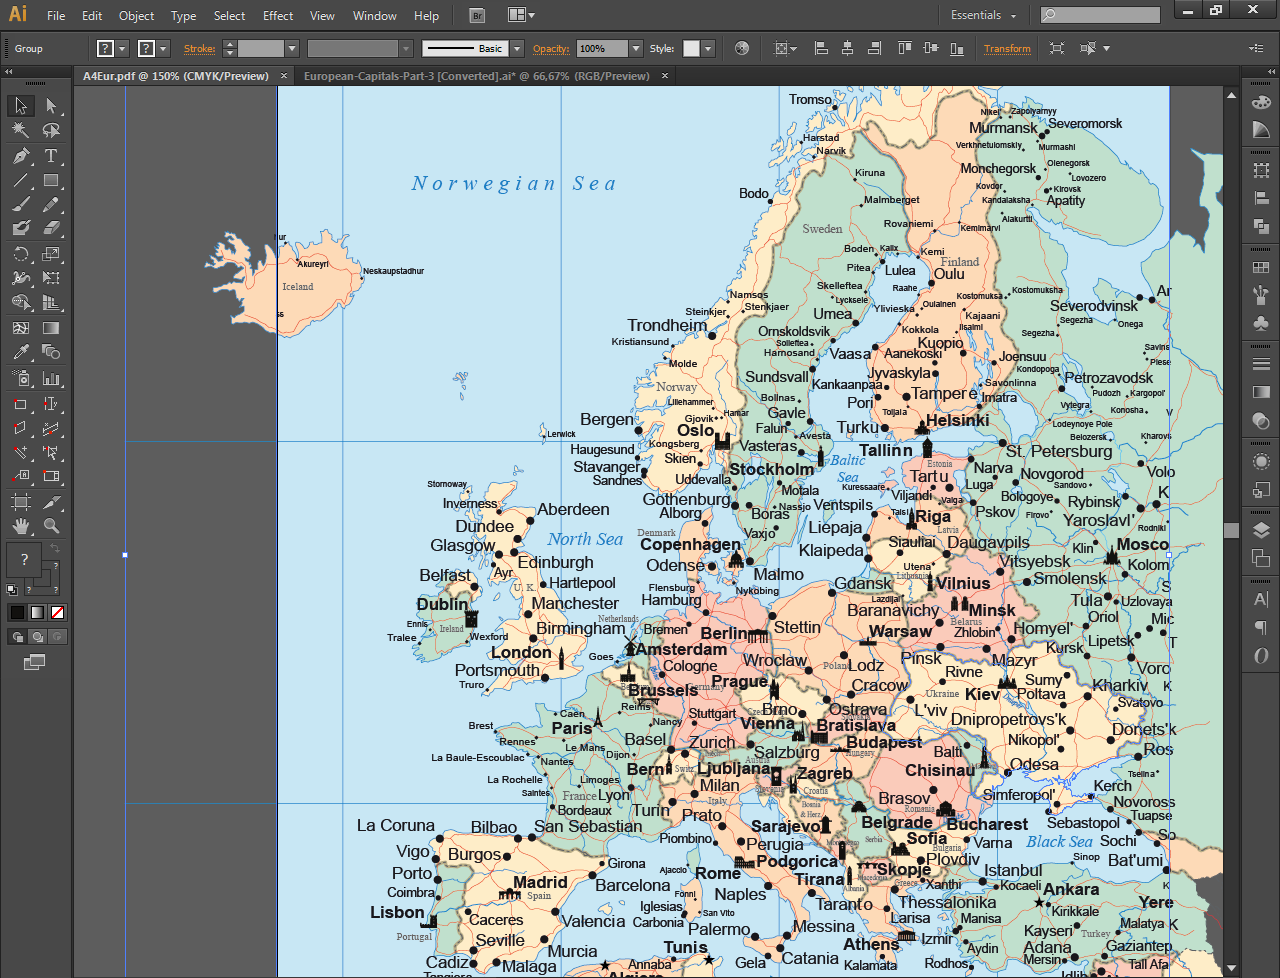
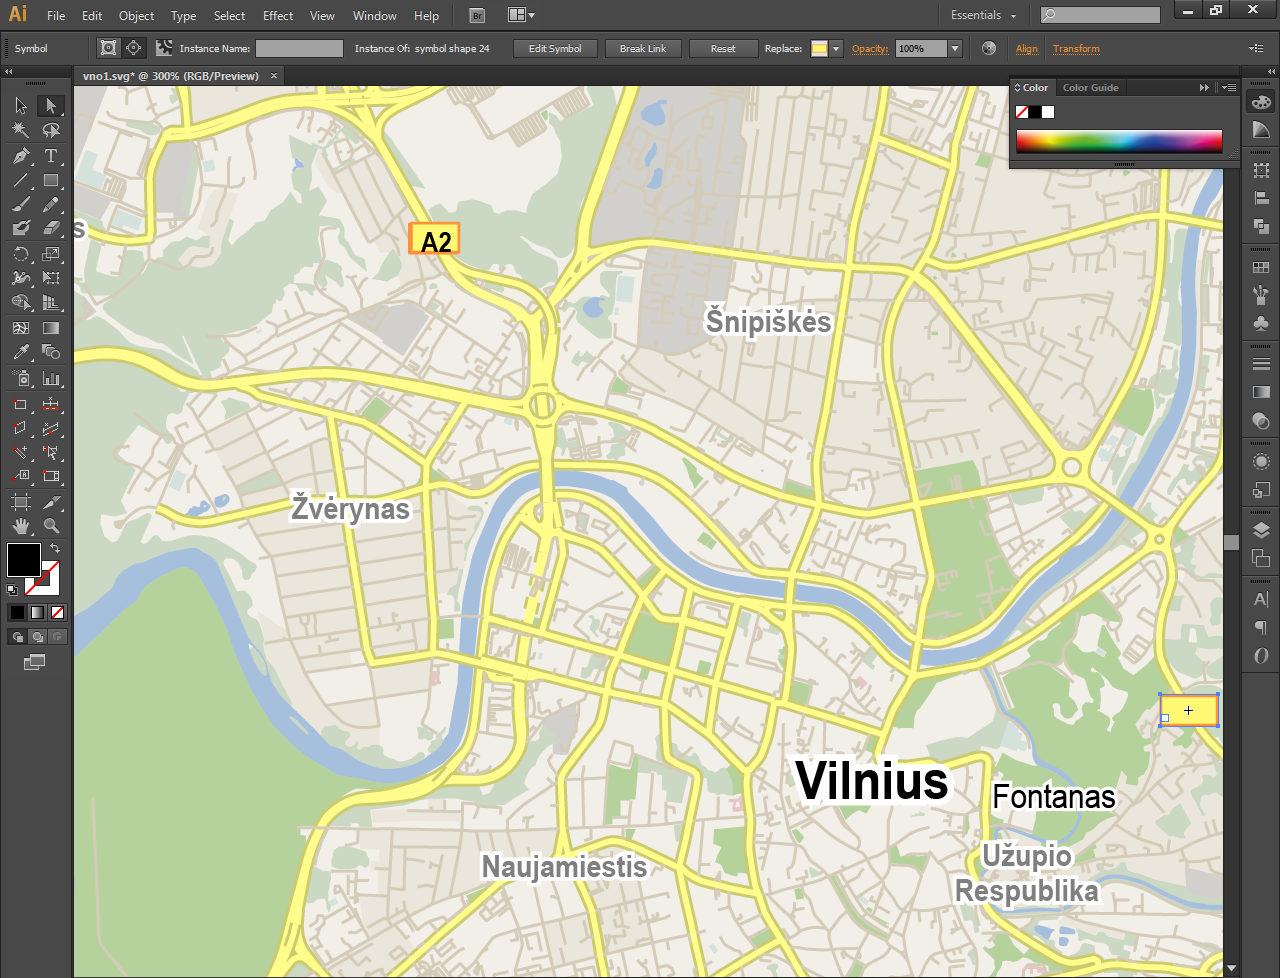
Now that the map is out of Maperitive you may want to edit it a bit depending on the use you have intended for it.
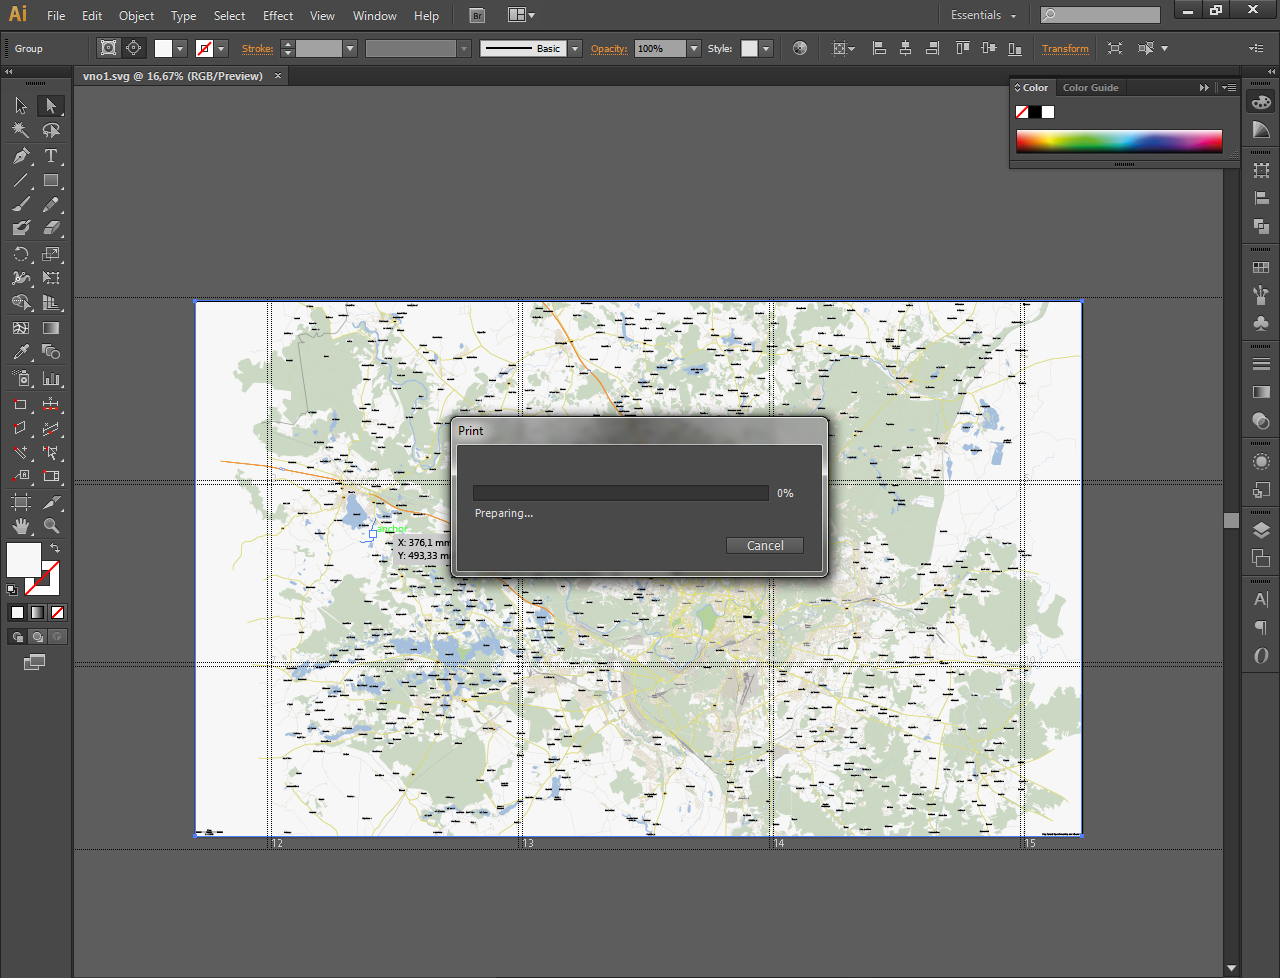
Map files are big and have a lot of data in them, therefore they can take a bit of time to load and are generally slower to edit. However, if you only need a part of the map you downloaded, you can cut that out to make it less painful to work on. To do so start by setting your artboard size around the area you want in File>Document Setup>Edit Artboards or using the Artboard Tool (Shift+O). Now, with the artboard in place, select File>Print, make sure that Ignore Artboards is unchecked and print that to a pdf file. Now import the pdf file you printed to, and there you do, only the area you wanted to work in with an occasional object beyond current artboard, but those are easy to delete if you want to. See pictures 2-4 to get a better idea.
As for deleting and some more finer editing you don't really need to be a magician skilled in the dark magic of vector art to edit maps, but knowledge of a few tools would be good. Those tools are the Selection Tool (shortcut V), Direct Selection Tool (shortcut A) and Pen Tool (shortcut P). The latter is probably not a must, but it's a very versatile one which you will use almost every time while working with this kind of software, so there certainly would be uses for it.
In short, what they do is this:
Selection Tool - selects the whole object or a group of objects you click on (hold shift to select multiple objects) or select by dragging around them.
Direct Selection Tool - selects a part of object which could be a path or an anchor point regardless of its continuity or being in a group of objects. You can also use the dragging rectangle selection method with this.
Pen Tool - used to draw and edit objects by manipulating curves and anchor points.
While the first two are pretty straightforward to use after you've clicked around for a few times, Pen Tool has a lot more functionality and links to keyboard shortcuts, therefore, I'd suggest checking this guide out as a decent intro or cheat sheet while you're just figuring it out.
Some stuff that might help if you're just starting:
When you want to edit the object (path) using the Pen Tool, you will first have to select it with Selection Tool to see its anchor points you can edit.
When deleting object selected with a Direct Selection Tool it might be that as you first hit the delete button, only a part of anchor points are deleted. Don't worry about manually selecting every of them, just hit delete the second time, since it automatically selects the remaining piece of object for you.
You can delete anchor points using both Pen Tool and Direct Selection Tool. The difference is that by using the Pen you maintain a continuous (closed) path while Direct selection tool deletes that part with adjoining curves and opens the path up. Pen Tool is usually the preferred way to go for this to maintain consistent coloring of object and prevent hiccups while, say, cutting on a plotter later.
Using the tools I described above you can add or remove pretty much anything on the map, e.g. I removed road numbers in the middle of the city (pic #5). If you want to copy icons from somewhere else - ctrl+c/ctrl+v works just like in any other software.
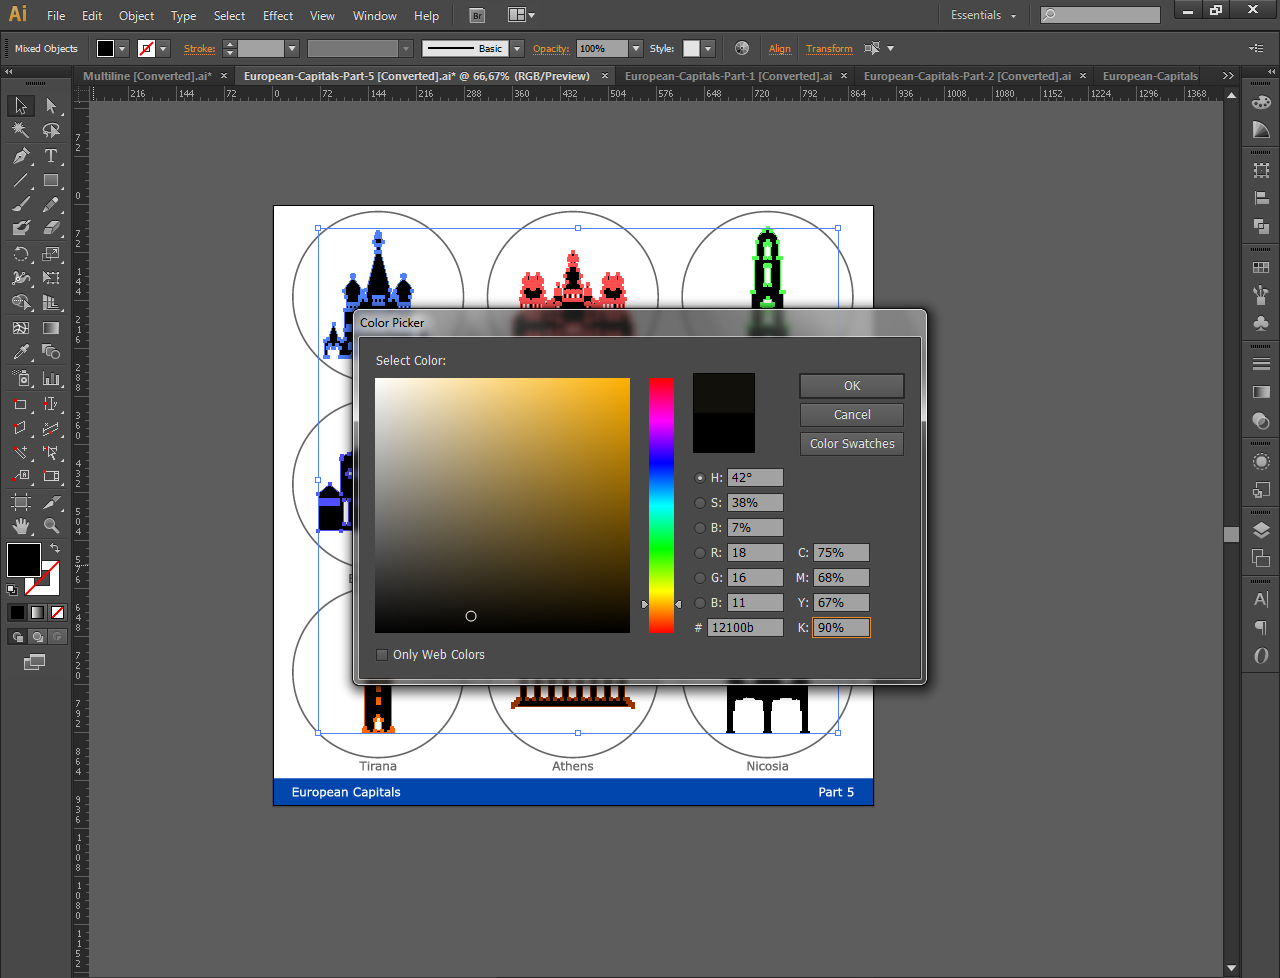
If you want to do color editing, it works by selecting an item with selection tool and then you will see its color settings appear. Top left is fill, bottom right is stroke, double click any of those to get to Color Picker interface. See picture #6.
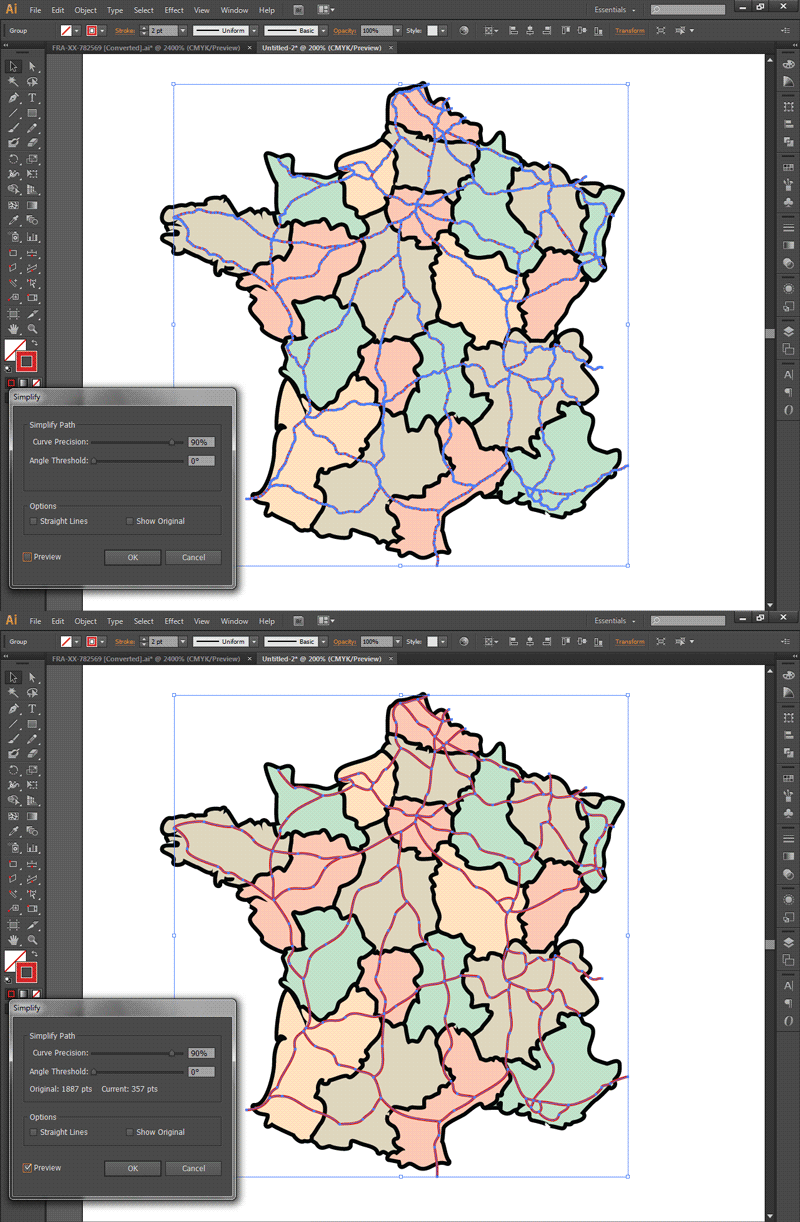
Another thing you might want to to if you intend to cut a stencil from your map is simplify it. Doing this reduces the amount of anchor points in a path and smooths it out a little bit or a lot, depending on the options you select (pic #7). I prefer to do this as it shortens the time required to cut something and you avoid some of the hard to cut spots.
Tiling a Big Map to Print on Several Pages
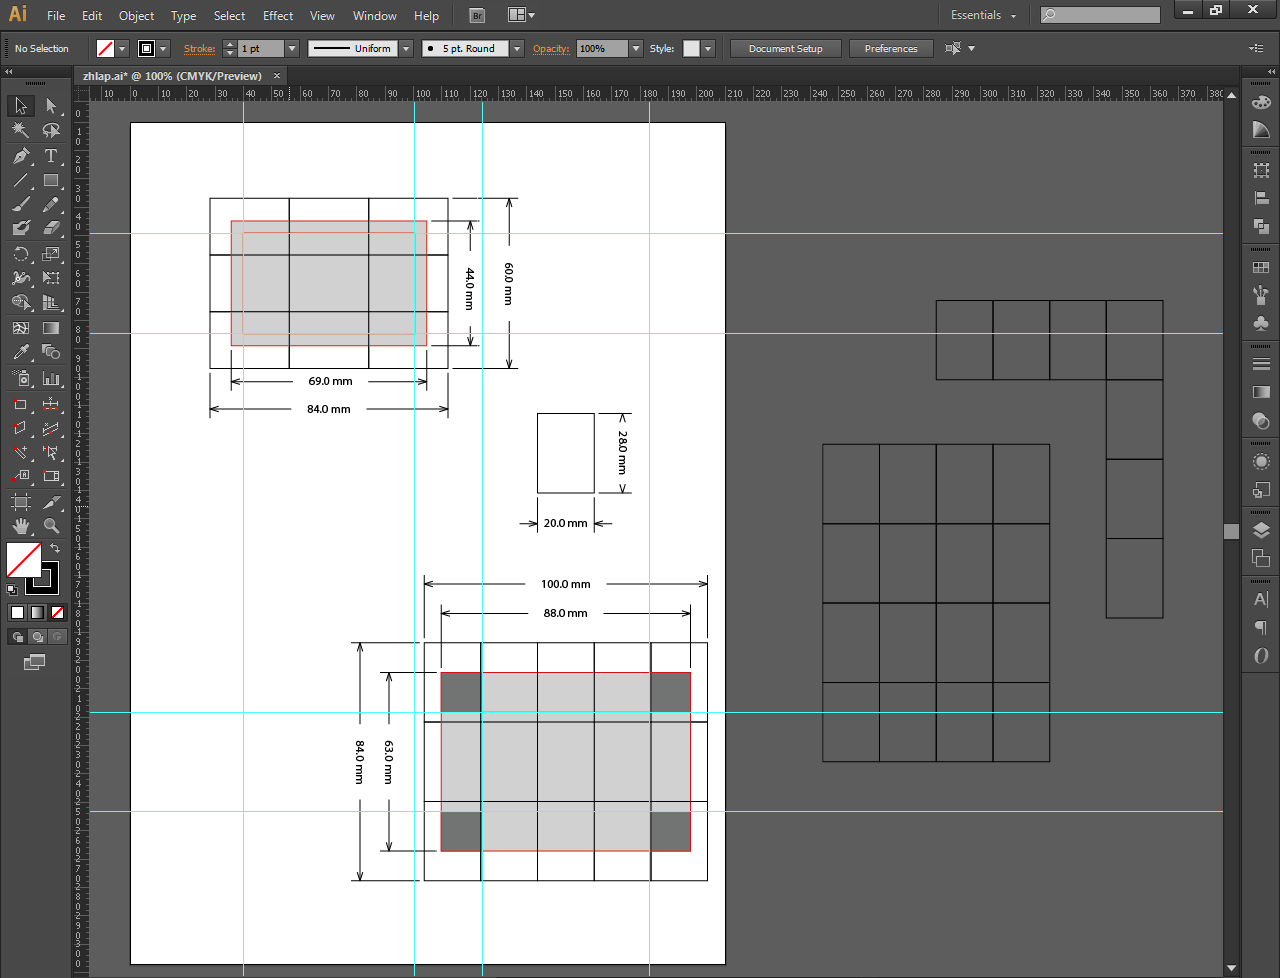
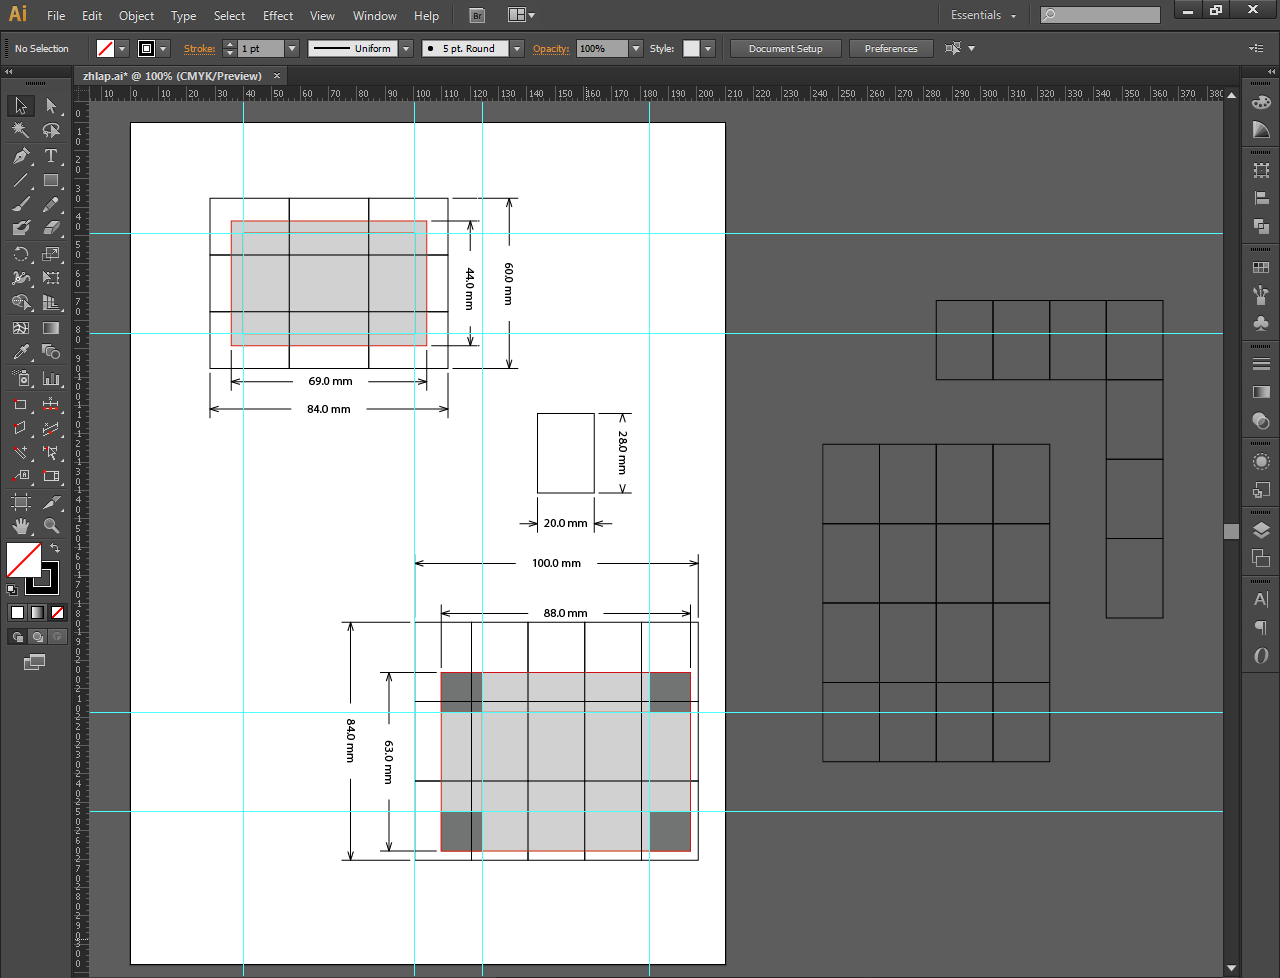
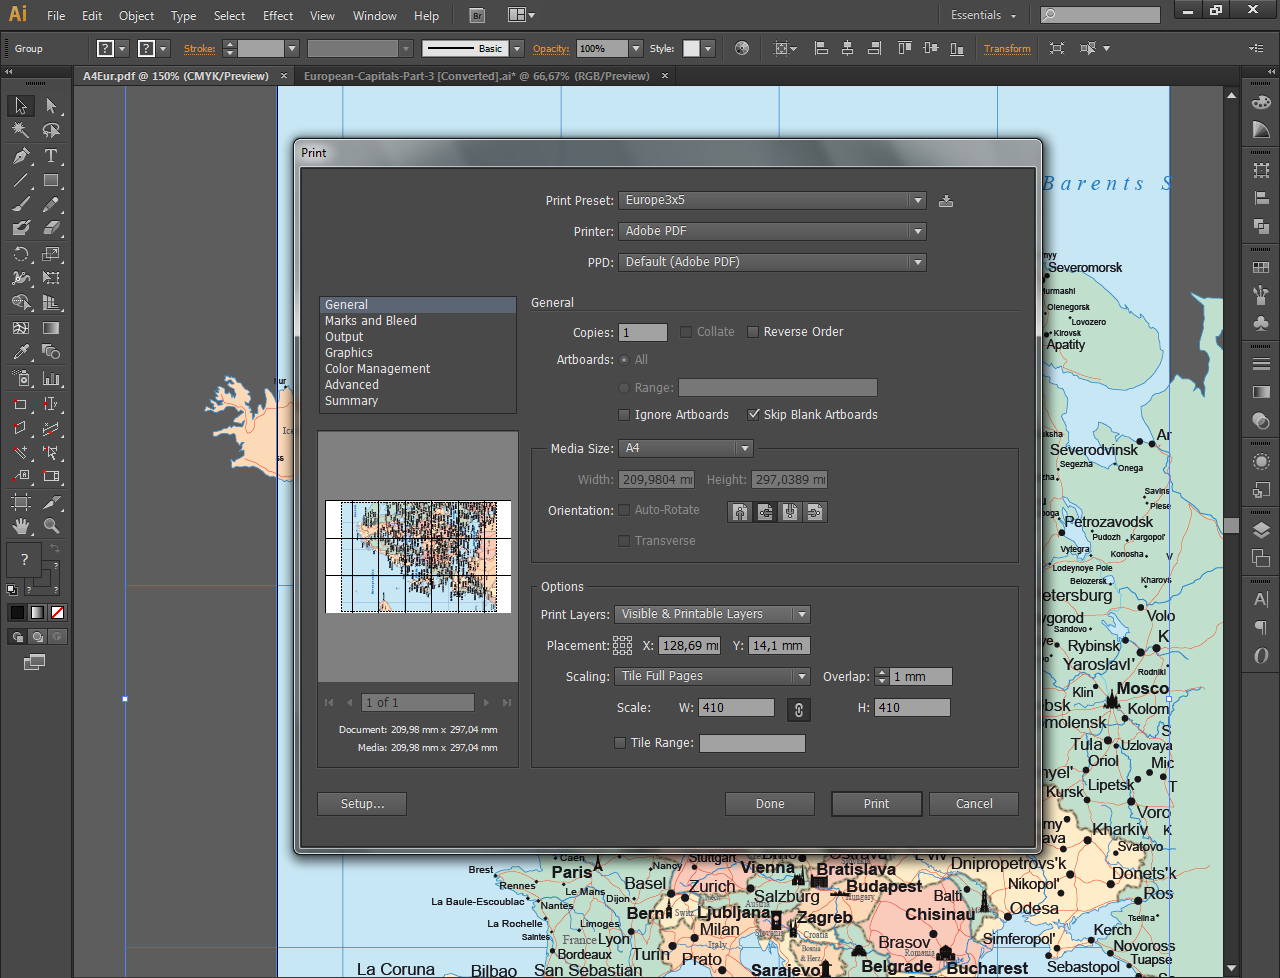
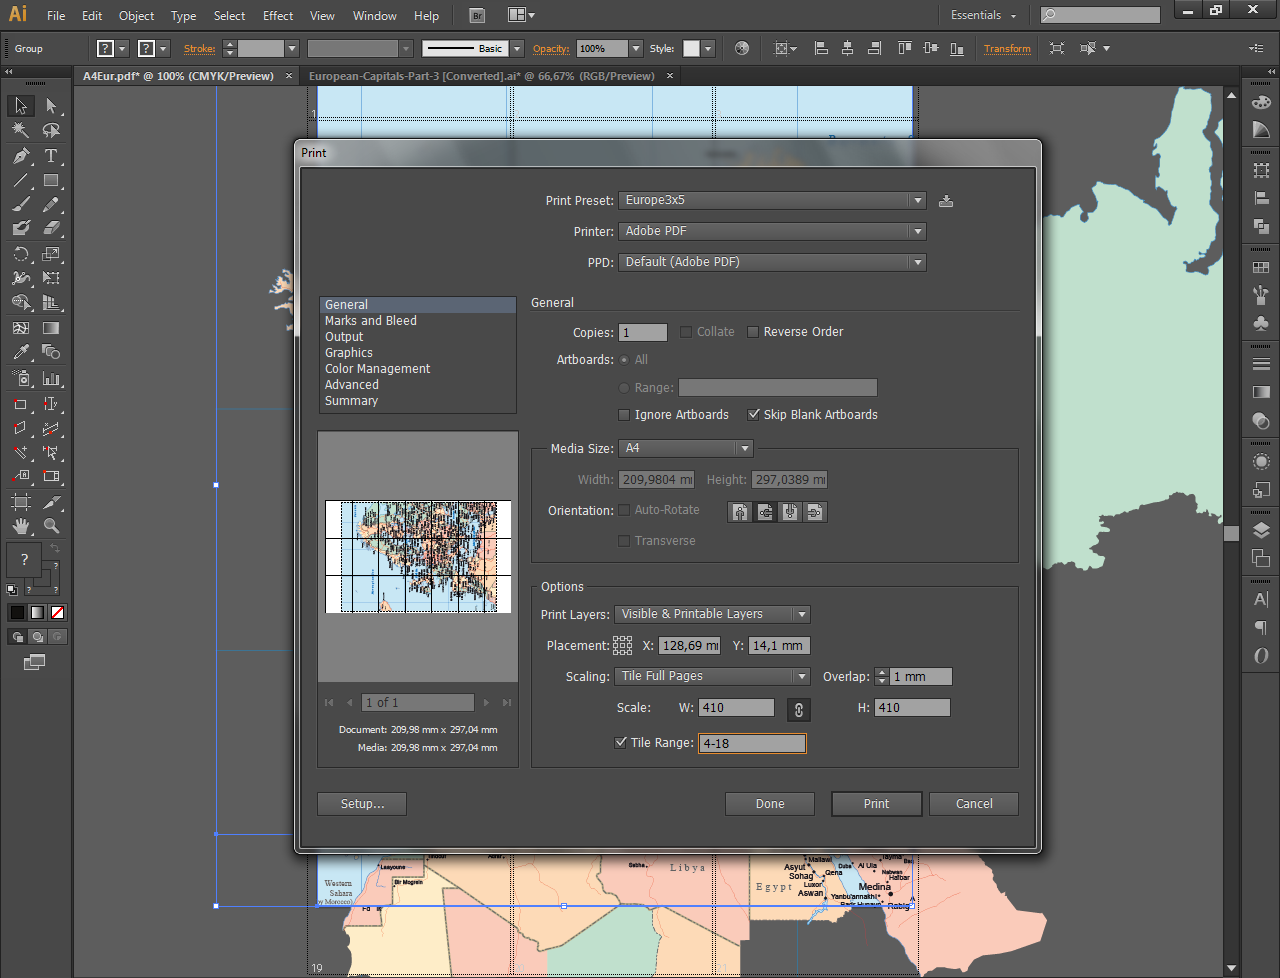
In case you intend to print a big map yourself by doing so on several smaller sheets of paper for covering a larger area, this can be done in an automatic and convenient way as well. I don't know if Inkscape has this option, but there certainly were free software solutions intended to do this (i.e. posterize) for you with an image you upload. If someone knows a good one - post that in comments and I'll add it to this Instructable. Thanks!
To begin tiling your map you need to know several things first. Most important of those is how many pages do you need to print the map on. To determine that you need to know the size of the object you intend to cover and the size of sheet you are going to be printing on. In my case, I measured the suitcase I intended to cover and then mocked up an unfolded look of it in Illustrator while keeping to a 1:10 scale. Then I drew several rectangles in the size of the sheets I will have stuff printed on and arranged them on this mock-up. You can as well just skip this and do the basic math, but this was useful in my case since I could see how the pages will lay and rotate them to see if it takes less pages to fill the area that way (which was the case).
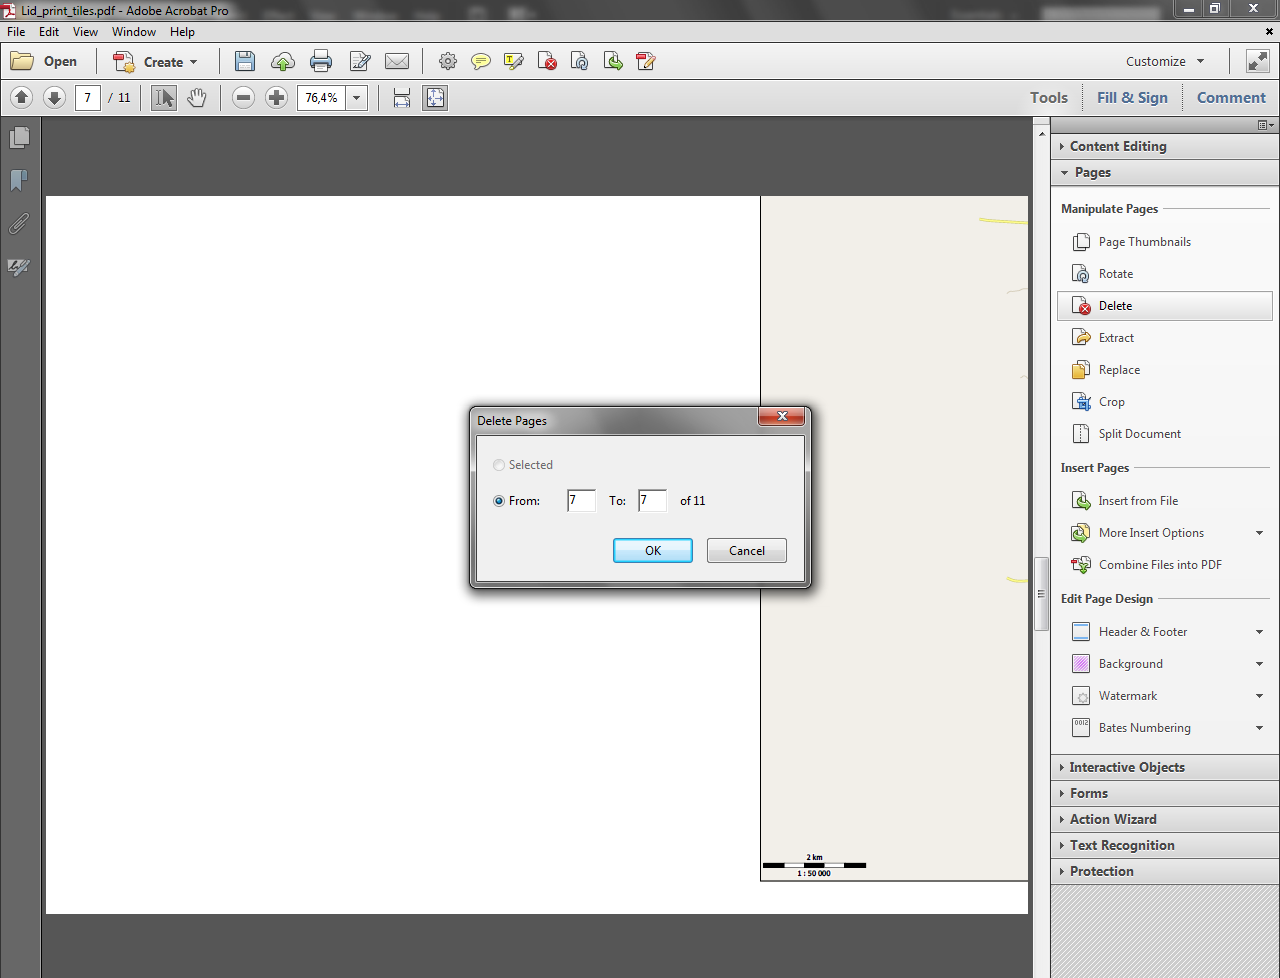
When you know your numbers, select File>Print for the printing menu to pop up. I was printing all of this to a pdf file since I don't even have a printer at home, but it's also useful since you can just delete unneeded pages in a pdf later given that you have a pdf editor of some kind. Alternatively you can select tile range to print already in Illustrator to avoid any work on the pdf, or, you can just print everything and when it's time to put that on paper, select individual pages you want omitting the corner ones or others you don't need at all. It's all a matter of preference and situation.
You can see the printing menu in the pictures and just enter the same or your own parameters. Since the artboard was likely smaller than the map, put the tick in the Ignore Artboards box this time. I recommend using at least minimal overlap for the pages since you're less likely to get gaps in your glued map due to mildly inaccurate cutting or stuff like that. See comments in the pictures themselves.
Some options also depend on the printer and its settings you are going to use. When I'm printing something I prefer to use the Actual Size option to avoid any possible distortions, although since I can't always know the margins the printer leaves, It's sometimes safer to just shrink pages in the printing dialogue. If you know your printer's margins - you could select overlaps bigger than the biggest margin there is on a page size you intend to print on. Alternatively, you can print a pdf on pages smaller (to fit in margins) than what you're going to be printing on and print those in actual size then. Or you can just save them with overlaps you want and select to shrink them while printing, keep in mind that overlaps will shrink then too.
Practical Tips for Working With Already Cut/printed Maps
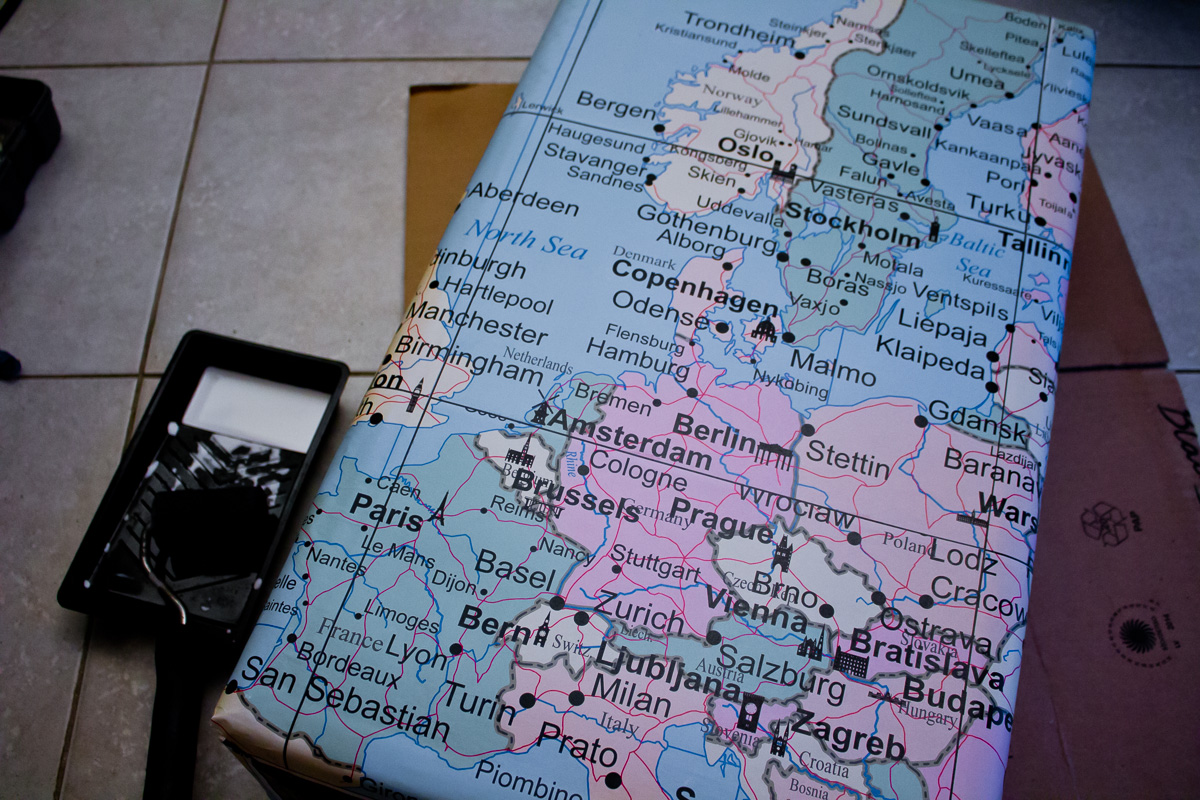
Now that you've done something with the digital maps, that is either cut or printed them, it's time to use them properly.
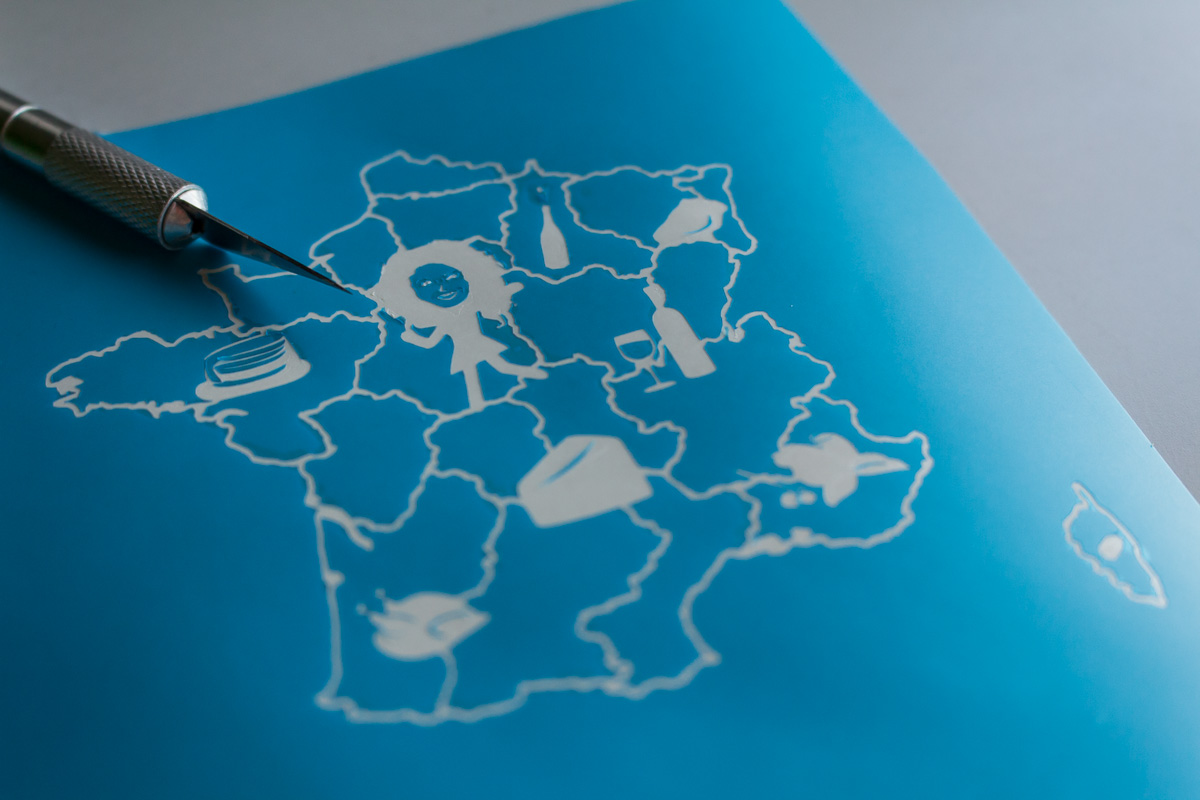
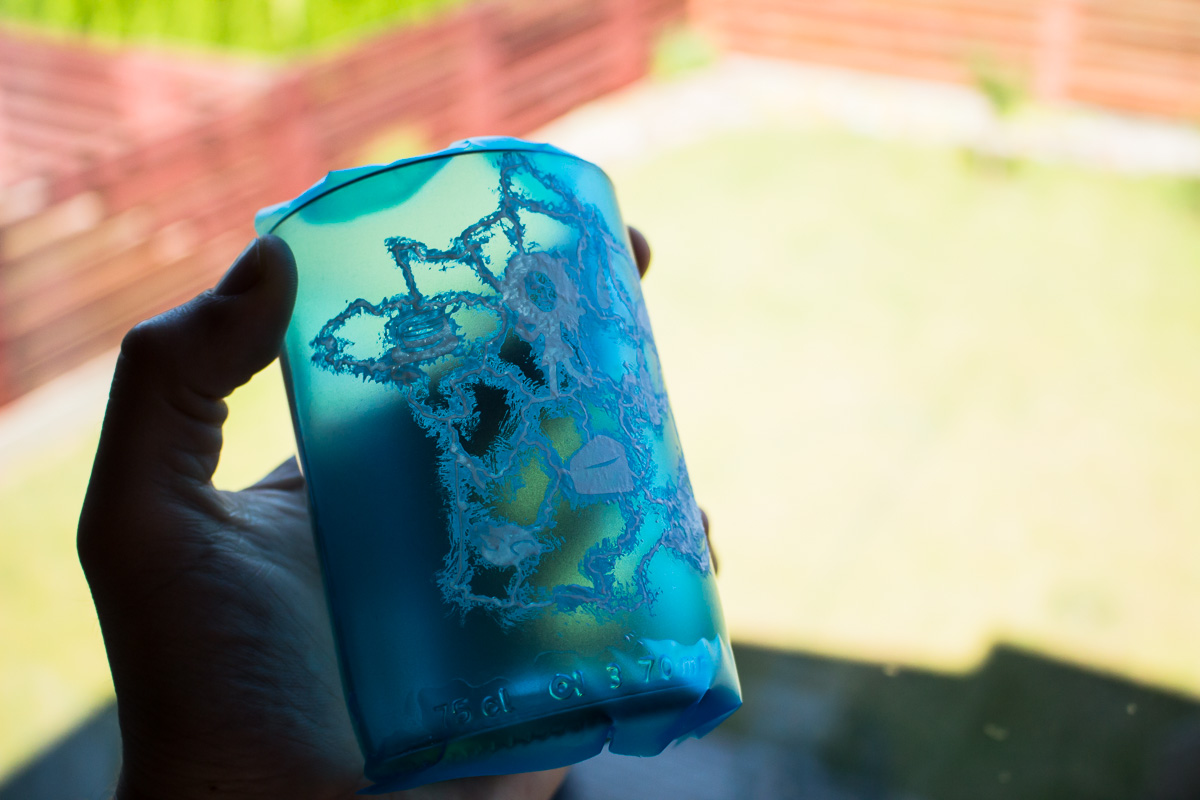
If you've cut a stencil for etching or painting on vinyl, I recommend you cut the parts you're weeding occasionally to avoid lifting up areas you didn't want to. Alternatively, you could draw those extra lines in for cutting. Obviously enough, you will need to use transfer vinyl to apply this kind of detailed designs with areas not attached to the rest.
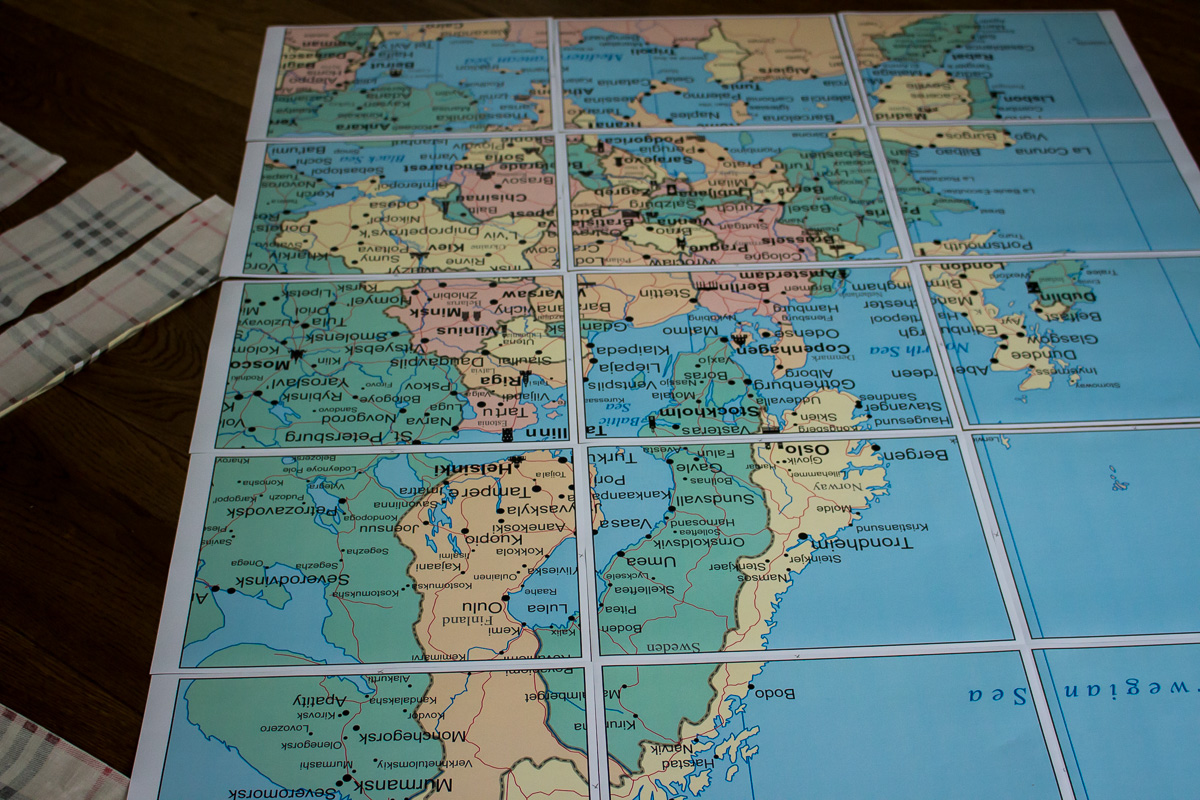
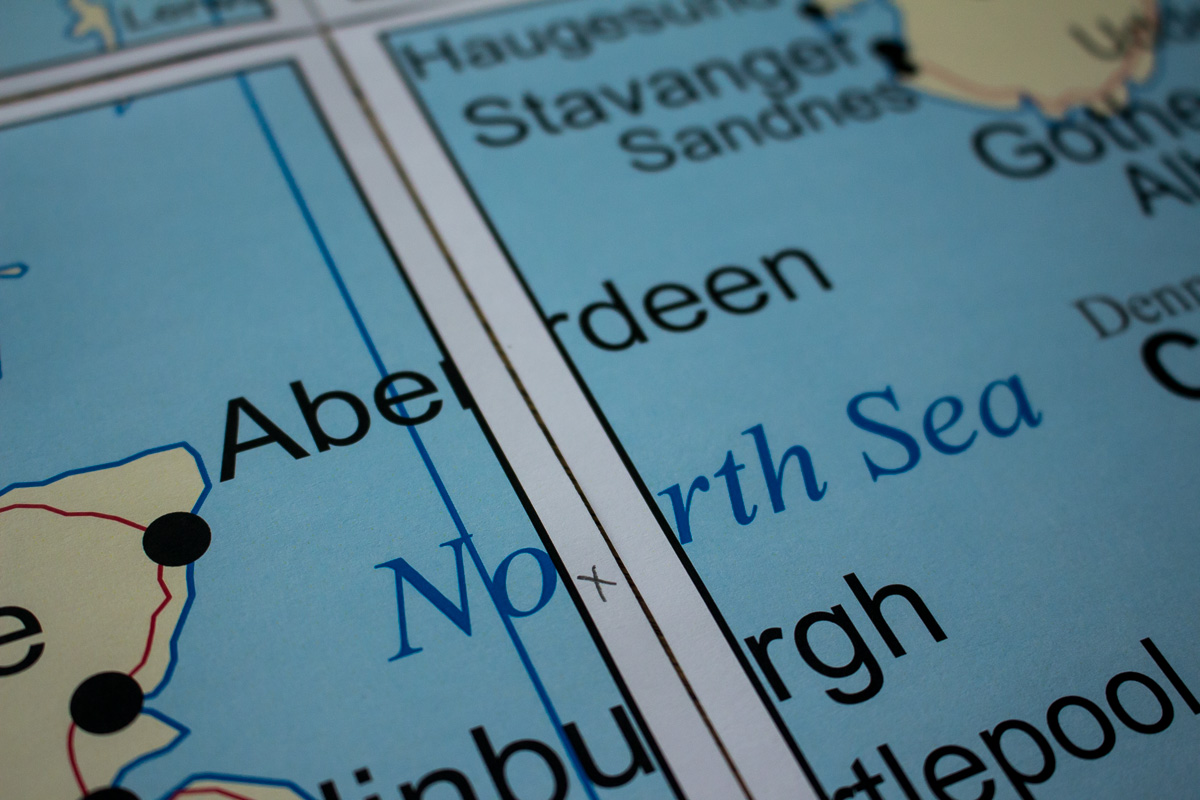
When working with smaller sheets you intend to glue to form a larger picture you will most likely need to cut some of the edges left due to printer margins to generate a consistent image. You don't need to cut all of the edges though and it's even easier to position them this way. Just lay the pages out on a flat surface and mark the edges you are going to cut, then cut just those.
If you need to apply your paper printed maps to a wooden/paper surface, it's not a bad idea to go with diluted PVA glue and a paint roller to apply it. 3:1 PVA:Water ratio works pretty well for the purpose. Although, I guess, something like Mod Podge would work even better.
What I don't have any good advice for is coating the glued paper with something to seal it and make a nice finish. Could you share some tips for this in the comments? I just ended up using a million coats of clear coat for the suitcase, and while it certainly did coat it, it was an absurd quantity of clear coat and time spent due to paper sucking it all in.
Now That You Know All This, Go Make Something!
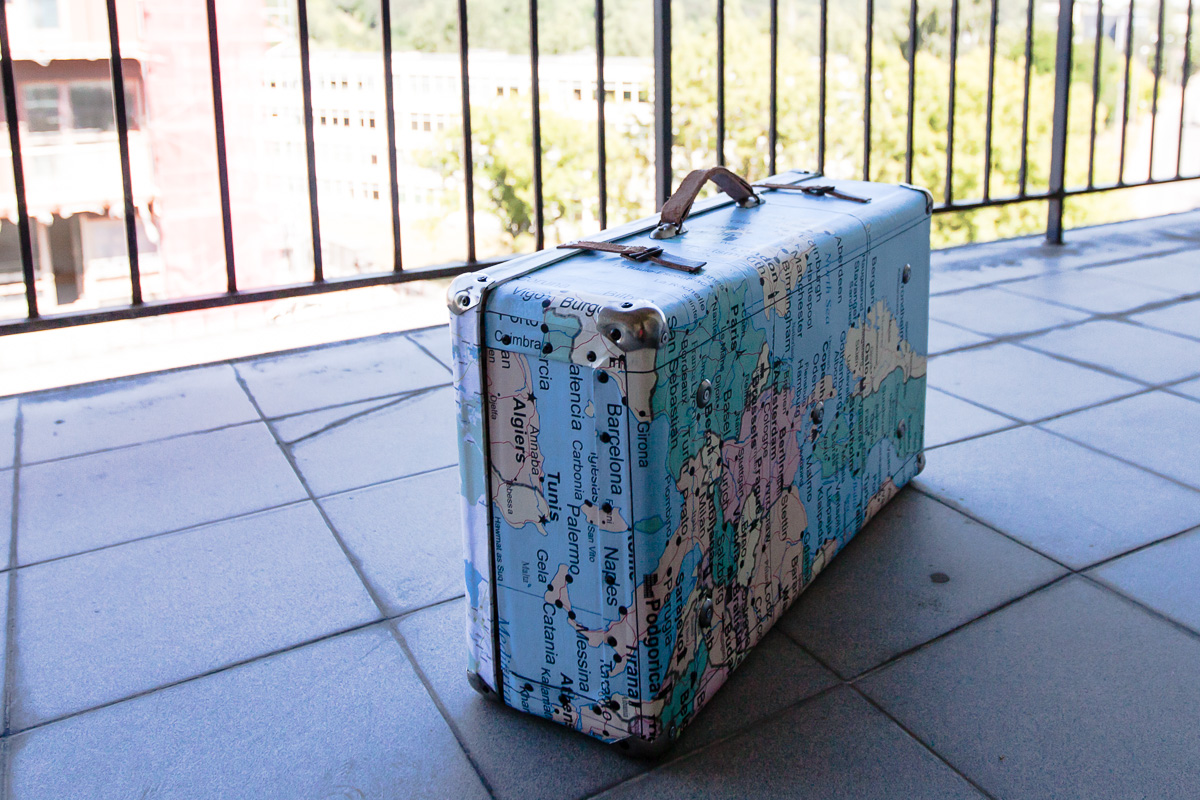
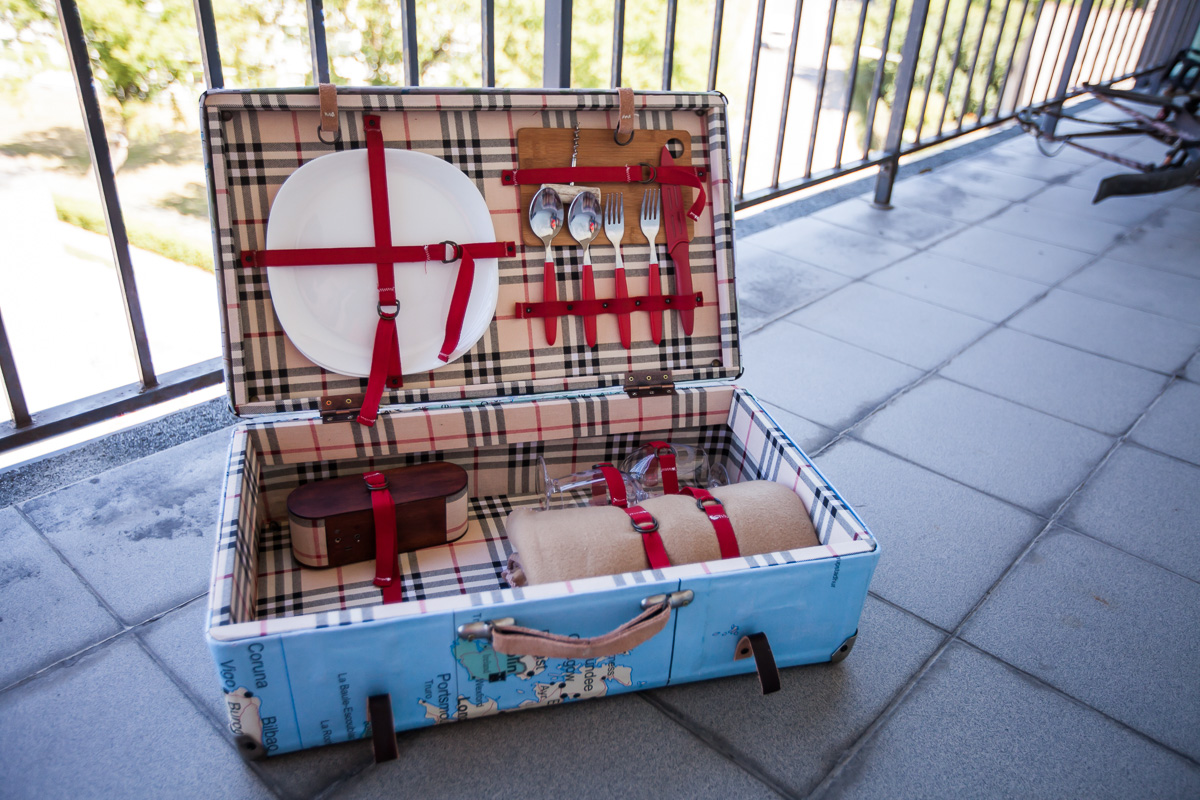
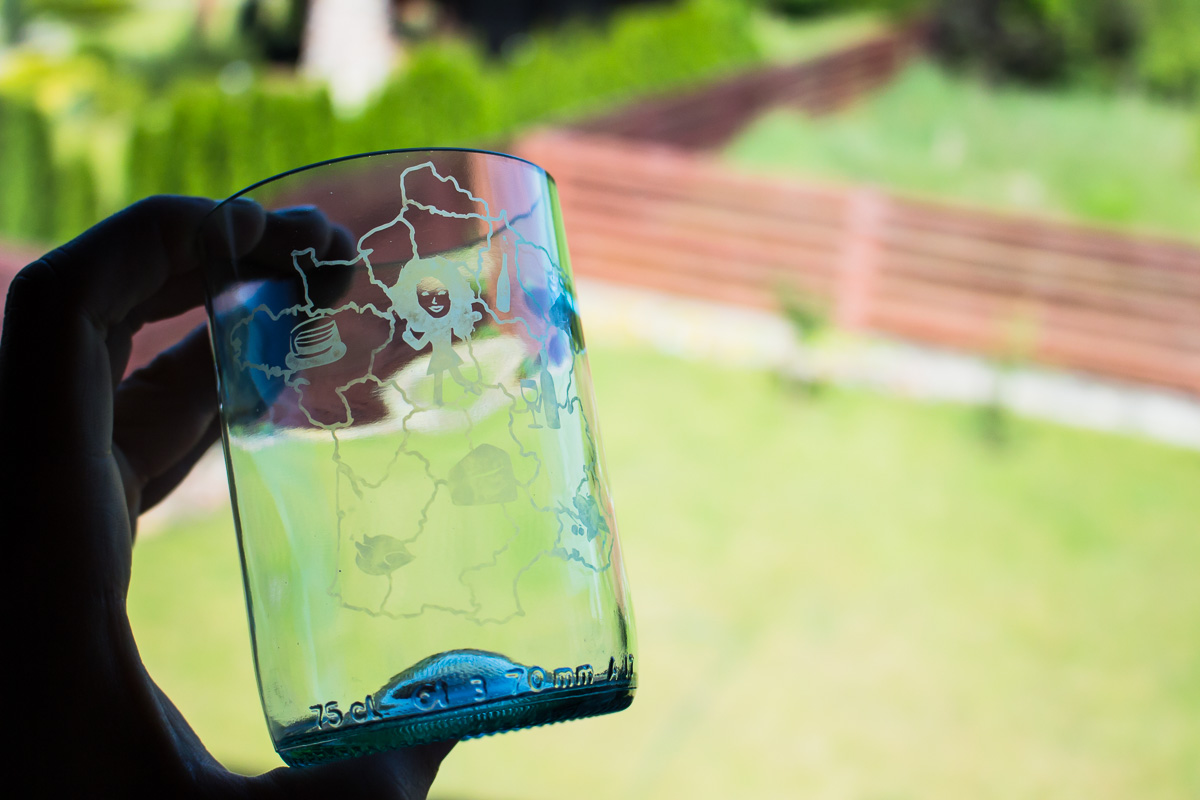
Here are some pretty good instructables where the technique used can be applied to some map related projects:
How to transfer images to wood
How to etch stuff on glassware
Making a wall mural
It's really a matter of imagination where else to use maps though. With the ability to scale them to any size you could cover all kinds of things!
In case something is not exactly clear, feel free to ask - I usually answer all of the comments!
If this seemed useful - I wouldn't mind a vote in the Graphic Design contest either, thanks! :)
The first 3 people to make something with maps and share it in the comments are going to get a 3 month pro membership from me.
Best of luck in your making endeavours!
Raitis
If you like random stuff from the workshop, make sure to check out snipegift.com for gifs from the making process.