Mapping Tips
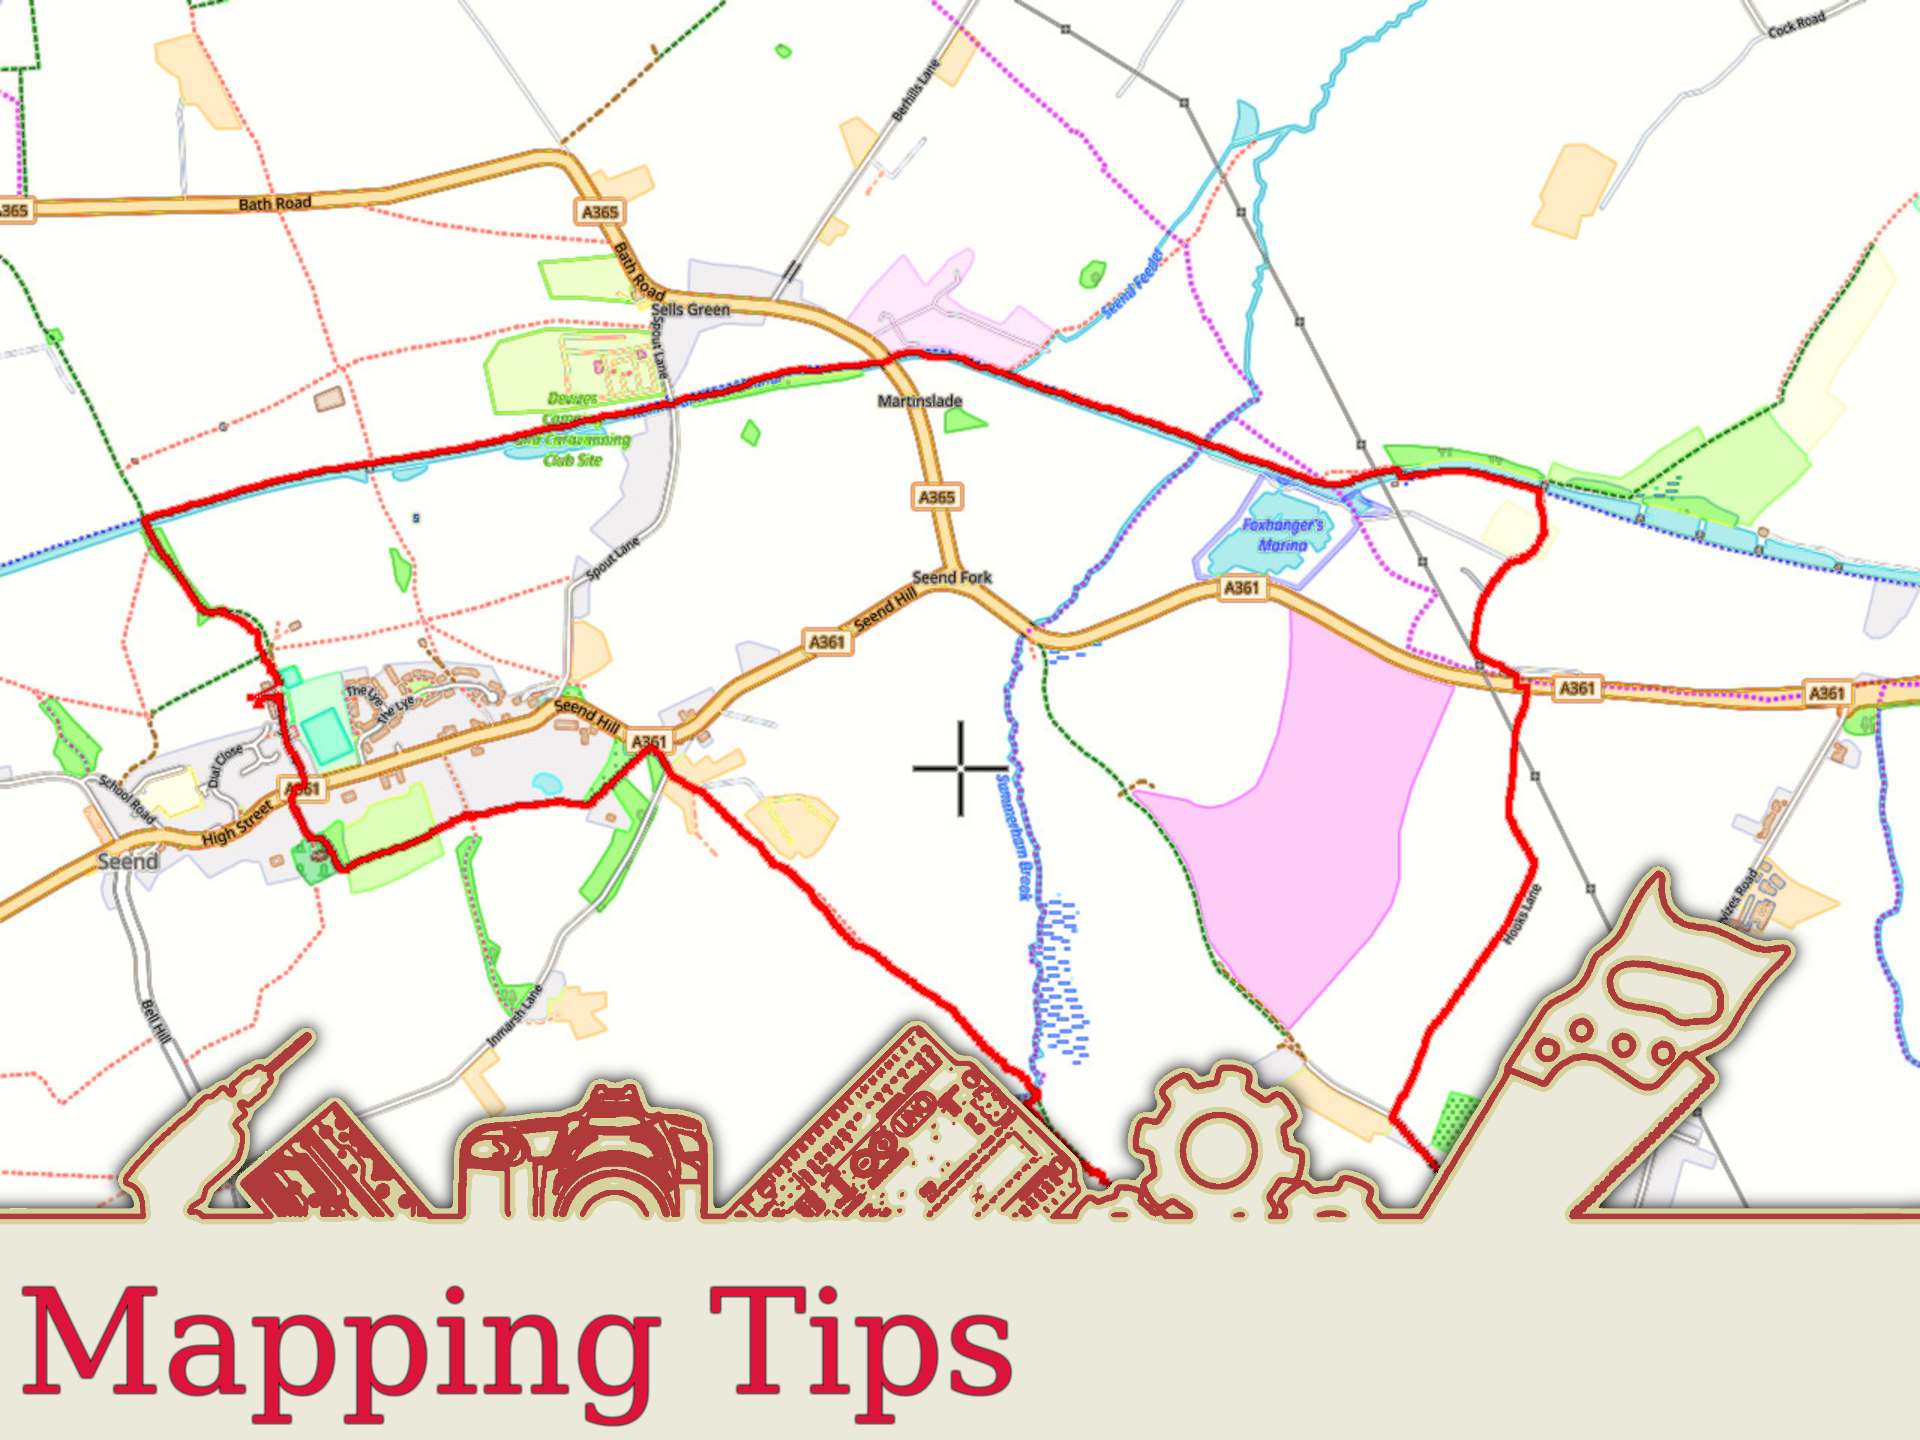
Whatever your activity, be it walking, hiking, cycling or even driving, you can record the routes you take. Then you can share those routes with friends and family. In addition, you can use the recorded route to add locations to any photos you may have taken along the route.
The most obvious way to do this is to use your phone. There are mapping apps that can record your location using GPS satellites. Depending on what app you use, it may already upload the data to a mapping site, or it may just save it on your phone.
The other way to do this is by using a data logger. This is the method I will outline here, as it is somewhat more involved than using a phone. The data logger tracks your progress using GPS satellites. At the end, you will have a file which you can upload onto your laptop or desktop. From there, you can load it into a mapping app or mapping website, and share it with friends.
The data logger I'm using in this instructable is a Canmore G-PORTER GP-102, as that's the one I have. Unfortunately, it's no longer available, but I guess most data loggers work in a similar way. They track your progress using GPS satellites, then save the track data in .FIT (Flexible and Interoperable data Transfer) format.
For this instructable, I'm using Wikiloc. I'm using this because you can upload .FIT files directly, without converting them first.
Go for a Walk

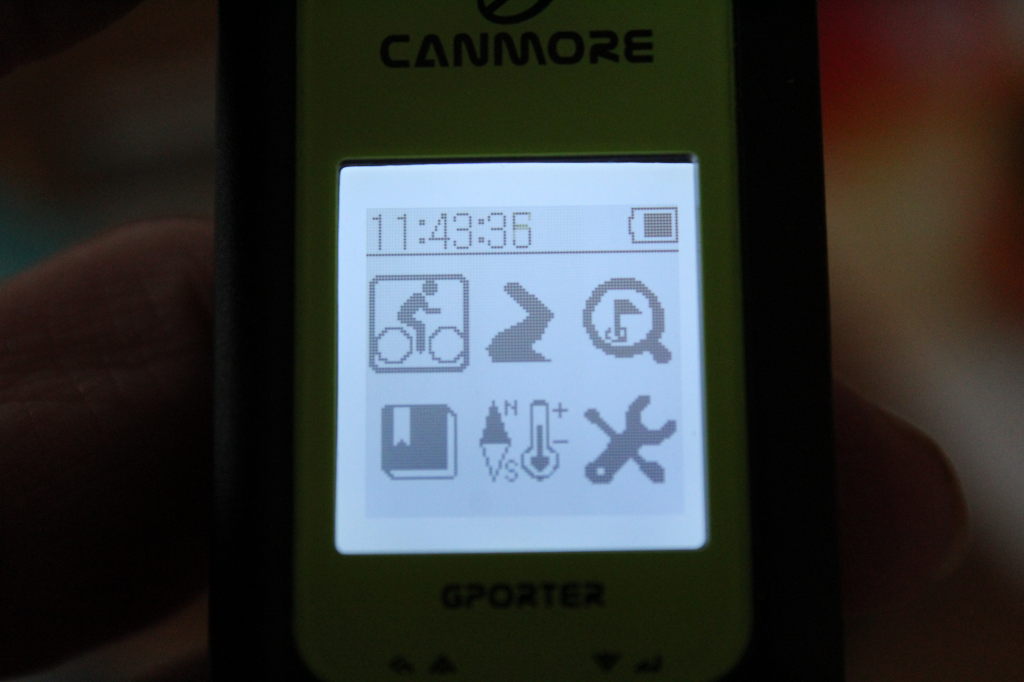
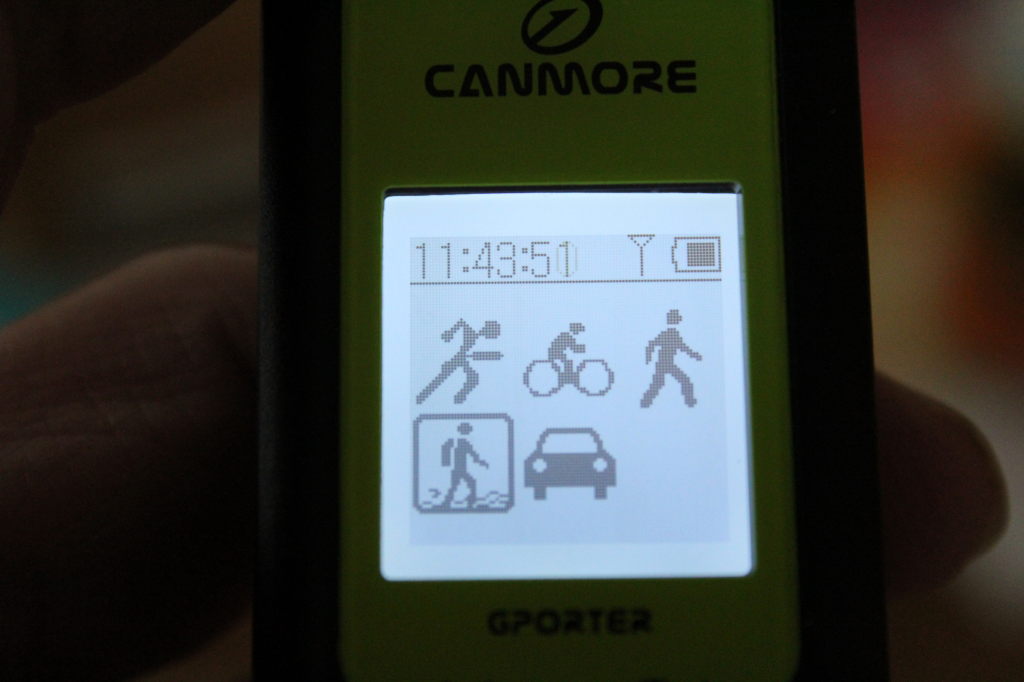
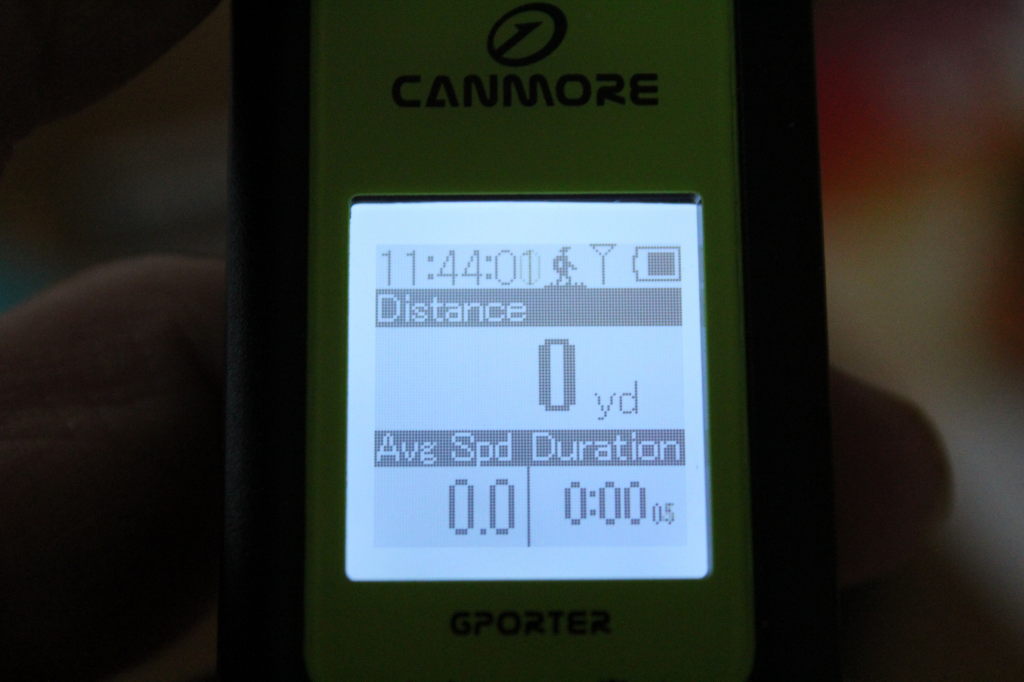
Set your data logger to log your route, then go for a walk/ride/drive. You may have to select an activity on the logger, but it probably doesn't matter which you choose. It should still work.
The Canmore gives me the option of saving POIs (Points Of Interest) along the route if I wish, but I don't use this. Once I've created my map, it's fairly obvious where landmarks etc. are. But you may wish to use this option.
When you have completed your journey, simply stop the logger recording your route, and you are done with this step.
Upload Your Data

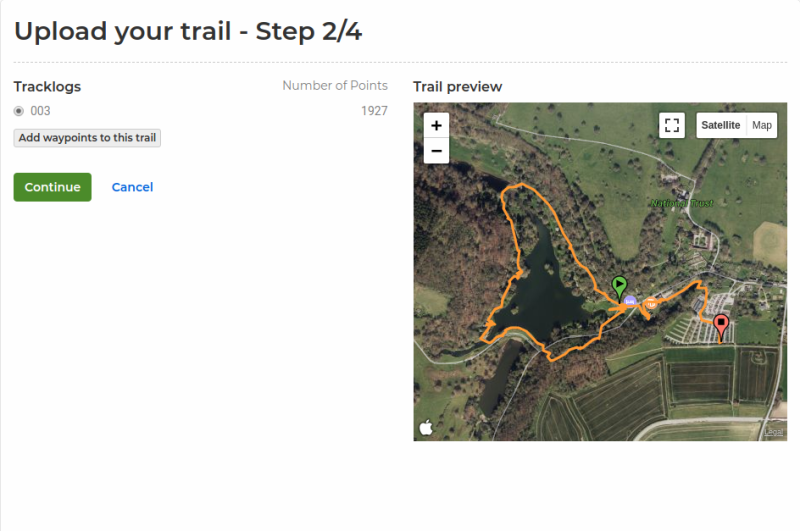
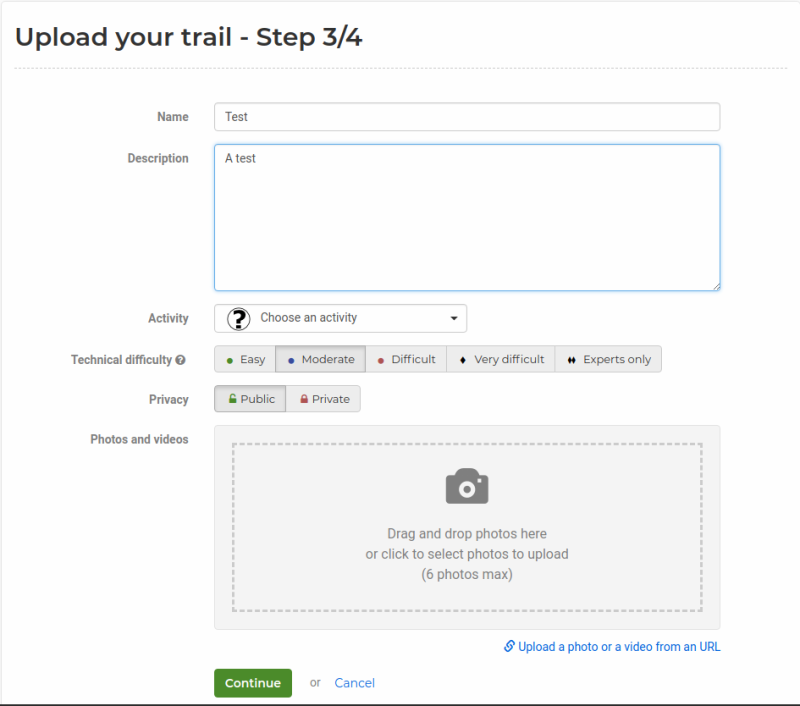
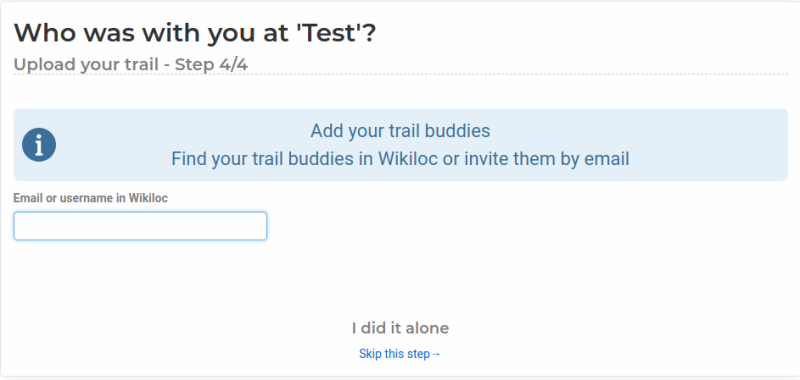
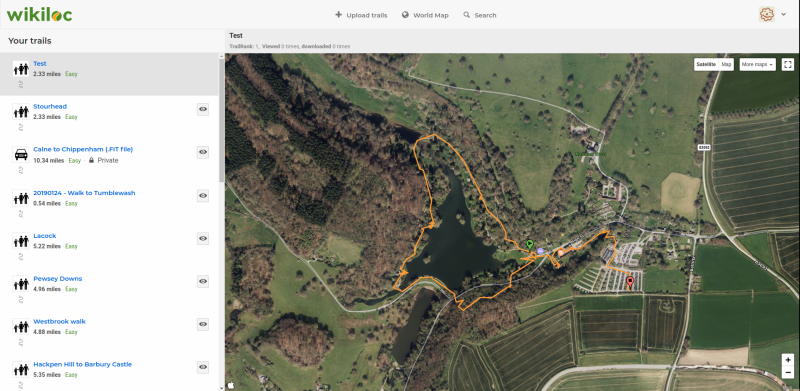
Now you recorded your journey, you can upload it and create a map.
With my Canmore, I can simply plug it into my computer with the USB cable provided, and then it appears as a drive. Under Linux Mint with KDE (which is what I use), it appears as a drive called CANMORE. I'm guessing under Windows* it will appear as drive D:, E: or somesuch. I don't know how this would behave with a Mac.
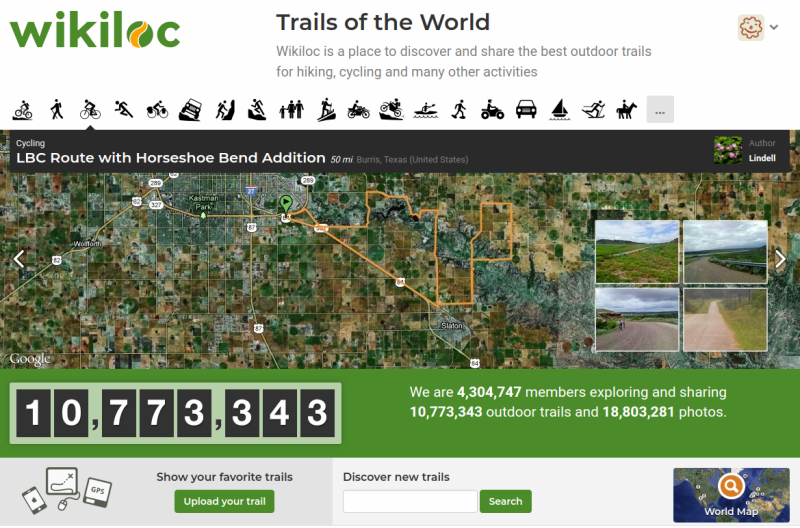
For this exercise, I'm using a mapping website called wikiloc (https://www.wikiloc.com/). You will need to create an account, but it is free.
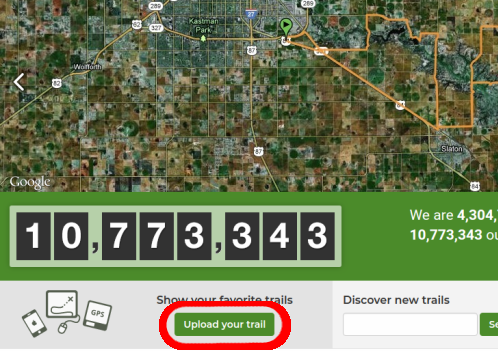
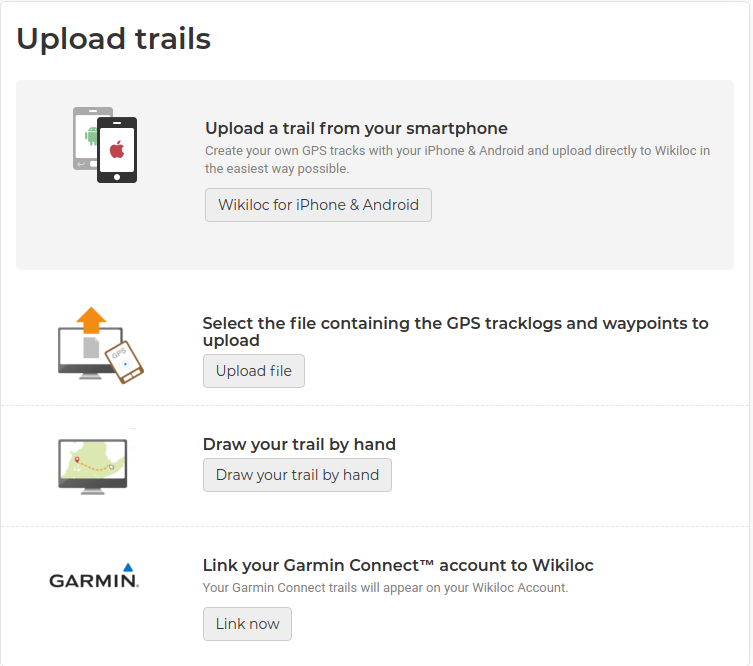
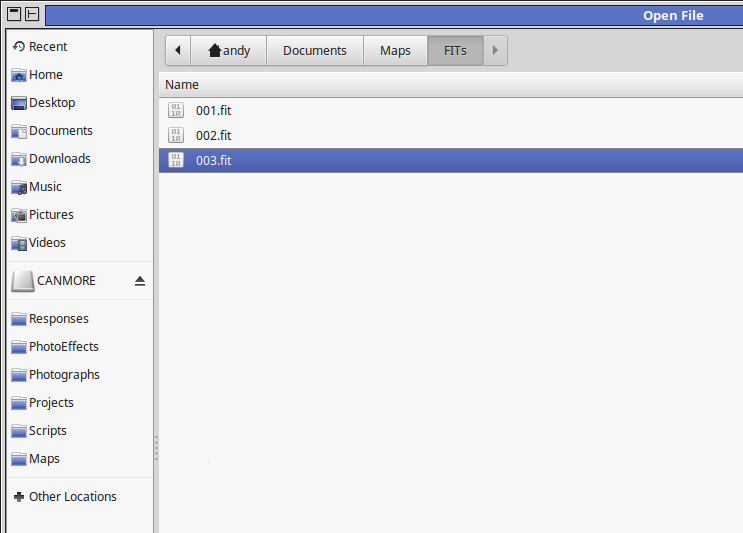
Once you have created your account, you will be presented with the main screen. There is an upload button towards the bottom left, or possibly at the top, depending on how you got there. Click on this to be taken through the upload process. It is fairly painless; select Upload file, and you will be presented with a file browser. Navigate your way to the CANMORE drive, and select the .FIT file. (You should find it under /media/user/CANMORE/GP-102/Activities, where user is your username in linux, or ?:/CANMORE/GP-102/Activities. where ?: is the drive under Windows. I don't have any way of testing the Windows configuration, so you'll have to hunt around if it isn't where I have described.
Once you have loaded your file, you will see a preview of your map. Hit Continue. You will be taken to the next page, where you can enter some data if you want. You can rename your map, choose an activity, and other options. If you don't want to be bothered with that, you can just click Continue.
The next step gives you the option of sharing your map with other wikiloc users, or just skip the step. Then, you are given the option of sharing your map on Facebook or Twitter. Again, you can skip this step.
*The GP-102 comes with its own software, nTrip, which works under Windows. However, I find it just as easy to access the device directly.
Finally
And that's it. You map is complete.
I've used wikiloc for this instructable, but there are other mapping sites available. The reason I used wikiloc is because it can read the .FIT files directly, whereas with the others you have to convert the file to .GPX or KML first. But if you are interested in other mapping sites, here are some of them:
Google My Maps (not to be confused with Google Maps)
Google Earth
I hope you found this instructable useful.