Manipulate Fm Recordings
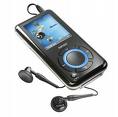
In this, the first in a hopefully very long line of excellent instructables from me, I will show you how to:
-Rename Fm recordings on your mp3 player so that they are easier to identify-you'll never delete a recording because you mixed it up with another one again!
-Use a completely free program you already have to convert these same files to mp3 or other format, to save space.
NOTE: You may have to synch these as mp3s after you convert. I didn't have to, but your mileage may vary!
I will use the Sandisk Sansa e250 for illustrative purposes.
Doubtless your player will have a slightly different file heirarchy, but I'll bet they'll be similar enough that it won't really matter for most people. When in the instructions I say Sansa, I just mean whatever your mp3 player is called, but for simplicity's sake I'll pretend everyone has a sansa. These techniques should work for voice/sound recordings you have taken with your player as well.
Renaming Fm Recordings So They Are Easier to Use
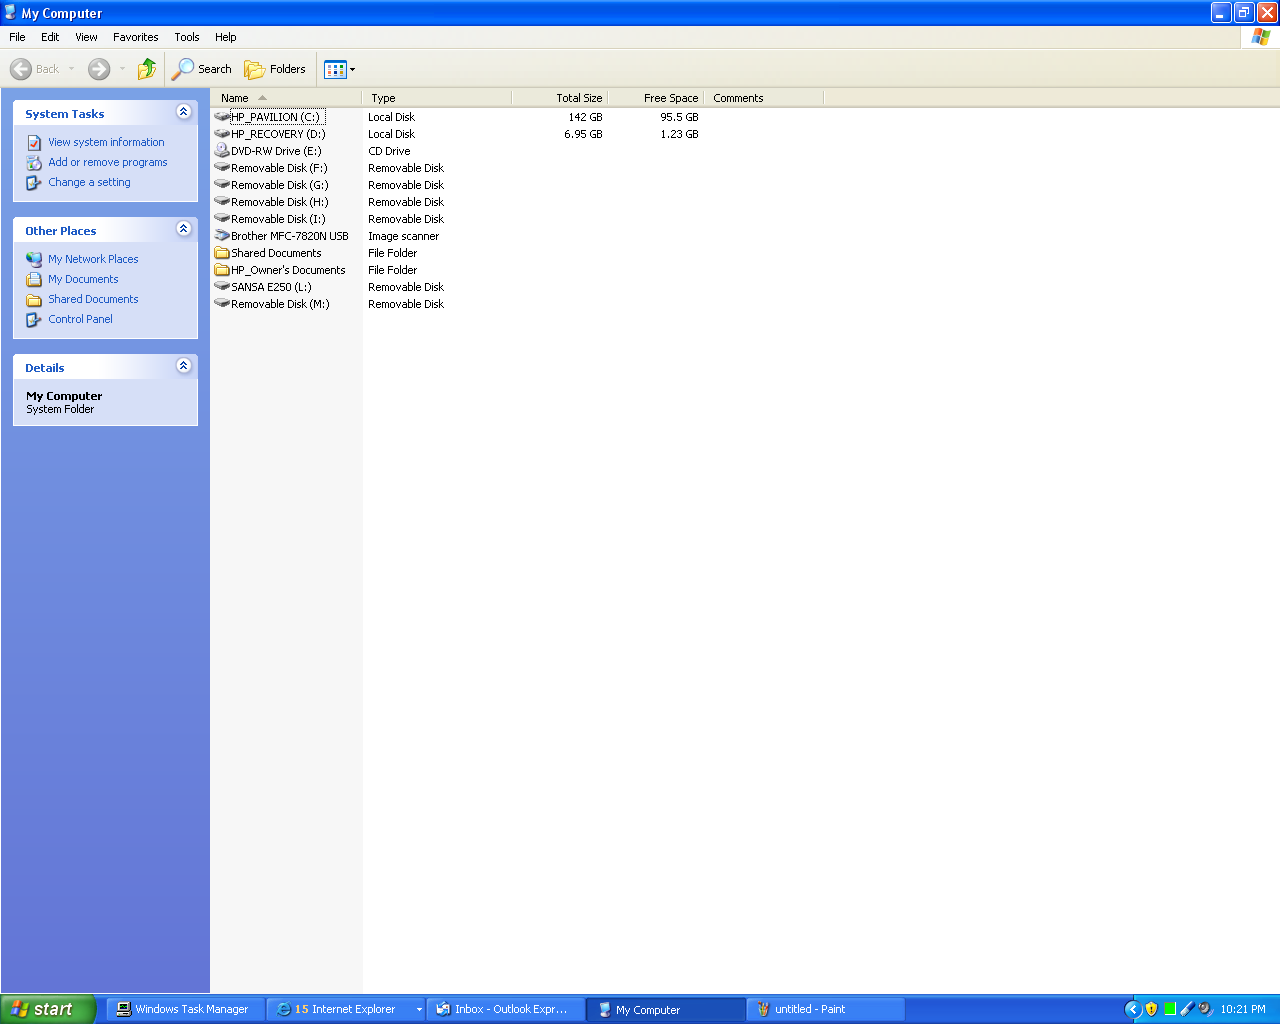
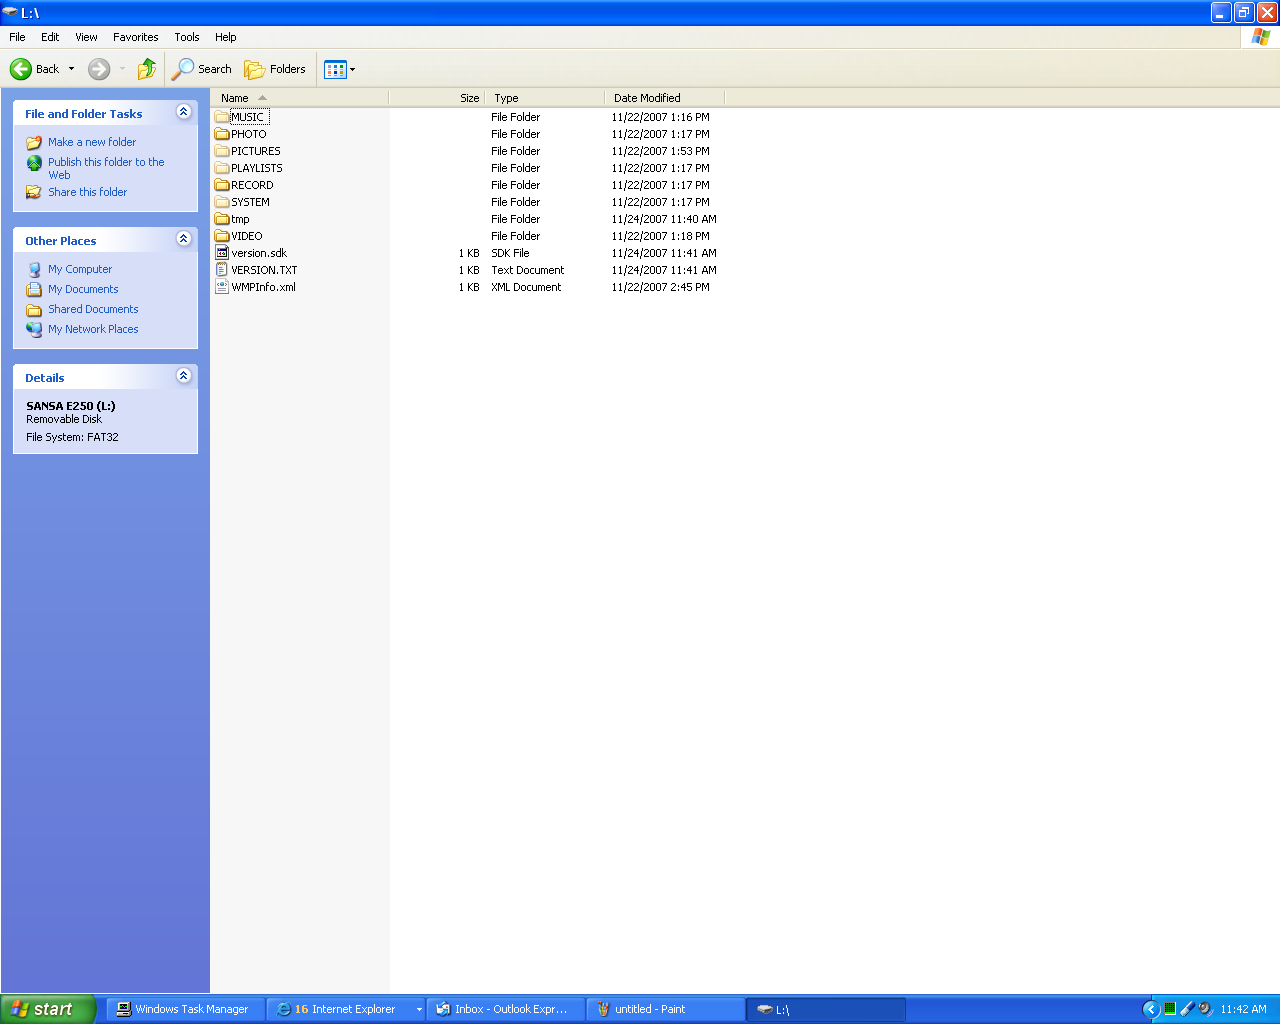
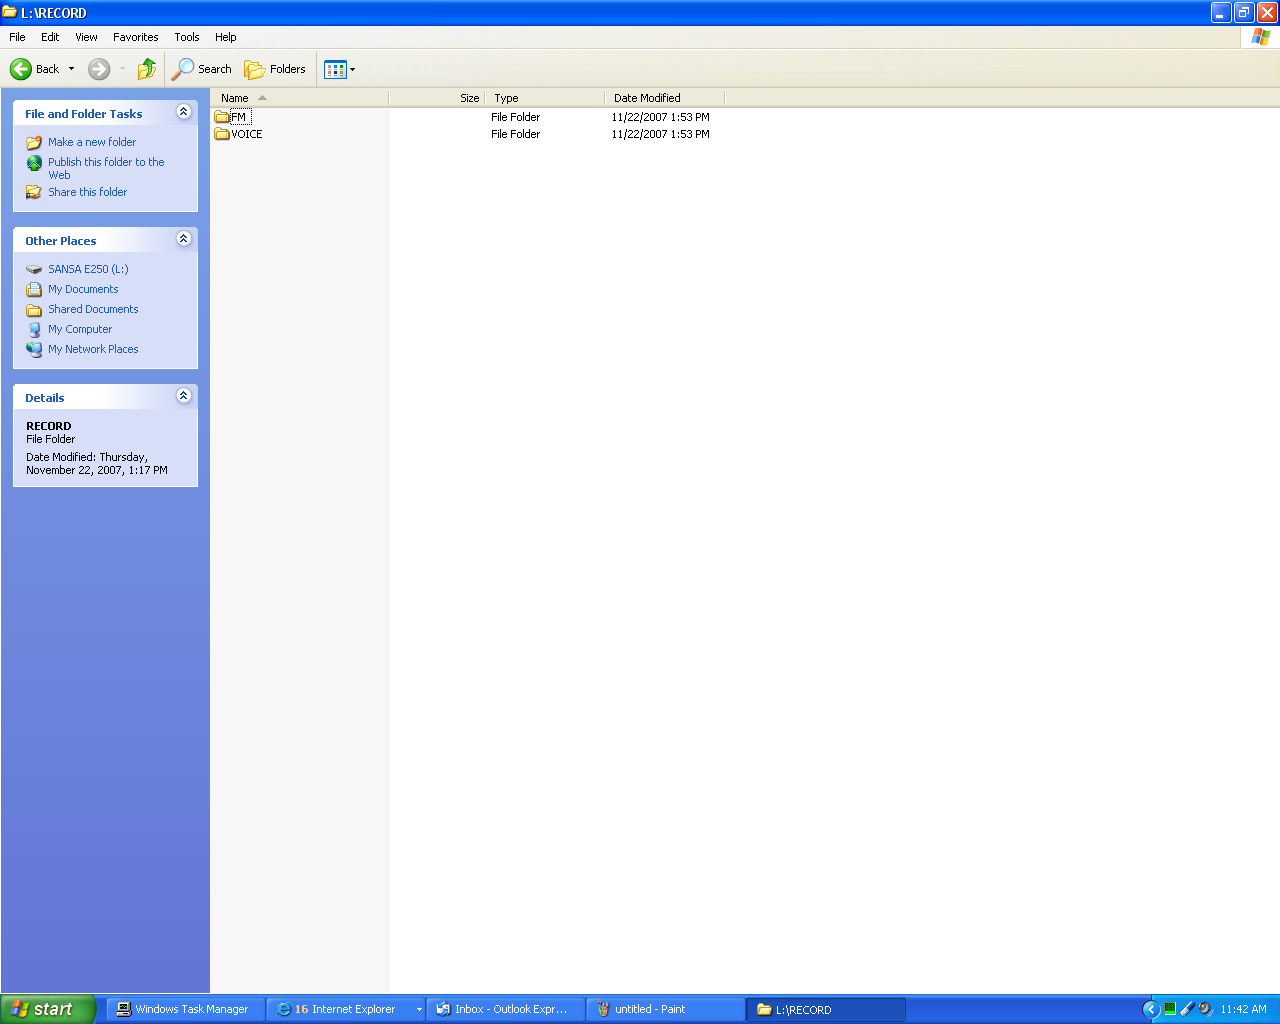
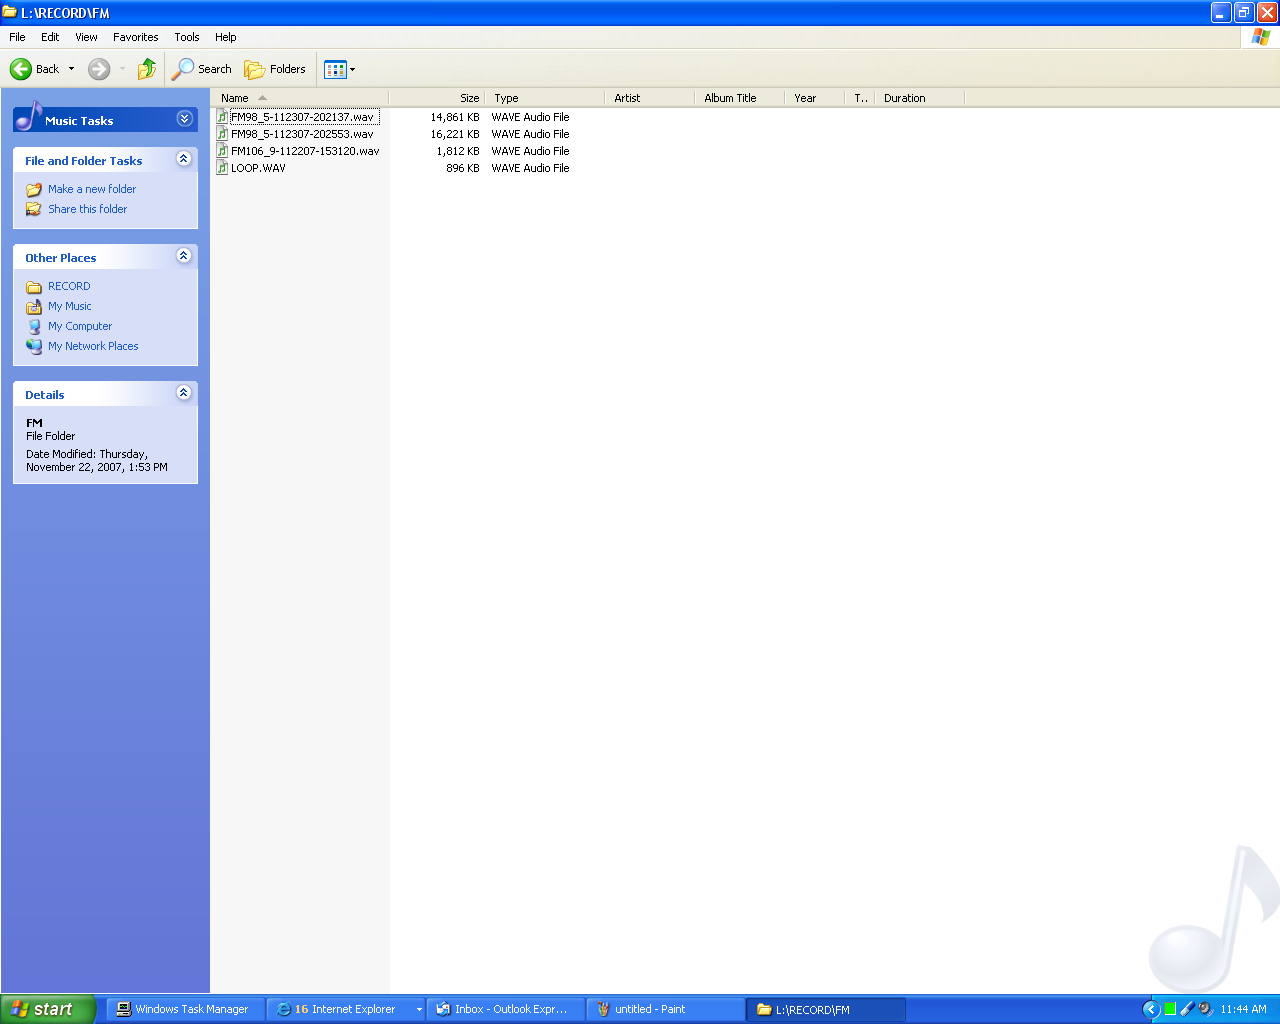
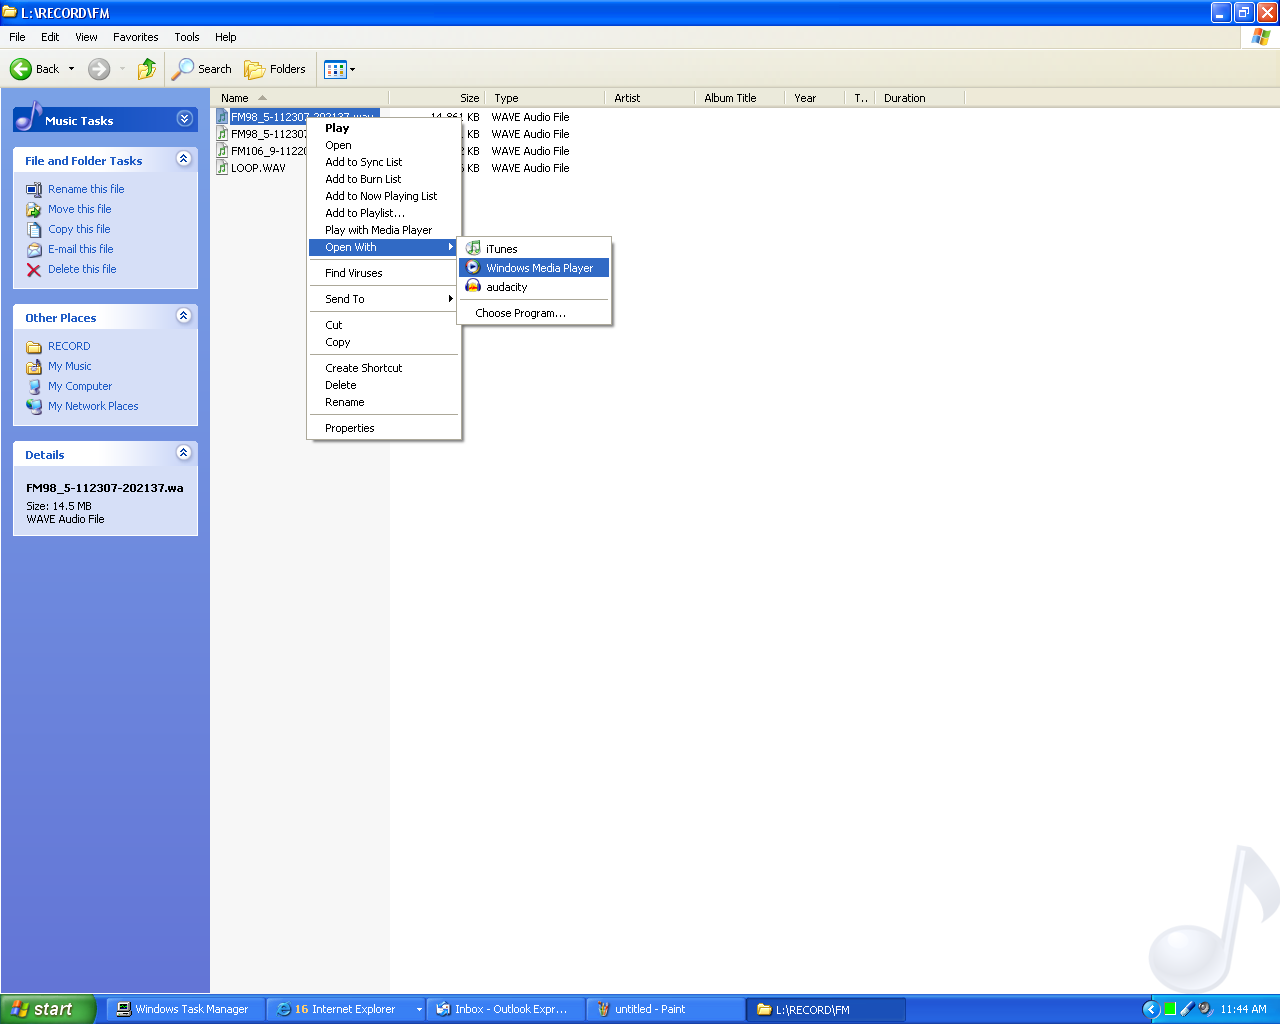
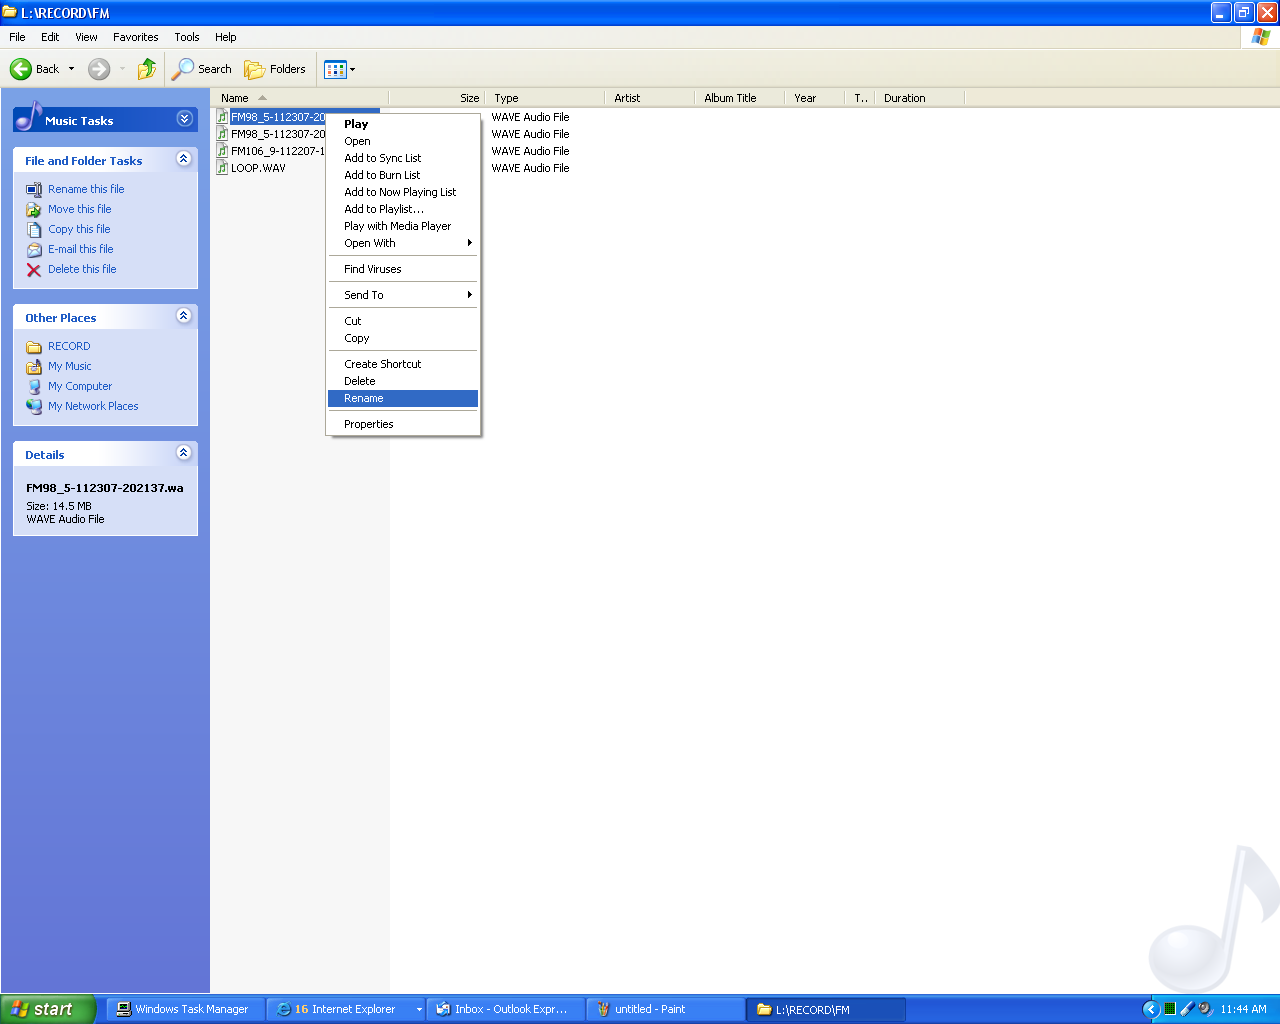
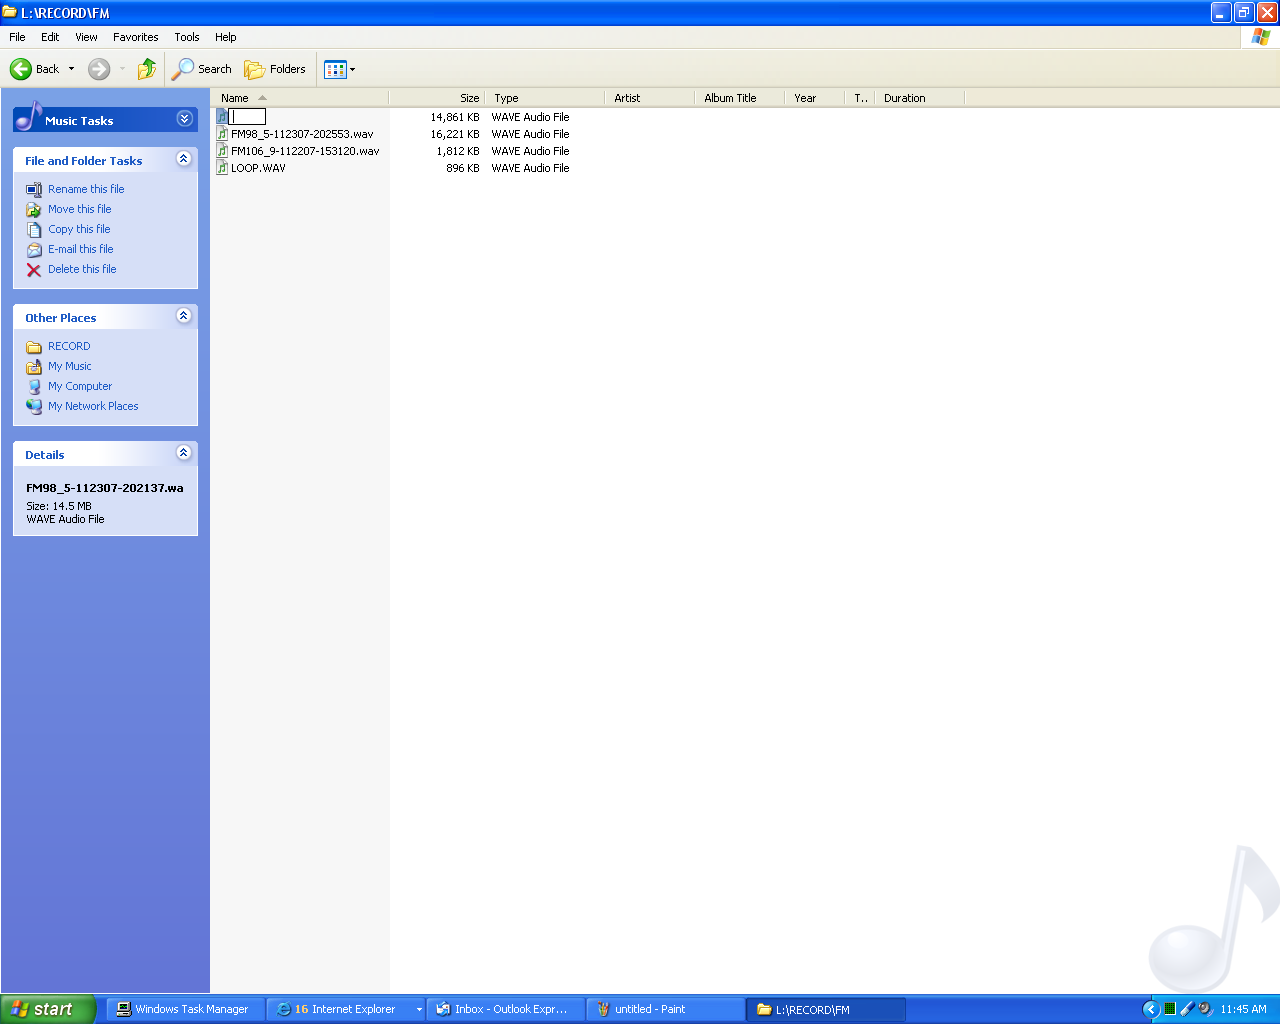
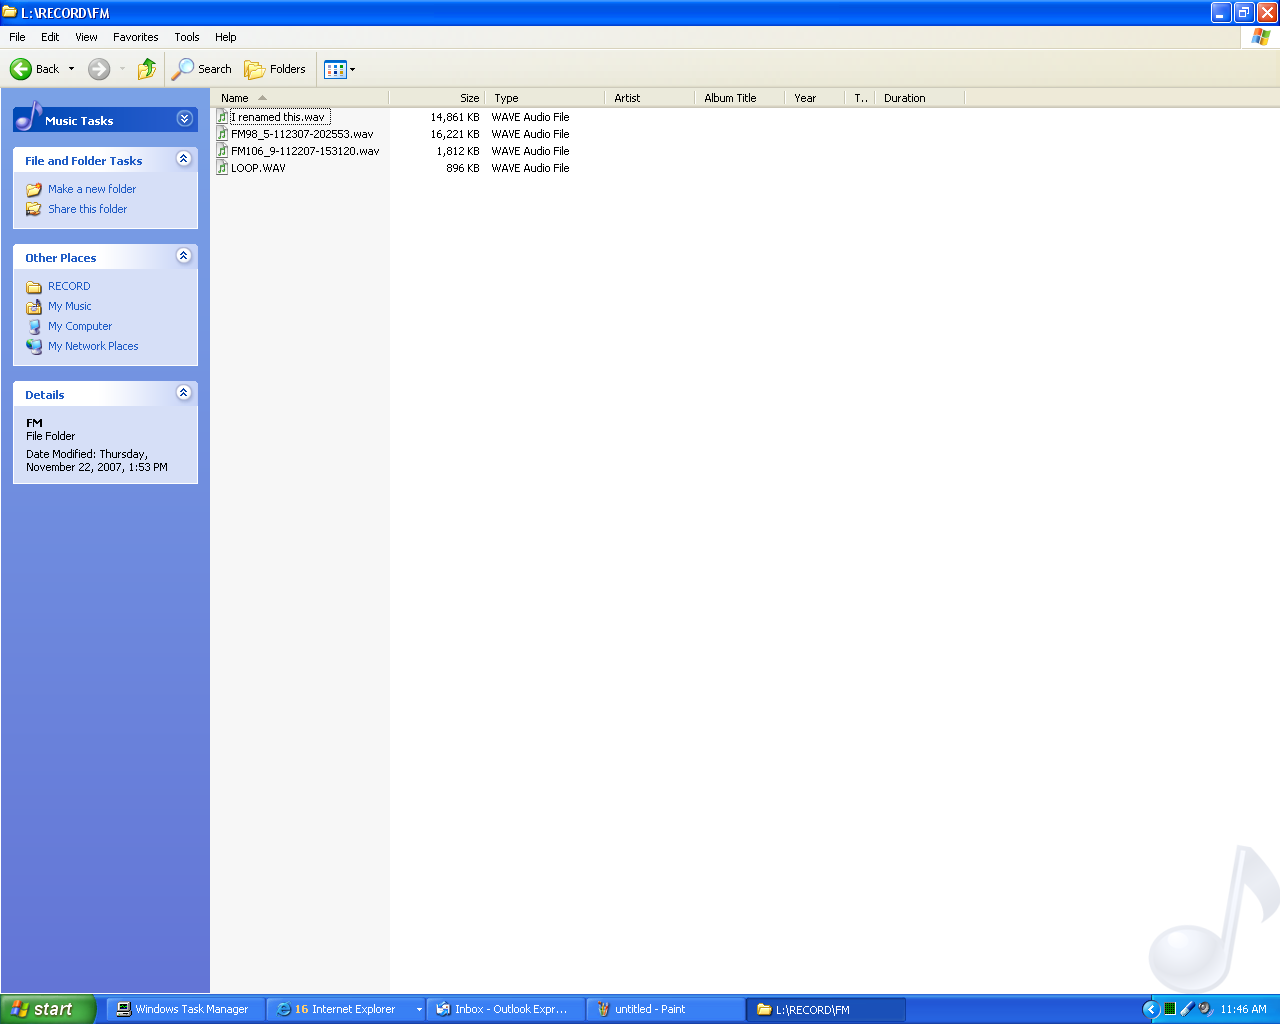
I hope the pictures will clarify this step. When I say navigate I mean on your computer, not the Sansa.
-Connect Sansa
Via provided cord. Or wirelessly. Gotta love the wireless.
-Open up My computer. Navigate Sansa>RECORD>FM
-Right click fm recordings and select play with windows media player
-After you know what the song is (that's why I had you play it), right click again and select "rename"
-Rename the recording, remembering to name it "NAME.Wav" You'll need to use whatever extension the original file name ended with- I use the .wav extension as an example. I don't know if other players save recordings as .wav files or if they record in other formats. Don't forget the extension, though. It'll wreck it if you do!
And voila!Your recordings are now named and easy to work with! Never again will you get confused and delete the wrong one because the names are all so weird!
As I mentioned previously, this should work for audio/voice recordings as well.
Converting to Mp3 Format to Save Valuable Space (Or, Memory Is Money)


-Connect Sansa
Via provided cord. Or wirelessly. Gotta love the wireless.
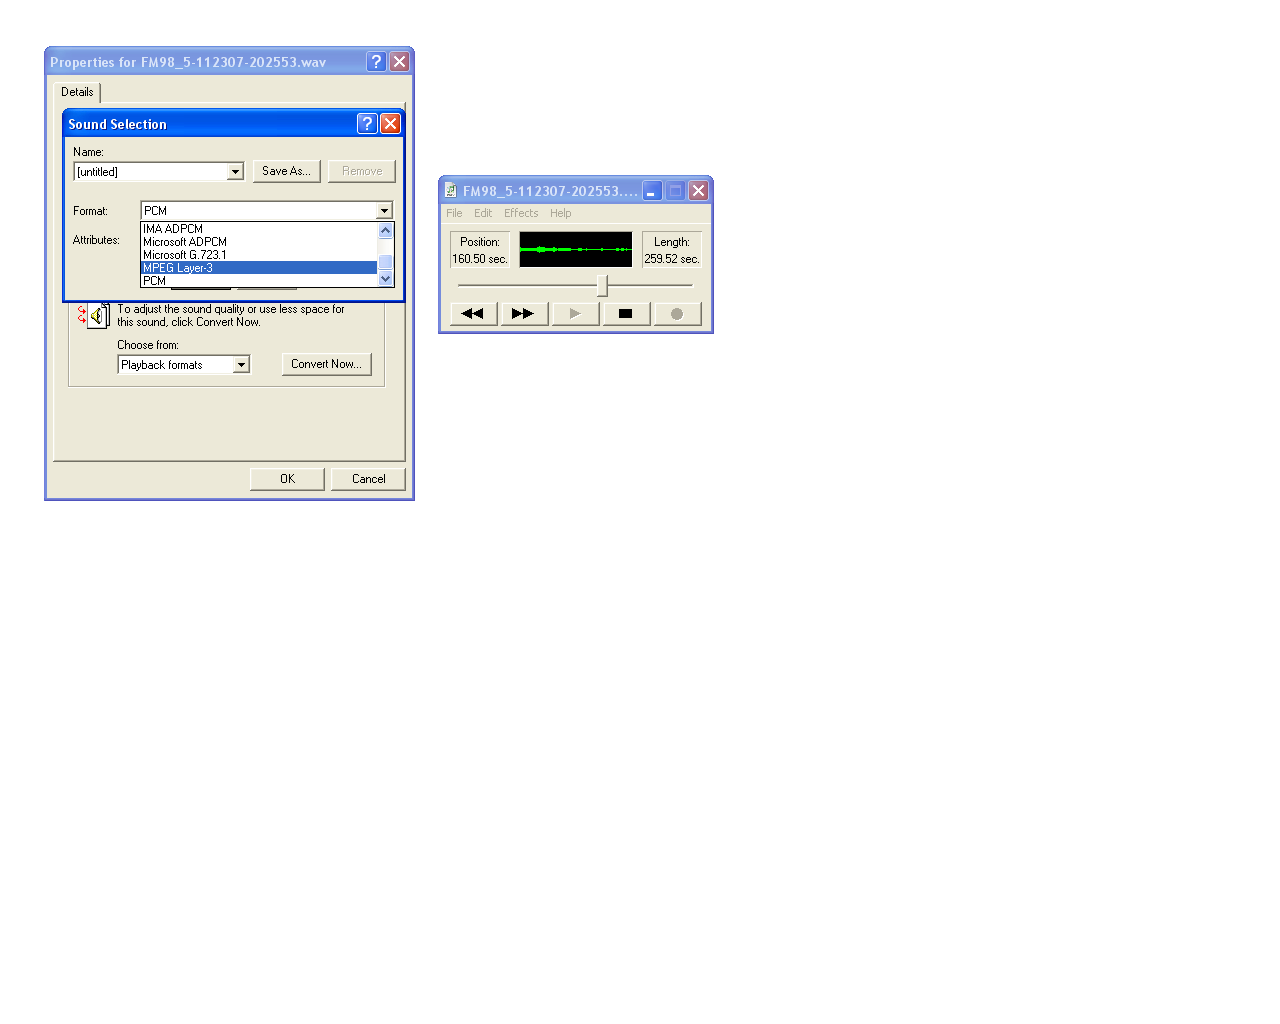
-On your computer navigate Start>All programs>Accessories>Entertainment>Sound recorder
I assume you don't need pictures for this.
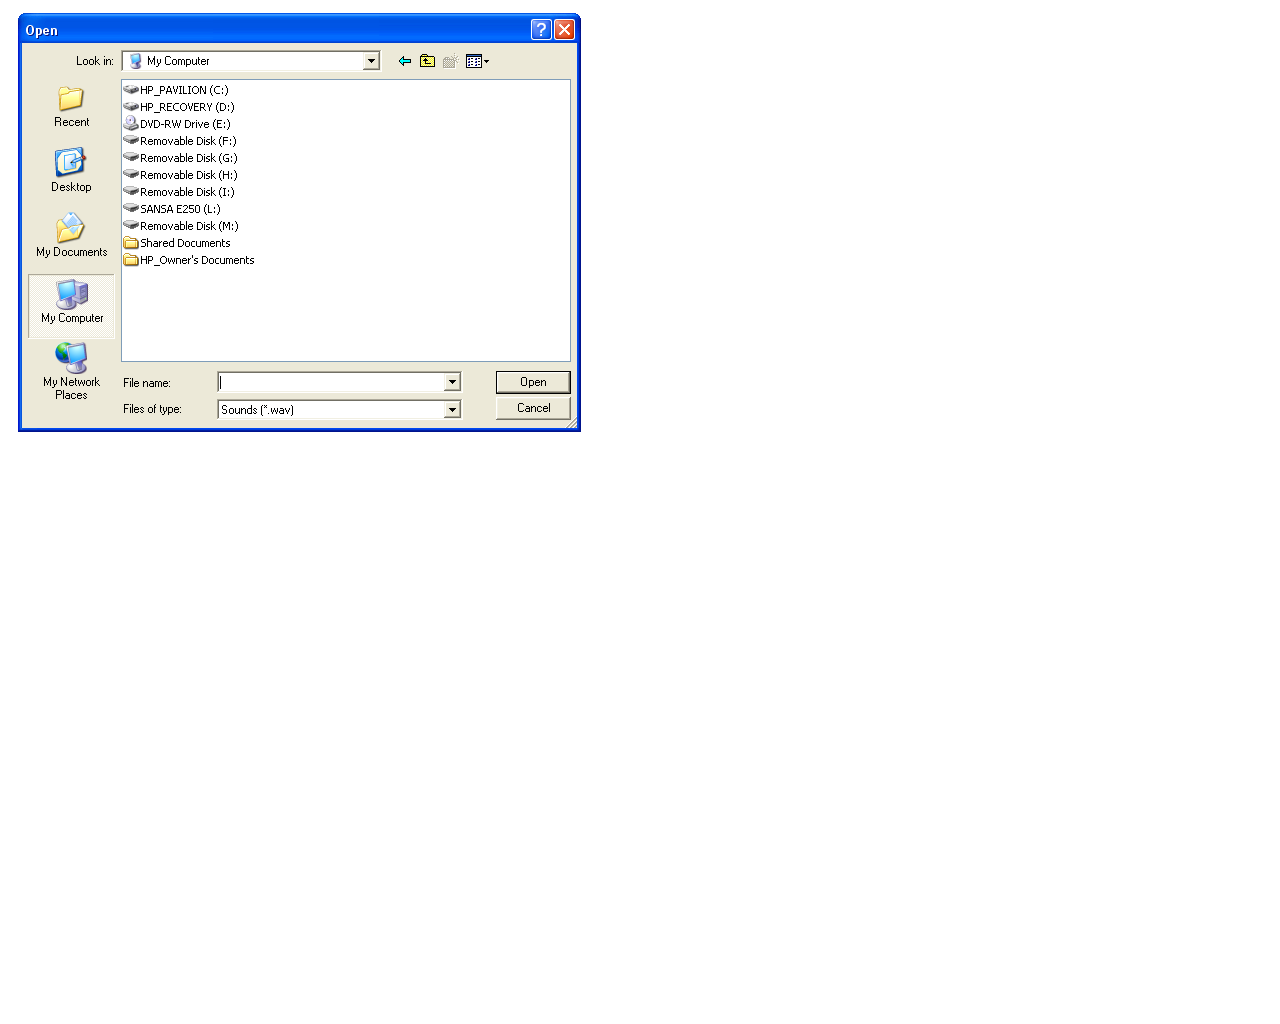
-After sound recorder opens Navigate (in the sound recorder program) File>Open>My computer>Sansa e250 (or whatever you have)>RECORD>FM
-Select any one of your newly renamed recordings
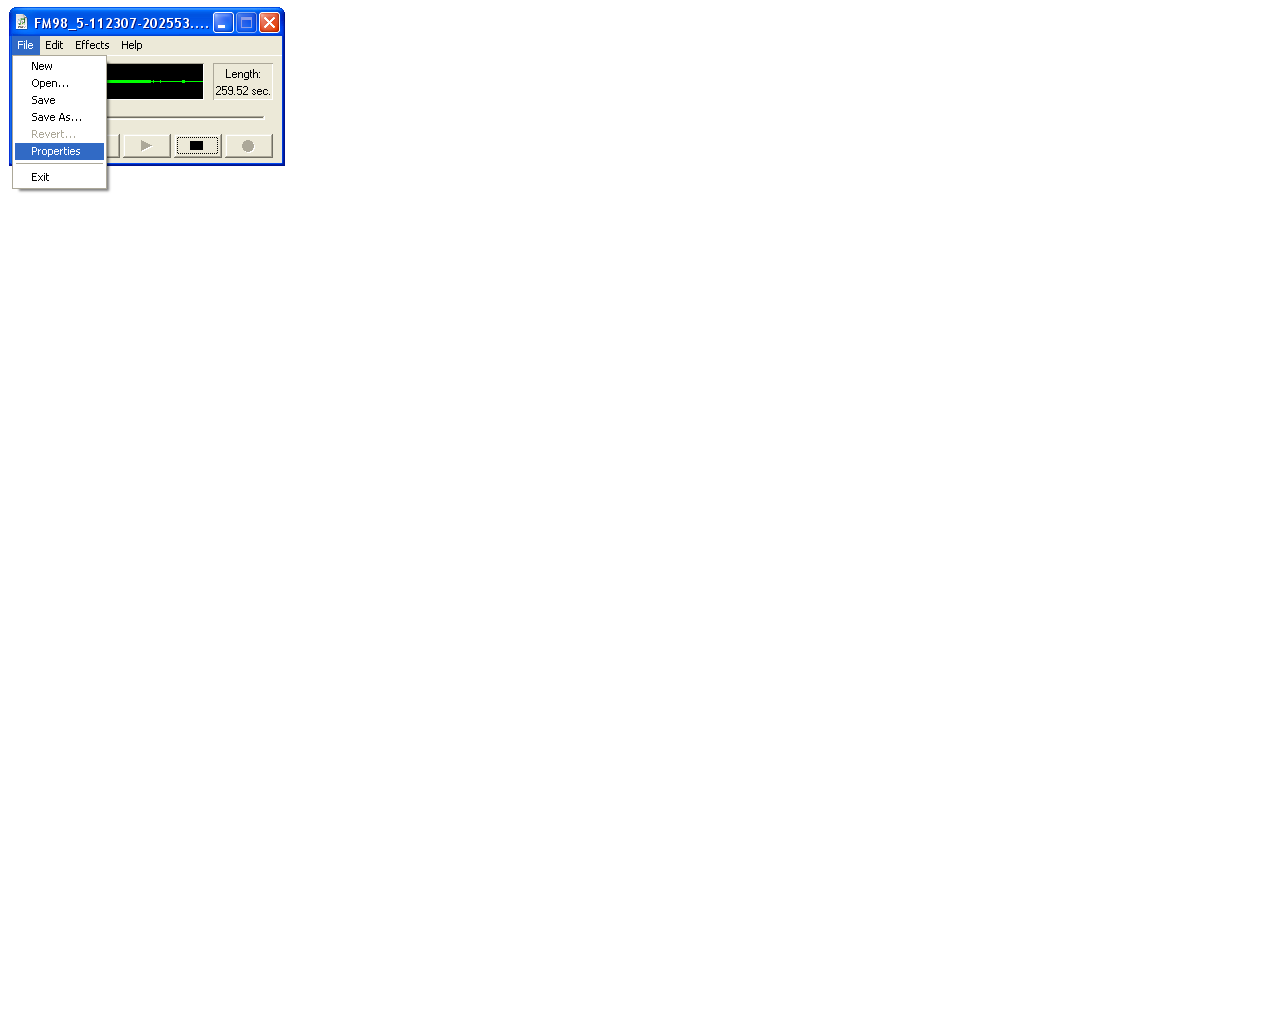
-Navigate File>Properties
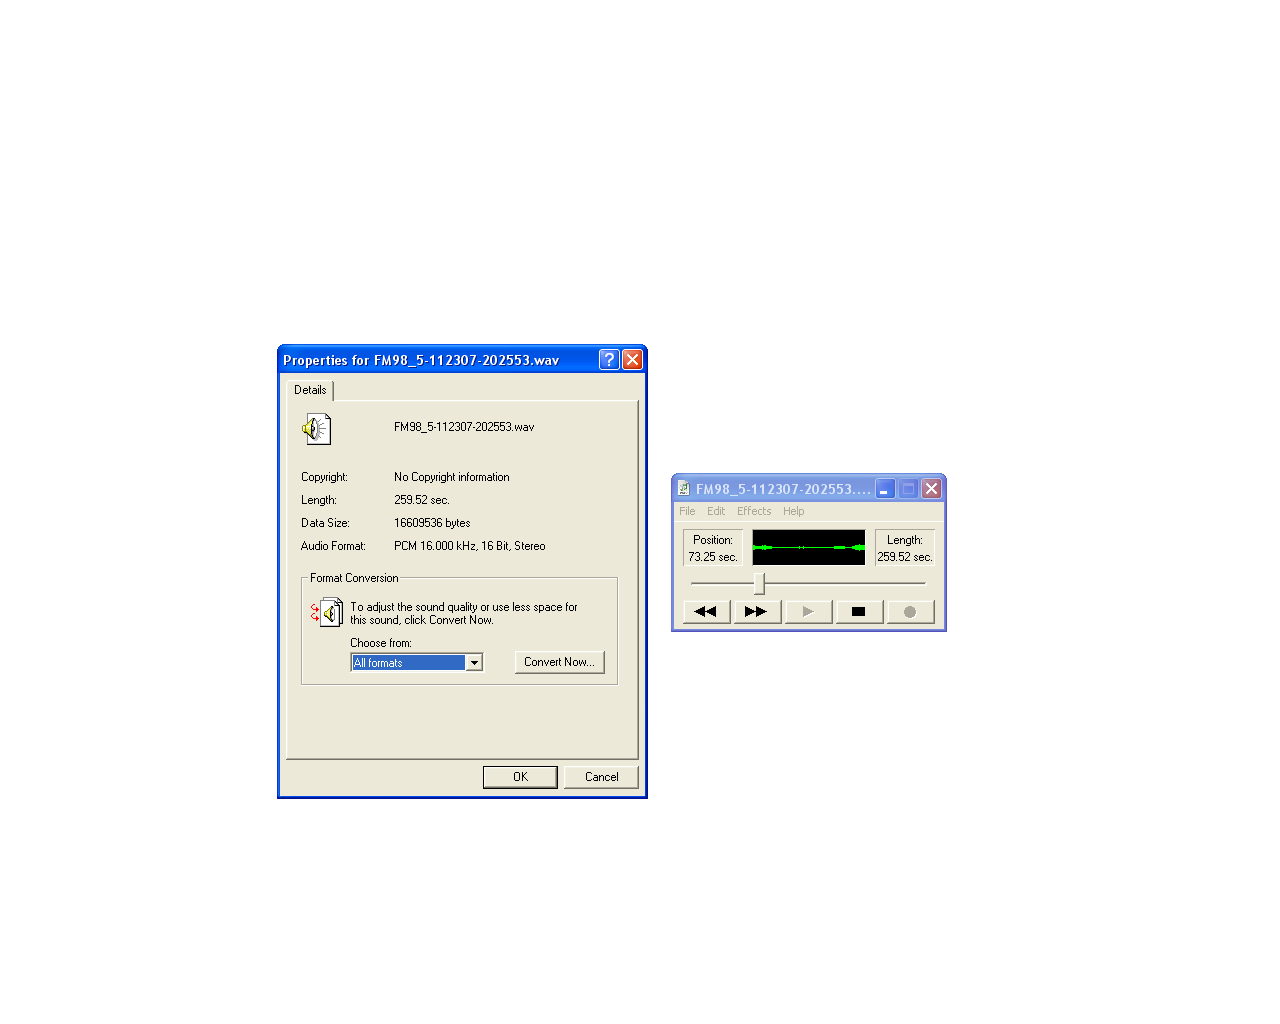
-Now select "playback formats" under format conversion
-Choose format and click "convert now..."
-Convert to any format you please. I recommend MPEG compression layer 3 (MP3), but that's just me.
Synch back to your Sansa as you would any other MP3, if neccessary, and enjoy!