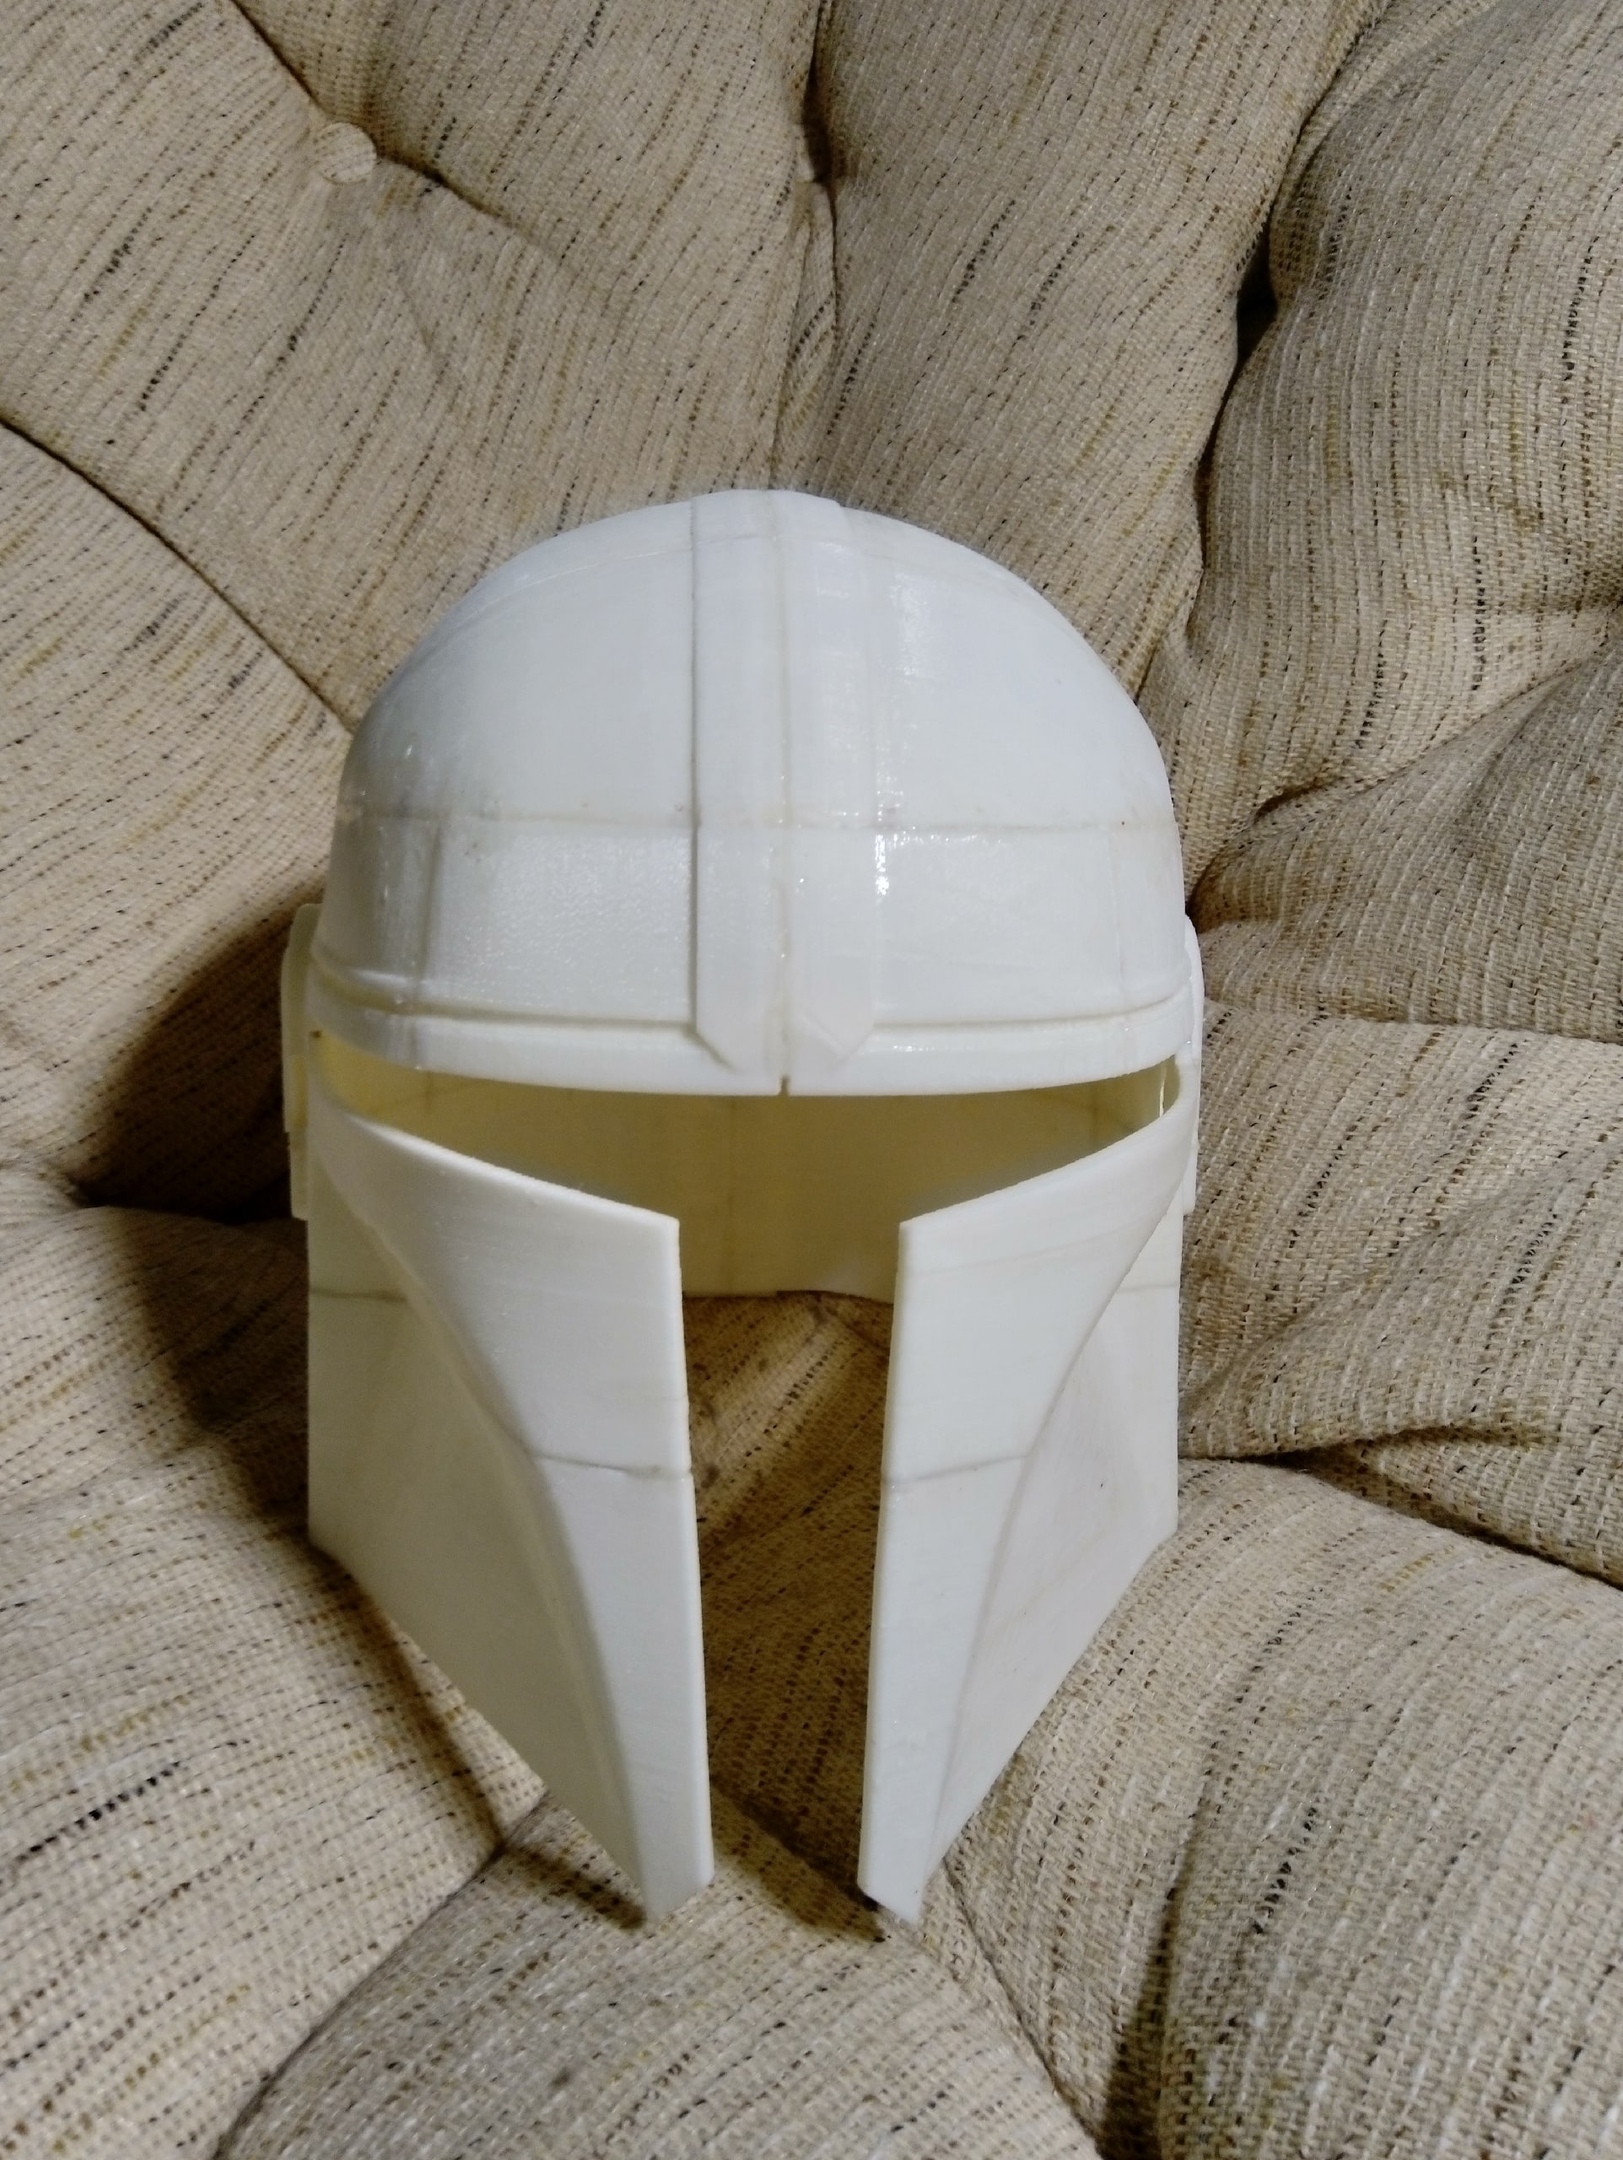
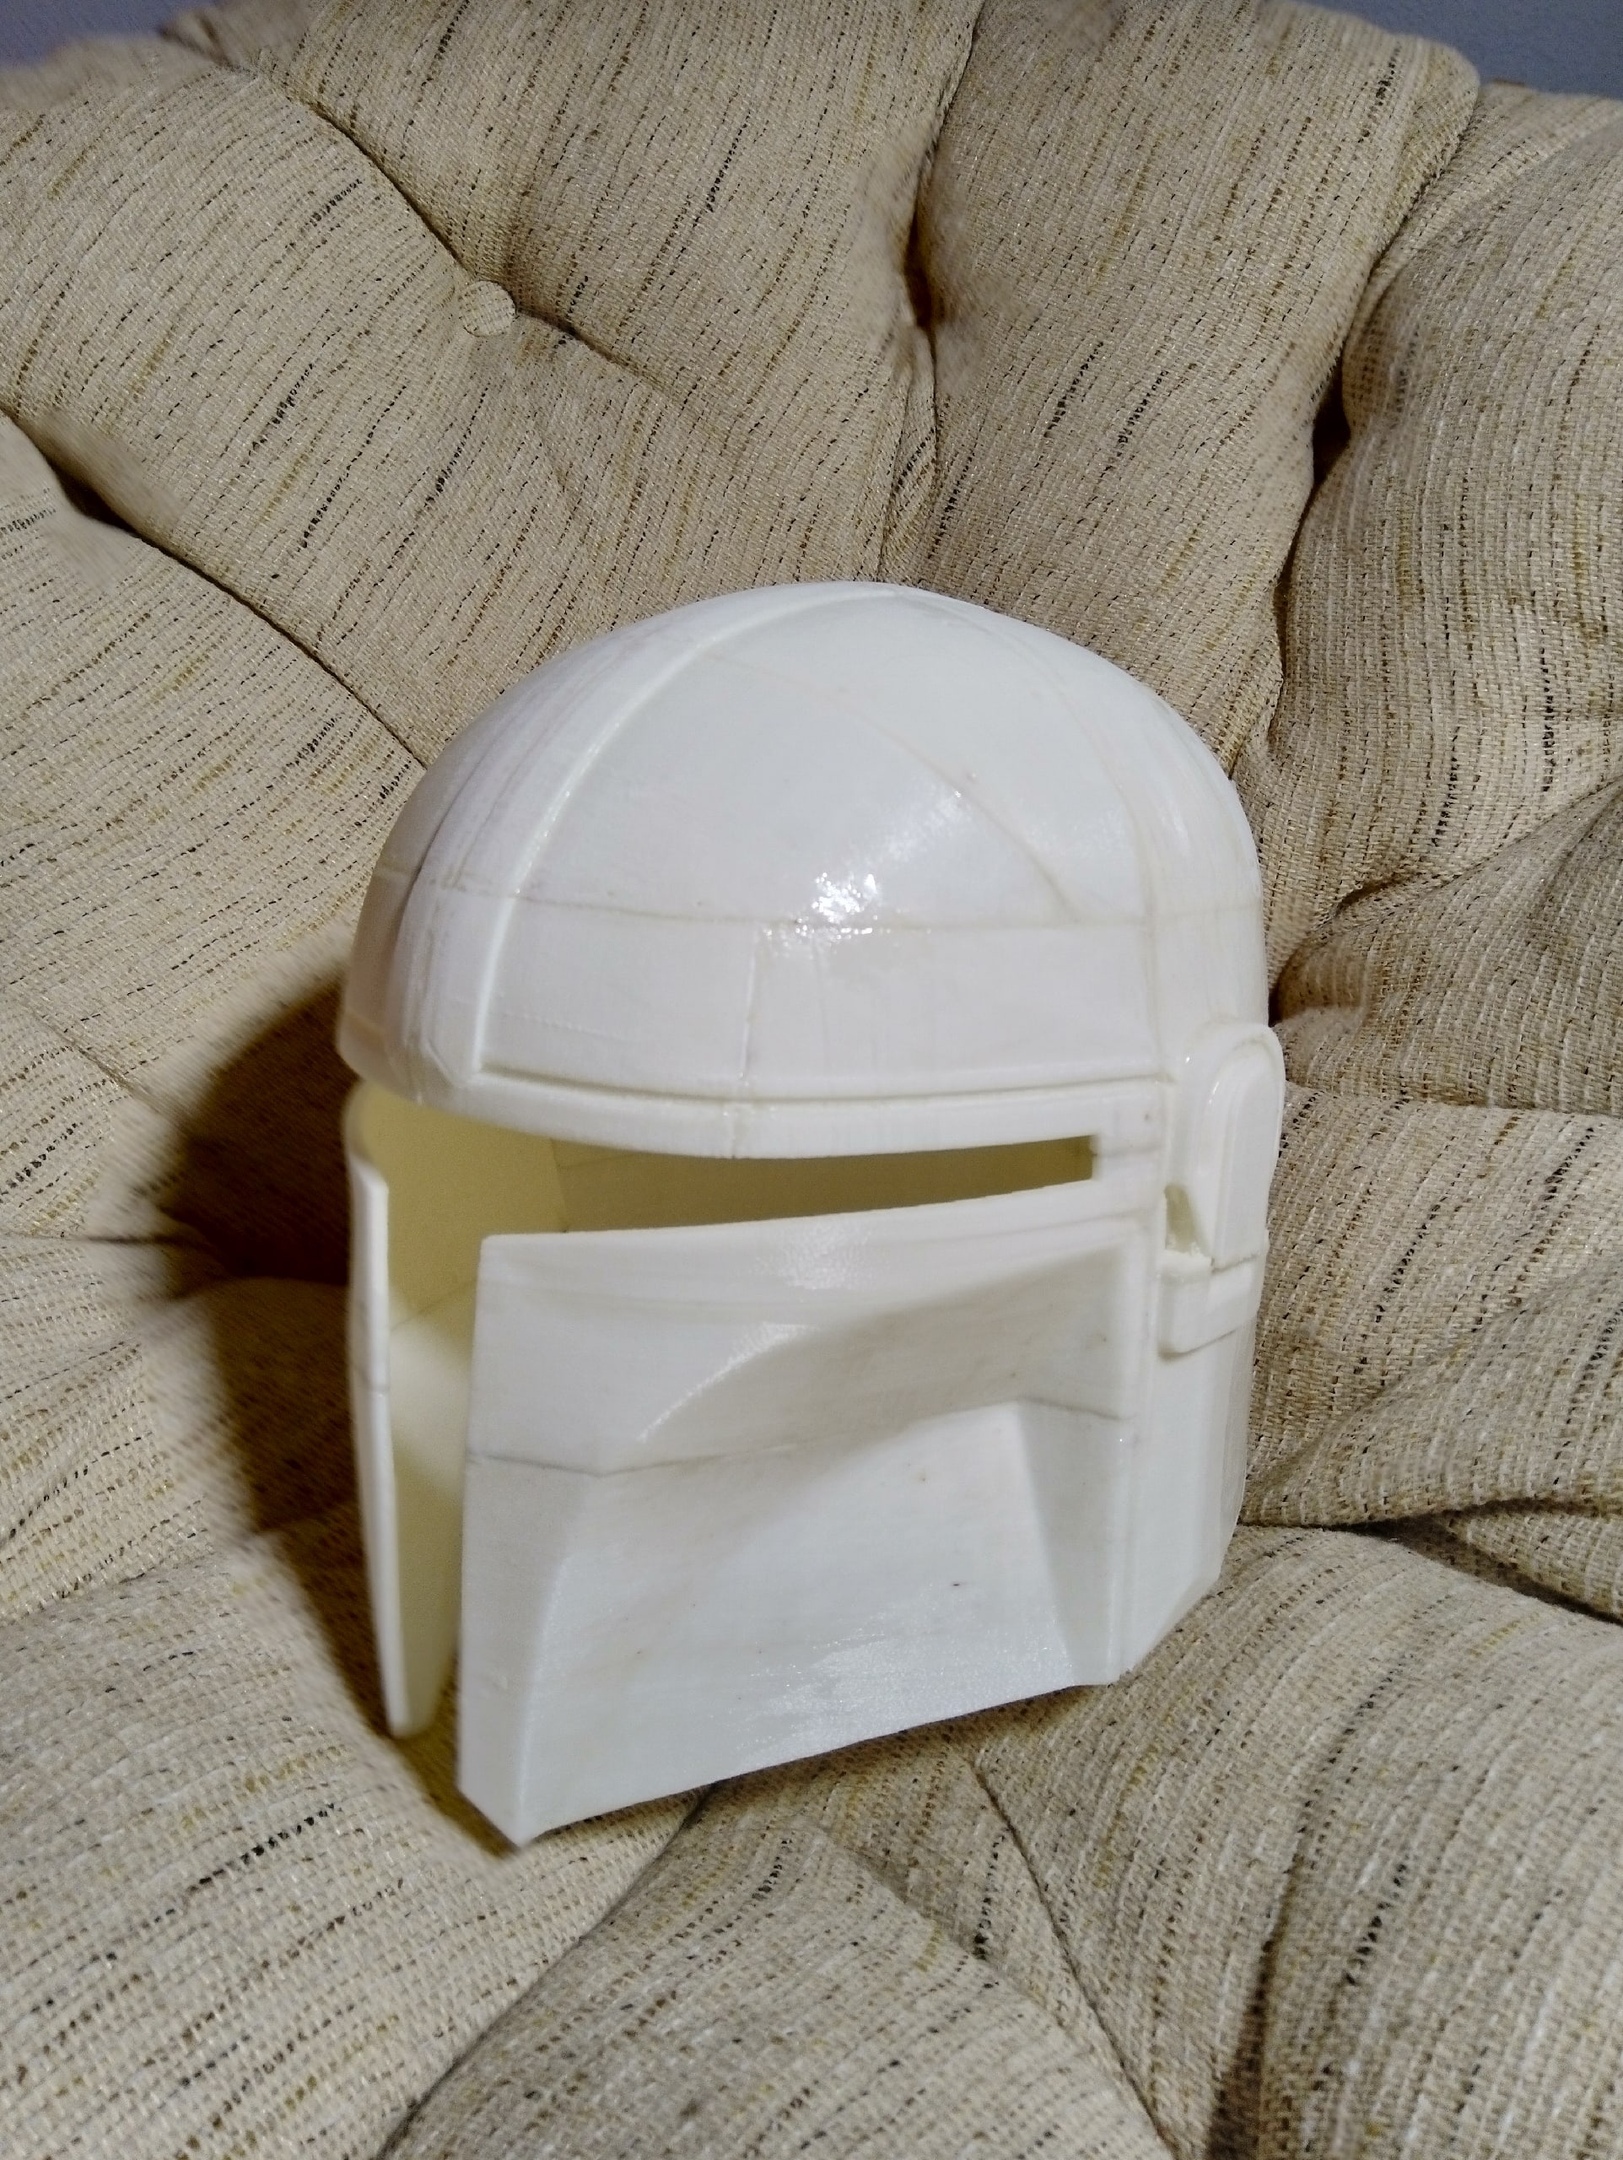
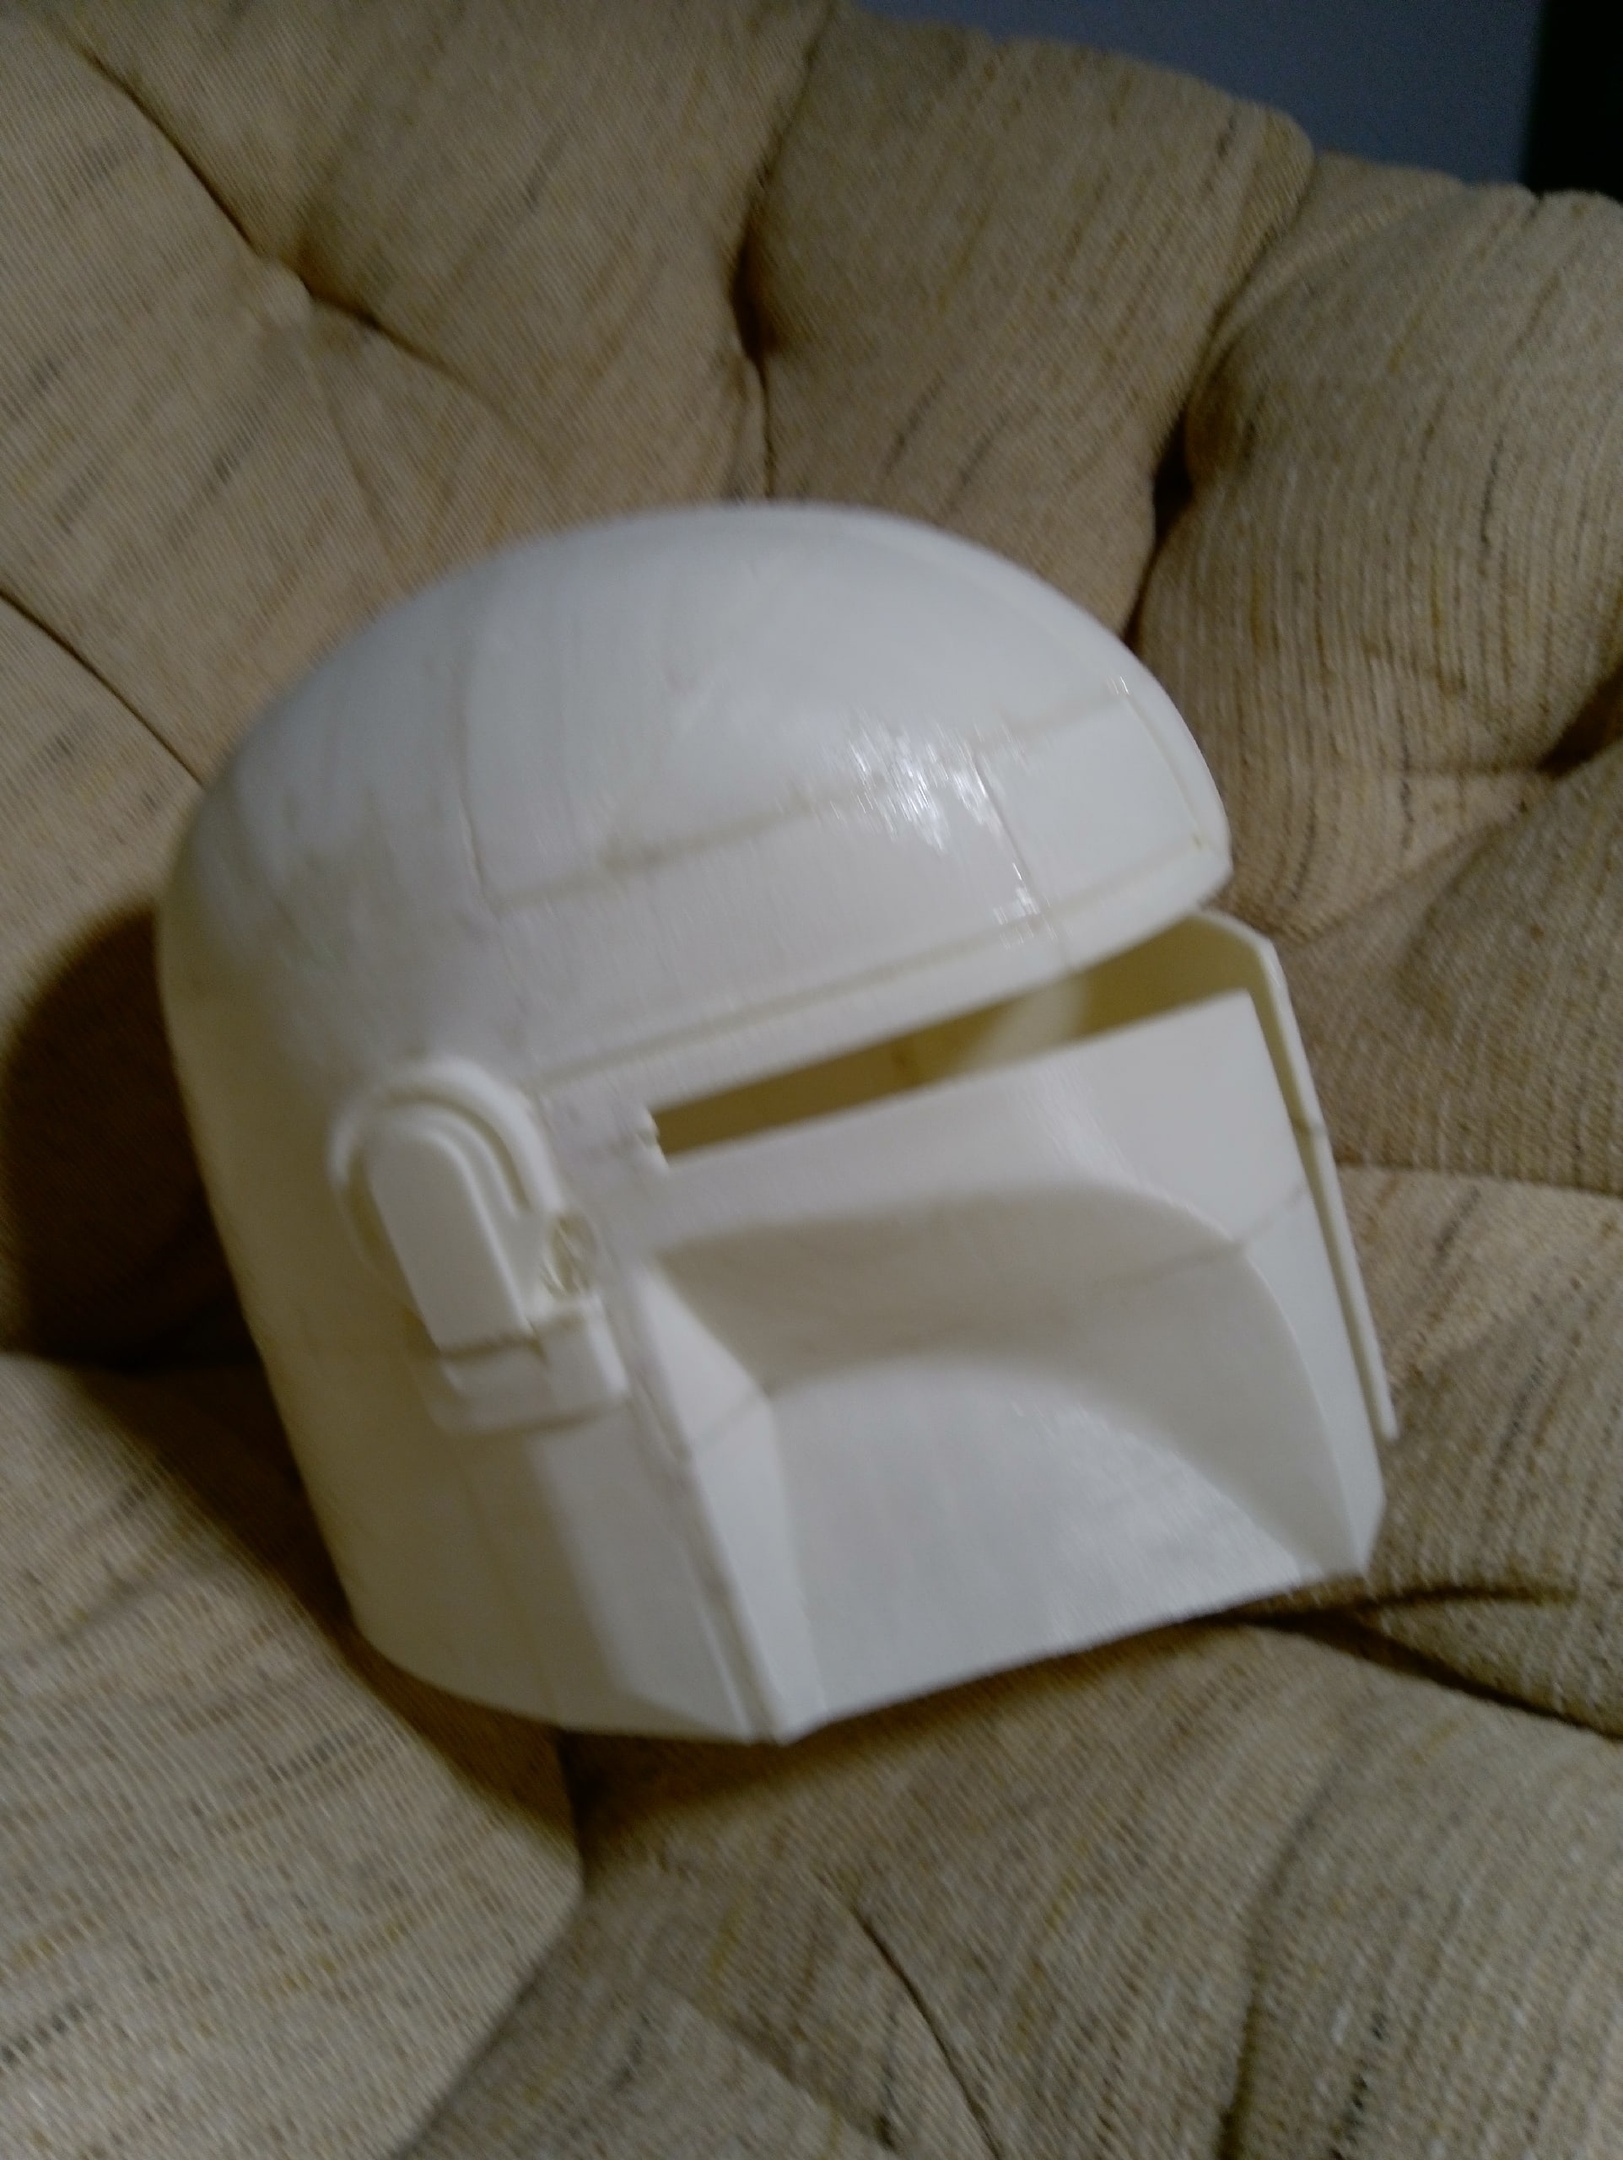
Mandalorian Helmet on 3d Printer
by SKUPERDIY in Craft > Costumes & Cosplay
4471 Views, 8 Favorites, 0 Comments
Mandalorian Helmet on 3d Printer
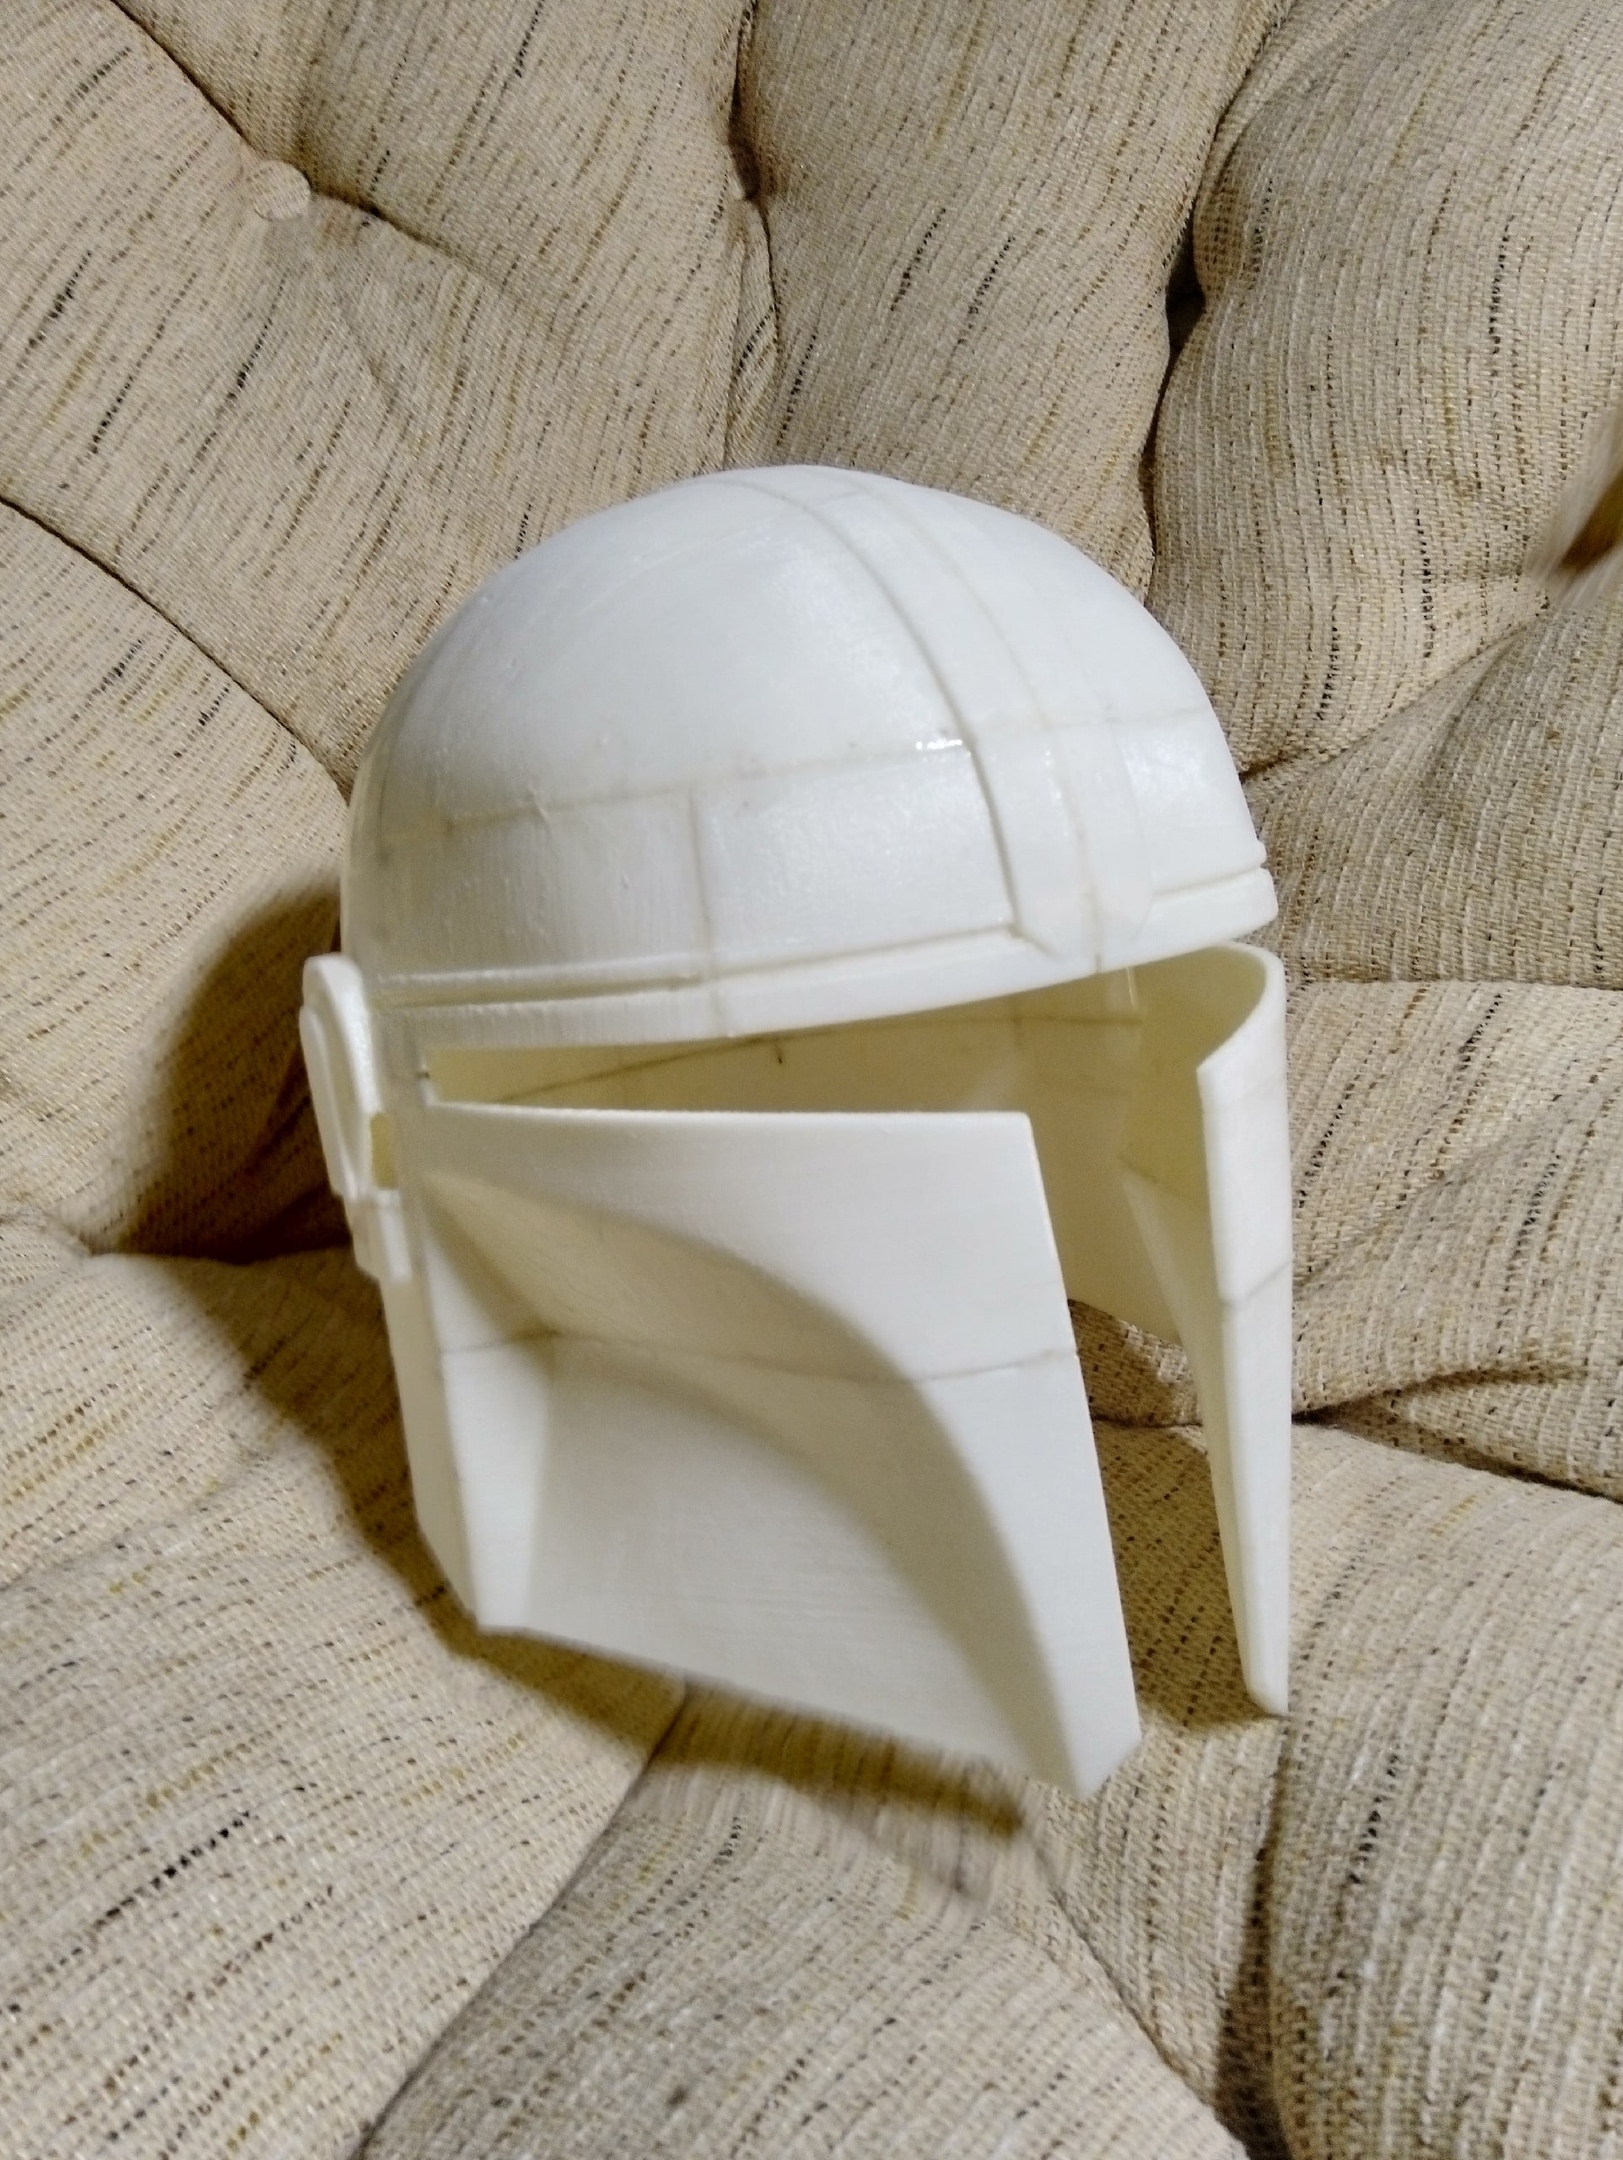
Hey)))
This is my first instruction. I want to show how I made a Mandalorian helmet. Now everyone can buy a 3D printer. They are not have big price. But not everyone can buy a large printer. With the print area as a human head. I am such a person. I have an old printer prusha i3. The dimensions of his table are 200mm * 200mm. And I can't print a whole helmet.
I will show you my technique.
Supplies
- 3d printer
- 3d programm (fusion 360)
- your hands
- your brains
Split Body
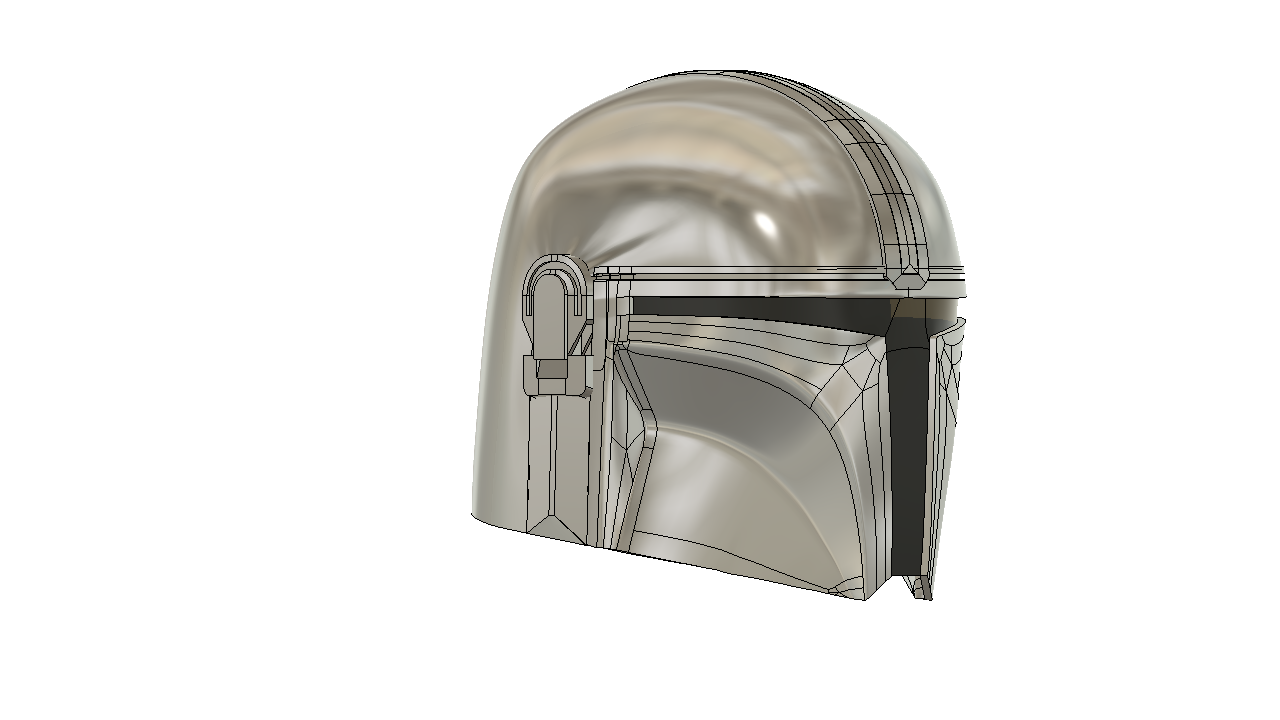
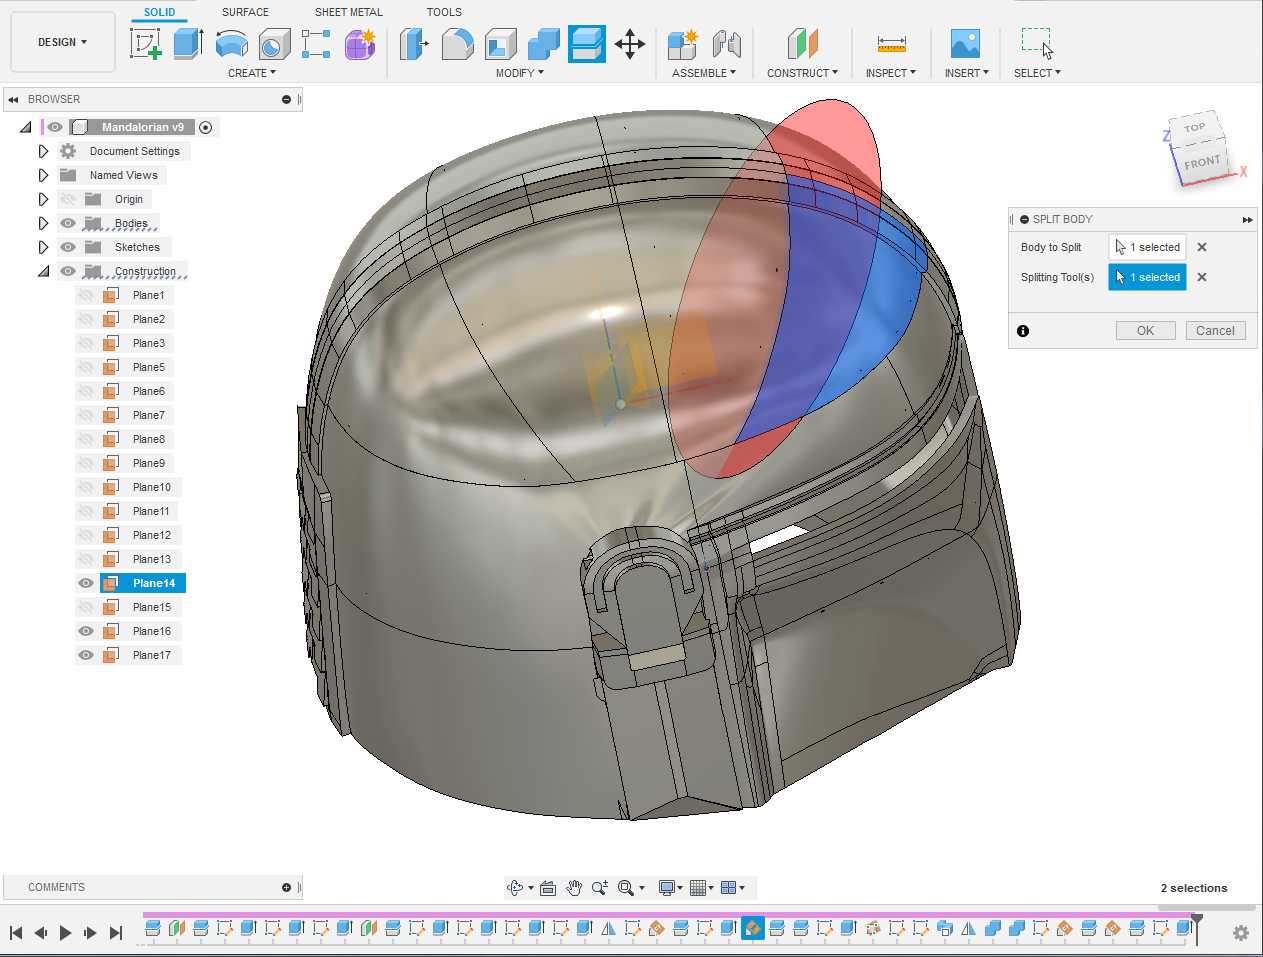
I see no reason to tell how I modeled a helmet. Therefore, skip this moment. Imagine that we already have a helmet ready.
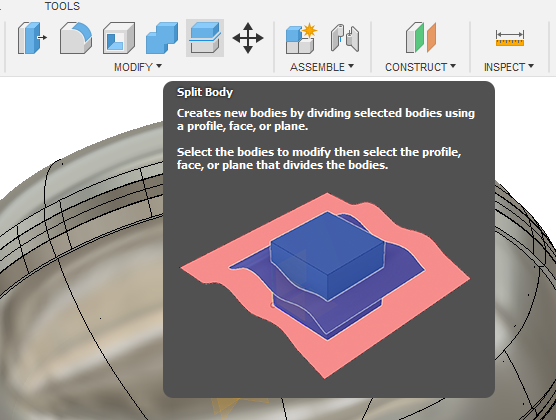
Tool Split Body.
We cut our helmet into the required number of parts.
Sketch and Extrude
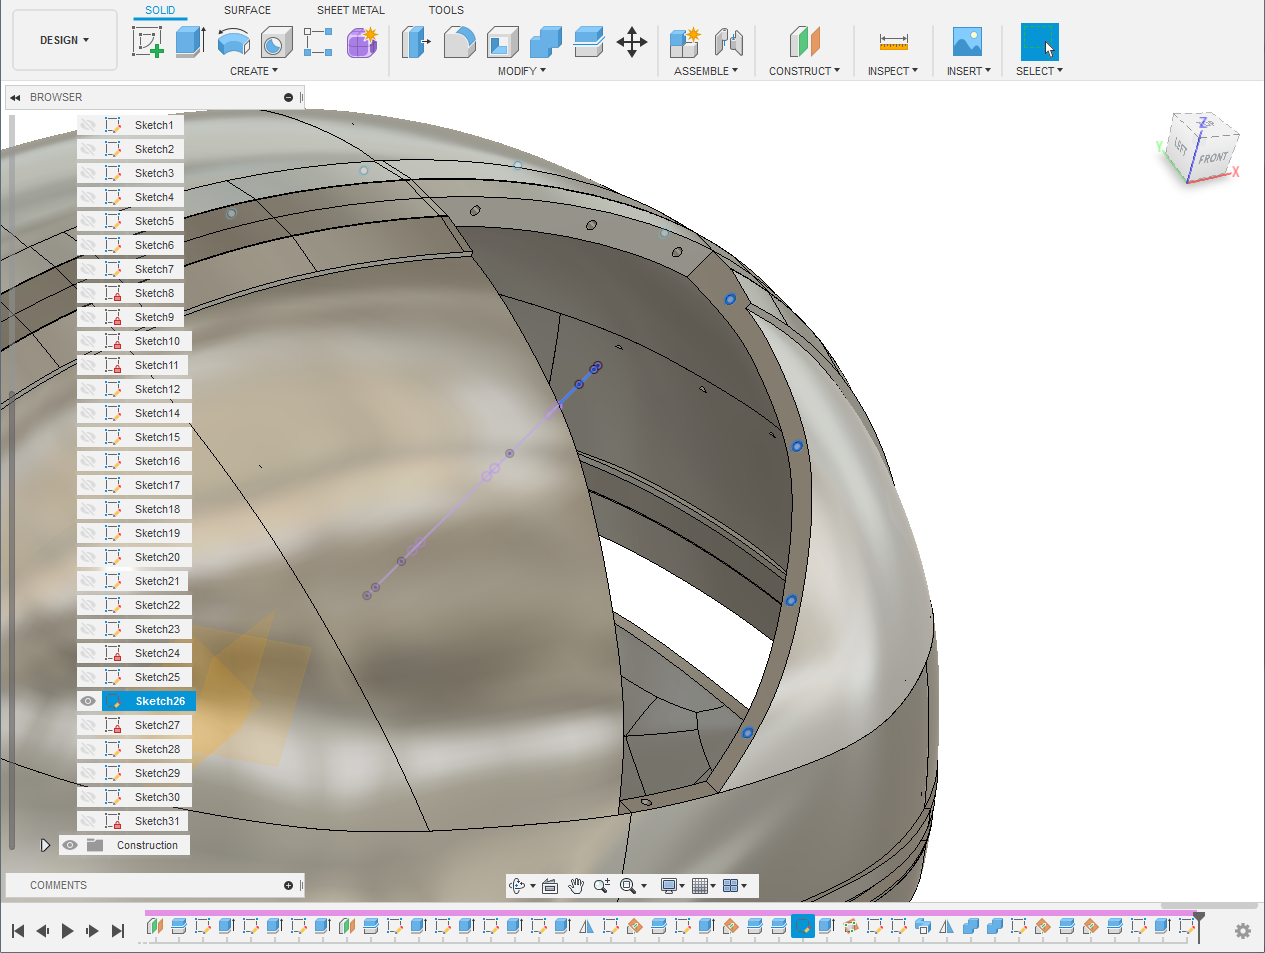
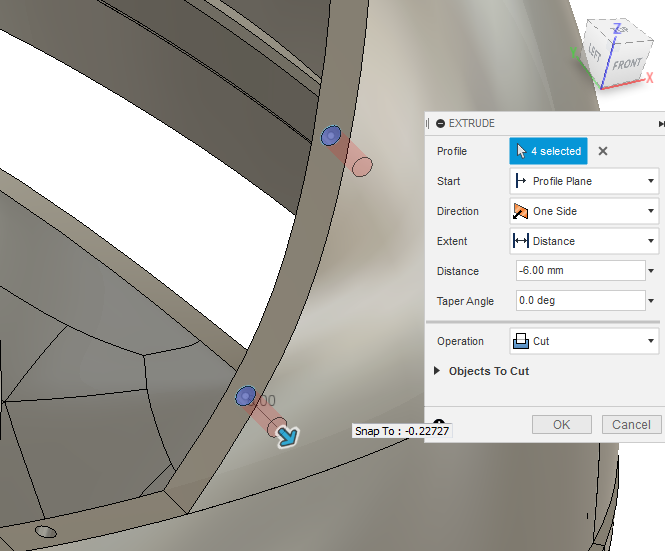
On the verge of our part, create a new sketch.
In this sketch, draw holes with a diameter of 2 mm.
Close the sketch.
Select the Extrude Tool.
And extrude out our circles.
This operation must be done with all faces of the parts! Save every detail as a stl file!
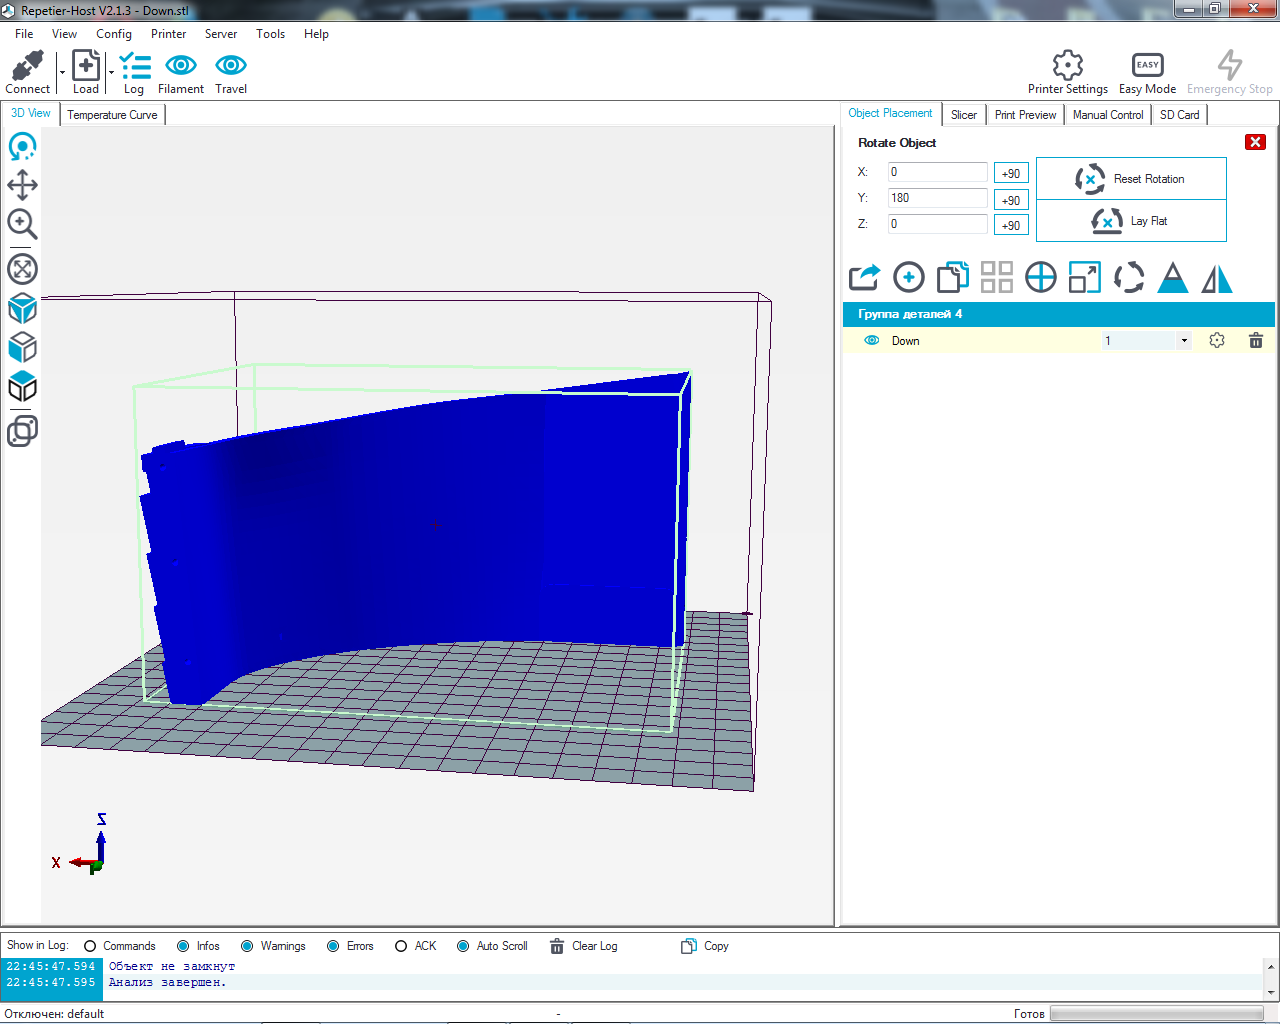
Open your program slicer.
Import stl detail.
Put it on the edge so as not to print support.
Print the part.
Hole Cleaning
.png)
.png)
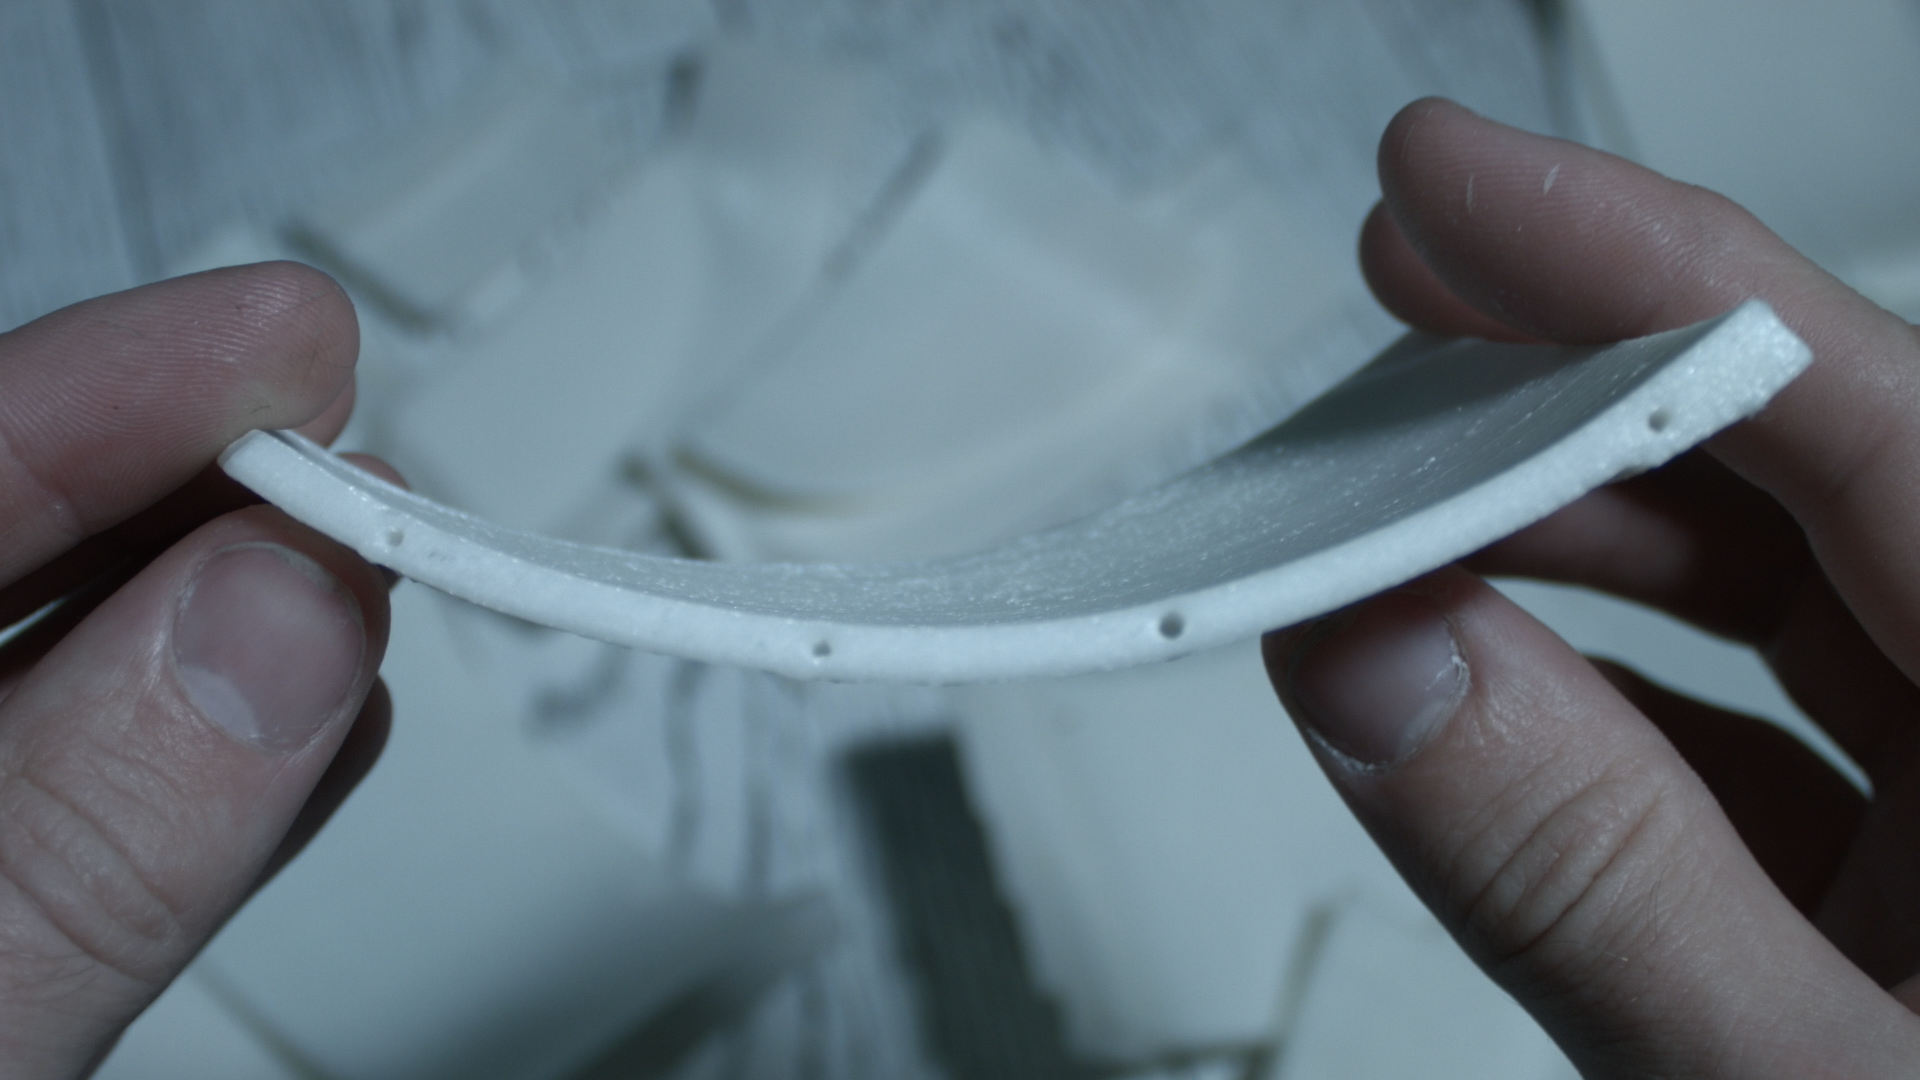
After printing, check all openings.
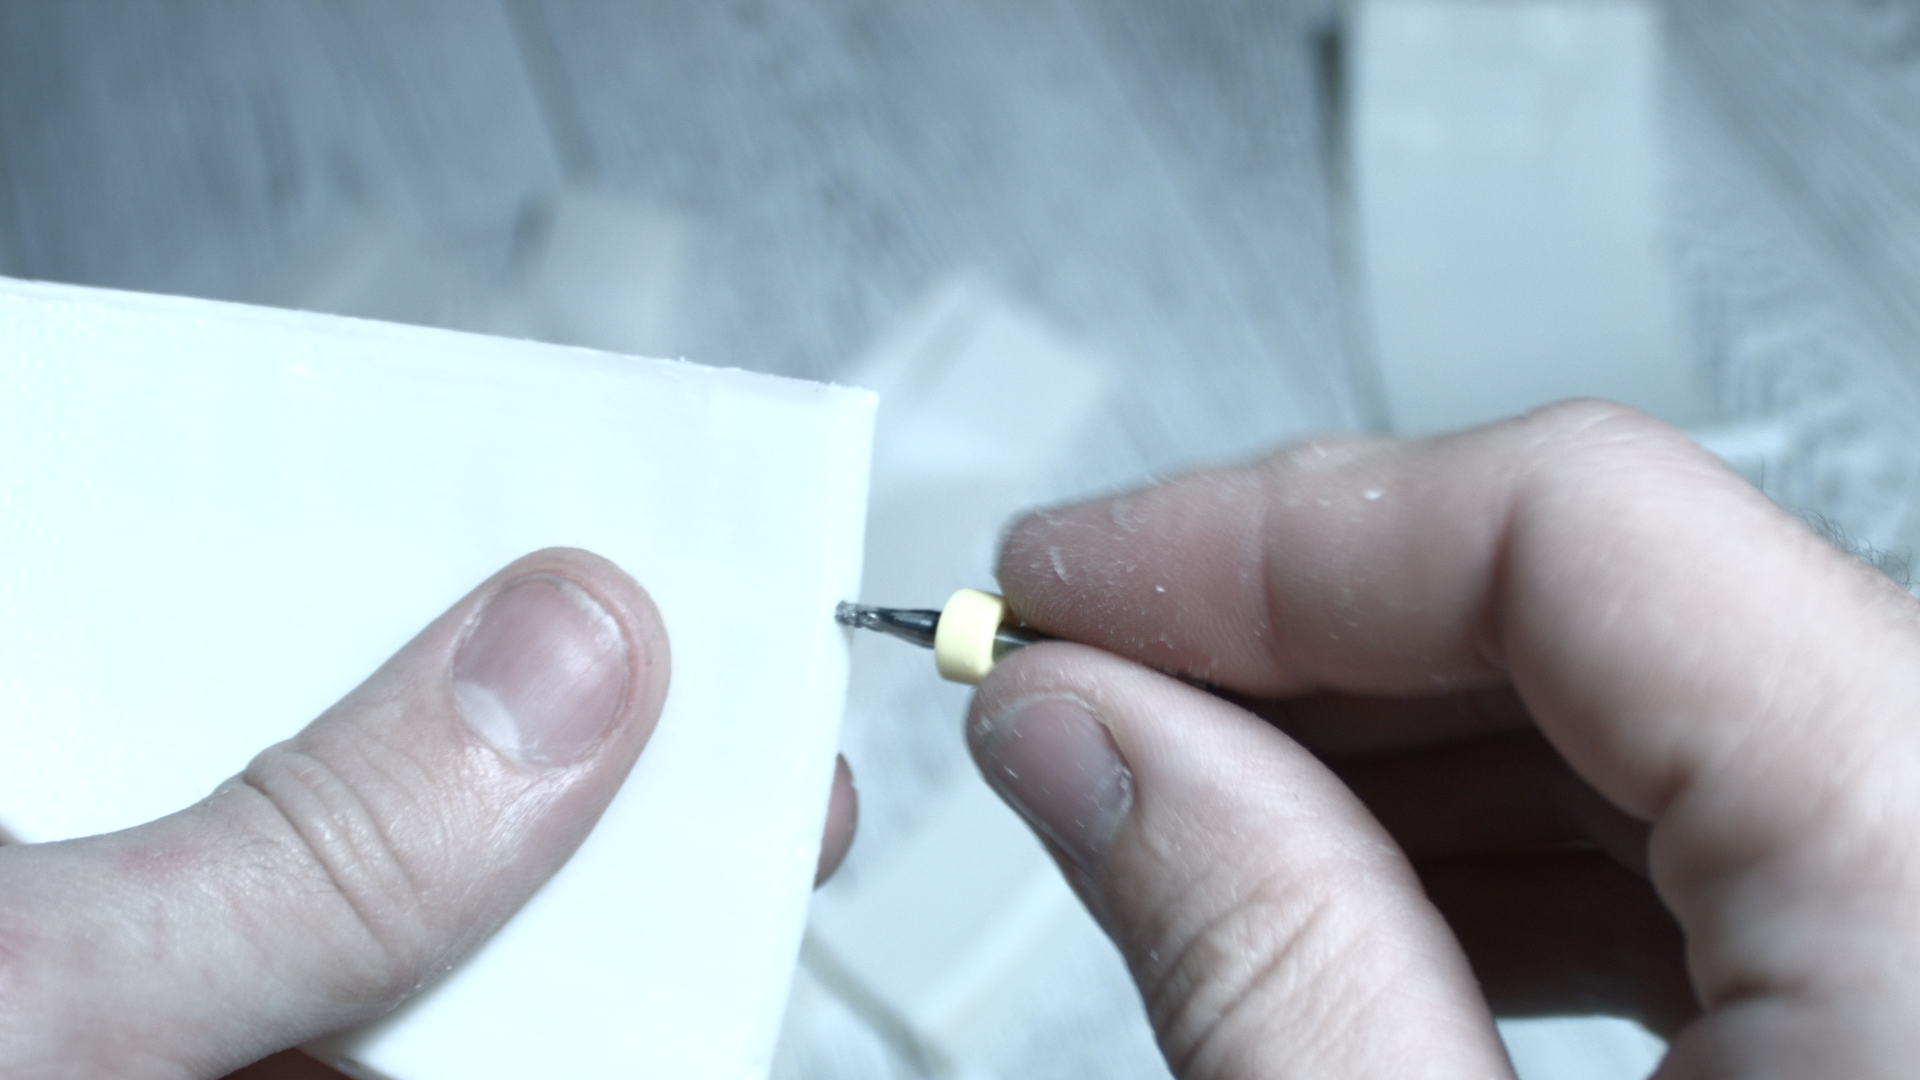
Some holes may need to be cleaned.
I use a drill or a mill.
Assembly
.png)
.png)
.png)
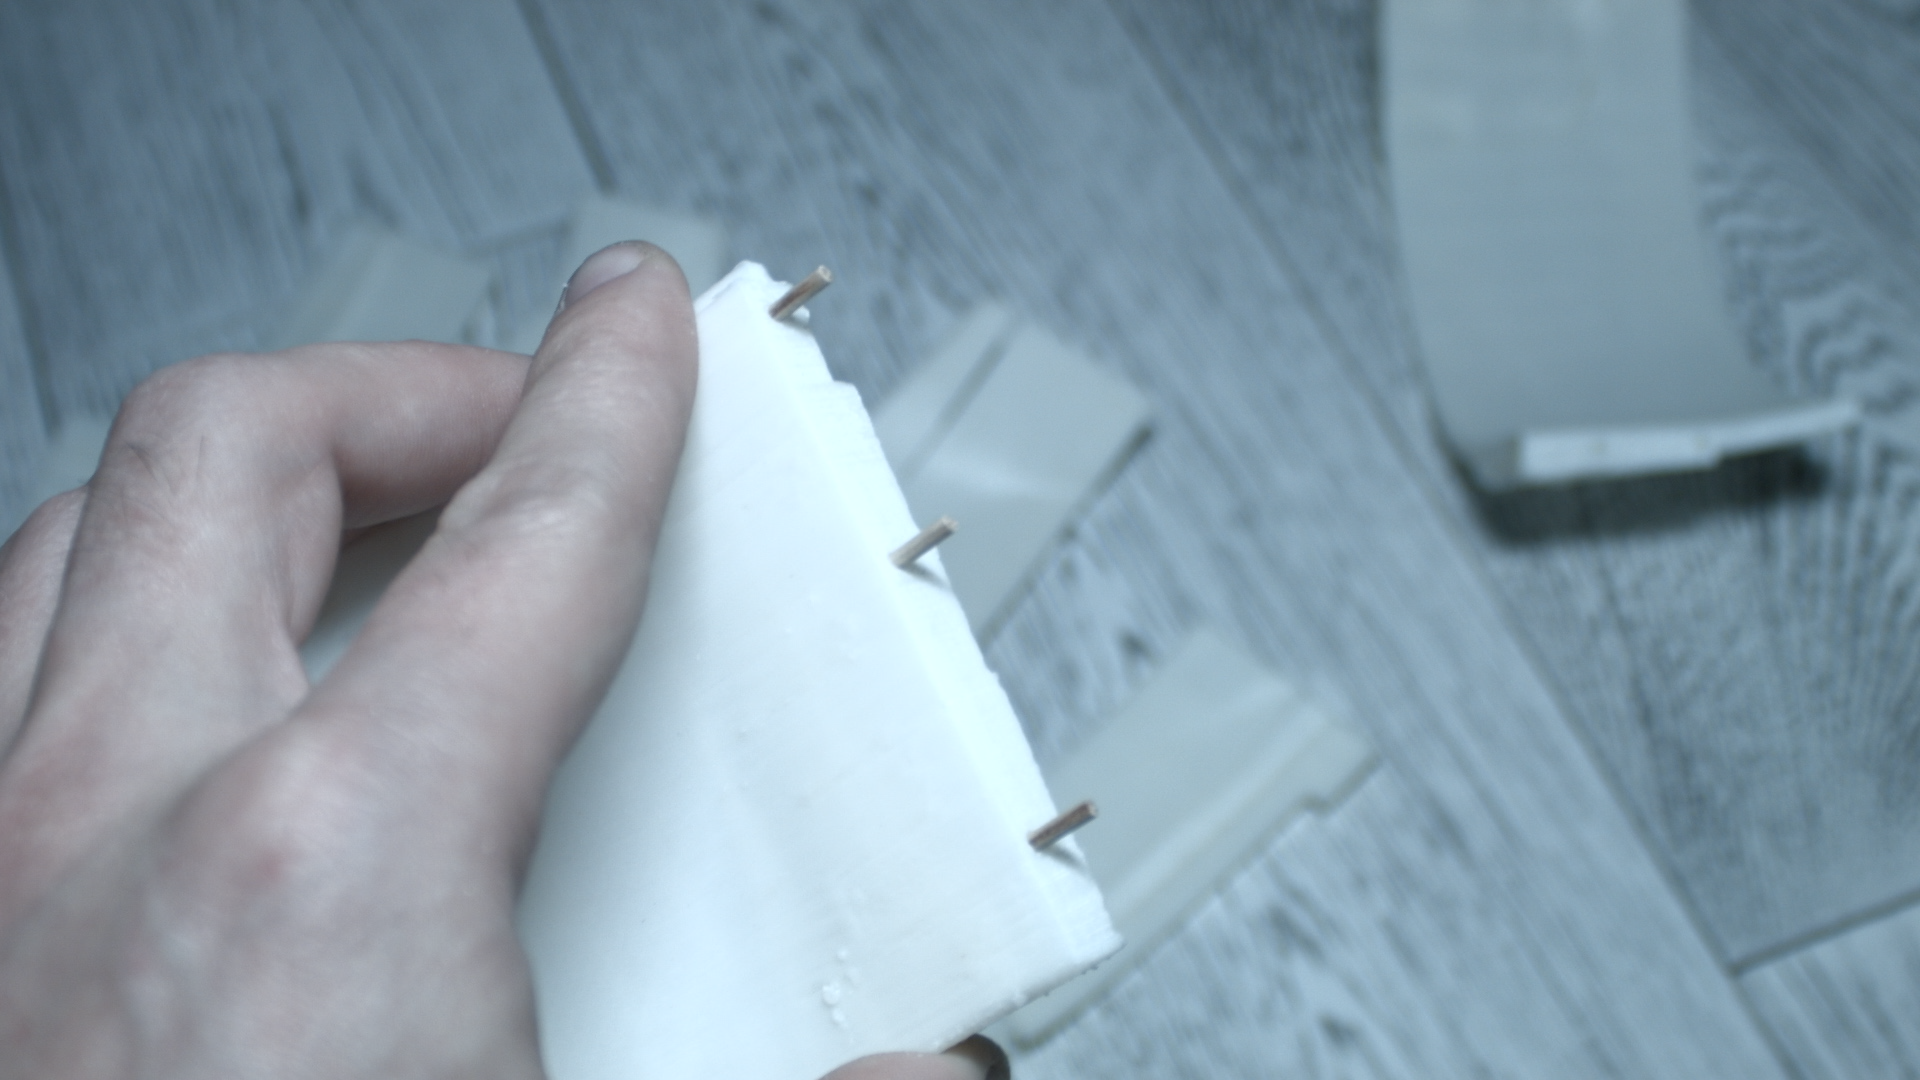
Take pieces of plastic for the printer. The plastic should be 1.75mm in diameter.
Insert these pieces into the holes of the part.
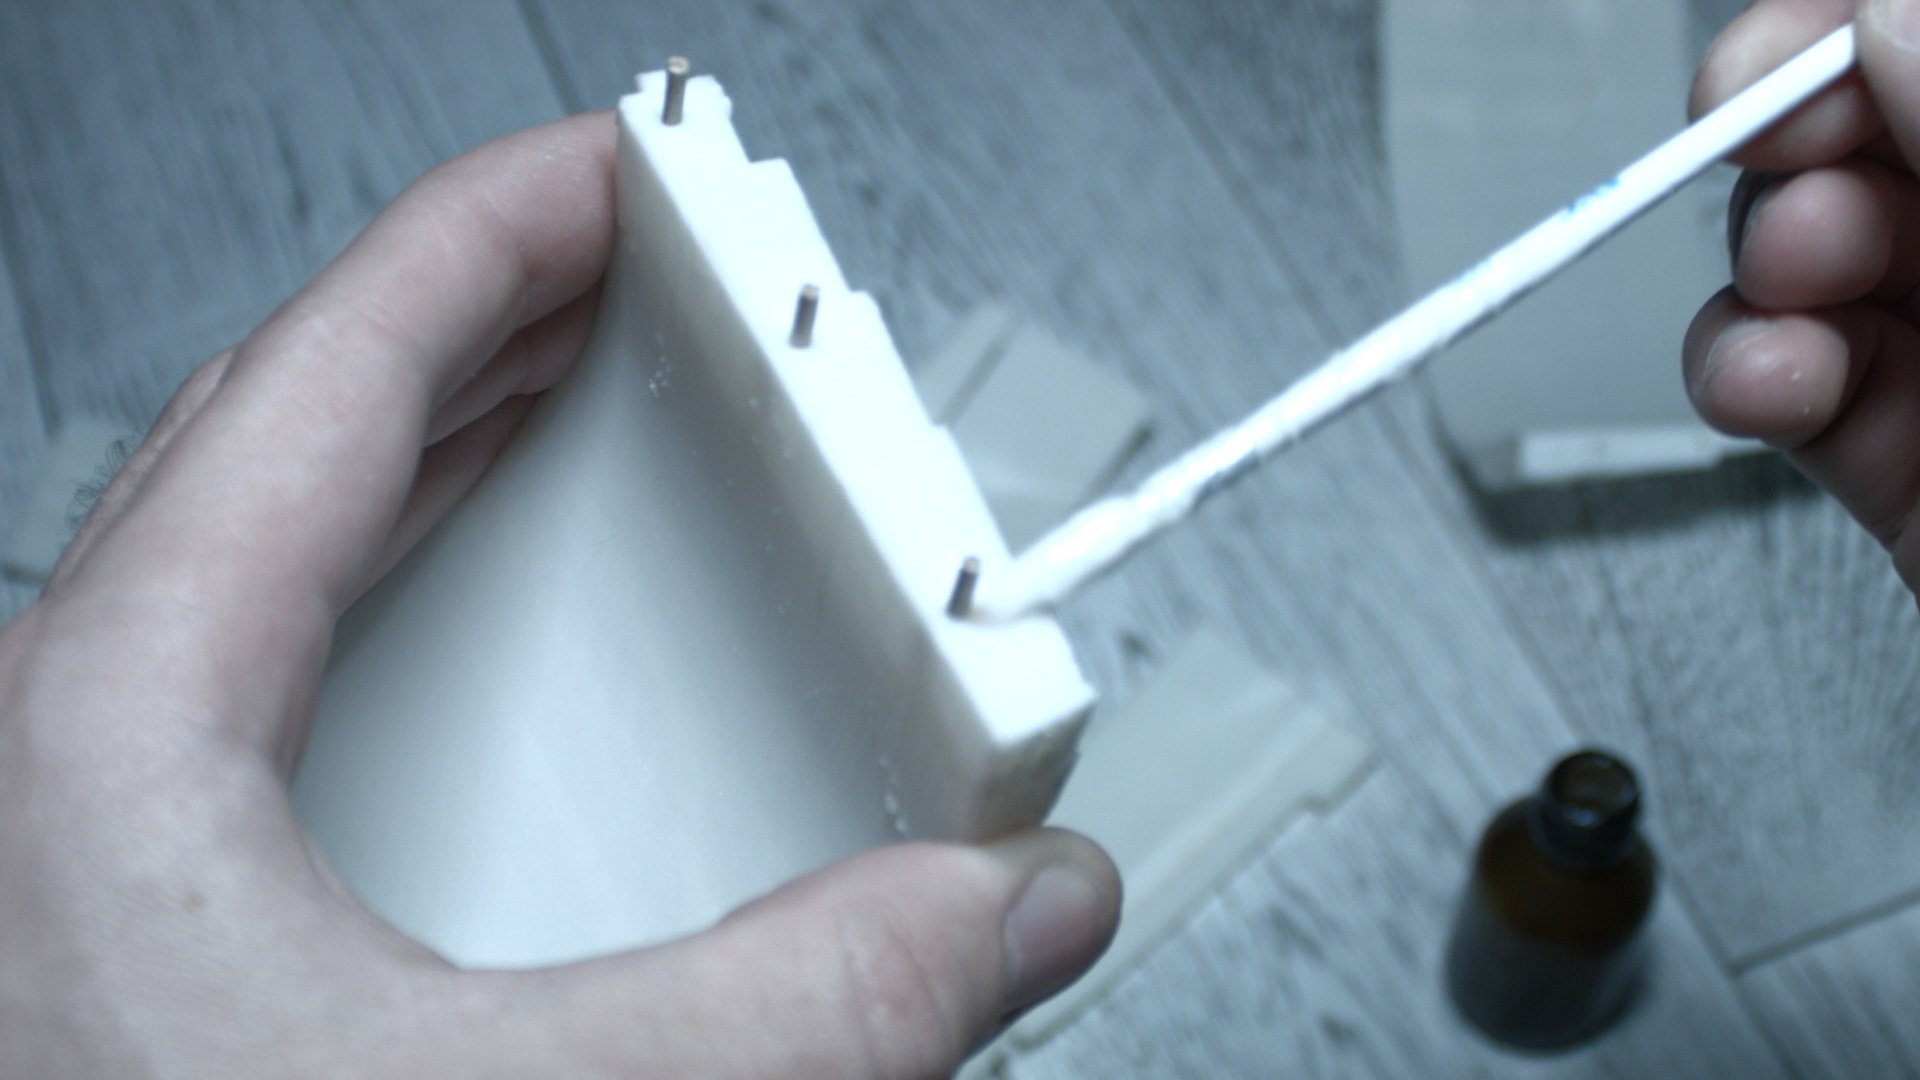
Lubricate the edge part the with abs juice(abs plastic + .acetone).
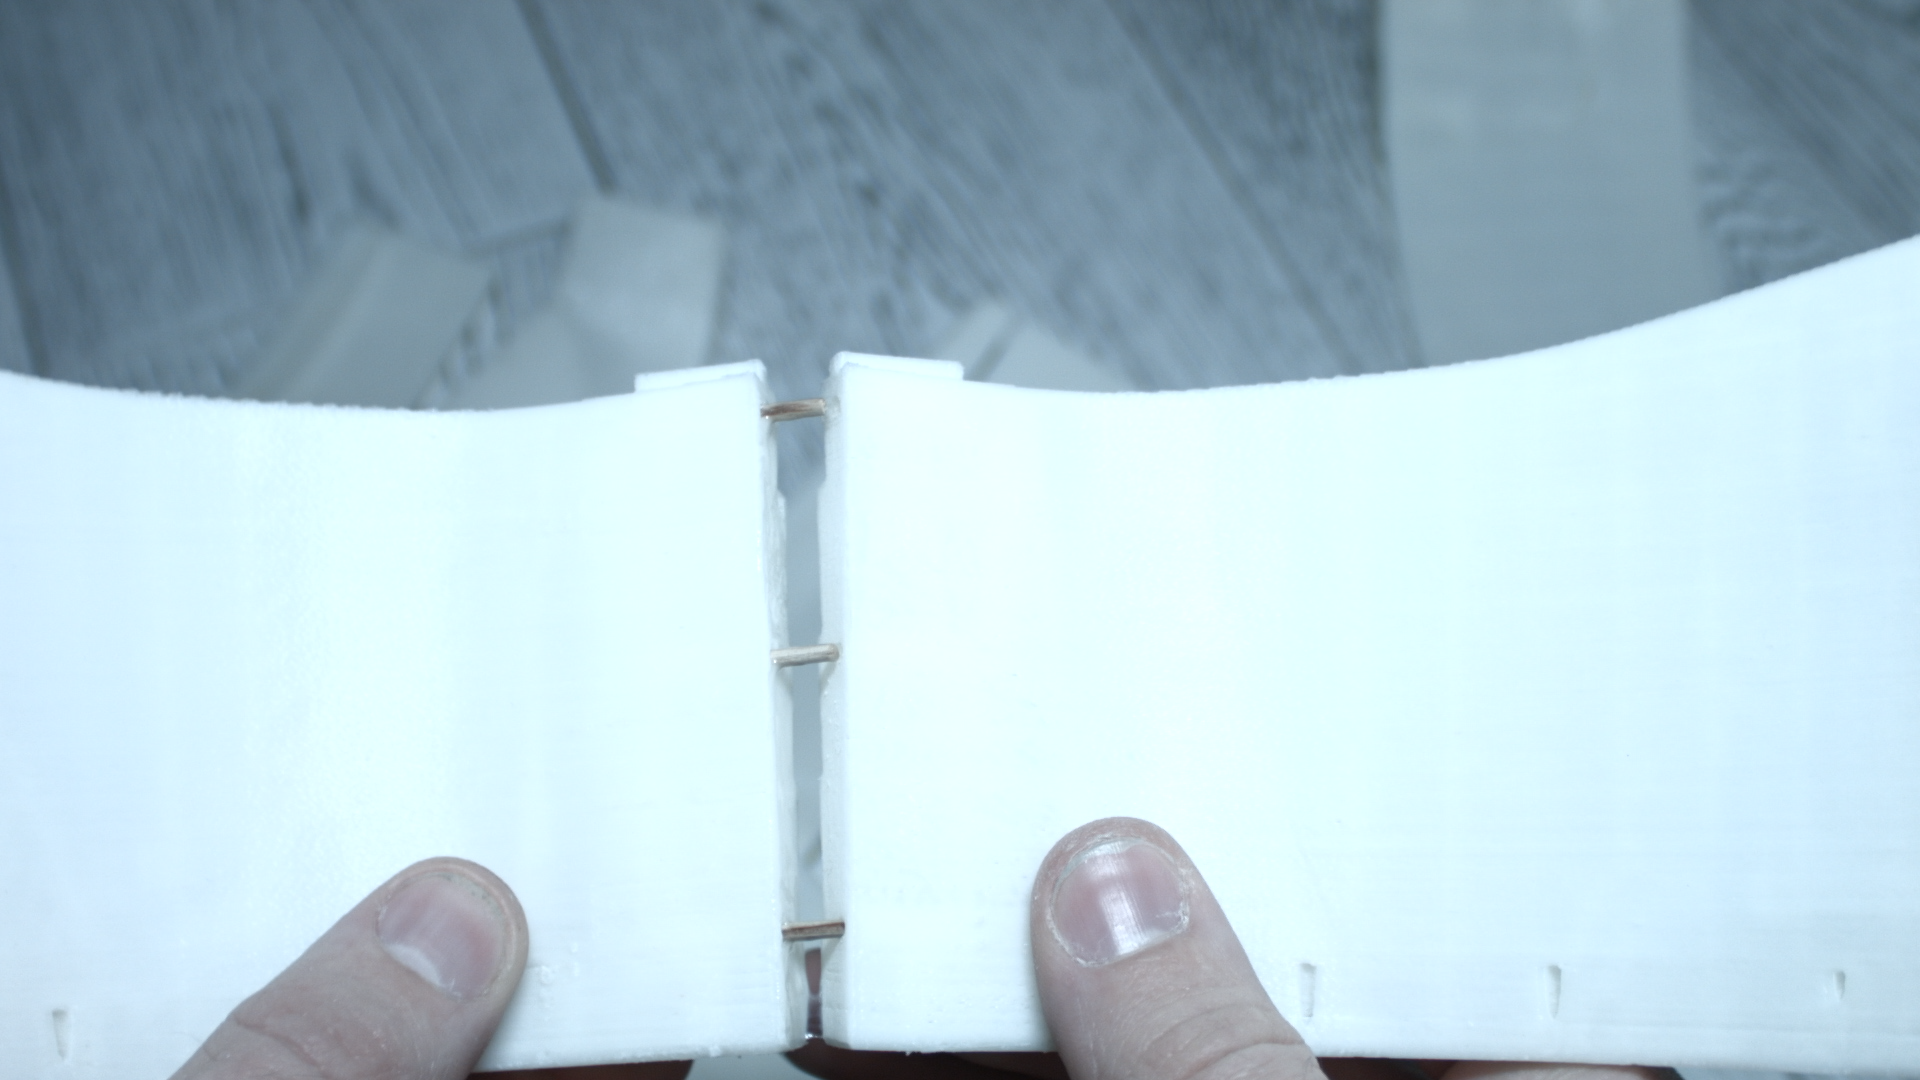
Connect the parts together.
Do these operations with all joints of your model.
Finish!
