Managing a VMware ESXi Server
by AmruthKumarSala in Circuits > Linux
1318 Views, 0 Favorites, 0 Comments
Managing a VMware ESXi Server

"VMware ESXi" is a Type-1 Hypervisor and is a very helpful tool for server administrators. The hypervisor helps organizations reduce their CAPEX and OPEX on IT Infrastructure. Any organization needs a few networking services such as Web Server, Email Server, Chat Application Server, Database Server, Network File Server, etc. It has been a common practice before Hypervisor technology got introduced to have all these networking services implemented on individual server hardware.
Type-1 Hypervisors provide the capabilities to have a software version (AKA: Virtual Machines) of a physical server, managed from a central data store/repository.
This article helps the readers understand the ways to manage a server with VMware ESXi-7.0 & the creation of a sample Virtual Machine (CentOS 7.0)
An IT administrator is suggested to follow this article after he/she installs VMware ESXi-7.0 on the designated server with the help of a bootable USB drive.
Supplies
- Server with resources (CPU, RAM, HDD, etc.) that will help host all the desired Operating Systems and Networking Services.
- A "VMware ESXi-7.0: bootable USB (For Installation of the Hypervisor)
- A host machine on the same network to access the server.
Web GUI Components
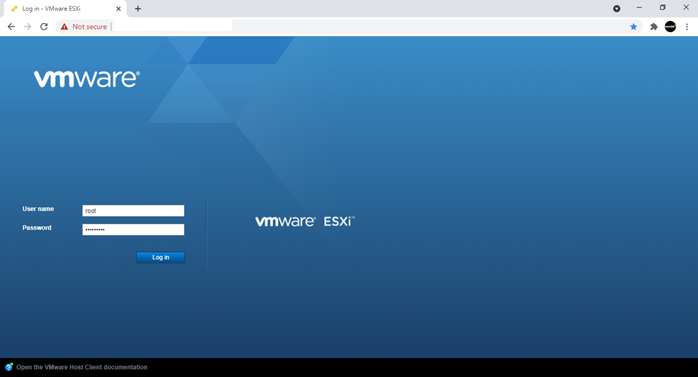
- Login Screen - IT Administrator needs to key in the "root" user credentials to successfully log in to the web GUI.
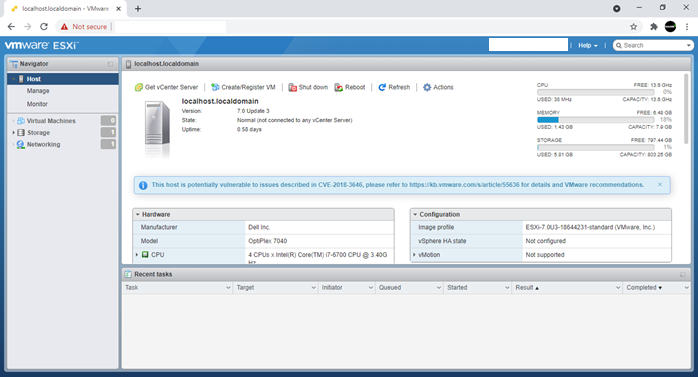
- Host Details: Information of all the resources of the host (VMware ESXi Server) are shown on this screen.
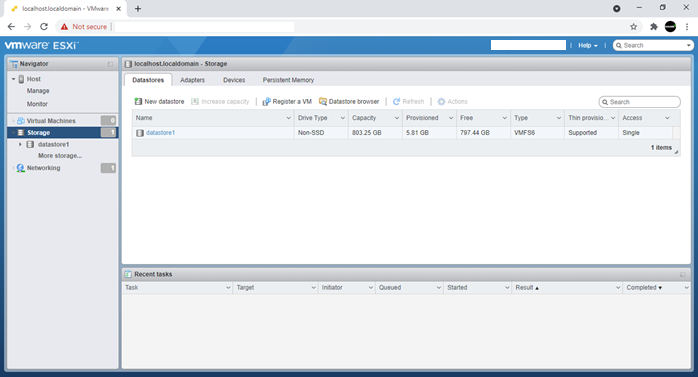
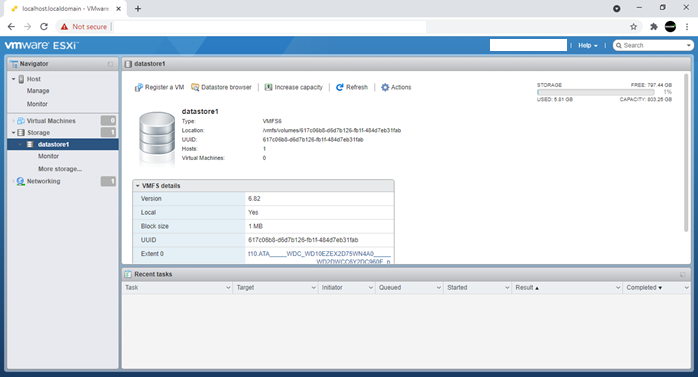
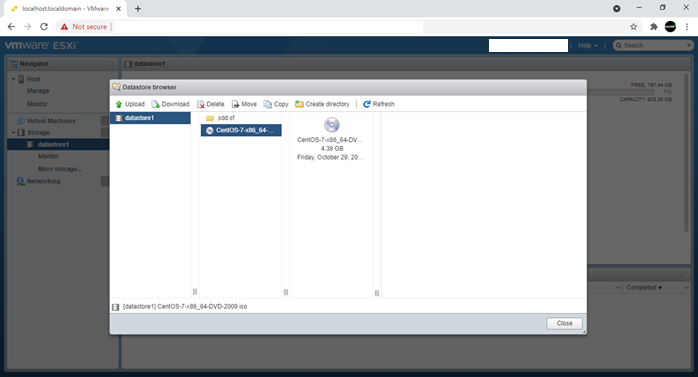
- Storage - Information from the connected "Datastore (Primary Storage - Hard Disk Drive)" can be seen from this screen. Contents can also be browsed.
Creation of the First Virtual Machine
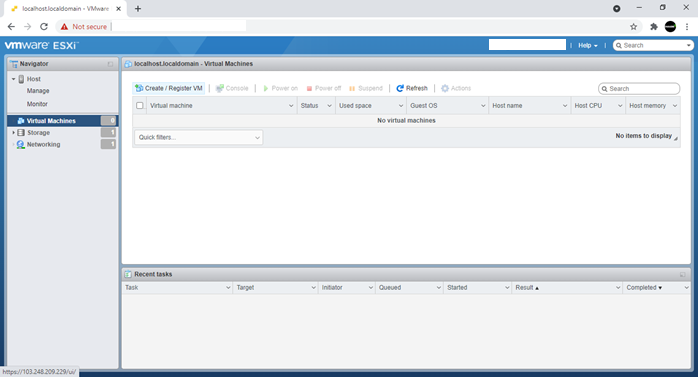
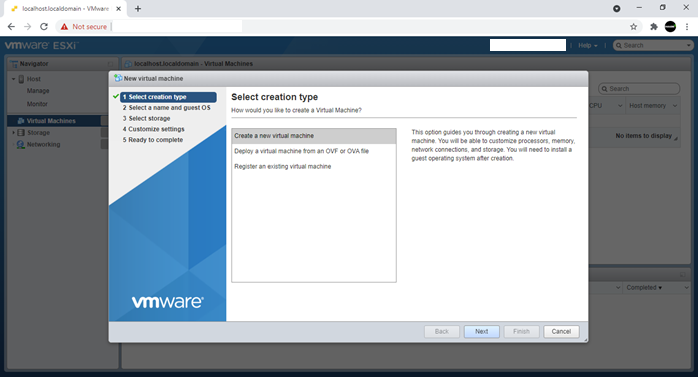
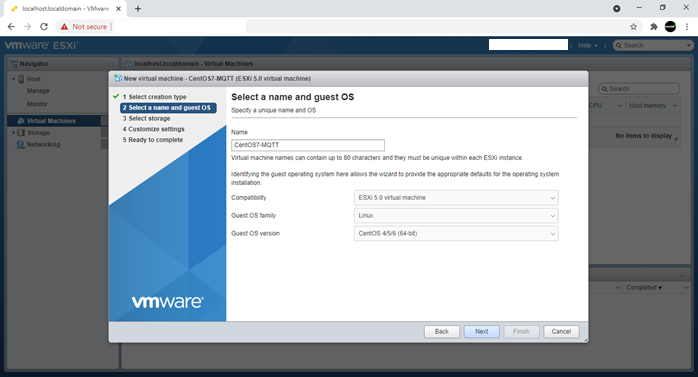
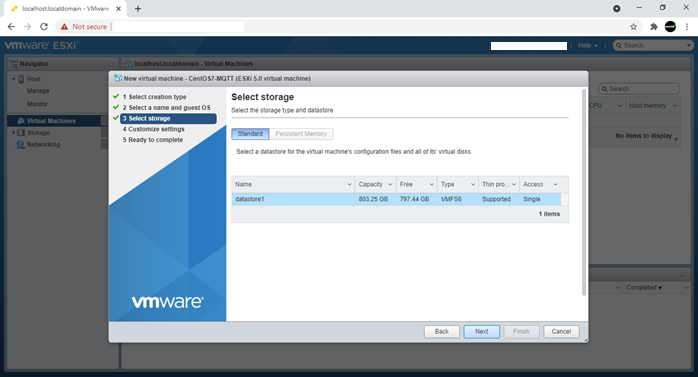
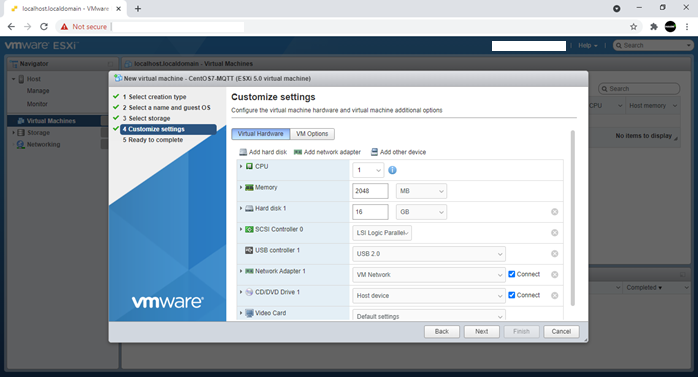
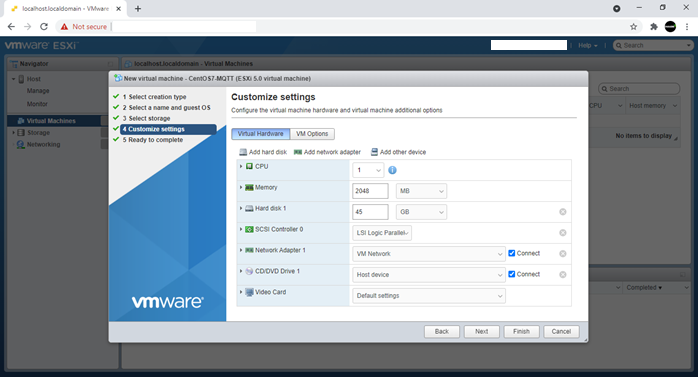
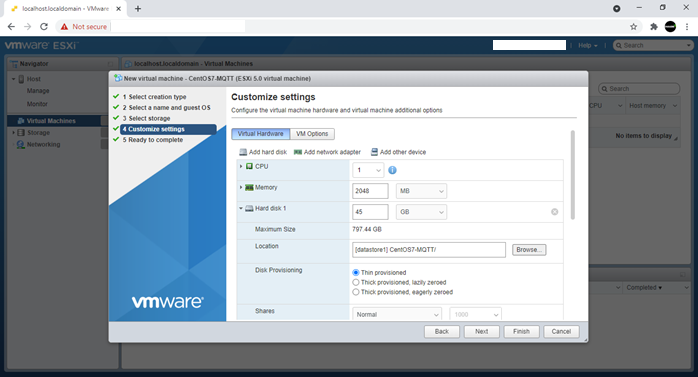
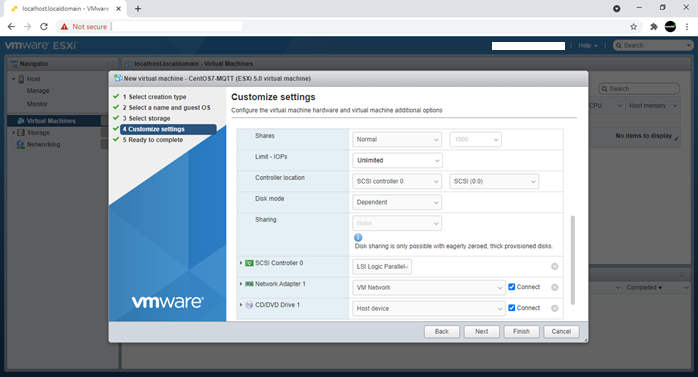
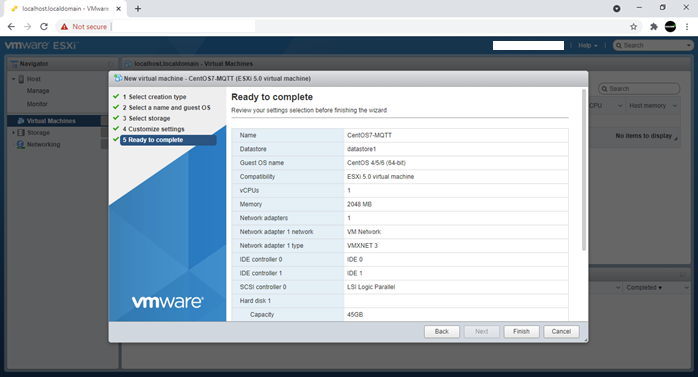
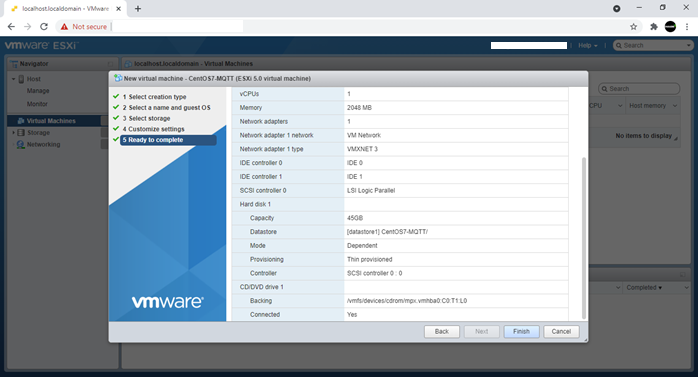
Detailed step-by-step instructions (in the form of screenshots) are provided for the readers to set up their first test configuration.
Note: It is to readers discretion and availability of server resources, the IT administrator is suggested to change the resource (CPU, RAM, HDD, etc.) configurations to match their organizational needs. Though we have other options, I personally found "Thin Provisioning" of hard disk space to be useful for first-time users and as we get more hands-on, we can always explore with rest options.
Below given are five different stages to initially configure a virtual machine on VMware ESXi 7.0 Server:
- Select creation type
- Select a name and guest OS
- Select storage
- Customize settings
- Ready to complete
The Final Check.
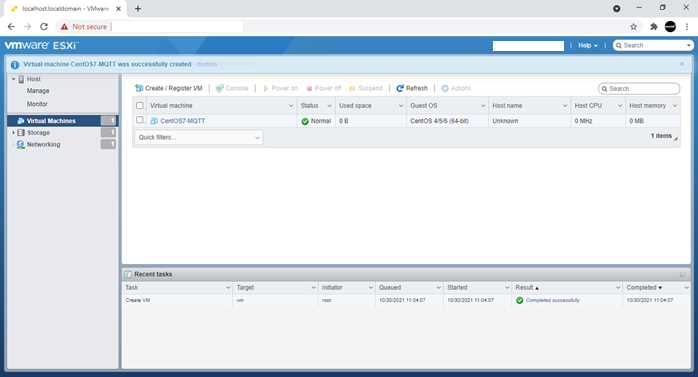
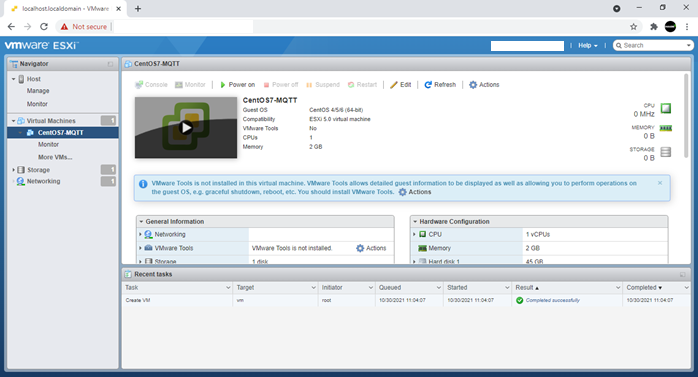
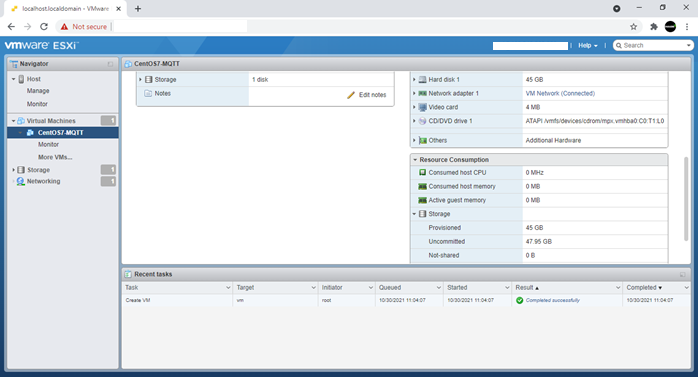
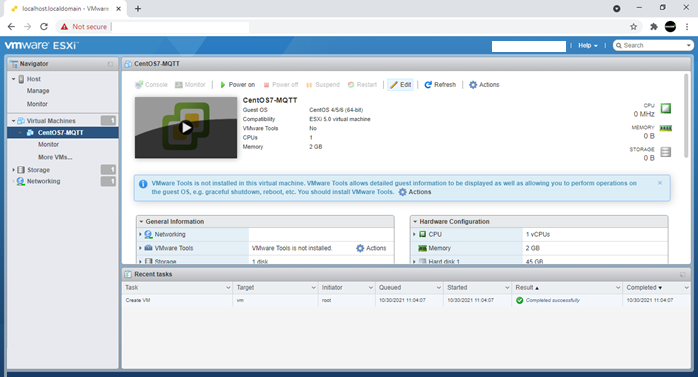
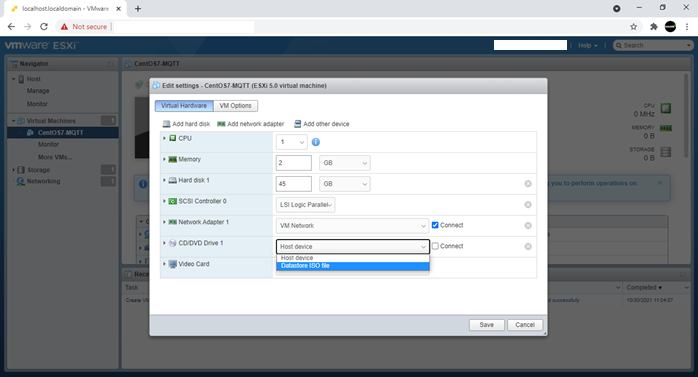
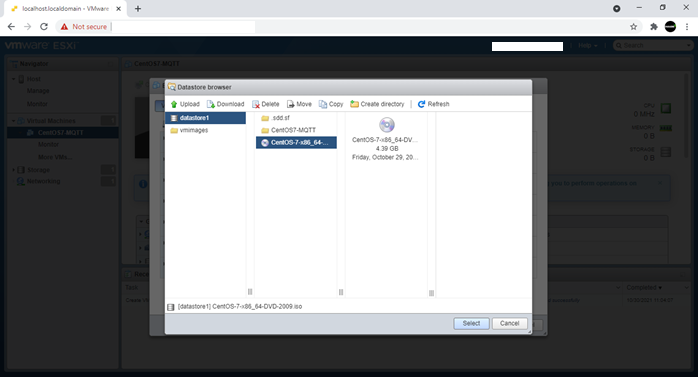
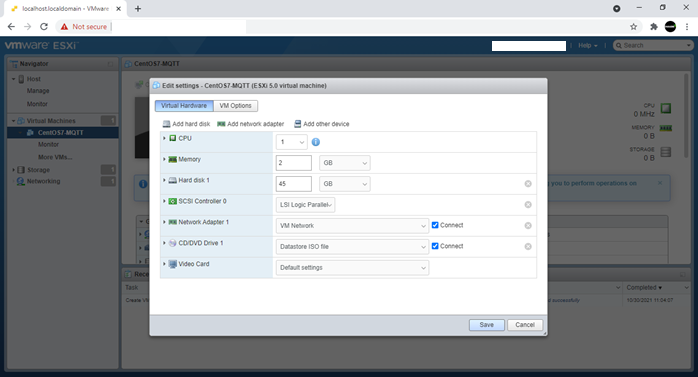
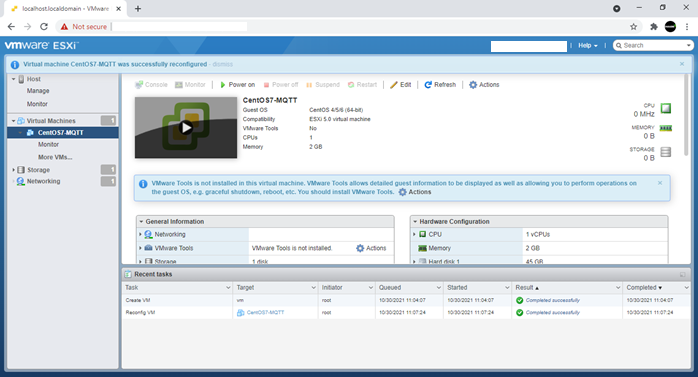
Before moving ahead to power on the virtual machine IT Administrator is suggested to review the configuration, make sure that appropriate resources are allocated to the VM and the bootable ISO is selected along with the "Connect" check box marked, allowing the hypervisor to understand that it needs to boot from an ISO image and the process has to mount the ISO image to its drive on boot.
IT Administrator can also have the configuration changes made to the VMware ESXi server in its "Recent Tasks" pane.
CentOS 7.0 Installation - the First VM
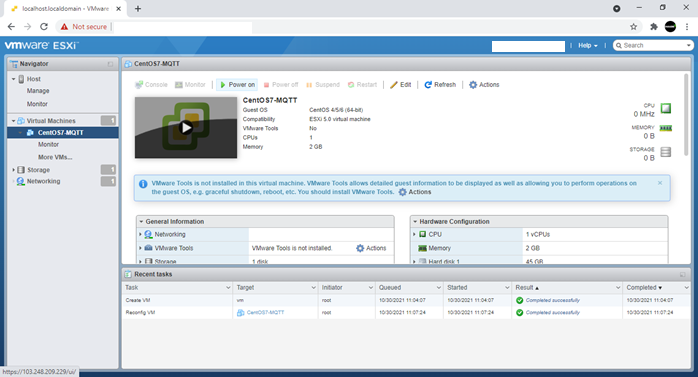
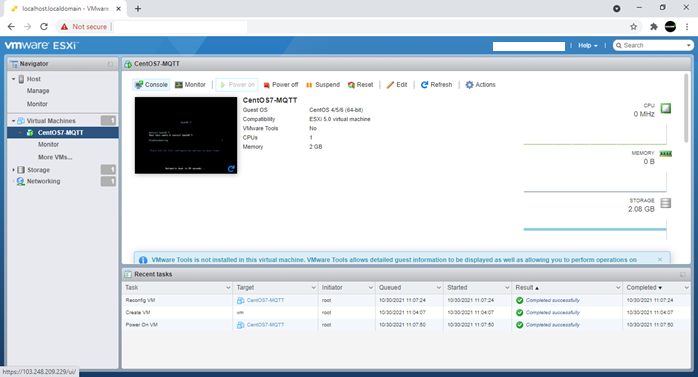
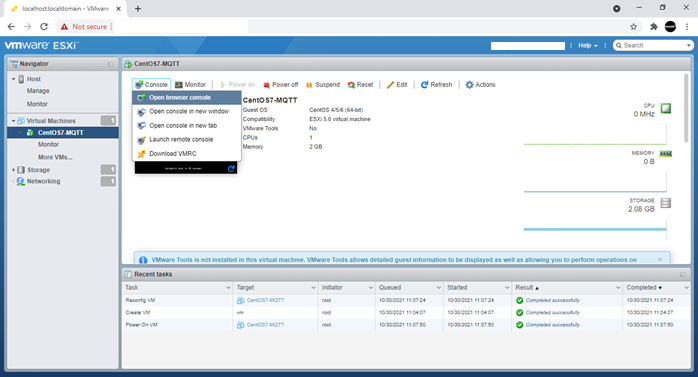
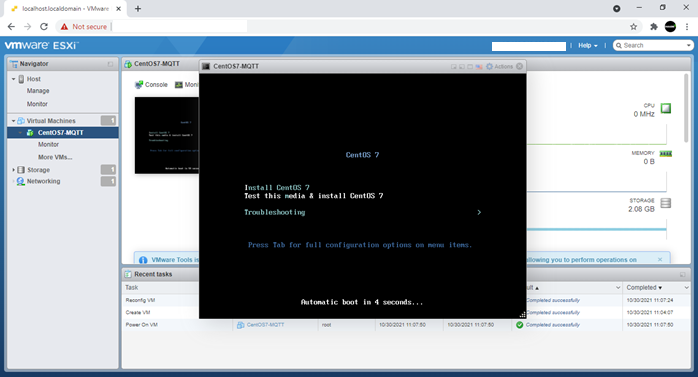
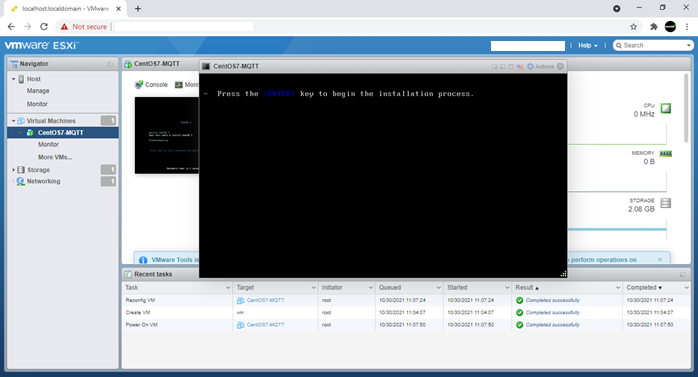
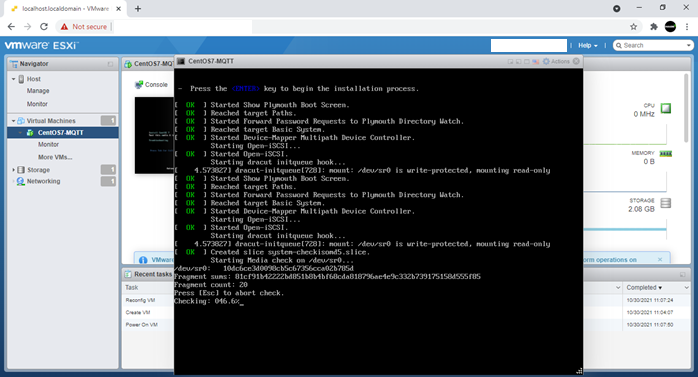
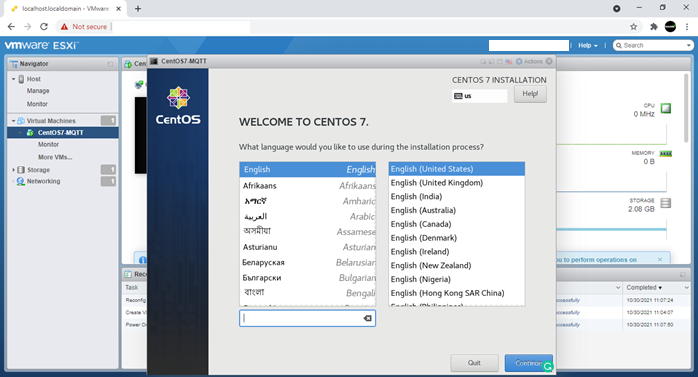
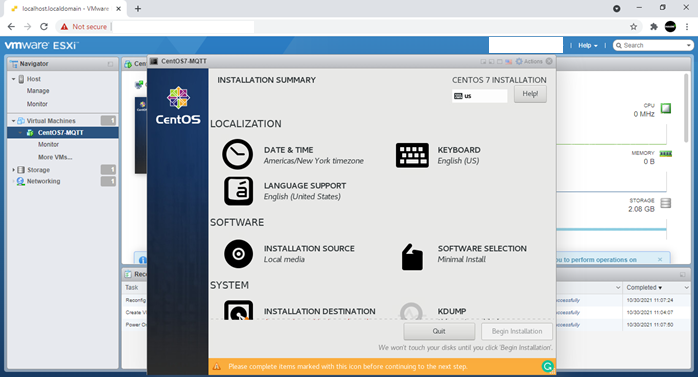
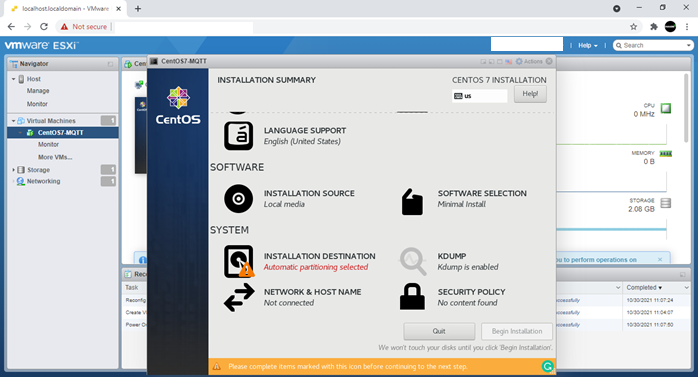
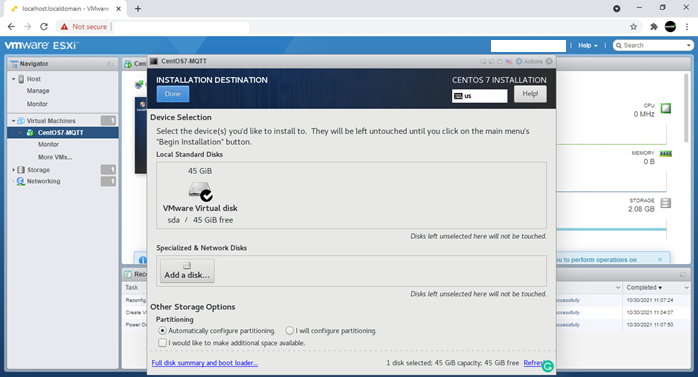
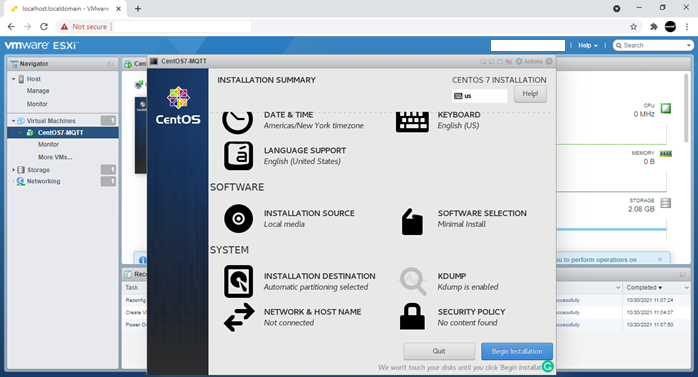
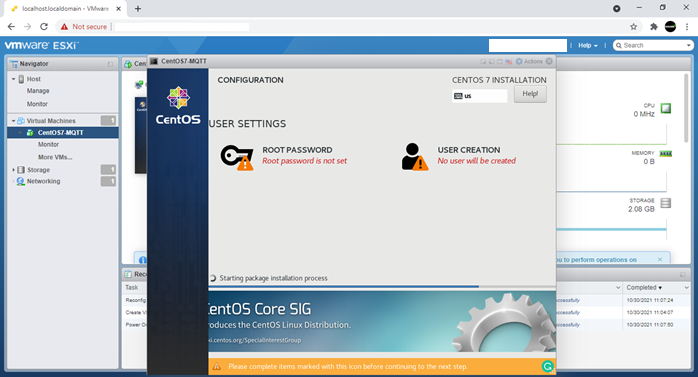
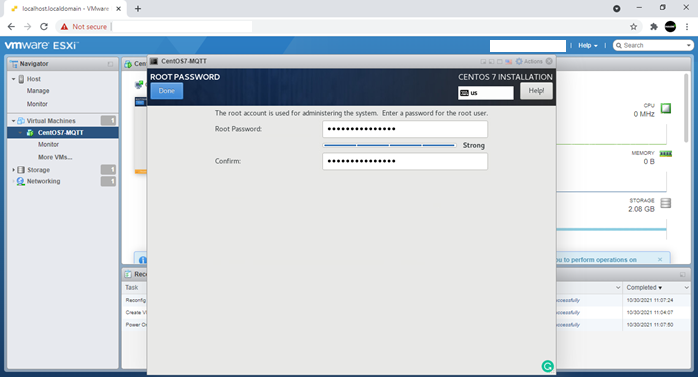
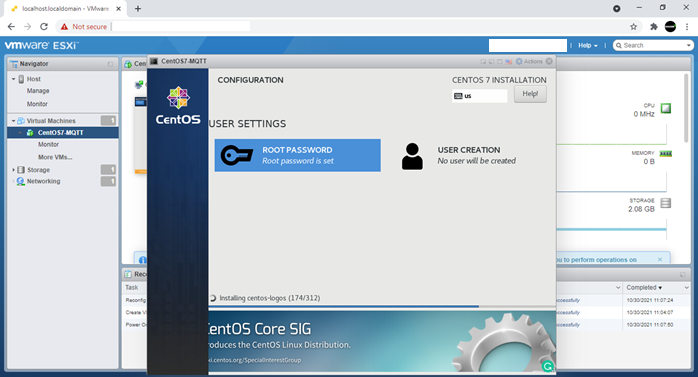
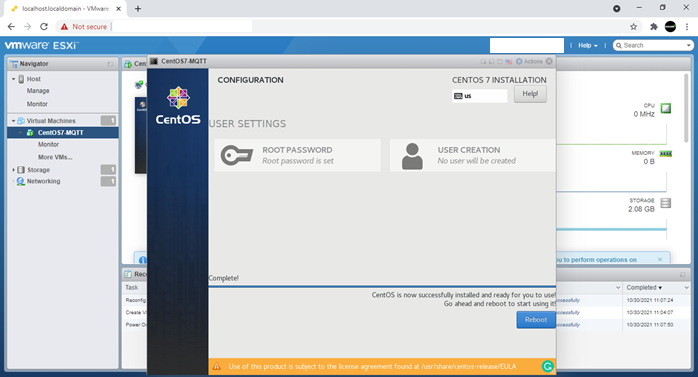
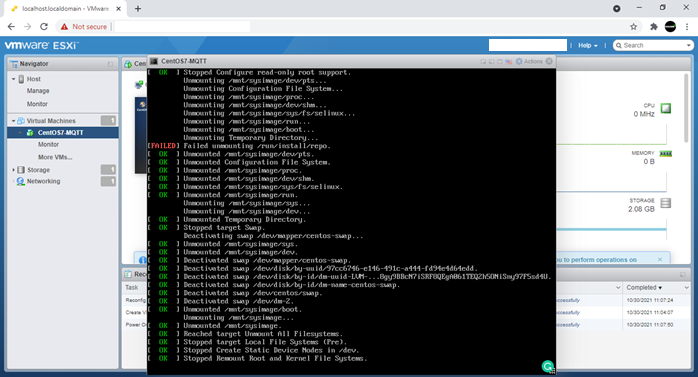
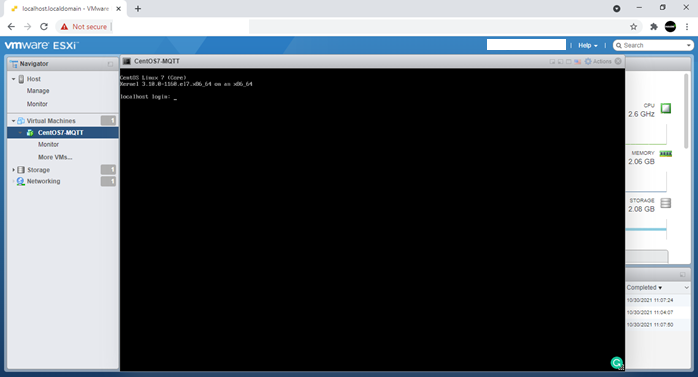
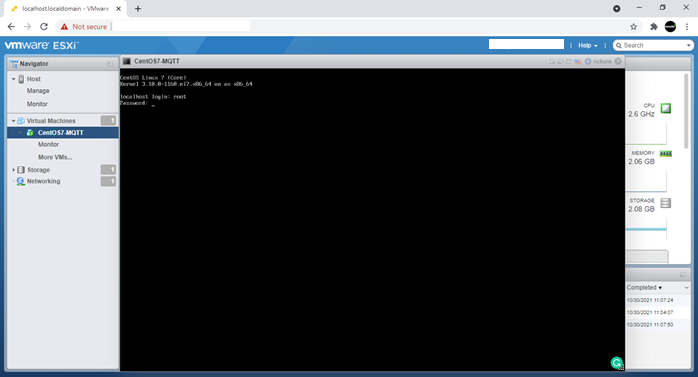
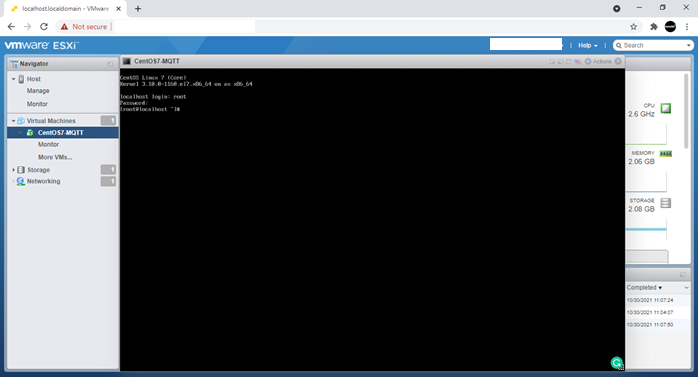
The installation process is very simple and the IT Administrator is advised to follow the screenshots provided in this article for successful completion of CentOS 7.0 installation (The First Virtual Machine on VMware ESXi 7.0 Server)
There are many online resources for a step-by-step installation procedure and this article does not provide an explanation for each of those steps. Those interested may write back to me on amruth@smaragdine.work (or) ping me on WhatsApp on +91 9398472594.
Remote Console - a Very Helpful Tool.
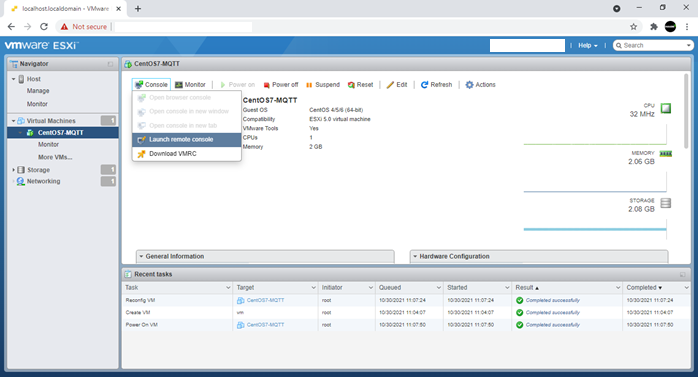
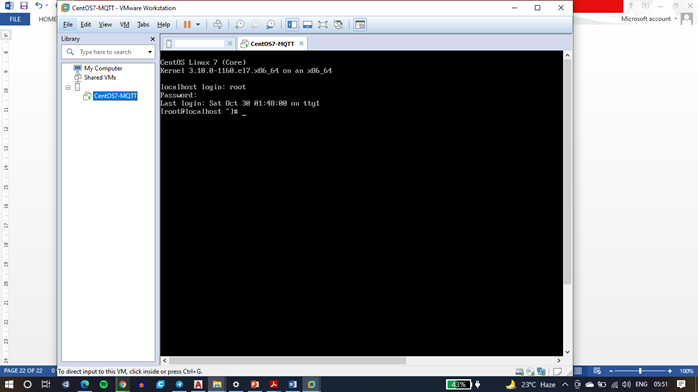
The option of "Remote Console" is very helpful for the IT Administrators who have a Type -2 hypervisor installed on their PCs/Laptops. For demonstration purposes, I am making use of "VMware Workstation 12 Pro", which gives me access to the VM from another wonderful tool from VMware.
It is from now, I will try to configure the machine as an "MQTT Server" that will receive data captured from different IoT Sensors.
Keep yourself tuned in to my next posts. I will try to explain "MQTT Service Configuration on CentOS 7.0"