Making an Android Mobile App With Scratch 3.0
by SelasieD in Circuits > Mobile
17314 Views, 10 Favorites, 0 Comments
Making an Android Mobile App With Scratch 3.0

If you want to make an app, you don't have to learn complicated code to start. You don't need fancy equipment either. This is a great way to take the first plunge into app-making, or just for fun.
Supplies
-Computer
-Android Smartphone or Tablet for Testing your App
-Google Account
First, the Scratch Project

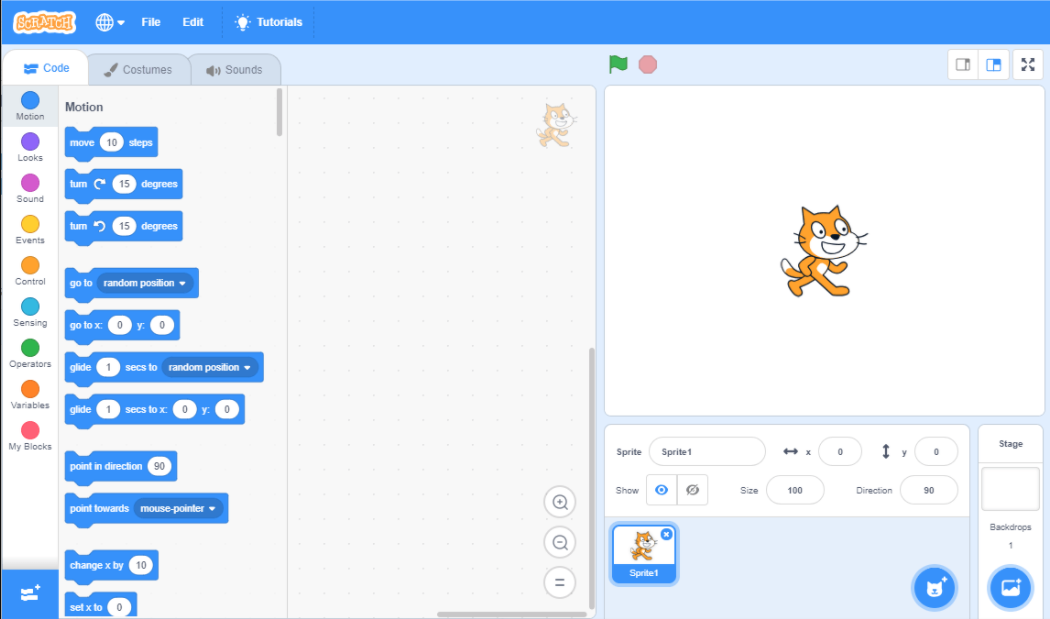
You must make the project first. This is the most important step. If you don't want to make a scratch project or don't know how to you can use this project made by kevin_eleven_1234 and RacingHans to follow along. in that case, skip to step 5. You can also use someone else's project. If you are making one yourself, keep in mind you are making a mobile app, so the icons must be big and easy to tap. Don't forget to share the project.
Forkphorus

Once you are done, copy the string of numbers in your project URL(Project ID).
Example:
https://scratch.mit.edu/projects/000000000/
This is how Forkphorus will go to your project and convert it to HTML.
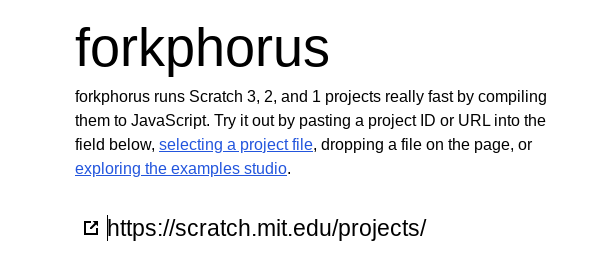
Go to https://forkphorus.github.io/
Under the title and paragraph, click the end of the empty link and paste the ID.
Converting to Javascript

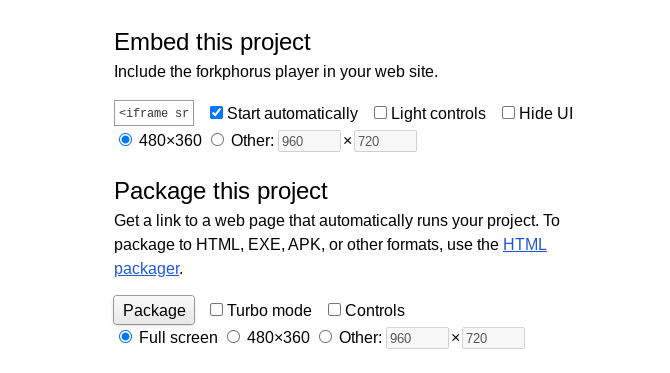
Wait for a few seconds, then scroll down and look for this ↑.
Make sure fullscreen is selected, then click Package.
You don't have to wait for it to load, just copy the URL. You'll use it very soon.
Tip: It's a good idea to wait for it to load, so you can see what the app will look like on a mobile device.
Setting Up App Inventor

The original tutorial by @Camck on Scratch was a long process. I followed his tutorial and changed a few things, and I did almost all the hard work for you already.
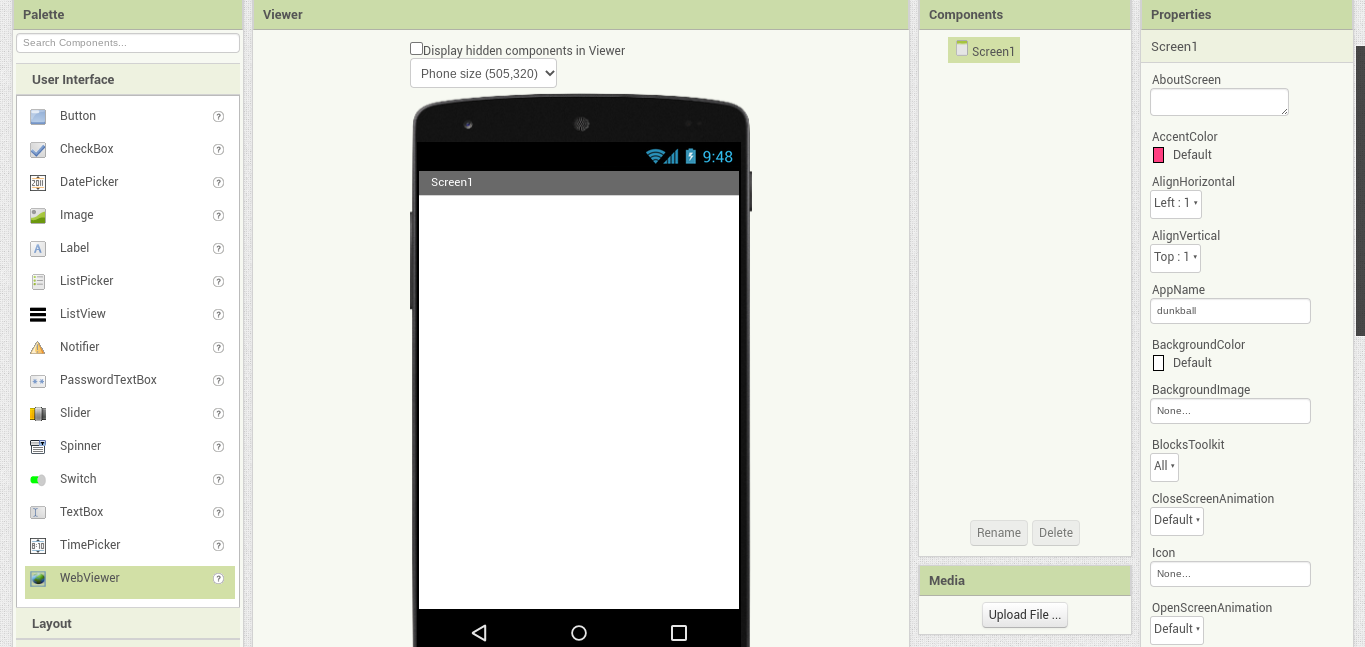
The next step is to go to https://appinventor.mit.edu/. Make a new account by clicking the orange "Create Apps" button and click this link: http://ai2.appinventor.mit.edu/?ng=f5d1ba75-b74c-42c9-b9c8-098df54687f2
You should see the image above.
If you are using the example project, then just skip to step 9.
Click Projects(next to the App Inventor logo) and click Save Project As from the dropdown bar.
Save the project as the name of your Scratch project.
Now look for the Components bar and click Screen1. Then go to the Properties bar and look for the AppName textbox. Change it to the name of your app.
Go back to the Components bar and click Webviewer1. Go to HomeUrl under Properties and paste the link you copied earlier.
Go to the top right and switch App Inventor from Designer to Blocks. Edit the part in the quotation marks to your name, then delete the quotation marks.
Making an Icon
Now you need to make an icon and download it. This is what someone will see before they tap on your app. Use makeappicon.com to make your icon. Upload your icon, enter your email, wait a few minutes, and download the file.
Go back to your App Inventor project, go to Components, and look for Icon. Click the textbox and click Upload File.
Open up the zip file that was downloaded, open the android folder, and select playstore-icon.png.
Almost Done
Go all the way to the top, and click Build. Click on app(apk file).
After it finishes loading, it will download. You can send the file to your email on your phone or tablet and download it from there. Or you can do this step on your phone or tablet. Android settings don't allow "unknown" apps on default, so when you download, you will have to turn that setting off.
Finished!
Congratulations, you now have made an app! This will work on Android tablets and phones. This needs the internet to work, which means if you edit your scratch project, it will show up in the app. If there is no internet, you can't use the app. Make sure to show friends and family!