Making a Color Card (embroidery Floss Mostly)
by Rhyolight in Craft > Embroidery
7480 Views, 15 Favorites, 0 Comments
Making a Color Card (embroidery Floss Mostly)
So you have some skeins of floss (or yarn or beads....). You might want to list which colors you have (there's an iApp for that: XStitcher); you might want to be able to look at the colors you have and decide if you need another, mintier, green. You might want to get a palette from ColourLover and match your craft material to it. You might want a set of Perfectly Christmas or Deep Forest or Slightly Gray But Not Too Depressed, Really, and you might want to go back to it some time later.
Either a photographic one or a sample card made of the real substance (except for the beads, which you would have to set in epoxy or something) can be helpful.
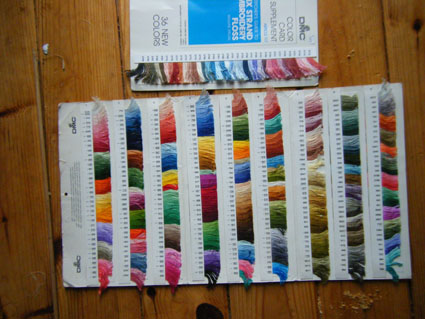
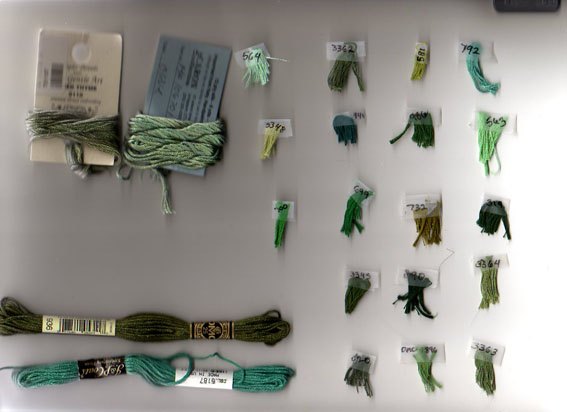
This arrangement of DMC colors is at least 25 years old, incomplete, and not in any order that makes sense to me, but I still use it to match unlabelled skeins and to loo over a bunch of colors quickly.
Either a photographic one or a sample card made of the real substance (except for the beads, which you would have to set in epoxy or something) can be helpful.
This arrangement of DMC colors is at least 25 years old, incomplete, and not in any order that makes sense to me, but I still use it to match unlabelled skeins and to loo over a bunch of colors quickly.
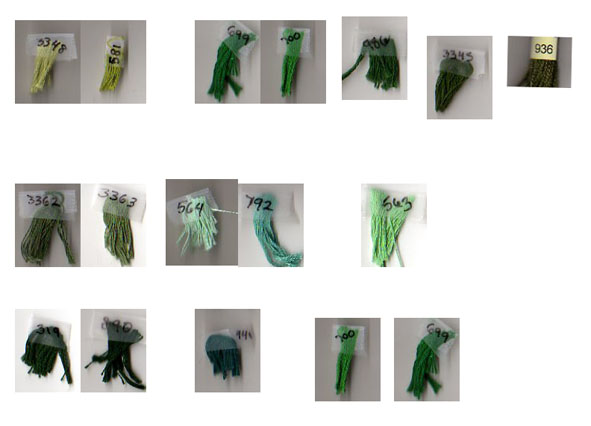
Make a Sample
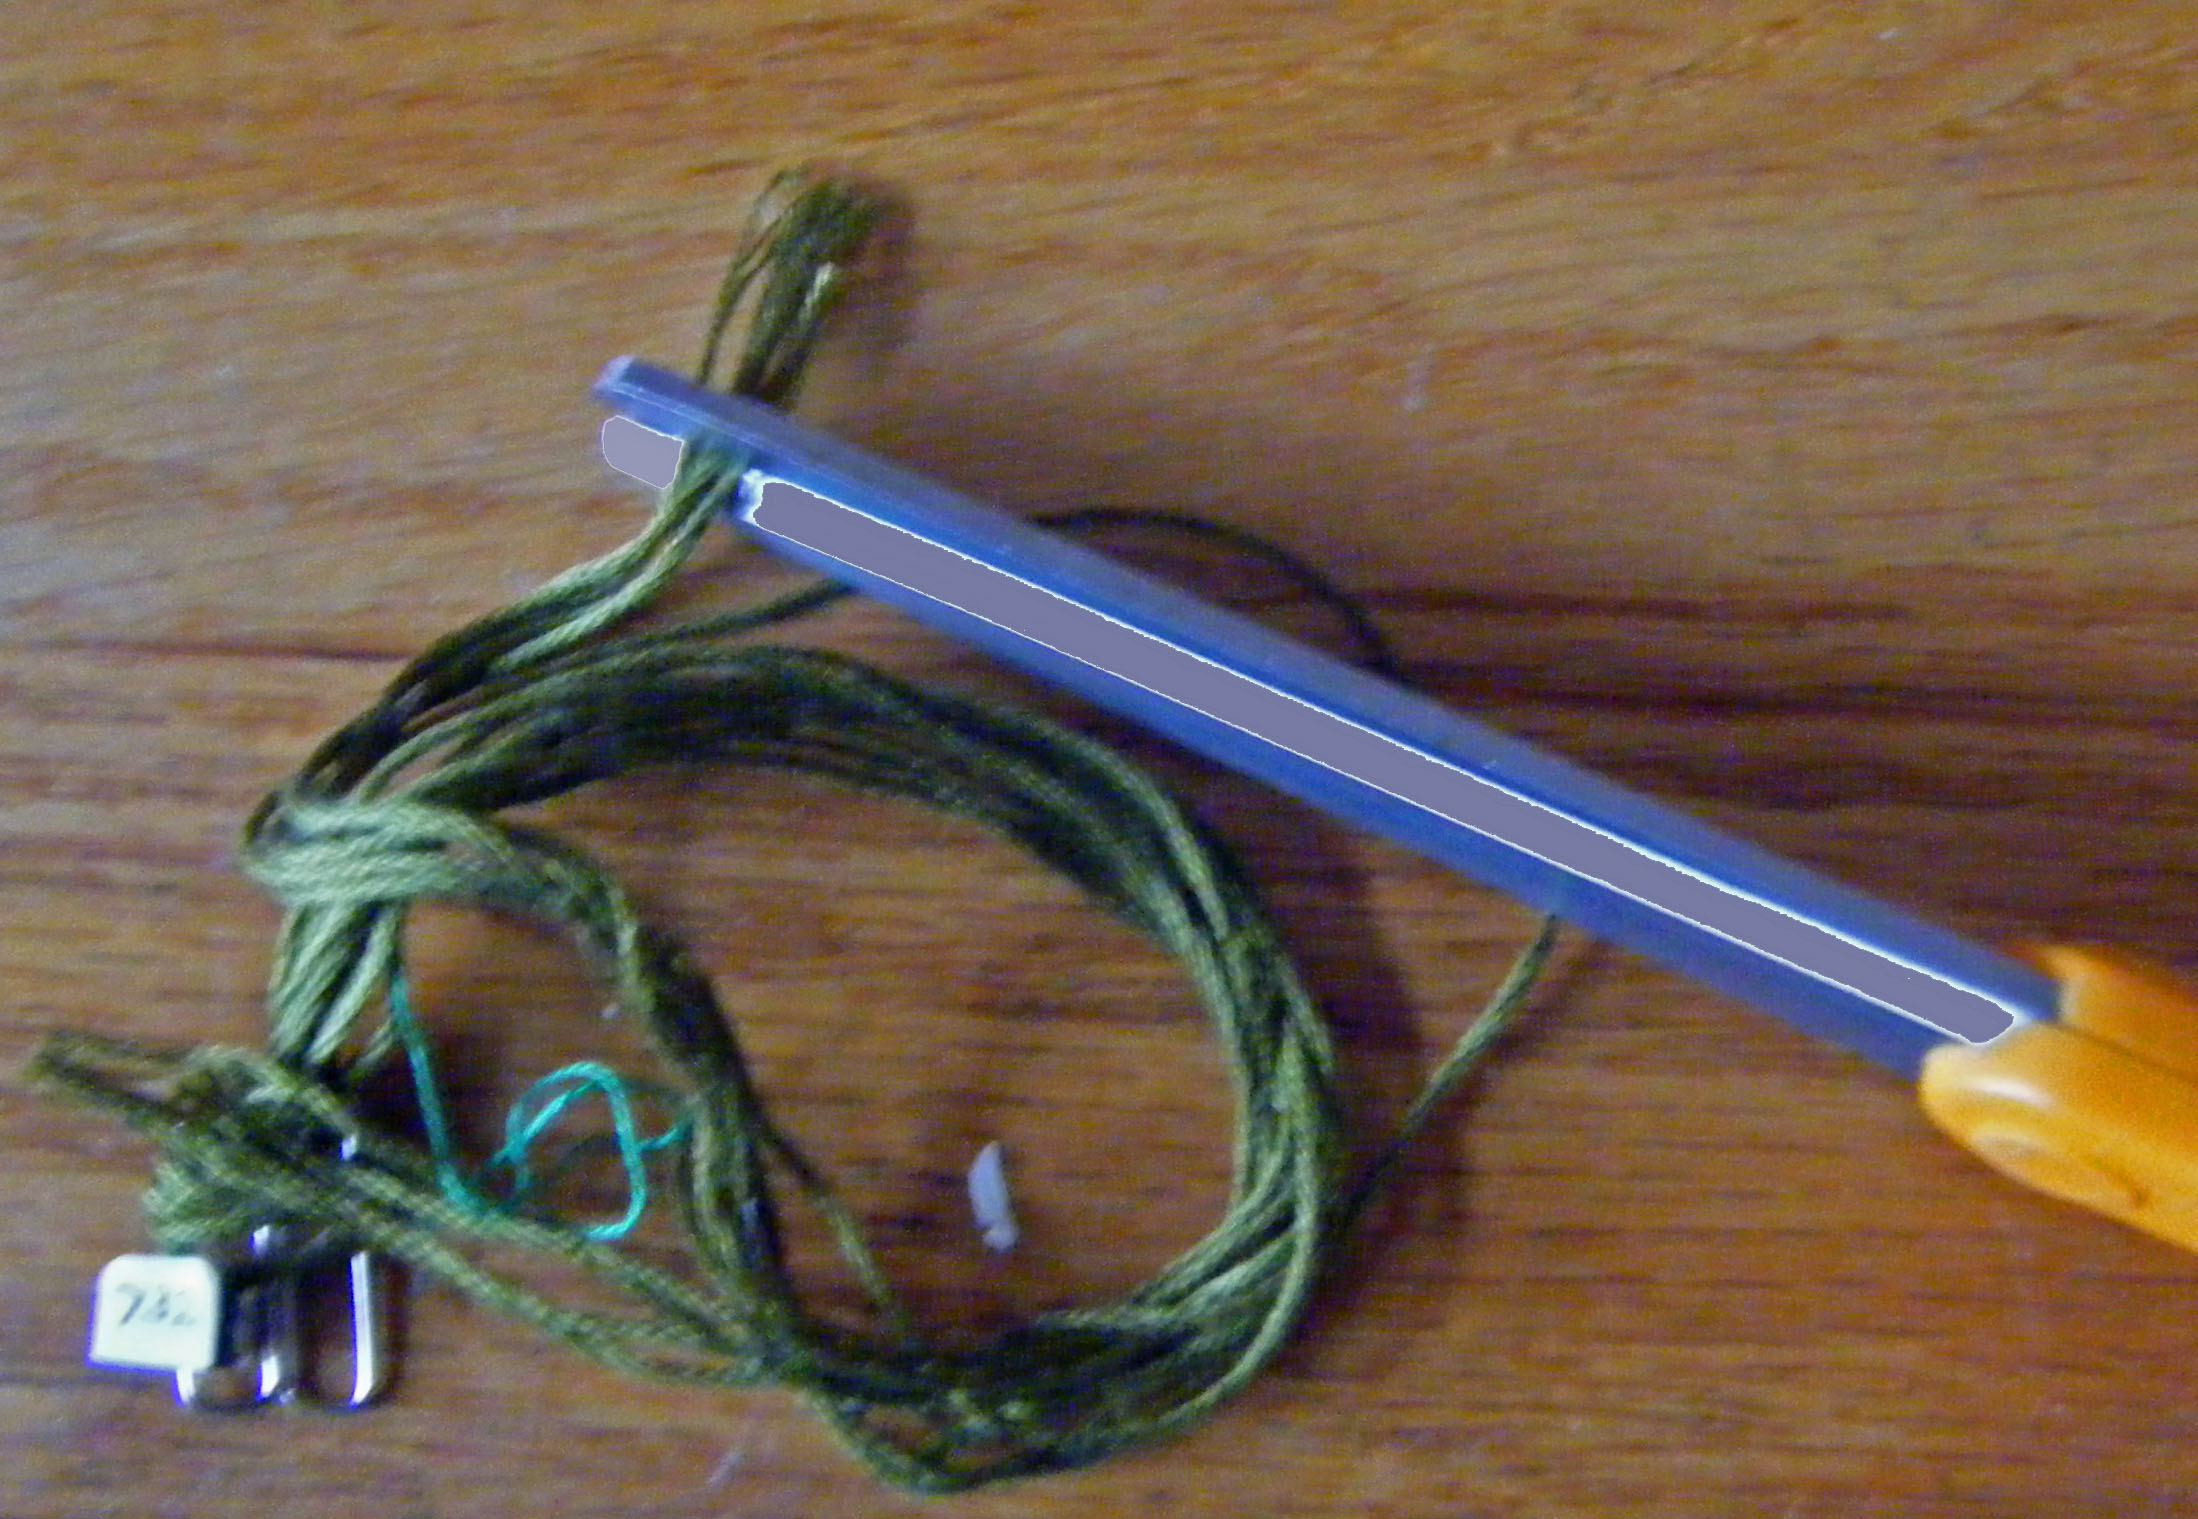
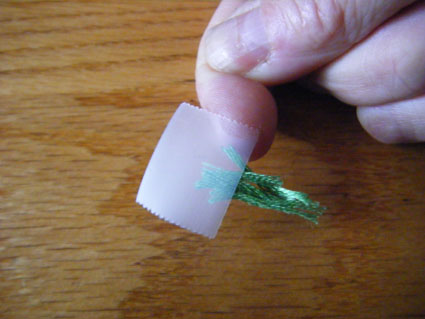
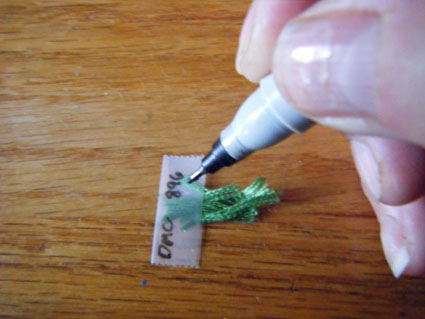
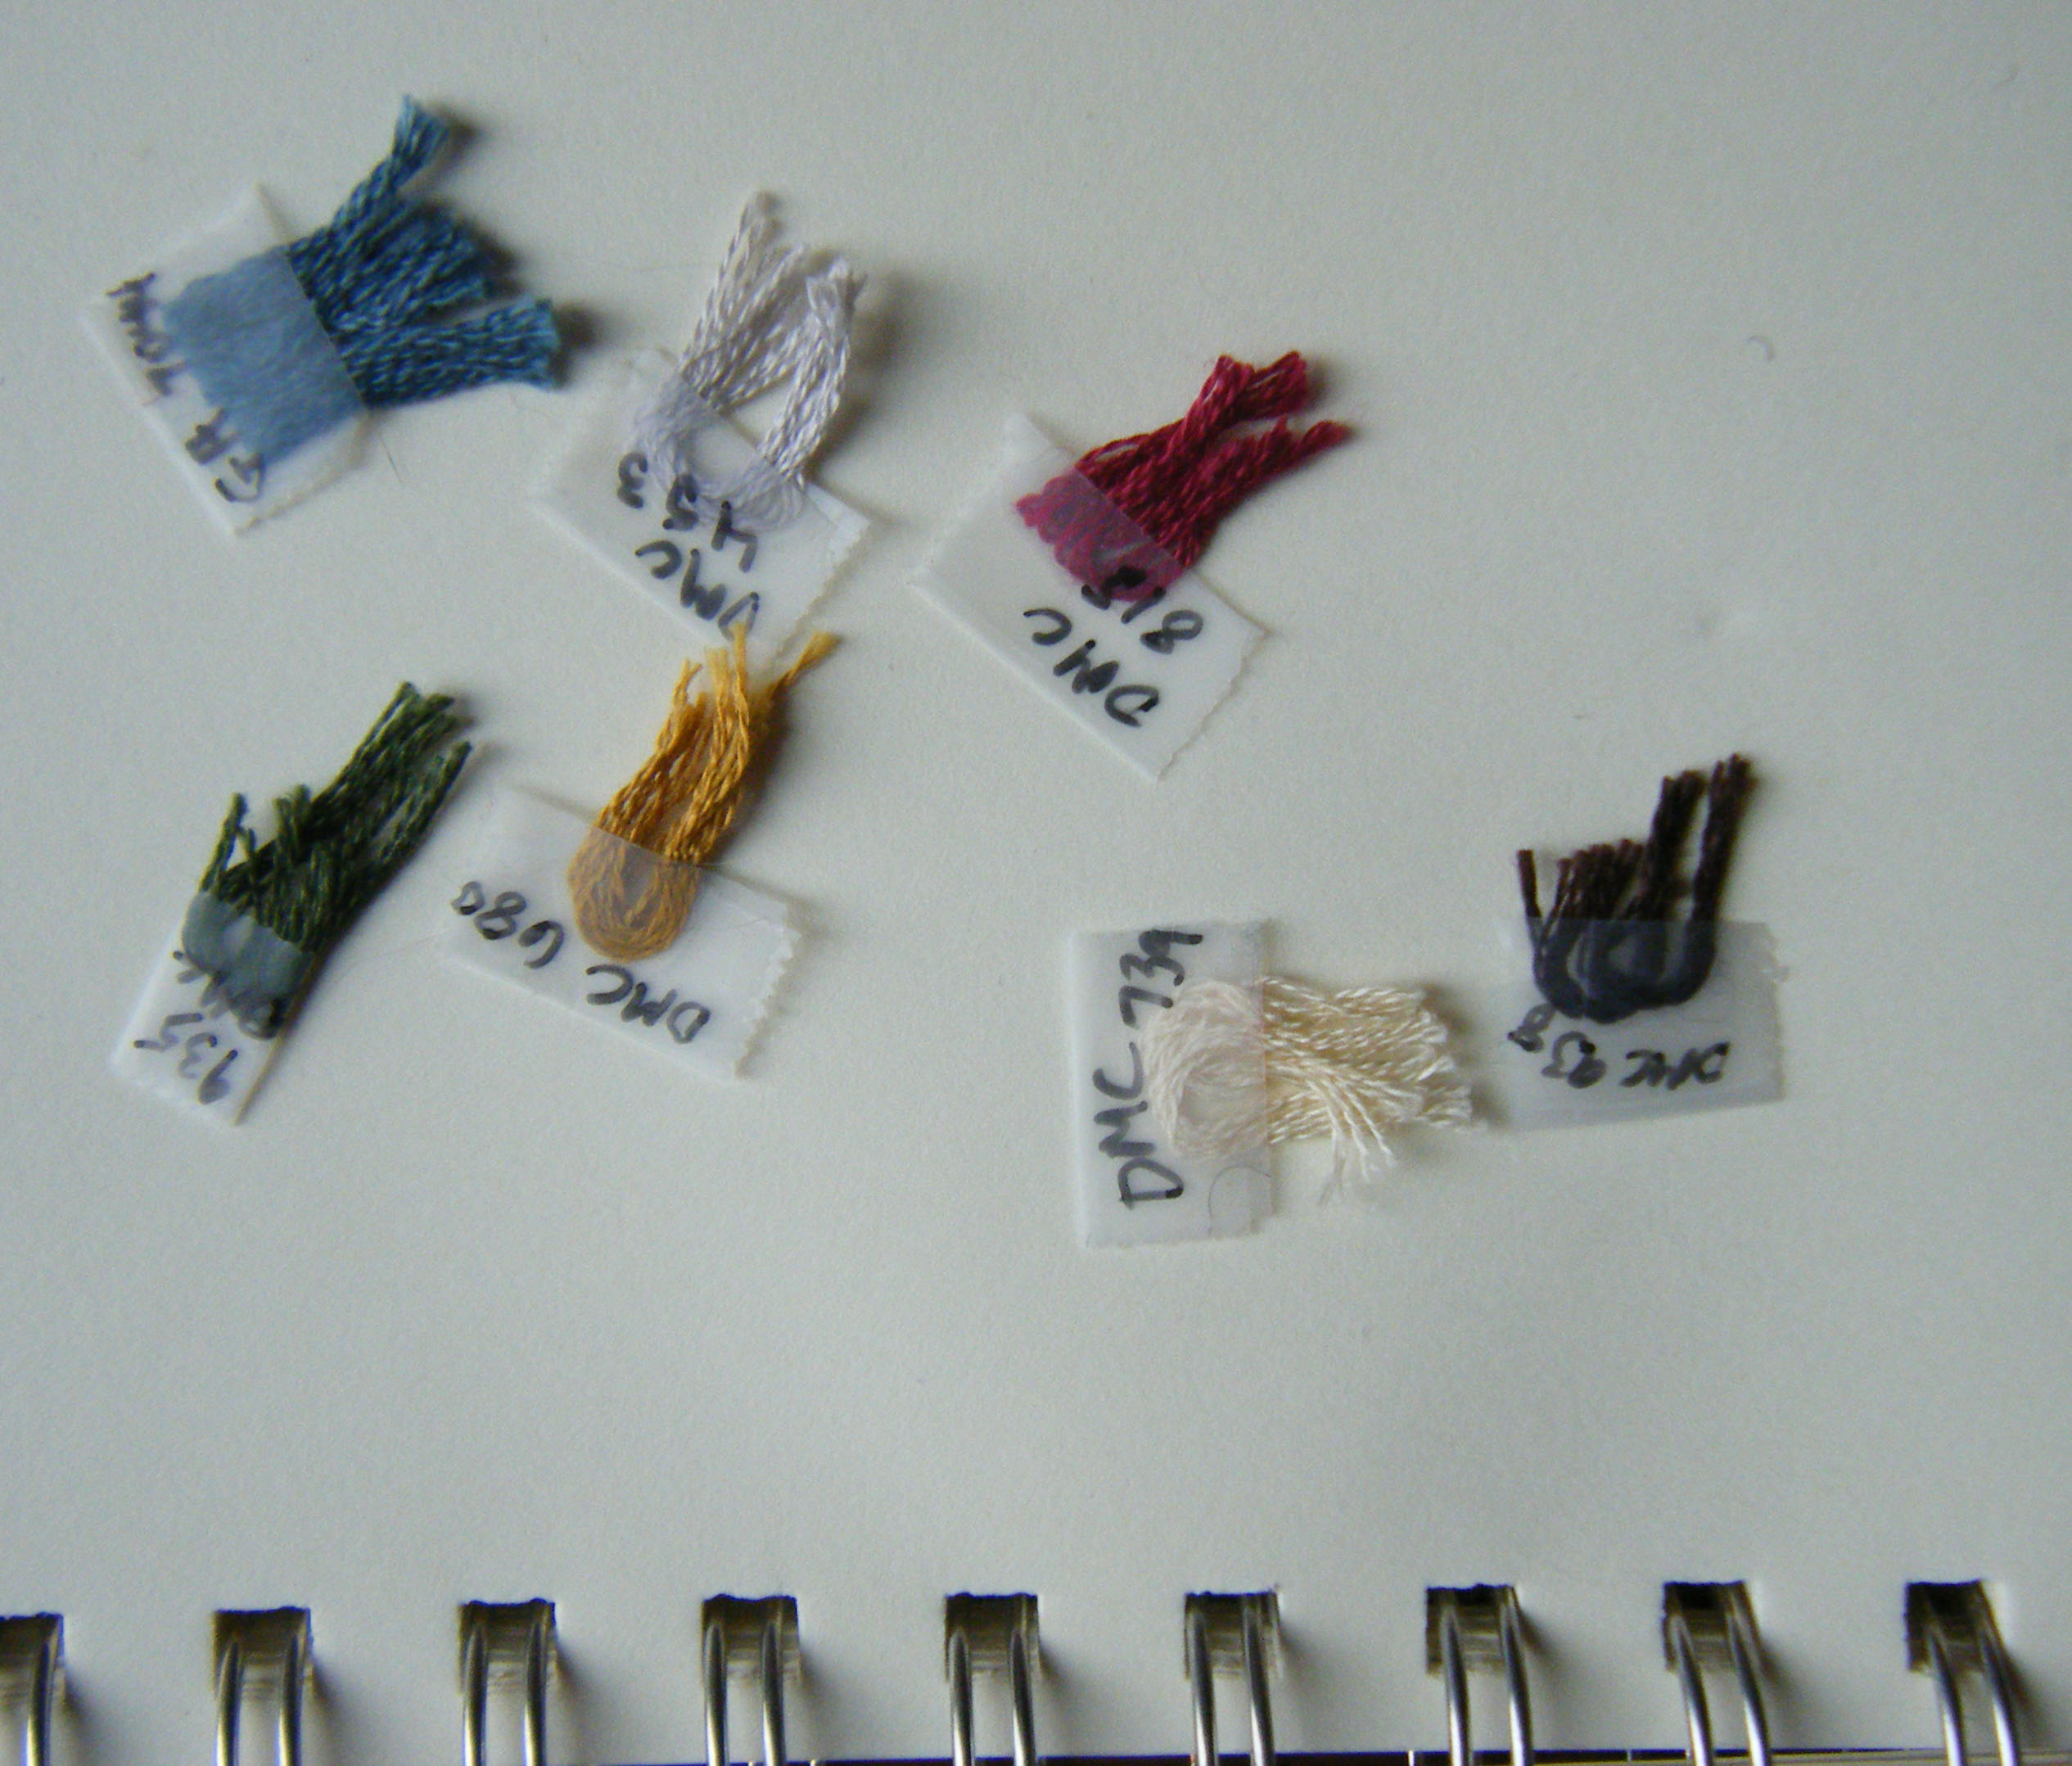
Make a physical chip with a few inches (or cm) of your floss or yarn: it's easier to see if it's more than one strand wide, so trim it into four or five or six even pieces, and fasten it at one end with tape. It's easier if you use the kind of tape you can write on, or you can stick a tiny label on it. Write the company (if you use more than one brand of floss) and the color number on the sample.
Arrange Your Samples
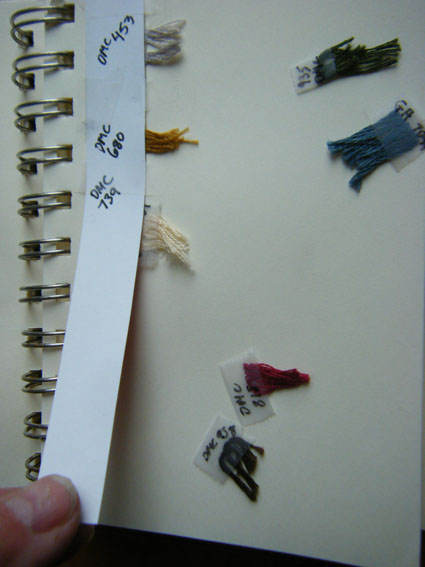
After you have several samples, you will want to make them easier to handle. You may have been sensible and only bought the initial floss pack from Sublime Stitches, or just the colors you need for your first project. Stick the samples down in a neat row by putting them between two pieces of card.
Perhaps later you will get another few skeins, and want to have them arranged by number, or in order of the spectrum. Sticking the cardboard down, rather than the actual sample, will make is easier to rearrange them without damaging the sample.
Perhaps later you will get another few skeins, and want to have them arranged by number, or in order of the spectrum. Sticking the cardboard down, rather than the actual sample, will make is easier to rearrange them without damaging the sample.
LABEL THIS. Say why you chose that arrangement and when (Snowman thing with broom, Christmas, 2009), possibly why and for whom (to match Sam's new pony). It will make your notebook more interesting, and help you recall your sister's fin-de-siecle obsession with ashes-of-roses.
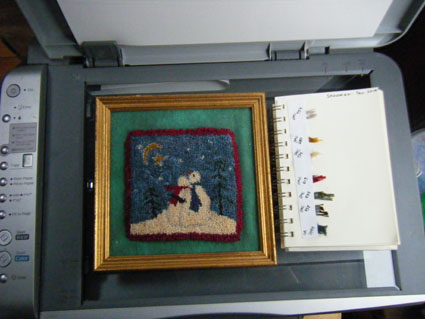
You could scan the project with its palette of samples.
You could scan the project with its palette of samples.
Going to Electrons


If you have access to a scanner, you can copy these project pages before you dismantle them, and file it with the pattern and any notes (you could. Some people are tidy like this).
If you then go on to match the CMYK/RGB numbers to each color, ask yourself if that is the best way to spend your time. It might be. Let me know.
This is probably the best way to make a record of the colors of beads, since a picture will behave better than the actual beads.
If you then go on to match the CMYK/RGB numbers to each color, ask yourself if that is the best way to spend your time. It might be. Let me know.
This is probably the best way to make a record of the colors of beads, since a picture will behave better than the actual beads.
You could even copy each sample separately (scan them together on one pass and 'cut' them into their own files). Then you can move them around into different projects or potentials.
Inventory Scan?
If you like, you could scan each skein as it comes in, and not bother with the actual floss sample. It won't be as viscerally useful, but that way you could carry an inventory on your electronic companion without having to buy an app, even assuming there's an app for your brand.