Making a Time Lapse in 7 Steps

Have you ever dreamed of watching an entire day go by in a matter of minutes? Have you ever felt too impatient to watch a flower bloom? Have you ever wanted to move at the speed of sound? Maybe you just want to shovel your driveway faster. Have no fear, for all these issues and more can be solved by the magical powers of a time lapse. Read on to learn how you too can make such an amazing video.
Get a Camera

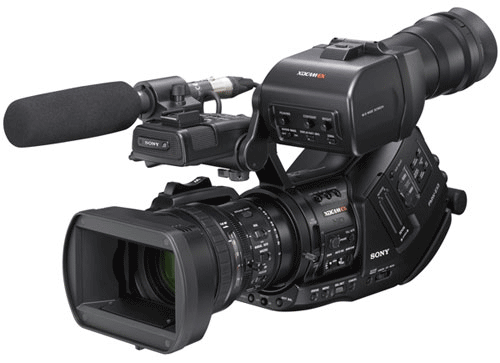
This is by far the most important step, for without a camera filming the time lapse becomes more difficult than you can possibly imagine. Just about any camera will do, so long as it has the ability to film for a long period of time.
Set the Camera Somewhere

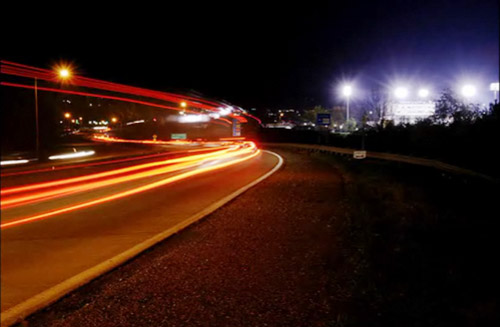
This "somewhere" could be anywhere, but a brick wall is much less interesting than most other places. Try to pick a shot that has some things which will not move, and some other things that will. Also, there does need to be a noticeable difference from the first shot to the last one. The most common time lapse is the sun going across the sky. Usually the foreground remains pretty much the same but the sun moves and the light changes as the day goes on. Another good example is someone shoveling snow off of their driveway. The driveway will not move but as more snow is removed the driveway becomes visible.
Wait!
Don't forget to film whille wating or else it would kinda be pointless. The camera shouldn't move unless you want to get really complicated. It's worth mentioning a feature on some cameras called interval recording (or int rec). What this basically does is take a few seconds of film at designated intervals, like every minute or so. This saves a lot of video time, and might work really well, but other times it misses a lot of the action. If in doubt record the whole thing.
Put the Videos Into Imovie 09
You may use another video editing program but only AT YOUR OWN RISK! This Instructable does not claim any responsibility for property damage, headaches, or even death caused by not following directions exactly.
Convert the Videos

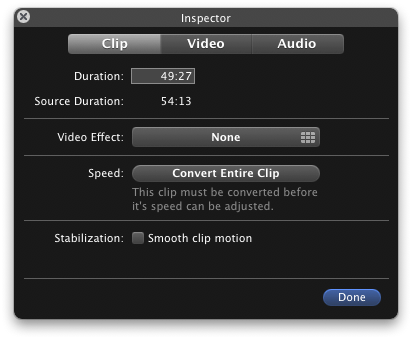
The videos need to be changed before imovie can alter their speed. Don't worry though, it's not some complicated conversion process. Just put the videos into a project, double click them to open the inspector, and under the clip tab there should be a button that says convert. Just click it and pray your computer doesn't expode.
Wait Some More
Seriously imovie takes forever to convert, and it likes to be sneaky and not tell you what you are converting to, but it does work.
Speed It Up

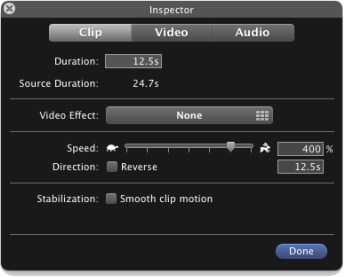
Now taking the place of the convert button, is a little slider that changes the video speed. this can go from about 10% to 2000%. Since this is a time lapse you want to put it close to the 2000 mark, but it will differ between videos. (side note: 2000% not fast enough for you? Then you need to export your video, that means save it as a video file, and import it again. Then convert it and speed it up again thereby making it up to 4000%+ faster if your willing to keep doing this, but 2000% is 20x and that makes an hour into 3min, which is already insanely fast). Now your pretty much done, unless you want to edit your video to cut out certain parts. Make sure to add some appropriate music, and show it to all your friends so they know how awesome you are.