Making a Ring With the Water Jet Cutter
by olivialovan in Workshop > Metalworking
130 Views, 0 Favorites, 0 Comments
Making a Ring With the Water Jet Cutter
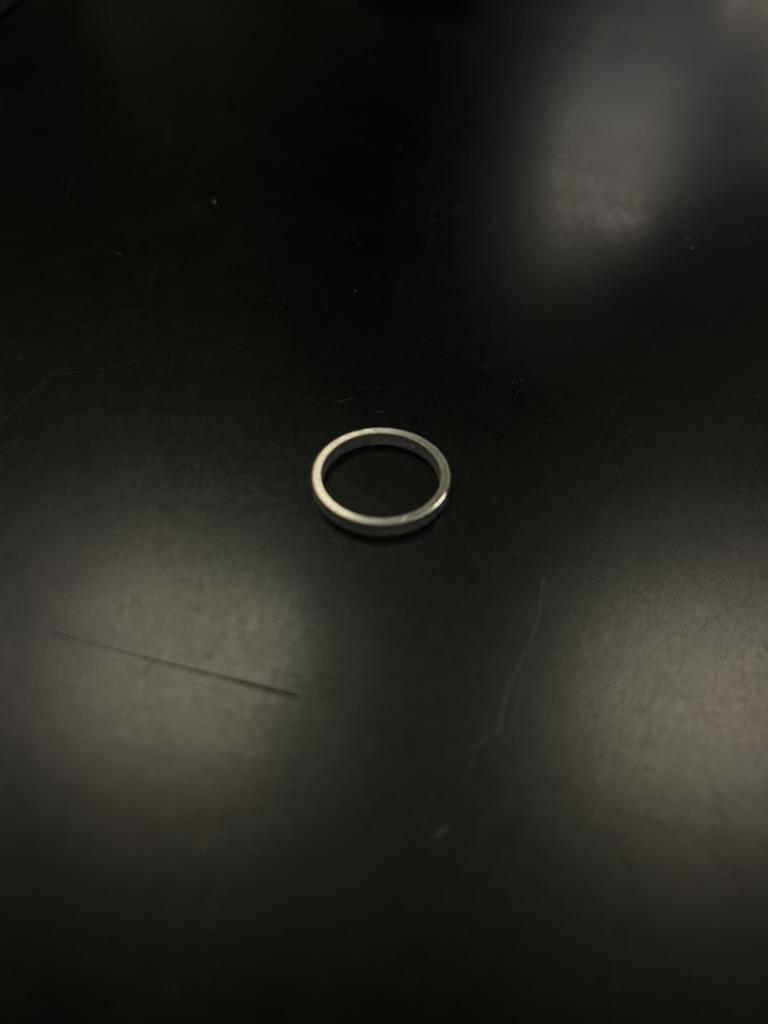
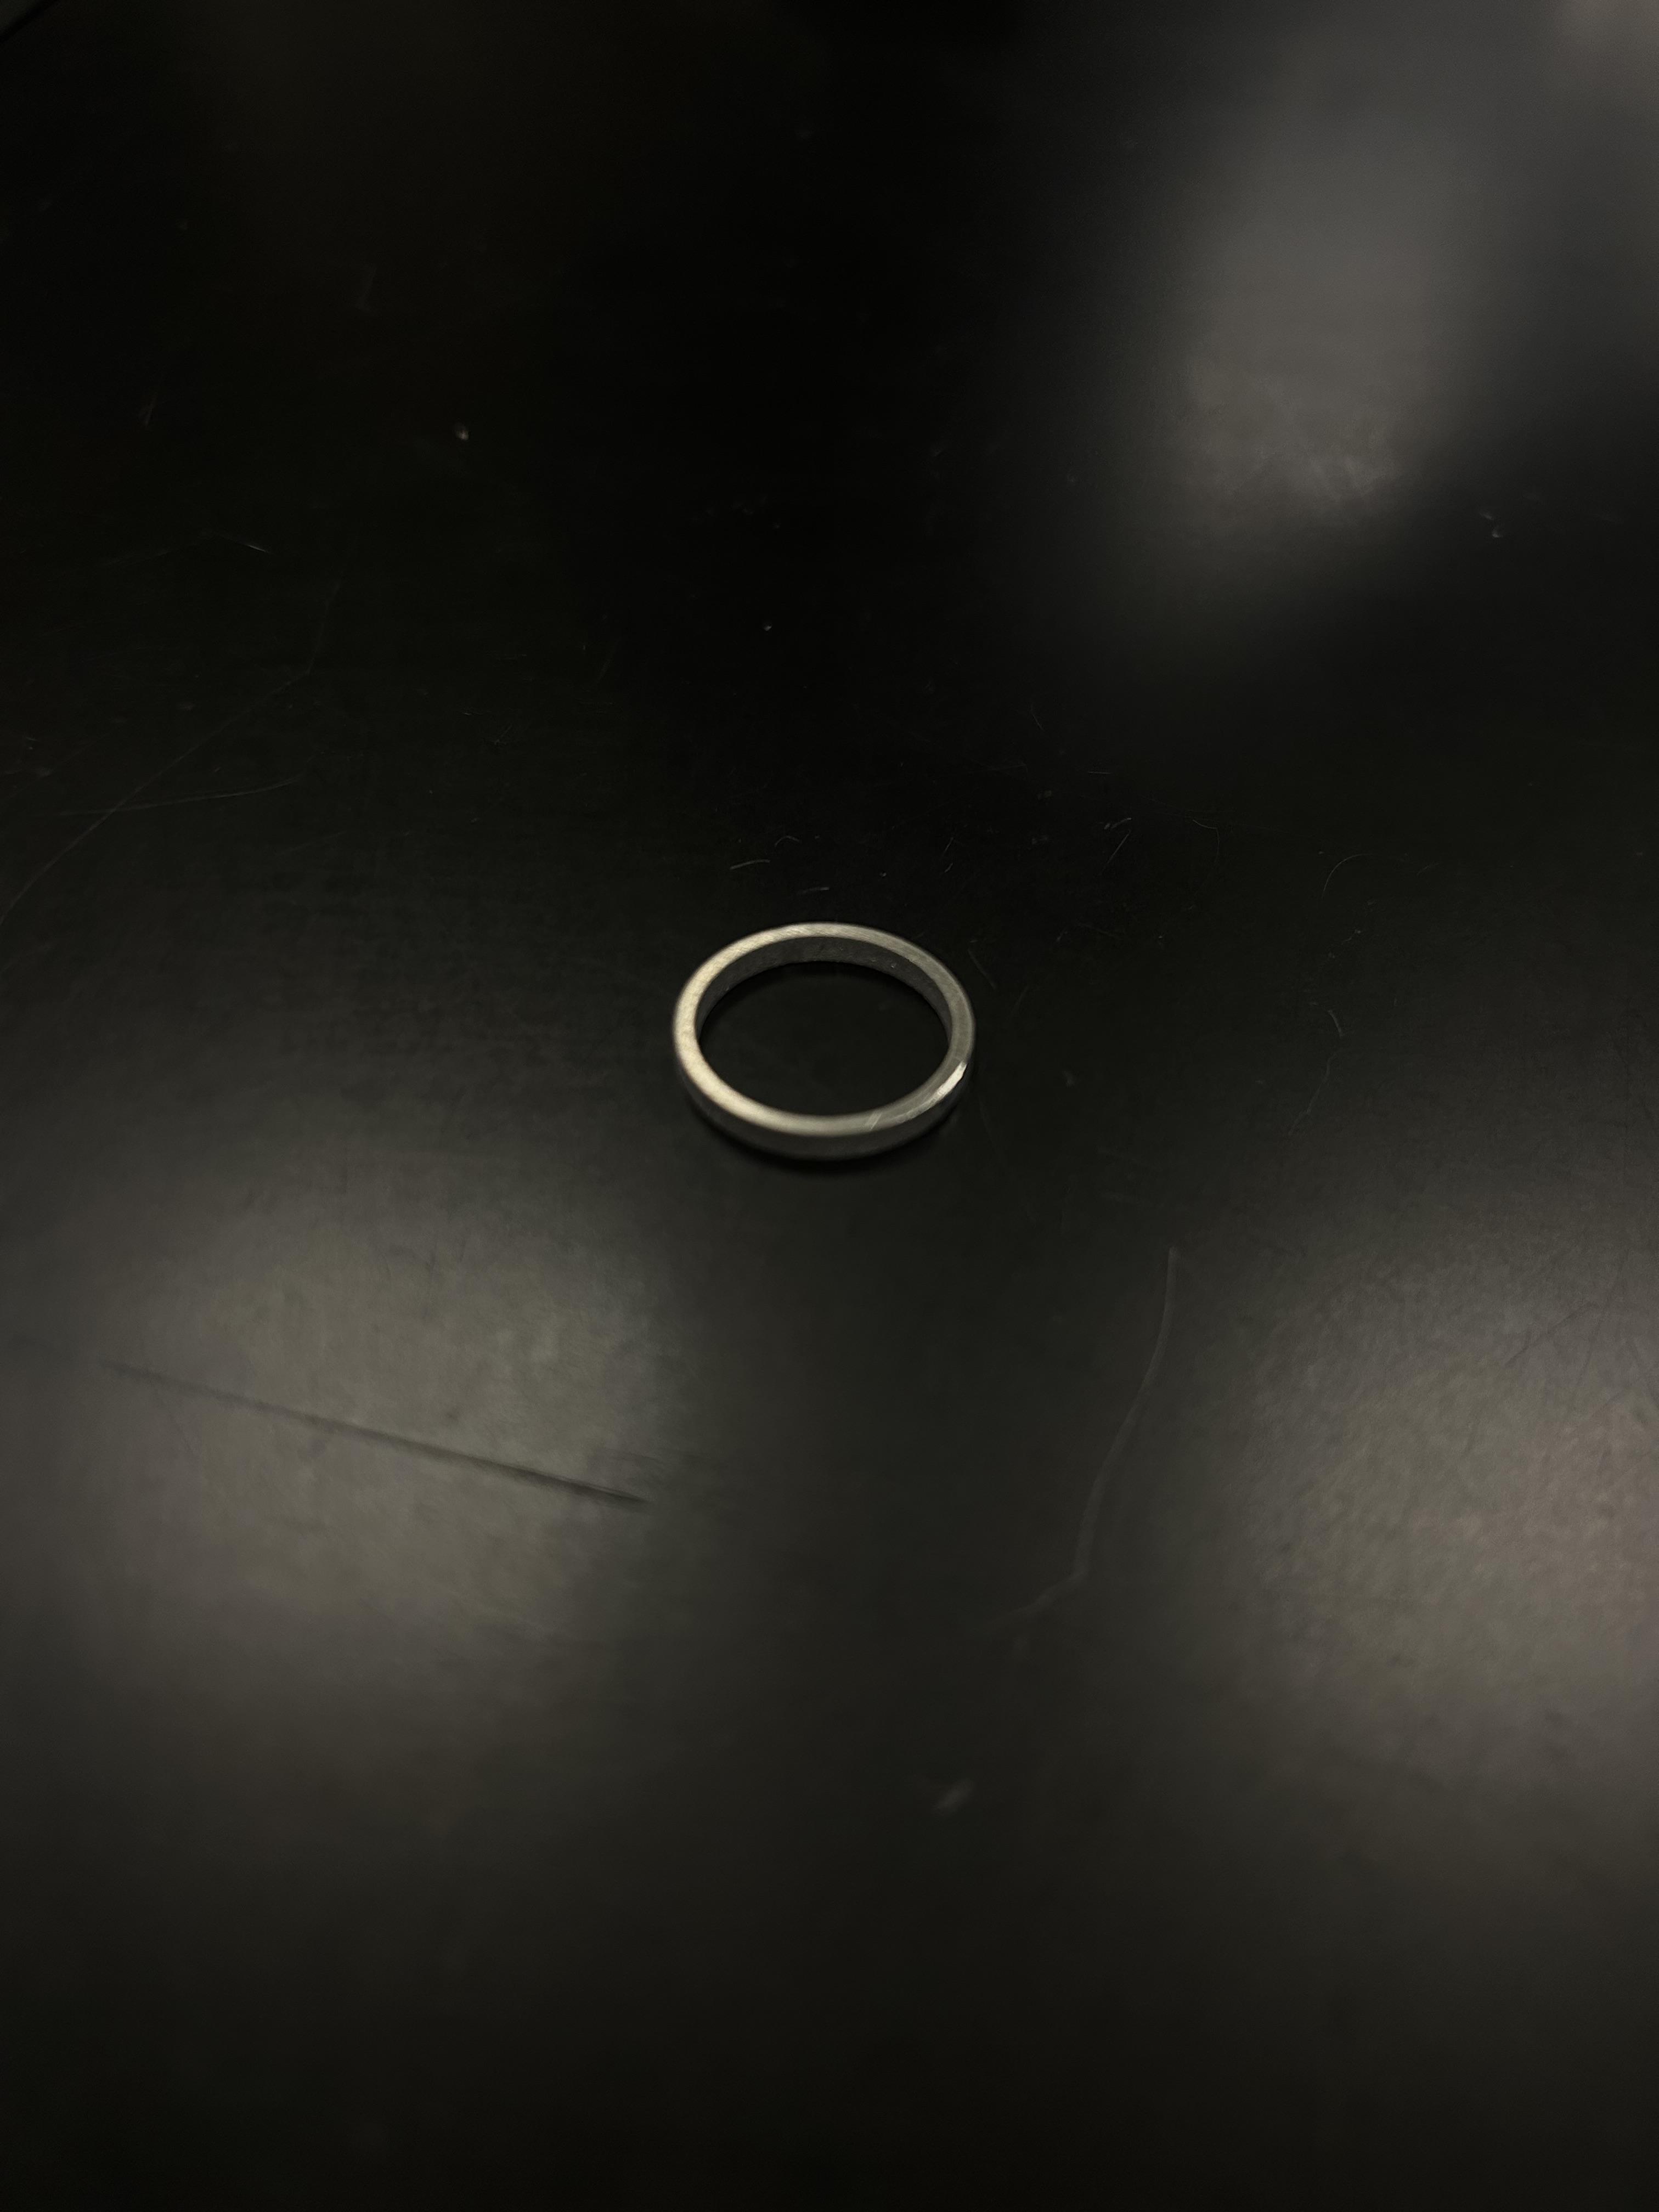
Water jet cutting aluminum is an excellent choice for producing precise, clean cuts with minimal heat distortion. Aluminum is a relatively soft material, so water jet cutting works particularly well, as it prevents the material from warping or losing its integrity. Here's a detailed guide on how to water jet cut a ring from aluminum:
Supplies
Materials Needed:
- Aluminum sheet (sized according to your design)
- Water jet cutting machine (with CNC control)
- CAD Software (AutoCAD, SolidWorks, Rhino, etc.)
- CAM Software (to generate the tool paths)
- Water jet machine (with high-pressure water and abrasive system)
- Protective equipment (safety glasses, gloves, ear protection)
- Calipers
Design the Ring in Software
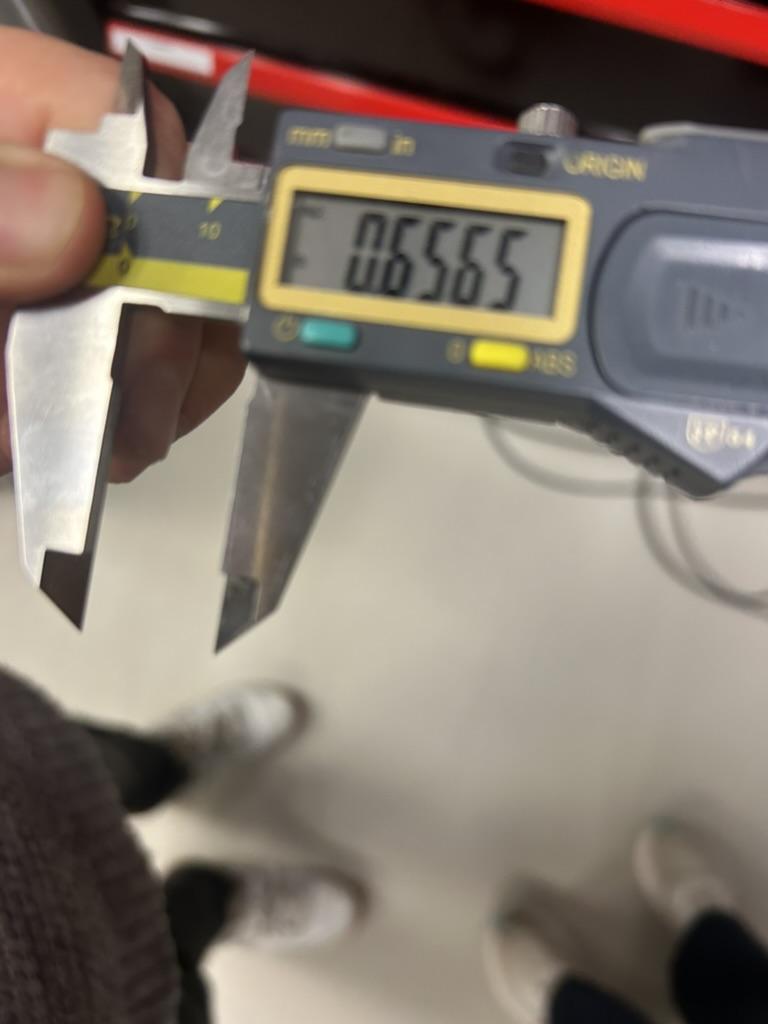
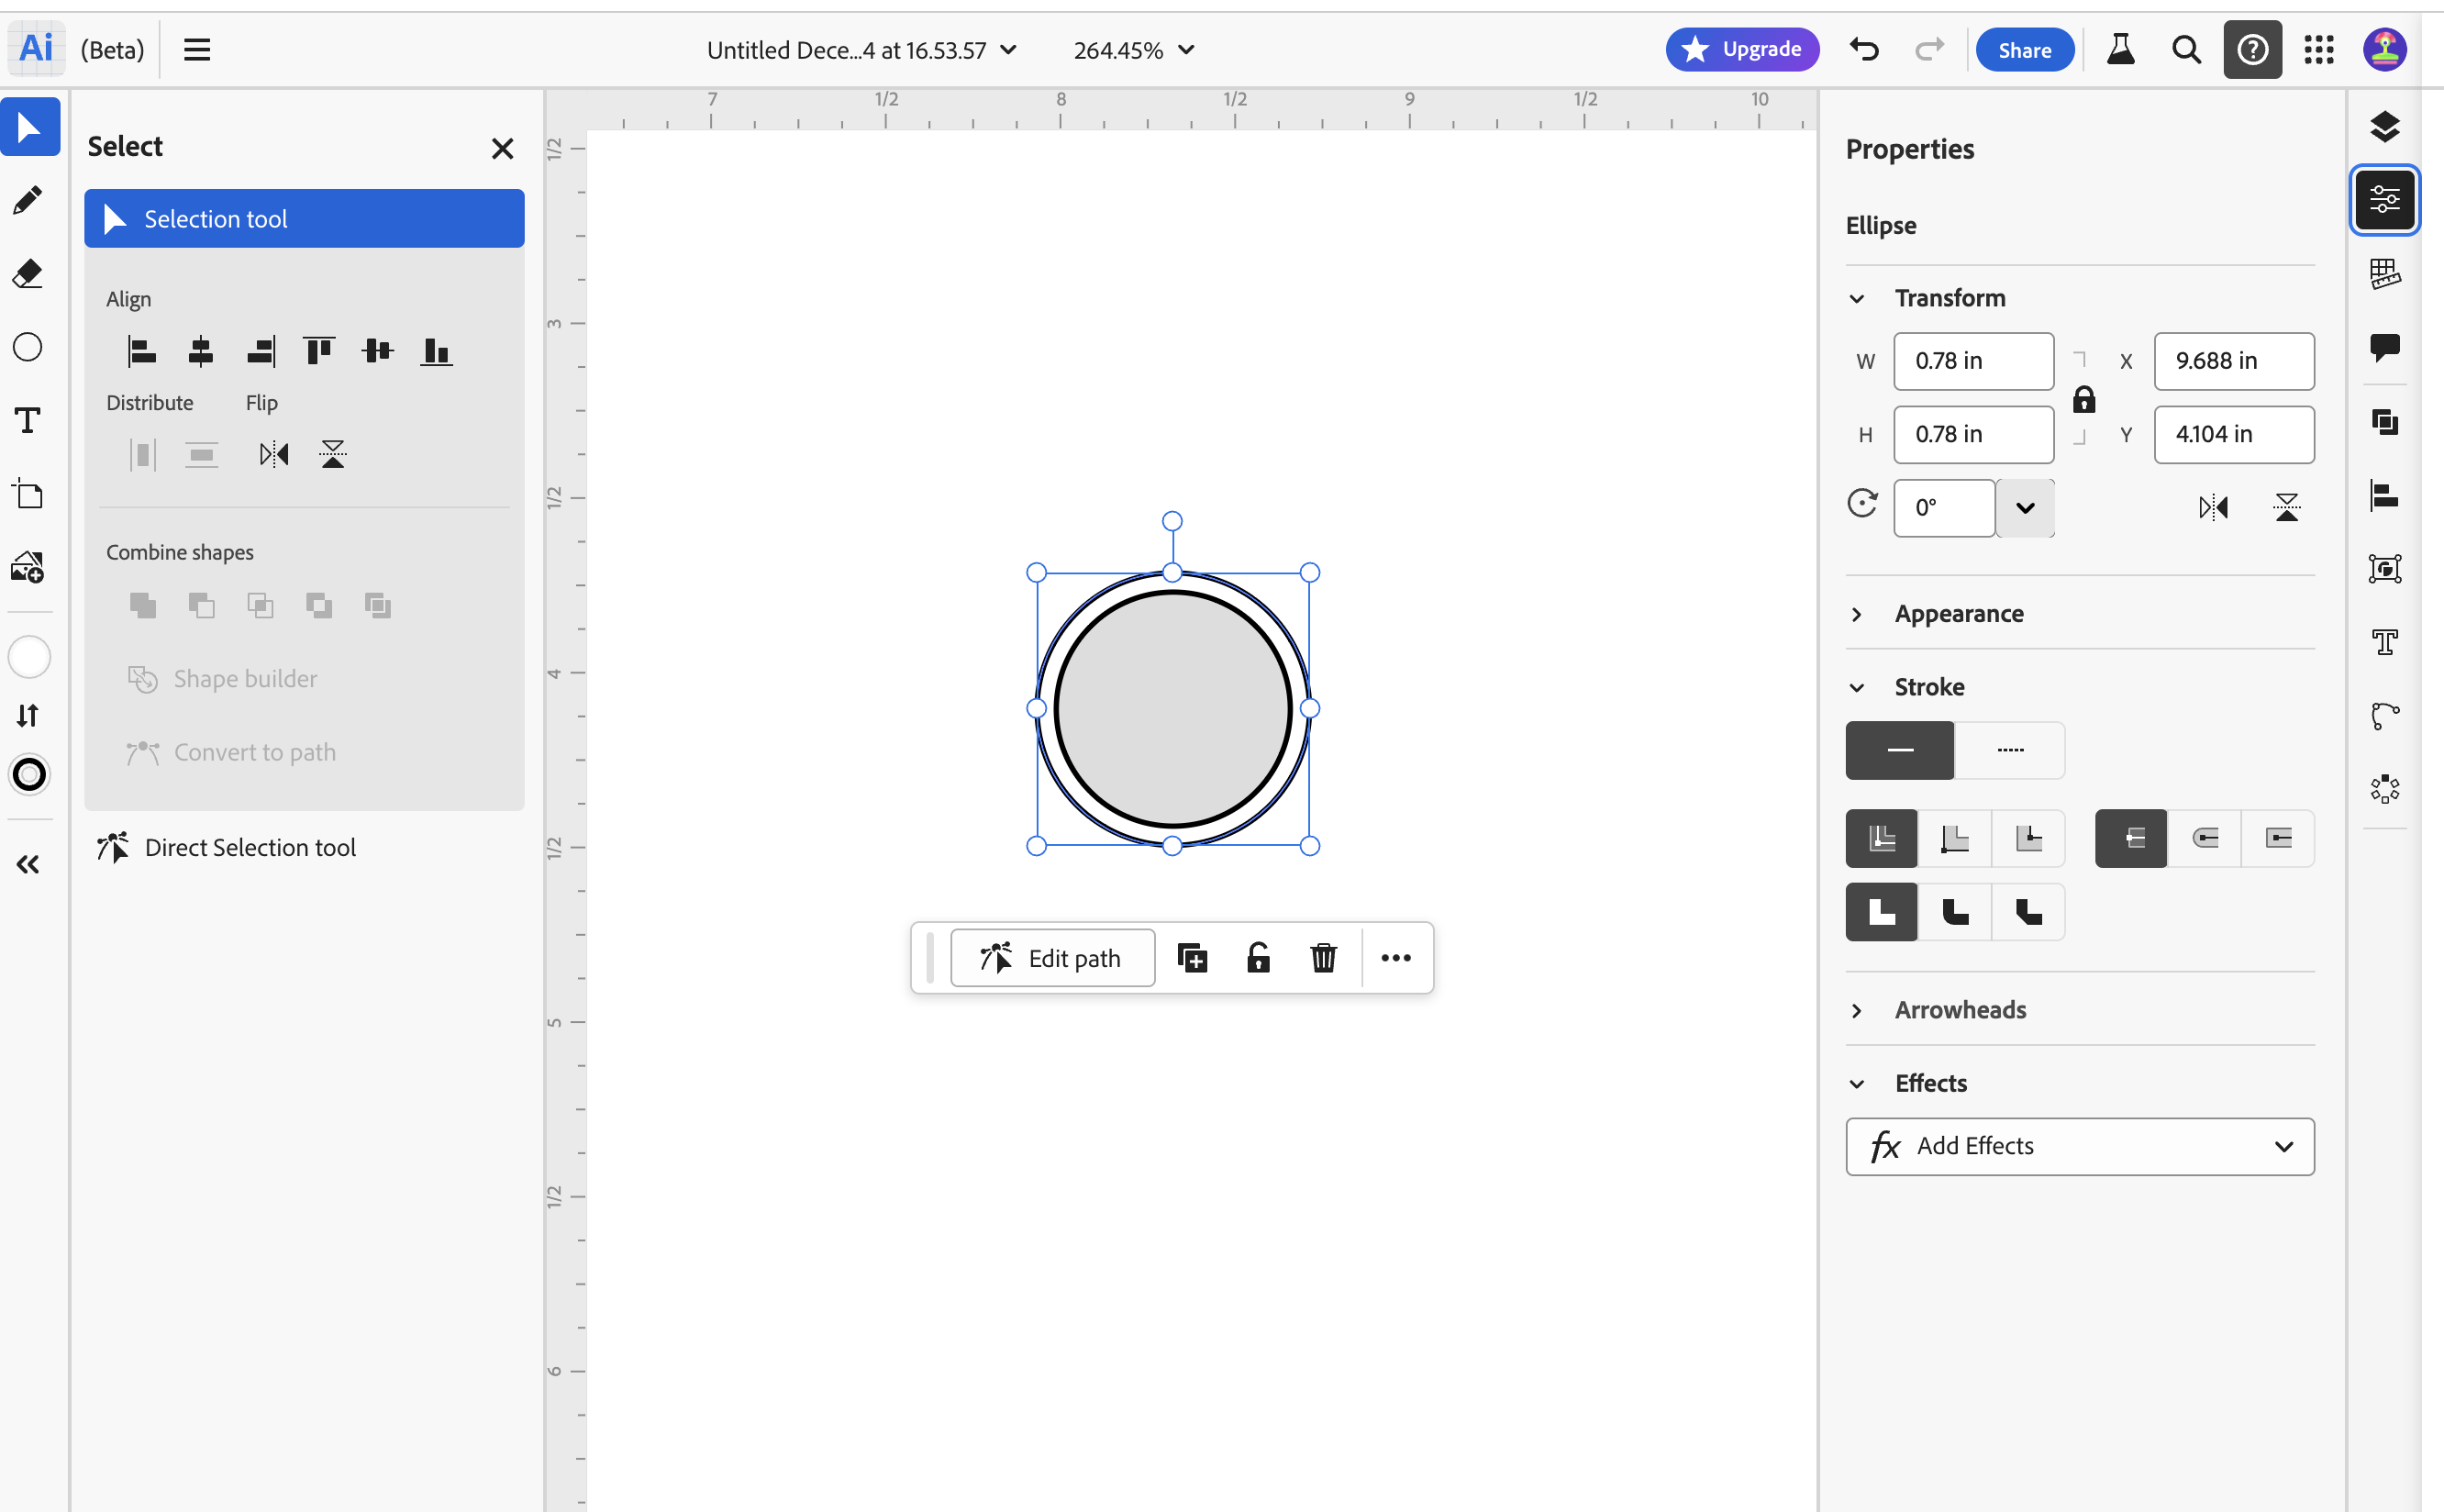
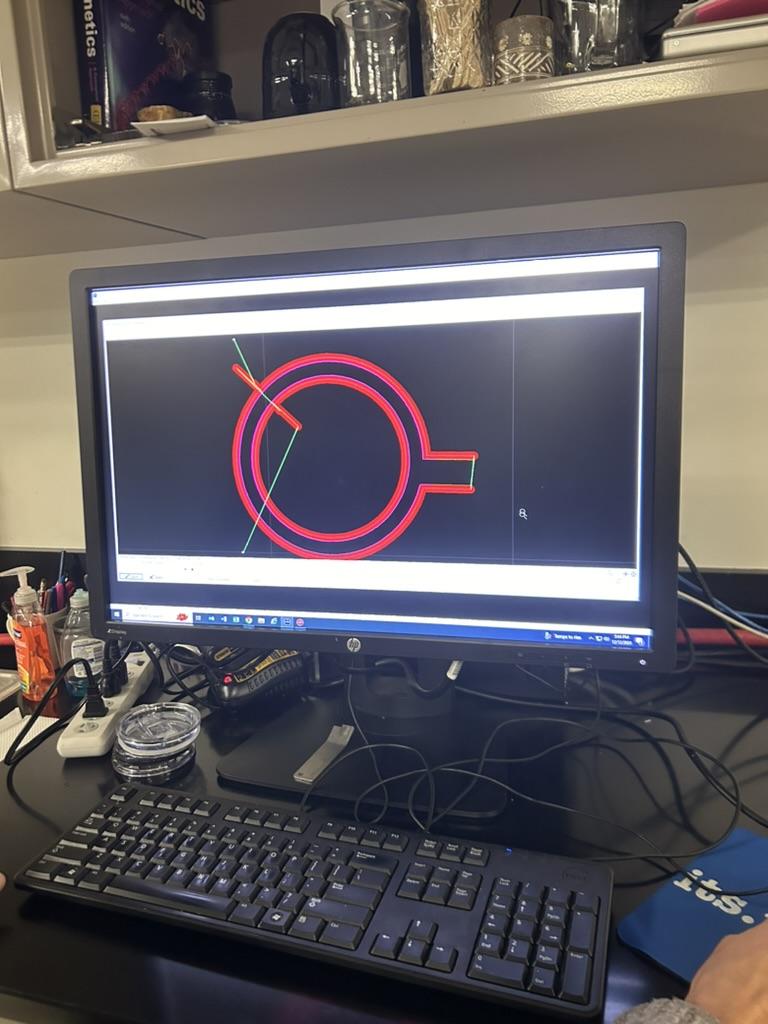
Create the Design: Start by opening your CAD software (such as AutoCAD, SolidWorks, or Rhino). Design your ring by creating a 2D profile. I used Abode Illustrator. You’ll need to define:
- Outer Diameter: The outer perimeter of the ring. This is the thickest of the ring.
- Inner Diameter: The hole in the middle of the ring. I found this by using calipers to find the diameter in inches around the largest part of my finger. (see dimensions in photo above)
- If desired, you can also include any internal patterns, text, or decorative elements.
Export the Design: Once your design is ready, export it to a compatible file format, typically DXF or SVG. These are the most common formats used for water jet cutting machines.
Prepare the Aluminum Sheet
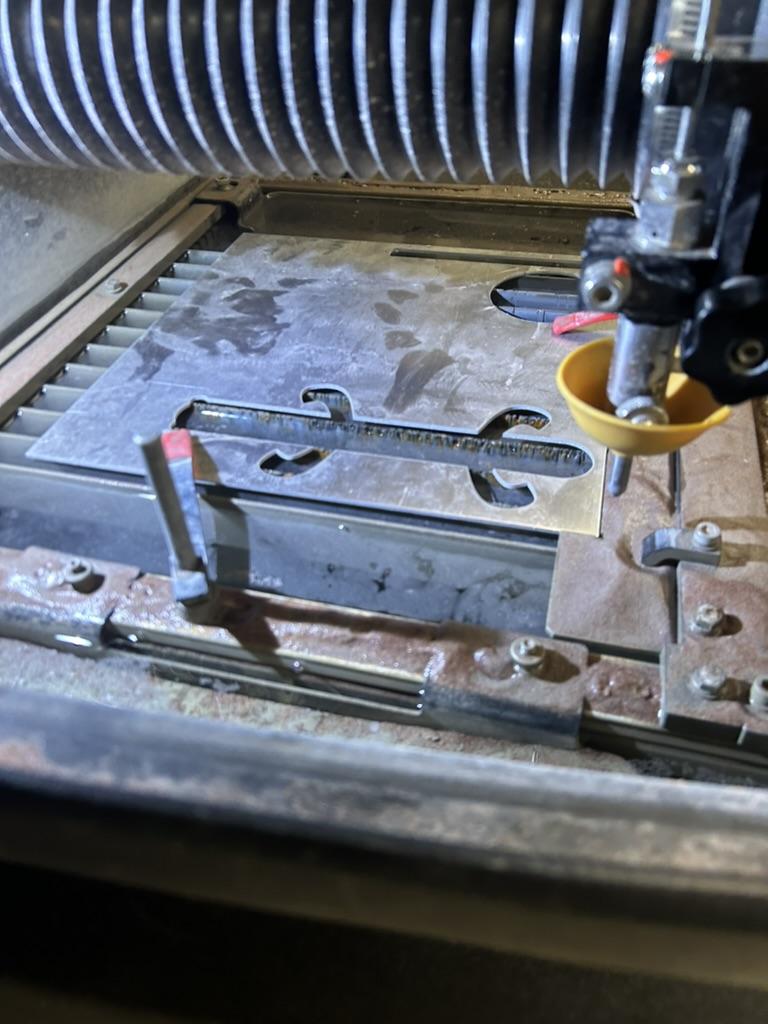
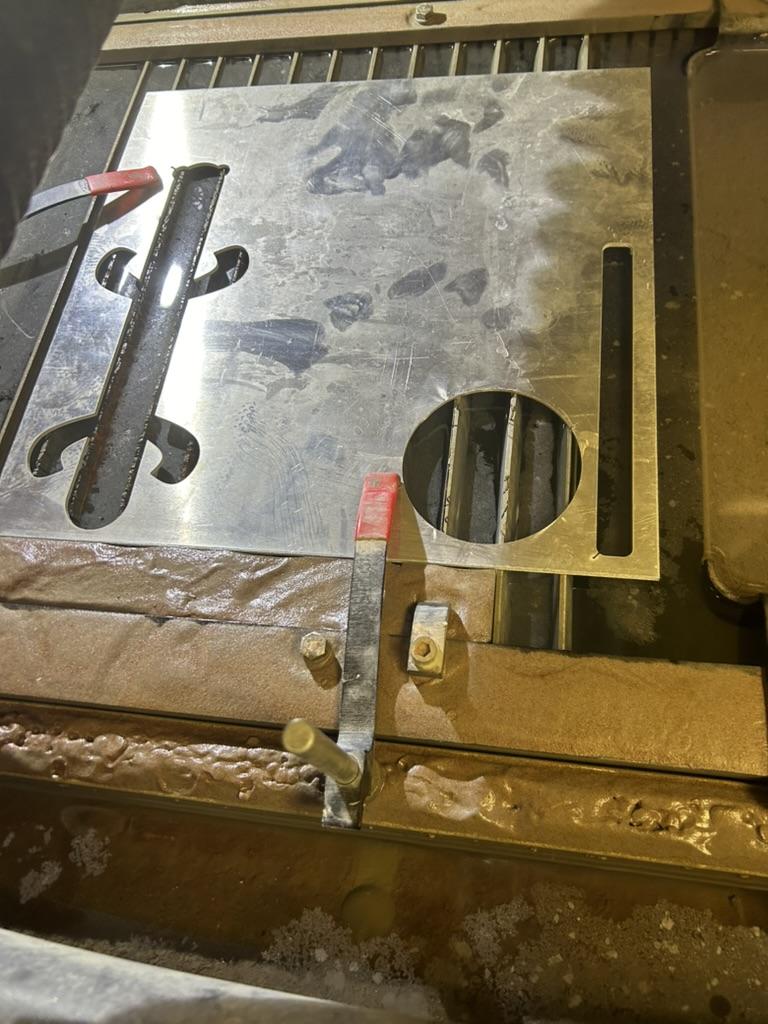
- Select the Right Aluminum: Choose the thickness and type of aluminum that suits your needs. Commonly used aluminum alloys for water jet cutting include 6061 and 5052, as they are relatively easy to cut.
- Prepare the Aluminum Sheet: Make sure your aluminum sheet is large enough to fit the ring design. Ensure the sheet is free of any contaminants like grease, oil, or dirt that could affect the cut quality. If necessary, use a cleaner or degreaser to prep the material.
- Place the Aluminum Sheet on the Cutting Bed: Lay the sheet on the water jet machine’s cutting bed. Align it properly, ensuring that the material is flat and positioned according to your design. Some machines have a vacuum system to hold the material in place.
Import the Design Into CAM Software
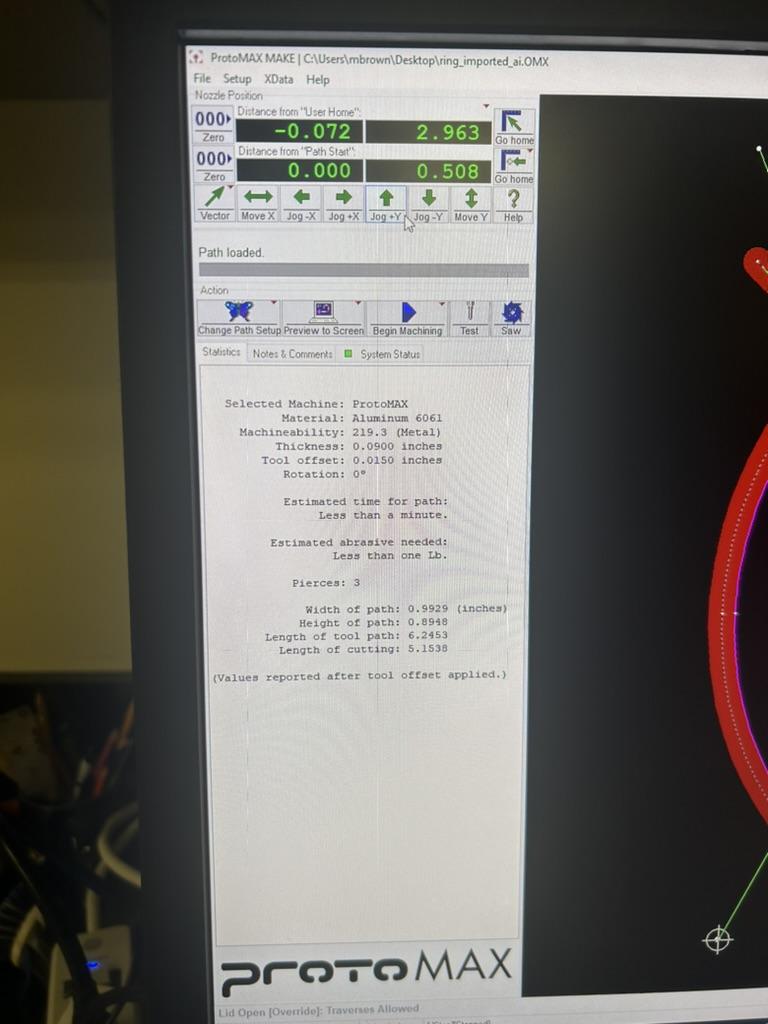
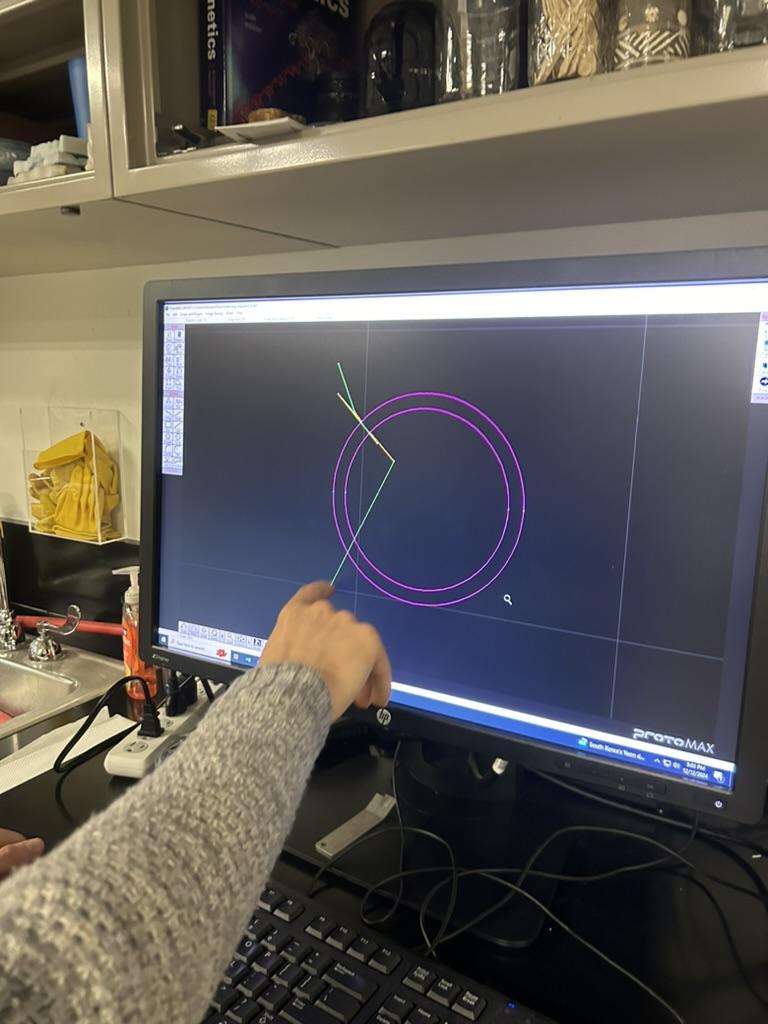
- Load the Design: Import your DXF or SVG file into the CAM software connected to your water jet cutting machine (e.g., FlowMaster, OMAX Intelli-MAX, etc.).
- Adjust Cutting Parameters:
- Water Pressure: For cutting aluminum, the typical water pressure should be around 60,000 psi. This high pressure helps the water jet cut through the aluminum with precision.
- Cutting Speed: The cutting speed will depend on the thickness of the aluminum. A thicker aluminum sheet will require slower cutting speeds to ensure accuracy.
- Abrasive Flow Rate: If you're using an abrasive water jet (most common for cutting metal), set the appropriate abrasive flow rate. For aluminum, the flow rate should be moderate, depending on the thickness.
- Kerf Width: Kerf is the width of the cut, which can vary based on machine settings. For aluminum, the kerf width is typically around 0.03" to 0.1".
- Optimize Tool Path: The software will generate a tool path that tells the machine where and how to cut the aluminum. For a ring, make sure the path is continuous and includes both the outer and inner diameters, as well as any additional cutouts.
- Test the Settings: If possible, run a test cut on a small scrap piece of aluminum to verify the settings and ensure everything is correct before cutting the actual ring.
Set Up the Water Jet Machine
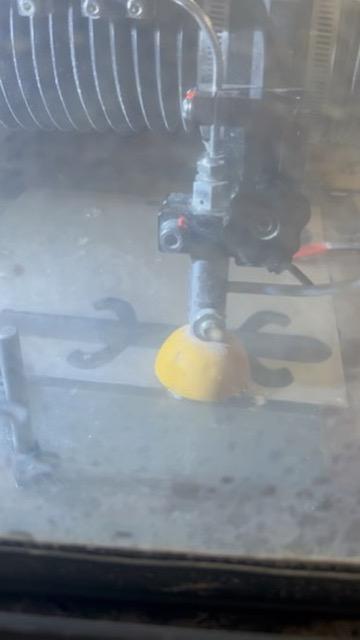
- Load the Program: Send the tool path program from the CAM software to the water jet machine. Make sure the file is properly transferred and recognized by the machine’s controller.
- Check the Machine: Before starting, ensure that the machine is in good working order. Check the water pressure, abrasive levels (if using an abrasive water jet), and any other machine settings.
- Verify the Material Positioning: Ensure the aluminum sheet is positioned properly on the cutting bed and that there are no obstructions in the cutting path.
Start the Water Jet Cutting Process
- Start the Cut: Once everything is set up, initiate the cutting process. The machine will begin by directing a high-pressure stream of water, mixed with abrasive particles (usually garnet), at the aluminum sheet, cutting along the defined tool path.
- Monitor the Cutting Process: Stay near the machine during the cutting process to monitor for any issues. Water jet cutting is a precise and slow process, but you should still keep an eye on the cut to make sure everything is proceeding correctly.
Post-Cutting Operations
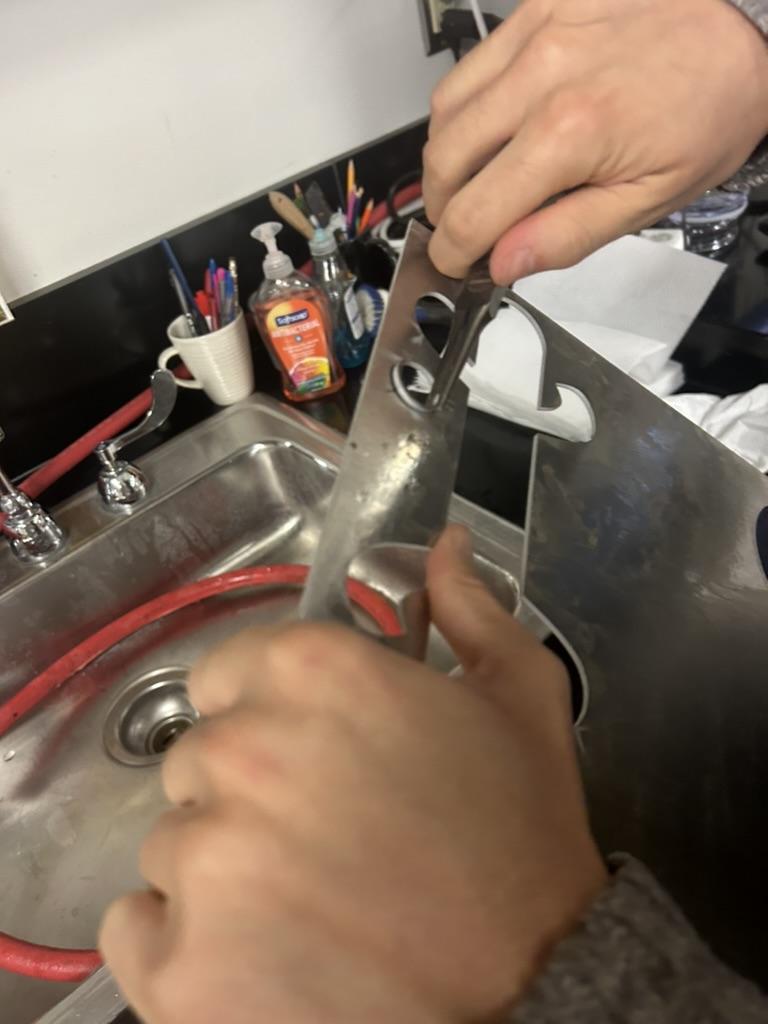
- Remove the Cut Ring: Once the machine has completed the cut, carefully remove the ring from the cutting bed. Be cautious as the material may still be wet from the water jet process.
- Inspect the Cut Quality: Check the ring for any imperfections in the cut. Water jet cutting typically produces clean cuts with minimal burrs, but if necessary, you can lightly deburr the edges with a file or sandpaper.
- Clean the Ring: If there’s any residual abrasive material or water on the aluminum, wash the ring with water to remove debris. You may also want to dry the ring to avoid water spots or corrosion.
Finishing Touches
- Edge Polishing: If you want a smooth, polished finish on the ring, you can use fine sandpaper, a polishing wheel, or a deburring tool to smooth out the edges.
- Surface Treatment (Optional): If desired, you can apply a protective finish to the aluminum ring. This could include anodizing for a durable and colorful surface or a clear protective coating to prevent oxidation.
- Final Inspection: Double-check the dimensions of the ring to ensure it matches your original design specifications. If it’s a jewelry piece, make sure the inside diameter is appropriate for the intended fit.