Making a Project Using GitHub
.png)
GitHub is most notably known for being a website where coders/programmers (people who use code) share and copy long and or complex work, using the website as a shortcut.
However, using GitHub, you can do much more, like constructing all types of projects. GitHub is more suitable if you want to build an immense project that requires tons of work rather than a small one.
GitHub's strength relies on using all types of links, pictures, and text in clear and organized fashion making revision and appending almost effortless.
Supplies
In order to complete this project you only need a laptop or computer.
Making an Account
.png)
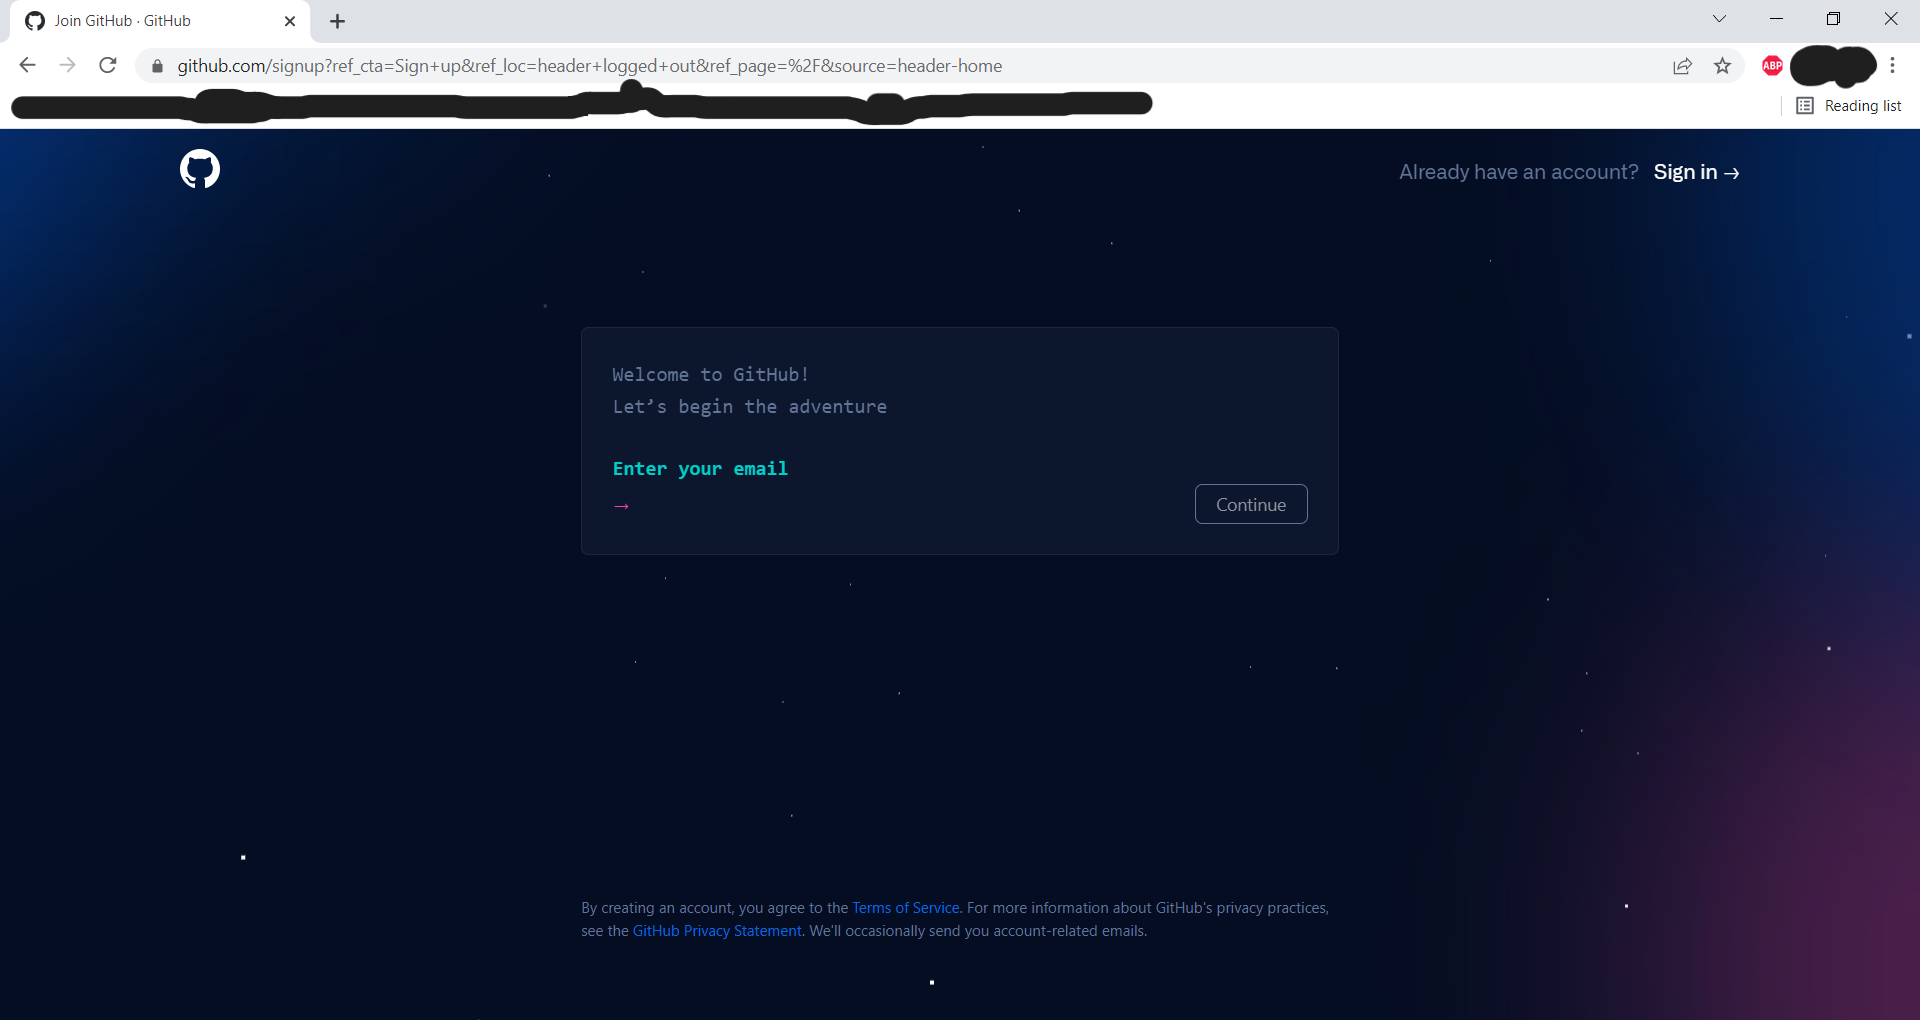
This first thing you need to do to access a website is to make an account:
https://github.com/signup?ref_cta=Sign+up&ref_loc=header+logged+out&ref_page=%2F&source=header-home
I recommend using a professional email and password in order to be able to continue accessing the website if you get interested in continuing programming and plan to use GitHub more in the future.
Making a New Repository
.png)
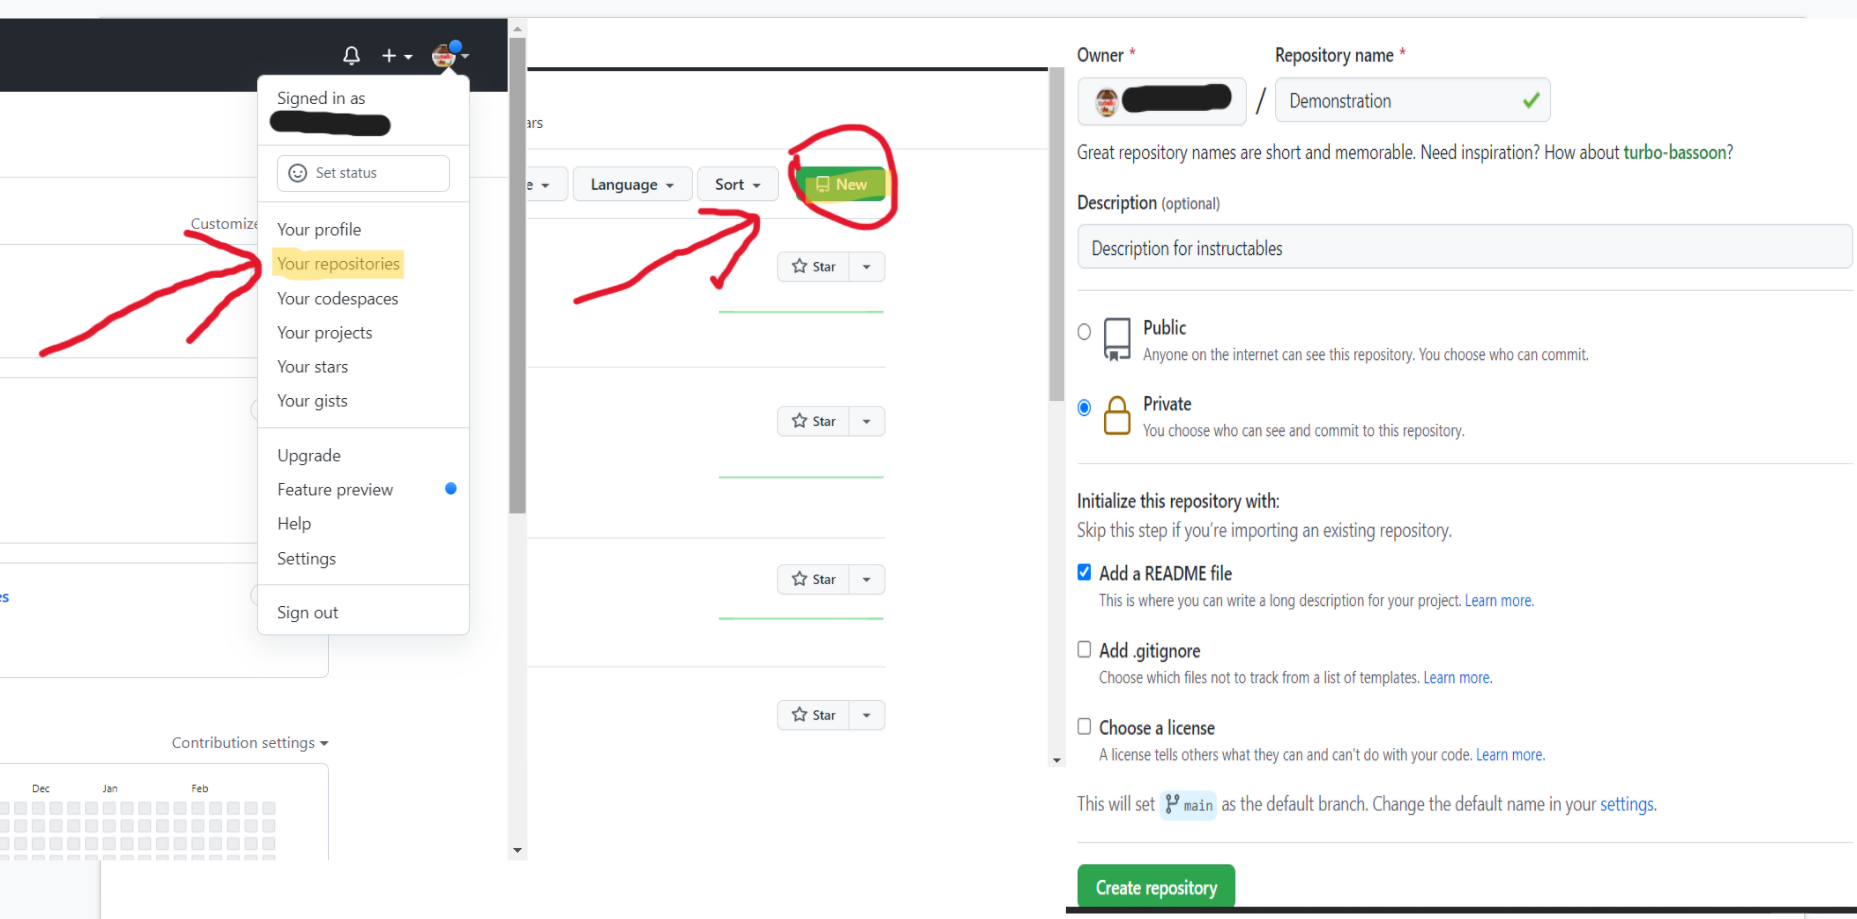
The very first thing you want to do once you make an account is make a repository or library/place of sorts where you will be able to experiment coding yourself.
In order to create one you need to:
- Click on your icon
- Select "your repositories"
- Click the green button "New"
- You will then see an option to add the name of the repository, choose one
- In the description part add a description of what you will do
- Lastly select if you want it private or public, private is a better choice if you want to turn an assignment you will be doing on GitHub, as it won't show on the internet.
Making a File
.png)
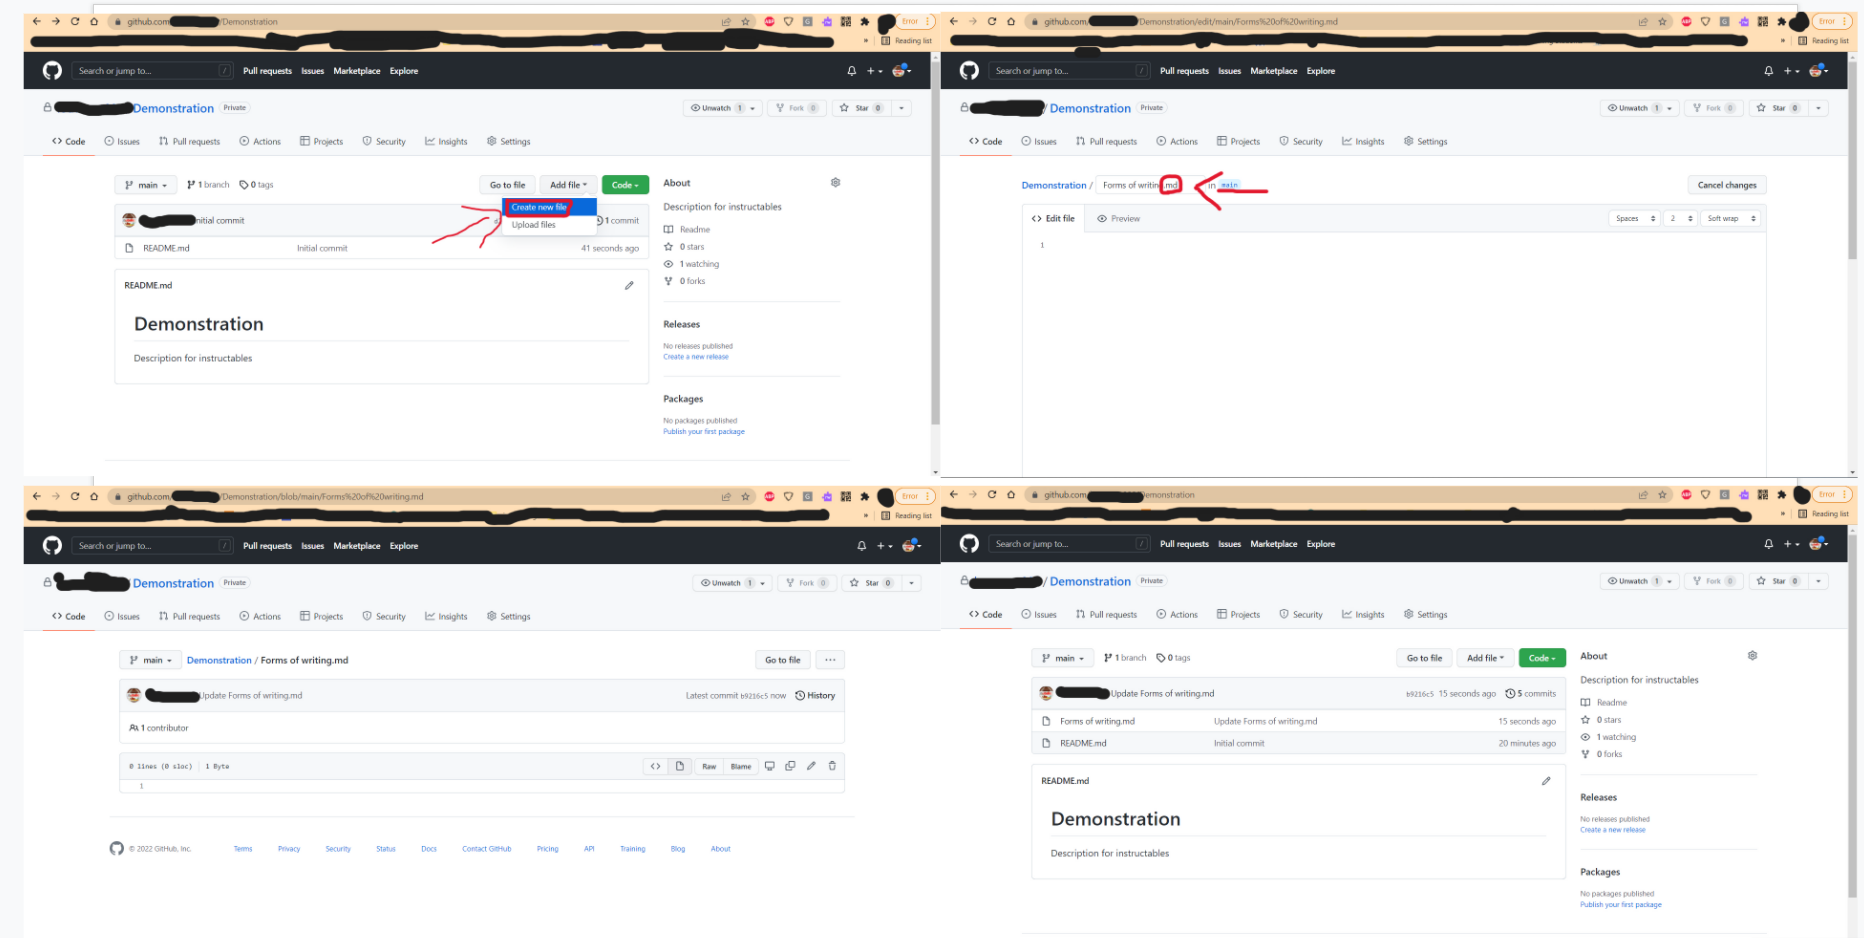
Within this new repository there will be a "README.md" file where you will see the description you put for the project.
Once you are here, you want to make make a new file using the "Add file" button and clicking "Create new file". From there you can name it whatever you want as long as you add ".md" at the end of it. Then after clicking save changes on the very bottom, you can now see that a new file was added to your repository.
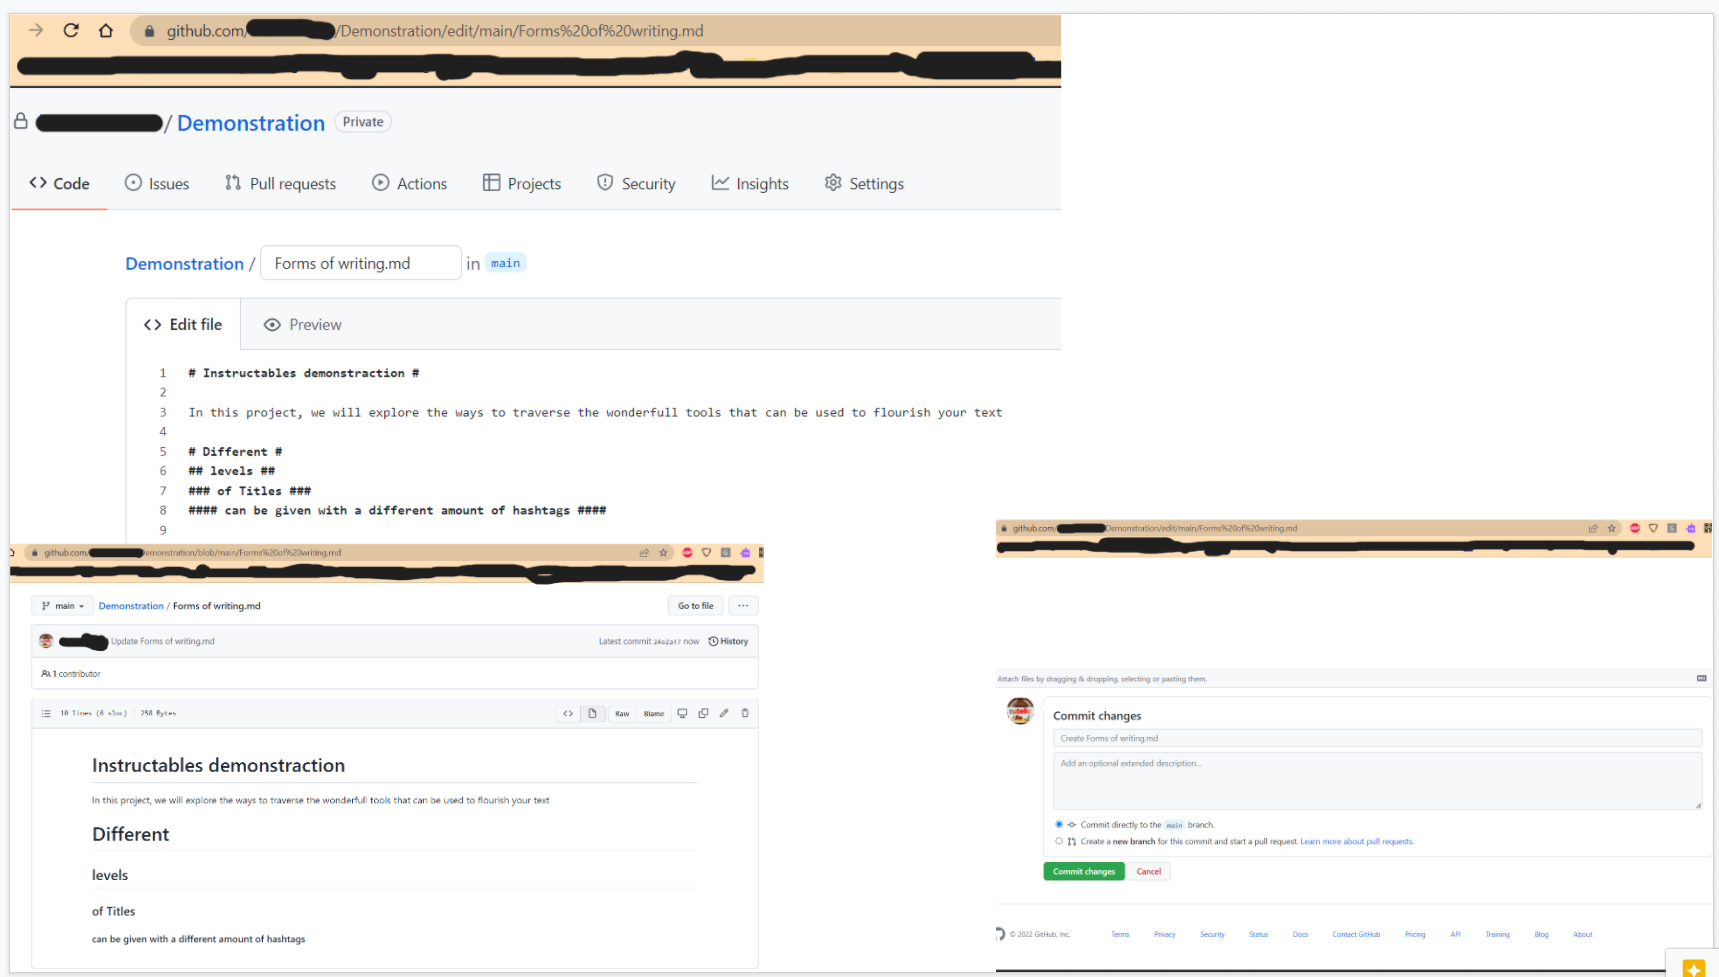
Familiarizing Yourself With a File
.png)
A file created this way will always have two modes:
- An "edit file" mode which can be accessed using the pen like icon on a file
- And a "Preview" mode where you can see what effects your code have on file
And at the bottom of the file is the most important button, the "Commit changes" green button, which saves your progress.
How to Make Titles
.png)
In a .md file on GitHub, a title can be made using "#" a hashtag or pound sign.
The size of the title depends on how many "#" signs were used:
- With one "#" making the biggest title
- With two "#" you would make a slightly smaller one
- Continue with the trend until the sixth's "#" would make a grayed word
- and the seventh "#" no longer works
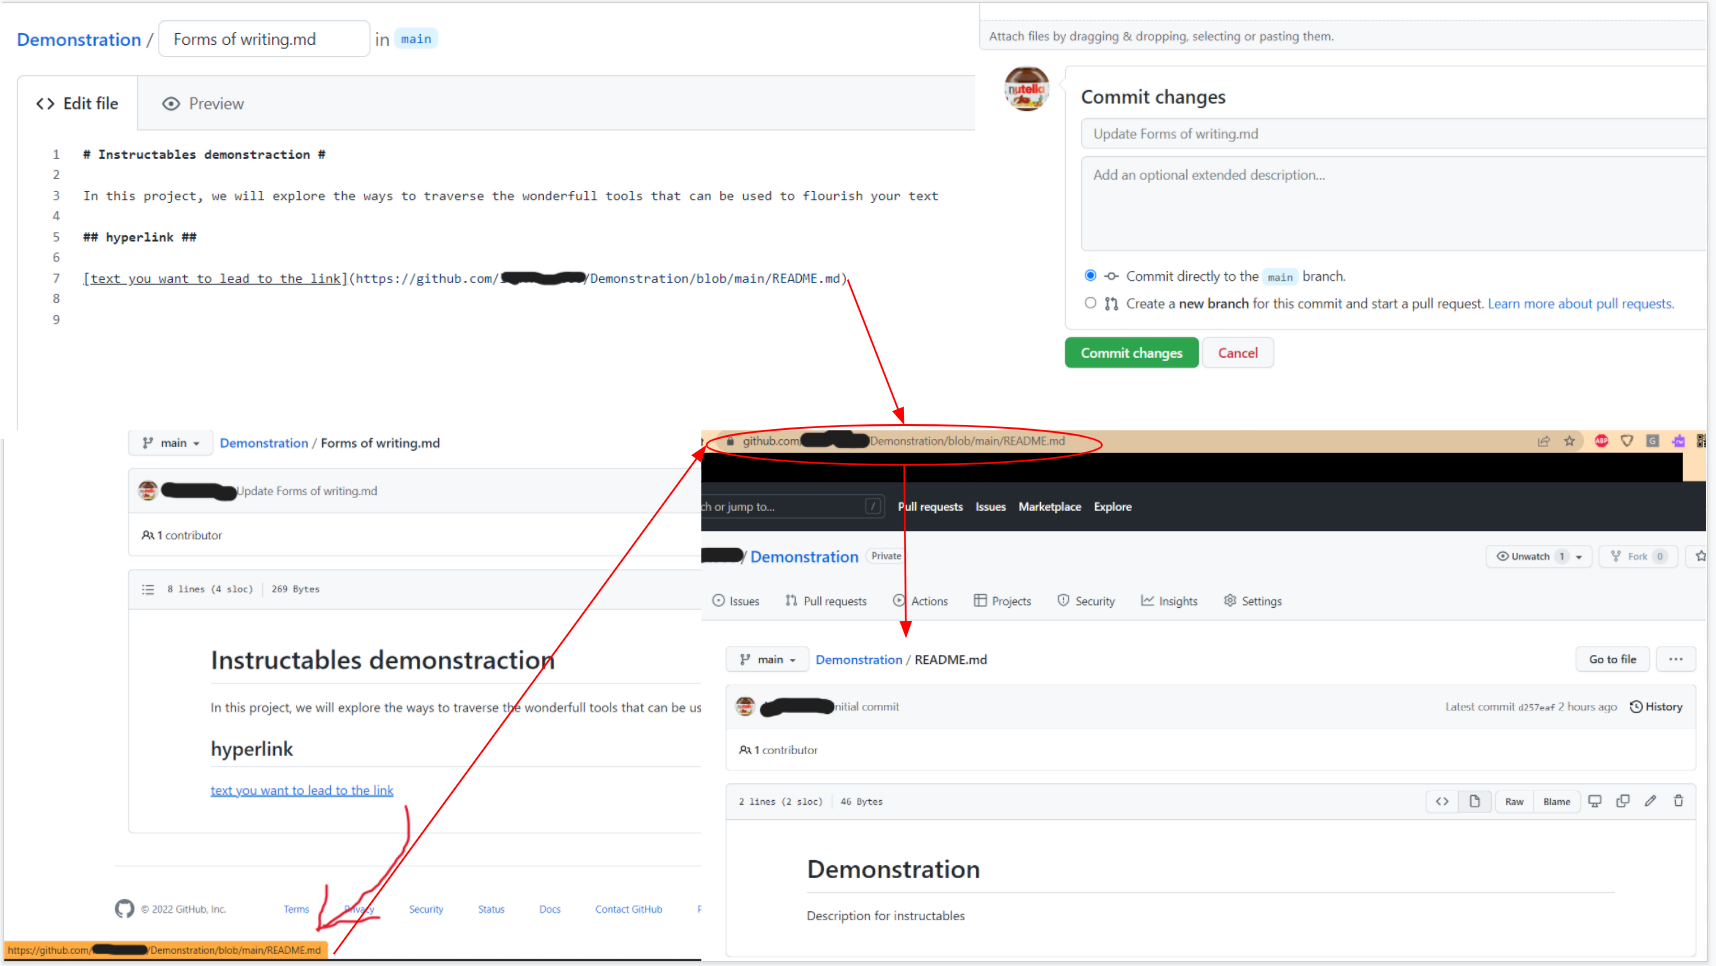
Hyperlinks
.png)
Although using hyperlinks can be quite hard in many other websites, it could not be easier with GitHub.
All you need to do is use brackets in order to write what the text with the link will say (in blue).
Then using parentheses, you will need to give the link you want to be sent to when you click the text (website).
*Note that what is in the parentheses will need to be without spaces or GitHub will not accept it (for the reason that websites cannot contain spaces).
**Note: This is especially useful if you want to navigate within a repertoire or library (get the links as you would a normal website, in the top bar).
It would look a bit like this:
[text in blue](where-it-takes-you-when-you-click.com)
Pictures Part 1
.png)
There are two main step to show a picture in your ".md" file, the first of the two steps will be discussed in this part, the second in part 8.
The first of the two steps is uploading the picture you want to use to the repertoire, and in order to do some please follow the instructions clearly:
- Go back to the main "menu" of the repertoire where you can look at all the files.
- Then click on "Add file", and select "Upload files", this will take you to a menu where you can upload anything from a pdf, word document to a .png or .jpeg. *Note: make sure the file has no spaces in the name.
- Then click on the green "Commit changes" button
The file will now appear in the repertoire of files as an additional file.
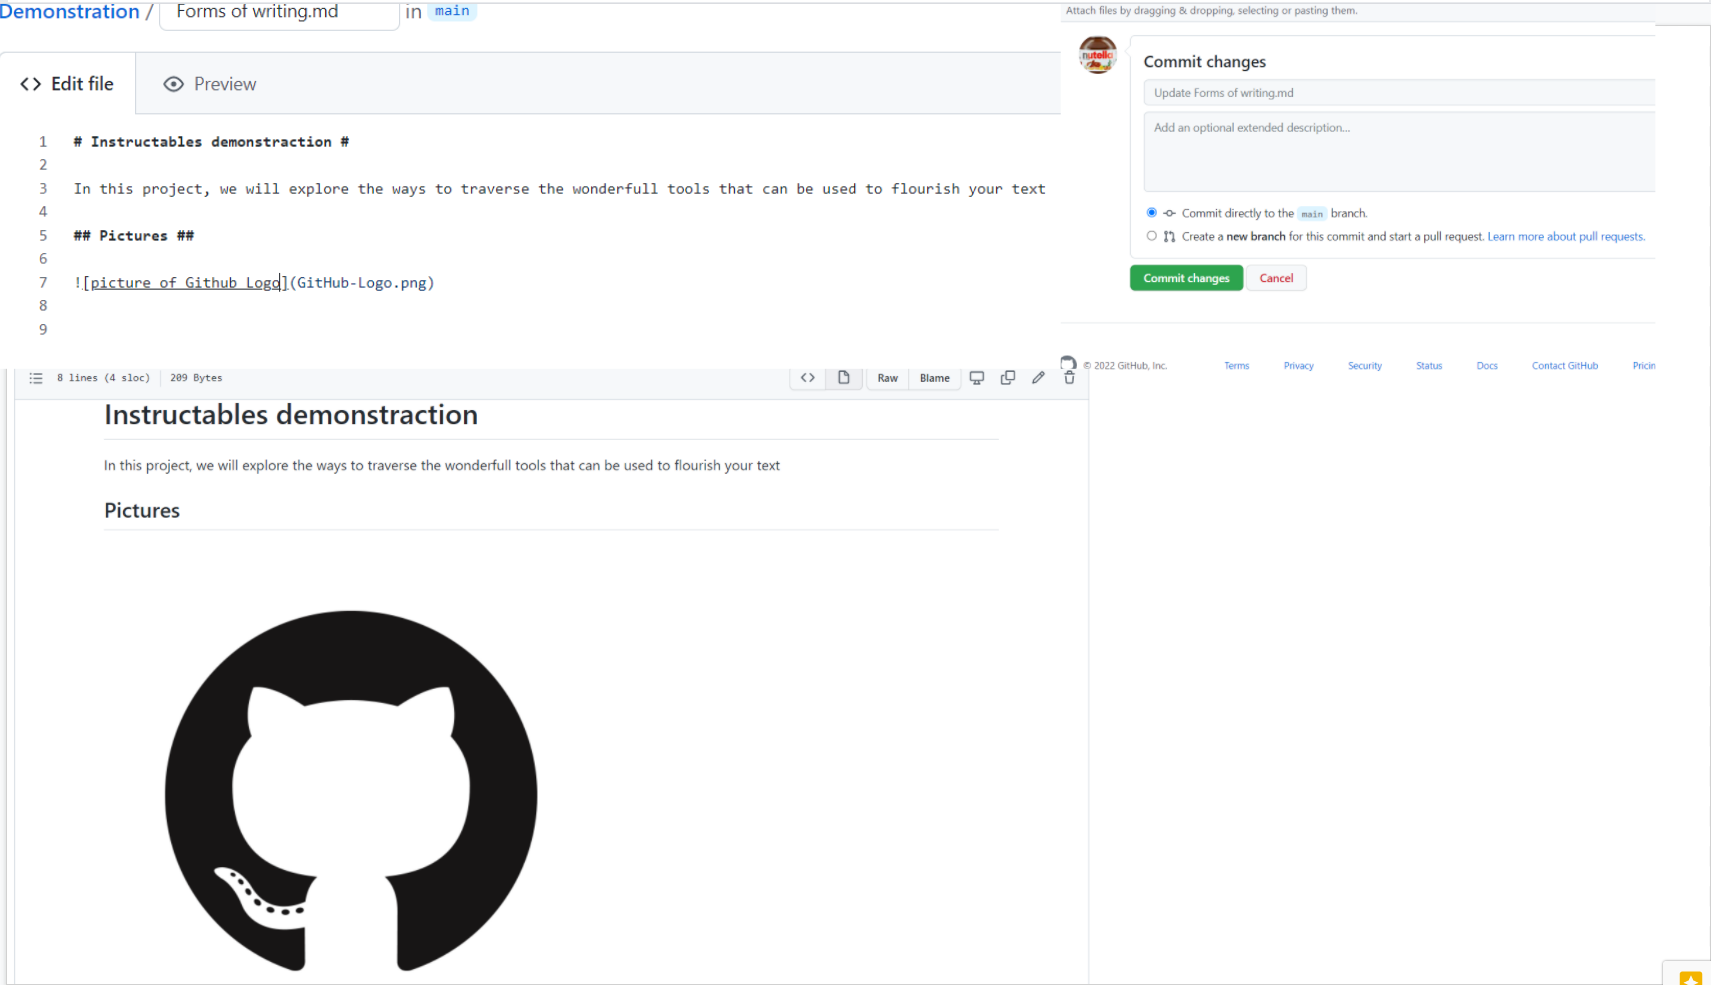
Pictures Part 2
.png)
For the second of the two steps to use a picture in a ".md" file.
You will use the very same command that you used with hyperlinks with brackets as the start and parentheses as where you store the link, but you will need to add an exclamation point before the bracket.
*Note: The link to the file to use in the parentheses is simply what it is marked as in the file directory (no complex link, just picture.png)
It would look a bit like this:

**Note: what you put in the brackets does not matter, but use it to tell the reason why the picture is there