Making a Passthrough
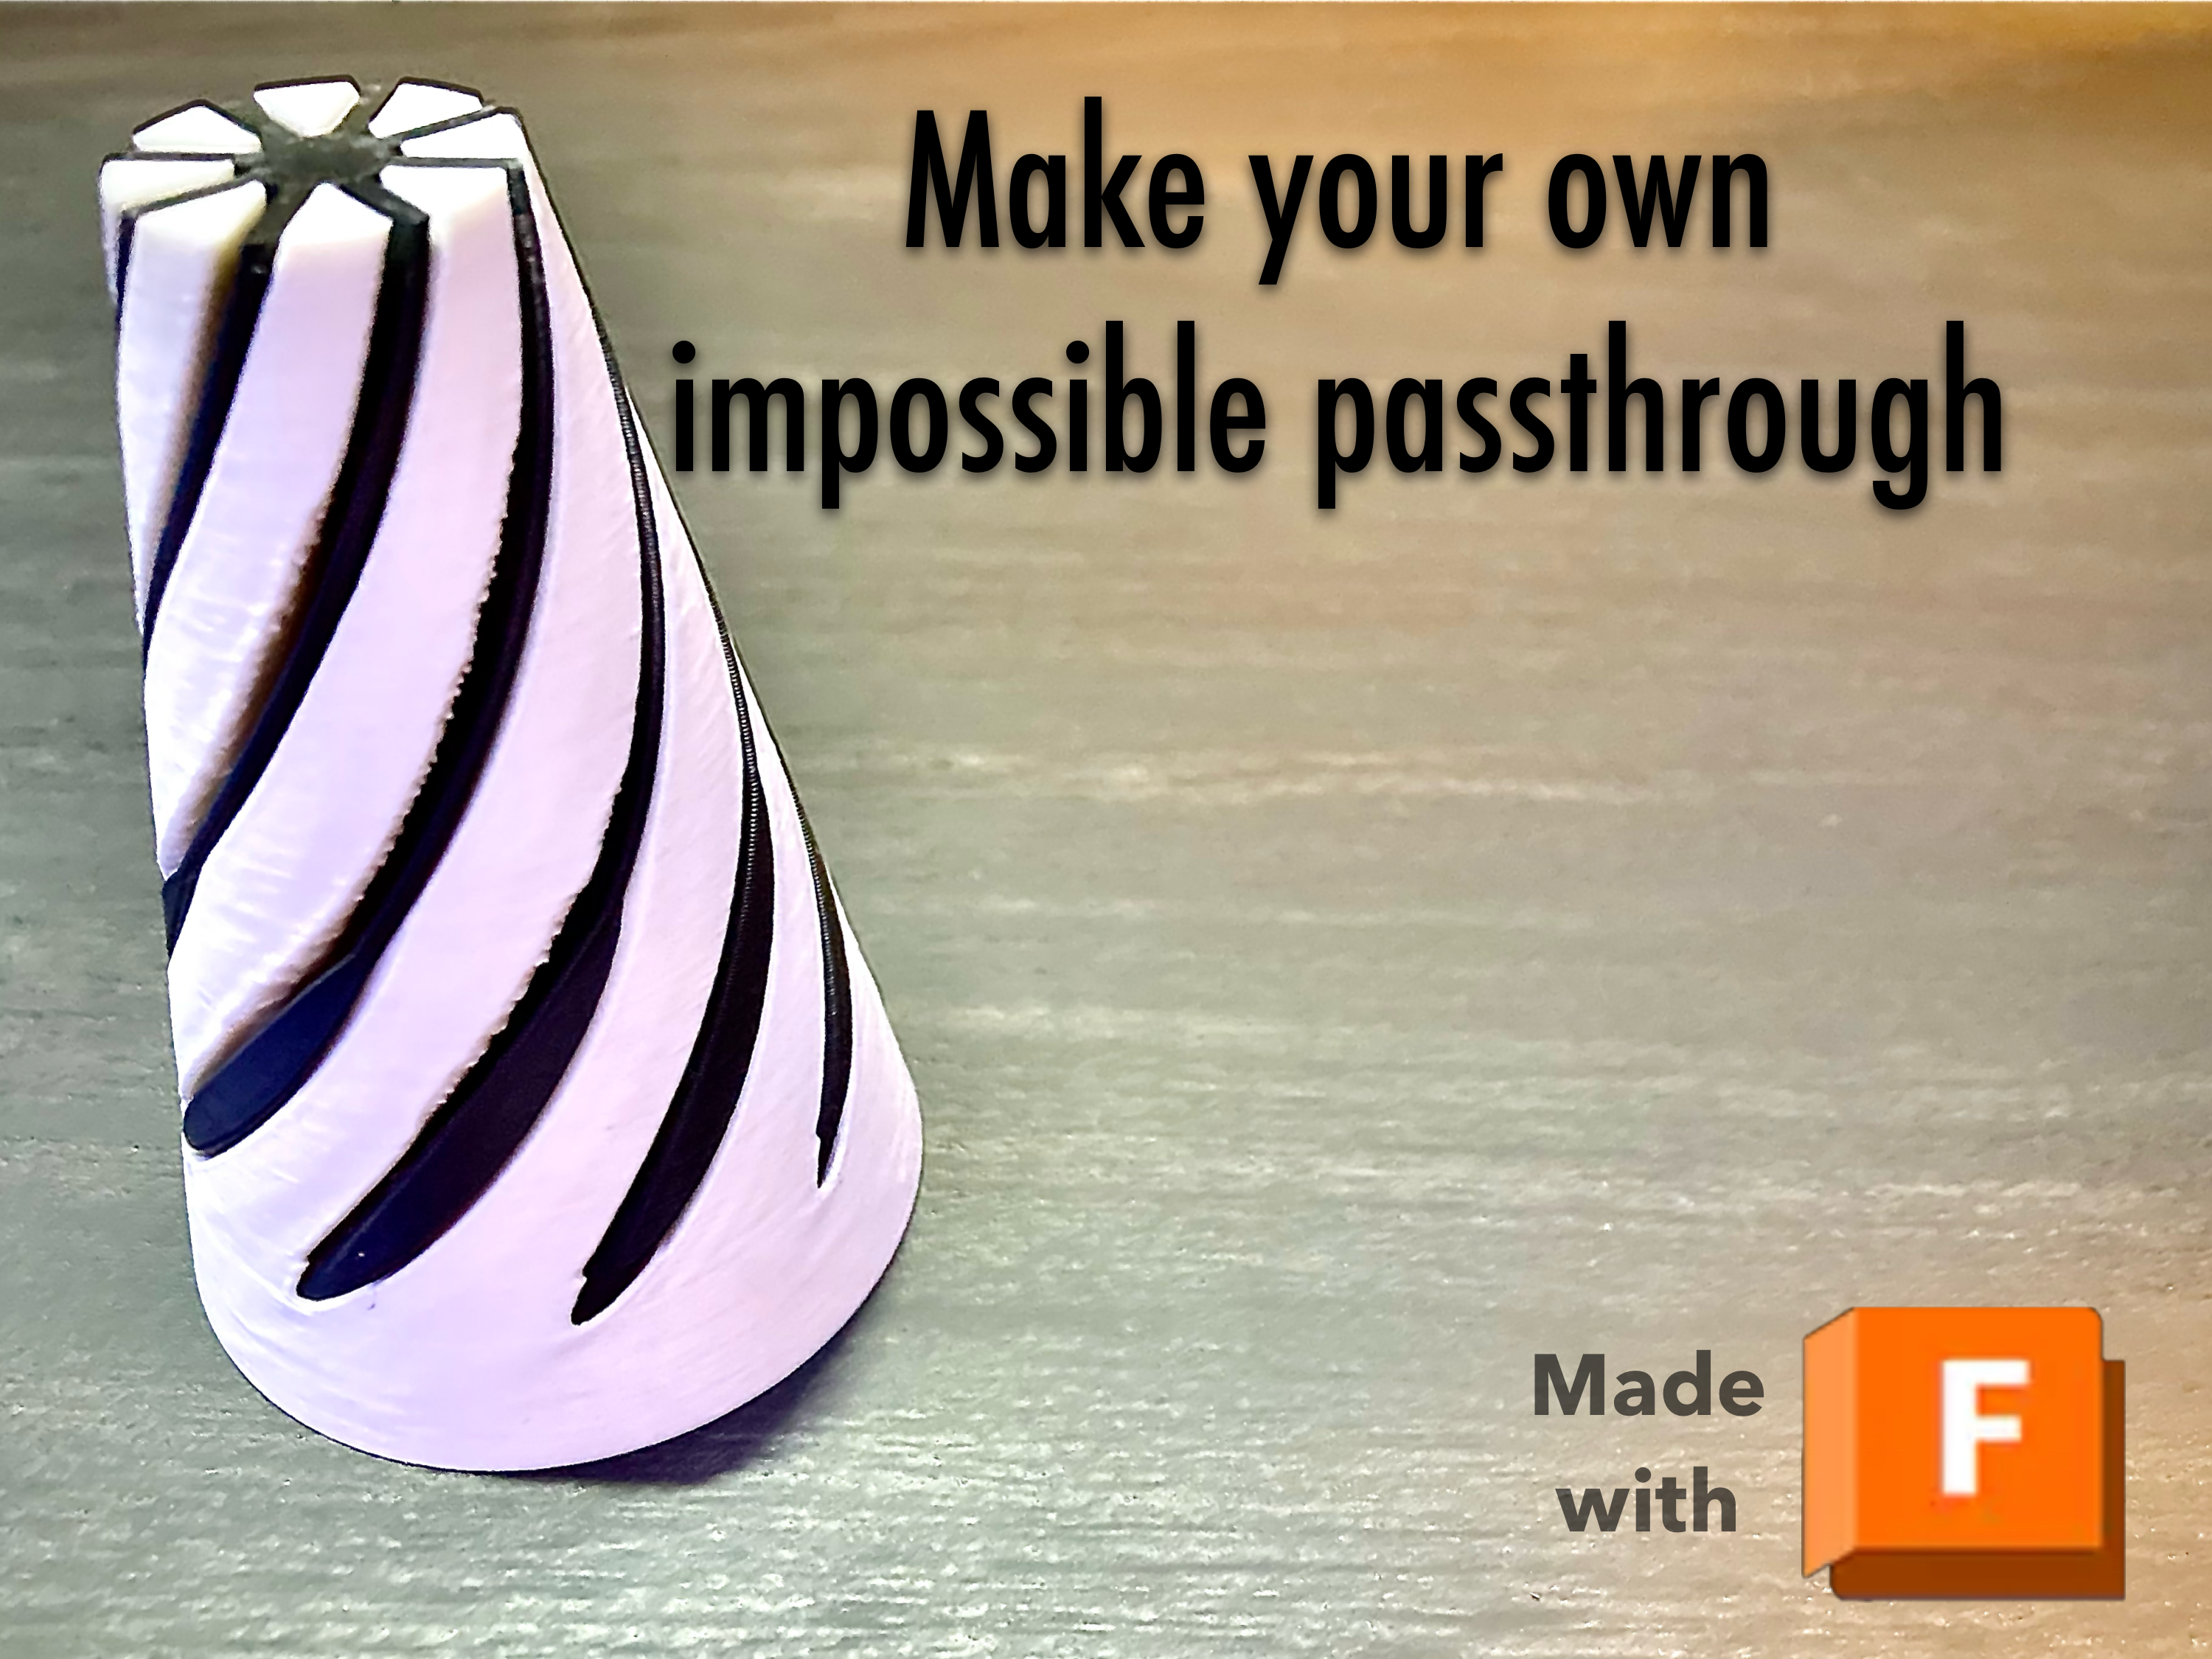
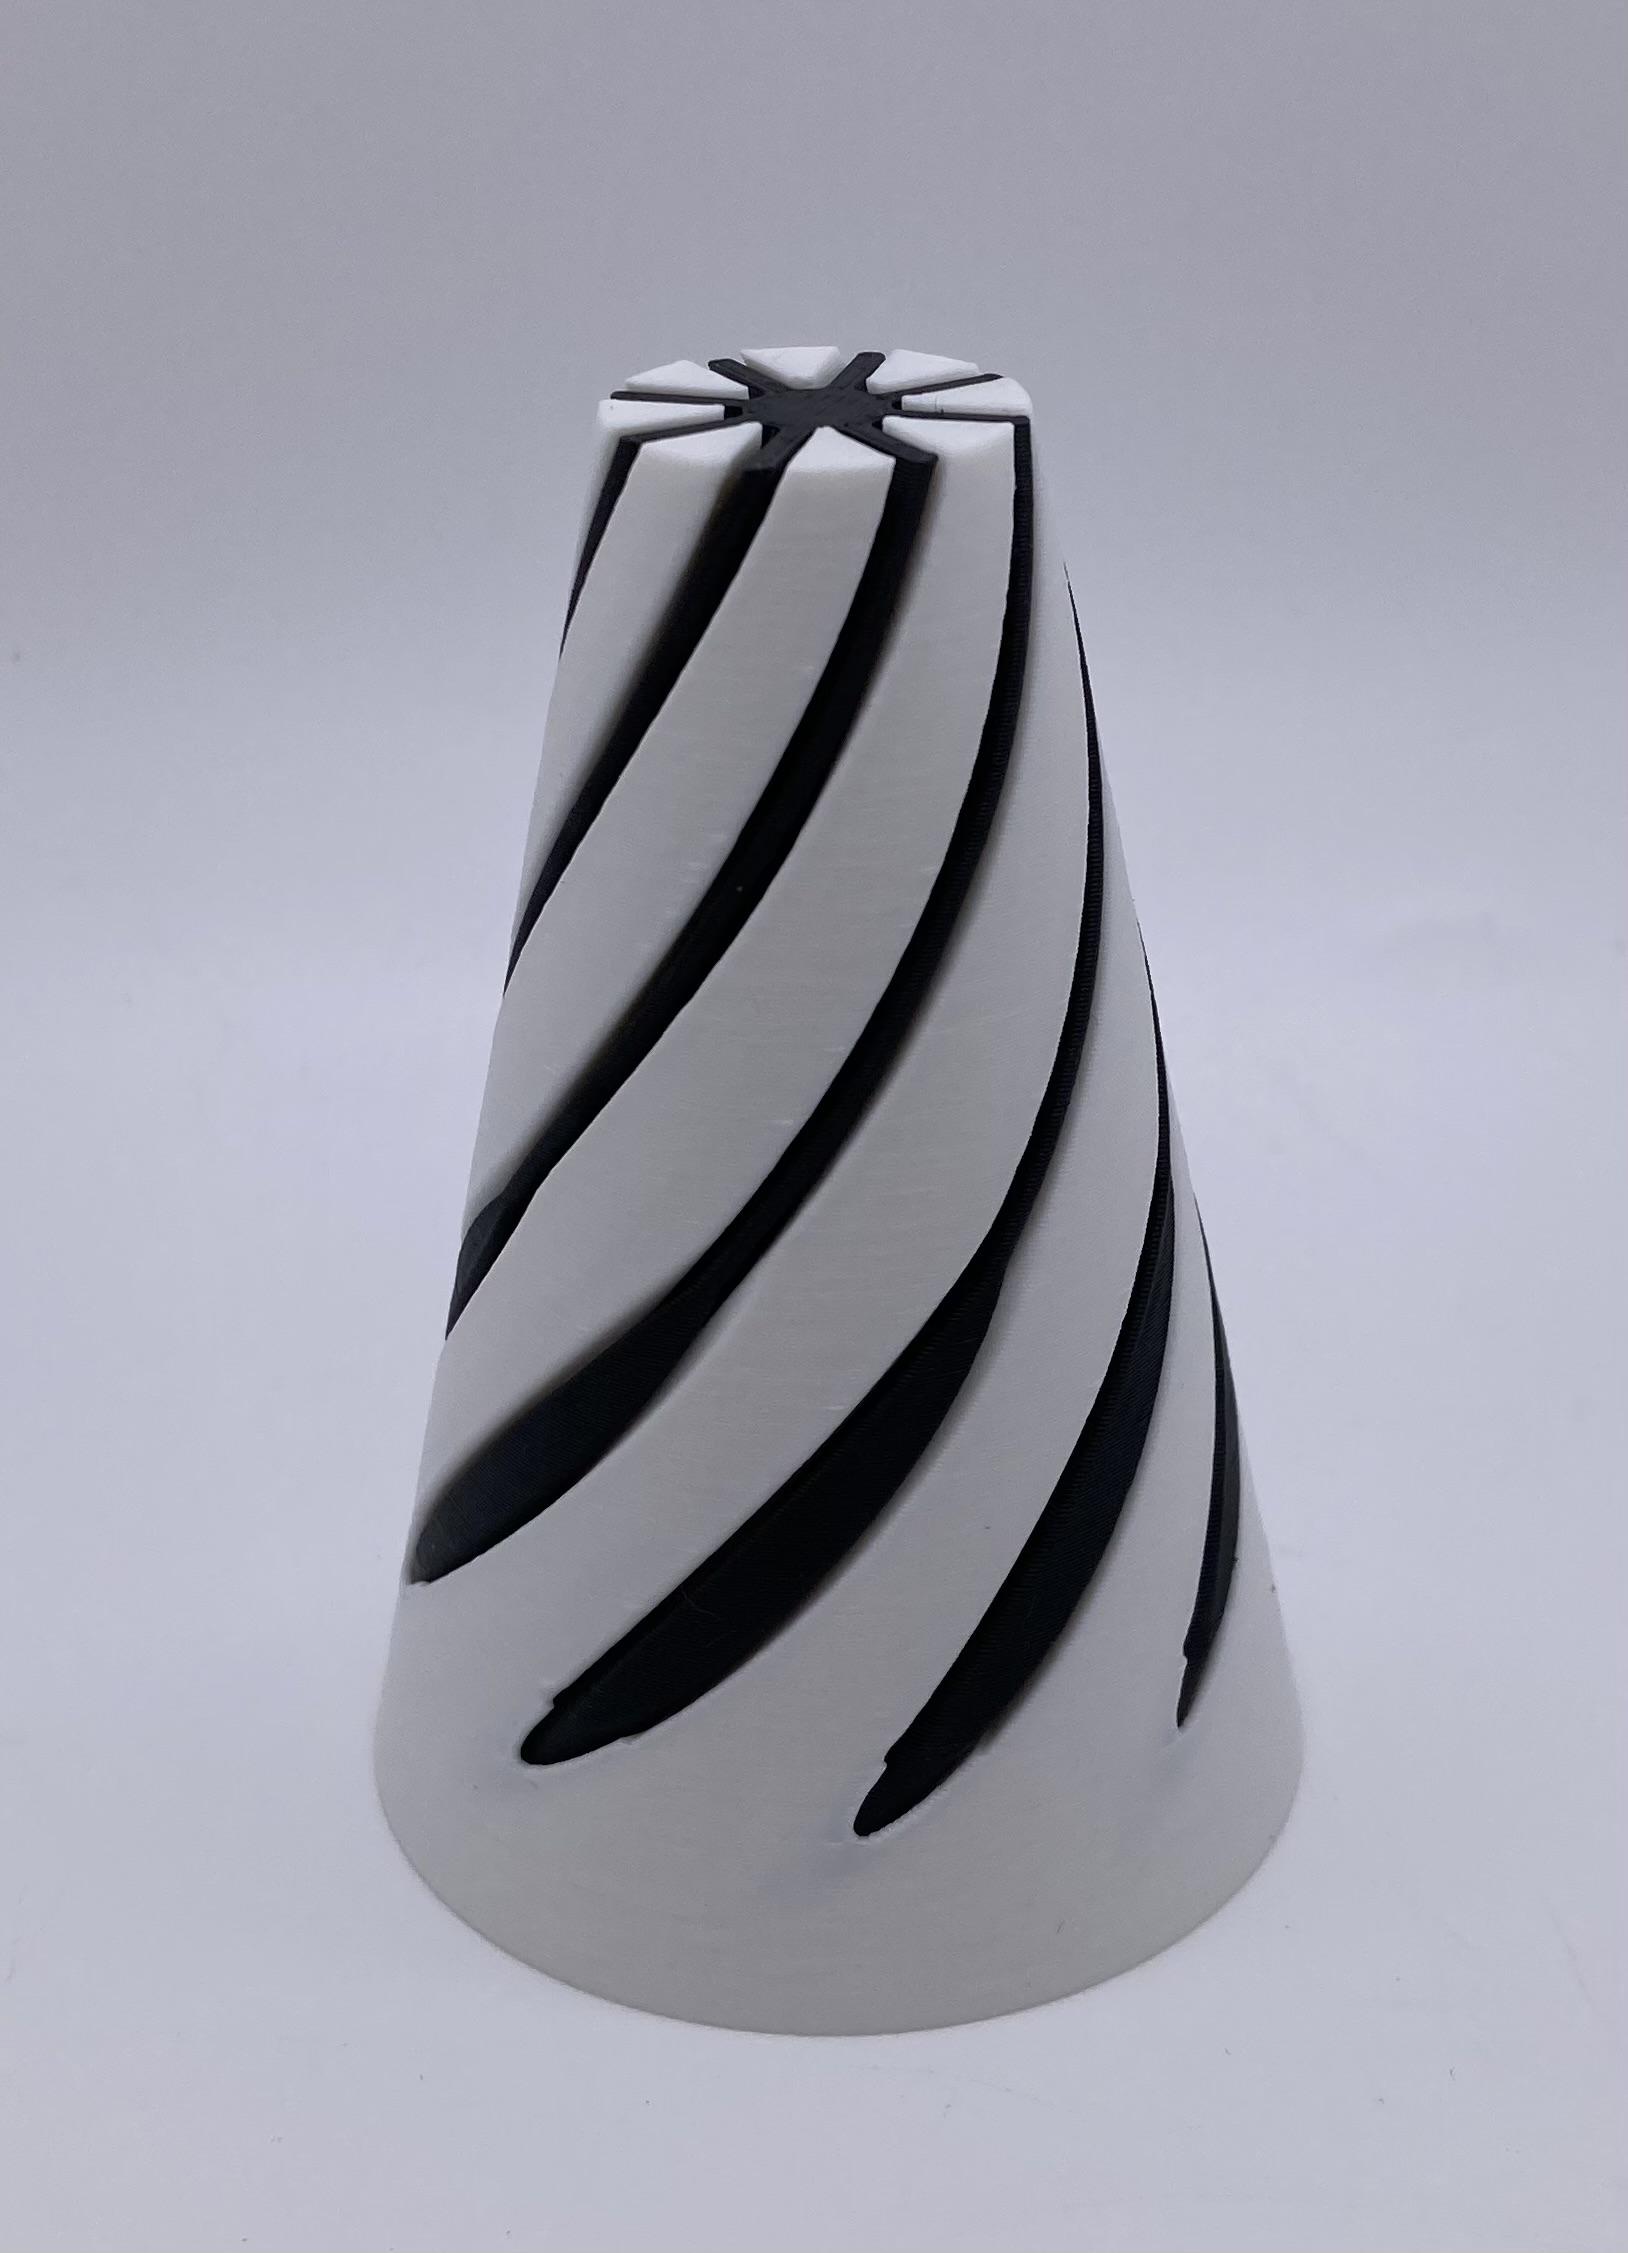

In this Instructables, I would like to show you step-by-step of how to make an impossible passthrough. If you haven’t seen one and do not know what a pass through is, then let me explain what it is. A passthrough is a 3d printed fidget that has been all the rage most recently and they are fun to play with. This Instructables should hopefully teach you how to make one yourself in Fusion 360 and if you have a 3d printer, you could to print it too!
This is just a guide to make a simple passthrough, however there are many different shapes and patterns you can choose to design your own impossible passthrough. If you want to make a different shape or pattern this should still help you to make your own. If you decide to just 3d print one instead of designing it in fusion 360, there are many websites you can go to and they have free designs to 3d print.
Supplies
- Laptop/computer
- Fusion 360 software
- 3d printer (I used a Bambu 3d printer)
- Slicer software (I used the Bambu Studio slicer)
(If you do not have a Bambu Labs printer, I suggest using the PrusaSlicer)
- Filament
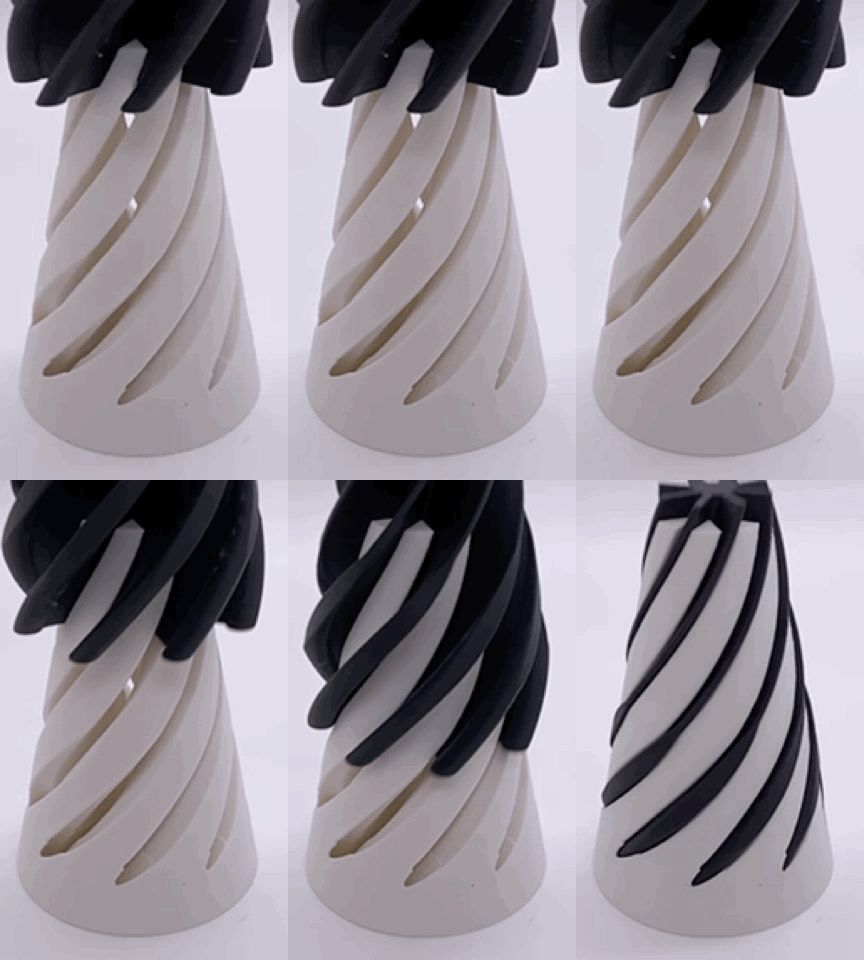
In each of these steps I will include a gif as a visual guide to help you create a passthrough and below I have a video that you may download if you want the full version in better quality if you choose. If you have any questions please feel free to ask!
Creating the Main Shape
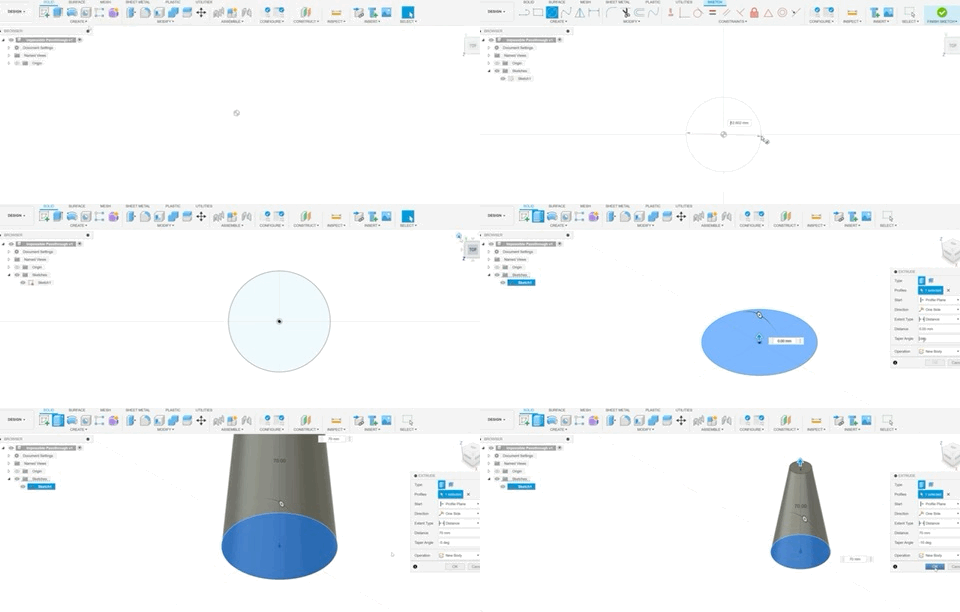
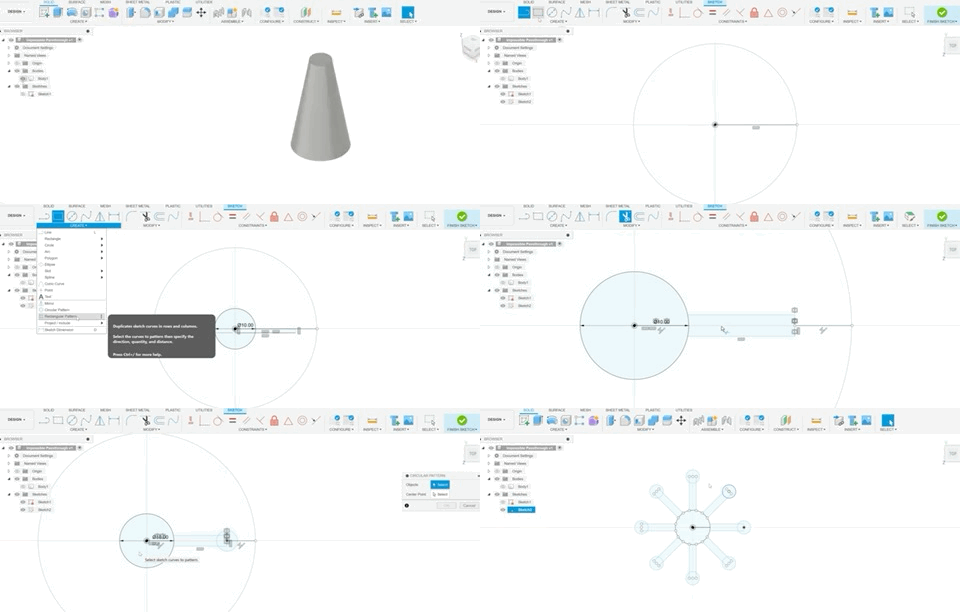
To begin making your impossible passthrough, you will want to make the main shape of the fidget. If you look above I have created a gif for you to try to follow along. I created a sketch of a circle then I used the extrude tool to turn it 3d and used the taper angle to create a cone shape.
Create the Twist Pattern
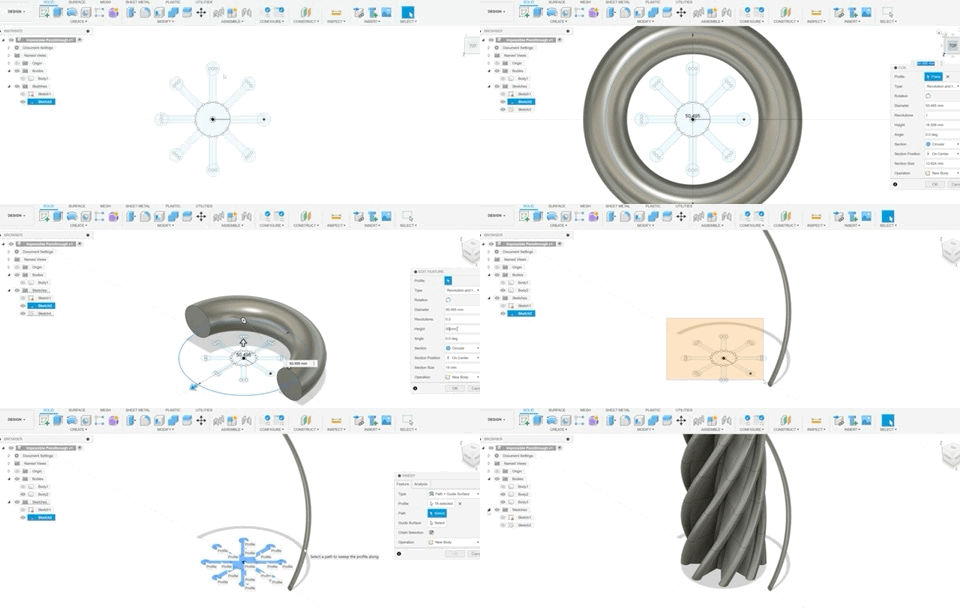
This second step will teach you how to make the twist pattern for the passthrough and if you look above I have provided yet another gif (I hope these are helpful). In this step you would want to make another sketch and you see above I have created a simple pattern using circles and rectangles and teaching you how to use the mirror tool and the circular pattern tool. For my passthrough I created eight things coming from the center. I would like to add that other patterns can work to but this is the easiest.
Creating the Twist
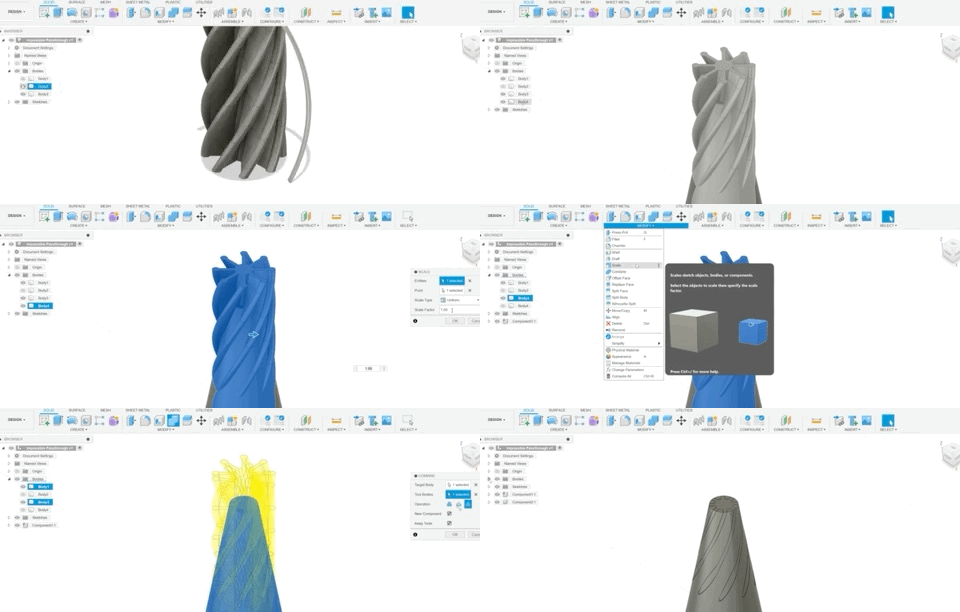
This third step will teach you how to make the “Twist” for the passthrough. If you don’t understand what the “Twist” is, let me explain. The passthrough consists of two pieces and when the one goes into the other, well it twists (You can see this in the gif of the supplies section). To create the twist, you begin with creating a coil but with less than one full revolutions and with a height taller than your main shape (see step 1). Then you will use the sweep tool (path+guide surface) and you will use the twist pattern and the coil to create the “Twist”.
Almost There!
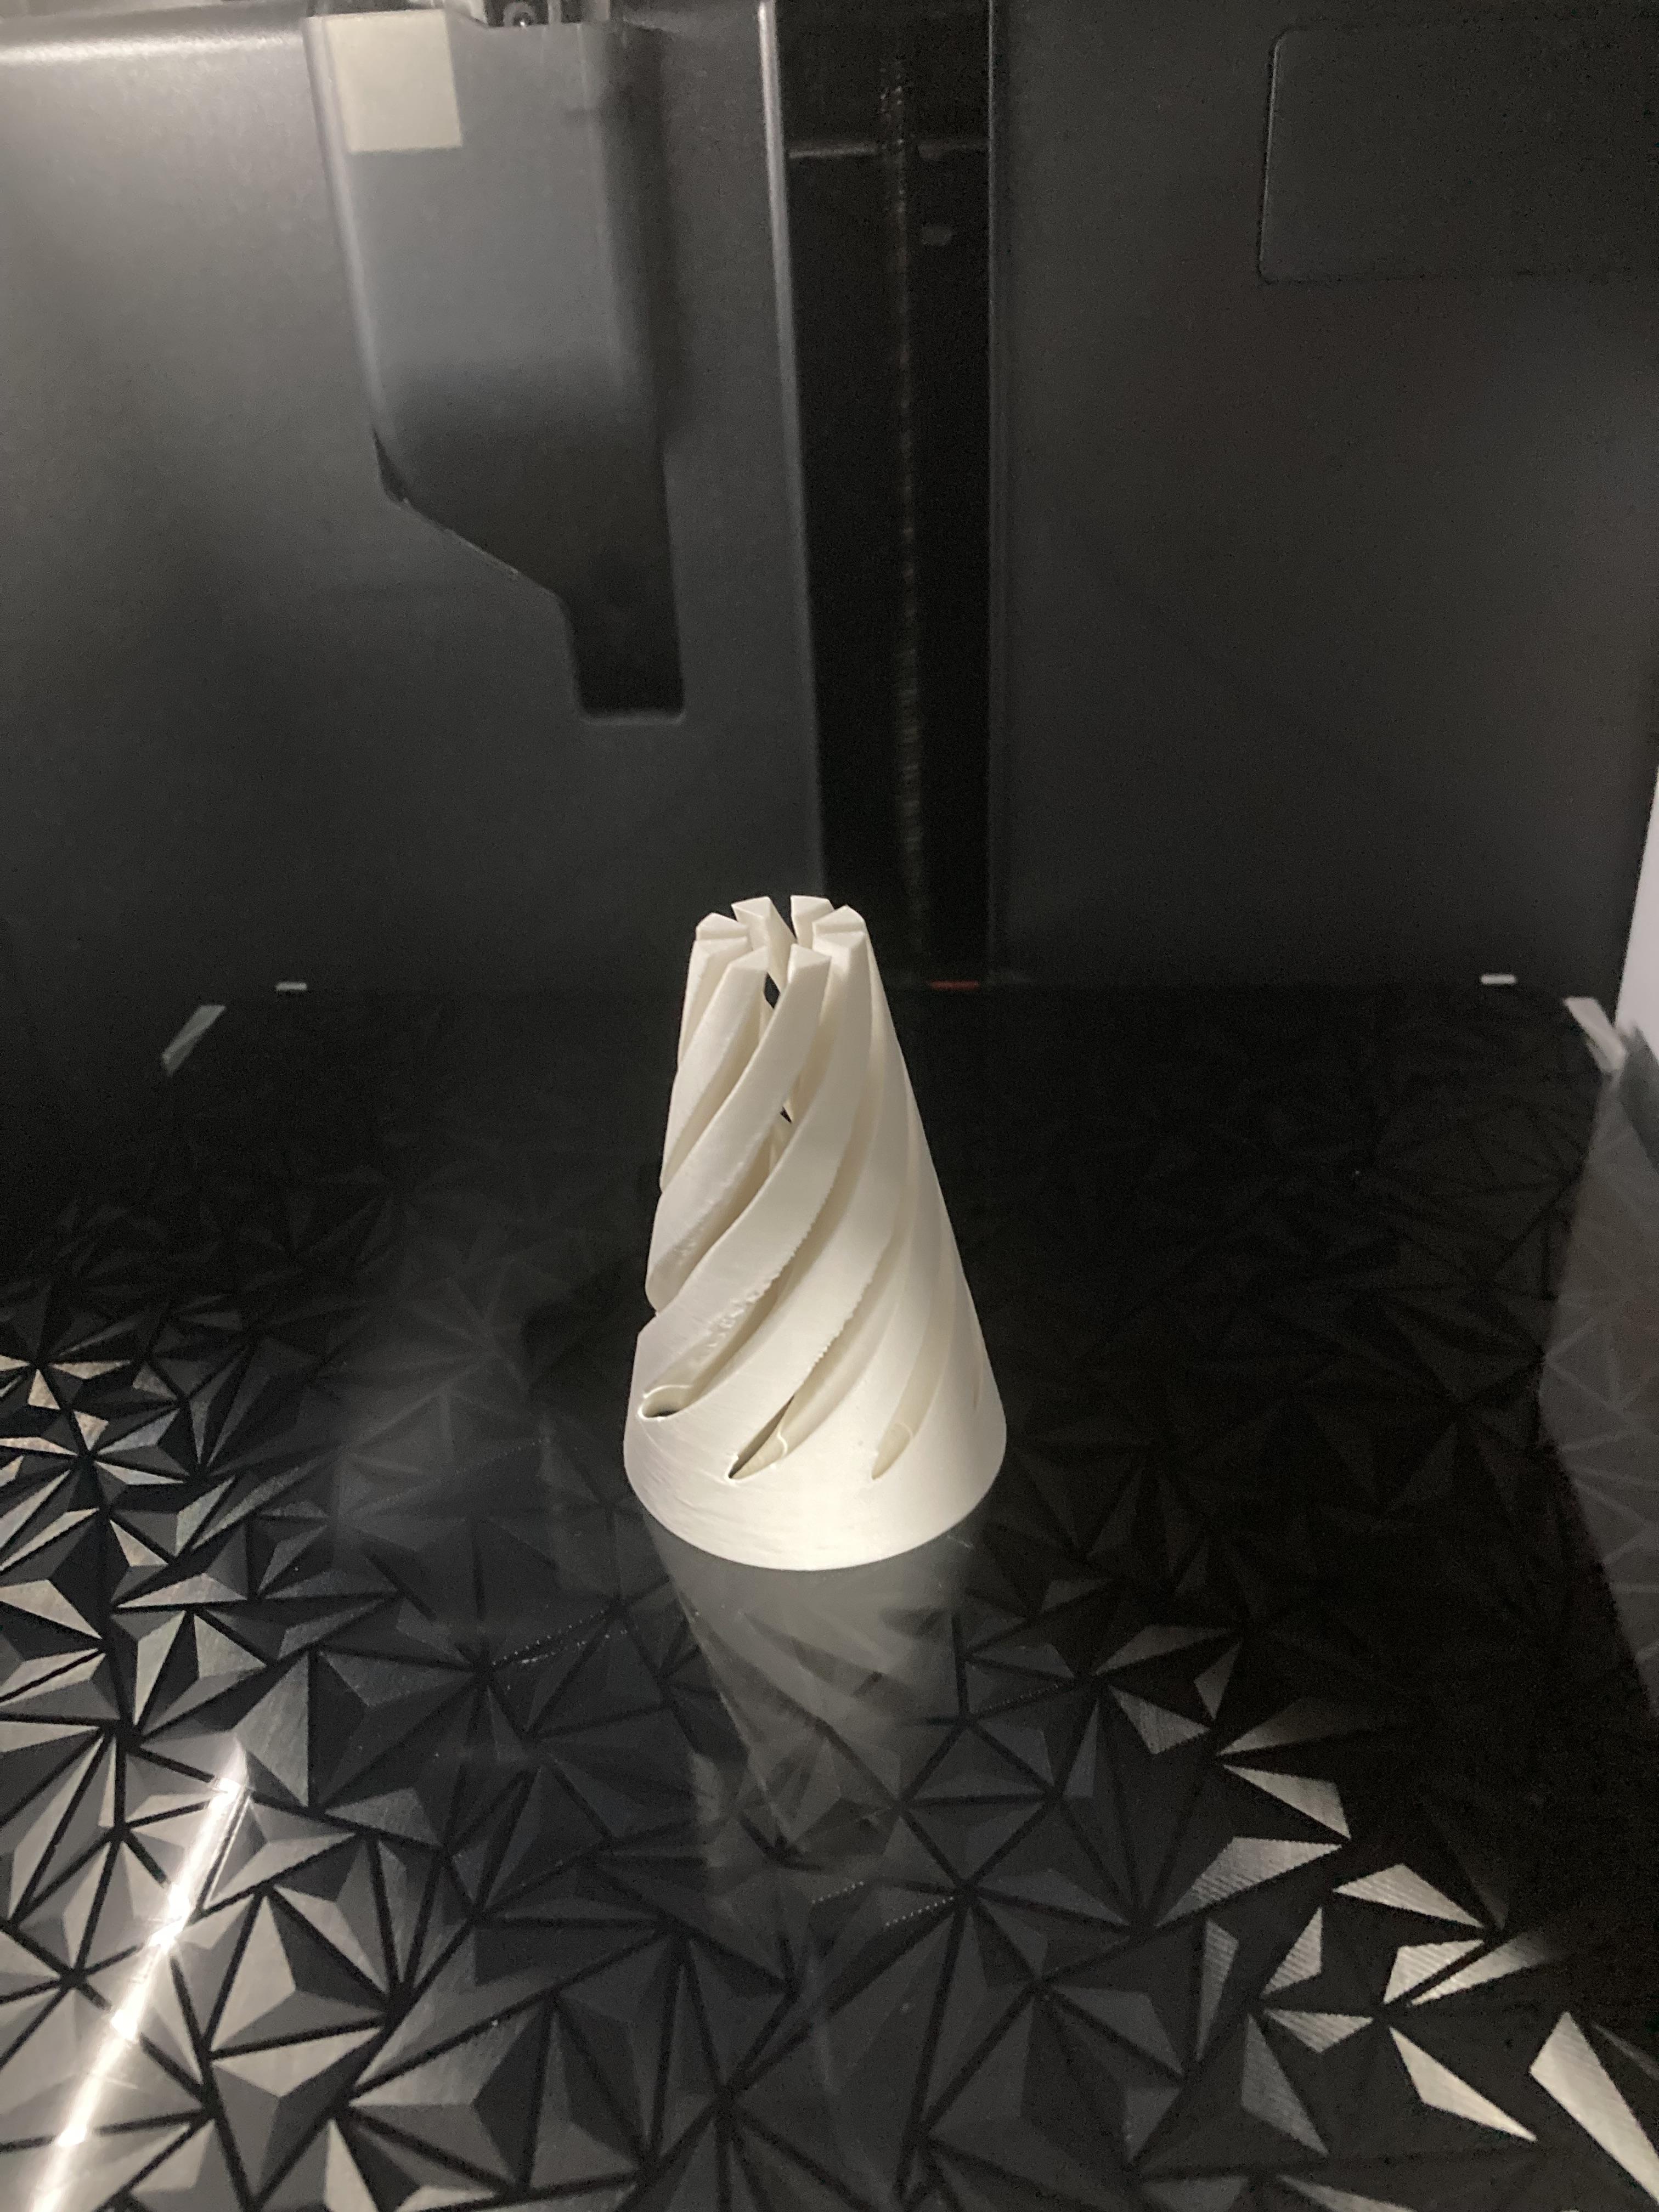
This is the last step to designing the passthrough. You will need to duplicate the “Twist” and to do that you can just copy and paste. Then you will combine that with the main shape from step one and intersect the two to make a new component which will give you your first piece. You will then use the other “Twist” and subtract it (using the combine tool) and create another component which will be your second piece. After that you are done designing your passthrough!
3d Print It
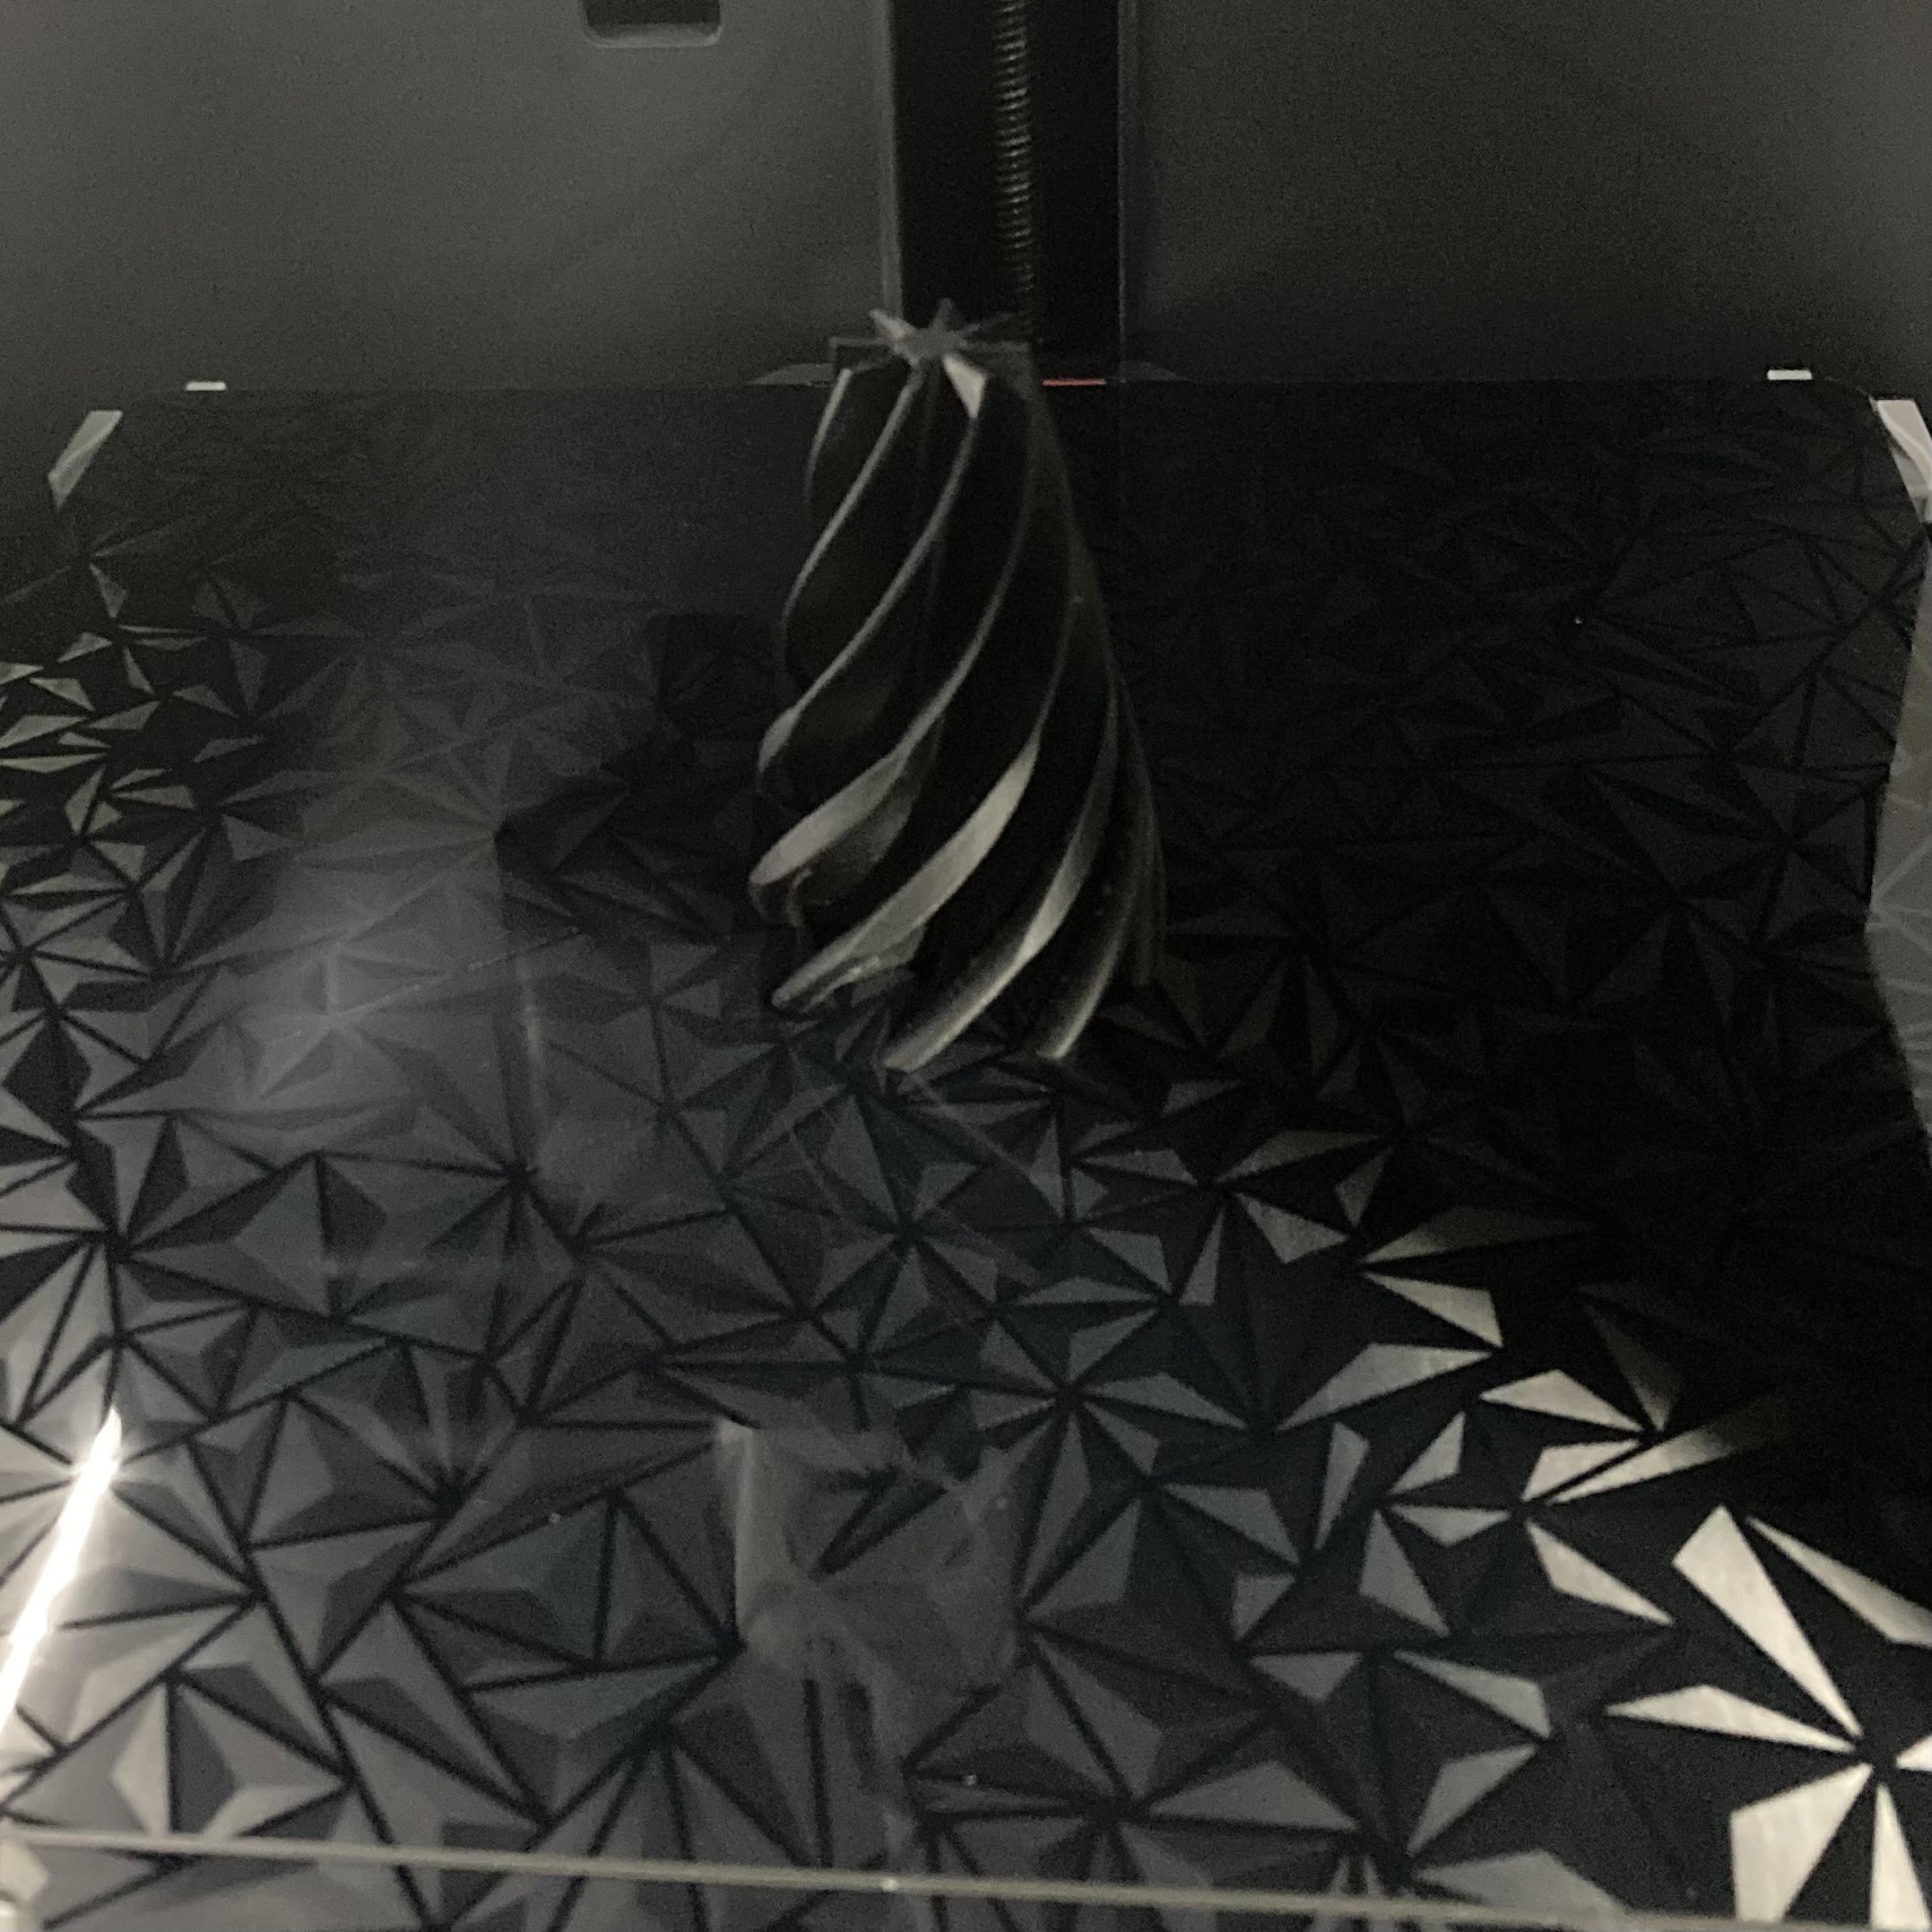
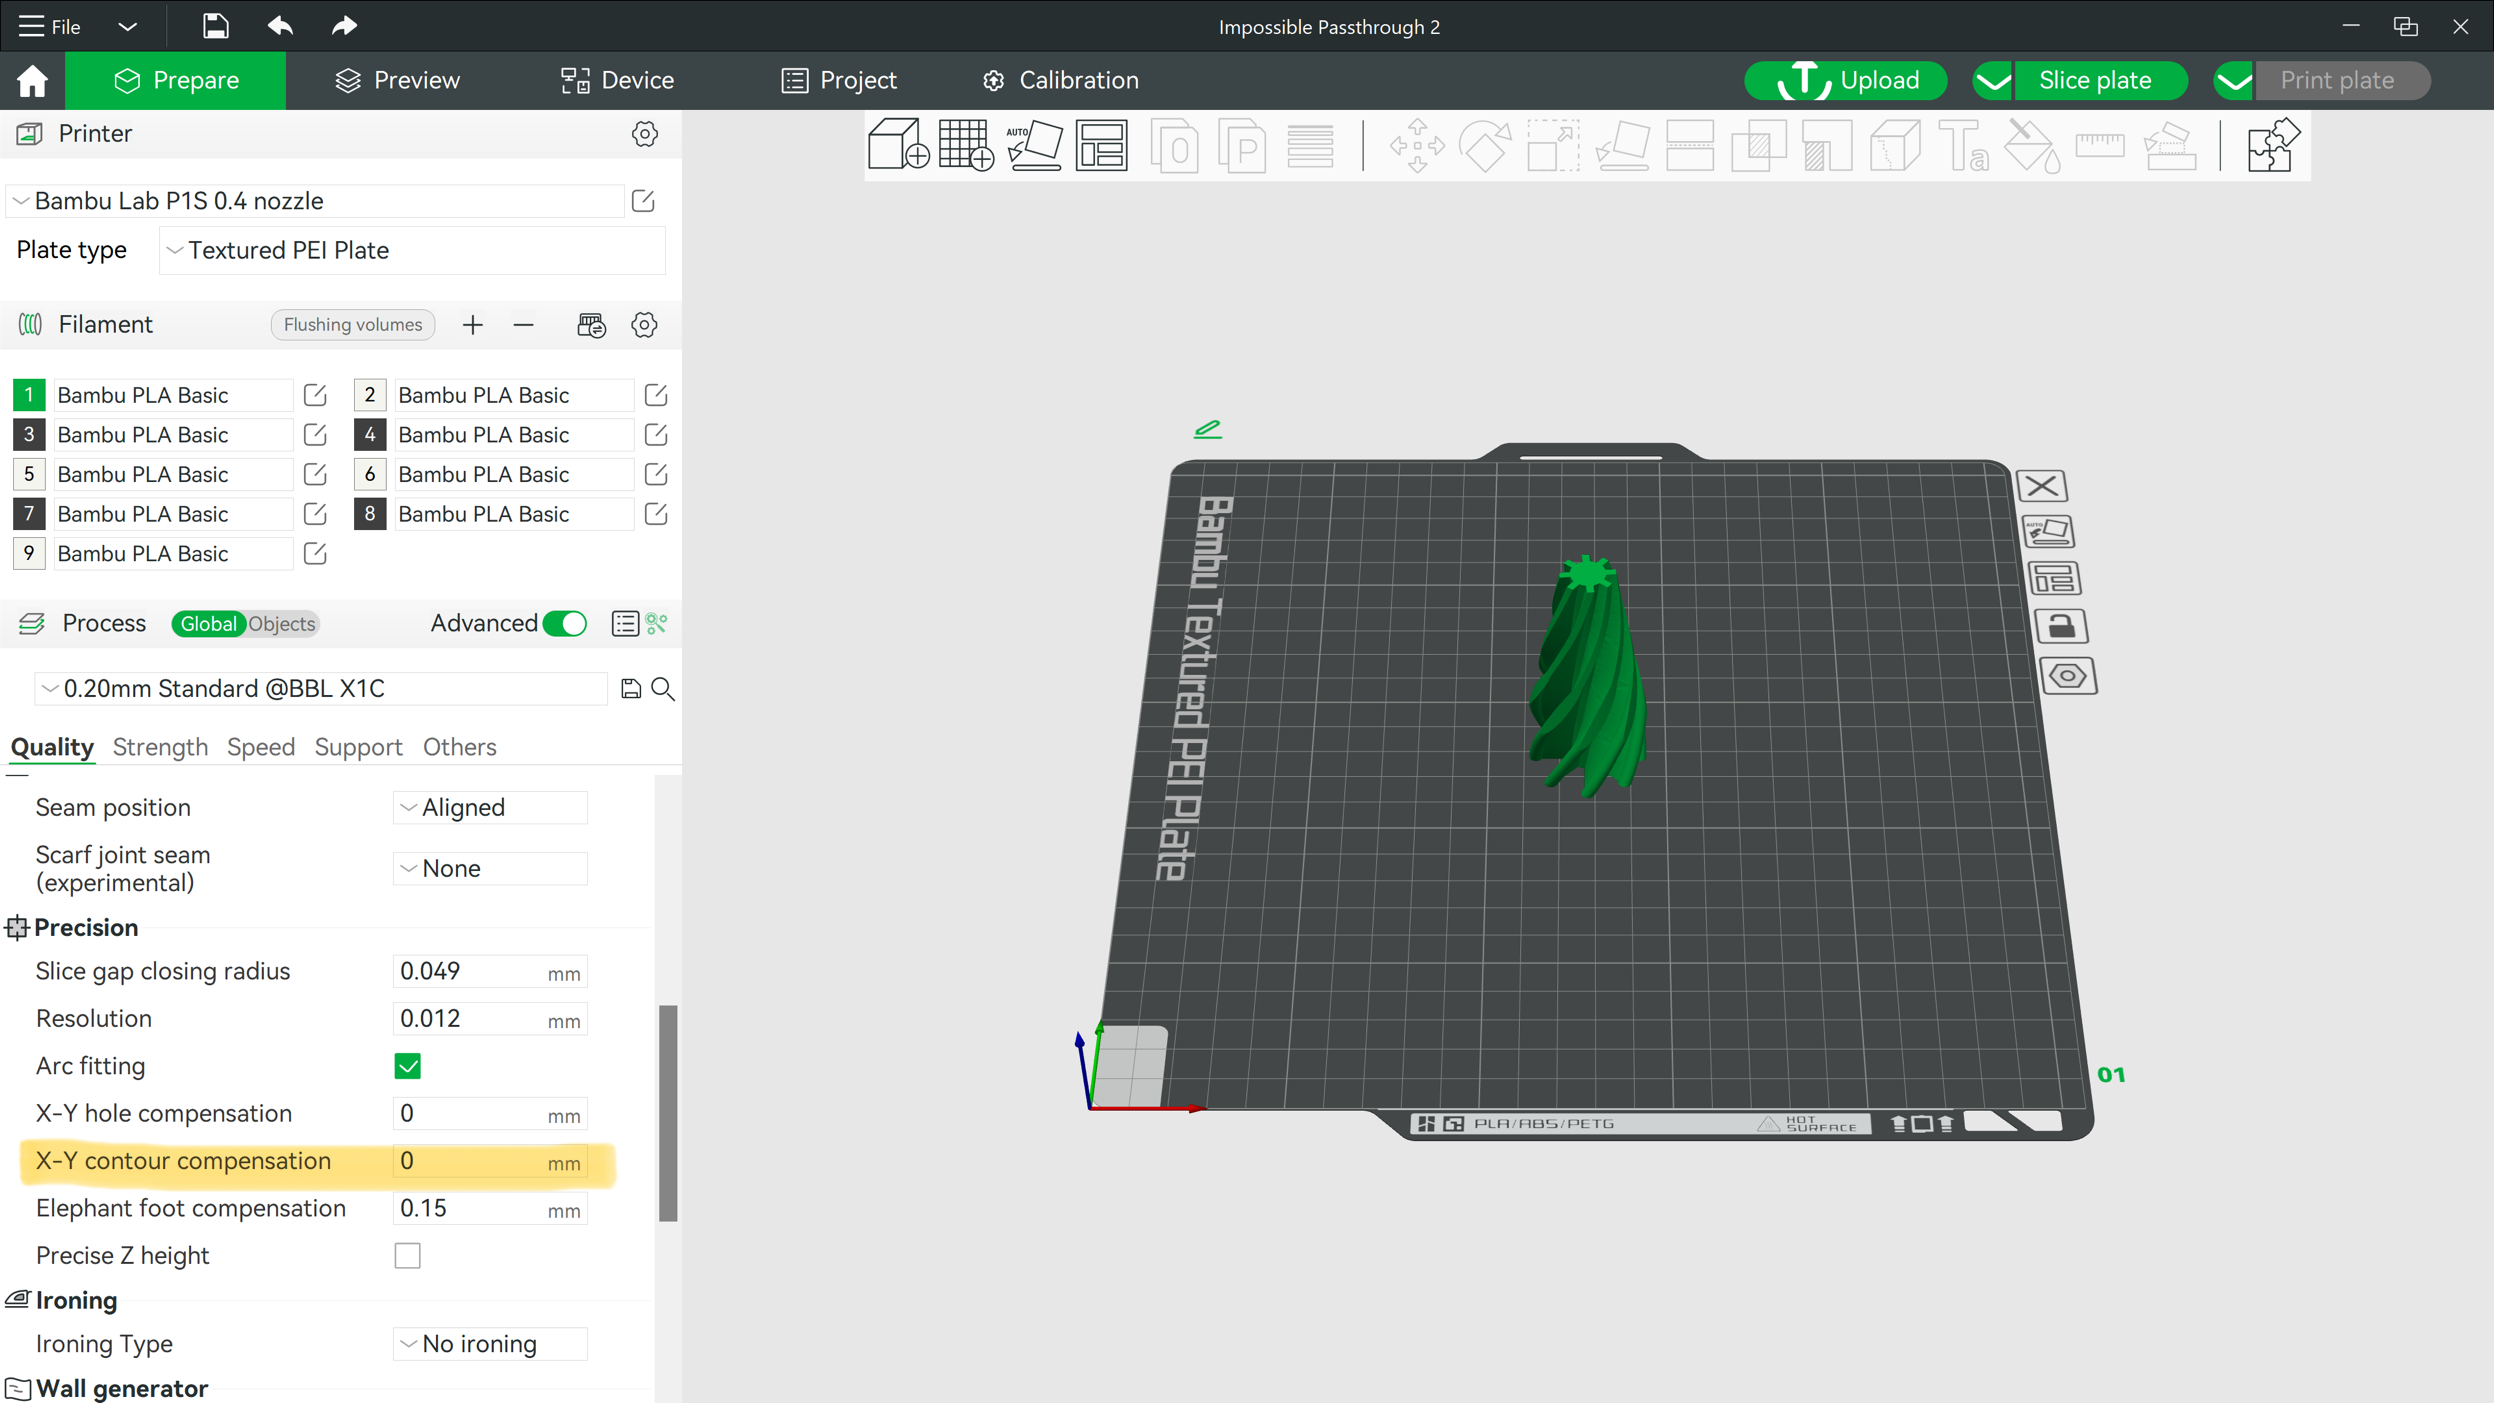
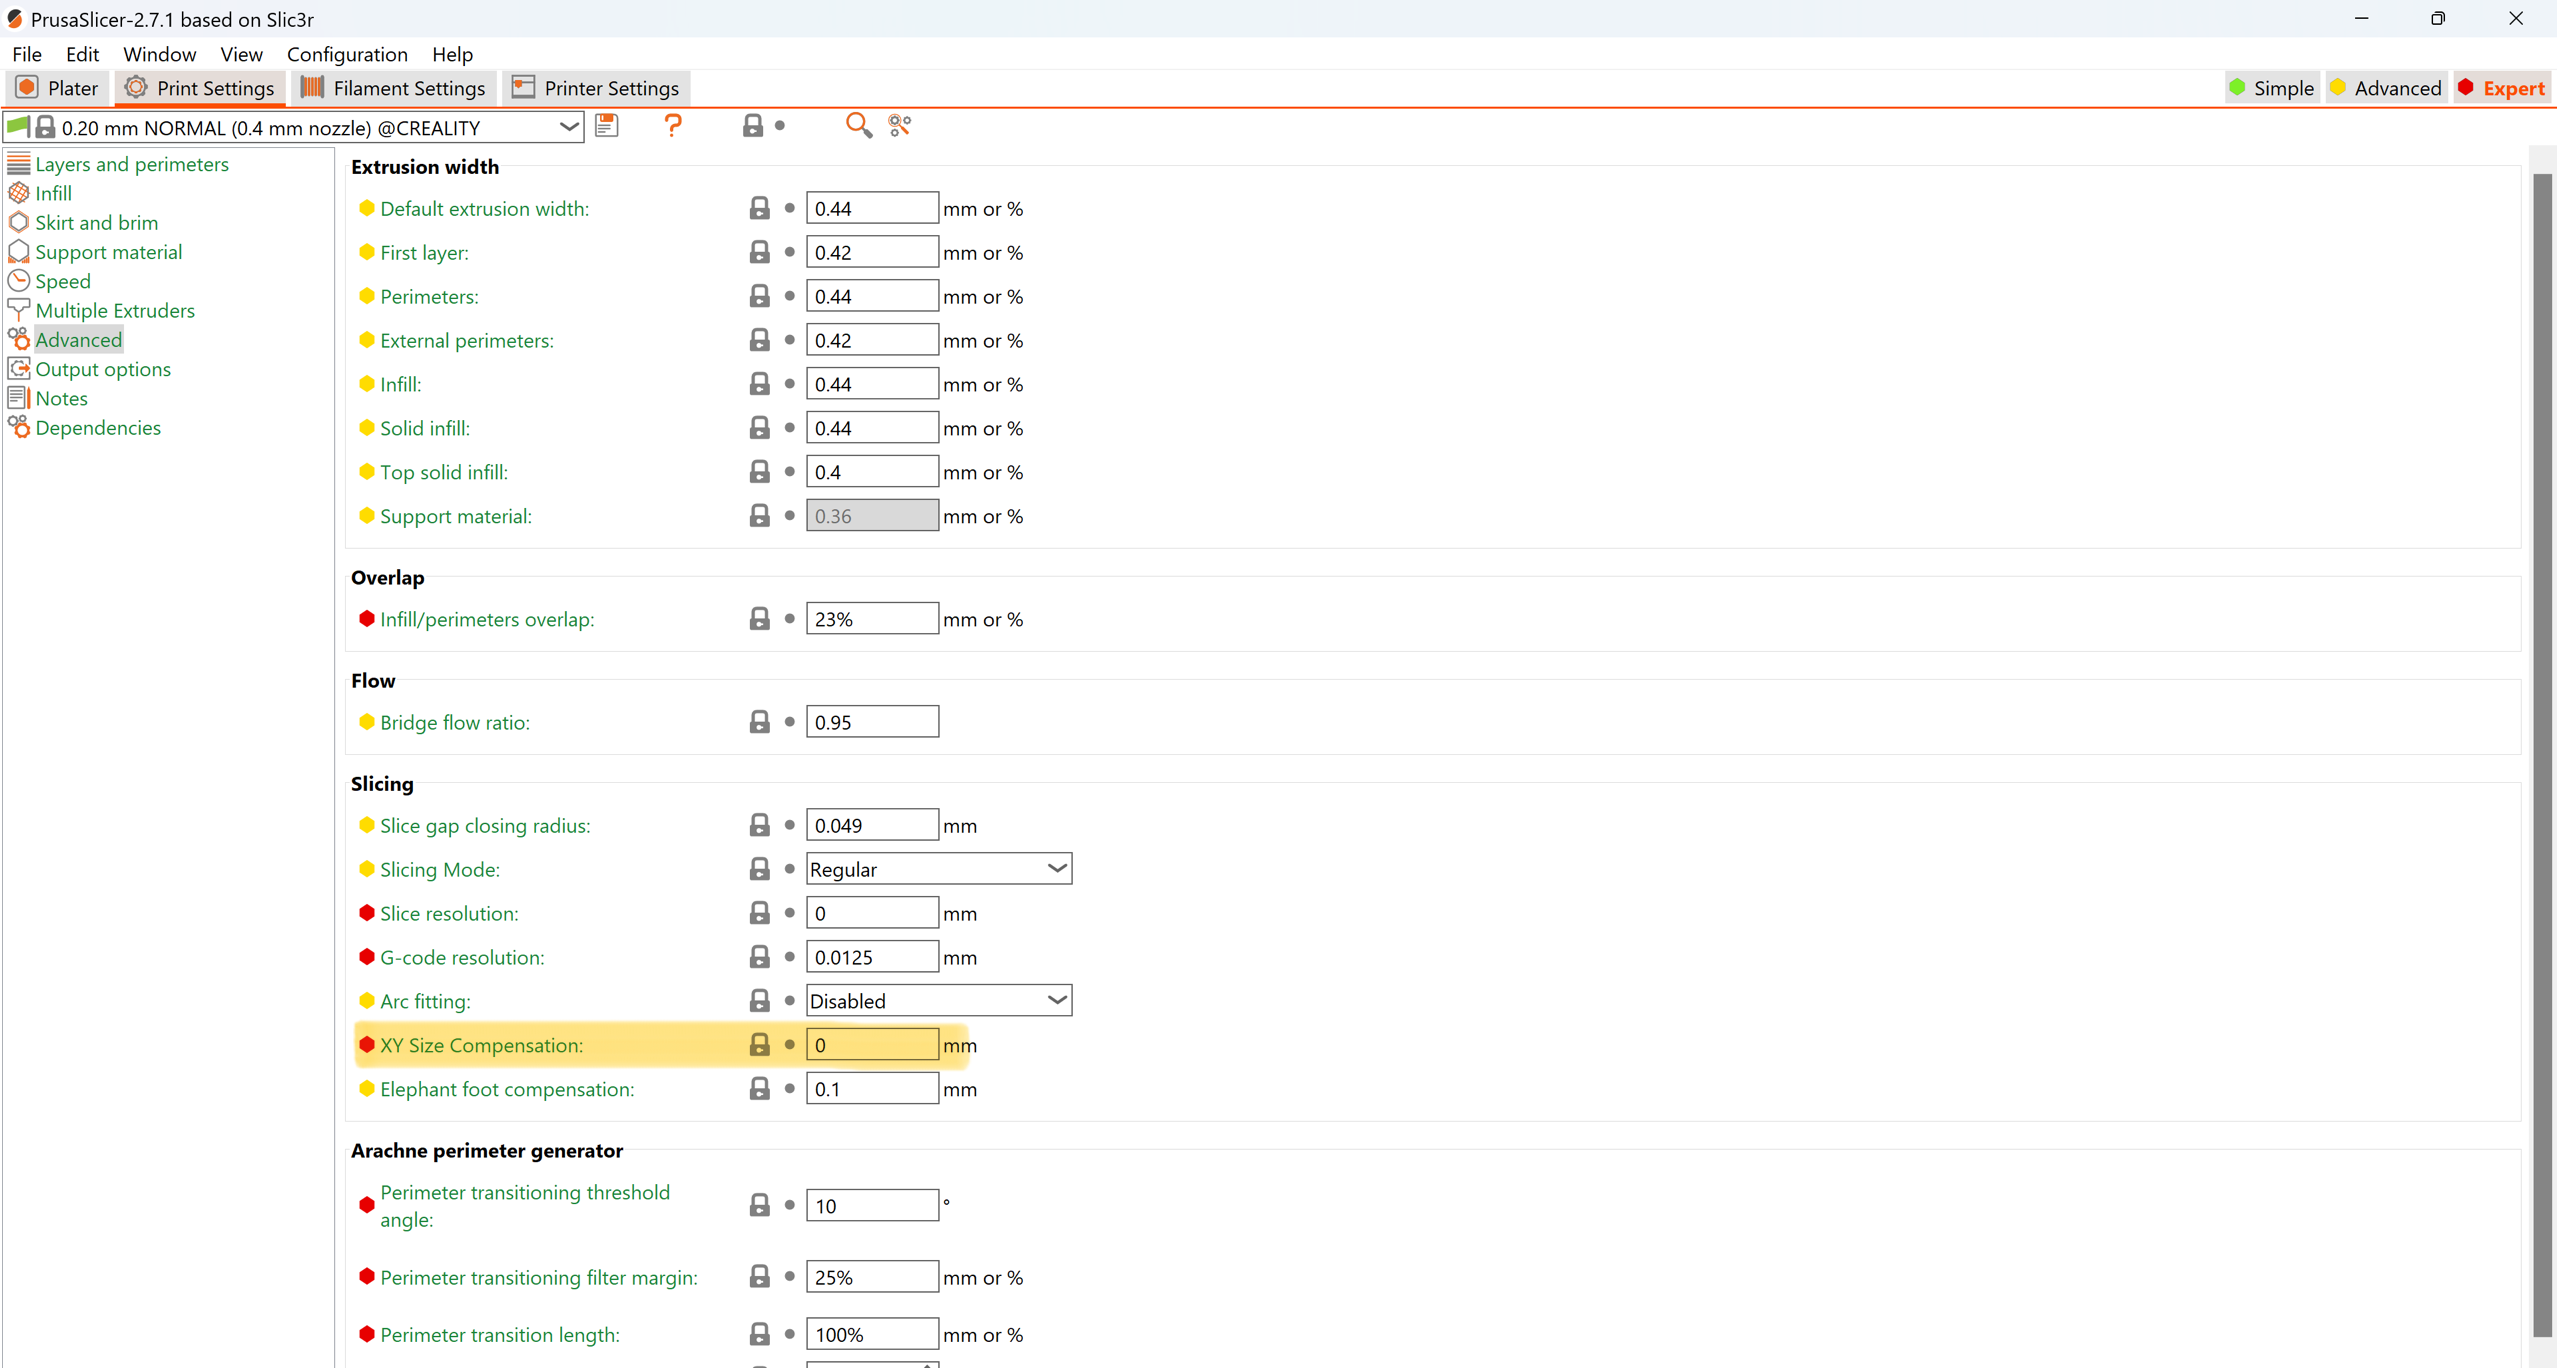
When you have finished designing the passthrough, you can export it as an stl. and import it into your slicer. When you import it you may adjust the size to your liking and you will want to print each piece separately. However before you print it you will need to do one important thing to ensure that the one piece will slide smoothly through the other. If you look above I have two pictures (one is for Bambu Studio and the other for Prusa) with something highlighted. That will allow you to offset one of the pieces to go smoothly through the other. You will probably want to set that number to -0.3 for both pieces and that will make both pieces go smoothly past each other.When all is sudden done, you should have a passthrough fight to play with and it should work better the more you fidget with it.
Some Renders
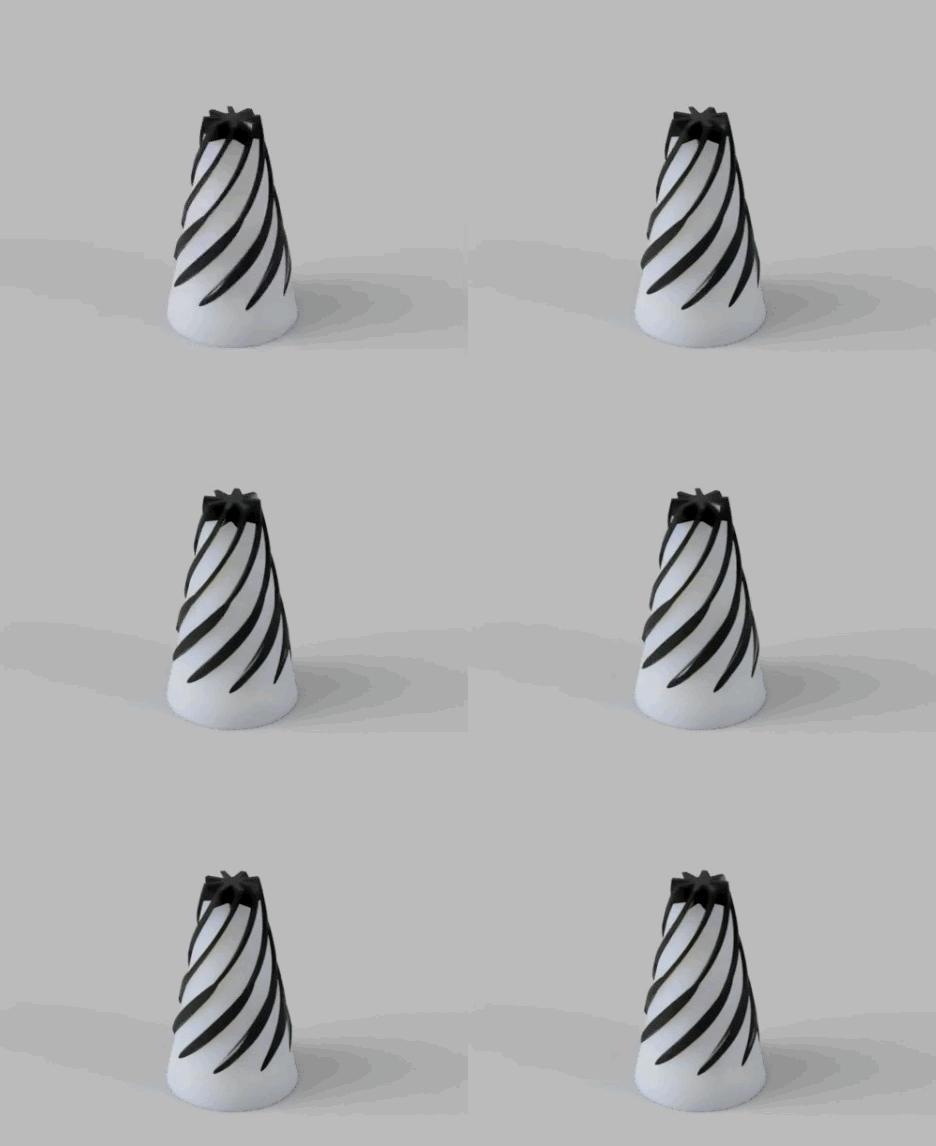
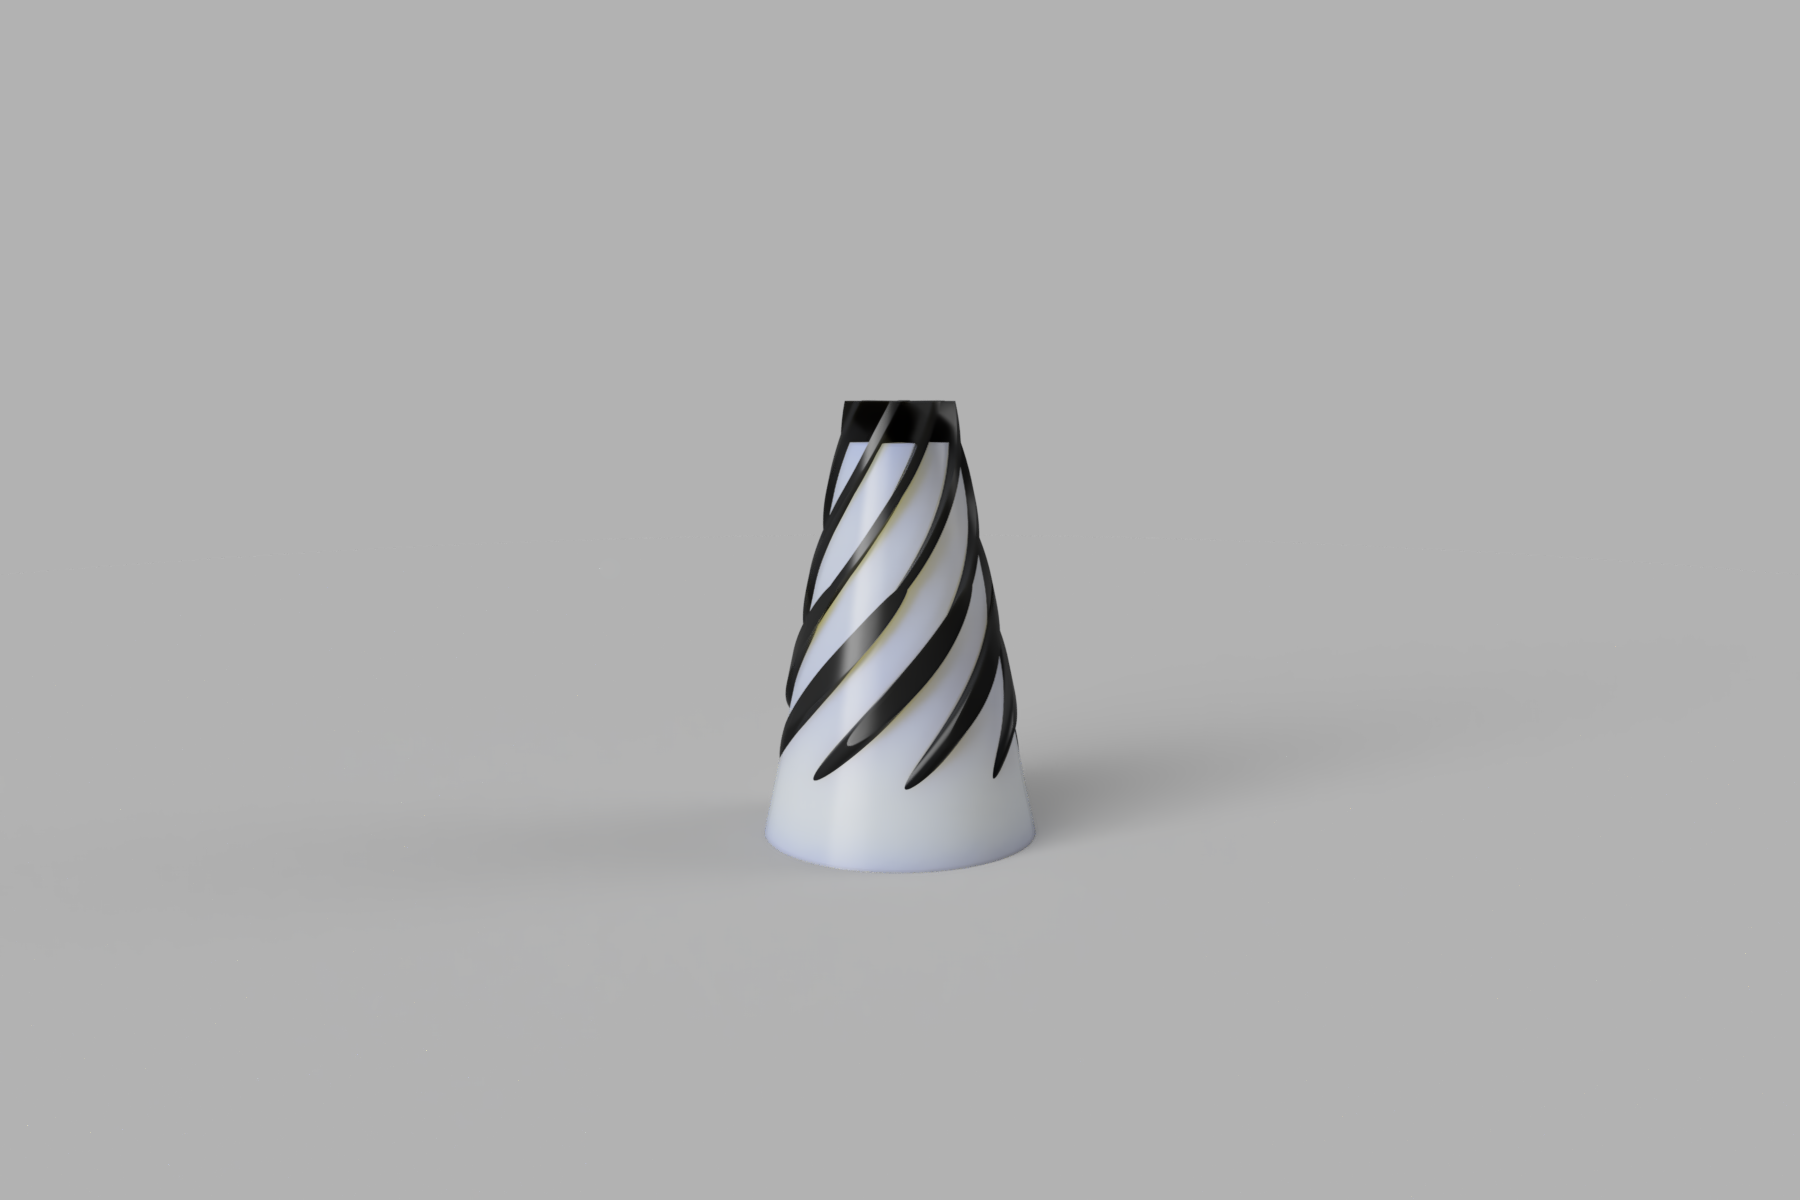
Here are some of my renders that I have. If you have some renders that you would like to add to the collection please share down in the comments section. If you want guidance to rendering I will try to help you as much I can.
Conclusion
If you are still reading this, I thank you for reading all the way through instead of passing it (hopefully someone got the joke). I am sharing this so that others may learn how to make their own passthrough and maybe learn something they didn’t already know about fusion 360. For anyone who has questions please feel free to ask and I will try to reply as soon as I can to help you. I hope you appreciate the gif for each step to help design your own passthrough and I have a better quality video in the supplies section if you want to see it better. If anyone believes that I might need to add something, just tell me and I will try to add it.