Making a Metallic Gradient in Illustrator
by AkatsukiTora in Craft > Digital Graphics
156603 Views, 7 Favorites, 0 Comments
Making a Metallic Gradient in Illustrator
I'm going to show you how to create a metallic effect easily using Gradients in Illustrator
Step 1: Draw a Box
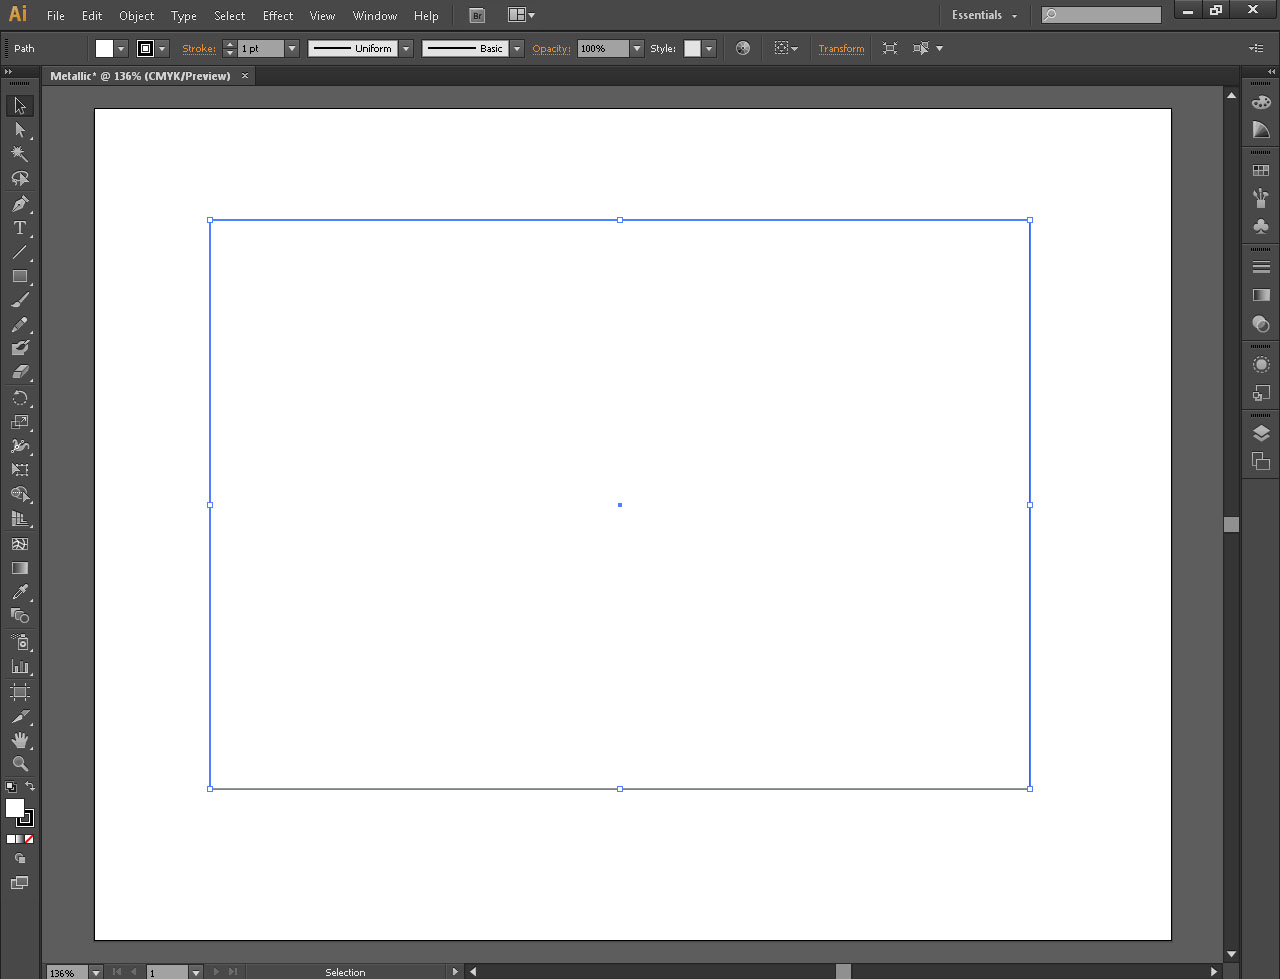
The first thing you'll do is make a box with the Rectangle Tool on the left hand side. The tool is in the shape of a rectangle (you can't miss it).
Step 2: Click the Gradient Tool
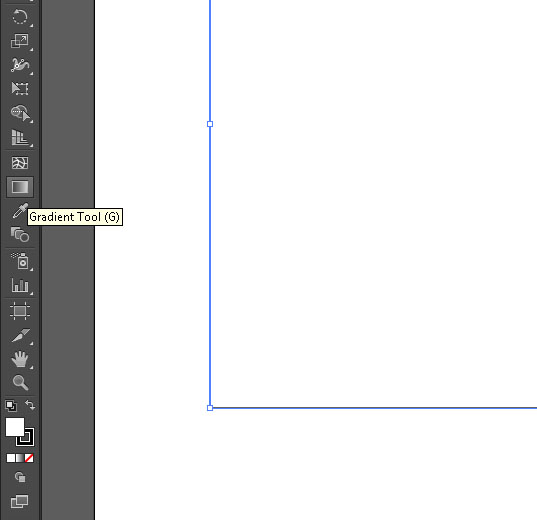
You'll find the Gradient Tool on the left hand side like you did with the Rectangle Tool. They look similar in shape, but the Gradient Tool looks like it is transitioning from black to white.
Step 3: Click Your Box
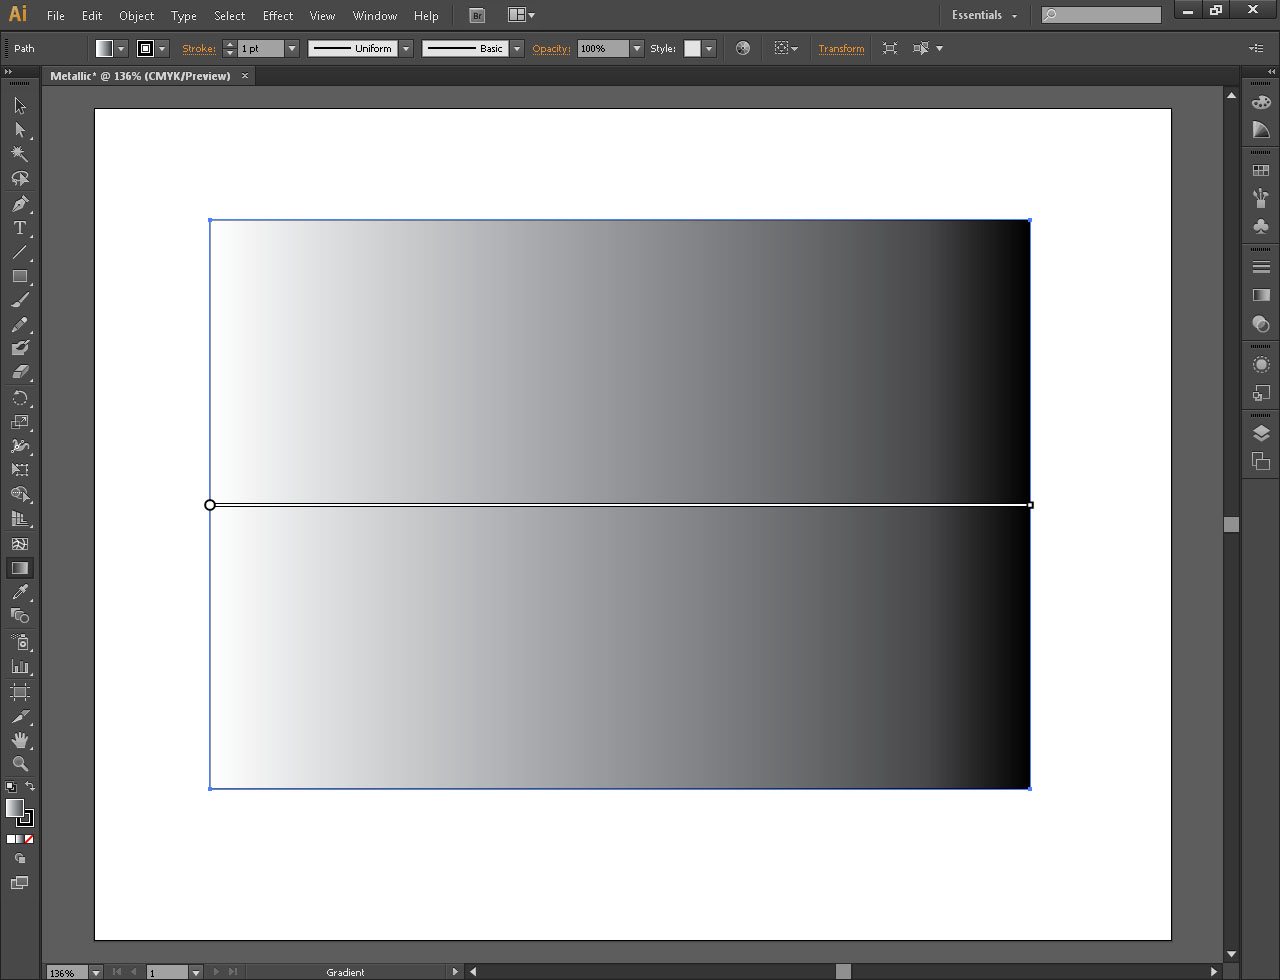
After you've selected the Gradient Tool, click on your box that you've made. This will color the box with a default gradient of black and white.
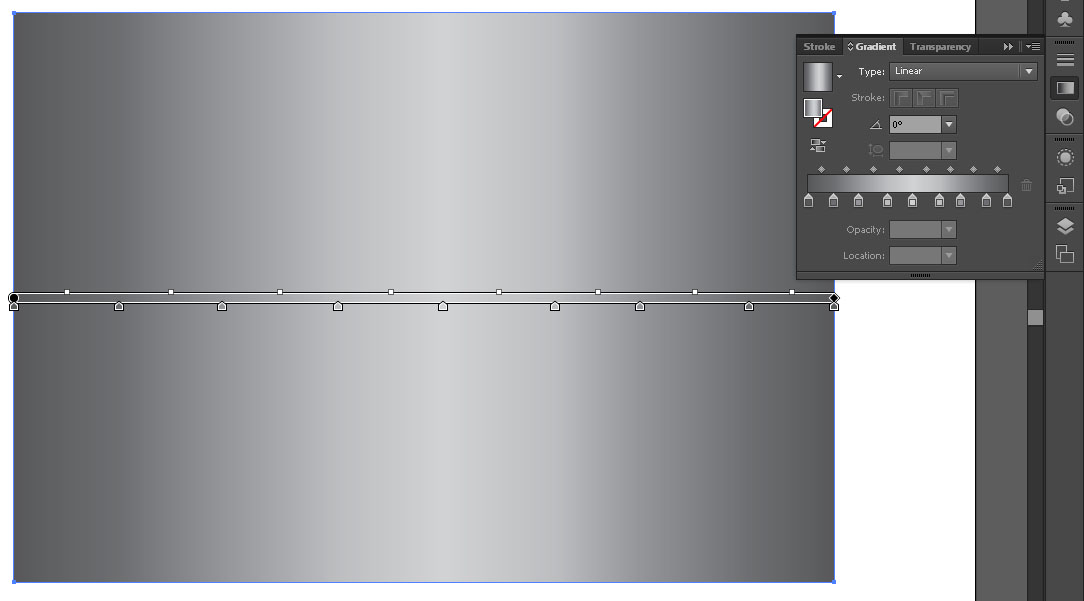
Step 4: Select the Gradient Panel
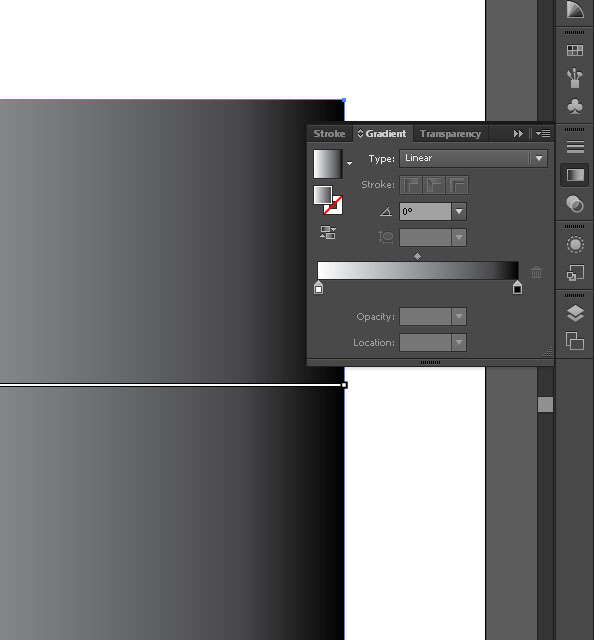
You'll obviously want to customize your gradient to make it look more metallic. The Gradient Panel can help with that. You can find it on the right hand side of the screen. It has the same icon as the Gradient Tool.
As you can see, there is a bar going from white to black with little sliders under them.
Step 5: Add Sliders
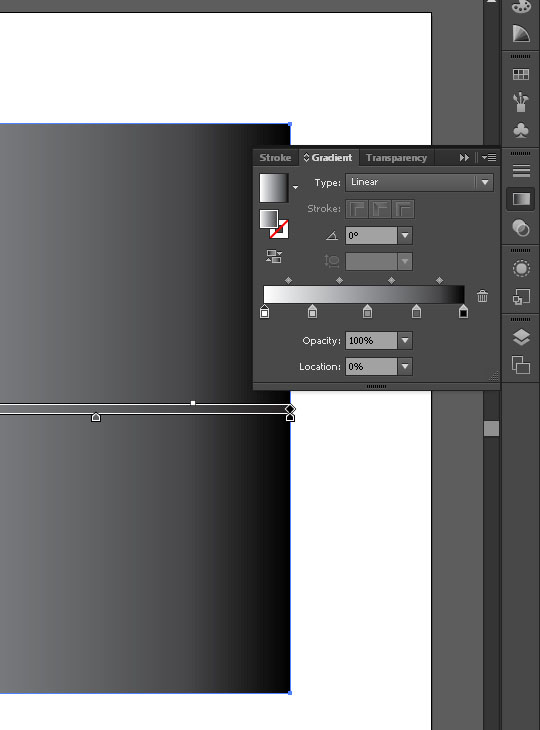
If you mouse under the color bar, you will see that your mouse has a plus sign next to it. Clicking while this plus sign is visible will create another color slider where you have clicked.
Create a couple more sliders to add more colors to the gradient.
Step 6: Change Colors of Sliders
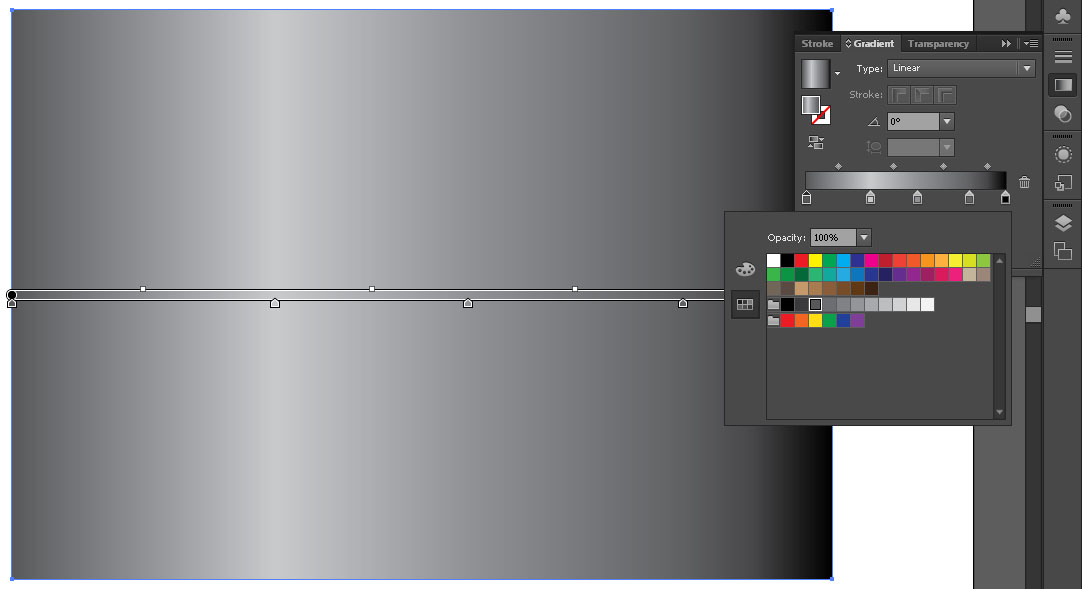
For our box to look metallic, we want to have the lighter colors on the inside and the darker colors on the outside on the gradient color bar.
Click on the last color slider to the left and change it to the third darkest shade on the greyscale color line in the color palette.
Step 7: Change Colors of Sliders 2
Use the same color on the slider on the opposite side of the gradient color bar.
Step 8: Change Colors of Sliders 3
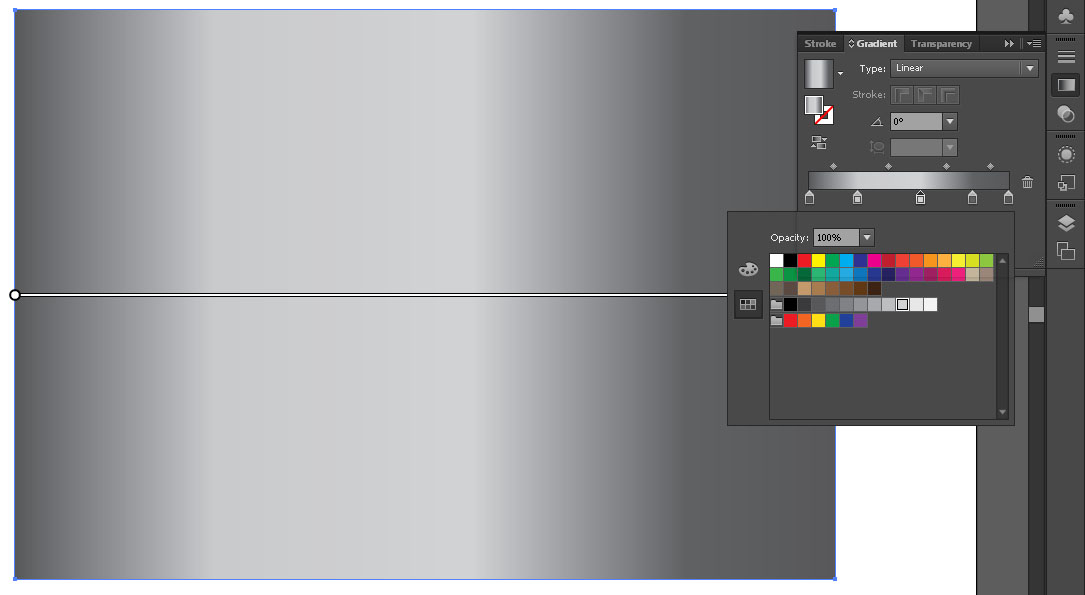
Change the middle slider to the third lightest shade on the on the greyscale color line in the color palette.
Step 9: Change Colors of Sliders 4
Now we will direct our attention to the two sliders we have between the middle slider.
Change both of their colors to the fourth darkest shade on the on the greyscale color line in the color palette.
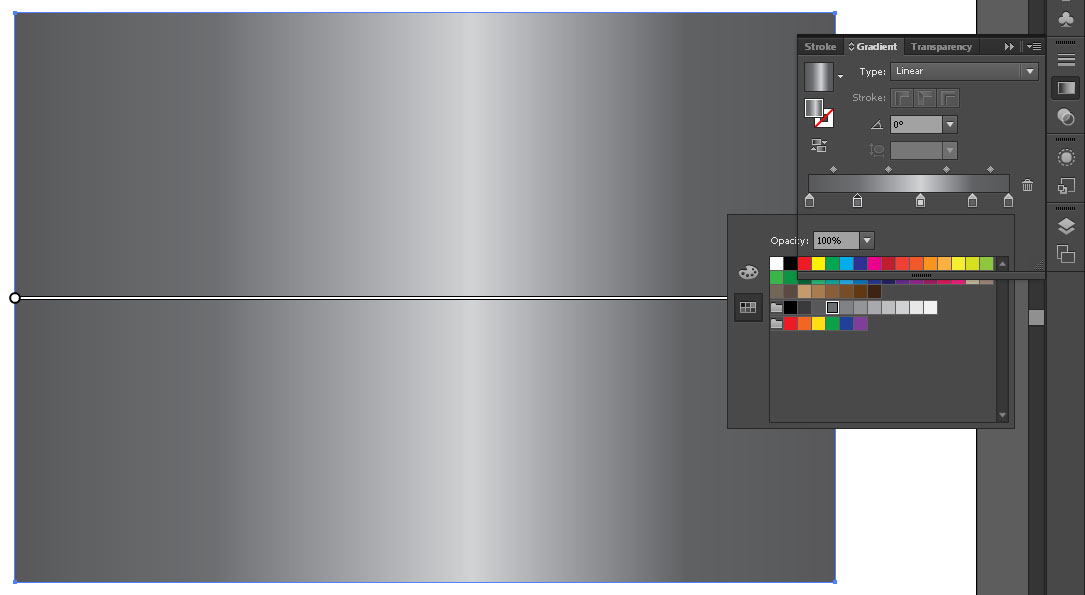
Step 10: Add More Sliders
Add two more sliders, one on both sides of the middle slider.
Change their colors to the sixth darkest shade on the on the greyscale color line in the color palette.
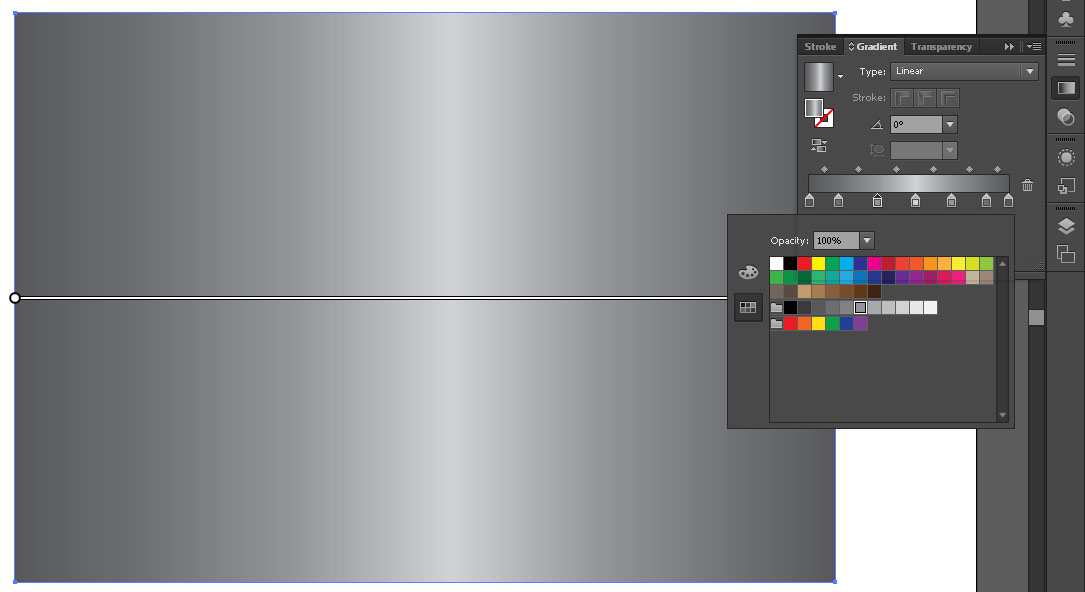
Step 11: Add More Sliders 2
Repeat the last step by adding two more sliders, one on both sides of the middle slider.
Change their colors to the fourth lightest shade on the on the greyscale color line in the color palette.
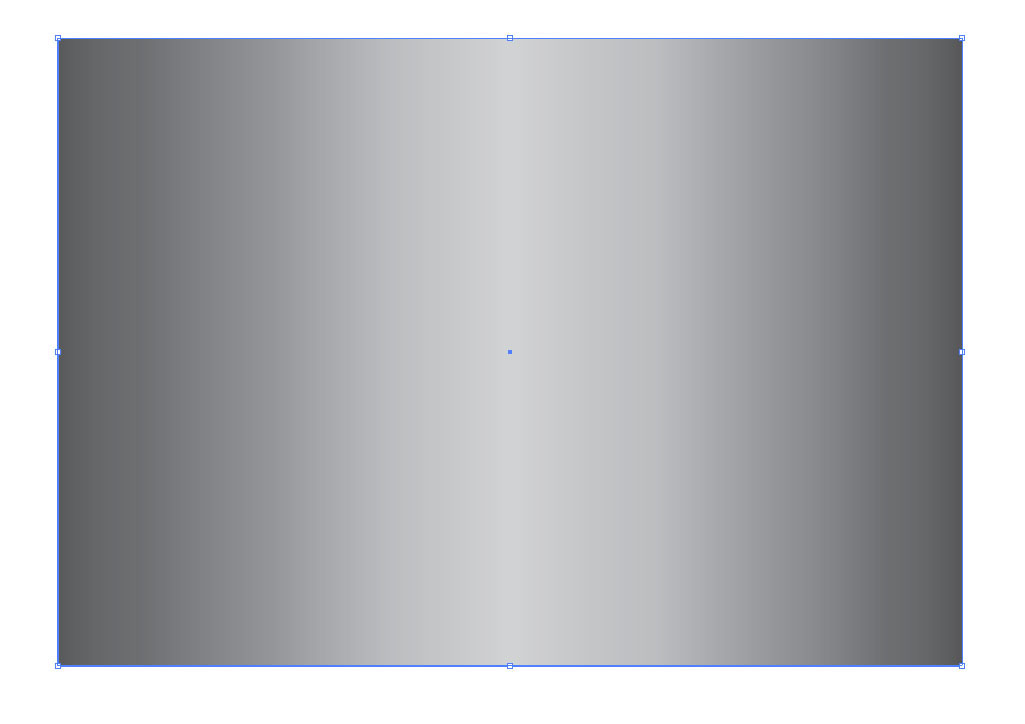
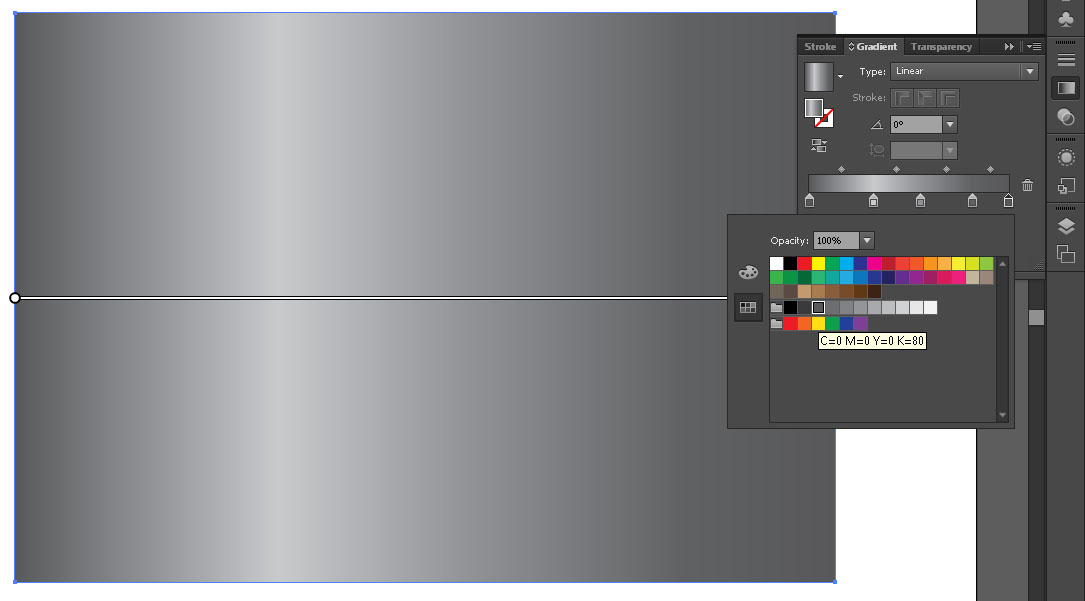
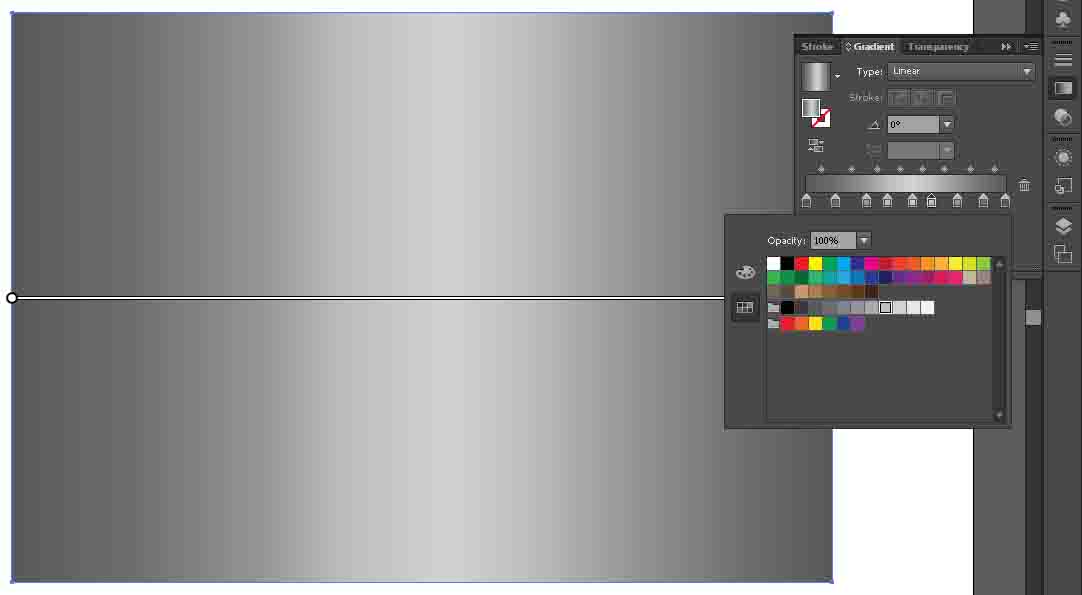
Step 12: Arrange Your Gradient
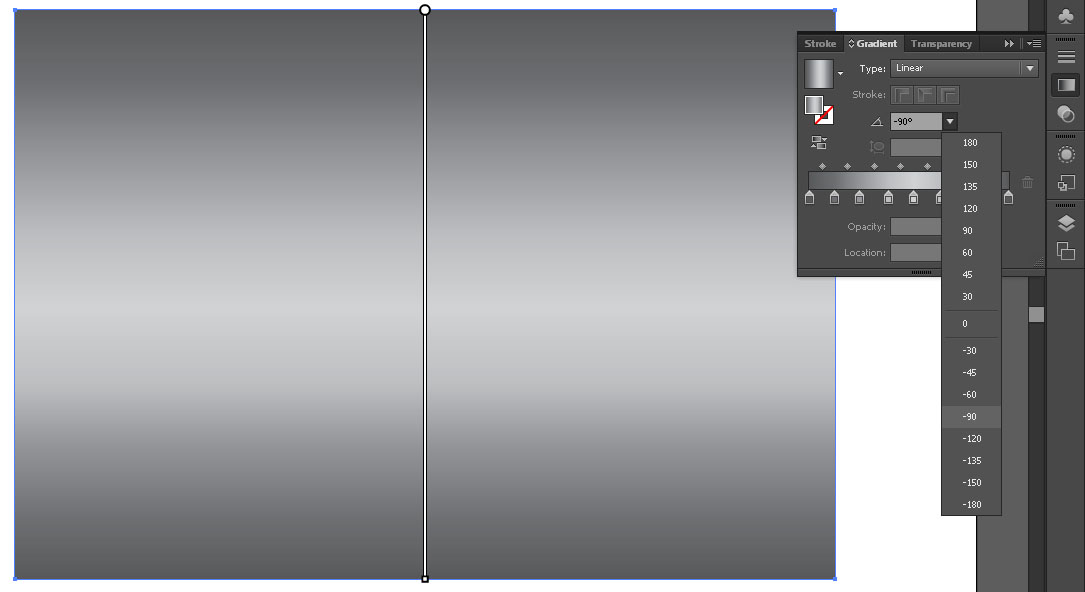
There is a bar in the middle of your box that will allow you to arrange your colors on the gradient bar. Play with the sliders until you are satisfied with your gradient.
PS: You can also change the direction of your gradient with the angle selector in the Gradient Panel.
Final Product
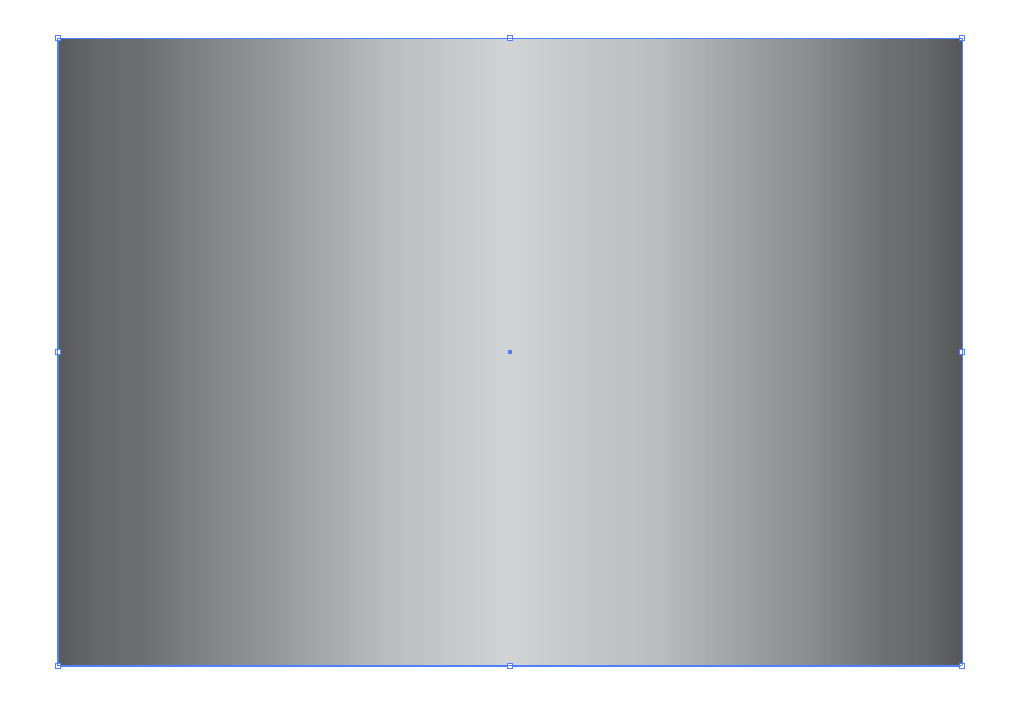
And now you should have a metallic coloration to your box.