Making a Laser Communicator
by spiceylizard in Circuits > Lasers
1628 Views, 5 Favorites, 0 Comments
Making a Laser Communicator
.png)
.png)
In this instructable I will be showing you how to make a laser communicator. (A device that can communicate over a certain distance without sound using a laser... I promise it’s worth it)
*Disclaimer* Due to the pandemic I will not actually be making the device, I will be recreating (via drawing and other methods) to show you the best way to make it.
*Credit* All pictures I used are from their appropriate amazon links.
Supplies
Handheld laser -- Click Here
Mini Speaker -- Click Here
Electronic Switch -- Click Here
Wire Strippers / Cutter
Electrical tape
Soldering Gun / Material
Mini Solar Panel -- Click Here
3.5mm Headphone-Jack Adapter -- Click Here
Extra wire -- Click Here (or you can use an old charger or some other wire)
Metal Cutter/Saw (If you use a saw, wear safety glasses)
Start
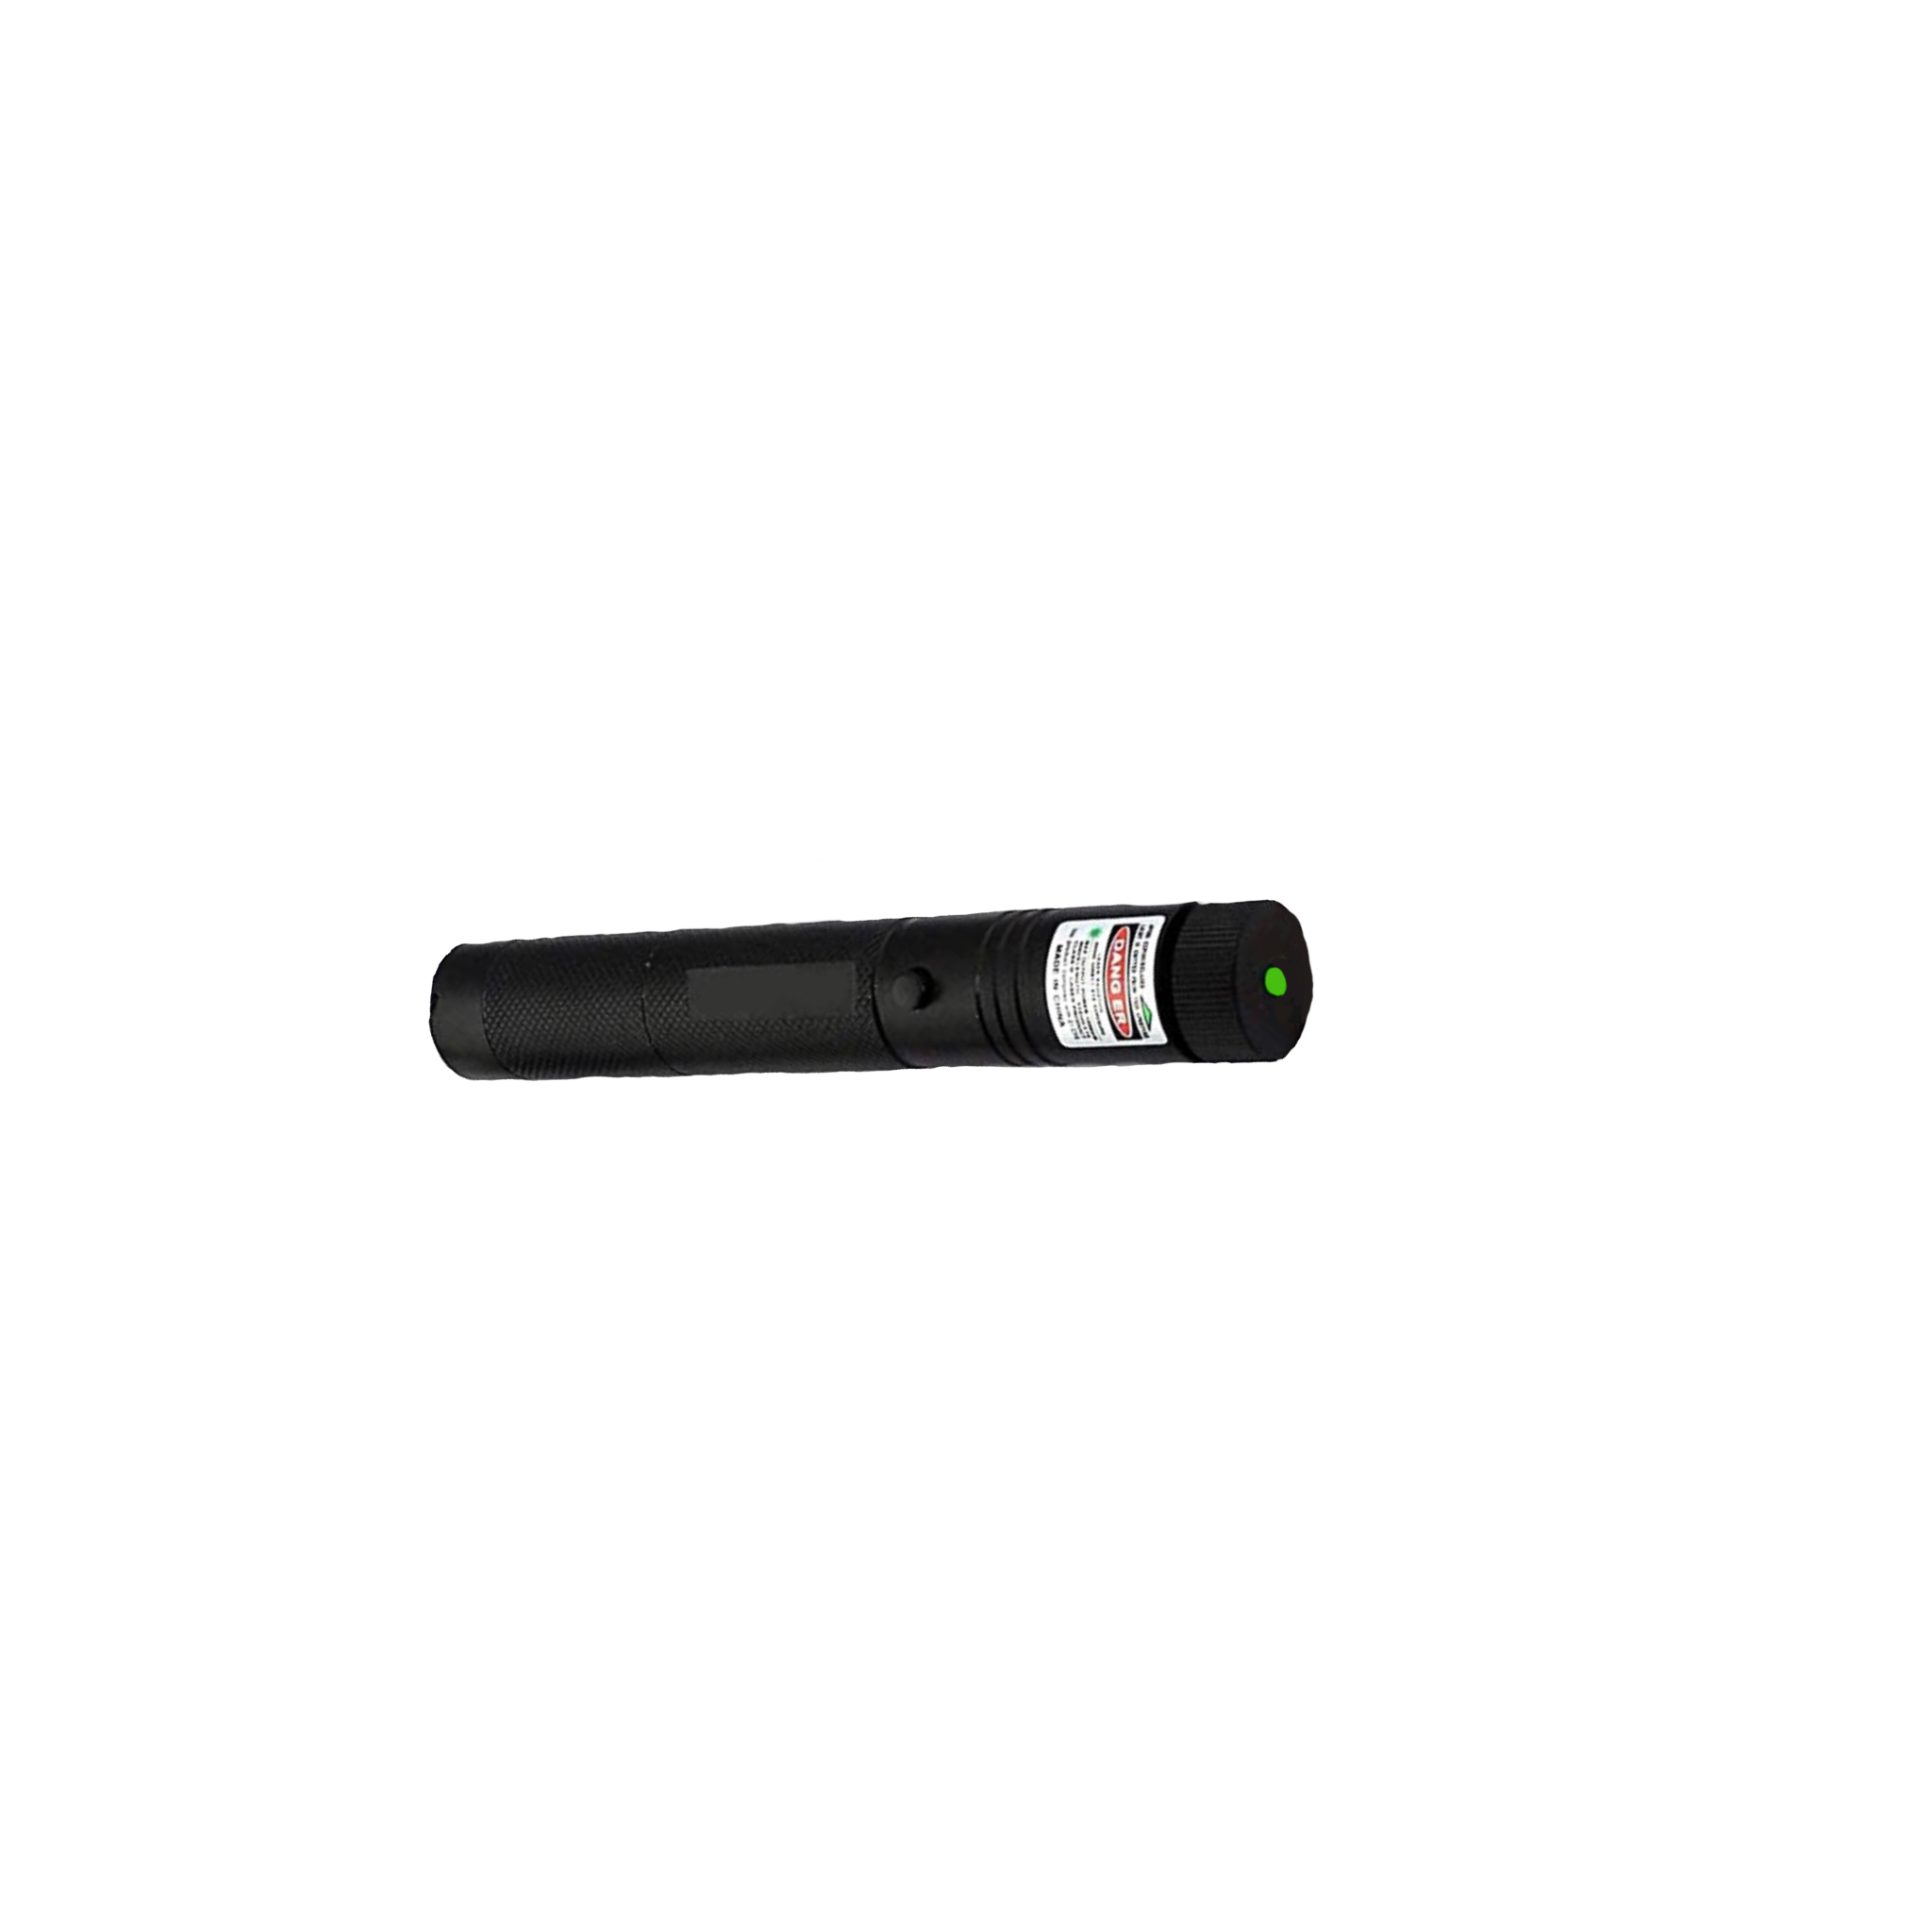
Get a Handheld laser
I used this one from Amazon Click Here
Disassemble the Laser Pointer (a)
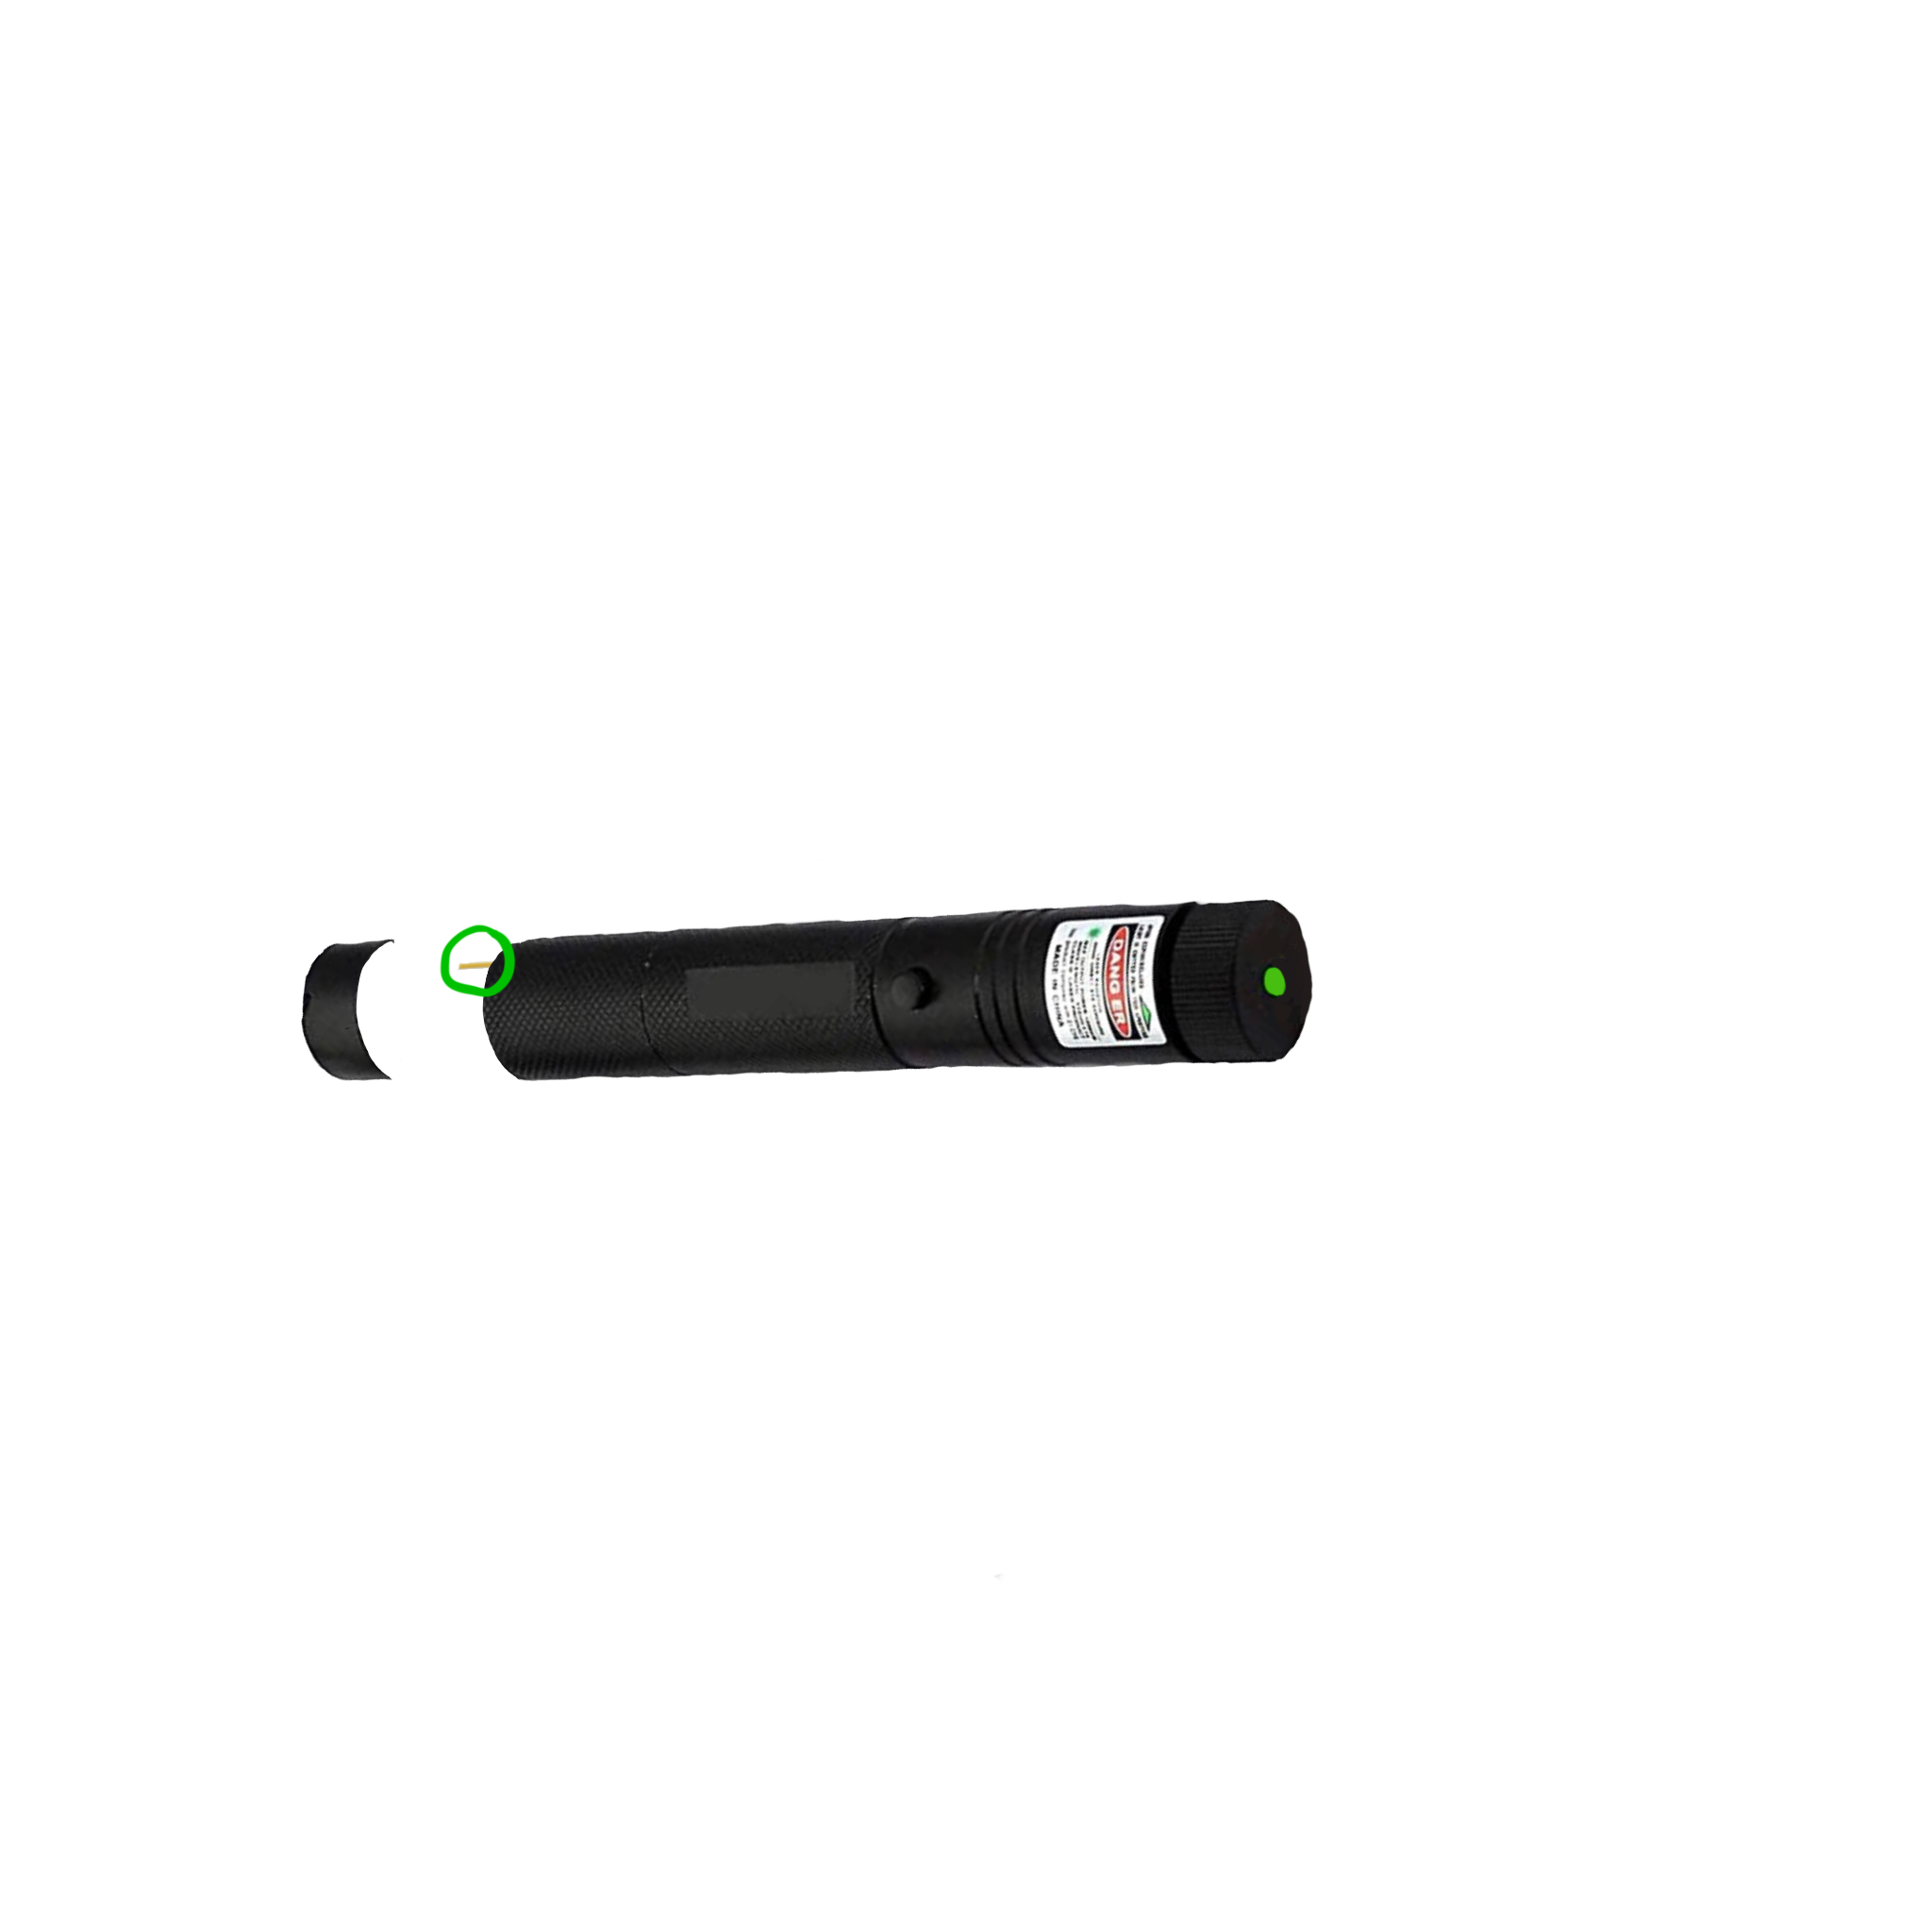
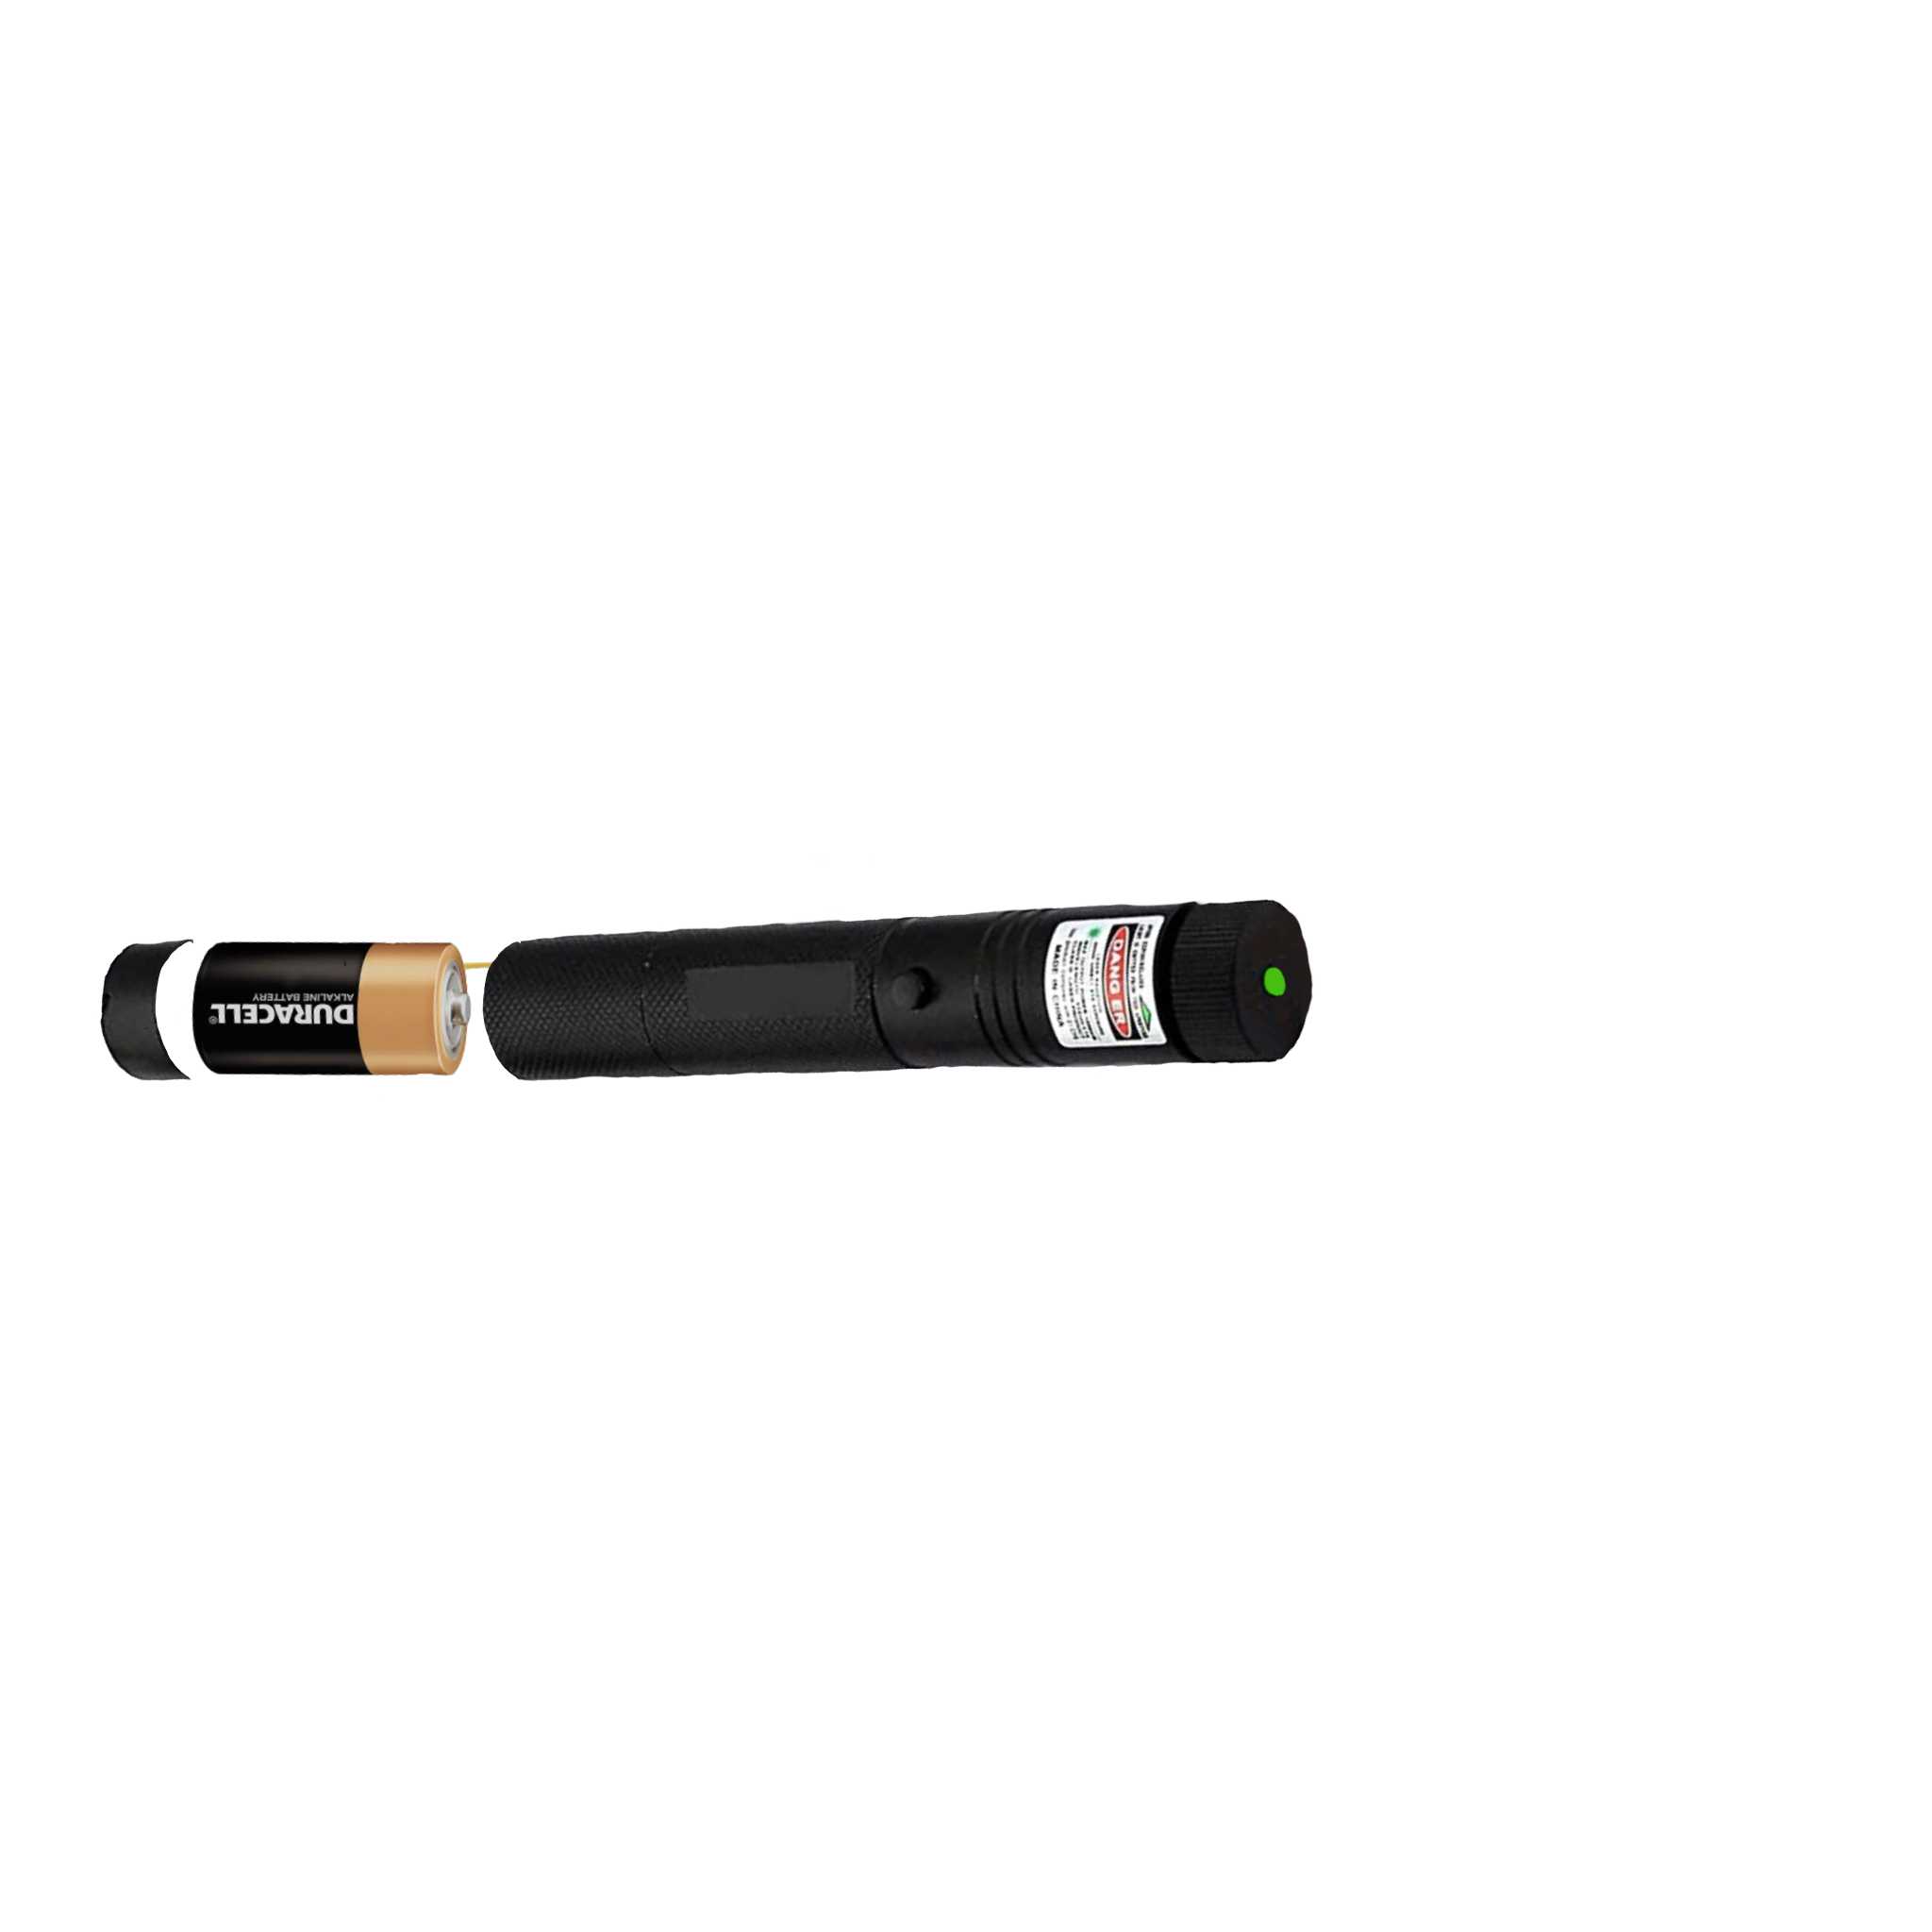
This step is as easy as it sounds. All you have to do is just untwist the bottom end of the laser and take out the battery. Be careful of the gold wire (highlighted in green). Make sure not to break it off or damage it. Once completed, you can throw away the end cap, but KEEP the battery.
Disassemble the Laser Pointer (b)
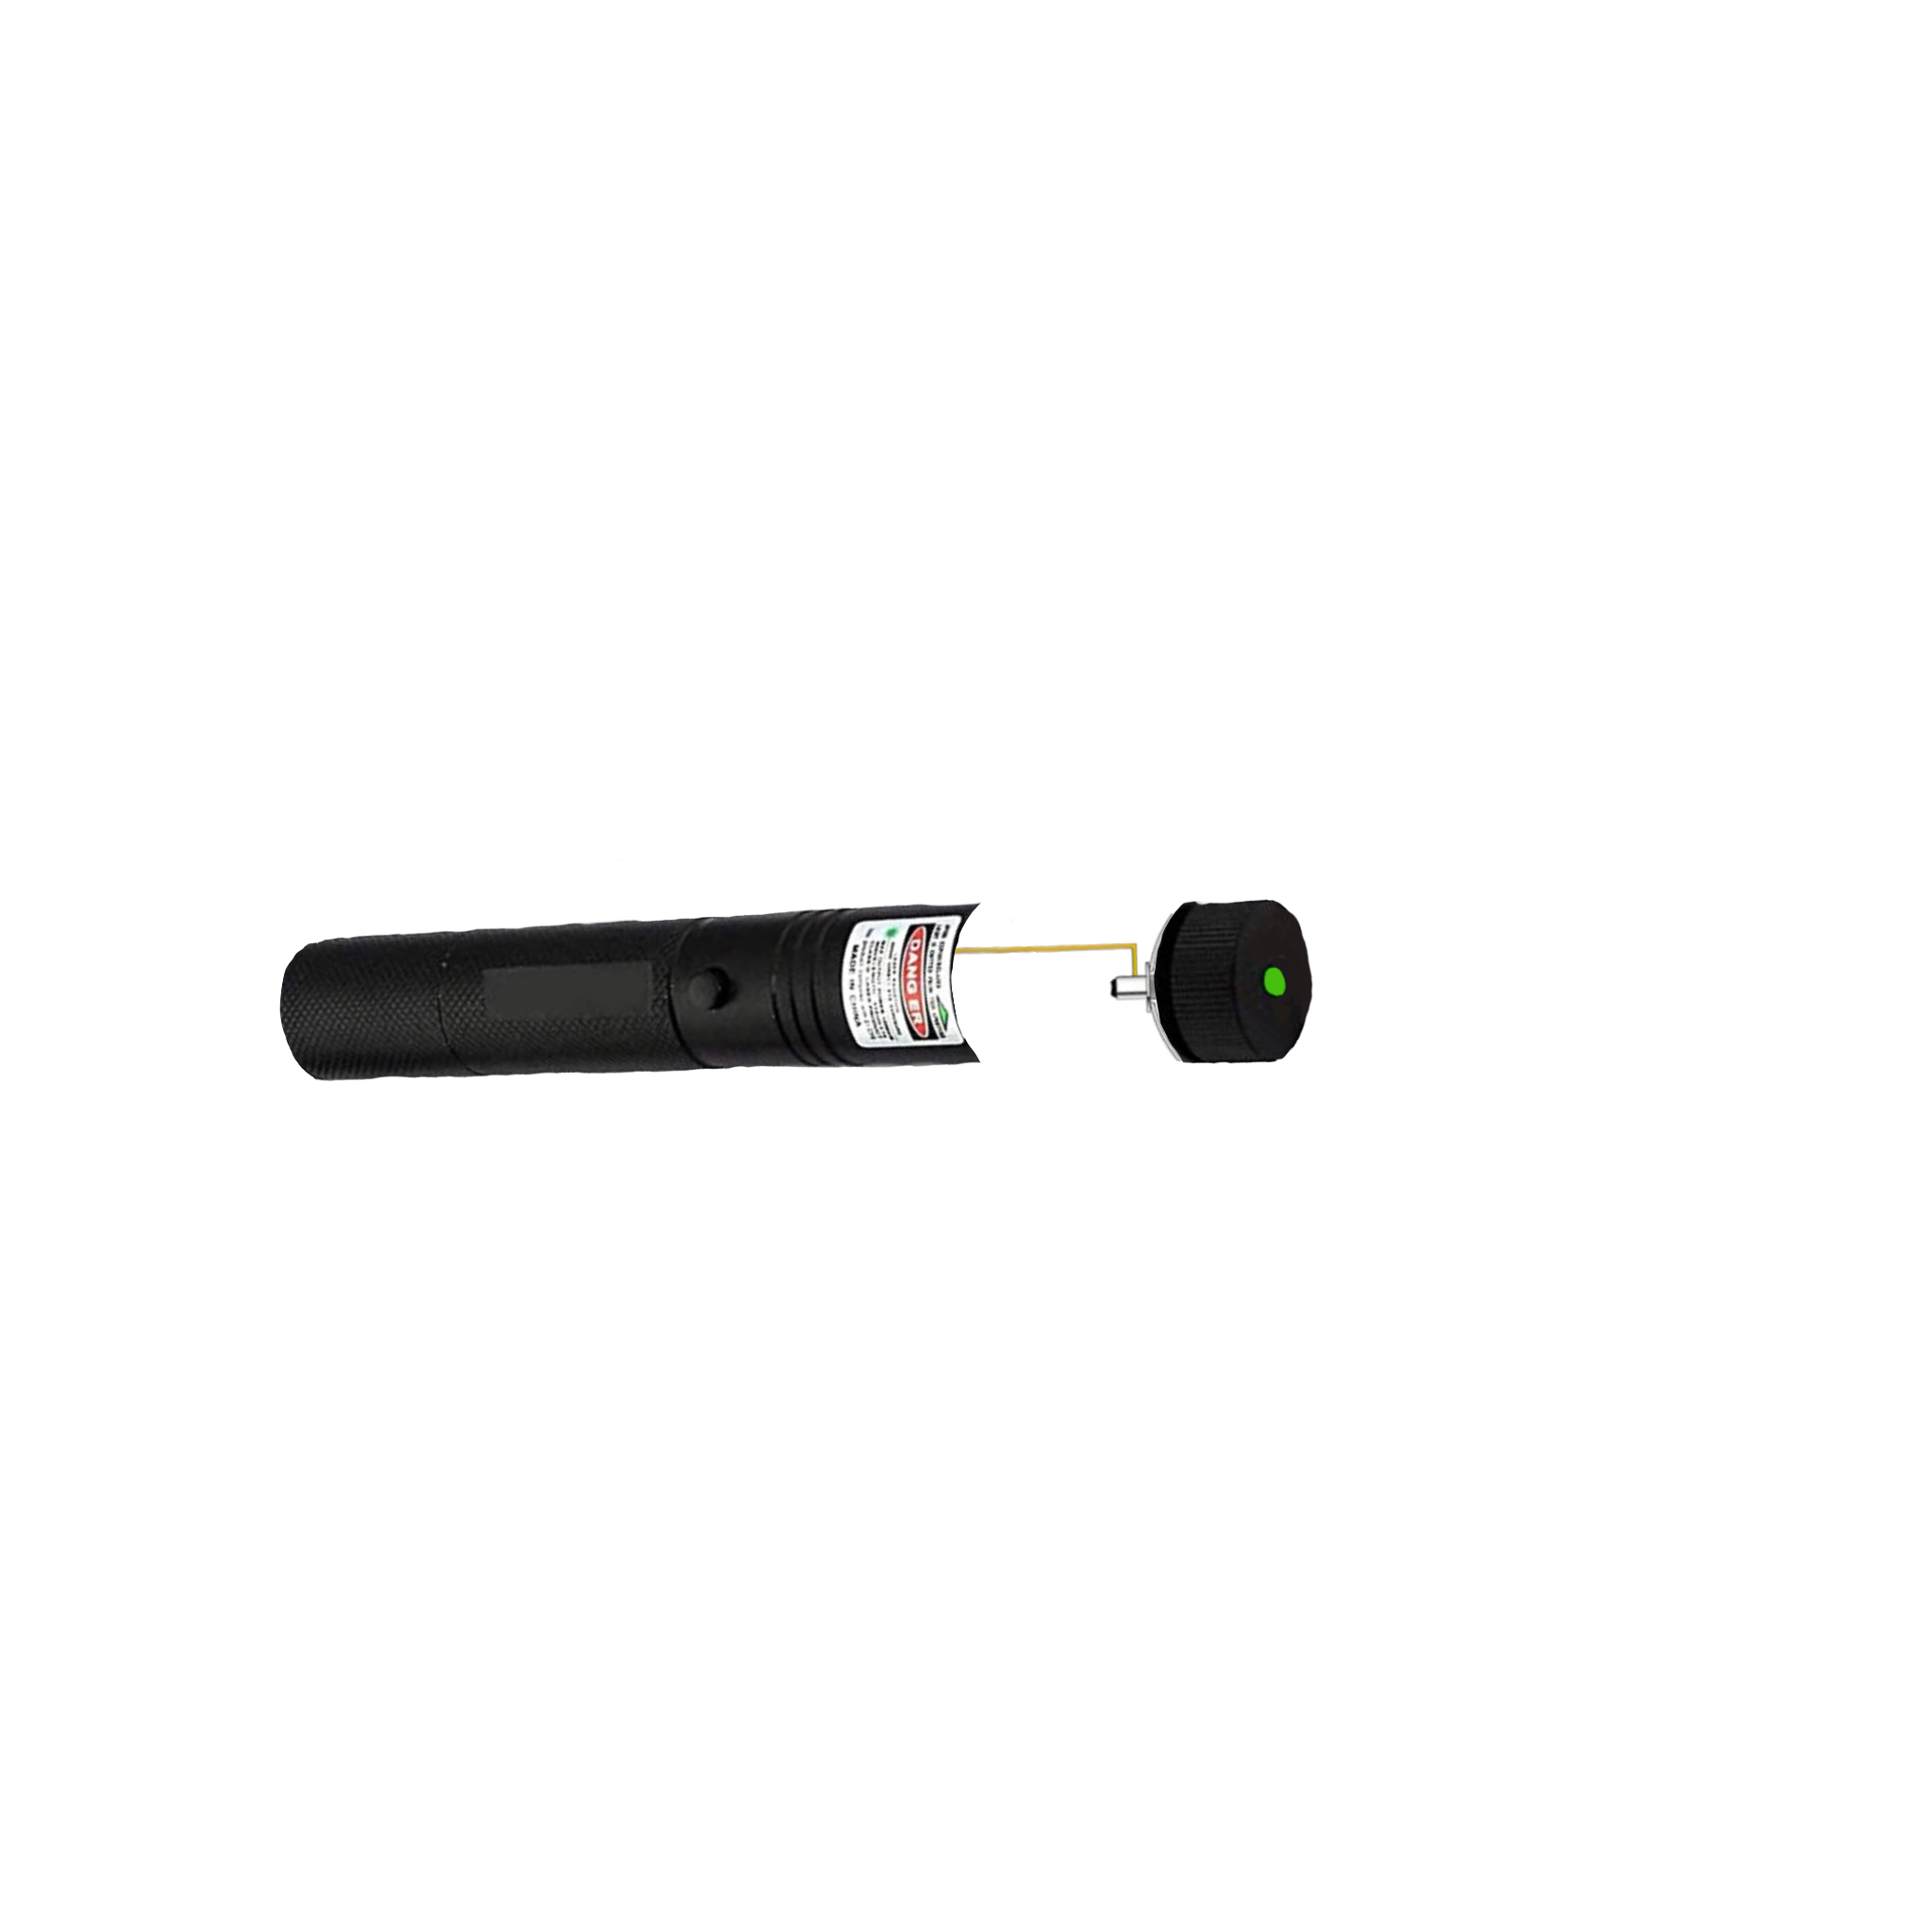
In this step, you will be cutting metal. Please wear appropriate eye wear and/or glove wear.
Cut the laser casing right above the danger sticker (or about one inch) from the front end of the laser.
*IMPORTANT* Do not cut all the way though. You just want to take off the casing off.
Disassemble the Laser Pointer (c)
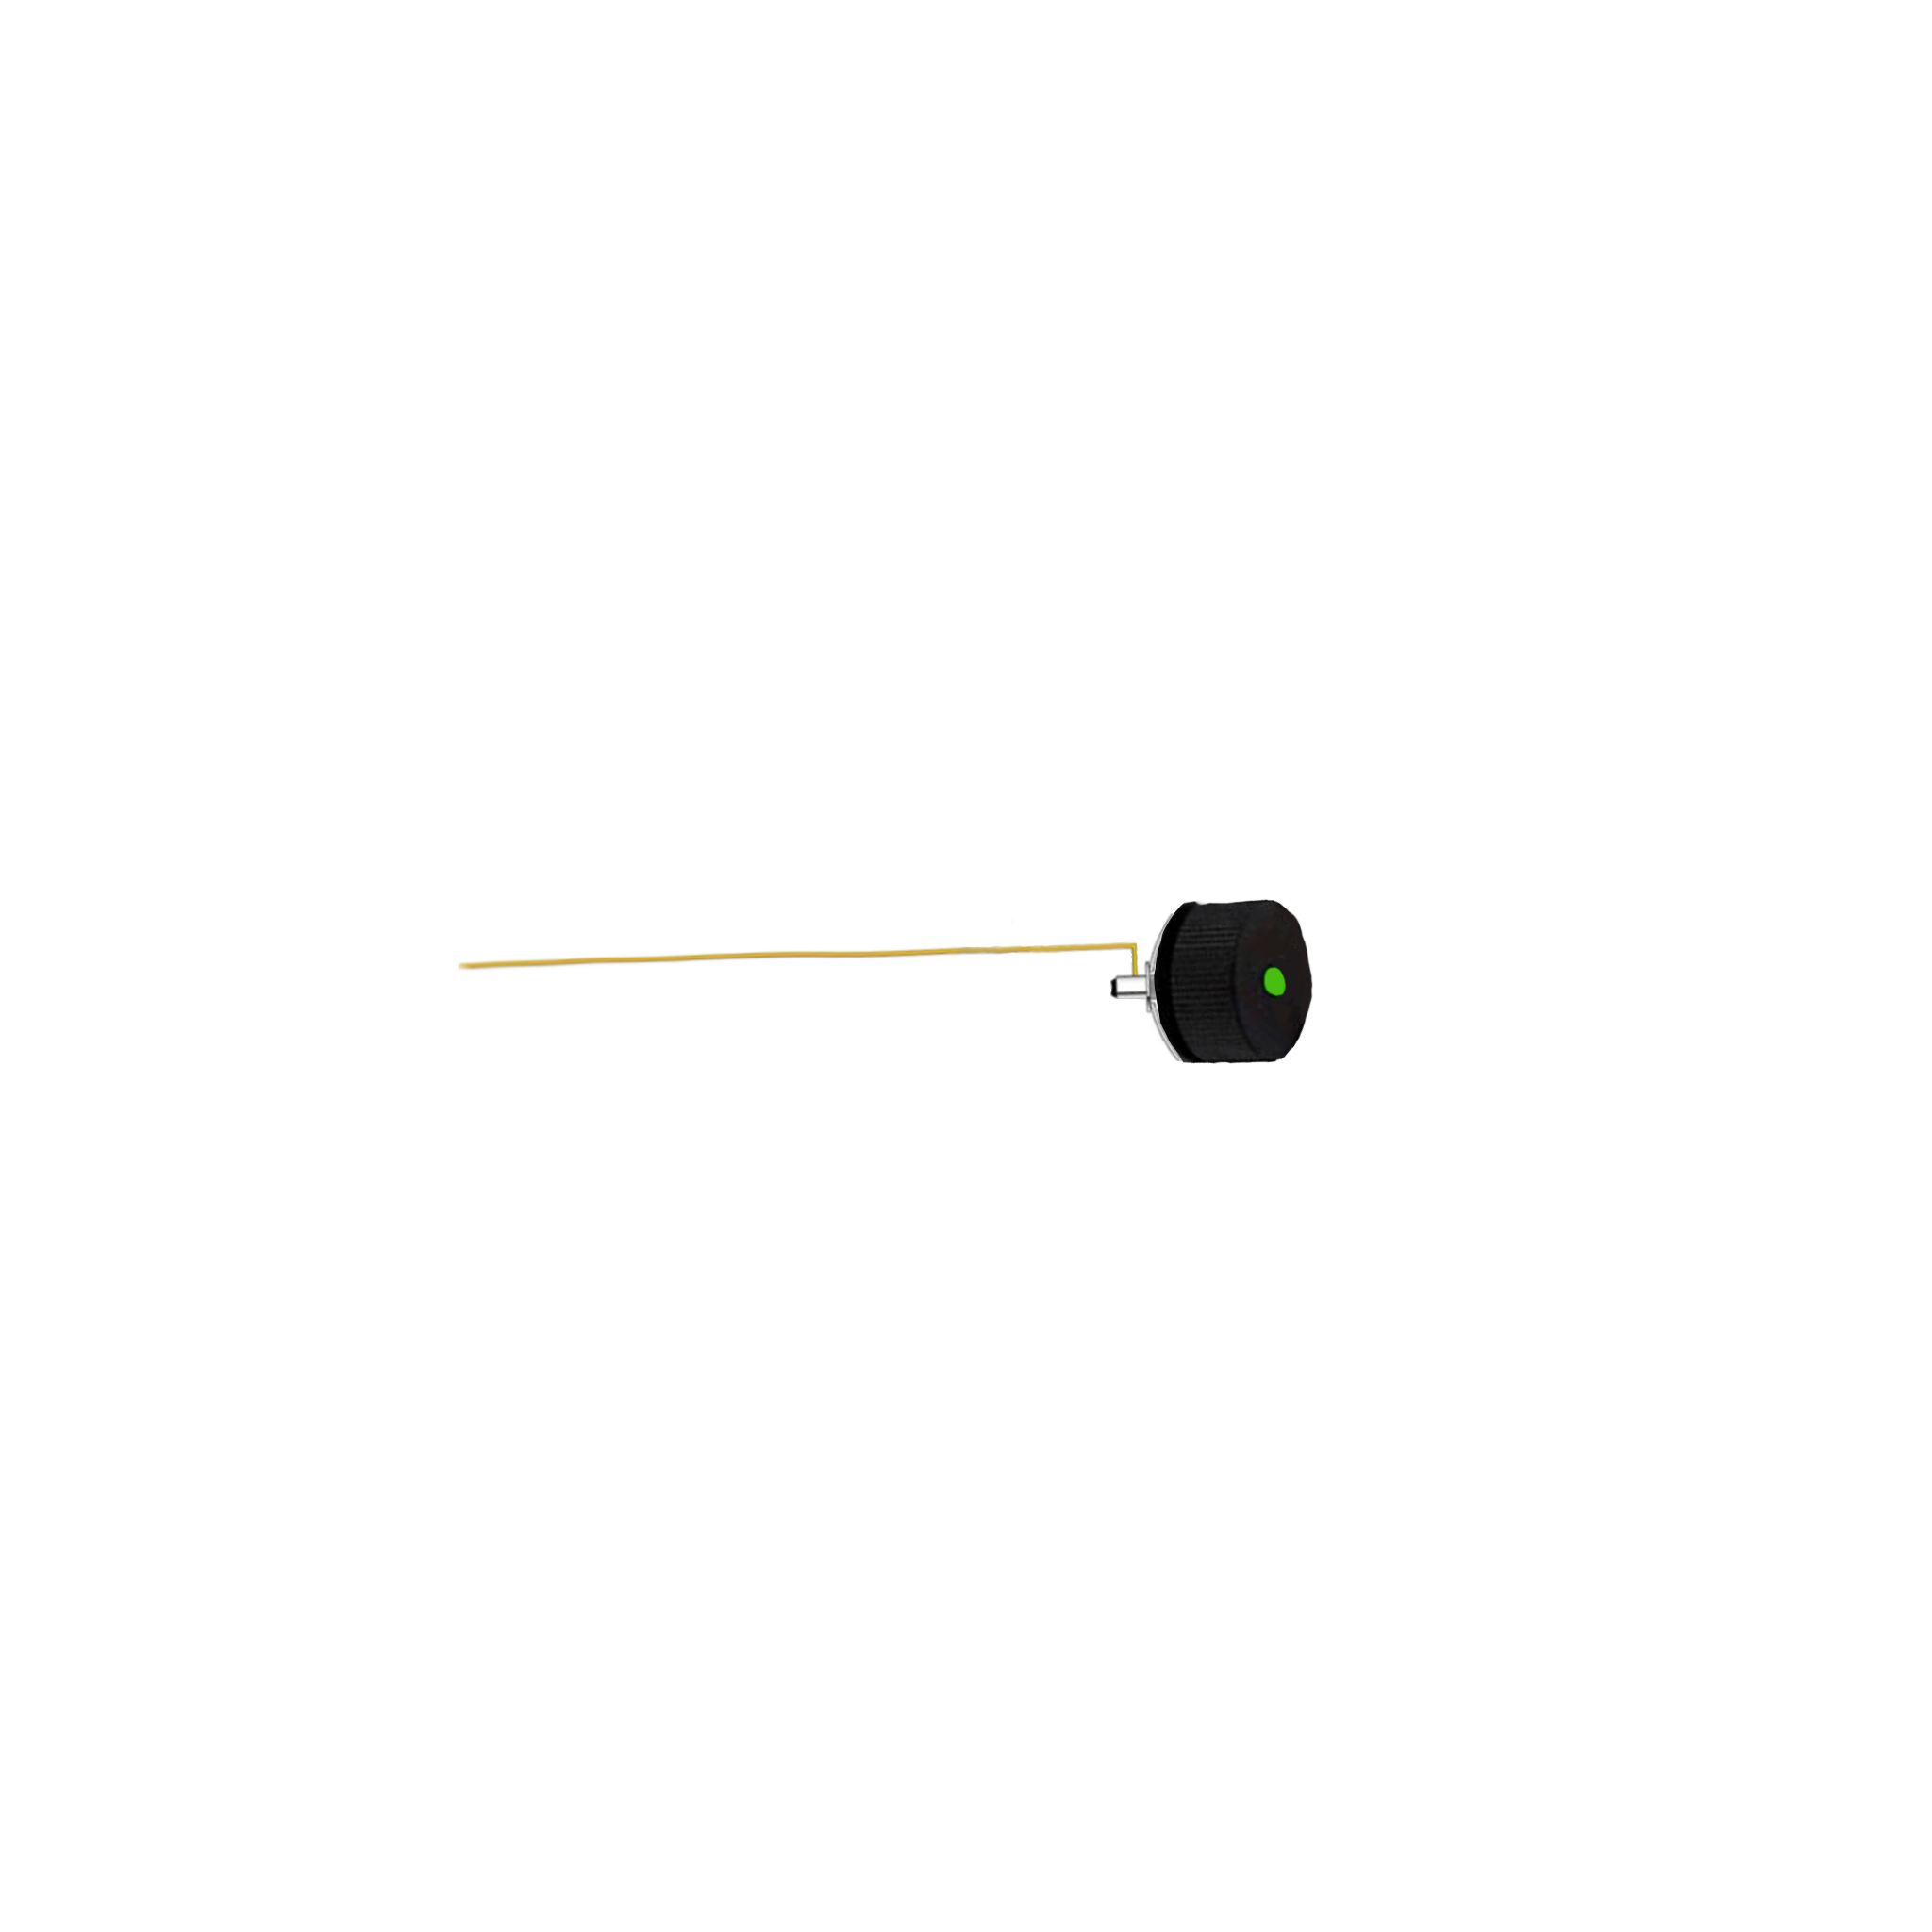
This is the same step as "Disassemble the laser pointer (b)." This is what the laser looks like without the casing.
Disassemble the Laser Pointer (d)
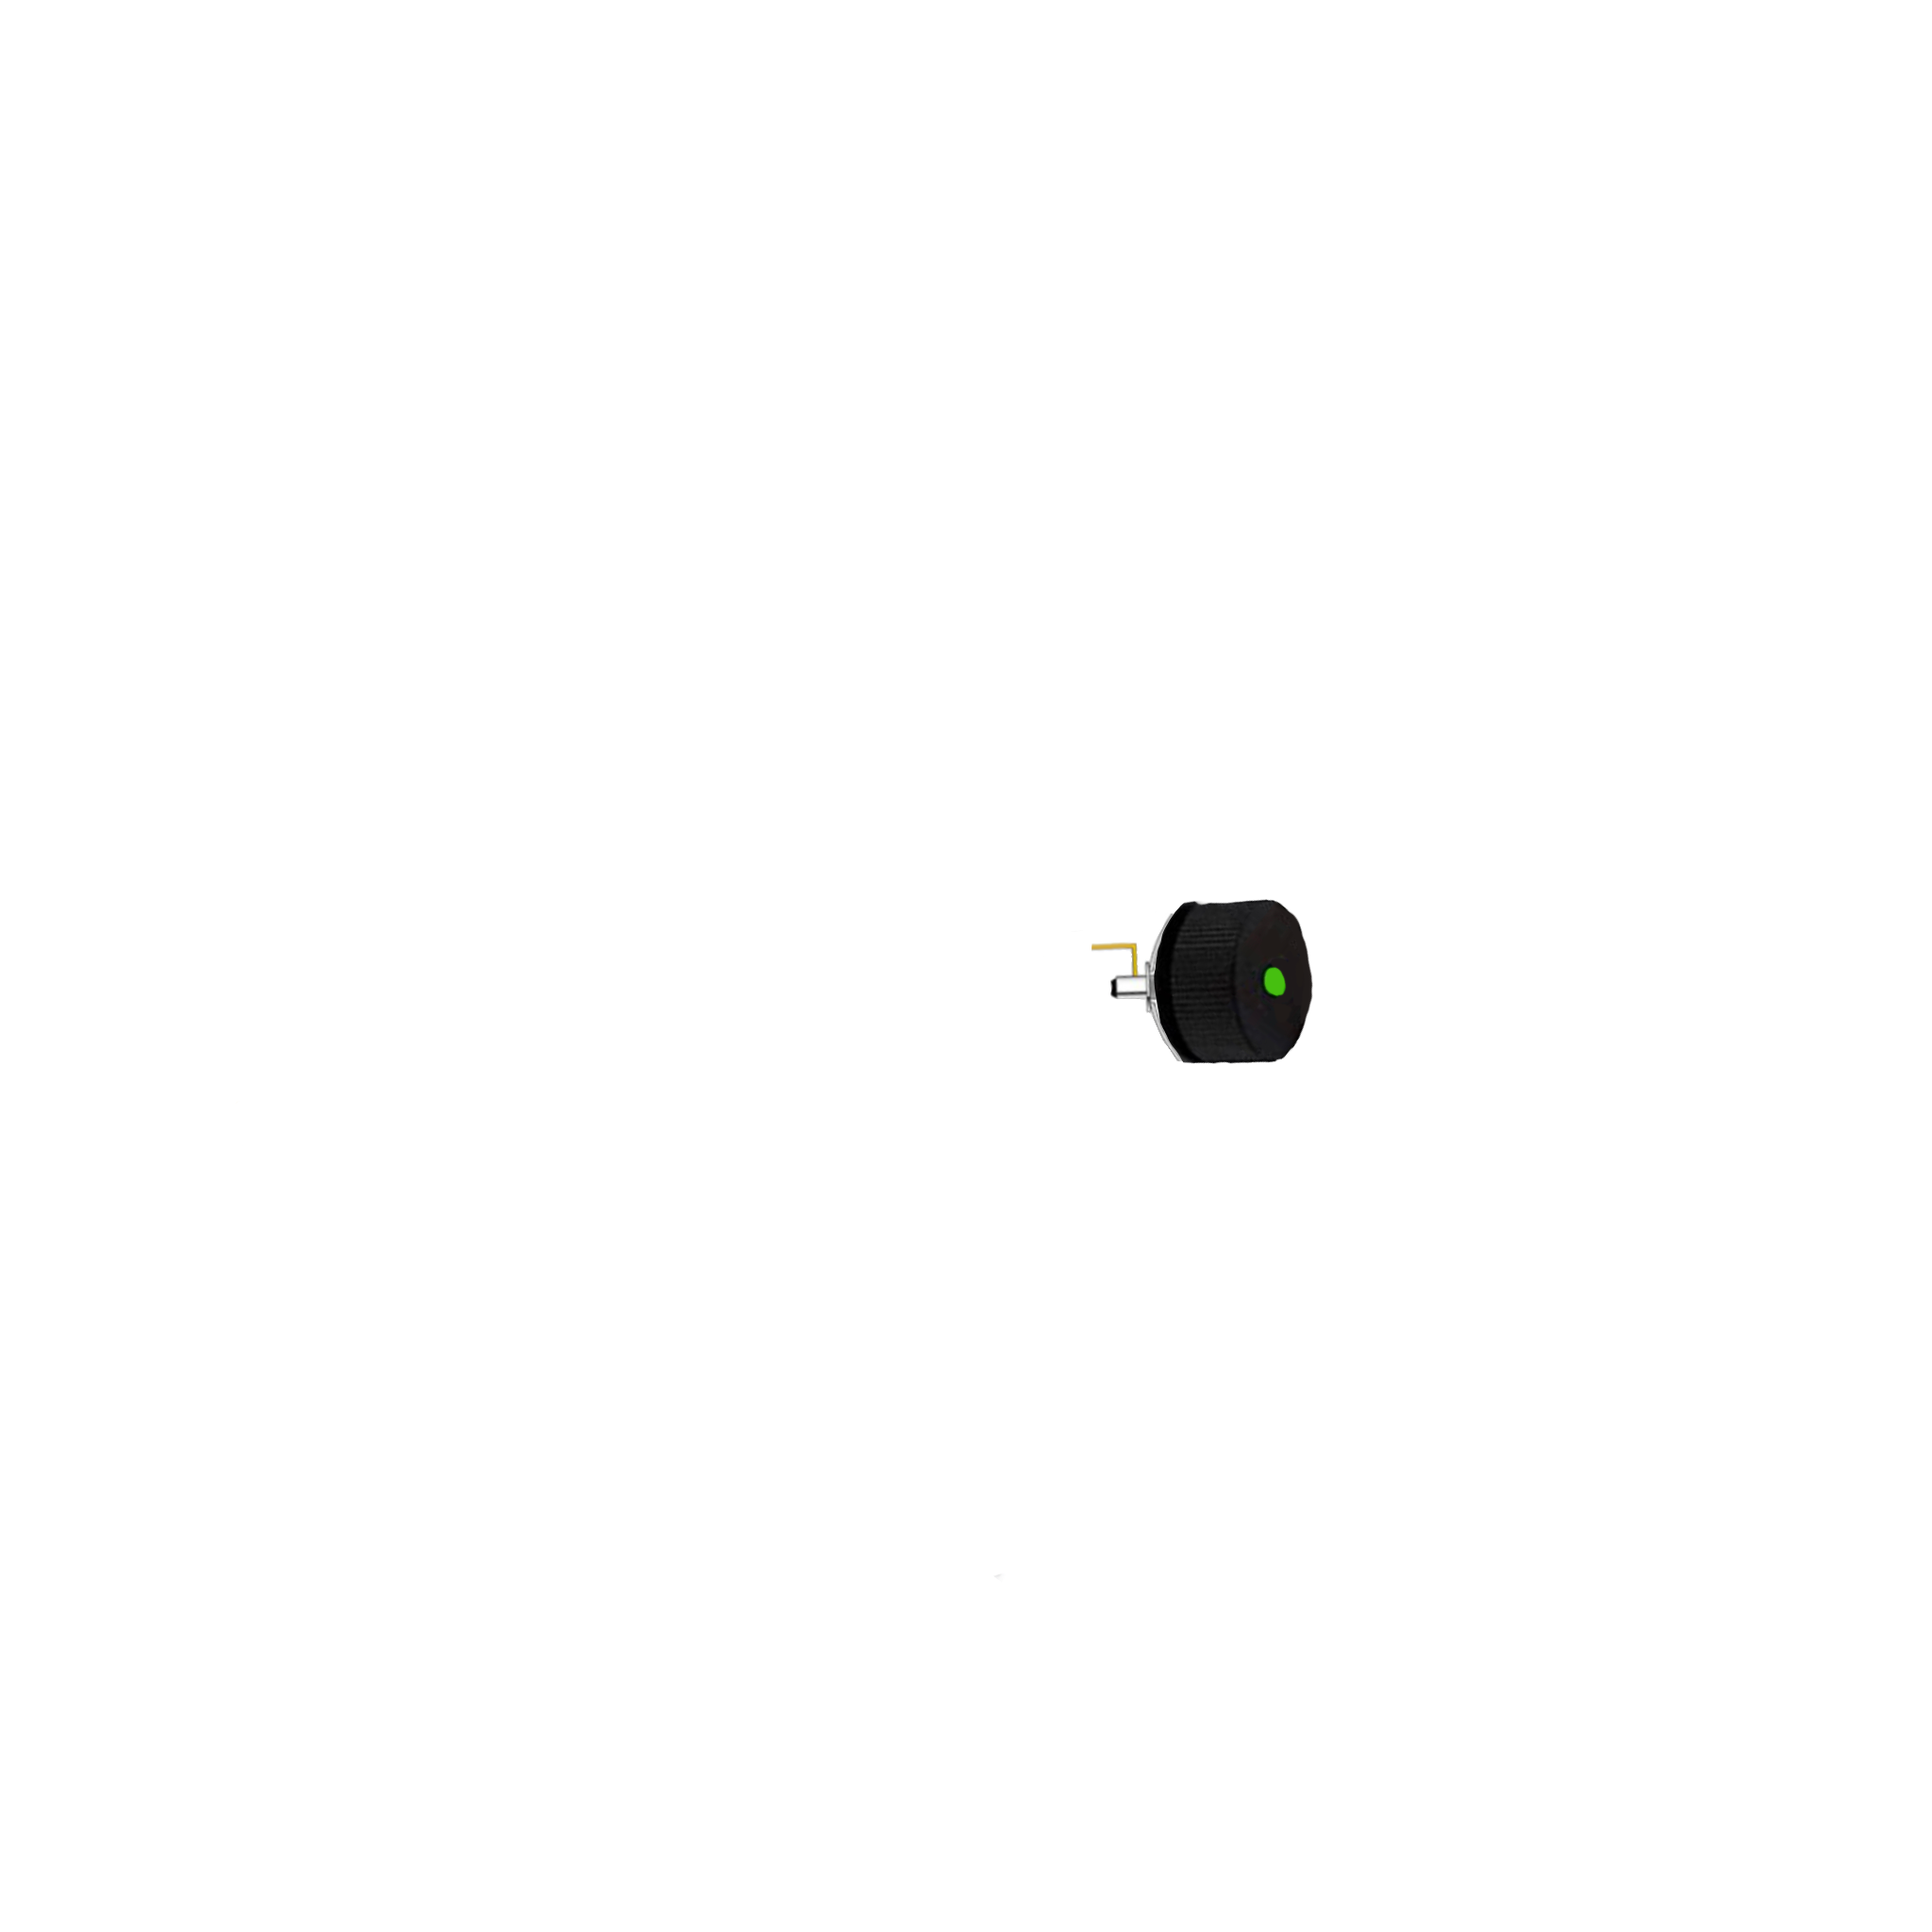
All you have to do in this step is cut the metal piece down so its about an inch long.
After you're done cutting it, put the disassembled laser to the side, we will need it for "Step 10: Wiring the Laser (d)”
Wiring the Laser (a)
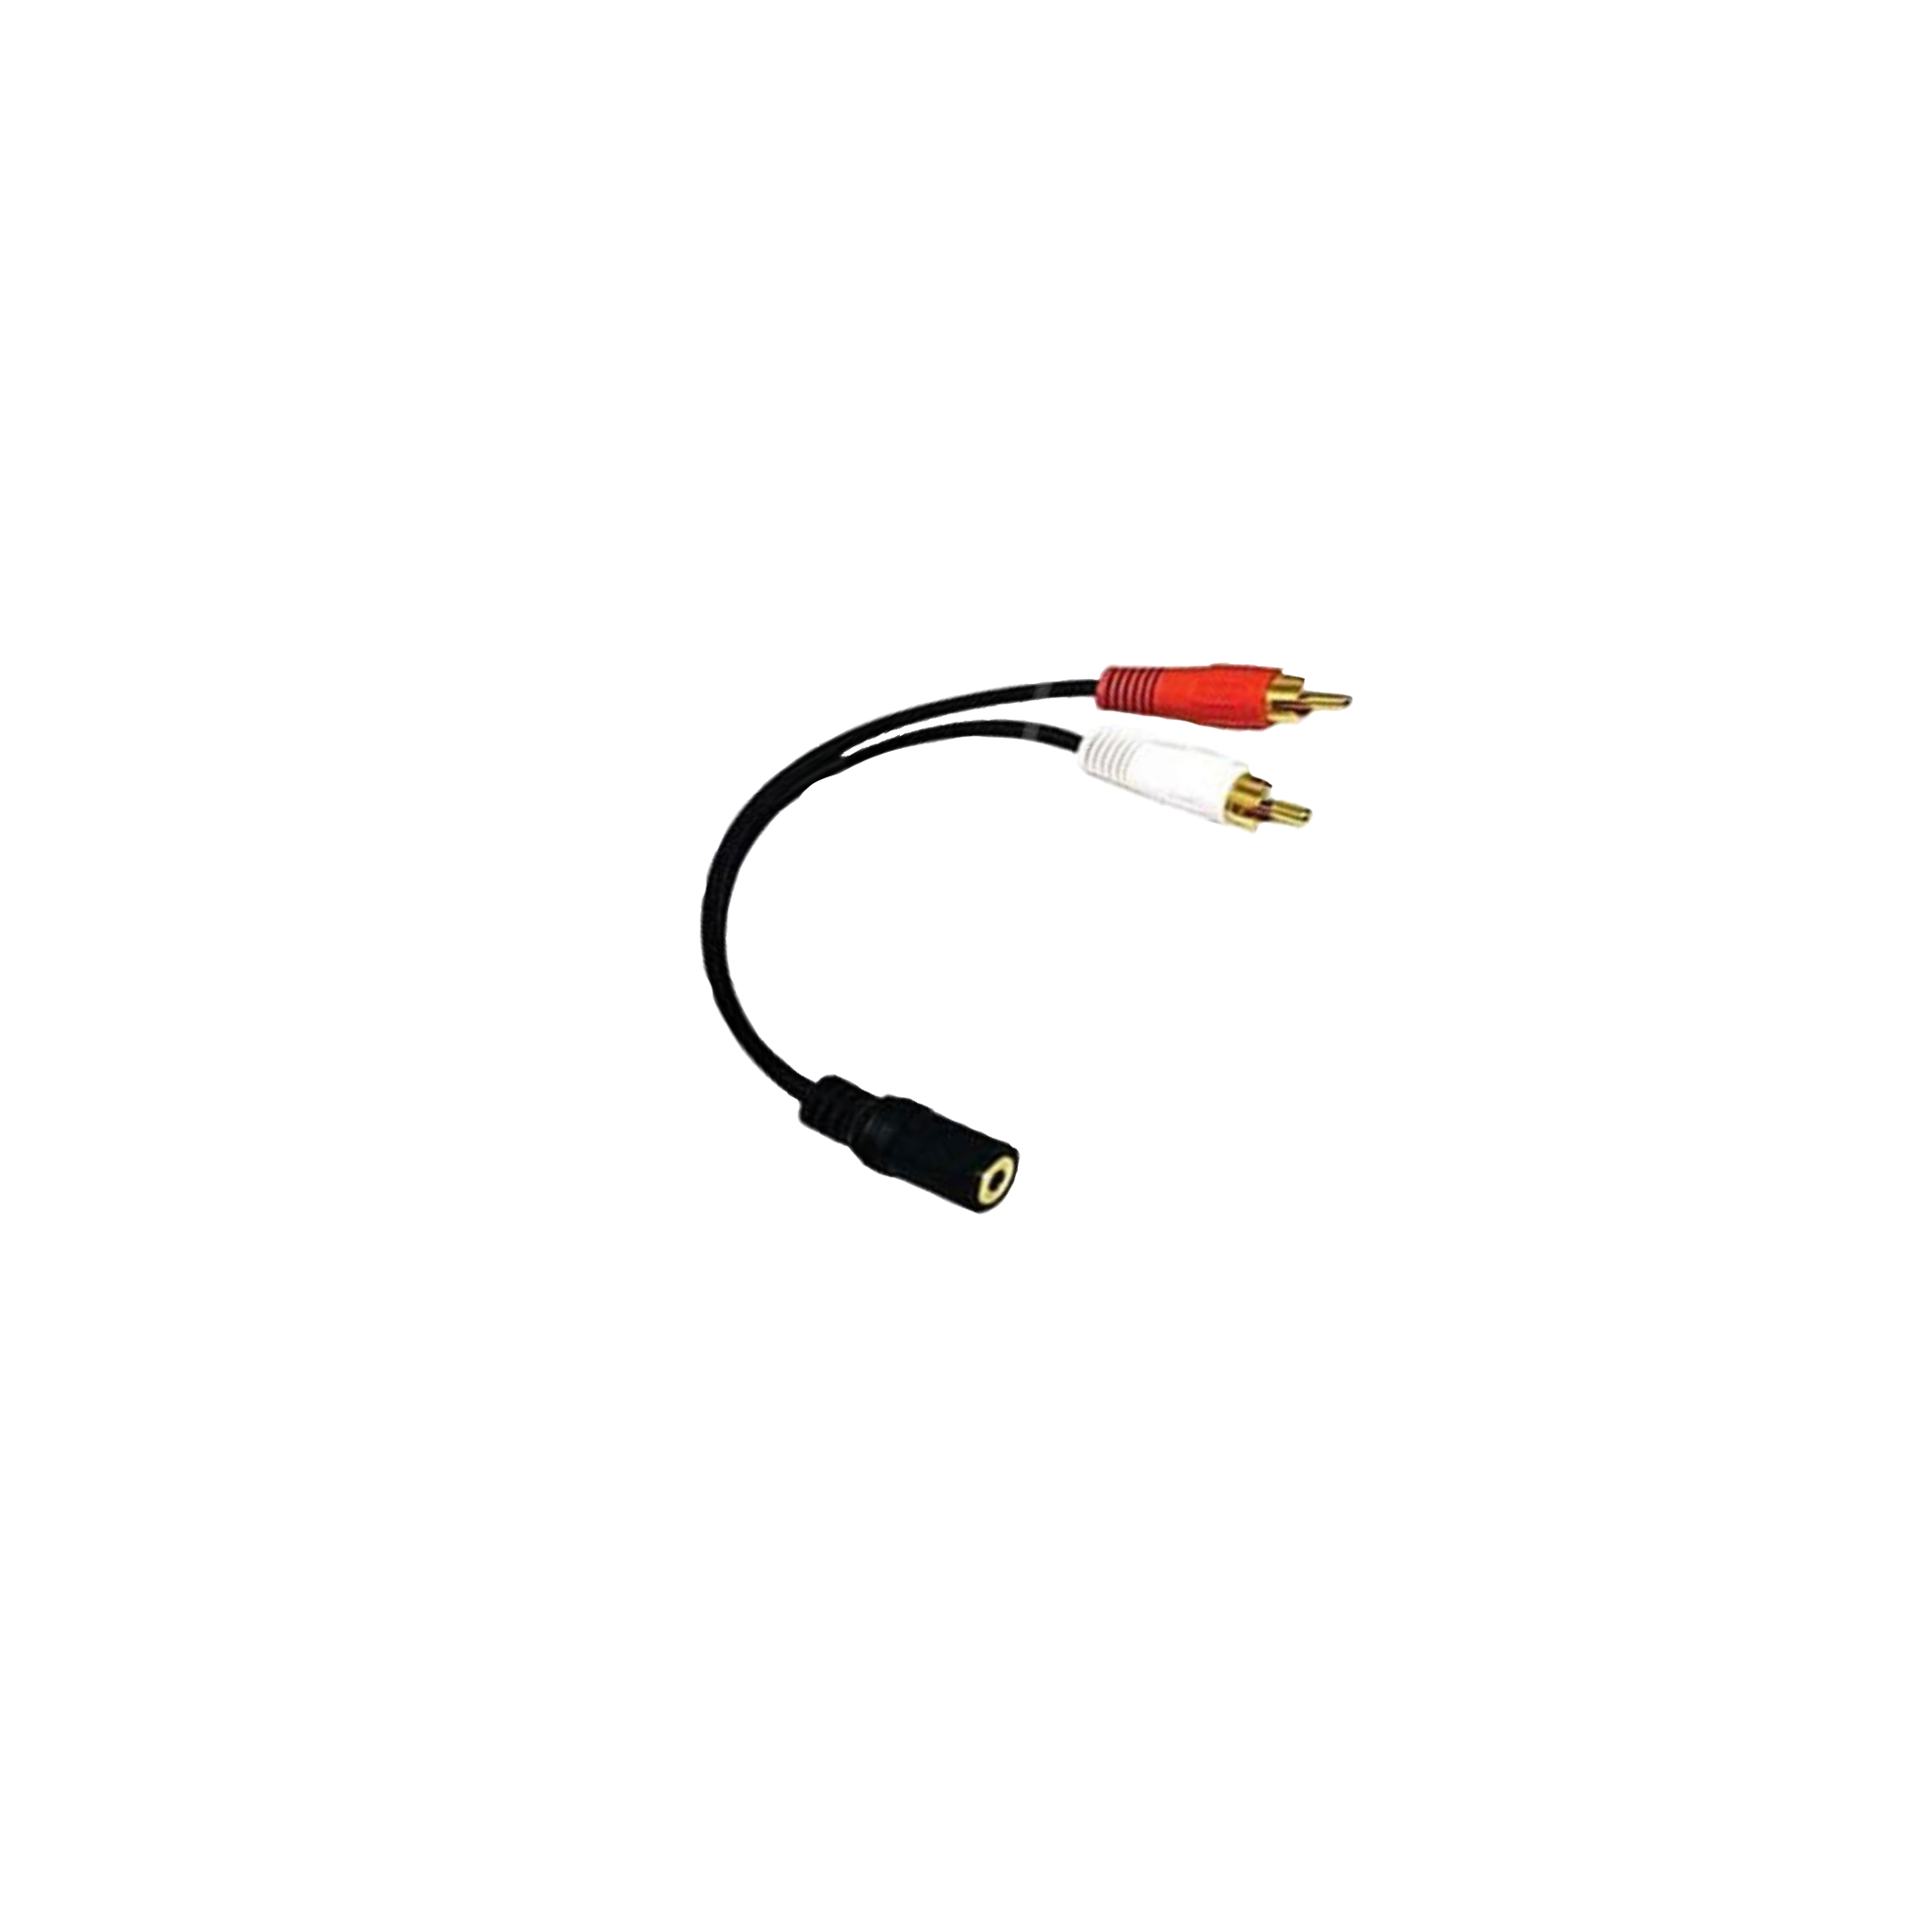
For this step, you will need a 3.5mm Headphone-Jack Adapter.
I used these wire connectors from Amazon, Click Here
Wiring the Laser (b)
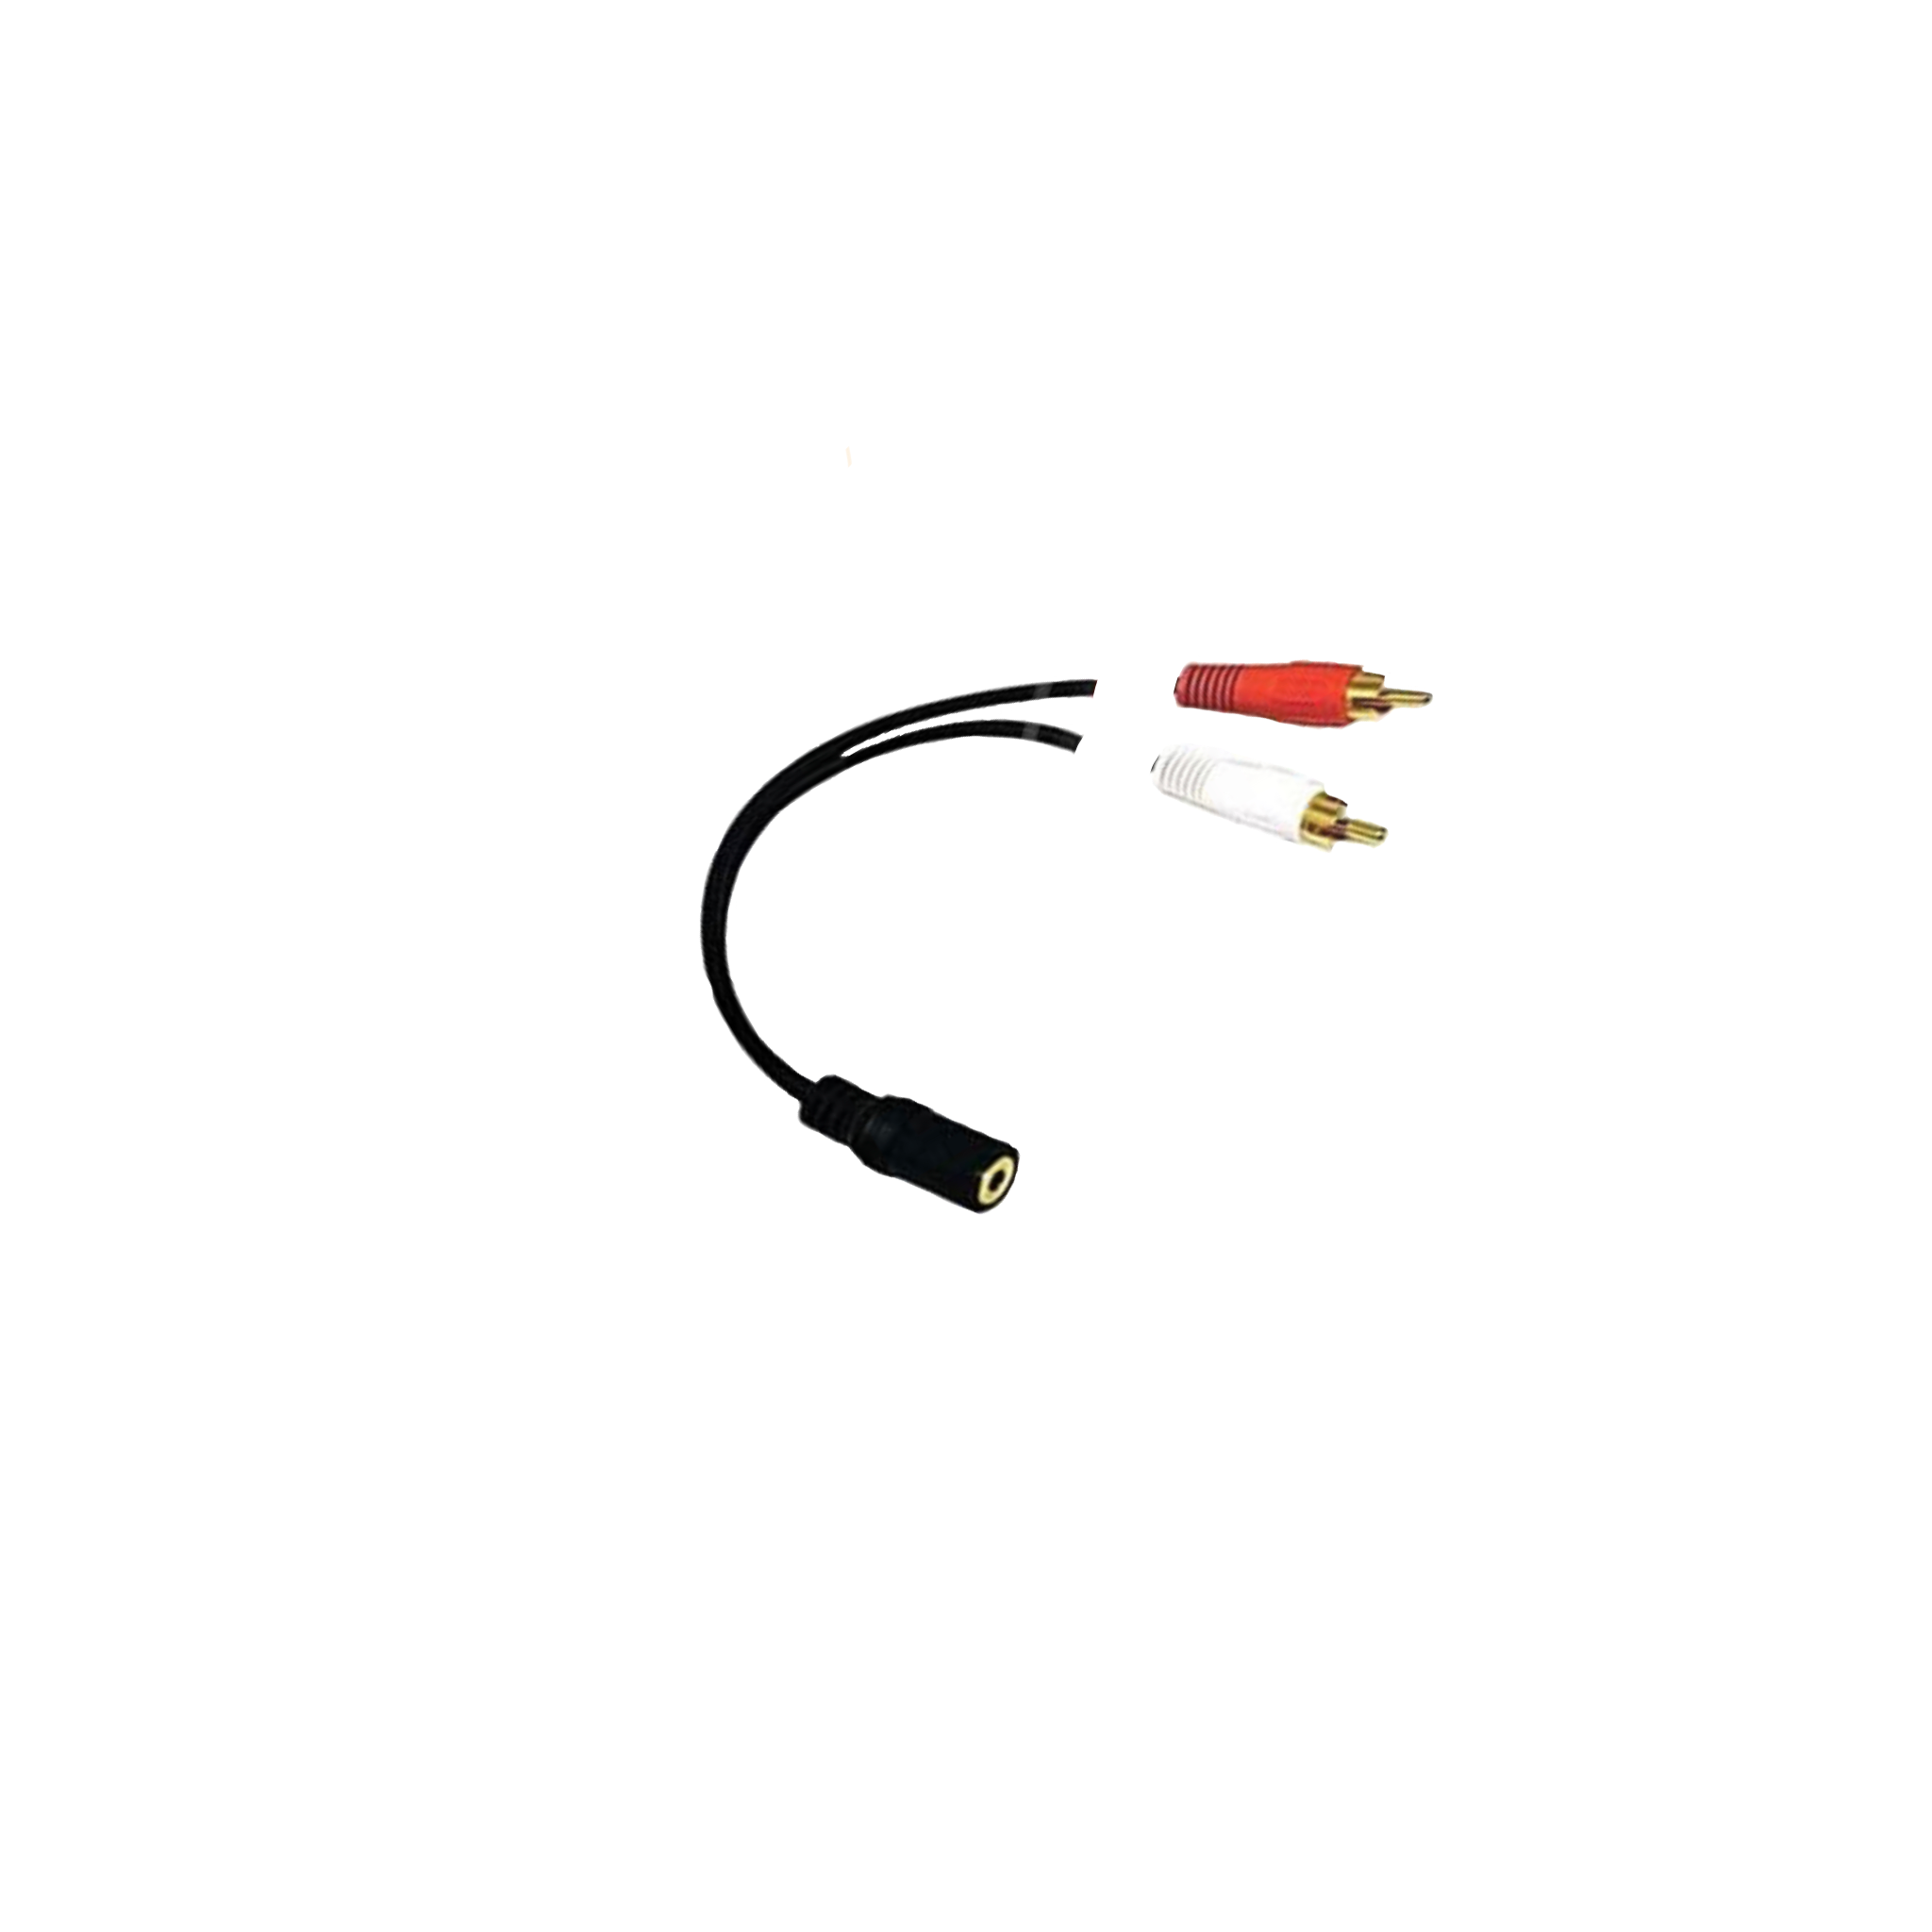
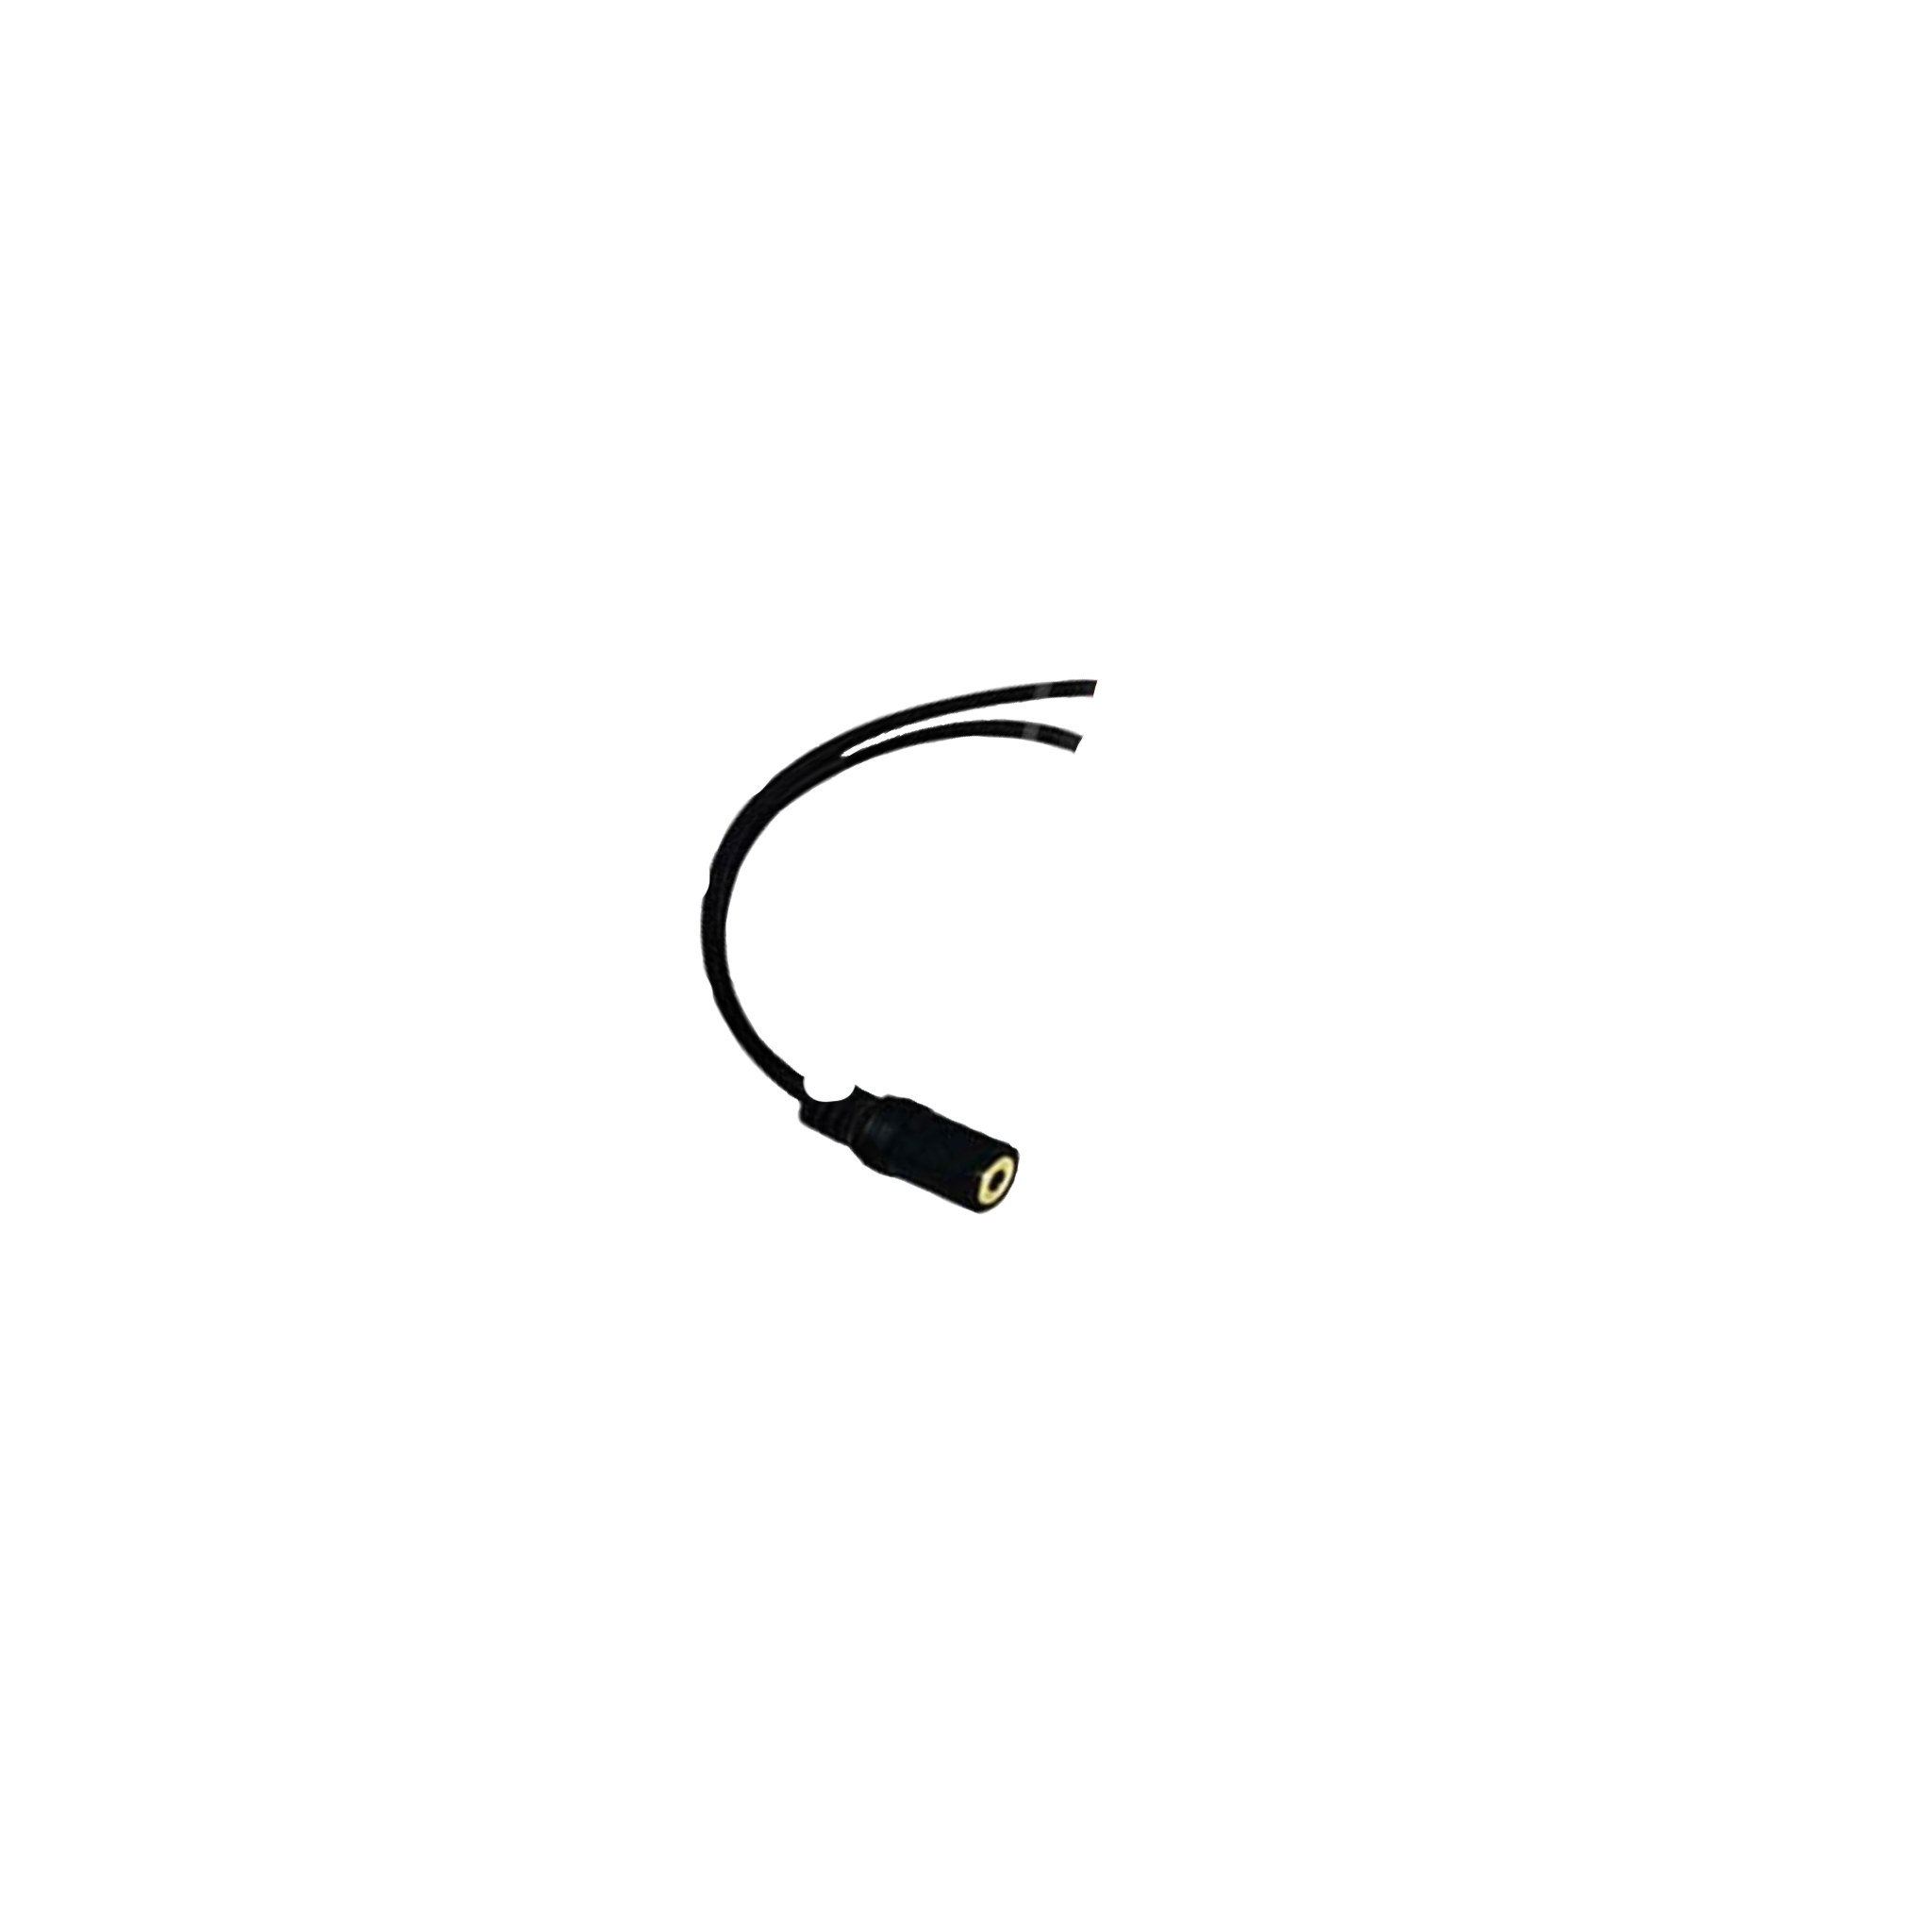
Next, you will need to cut the ends of the wire off.
Once completed, you can throw away the Red and White ends.
Wiring the Laser (c)
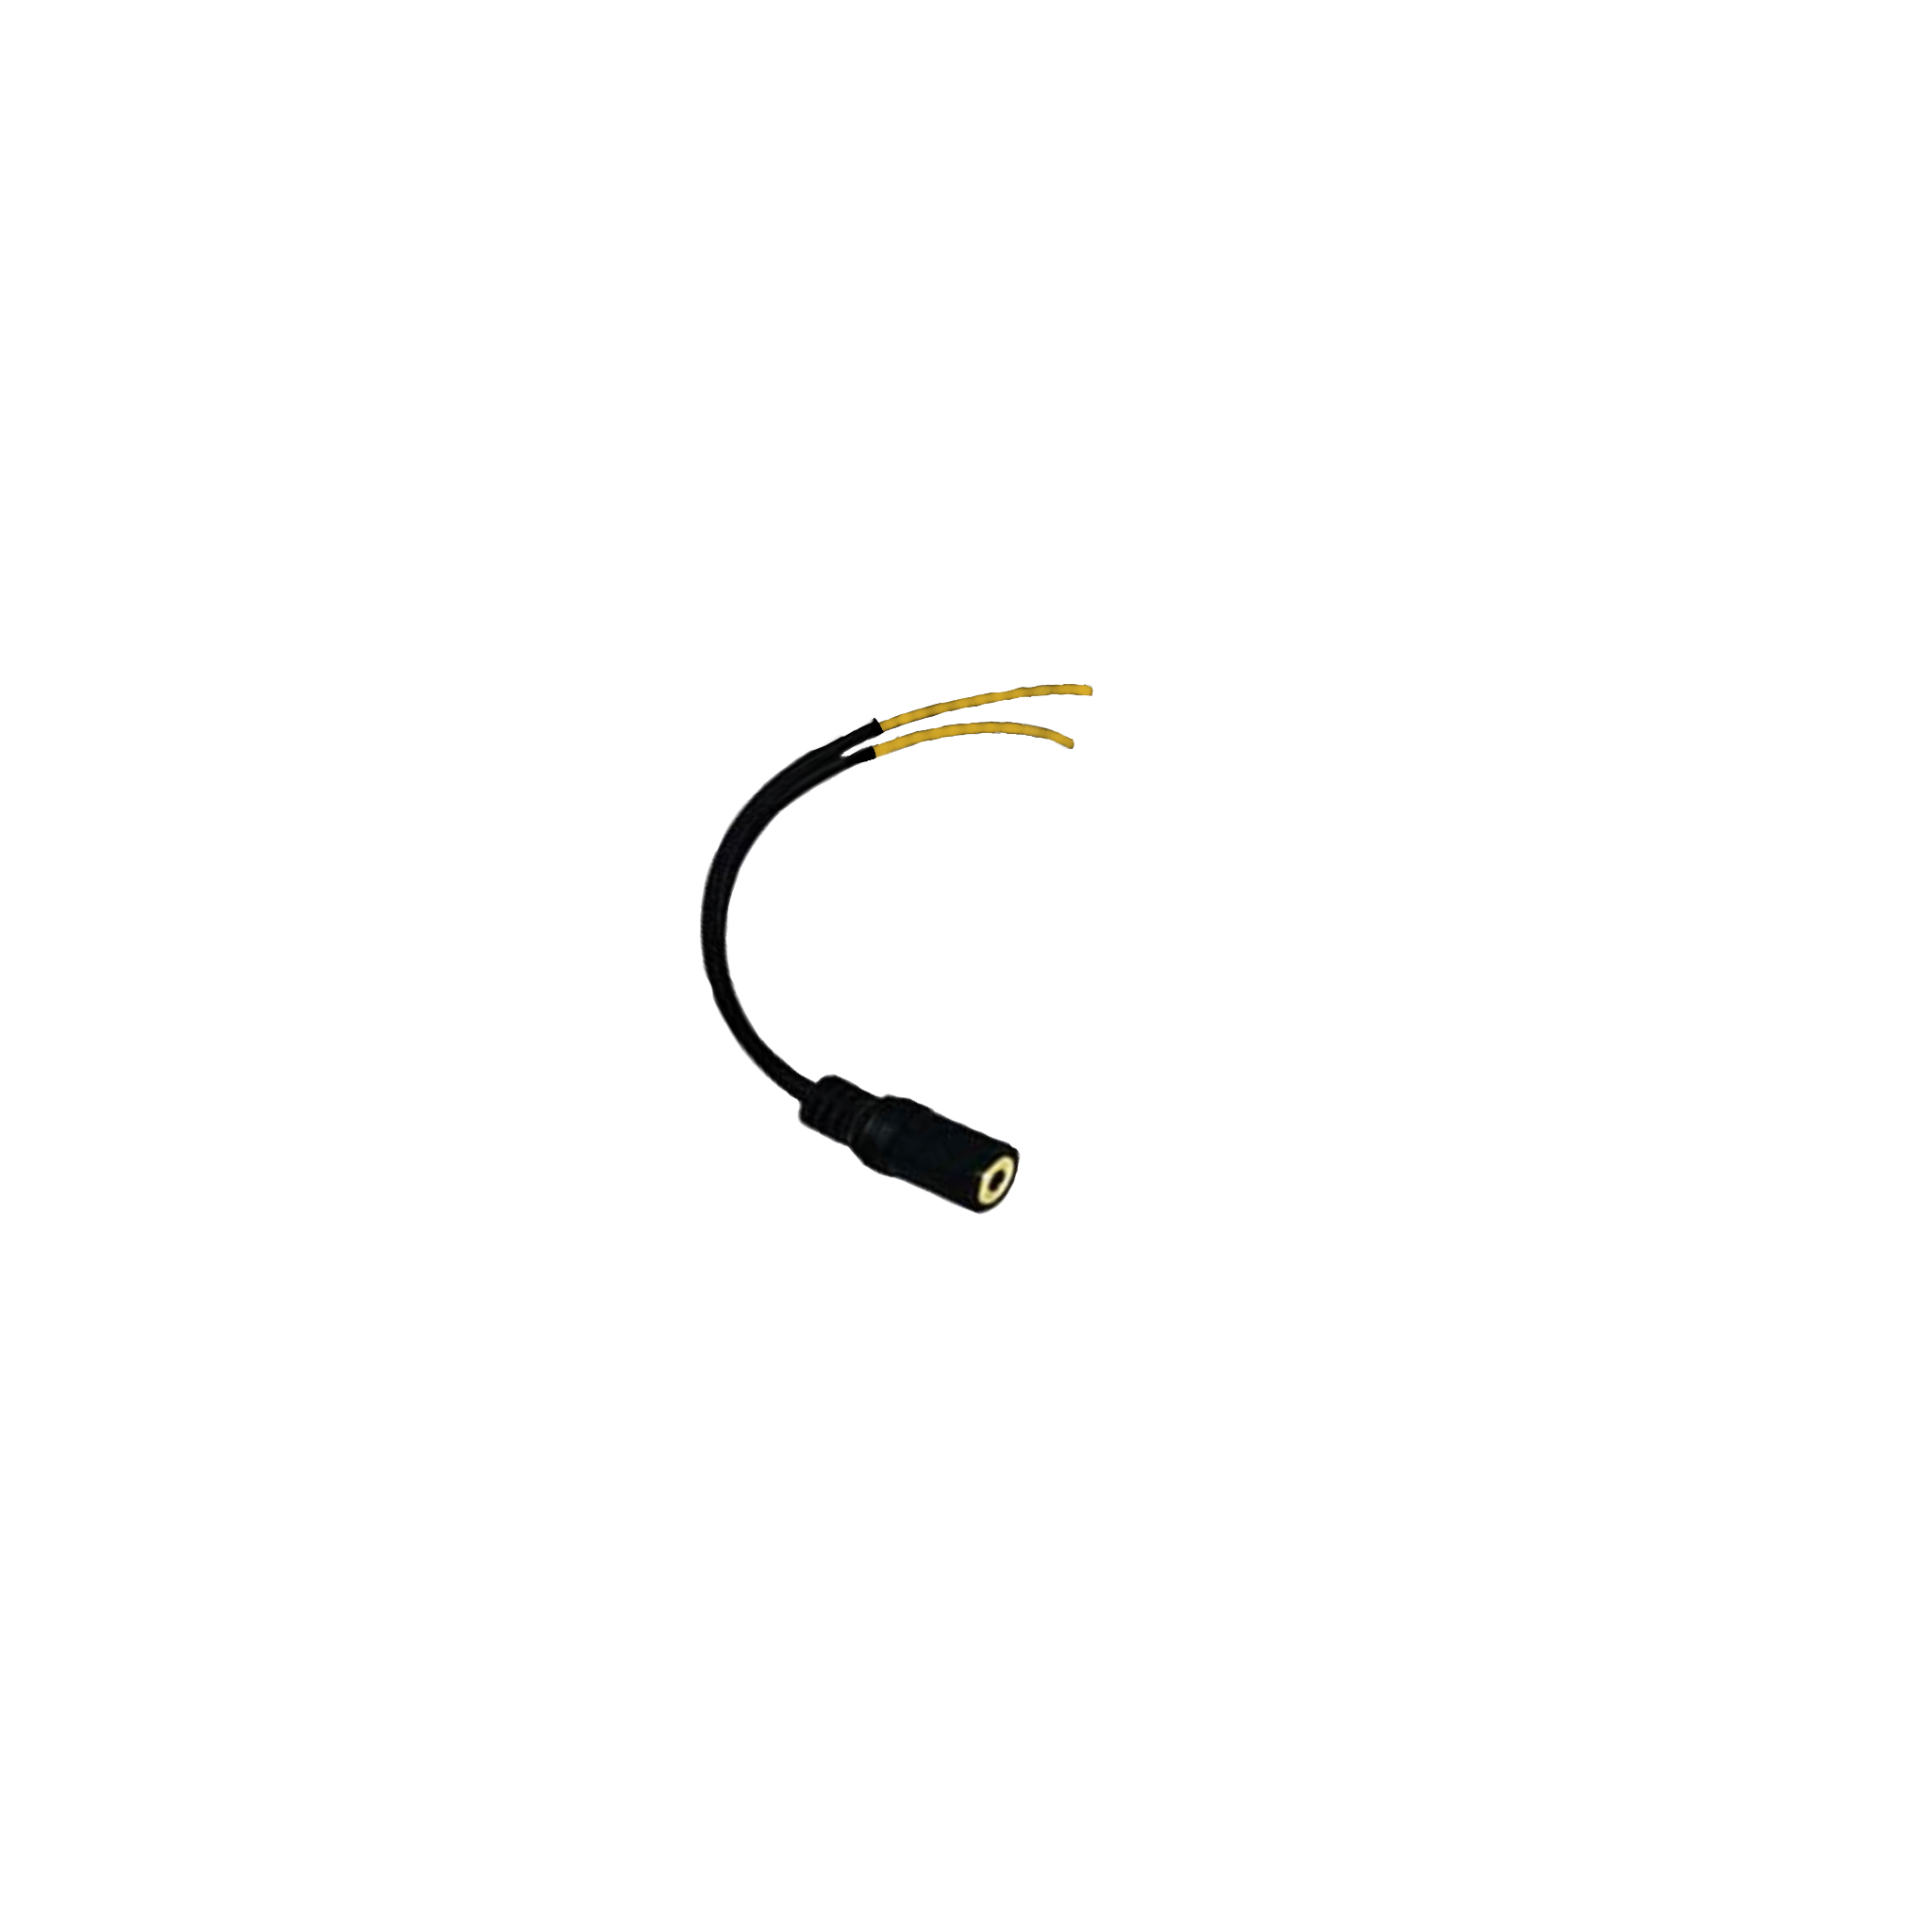
Next, you need to strip the wires of both ends of the headphone adapter.
Wiring the Laser (d)
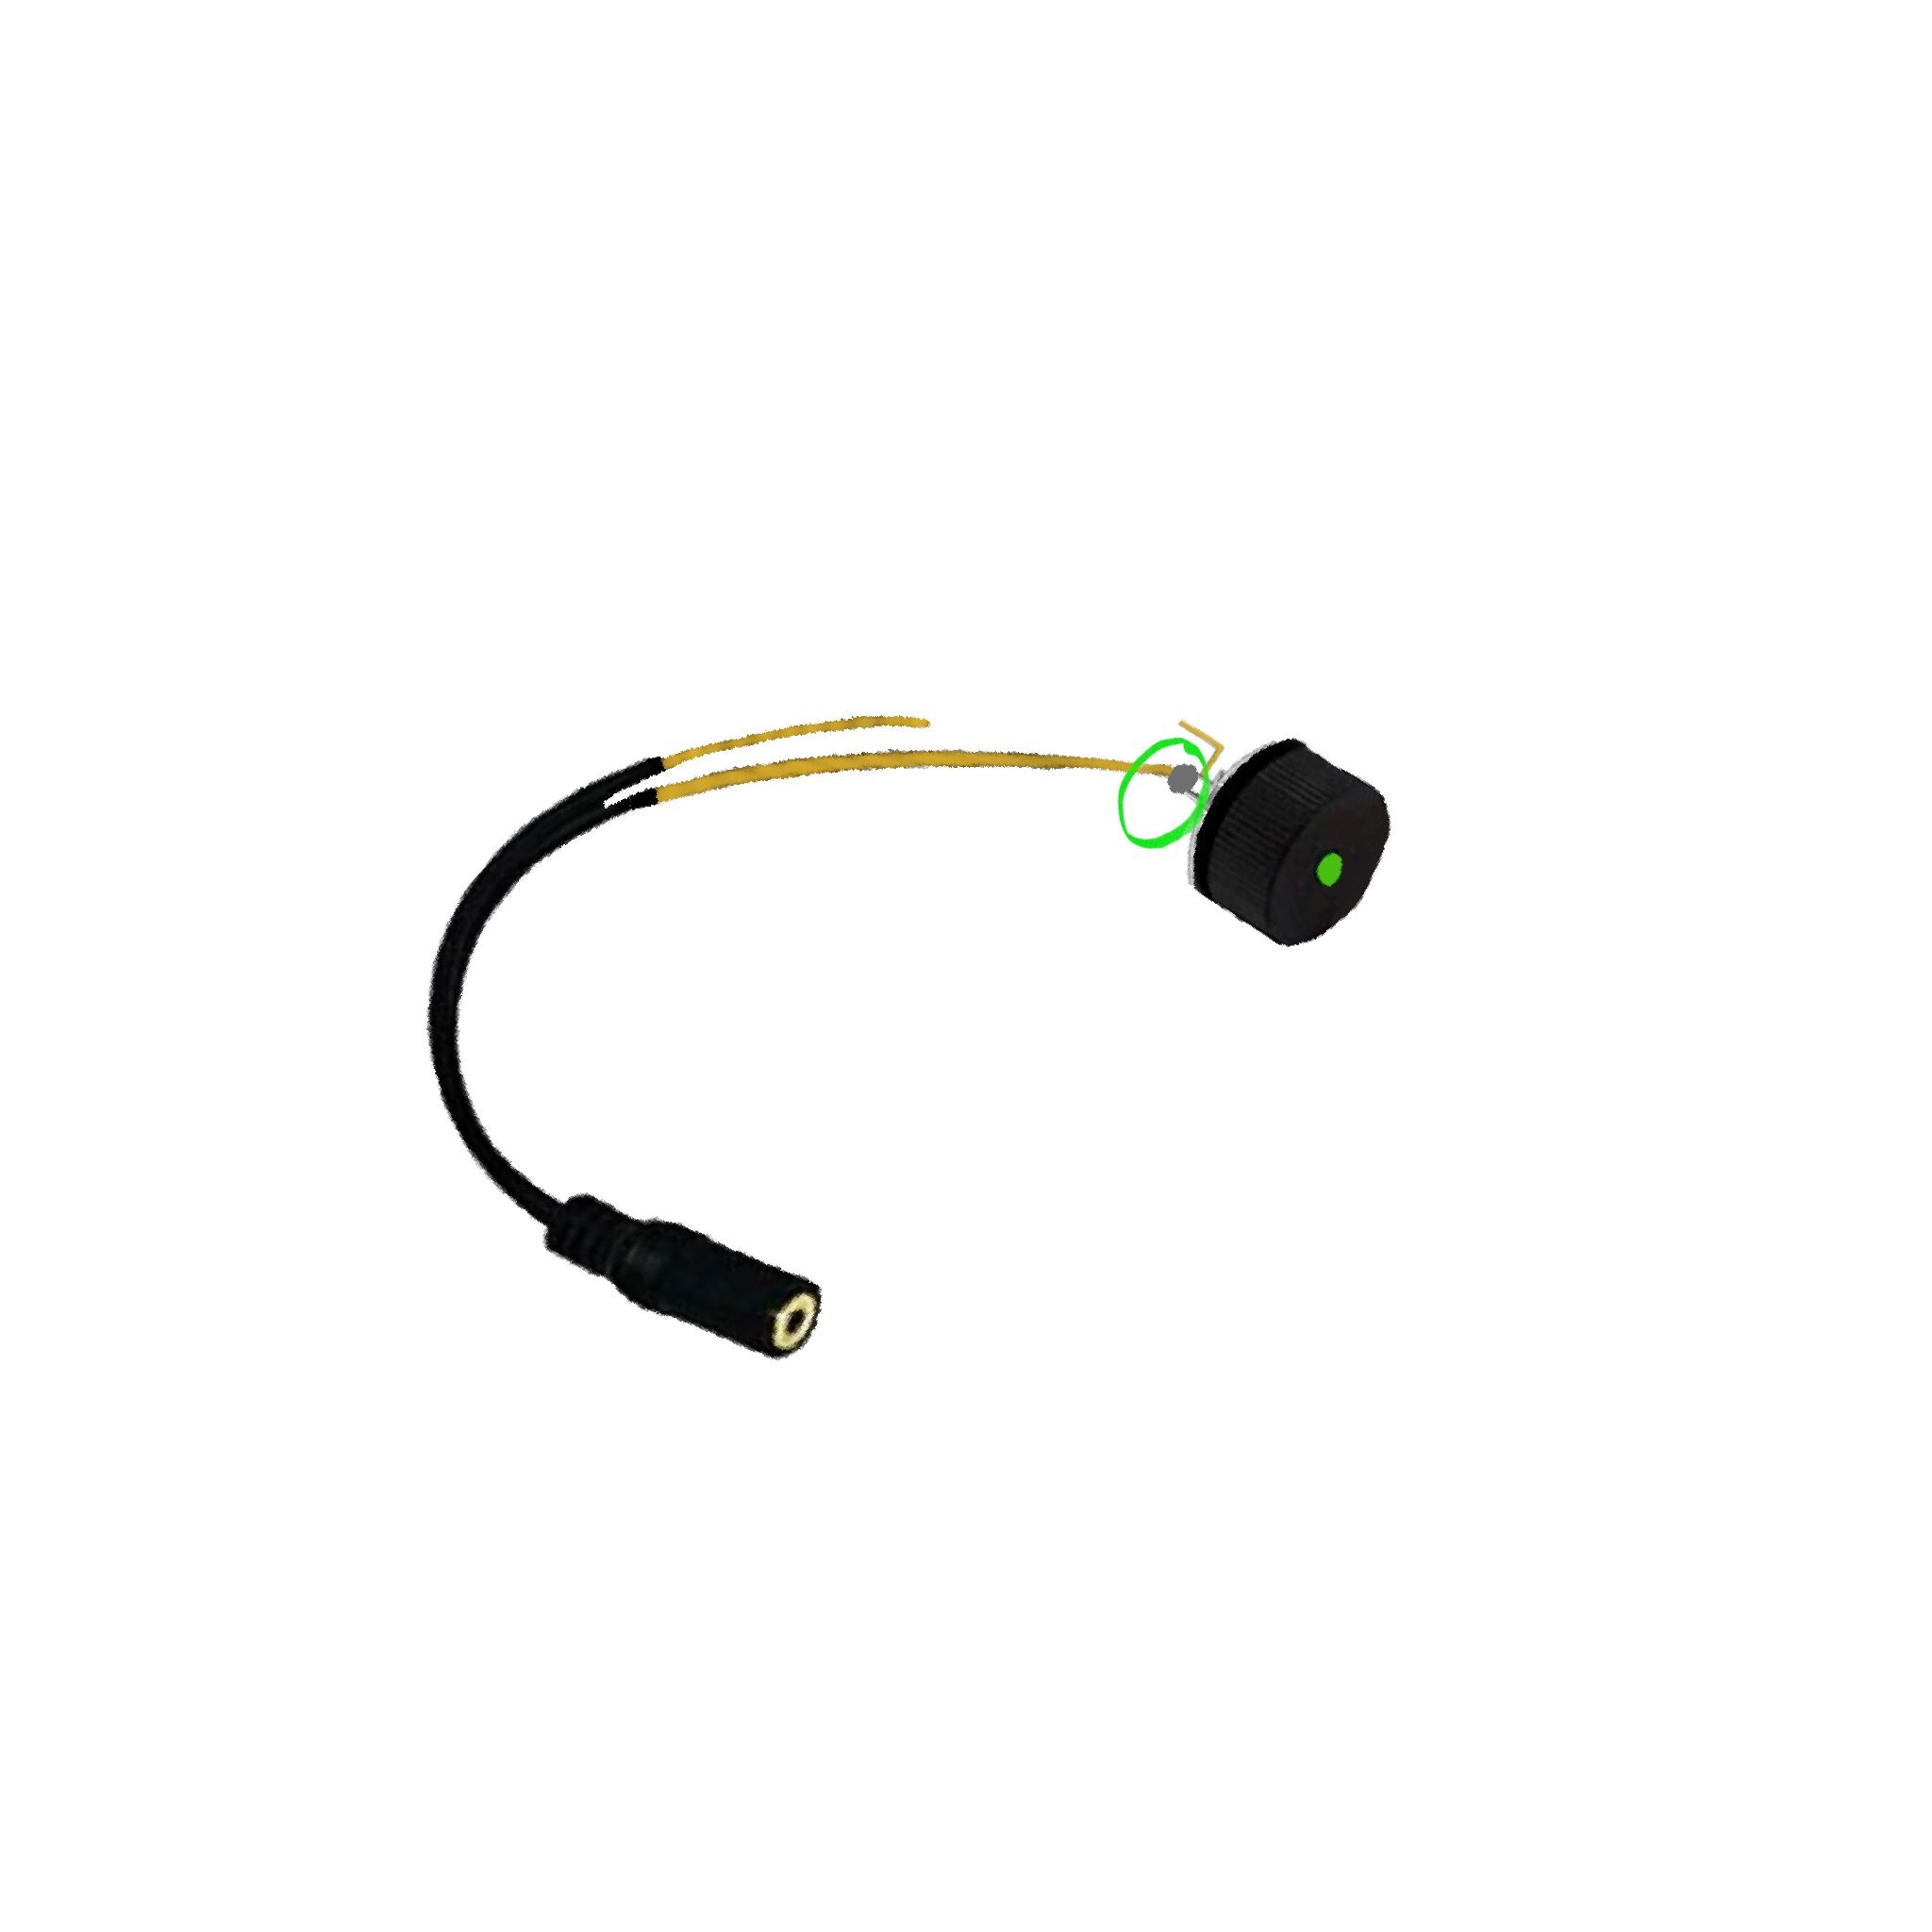
For this step, you are going to solder one of the stripped ends of the headphone adapter to the SILVER metal piece on the back of the laser. (Circled in green).
*NOTE* Do not solder it to the bronze/gold colored metal piece, ONLY to the small silver piece as pictured above.
Wiring the Laser (e)
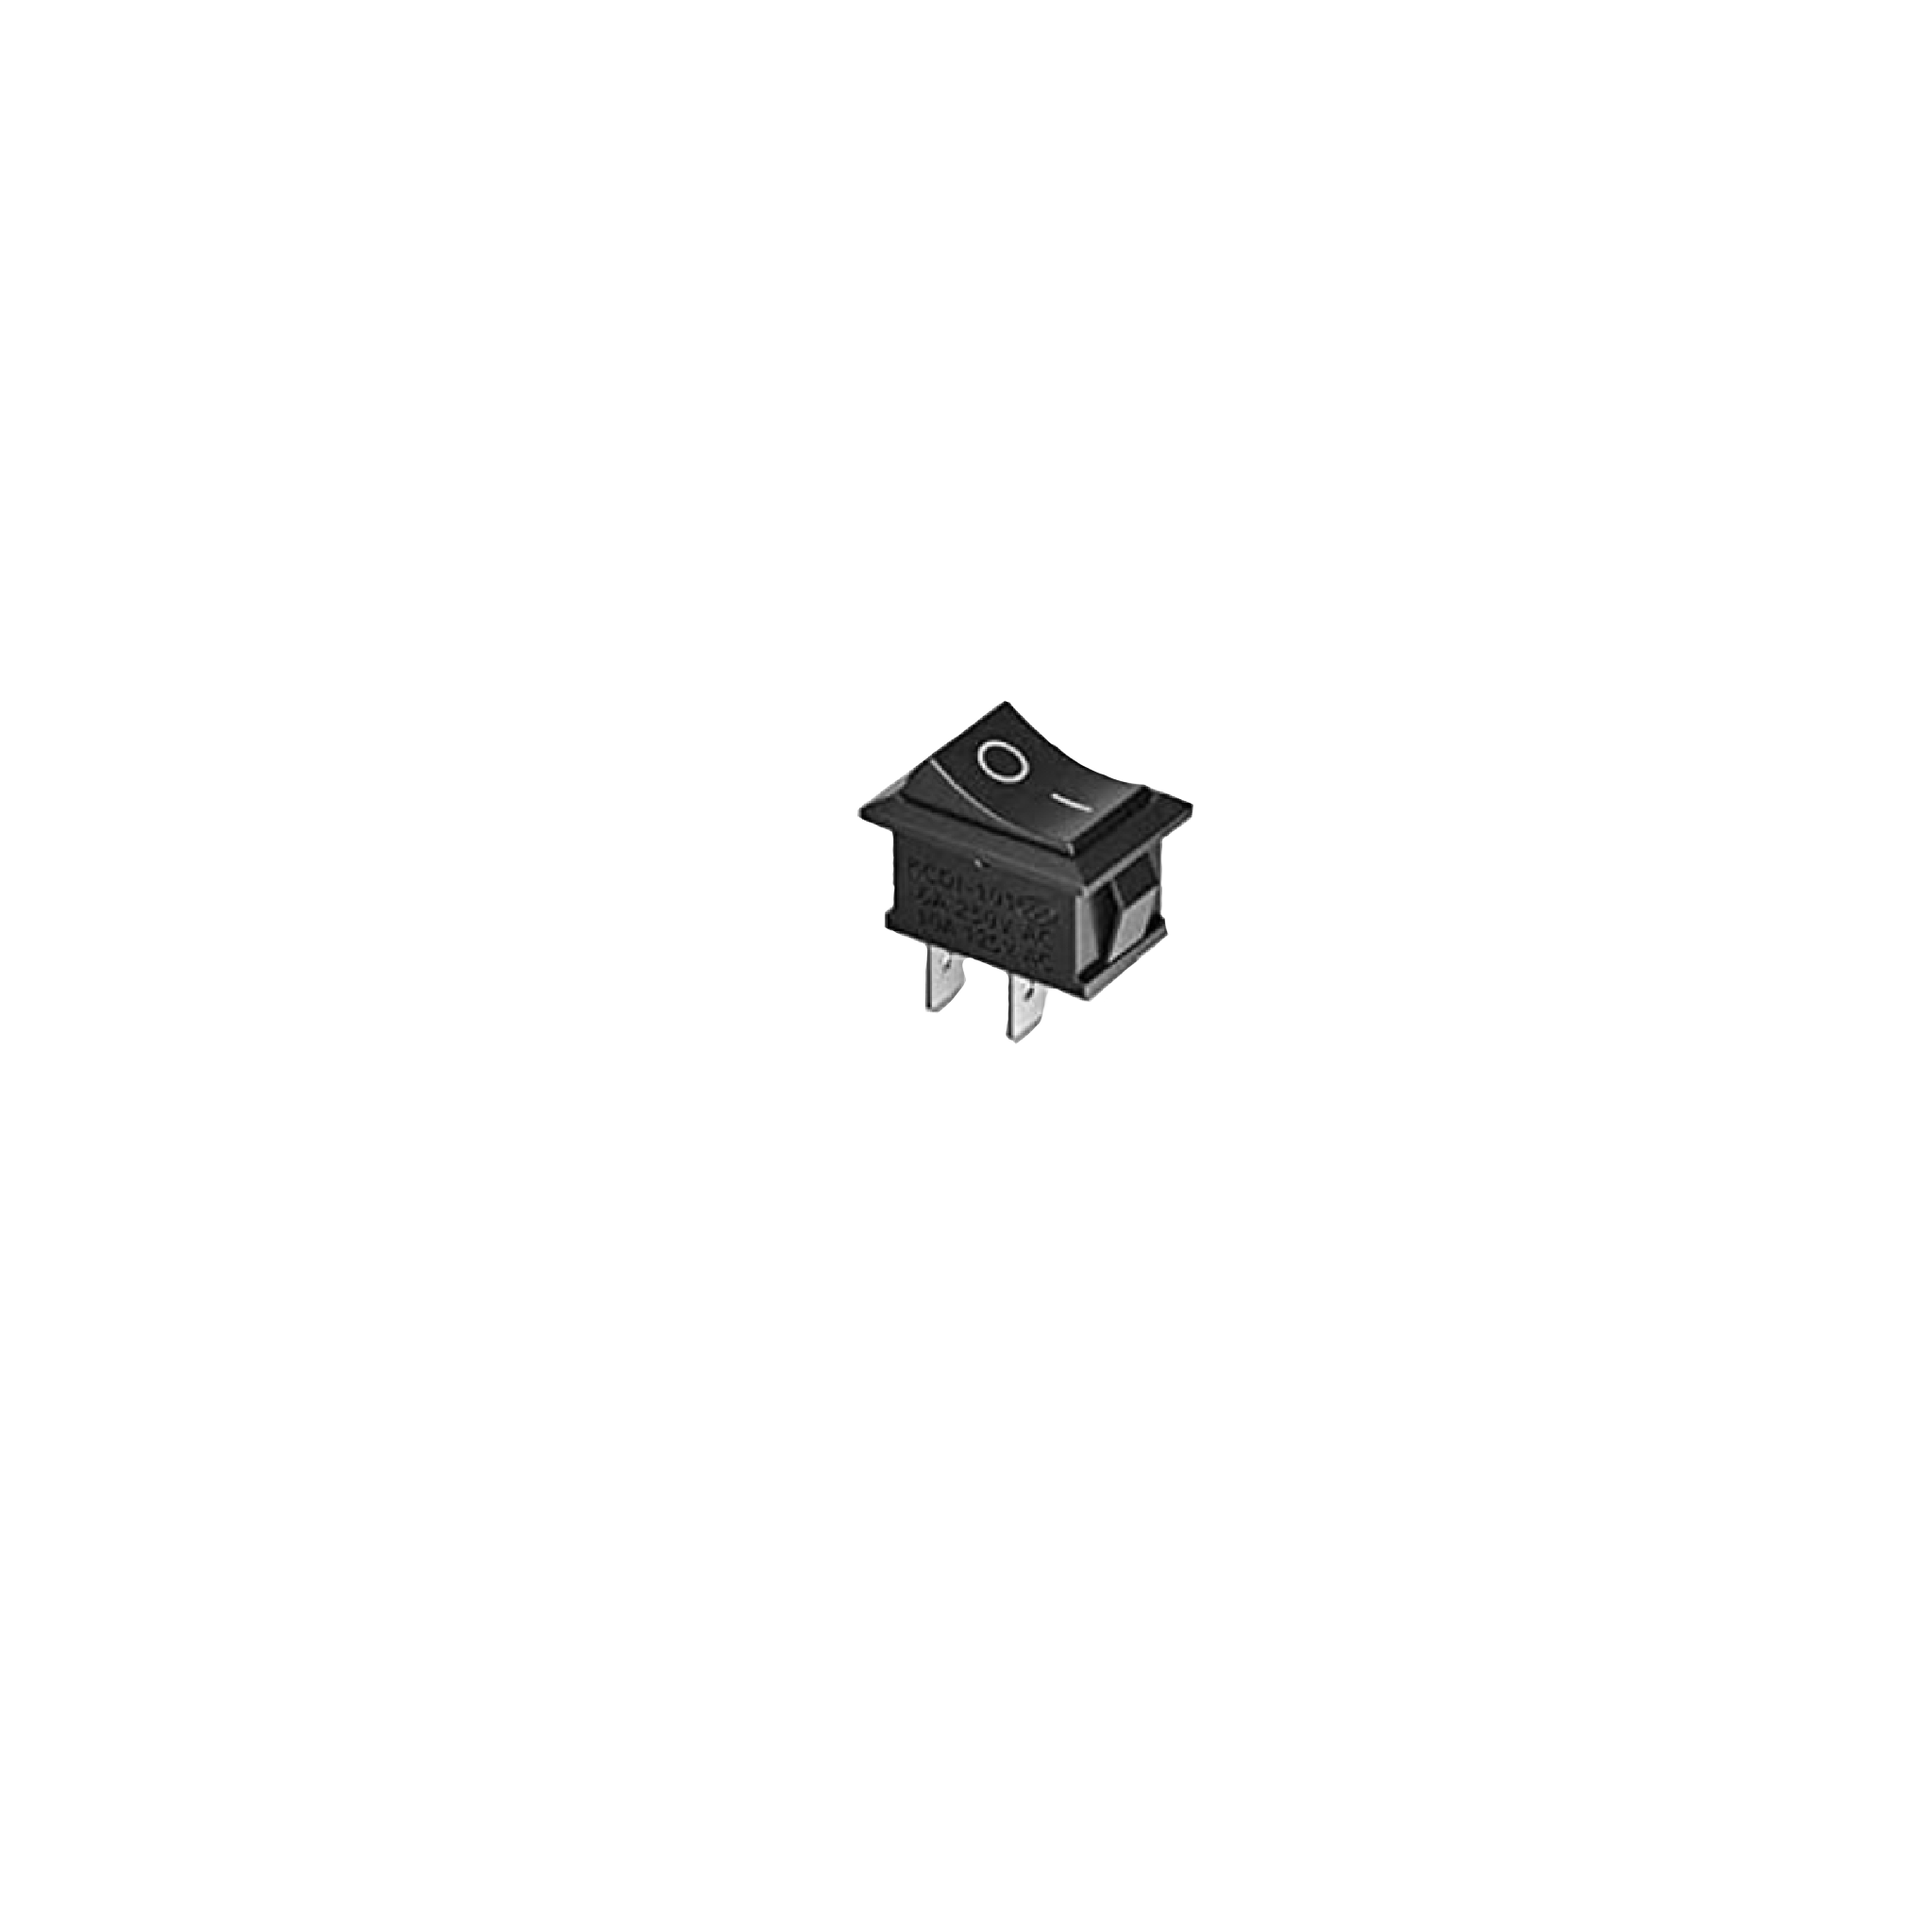
For the next few steps, you will need a switch
I used this one from Amazon -- Click Here
Wiring the Laser (f)
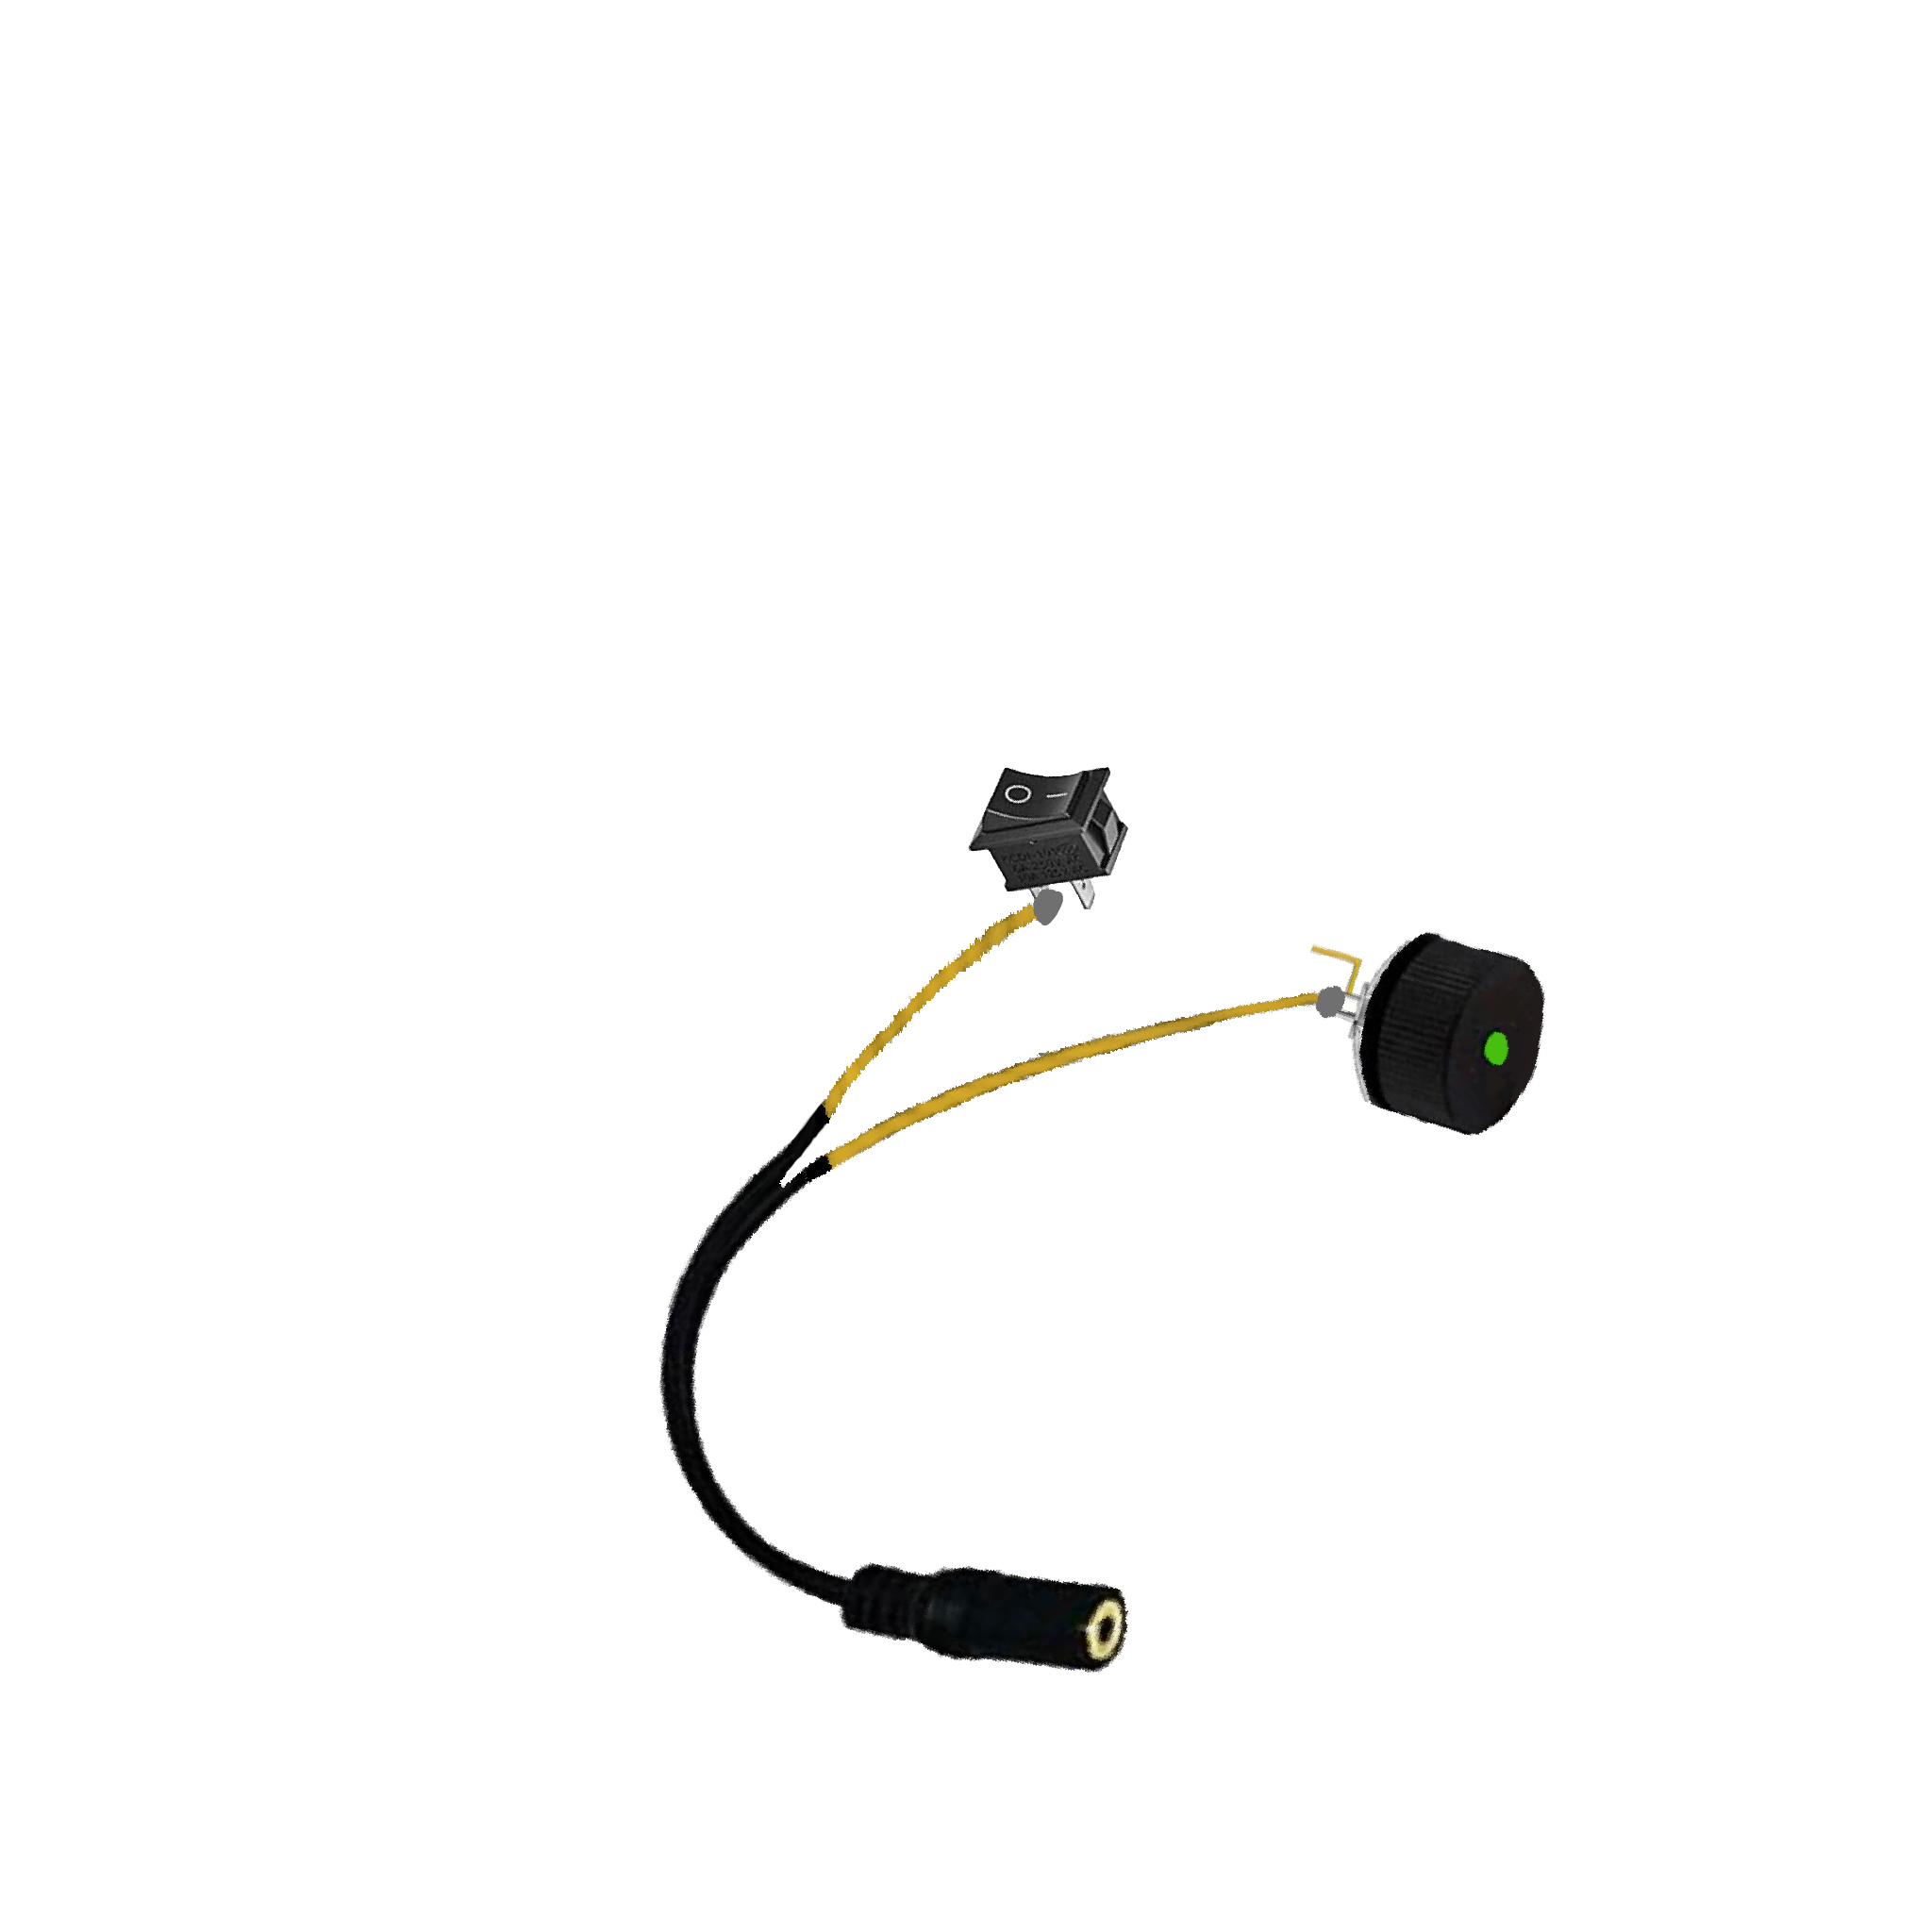
For this step, you are going to solder the other end of the stripped headphone adapter to one side of the metal switch.
Wiring the Laser (g)
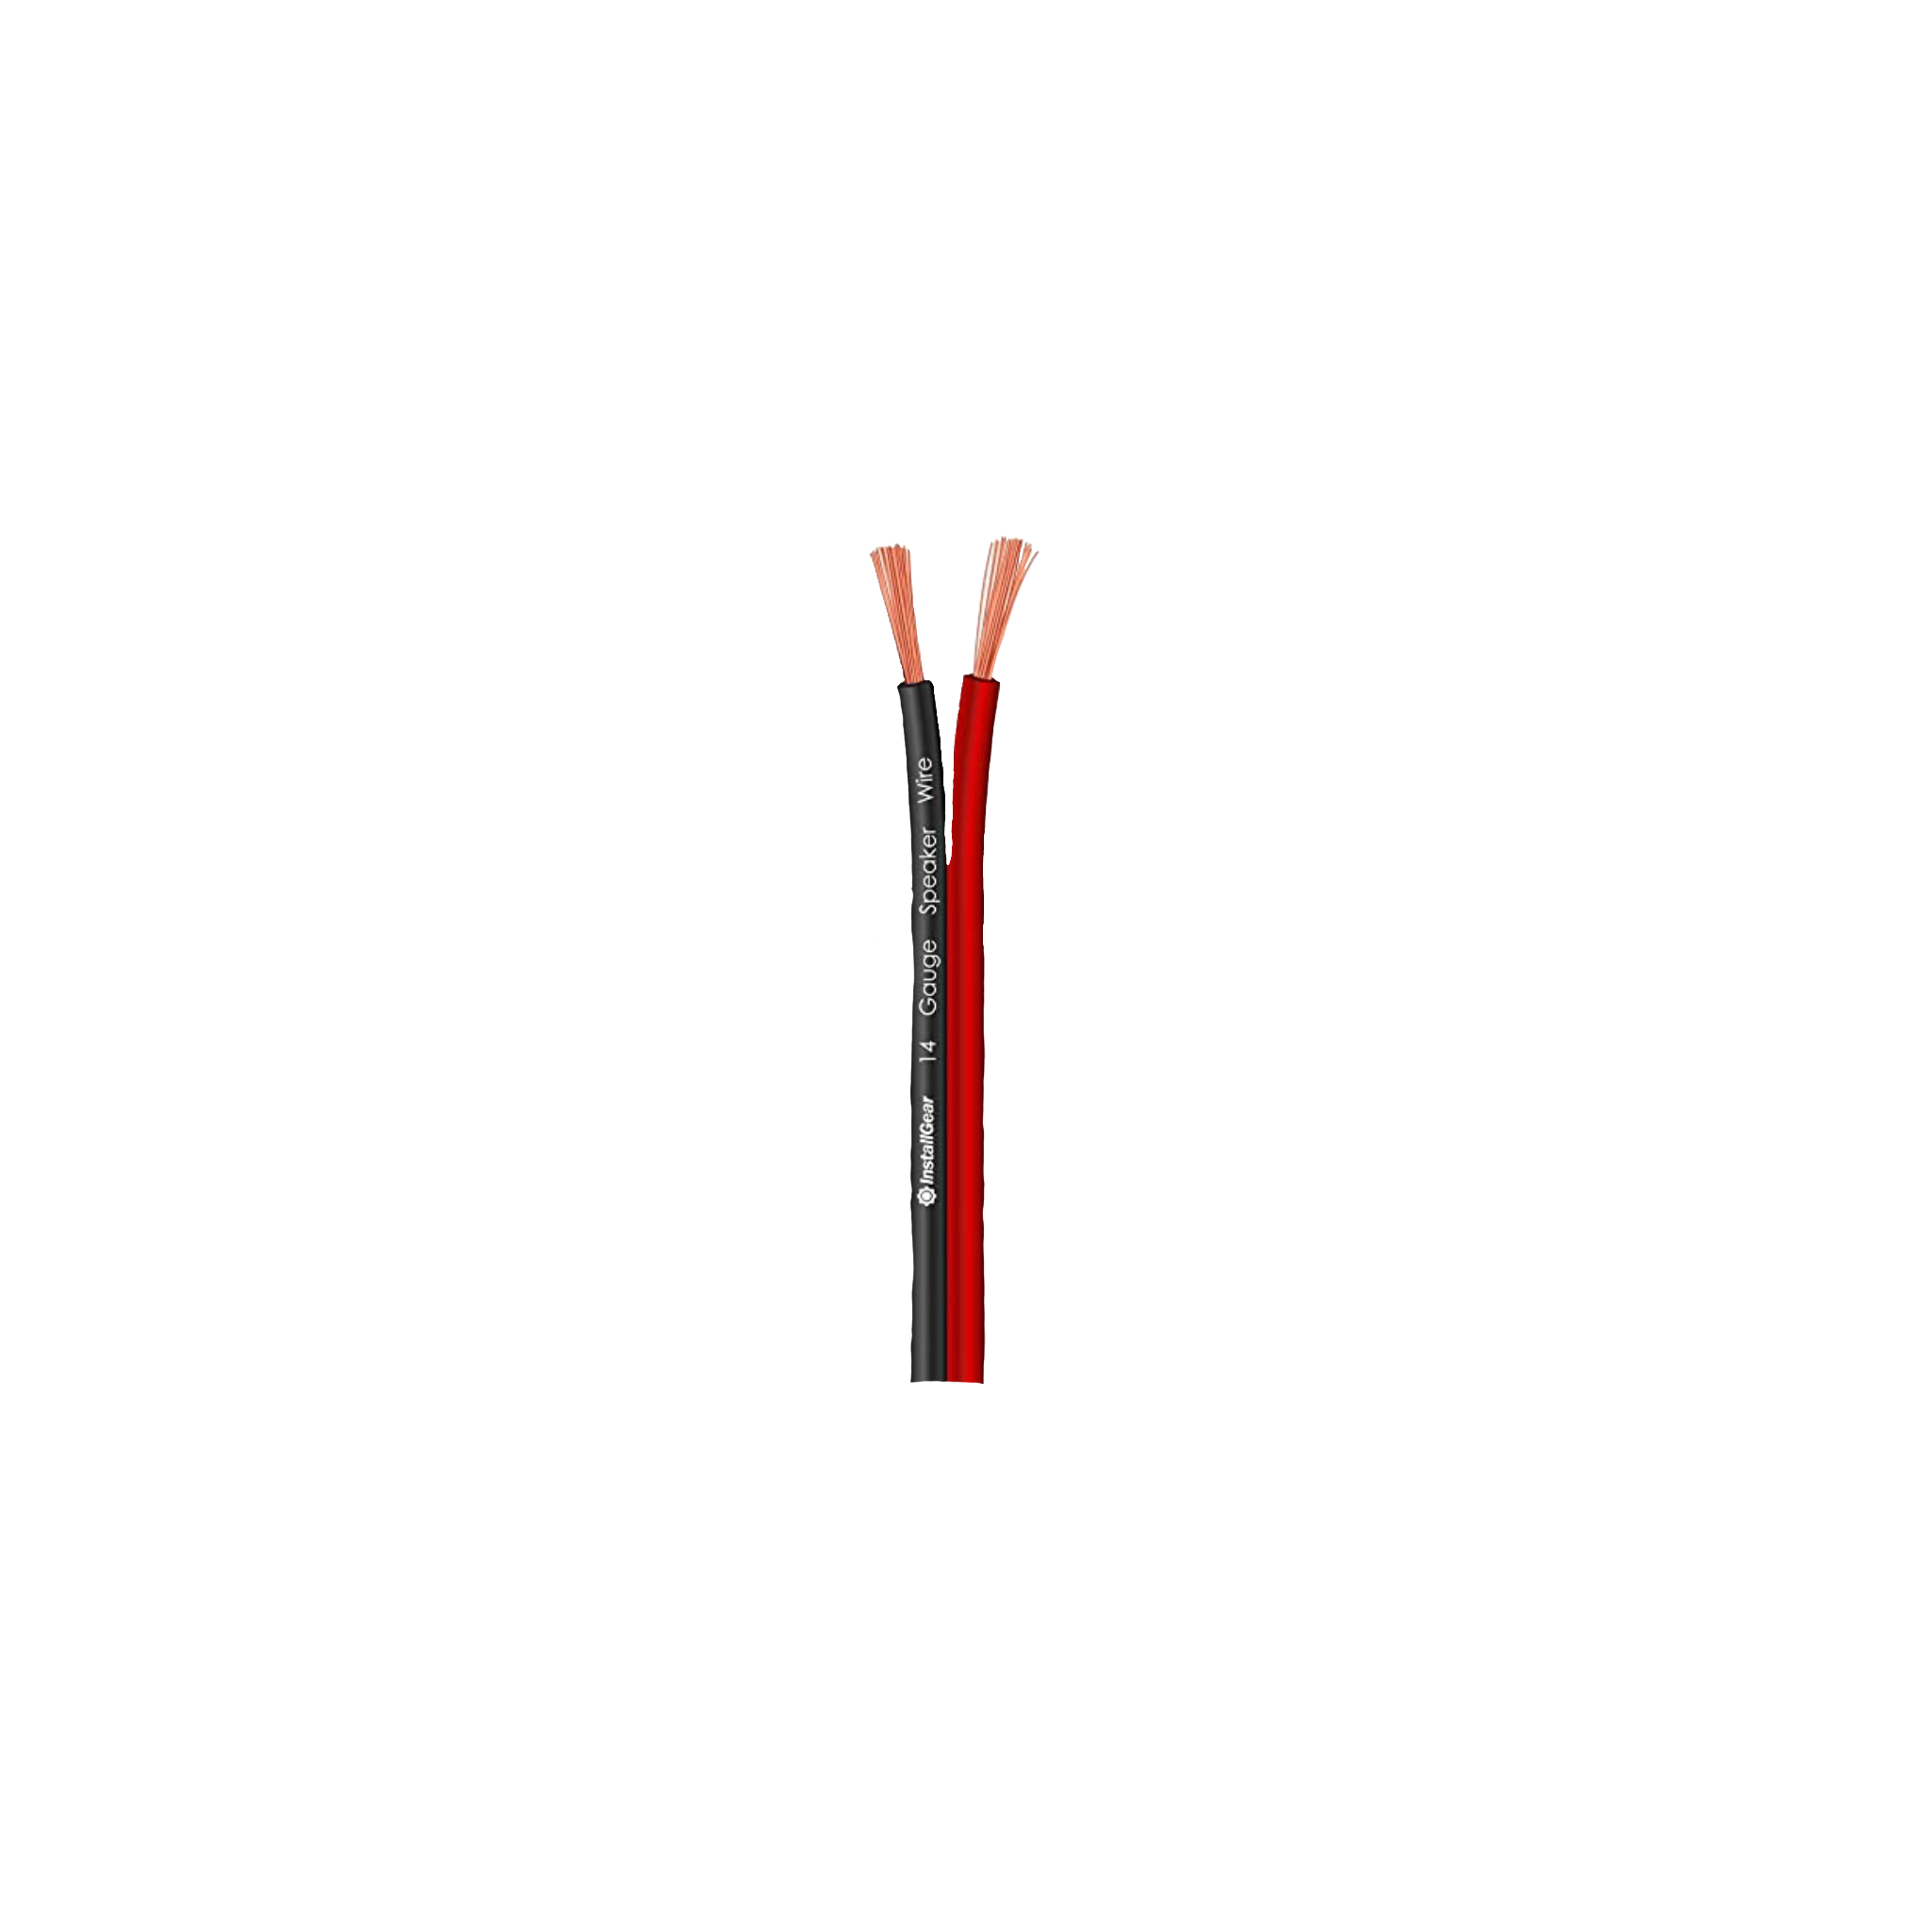
Next, you are going to need about two inches of wire.
I used this one from Amazon, Click Here (but you can really use an old charger or left over wire from a previous project)
Wiring the Laser (h)
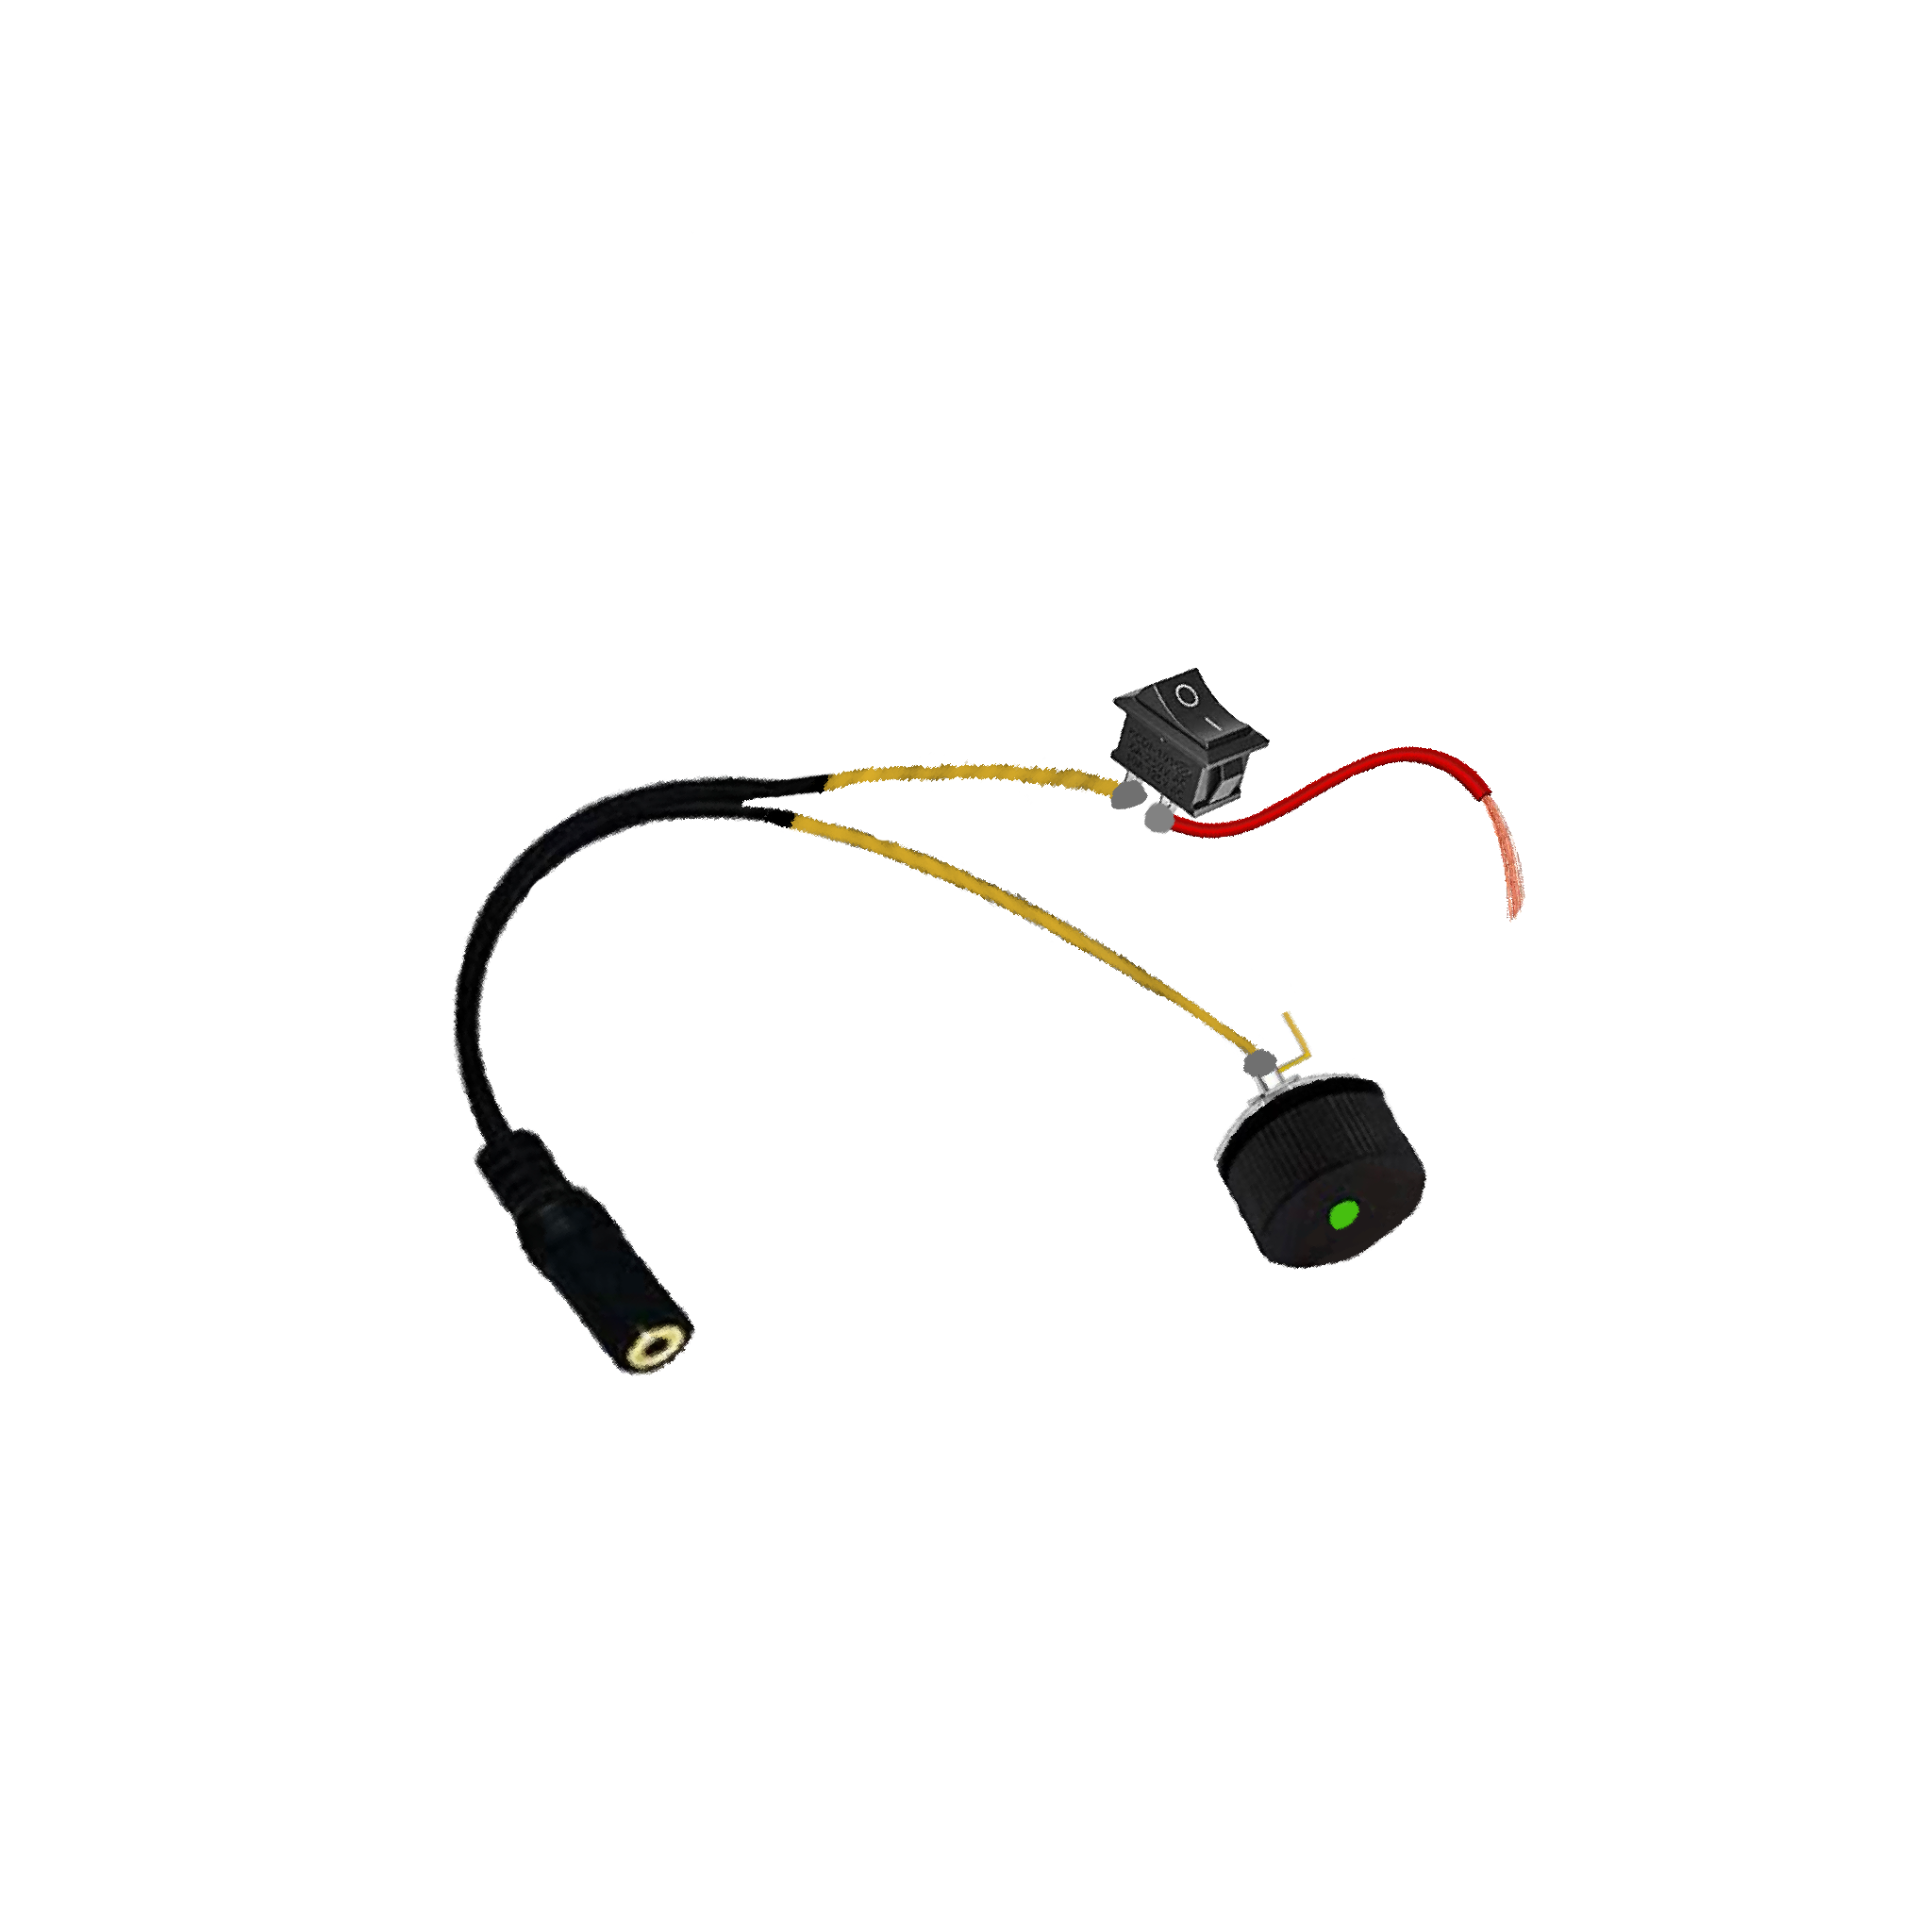
For this step, you are going to solder the end of the wire (I chose red) to the other side of the metal switch.
Wiring the Laser (i)
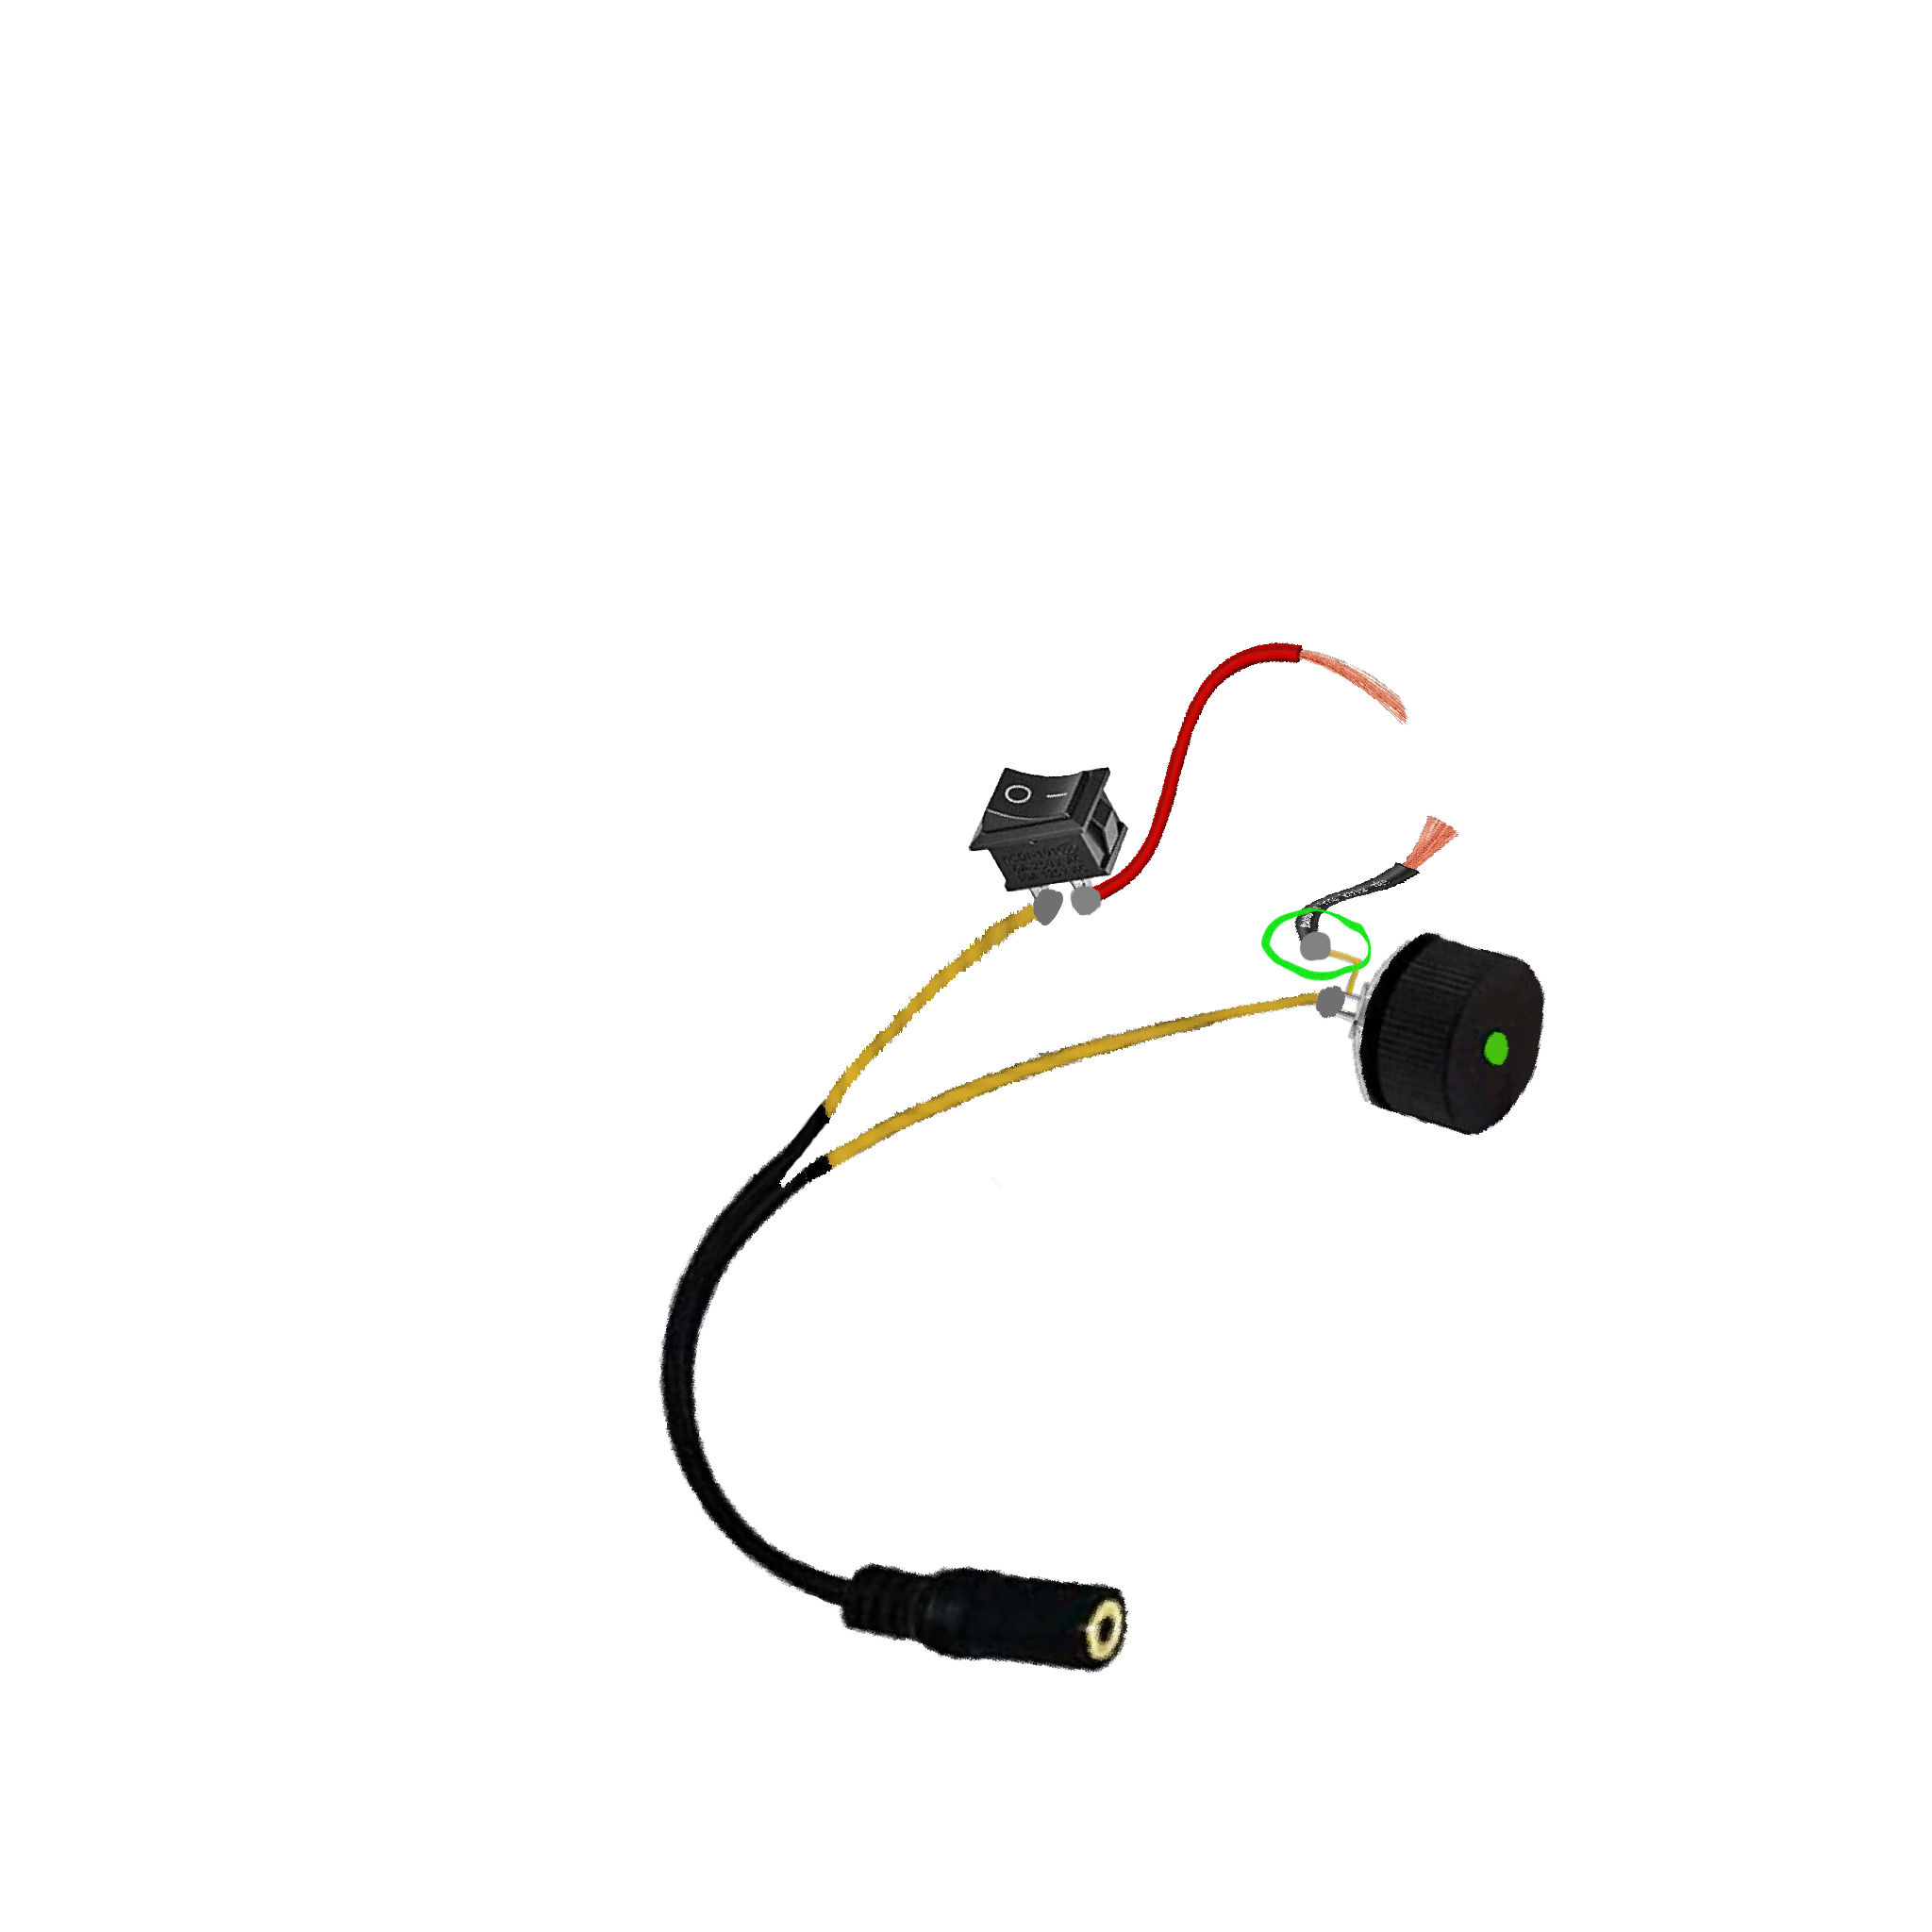
Next, you are going to solder the other wire (I chose black) to the BRONZE/GOLD side of the laser
*NOTE* Do not solder it to the silver colored metal piece. ONLY to the BRONZE/GOLD piece as pictured above.
Wiring the Laser (j)
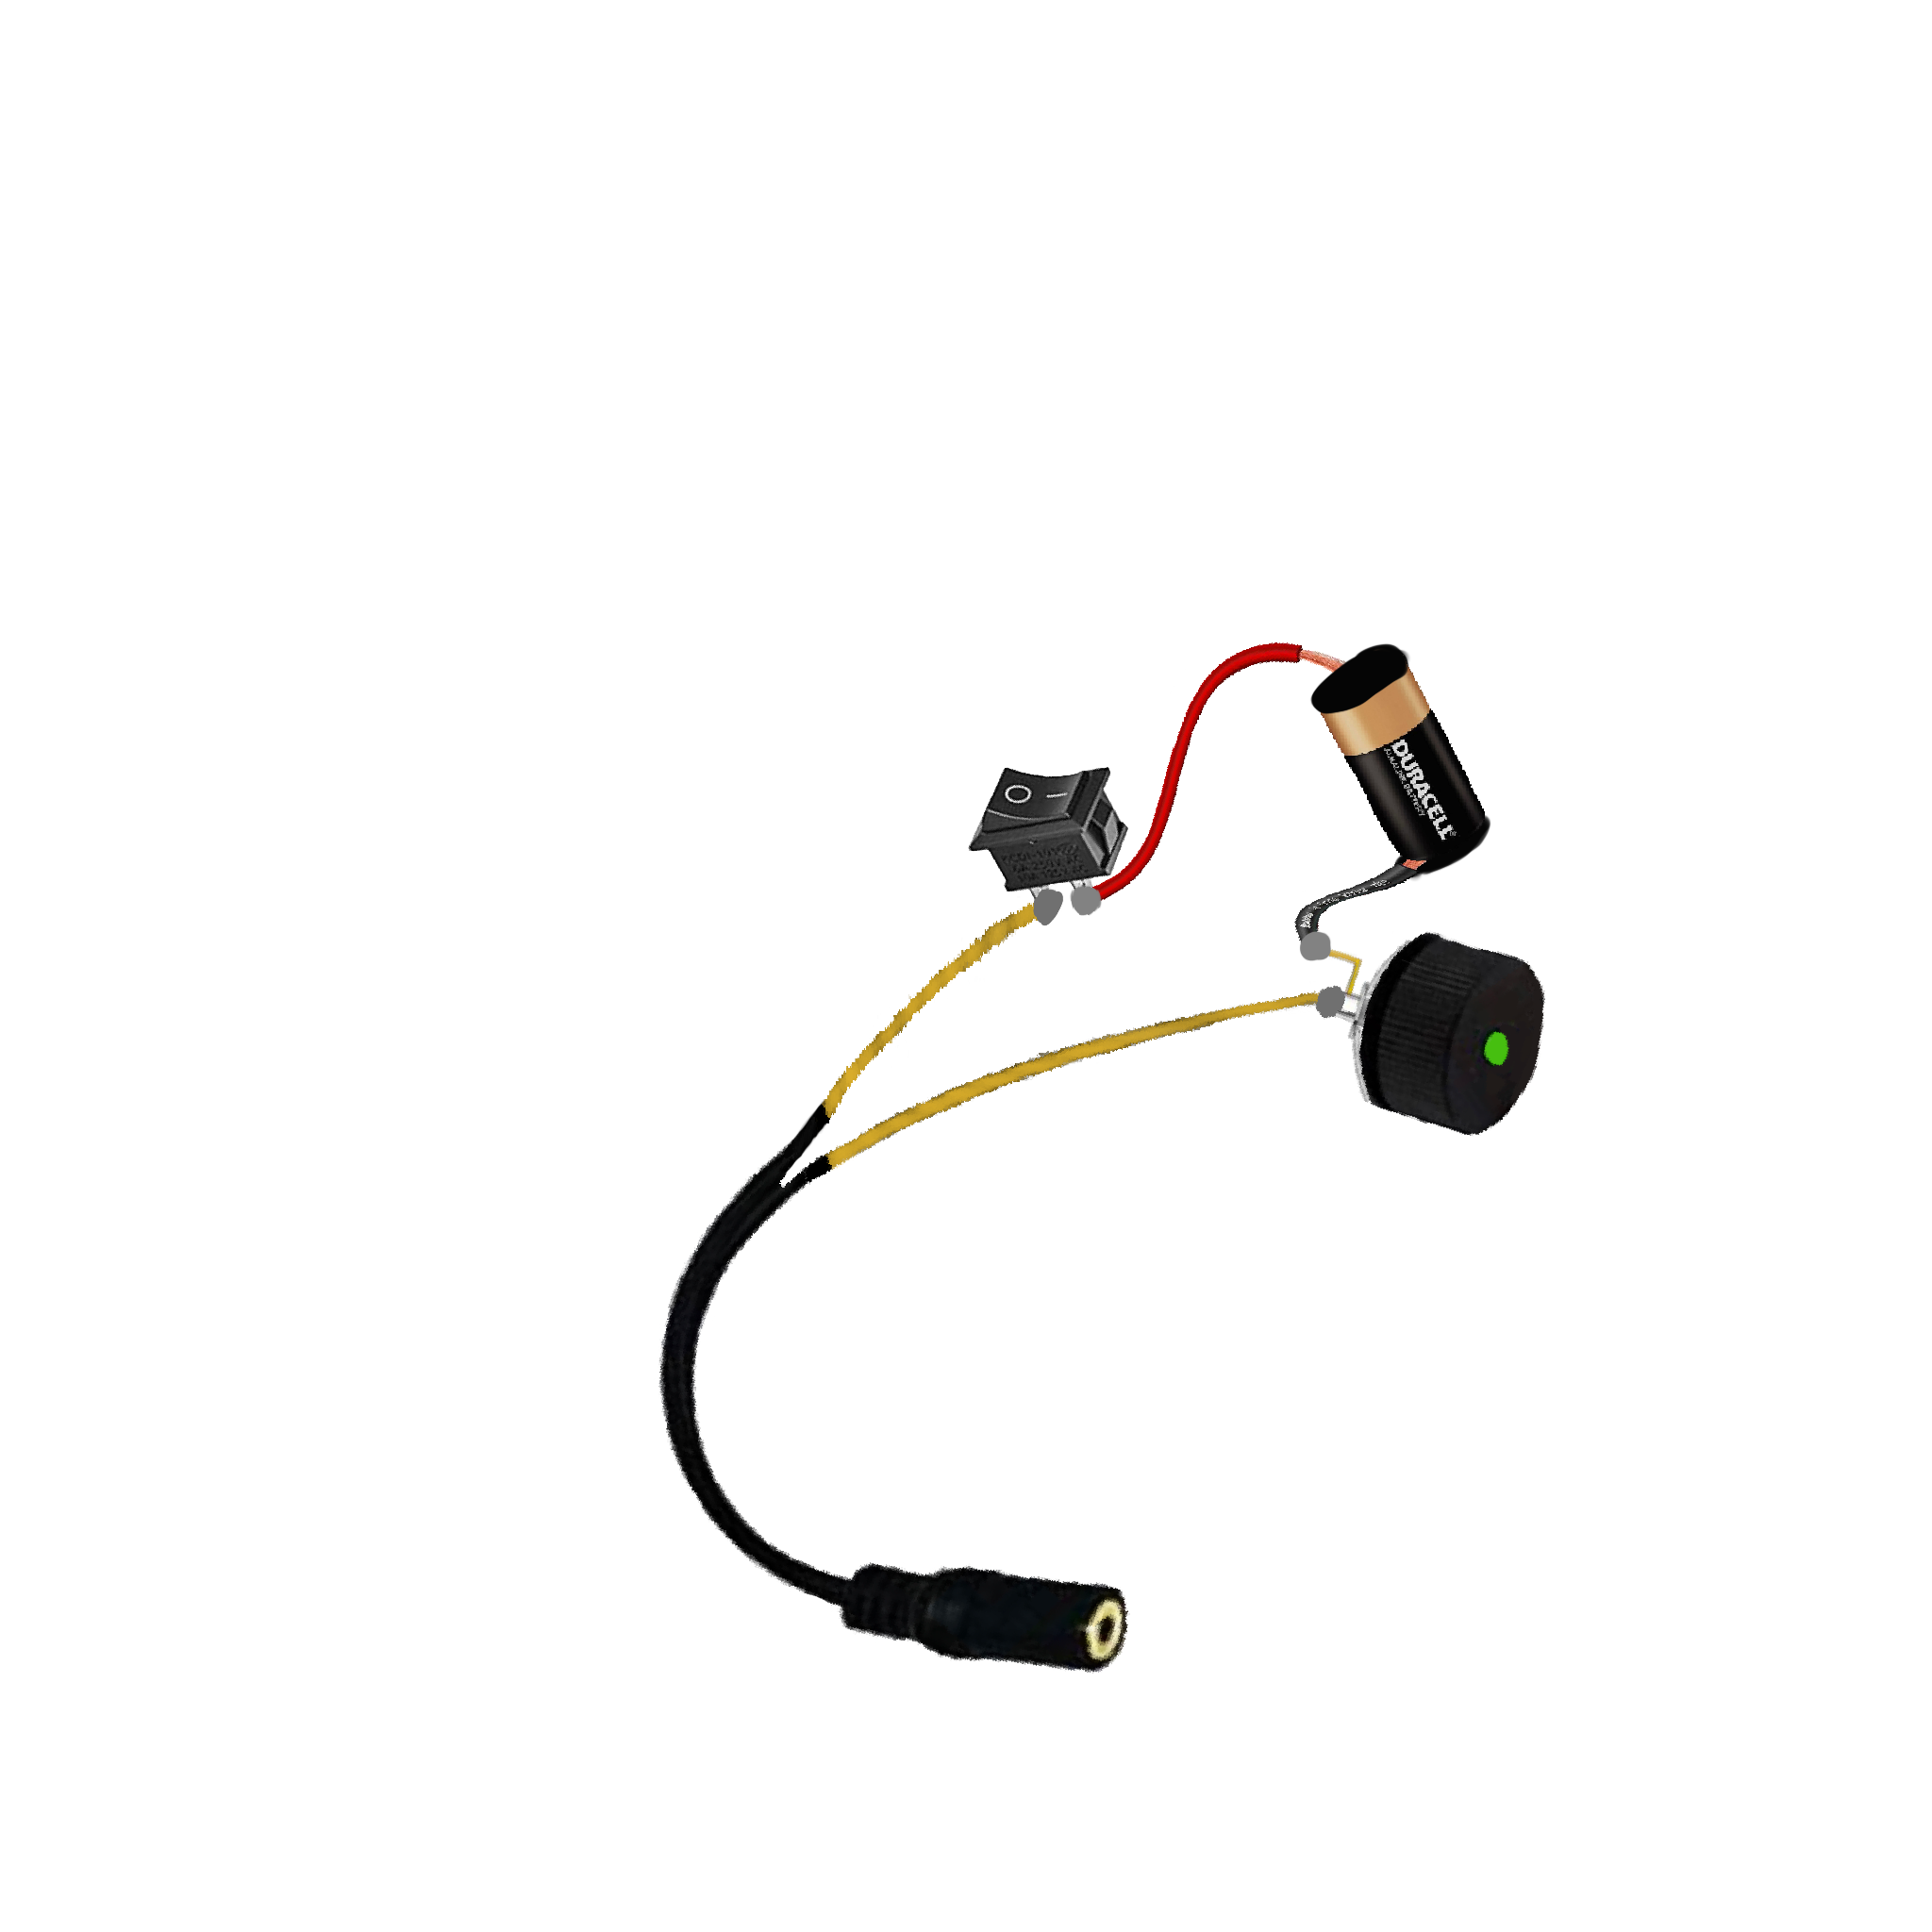
For this step, you are going to need the battery from "Step 2: Disassemble the Laser Pointer (a)" and Electrical Tape.
Use the tape to adhere the ends of the wire to the battery. MAKE SURE that the positive side of the battery is wired facing the Switch
*NOTE* Make sure the POSITIVE side of the battery is wired facing TOWARDS the SWITCH
Wiring the Laser (Finishing)
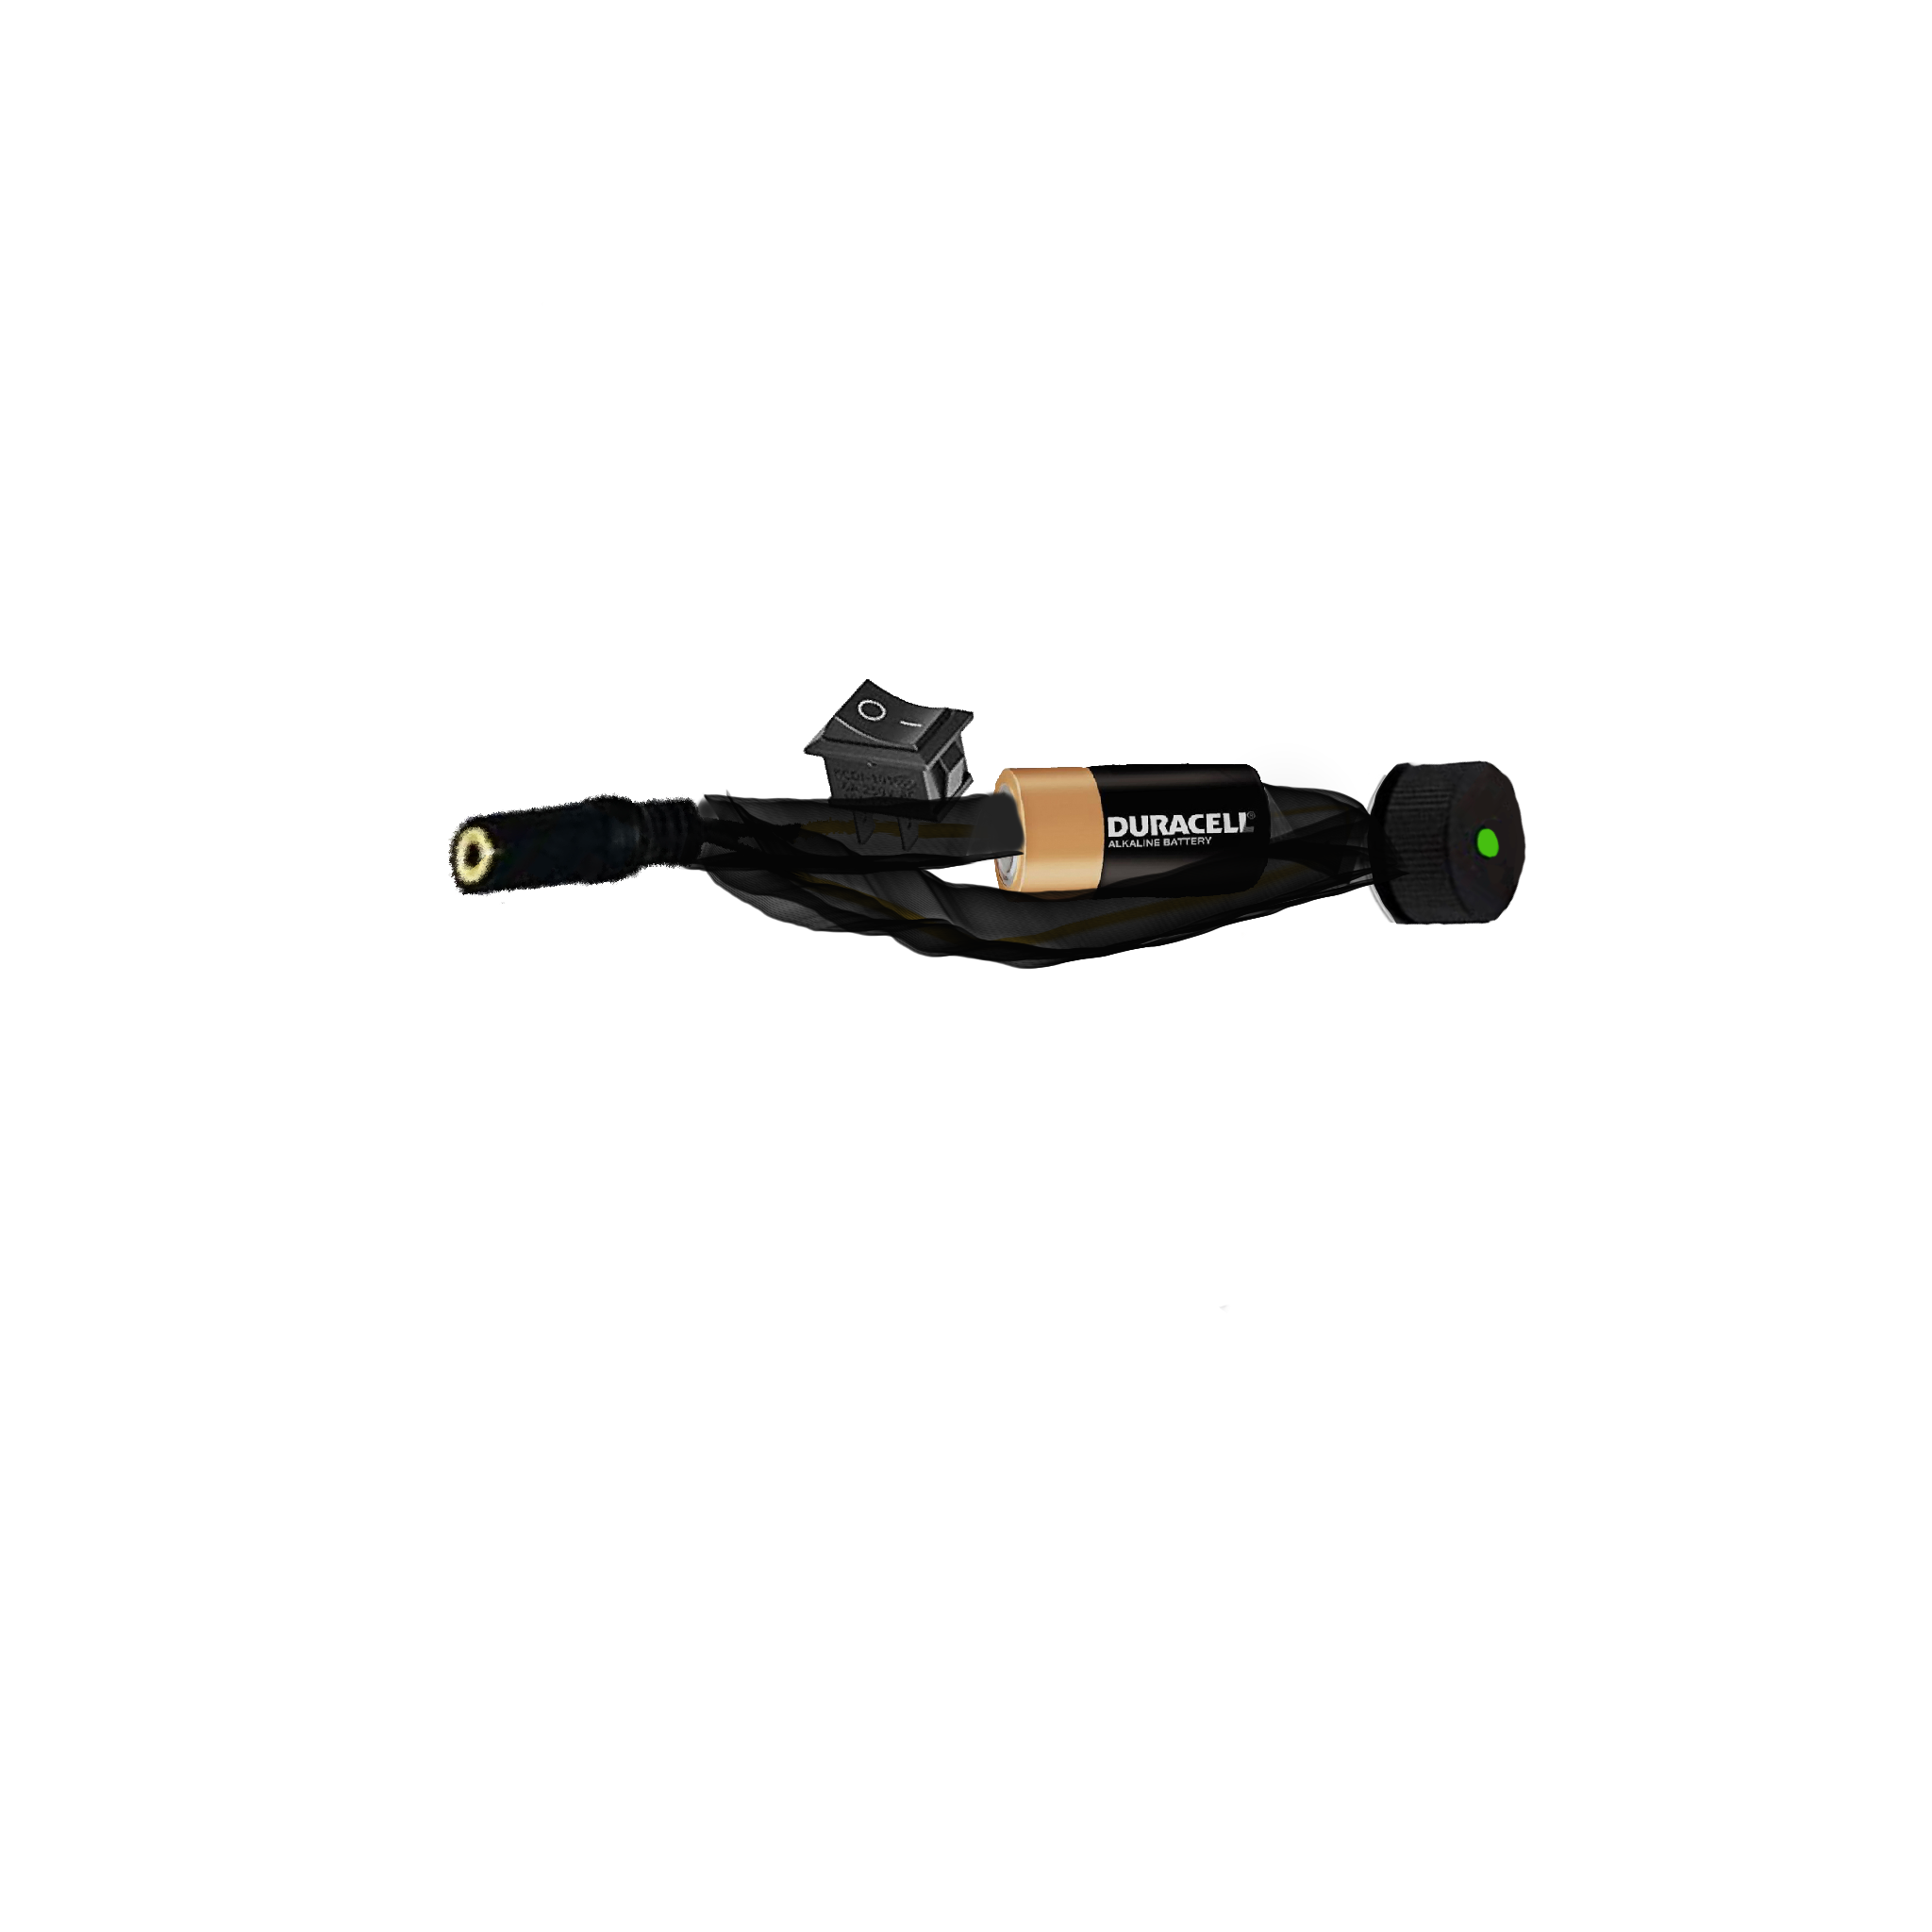
To protect the wires I recommend wrapping it in electrical tape. If you do this remember to be delicate with the soldering points because they may break. Also be sure to leave space for the battery so you can replace it it dies.
The Receiver (a)
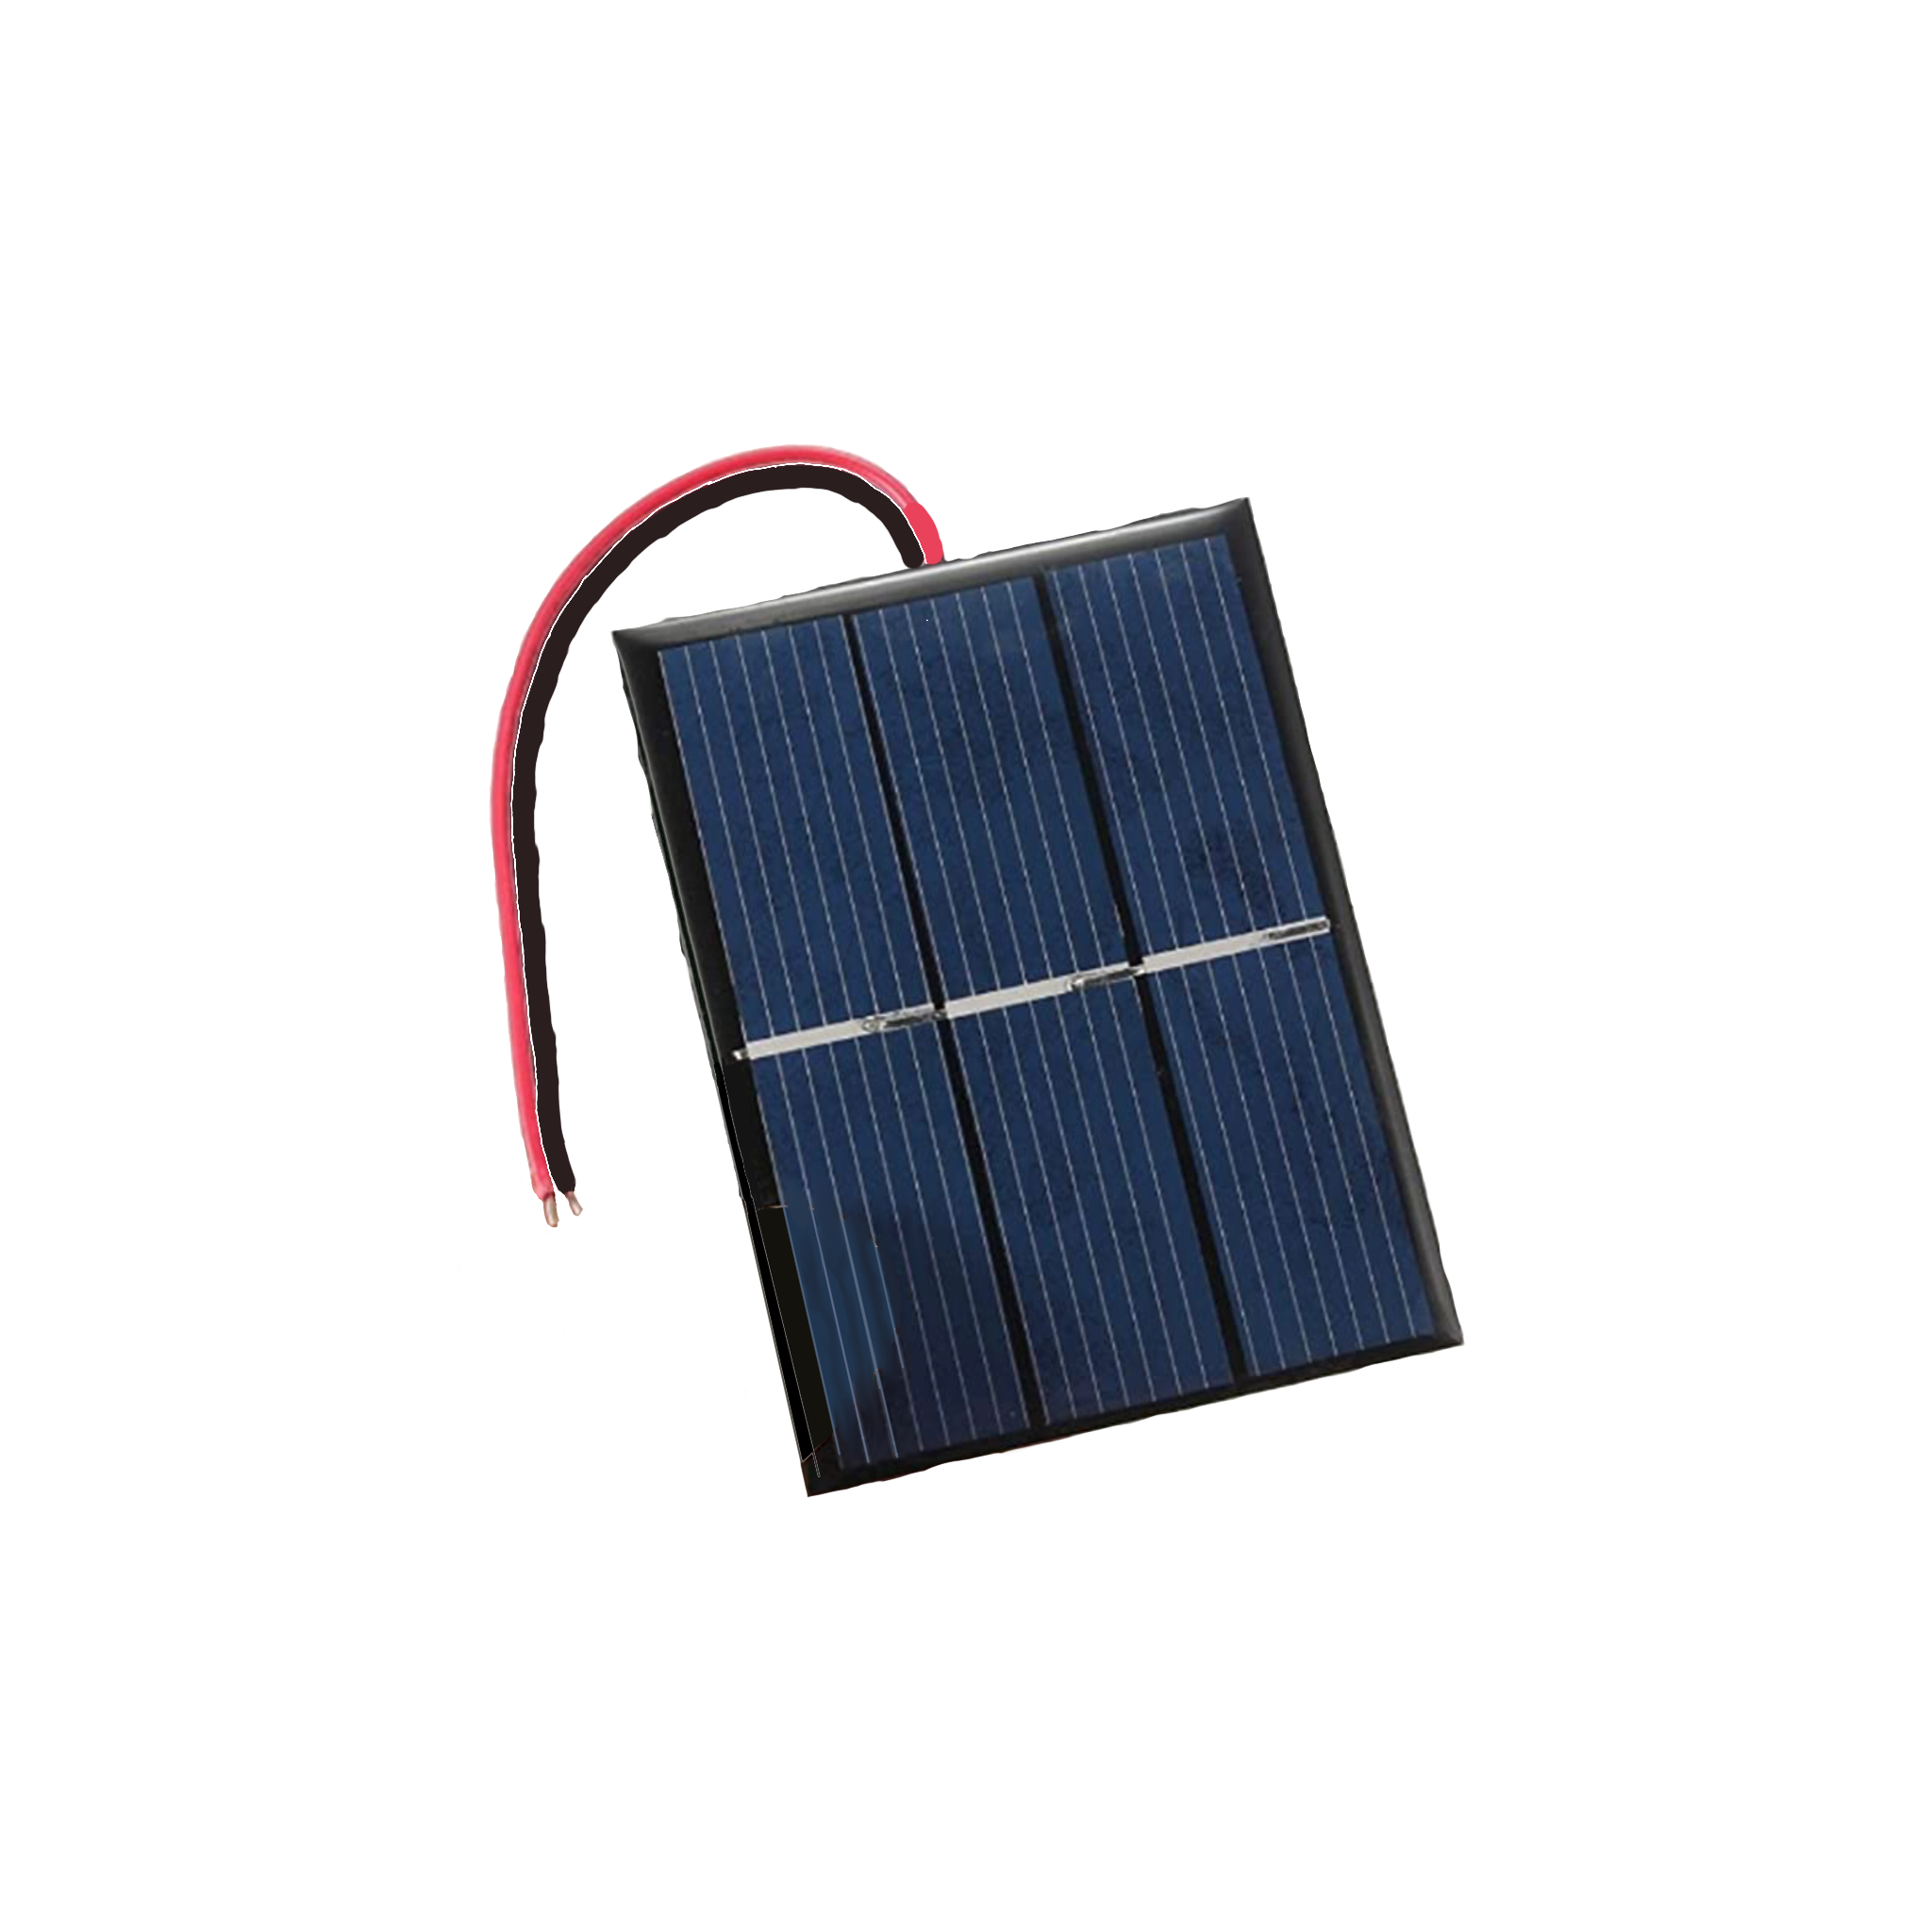
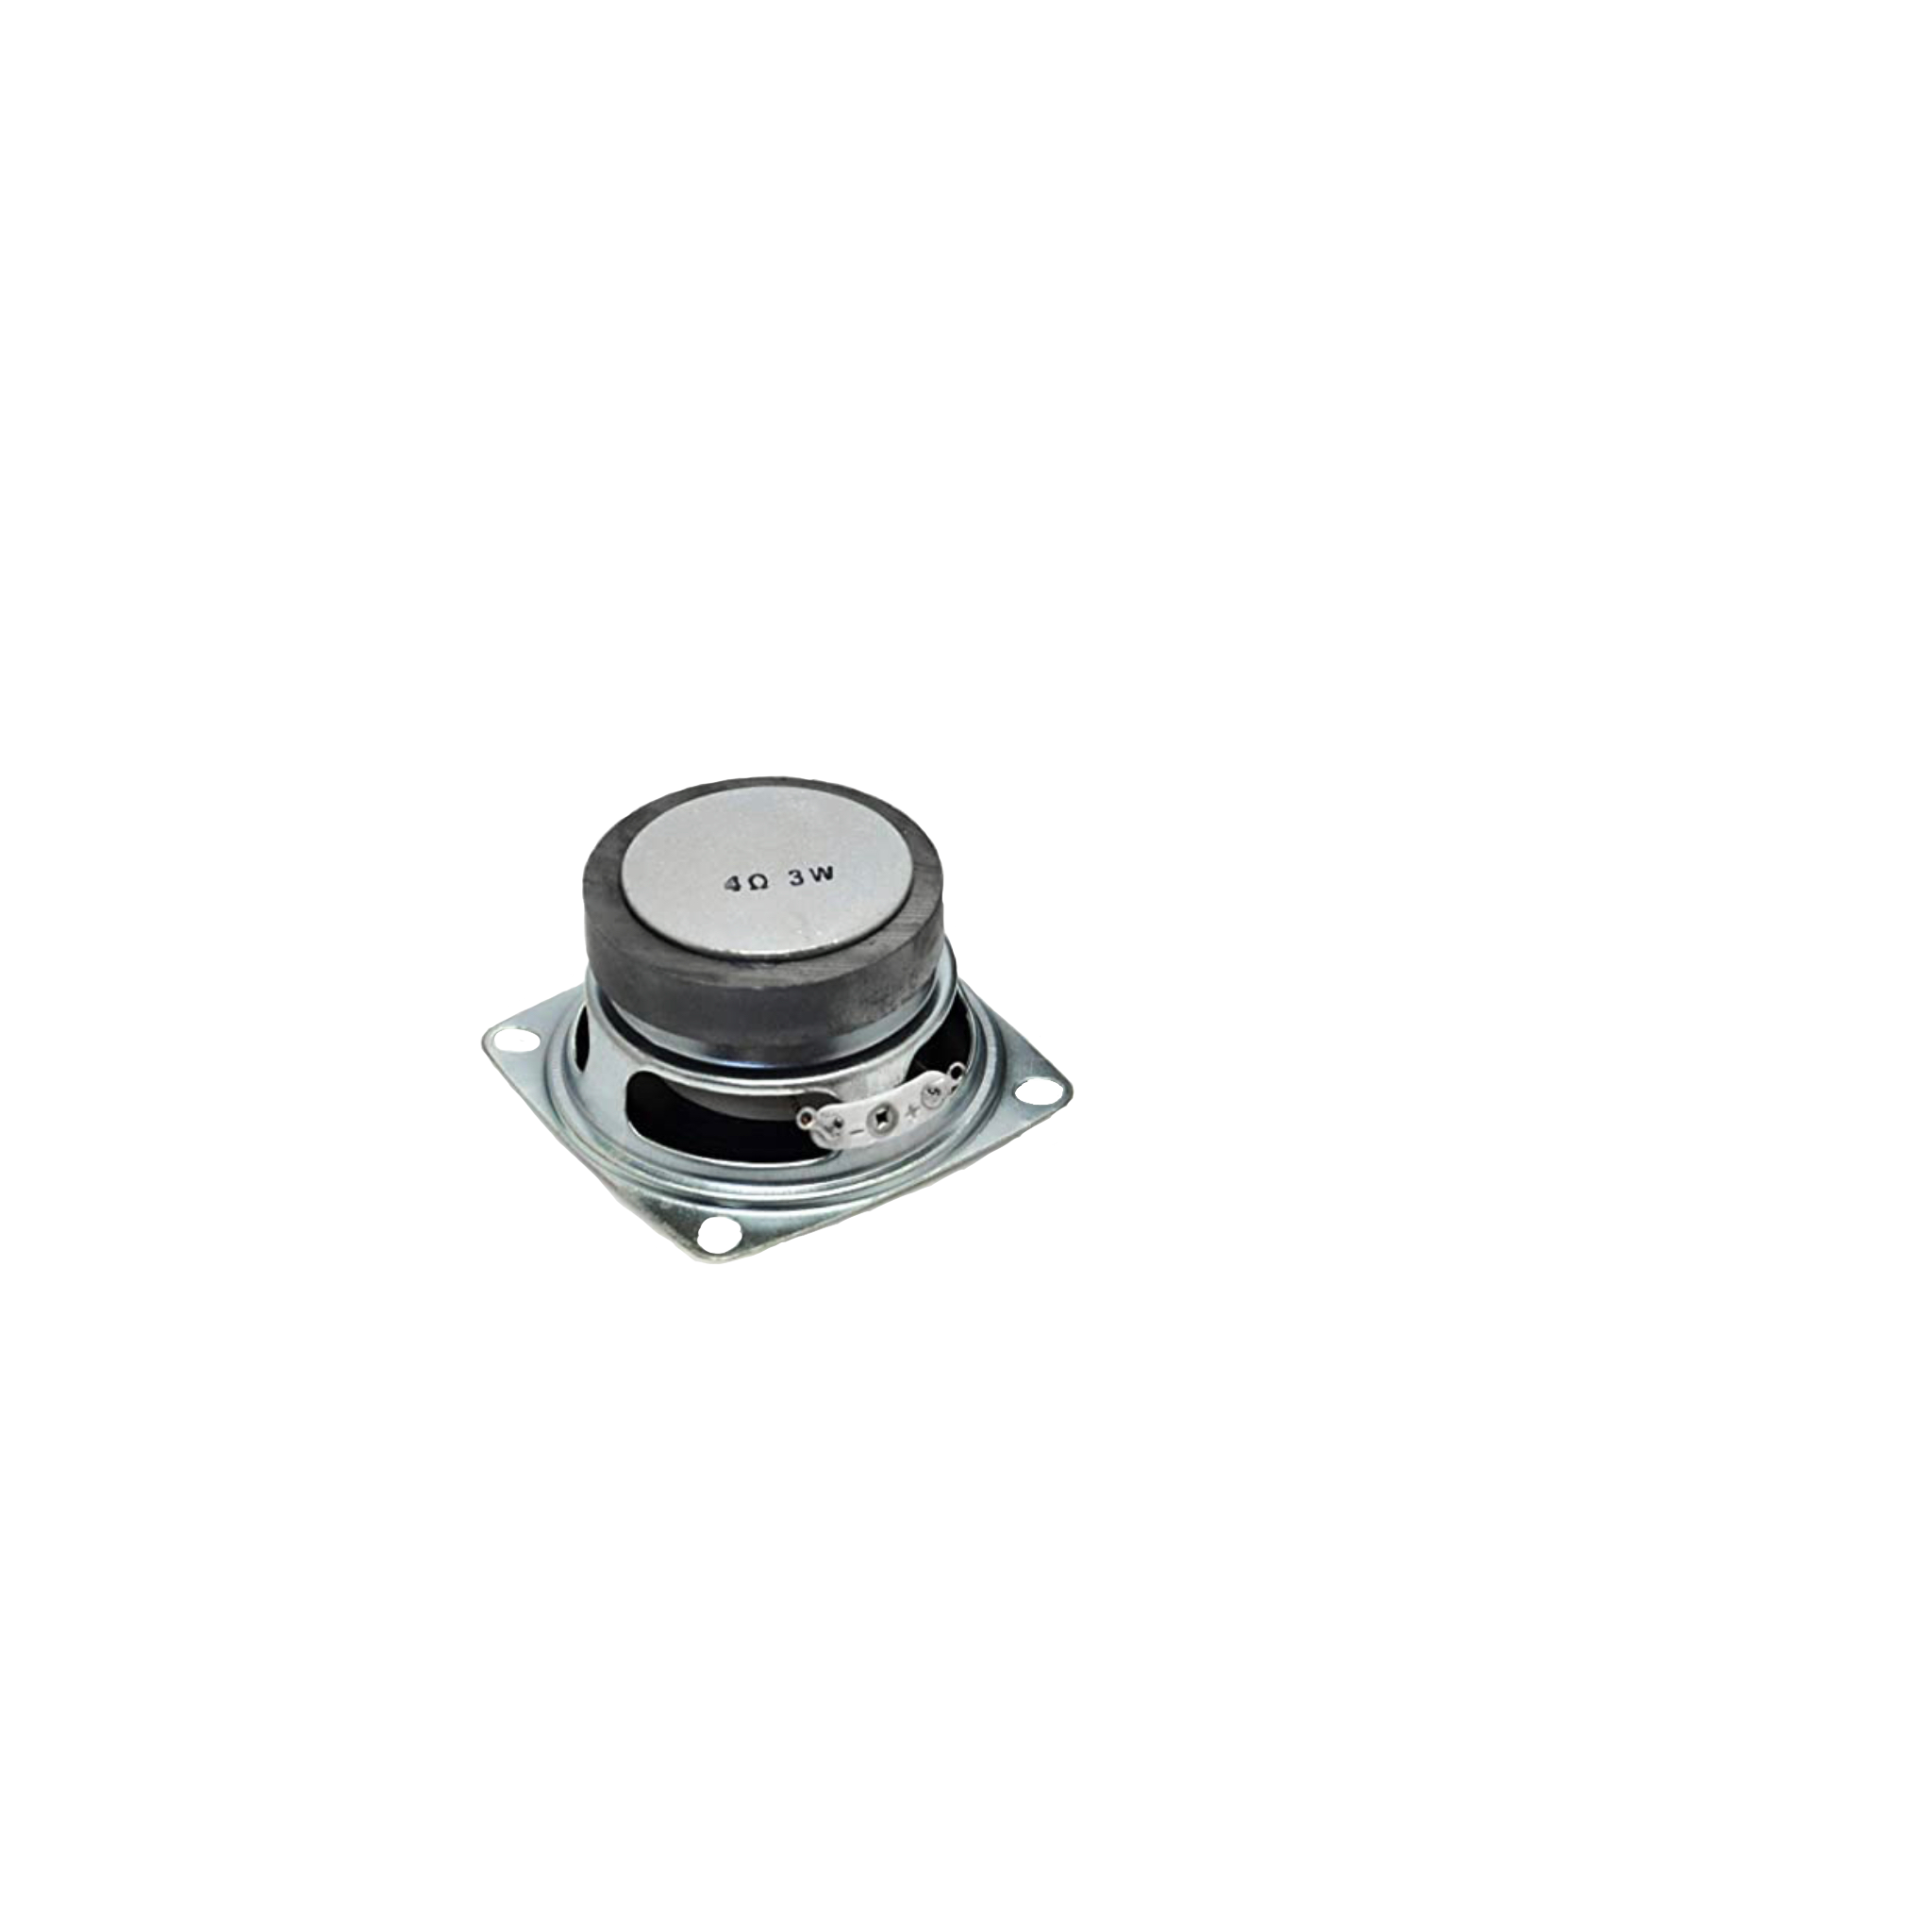
For this step (and the next few) you are going to need a mini solar panel and a speaker.
I found both of them on Amazon
Speaker -- Click Here
Mini Solar Panel -- Click Here
The Receiver (b)
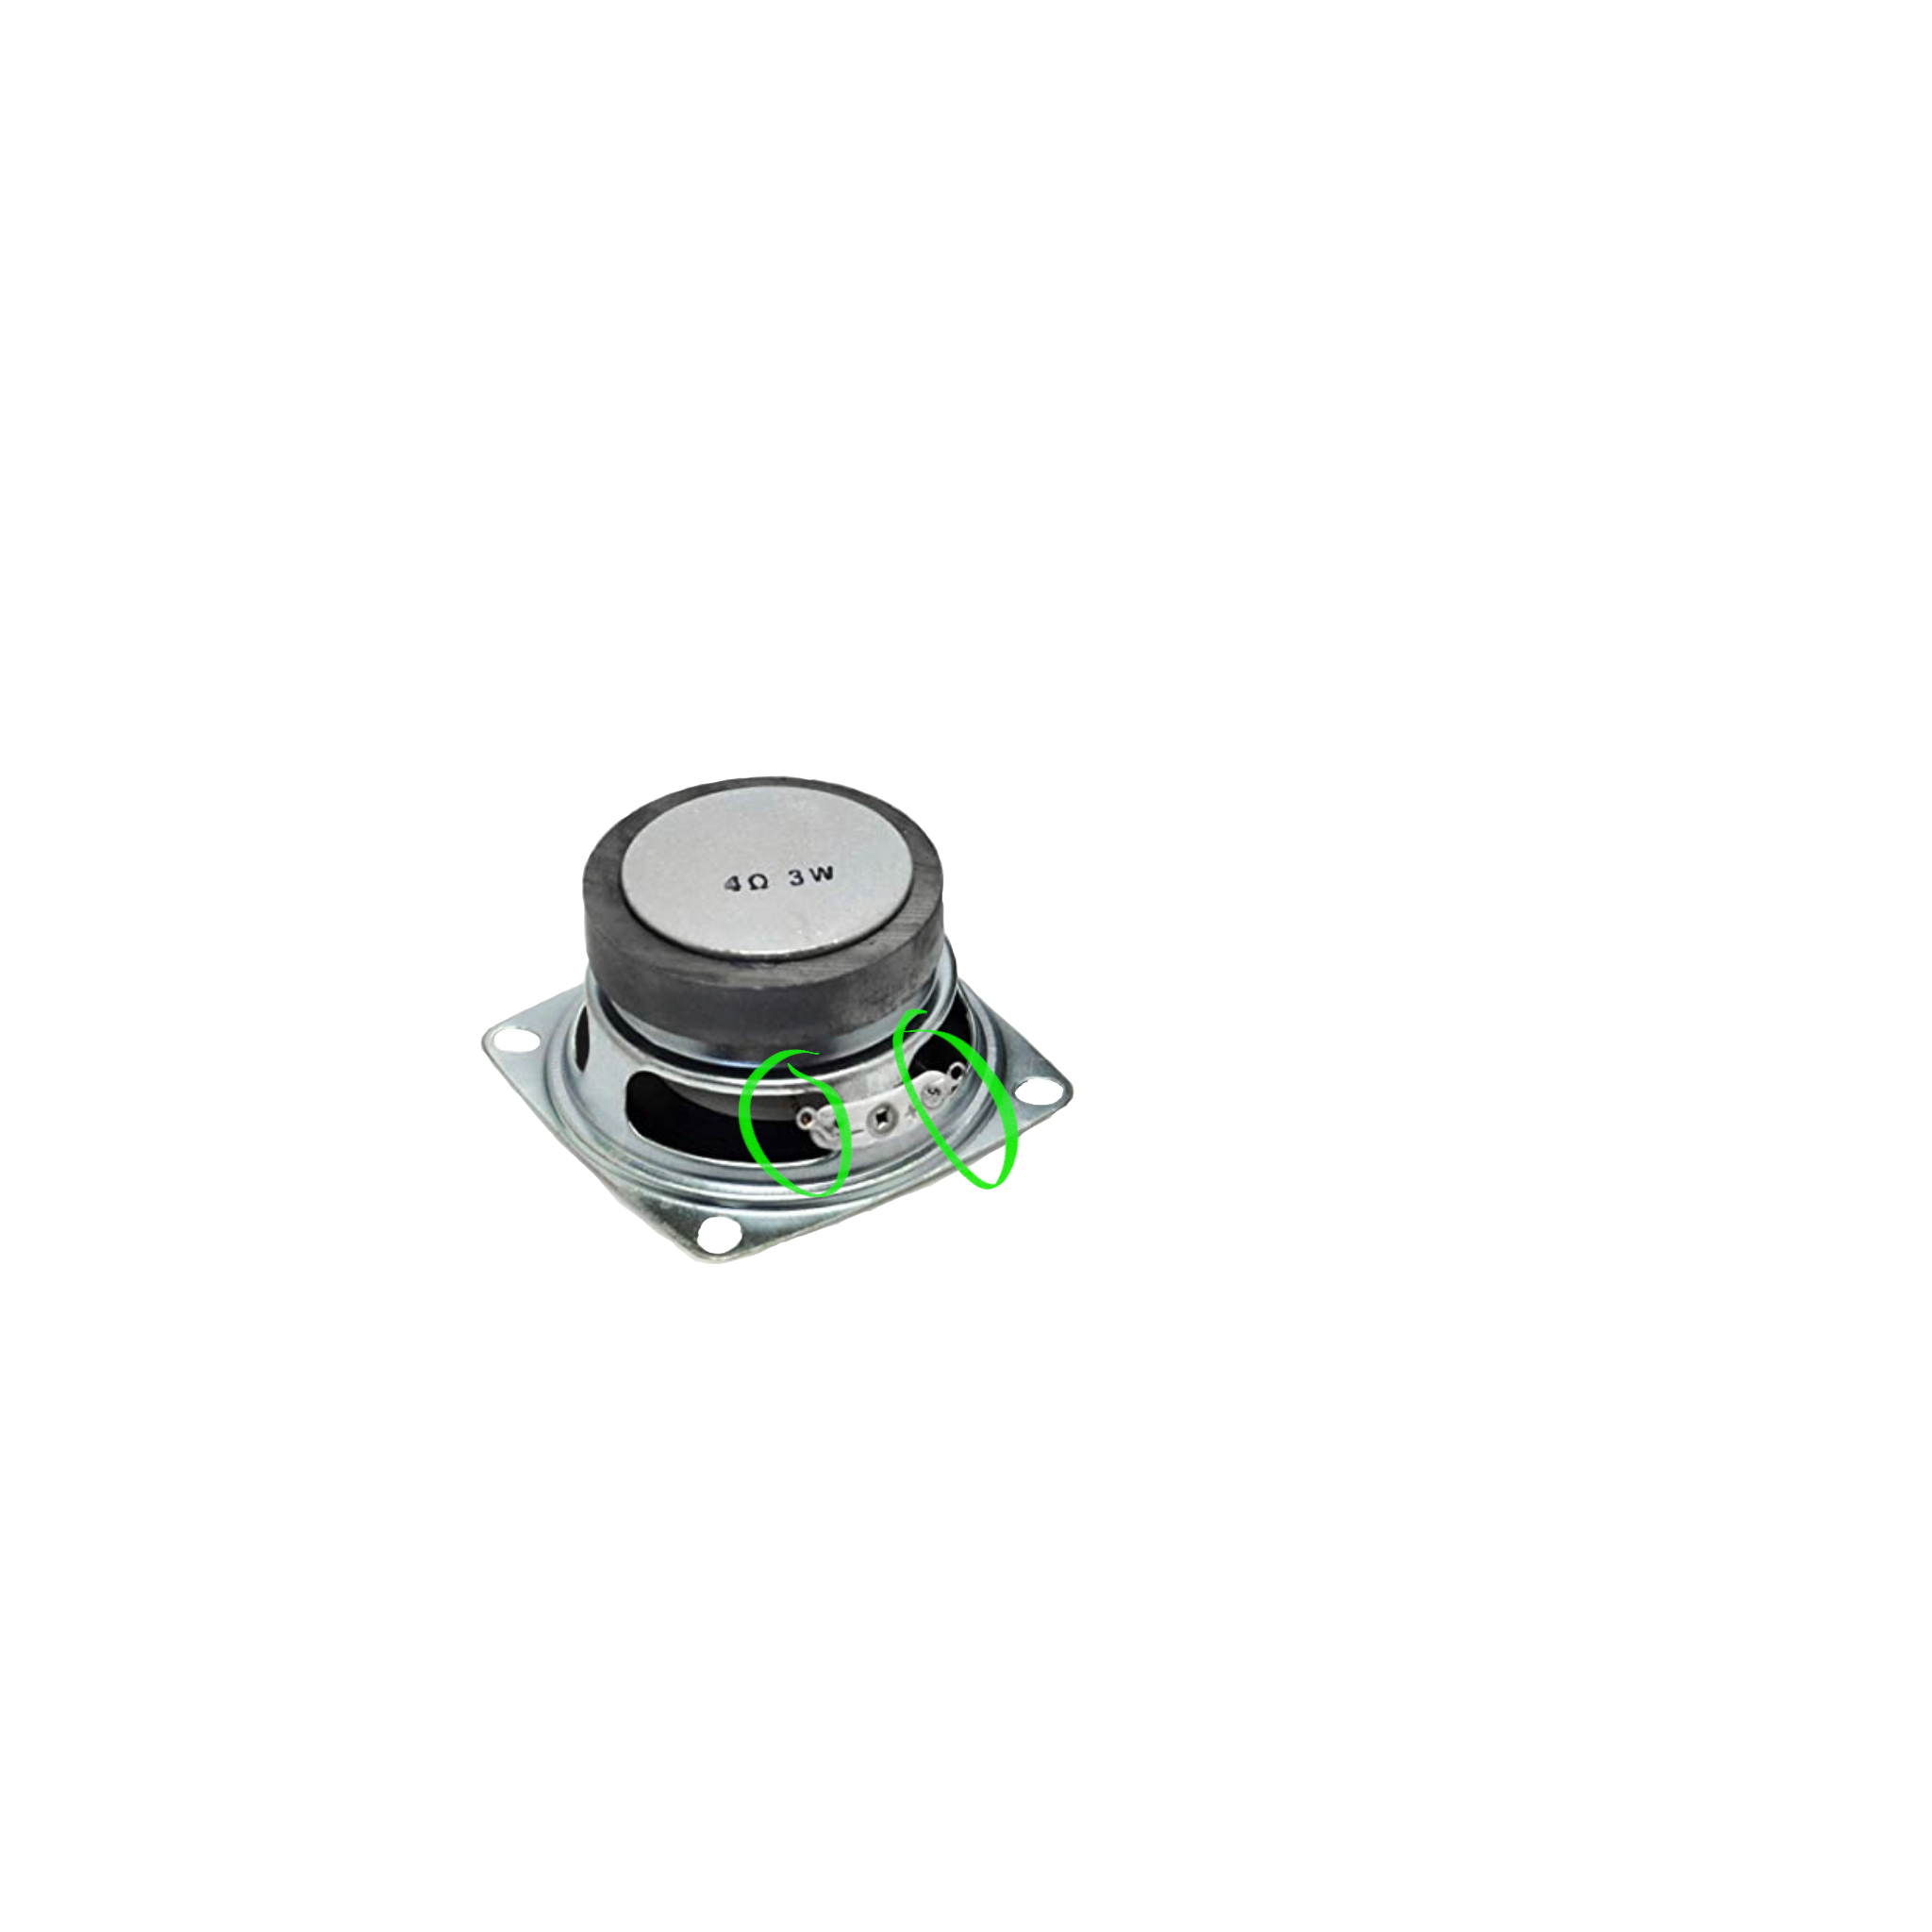
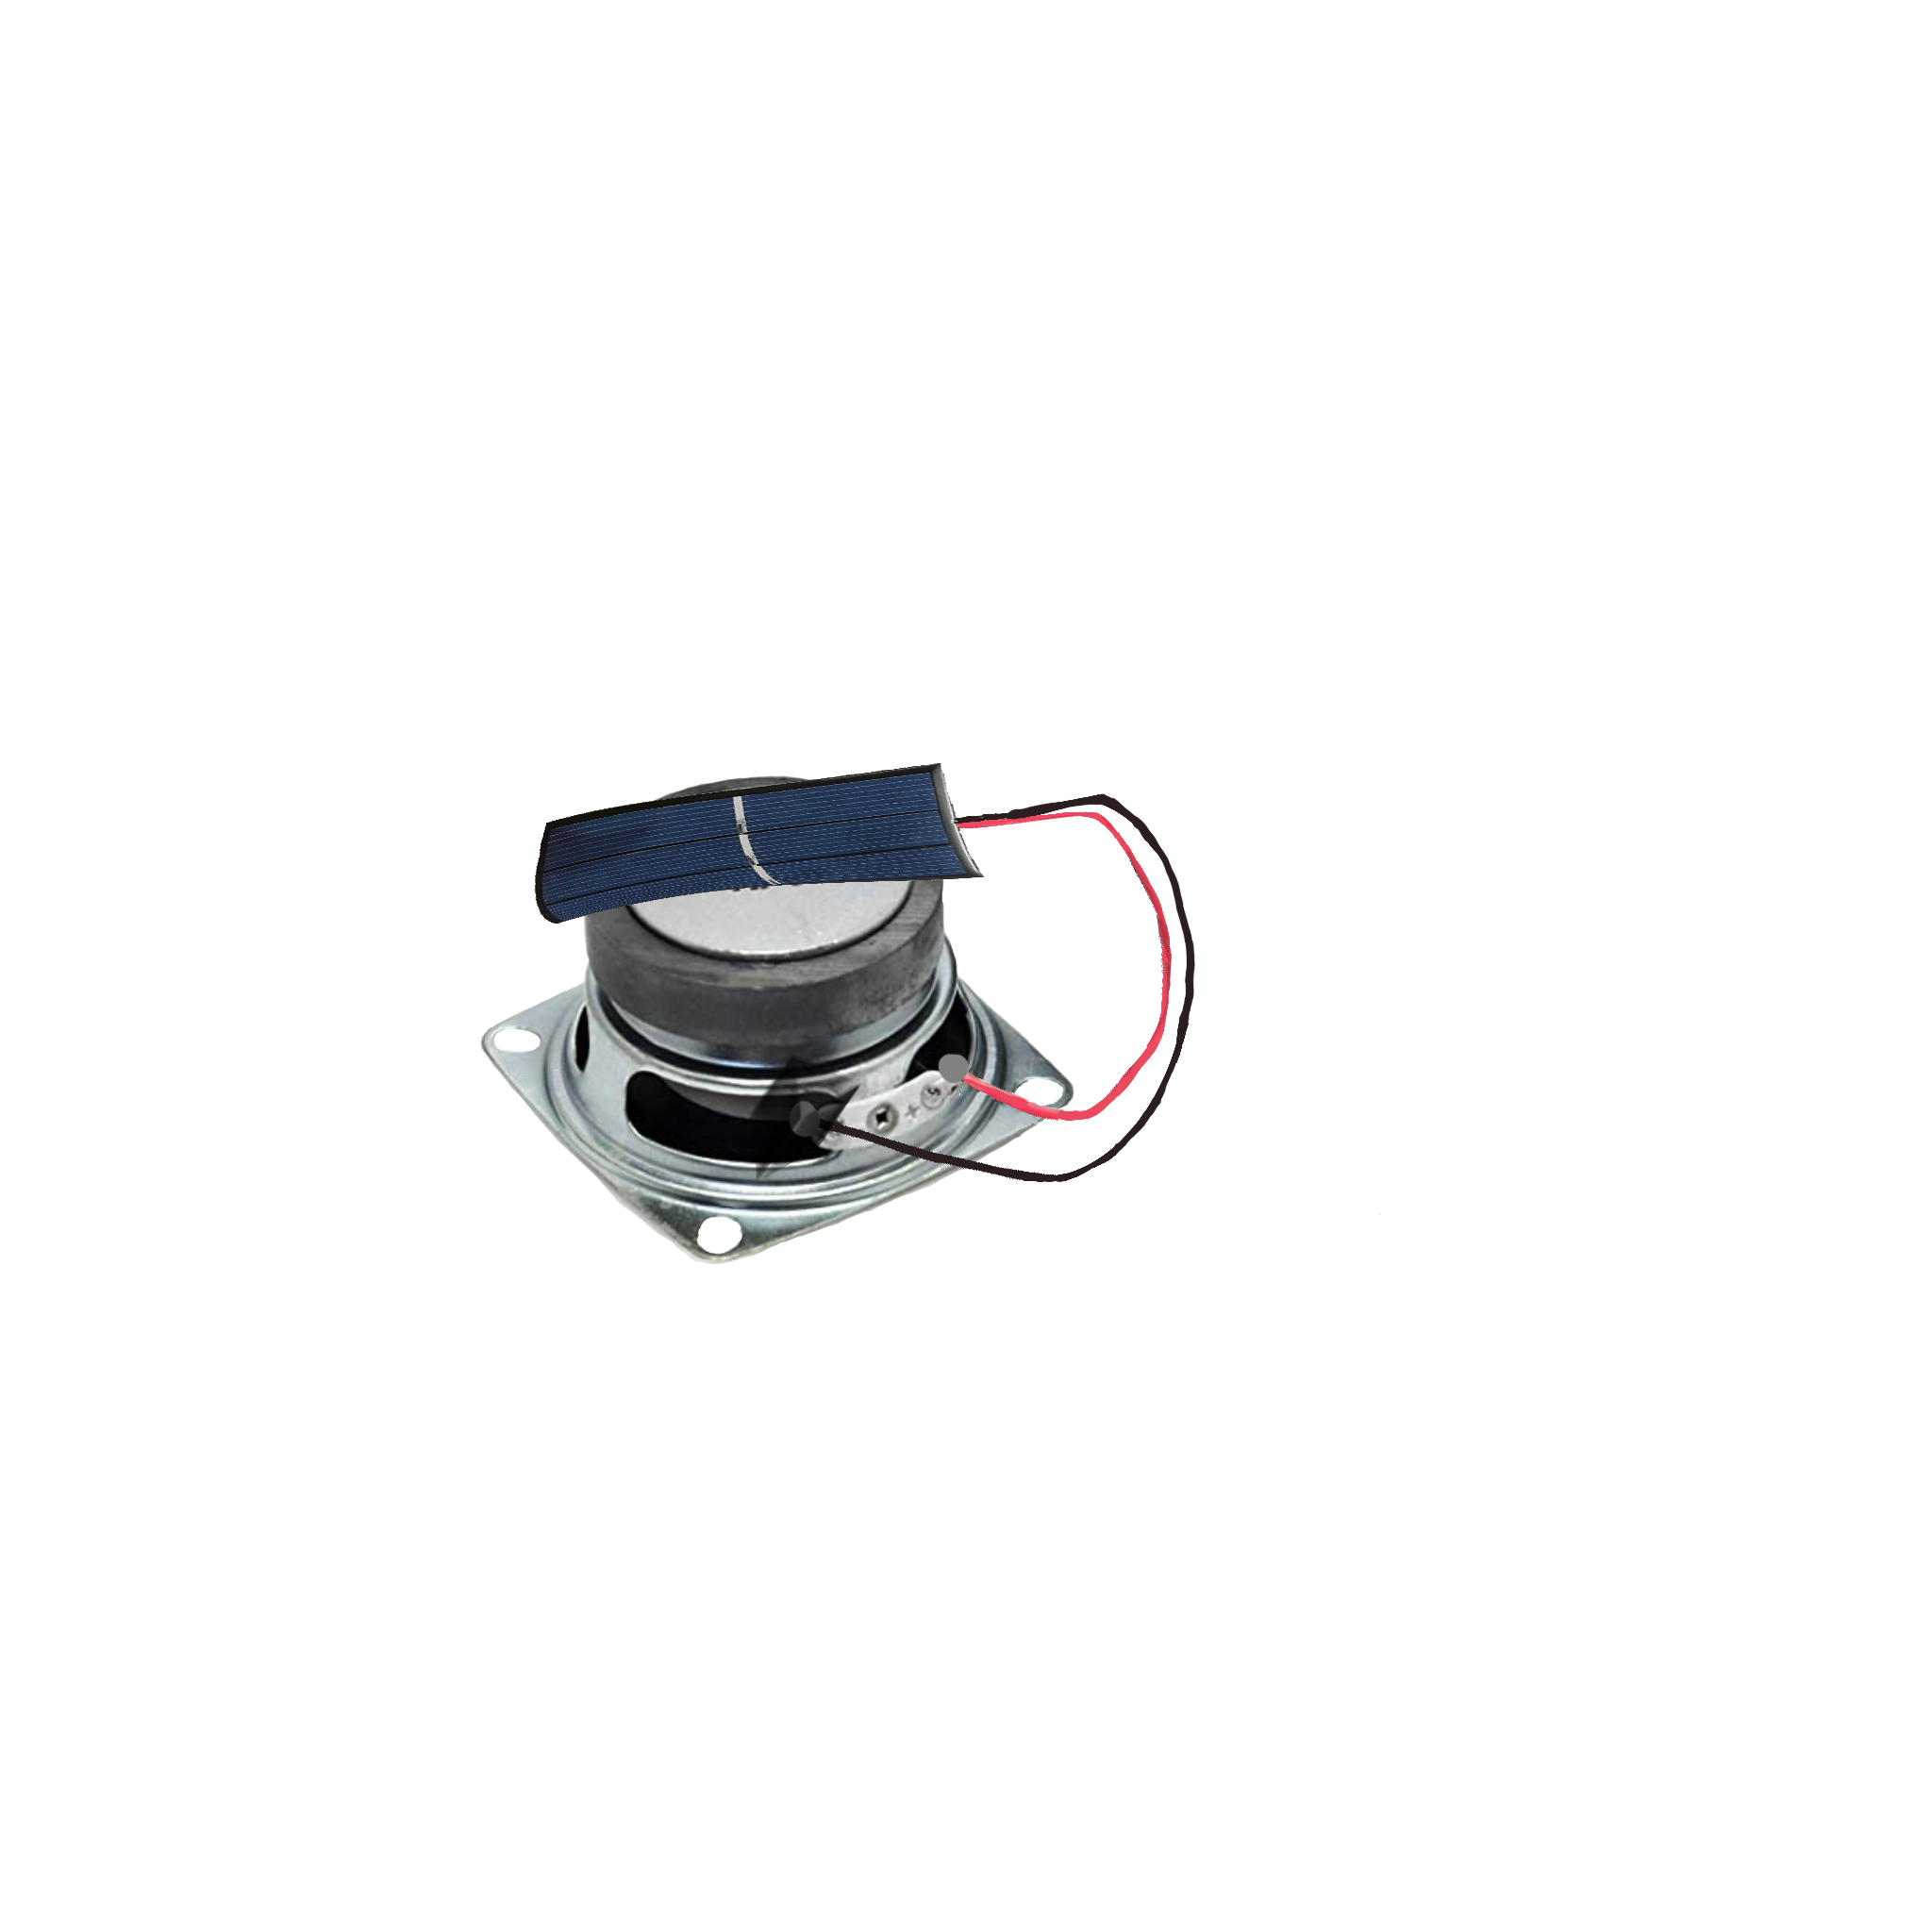
In this step, you are going to solder the two ends of the solar panel to the two ends of the speaker (highlighted in green)
The Receiver (finishing)
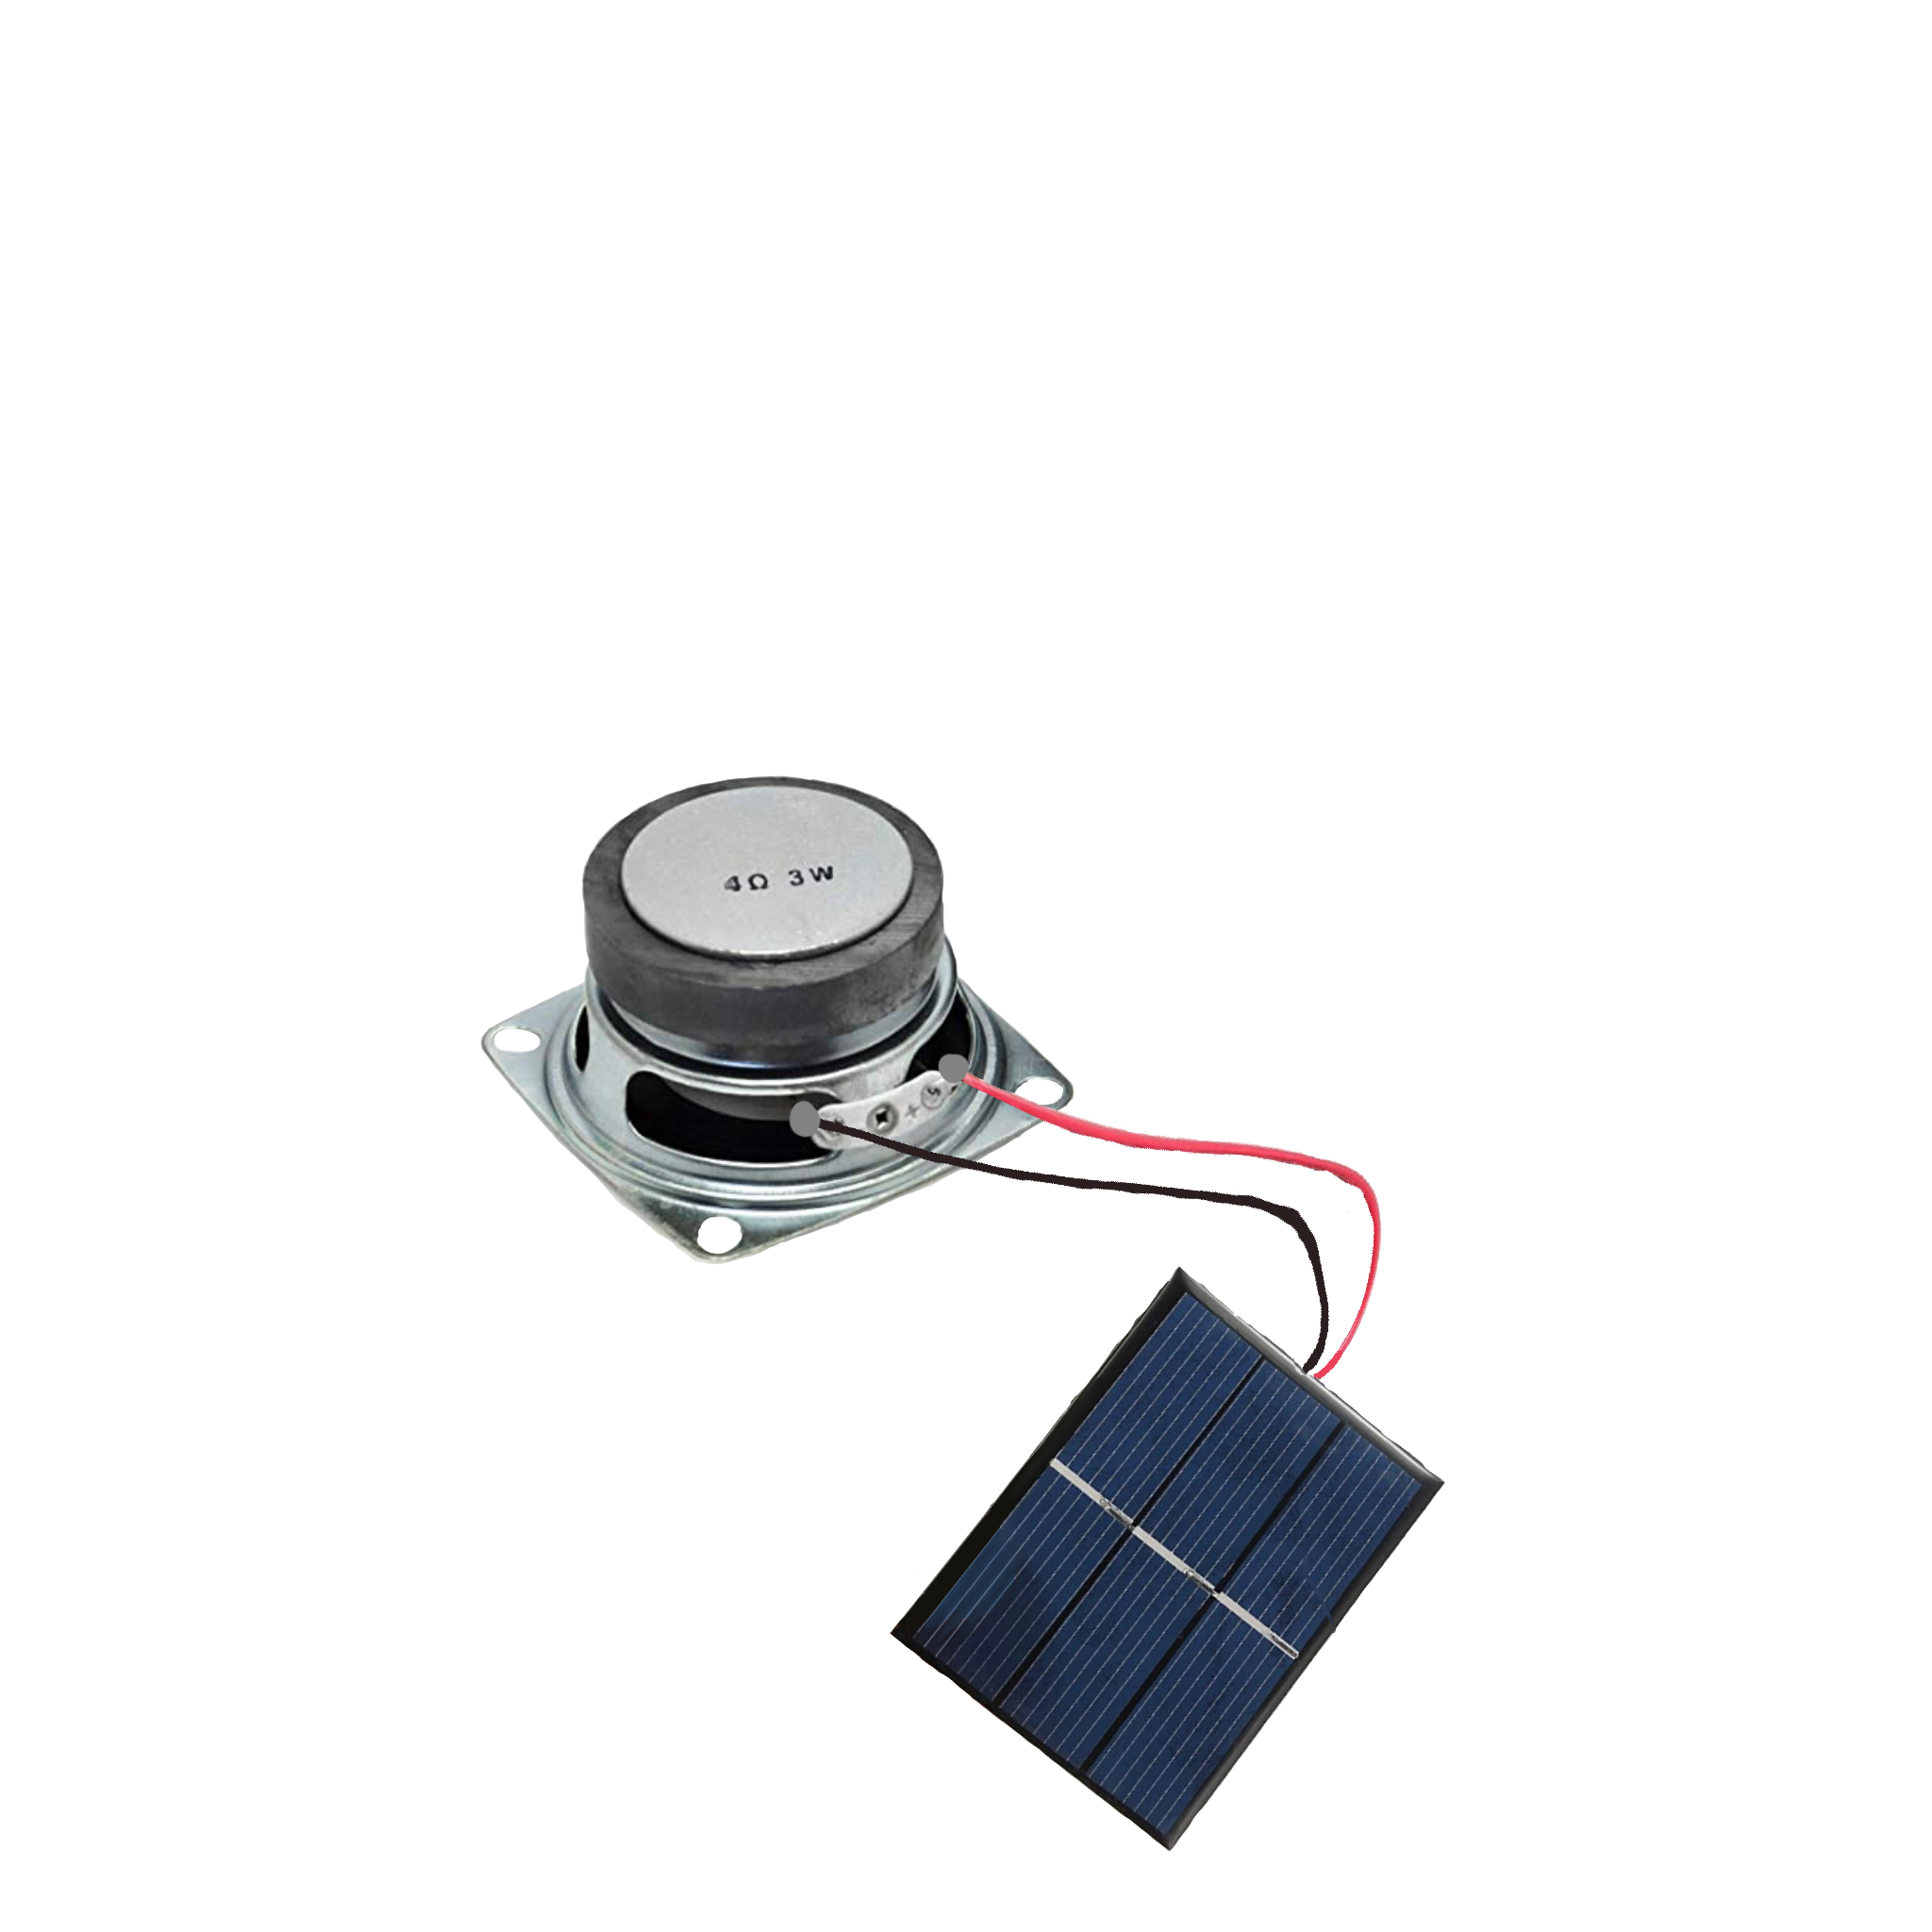
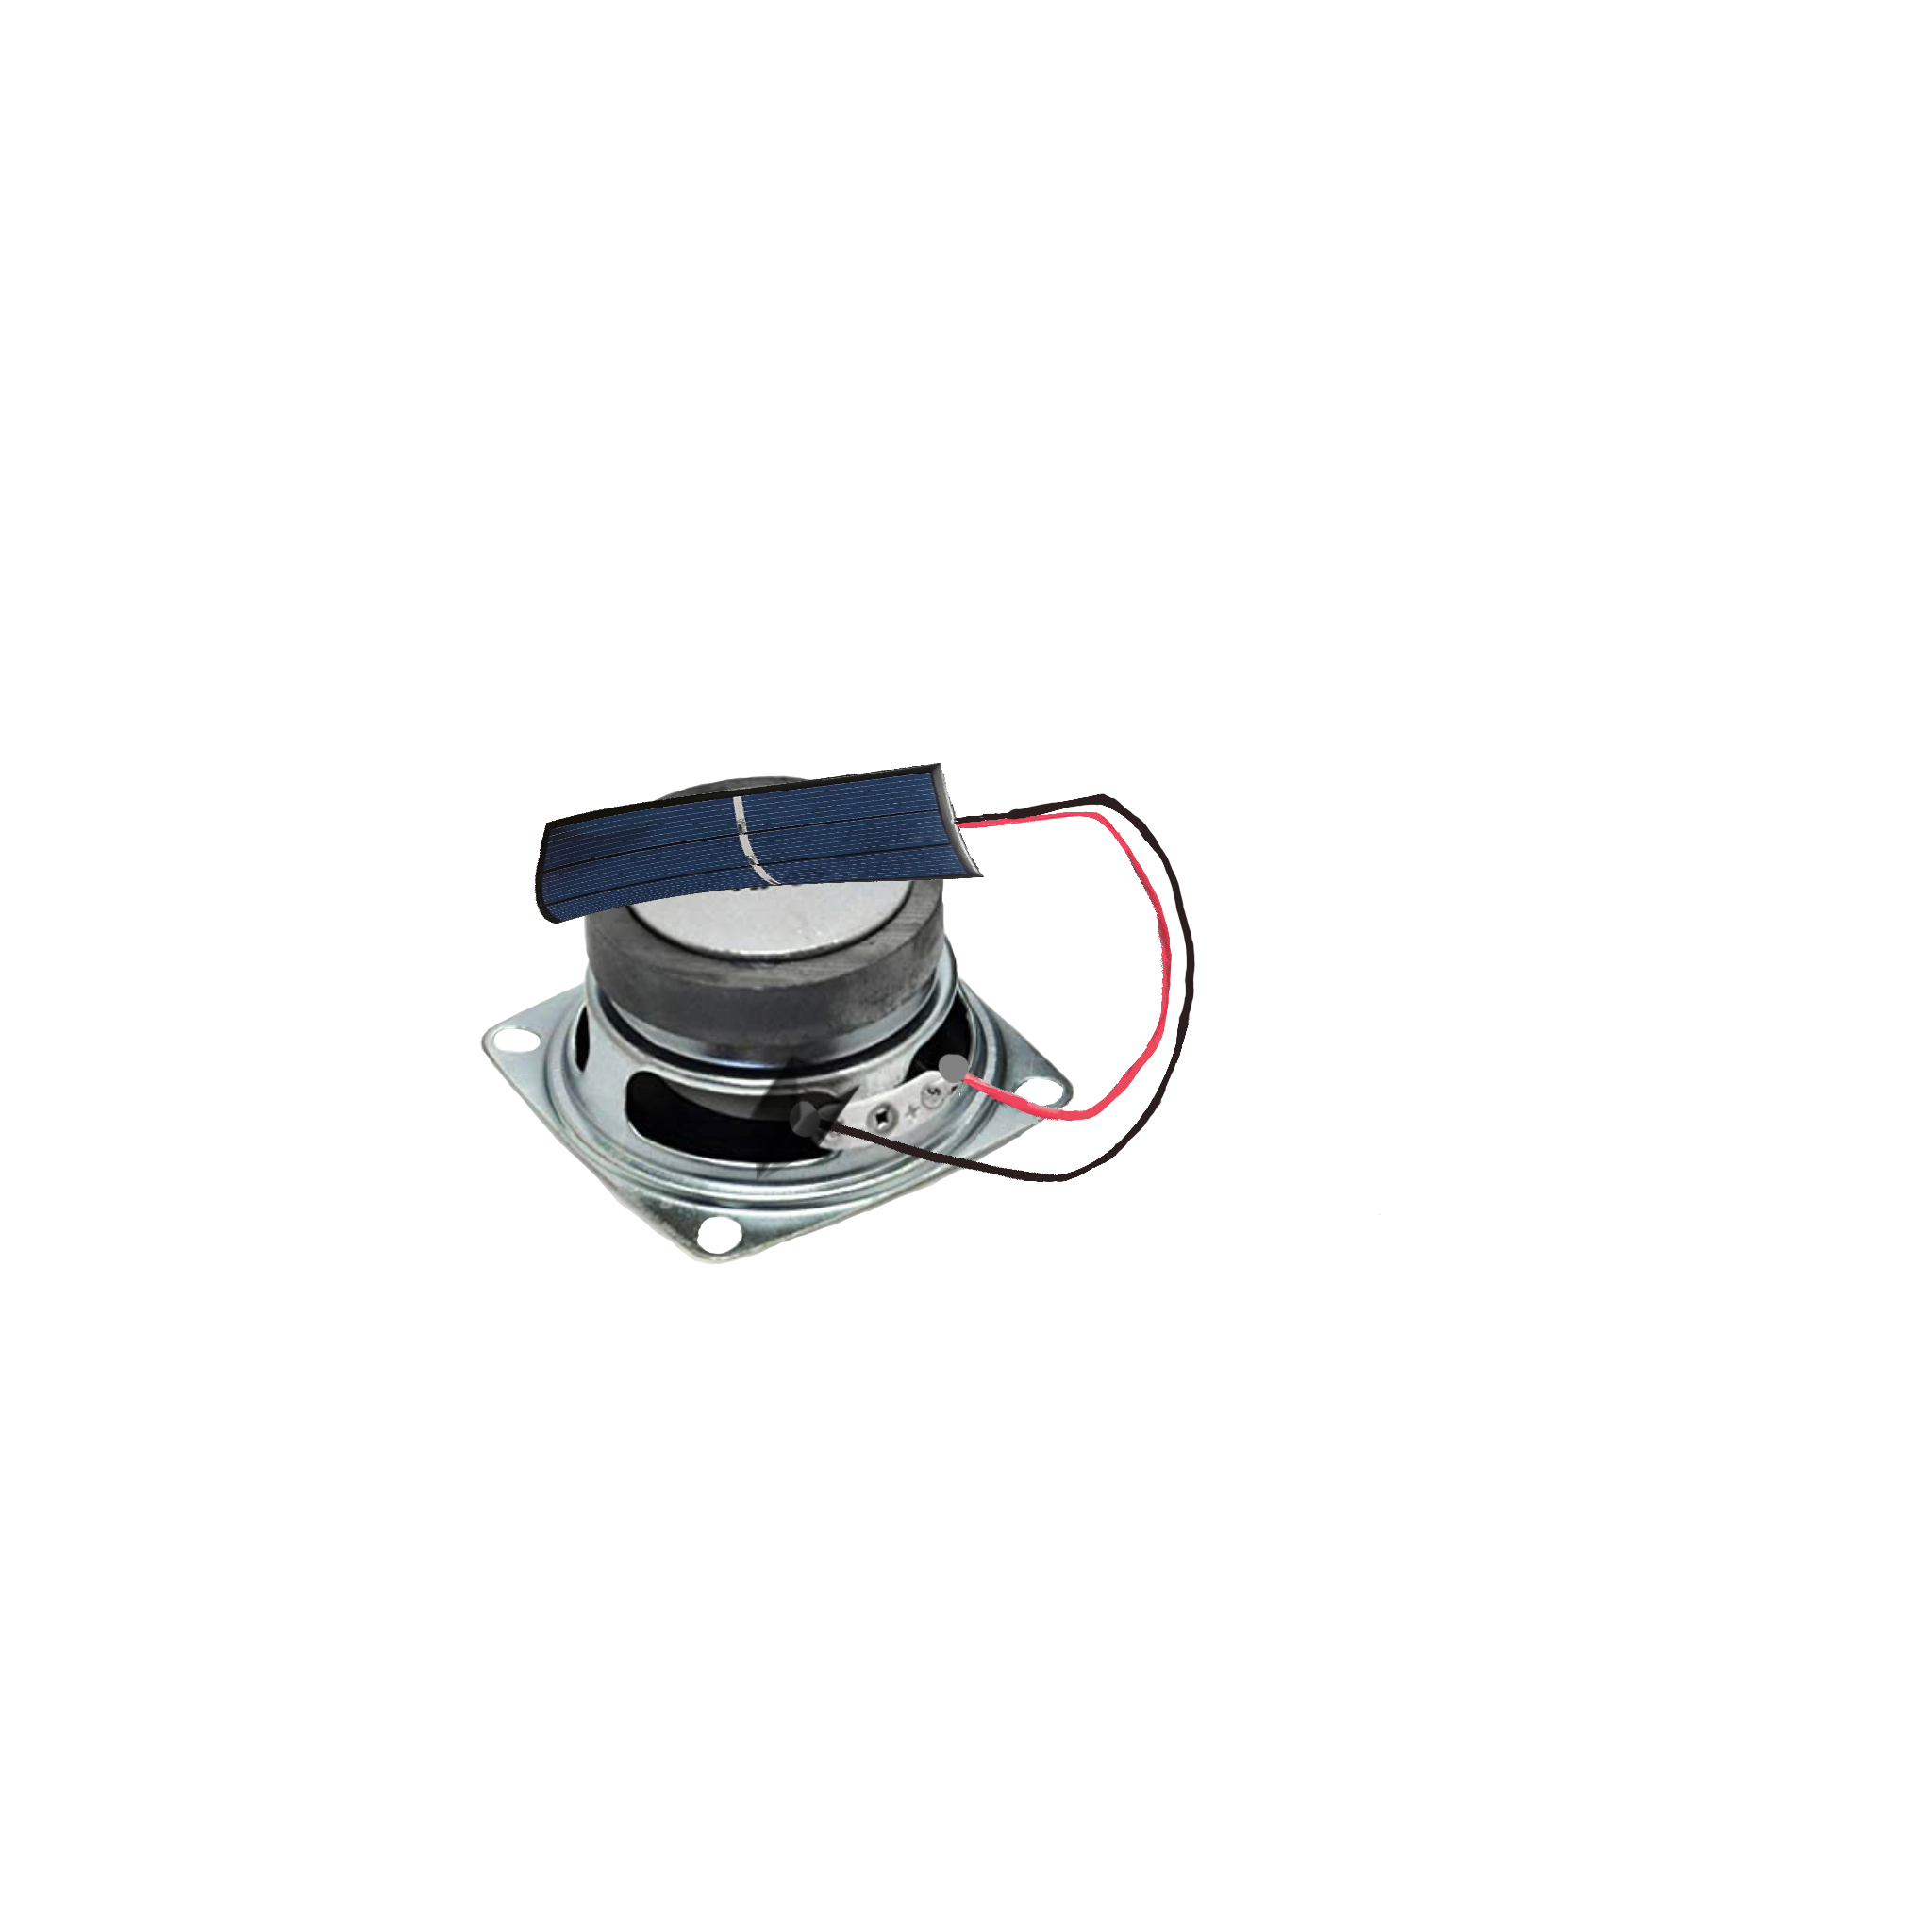
I recommend you glue or tape the solar panel to the bottom of the speaker, and use electrical tape to cover up the soldering points.
Finished / Explanation
.png)
.png)
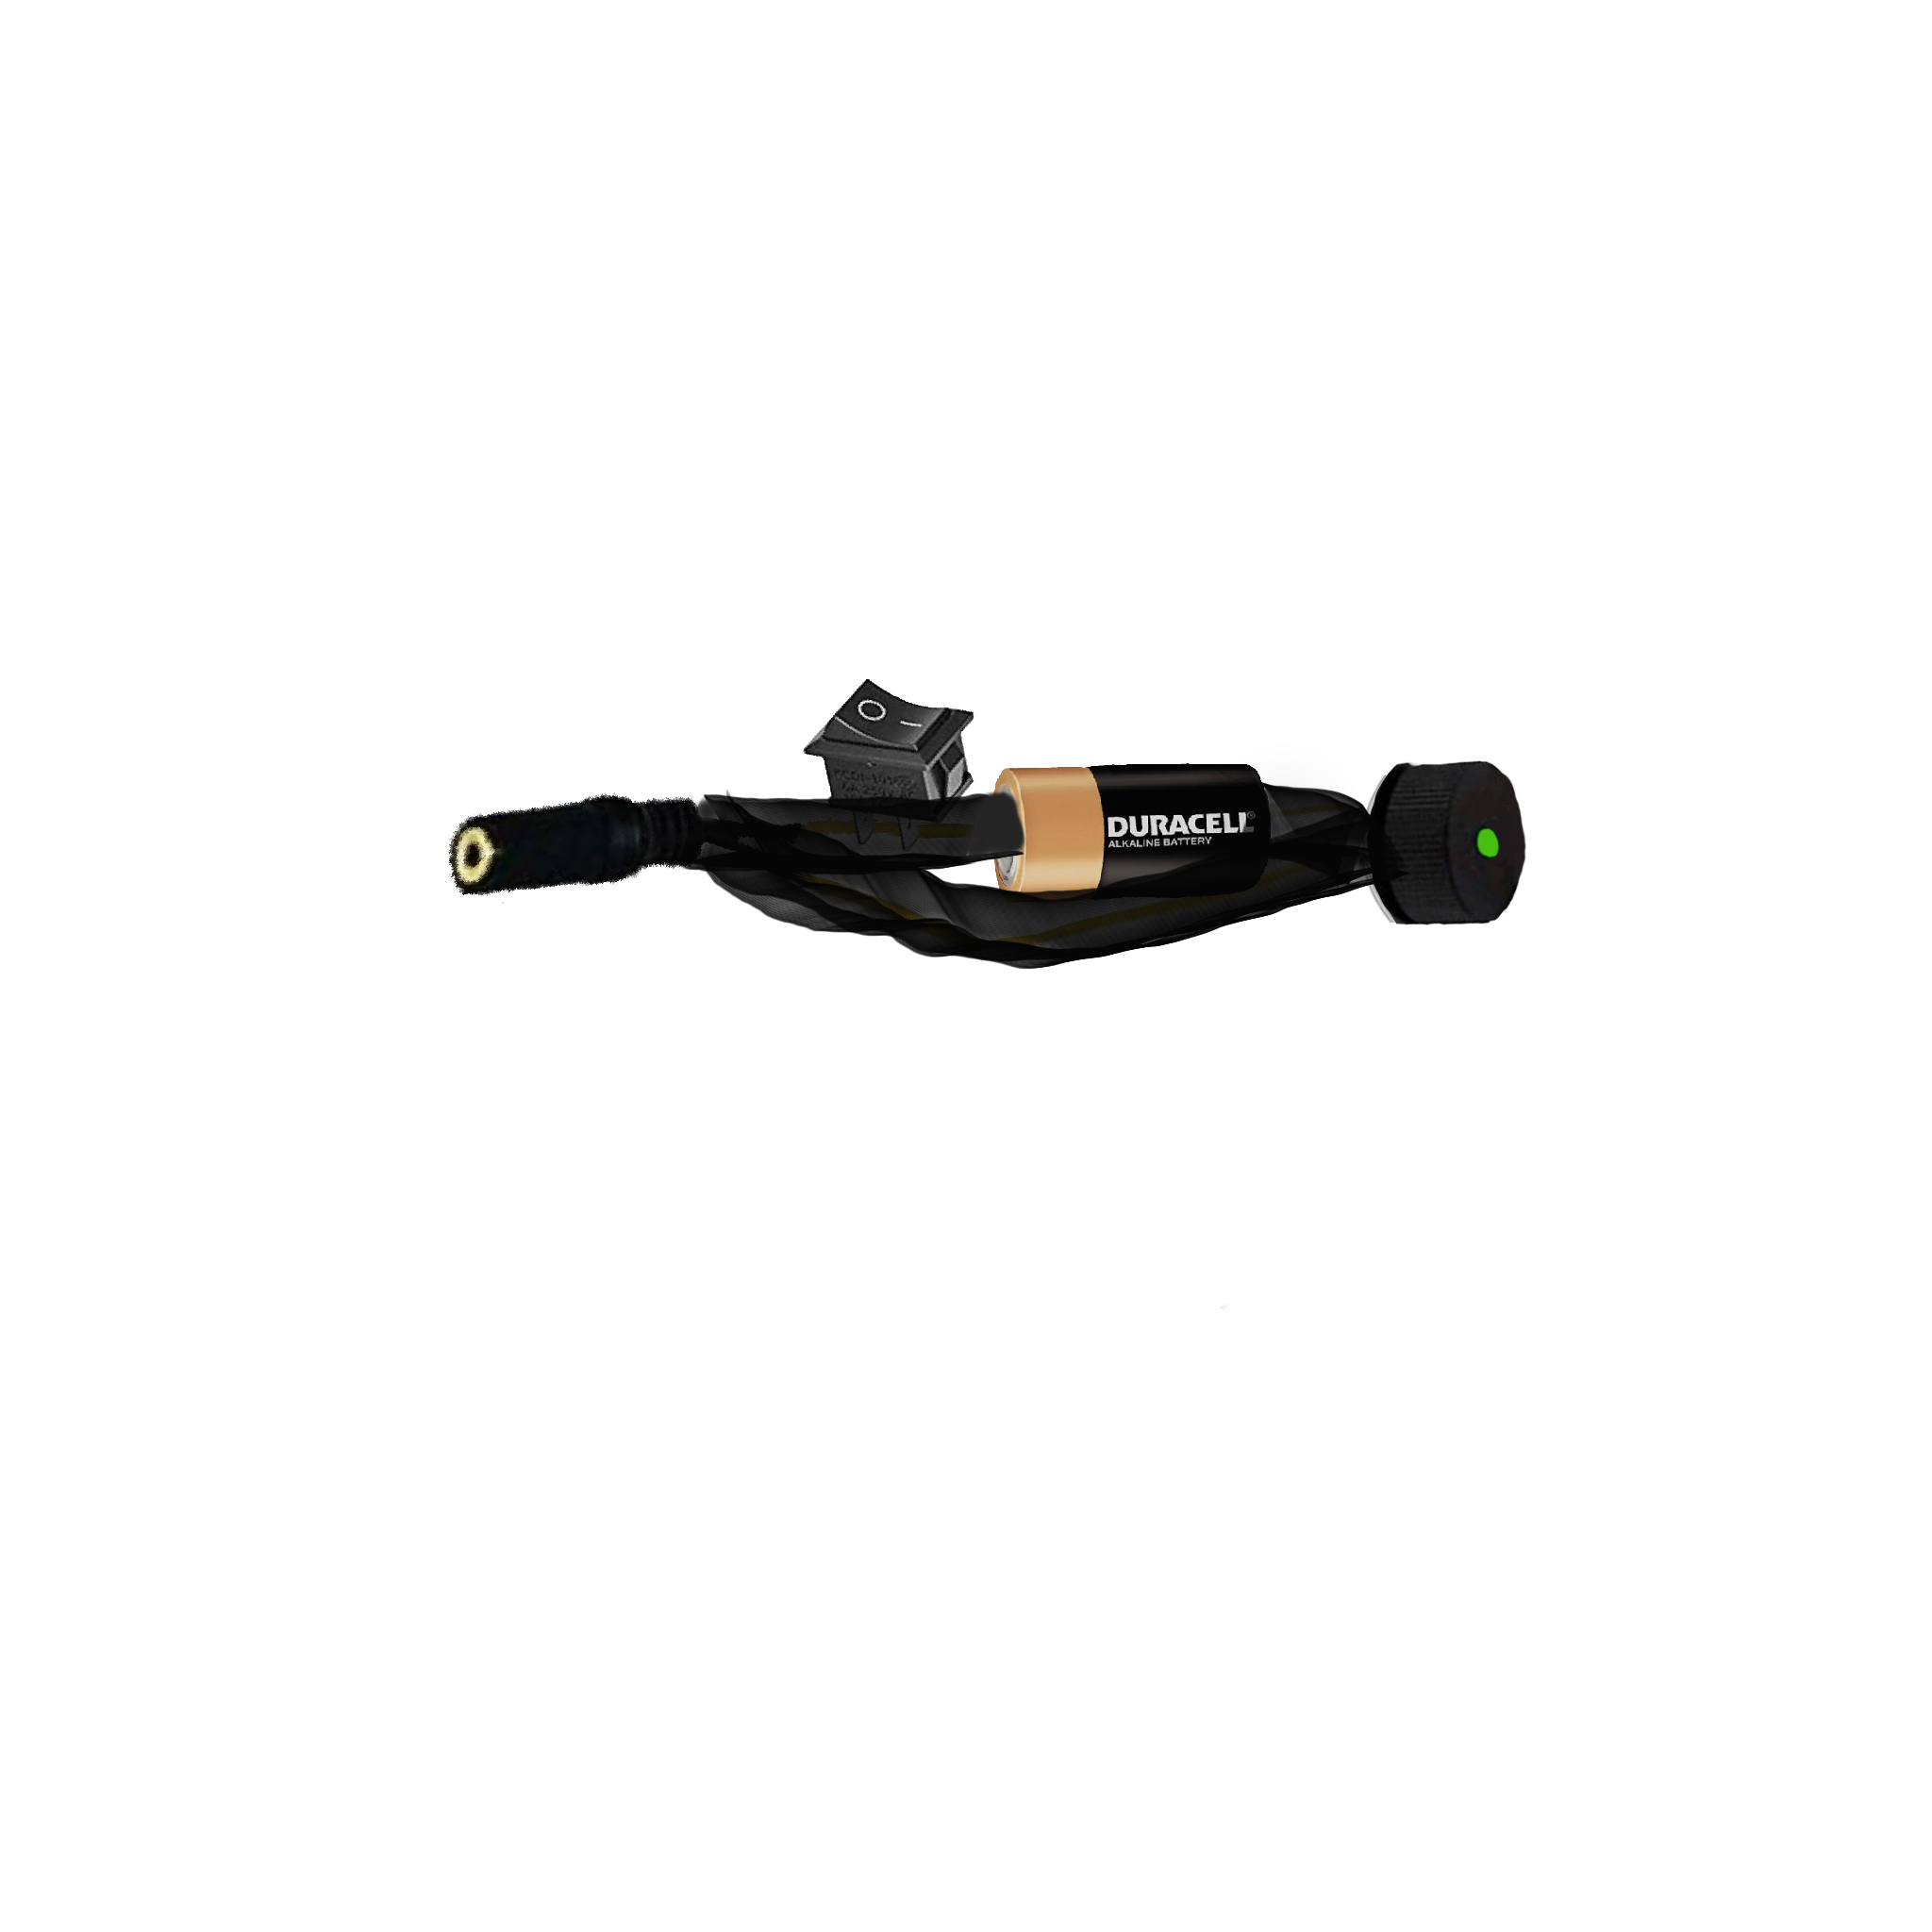
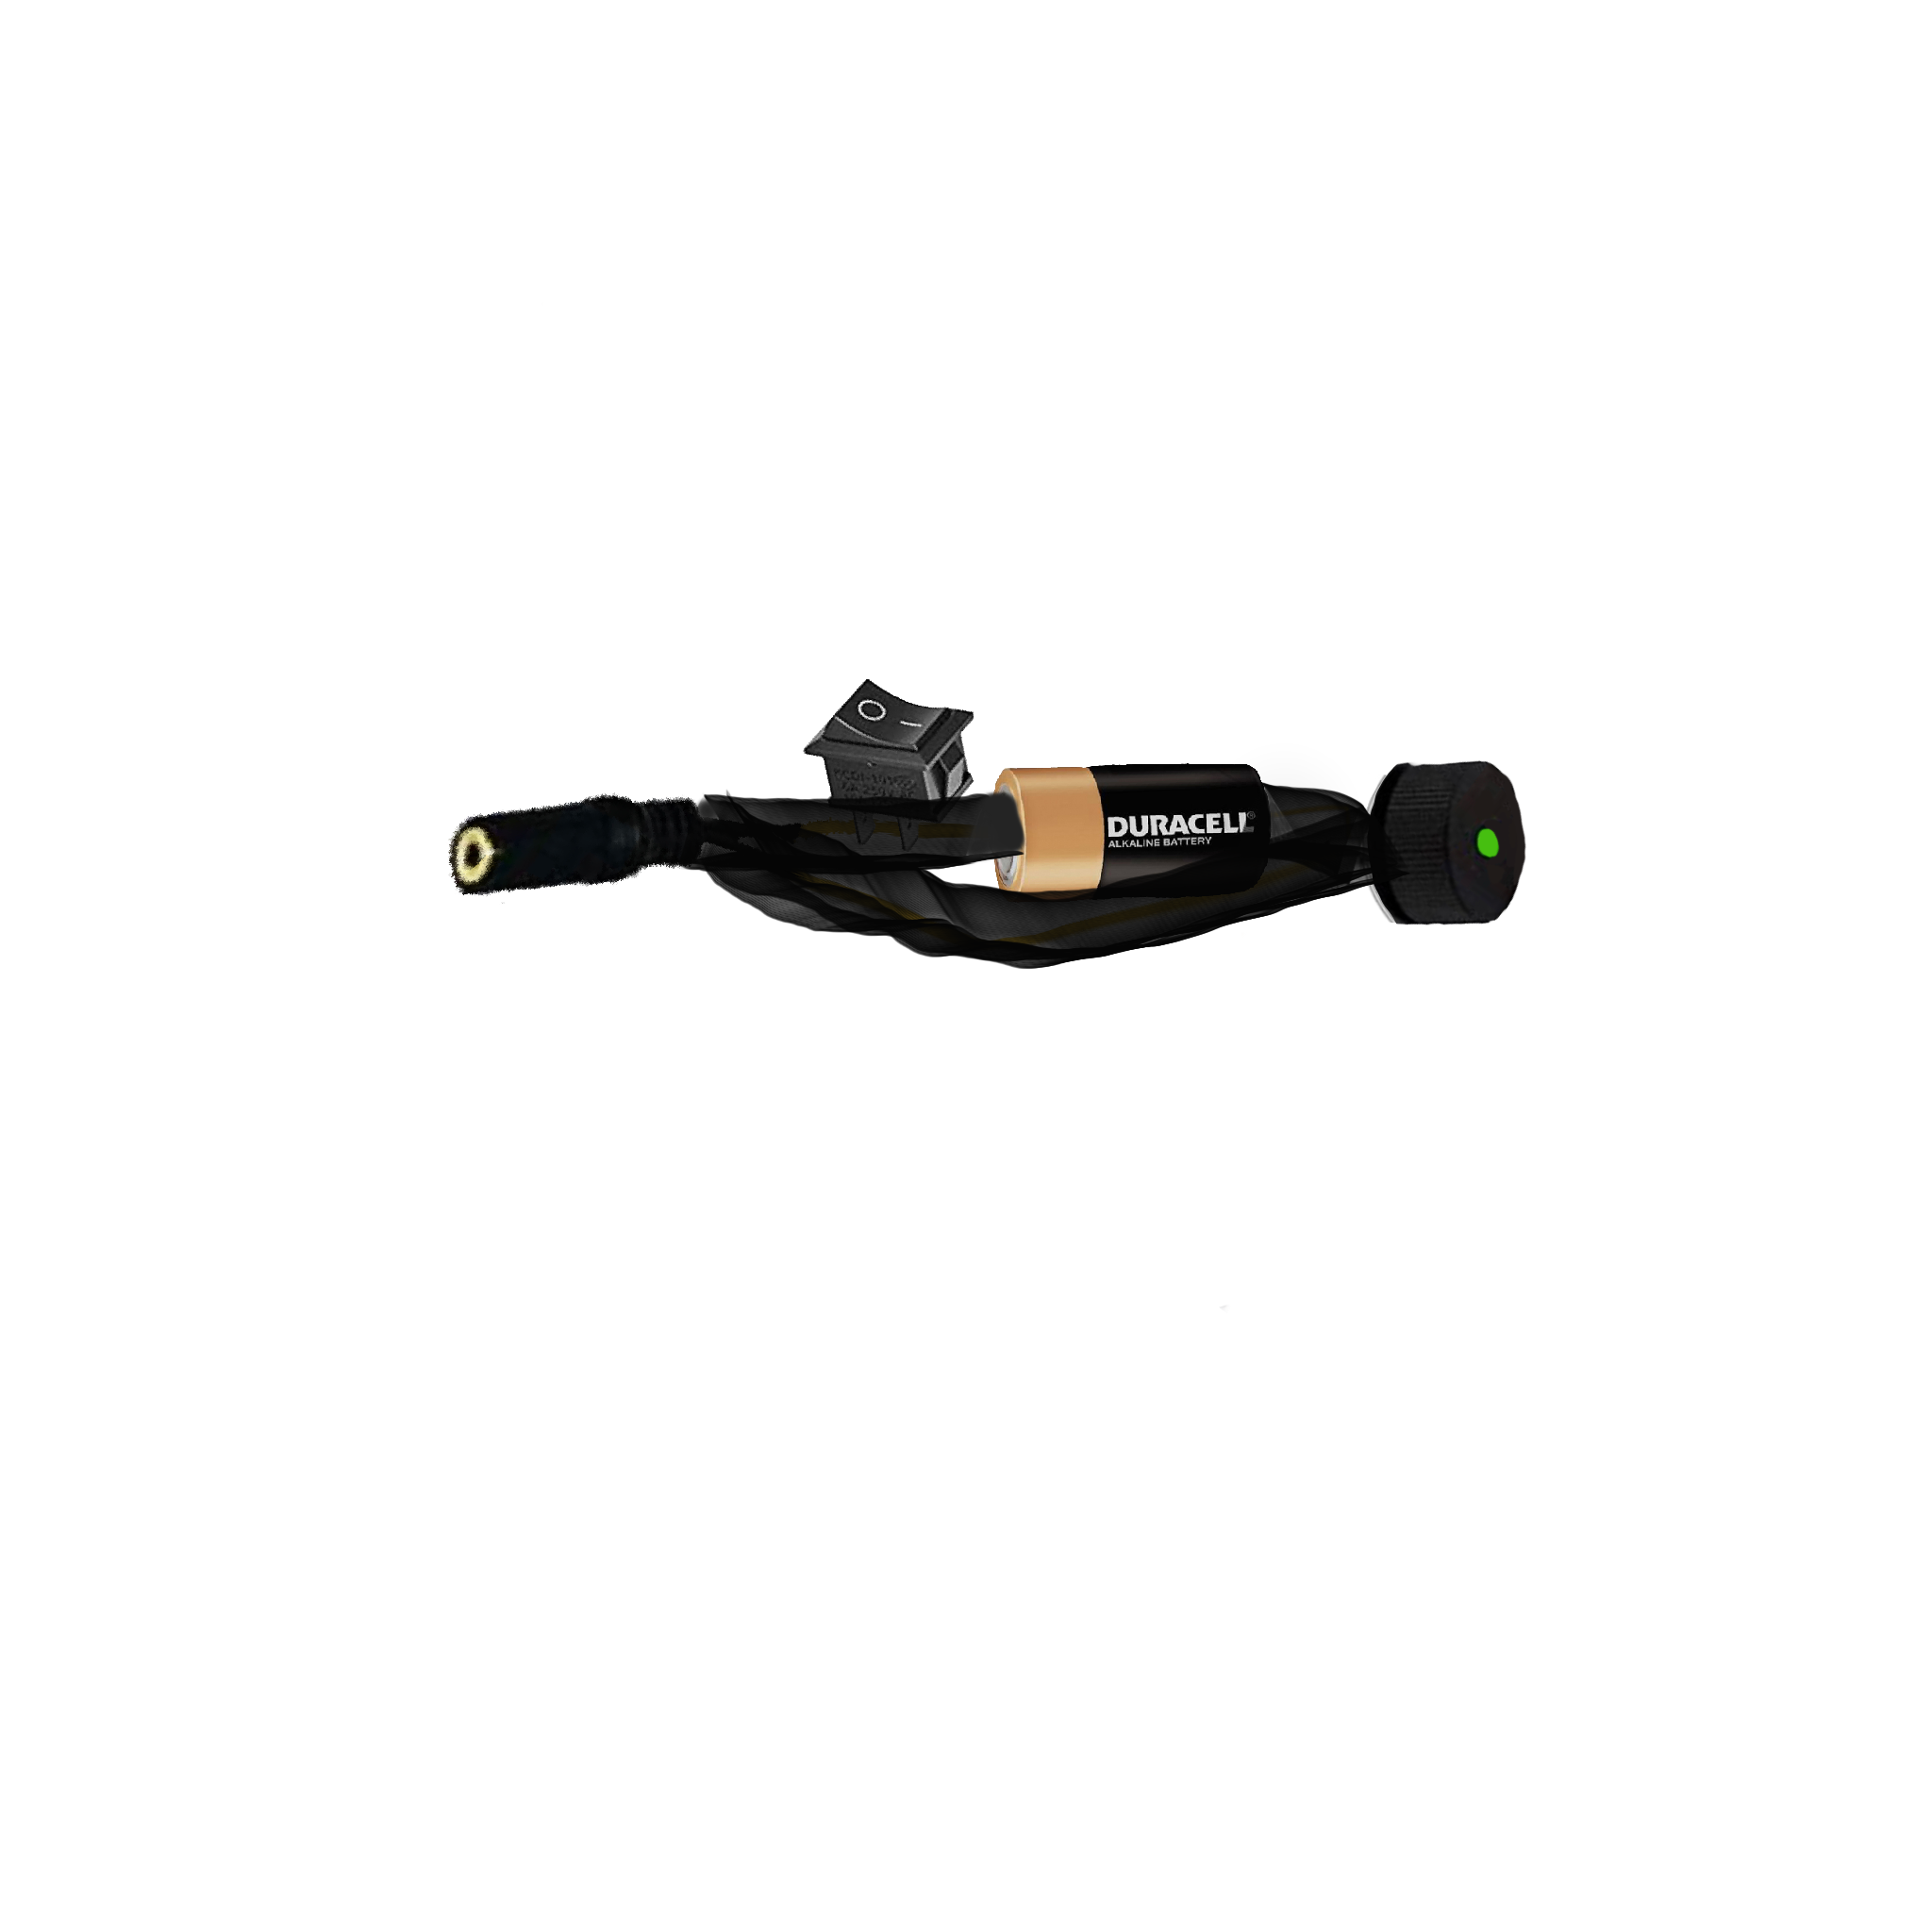
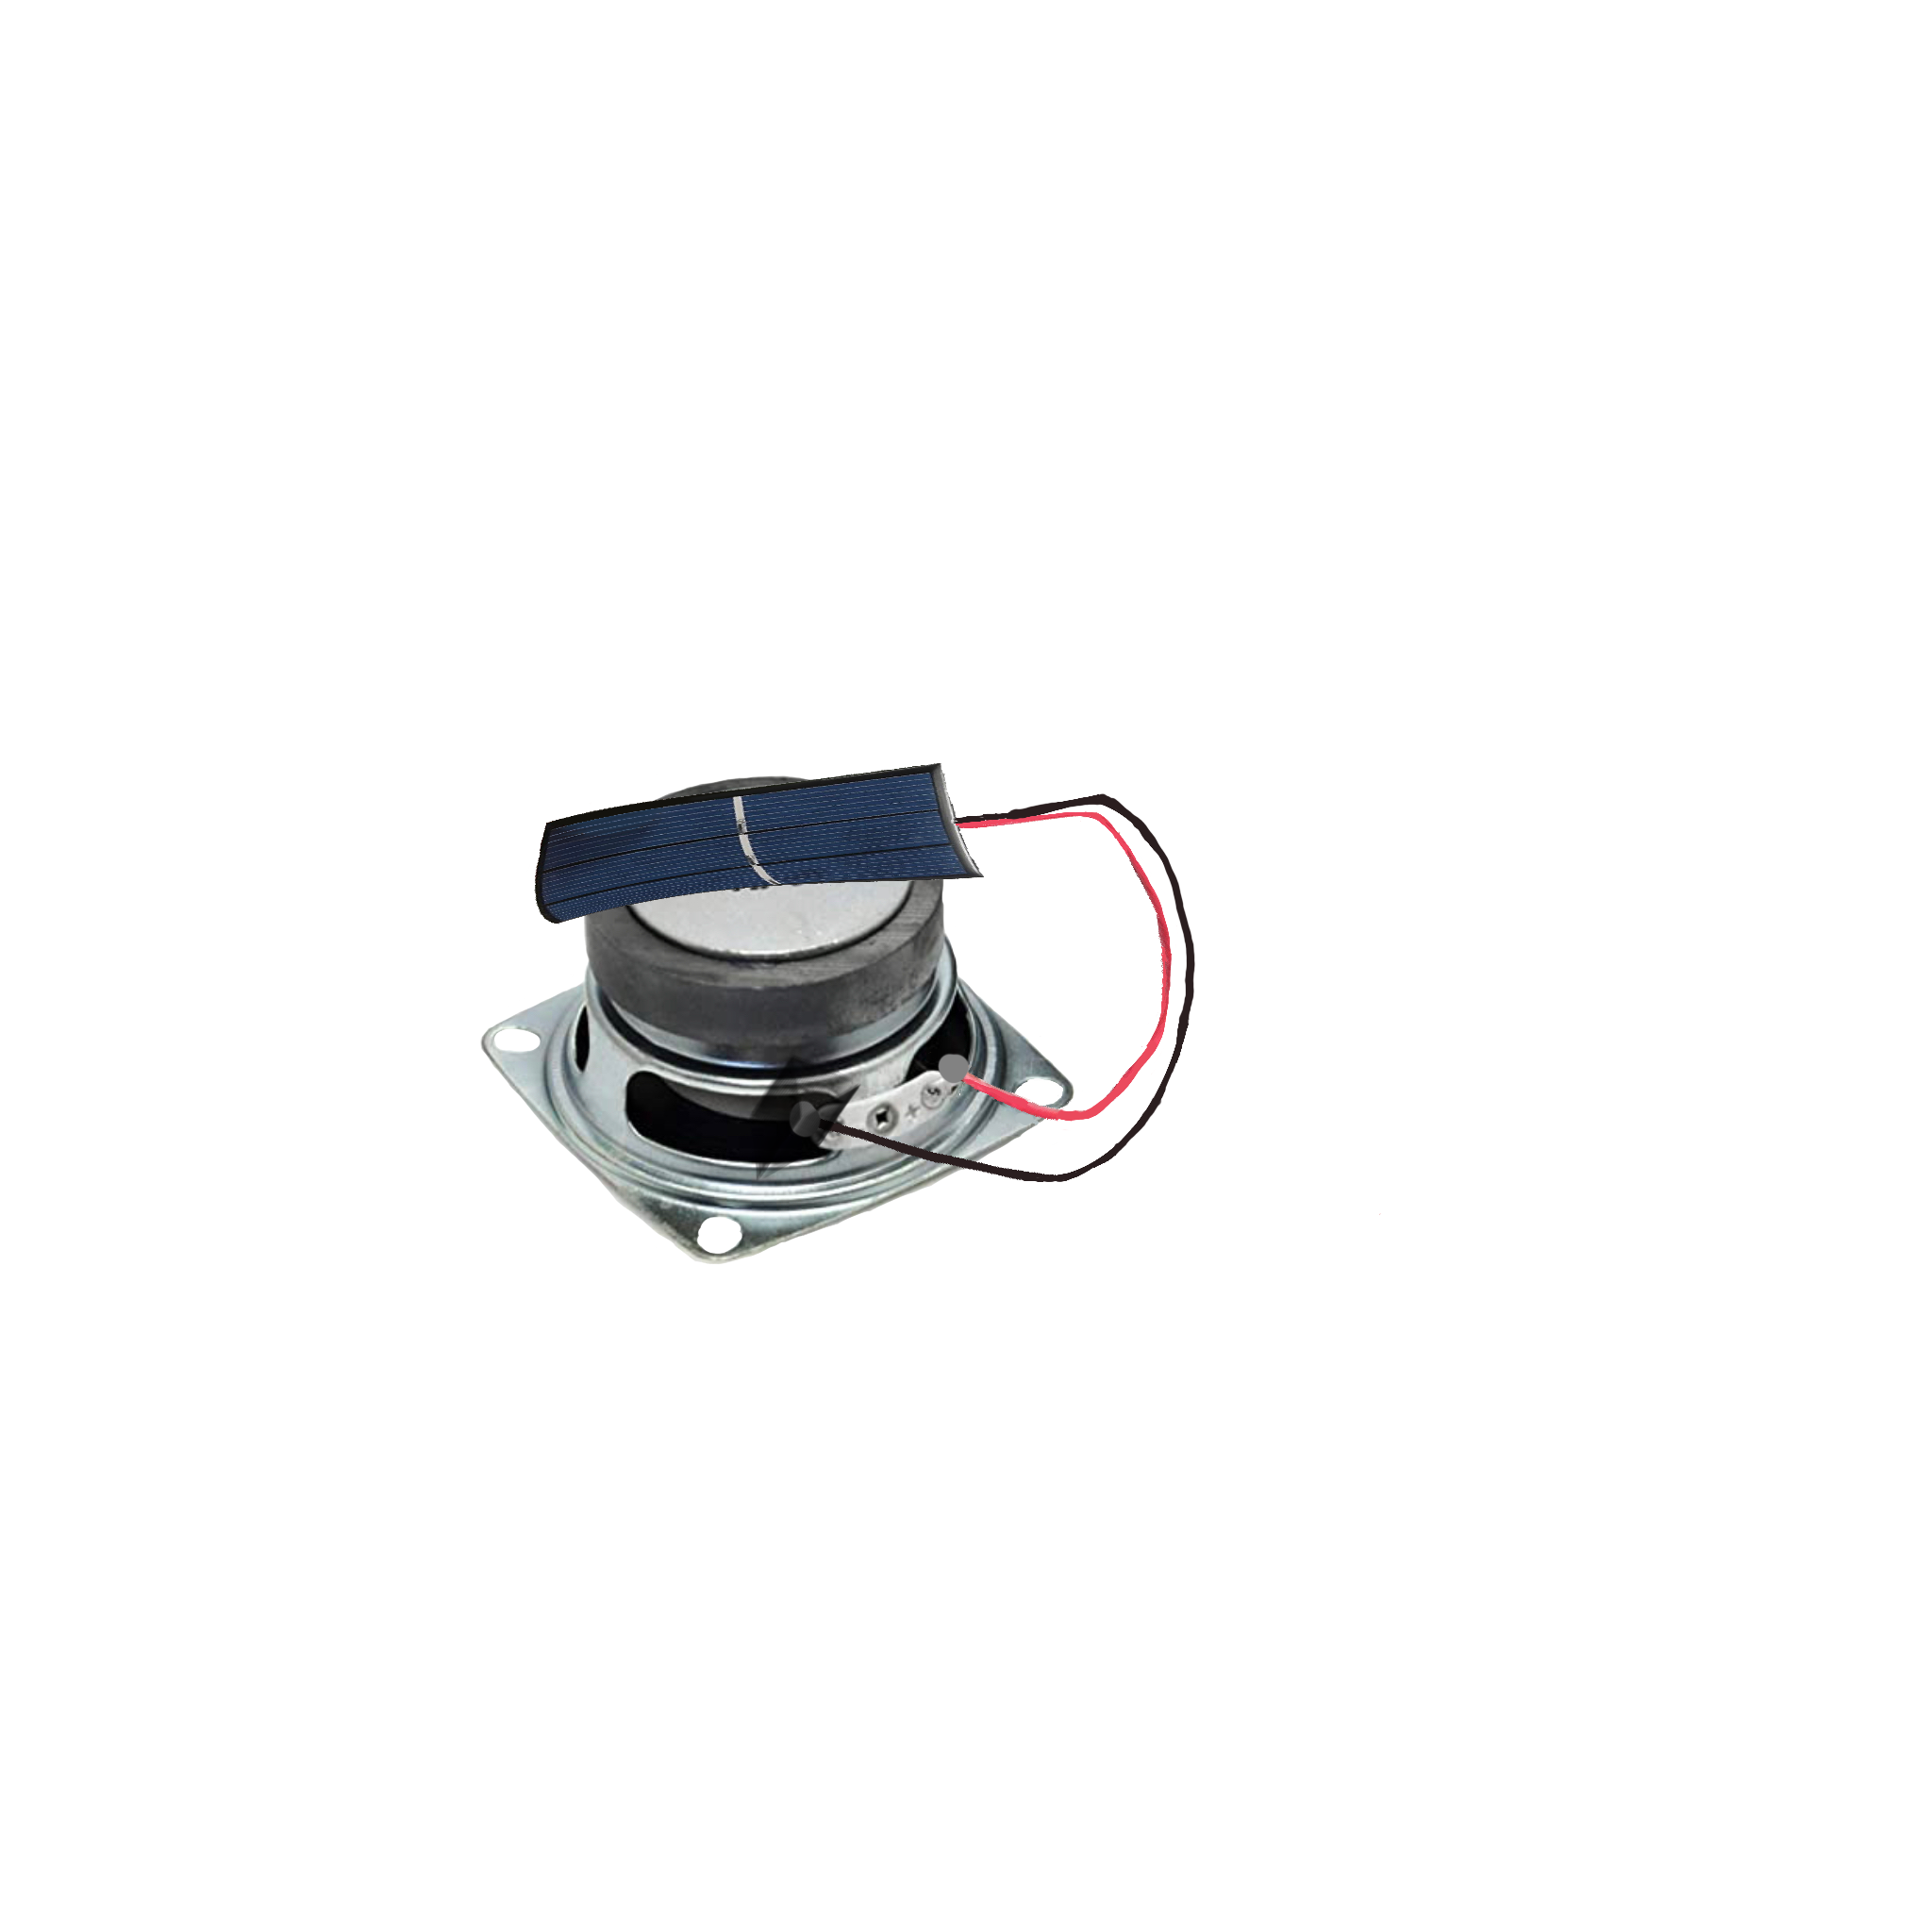
Once you have finished making the the receiver, you are ready to use your Laser Communicator
HOW TO USE:
First, you need an AUX Cable and a dongle (if your phone doesn't have a headphone jack).
You should plug your phone into the ‘Laser Communicator’, and have someone take the ‘Receiver’ to the other side of the room. If you play music from your phone and turn on the switch, the laser should turn on. Once the laser is turned on, aim it at the solar panel on the back of the ‘Receiver’. You should start to hear music come out of the speaker.
TROUBLE SHOOTING
If music is playing on your phone, but no sound is coming out of the speaker on the receiver, make sure your phone is plugged into the the ‘Laser Communicator’ and the switch is turned on, that that a laser beam is aimed at the ‘Receiver’. If everything is set up correctly, and there is still no laser beam coming out, than you might have wired it wrong, or some of the soldering points may have come undone. Go back and check all of your soldering points.
If a laser beam is coming out, and it's properly aimed at the receiver and you don't hear anything, it may be a volume issue. Try turning up the volume on the phone. If that still doesn’t fix it, than you may need to wire in an amplifier.