Making a Knitting Chart and Some Tips
by Ysabeau in Craft > Knitting & Crochet
2523 Views, 16 Favorites, 0 Comments
Making a Knitting Chart and Some Tips
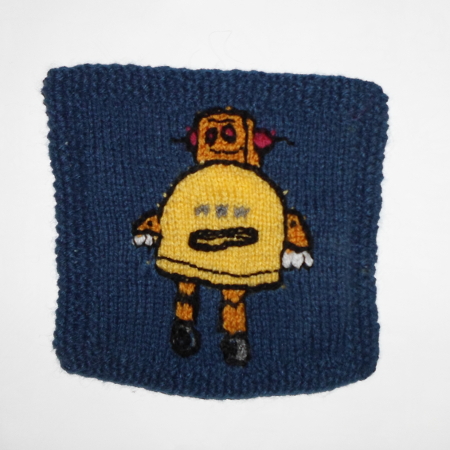
I know there are online tools to make knitting charts. But I always needed to work on the chart after. I found that making them with a spreadsheet is actually better and less time consuming.
In this instructable, I will show you how to use Calc (the spreadsheet of the free office suite LibreOffice that works the same for any OS) to make knitting charts for colour work. I even used it for stitches chart. I then will give you some tips.
Are you ready?
The Picture Comes First
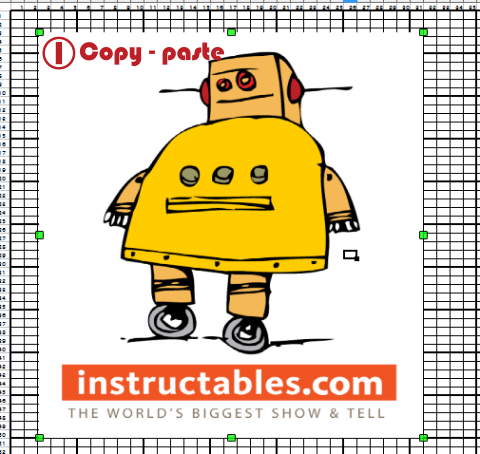
I used the template I made for that: the cells have the exact proportions for a knitting chart. You can download it: it is grille.ots (grille, French for chart and ots means that it is a format of template spreadsheet, you can open it with Microsoft office Windows if you want, but the features are not exactly the same).
Copy-paste the picture on the sheet.
What is a good picture for a knitting chart?
Not too many colours or details. If yes, you will have to adapt the picture: less details, less colours, use a variegated yarn for example or make a bigger knitted work. That is not always possible.
Not too big for a small chart.
Downloads
Bring the Picture to the Background
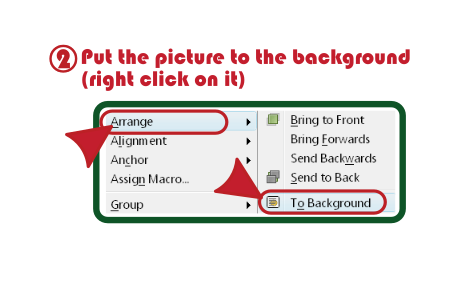
Right-click on the picture and bring it to background. That way, it will be more easy to work.
You will use the picture as a template for your chart.
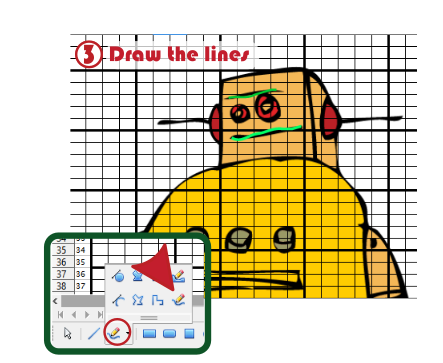
Draw the lines if necessary.
You will not have to do it for all the pictures, but for this one I have to draw lines to help me for the finishing.
Draw them using the tools of Calc. Do not hesitate to chose a not true contrasting colour. They must be easy to see.
Here I make them in a flashy green.
It is more easy to begin with the lines and then to fill the cells because the colours of the cells hide the picture.
Fill the Cells
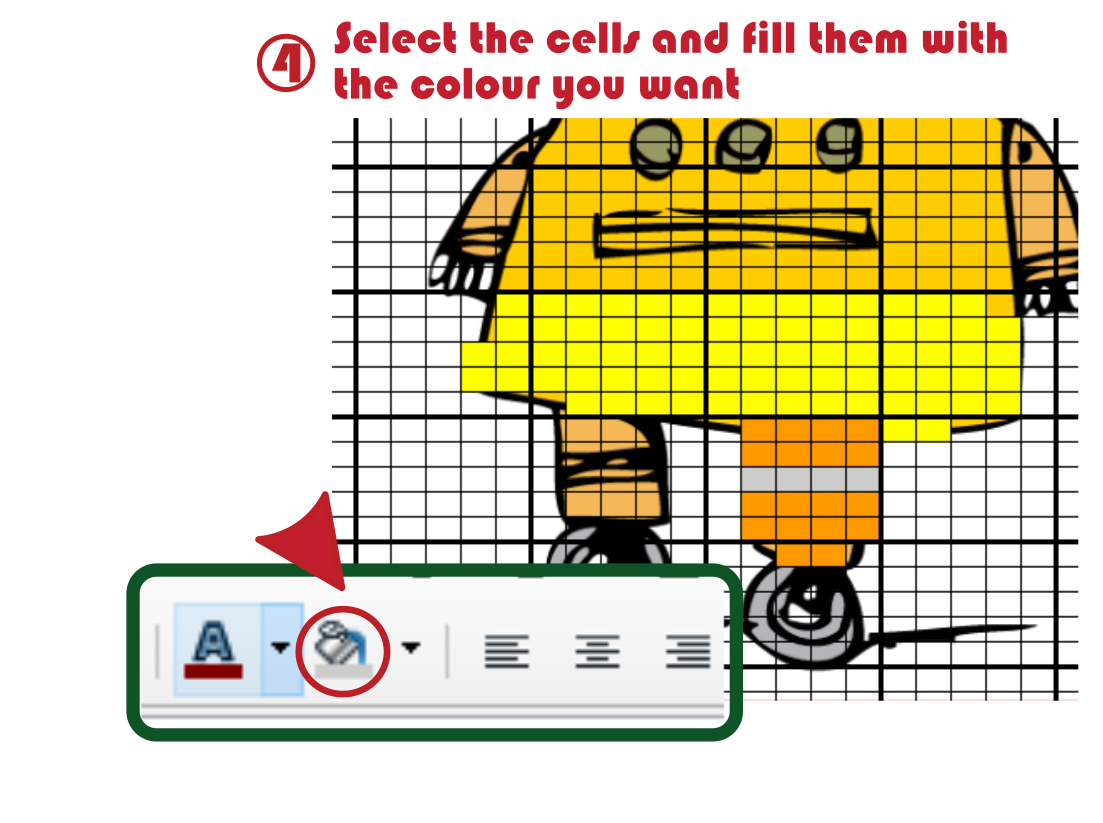
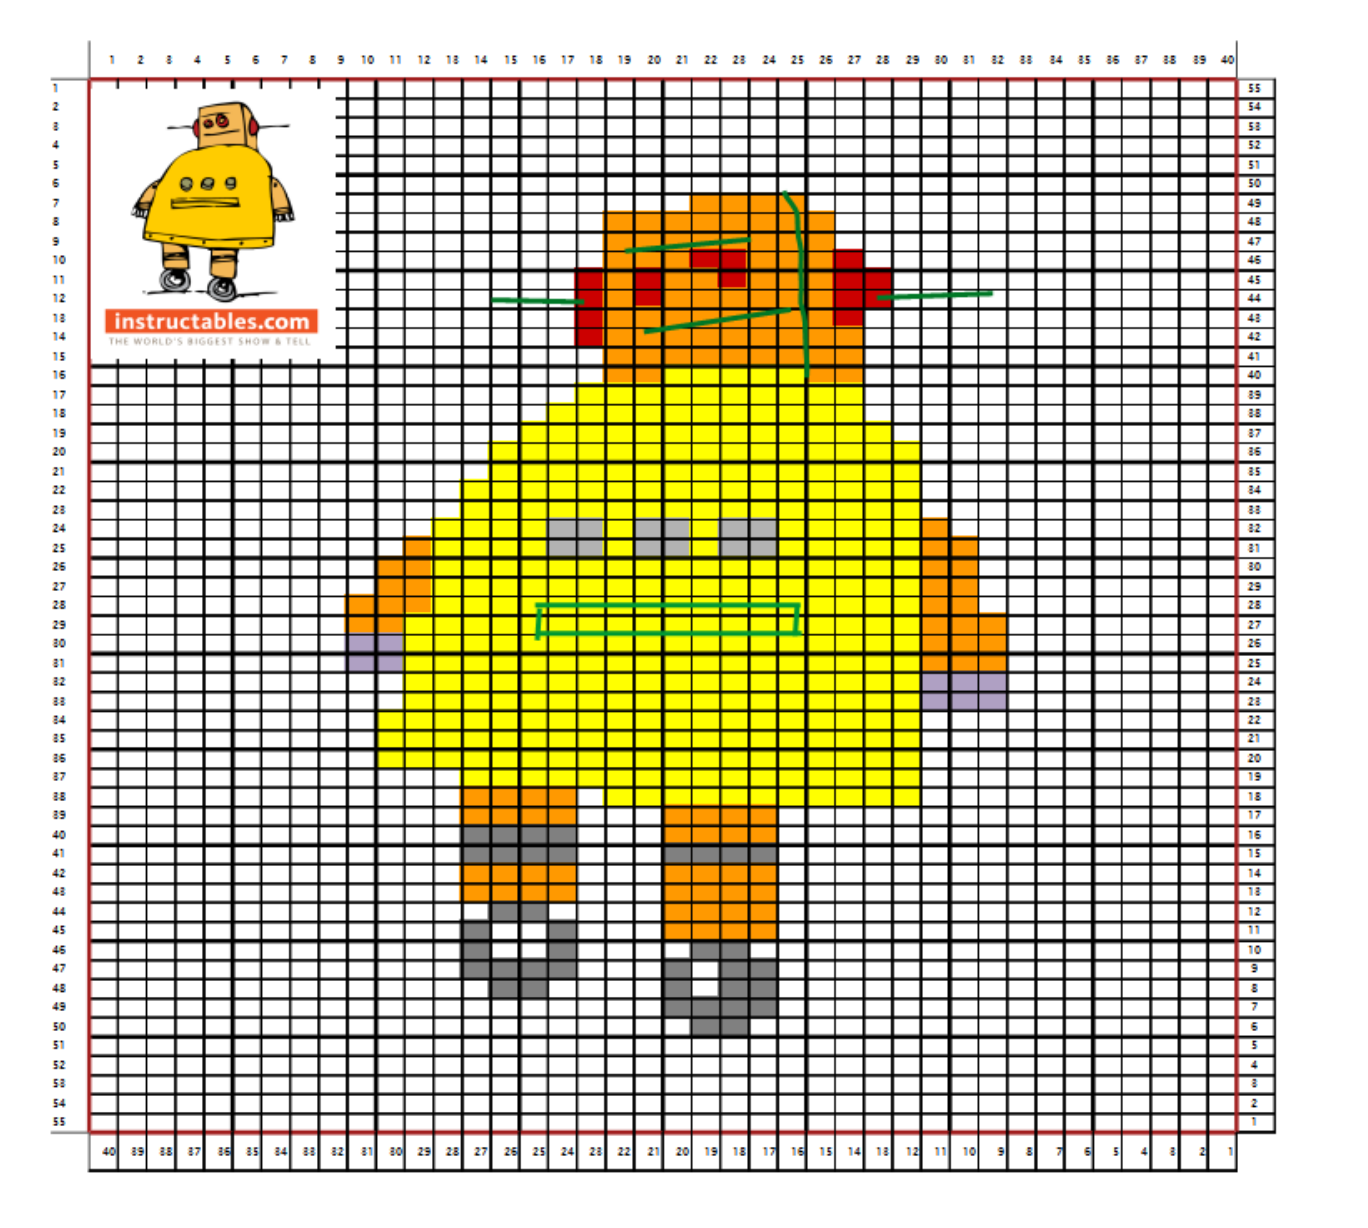
Select the cells (to go faster press the key Ctrl to select them if they are not contiguous) and fill them with the colour you want.
Again, do not pay too much attention to the "true" colours, above all if the chart will be printed. The most important is the visibility and the contrast. The piece of art is your knitting not the chart!
When it is done, bring again the picture to front as you did to bring it to background and delete it.
You also, as you can see, can put a thumbnail of the picture on the left top of the chart. It is helping when you work on it and for the finishing.
Note that instead of using a picture you also can "draw" a pattern on the chart by filling the cells with colours.
Finishing and Tips
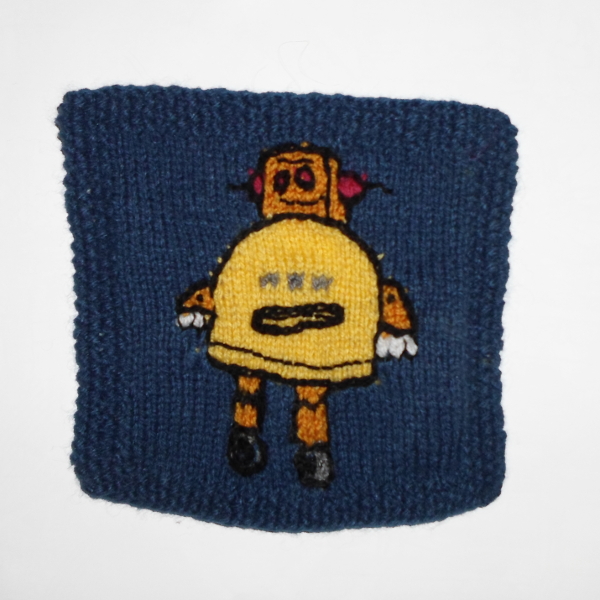
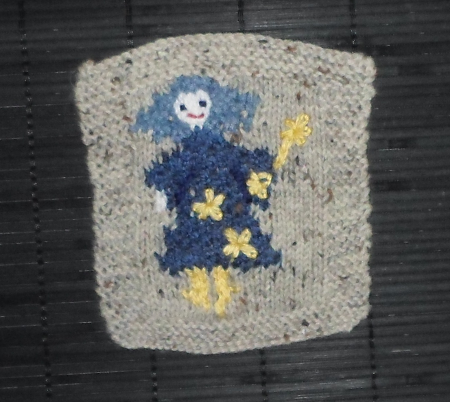
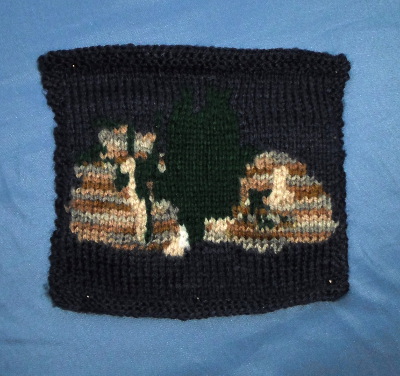
If necessary, embroider the details like for the robot.
Embroidery is useful to add details you could not knit. In the square with the blue doll, not only I embroidered the eyes and the mouth but also the flowers (that were stars on the original picture) and the magic wand.
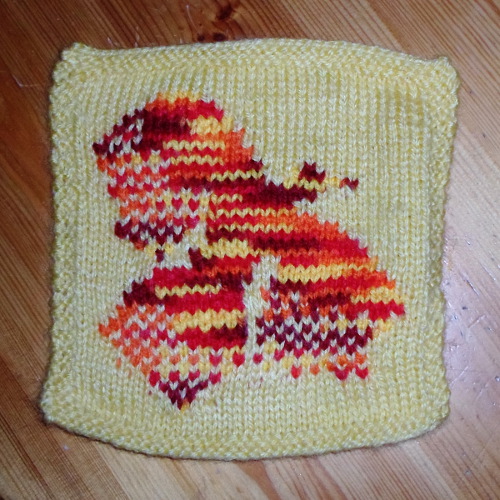
Variegated yarn can give the illusion of colour work: in the square The Isle of the Dead, it was the best way I found to represent the colours of the rock of the original painting (link opens in a new tab) on a 15 x 15 cm square (6x6'). It also was a good way to represent the "fire" of the phoenix. The square is knitted with only two different yarns: the plain yellow and the variegated yarn with fire tones.
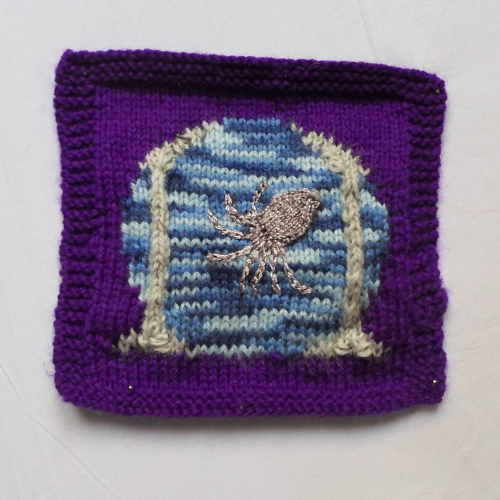
Appliqué are a good way to add details also because you can make them with a lighter yarn than the whole knitting: that is how the octopus is knitted in the violet square.
Duplicate stitch is your friend to hide mistakes (that you can see on the robot square) or very few stitches you did not want to knit.
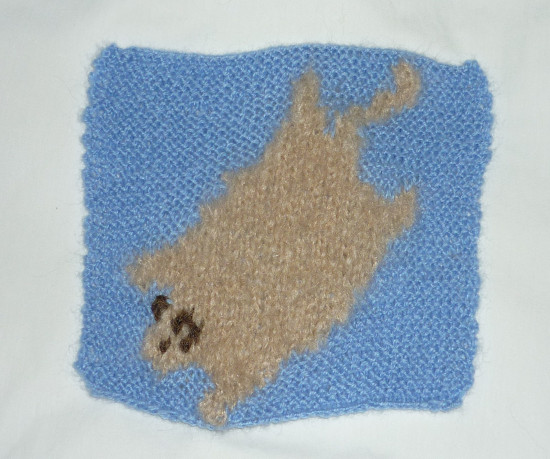
A different stitch for the pattern and for the background: if, like for the flying squirrel, you make a garter stitch background, you must make more garter stitch rows than stockinette stitch. It is invisible but the result is better (and flat).
Cross the yarns when you change the colour on a row when you work intarsia if you do not want to have hole.
If you have no more than 5 or 6 stitches: work with stranded work instead of intarsia. That I did for the legs of the robot.
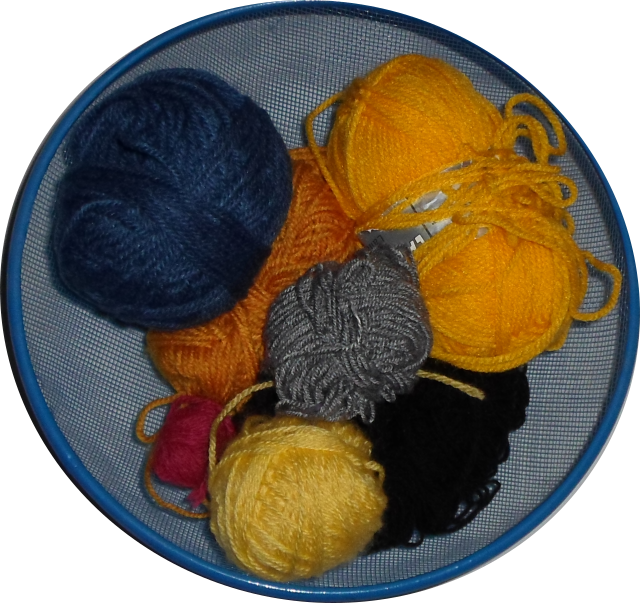
Gather your yarns before to begin to knit and do not worry if they are not from he same brand...
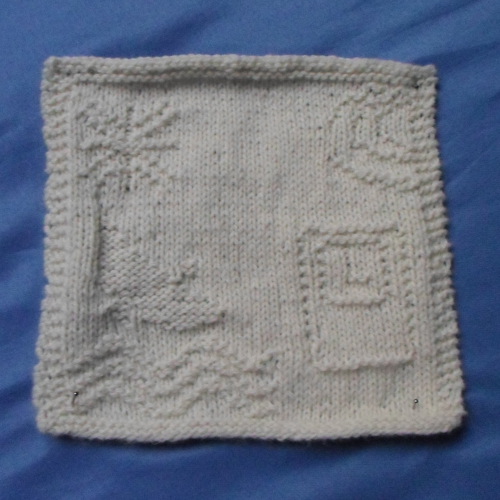
Also, you can make a plain colour work but use the spreadsheet to make the design: in the square Enivrez-vous, the pattern is given with the garter stitches on the stockinette stitches.
And the boring bit to finish, sorry: you can make any chart you want but if you want to sell them, ensure you you have the rights to do it and you do not infringe copyrights.
Happy knitting.
PS: some of the charts of this tutorial and the template can be downloaded on aiguilles-magiques, the template can also be downloaded on the website of templates of LibreOffice and, obviously, you can get LibreOffice for free in any language you want for any OS.