Making a JAMMArcade With Raspberry Pi (1-player)
by acrue in Circuits > Raspberry Pi
3760 Views, 88 Favorites, 0 Comments
Making a JAMMArcade With Raspberry Pi (1-player)
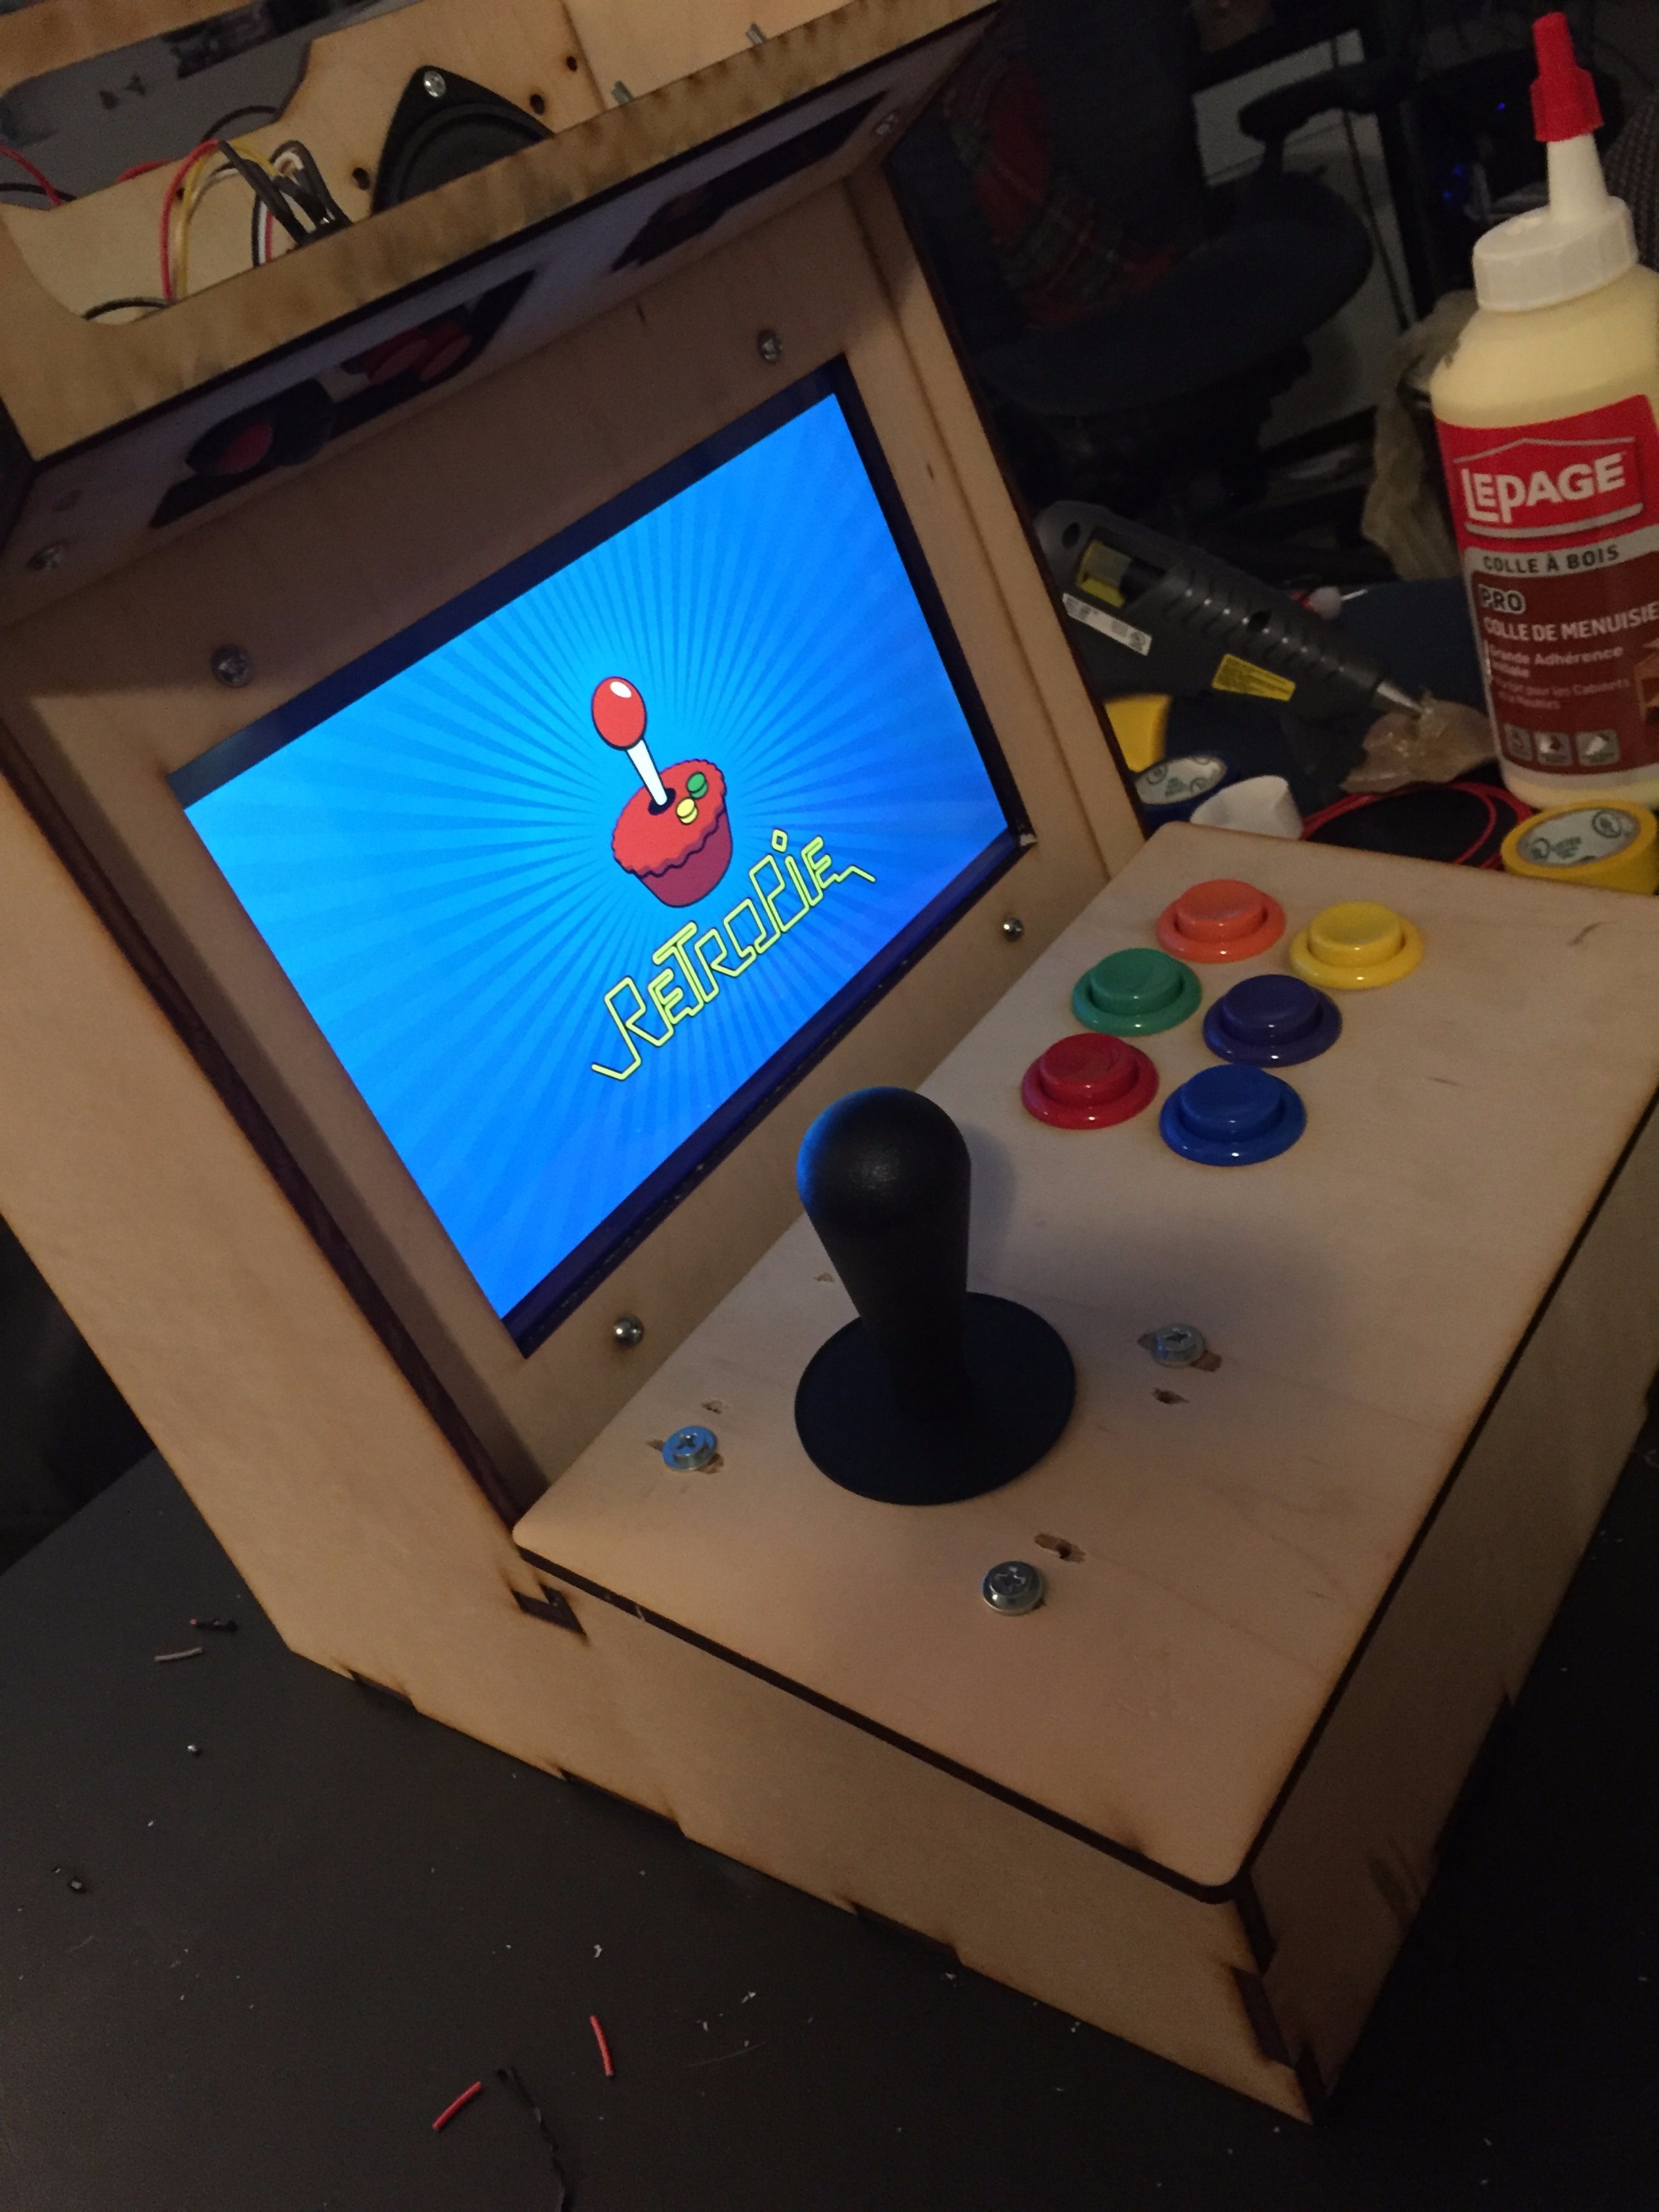
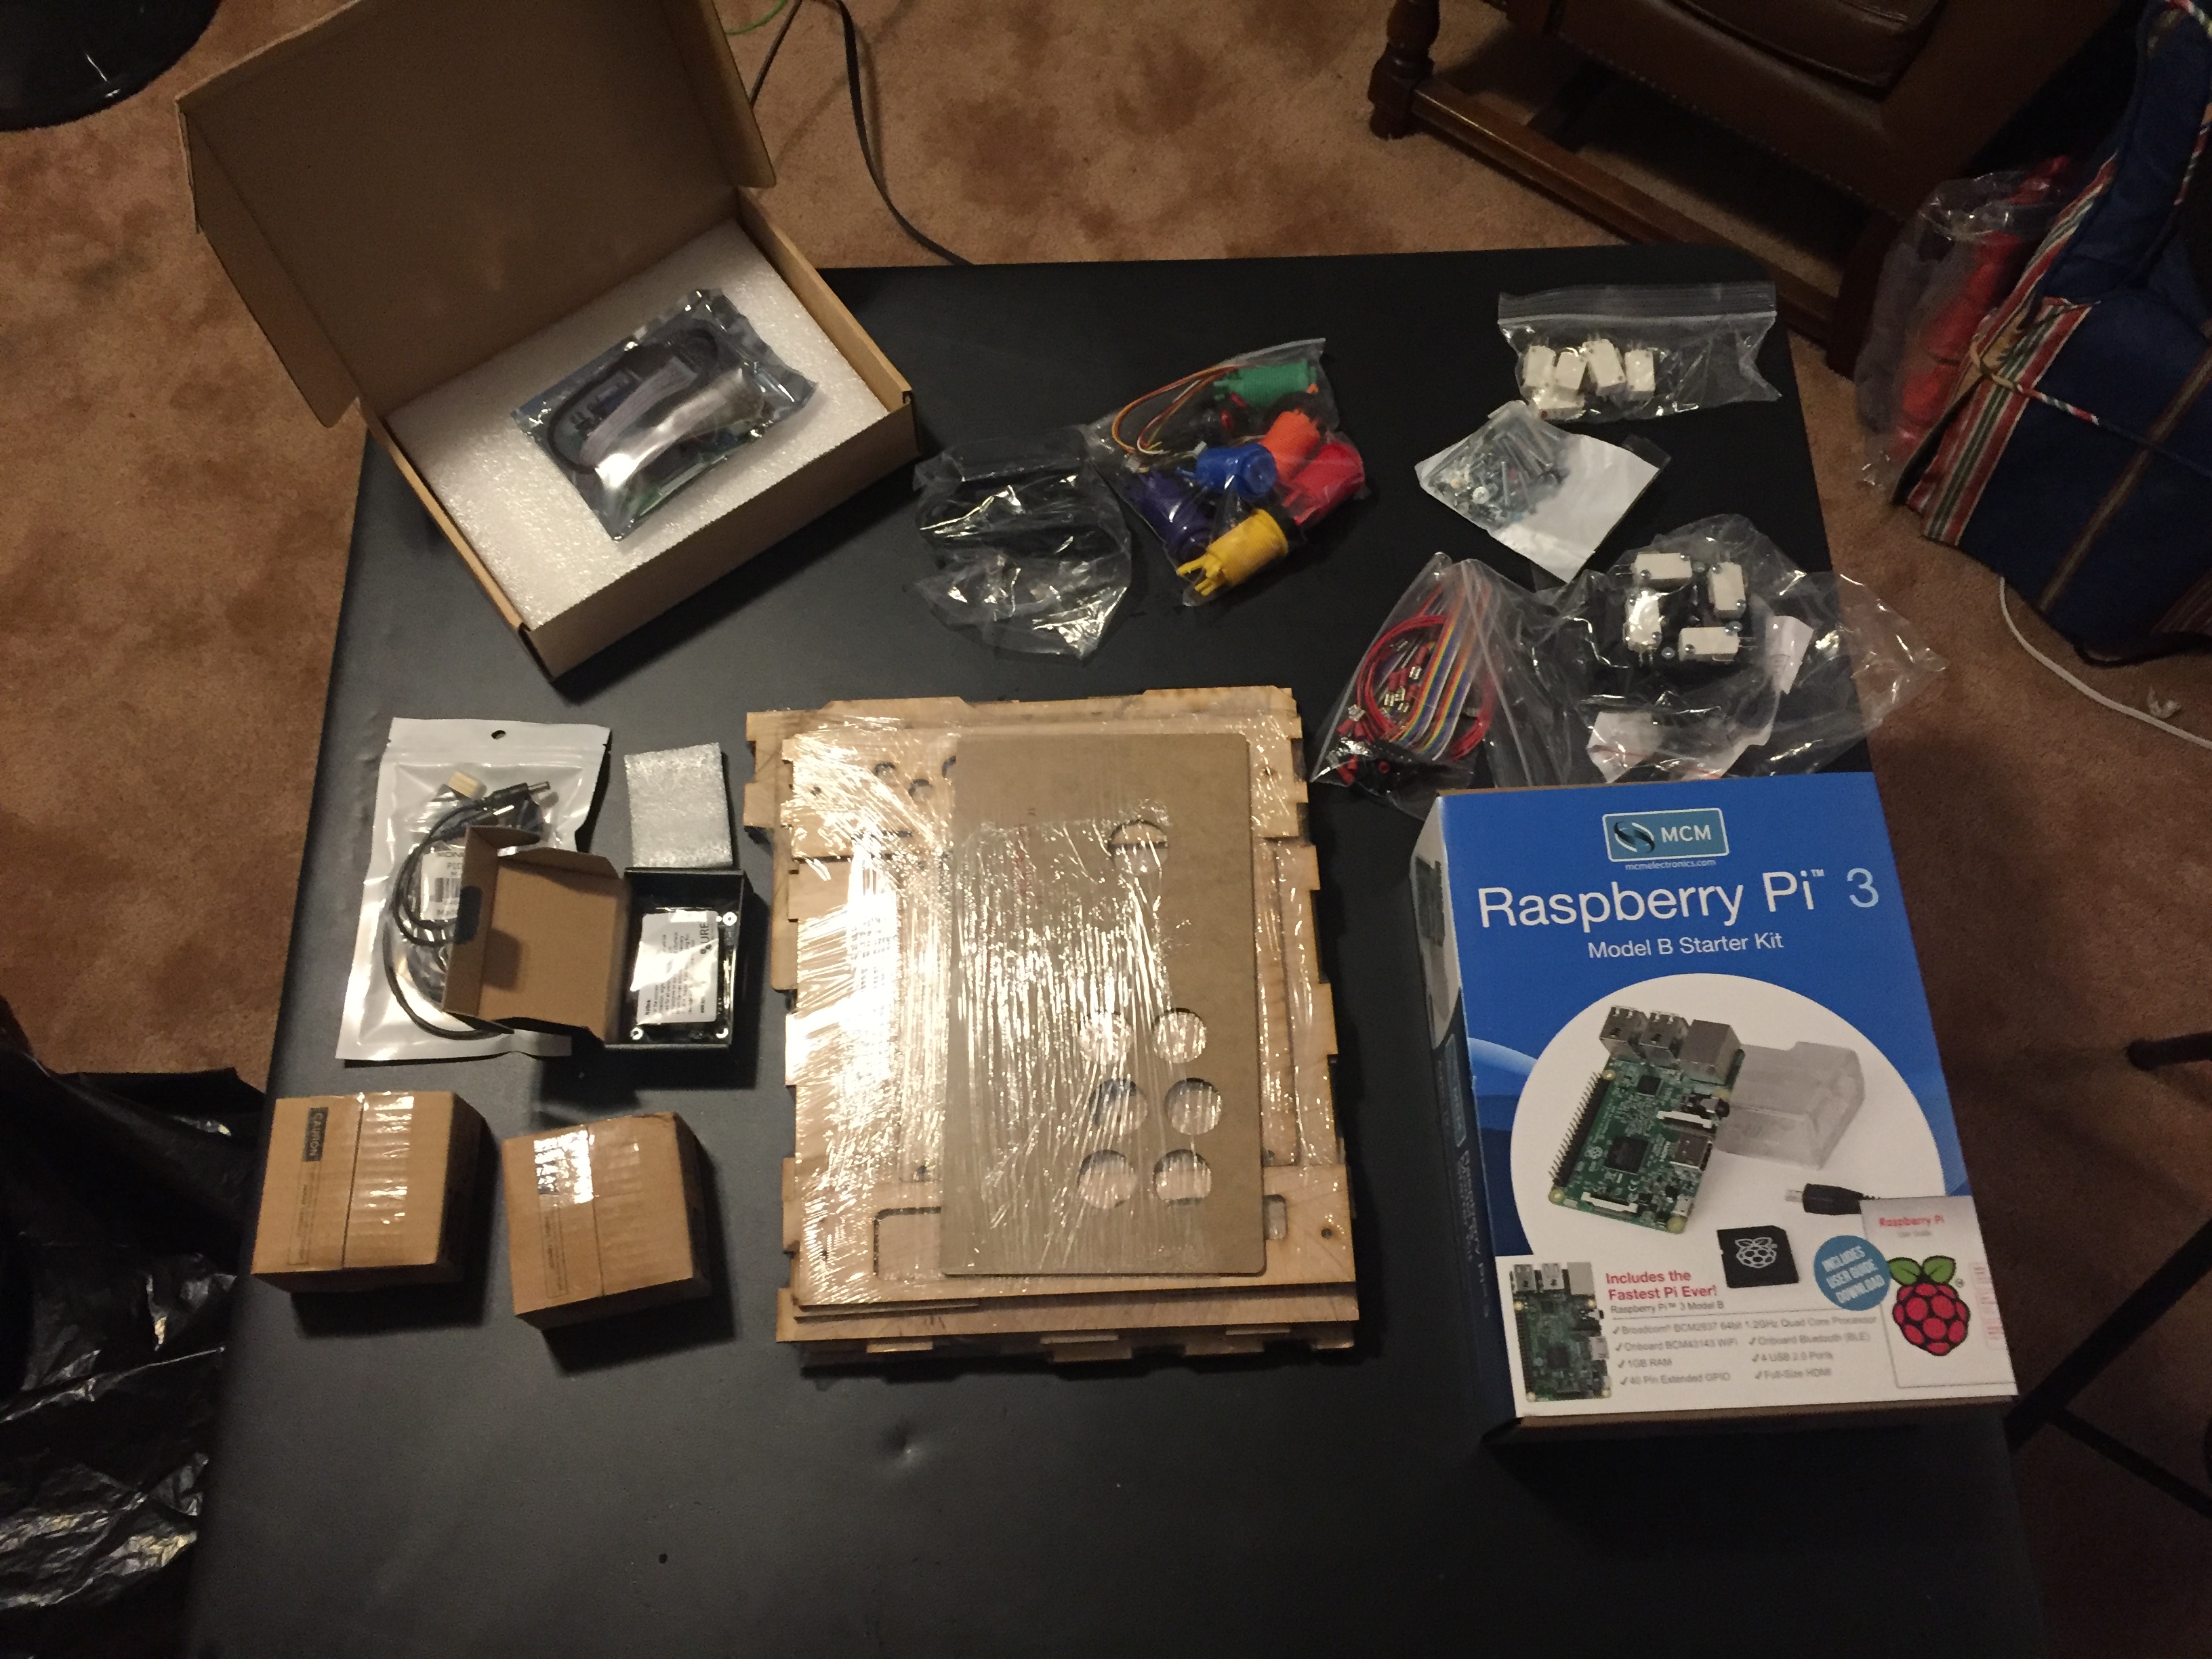
Hello everyone!
This instructables page is made to help you Build a mini JAMMArcade (1-player) with a Raspberry Pi!
The JAMMArcade is a kit available for purchase from http://www.retrobuiltgames.com/the-build-page/mini... .
For the purposes of this guide, I will assume you either bought the full kit from the website, or acquired all the same components from other retailers.
RetroBuiltGames provides a pdf instruction manual for assembling their Porta-Pi Arcade Kit, but they do not provide a similar document for the JAMMArcade. I highly recommend you get the instruction manual for the Porta-Pi Arcade available here: http://www.retrobuiltgames.com/porta-pi-arcade-hel... . The kits are not identical, but the assembly instructions are extremely similar.
This is a link to the JAMMArcade page on the website, it includes some helpful photos and a (very fast) video of how to assemble. These are very useful references! http://www.retrobuiltgames.com/diy-kits-shop/mini-... .
Gluing the Frame Together!
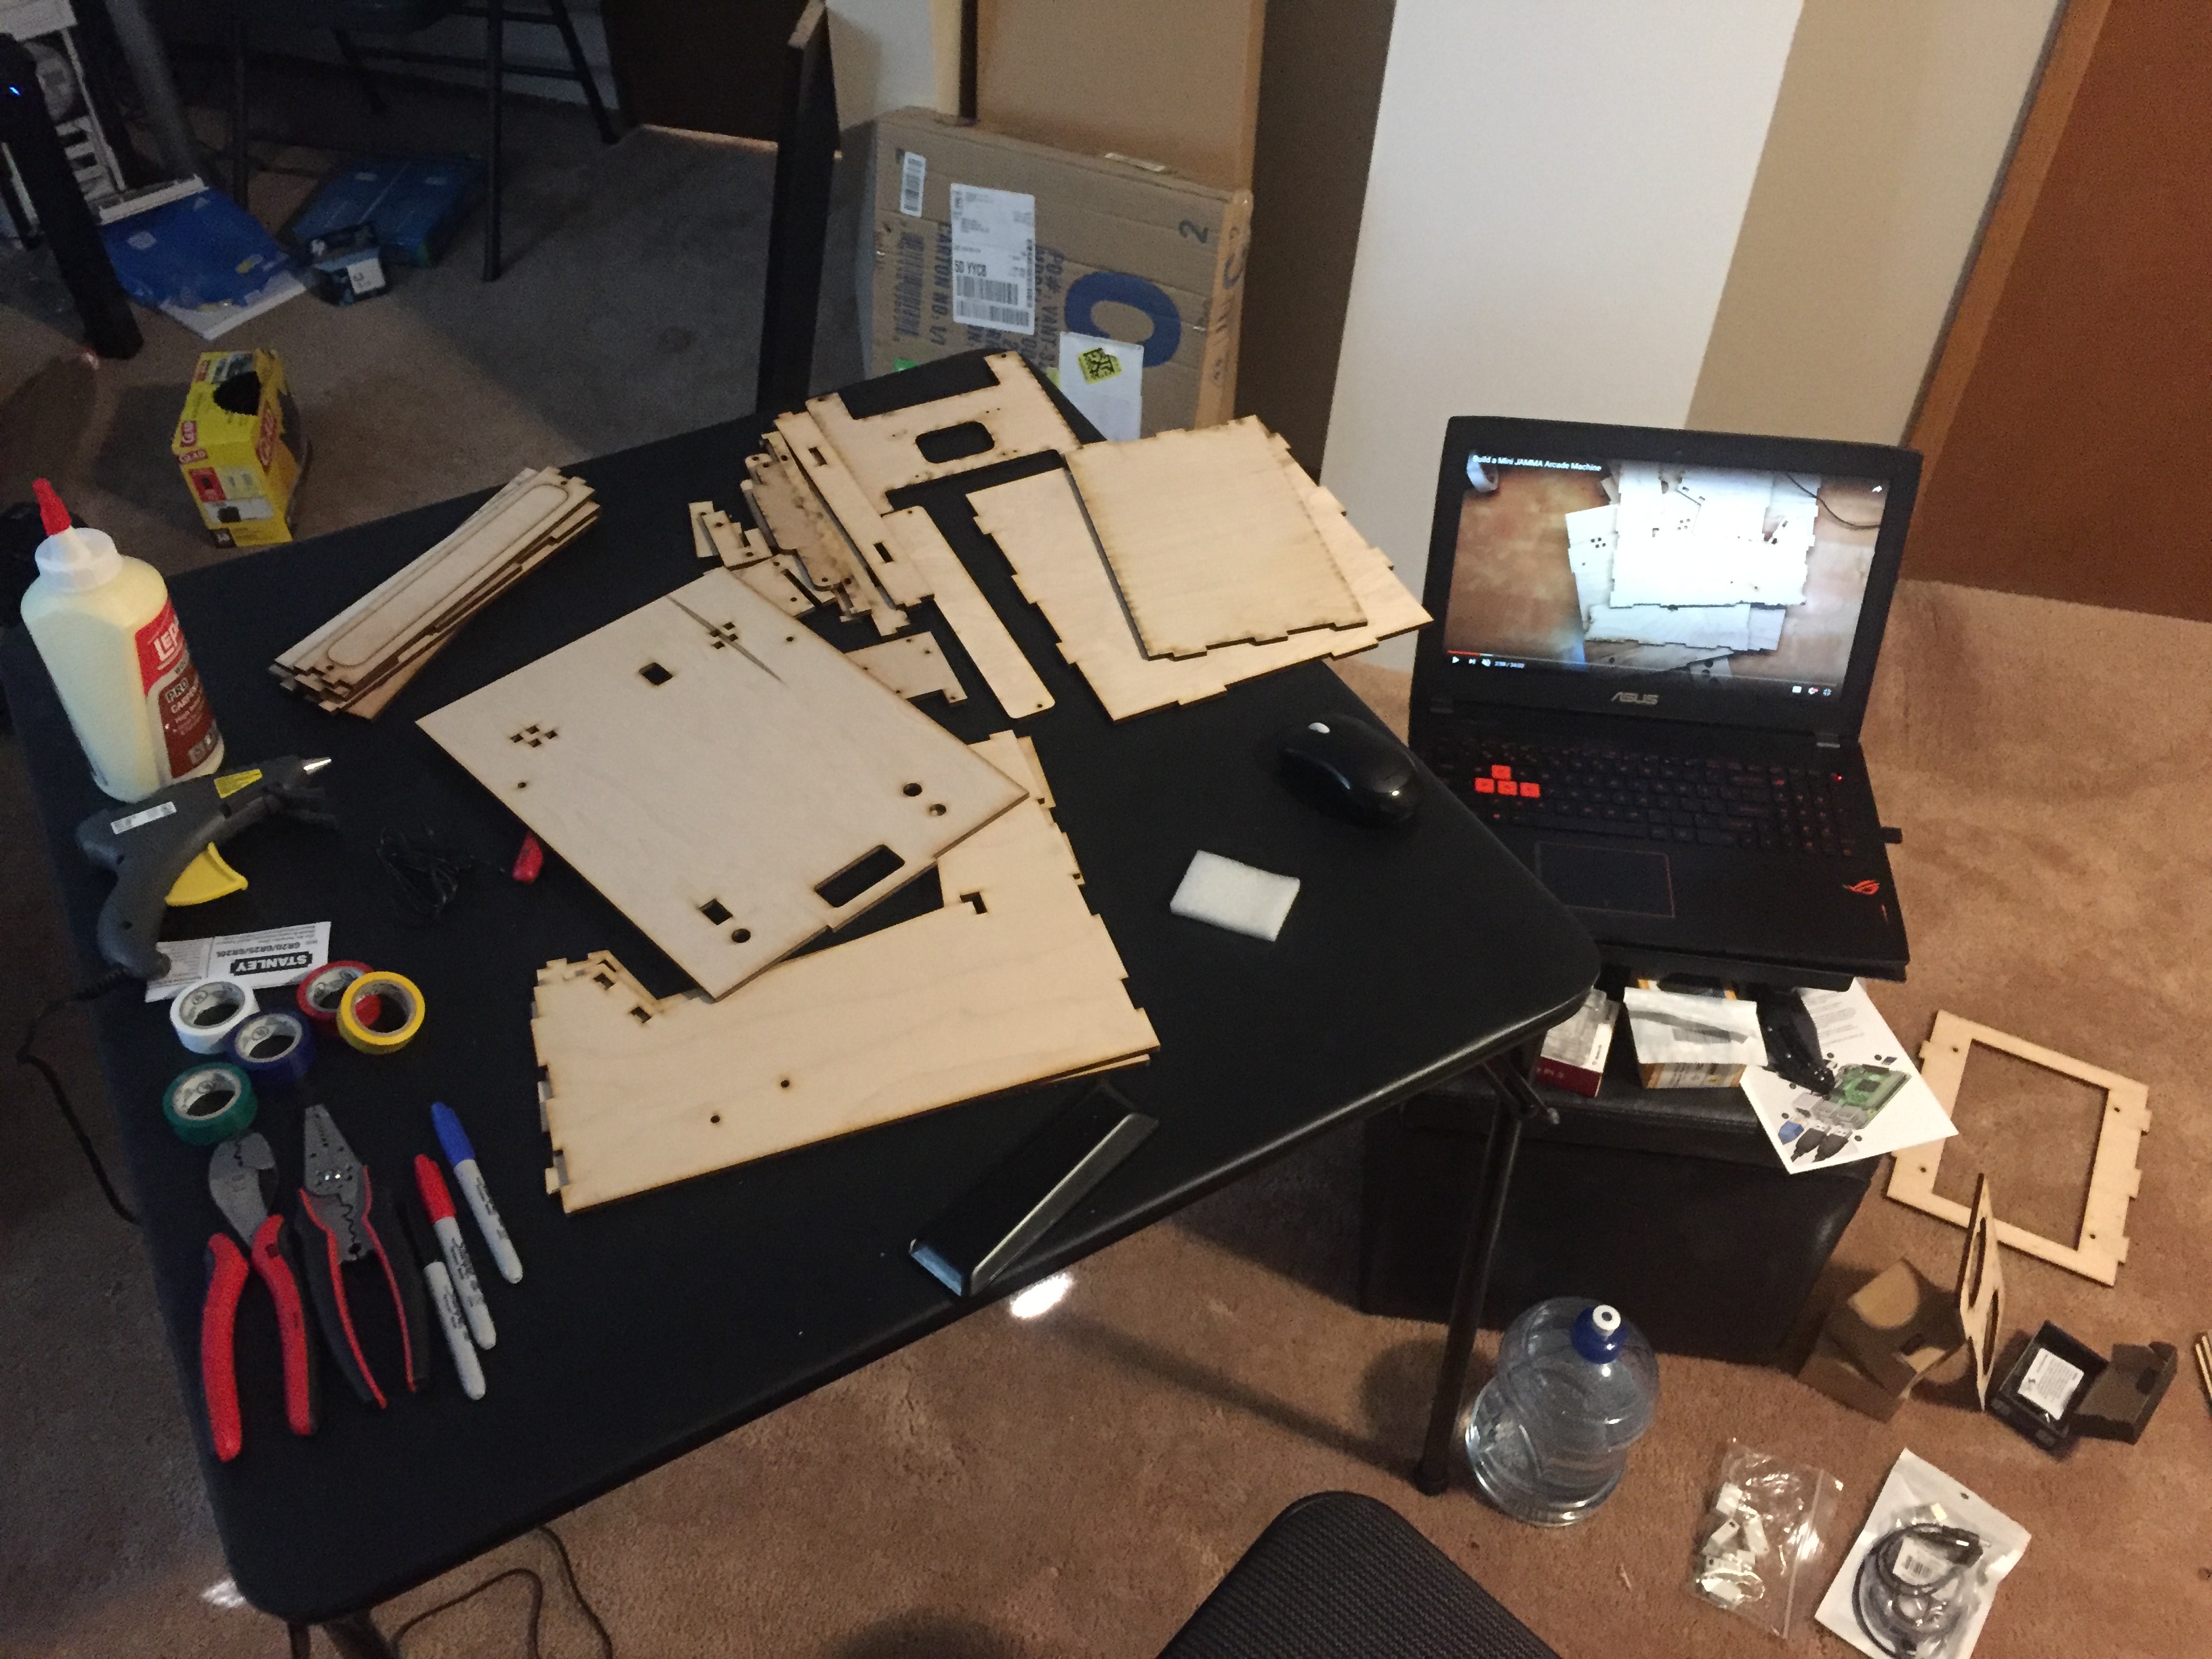
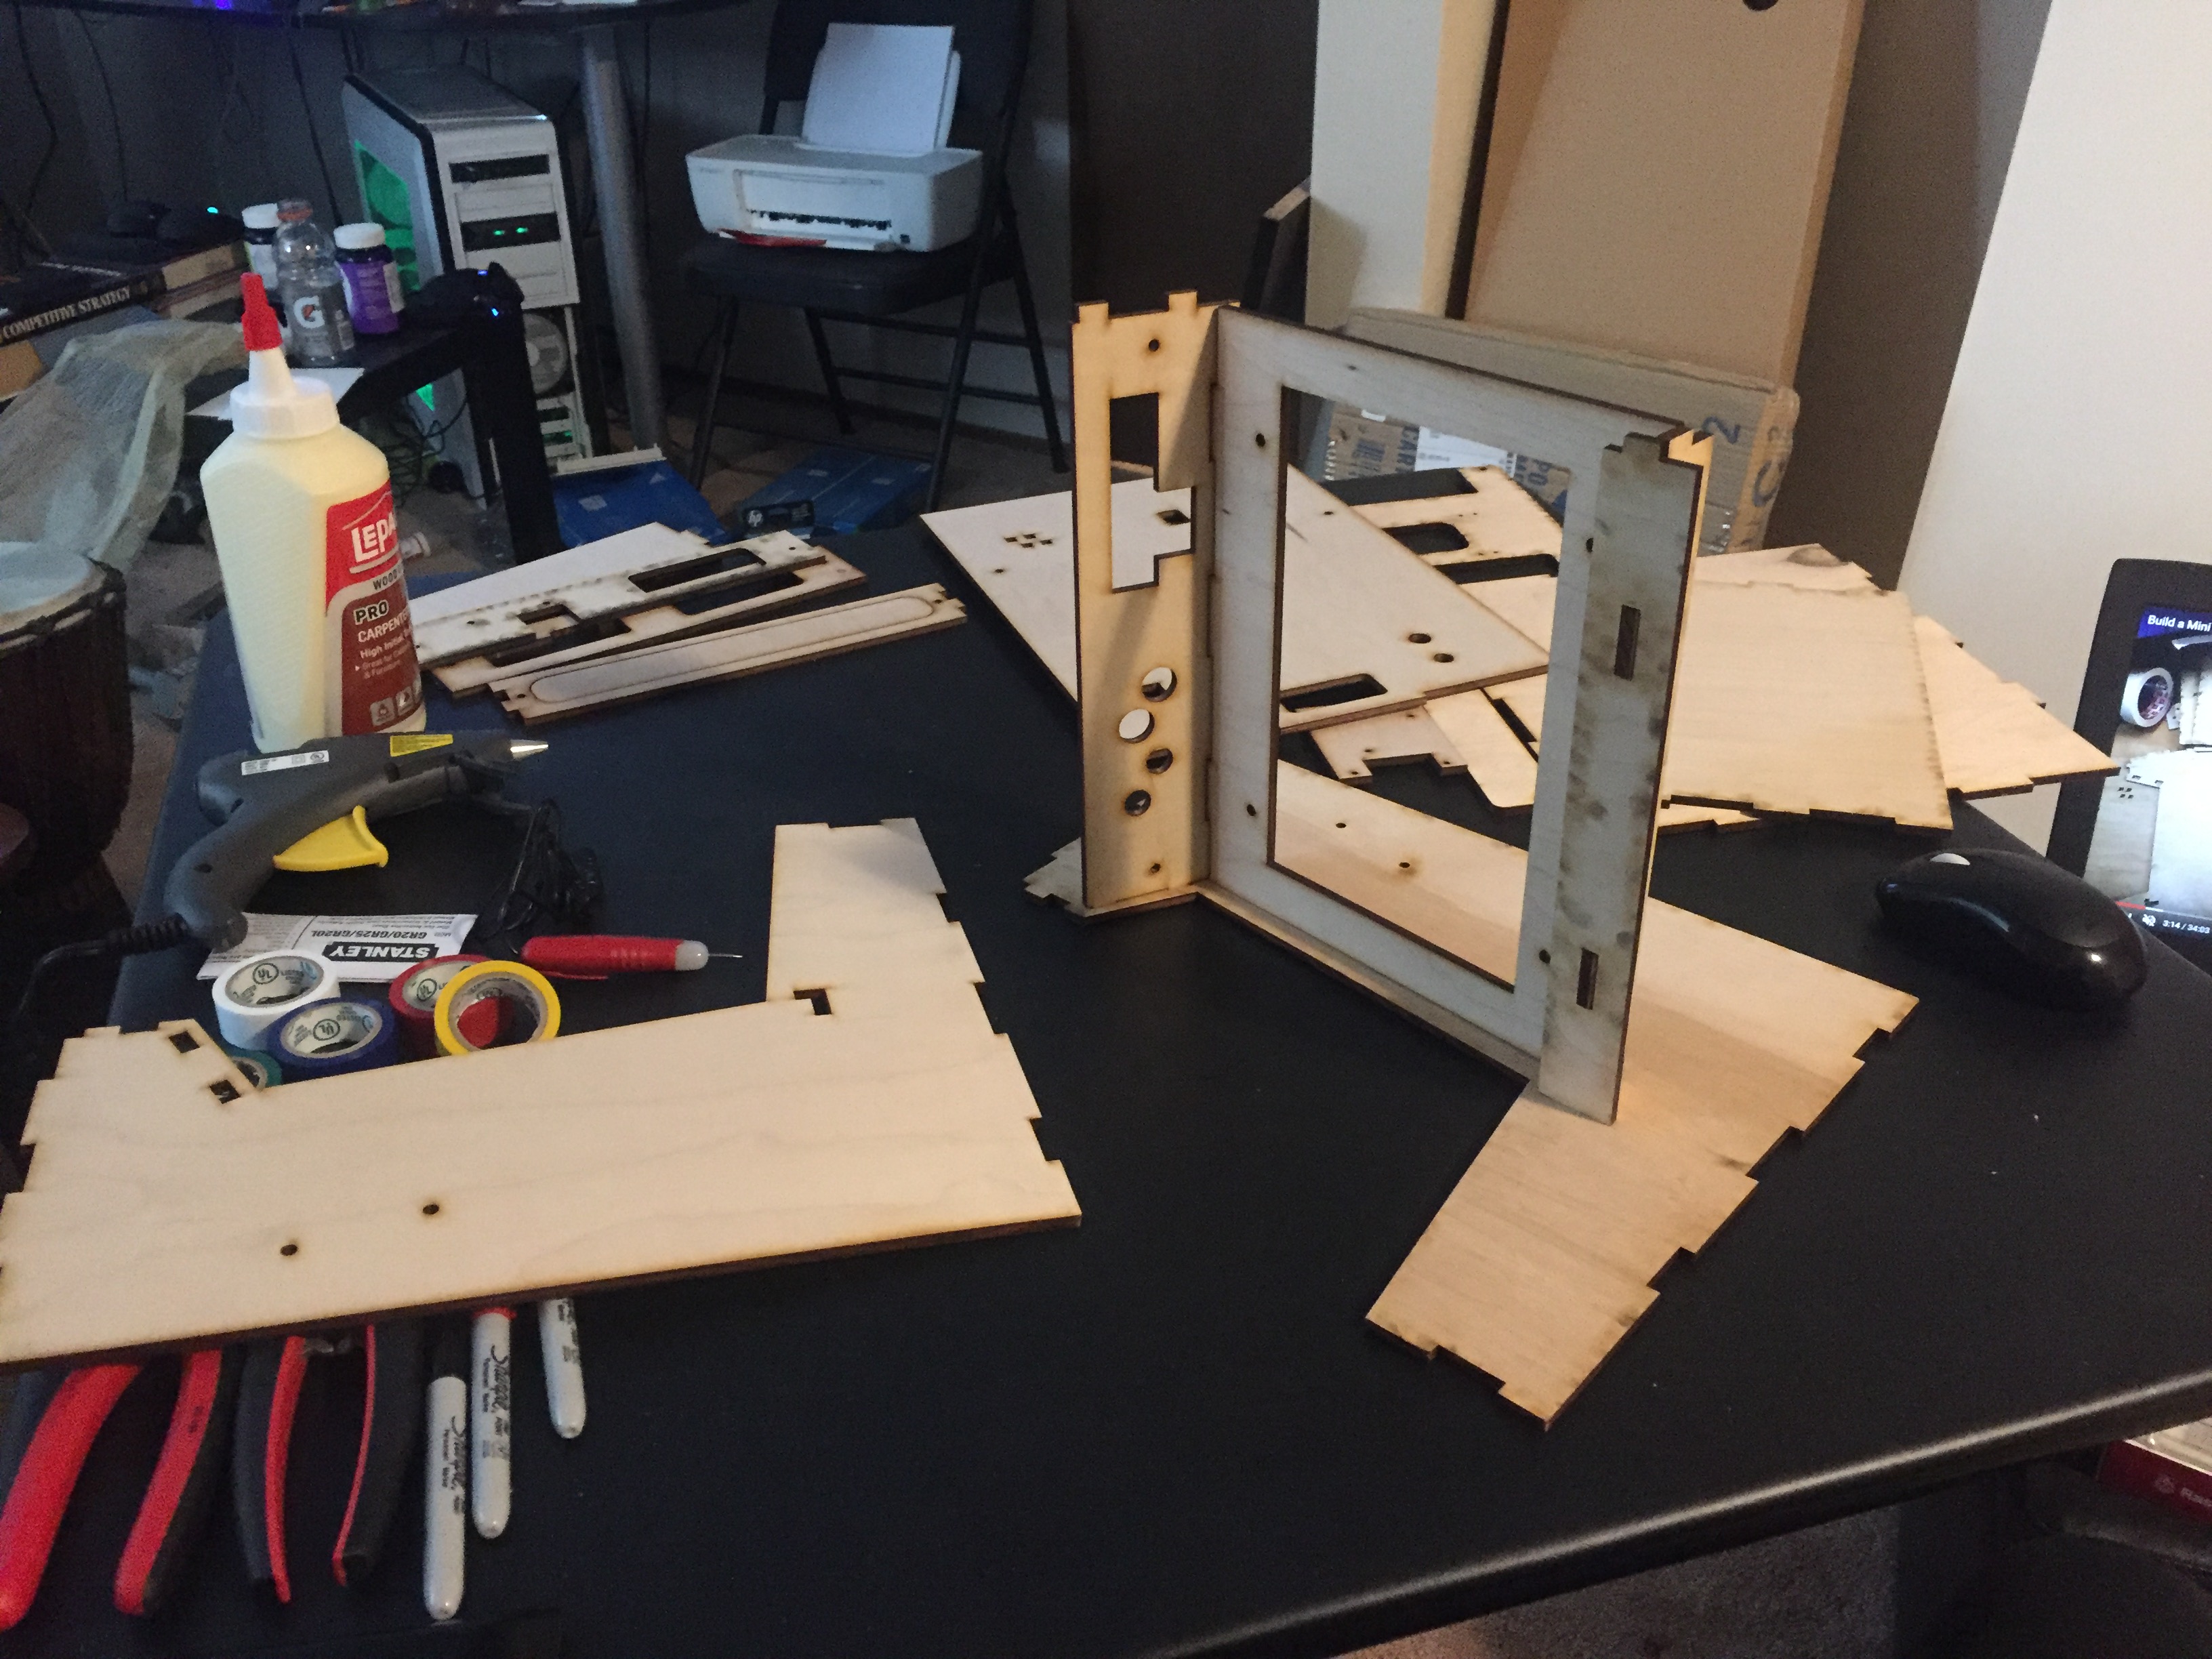
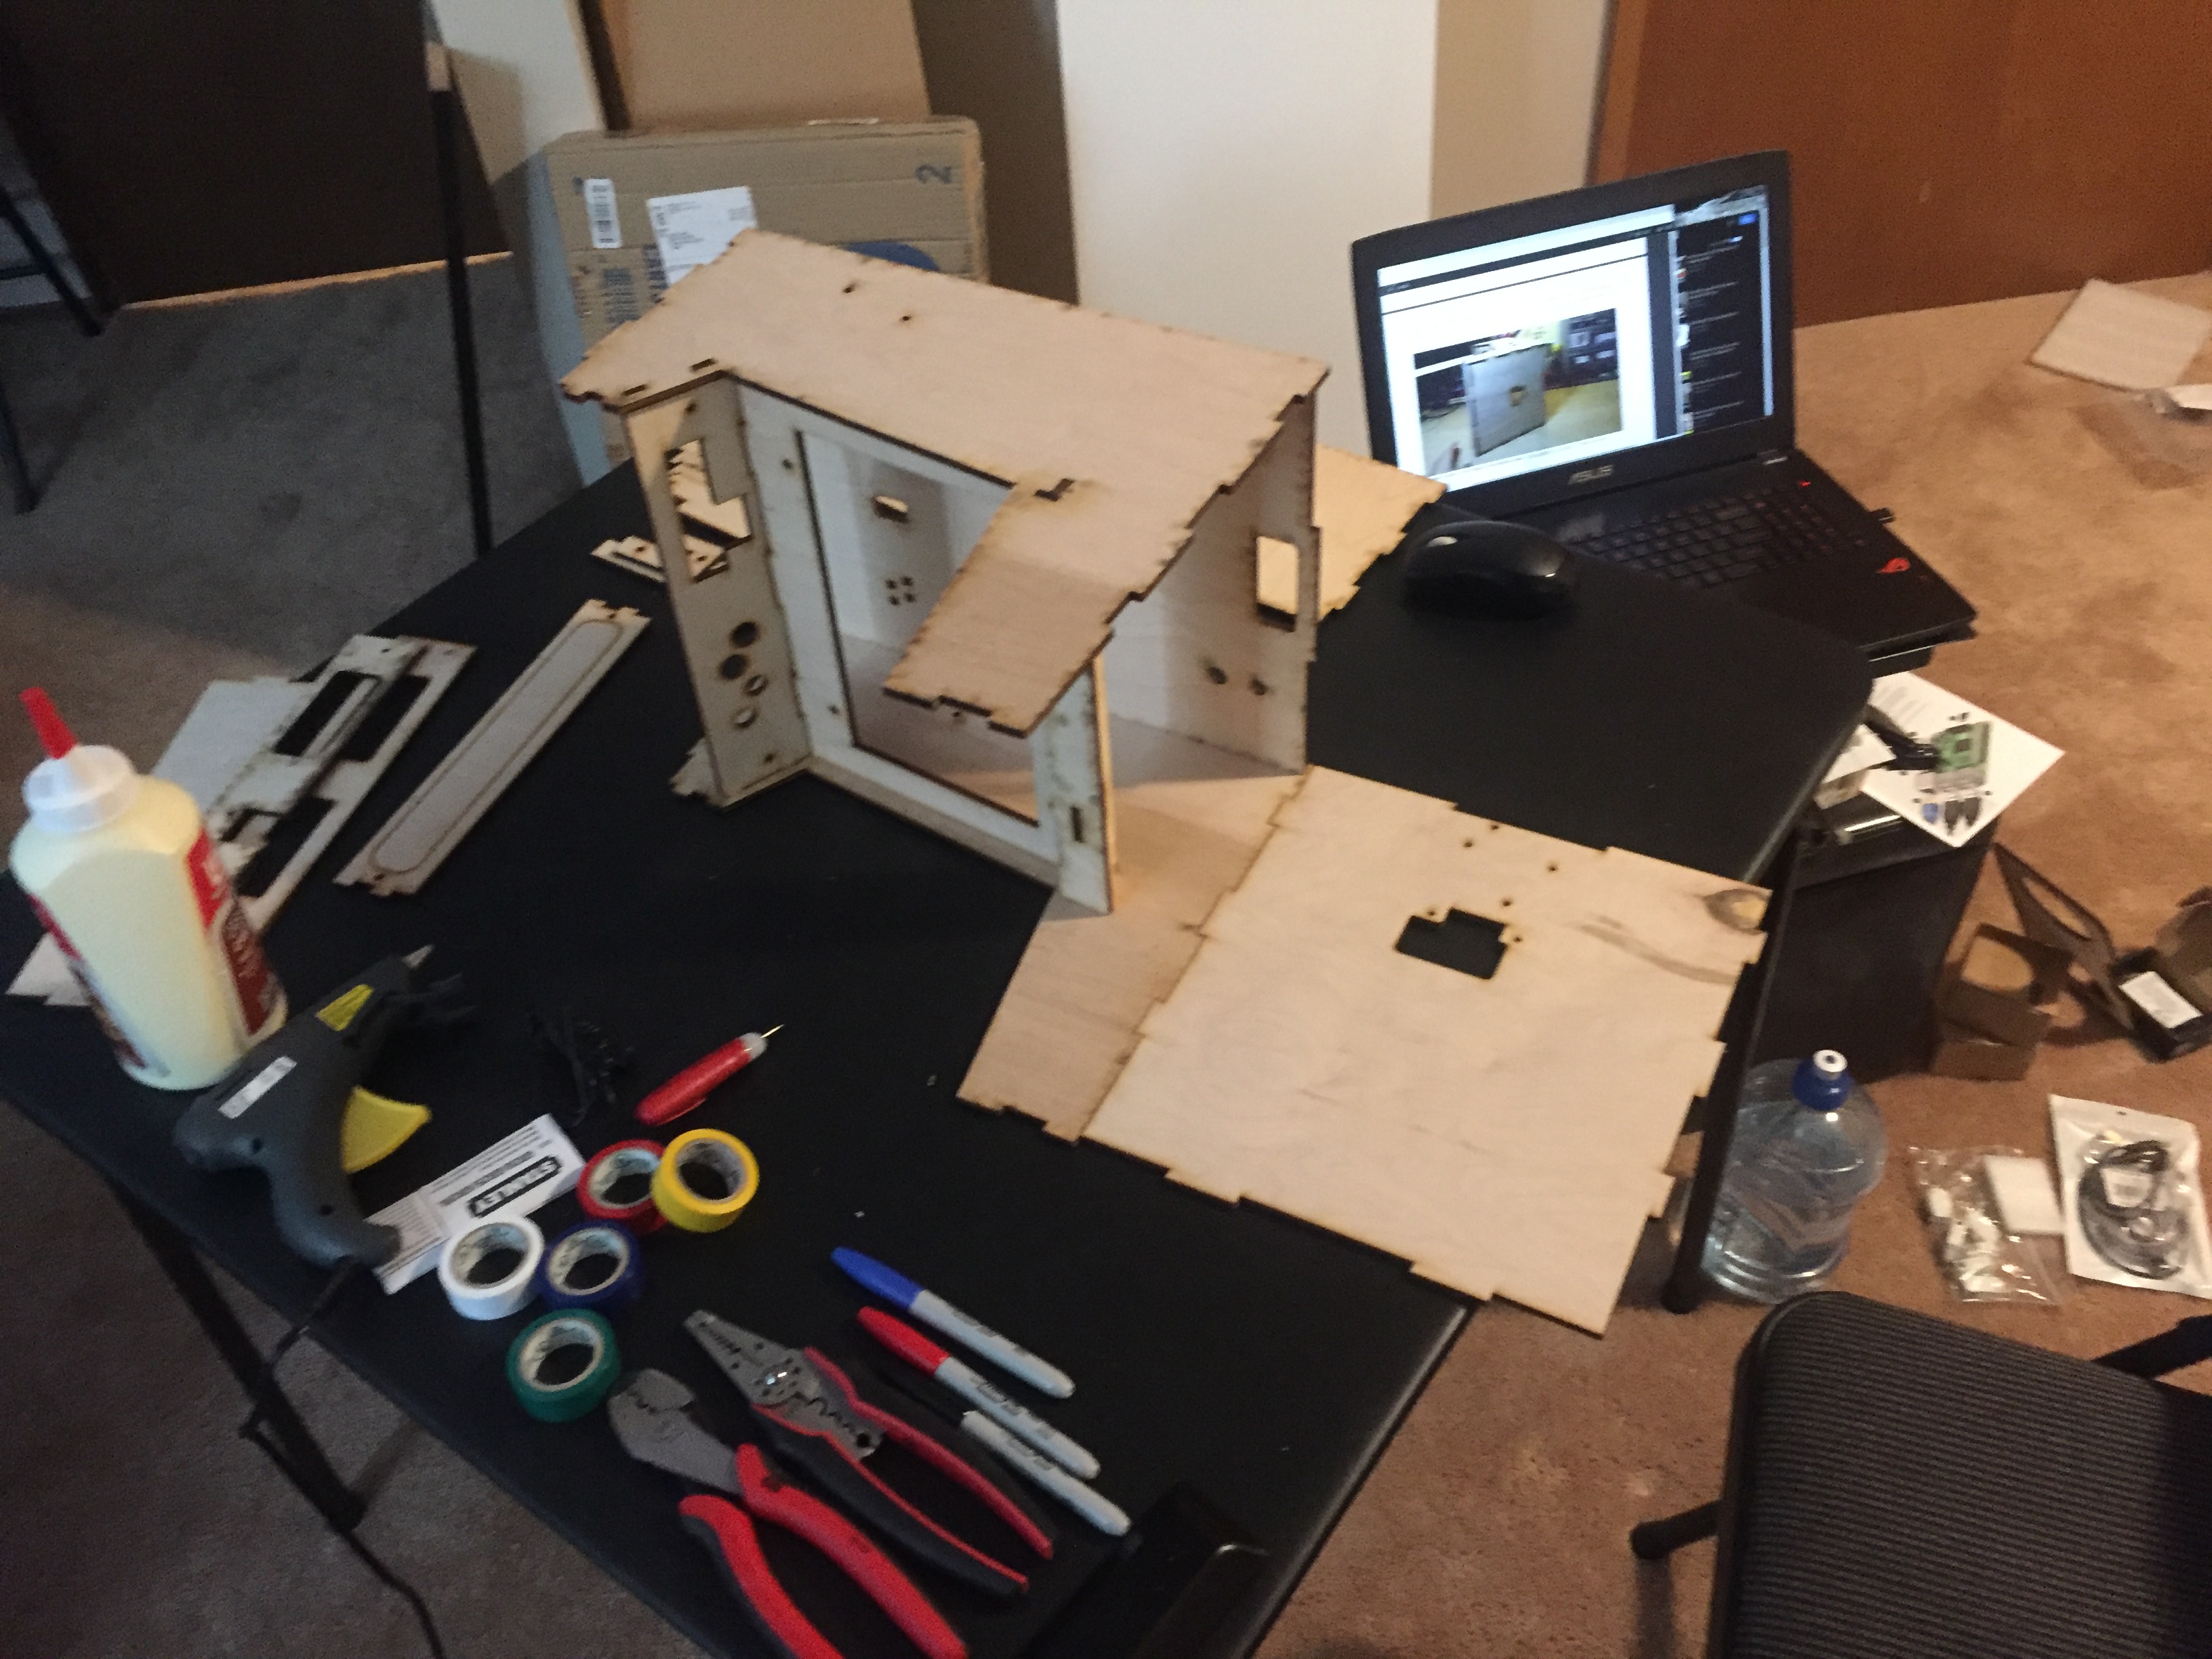
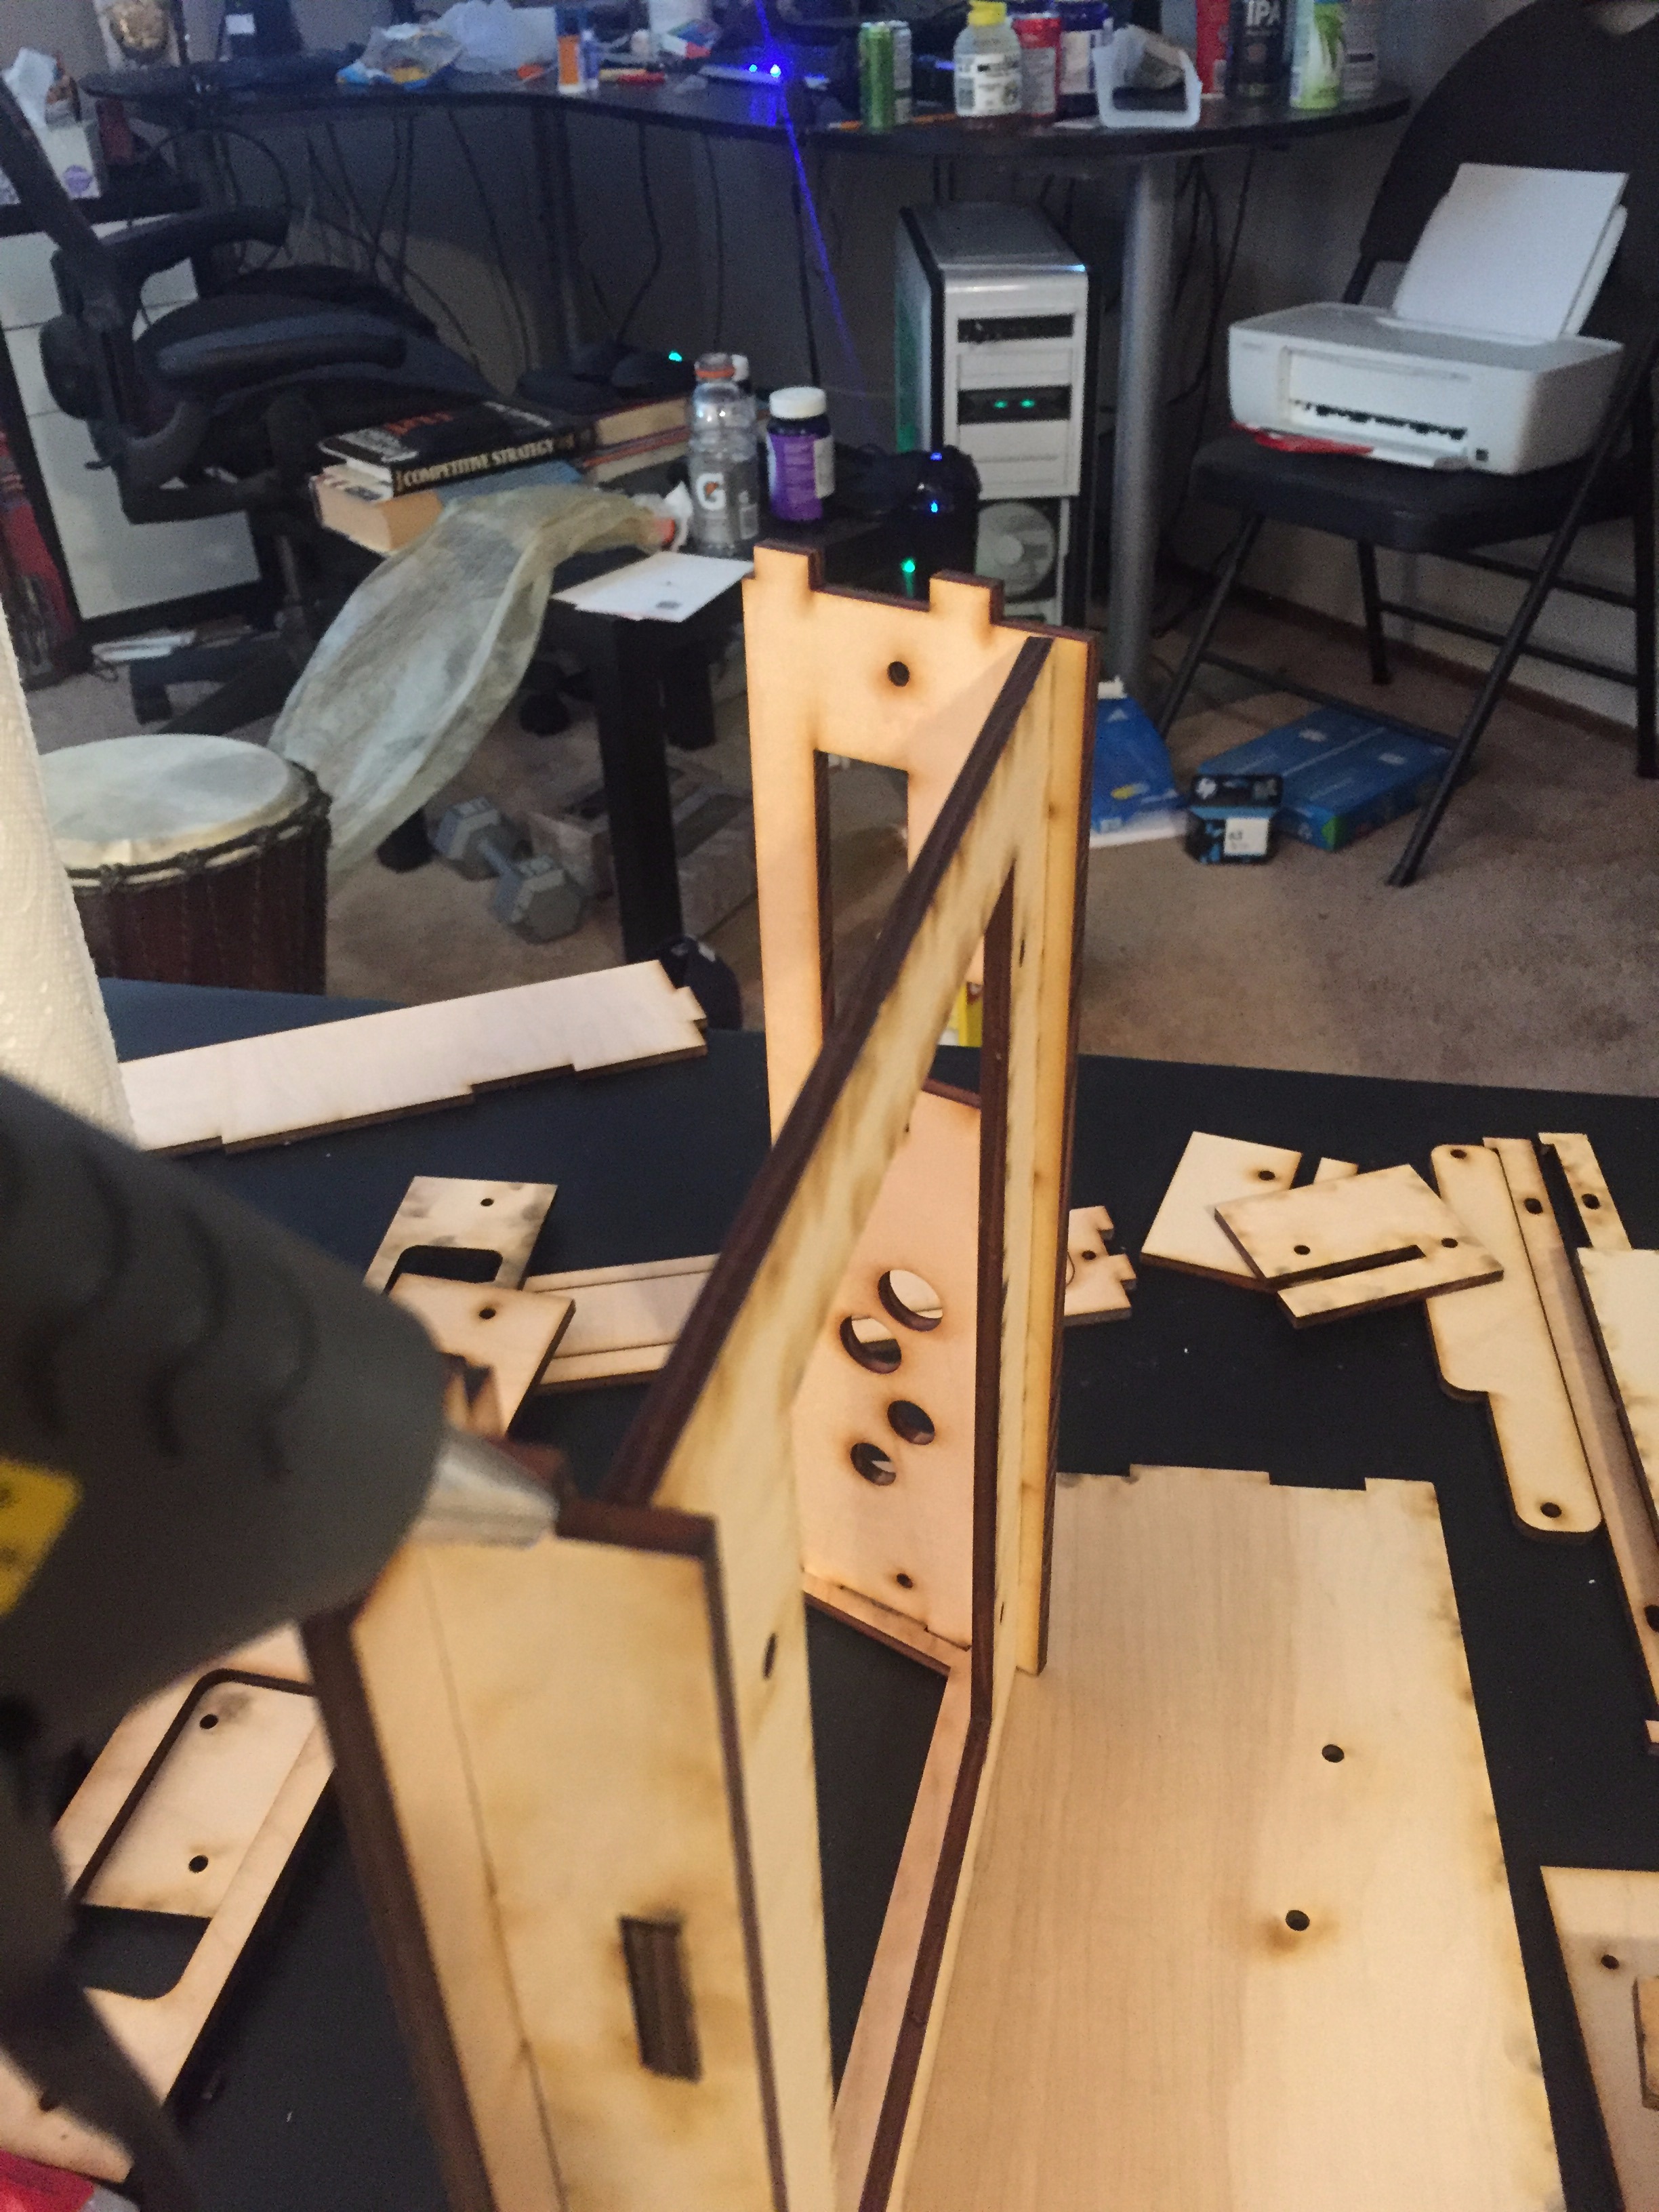
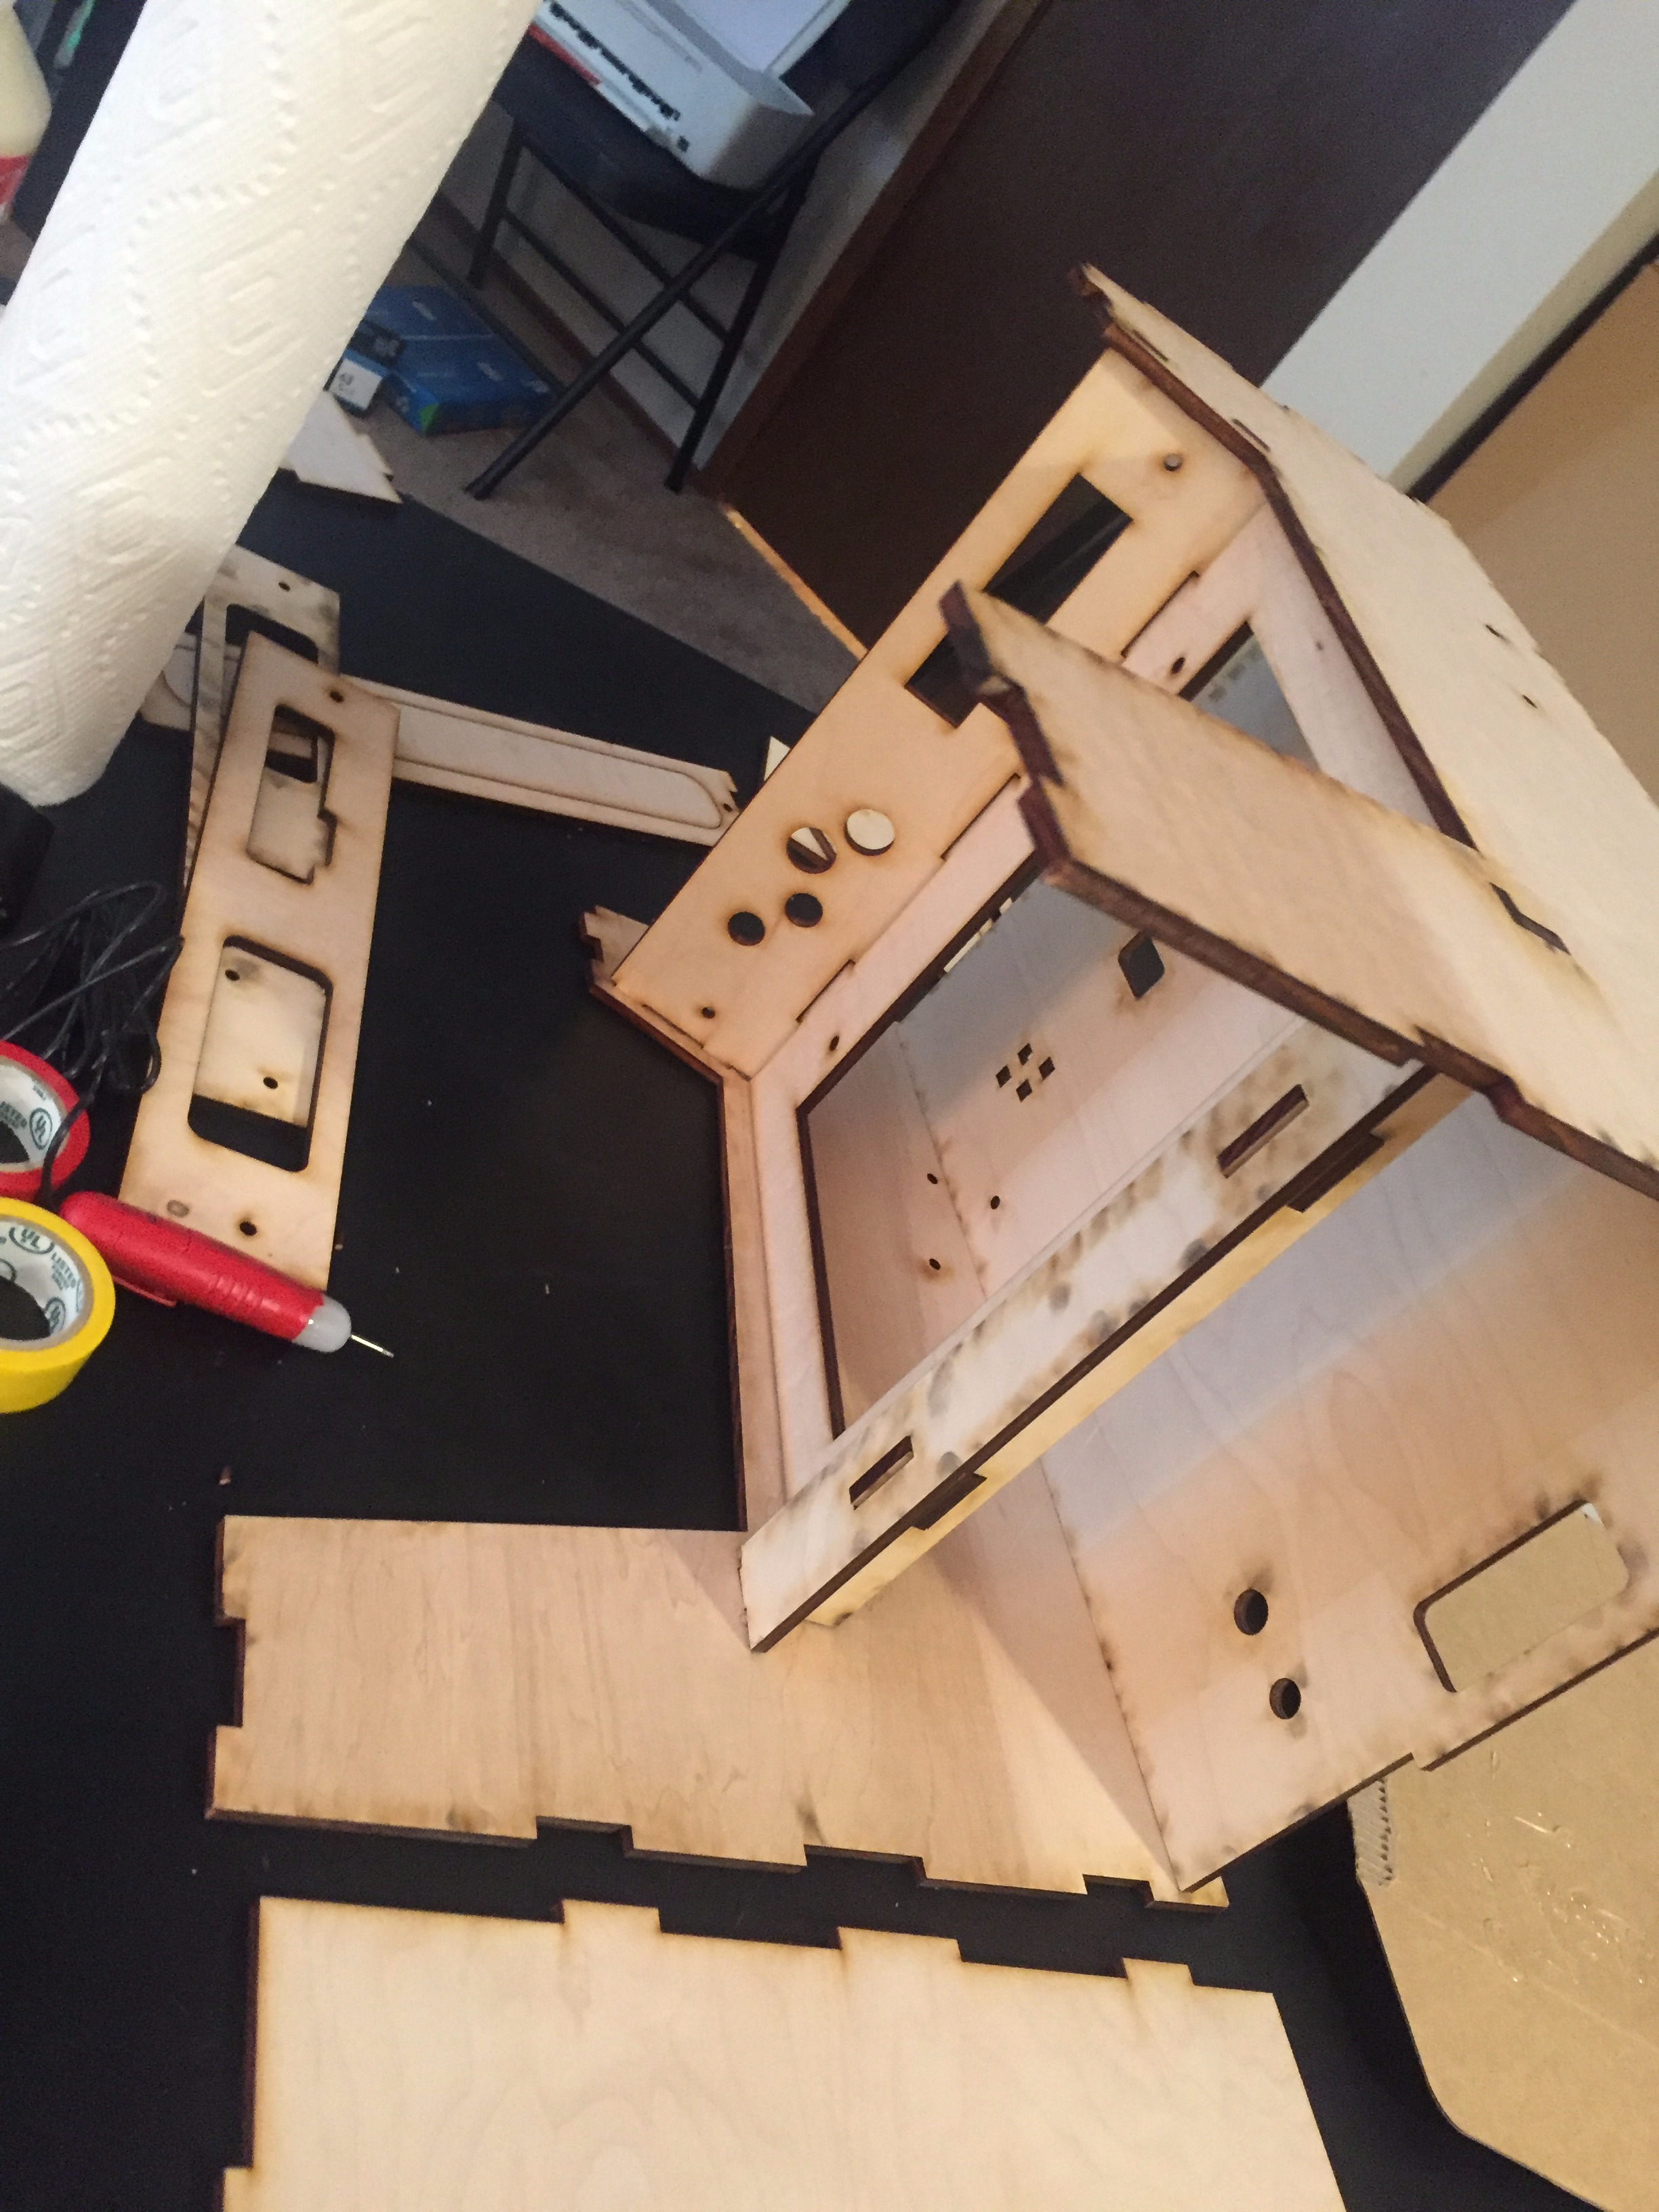
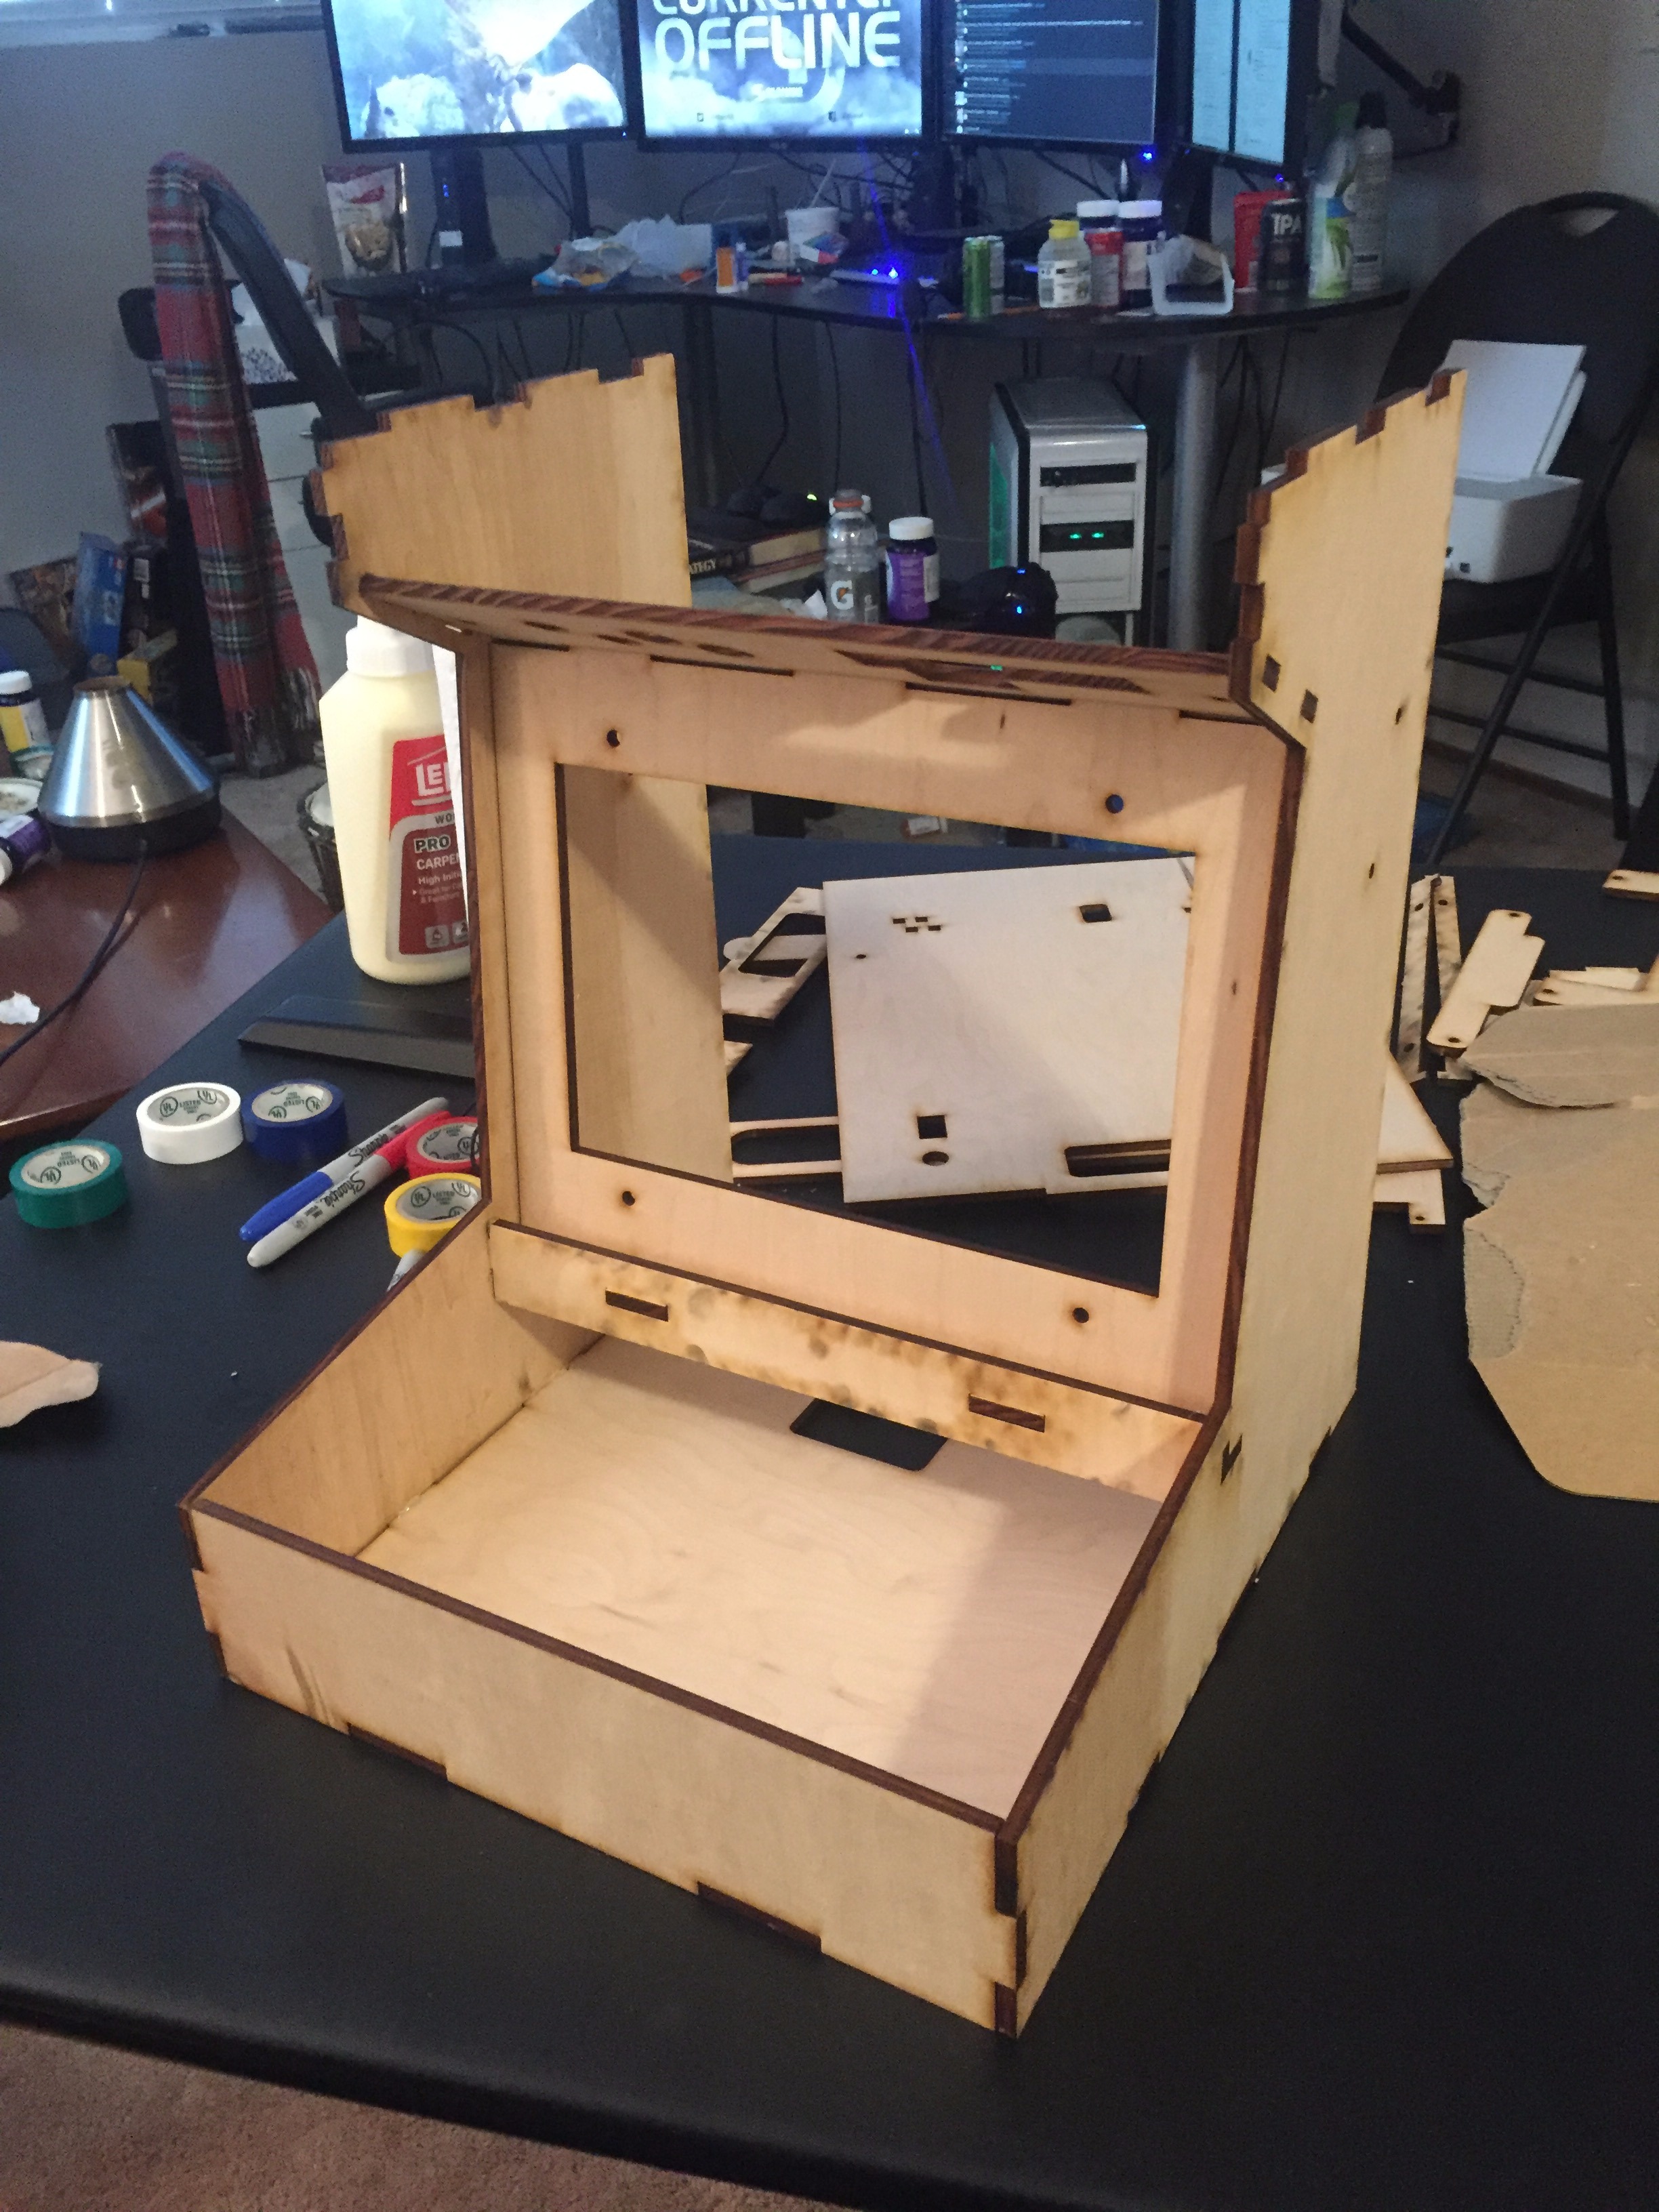
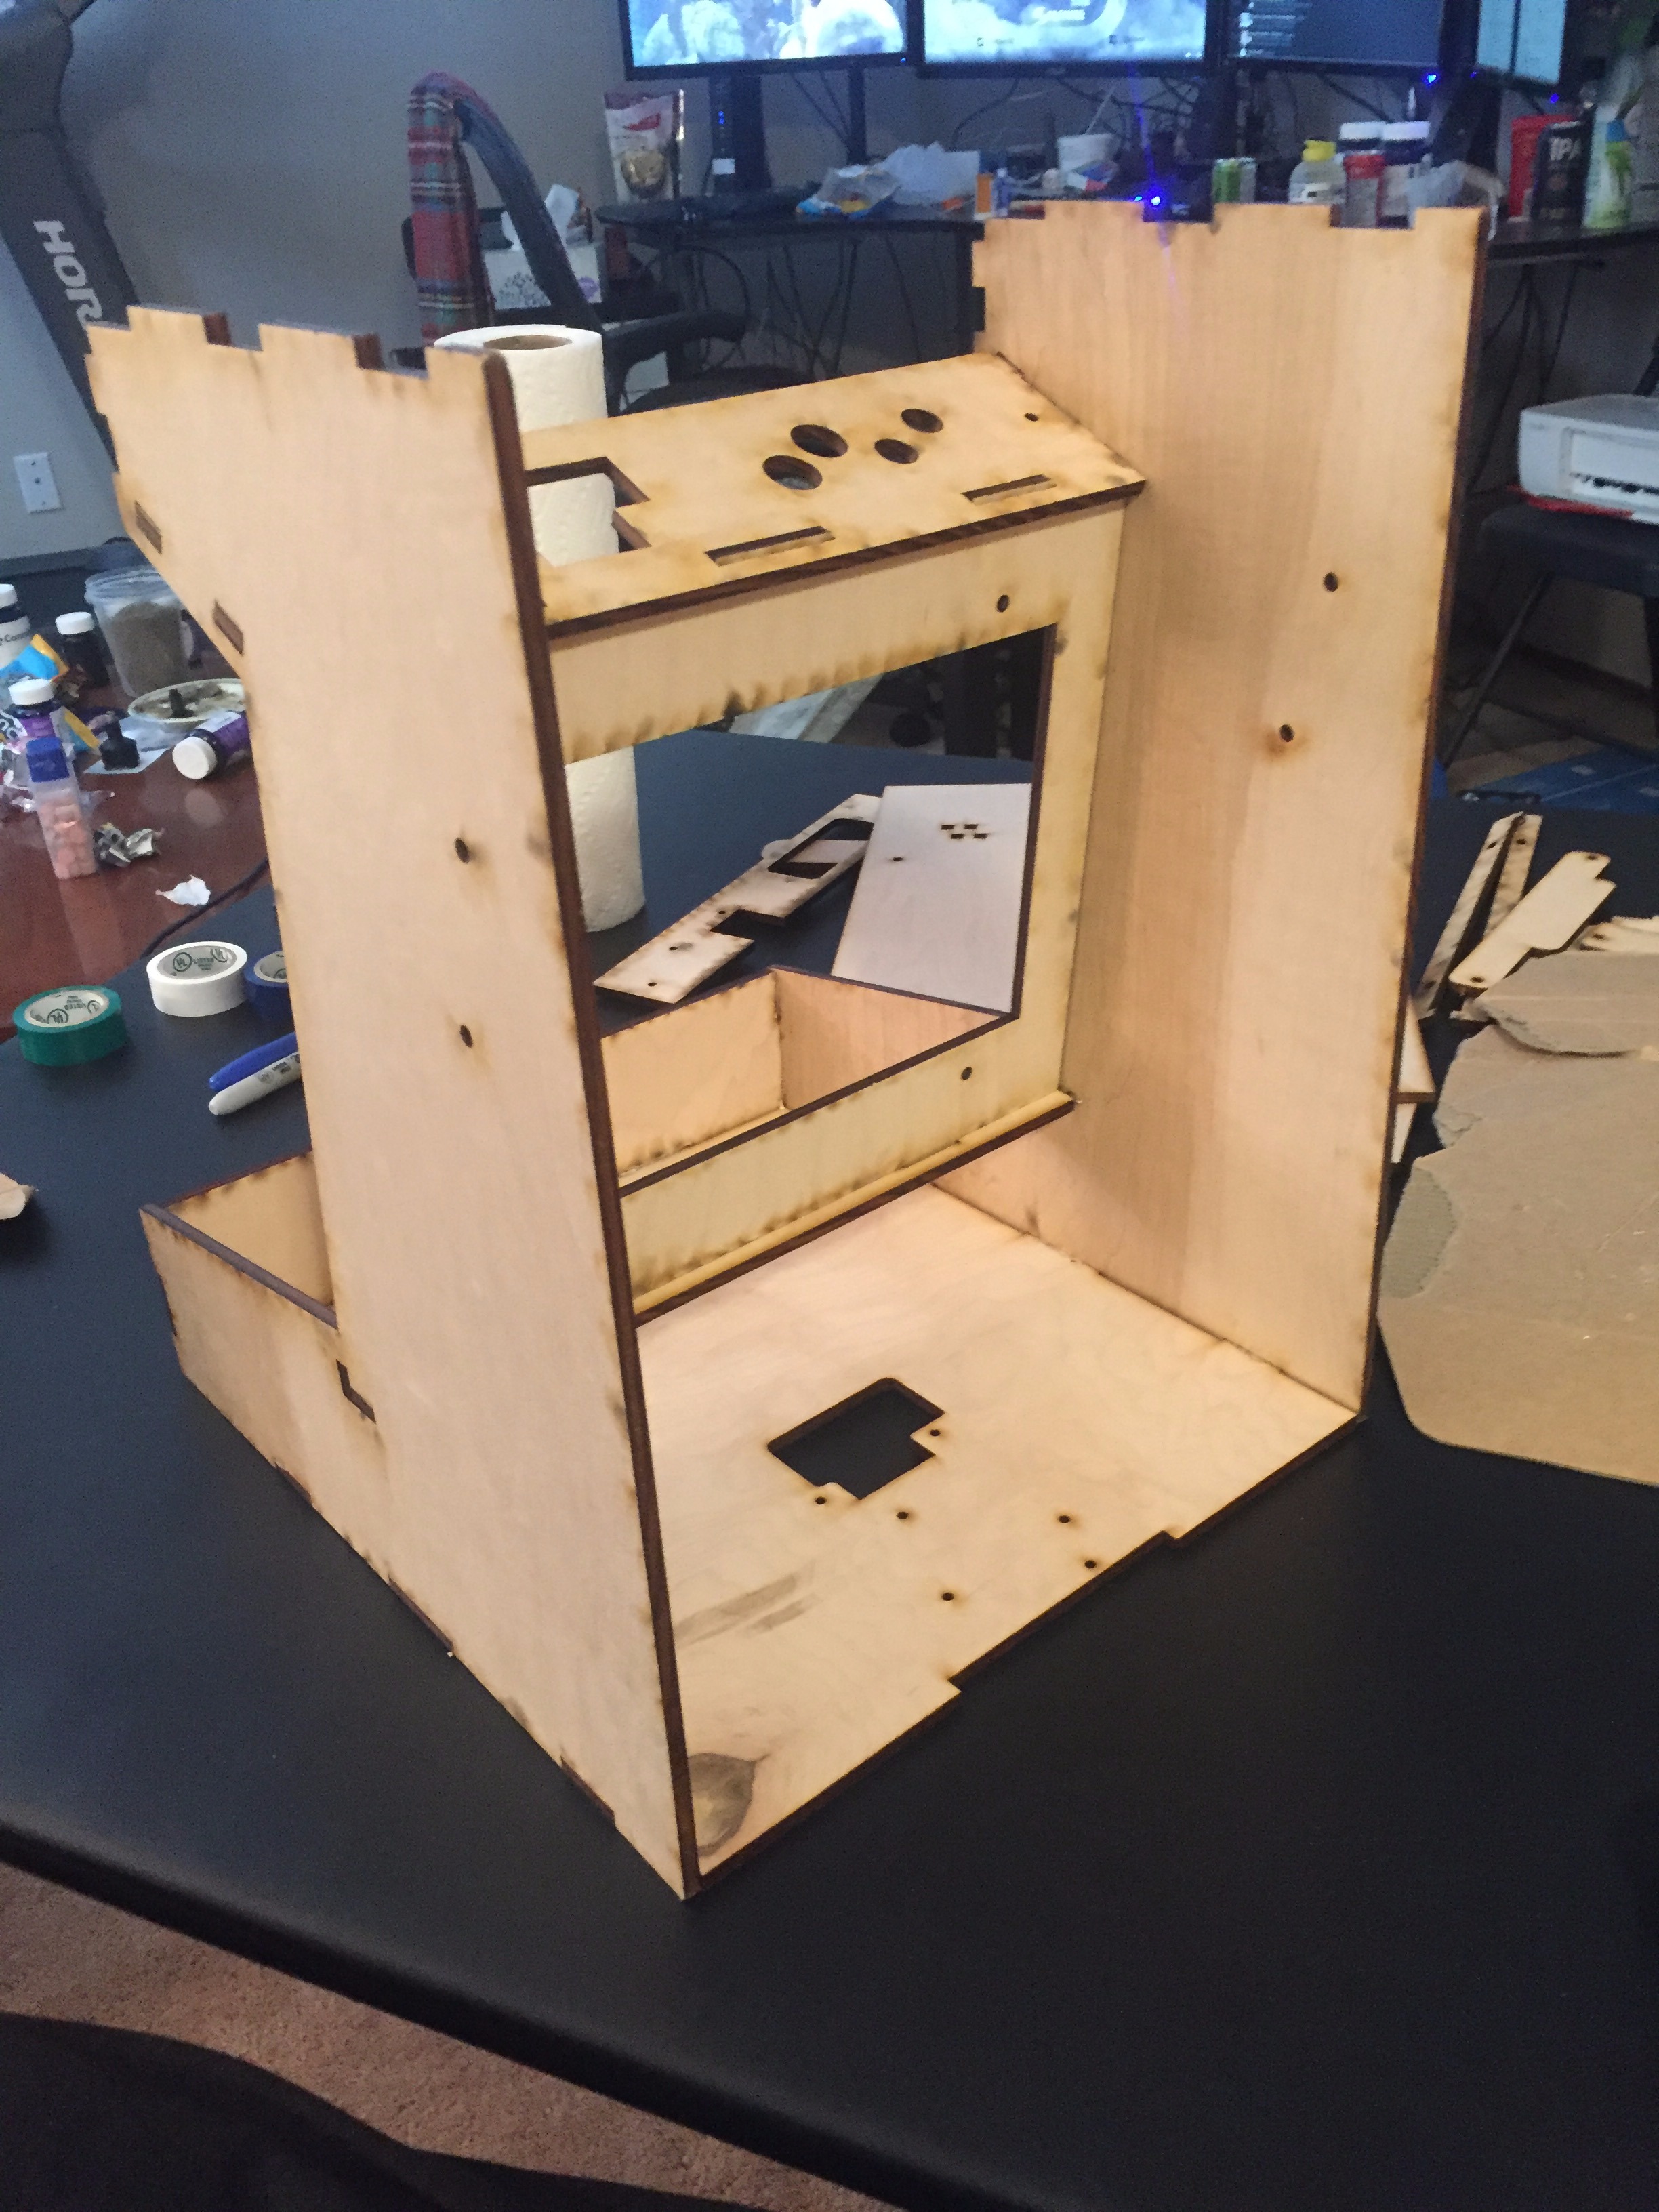
In this step, you will use a hot glue gun to glue the frame of the arcade together.
Start by laying out all your parts, and see how they fit together. BE SURE TO DO A PRACTICE RUN BEFORE USING THE GLUE GUN, or else you might cause serious damage to the structure.
It is best to start by assembling the 3 front elements of the screen.
Then glue one side into a side piece, followed by gluing the opposite side piece.
For additional references, I suggest you watch his youtube assembly video ON A SLOWER SPEED. He speeds through assembly, but youtube allows you to slow down the playback speed, which is helpful in this.
In the end you should have a frame like the last 2 photos. This is all you need glued for now, DO NOT GLUE ANYTHING ELSE YET. Next up, speaker assembly!
Speaker Assembly!
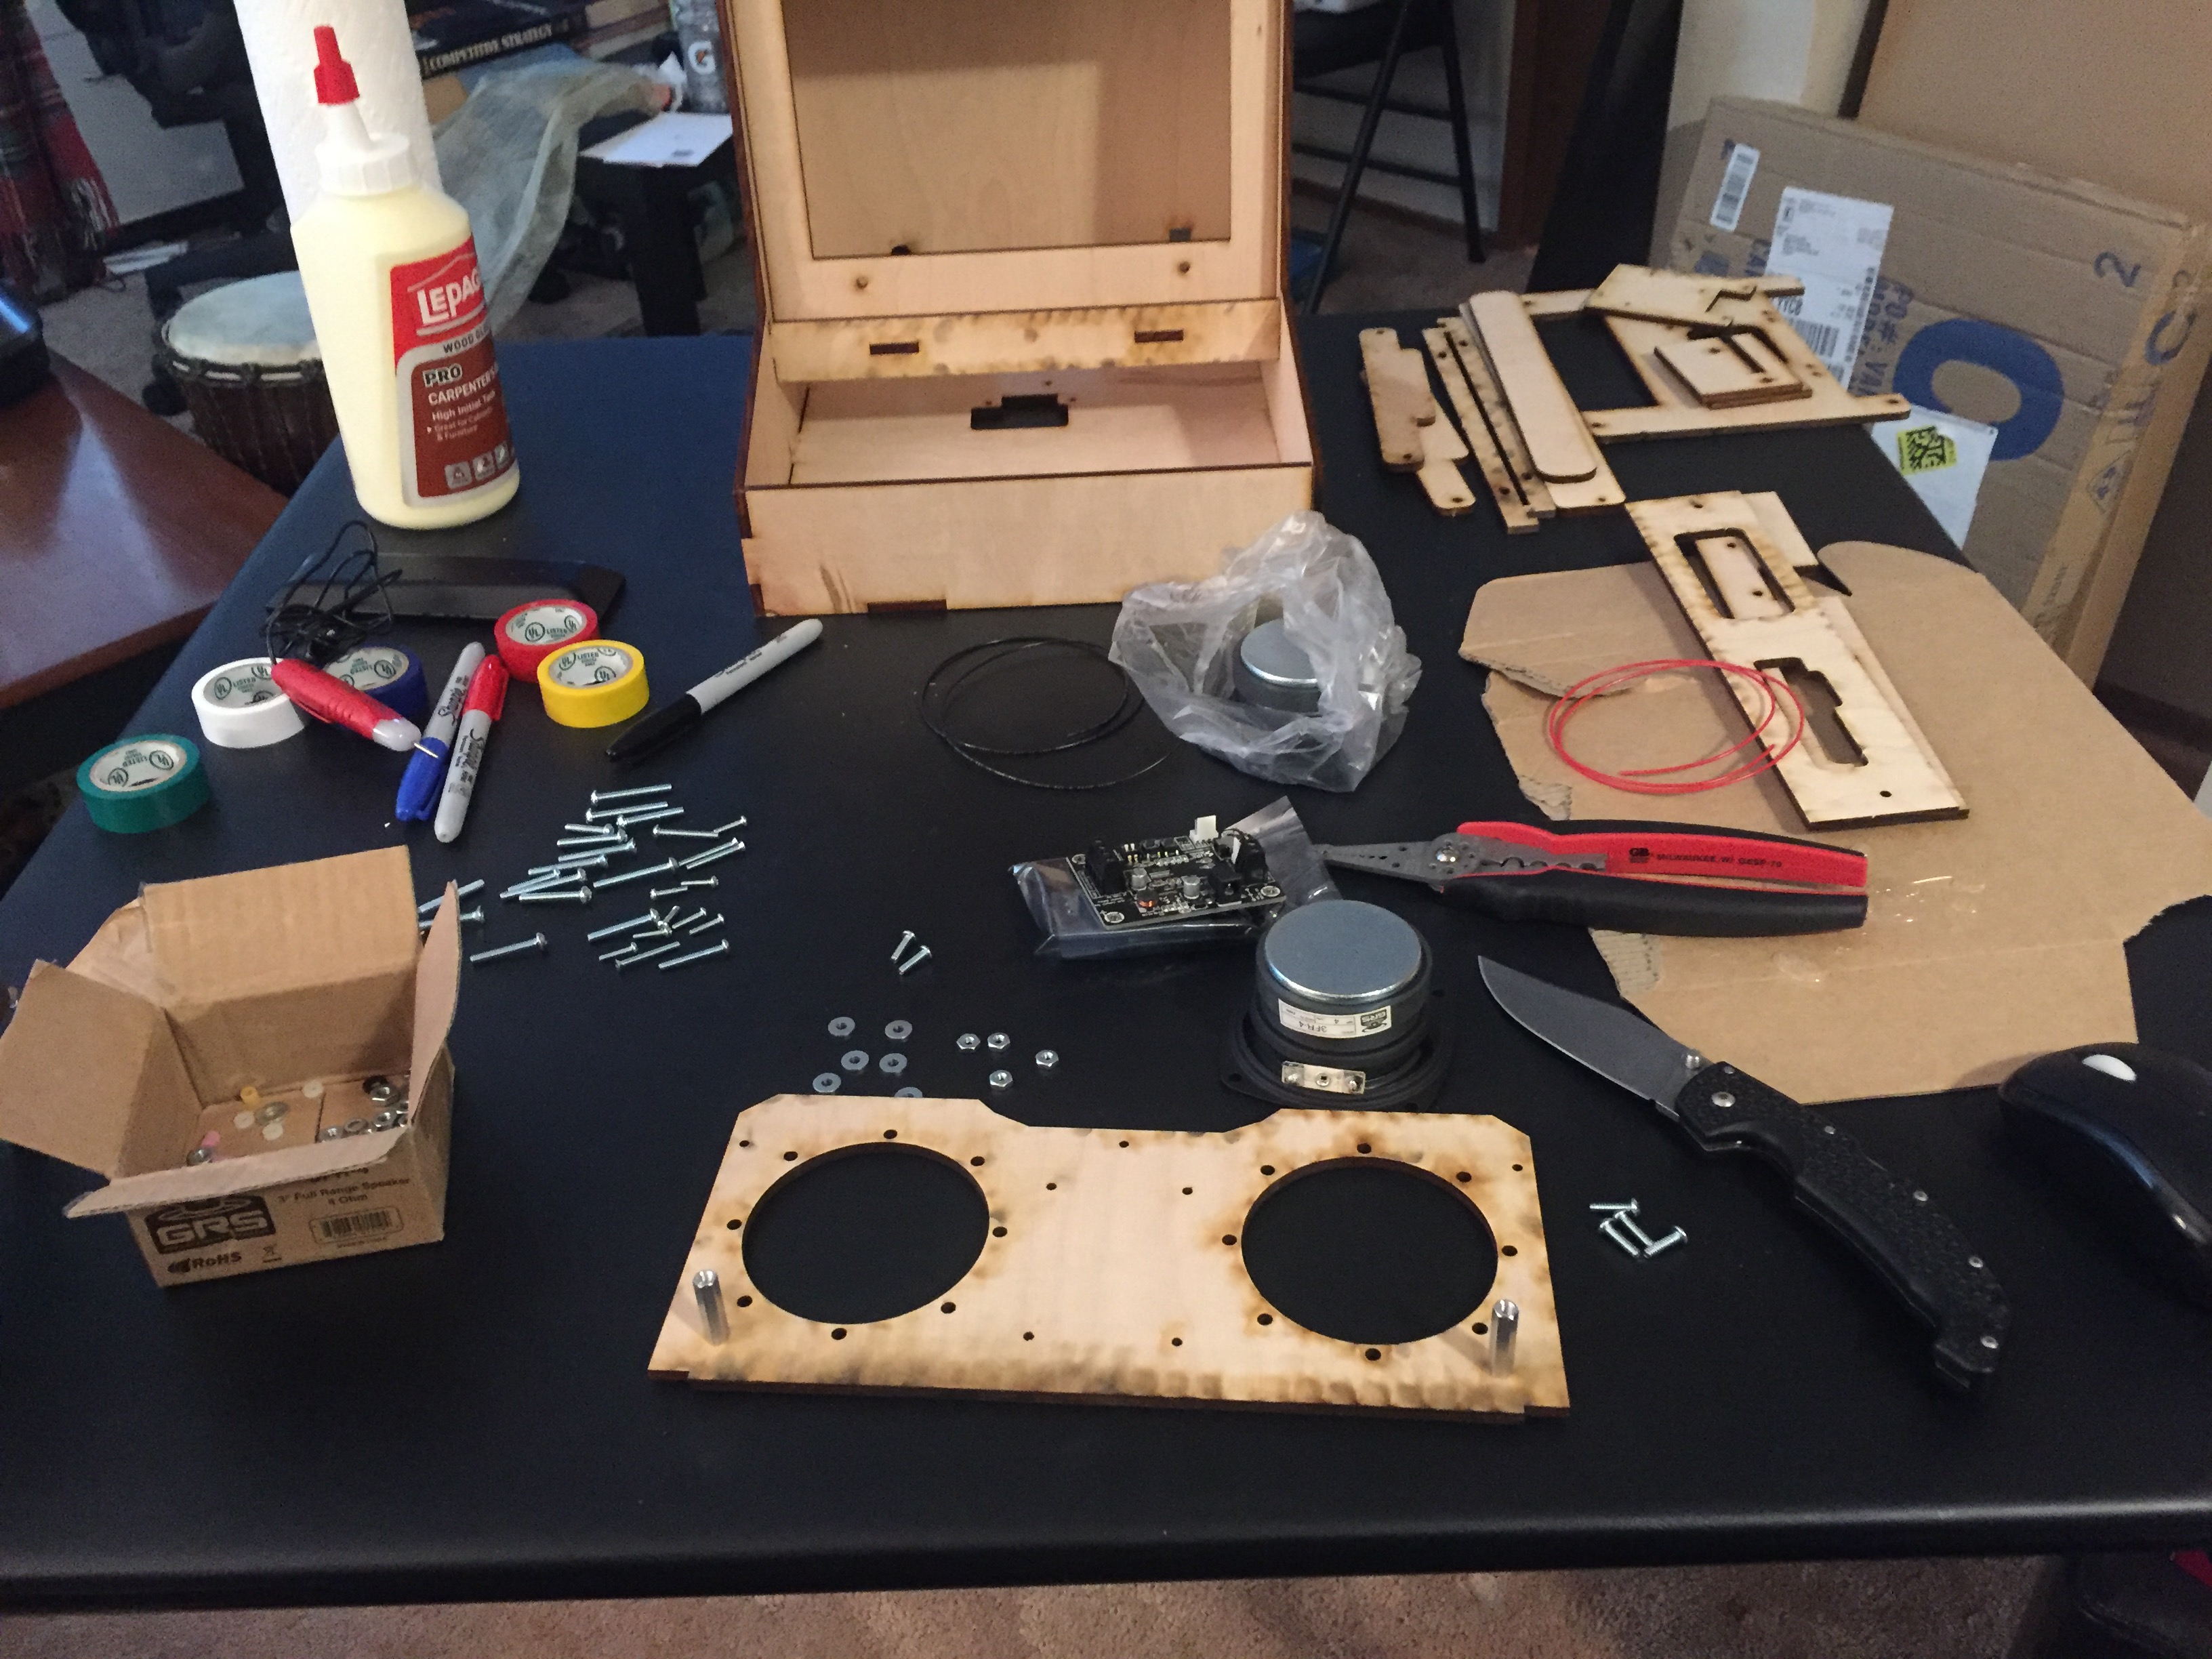
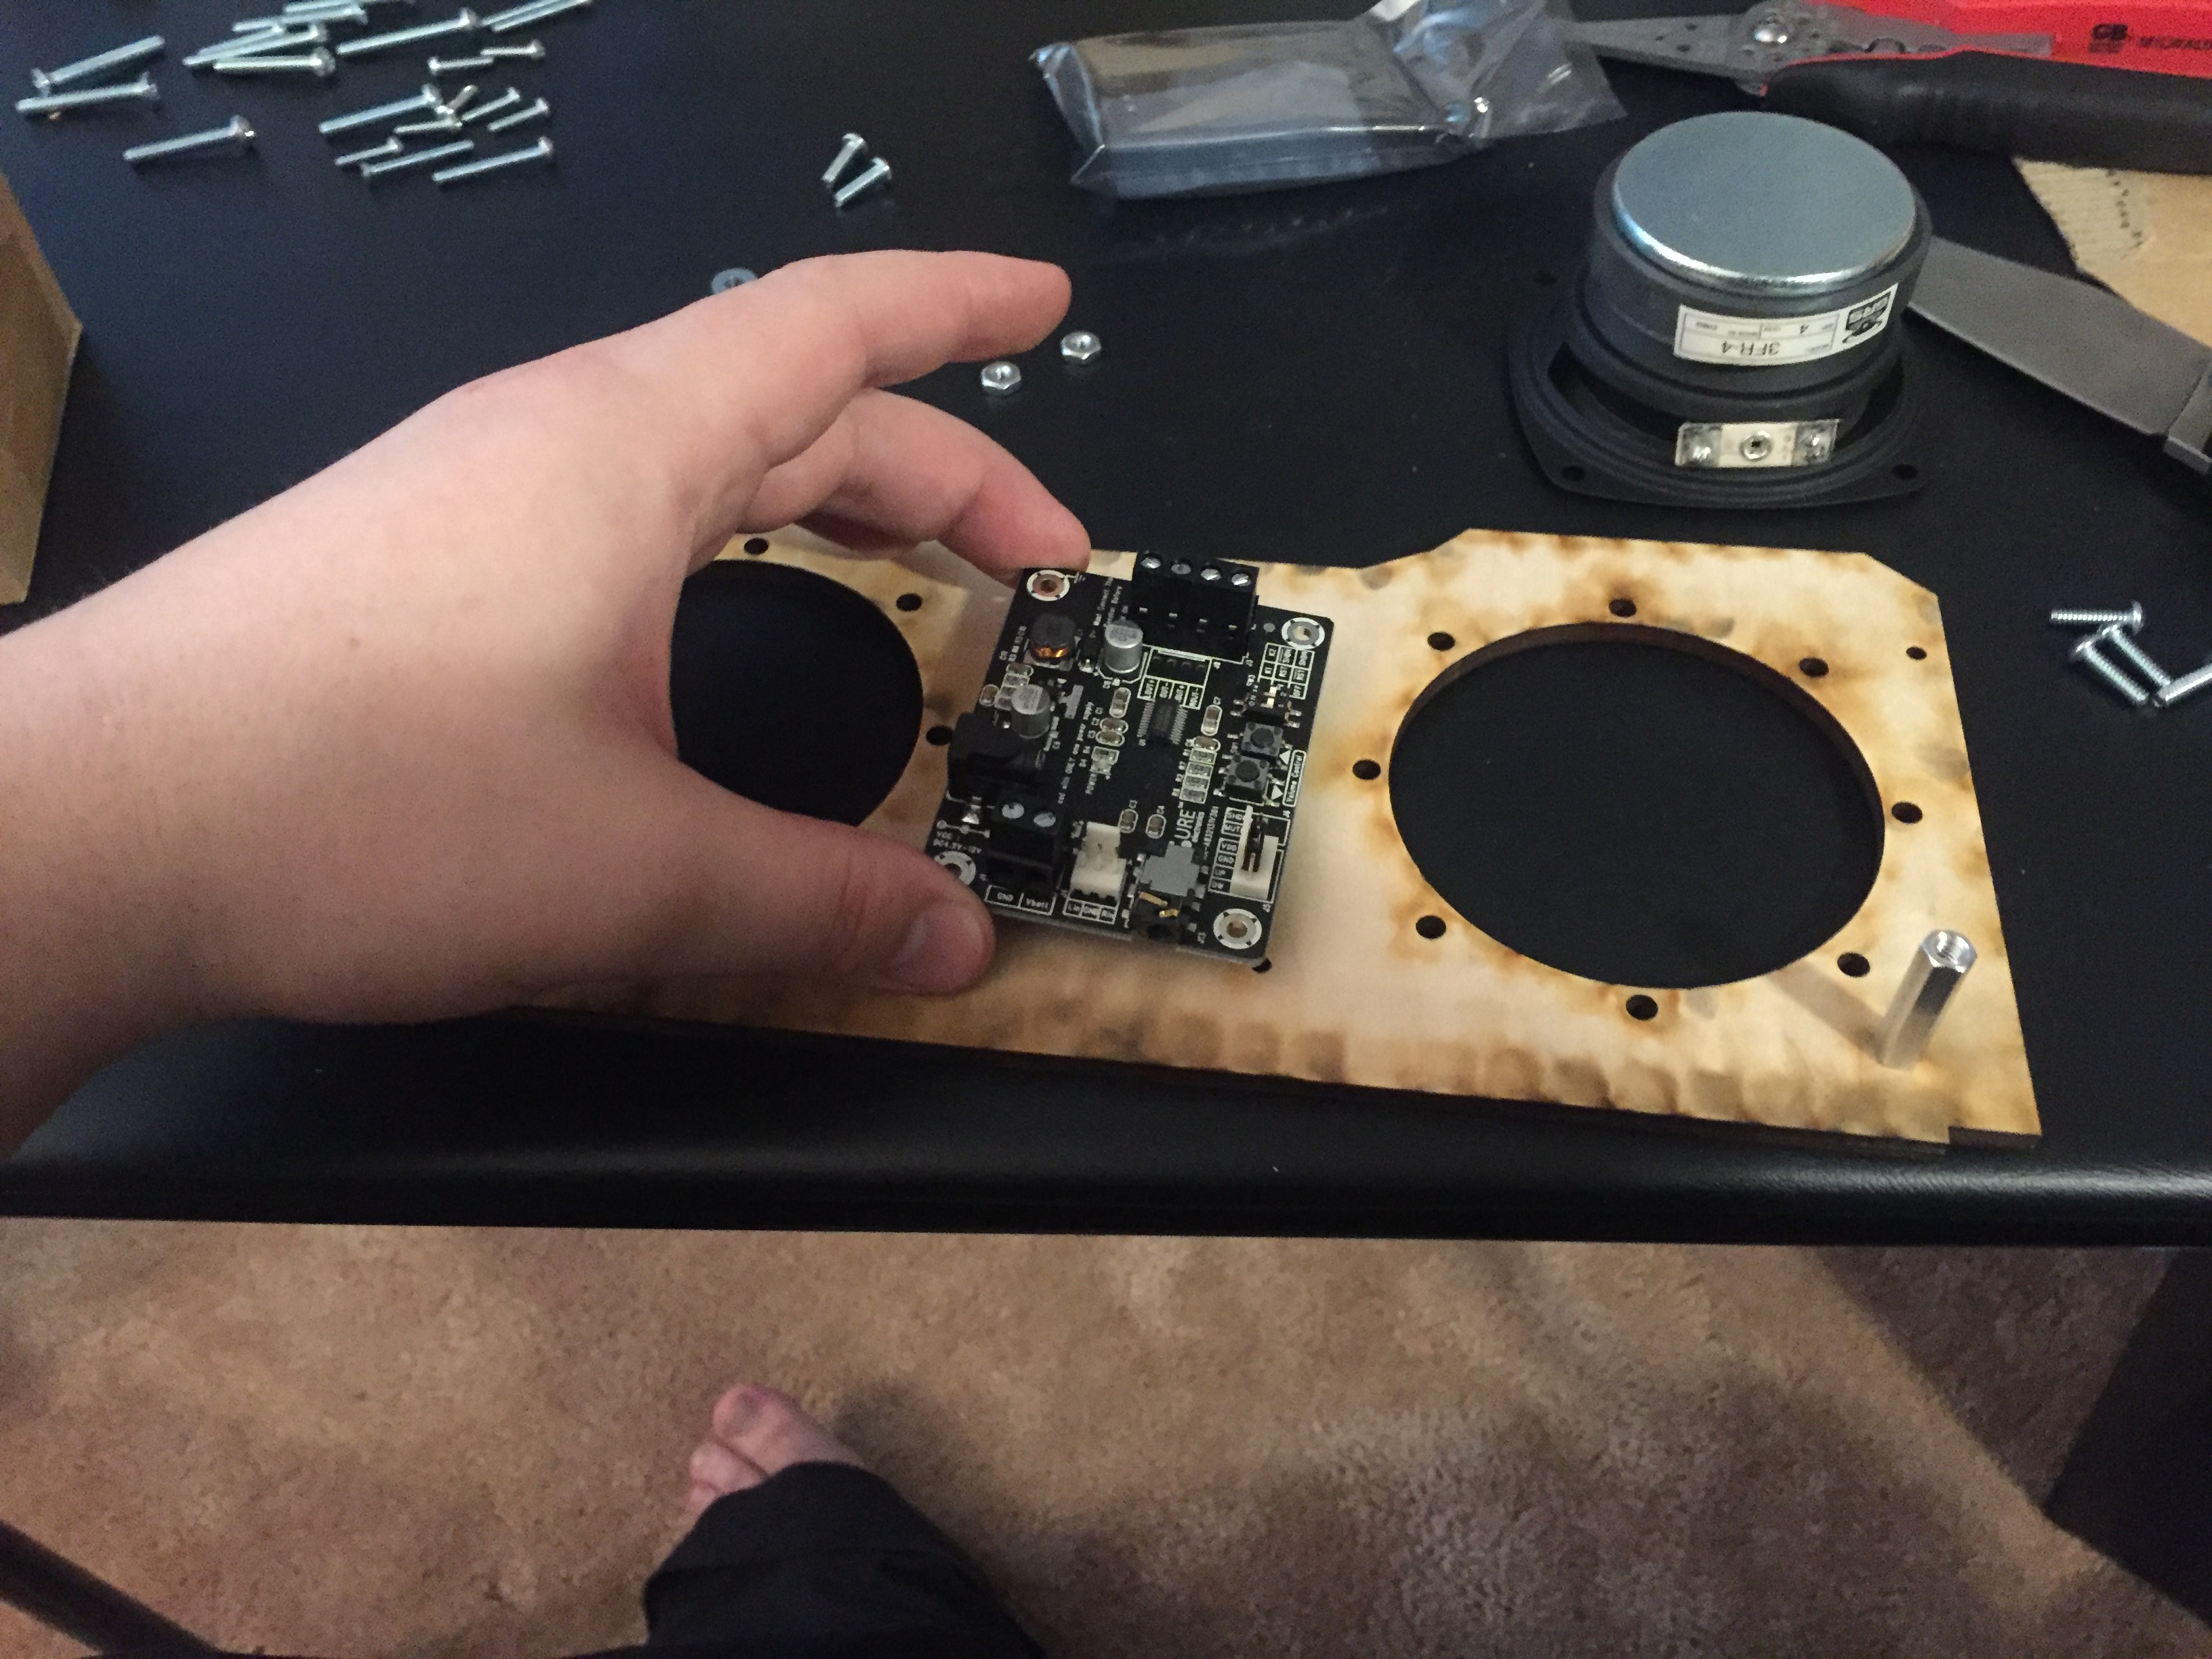
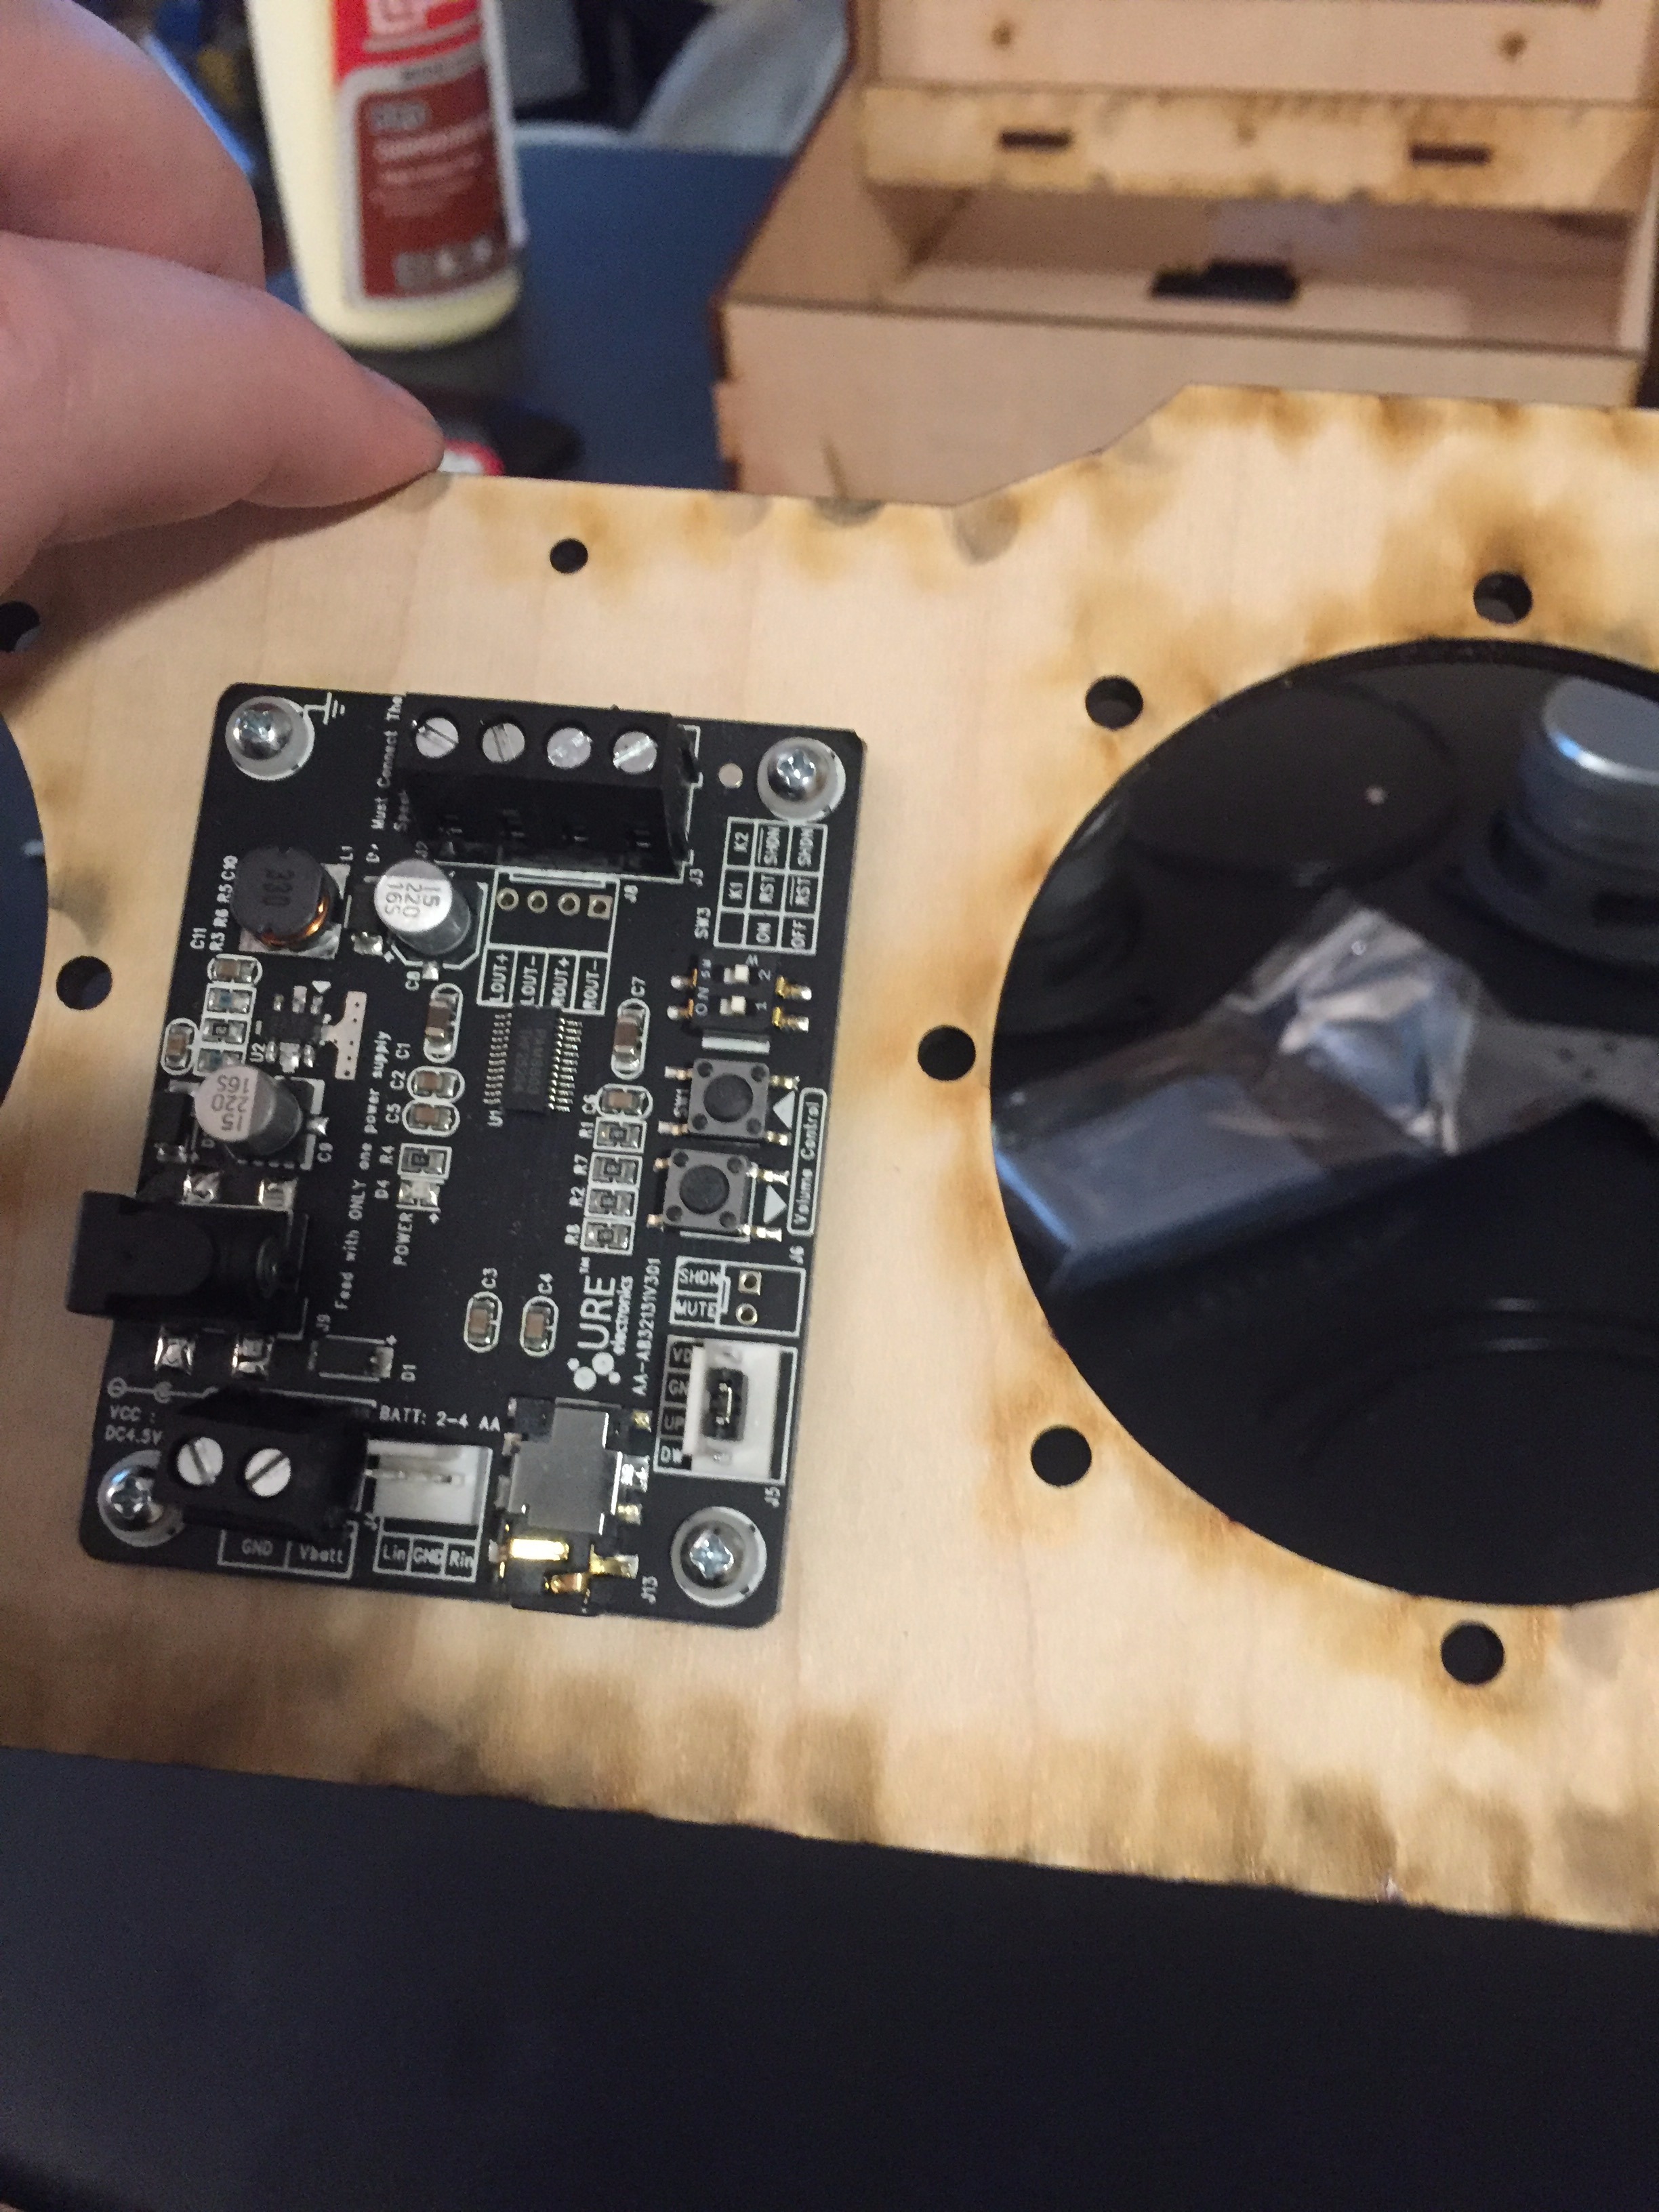
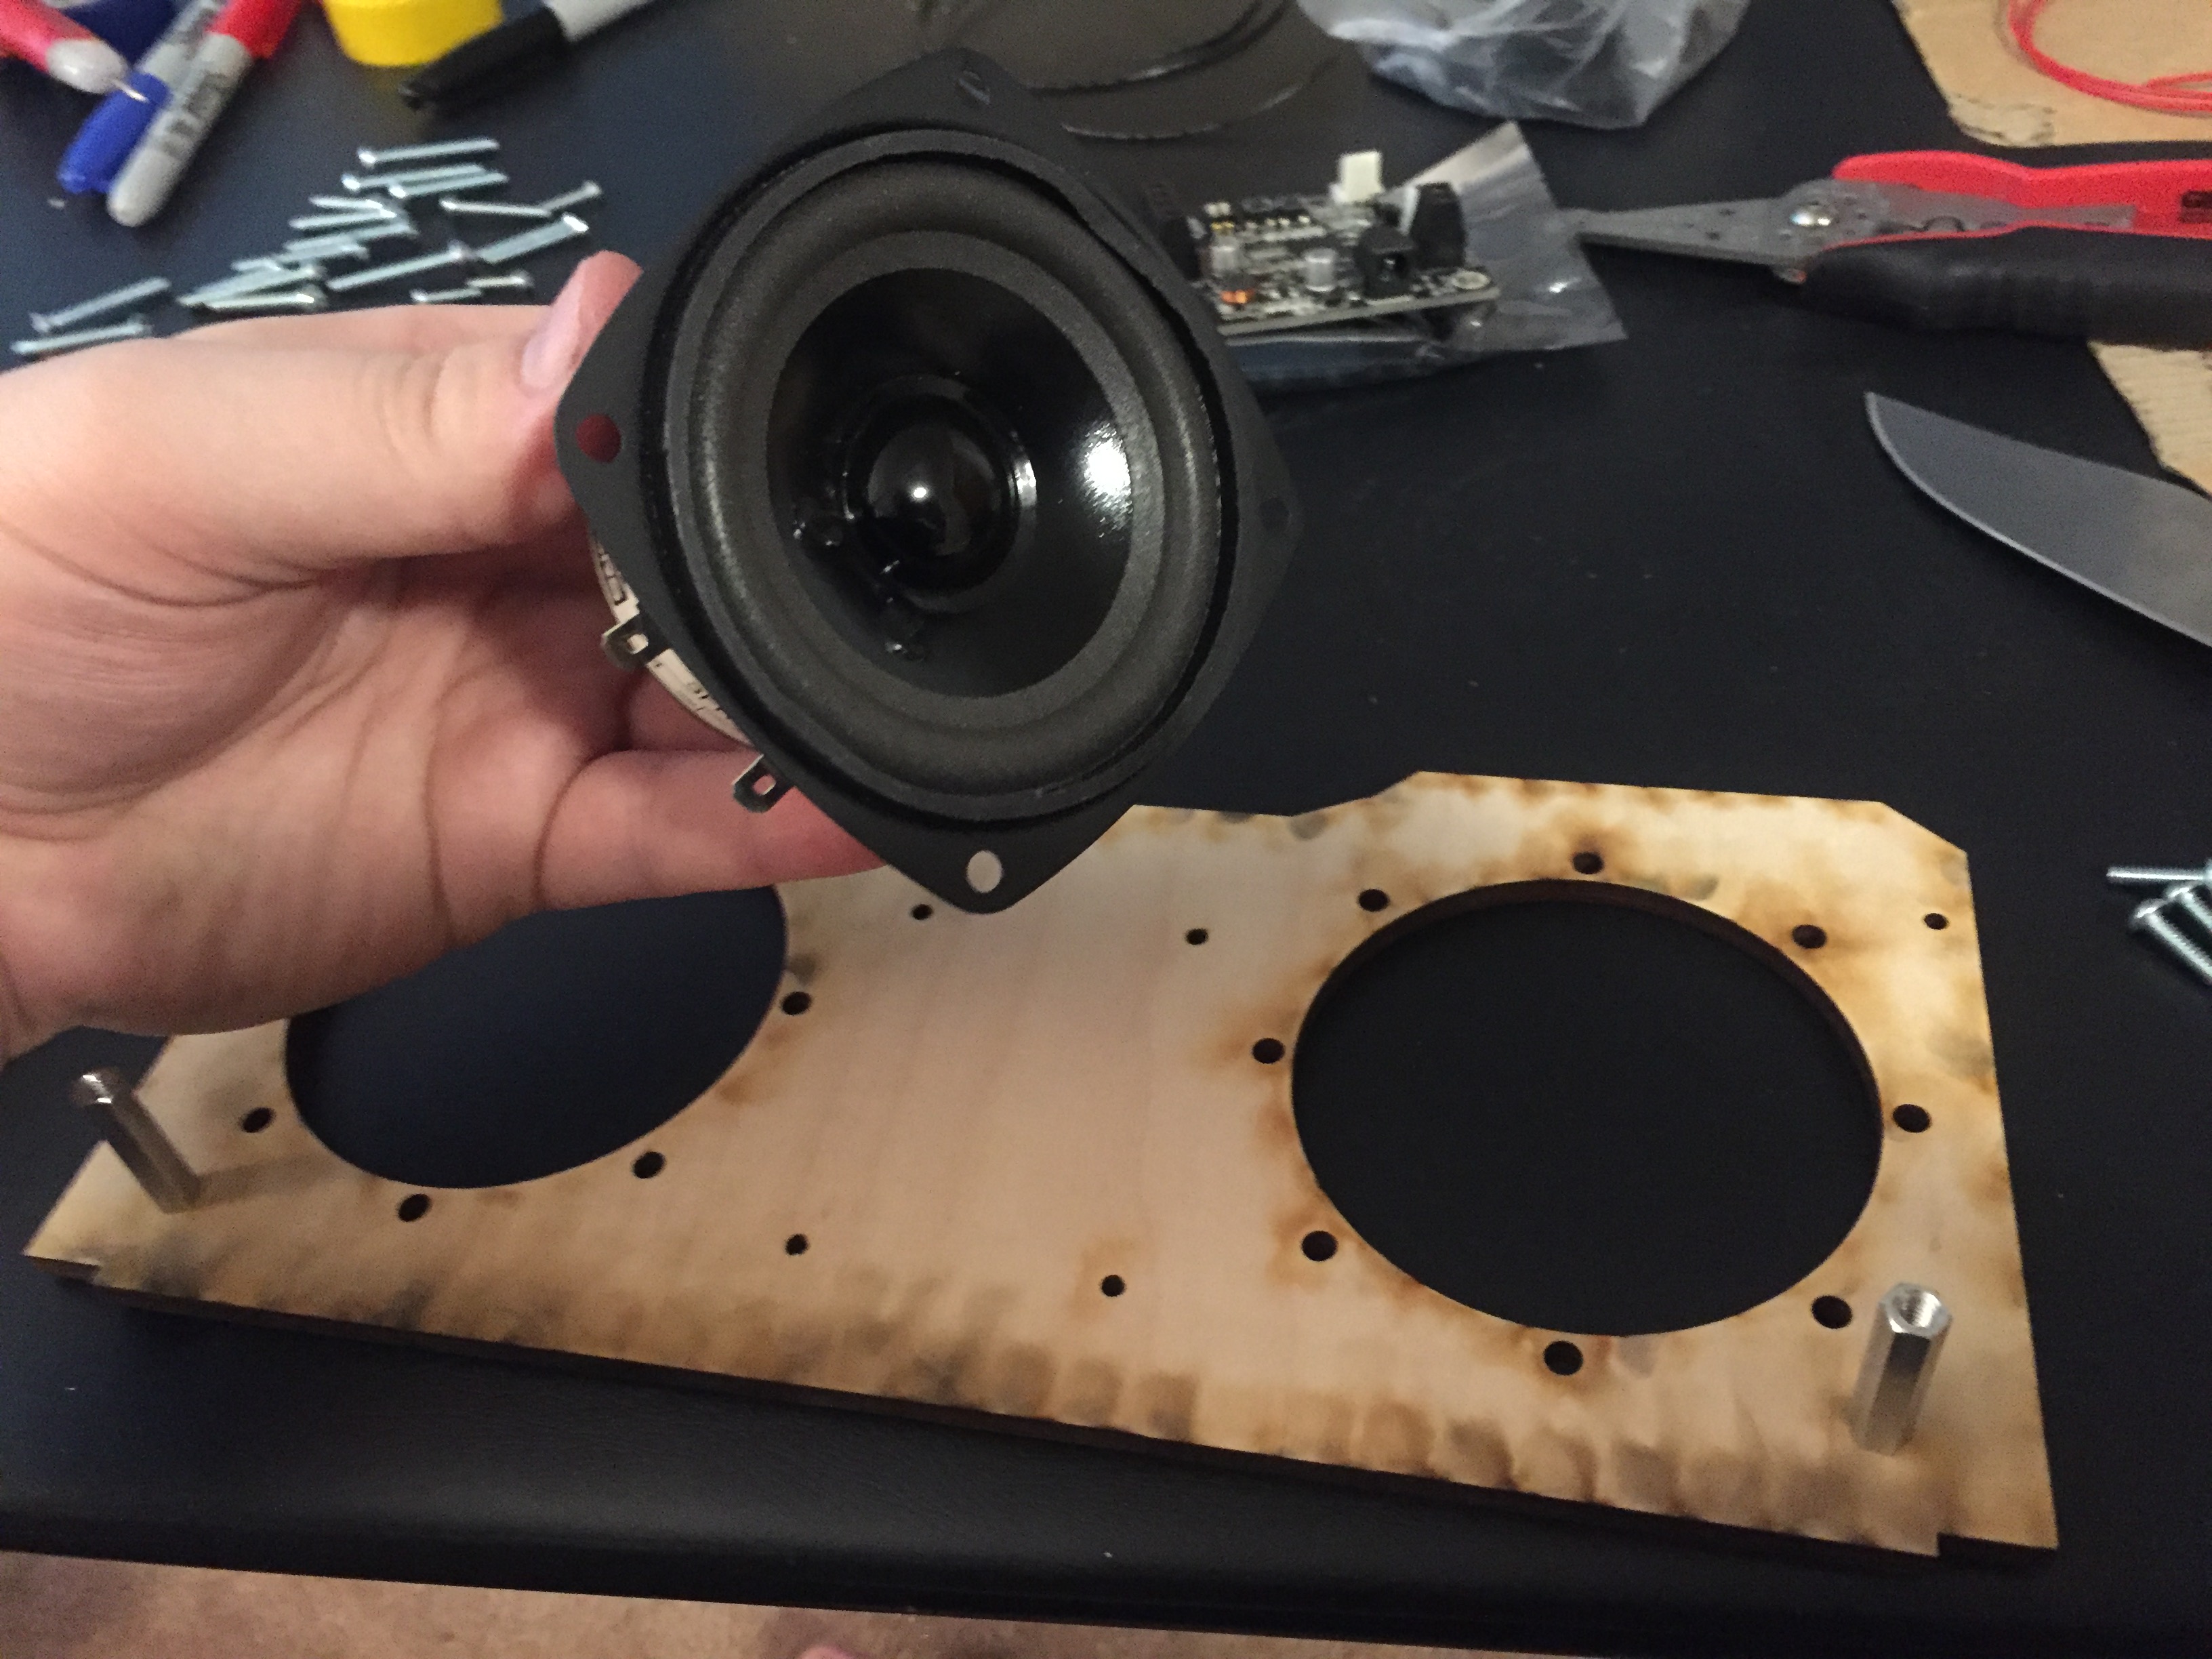
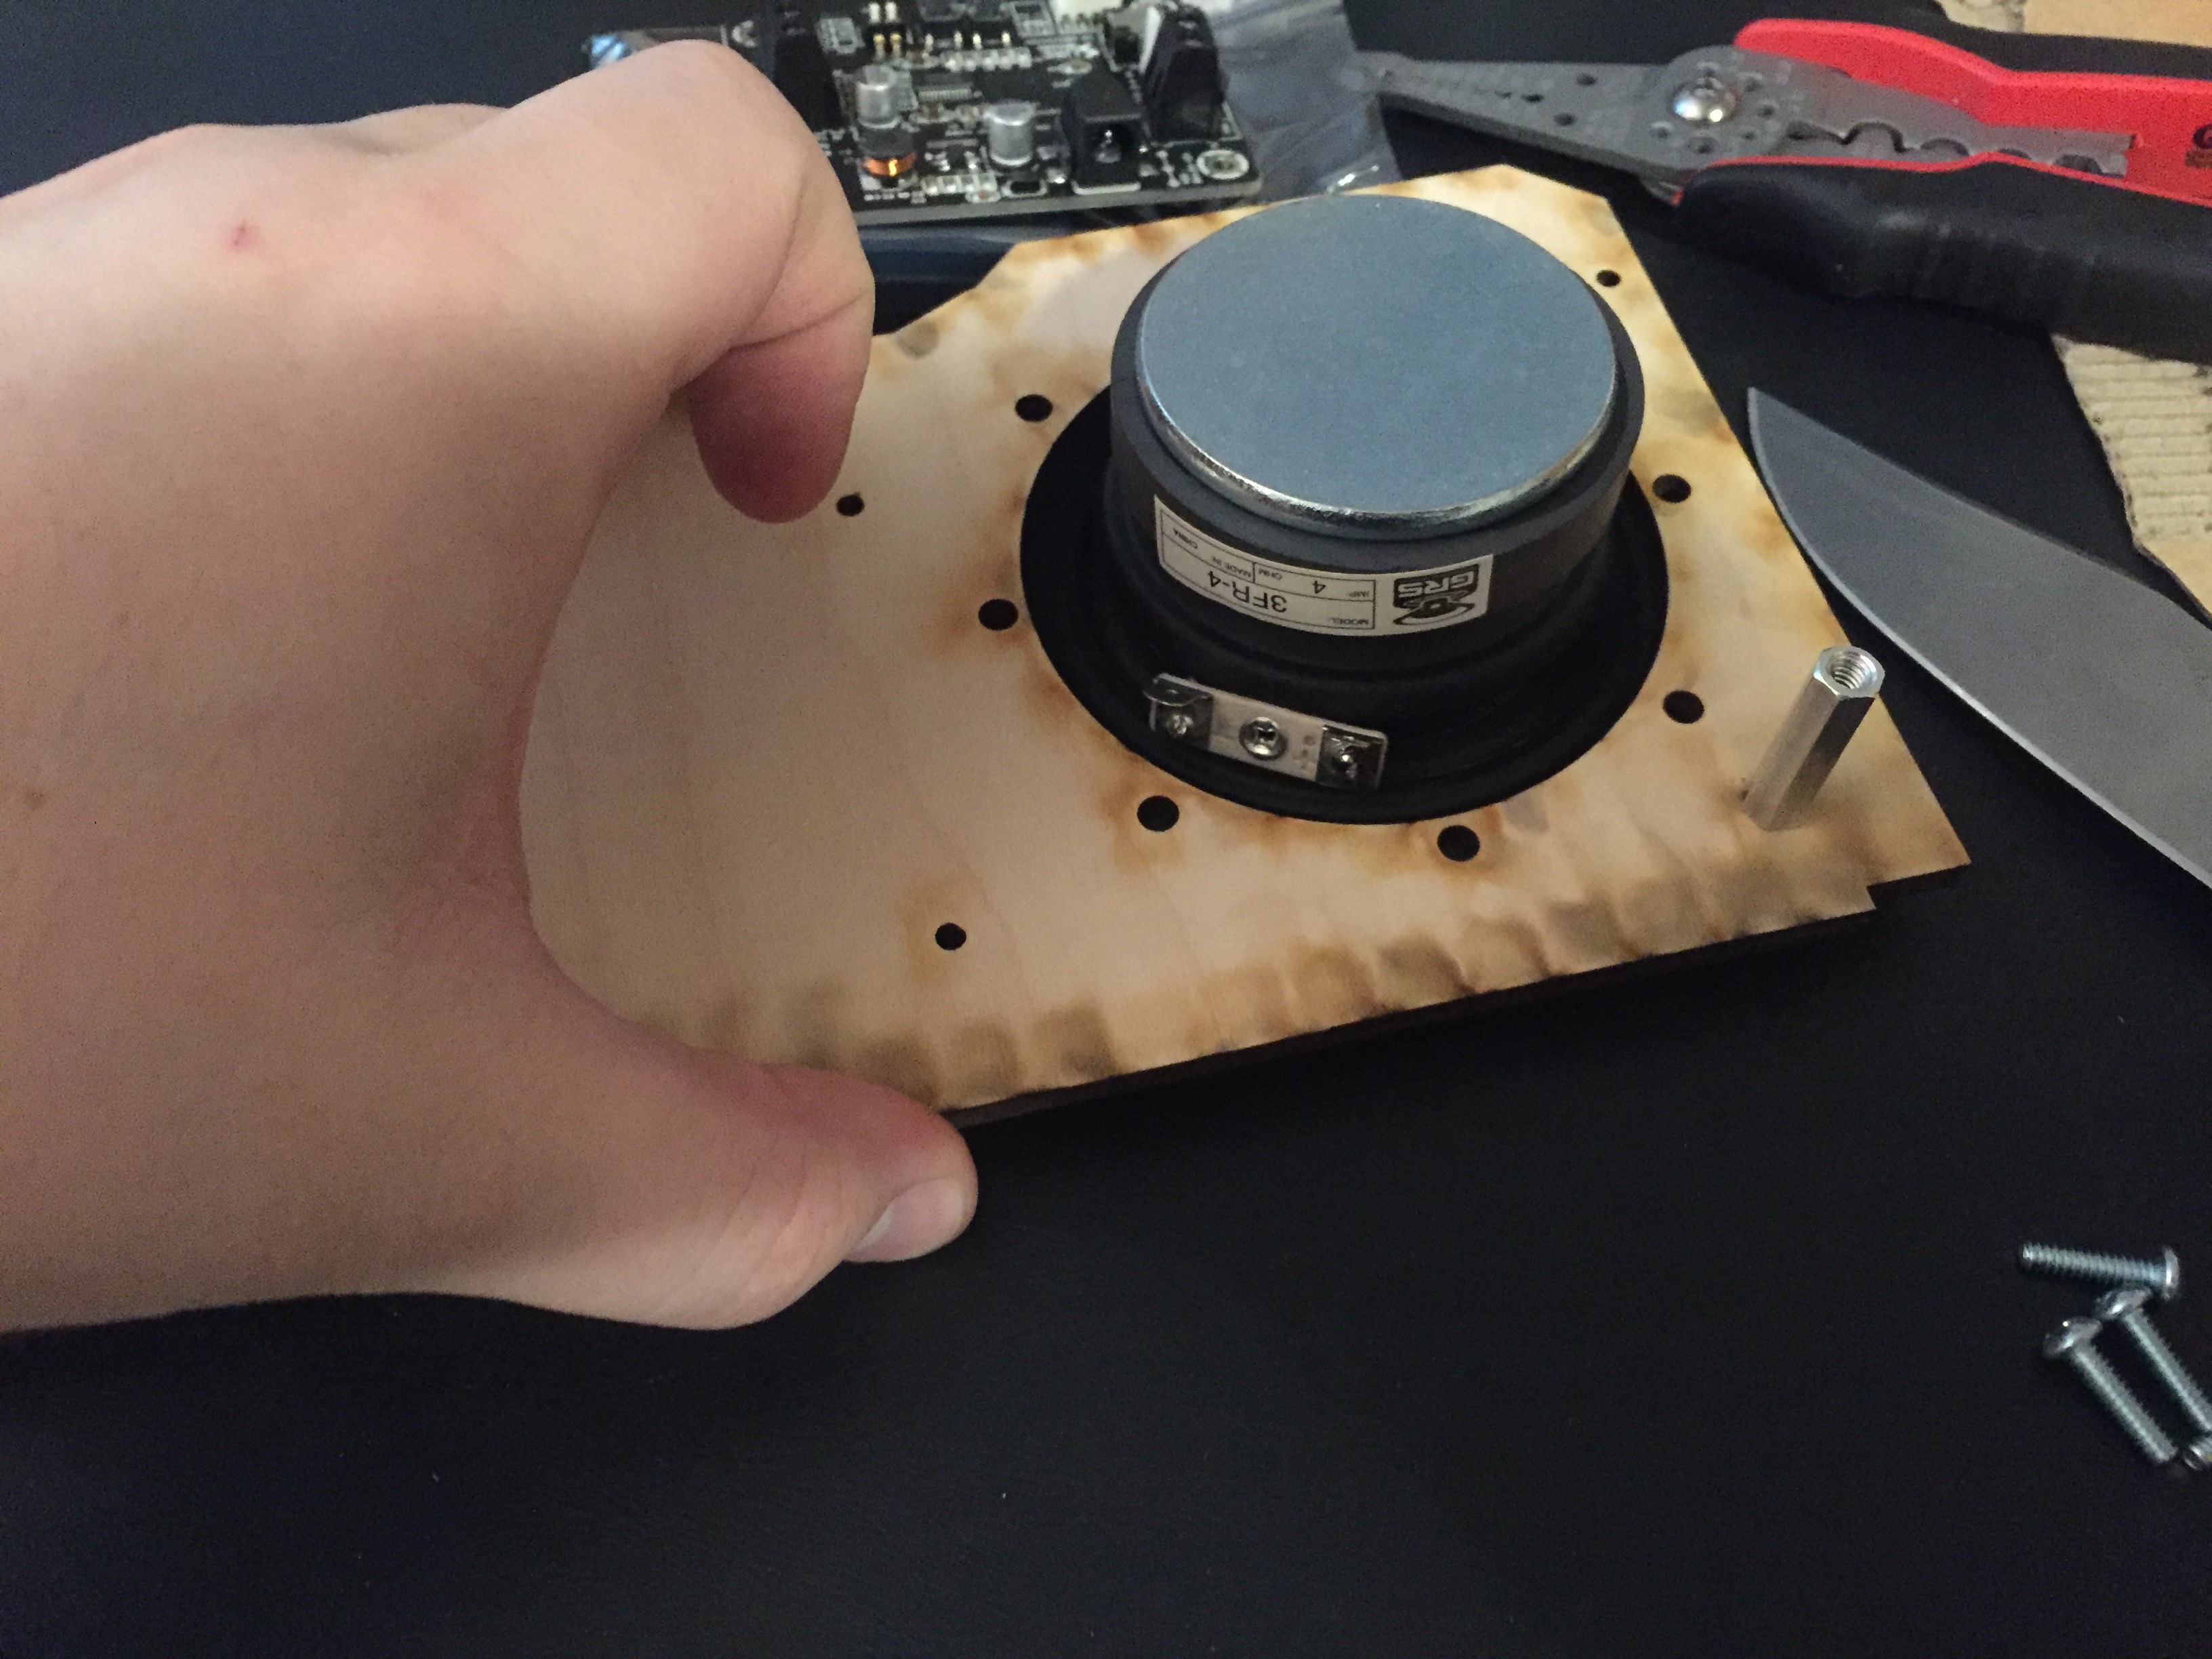
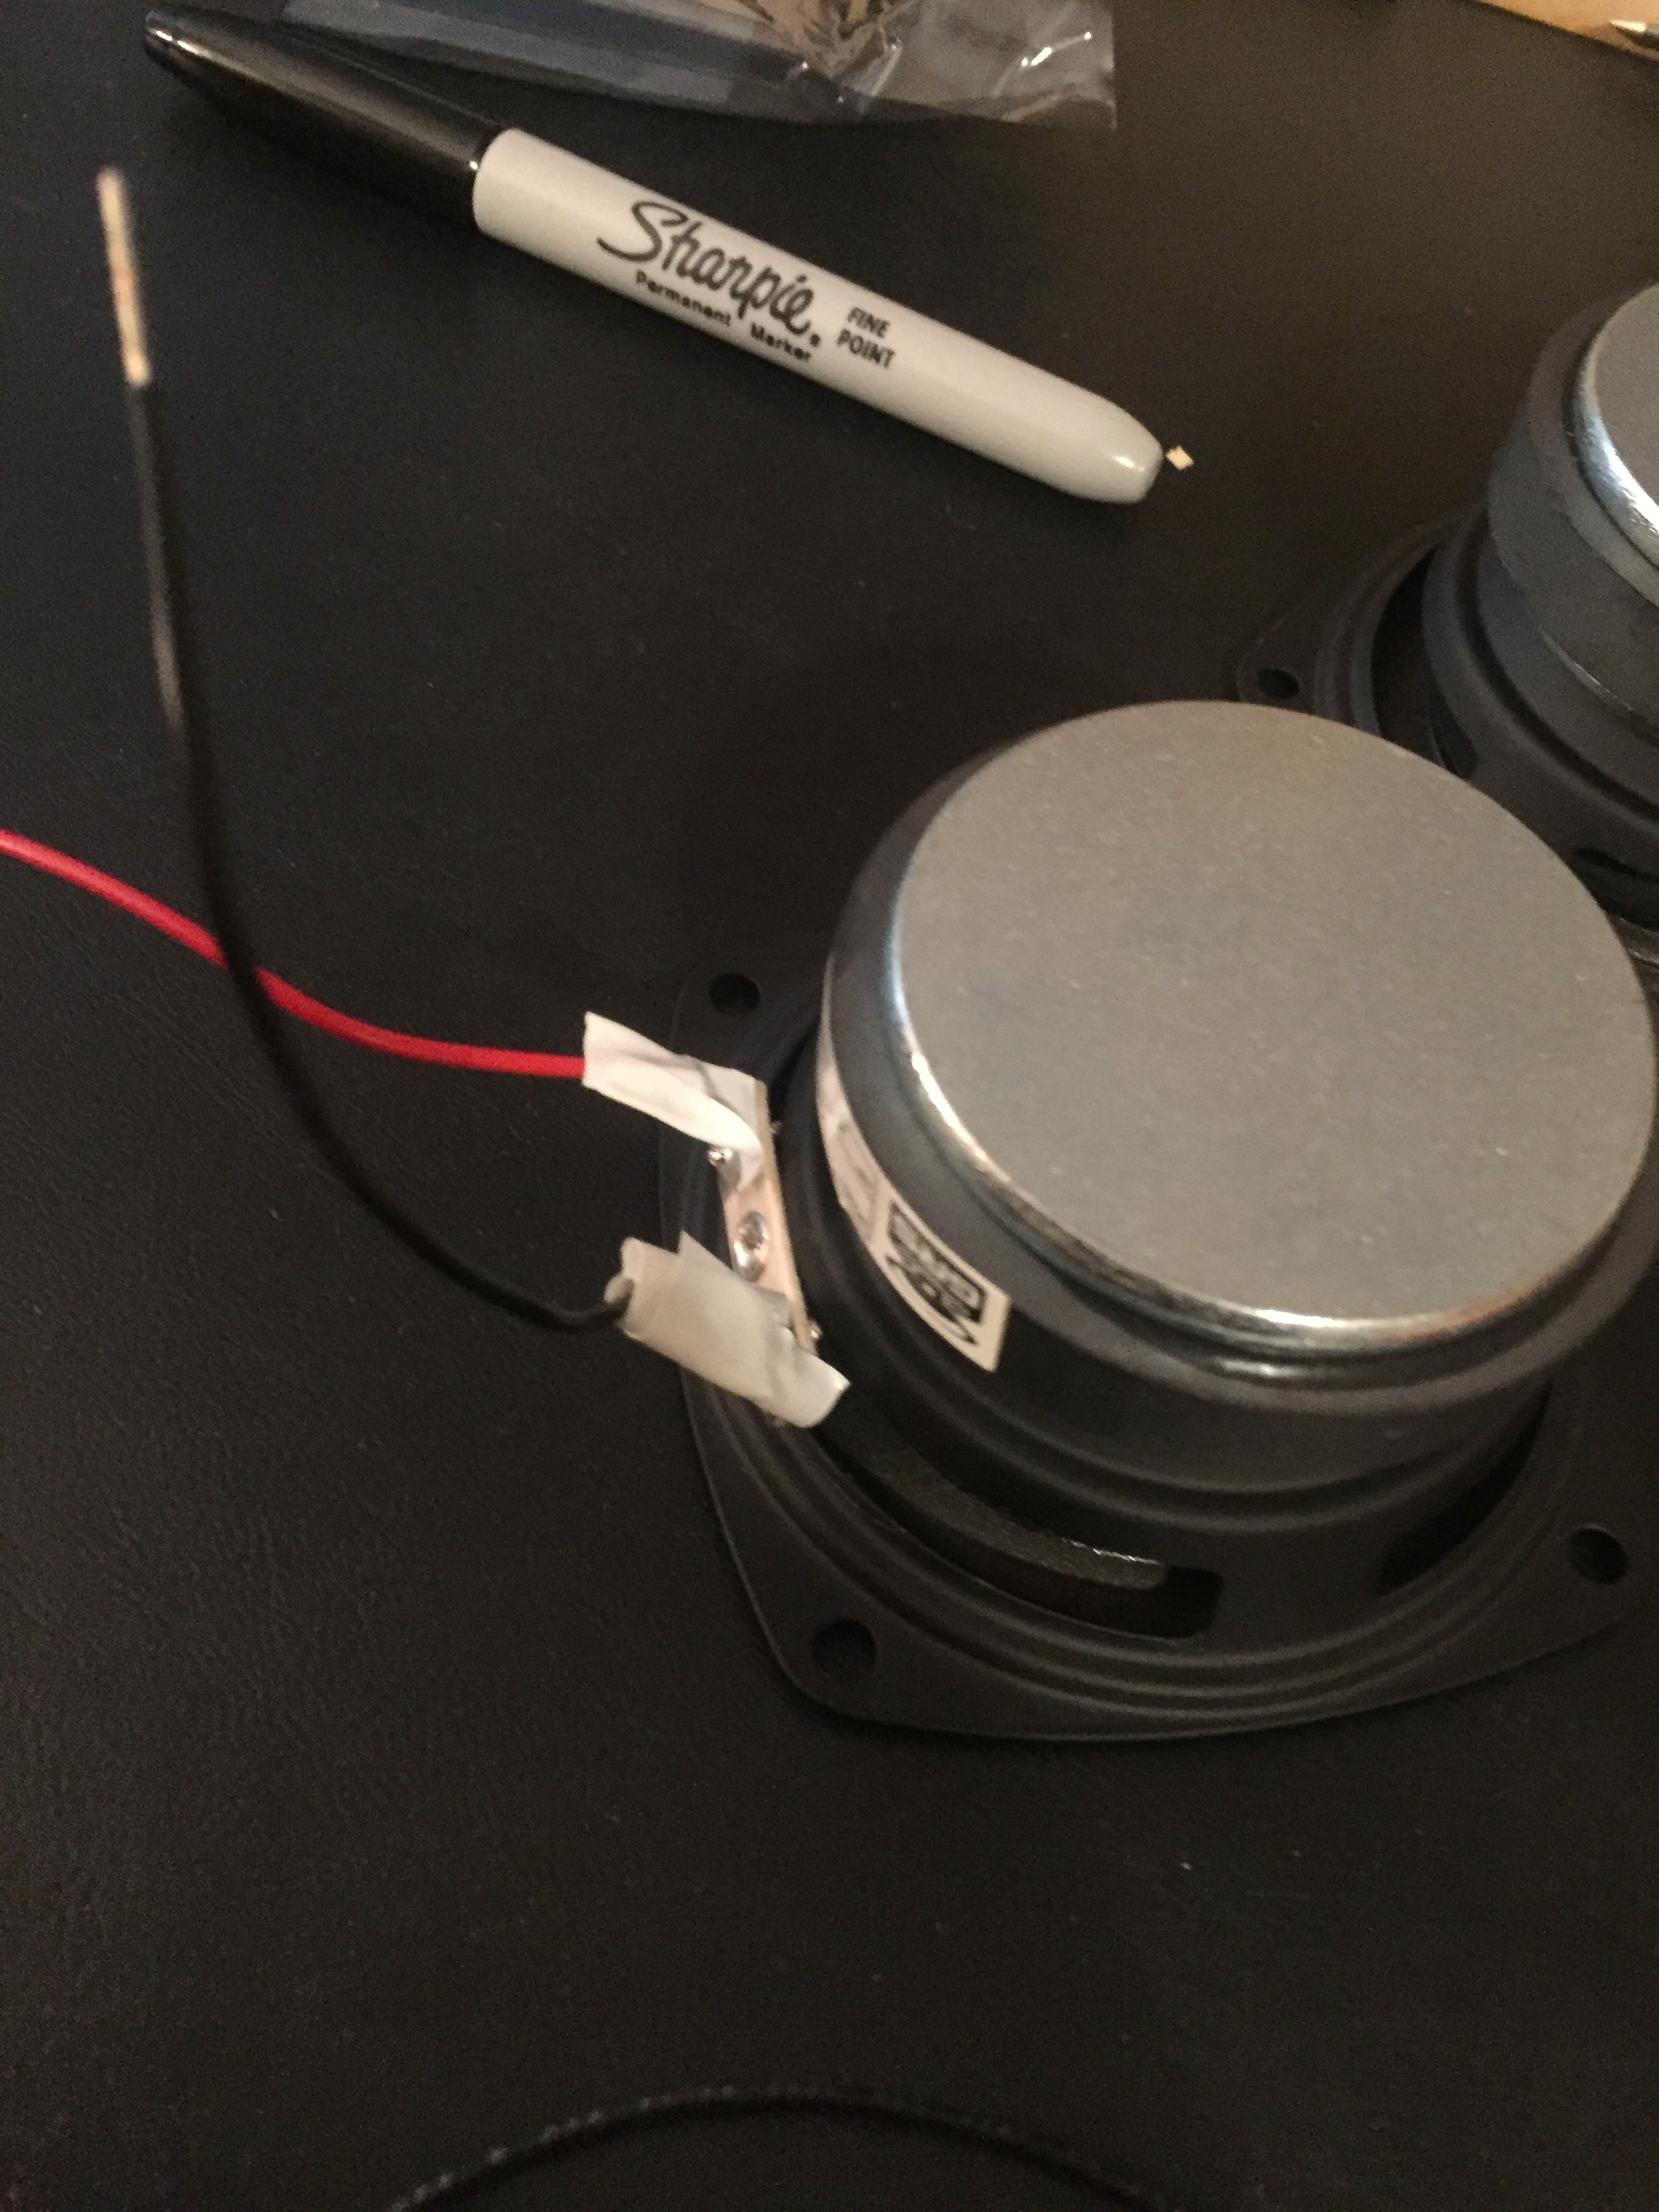
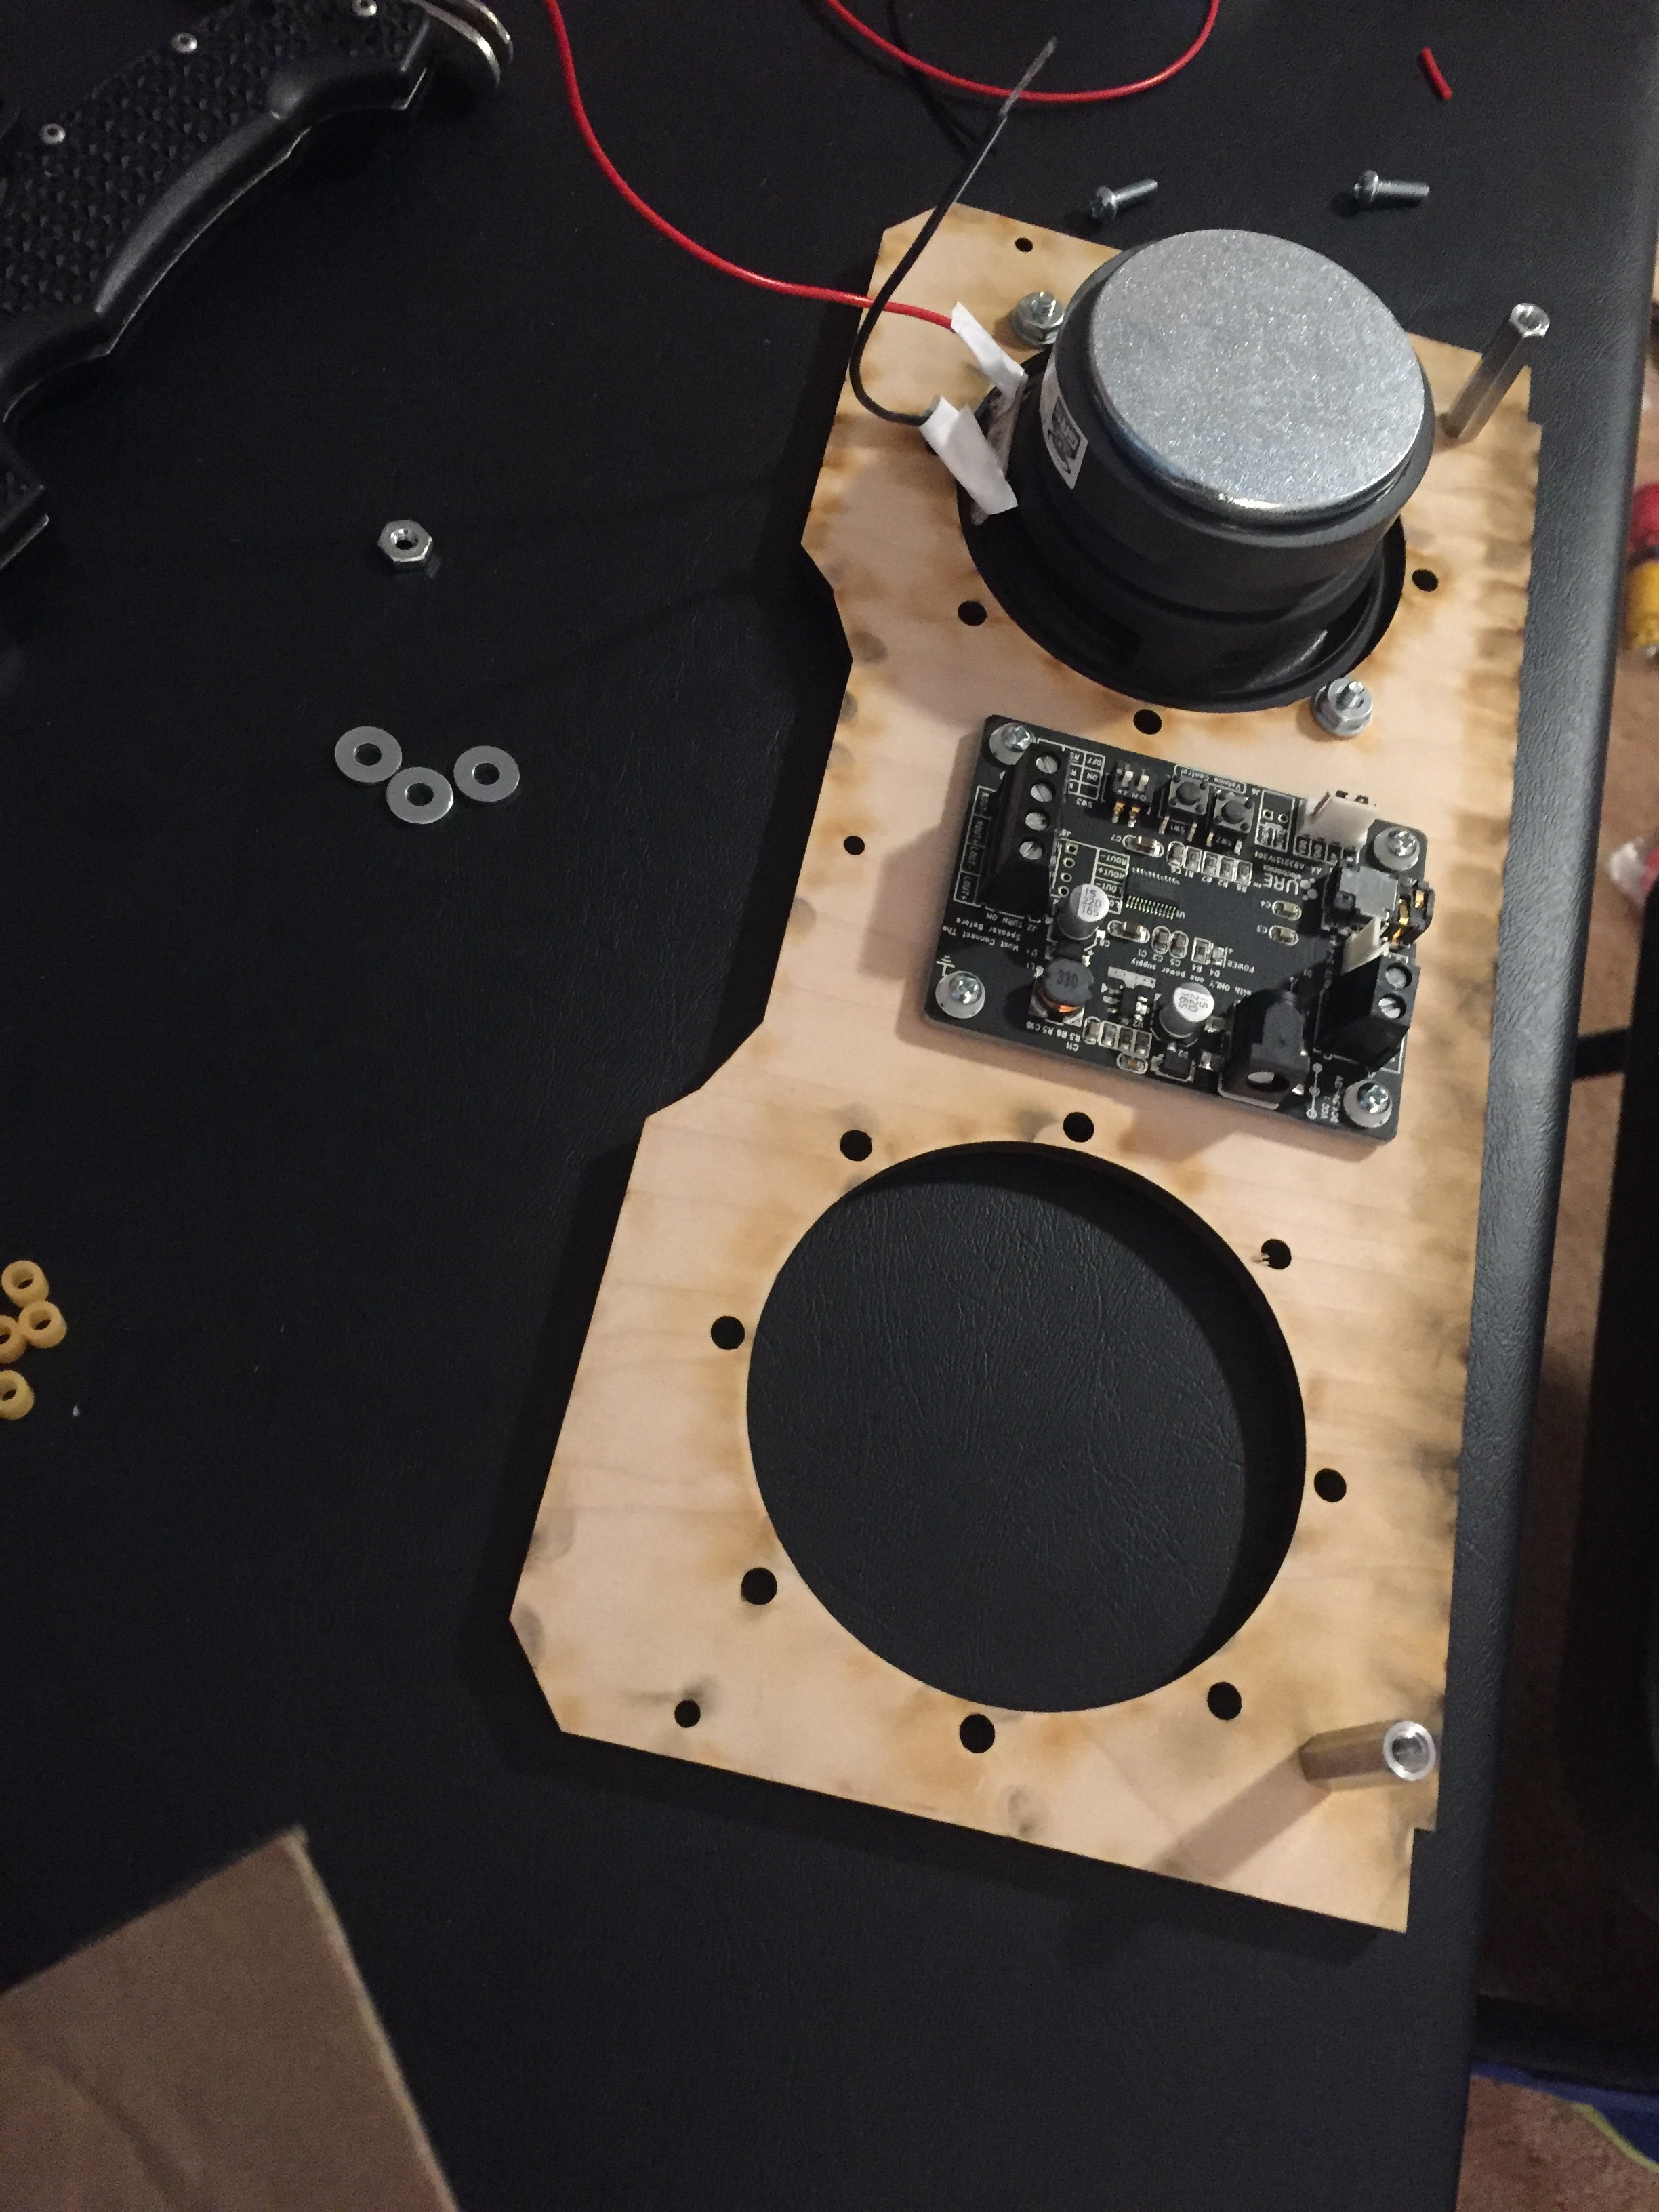
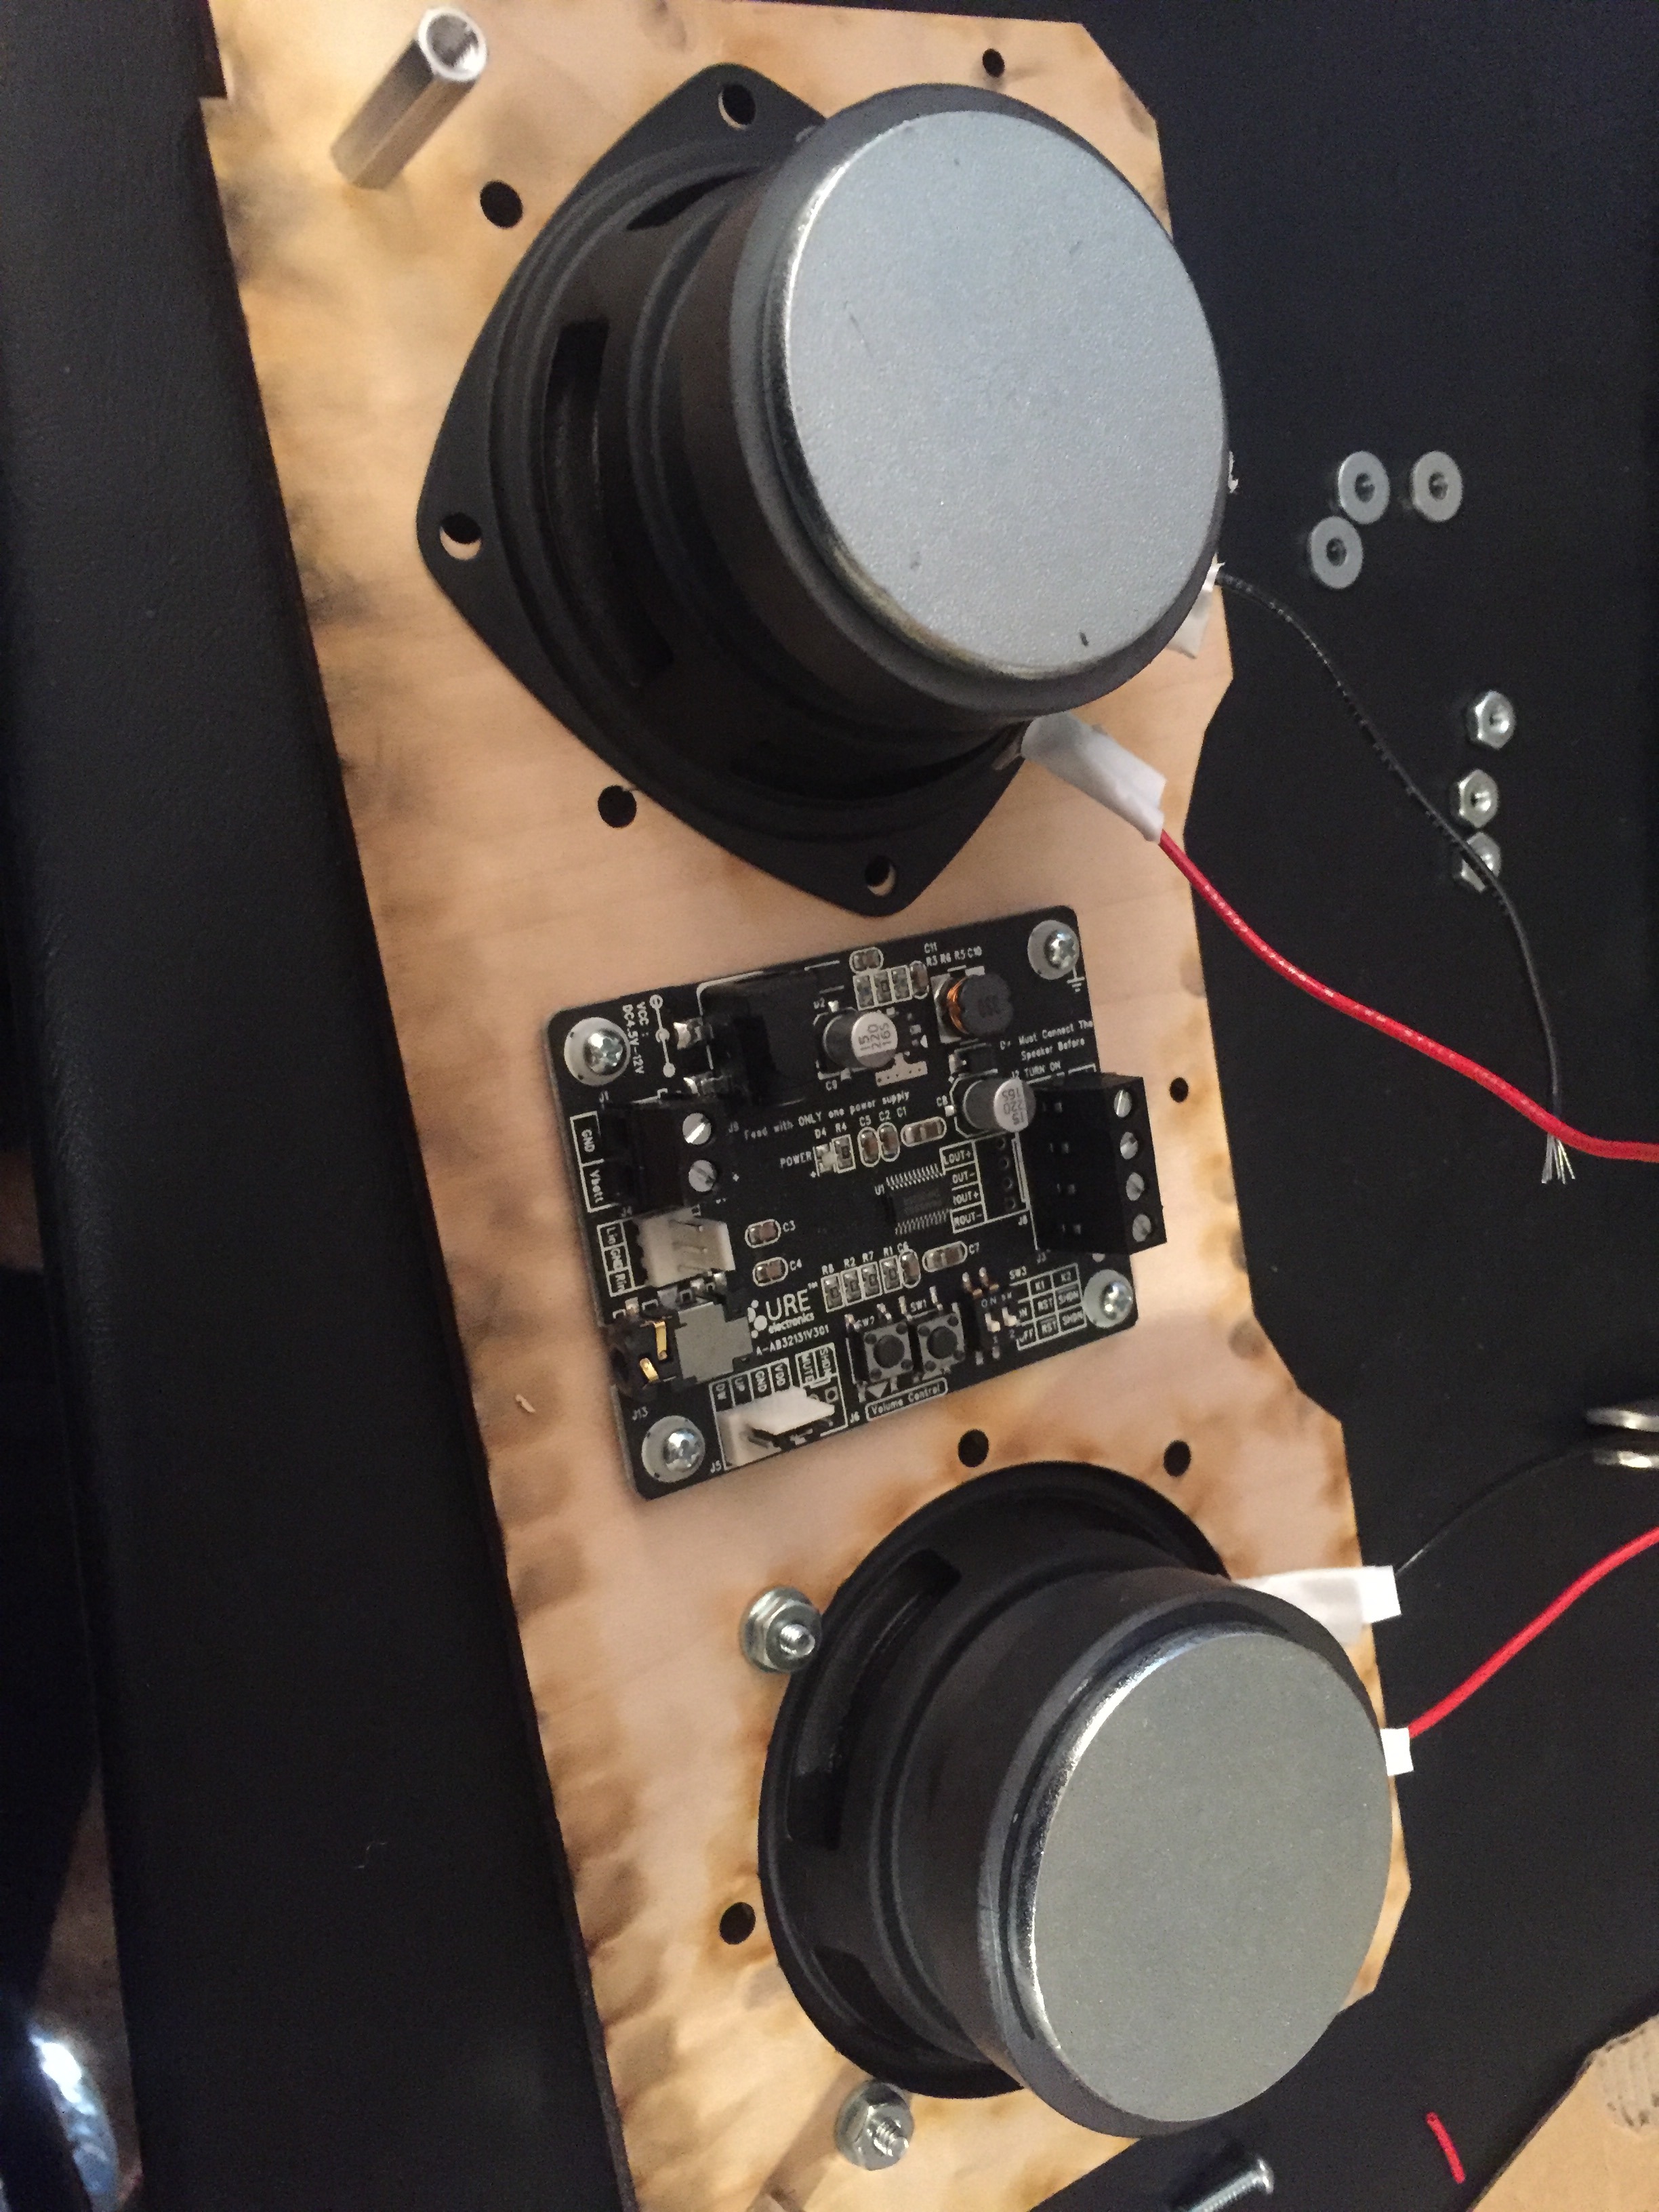
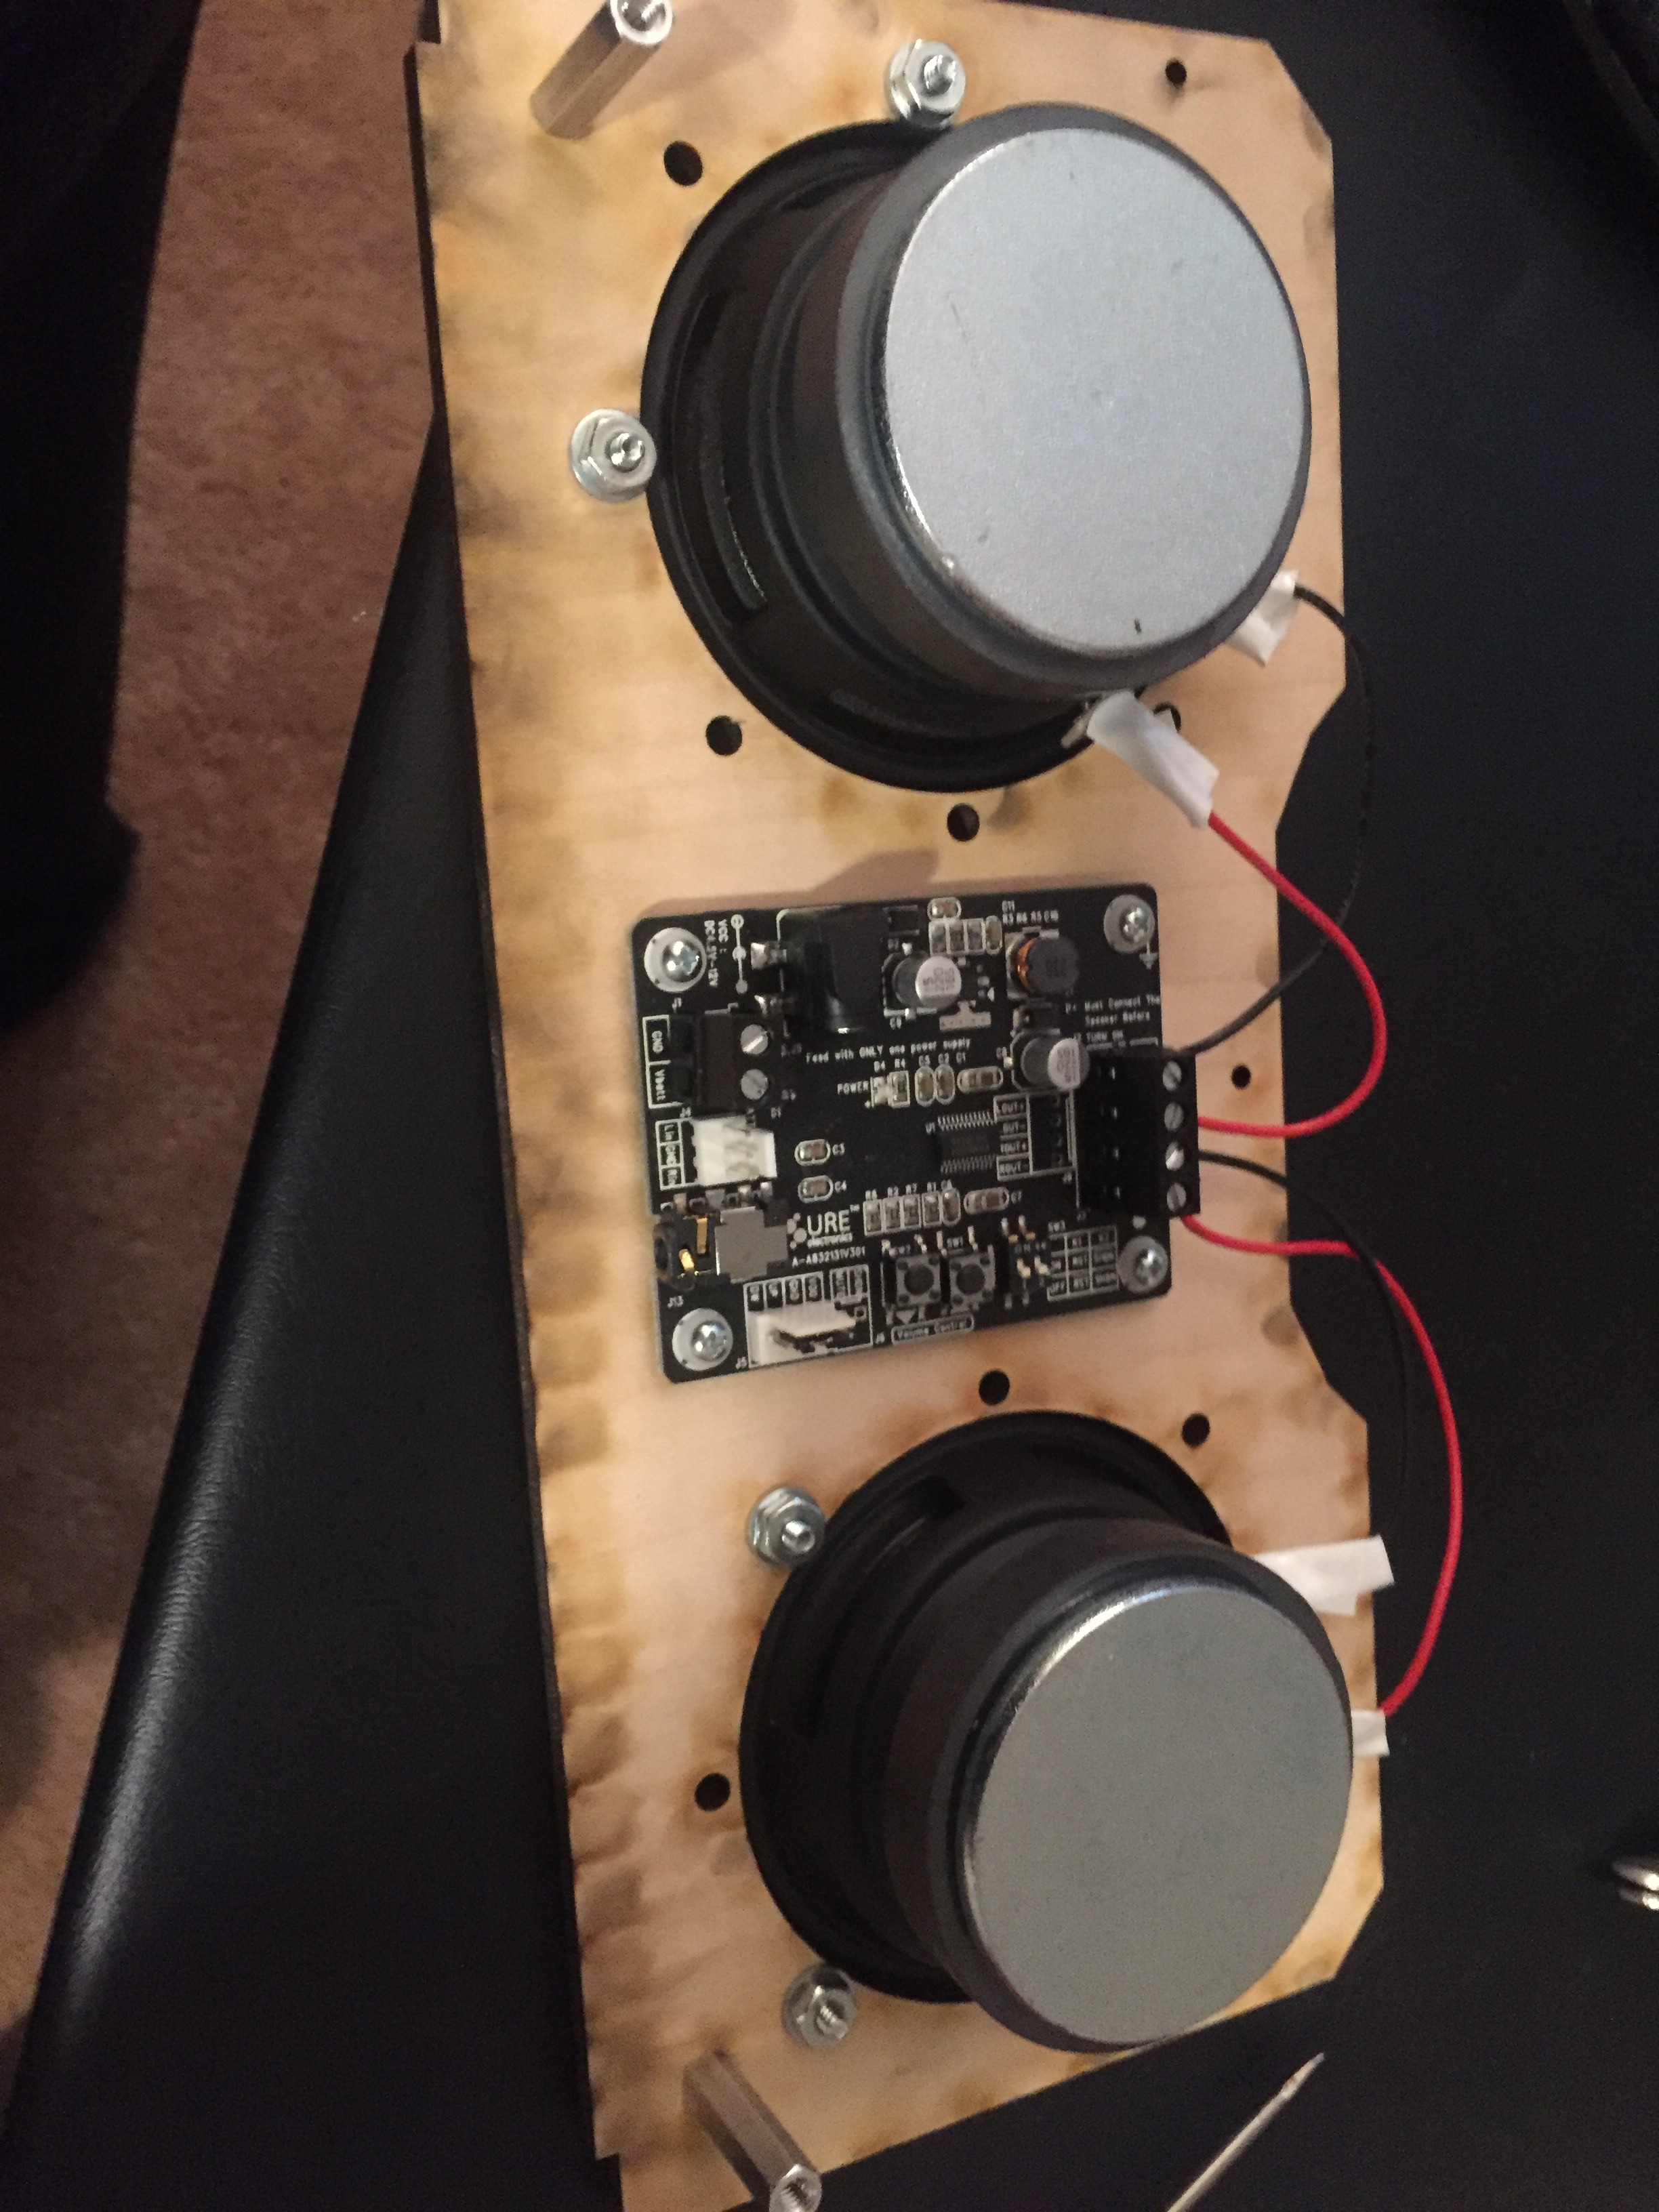
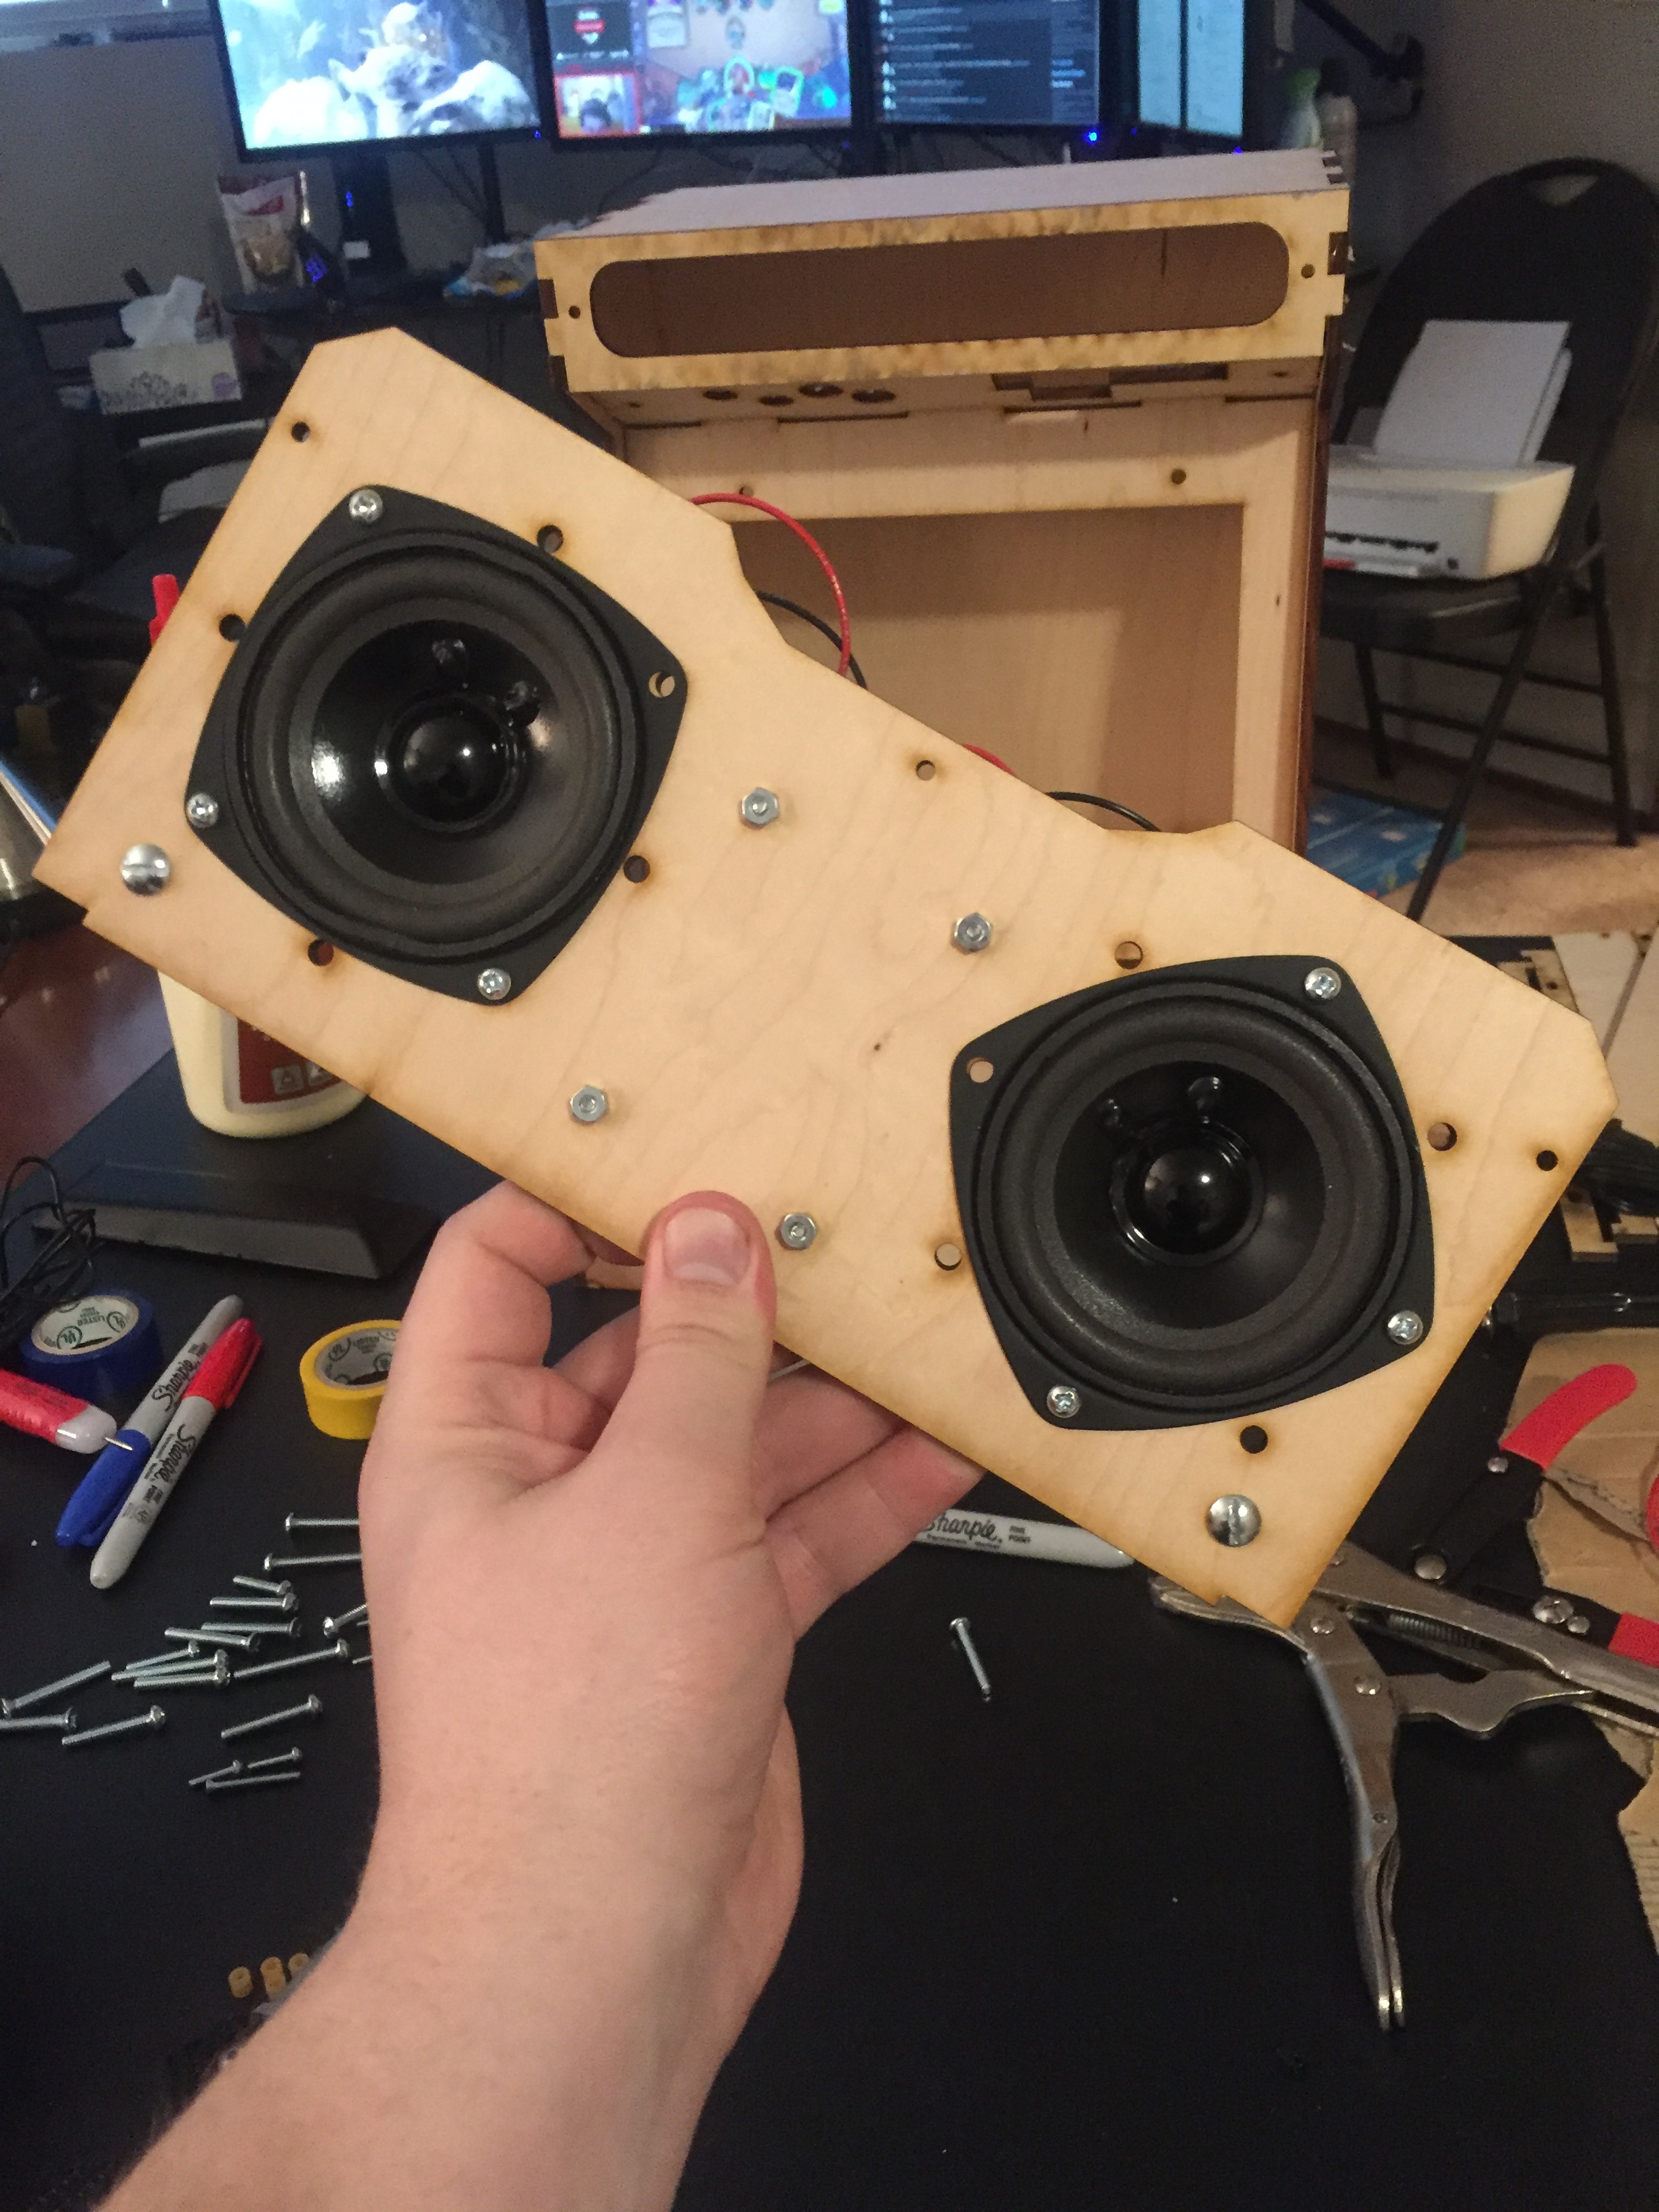
In this step, we will assemble the speaker setup. The speakers are relatively independent from the rest of the build, so it is good practice to start with!
Before you begin, locate your 2 speakers, the speaker control board, the wooden cutout for the speakers, and some wiring for the speakers.
1) mount the control board first. There are small plastic washers that sit between the control board and the wood. BE SURE YOU HAVE THESE. Then simply put a screw through the corner holes and secure with washers and nuts. Be aware of where the wires connect to the control board, and ensure there will be room for the speakers to connect to the board.
2) Next up is attaching wires to the speakers. these speakers come with no wires attached, so you will need to cut a length of wire, and strip both ends of the plastic covering. Then attach one end of the wire to the + side of the speaker, and another to the -. It is best to use the same colors for positive and negative on both speakers. The wires can either be soldered on, or attached with electrical tape (such as in my photo). Once both speakers are wired, proceed to next step.
3) Now we need to screw the speakers onto the wood. For some reason the kit only comes with 6 screws for your speakers (3 per speaker) so be aware of that. If you look at my photo, you'll see that I didn't even mount mine in the same way. I cut the wire too short for one speaker, so it had to be mounted differently to ensure the wires could reach.
4) Once the speakers are screwed into the board, attach the wires to the controller! BE SURE TO ATTACH POSITIVE TO POSITIVE AND NEGATIVE TO NEGATIVE. If you are concerned with ensuring right and left are on the correct sides, be sure to read which speaker is which on the board!
The Screen
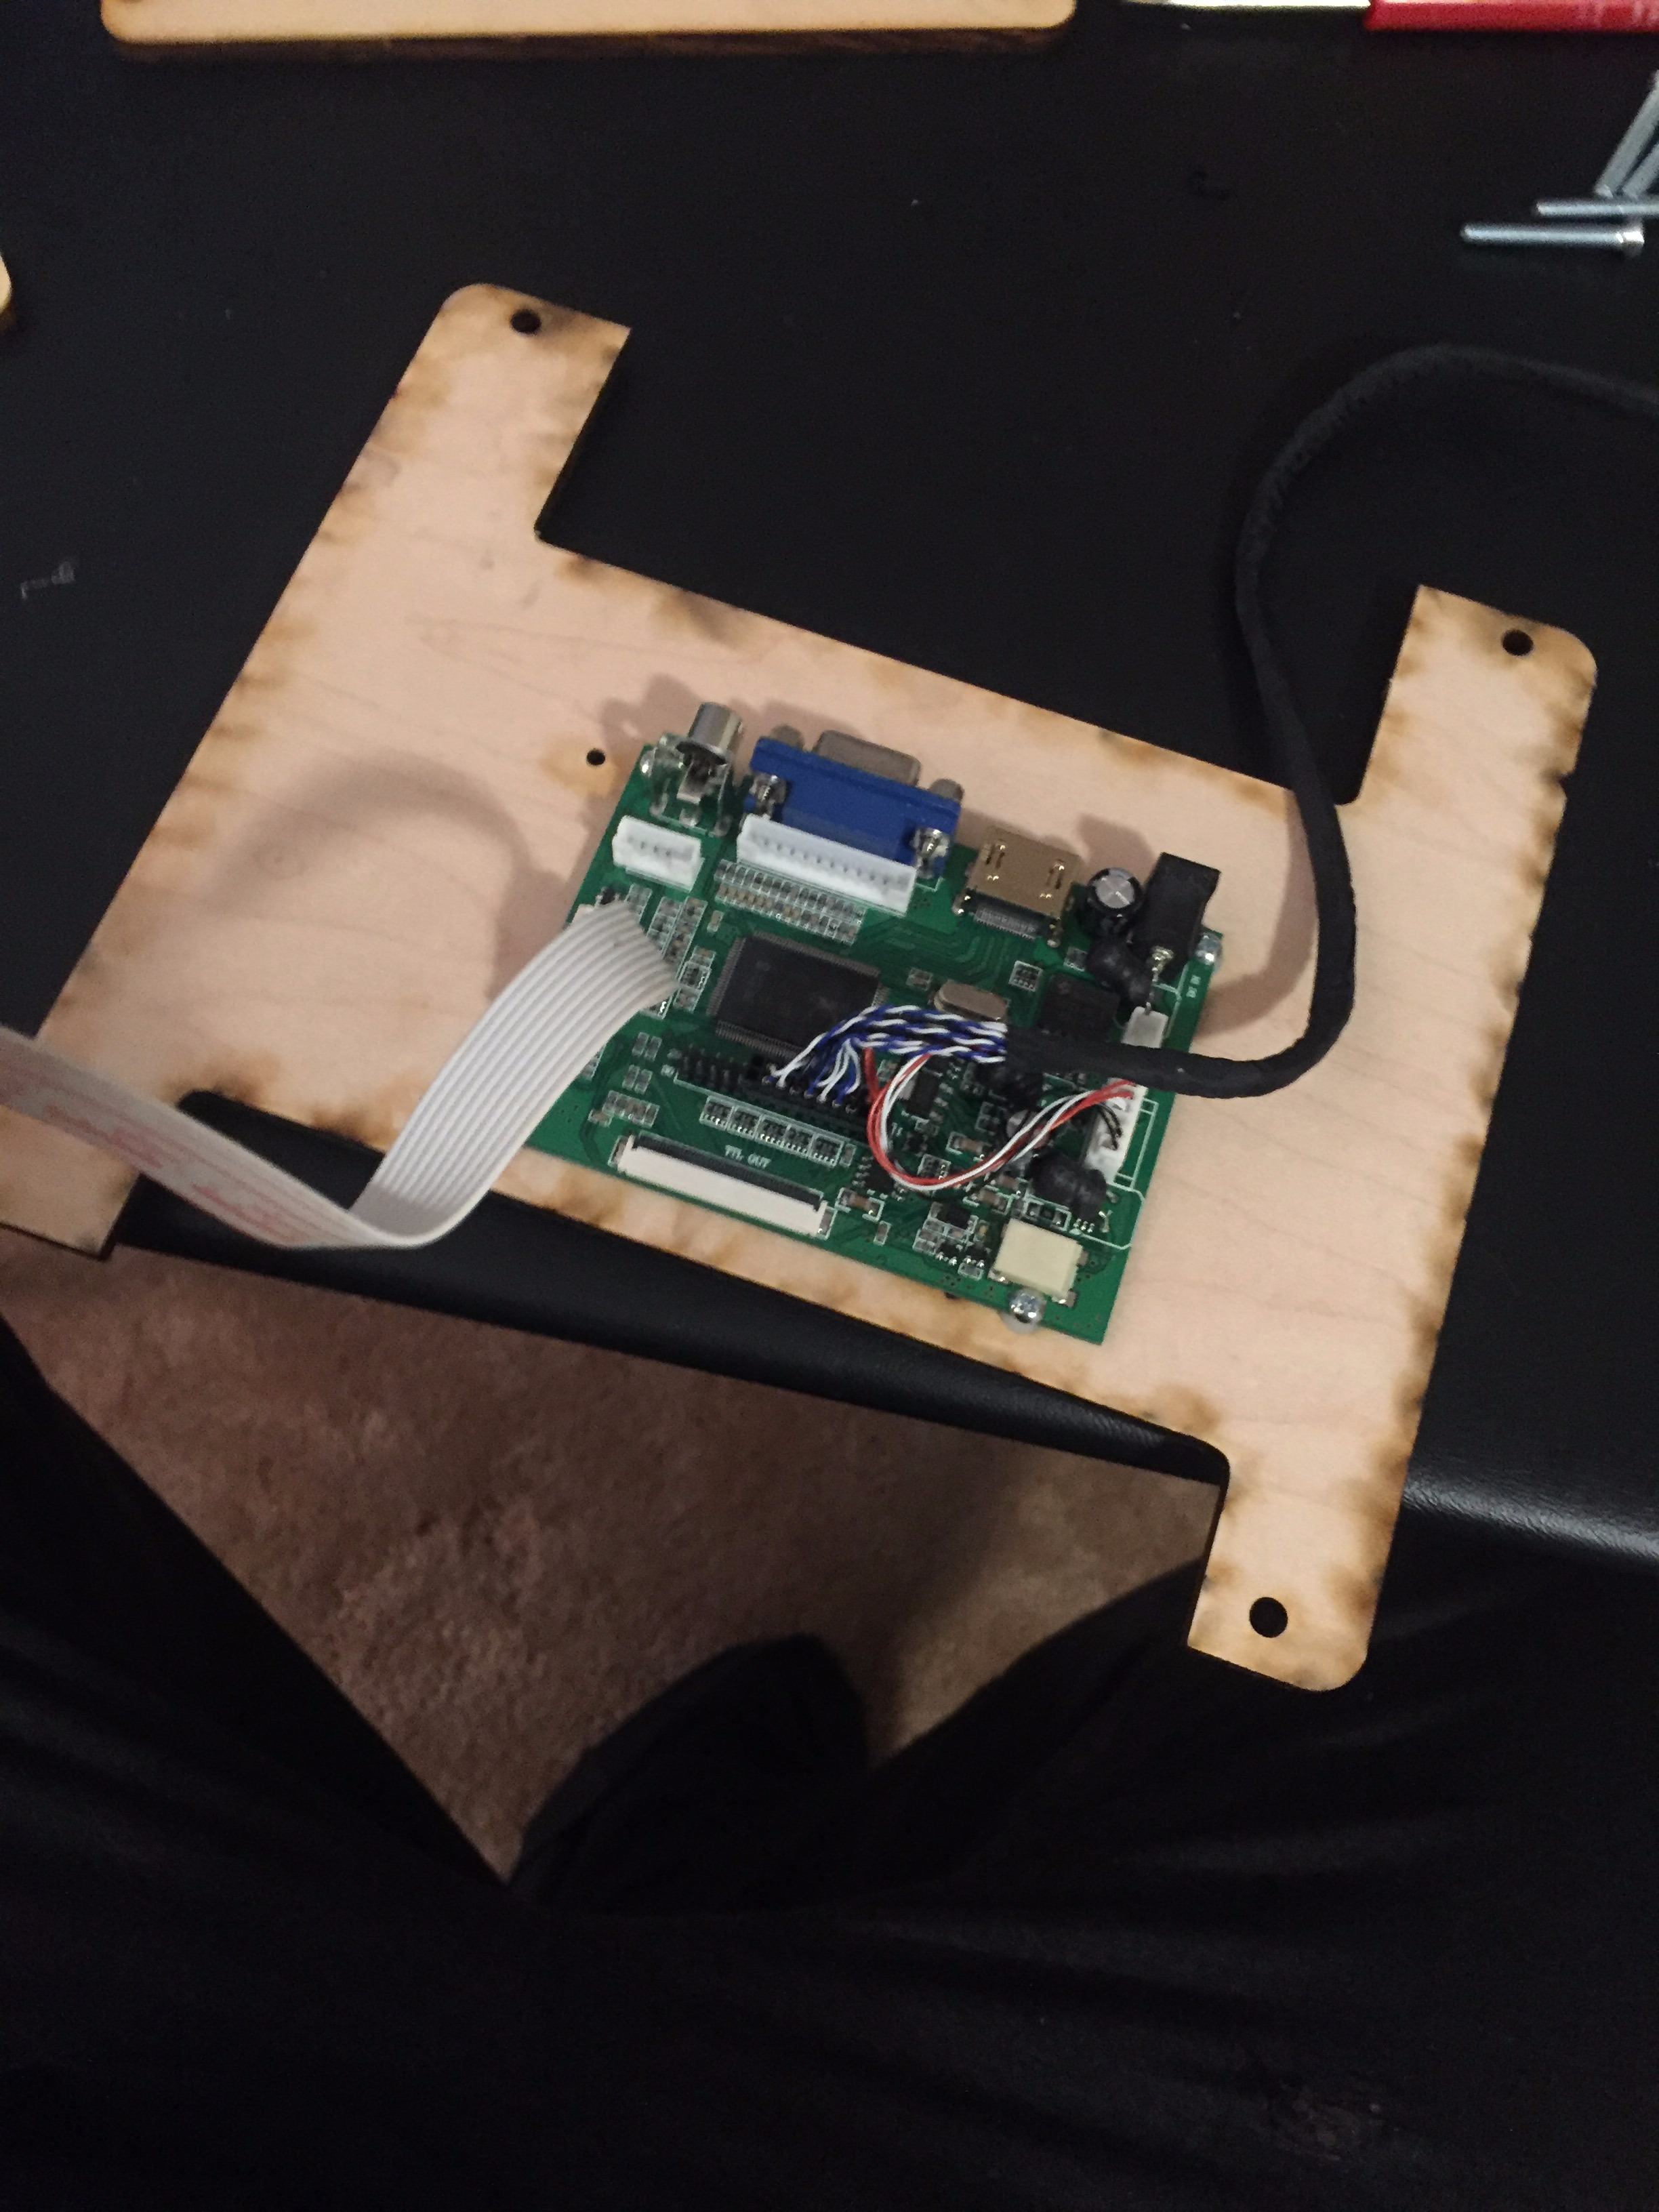
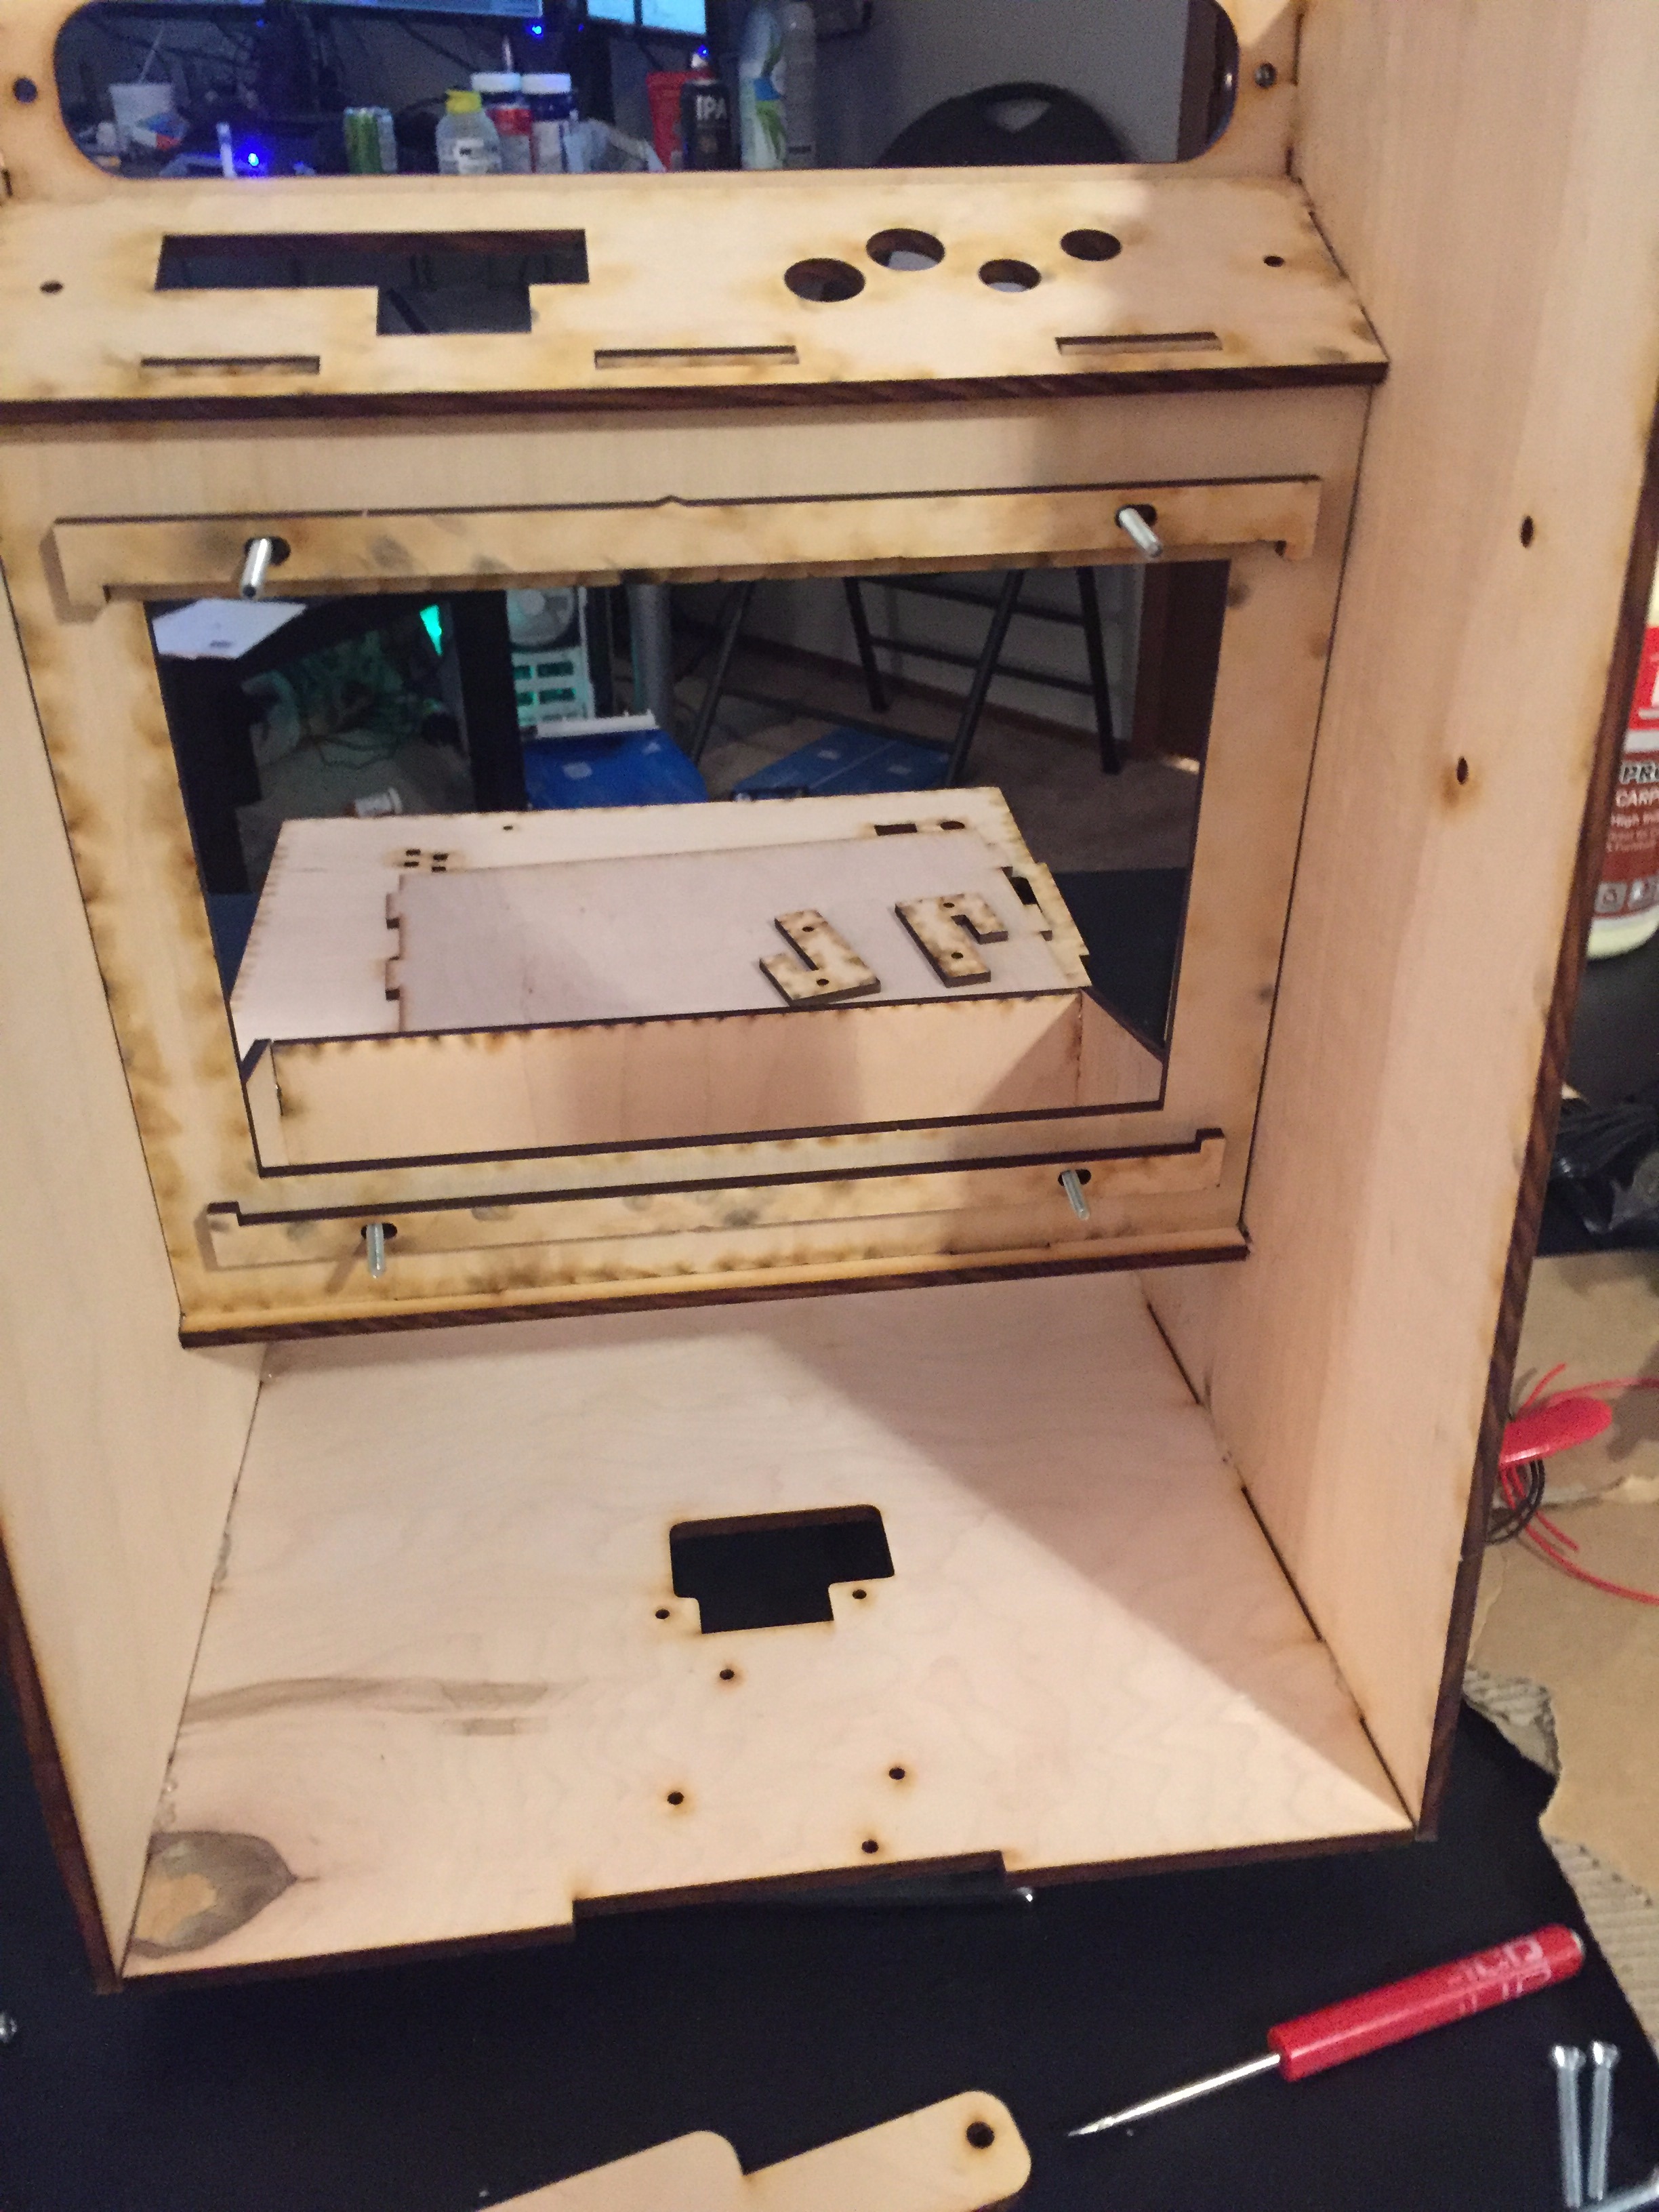
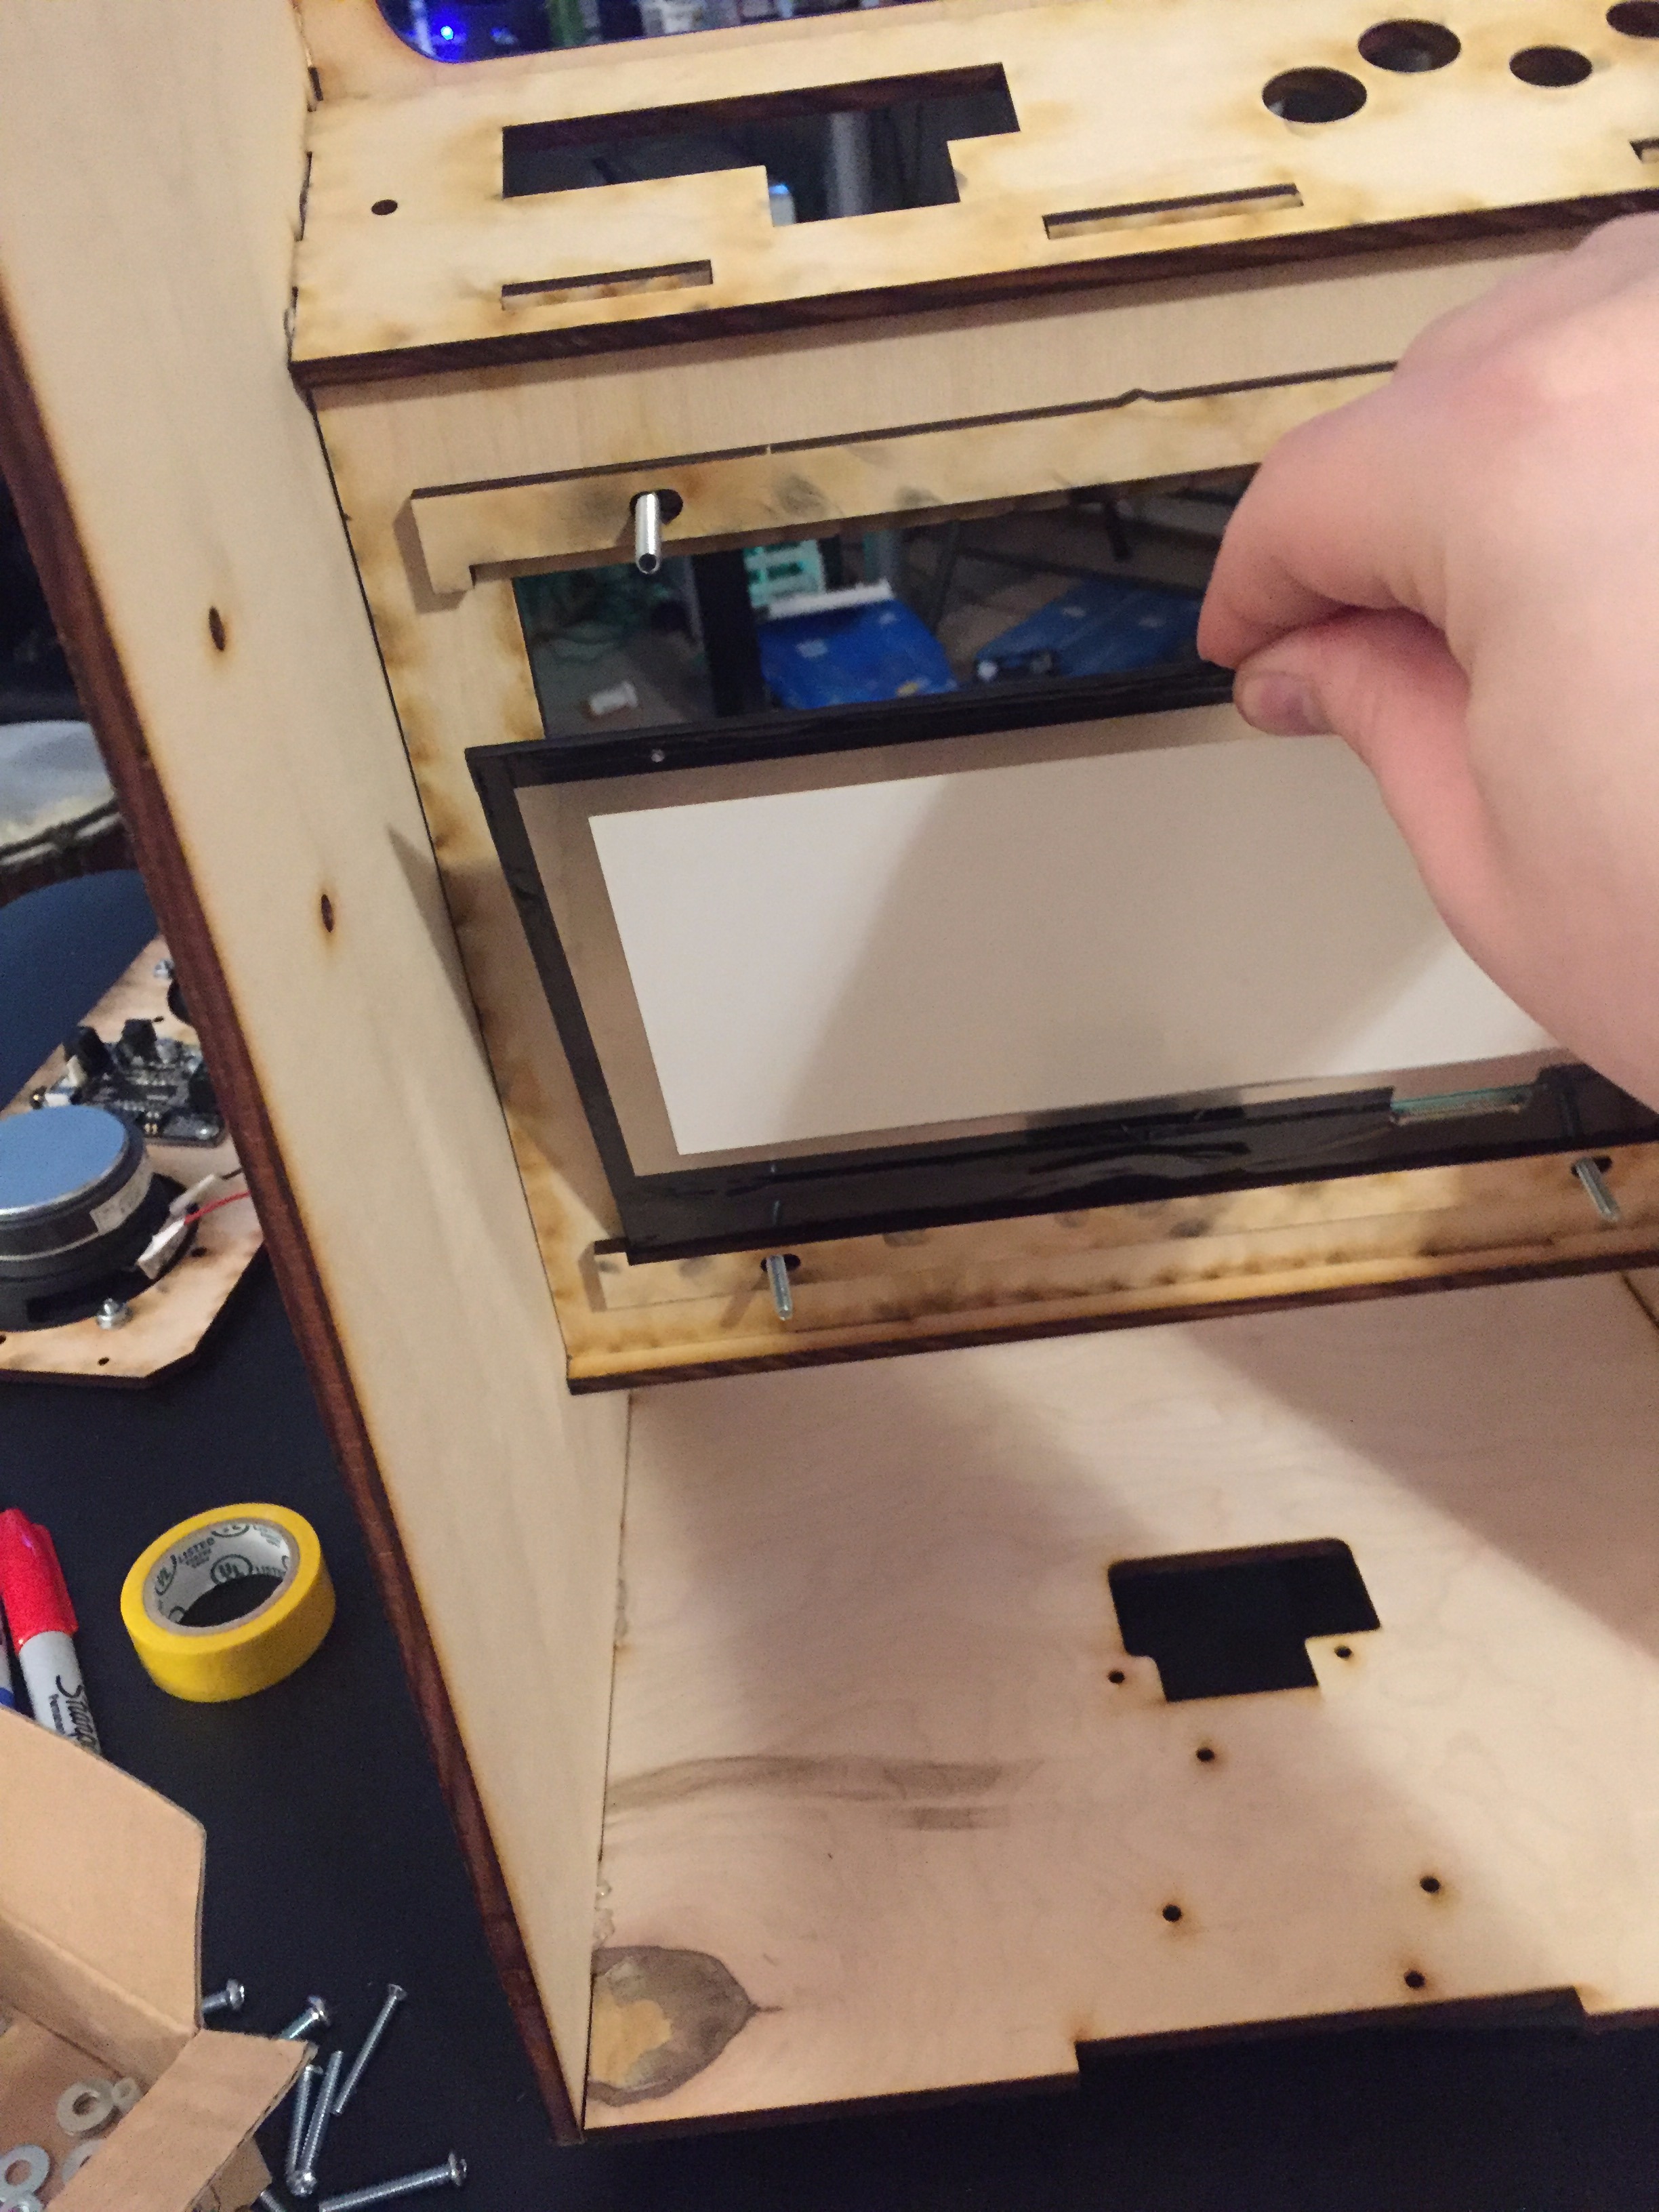
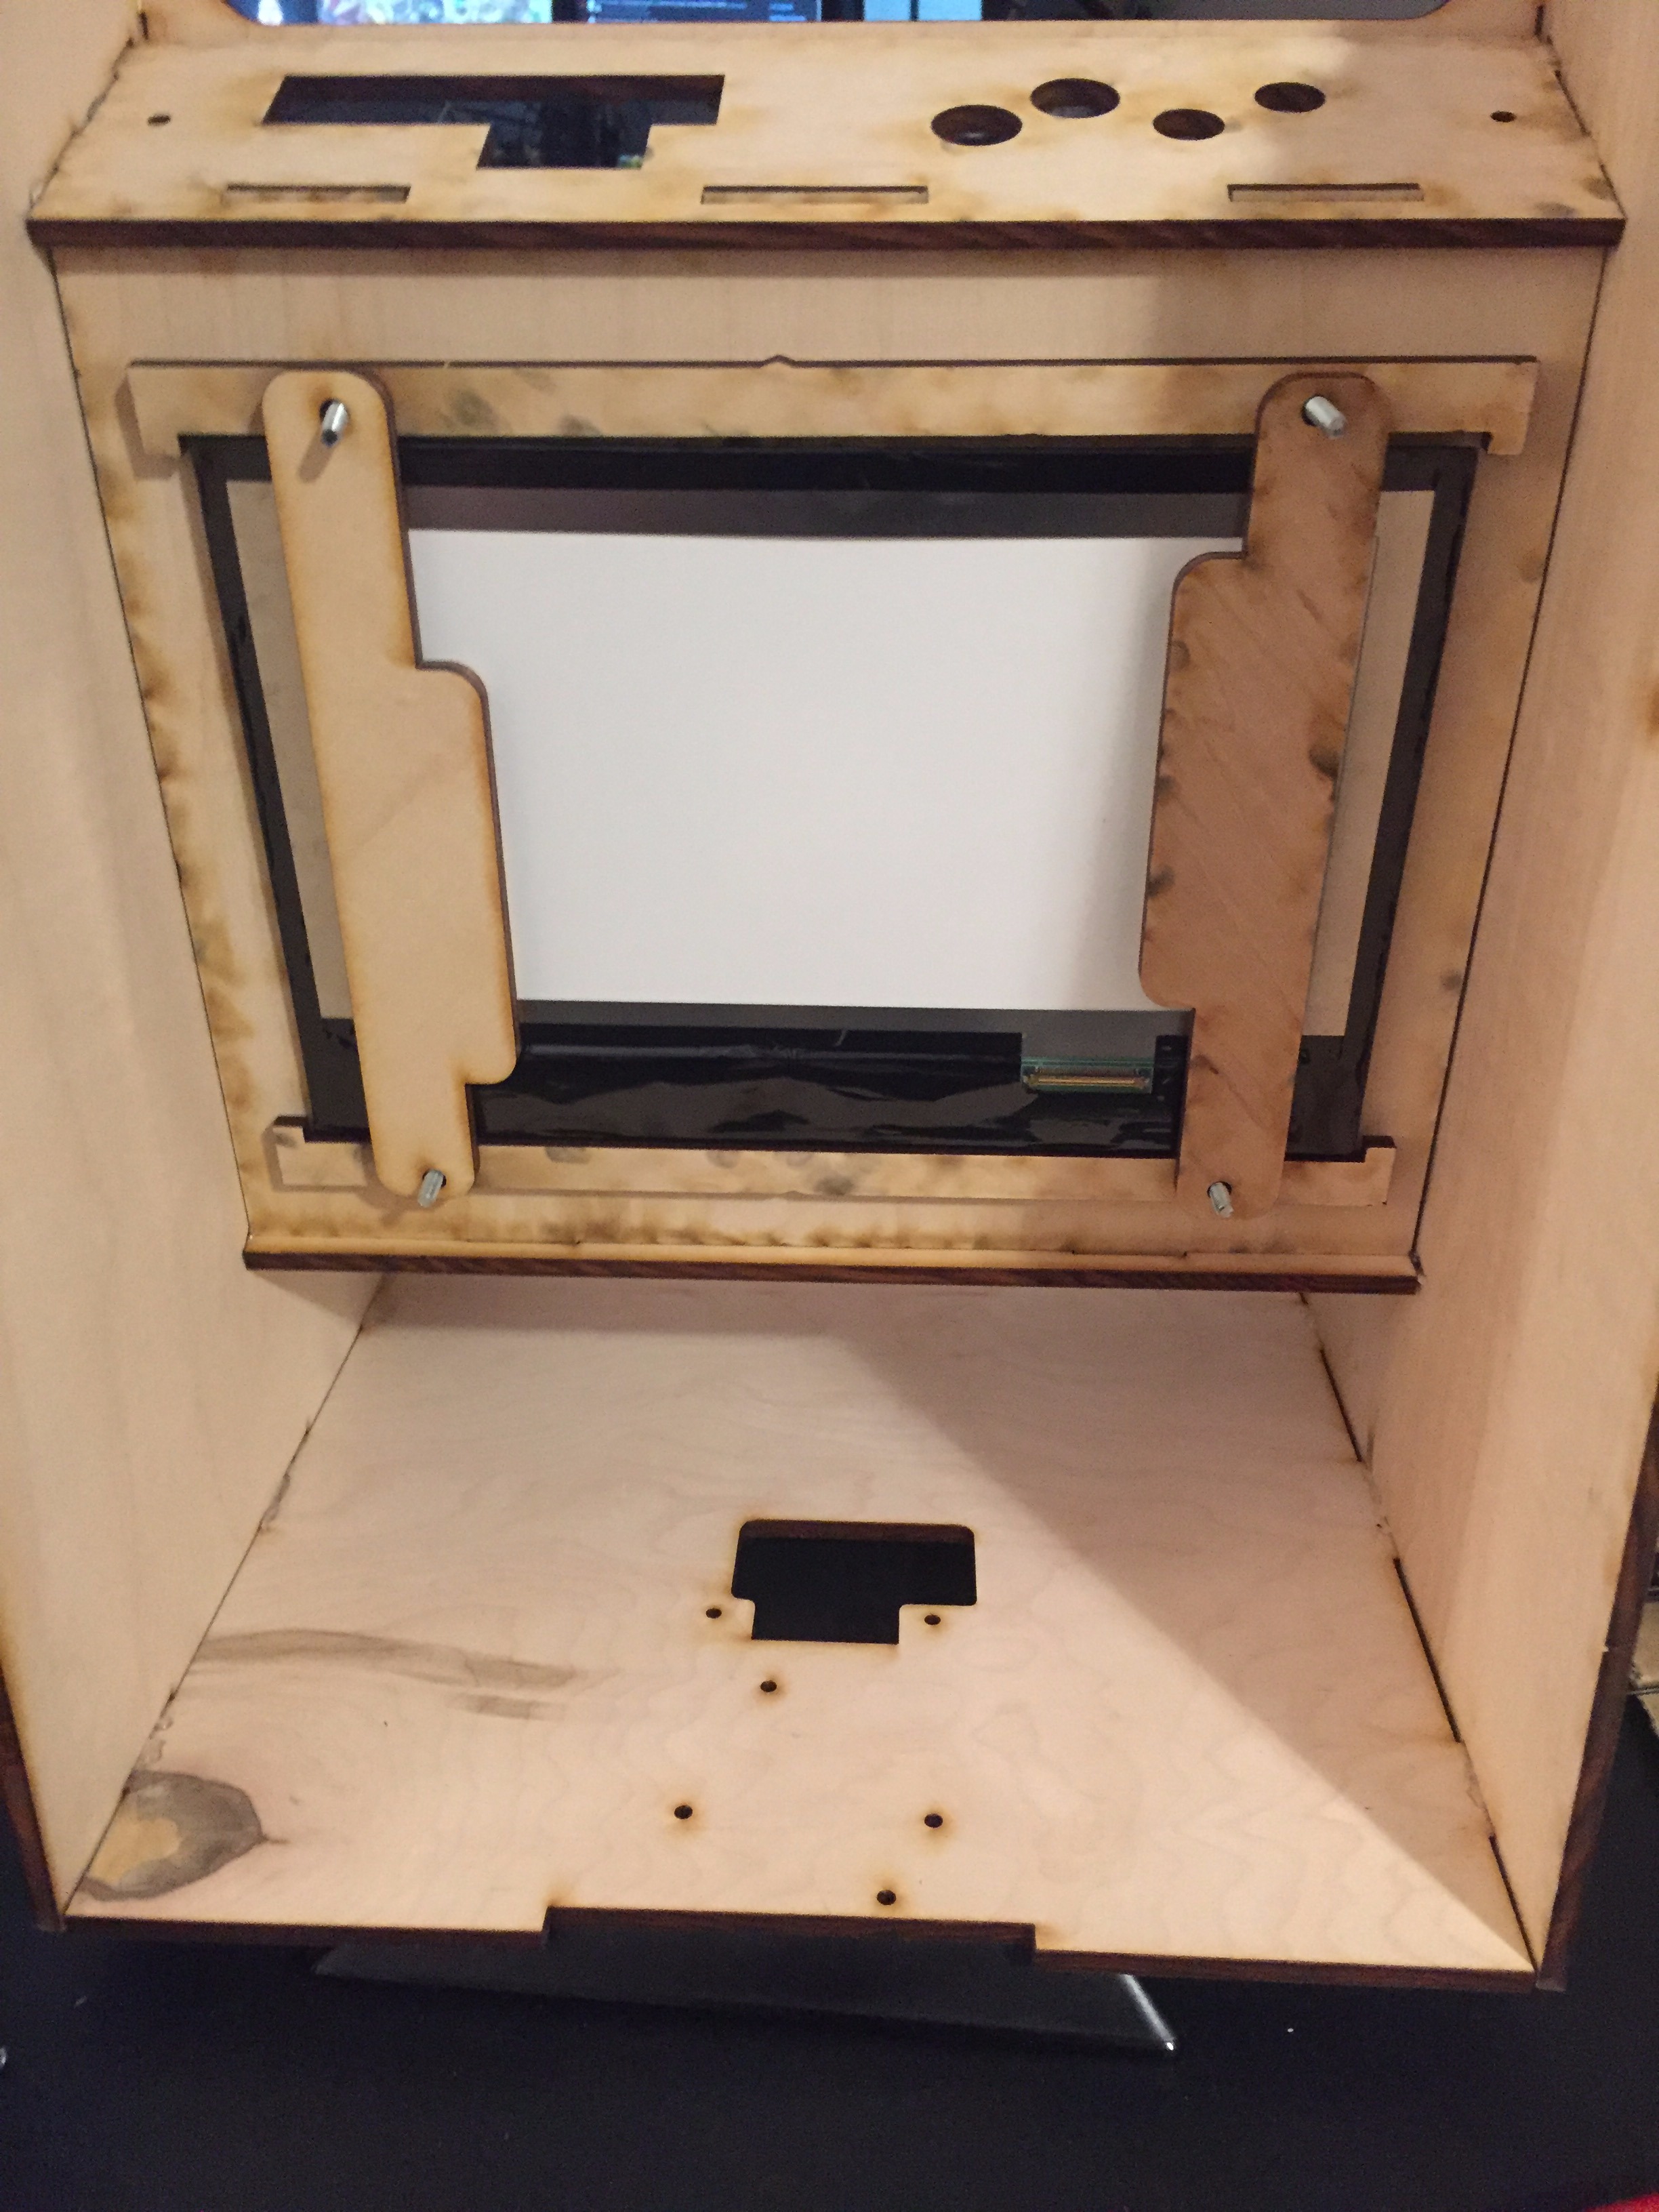
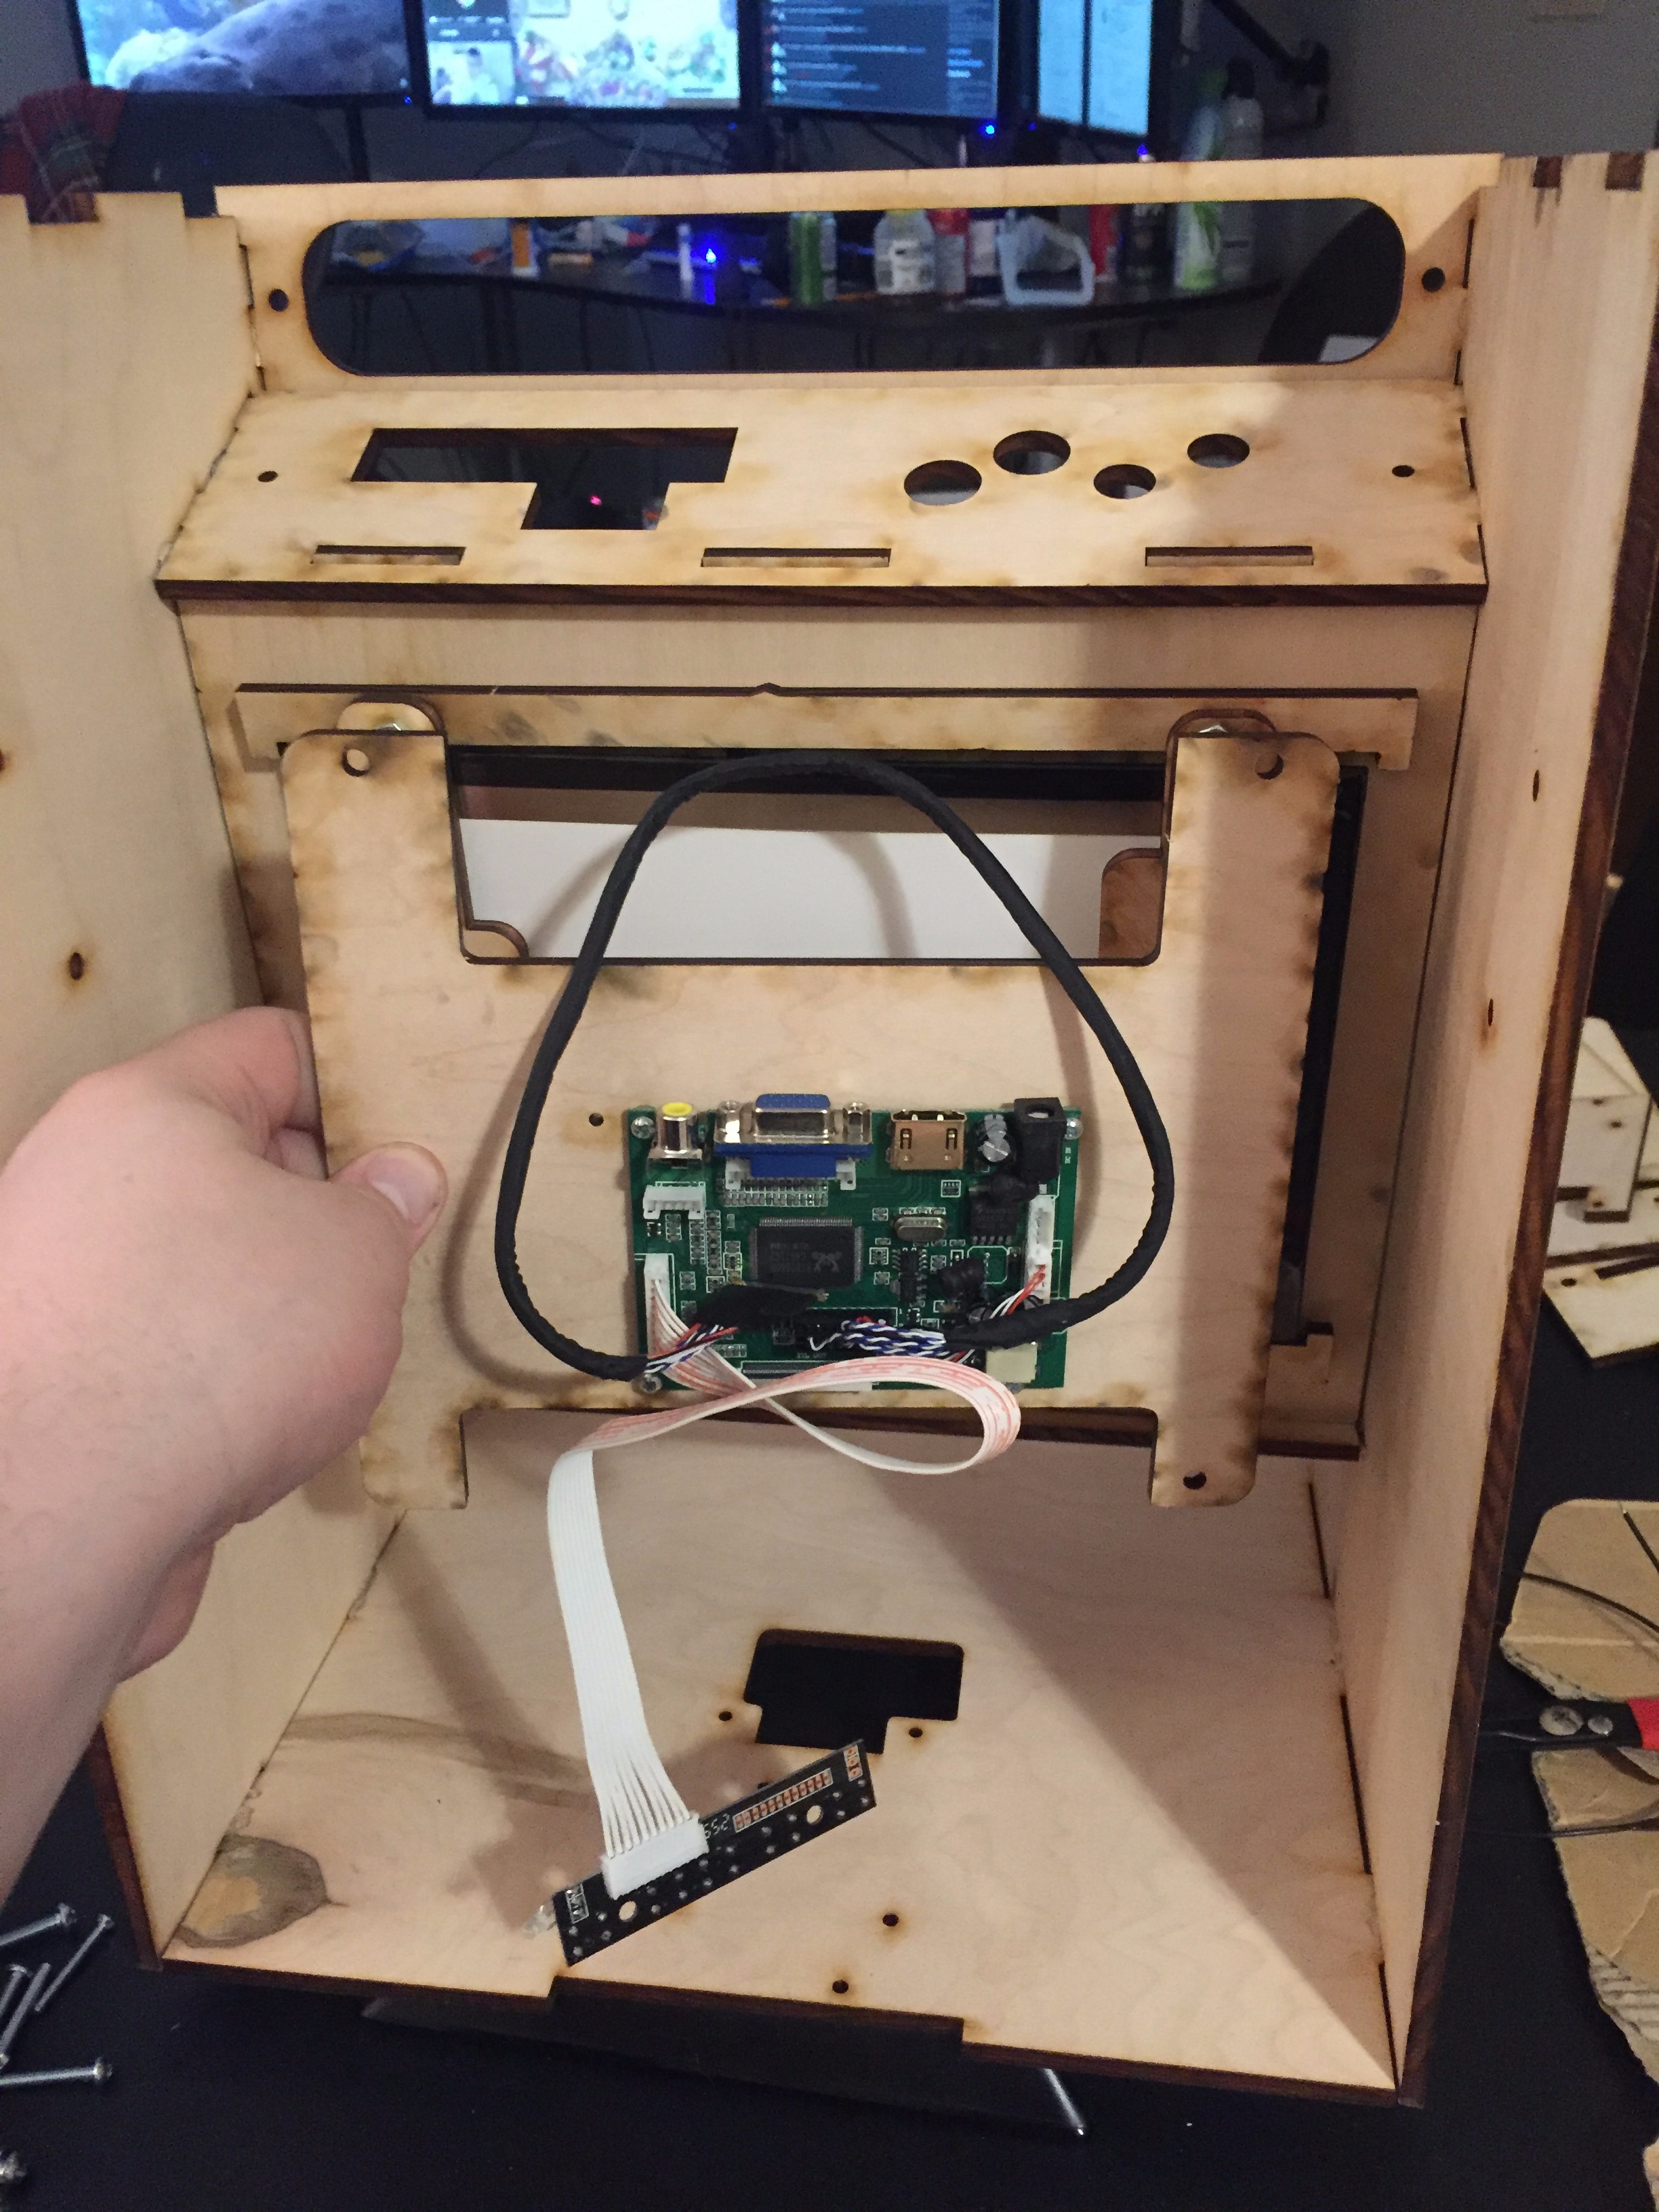
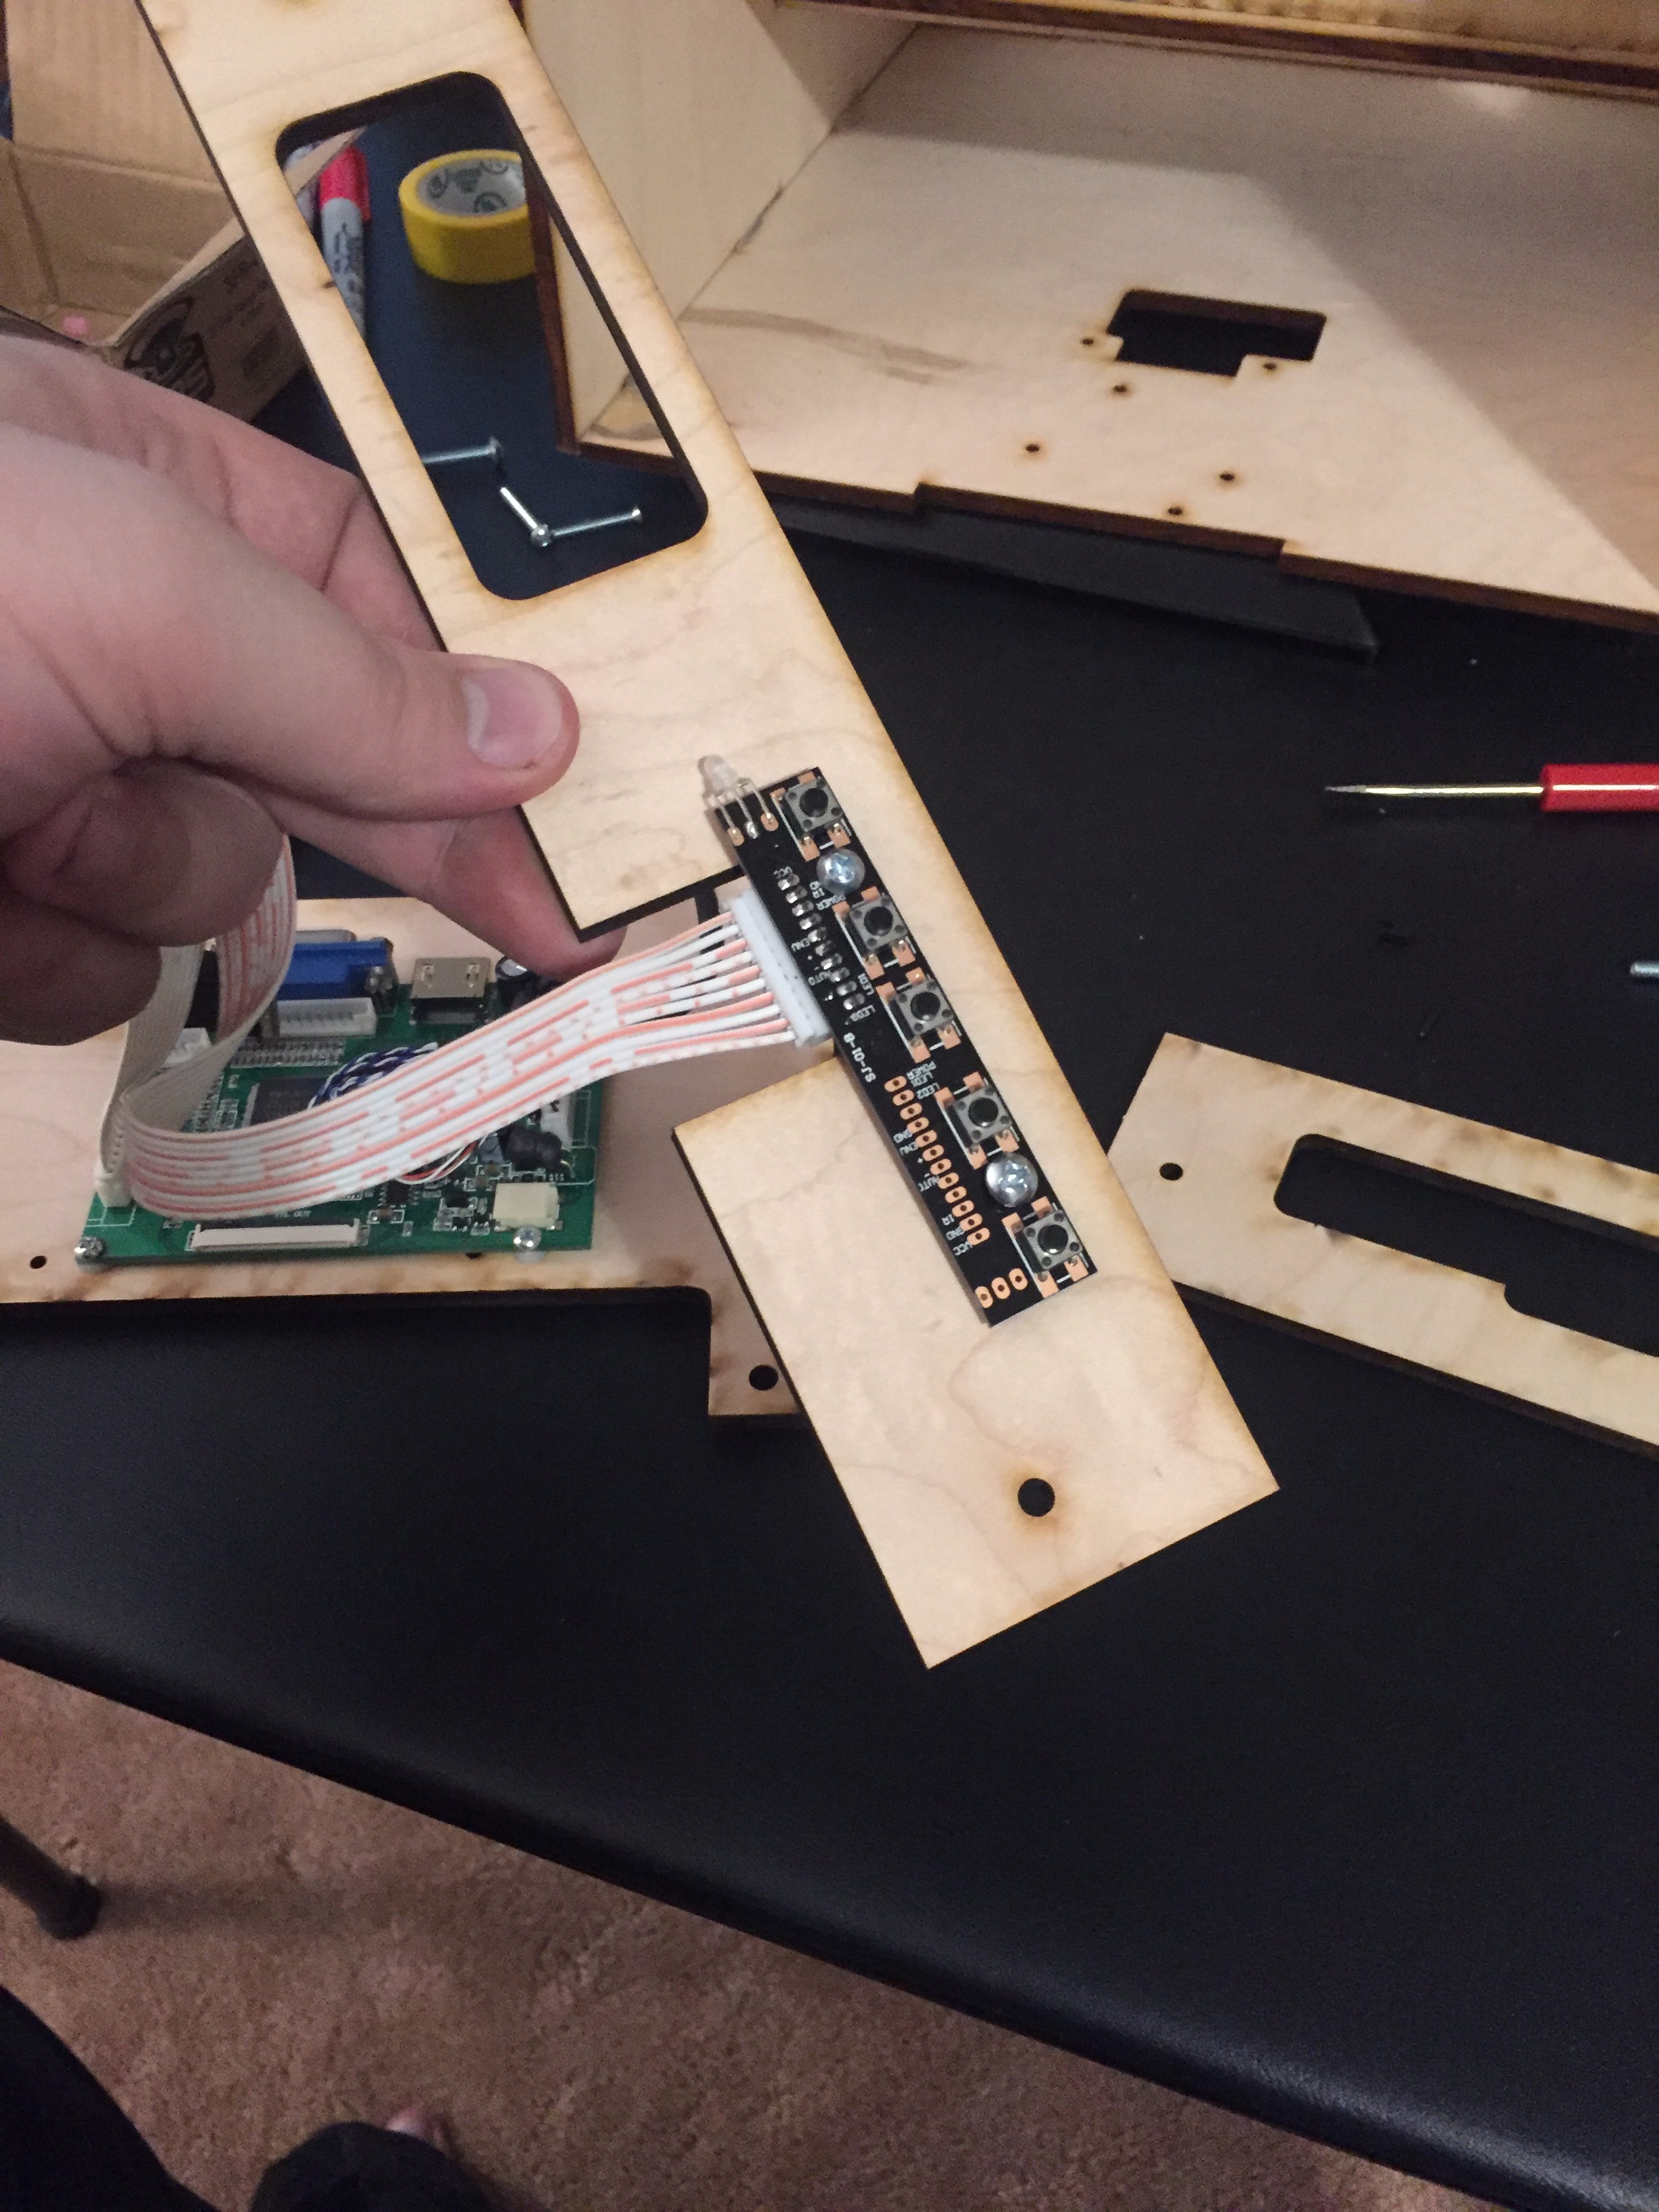
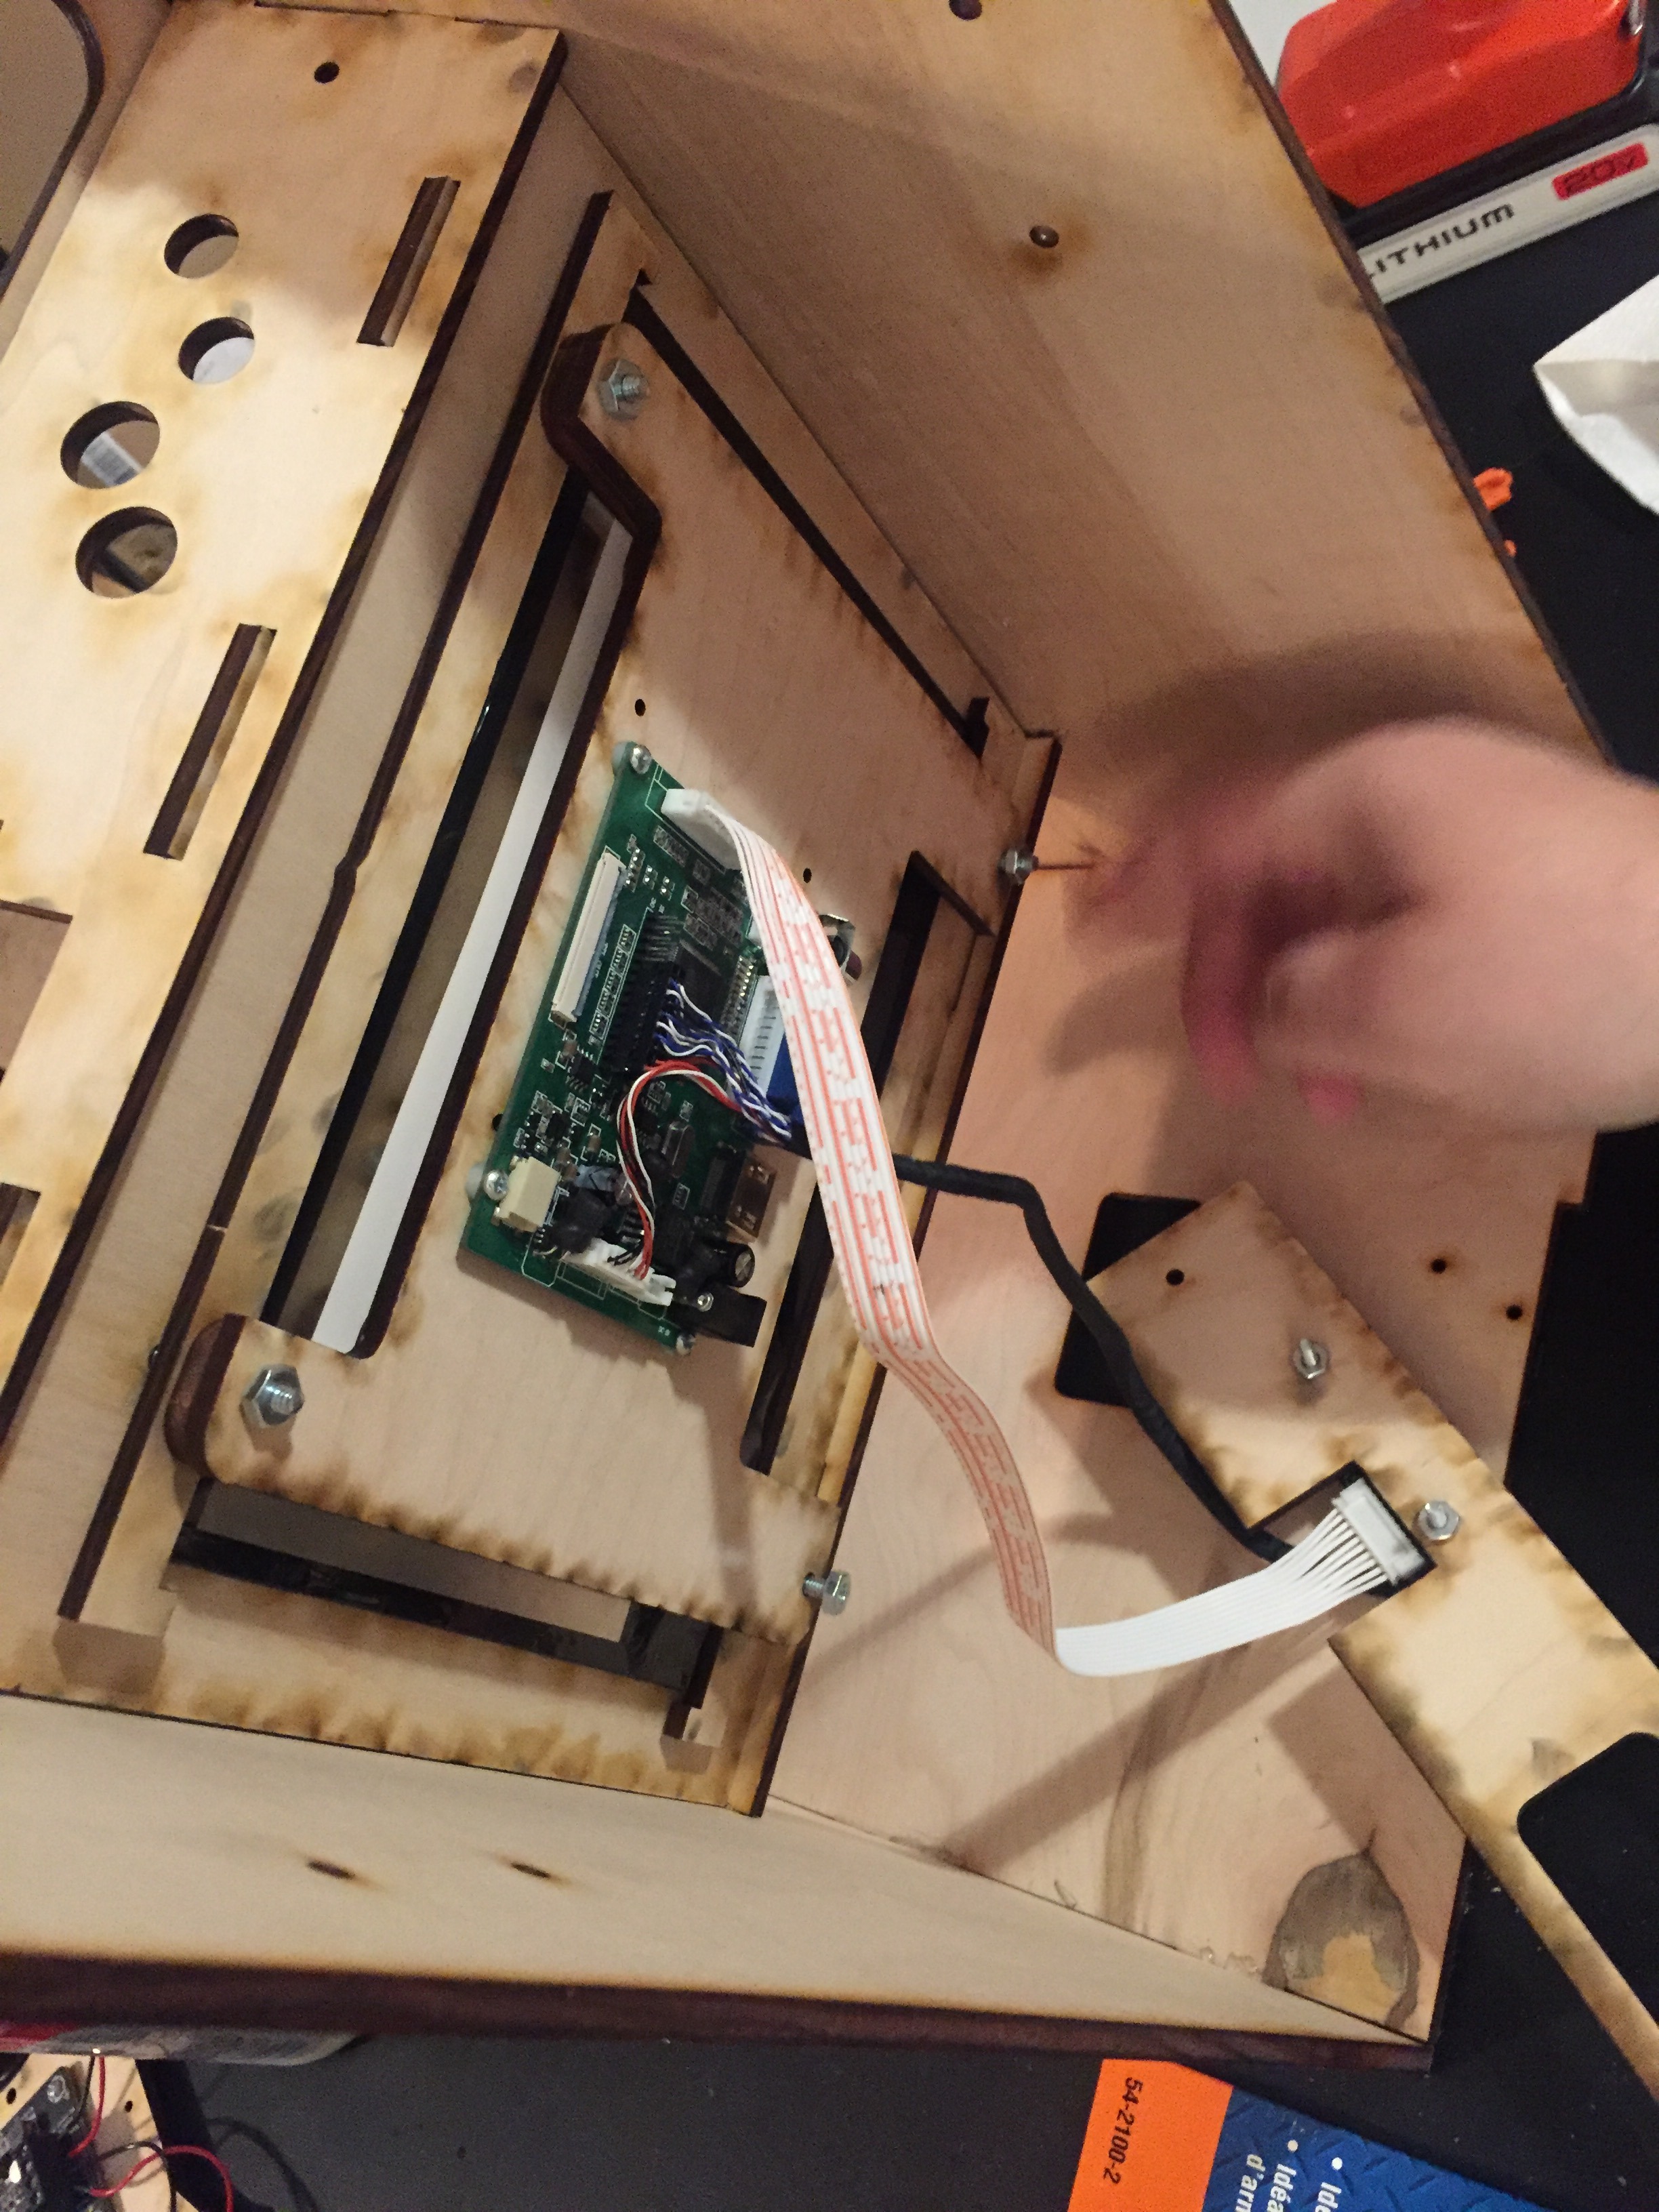
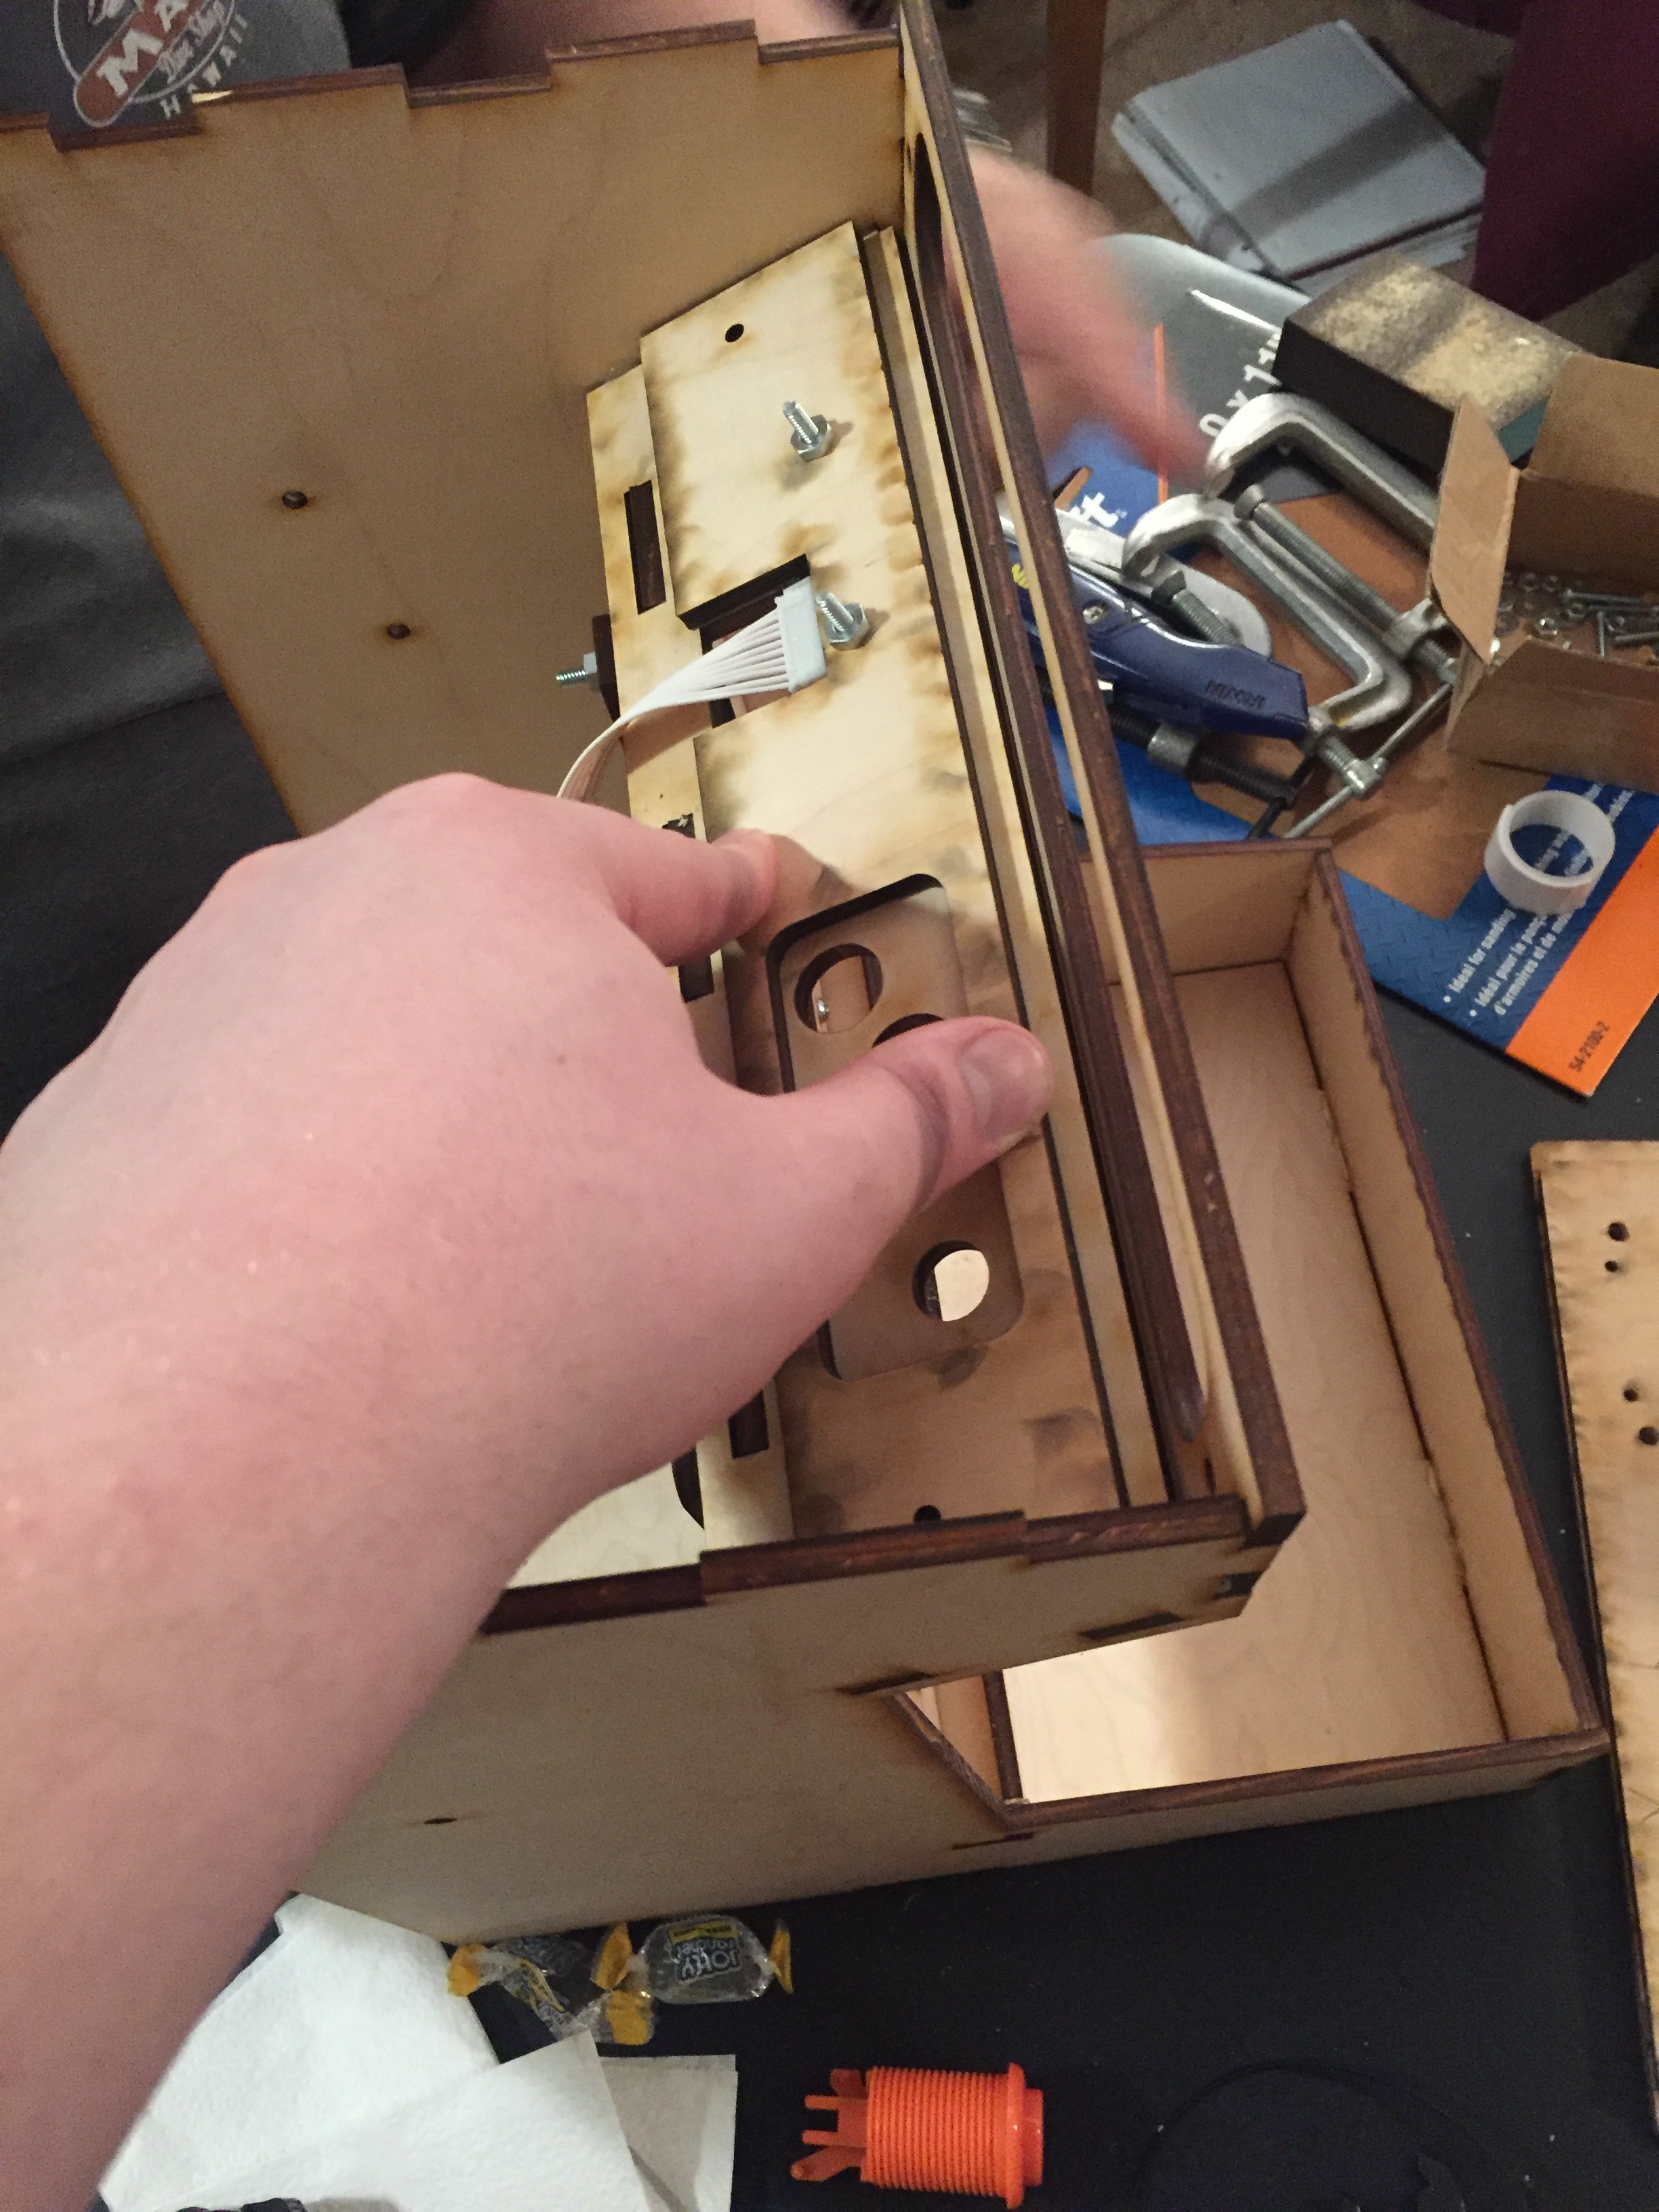
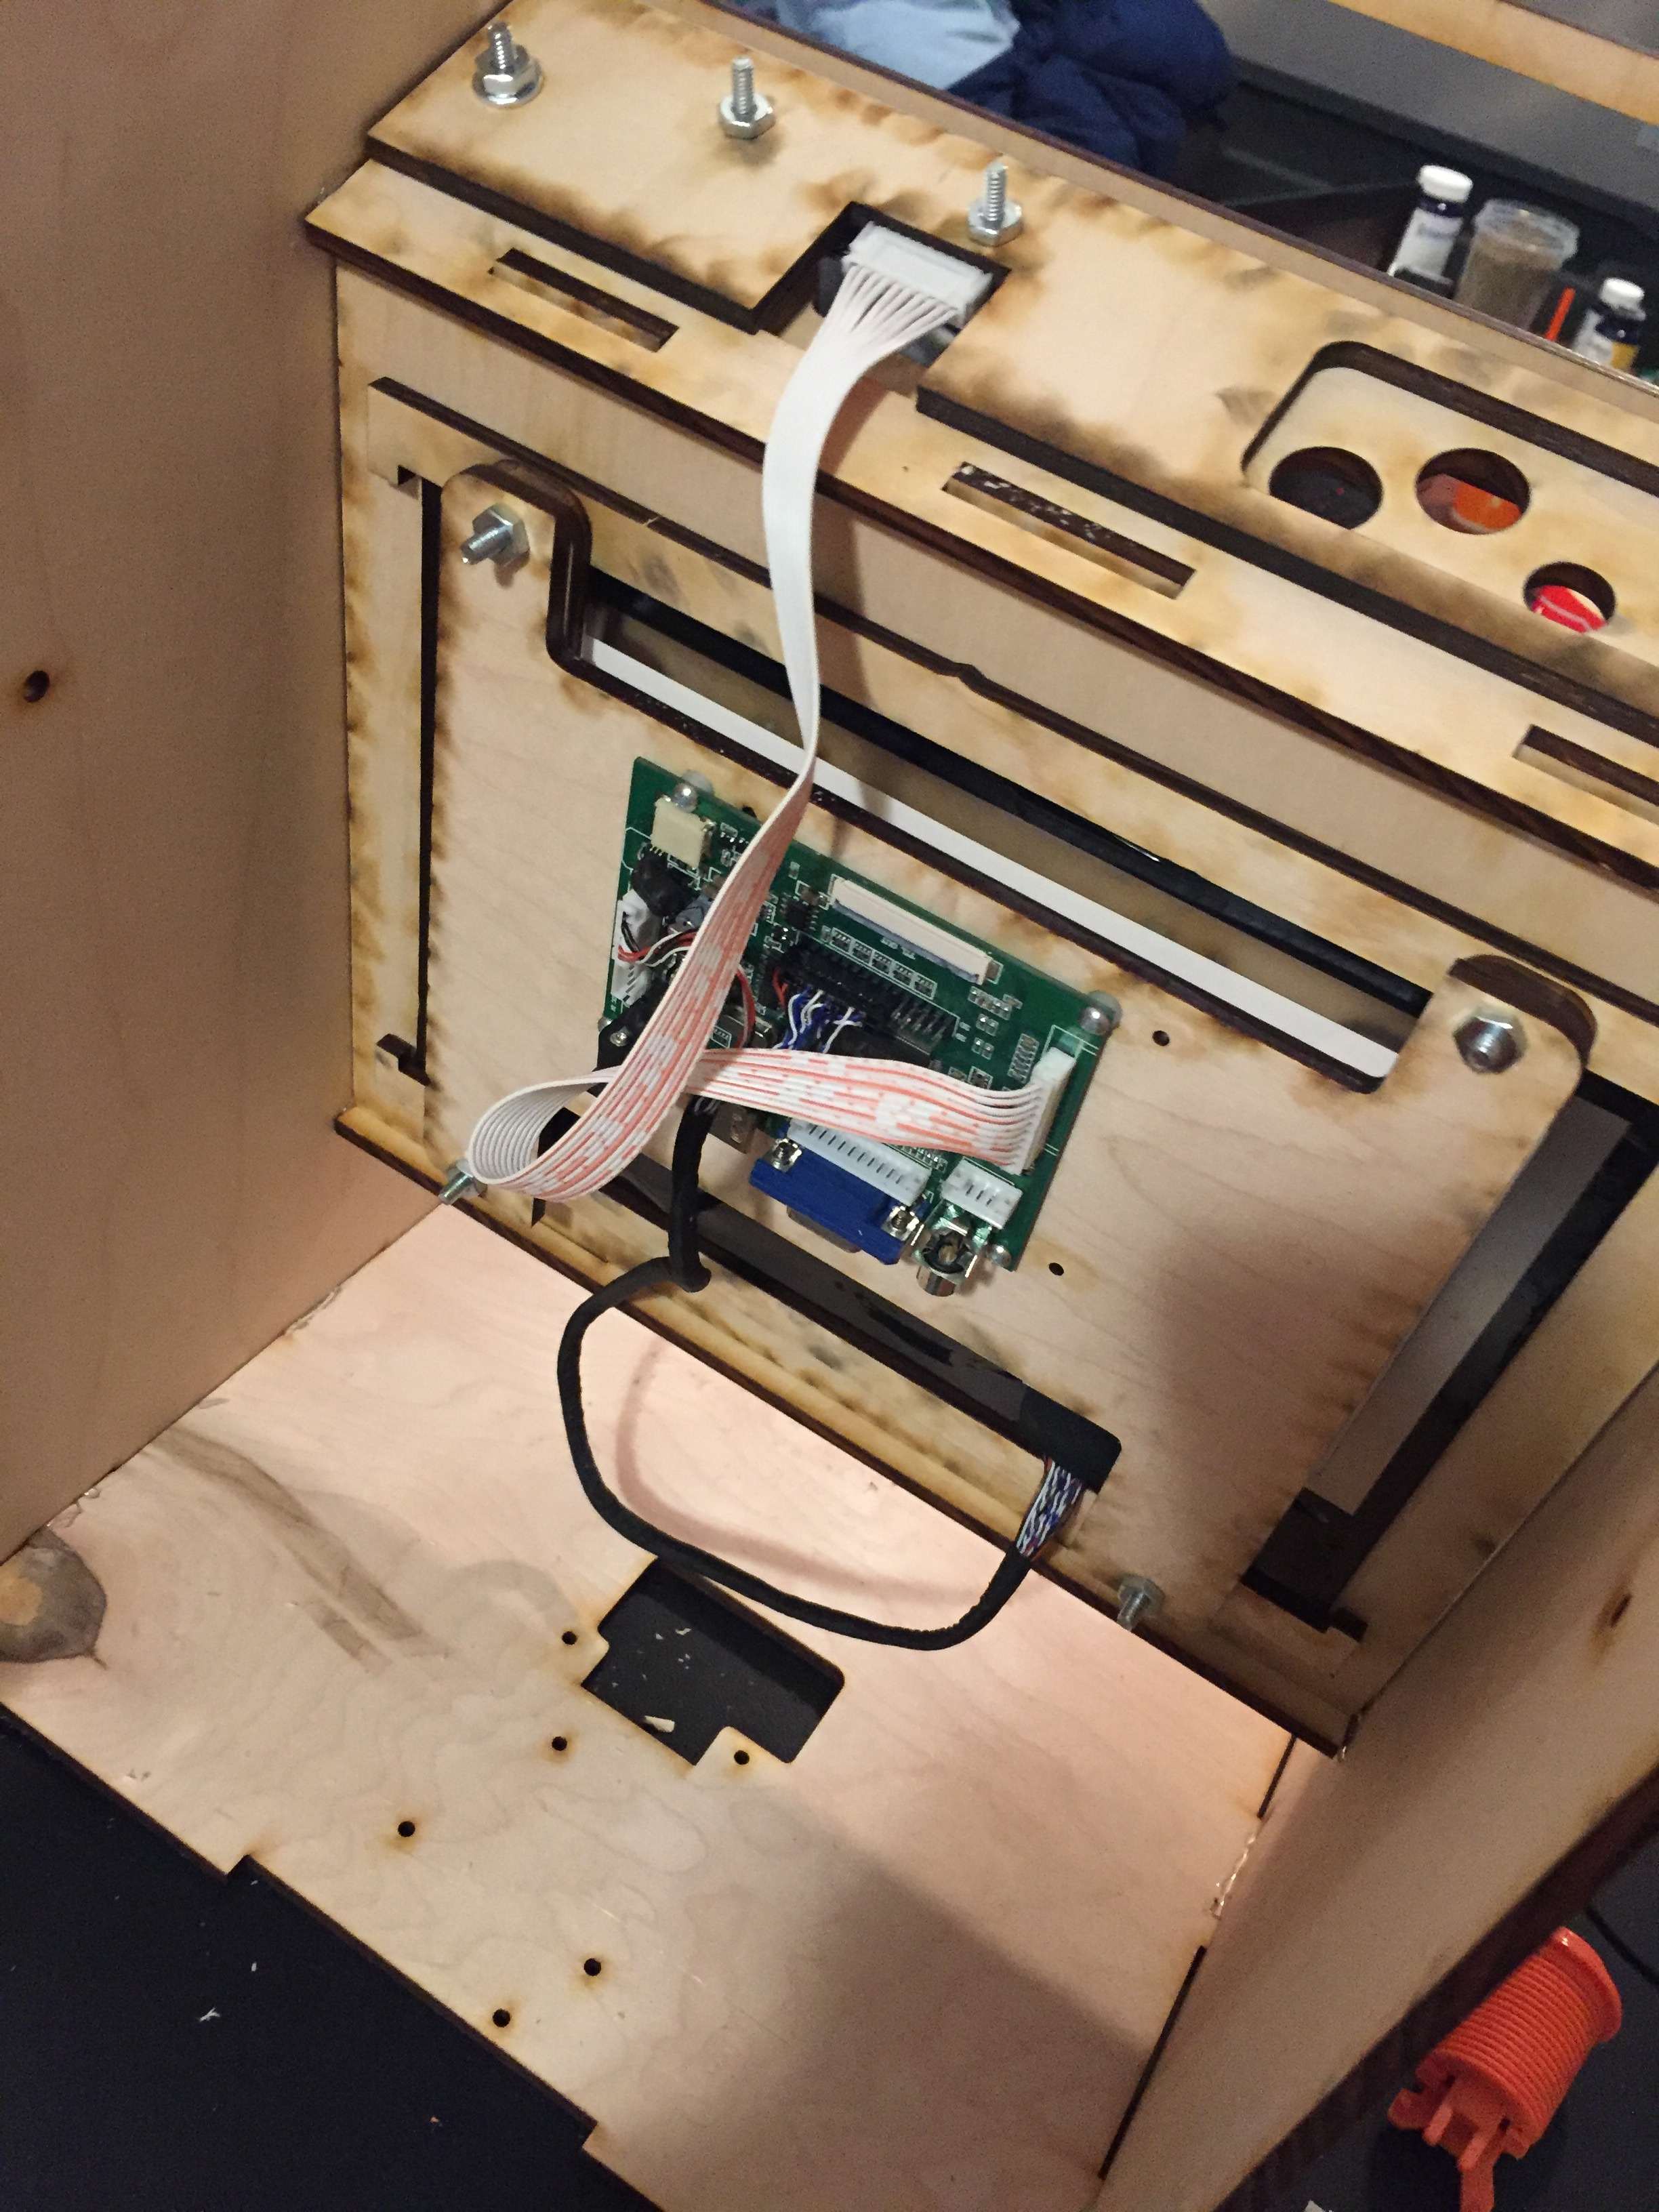
In this step we will set up and mount the screen components for our arcade!
1) first, let's mount the screen control panel to the piece of wood in the first picture. Again, it is mounted with small, plastic spacers between the circuit board and the wood it is mounted on. Then screw in place with washers and nuts. BE SURE THE LONGER OPEN SECTION IS ON THE BOTTOM, or else it will be hard to connect to the screen.
2) this part can be tricky, and may require the help of a 2nd person. First you need to mount the wooden 'border' pieces for the screen to sit on top of (pic 2). Then you place the screen onto that ledge, and screw the other 2 locking pieces of wood into place (pic 3+4). NOTE: you may need to use some foam tape to really 'secure' the screen into place. The screens are very thin, so a little bit of foam can keep it pressed to the front of the frame.
3) connect the mini-controller to a piece of wood (pic 6) with room for the cable to run in the slot underneath.
4) Connect the black cable from the primary controller to the port on the back of the screen itself. it is a small connector, but you will hear 2 'clicks' as each side lock into place
5) mount the primary screen controlled on the same screws that hold the screen in place (step 5 - BUT I HAVE IT UPSIDE-DOWN IN THE PHOTO. use last photo as reference of how to mount)
6) mount the mini-controller on the top of the arcade system so you can access it from the front of the arcade machine. Screw into place and lock with washers and nuts. It should look like the last picture when completed.
Creating the Controller
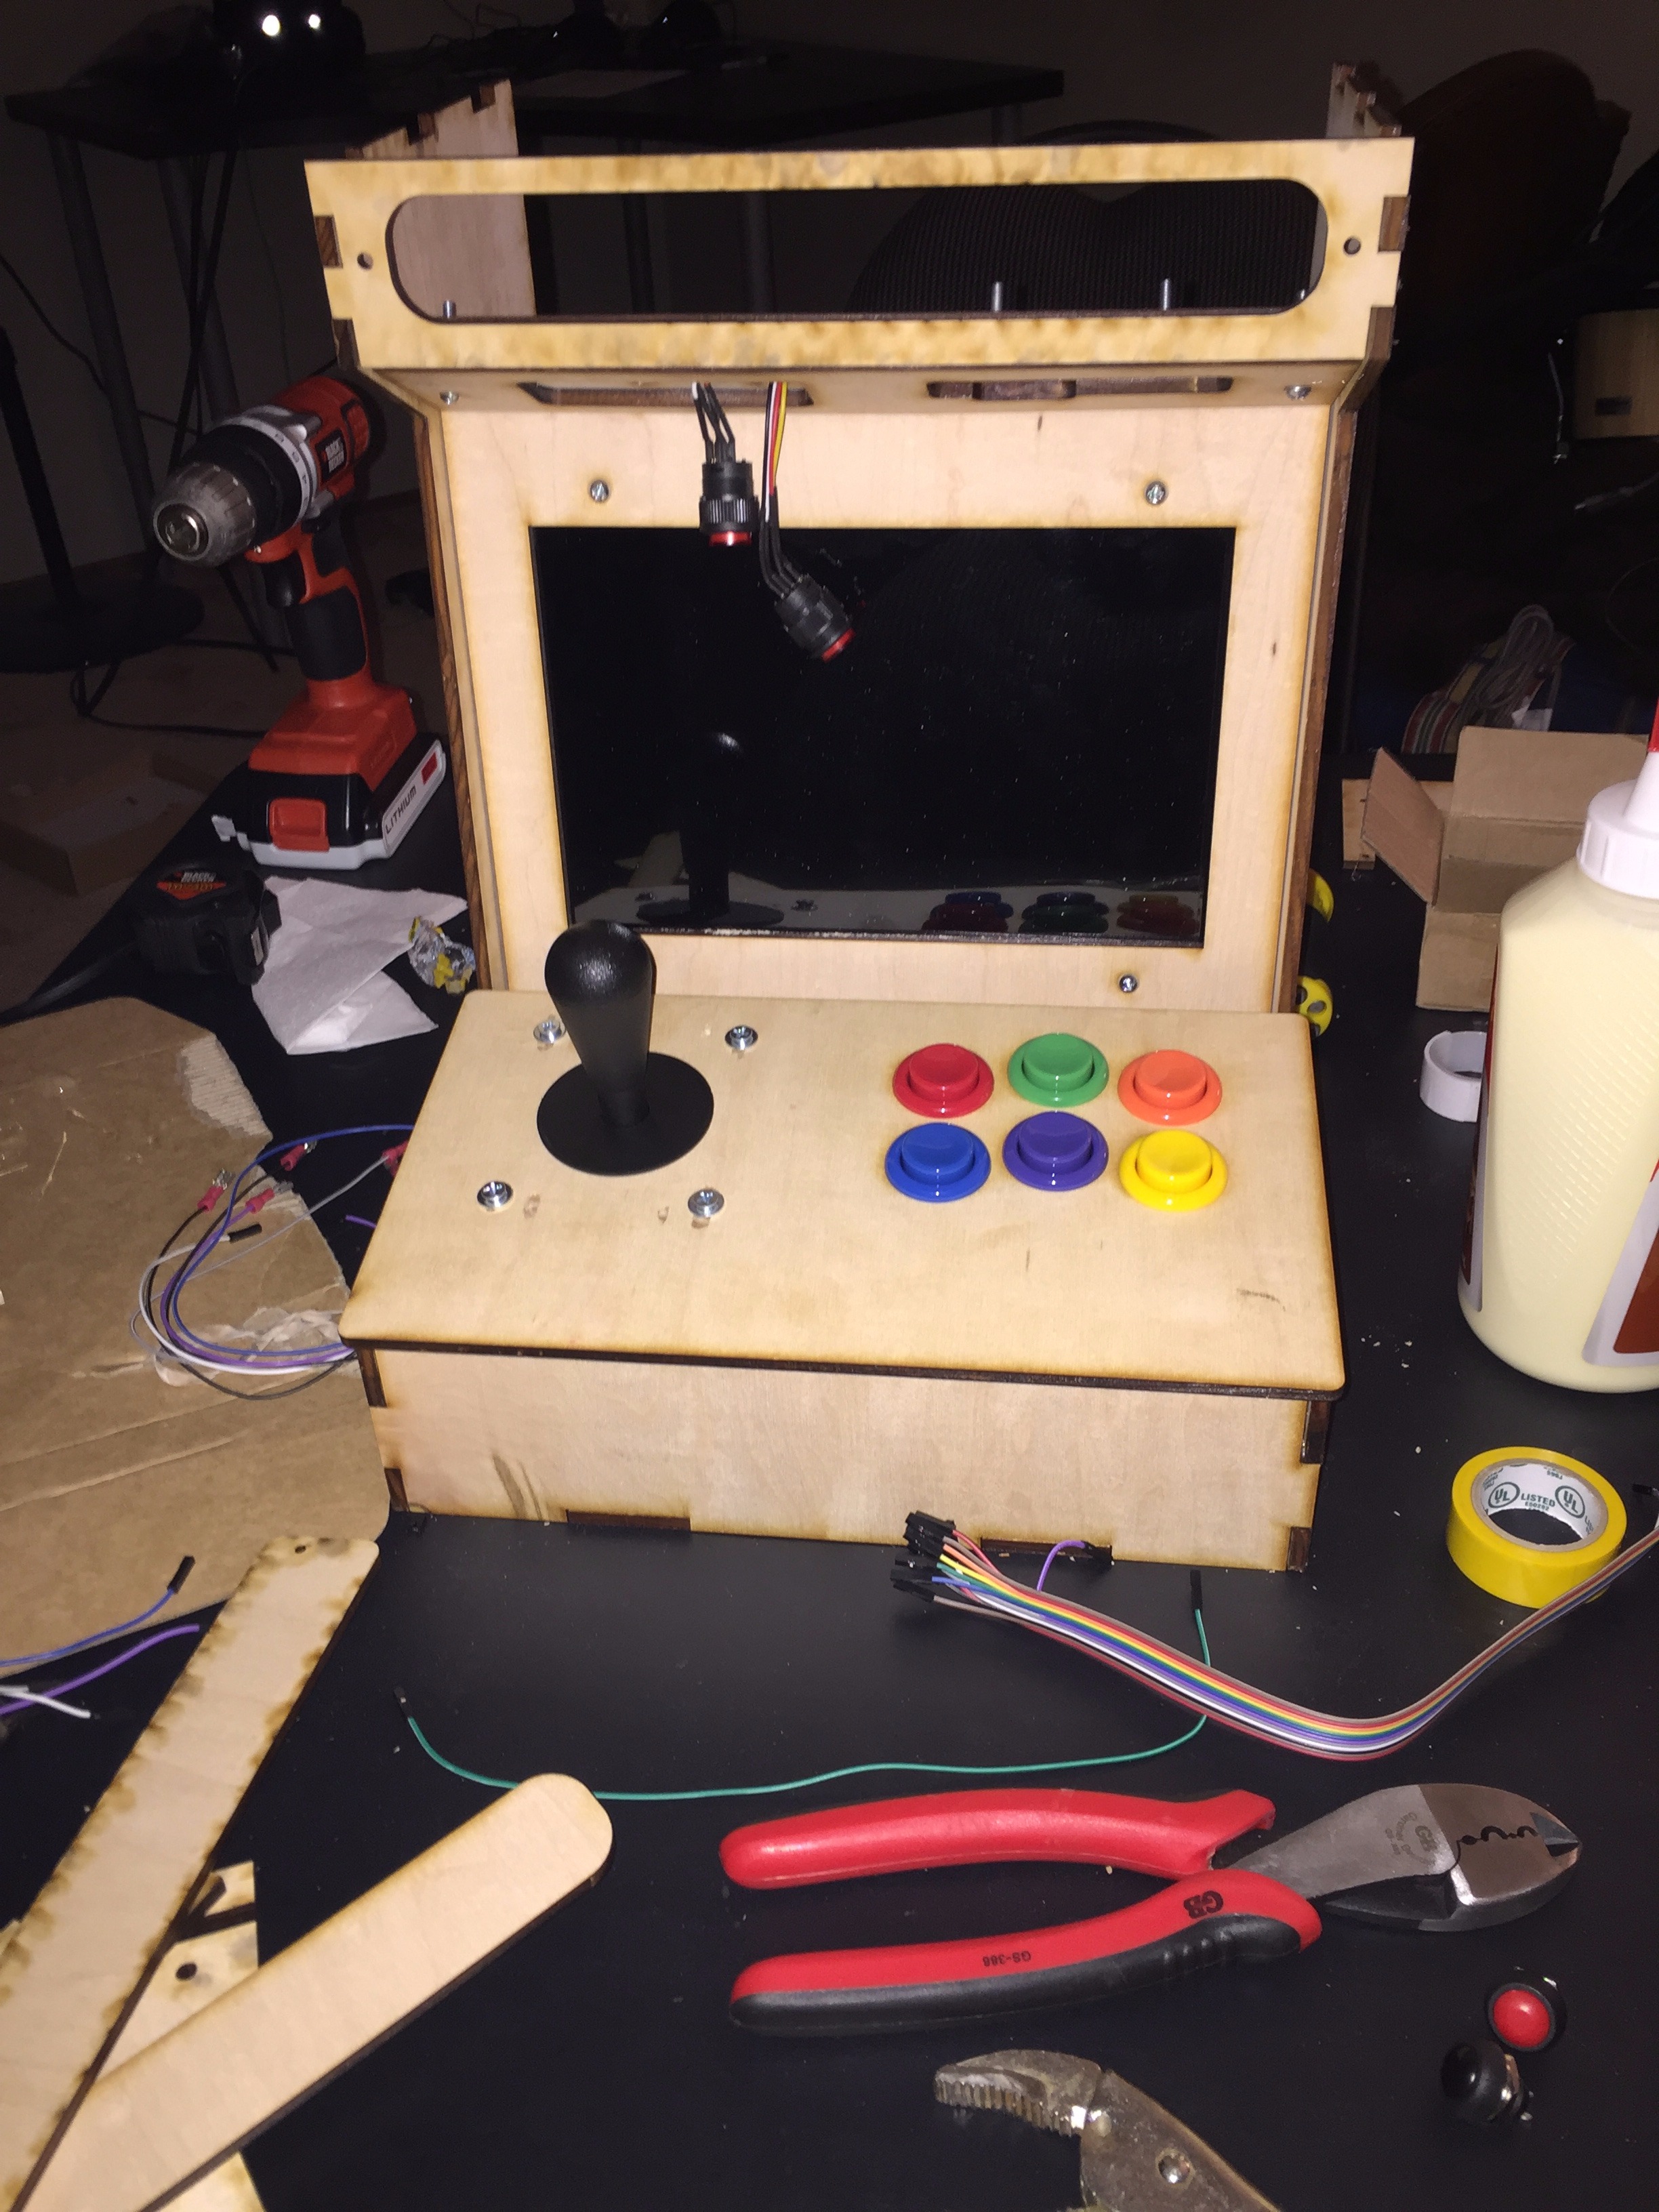
In this step we will built the controller itself!
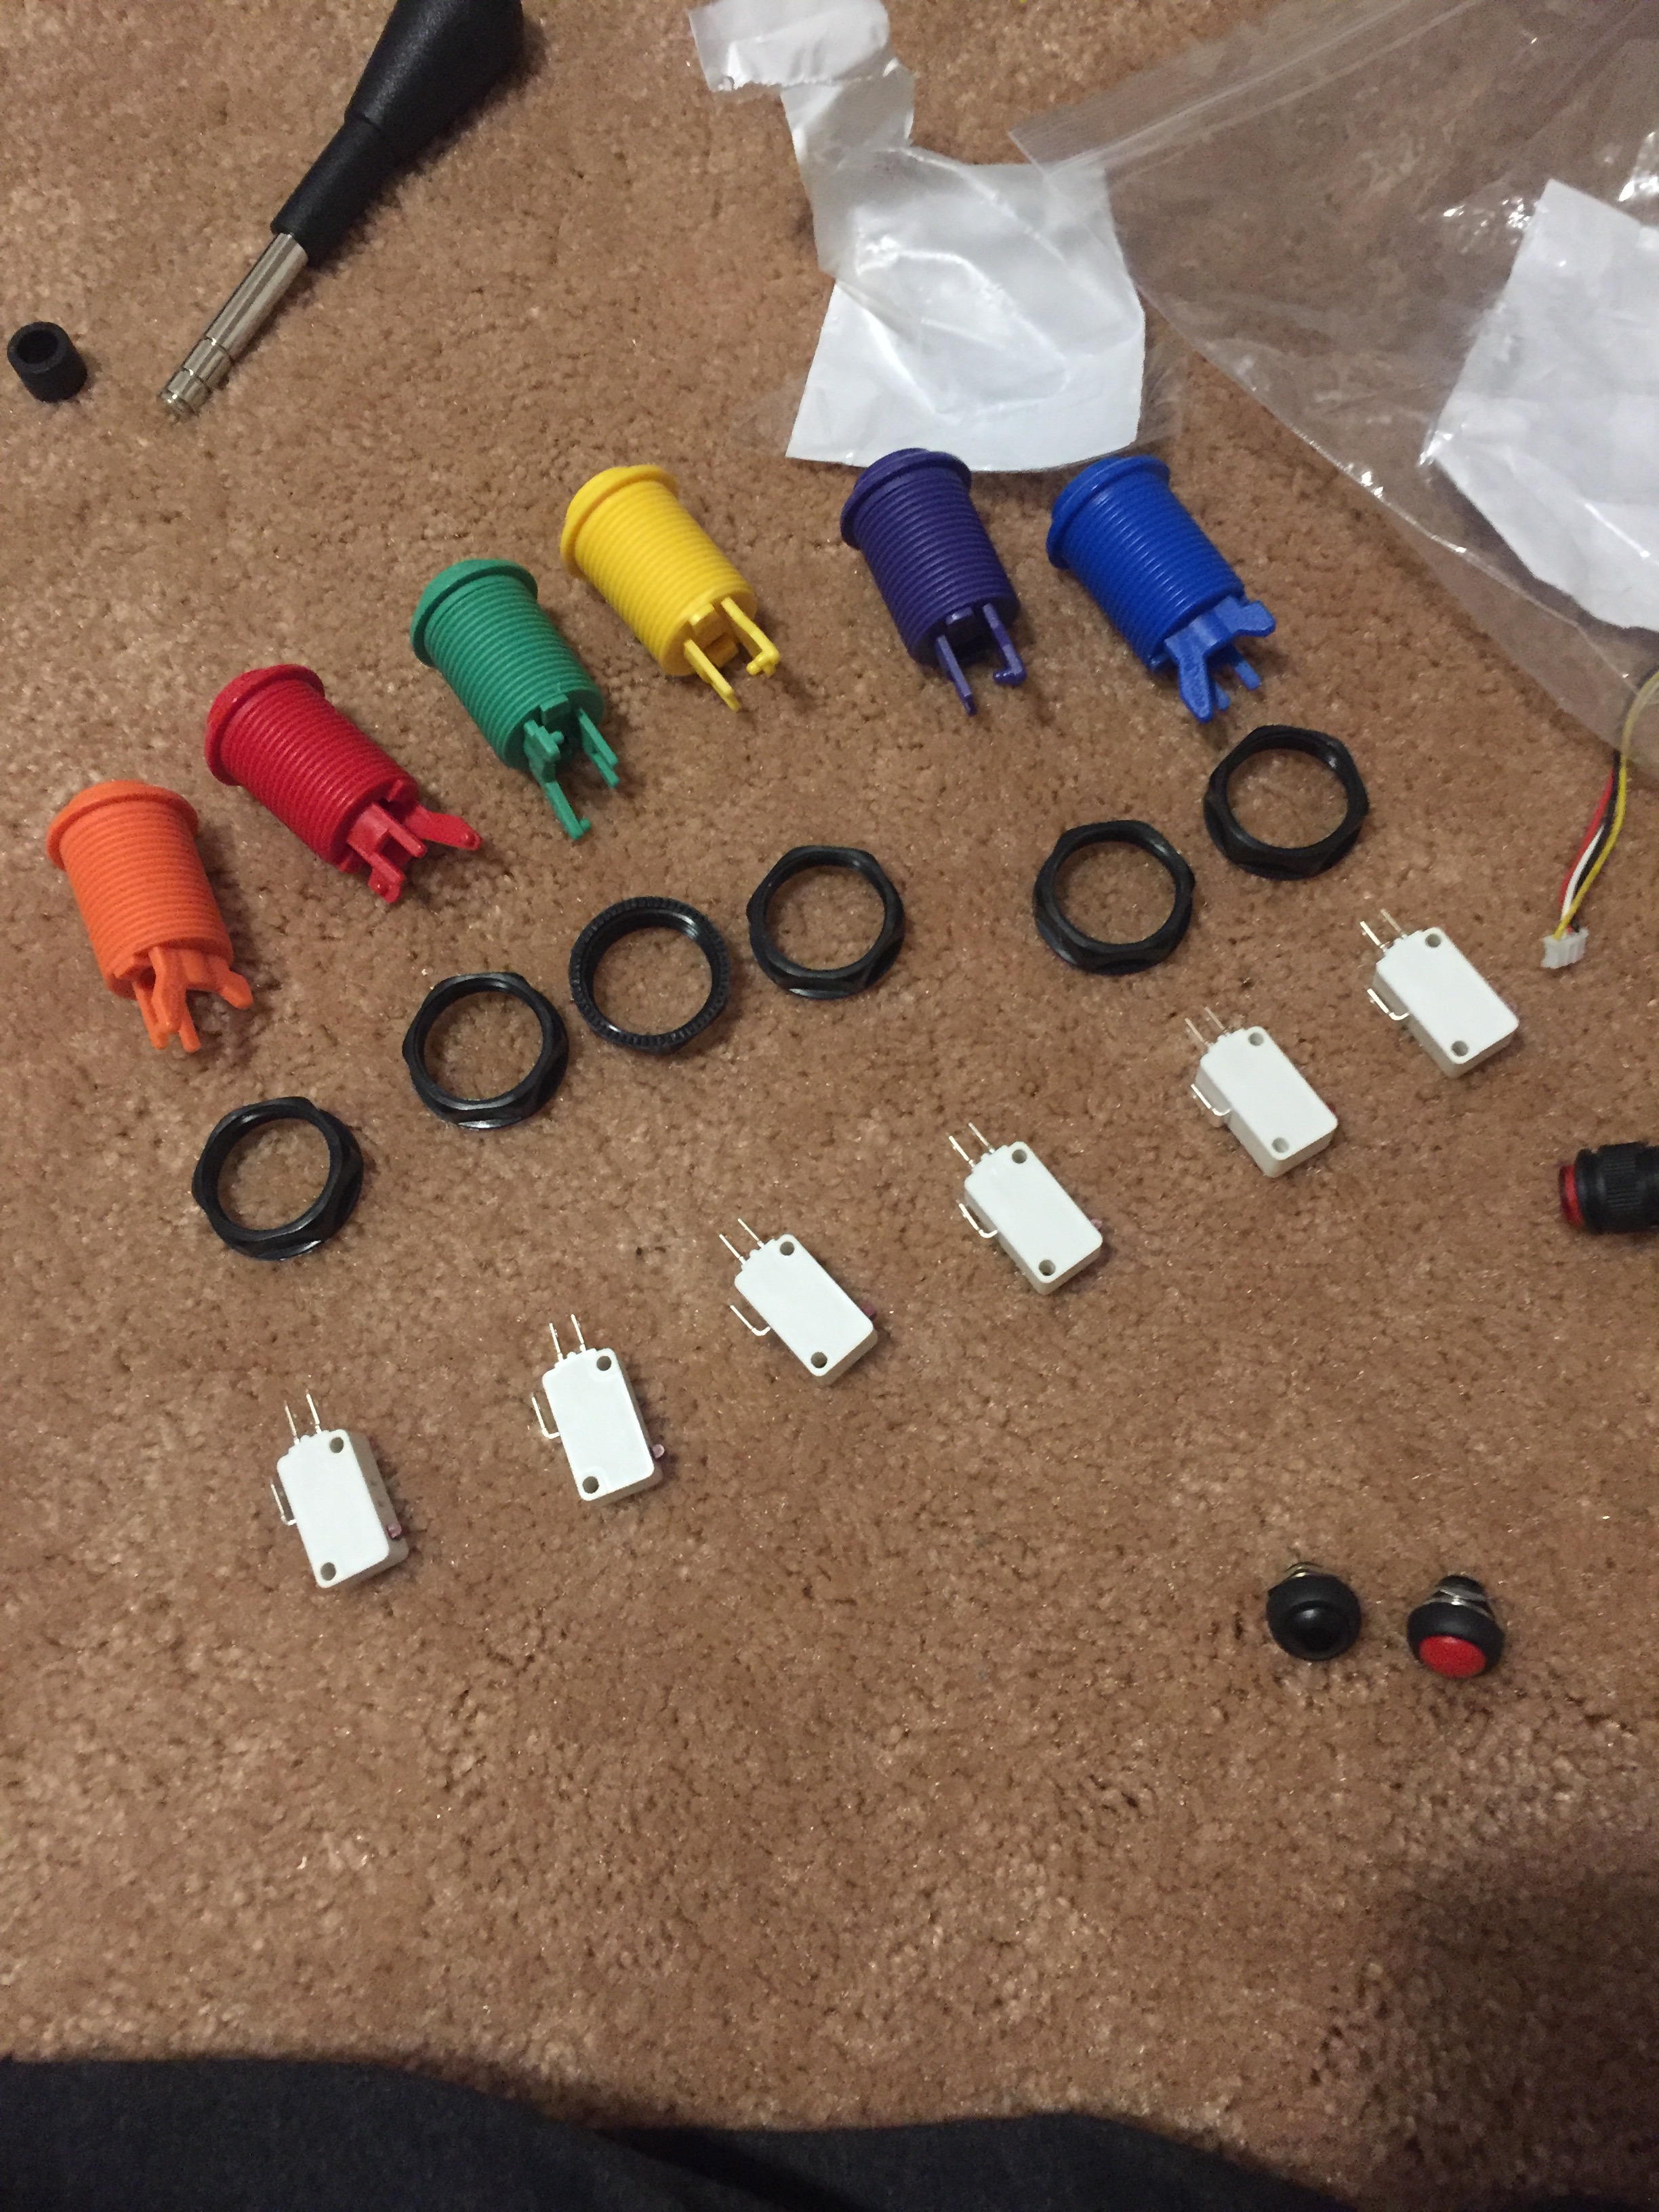
1) lay out all of your components, and make sure you have 6 buttons, 6 screws for the buttons, and 6 micro-switches (pic 1).
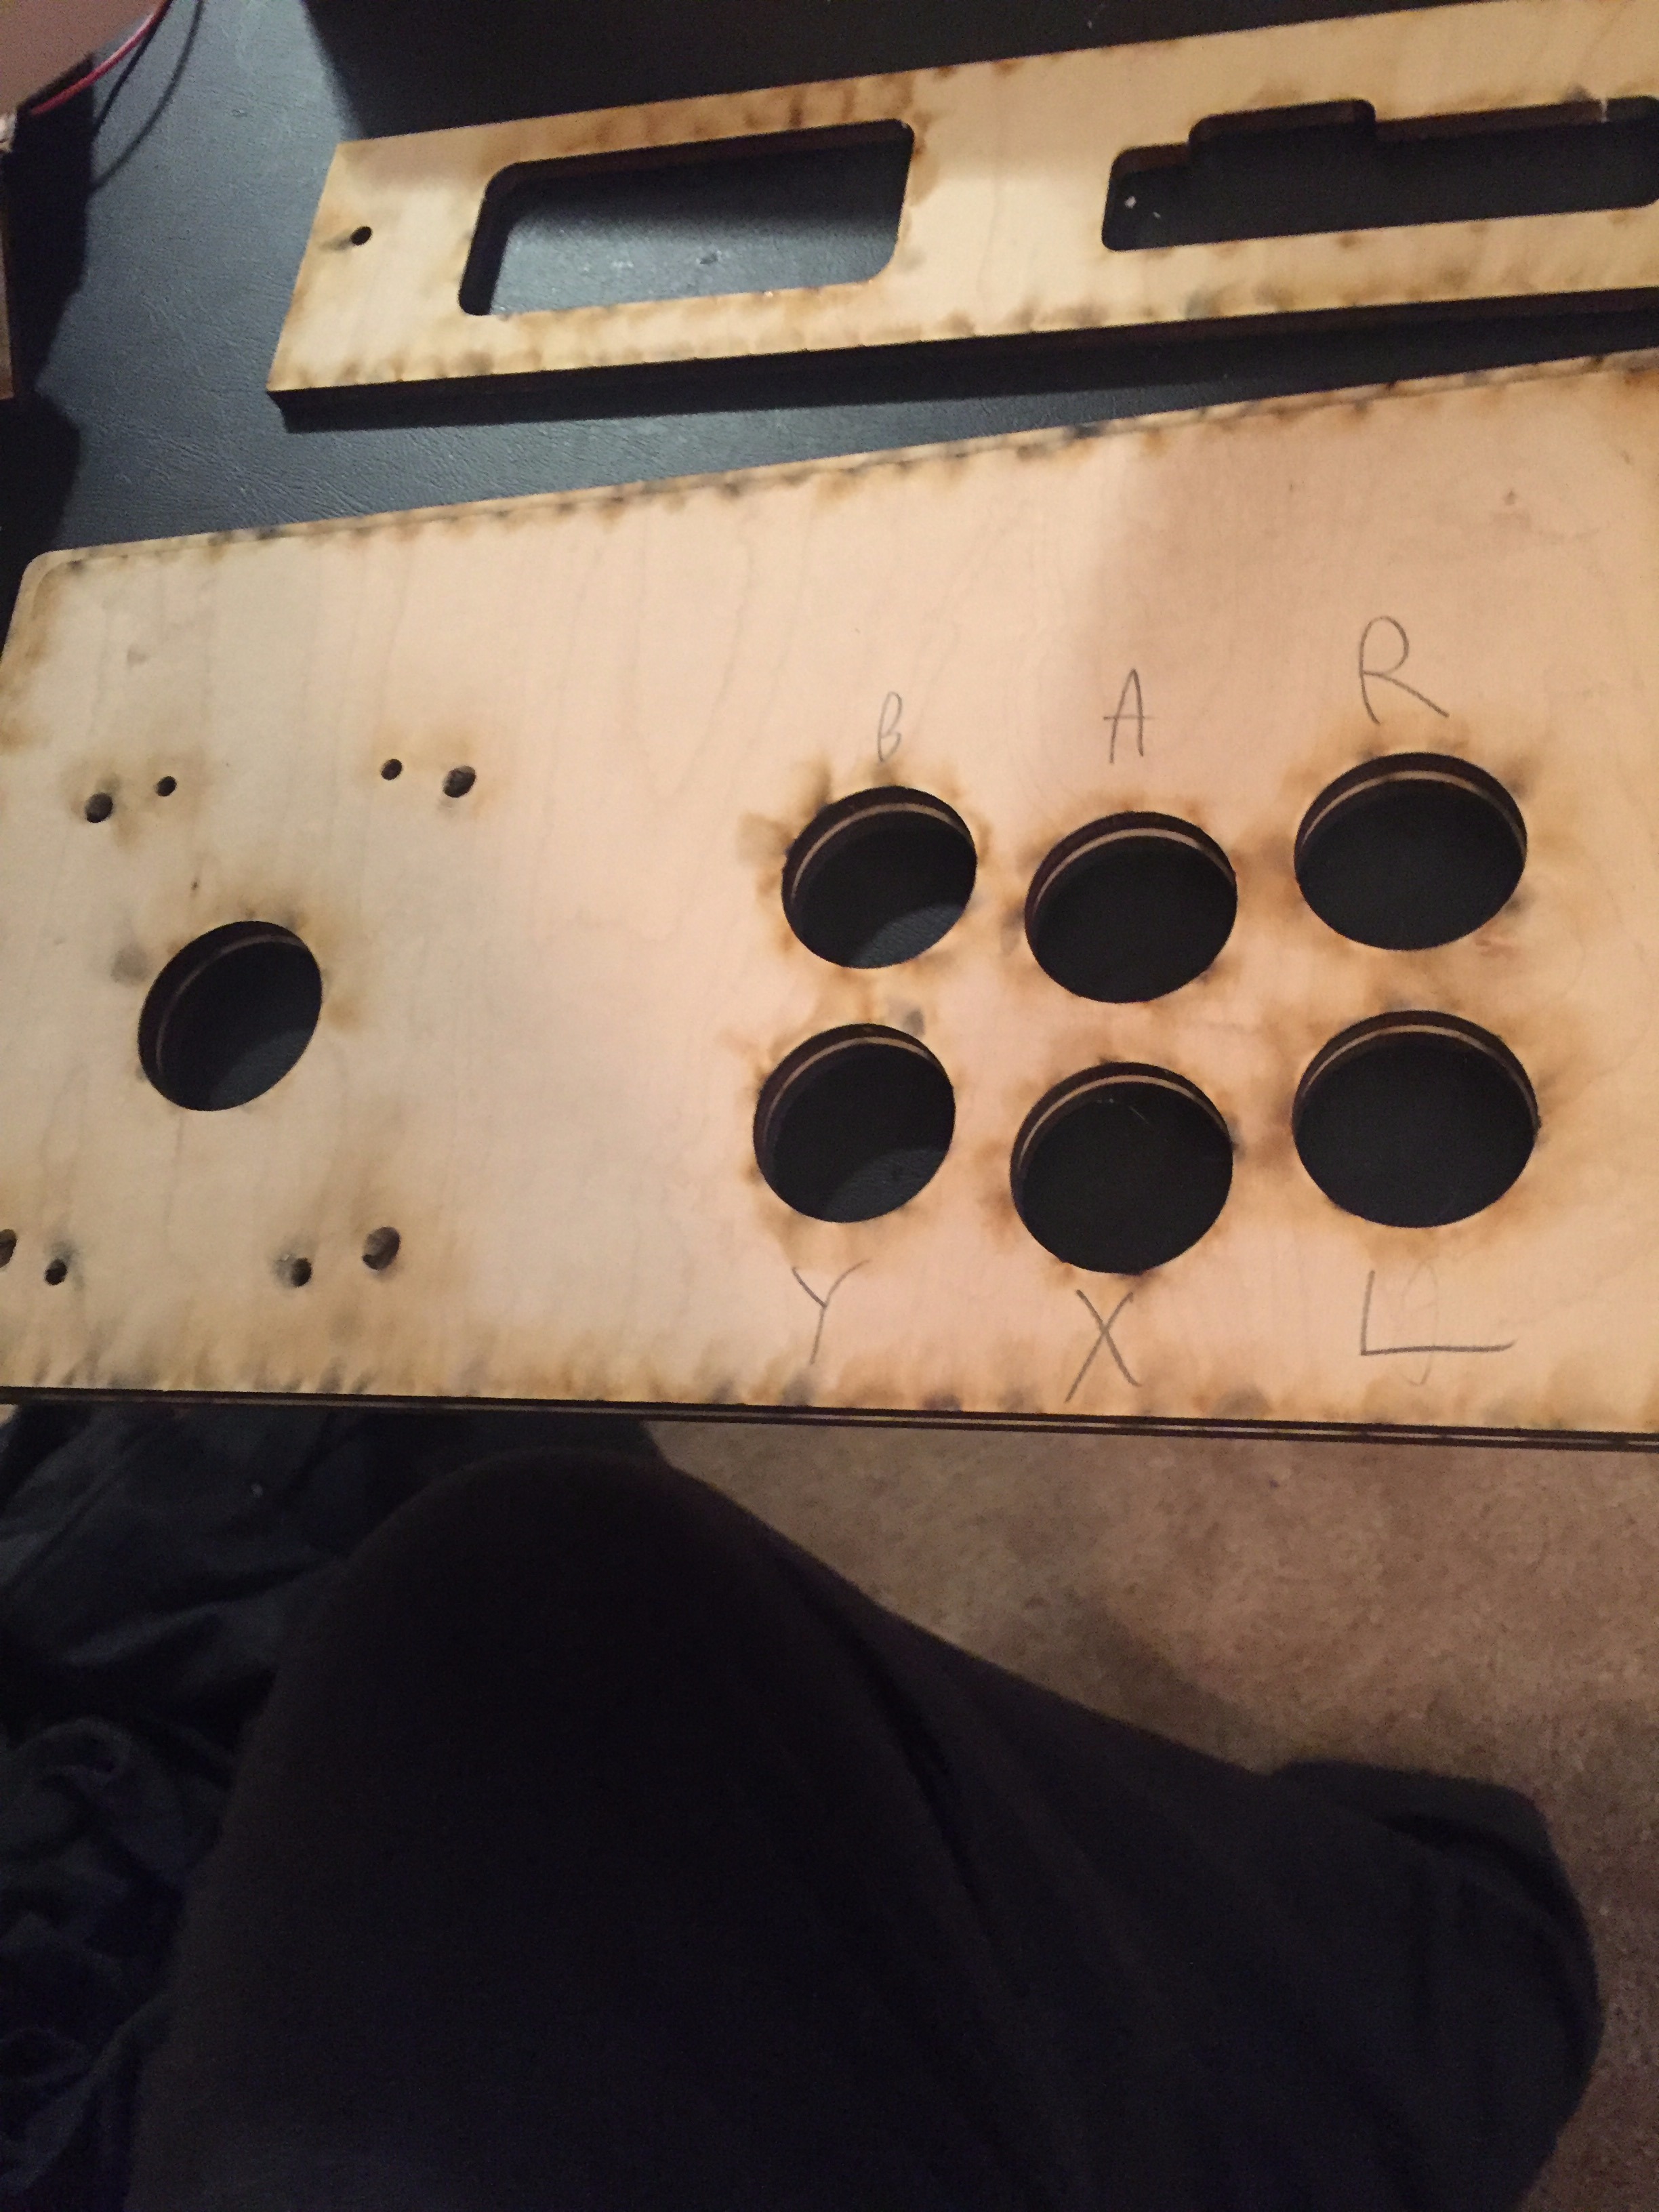
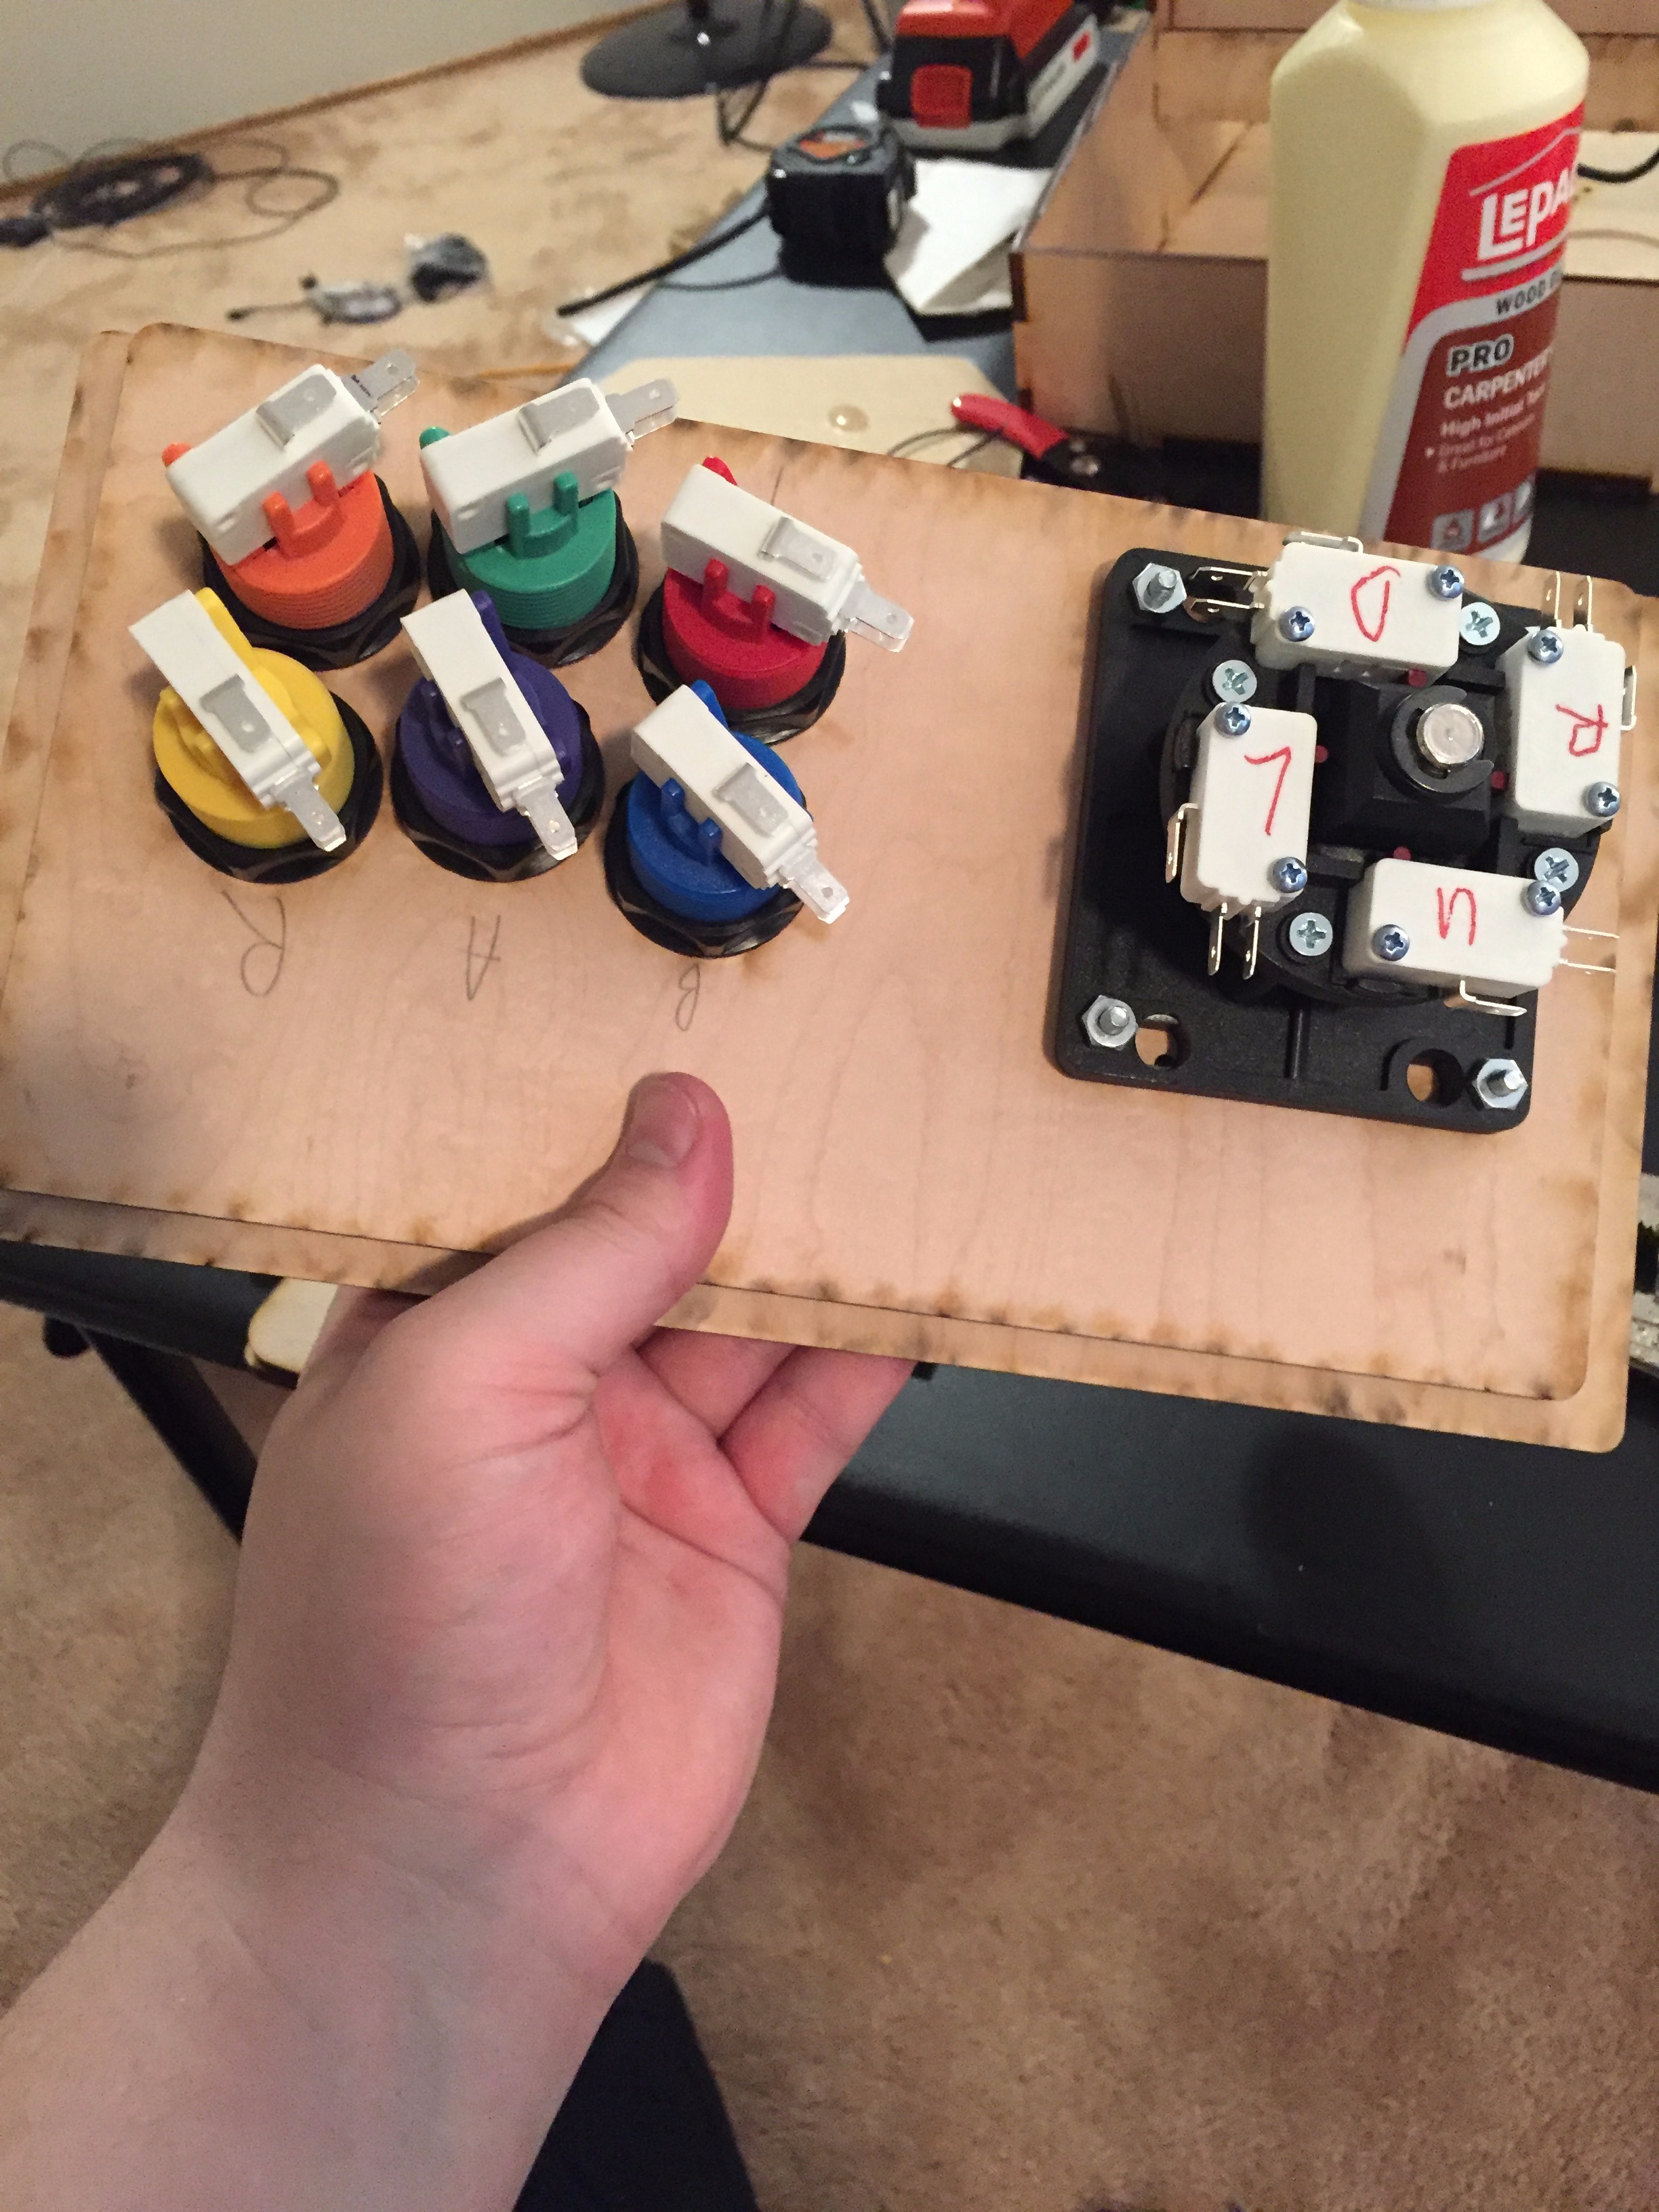
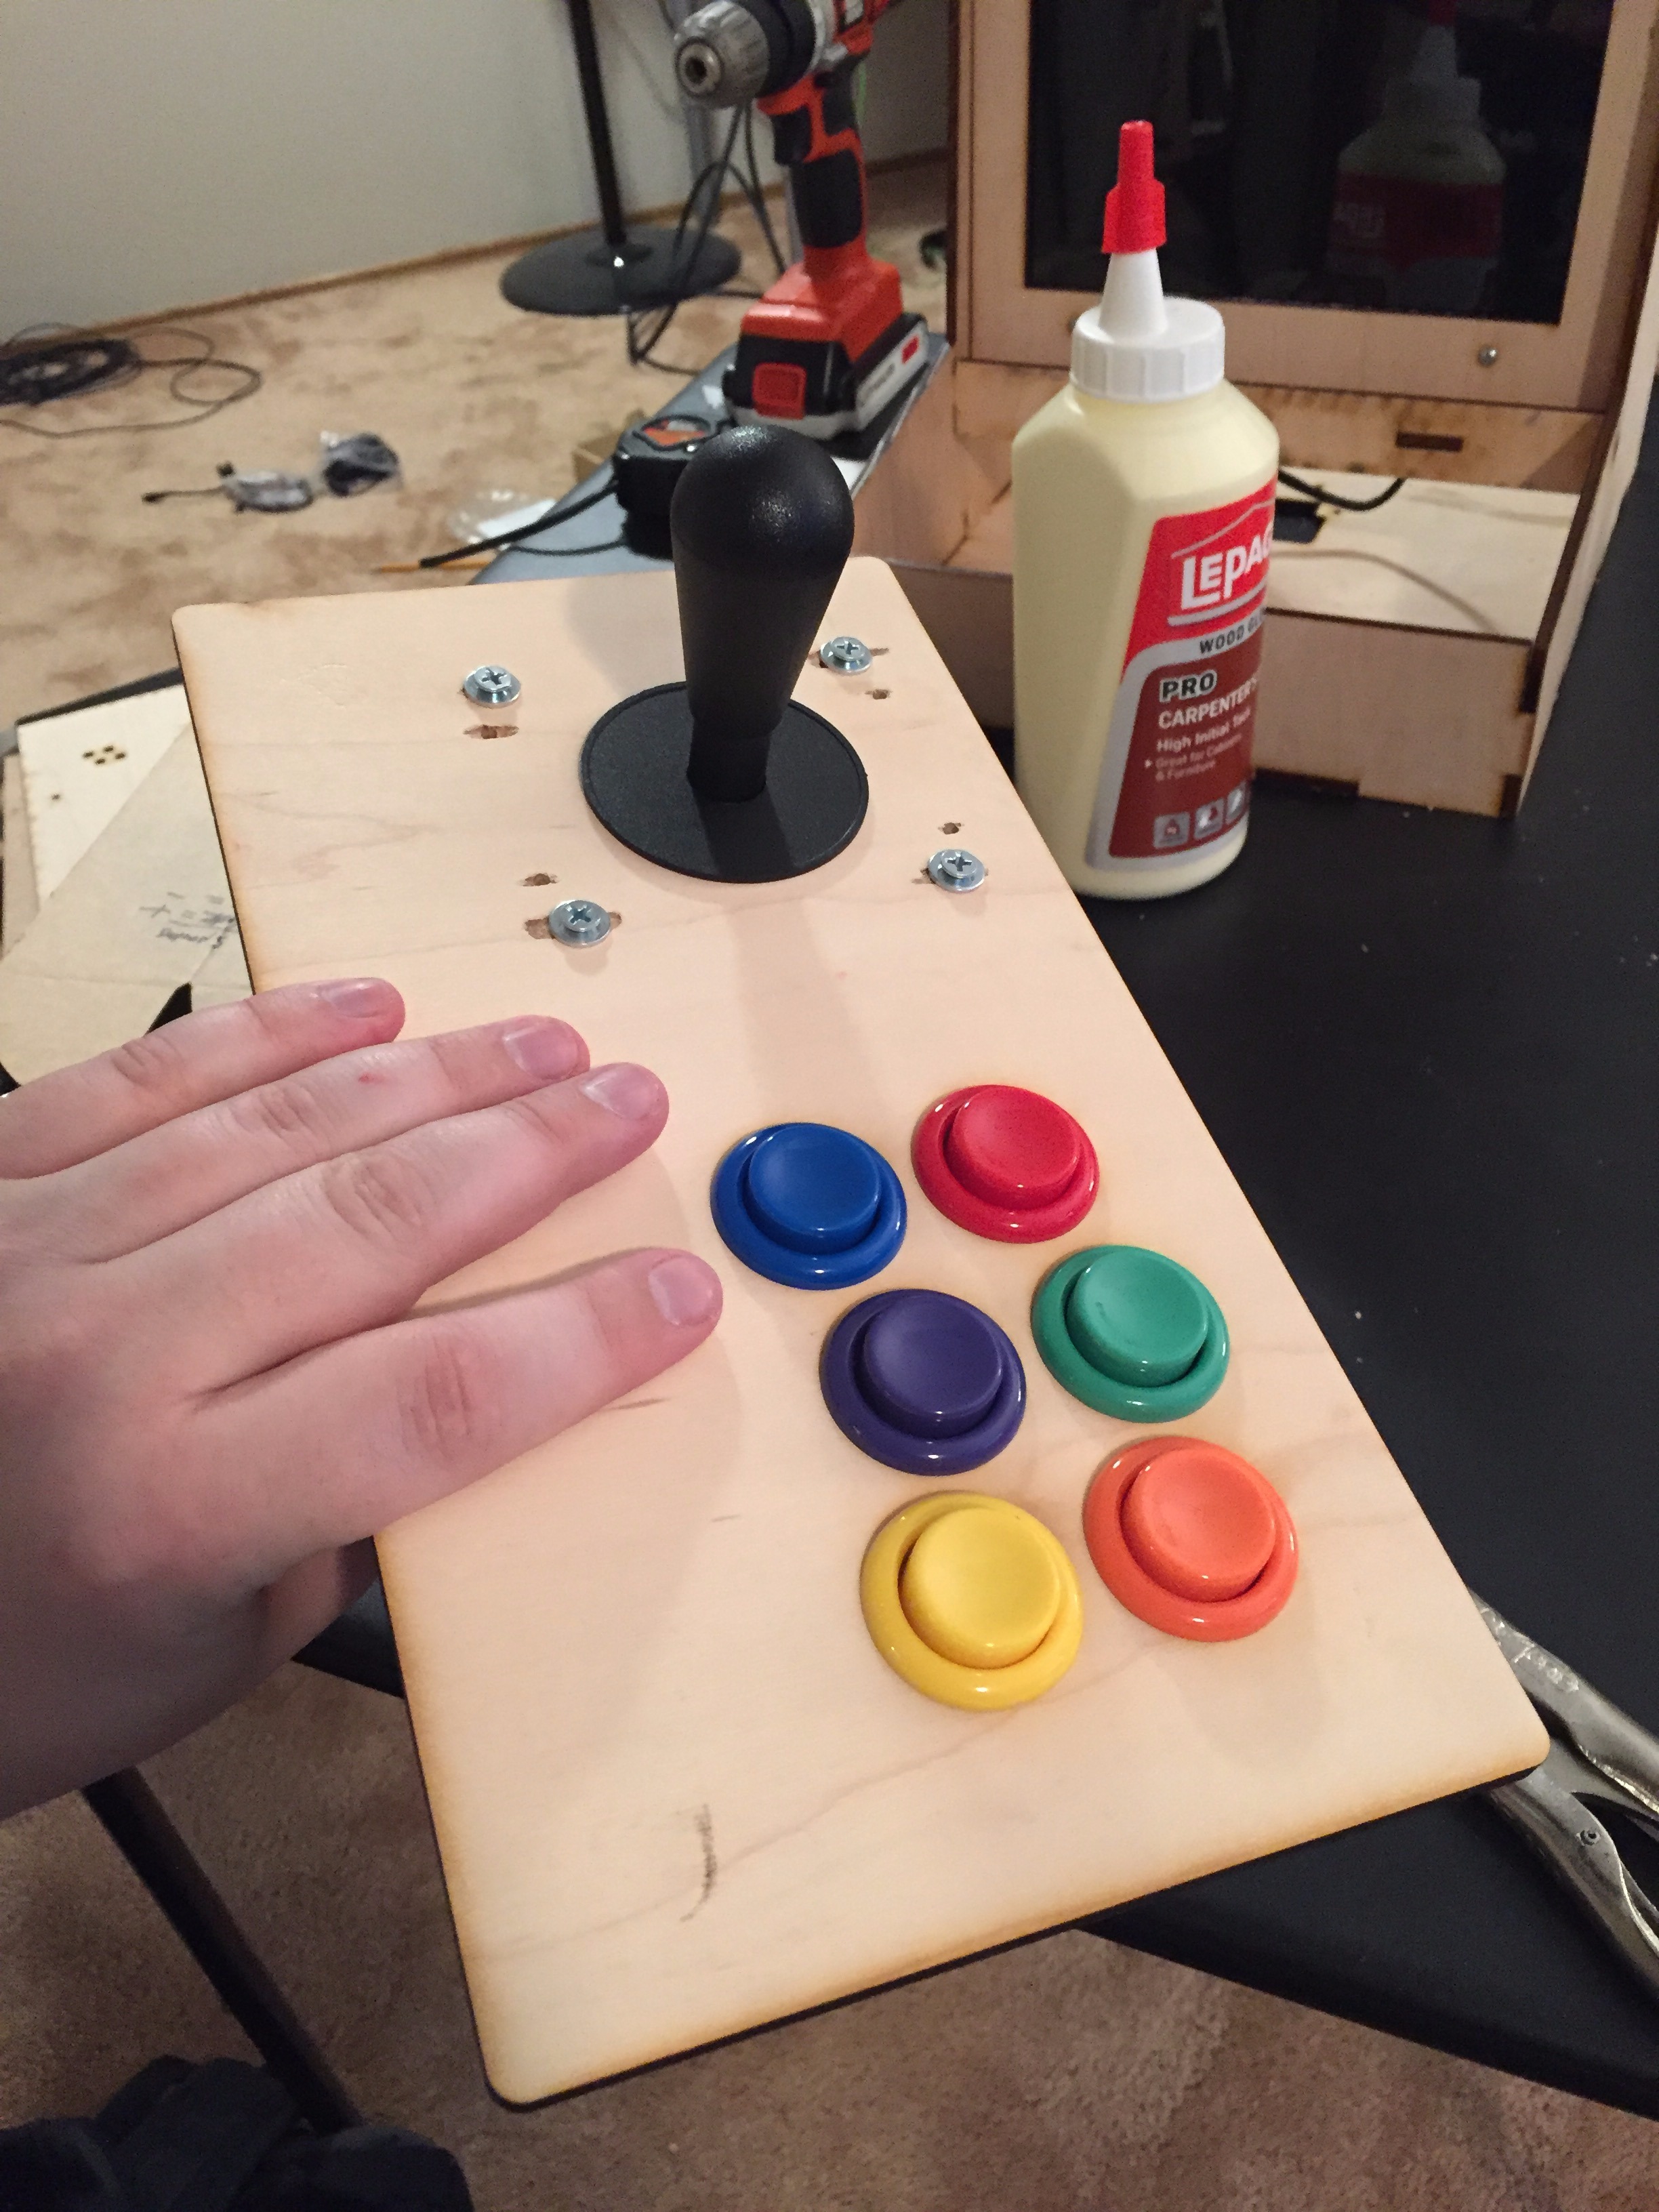
2) glue the 2 wood parts of the board together. NOTE: BE SURE THE JOYSTICK IS ON THE SIDE YOU PREFER. You will then need to drill the appropriate screw holes for your joystick, through the glued boards. I highly suggest clamping the 2 pieces of wood to another scrap piece of wood to try and avoid cracking the faceplate too much. (in the last pic you can see I cracked it quite a bit). It is also a good idea to label the buttons. My labeling is based upon the original insutructions in pic 2
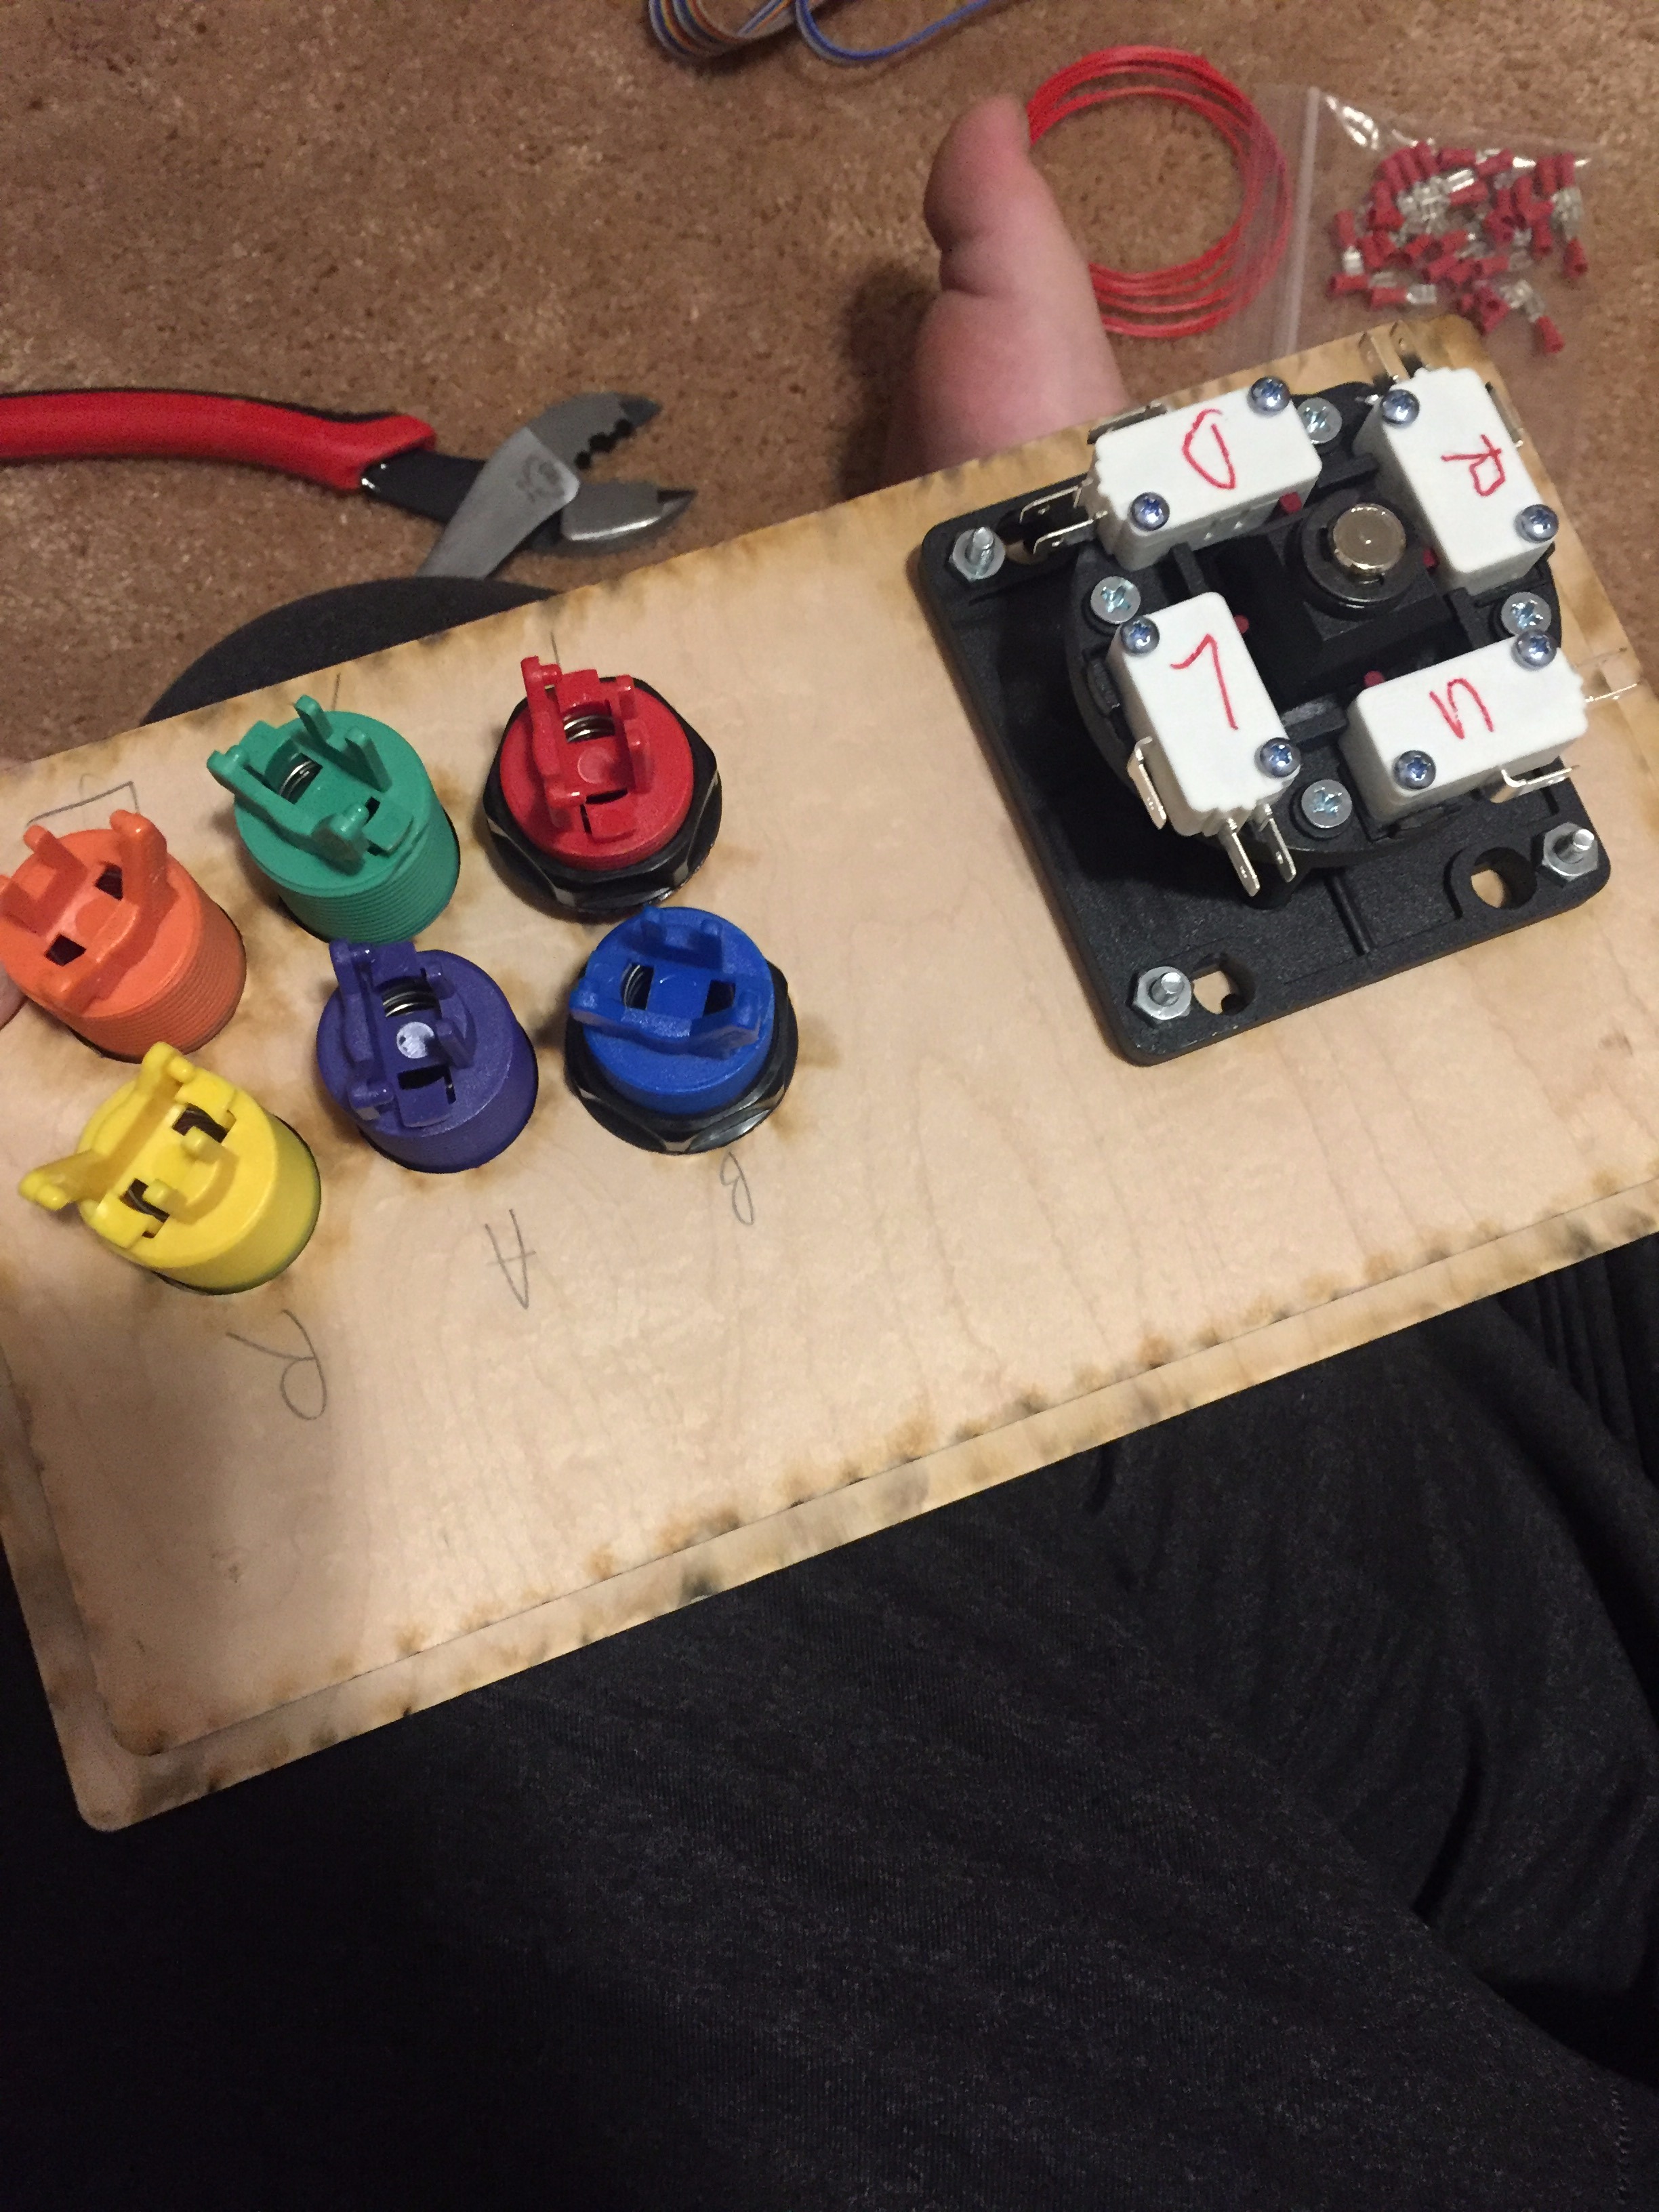
3) first attach the joystick. The white micro-switches are on the BOTTOM of the joystick. Screw into place and lock with washers and nuts
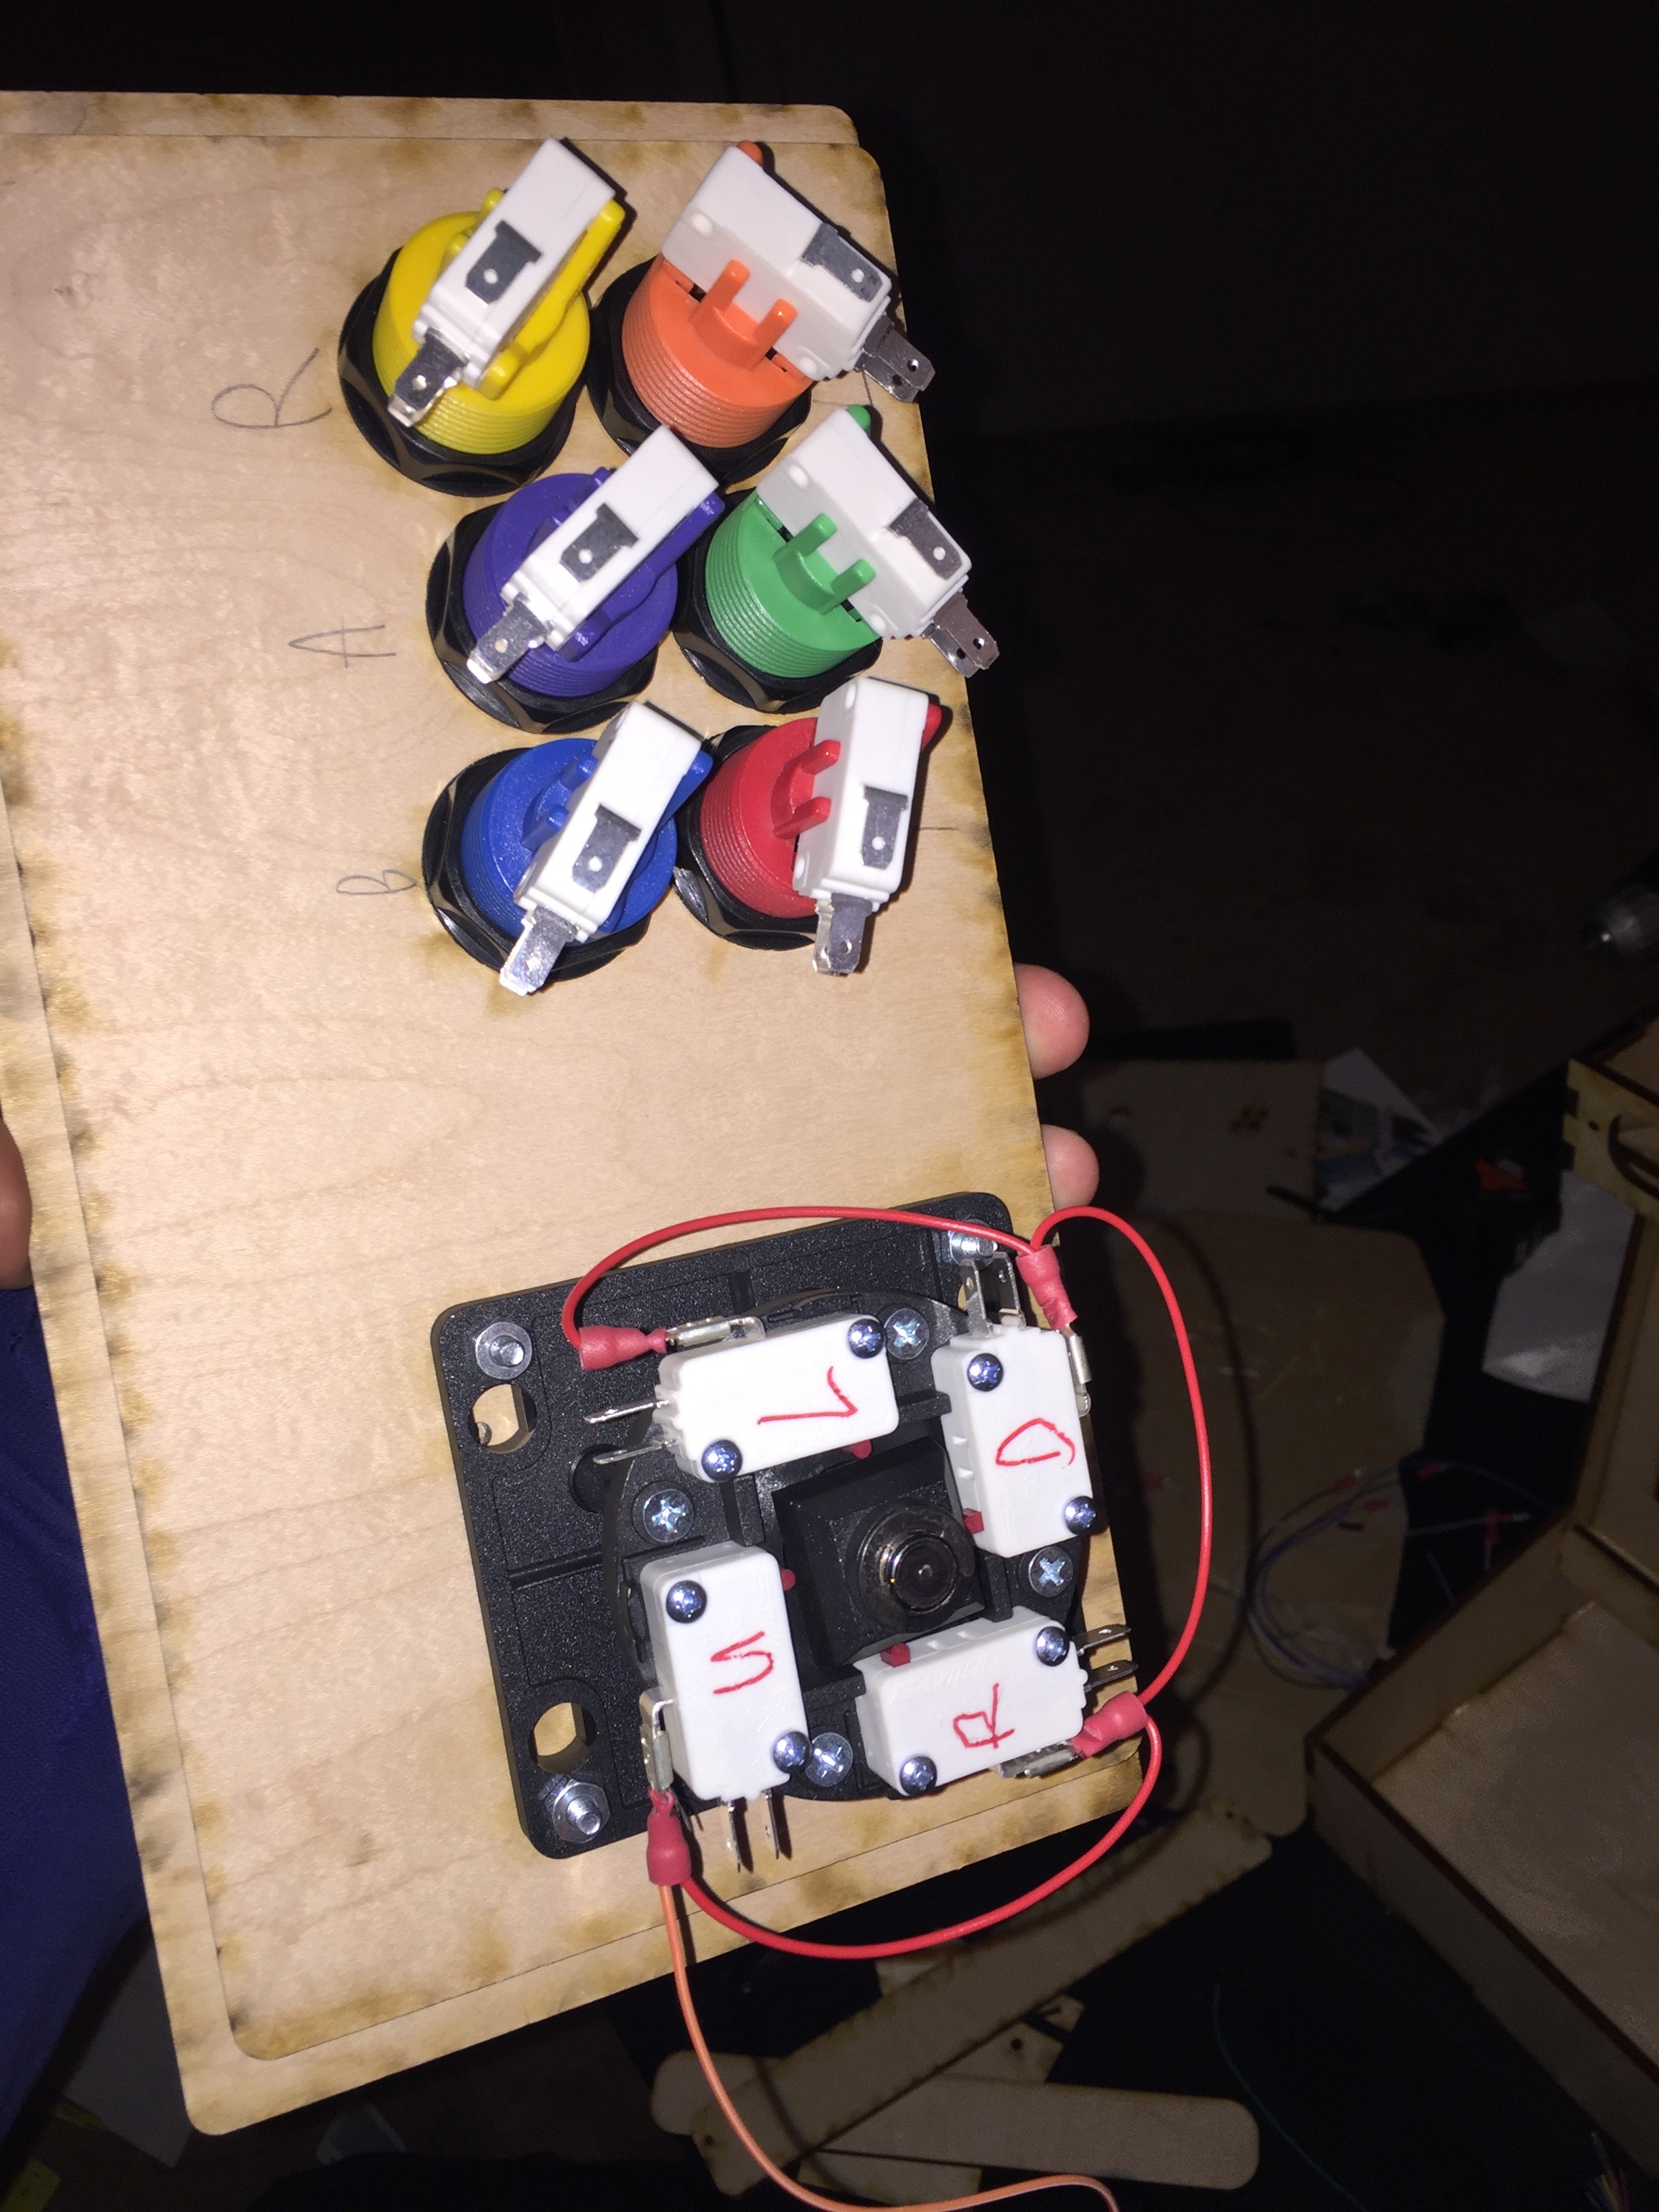
4) If you have the same joystick as I do in the photos, it comes with a small metal crescent. This is just to lock the joystick into place on the bottom of the controller. You can push back the 'cover' from the center column to attach the locking piece onto the bottom of your joystick Once the joystick is in place, BE SURE TO LABEL THE DIRECTIONS ON THE BOTTOM OF THE CONTROLLER. Up is down, left is right, etc.
5) insert each arcade button from the top down, and then screw on the black 'washer' that comes with the buttons from the bottom of the controller (pic 3).
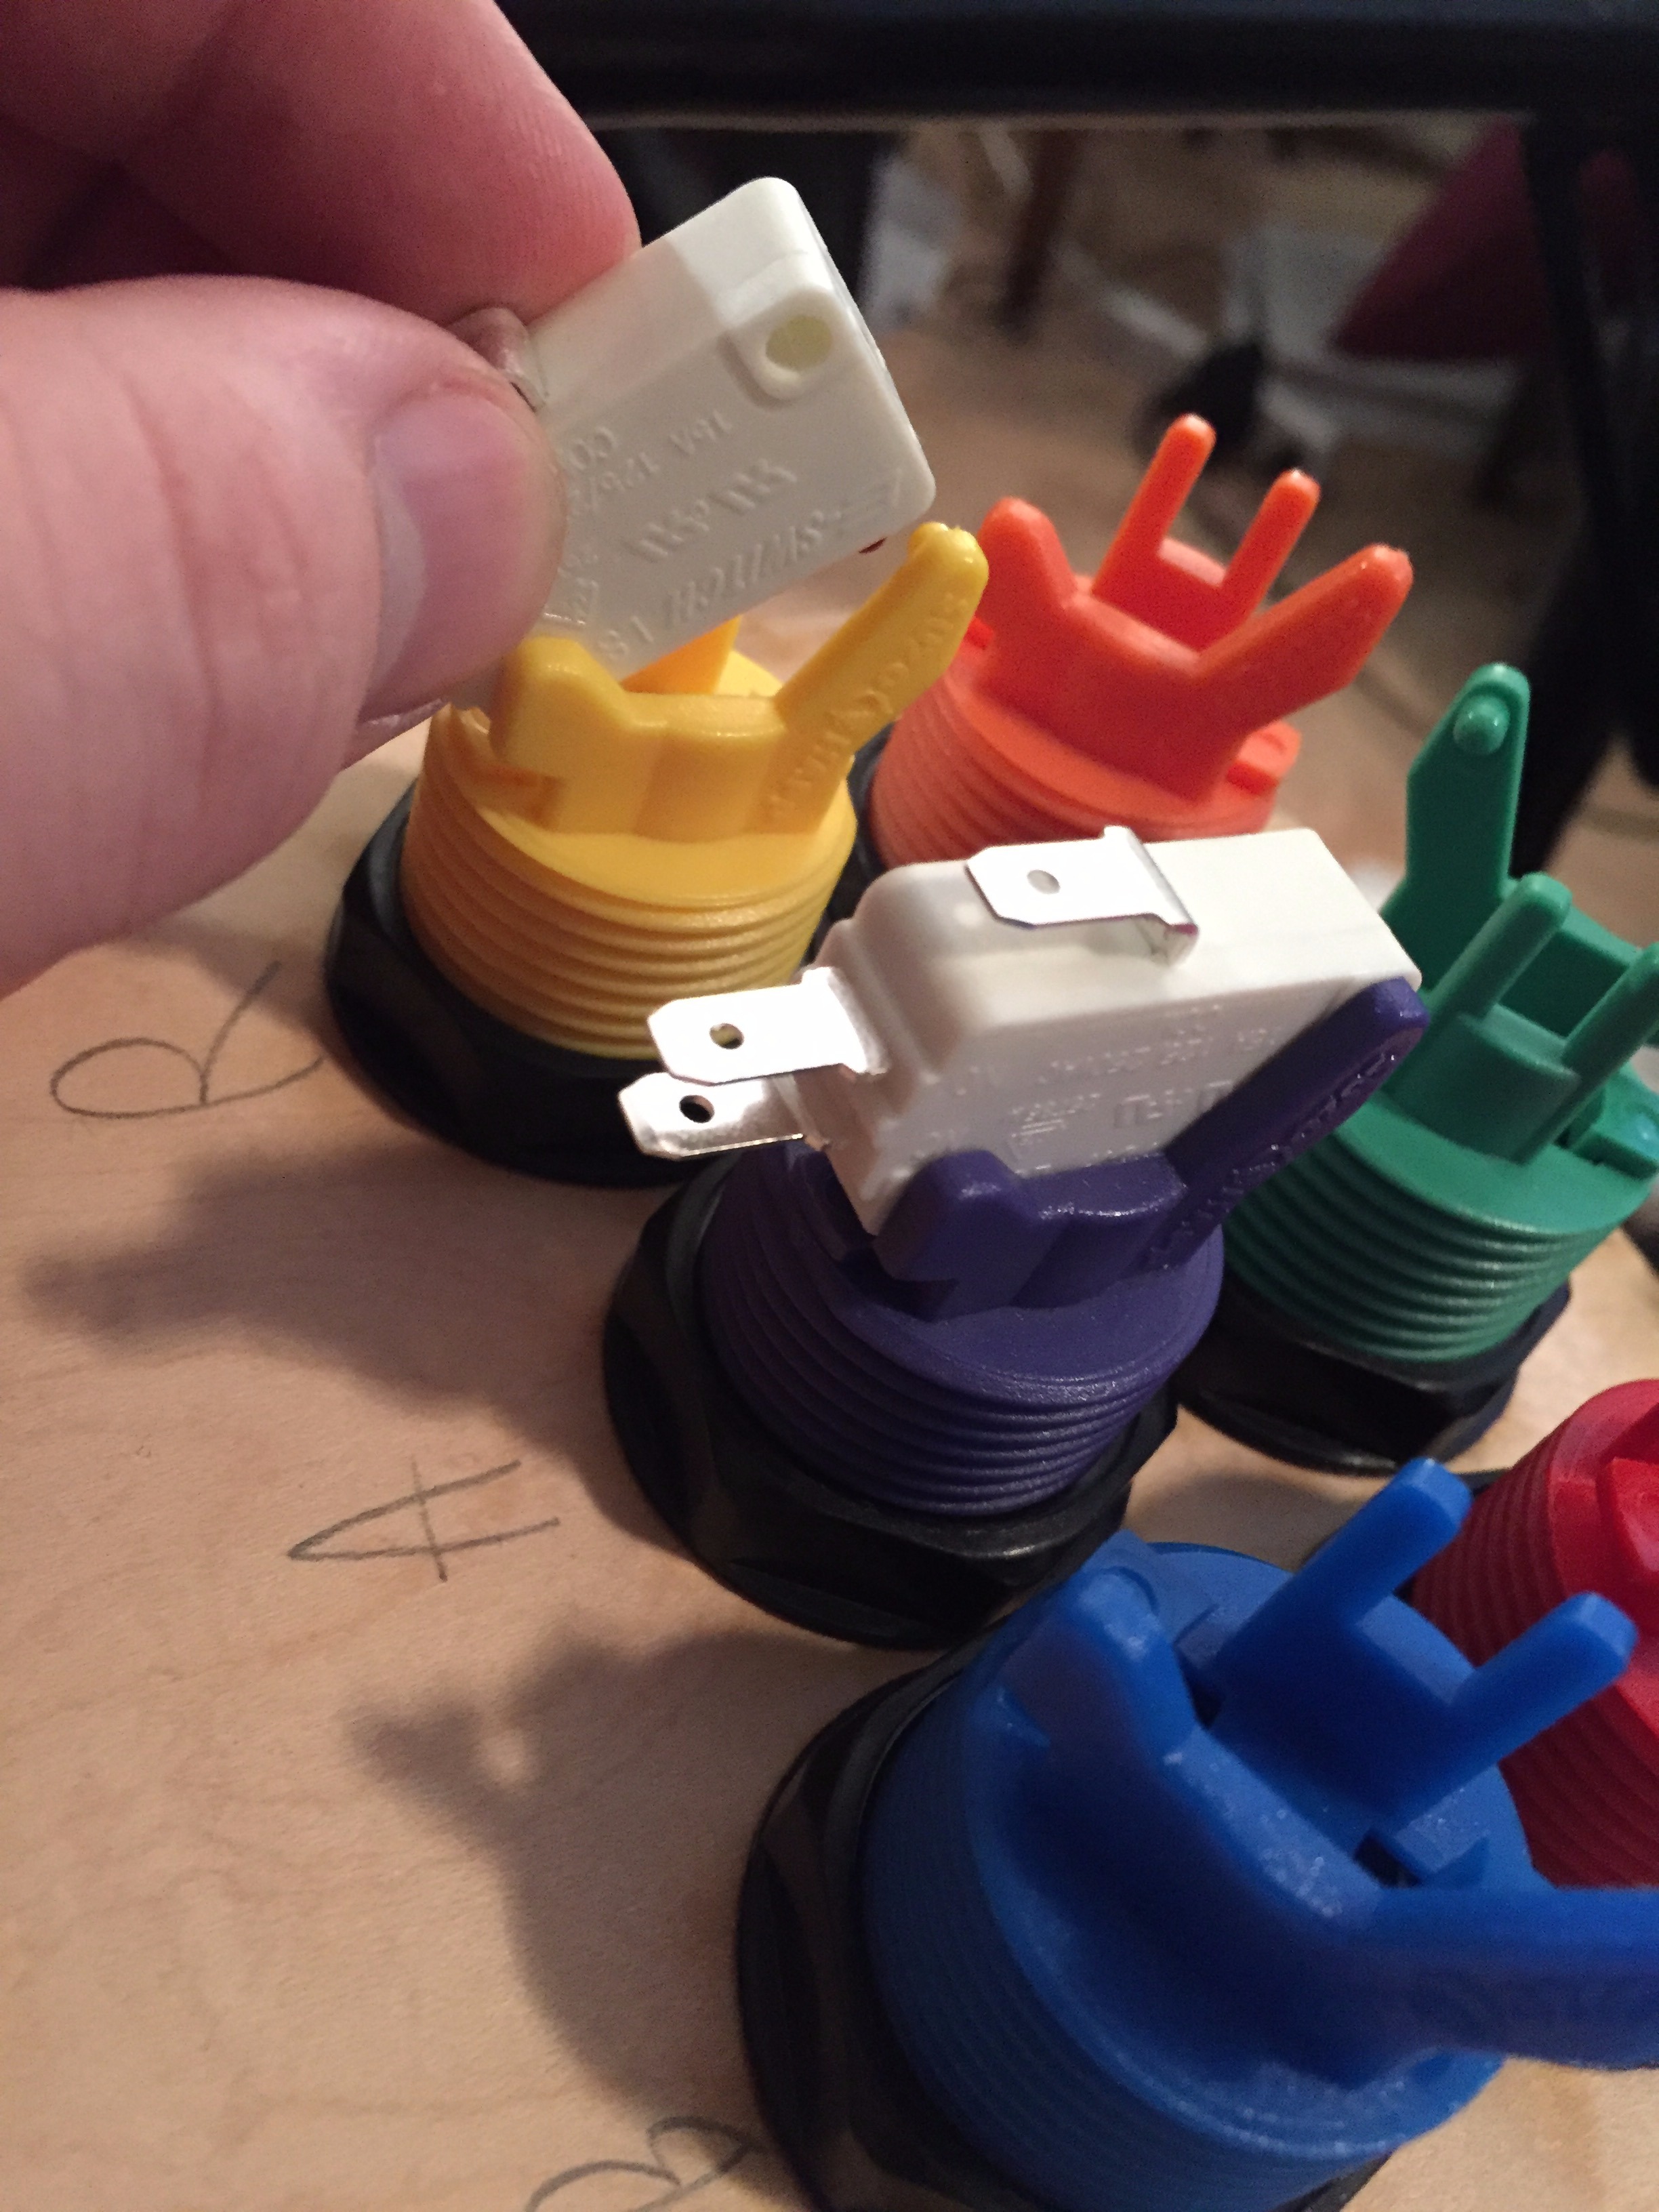
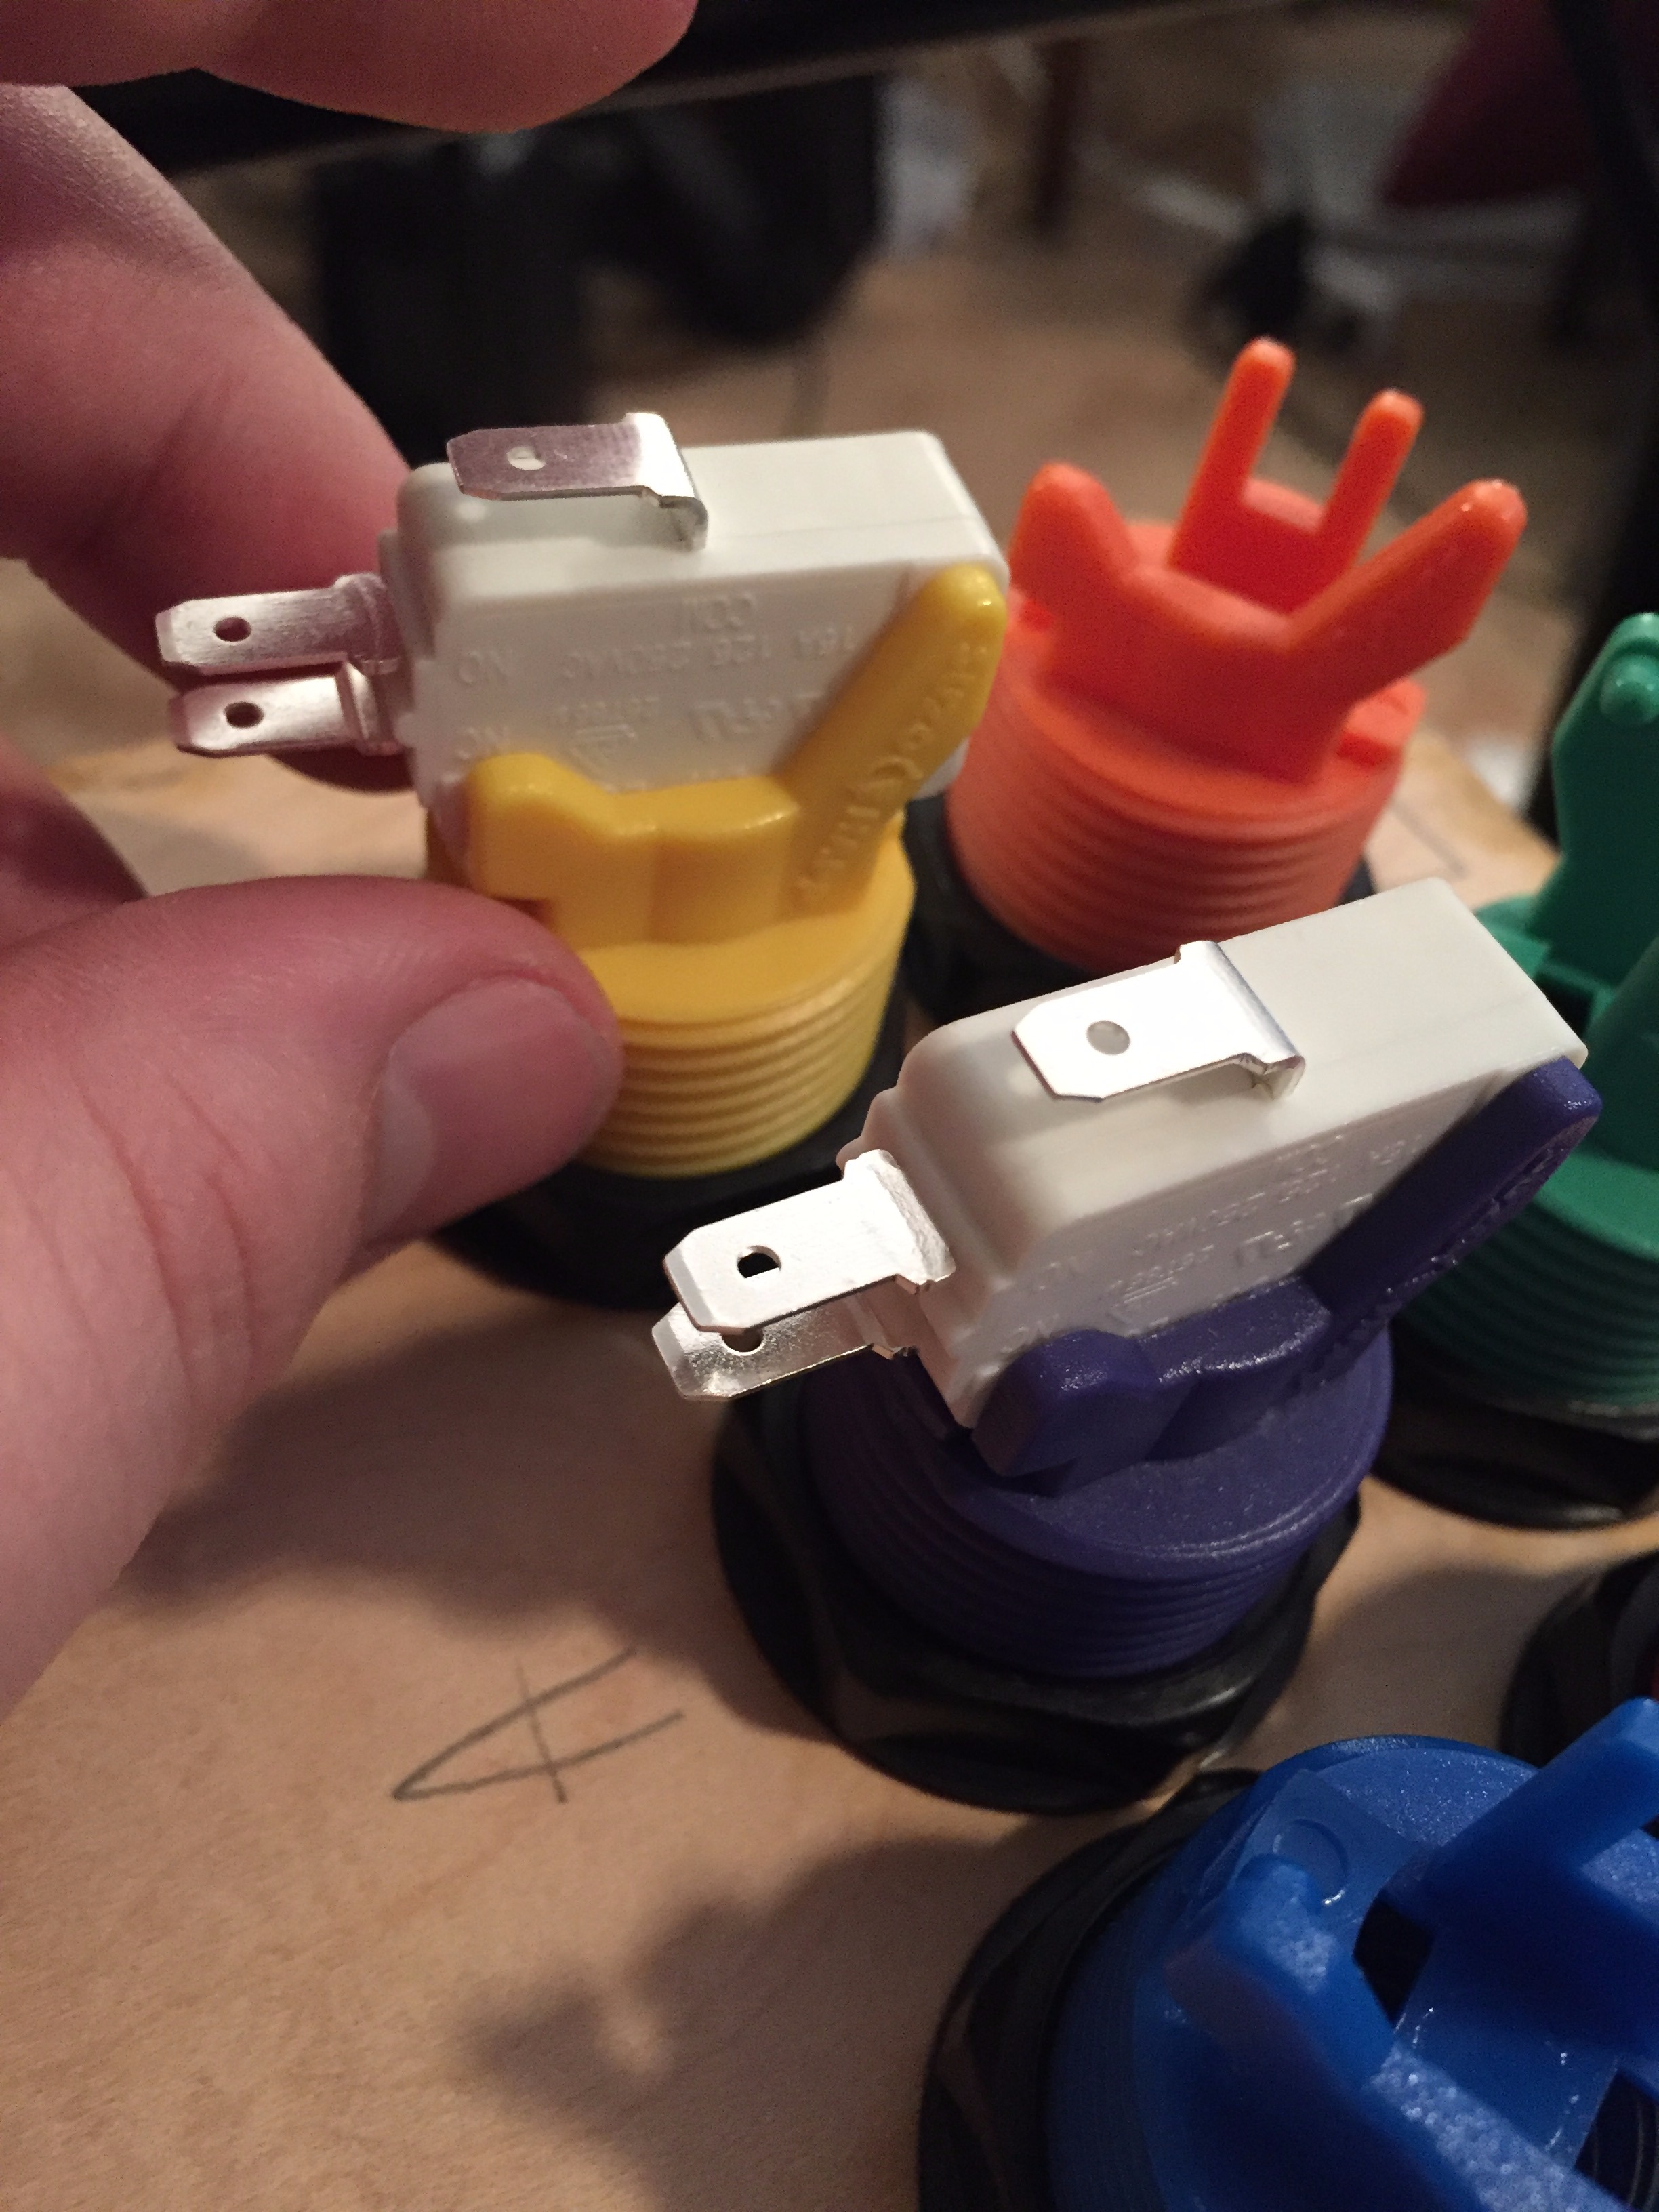
6) insert the micro-switches on top of each button. If you look at pics 4+5 you can see how they are inserted. Be sure to arrange them so that they are not pointing outside of the board (see pic 6). In the end, it should look like the final picture!
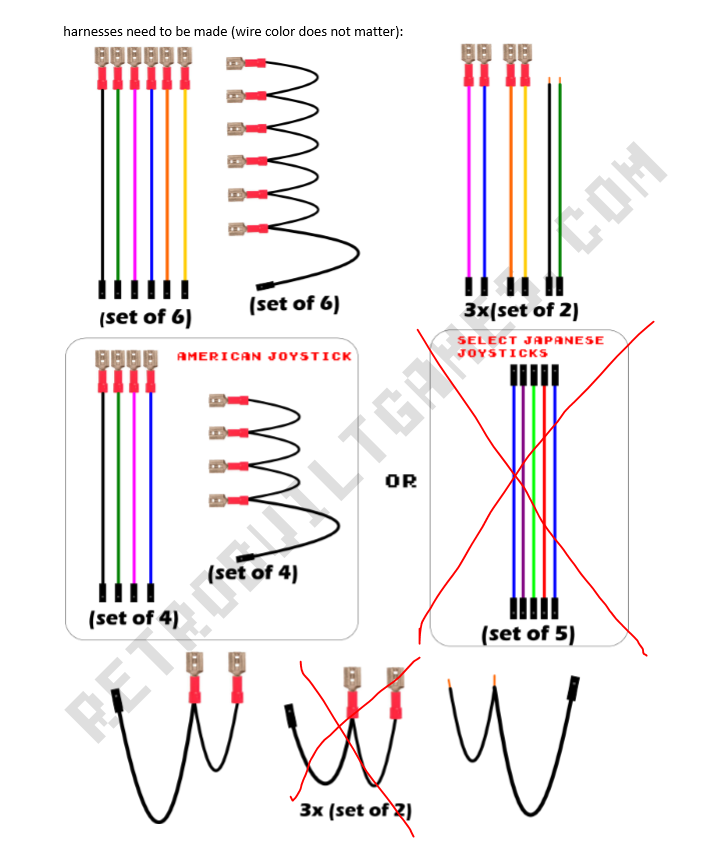
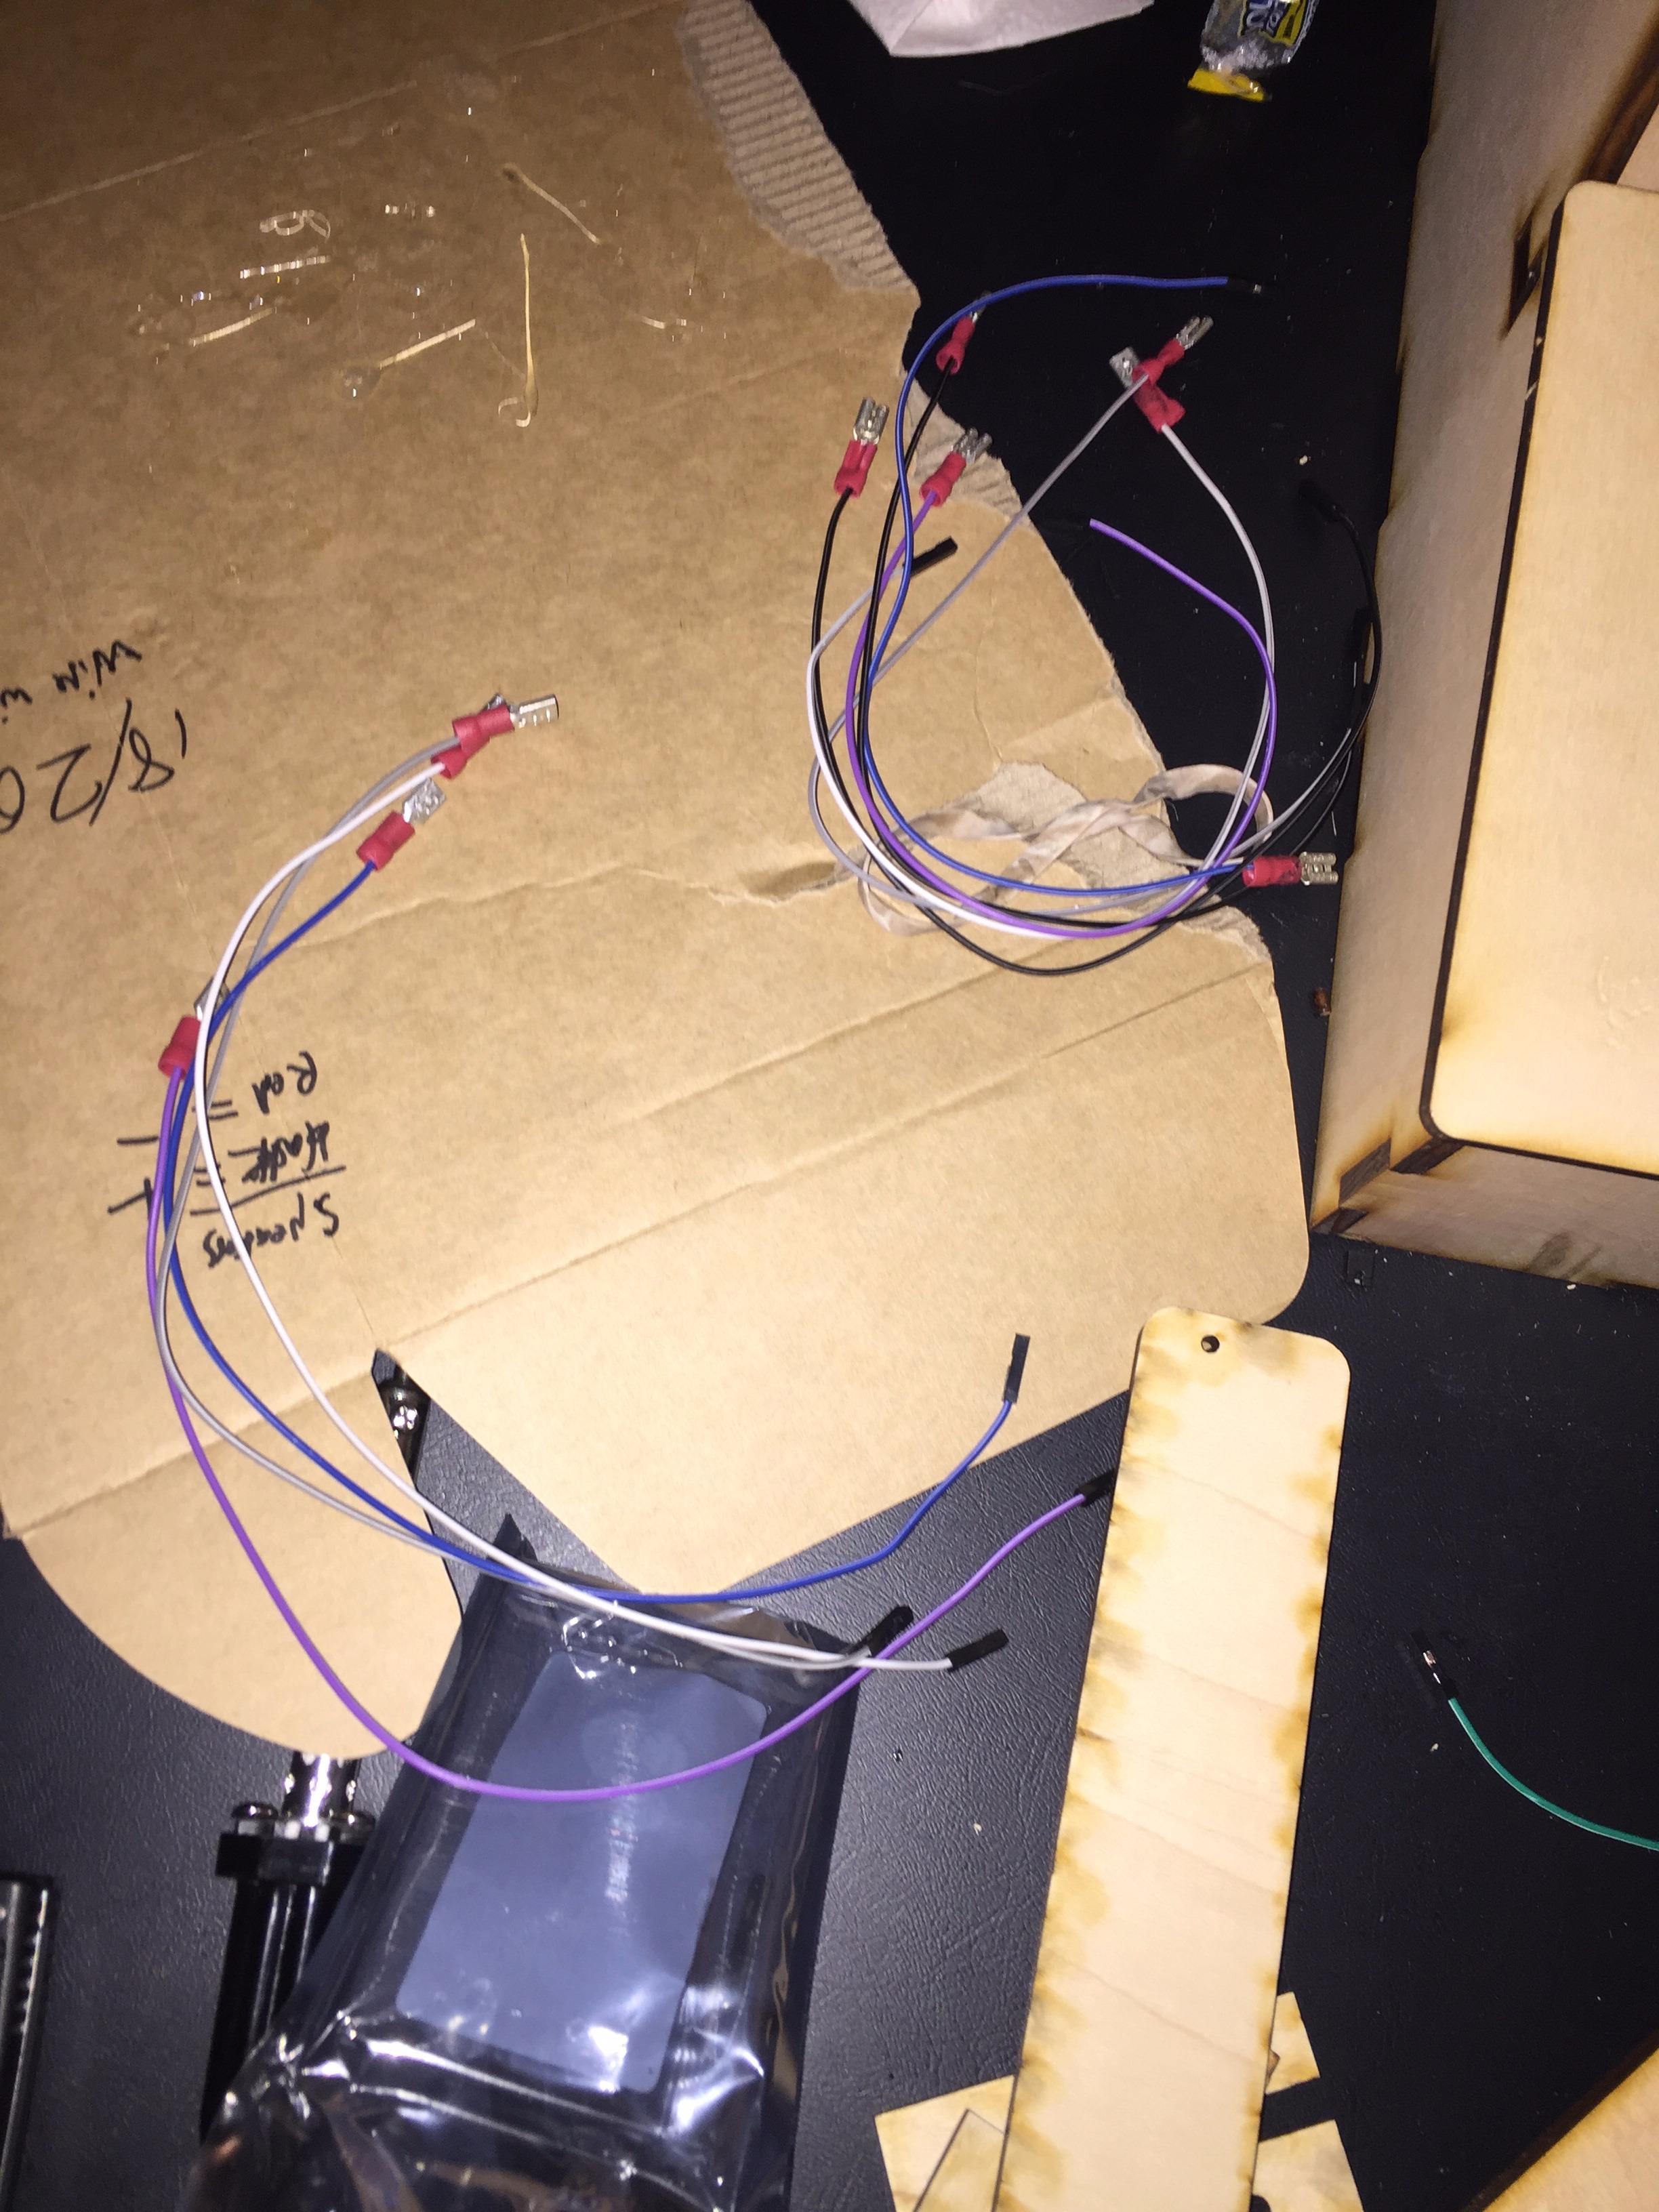
7) Wiring the controller! First you need to create a bunch of wire formations! Please refer to the attached image (pic 8) to see what wiring configurations you need to make. You will need a wire cutter, stripper, crimper, and eventually a soldering iron. The 'chained' wires are connected using crimping caps and are used to link all ground connections together.
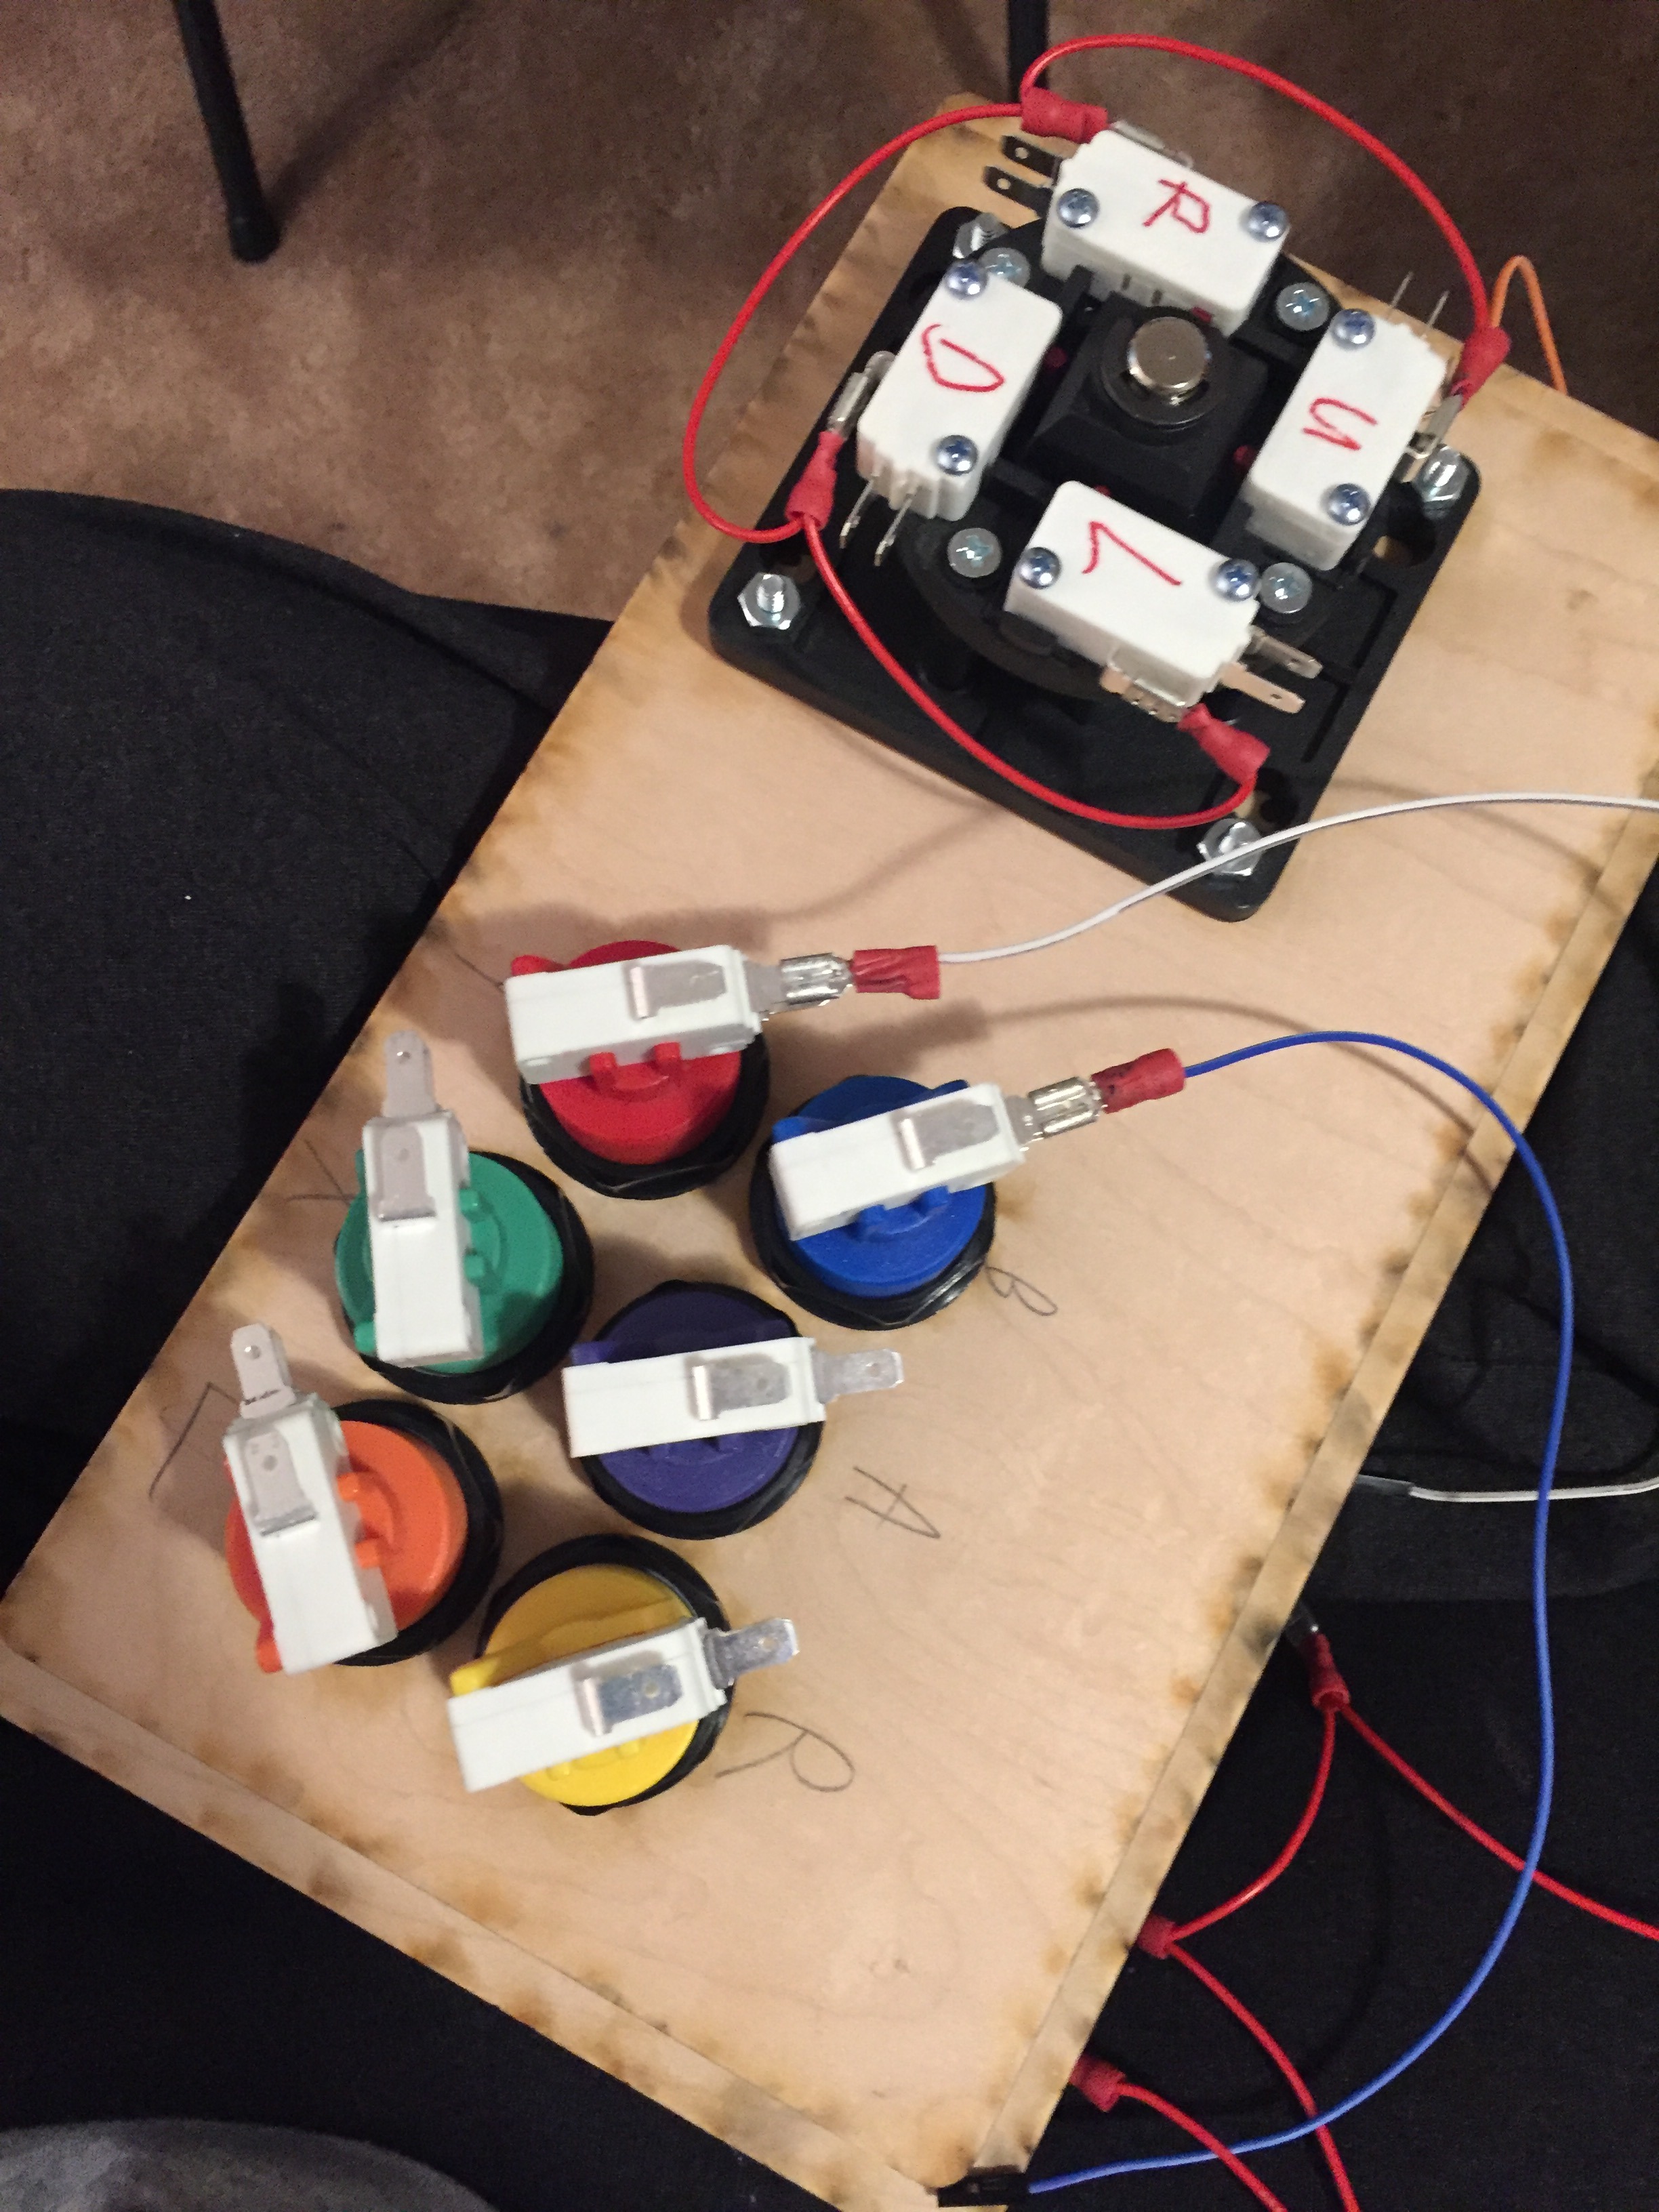
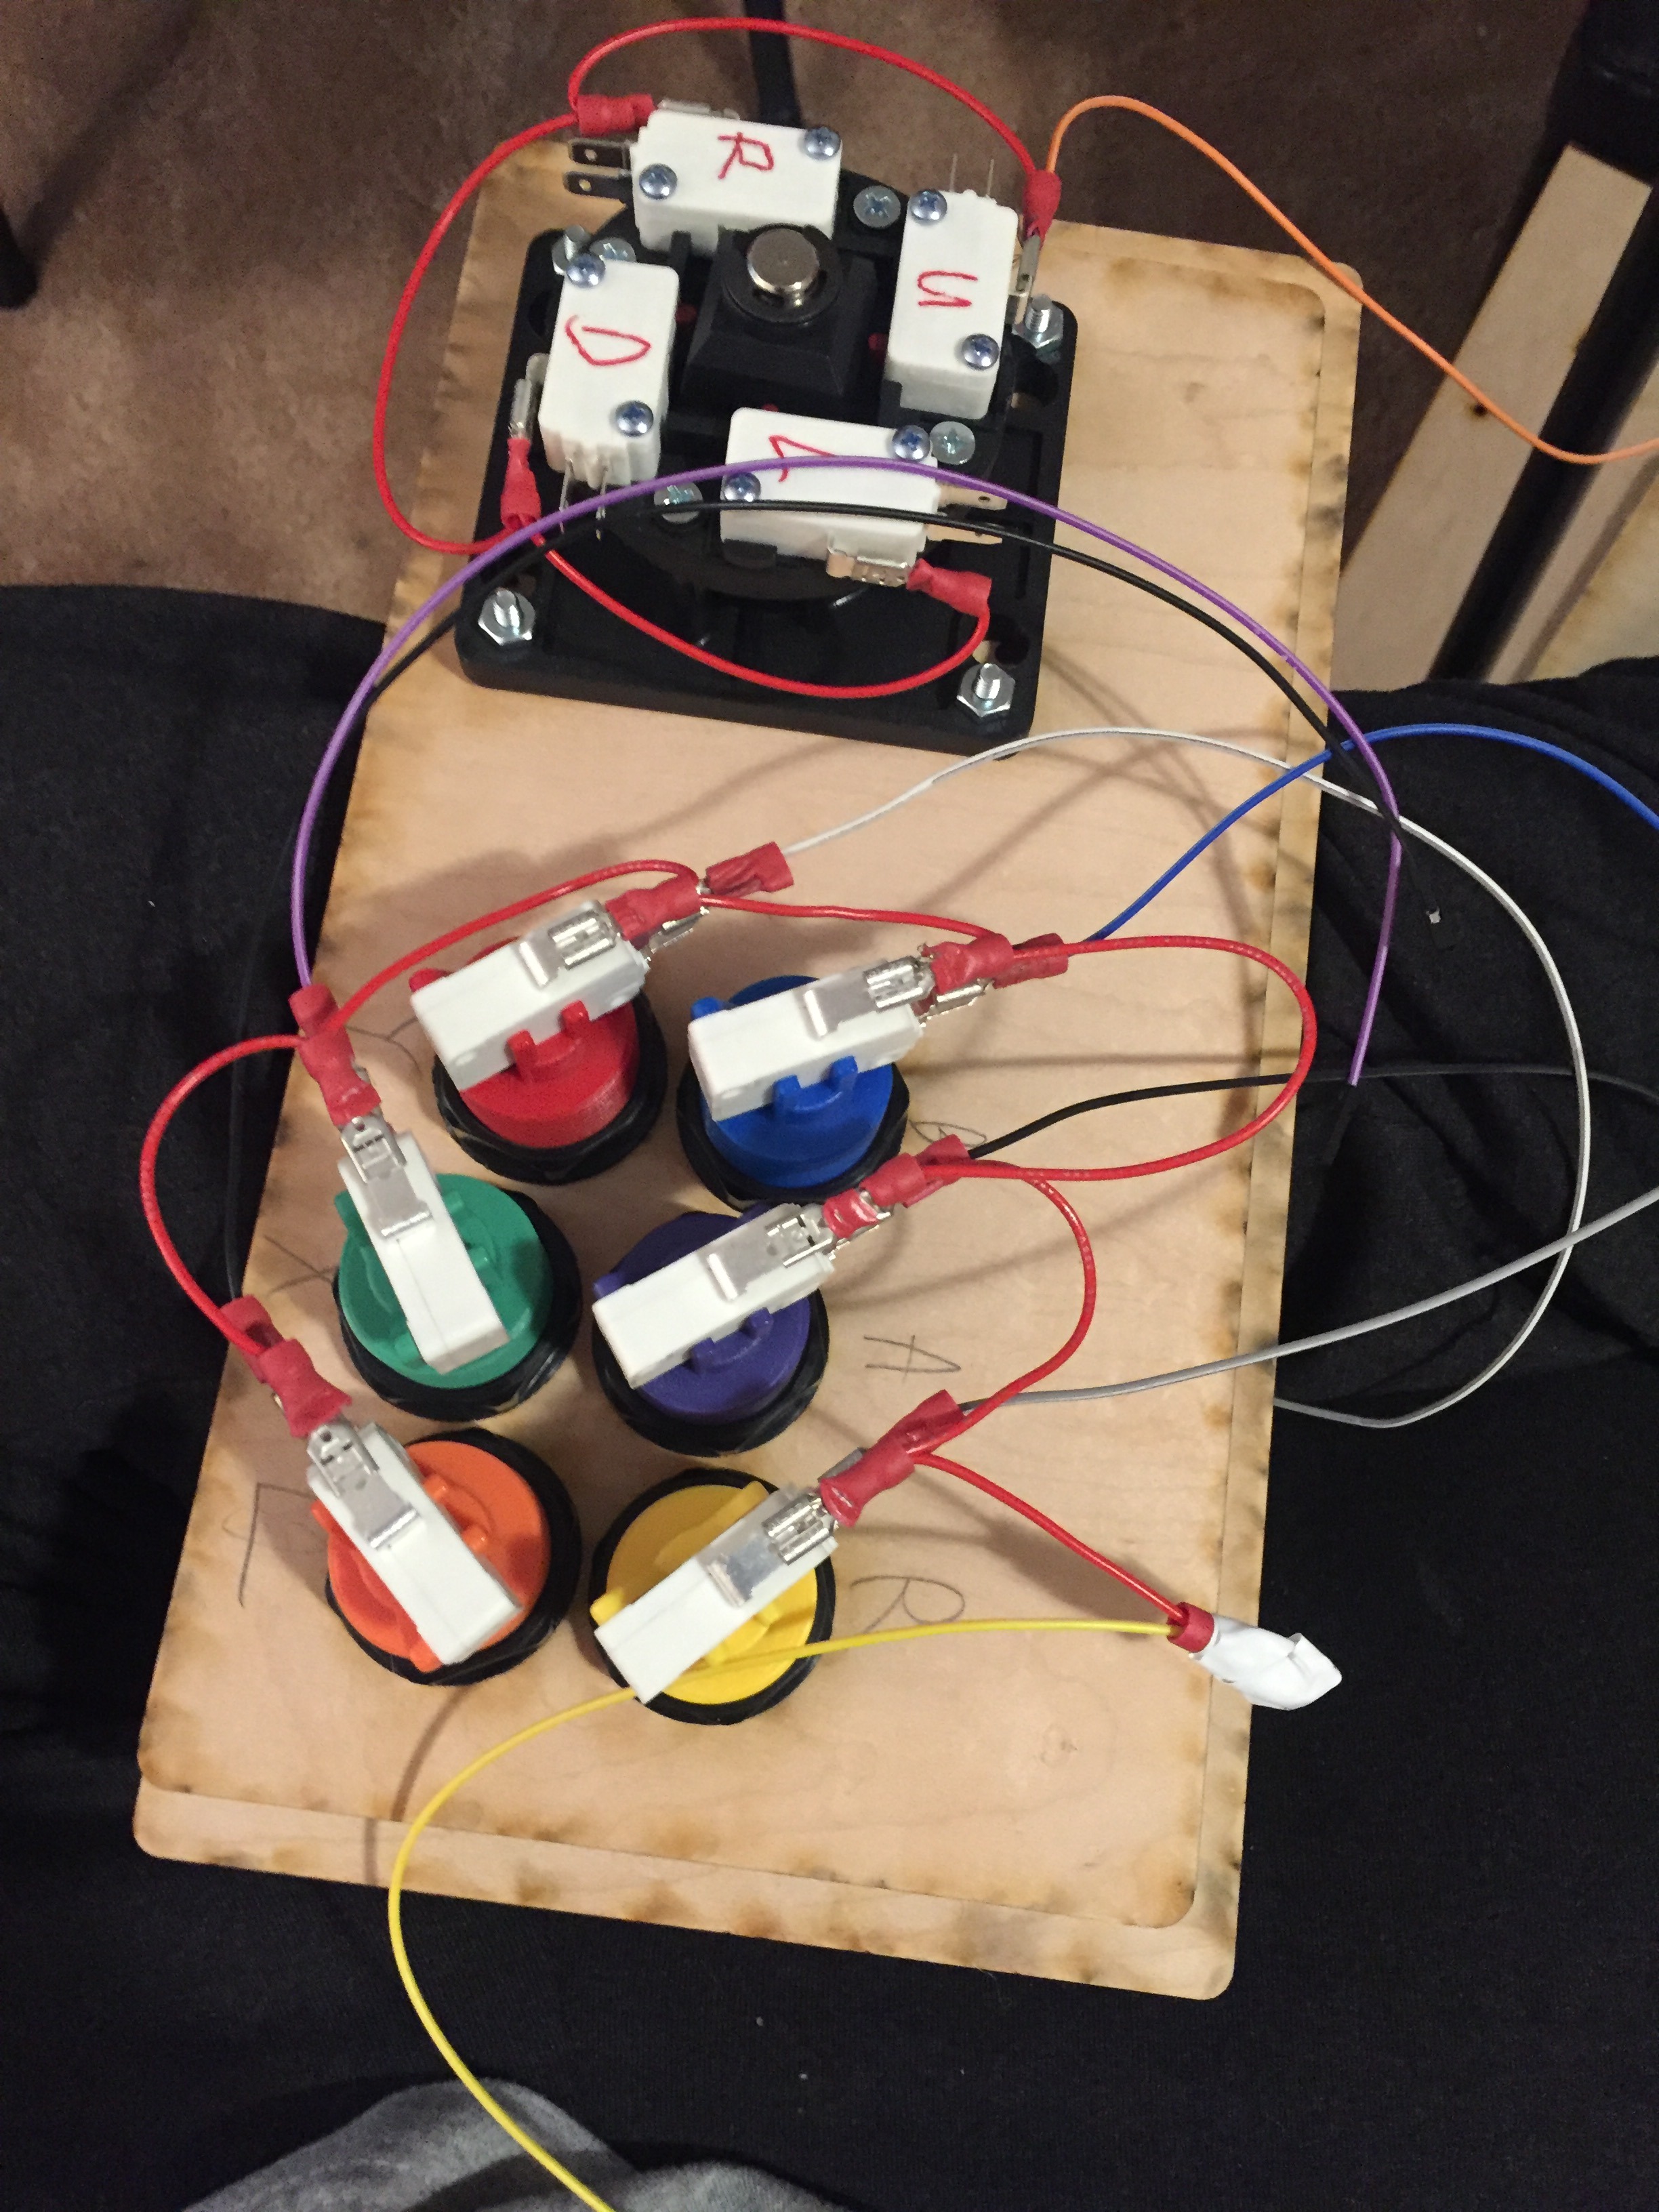
8) now attach the 4-chain, and the 6-chain to the ground connections of the joystick and 6 buttons (no need to attach it to anything else ye - see pic 12). Try placing the controller panel into the arcade as shown in the final panel (DO NOT GLUE YET). Once it looks like the final picture, move on to the next step
Adding and Connecting the Raspberry Pi
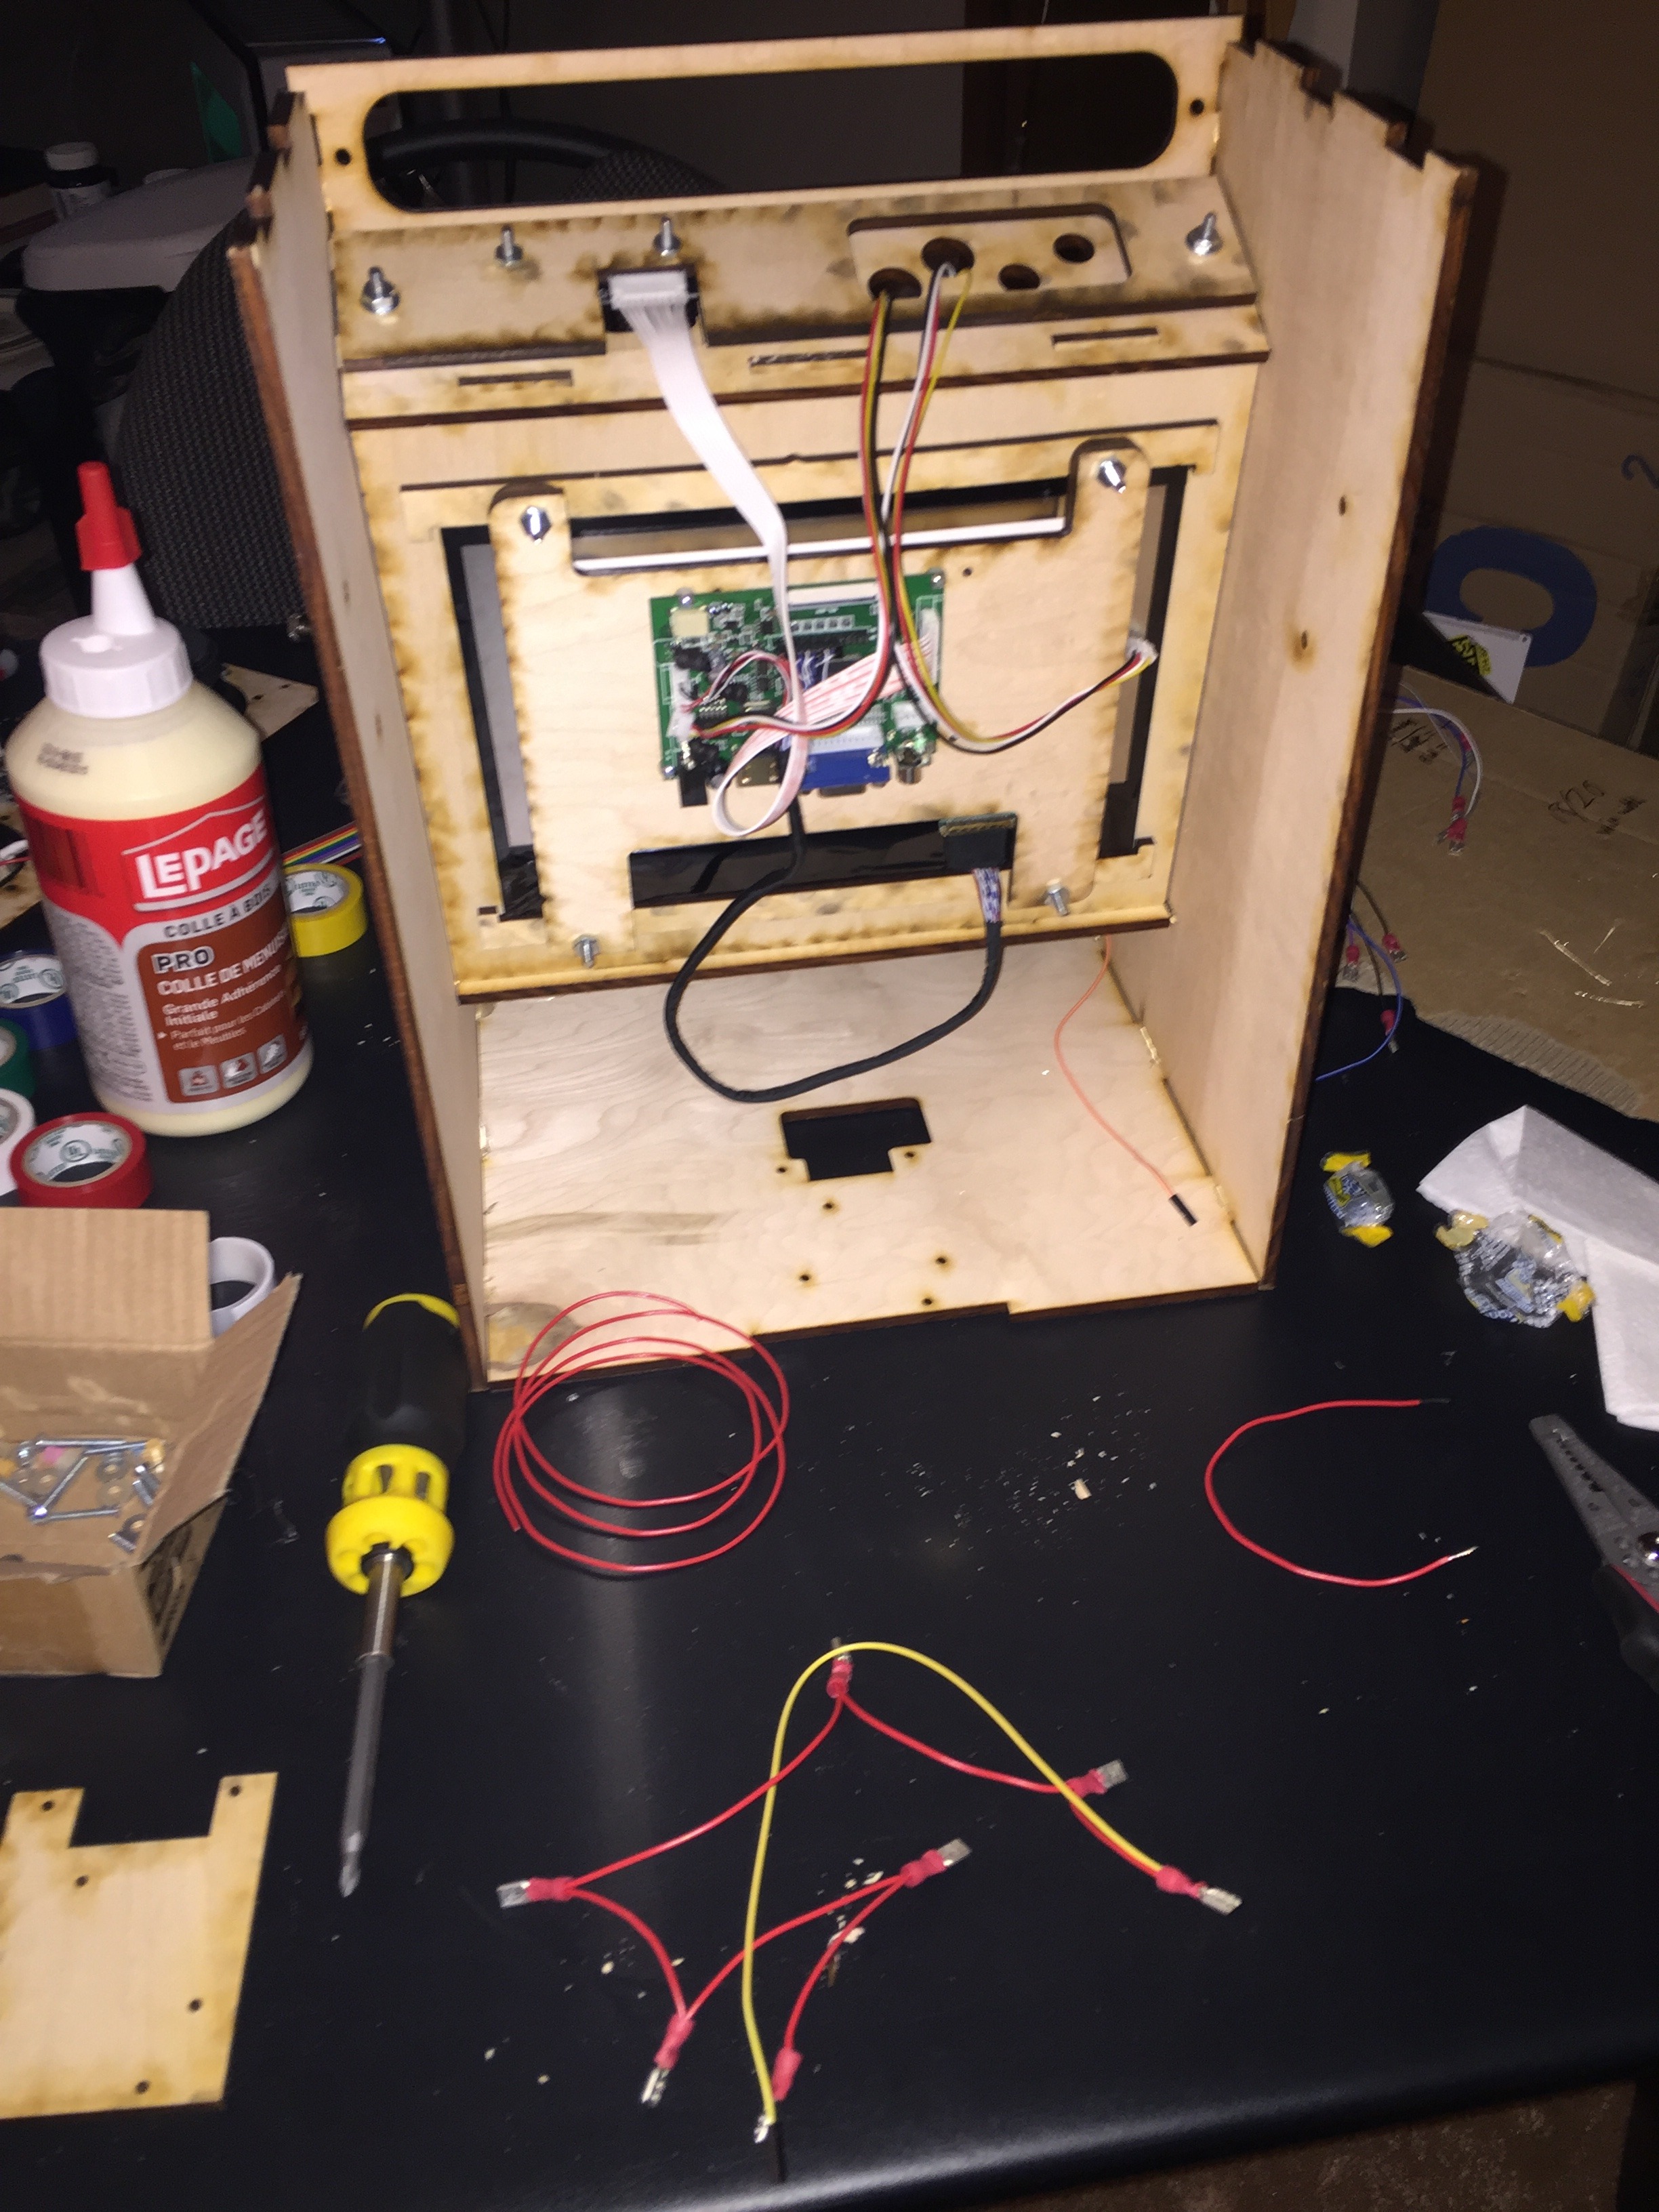
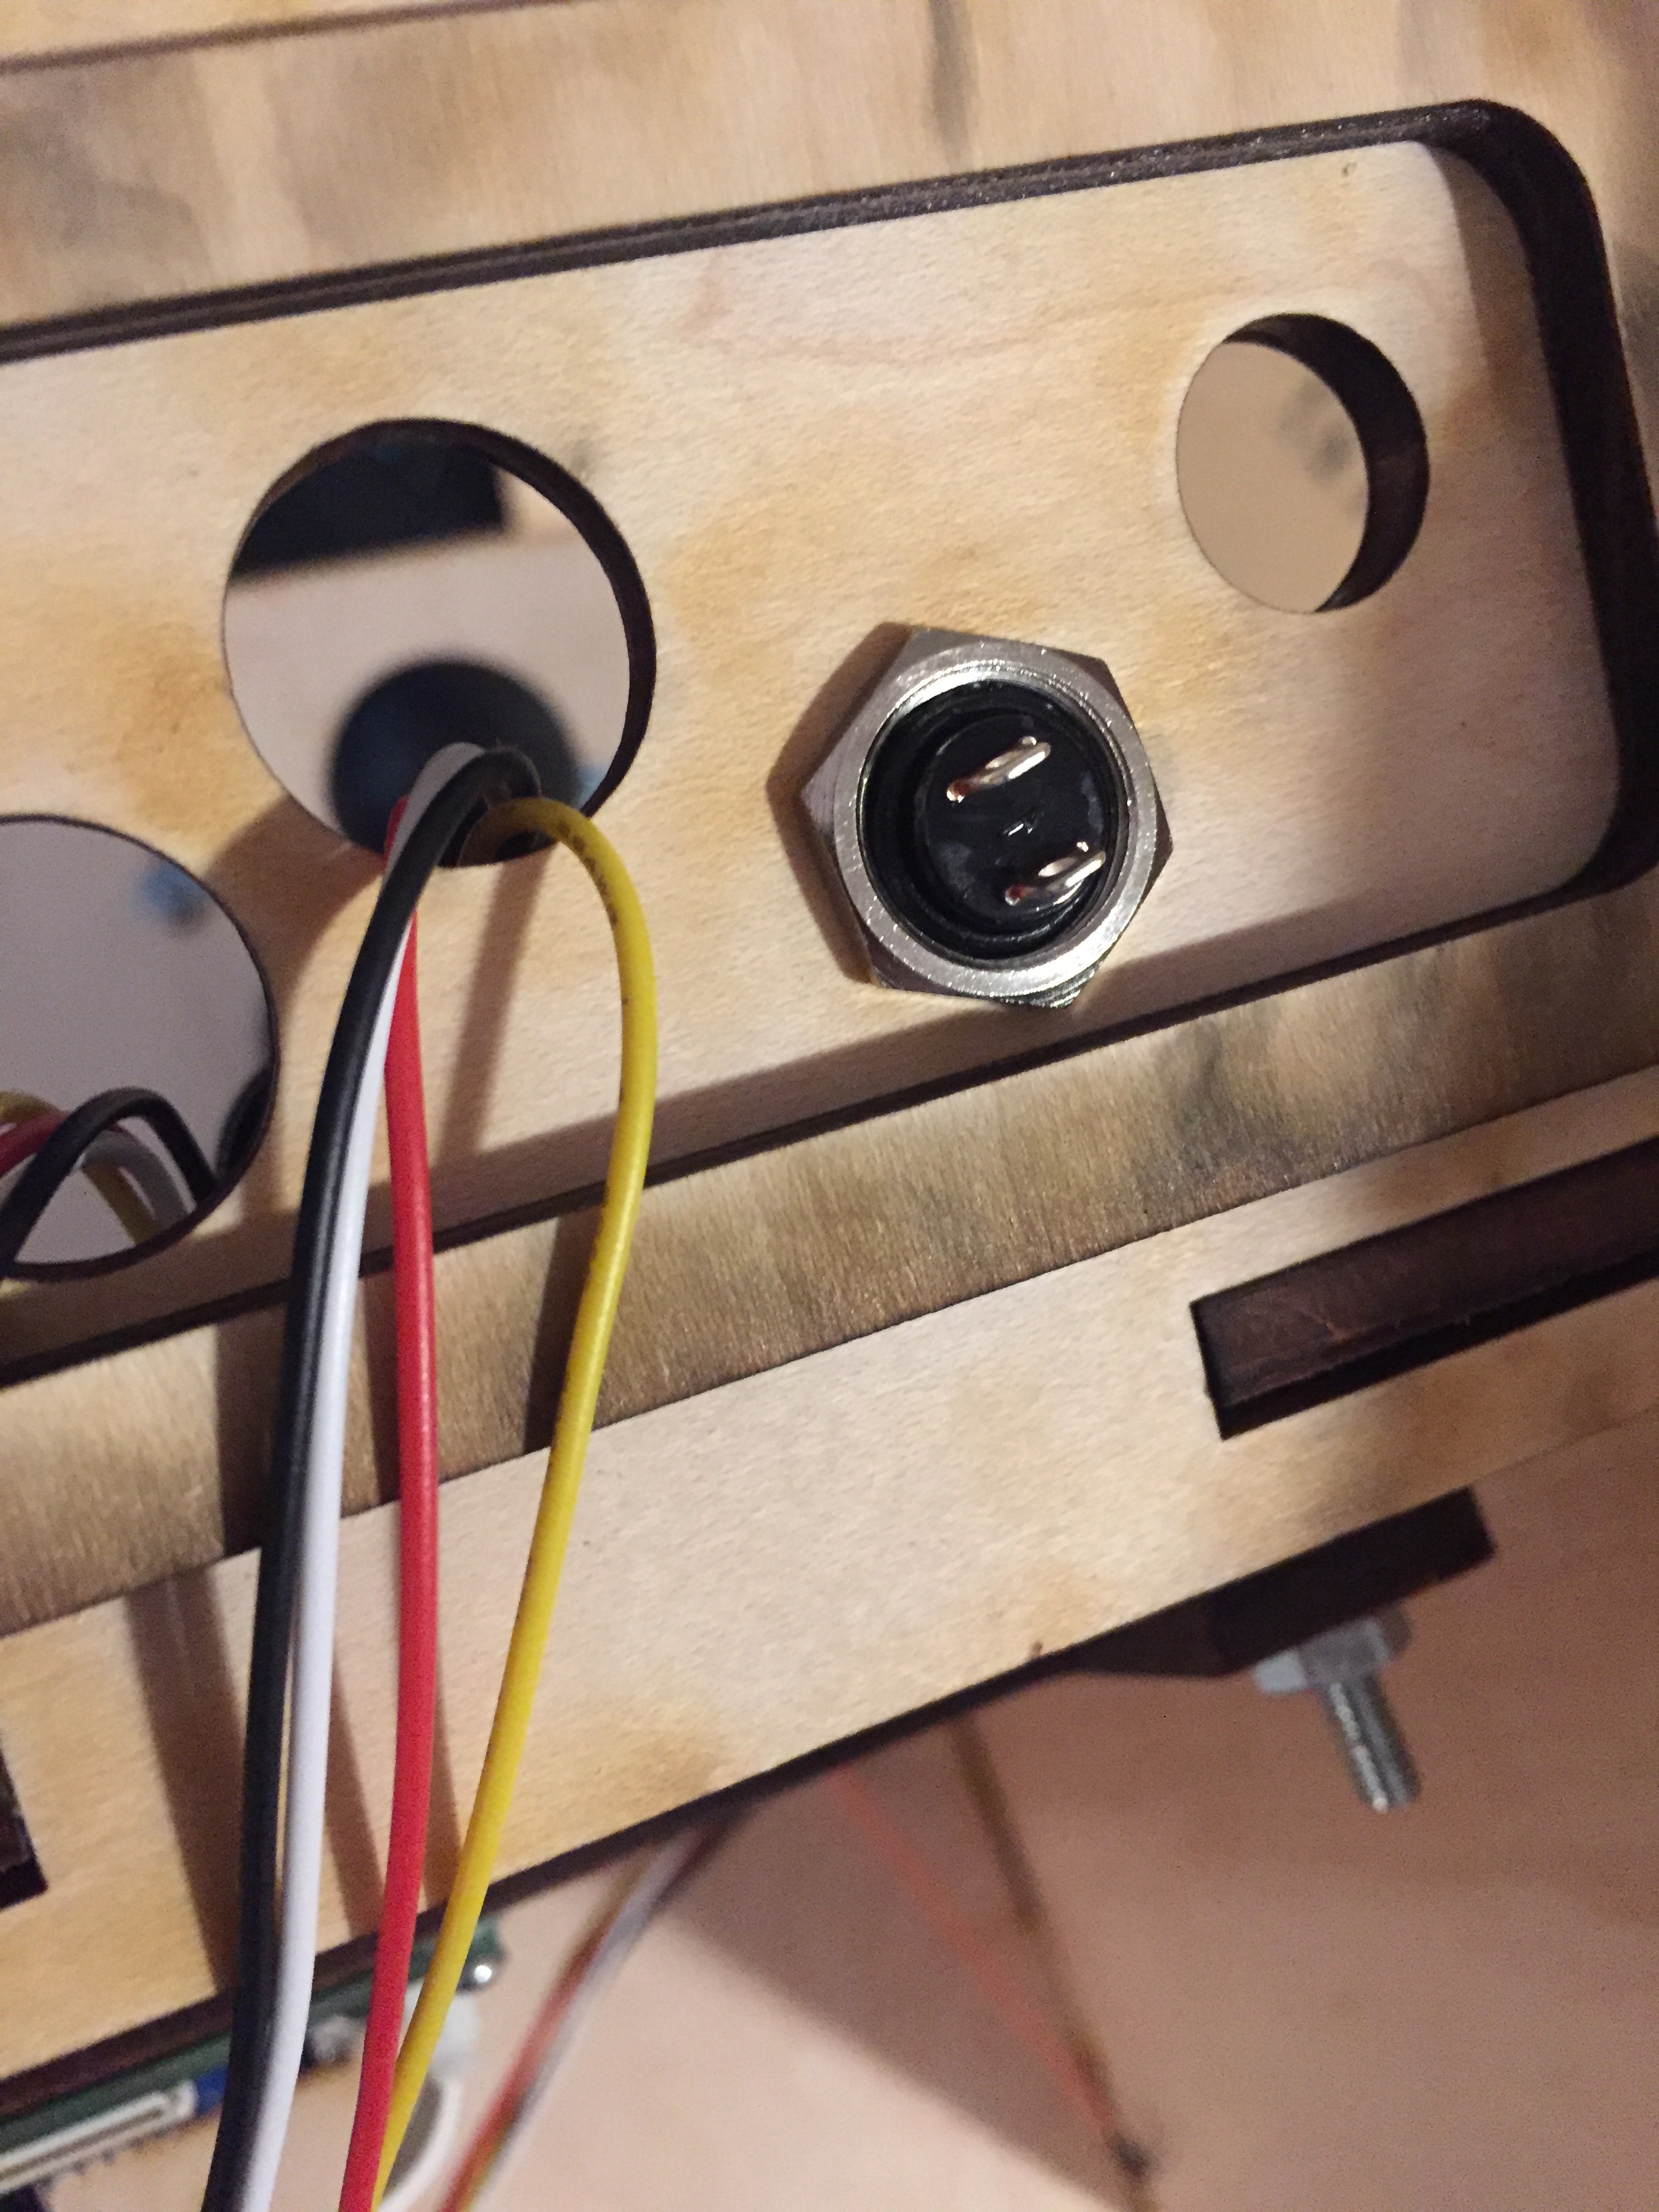
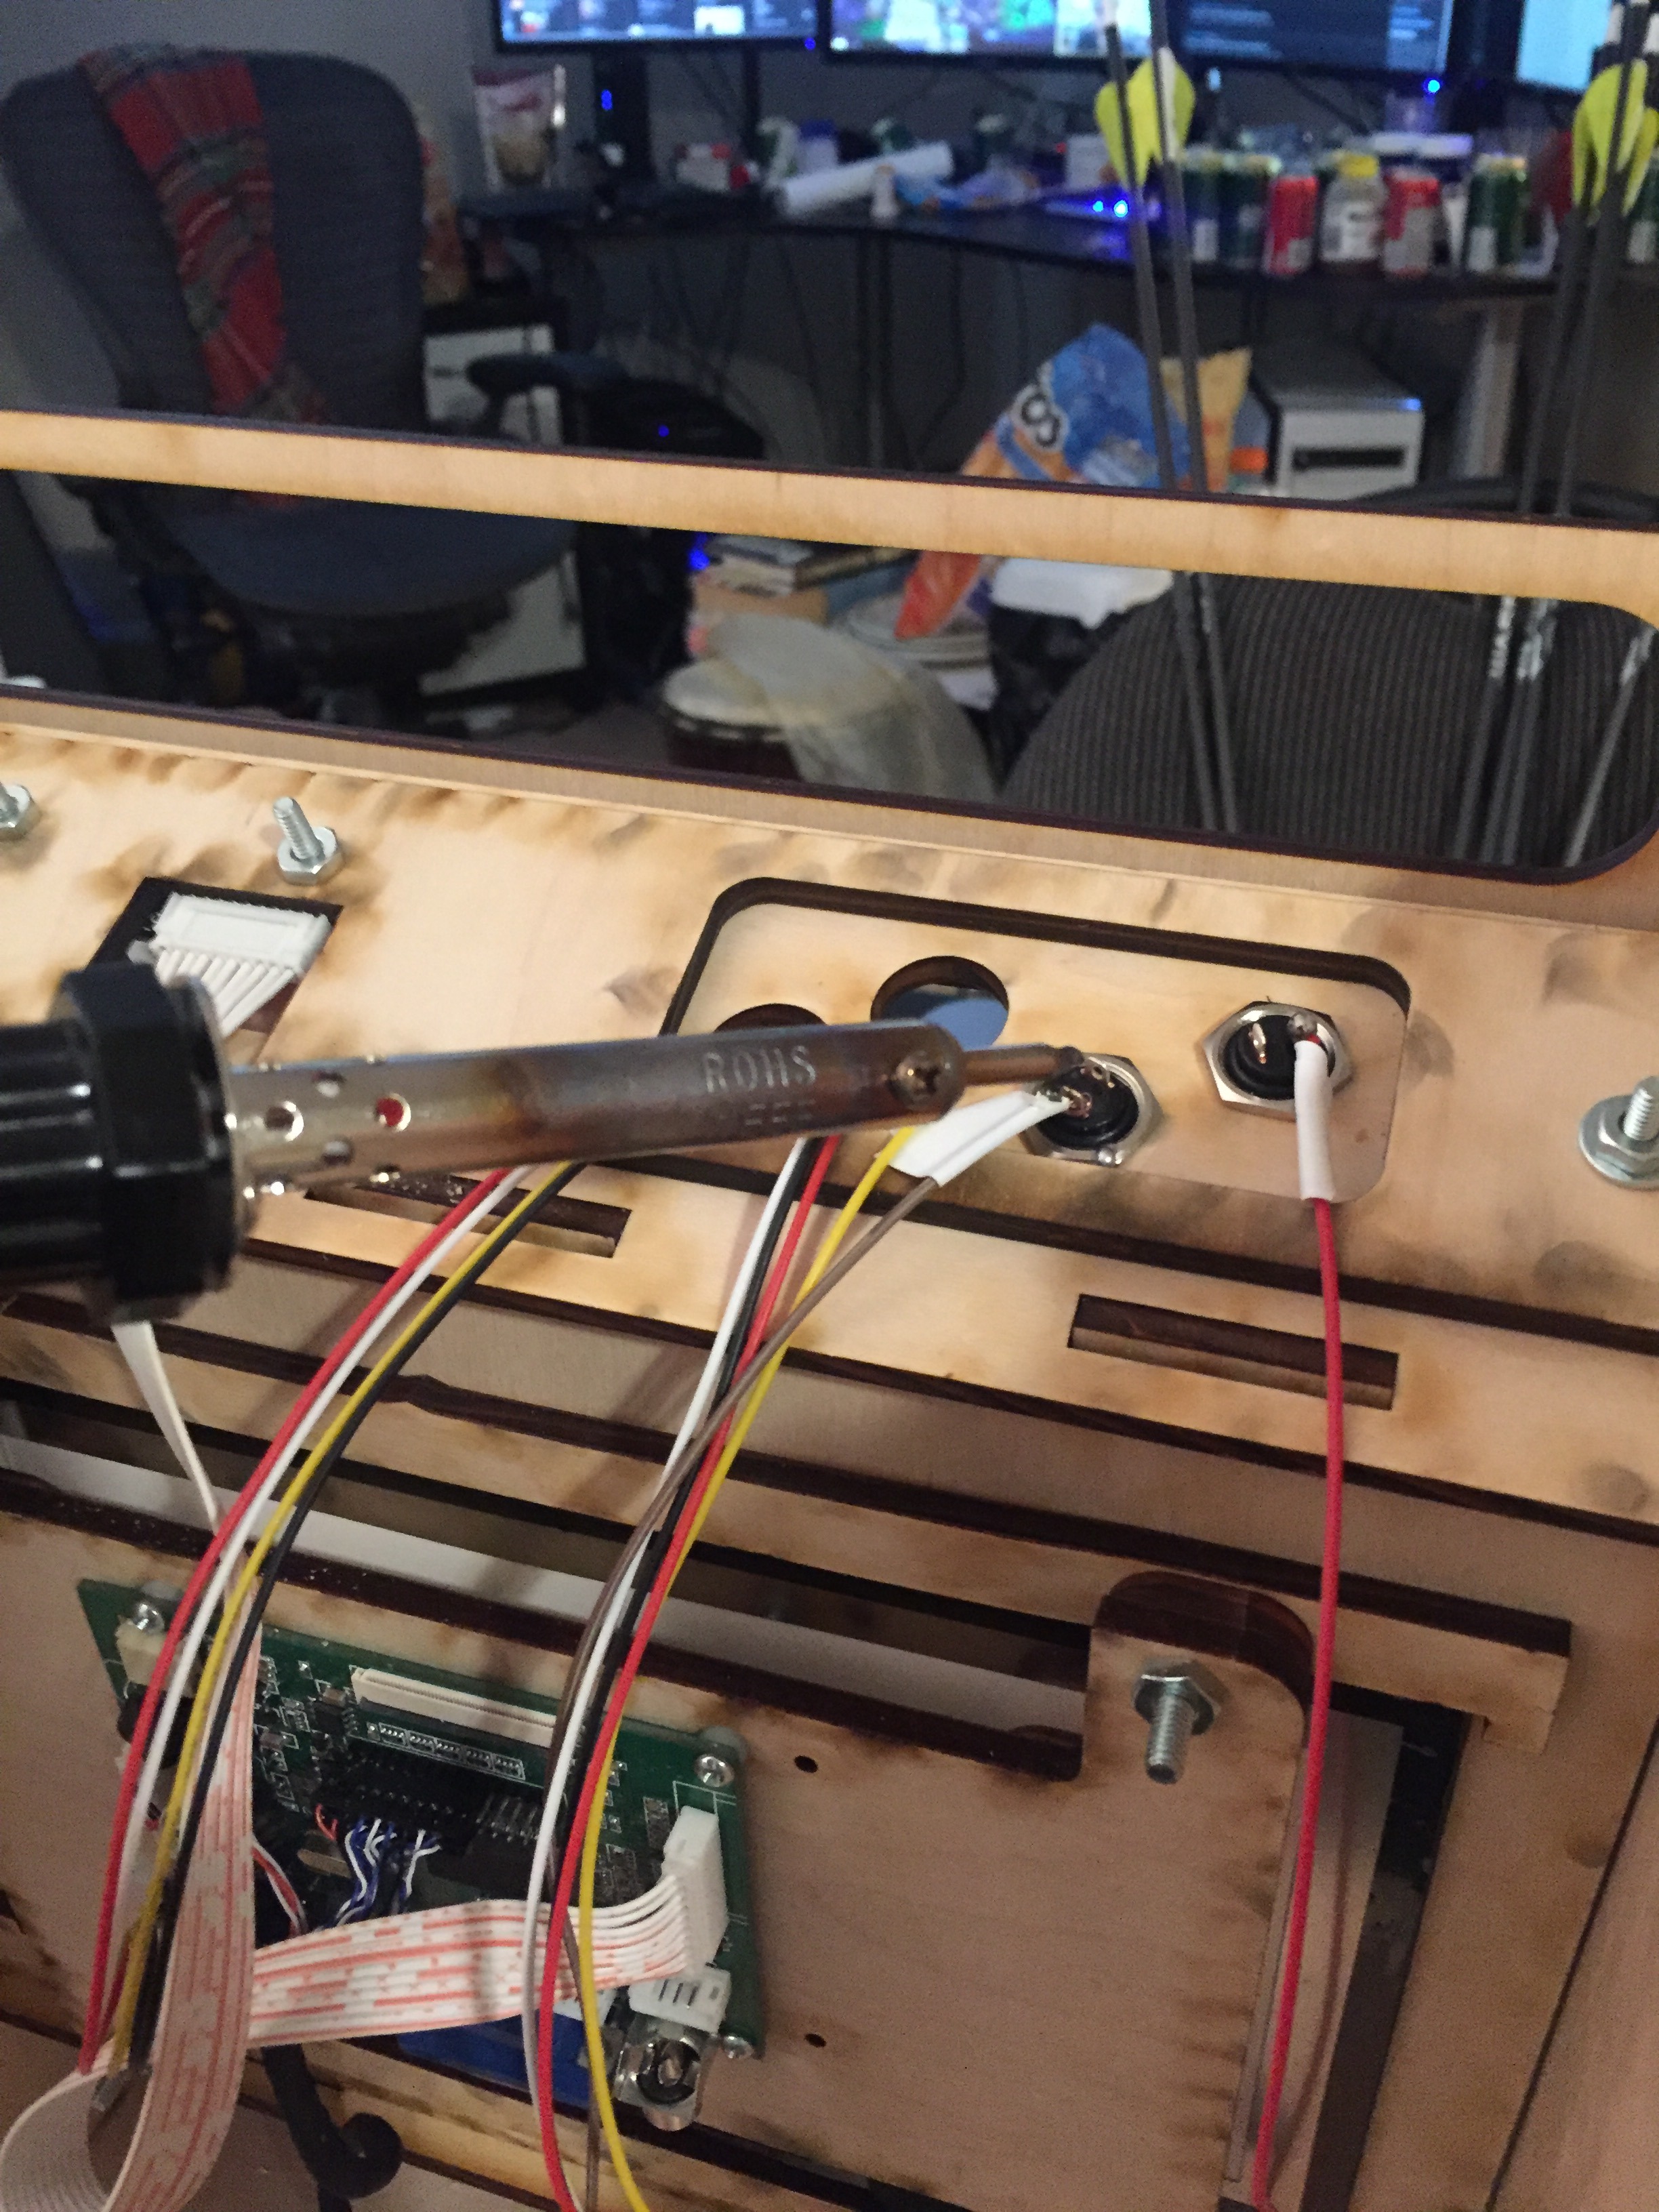
1) first attach the buttons to the upper panel of the arcade. You may need to solder some wires onto them depending on your button type. pics 2-4 show this process.
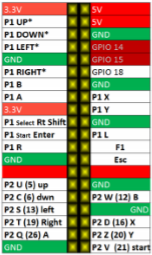
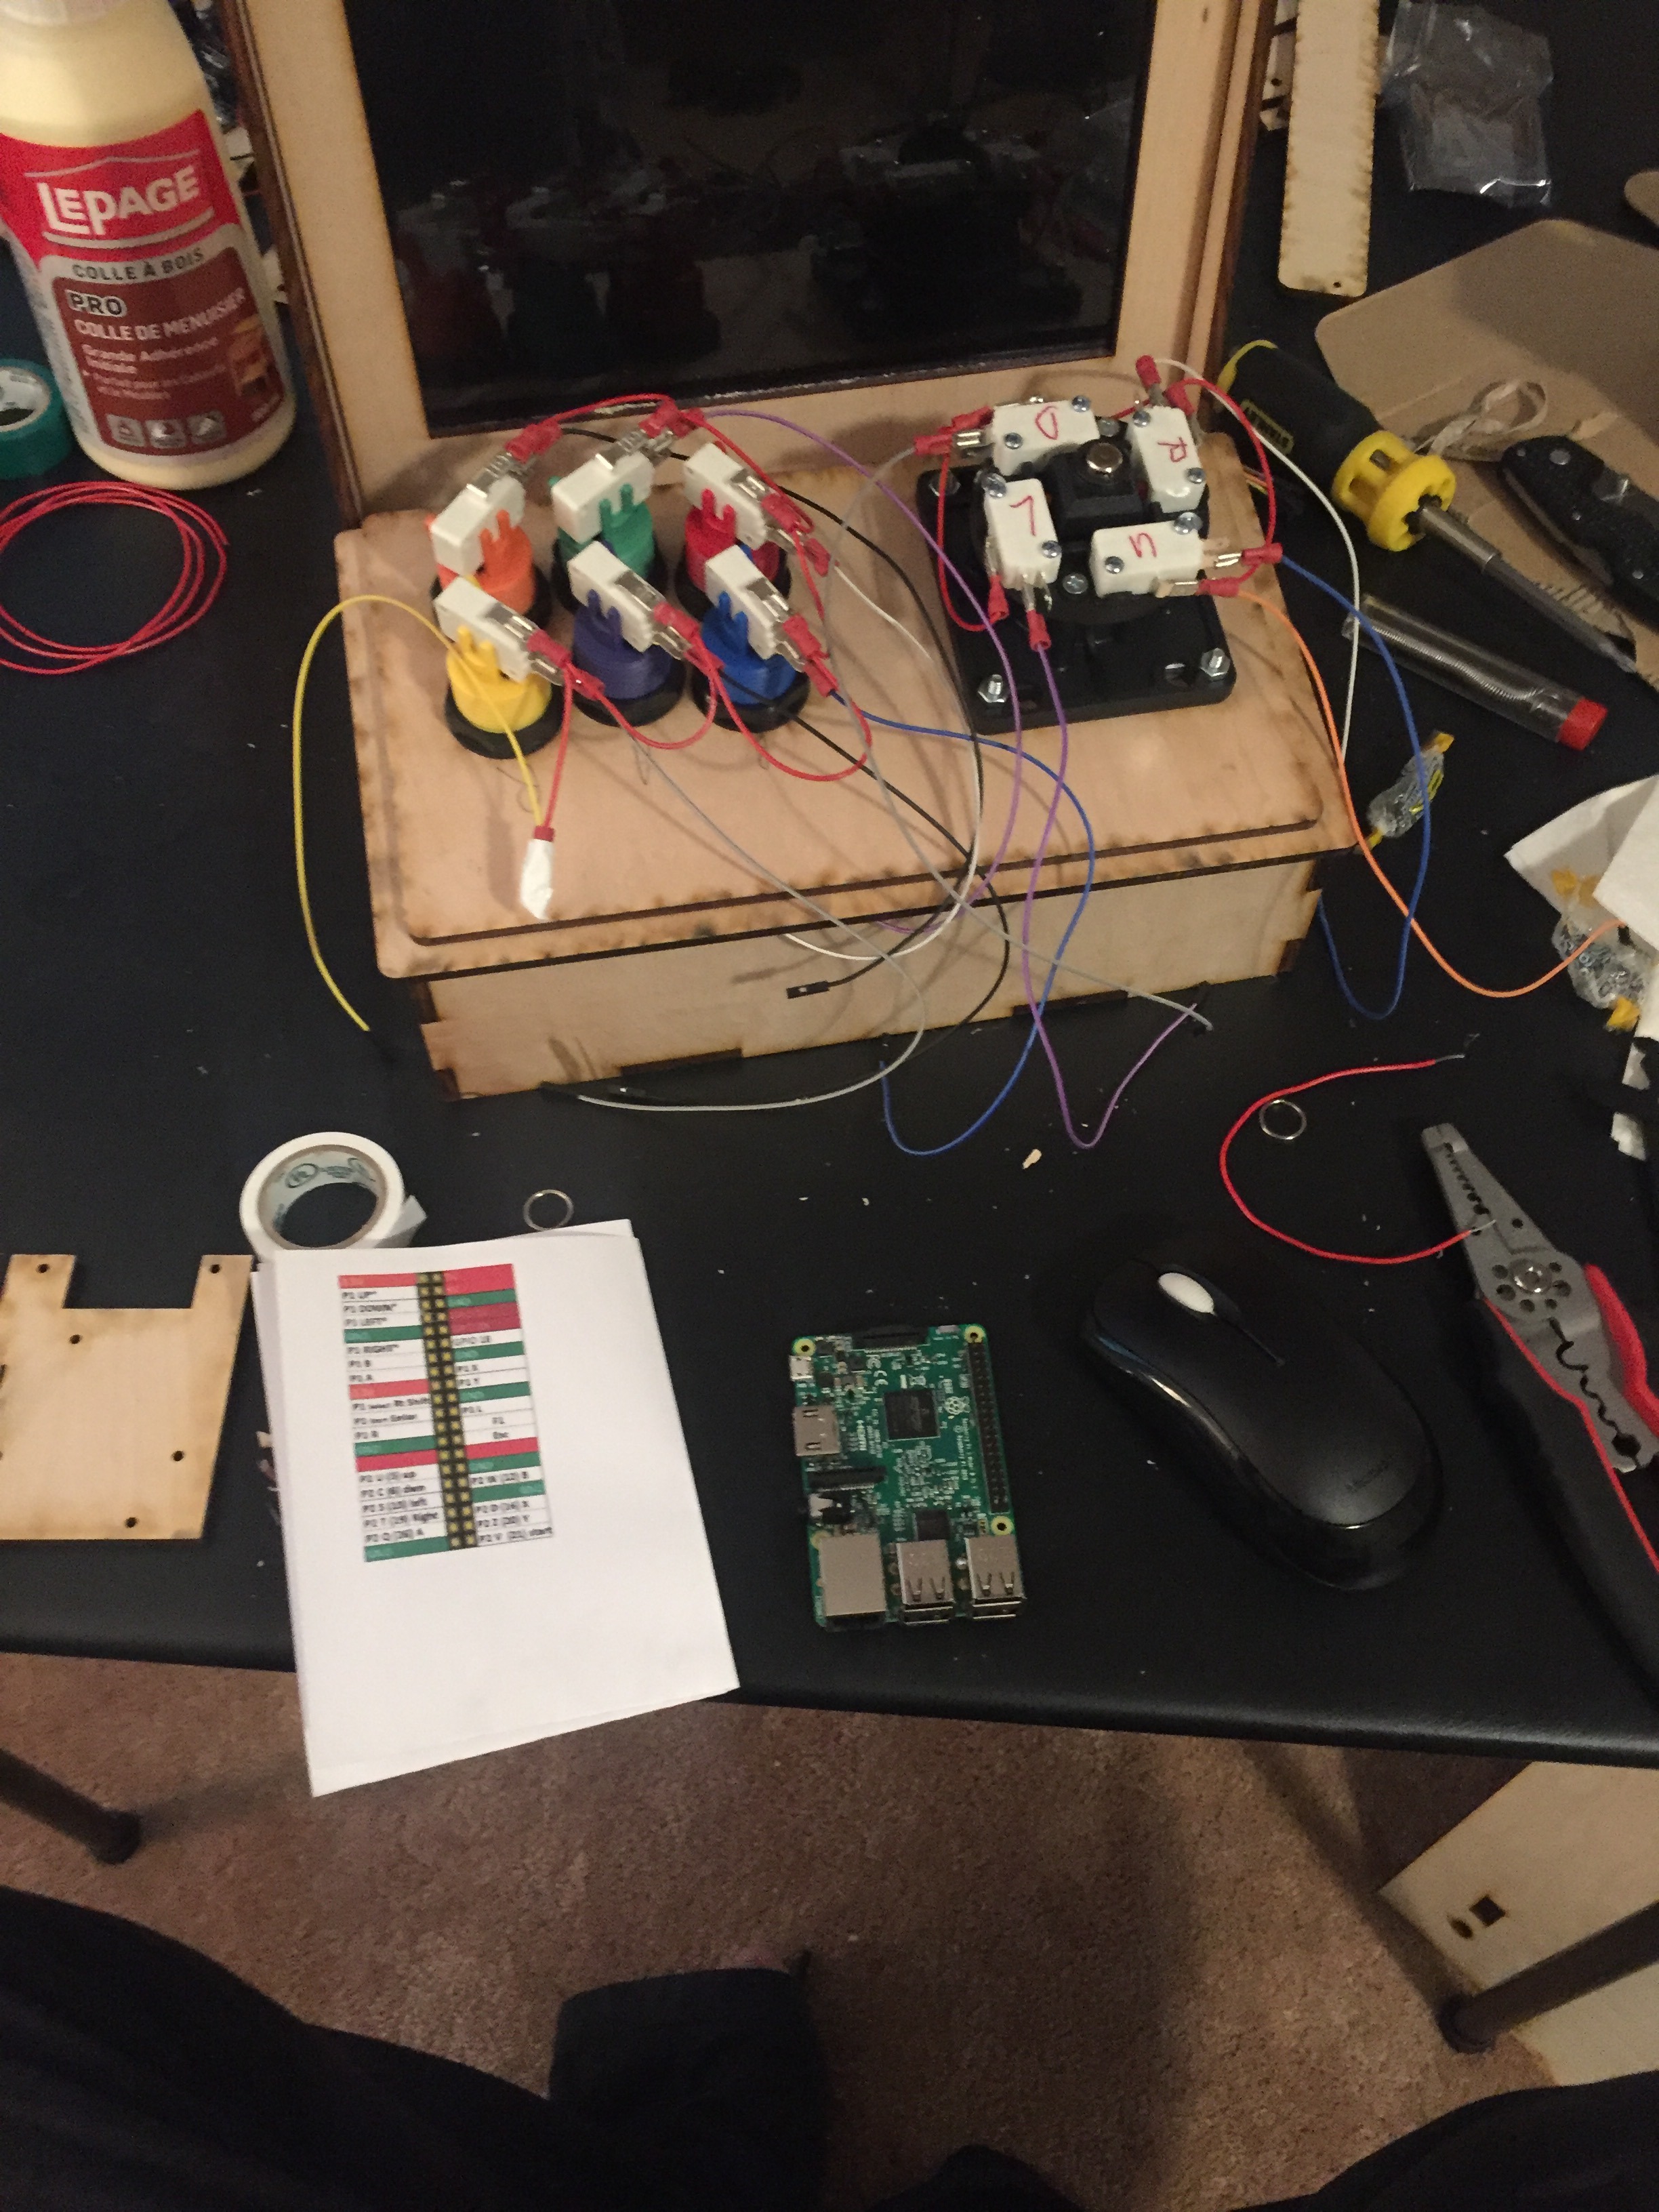
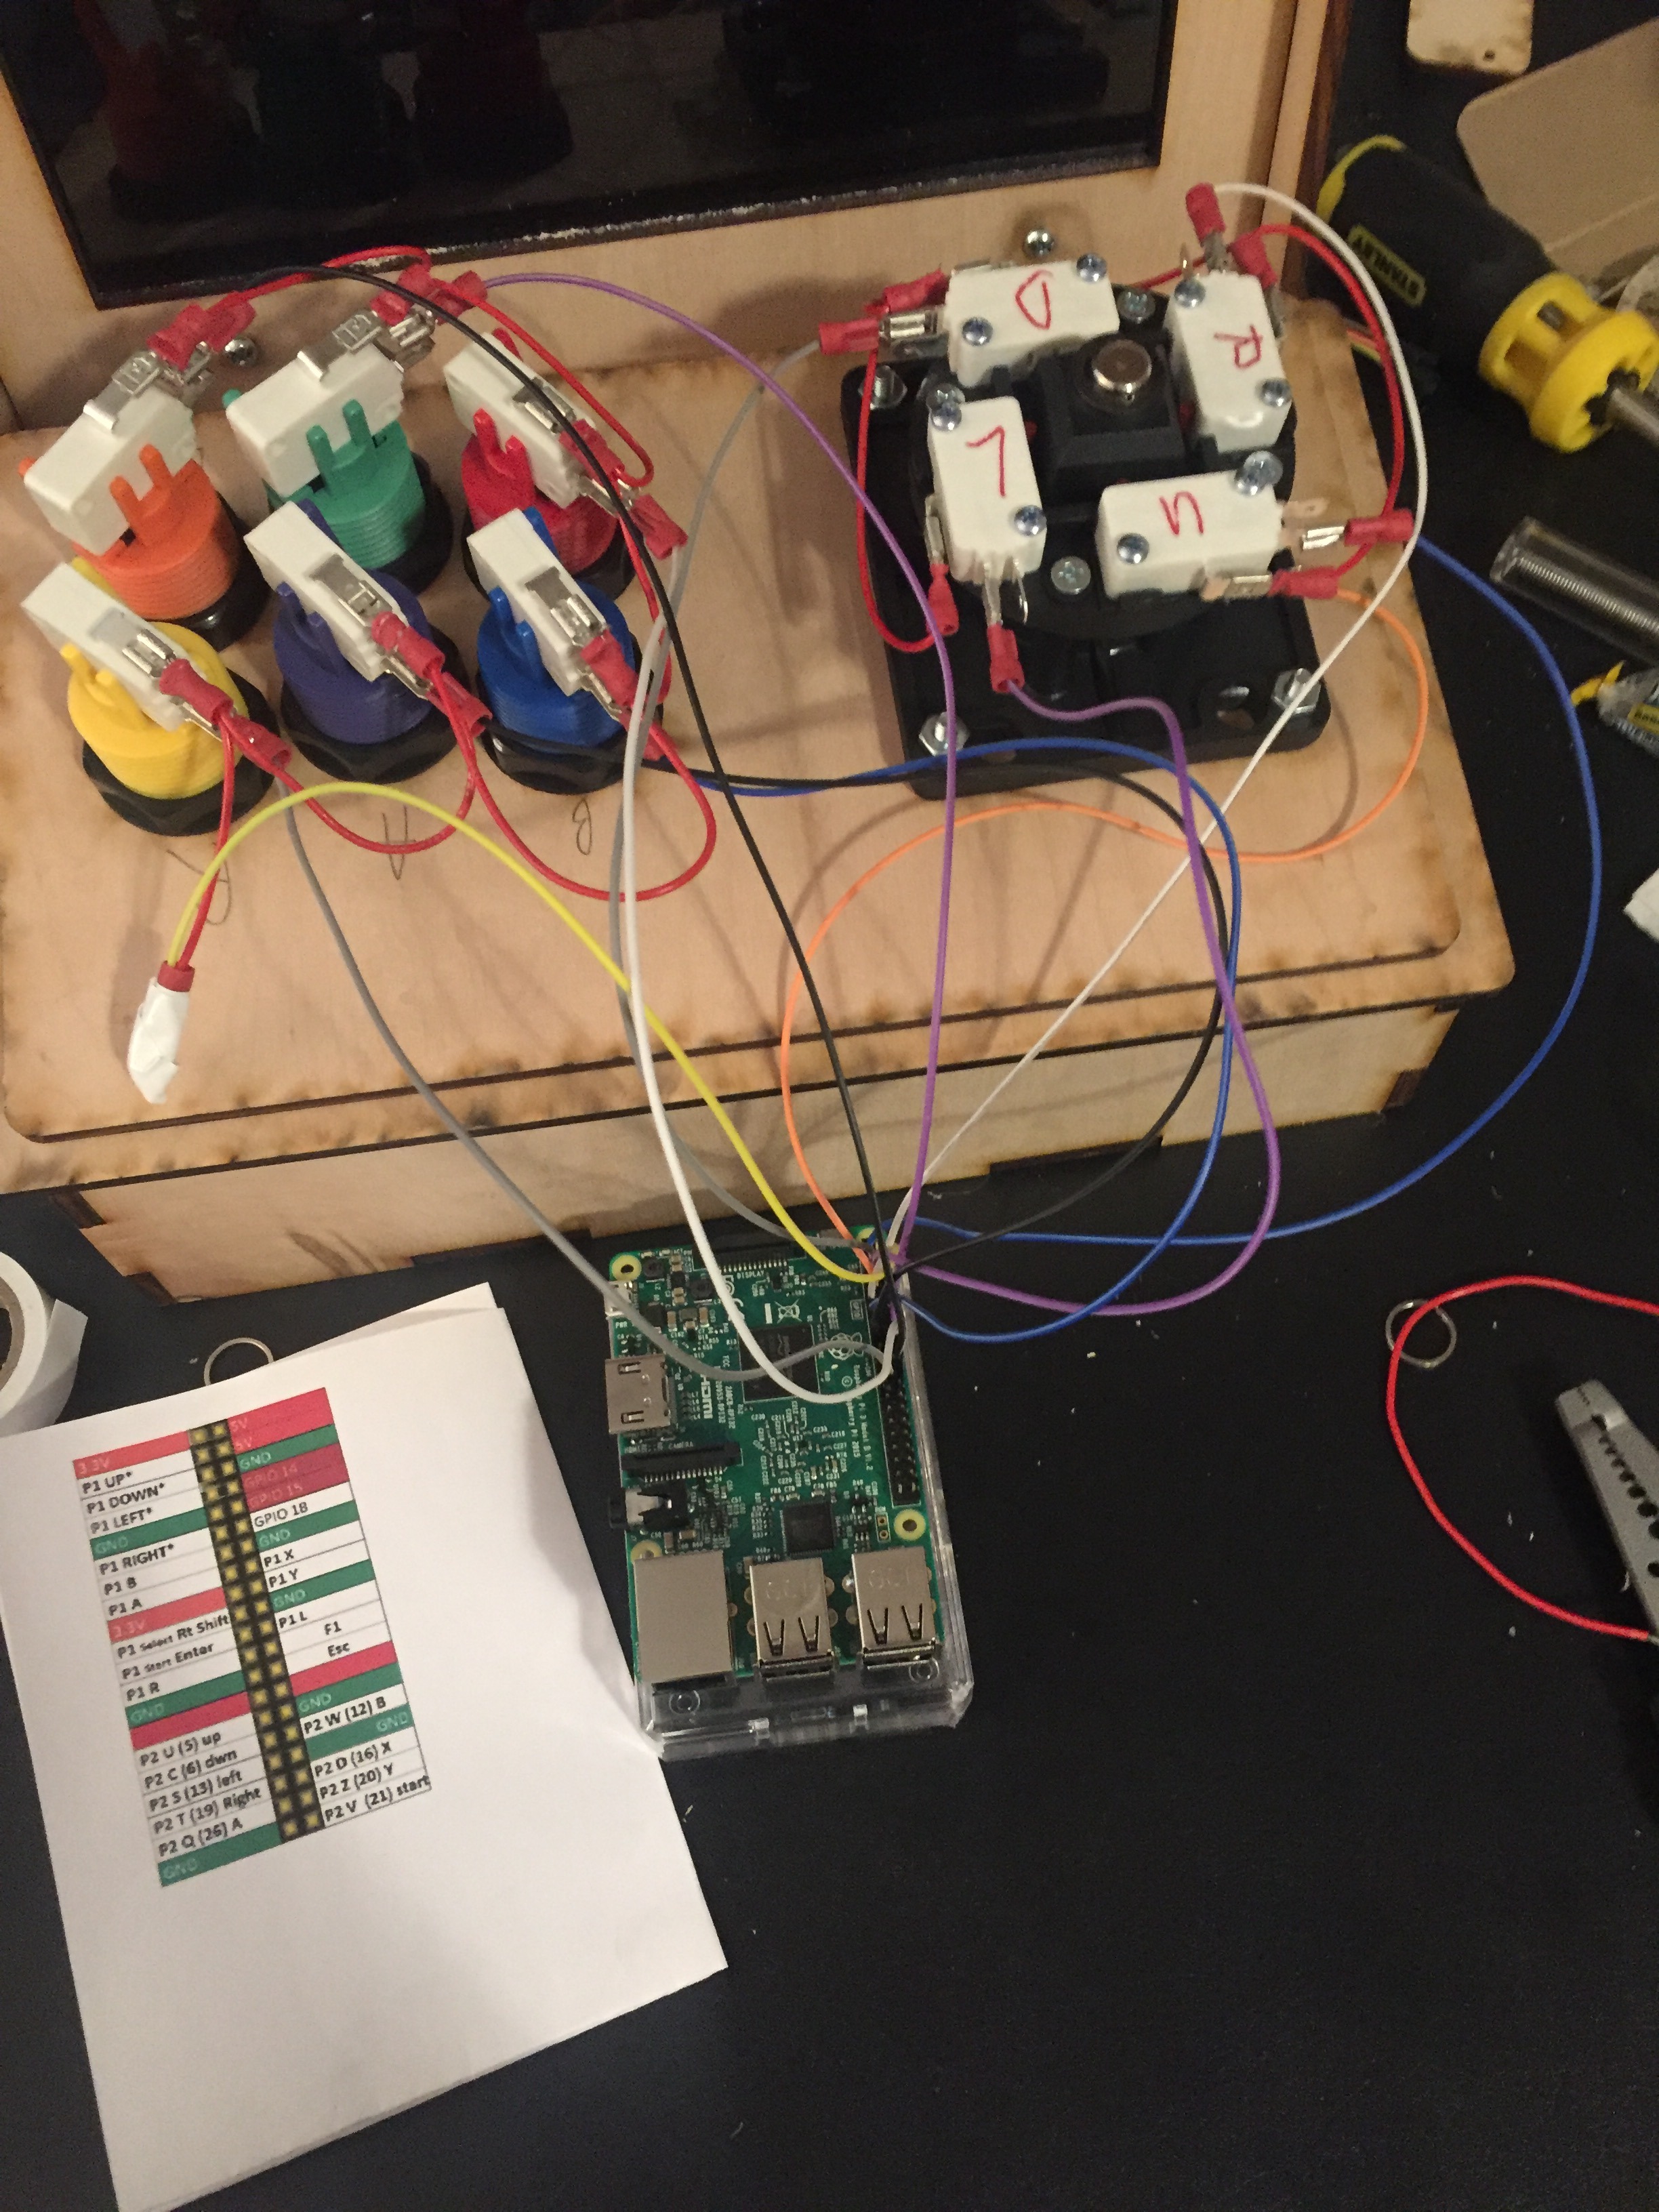
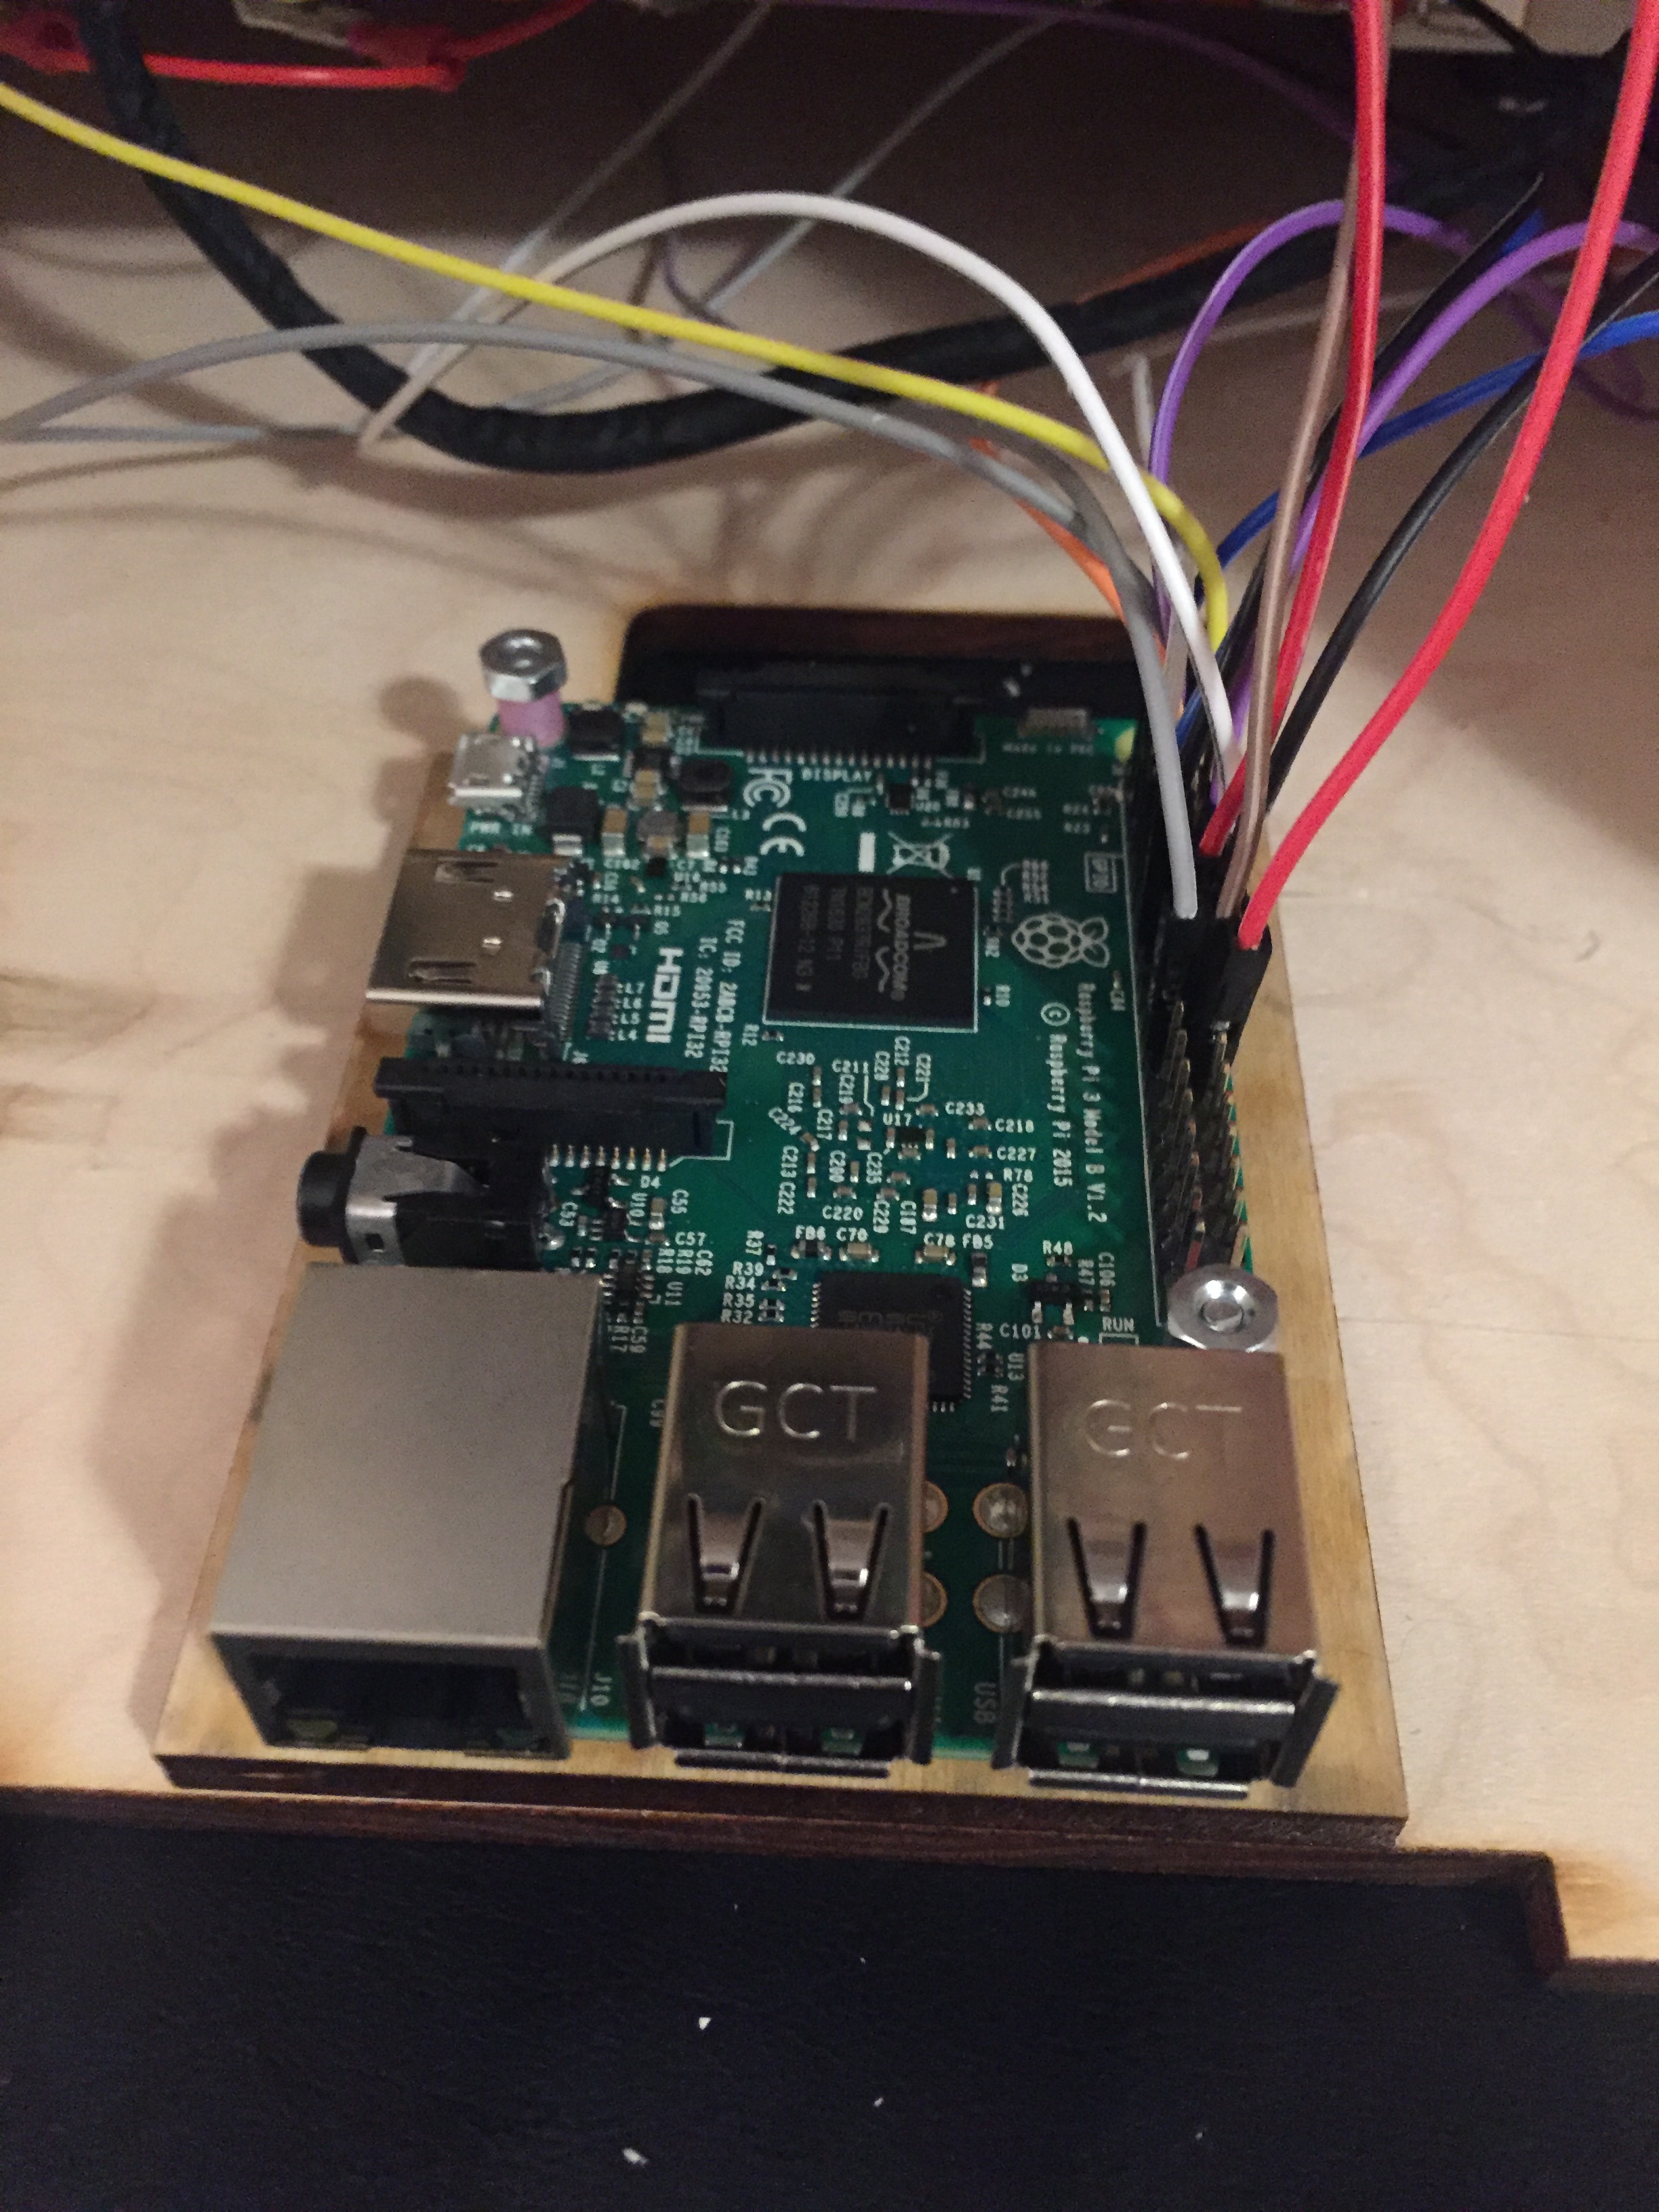
2) next we want to hook the controller into the raspberry Pi pin board. I suggest you print out pic 5 as a reference for when you are attaching wires to the pin board. This is why your proper labelling of the underside of the controller becomes really important, if you didn't do that earlier, be sure to do it now. In pics 6-7 you can see how I set up the board and Pi so I could easily connect the wires to the appropriate pins.
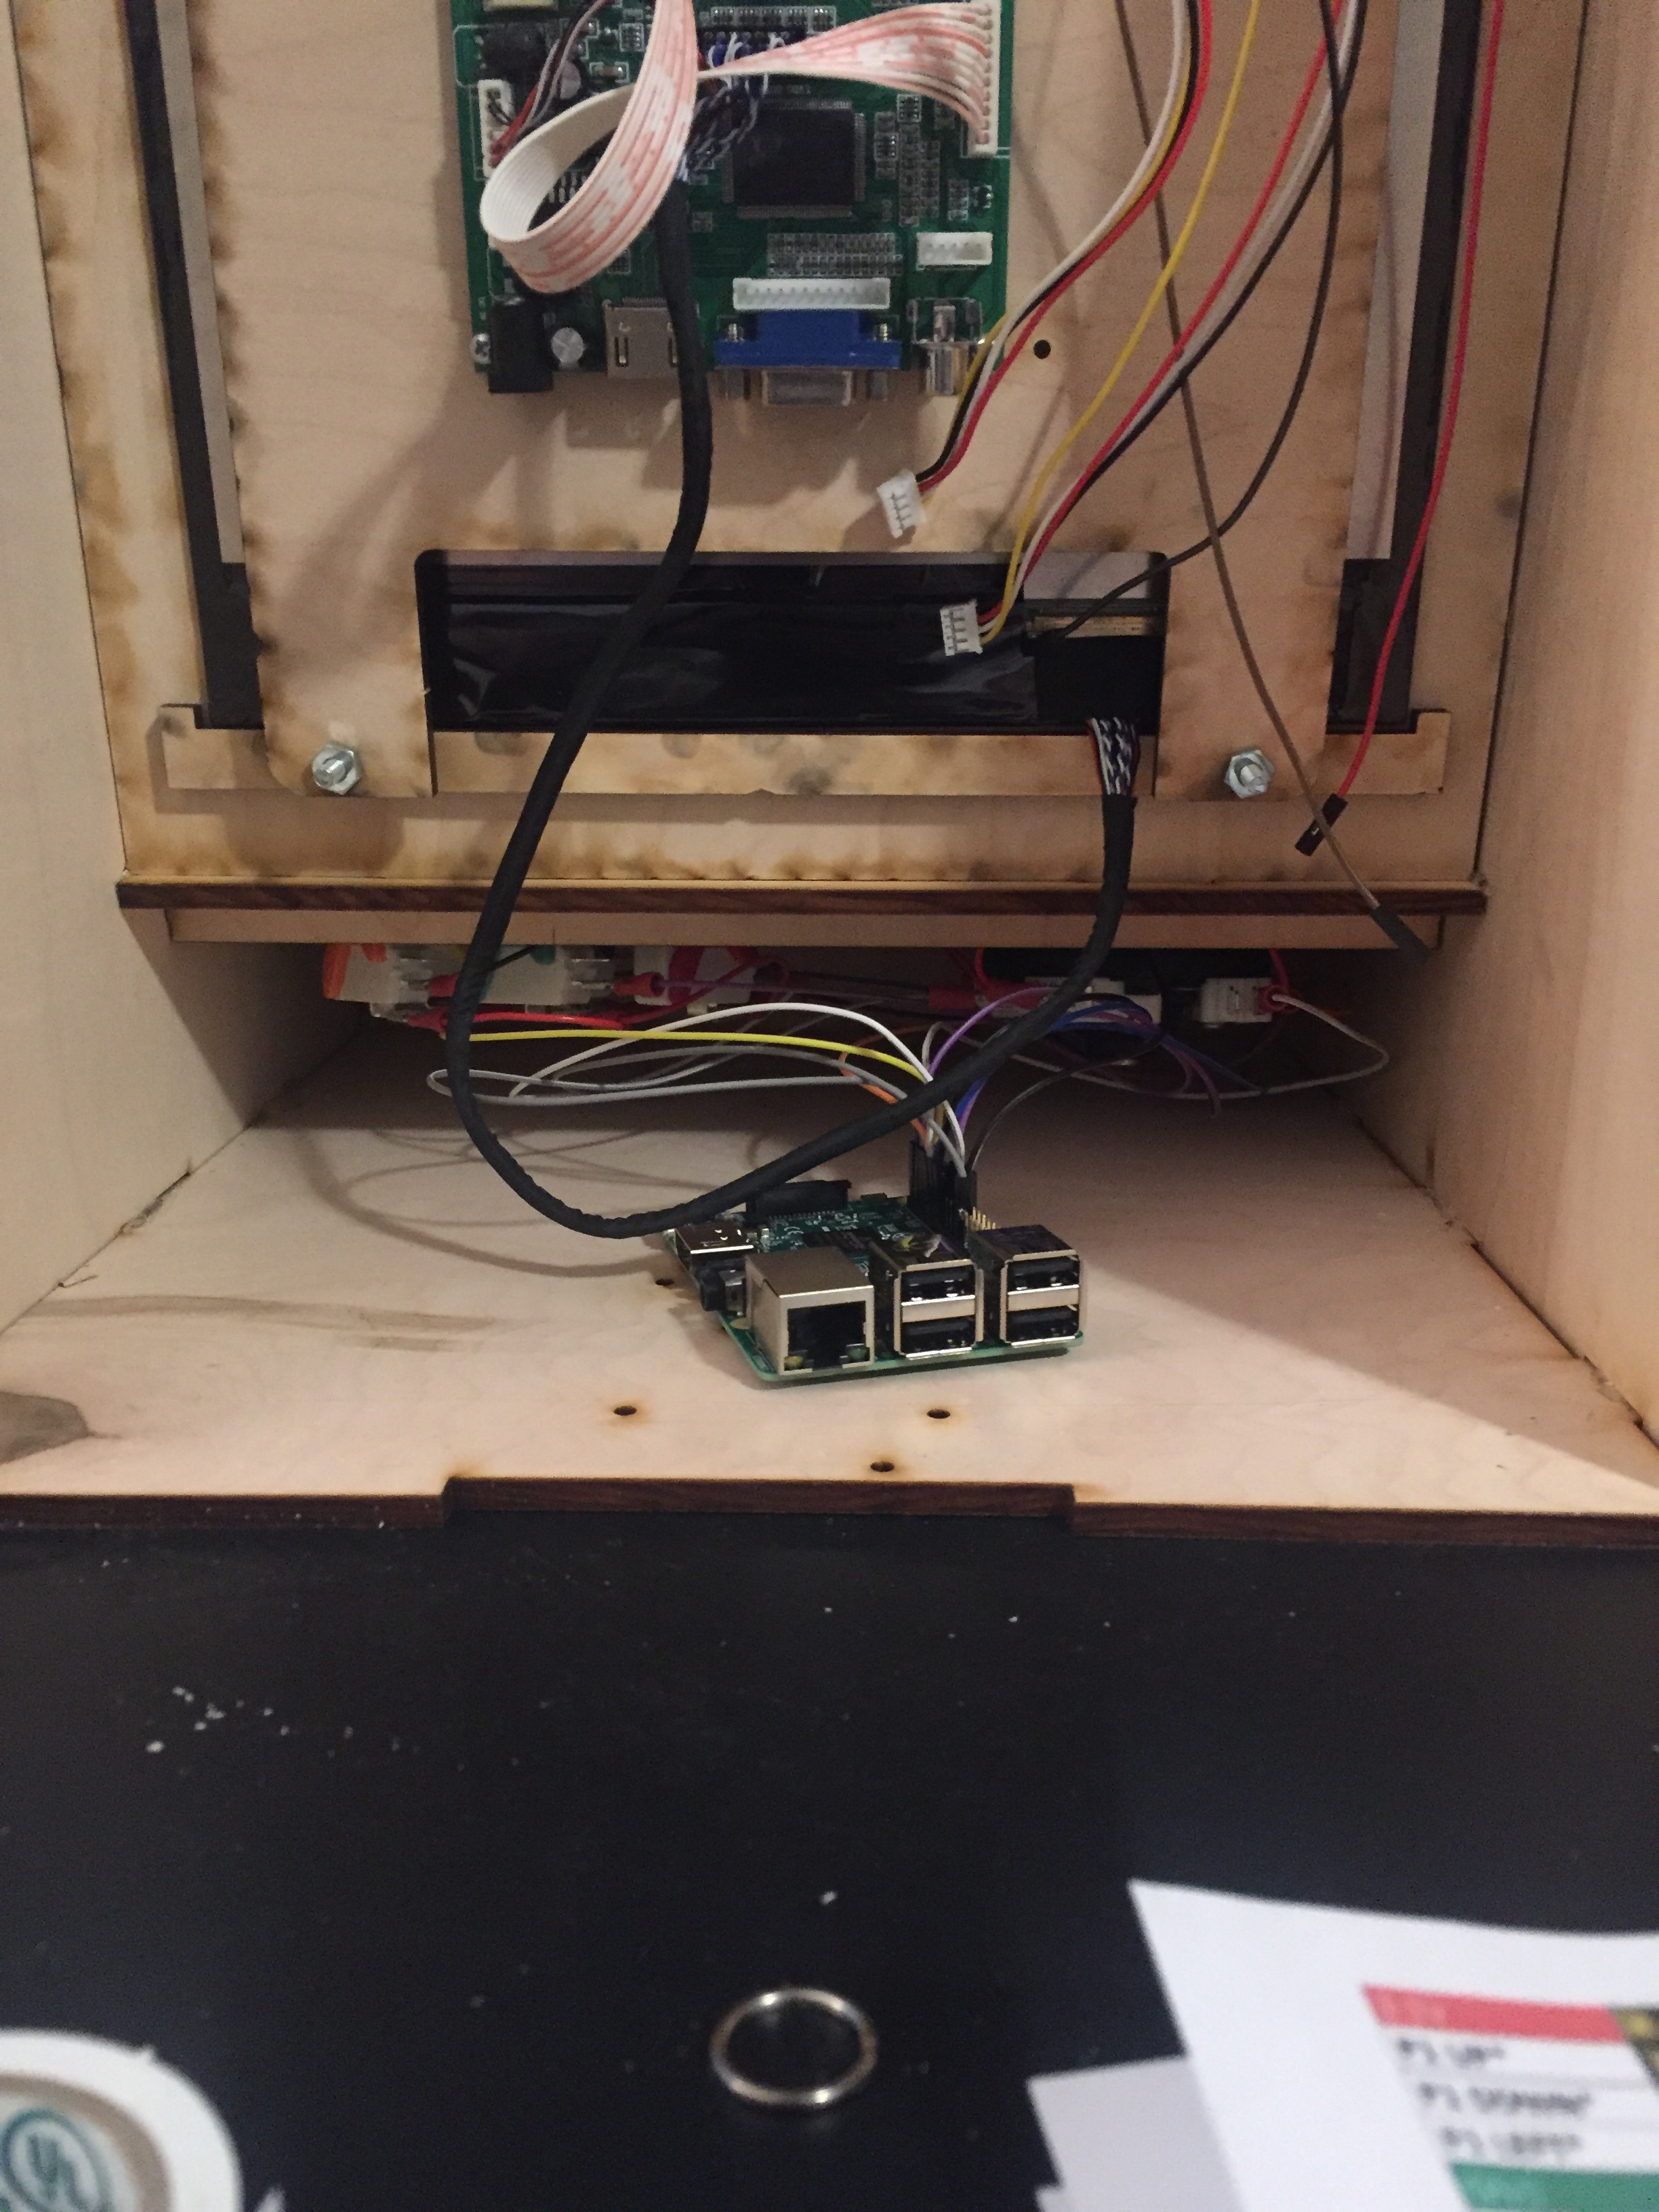
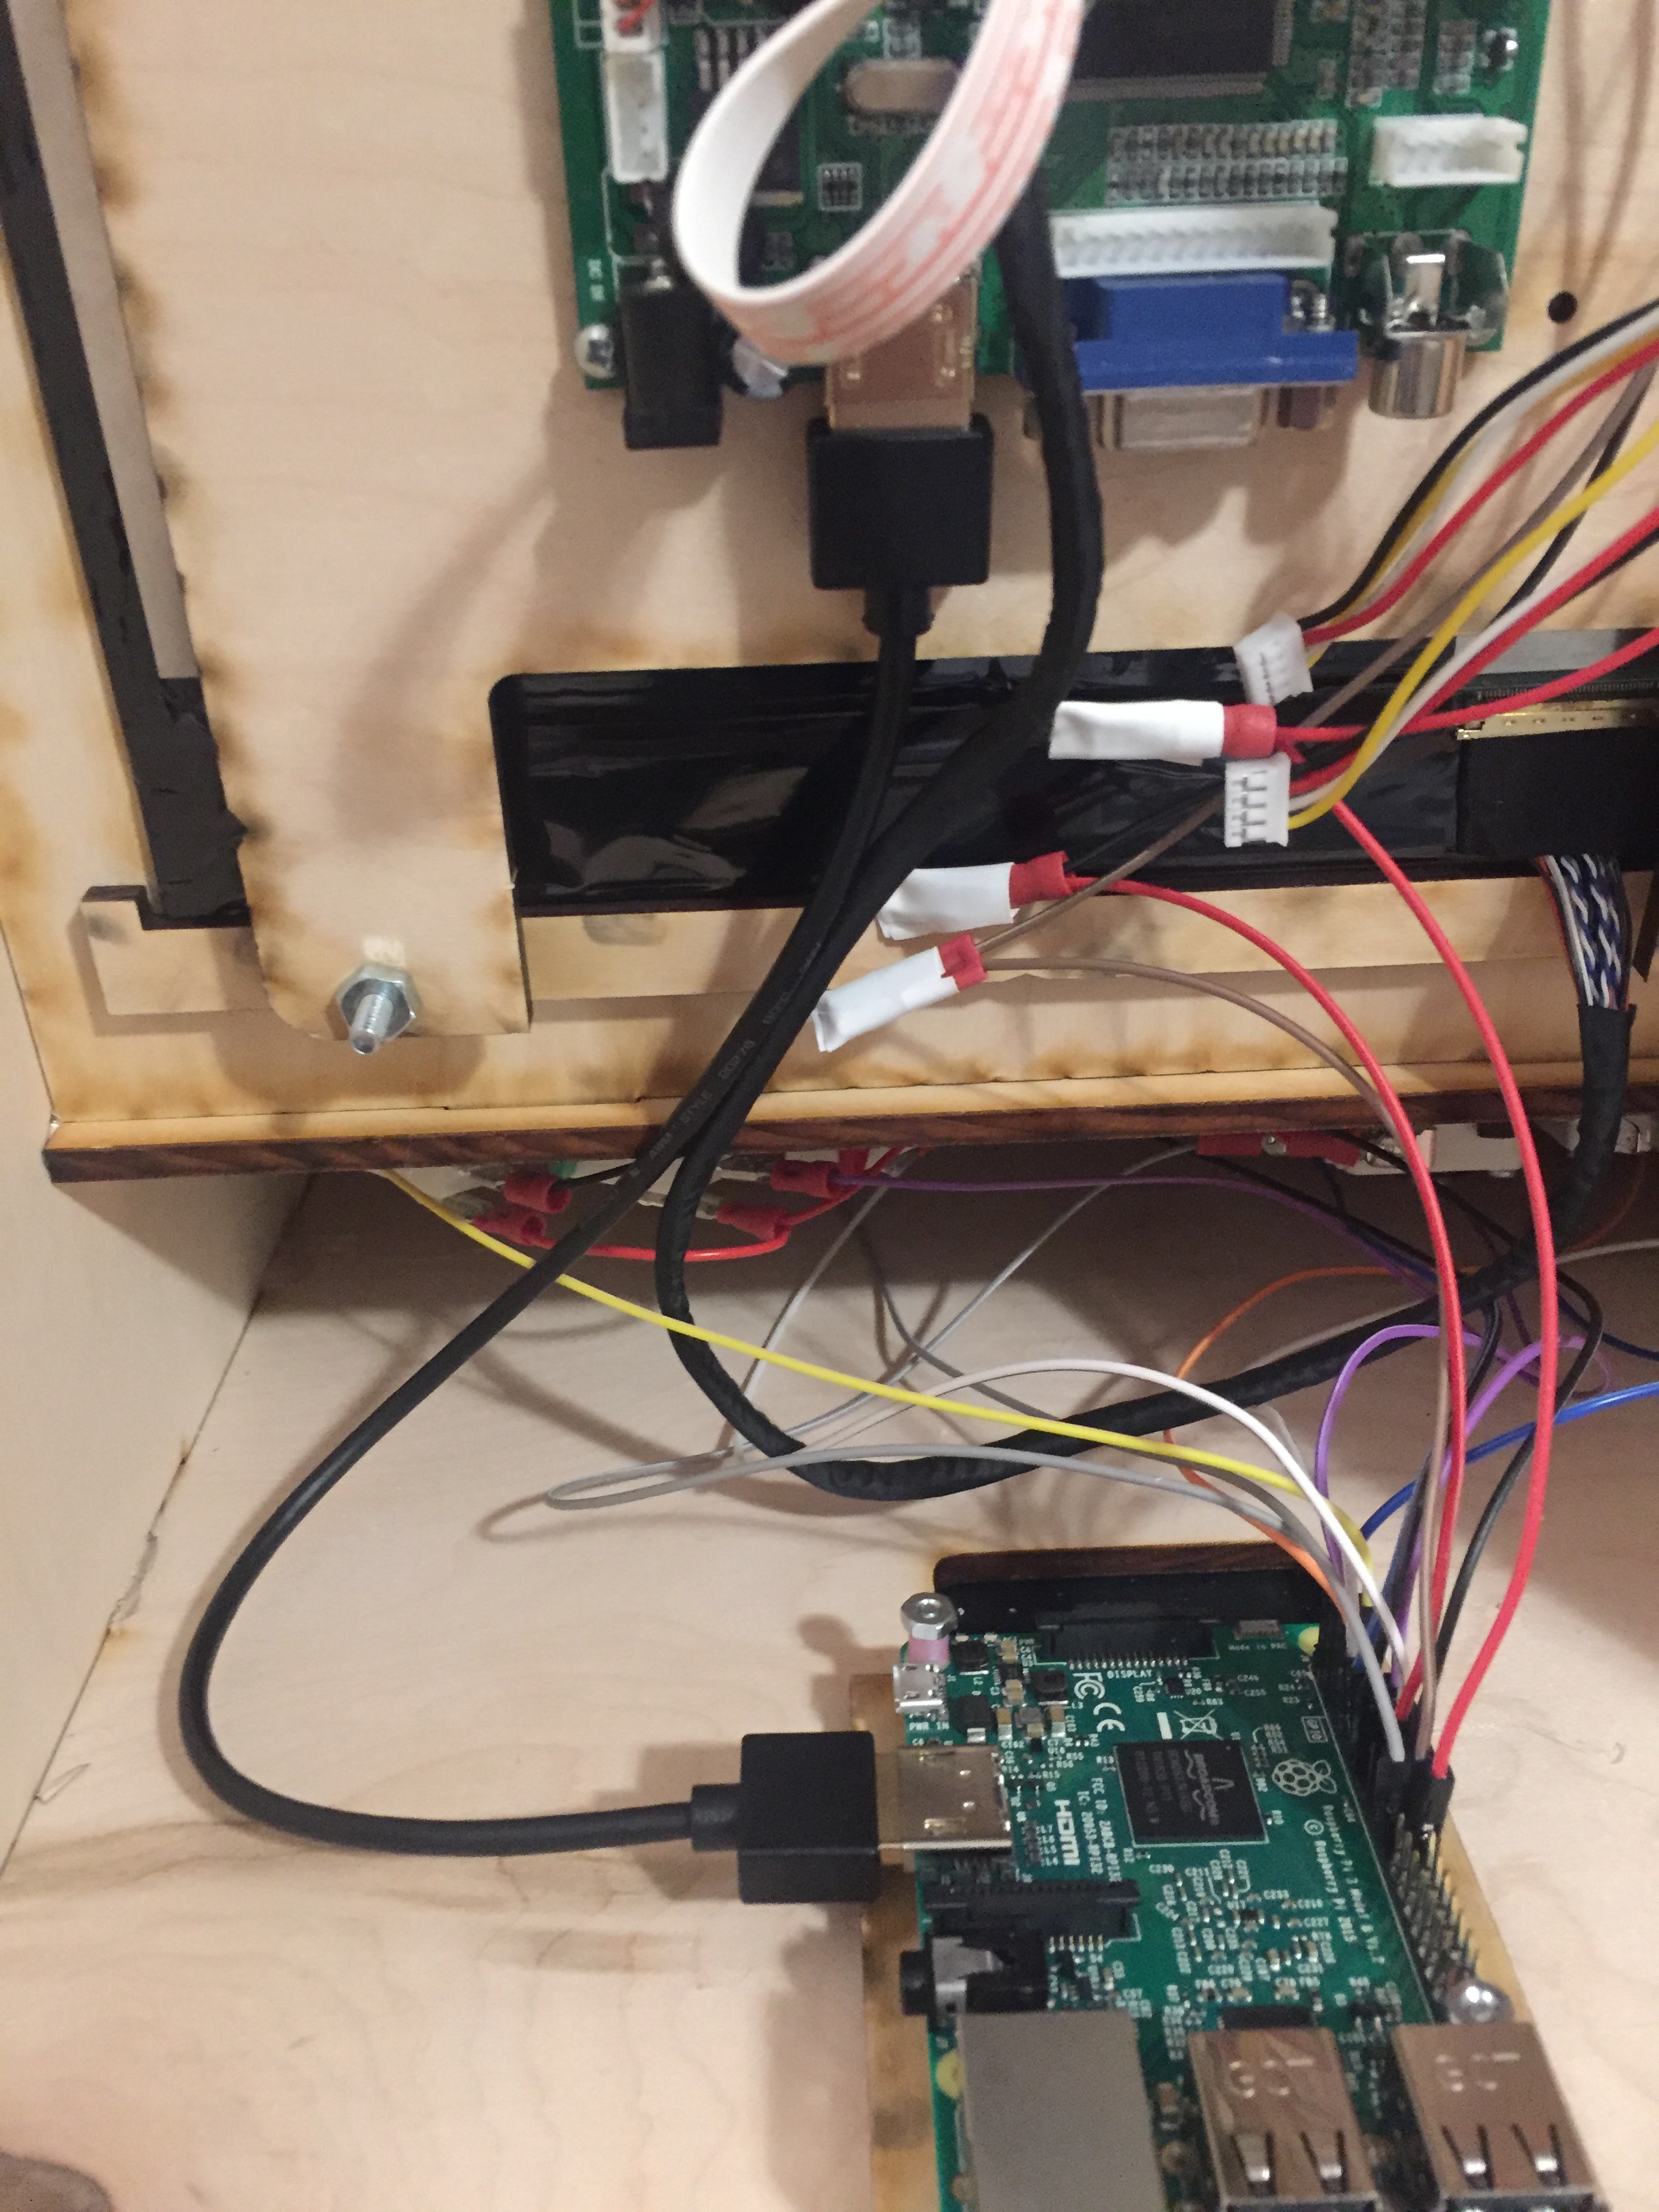
3) Once ALL the wires are connected (including grounds), you will carefully insert the raspberry pi and wires through the FRONT of the arcade machine so that the Pi is pulled through to the back (pic 8), and the controller is slotted nicely into the front of the arcade (don't glue yet).
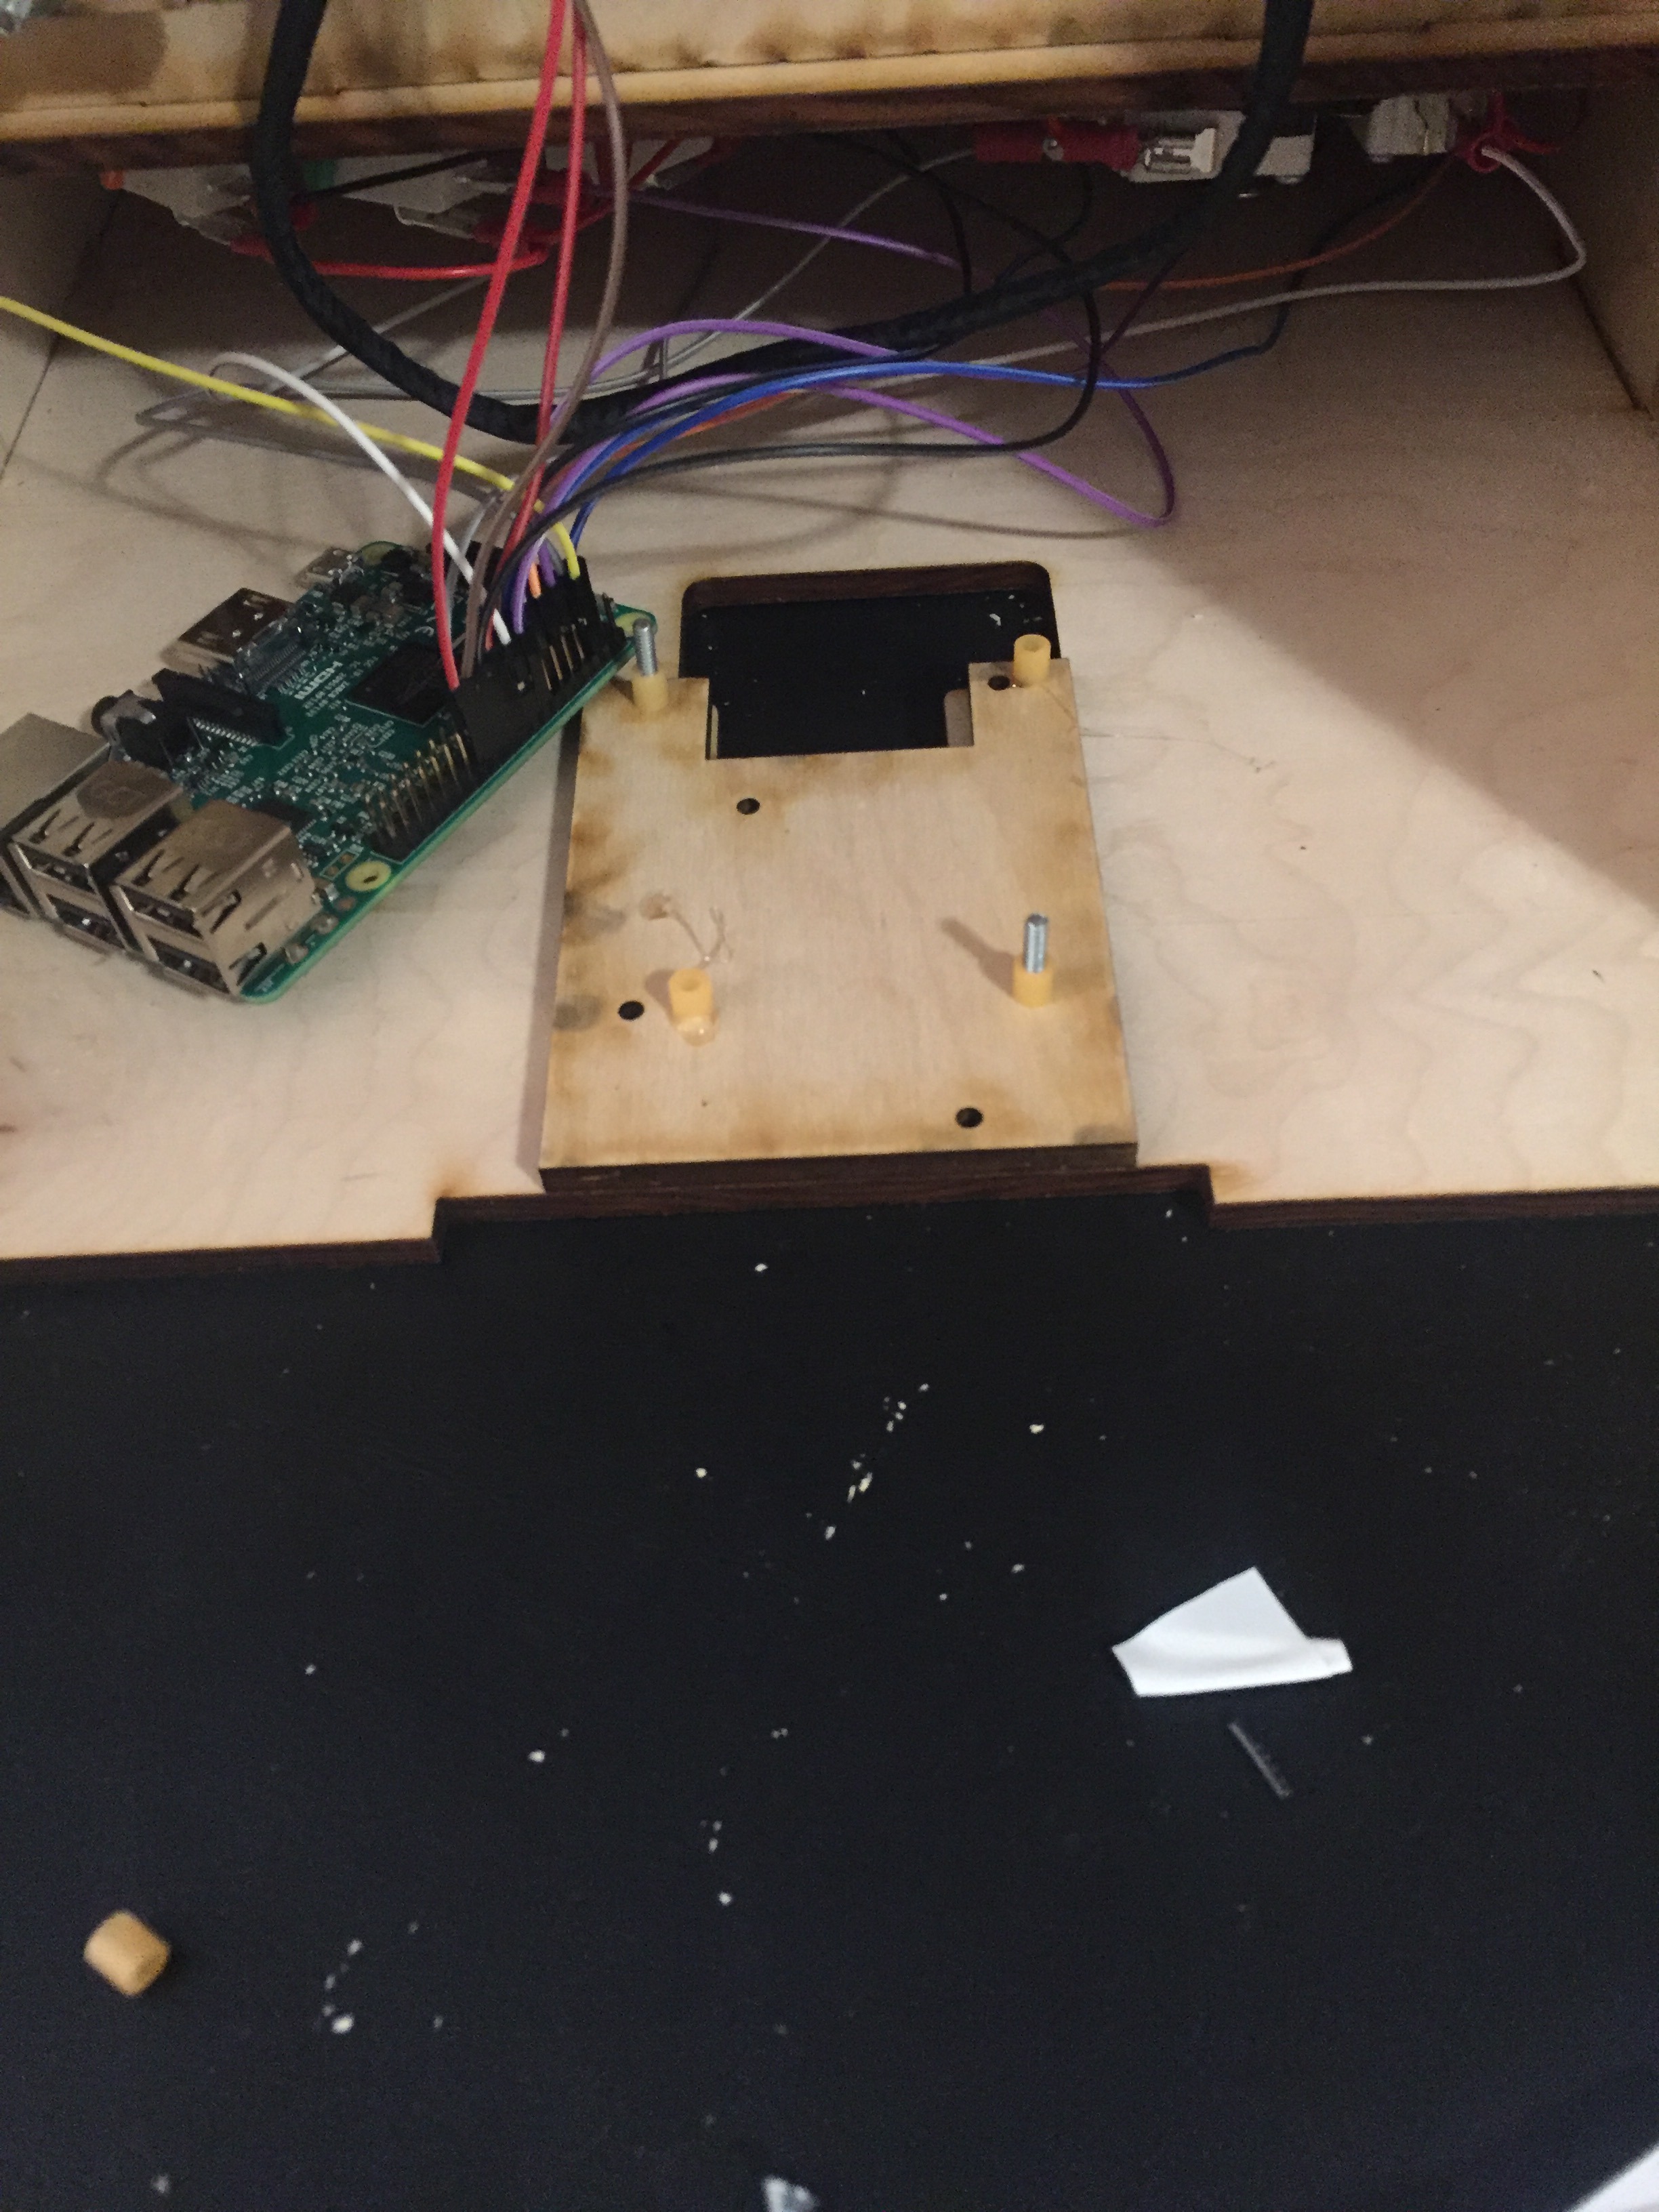
4). We will now mount the raspberry Pi to the arcade itself. First, lay out the wooden mount on the bottom of the machine, and line up your raspberry pi so you can determine which holes are needed. After that, insert the 2 flat-head screws from the bottom of the arcade, through the mount plate. You need to them insert plastic spacers between the wood and where the raspberry pi will sit. For some reason my kit only came with 2 flathead screws for this, so I glued some additional plastic spacers to the wood so it would have an even platform for it to sit on.
5) lastly, insert the raspberry Pi onto the screws/spacers. Then add another spacer on top of the pi, before locking it in place with 2 nuts.
6) now you can use the HDMI cable to connect the raspberry Pi to Monitor control board.
Next up, speakers!
Hooking Up the Speakers
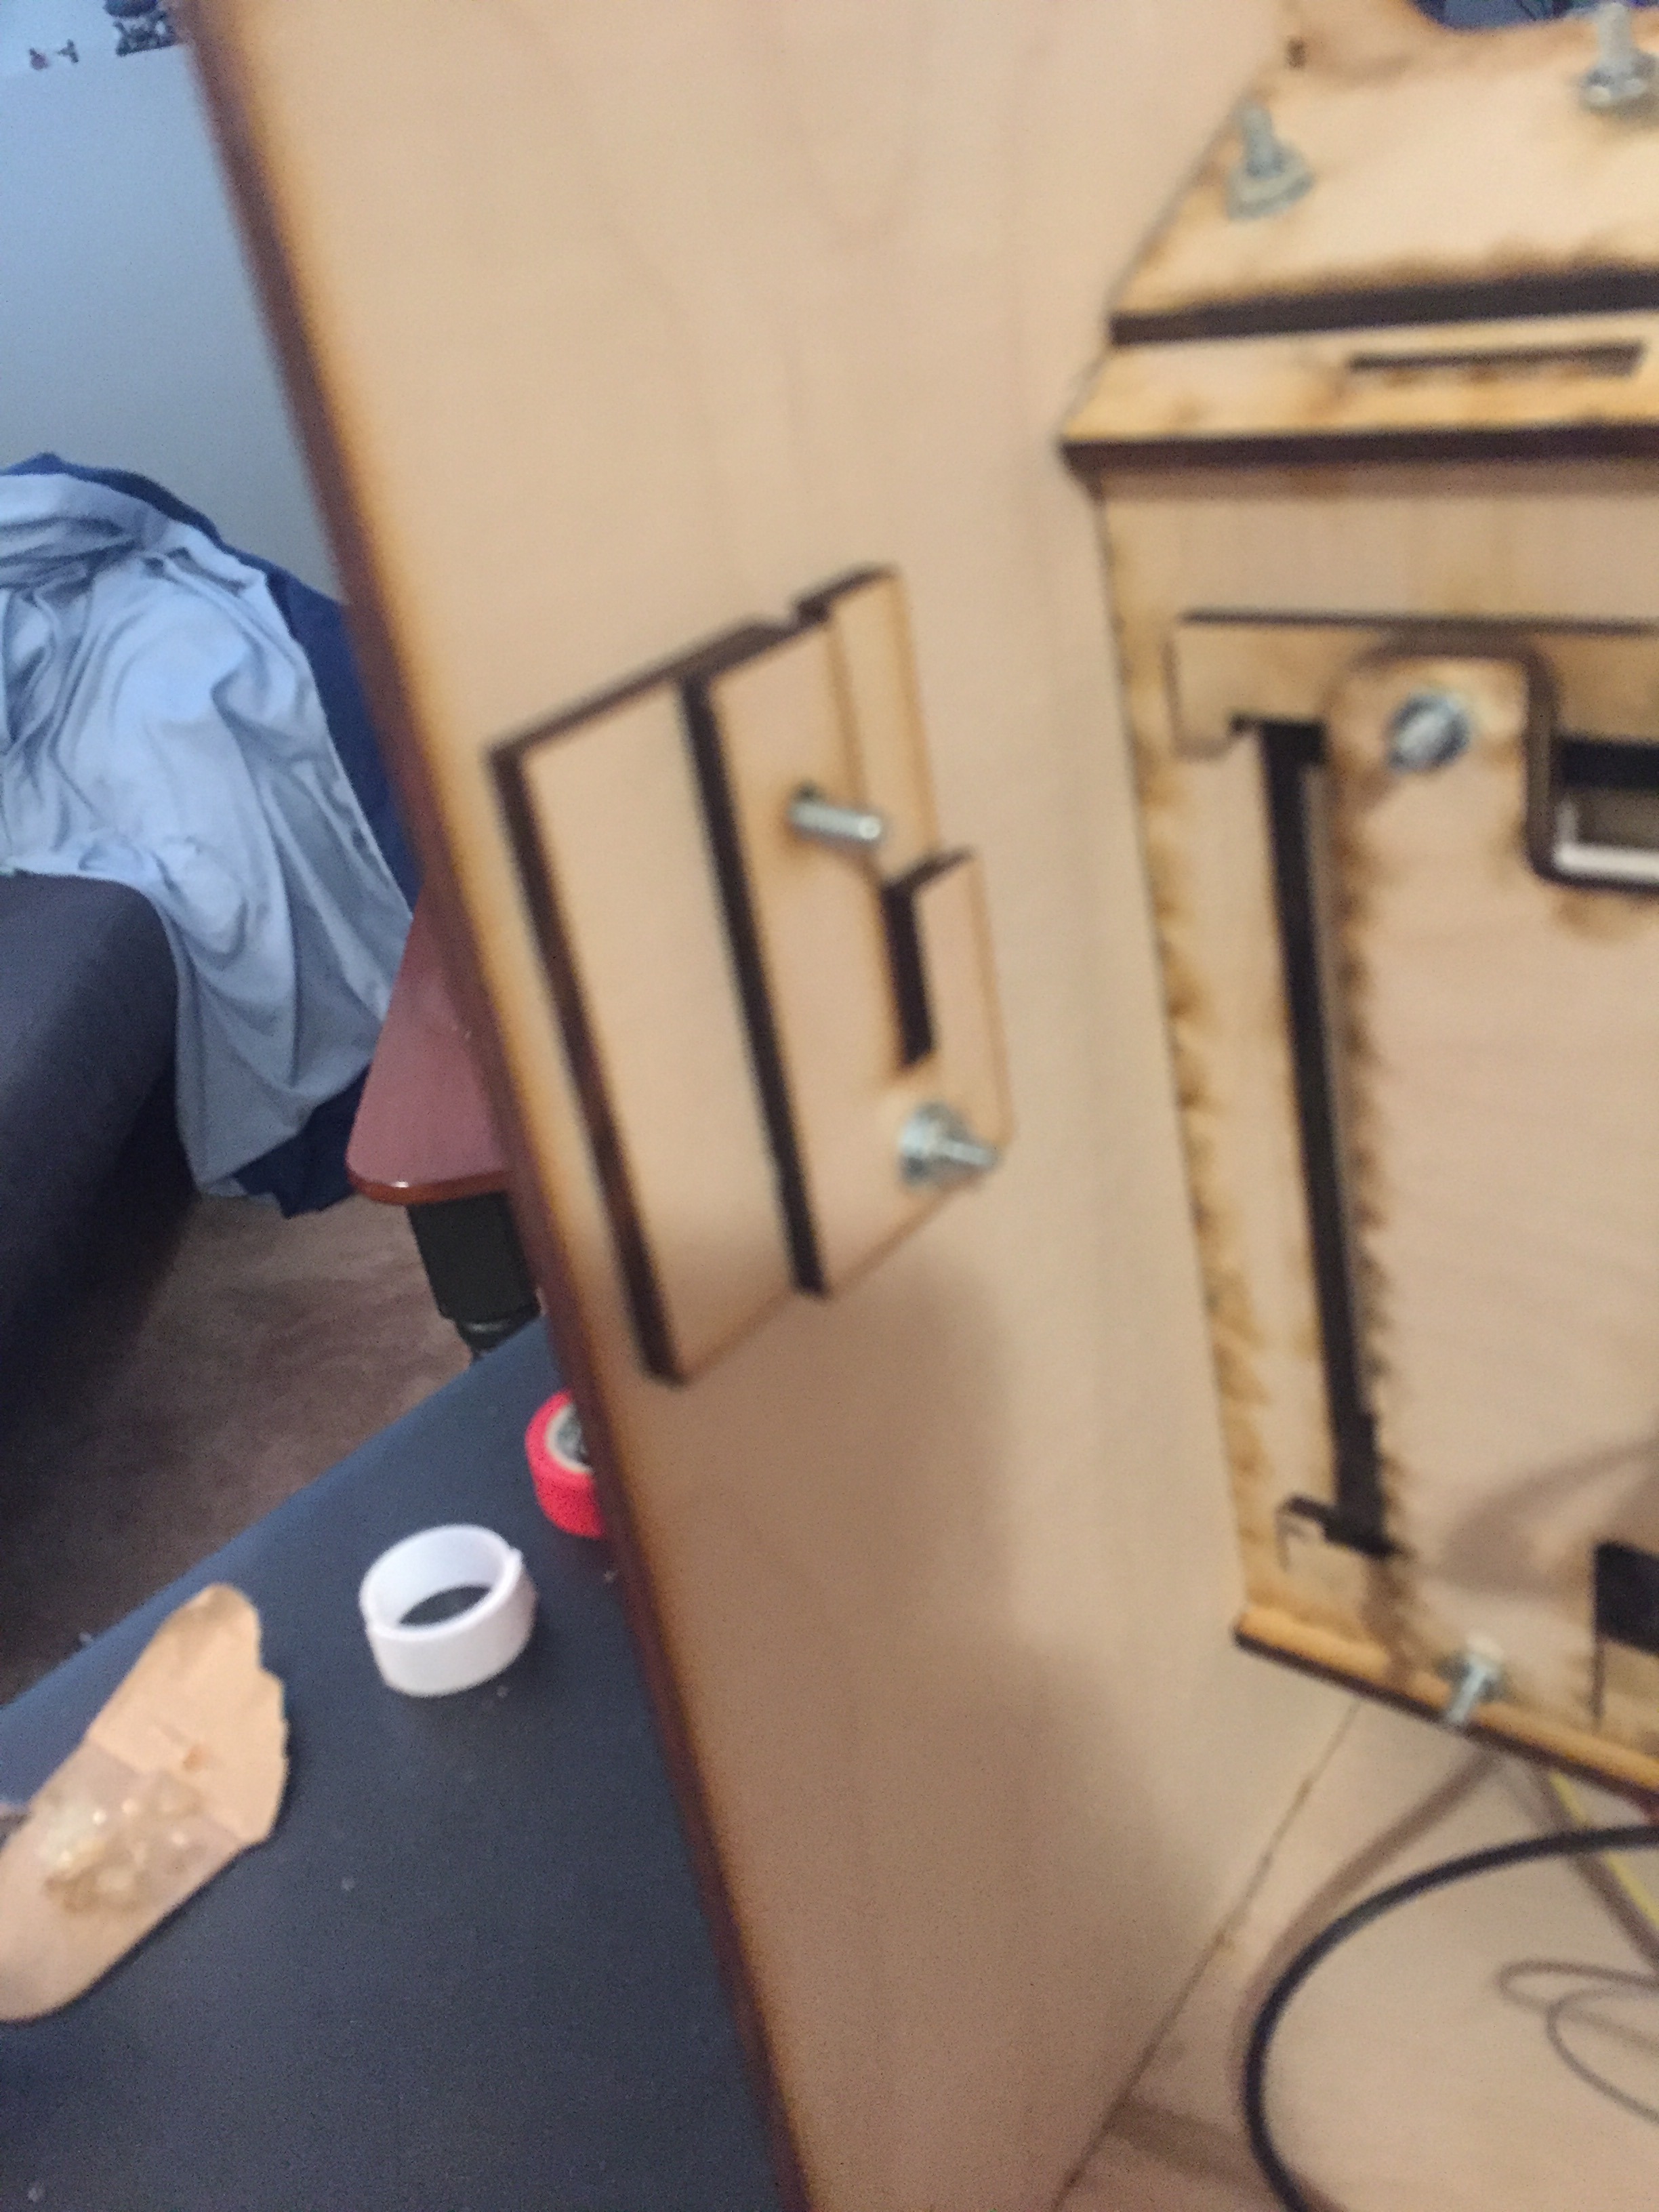
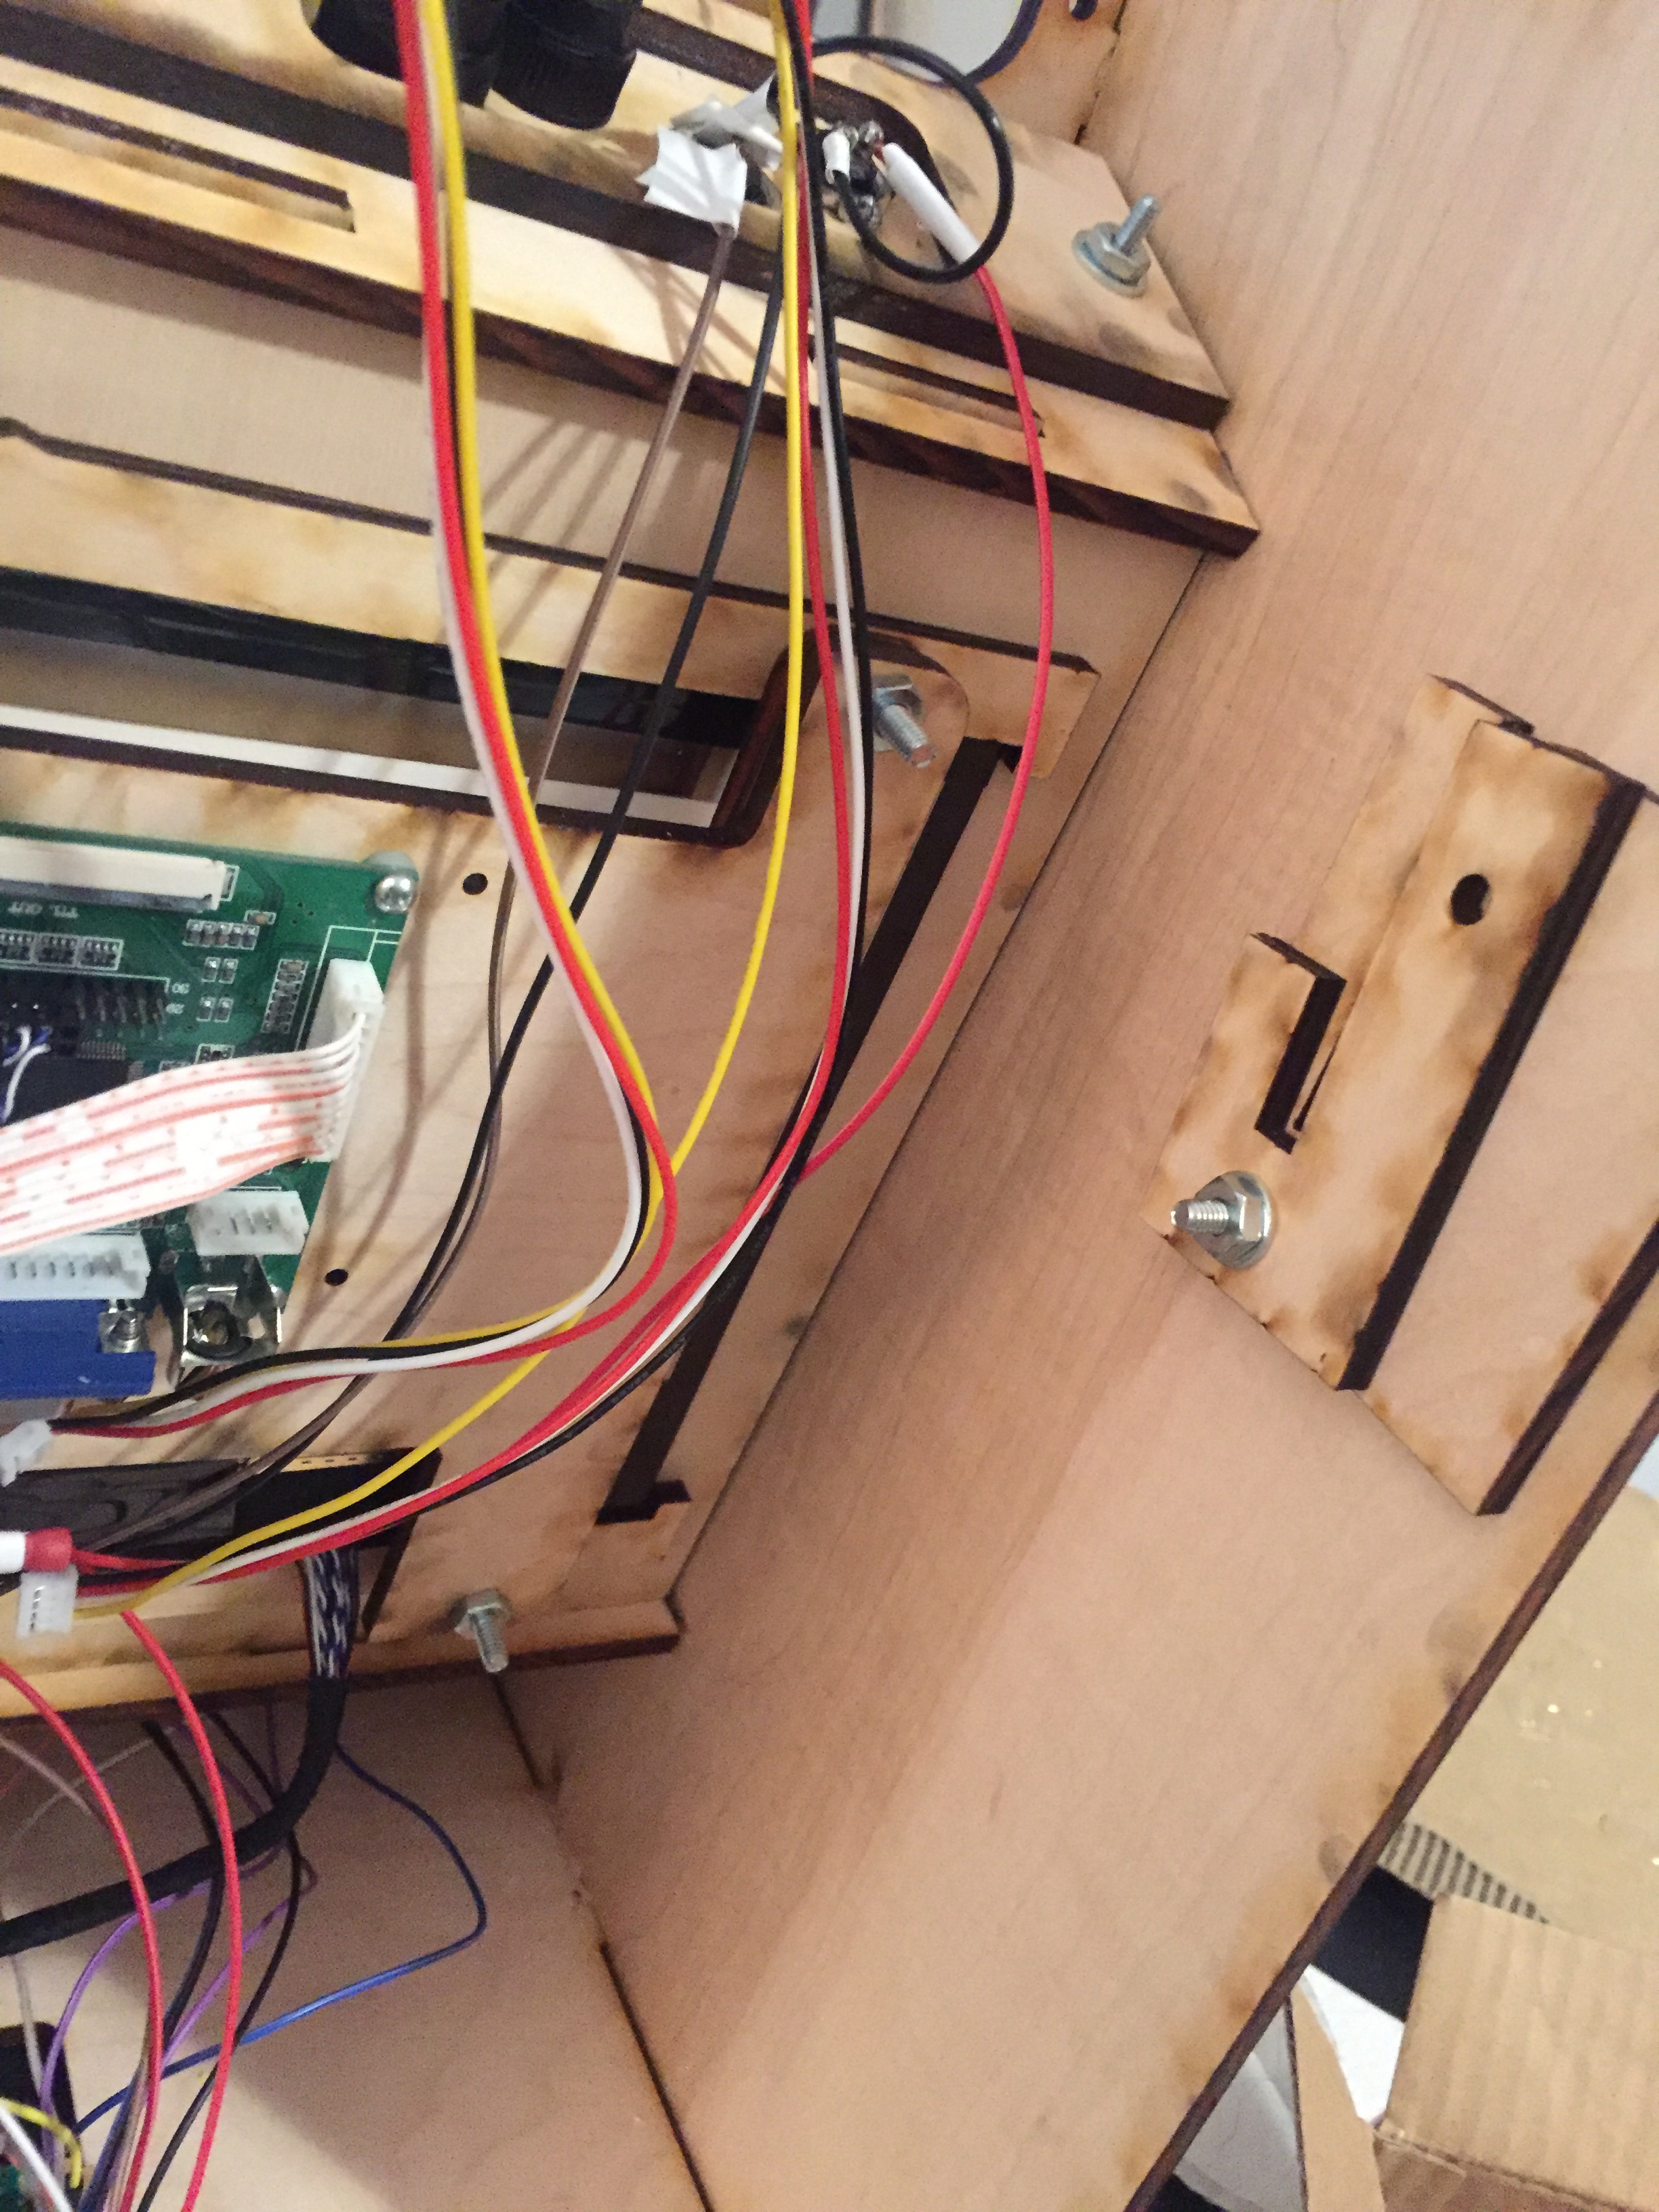
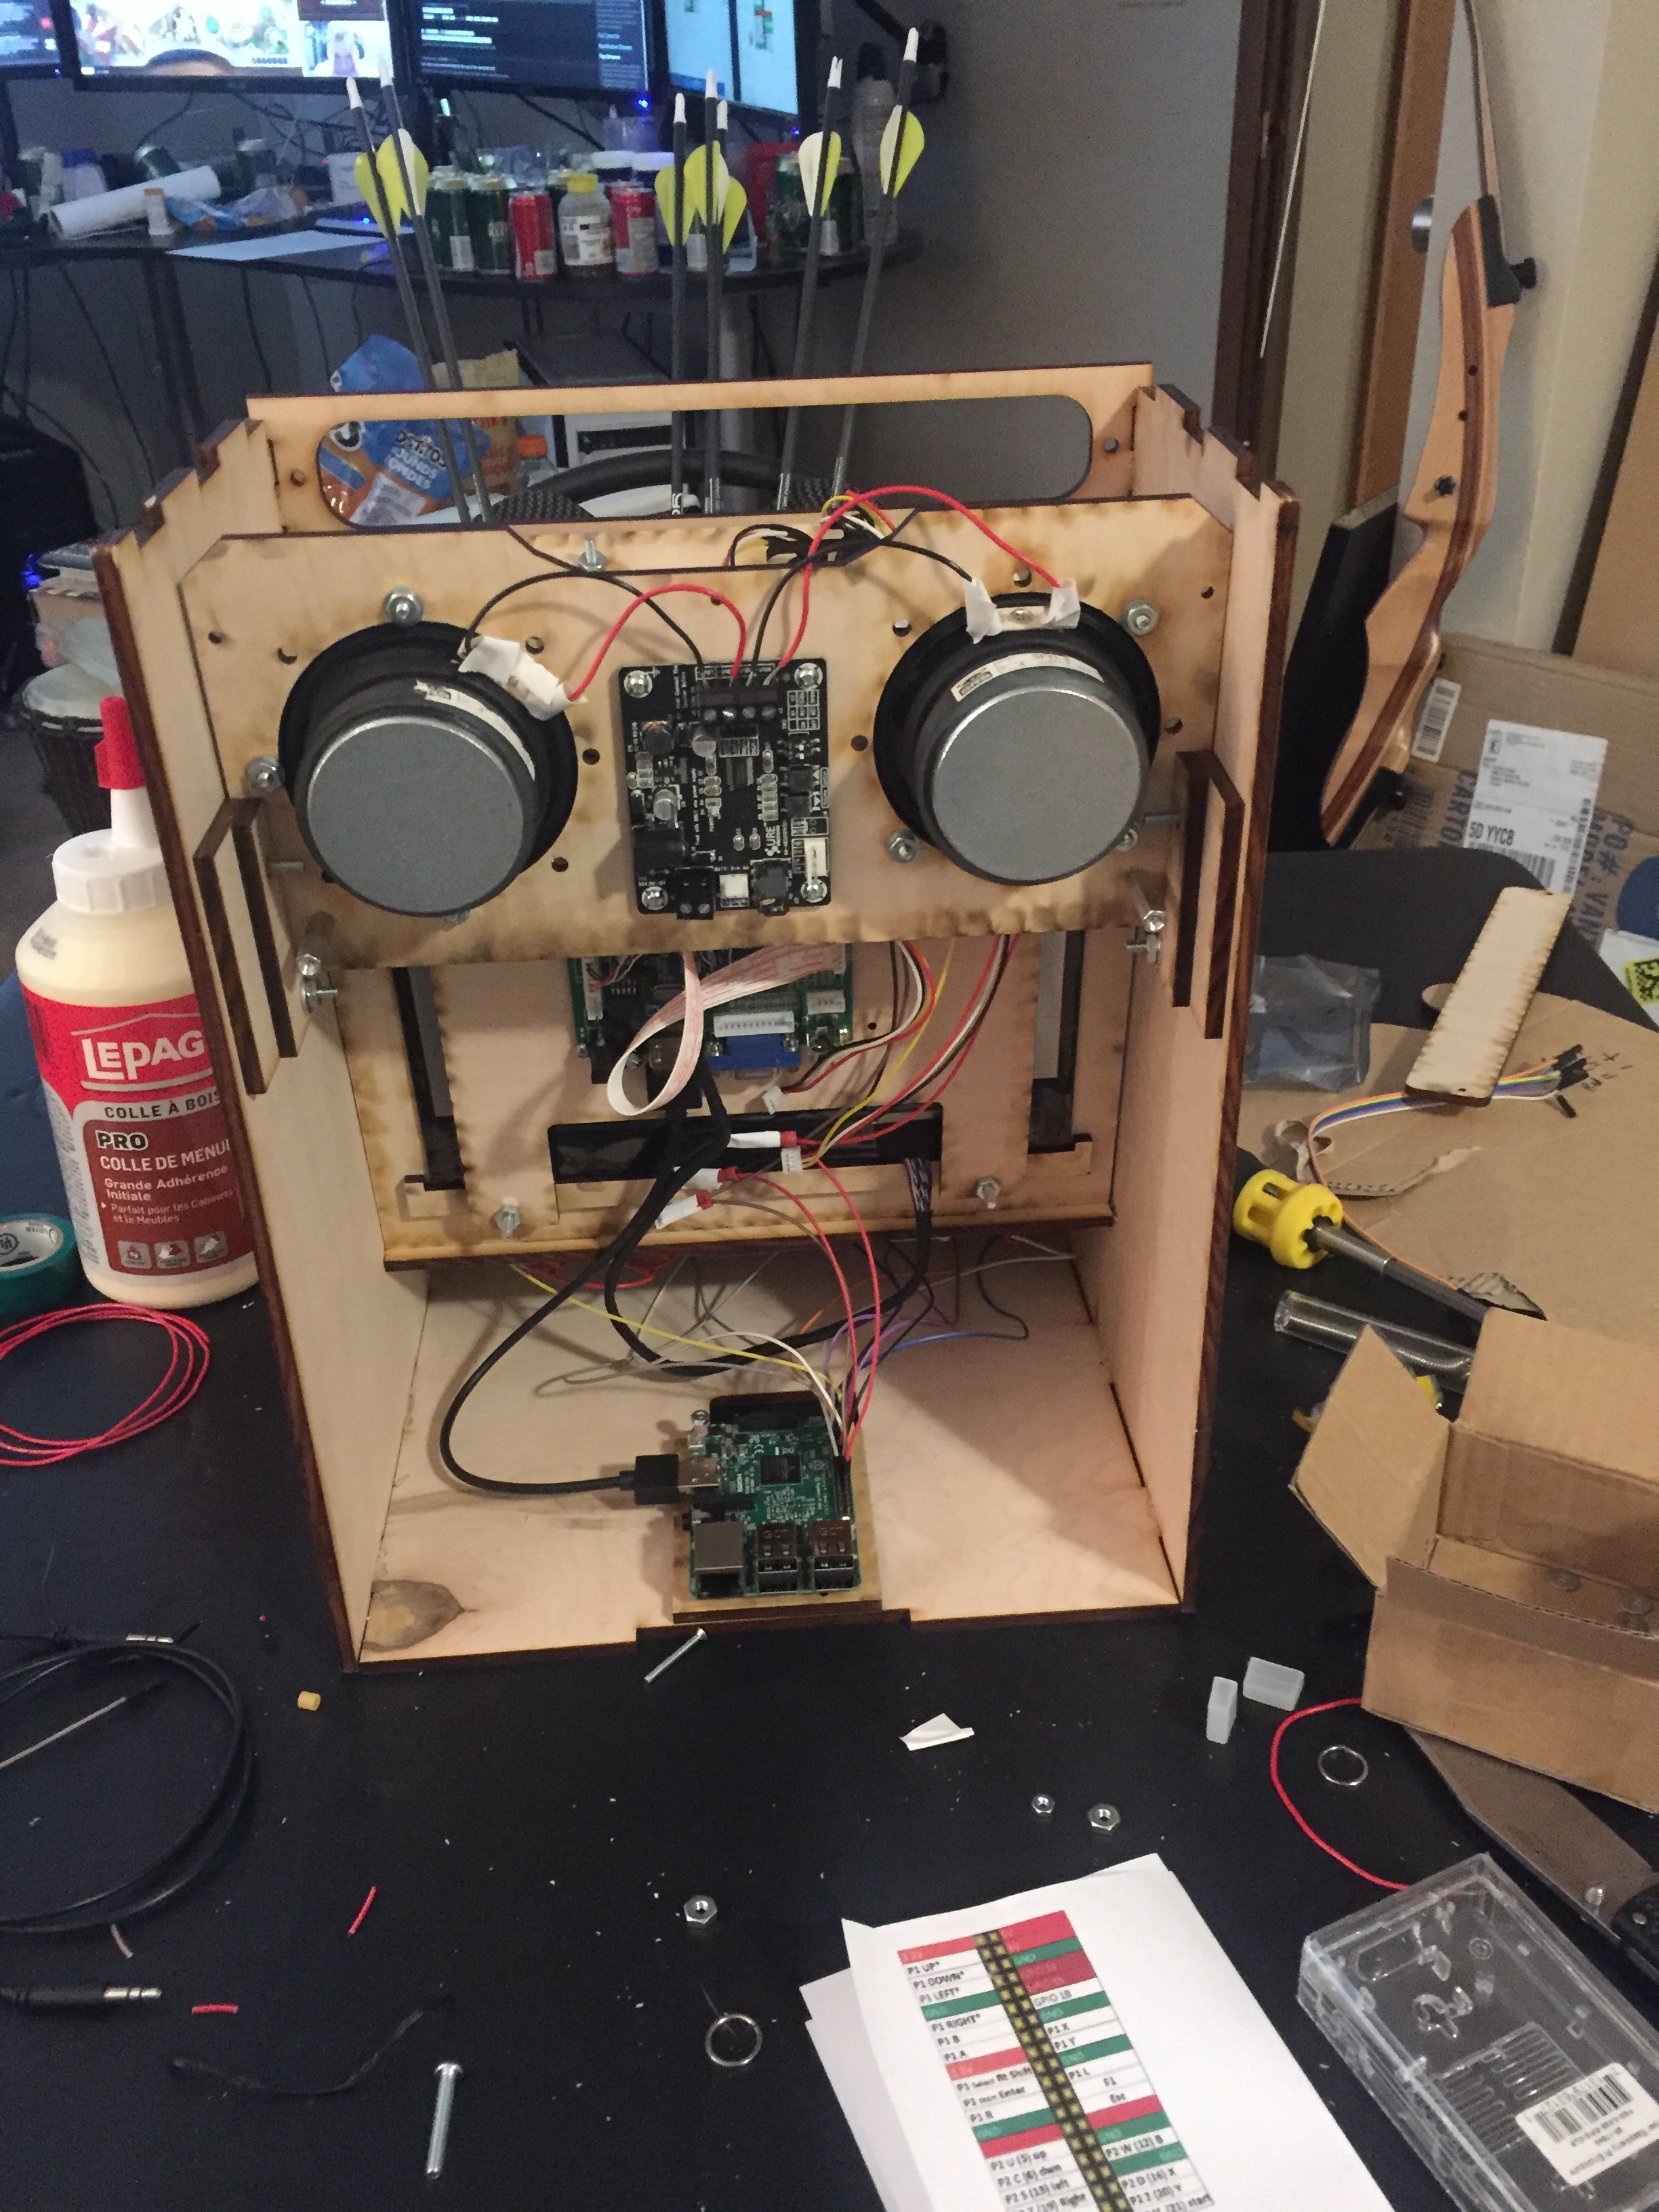
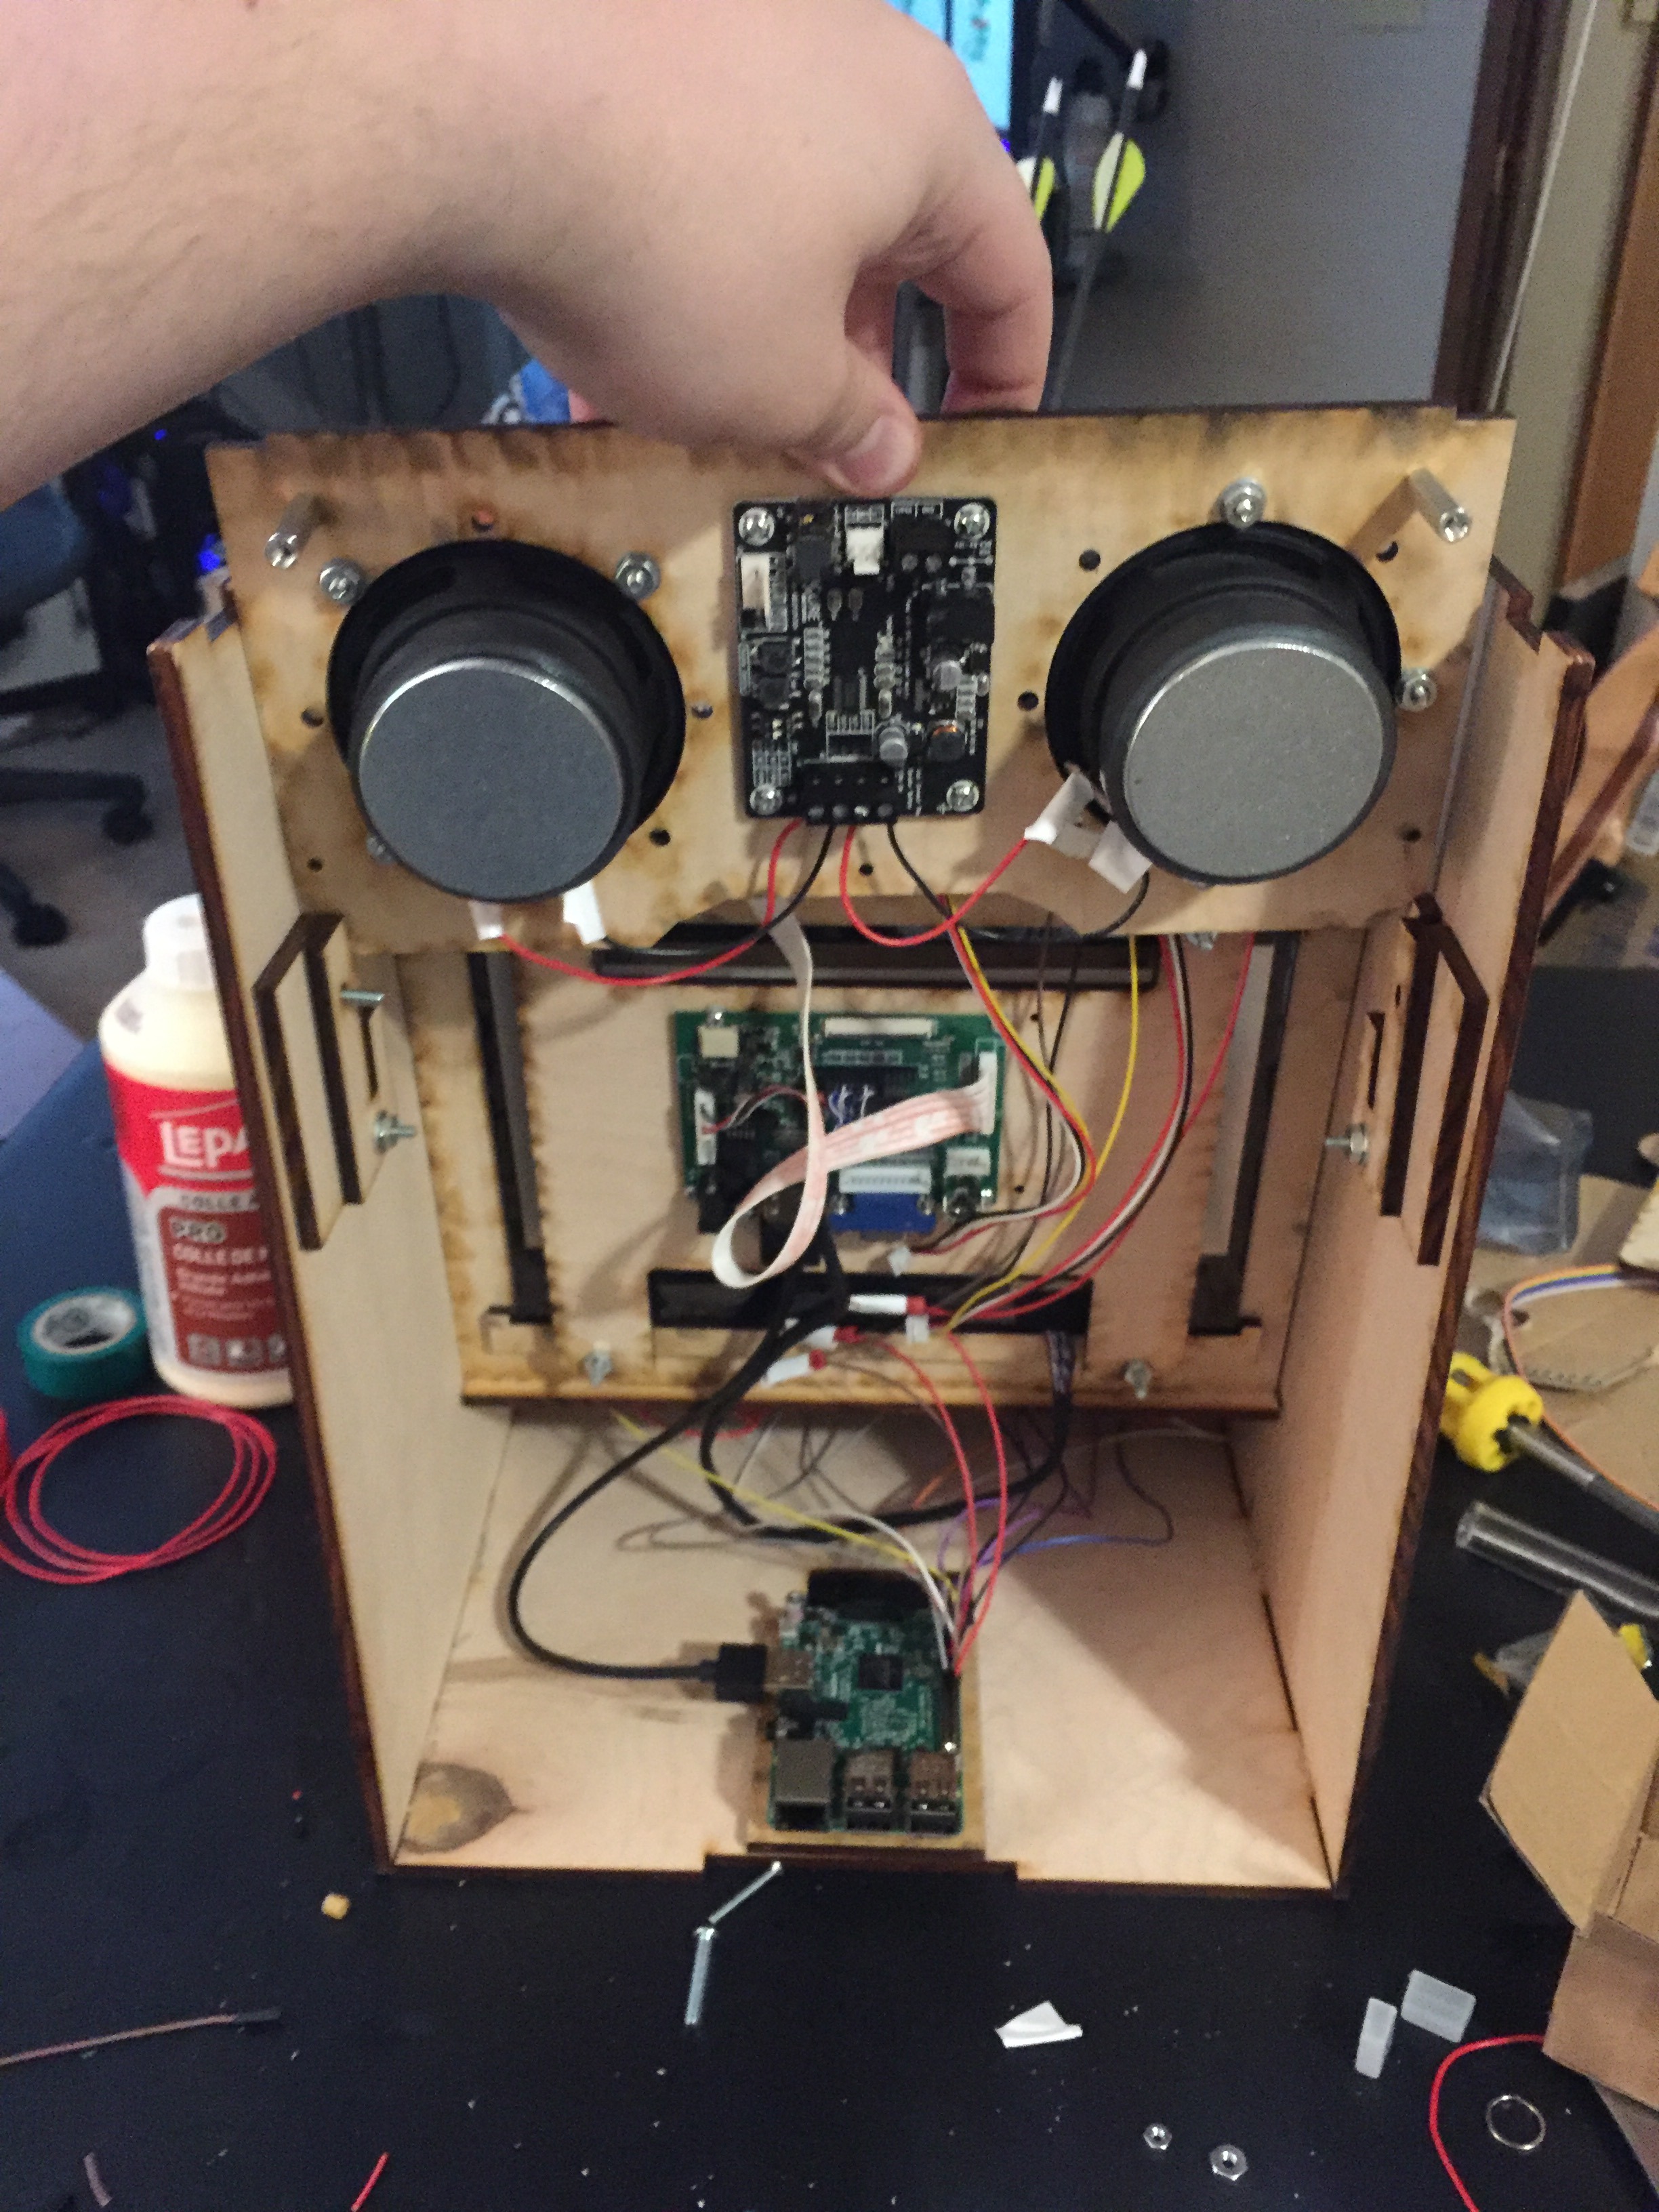
1) find the 4 pieces of wood that look like the first 2 pictures. They will be mounted on each side of the machine for the speakers to slide into. Make sure they are oriented like my pictures.
2) you will screw the bottom hole first, but you must wait to screw in the top screw until you have mounted the speakers into the slots, because the upper screw also holds the speakers in place. So screw in the bottom screw, slide in the speakers, and then screw in the upper screw to lock it into place.
3) connect the raspberry pi to the audio control panel using a standard audio cable
Final Wiring
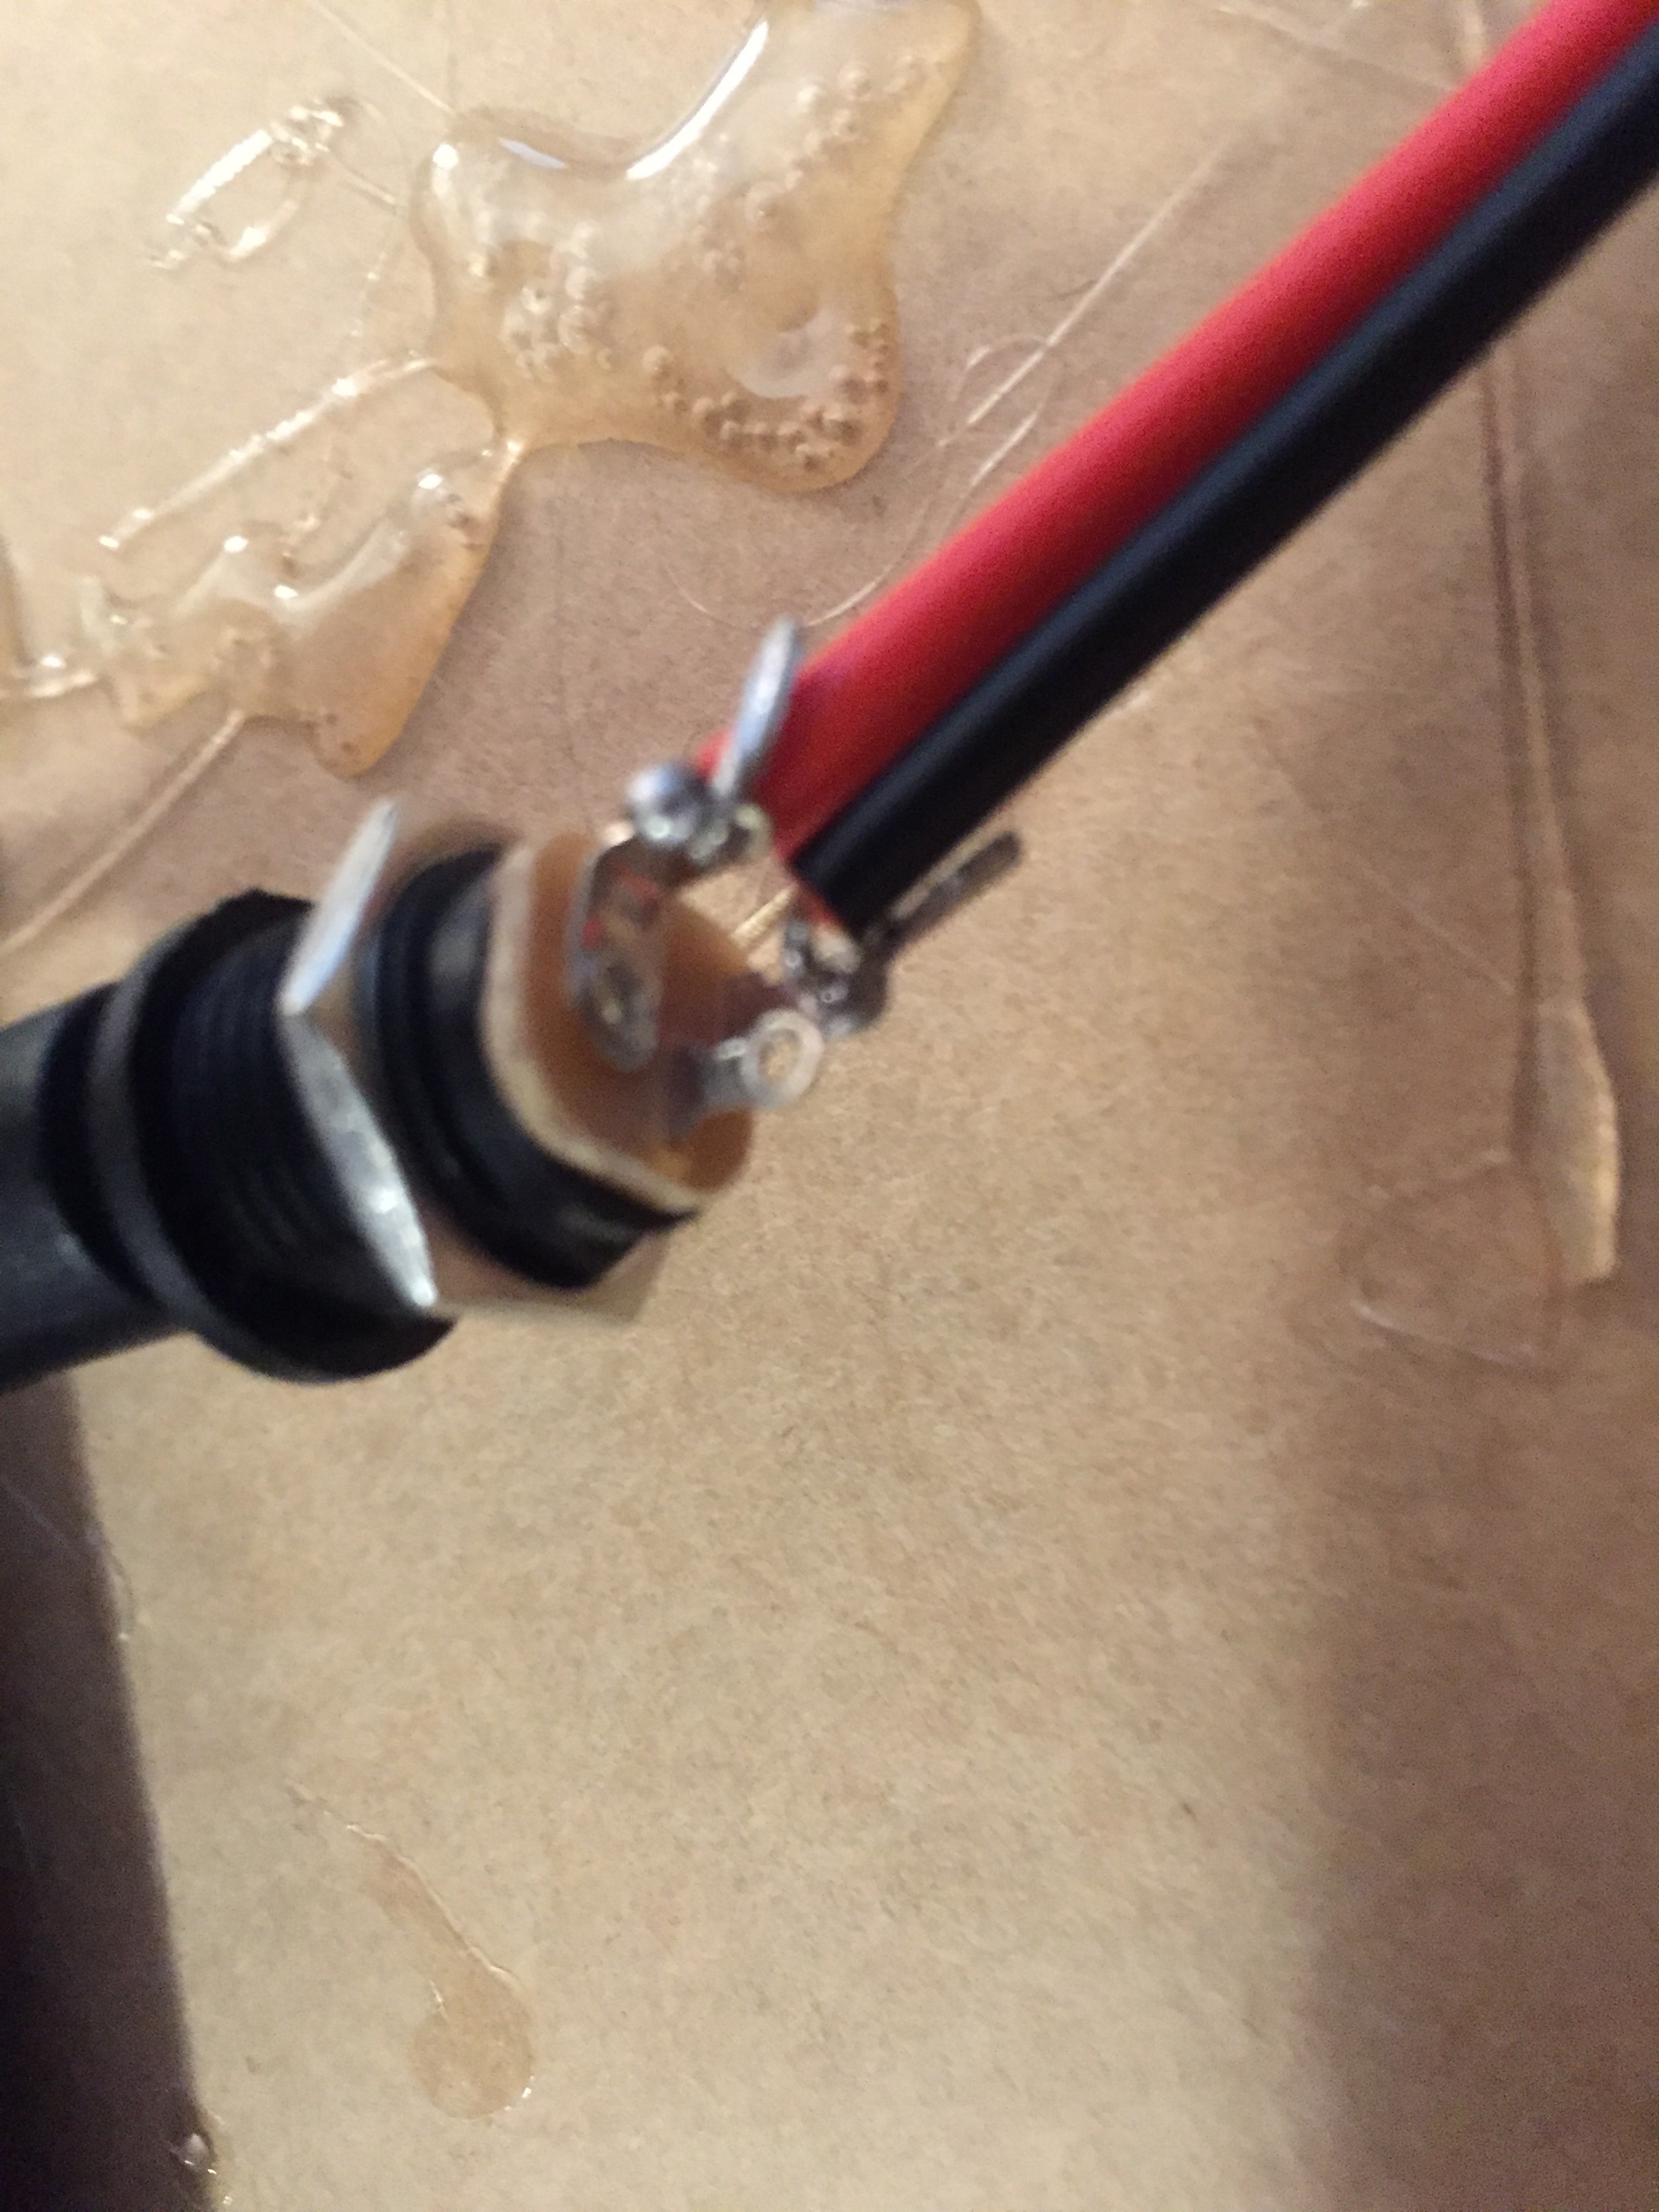
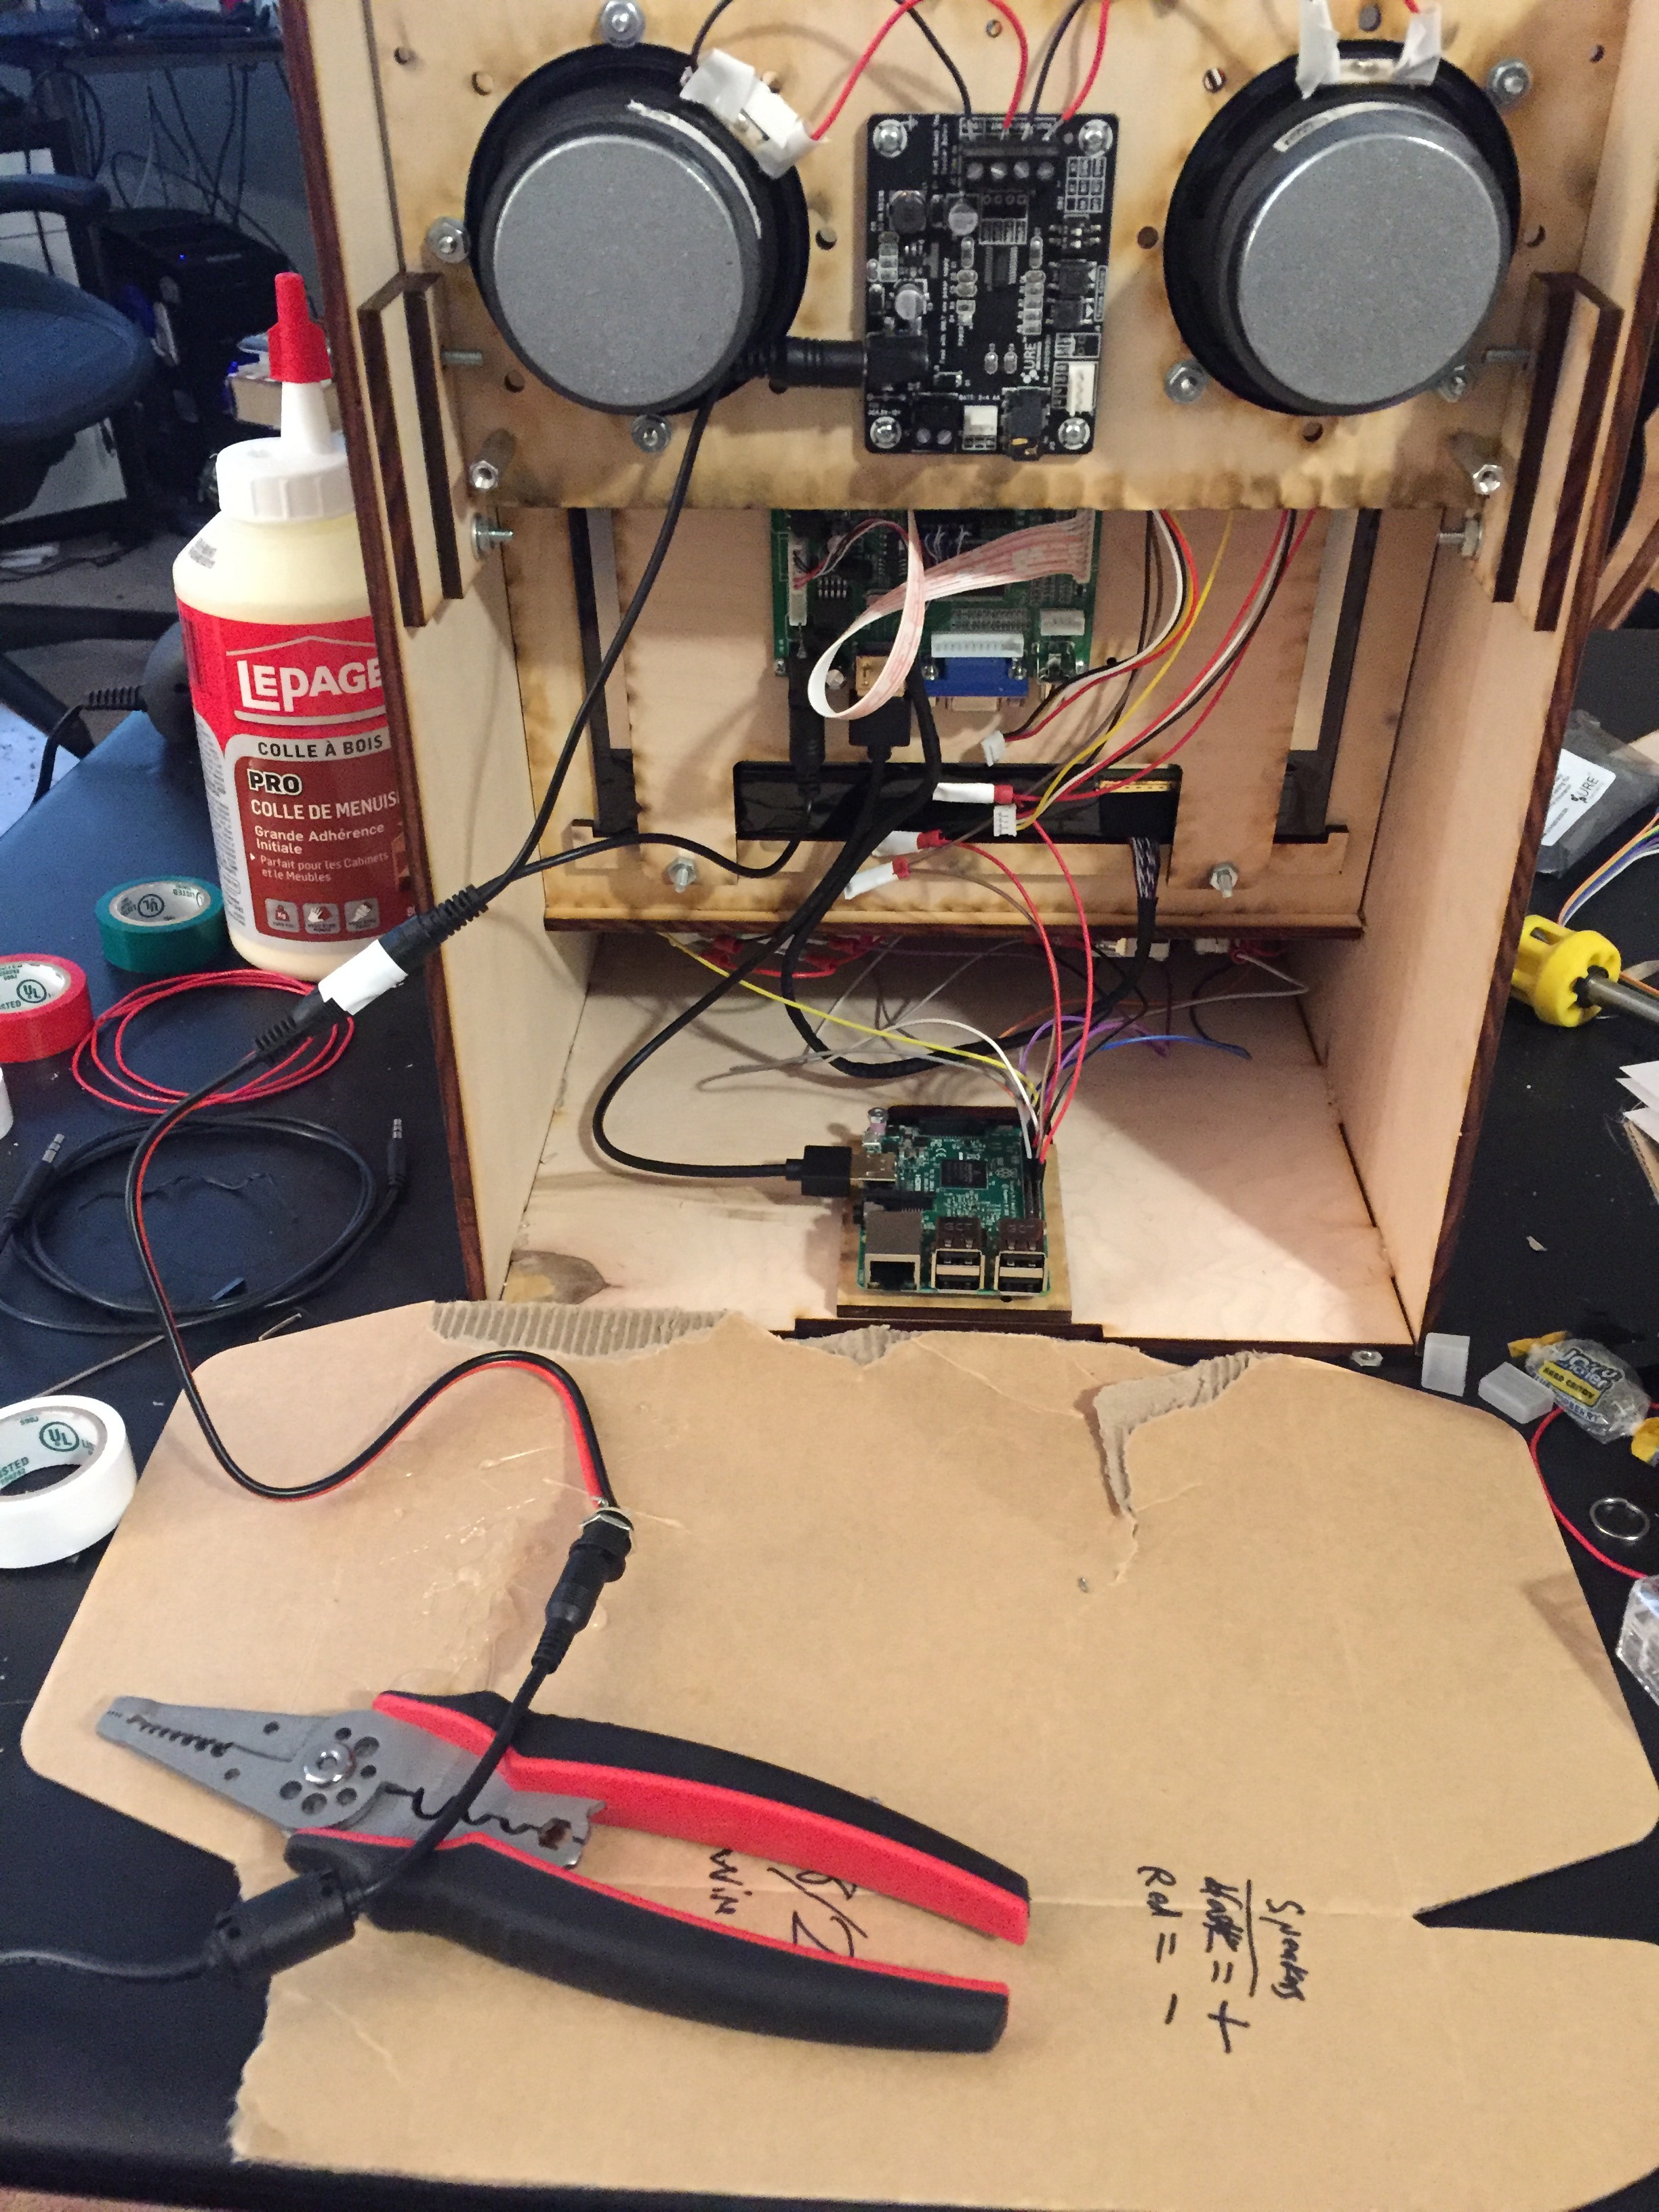
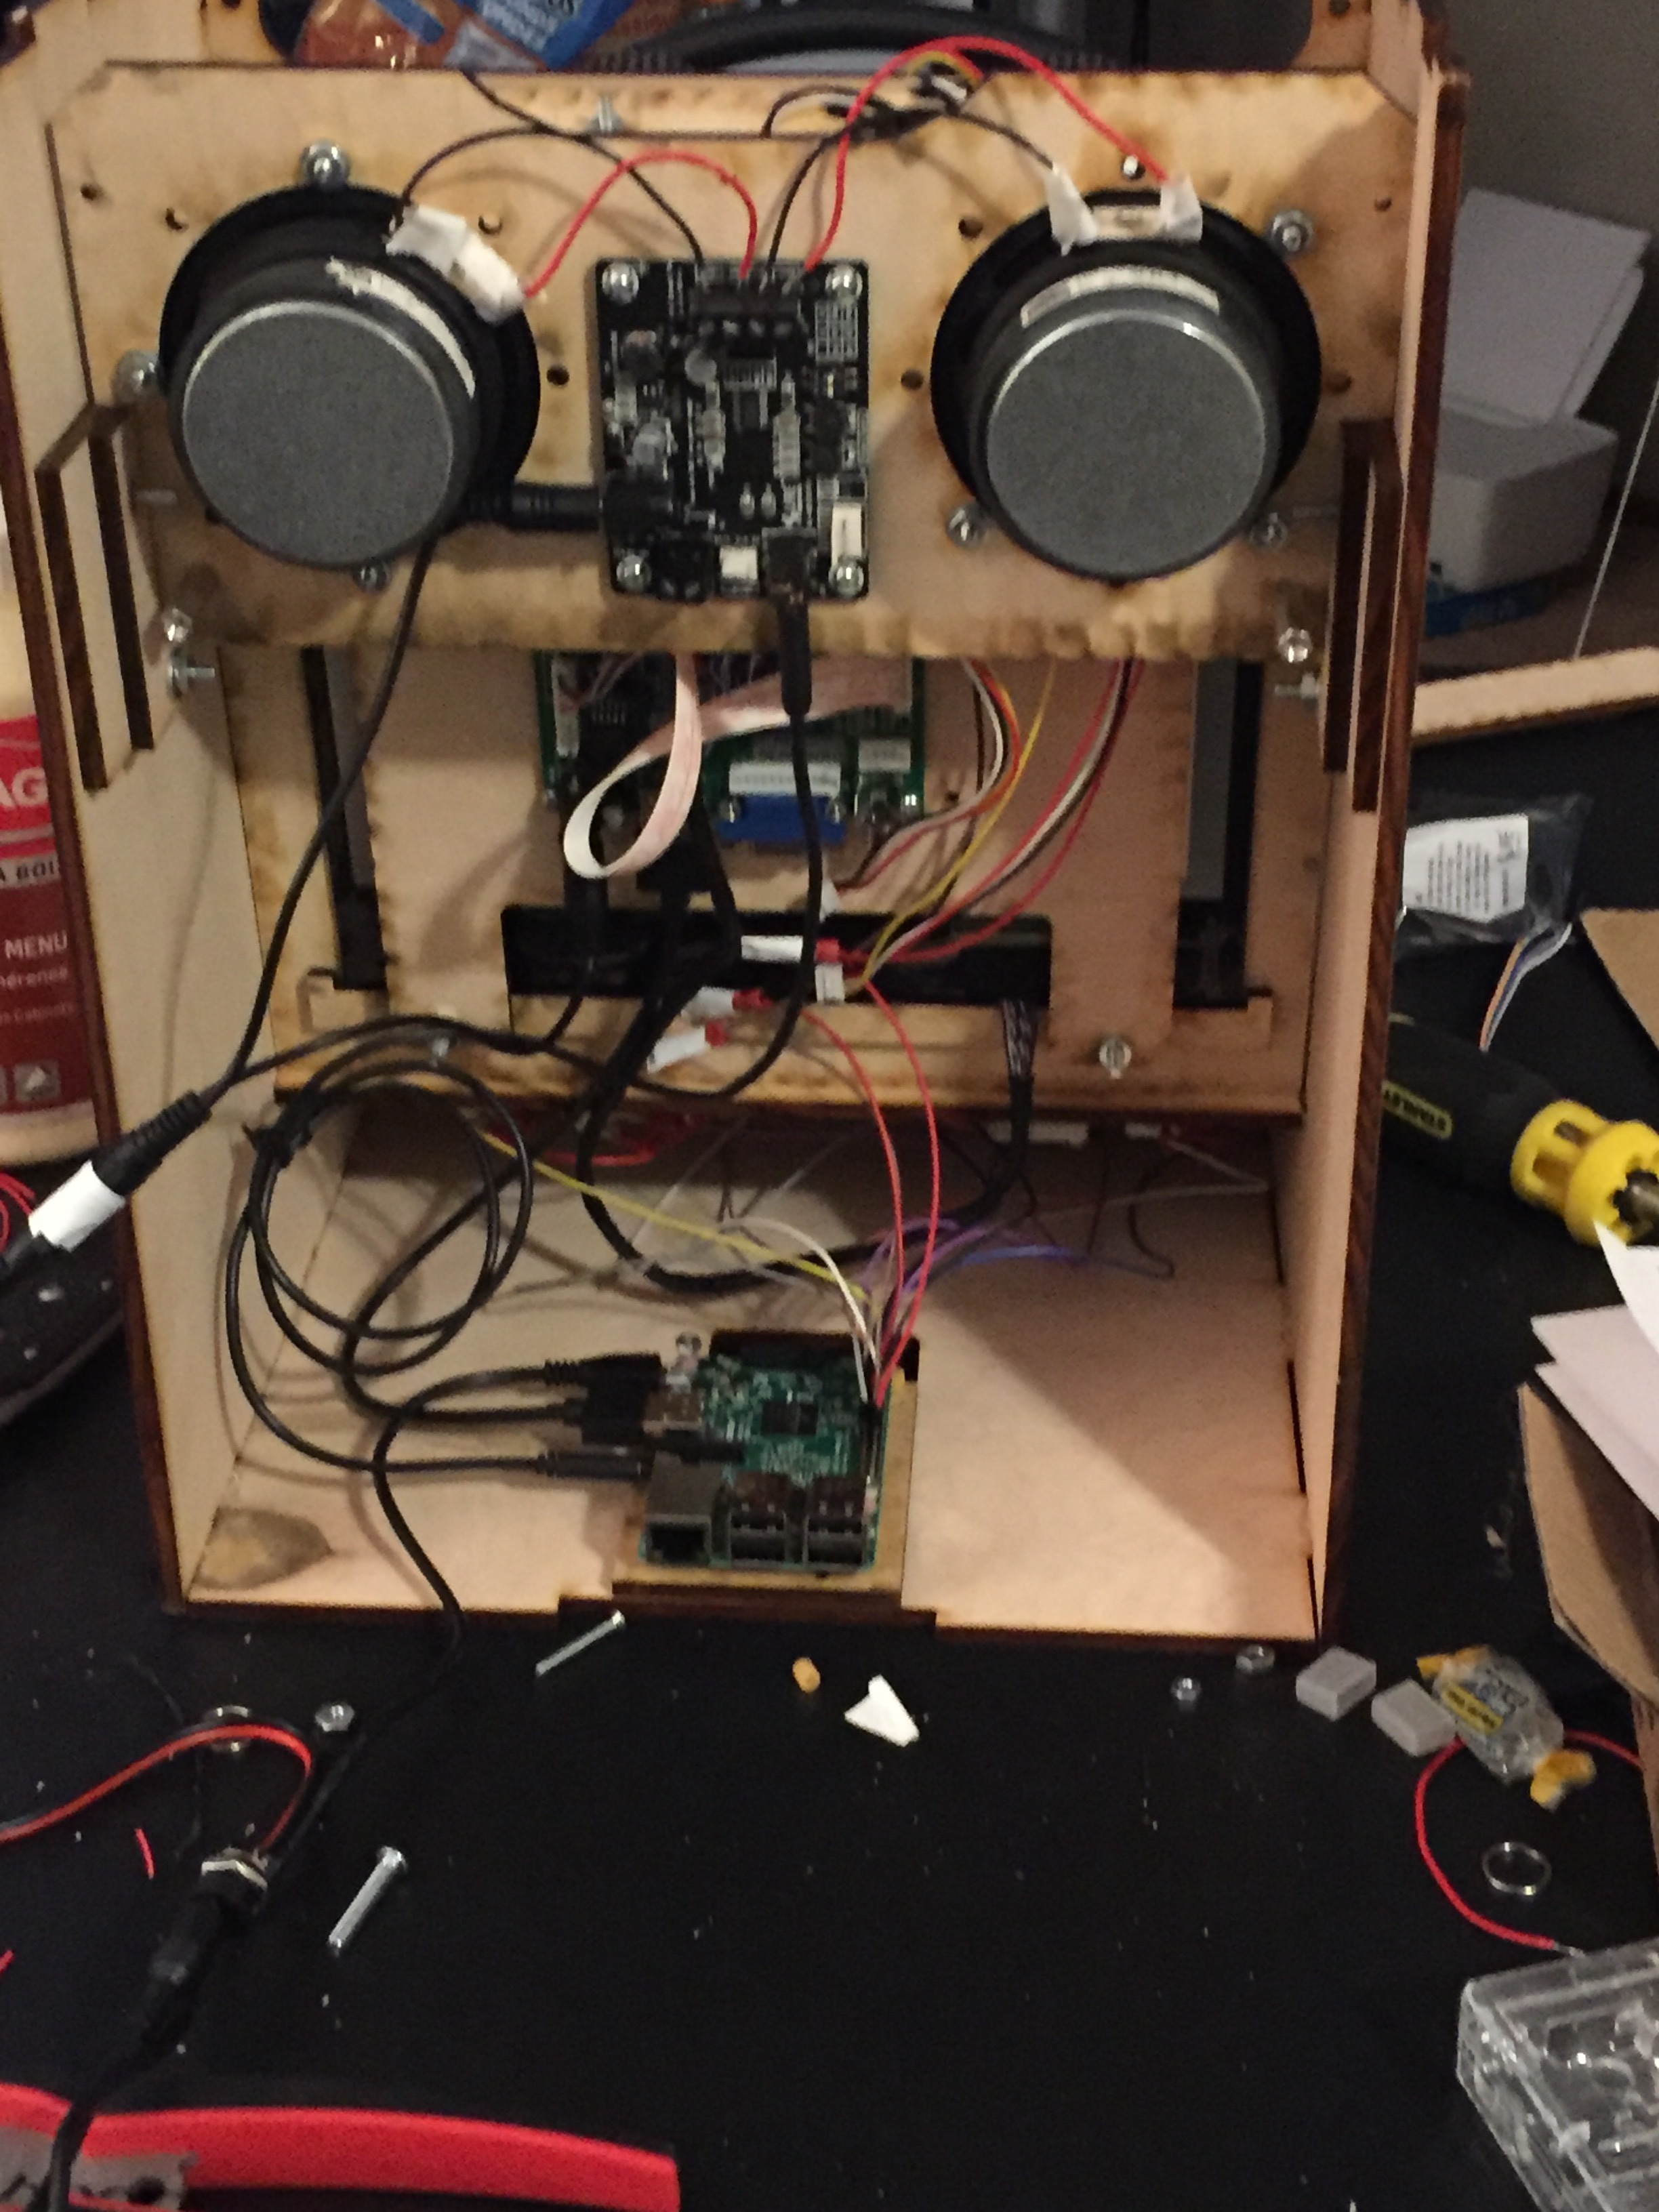
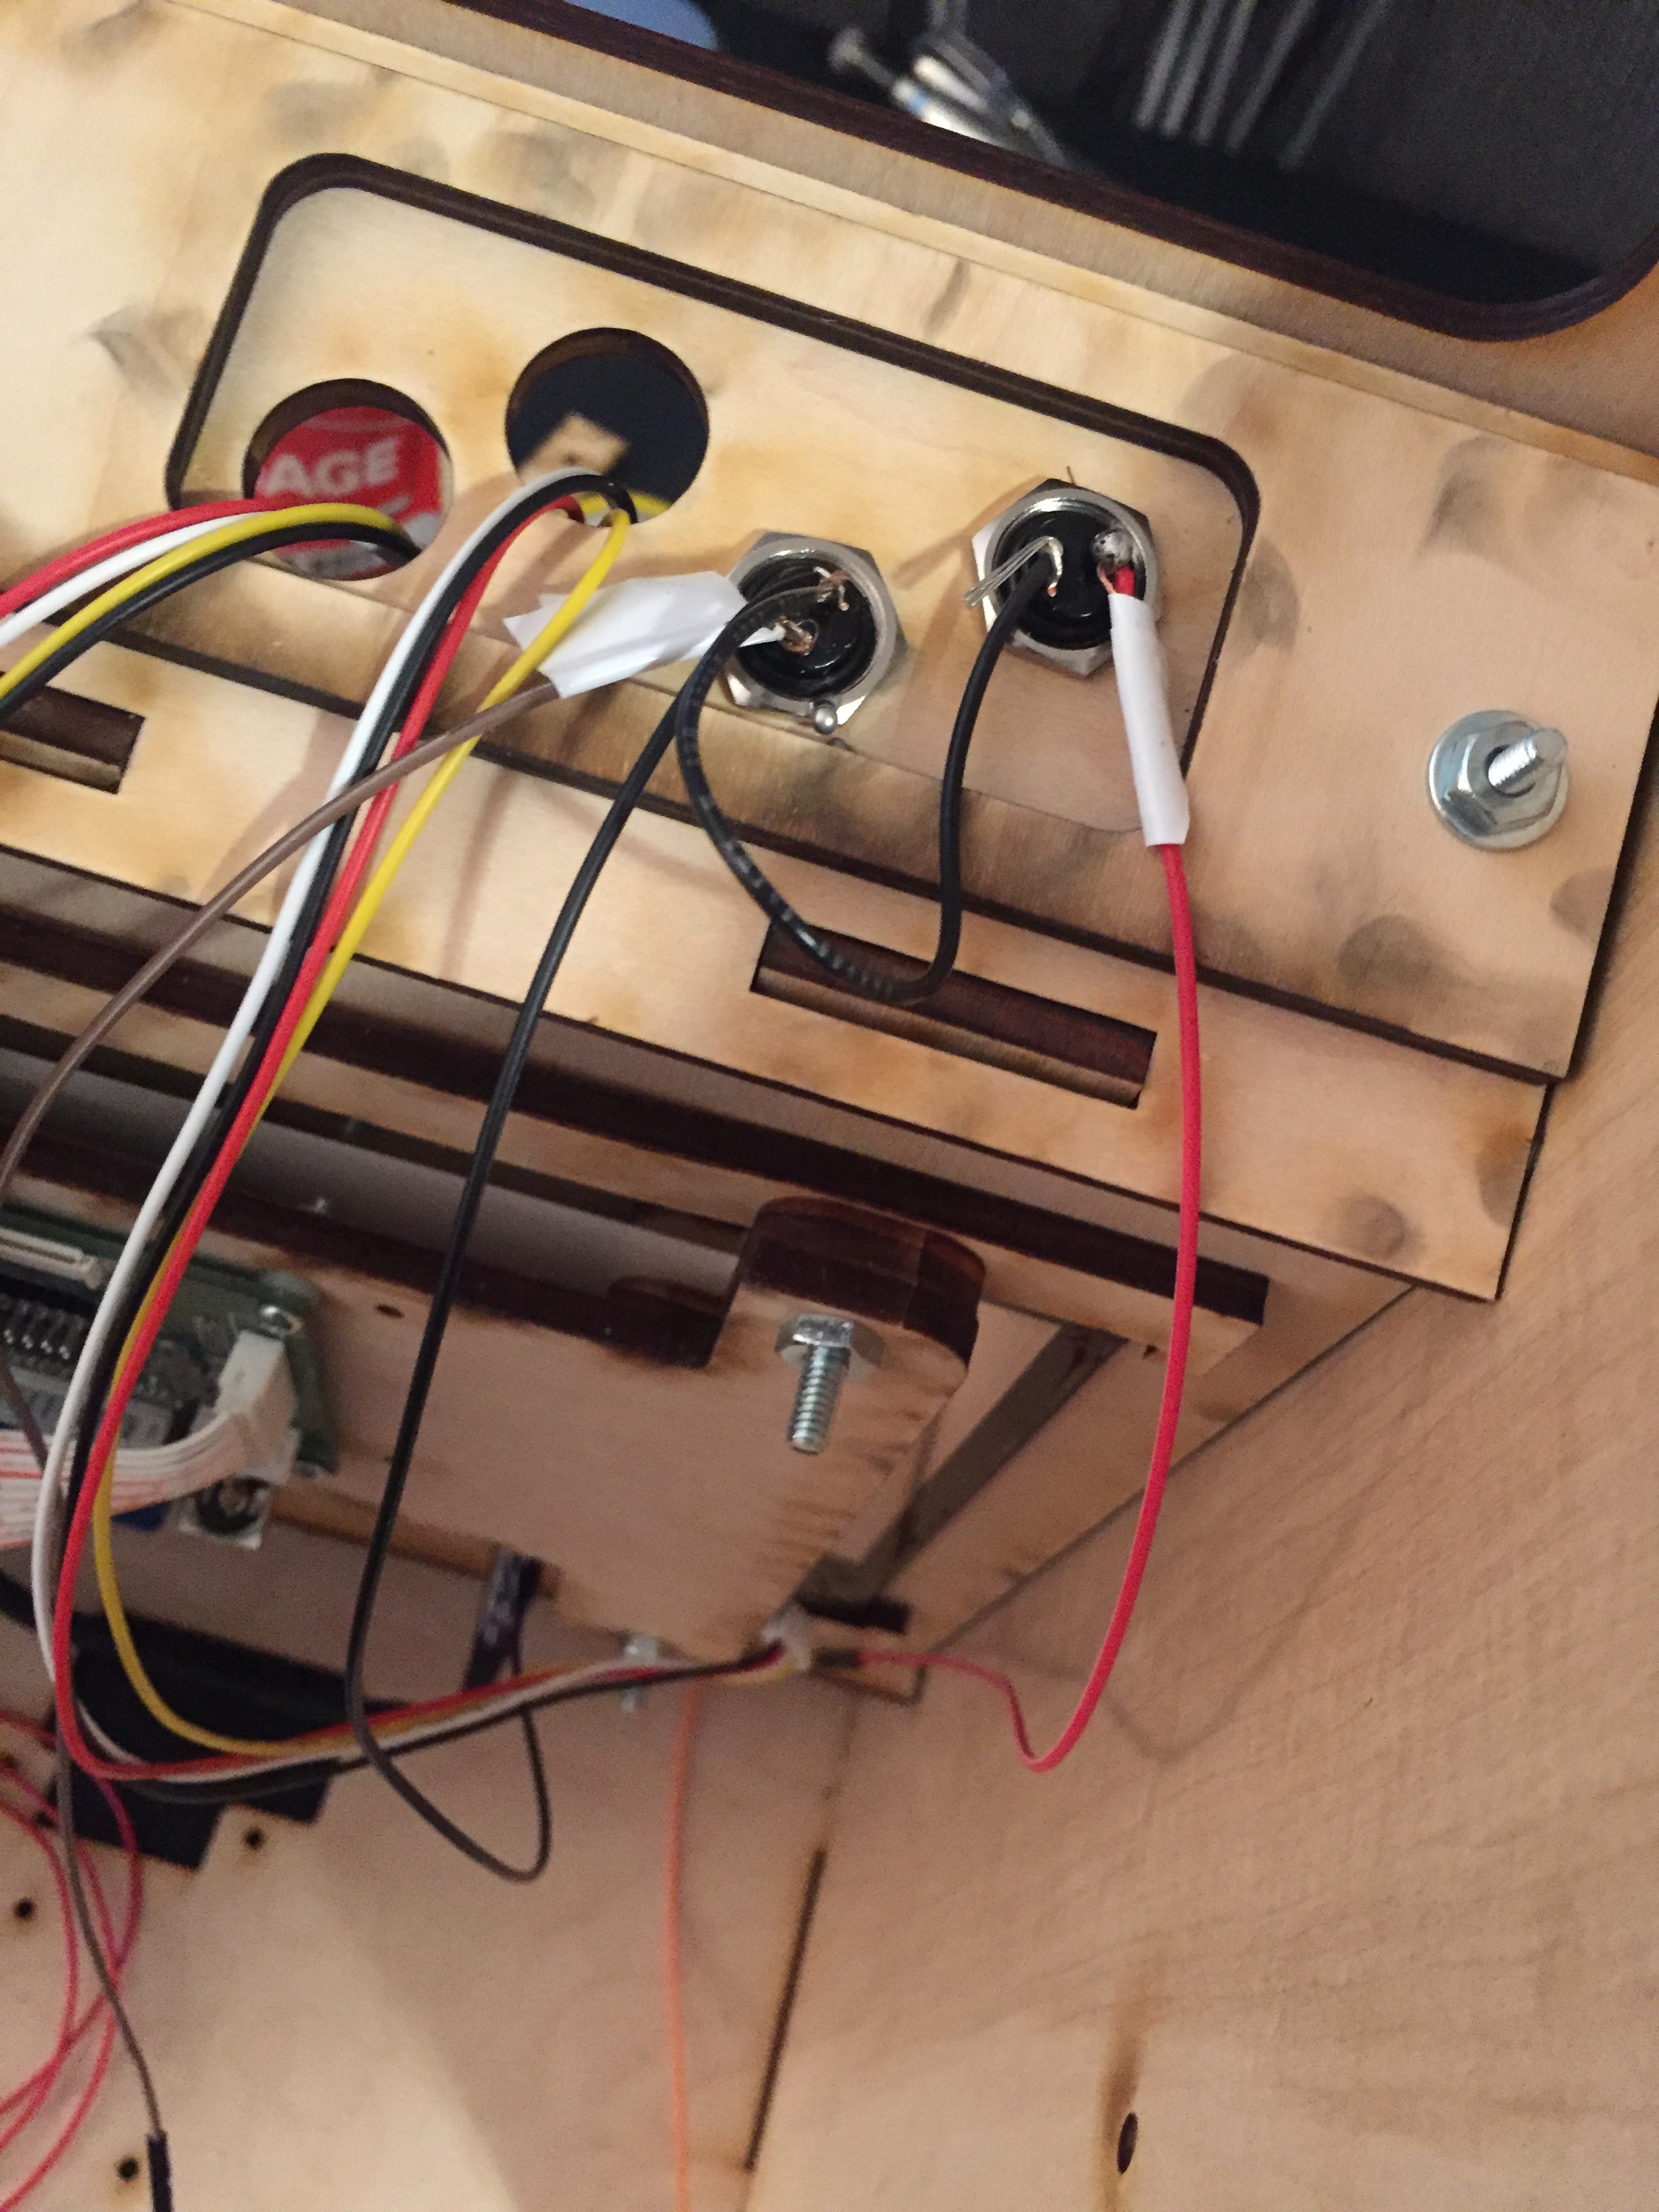
1) First you need to solder the power splitted to the small connection that will be on the back panel of the arcade (pic 1). You'll want to solder these connections to ensure there aren't issues.
2) hook up each end of the splitter to the audio control panel and the LCD control panel. Connect your 5 volt power connection to the other side (do not plug in yet!)
3) hook up your micro-usb power connection to the raspberry pi (do not plug in yet!)
4) it should look like the final photo here
First Time Startup and Completing the Project!
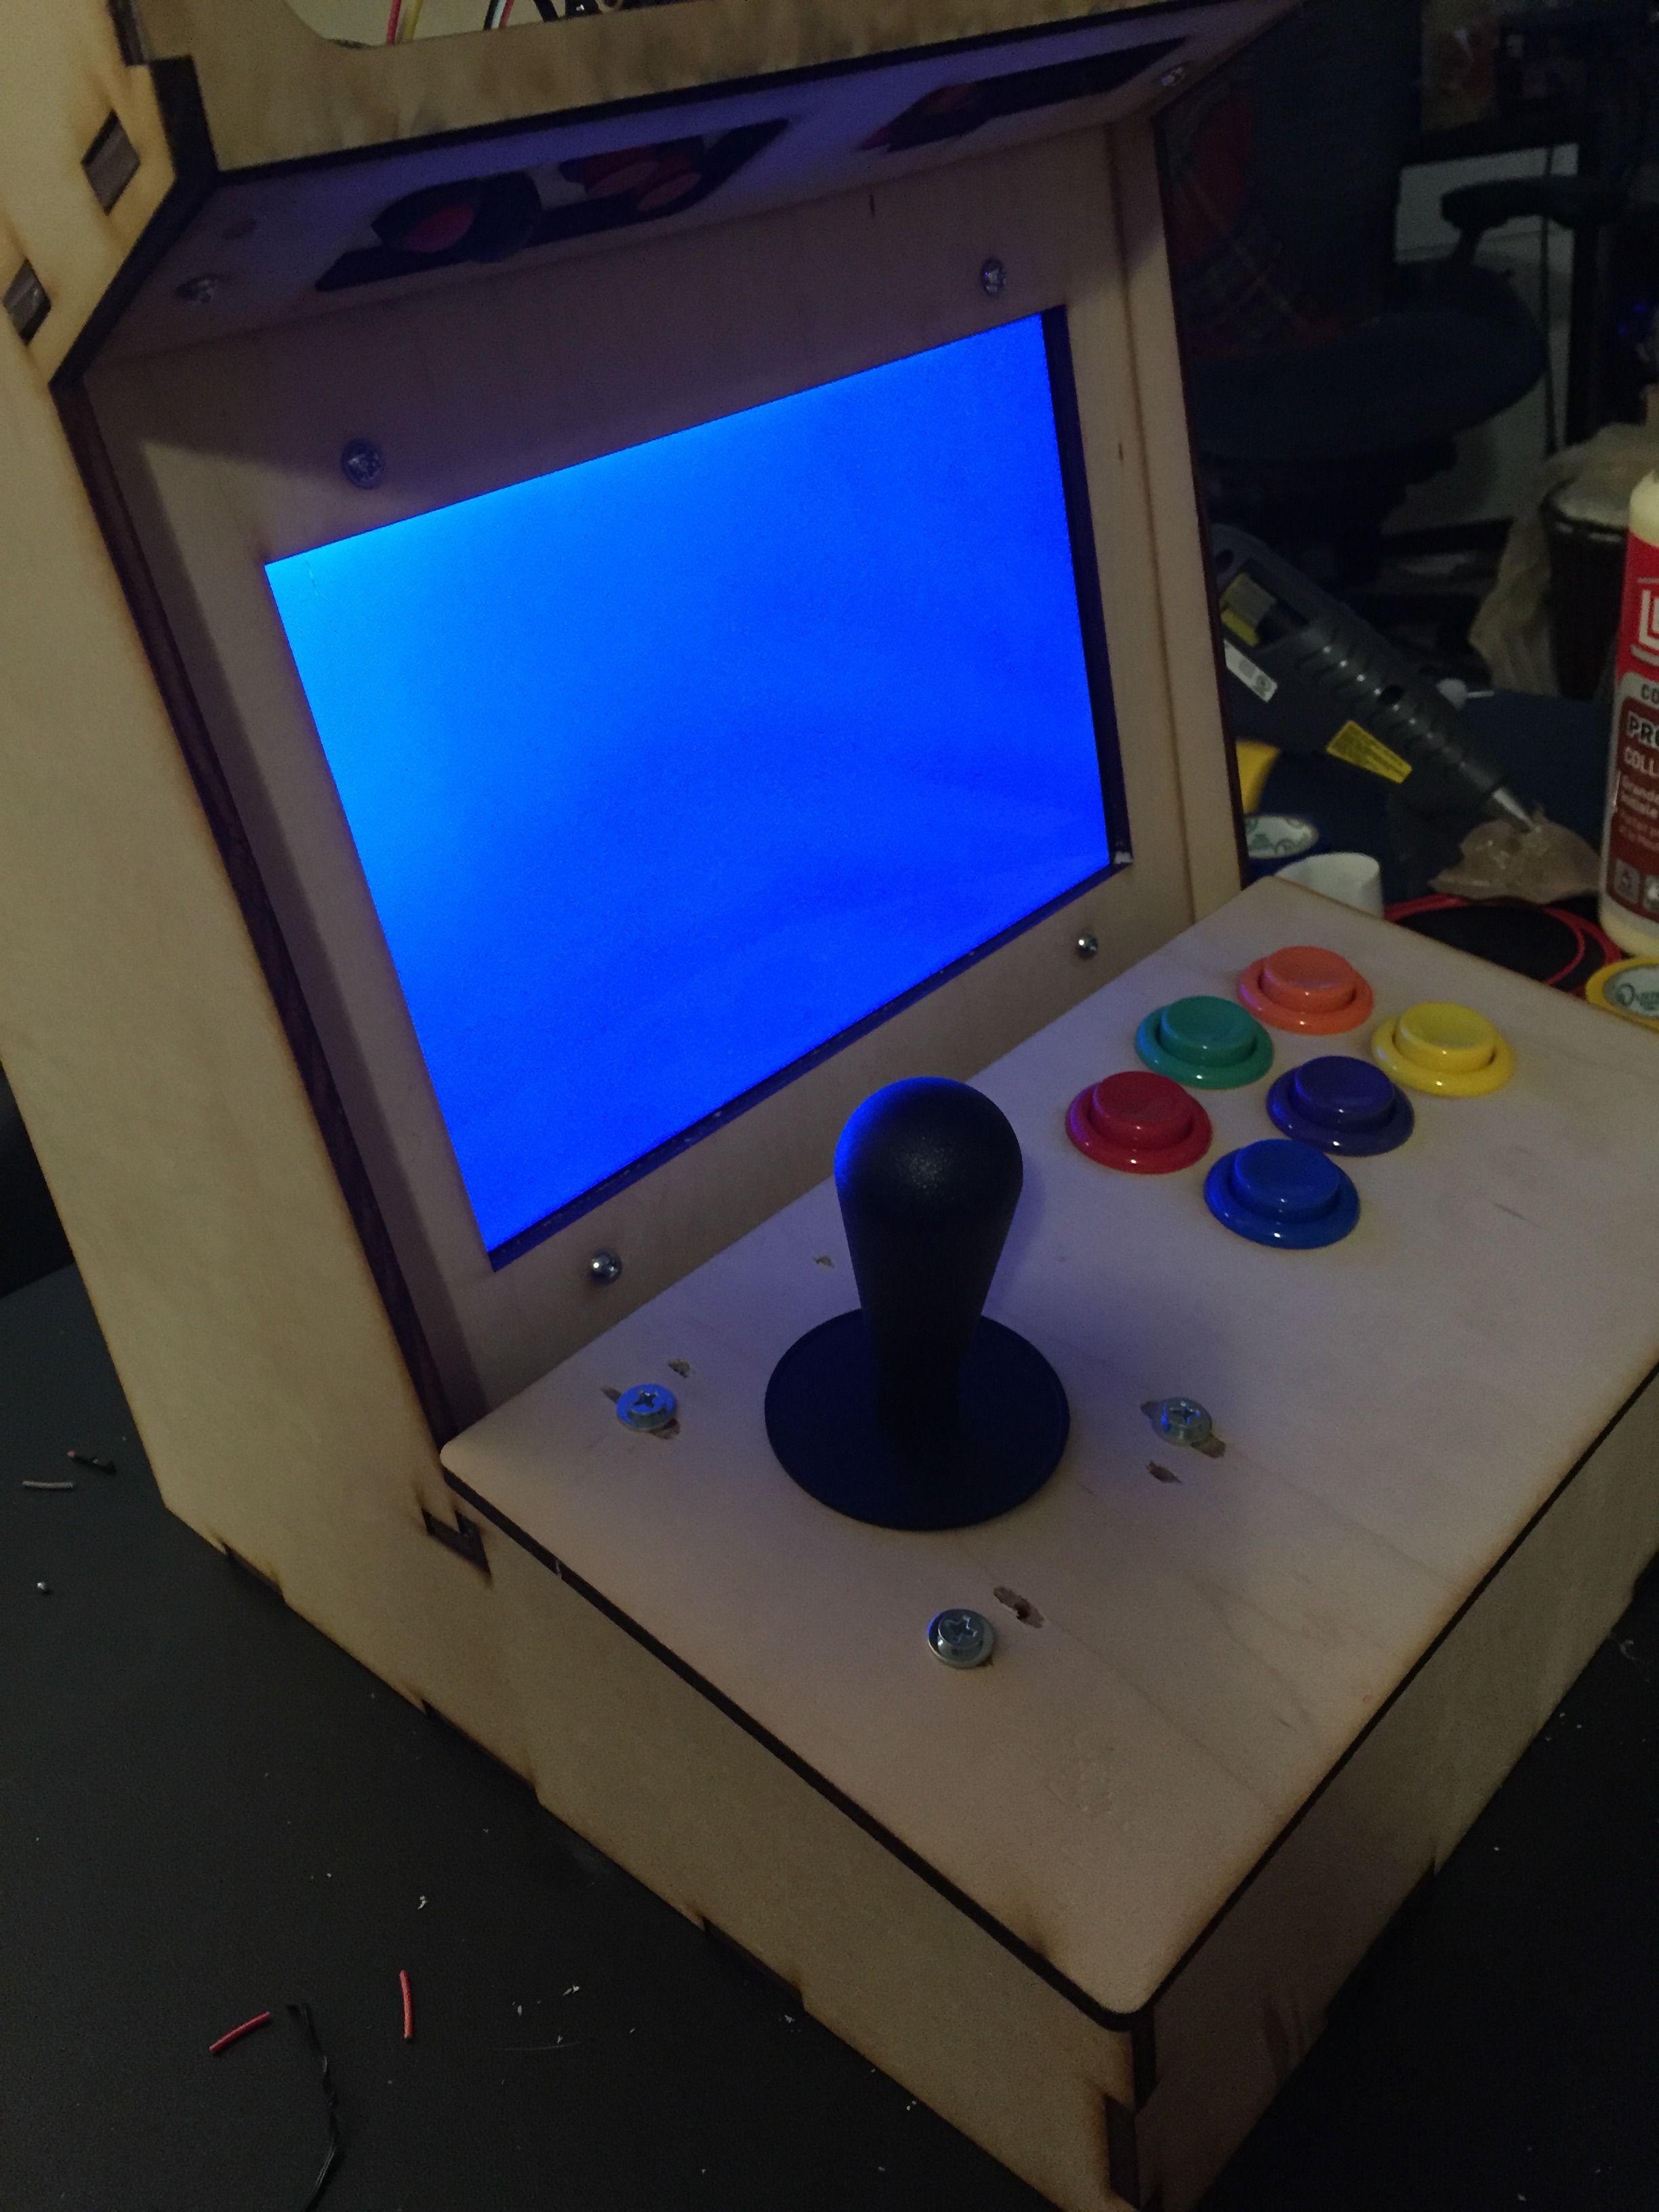
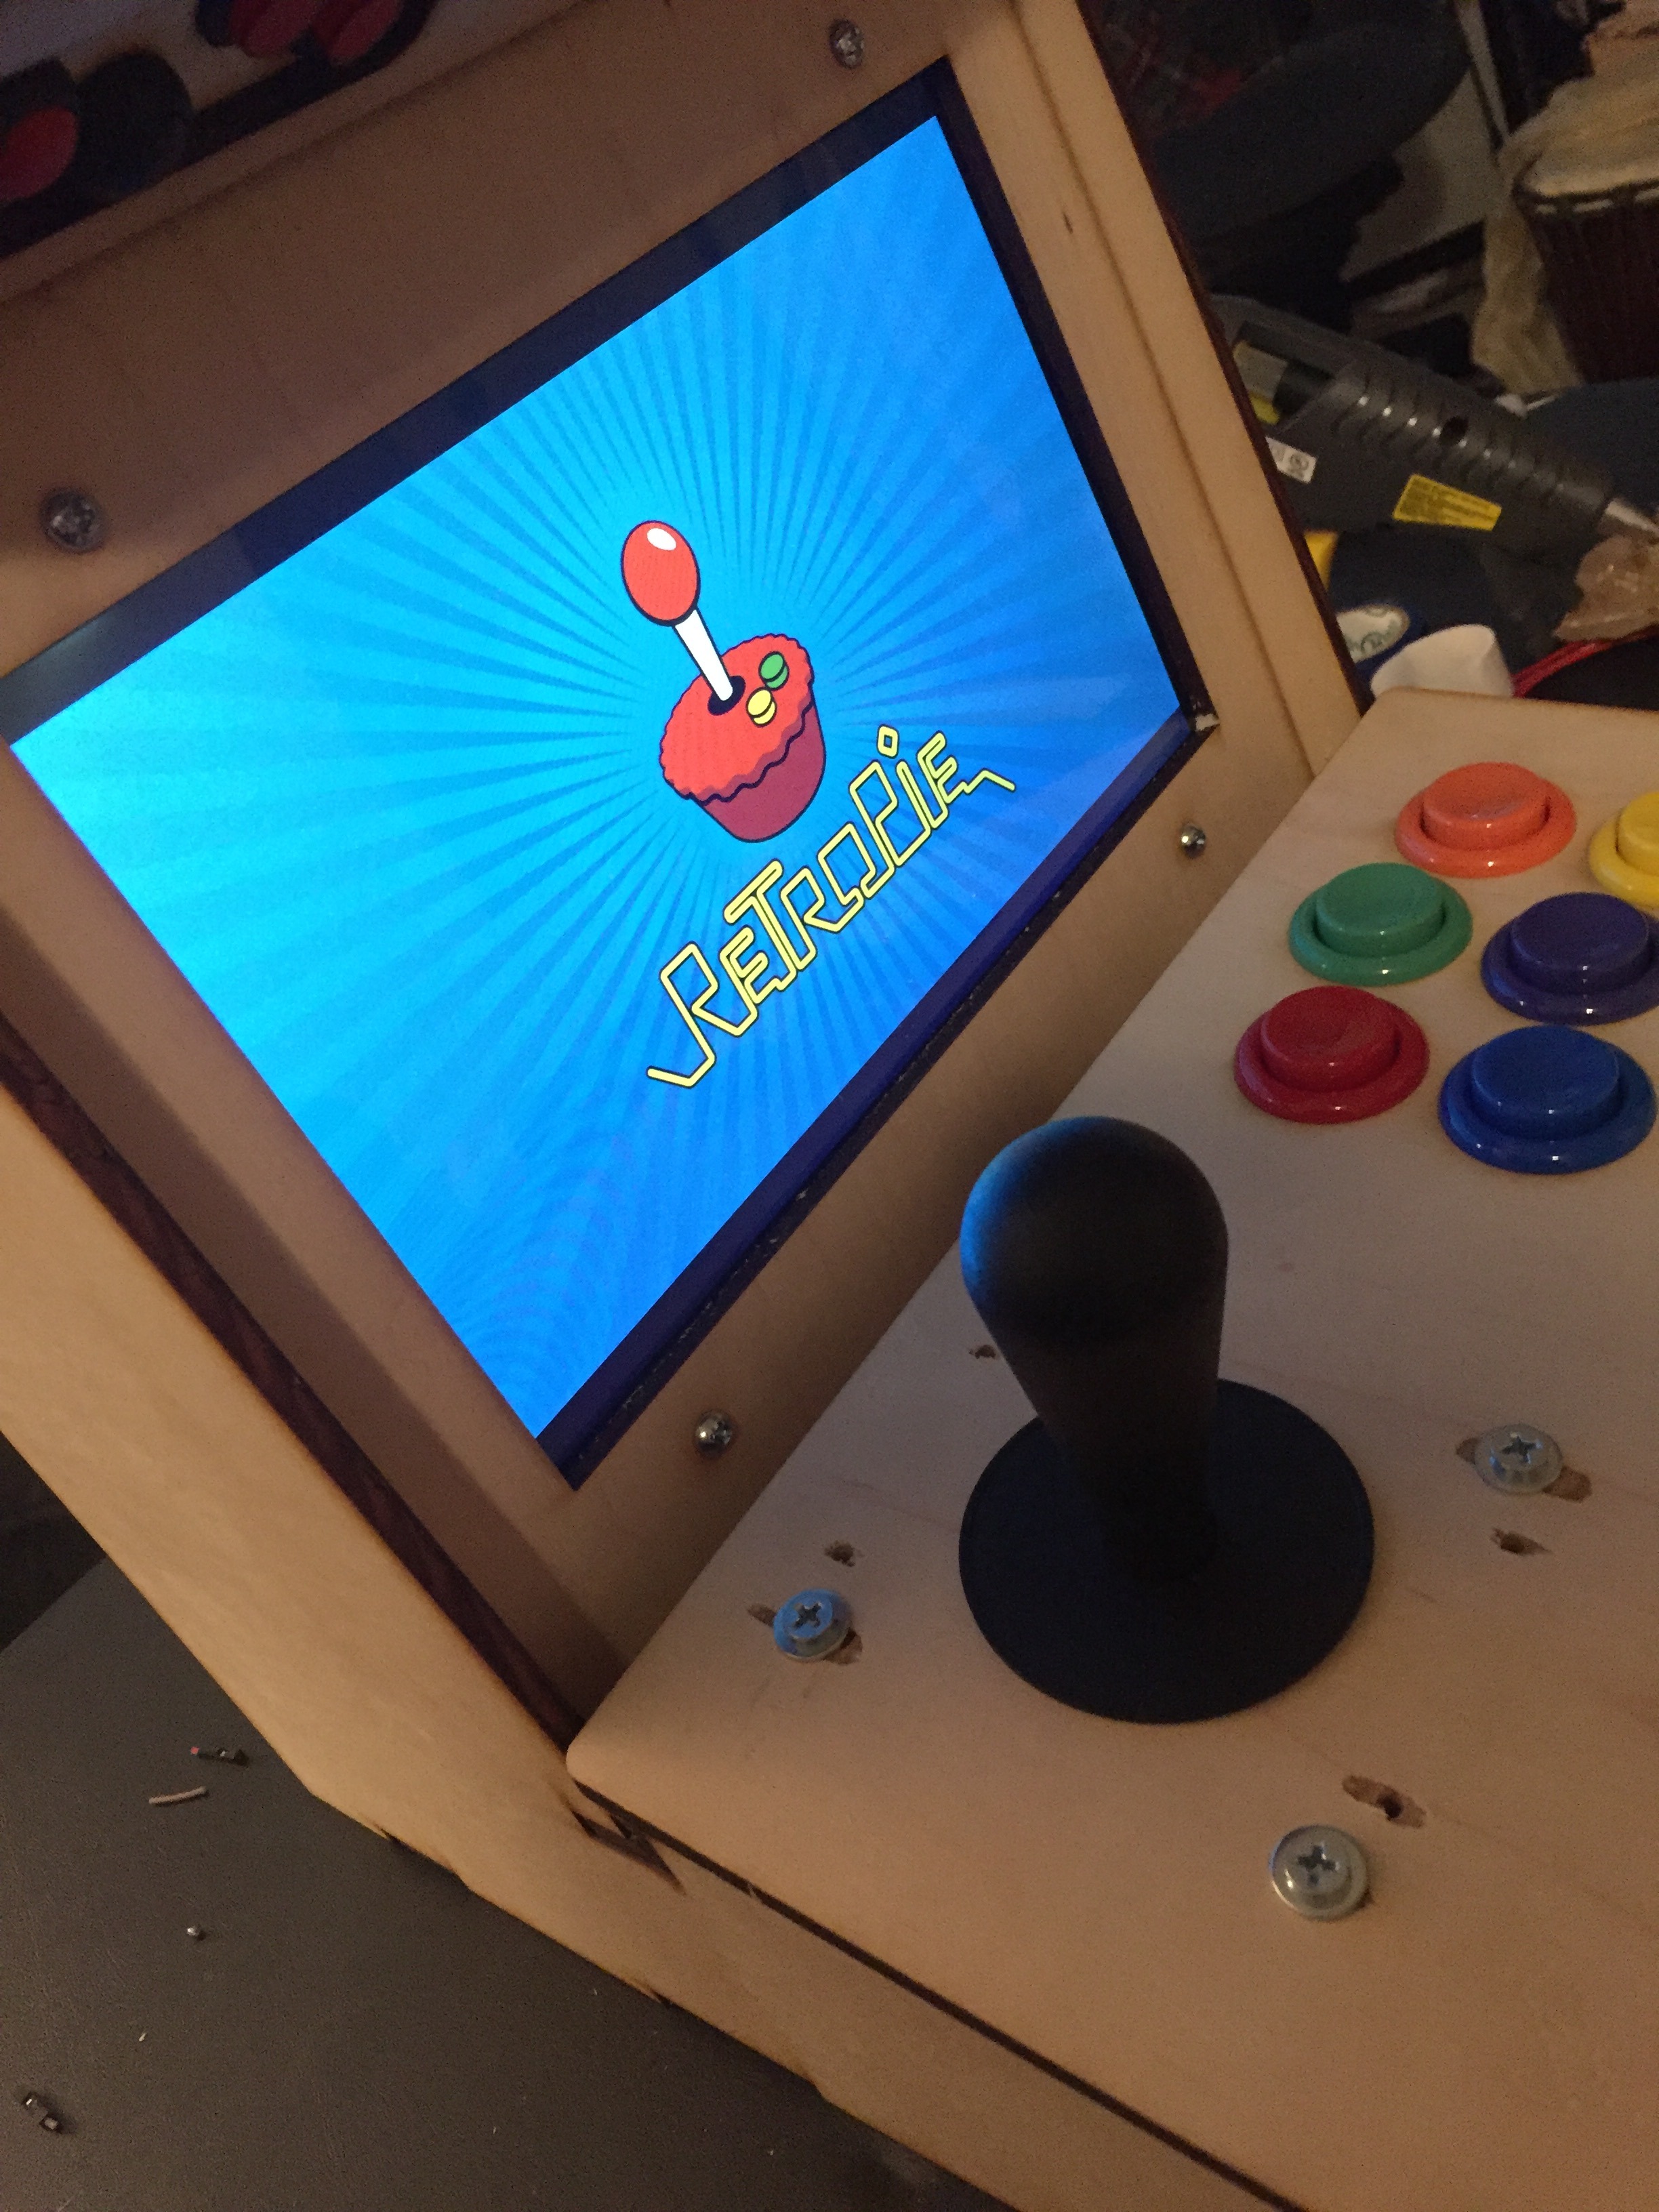
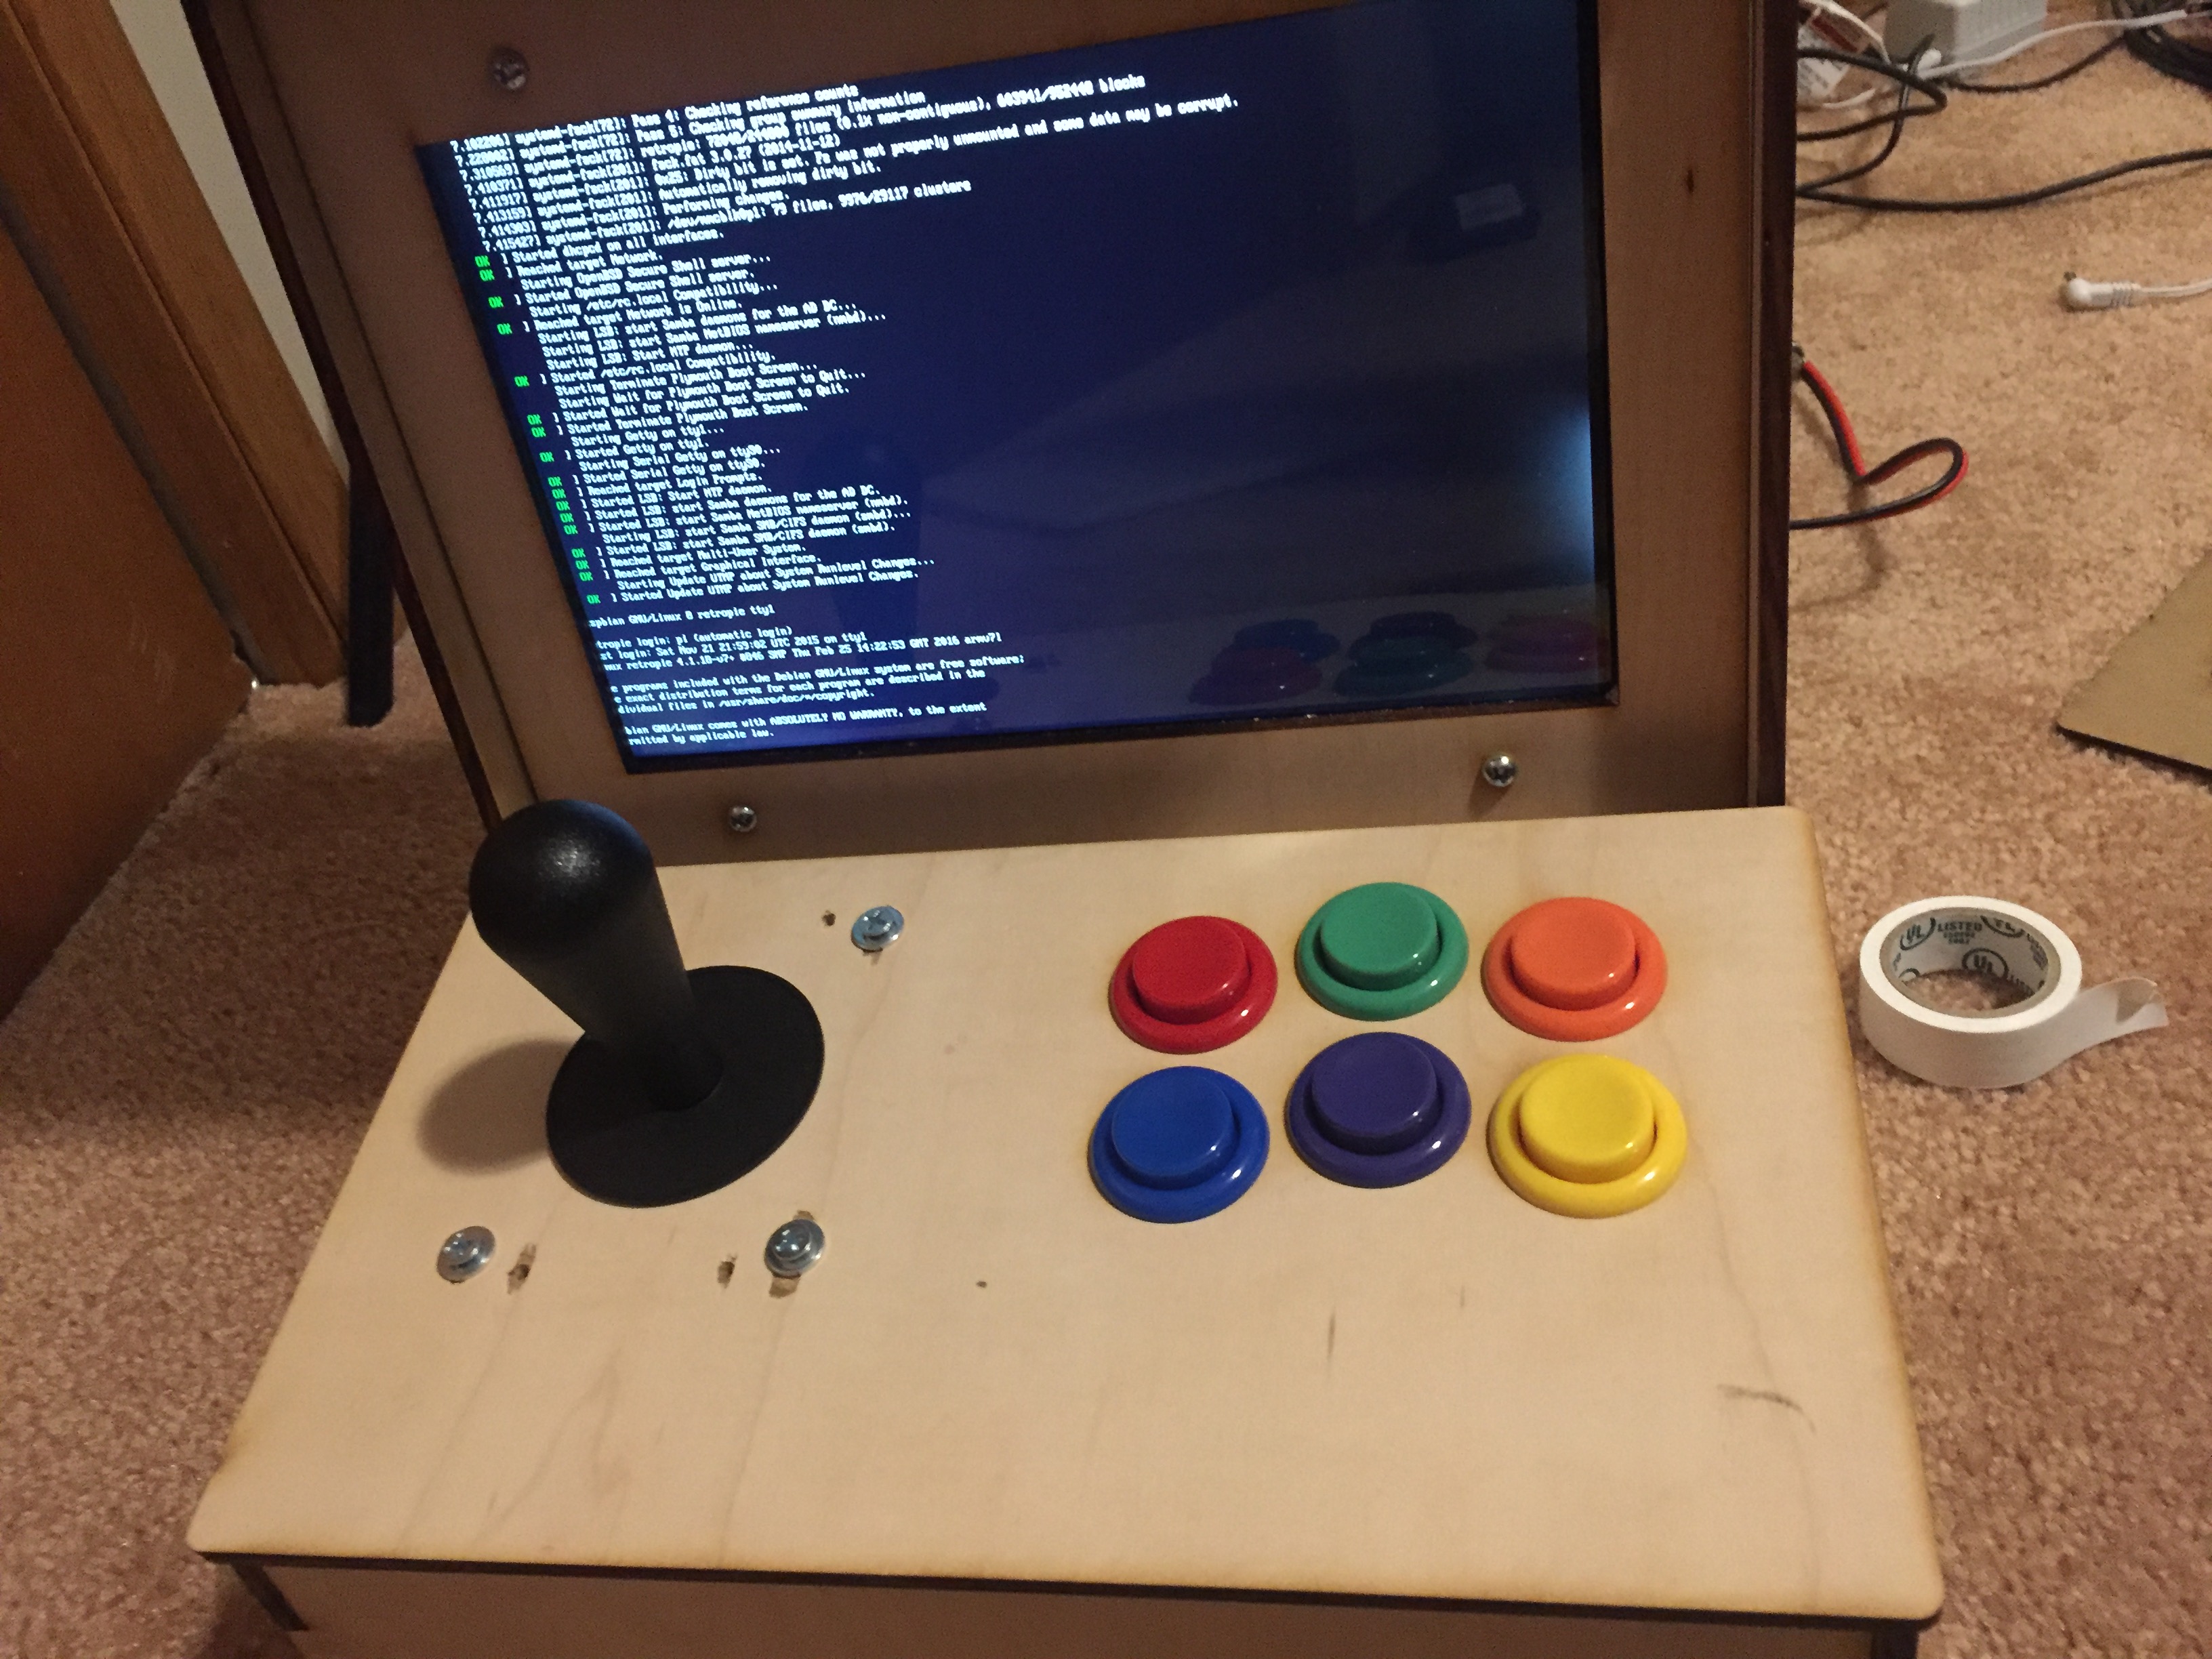
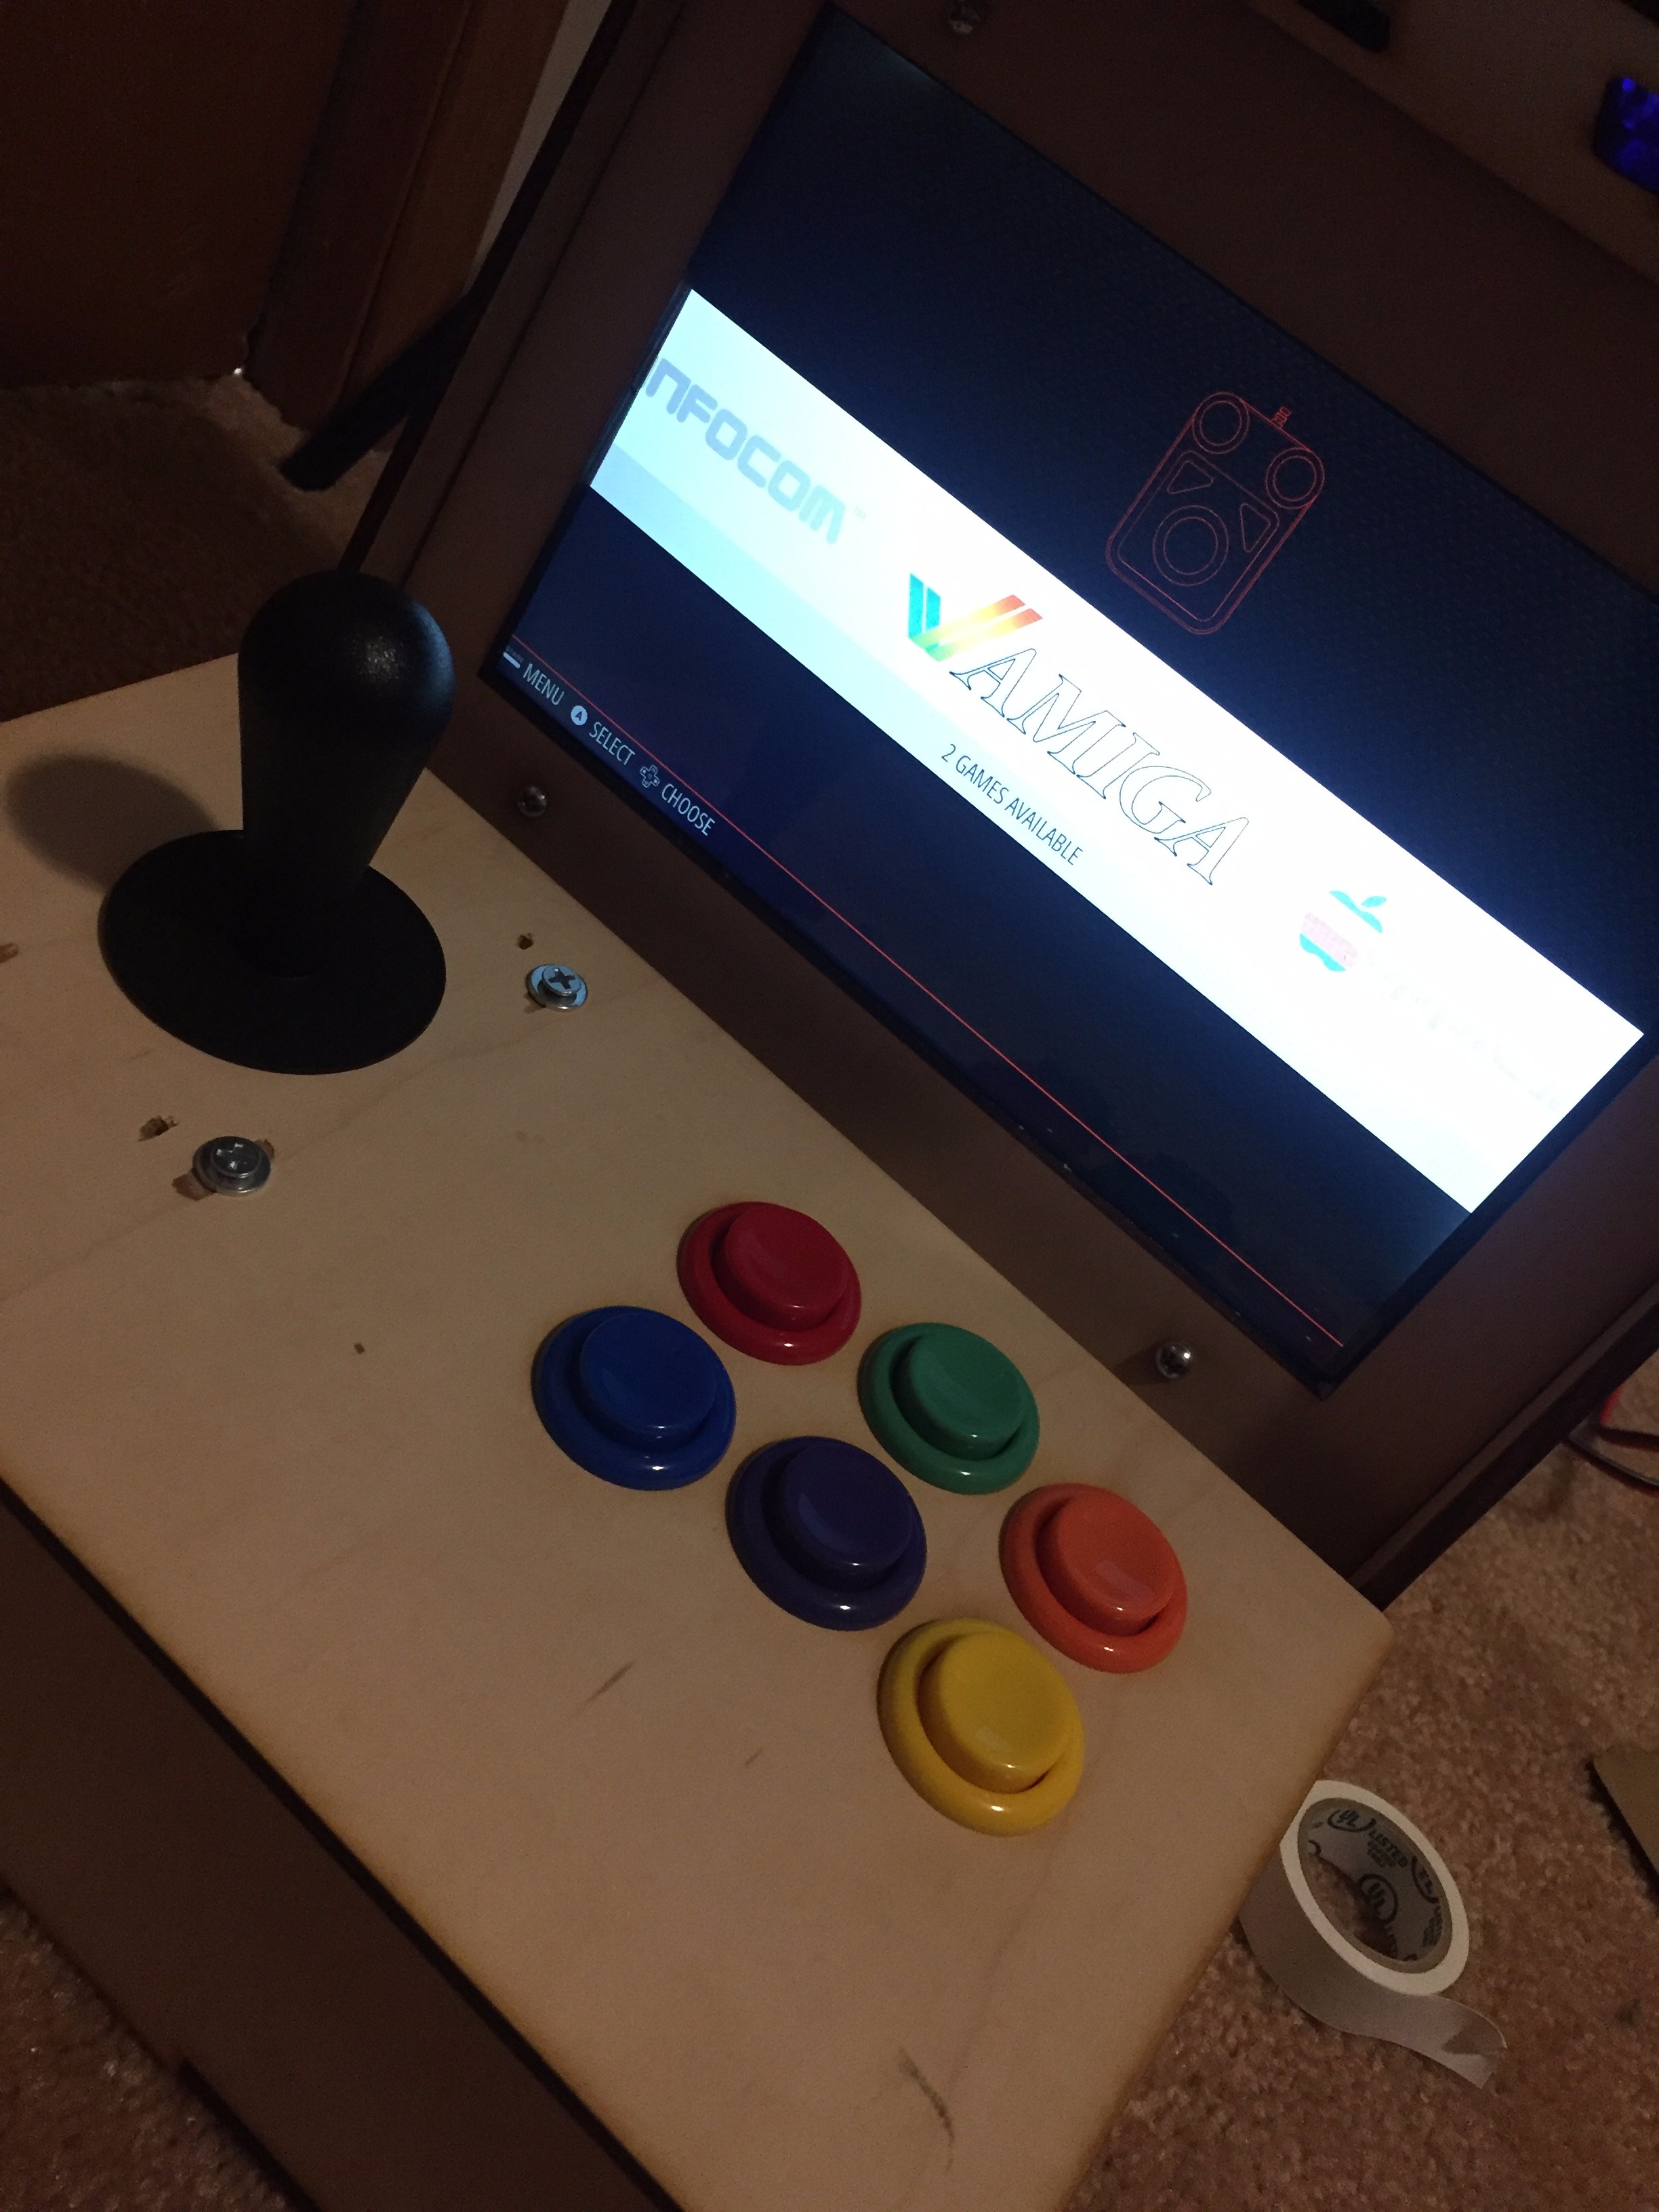
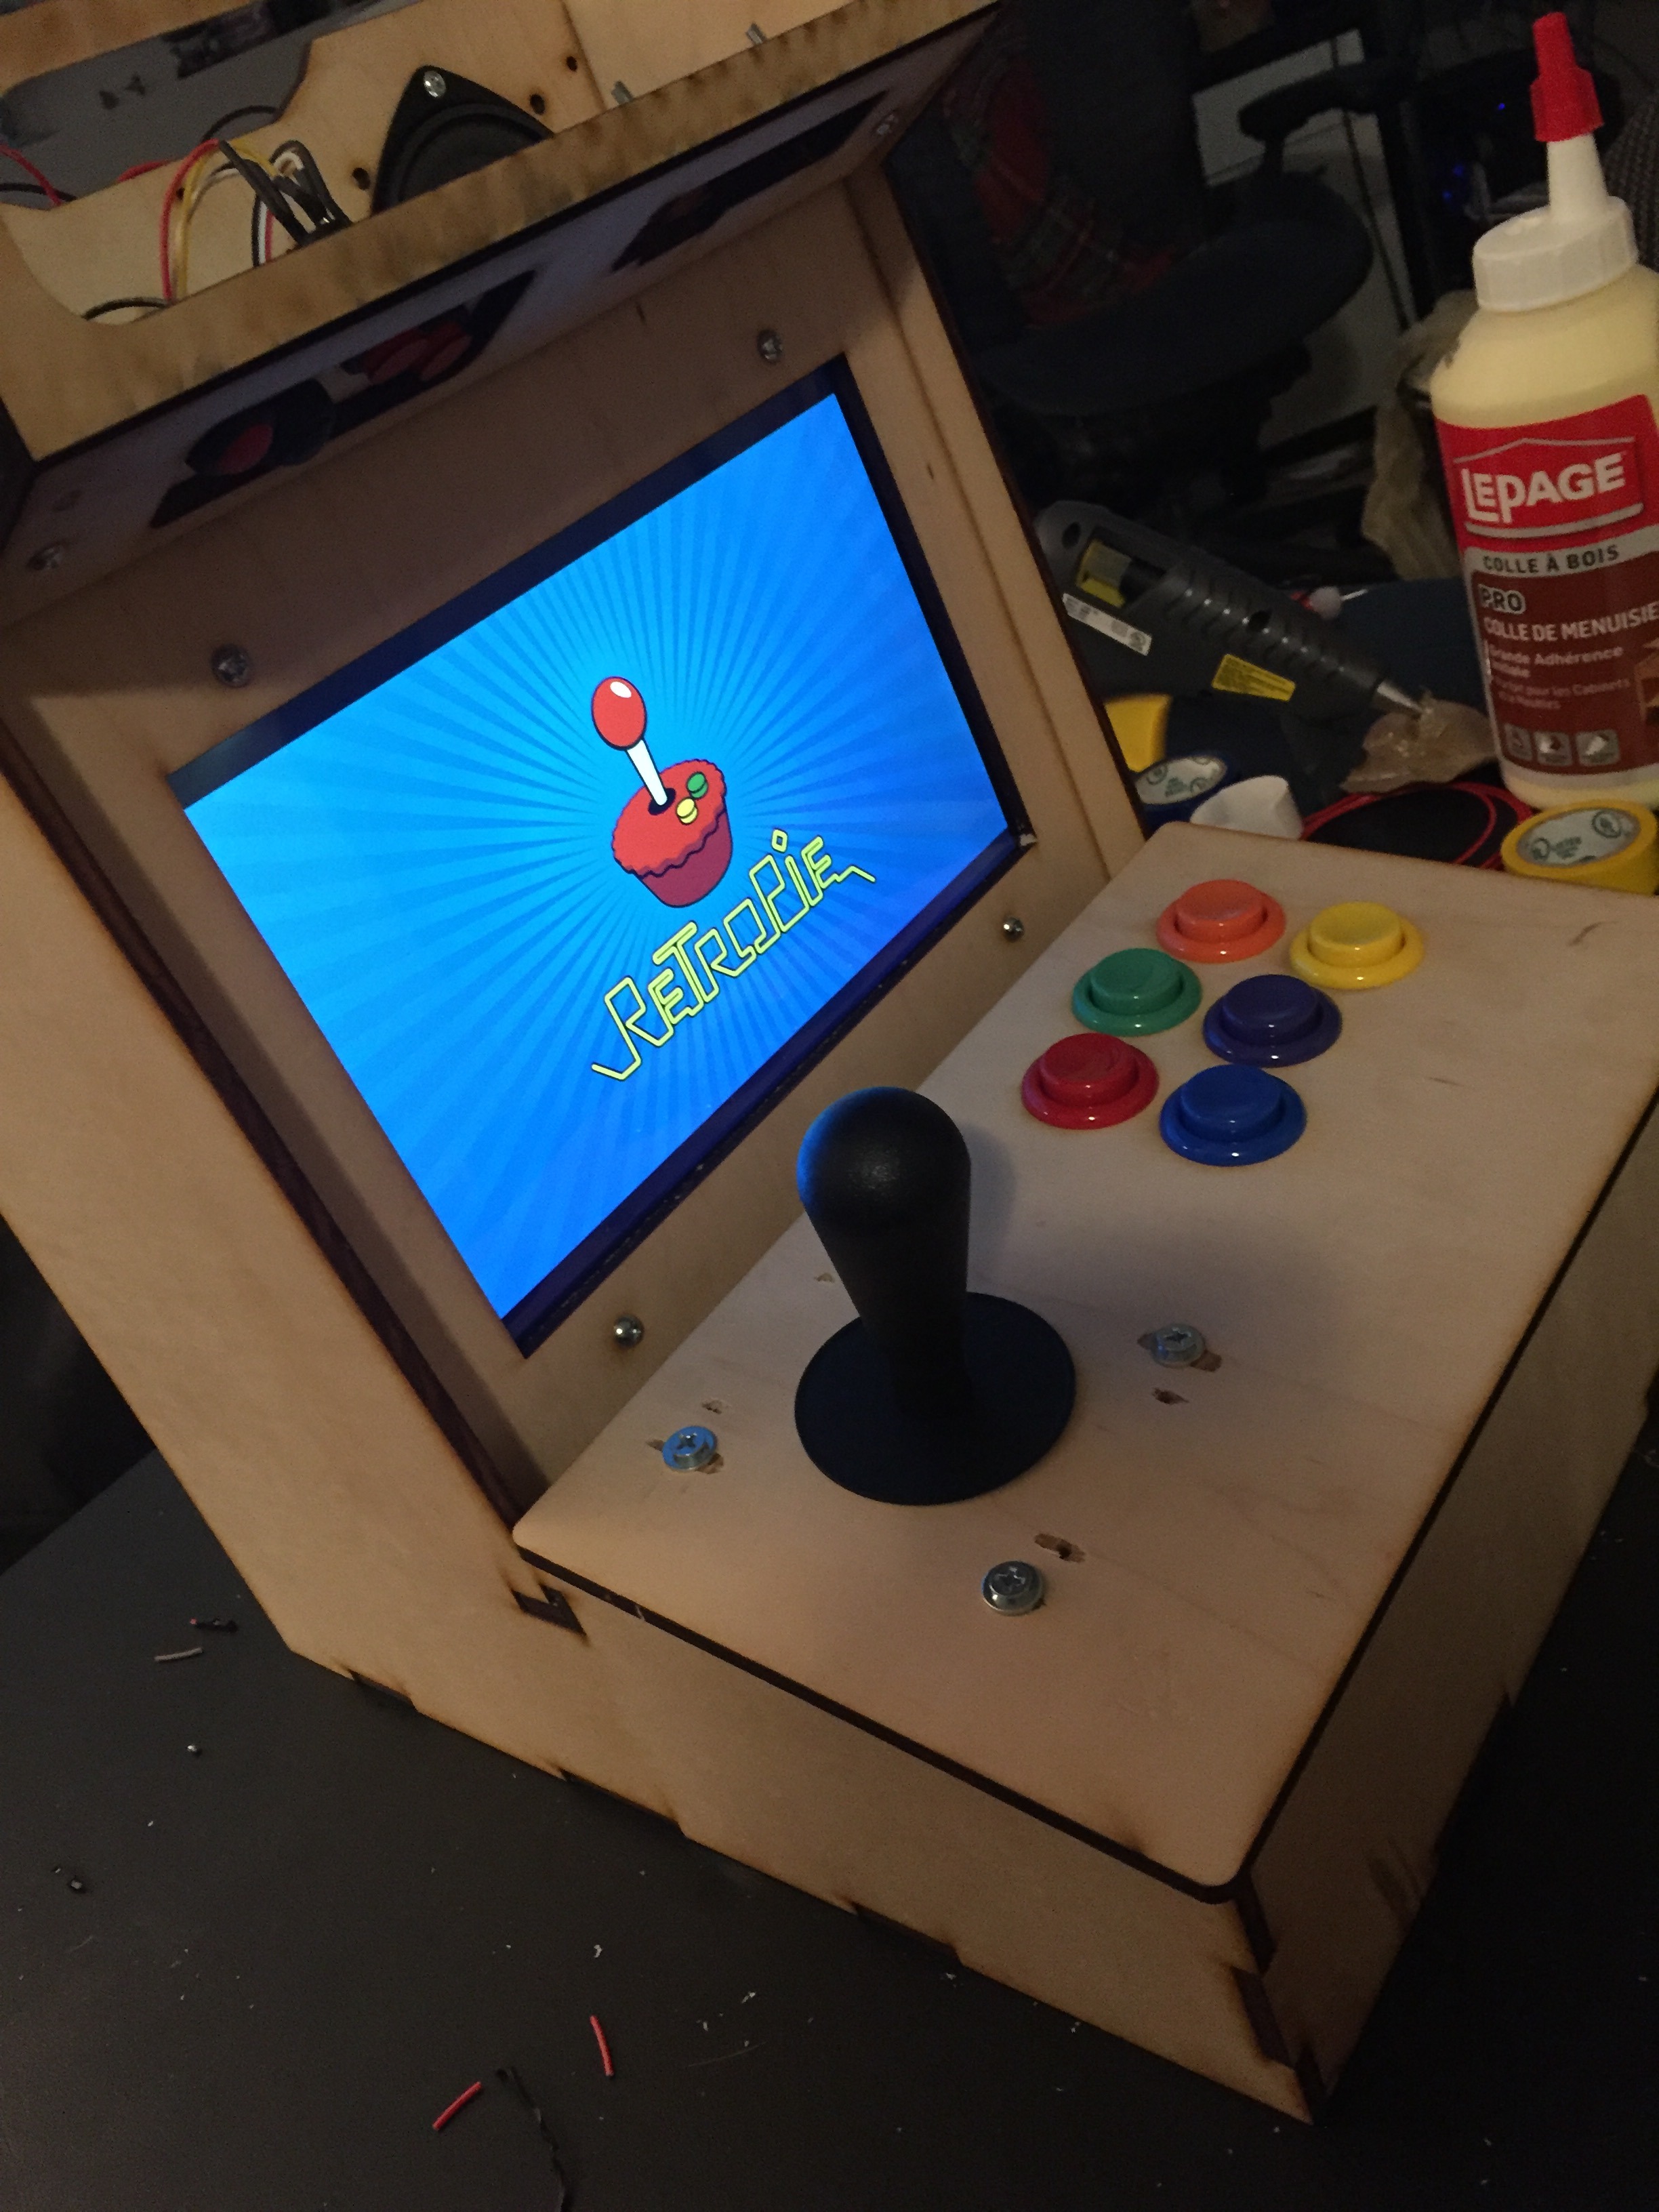
1). Load the RetroPie software onto the SD card for your Raspberry Pi. The software dev has provided a helpful guide for how to do this here: https://github.com/retropie/retropie-setup/wiki/Fi...
2) once the SD card is loaded with the RetroPie Software, flip your machine on its side and insert the micro-SD card to the underside of the Raspberry Pi.
3) ALWAYS plug in the screen / audio FIRST - the screen and Pi require a 'handshake' to establish connection when the Pi is first connected. You should see a plug screen like pic 1 with no HDMI connection.
4) Plug in your raspberry Pi SECOND, you should see it go through the screens on pic 2 and 3 before eventually loading the launch screen in pic 4. If you got here, everyone is working correctly. There should be some sample, open source games in the retroPie option to try out.
5) to load ROMs onto your new machine, I suggest reading through this guide provided by the software owner: https://github.com/retropie/retropie-setup/wiki/Tr... - it will show you how to add roms and load them into your machine. Remember to only use roms you have the legal right to use.
6) if everything is working well at this point, you can do your final gluing to make your machine complete! Congrats! you just made an arcade machine!