Making a Halloween Mask and Costume
by BeanGolem in Craft > Costumes & Cosplay
11315 Views, 10 Favorites, 0 Comments
Making a Halloween Mask and Costume
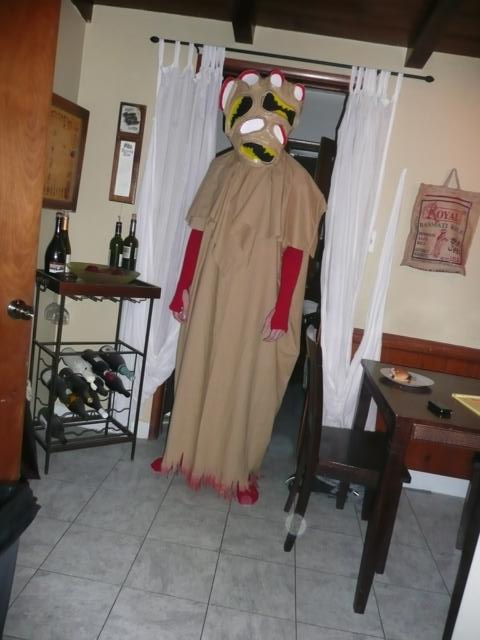
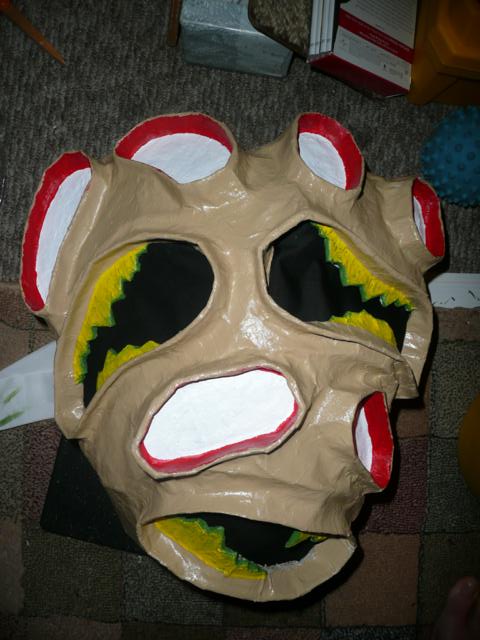
Using my own as an example, I will go through the general steps of making a Halloween mask and costume. Hopefully you'll have enough time before Halloween to take something useful from it. Woo.
Design the Mask
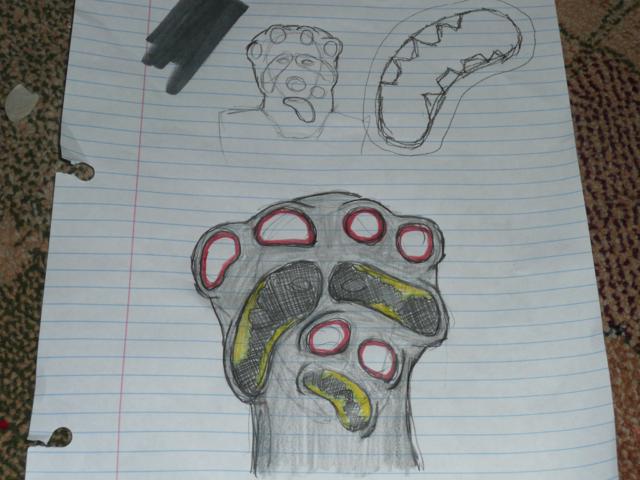
Sometimes it's fun to just start hackin' away at a project but, with a little tiny bit of planning, a project can have that appearance of finesse (or actually HAVE the finesse).
Get out the old bag/sack/box of art supplies and get to it. I prefer to start with a rudimentary head shape on paper, maybe add in shoulders depending on the mask. The idea here isn't to actually plan out the HOW of making the mask, but rather to create the WHAT. Just get it on paper. With your head drawn, start sketching over it with your basic ideas. Play around and don't count anything out because you don't know how you're going to make it. We'll get to that part.
Some questions to ask yourself:
Do you want a humanoid?
Will it have eyes? mouth? ears? etc.
What color will it be?
Am I going for cute or scary?
When you're satisfied, start gathering materials. As we start building the mask, you'll see why having a picture in front of you will help.
Build a Crown
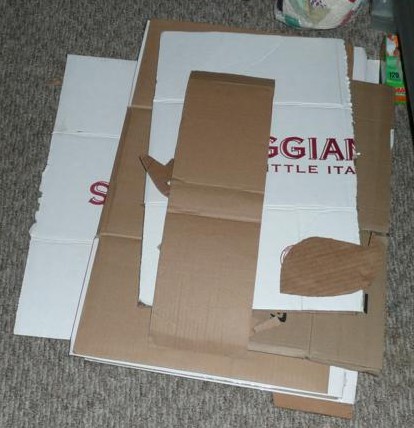
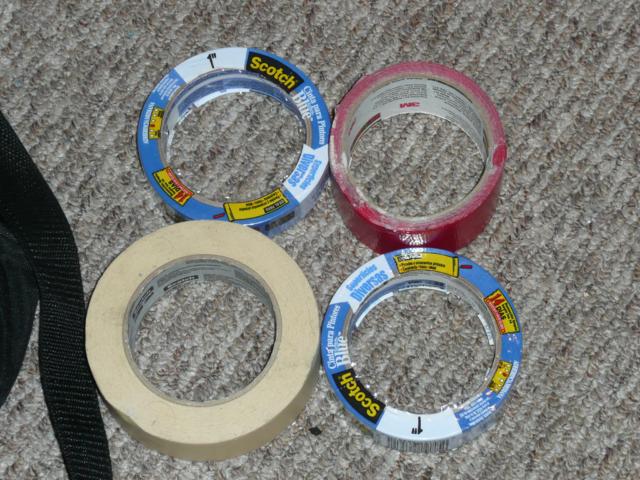
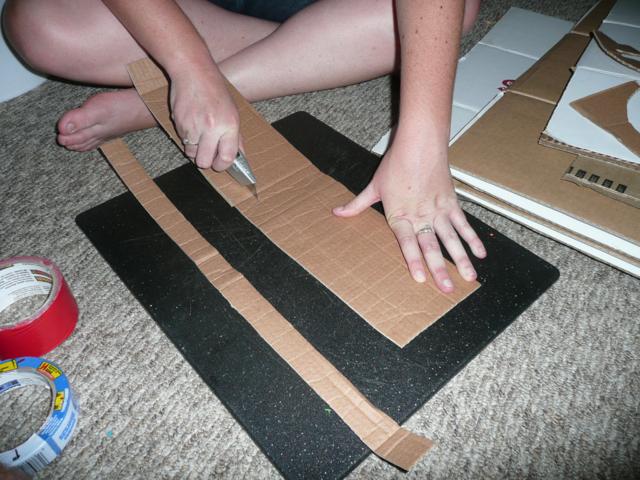
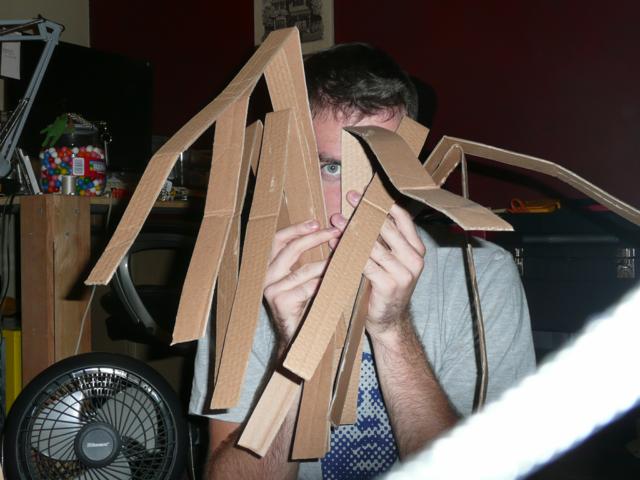
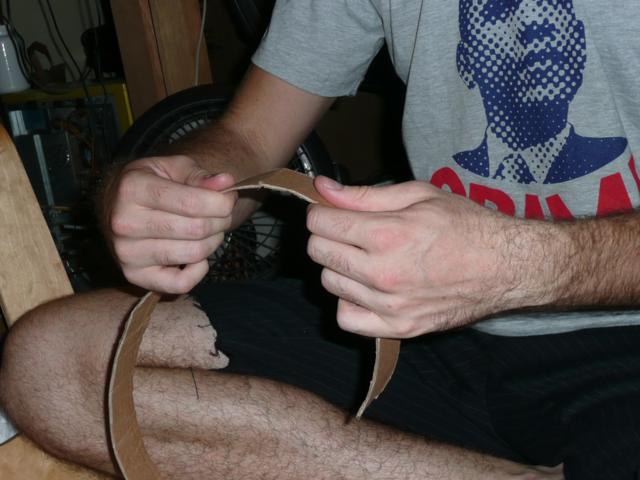
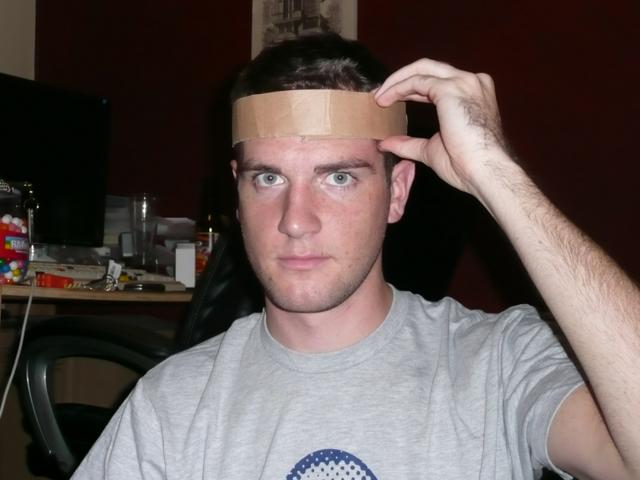
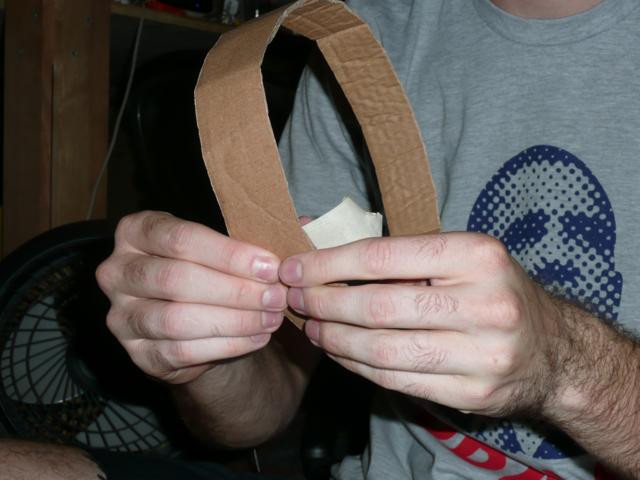
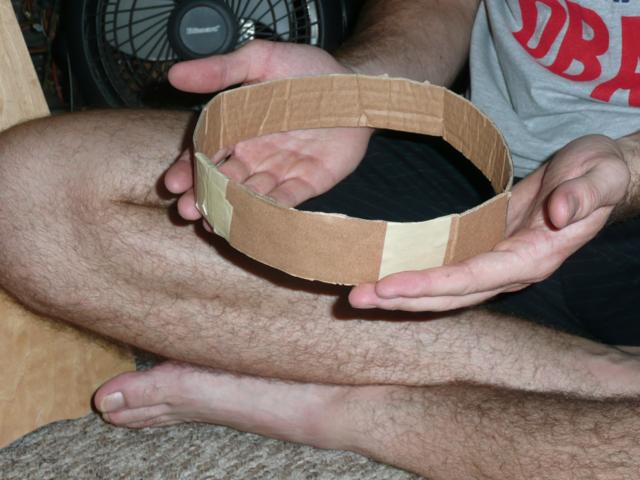
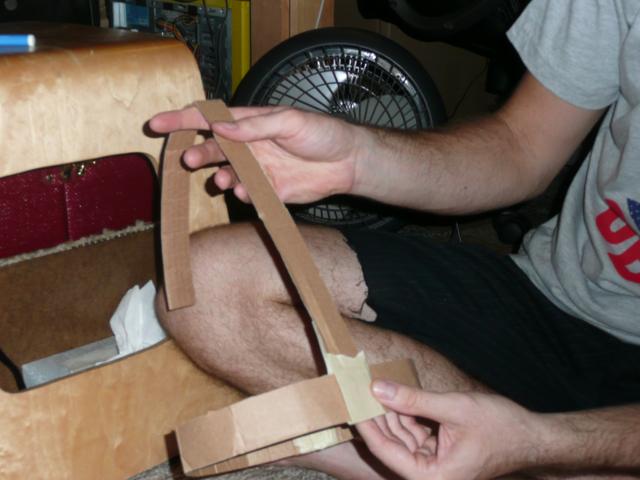
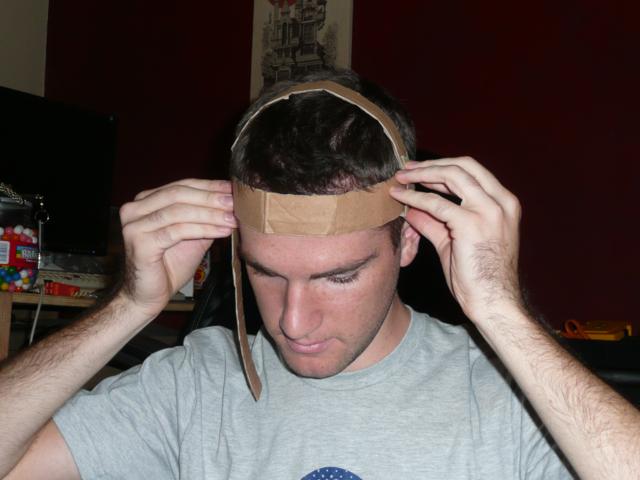
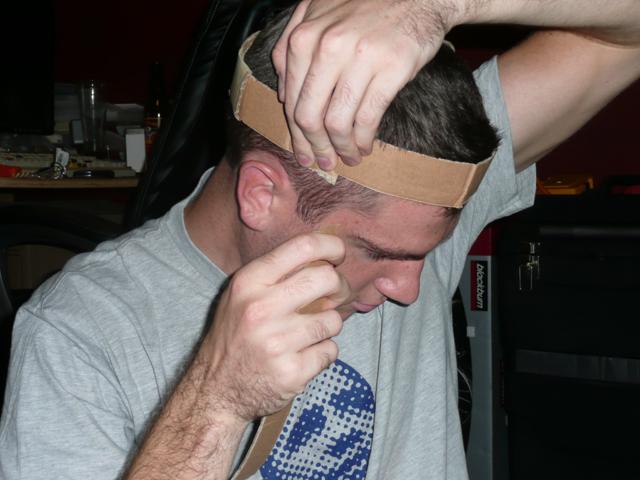
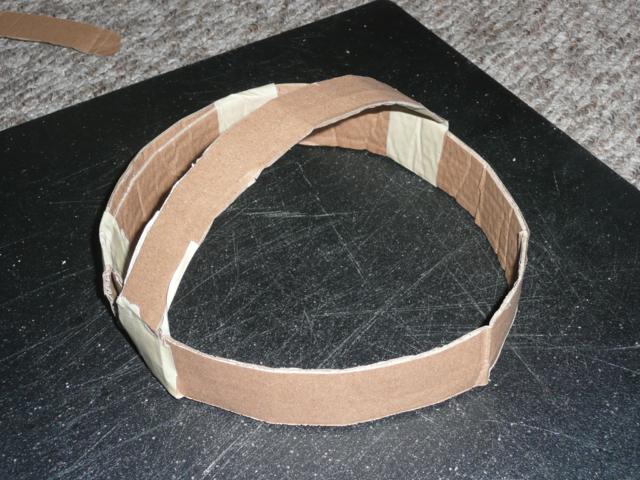
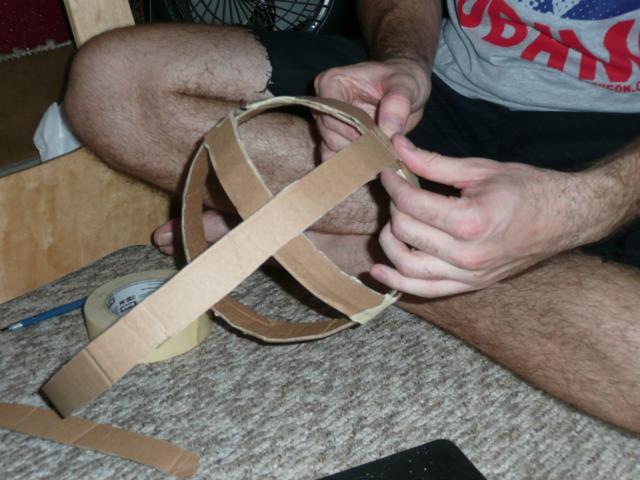
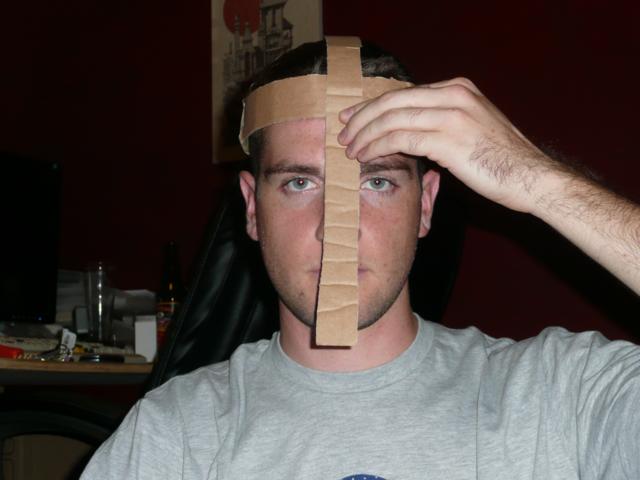
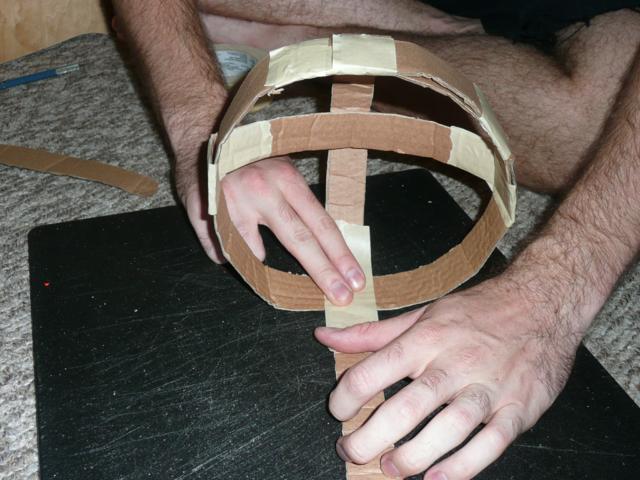
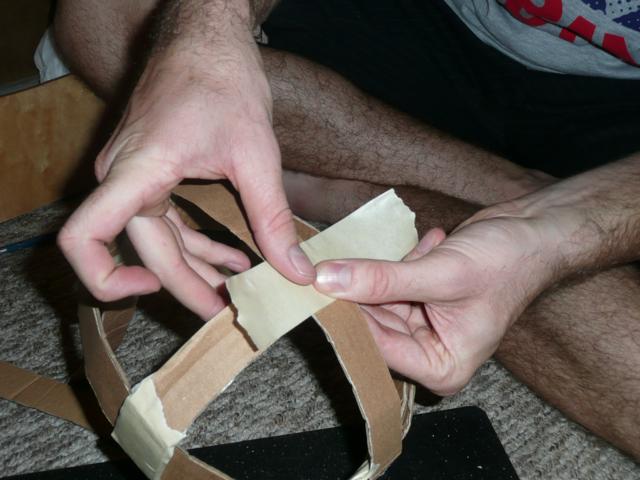
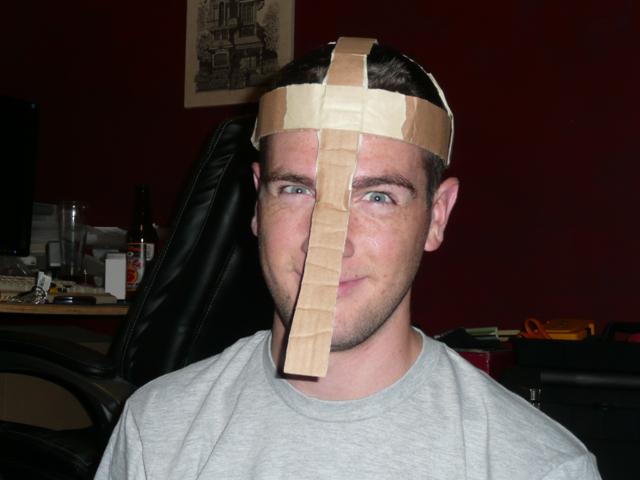
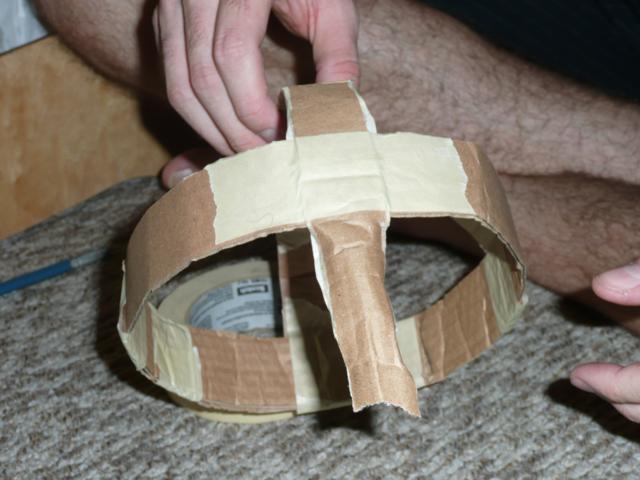
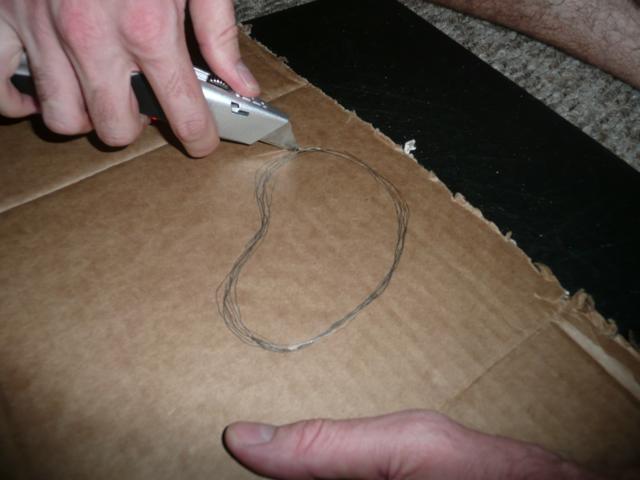
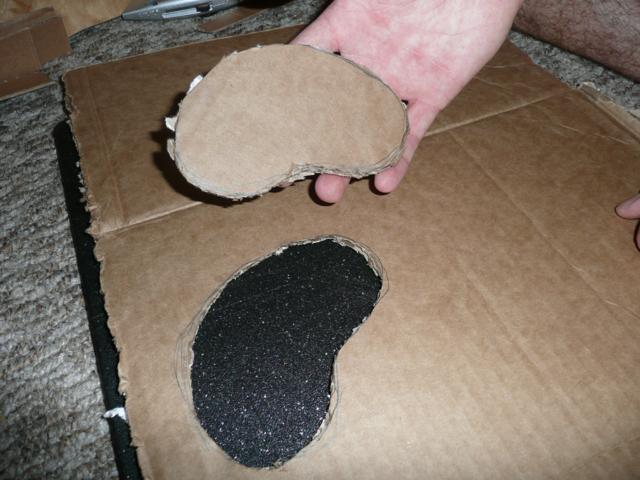
A good mask will need some sort of crown/helmet-like portion to serve as a base while you construct the aesthetic features. My materials of choice are cardboard and tape.
Materials:
Pile of cardboard (I keep one handy at all times) (pic 1)
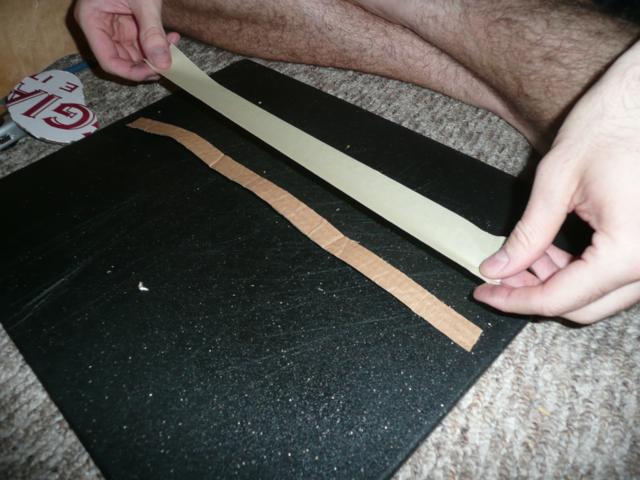
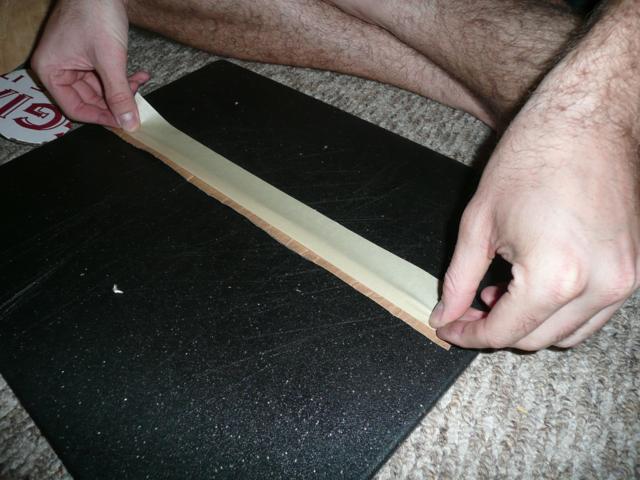
Masking or other tape (pic 2)
Tools:
Cutting Board
Knife
Awesome Cutting/Photography Assistant
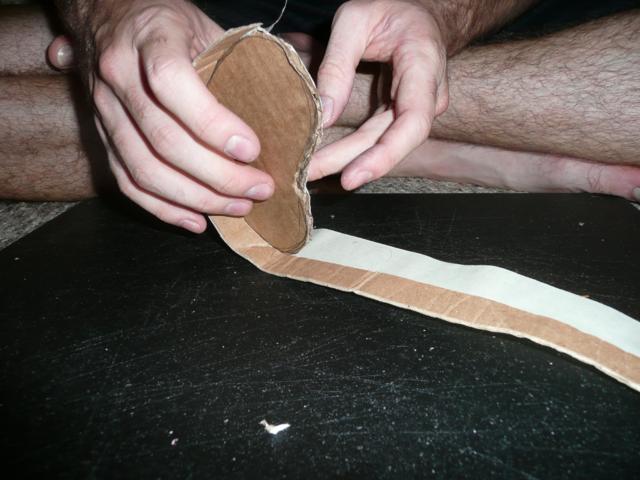
Start by cutting a whole bunch of 1" to 1.5" strips of cardboard. These will serve as the building blocks for the mask.
(pic 3)
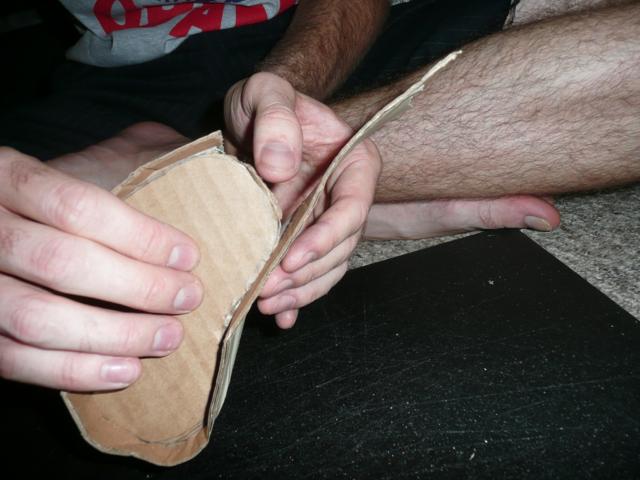
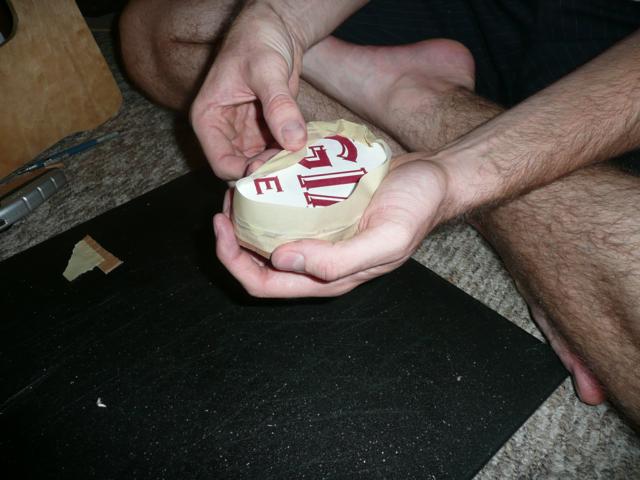
Take a strip that will fit around your head and bend it a bunch along its length so that it is flexible. Wrap it comfortably around your forehead and tape it together.
(pic 5-8)
Tape the end of a new strip to the side of the ring you just made. Put it back on your head and fold the strip over your head to that the ring is on your forehead. Rip off the excess strip and tape on.
(pic 9-12)
Repeat the same process with another strip, but back to front. However, do not rip off the excess. This mask will be needing a strip over the nose anyway. When finished, smile like an idiot and move on.
(pic 13-17)
You now have a base for your mask. We will be taping much great awesomeness to this.
Build the Skeleton
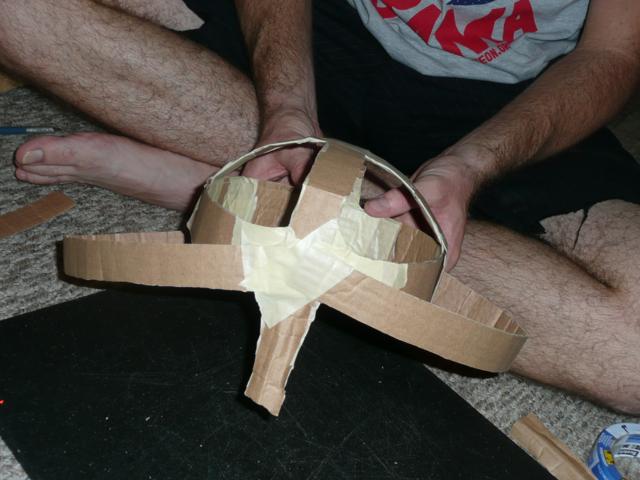
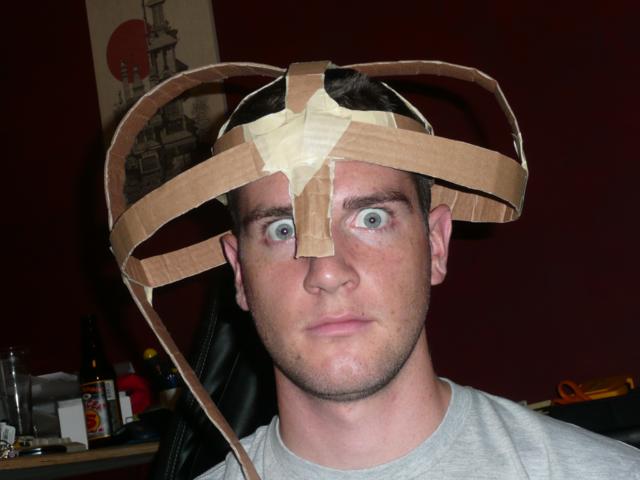
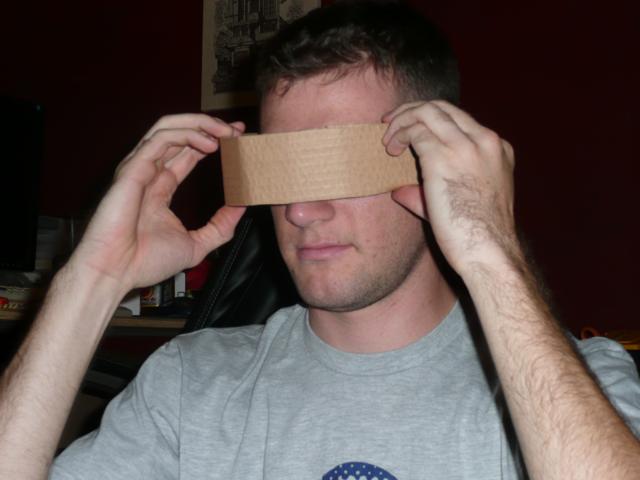
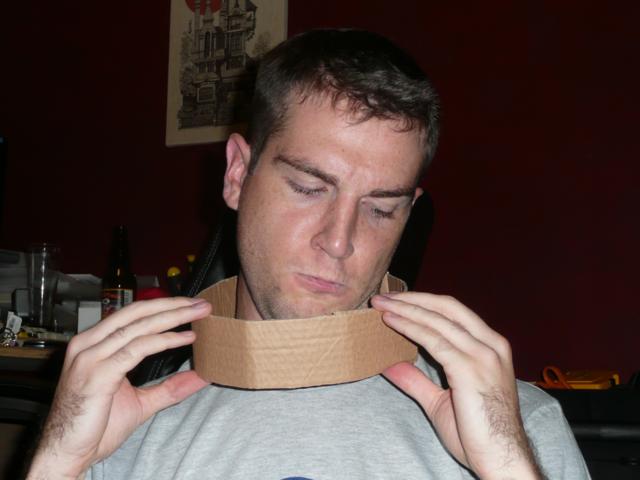
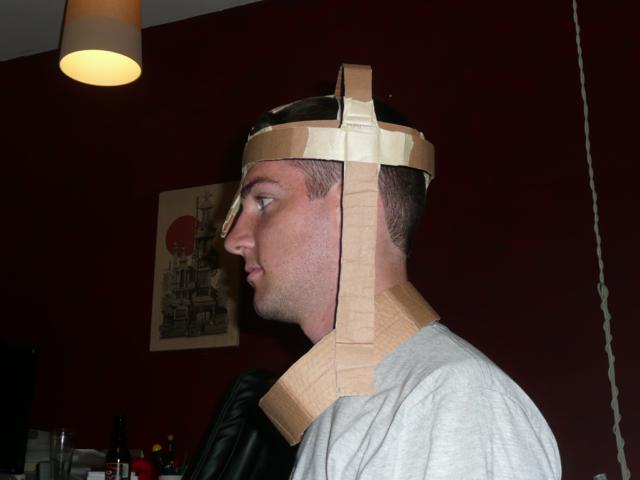
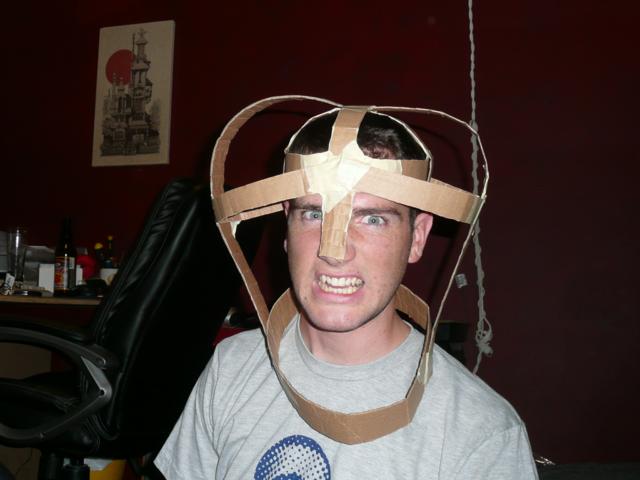
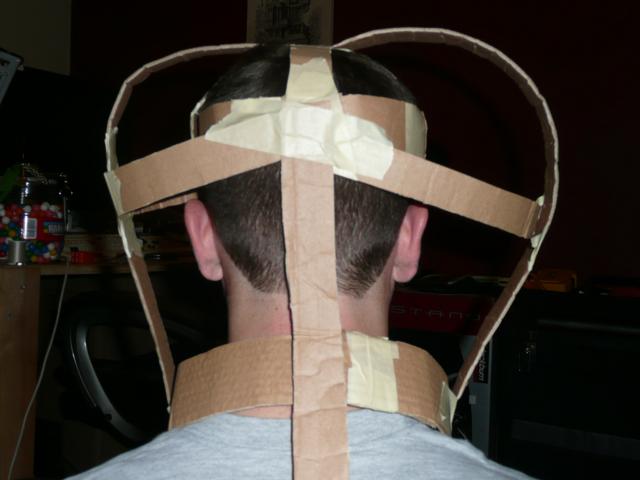
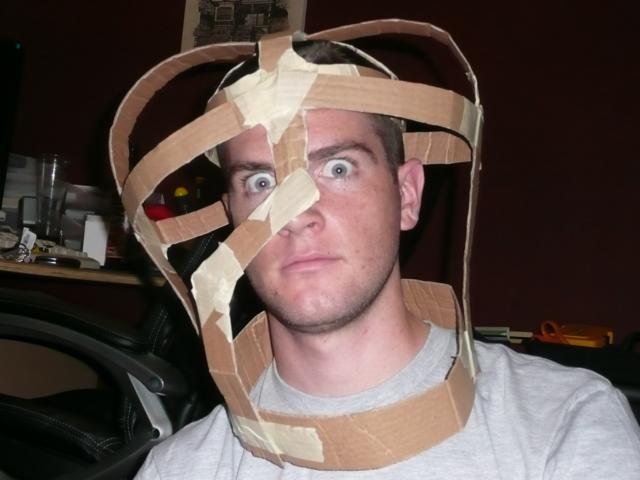
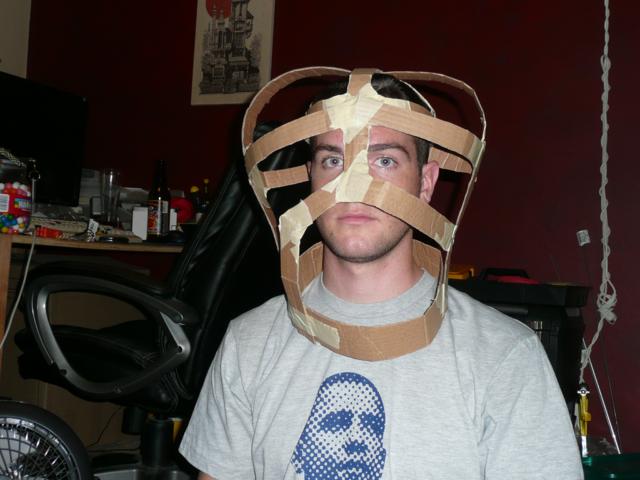
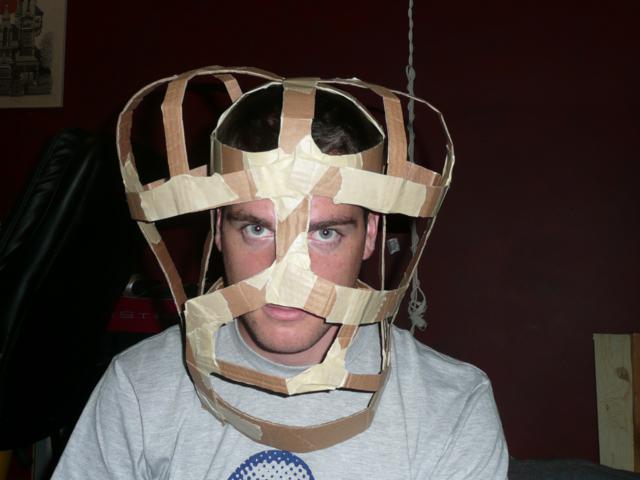
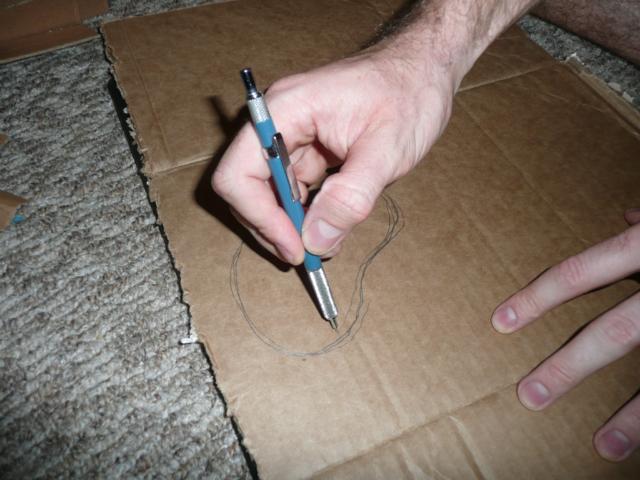
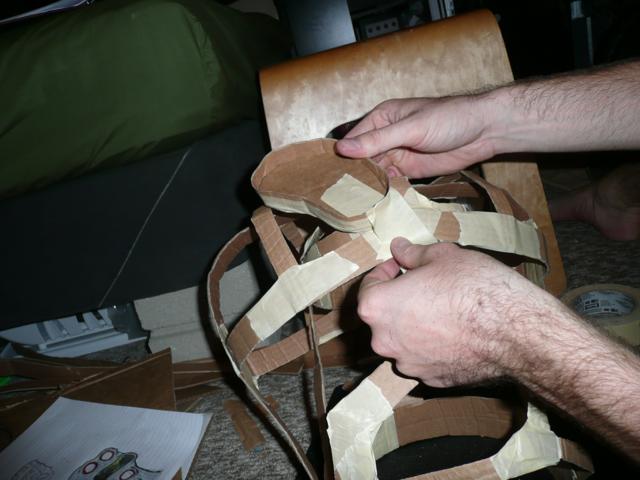
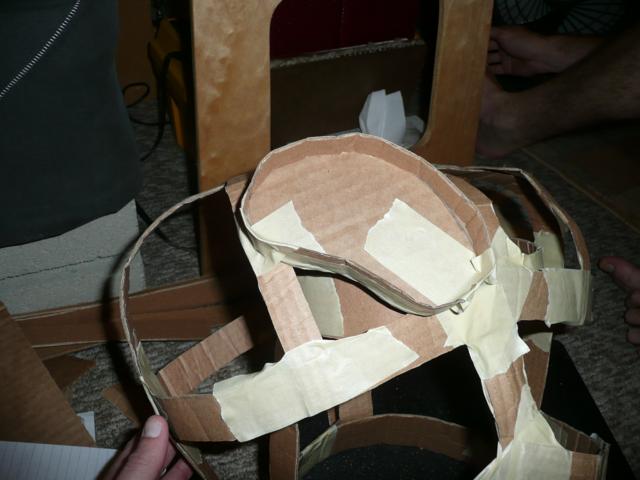
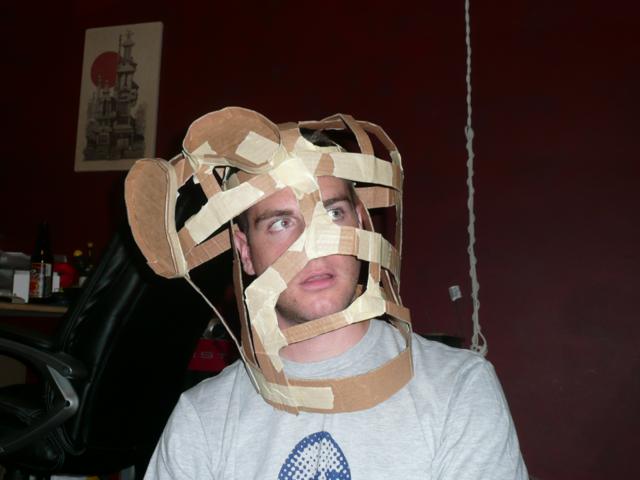
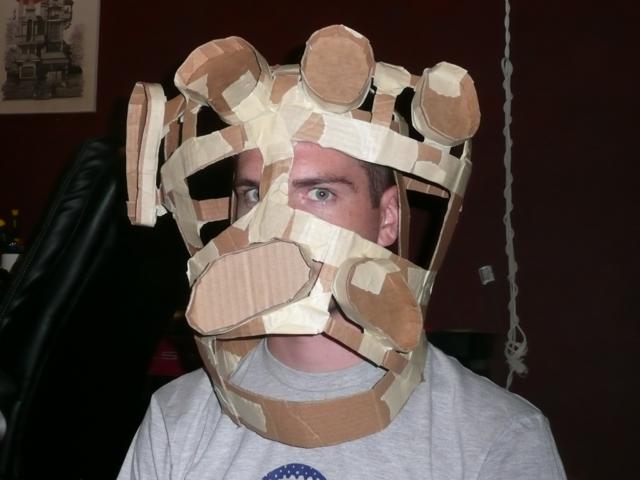
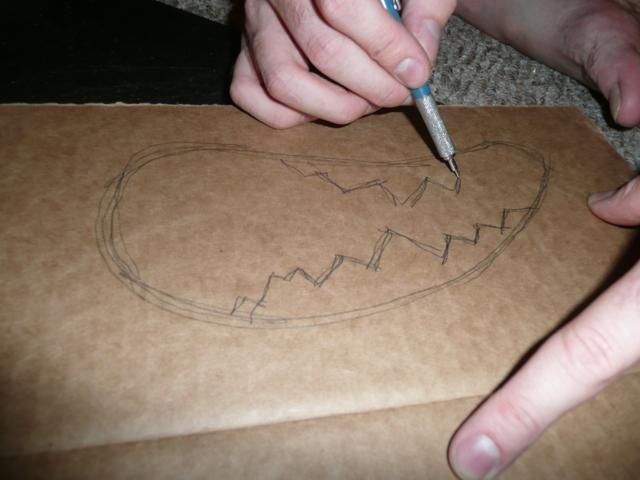
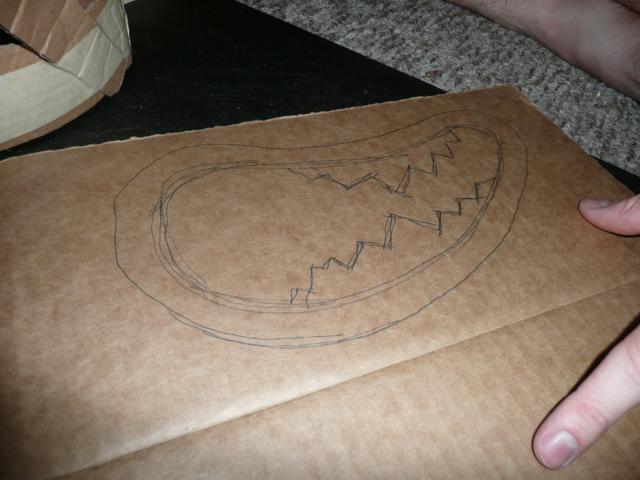
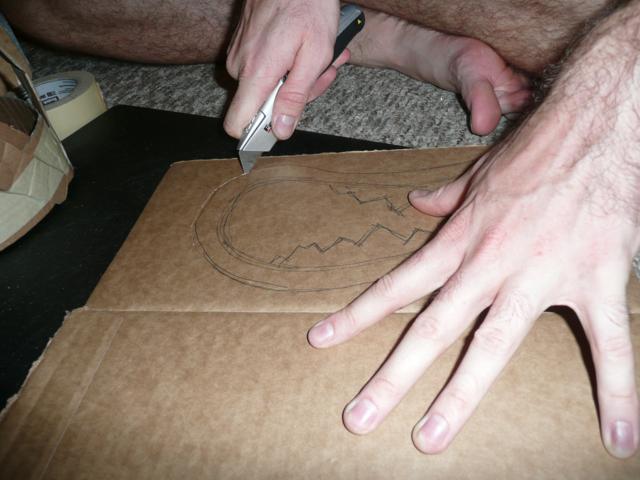
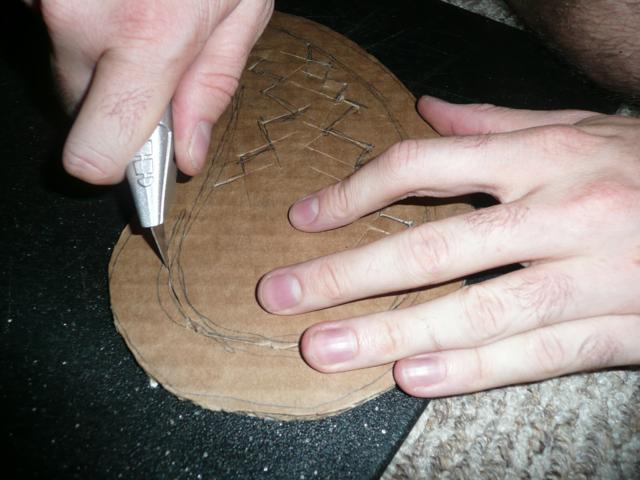
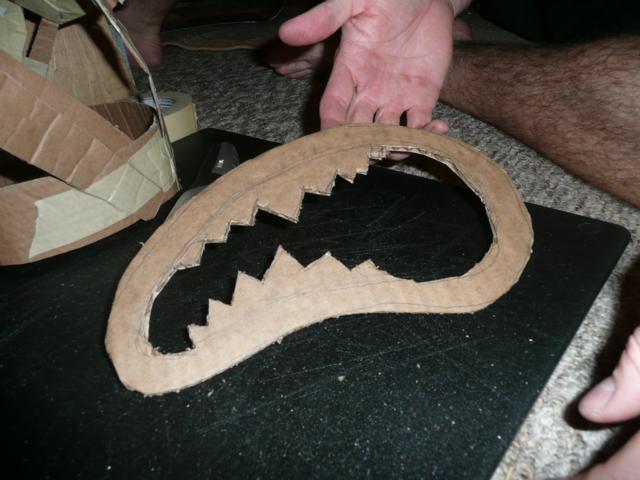
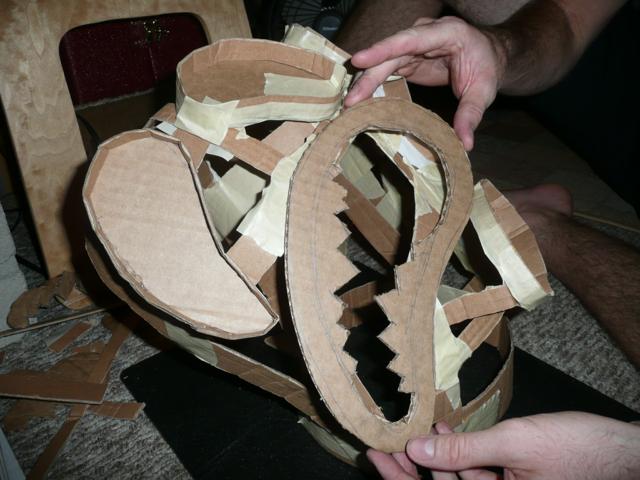
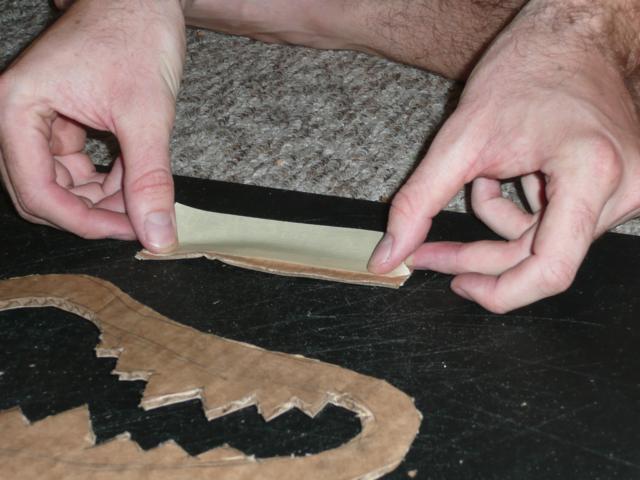
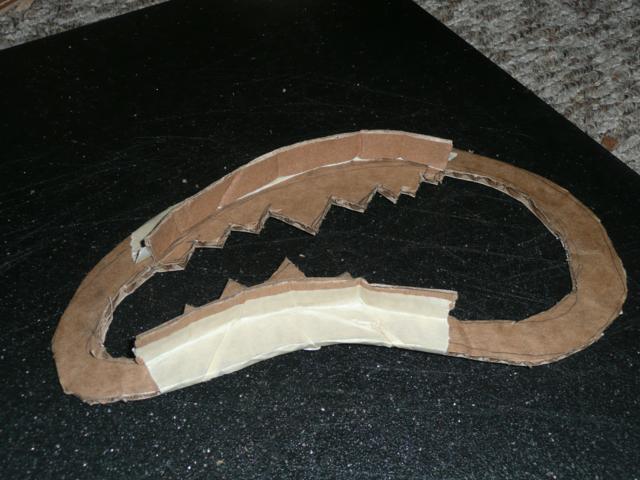
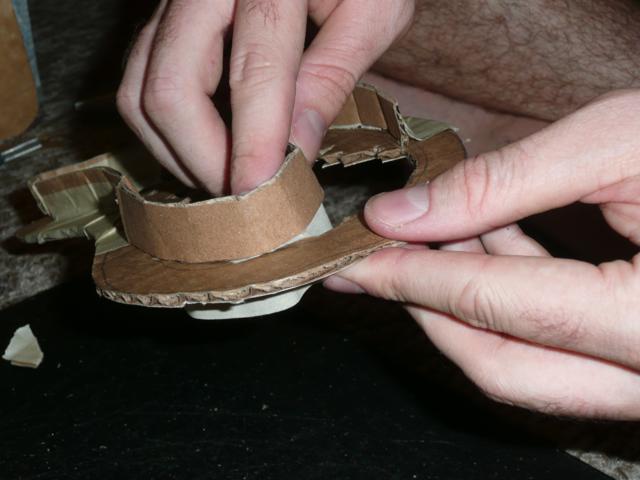
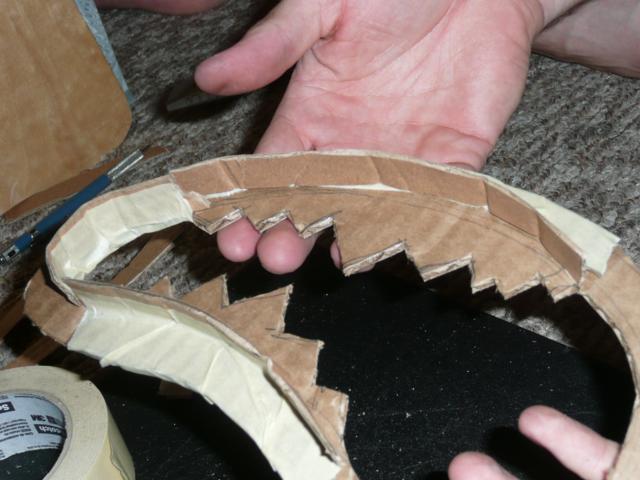
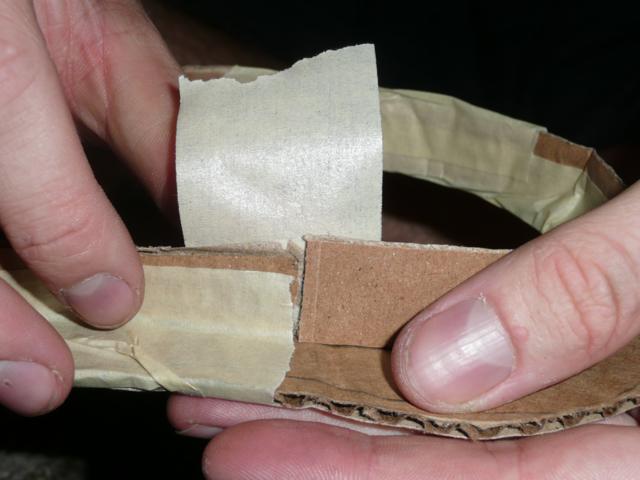
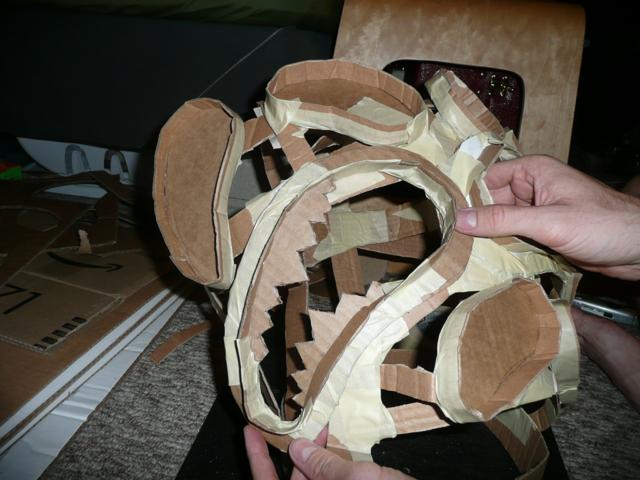
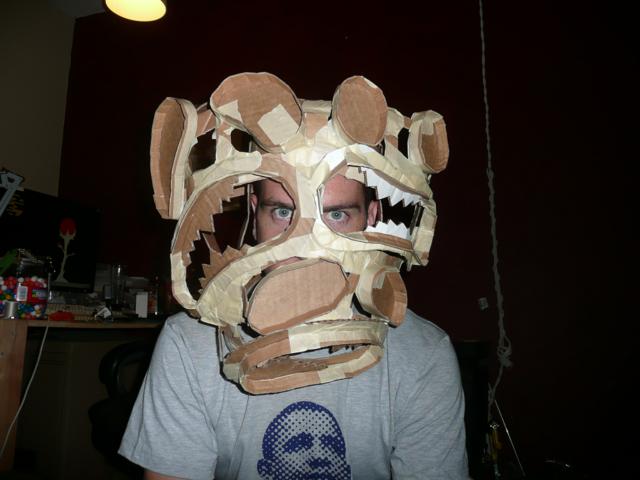
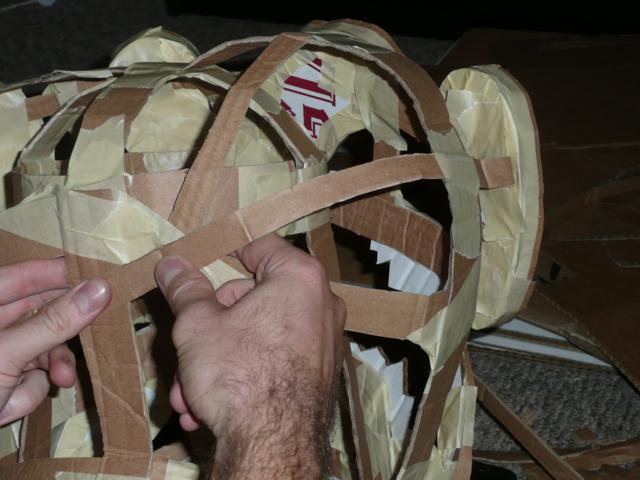
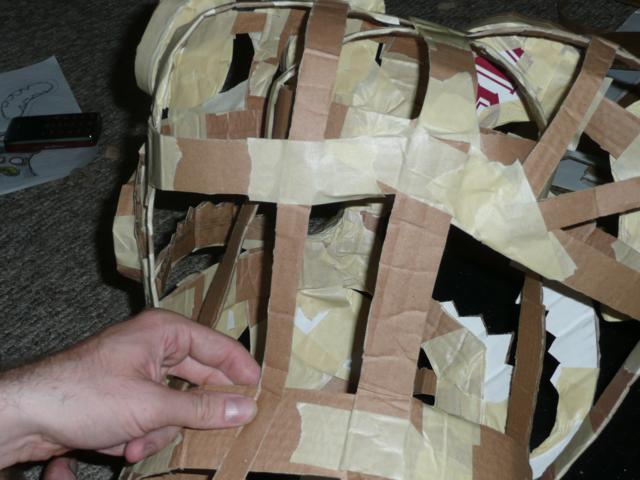
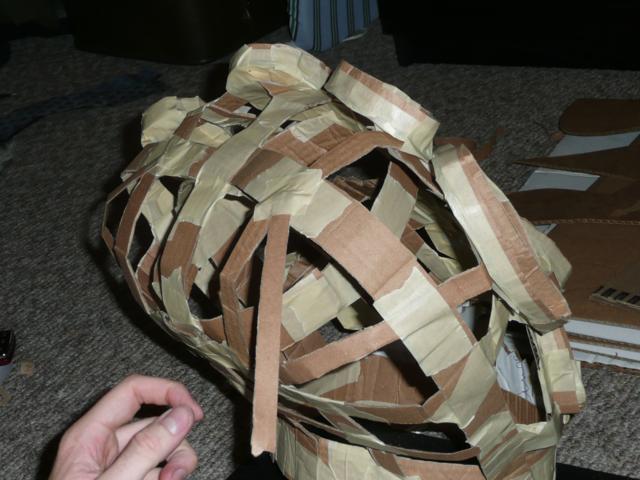
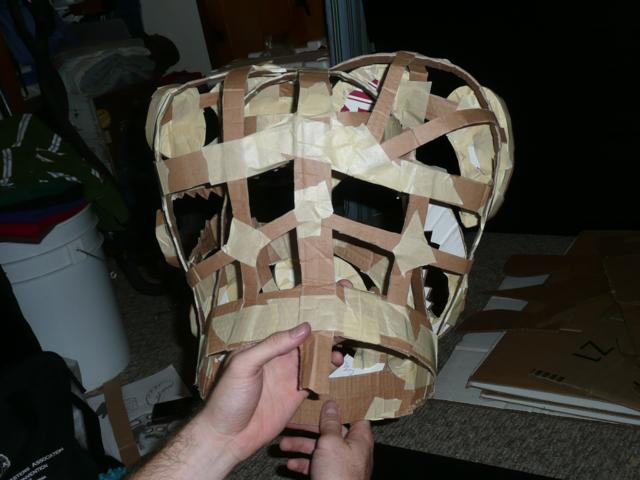
The skeleton of the mask will give us a nice surface to which we will apply the papier-mache. You will need many much stripen of cardboard for this step. I followed fairly simple guidelines for this part, which you can adapt to whatever your mask looks like.
First take a look at your design from Step 1. Mine has lots of eyes and mouthses. I plan to see out of the top two mouths, so we can't put cardboard there, and it will be easier to mount the eyes if we don't put strips there either. Instead, make a frame of strips so that they go between each eye and mouth and over the tops and back to give each "head" some shape. As you go, you should start to see your idea take shape! extremely satisfying.
Take a look at the pics to get a step-by-step of how mine worked out.
Some Notes:
Don't worry about too much tape.
Rounder parts (concave and convex) require more frequent ribbing.
You can always rip some of the extraneous ones out after the papier-mache shell has hardened.
Prepare the Papier-Mache
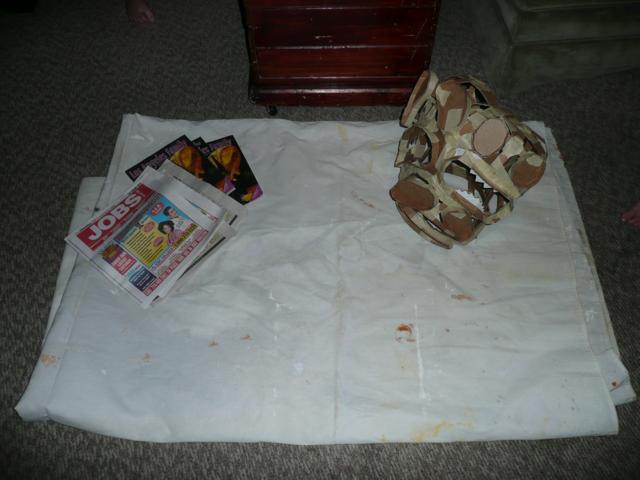
Unless you had some slip-ups while cutting cardboard strips, this should be the messiest step. To mitigate disastrous events, you will need a drop-cloth of some sort. I don't recommend a thin layer of newspaper, as the mess you will be making is designed to soak into such material.
Materials:
Drop-cloth
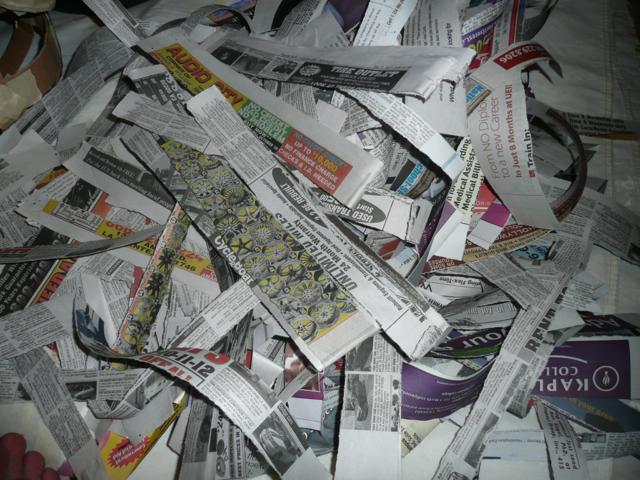
Heap of paper*
2 cups Flour
Water
Your mask skeleton
Large pot, bowl or water-tight vessel
After you have your cloth laid out, tear 1" strips along the grain (you'll know when you try). Keep the heap to one side so that you can avoid getting too many stray drips and spills on it.
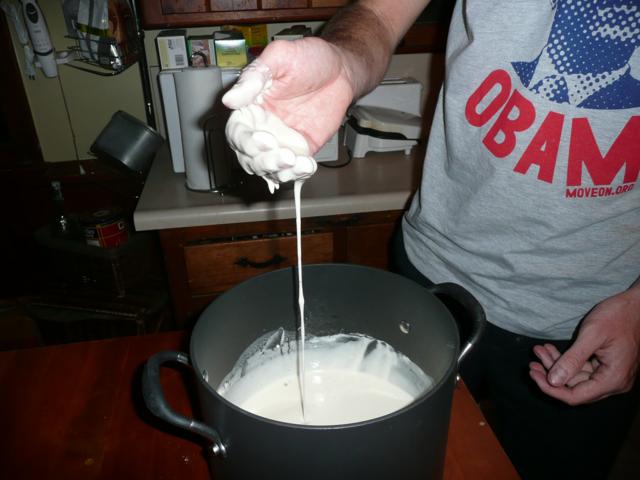
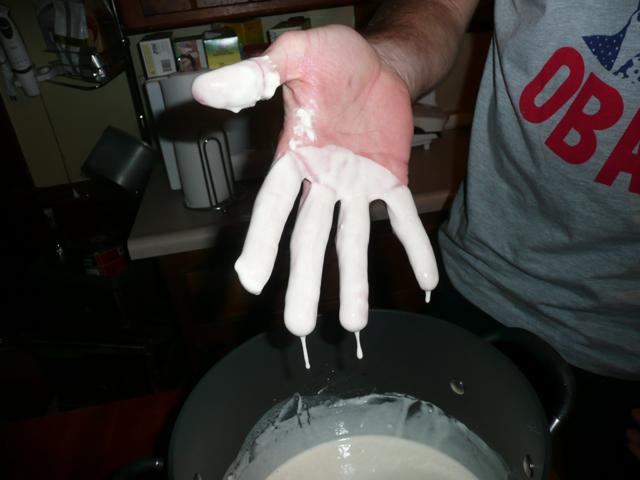
Put two cups of flour in the large pot and add enough water so that it doesn't slosh when you move the pot around. It should stick to your hand like the picture. I add a good dose of salt to the mix too, to prevent the mixture from going south. It is a good idea to refrigerate the mix if you have to do this over more than one or two days.
Cover With Pasty Goodness
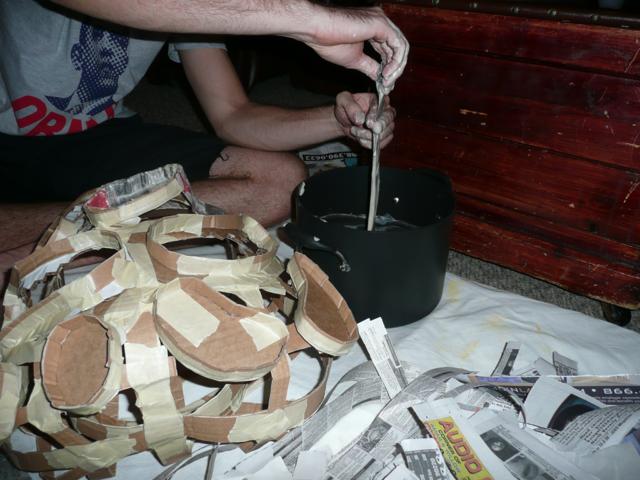
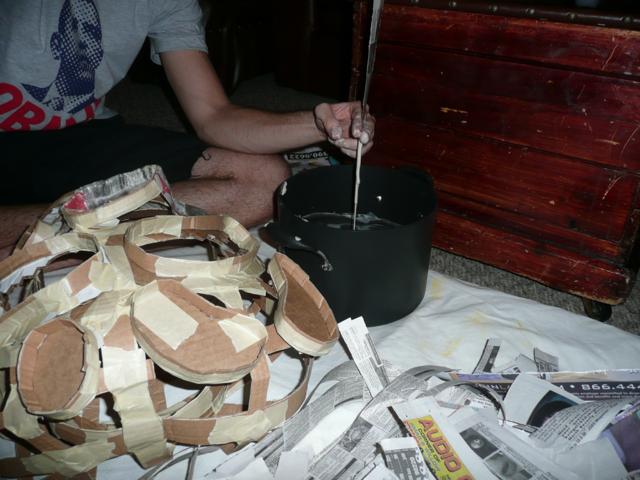
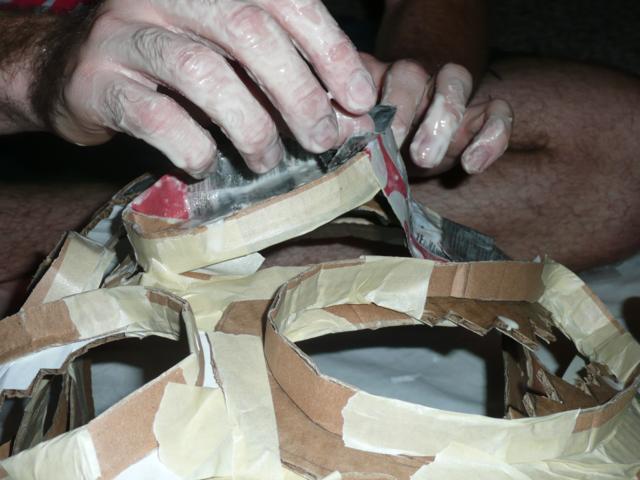
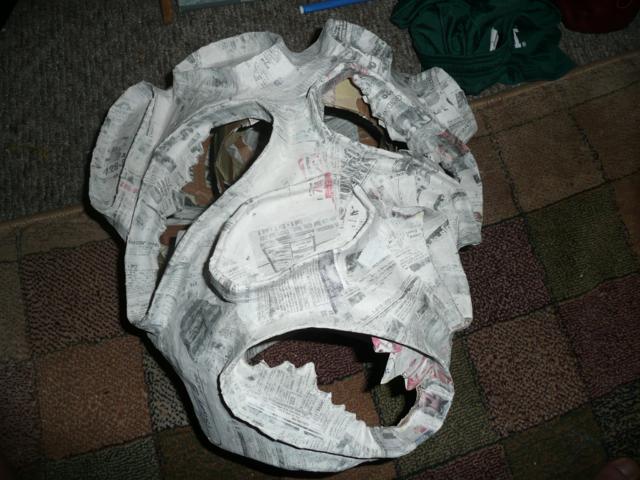
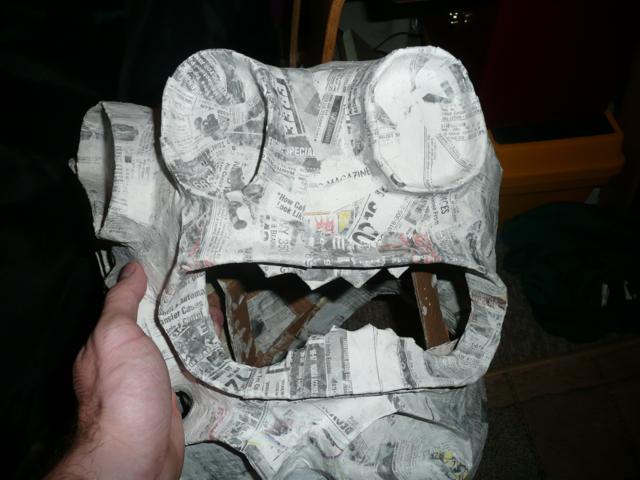
Don't be shy. You're gonna get messy.
Take a strip of paper by the end and dip it into the paste until covered. Take your other hand and gently squeegee the excess paste back into the pot. I like to use one finger on each side of the strip, keeping the bottom hand fairly stationary and pulling the strip up with the top hand. This will keep all the excess in the pot, and not on the carpet.
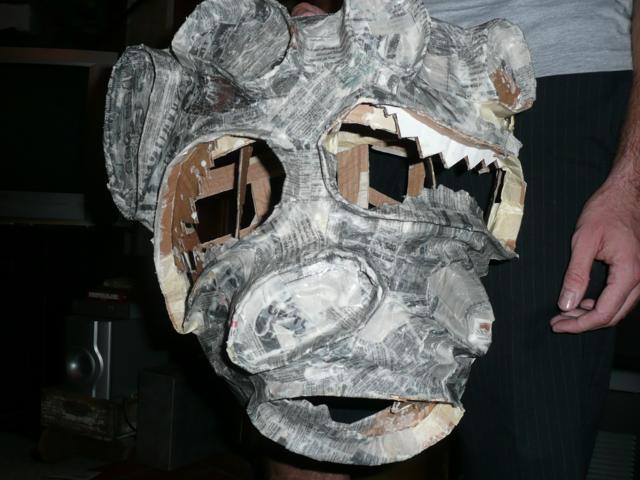
Using the eyes as a starting point, I laid the paper strips into the contours and over the ribs. It is essential that you don't pull on either end of the strip after you lay it on or else it won't fill in the curves and details properly. To cover all the small gaps between ribs, just put on strips and be careful not to push between ribs. It should turn out fine.
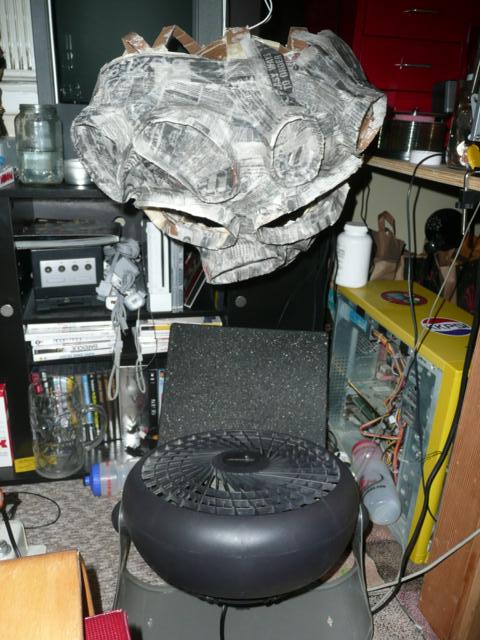
After my first layer on the front of the mask, I hung it from my lamp over a fan to dry quickly.The dry mask will appear much light in color.... and it'll be dry. Repeat the process over and over and over until it's the desired strength. Make sure to fold some of the strips over the bottom edge so it has a nice finished look. When the whole thing is done, celebrate.
Paint and Behold!
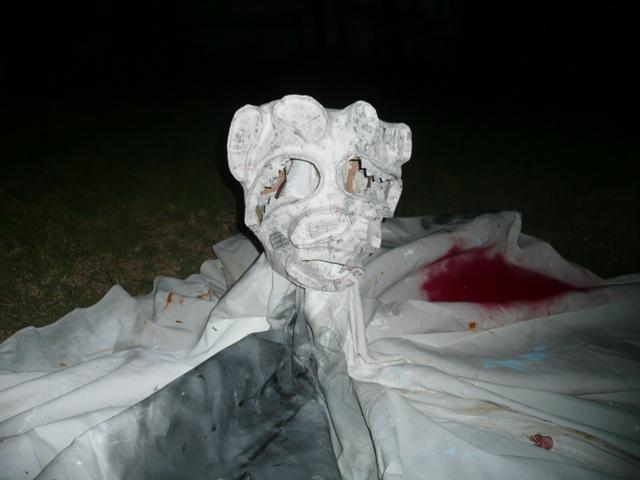
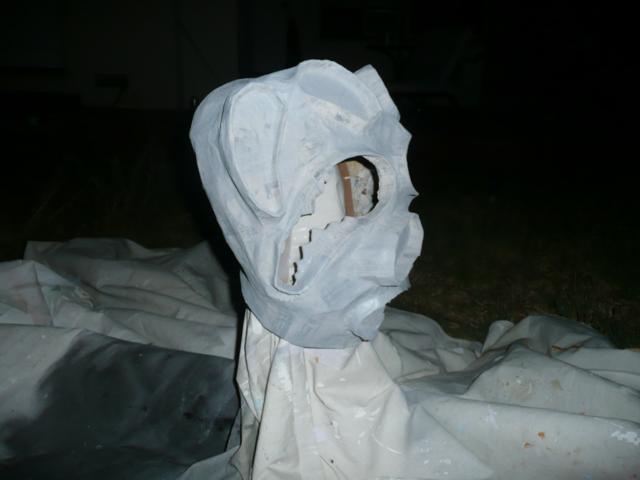
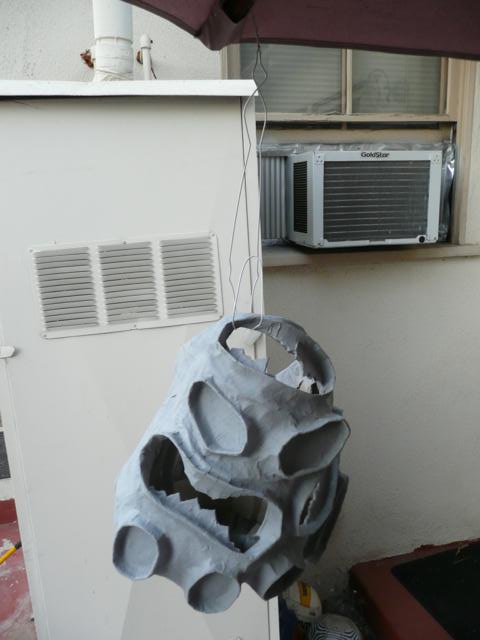
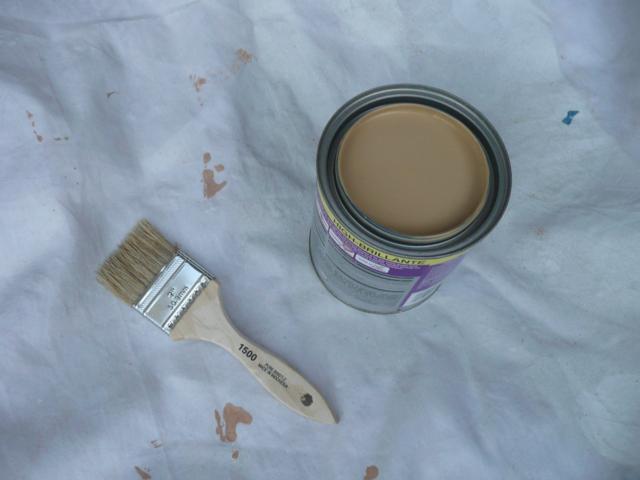
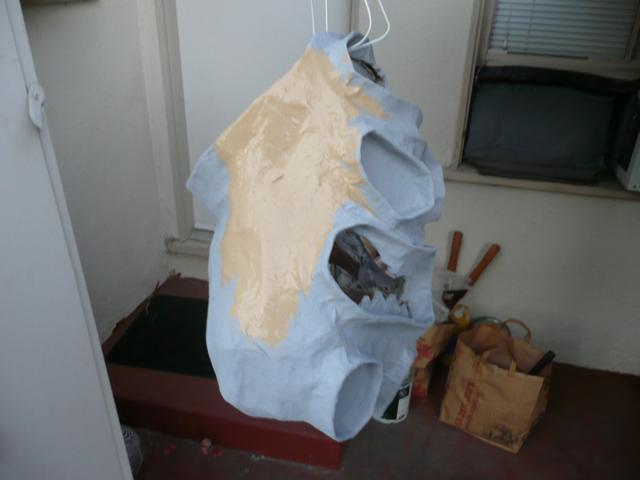
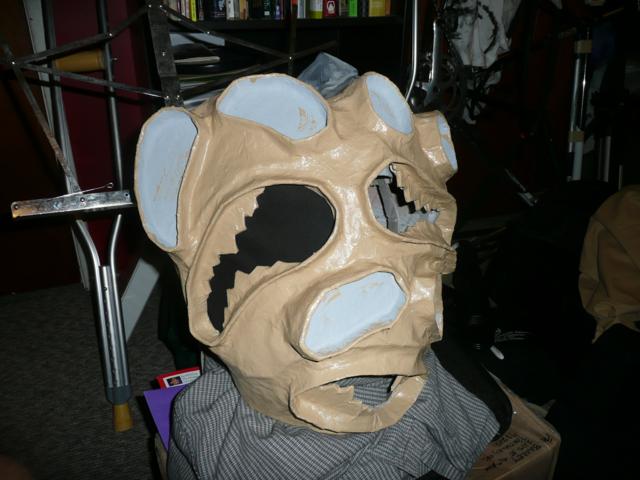
You might want to just shove the thing on your head and run around the block, but be patient.
Find somewhere to mount your mask so that you don't have to hold it. I used the base of a collapsible music stand covered in the (you guessed it) drop-cloth.
Spray or apply primer as needed and directed. I probably didn't need it for this, but It does allow you to see the final form before you really paint it.
I found some paint that matched my fabric for the costume. I switched from the gray of my initial drawings to this semi-putrid flesh color. I coated the entire thing, except for the insides of the eyes.
Conceal Your Face
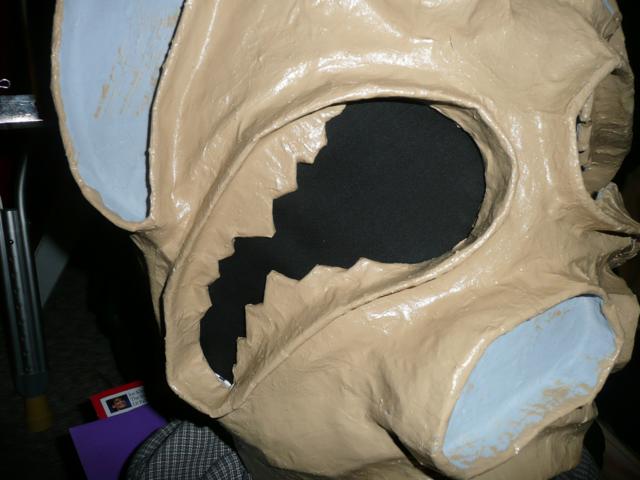
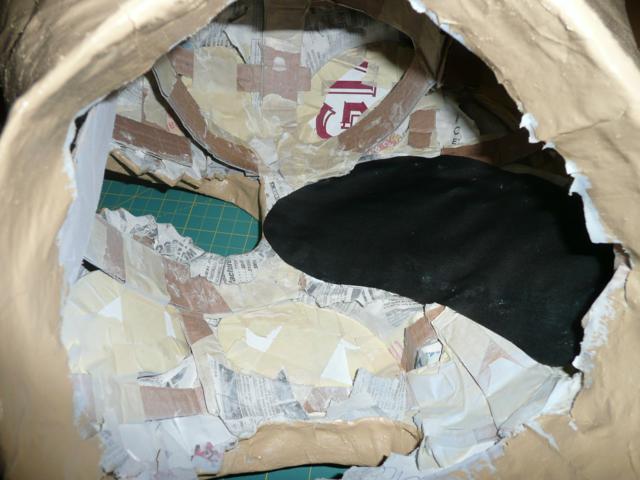
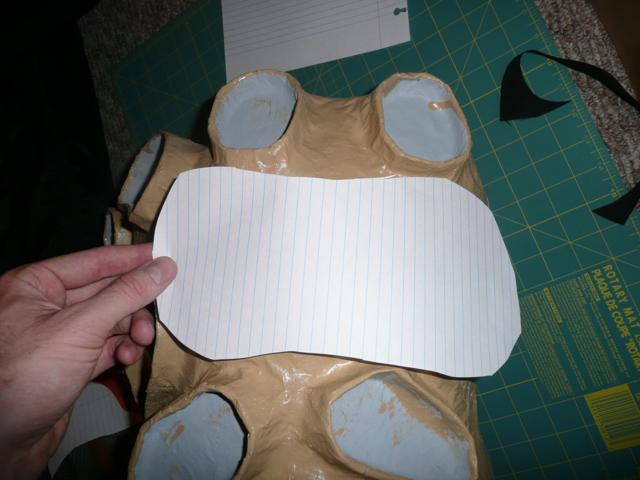
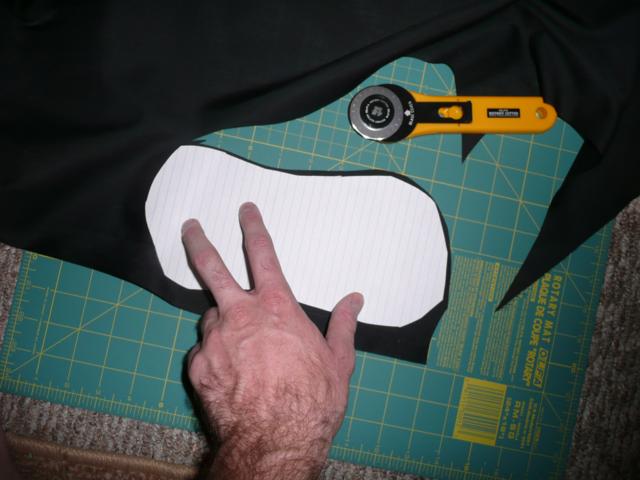
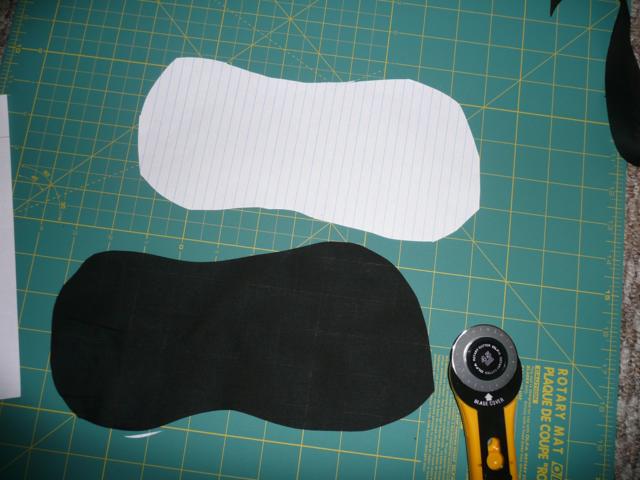
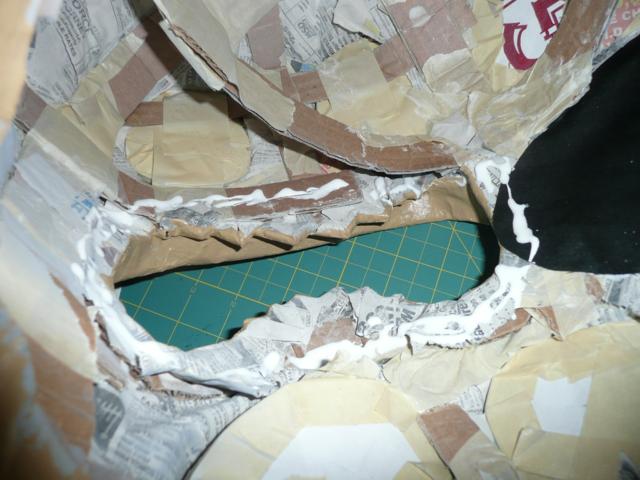
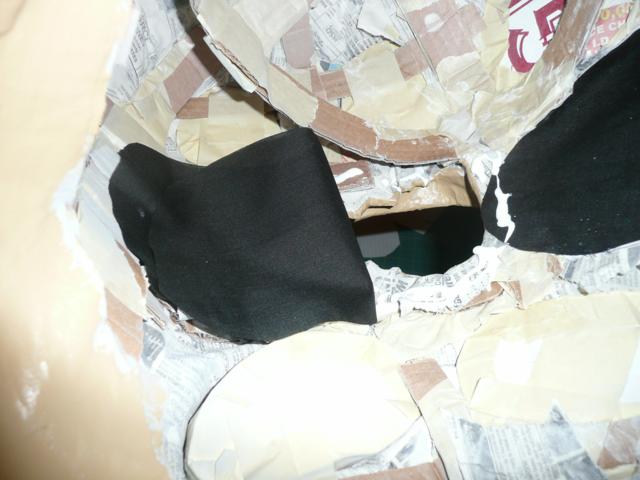
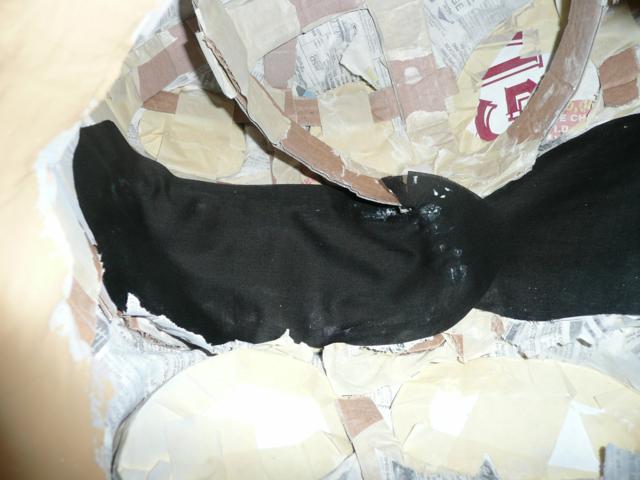
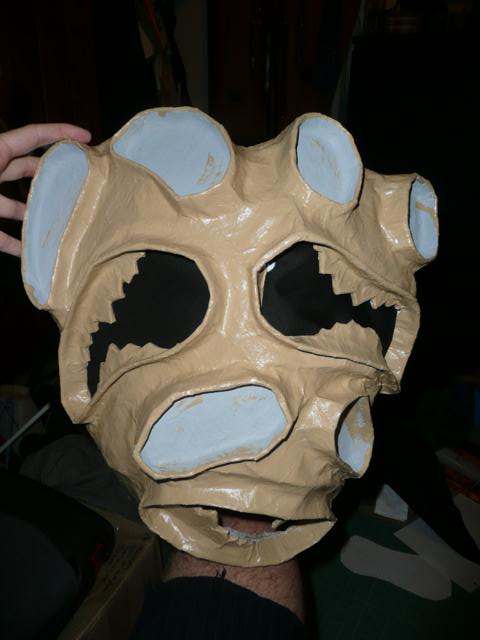
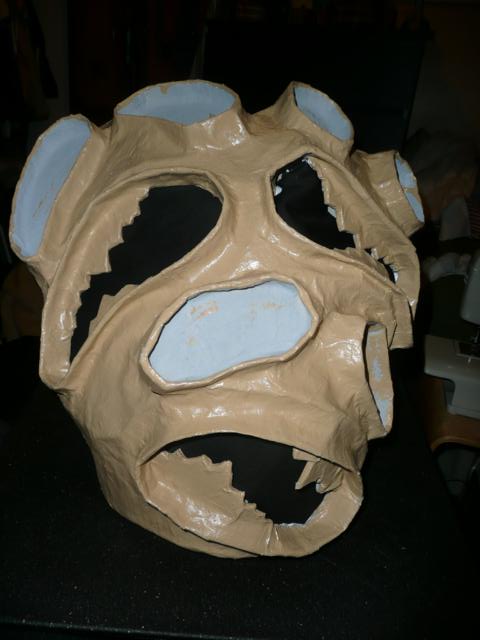
**note** I was in a "rush" to try the fabric concept out and gauge my visibility, so I put off painting the eyes and teeth. I recommend you finish all of the painting before completing this step. The steps are merely presented in the order I completed them.
To hide our face from the prying eyes of the world, we will be using simple black cotton woven cloth. This will allow you to see out of the mask with reasonable clarity.
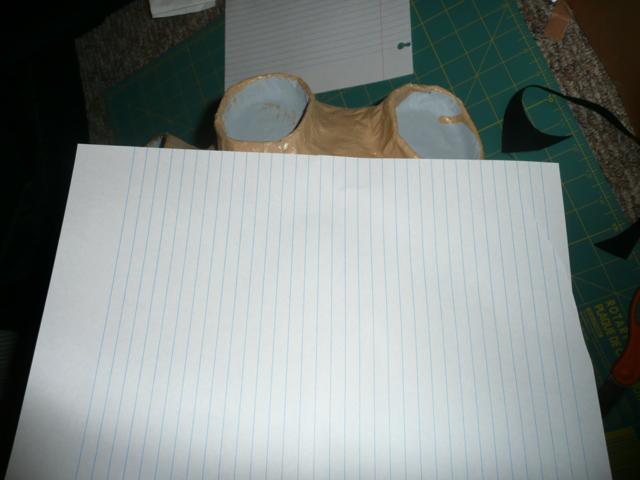
First, make paper cut-outs of the shape of each mouth plus about a 1/2" extra all around. Lay the paper down on your fabric and slice away.
From the inside of the mask, apply Tacky Glue liberally around the edge of the mouth hole. Don't follow the edge of the teeth - follow the contour of where the lip would be.
Fold your mouth fabric in half and lay inside the mask. Unfold it and press the edge into the glue all around. You can remove ribs that are in your way at this point, except for the crown.
Detail Painting
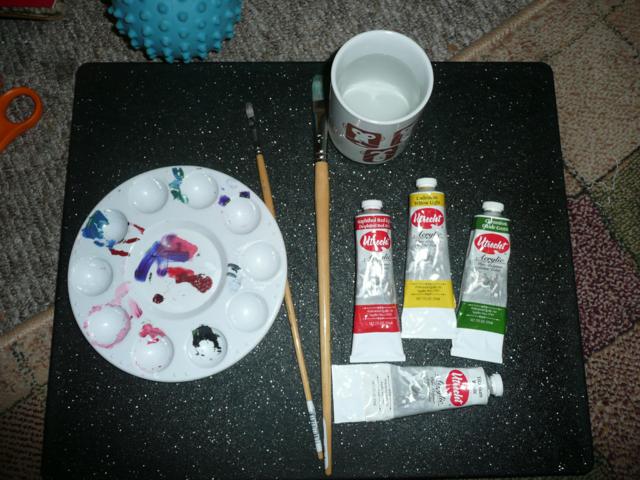
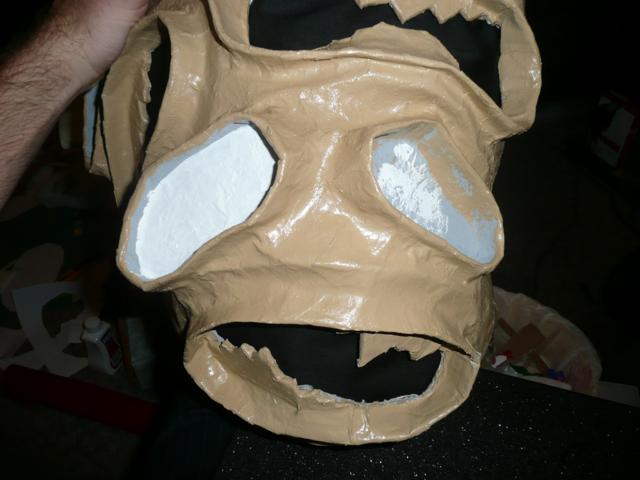
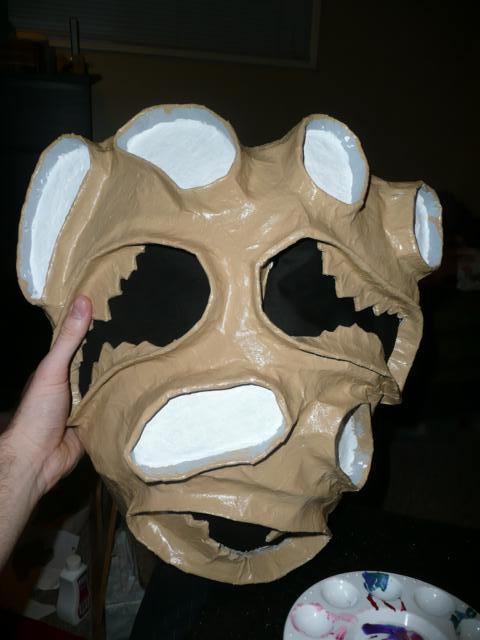
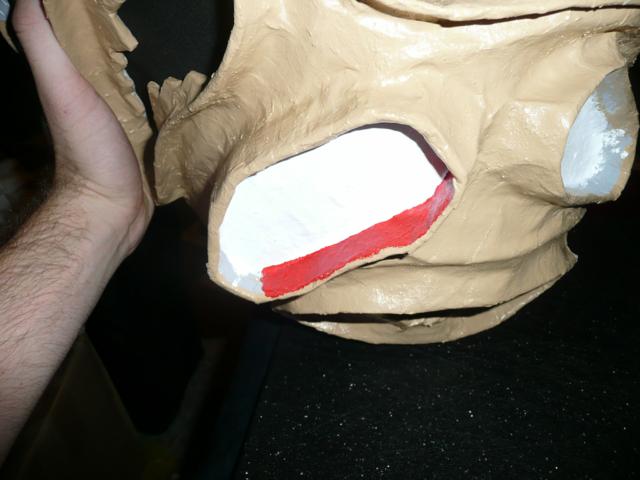
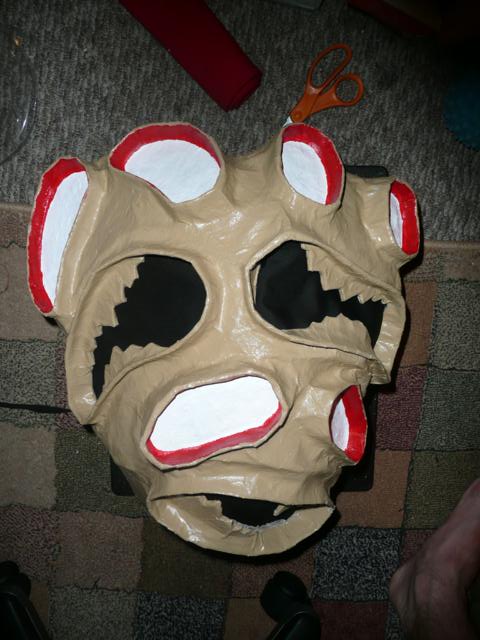
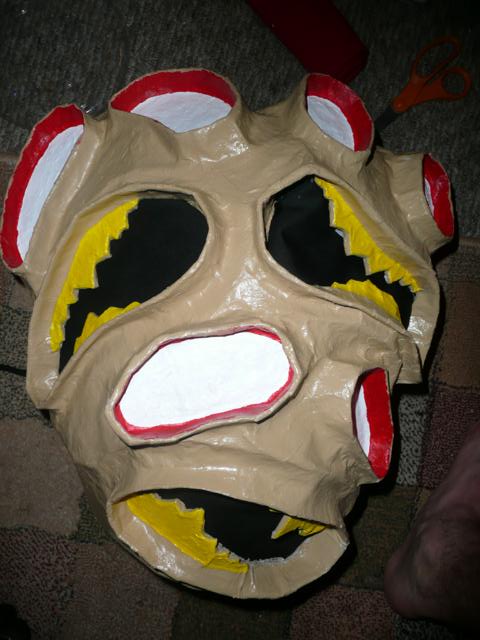

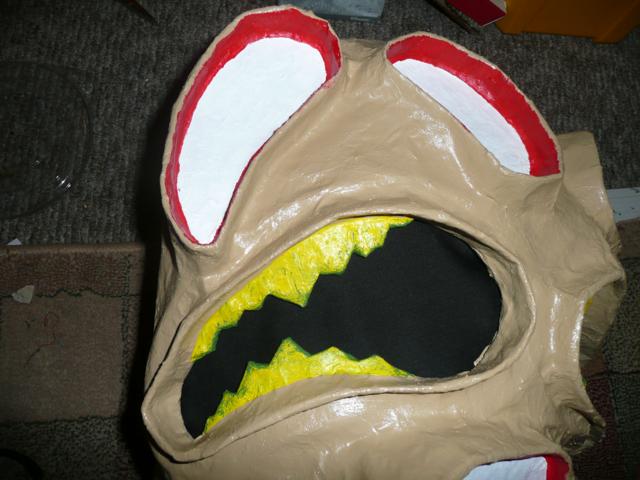
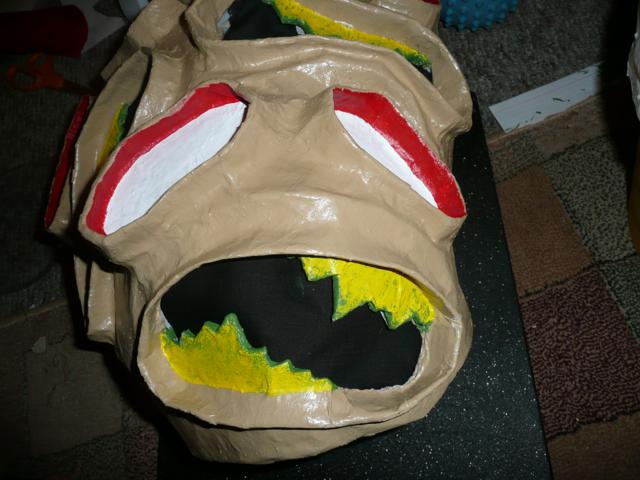
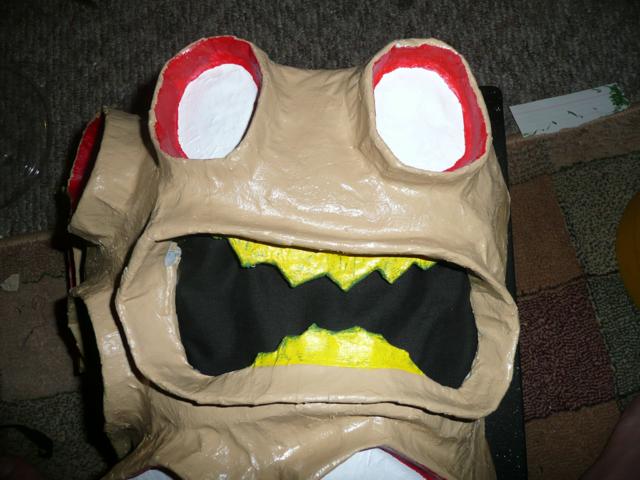
Now it's time to add the finishing touches. Let's do it.
I used:
Acrylic paints
Paintbrushes
Cup o' water
Paint tray deal
I started with the whites of the eyes and it worked out very well. Fill in all of the surfaces with white.
After all the white is dry, you can paint the red into the side-walls of the eyes. I found that a sideways type brushstroke worked well to get a crisp line along the white.
Next, paint the teeth. I had to be careful of the fabric, but you should be doing this before you put the cloth in anyway, so don't worry about it. As per the concept drawing, I used a yellow base with green edges and shtuff.
Let the stuff dry and you're done with the mask portion! woo. The next steps will detail the rest of my costume.
Extraterrestrial Textile Extasy
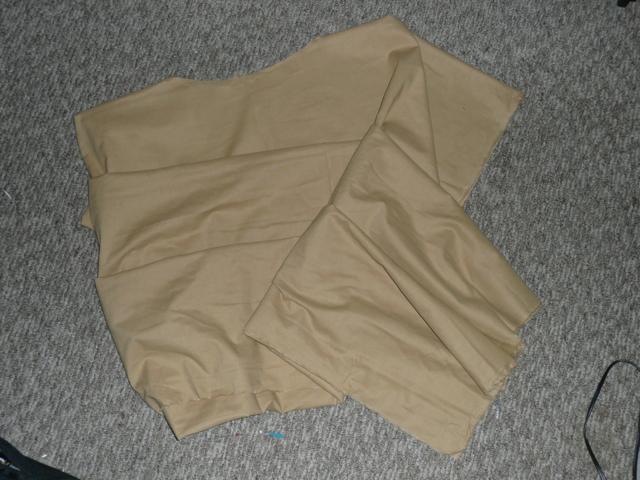
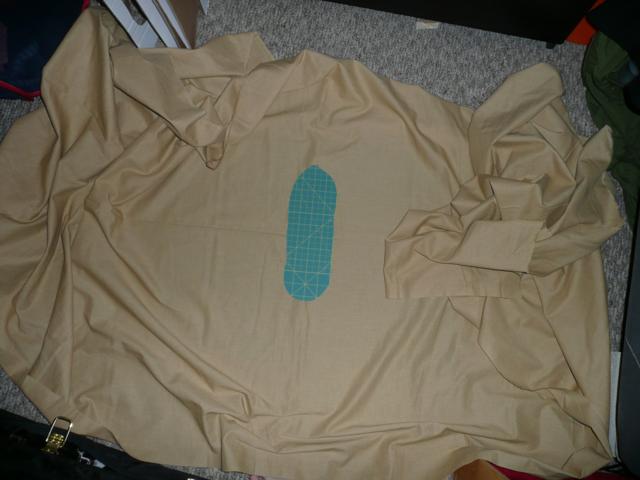
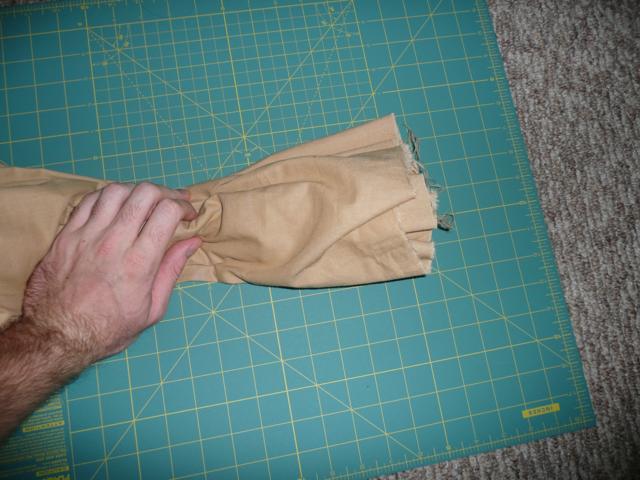
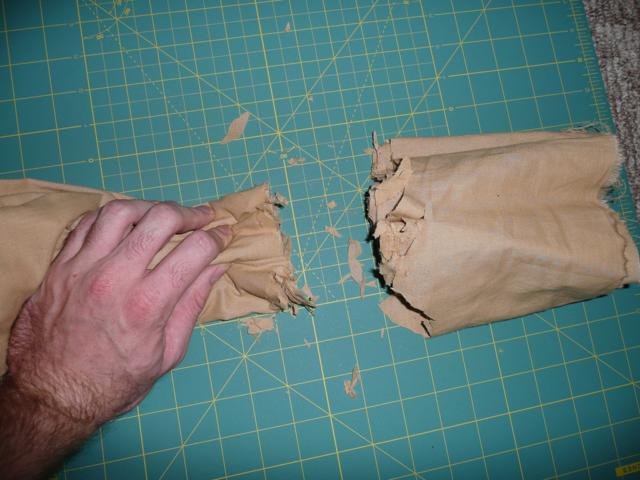
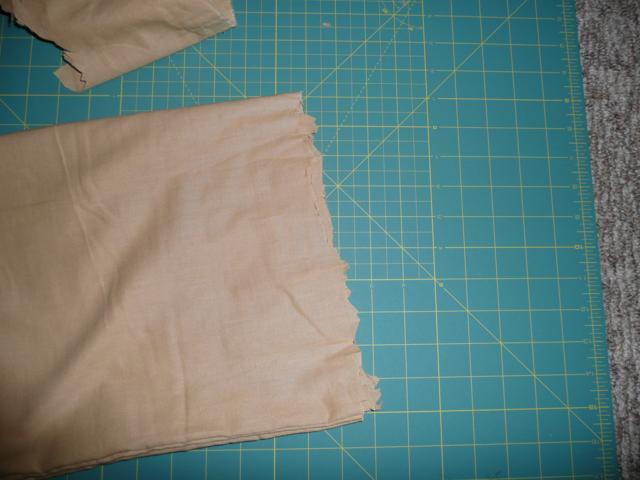
What could be easier than making an over-sized pillowcase poncho?
Needed (for the next few steps):
Fabric of choice (twice your height plus a yard)
Tacky Glue
Paper Clips
Sewing machine
Bucket
Red fabric dye
string
I don't think jeans and a t-shirt will do it for this one, so get out the old needle and thread. or sewing machine.
Take your fabric and cut one yard off the end. This should be a square(ish). Set this aside for later.
With the remaining long piece of fabric, fold it in half end-to-end. Cut a hole in the middle of the fold for your head. You now have a poncho, but we want a more pillowcasey type thing, with arm holes.
Before sewing up the sides, run some stitches around the neck hole to prevent tears from propagating. This doesn't have to look nice, it will be under the mask. Also, you may want to make the whole thing narrower for people with an wingspan that is less than a yard.
Sew up the sides. I started from the bottom and stopped about a foot before the folded end. Reinforce the sewing around the armpit so that it can't tear. After you have finished both sides, invert the whole thing. It should look like a huge pillowcase with arm and neck holes.
Put it on and check the length. If there is a chance that you might trip on it while walking, remove some material. I had to take off about 6 inches. Leave the bottom edge ragged. I just bunched mine up and hacked away with my rotary knife. Now lay it flat and fold it over a few times and then cut up the end so that it's even more ragged and frayed.
Add Blood
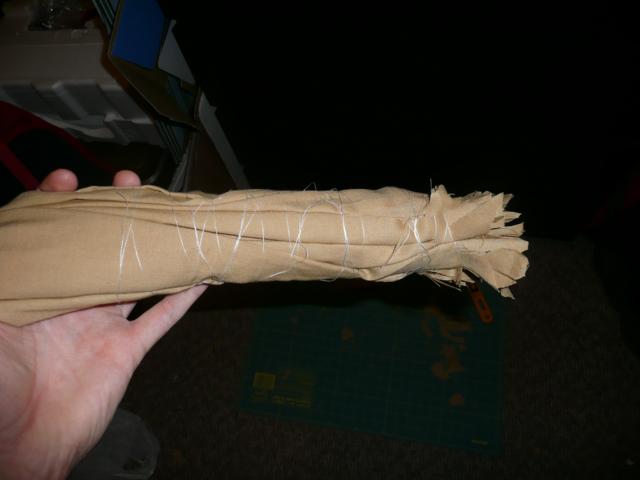
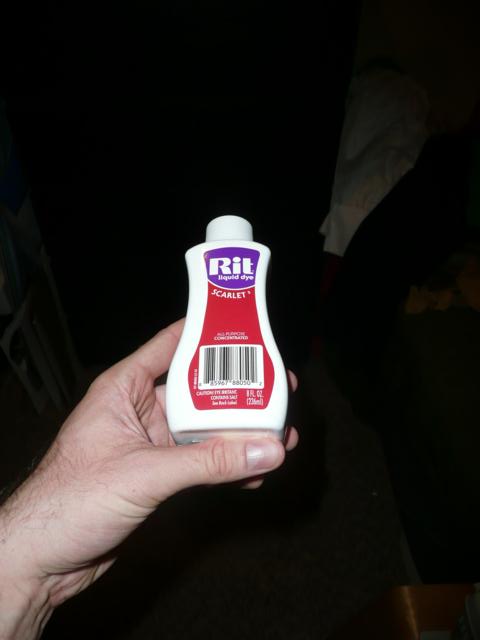
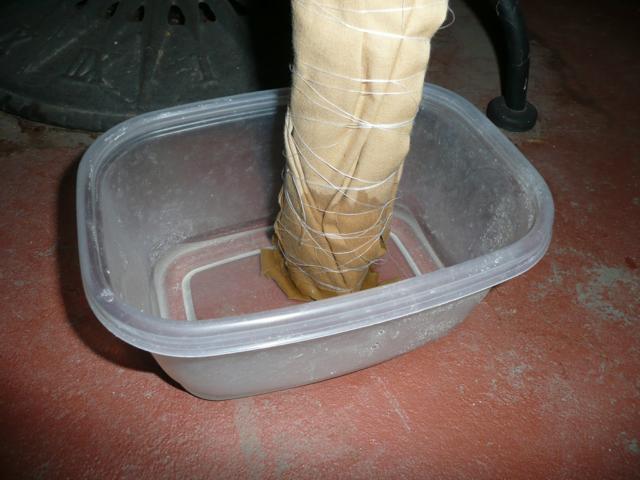
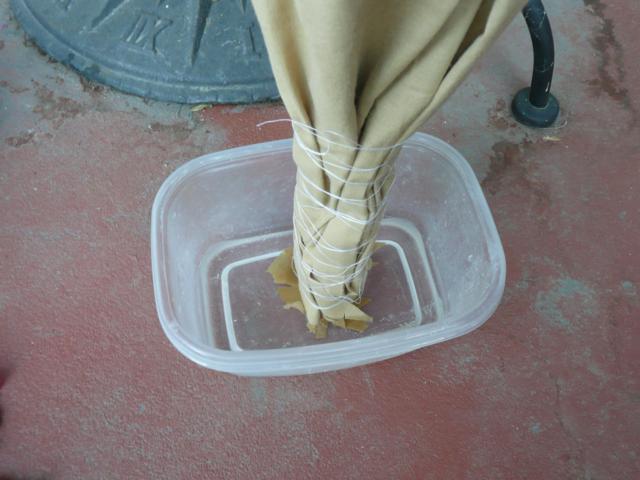
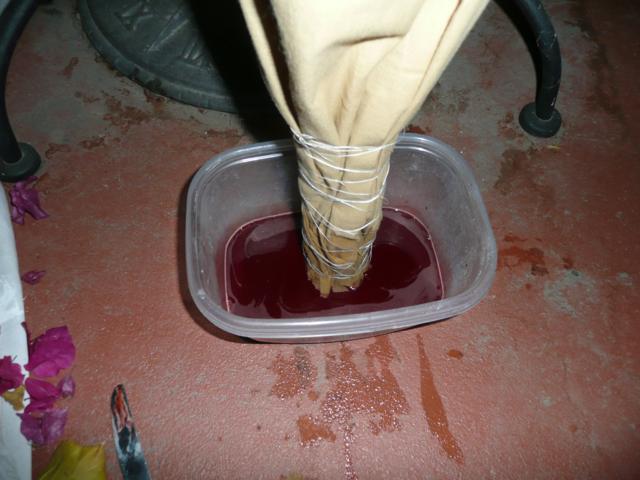
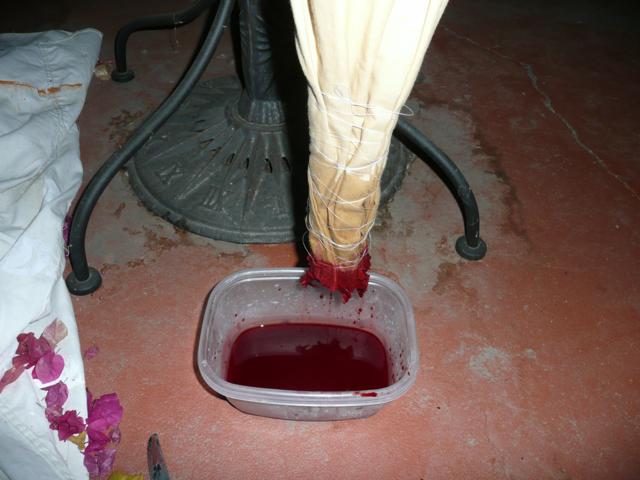
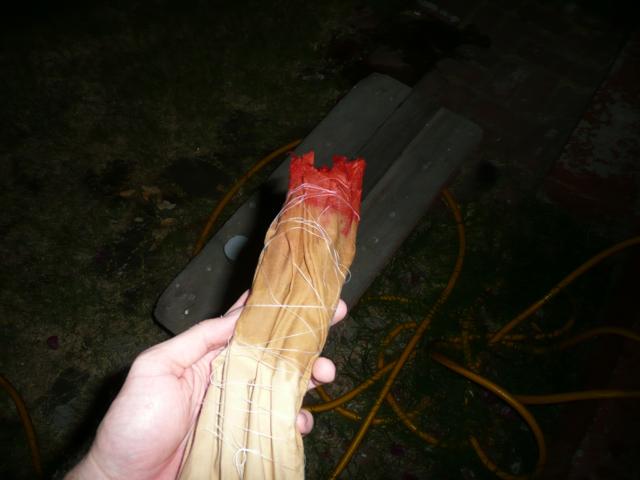
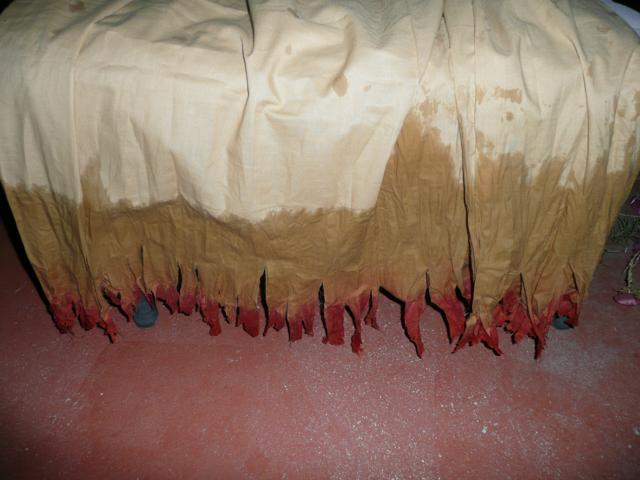
To give it a slightly more Halloweenie look, I soaked the ragged end in red dye. It turned out bloody. Perfect.
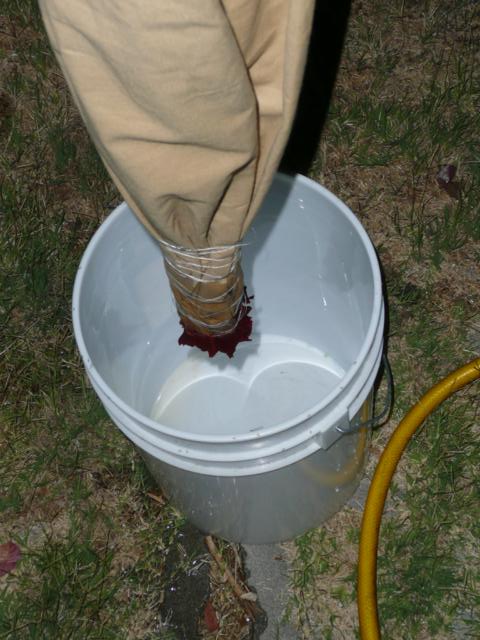
To prepare the fabric, I bunched up the end and then wound it with string to keep it together during the dying. I draped the whole thing over the edge of a table so that the end of the bundle just dipped into a small tub with about a half inch of water. I let it sit for about an hour to see how far it would soak up. It went up about six inches, which was fine with me. I added a bunch of salt to it as directed on the bottle, but dumped in a larger-than-directed dose of red dye. It was quite concentrated. Let this sit for a while.
In the meantime, we can finish the mask and make the other deals.
Add Neck Fabric
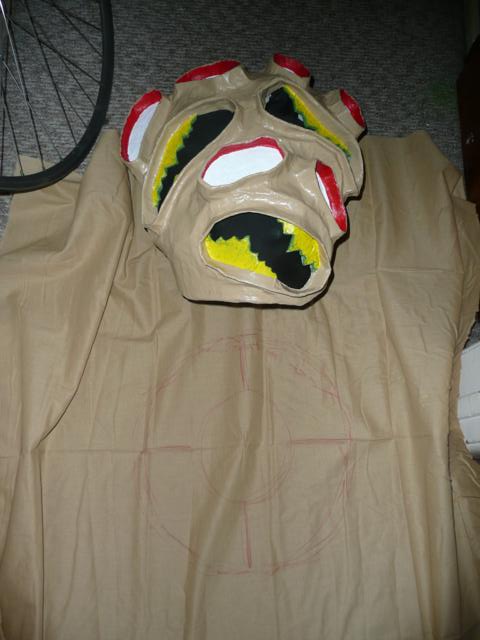
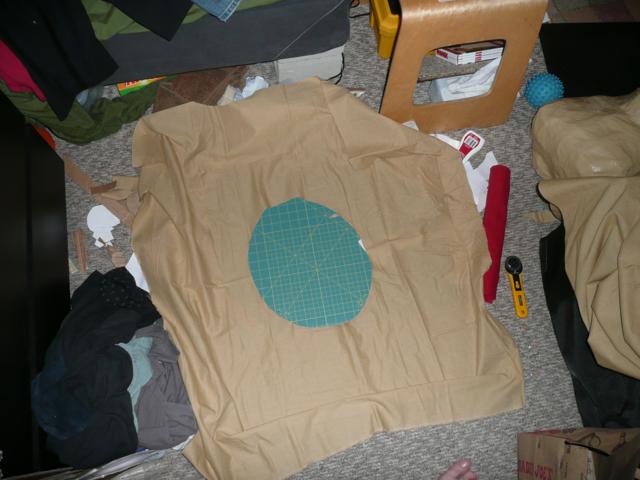
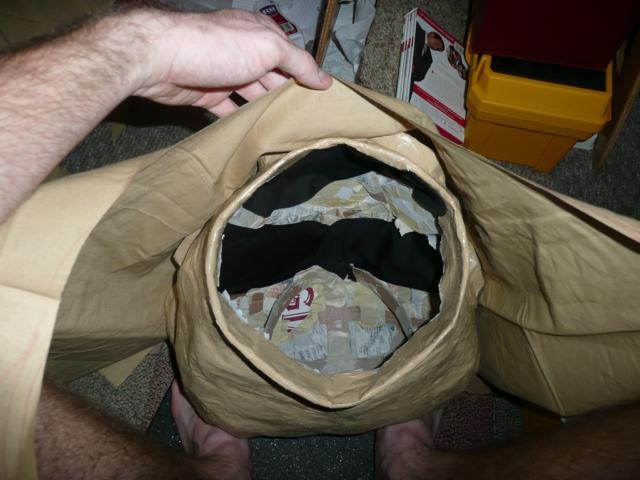
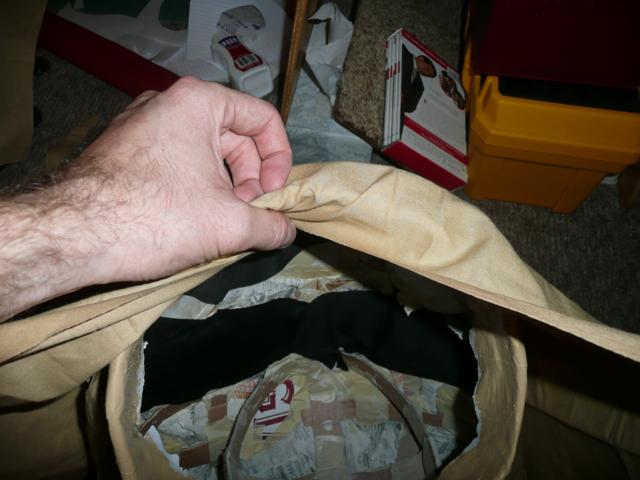
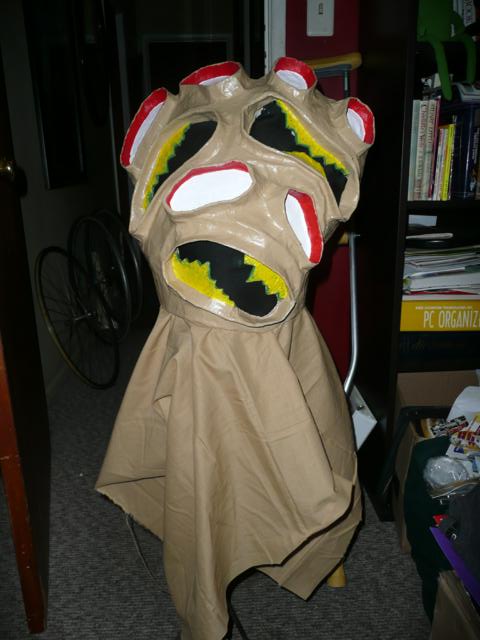
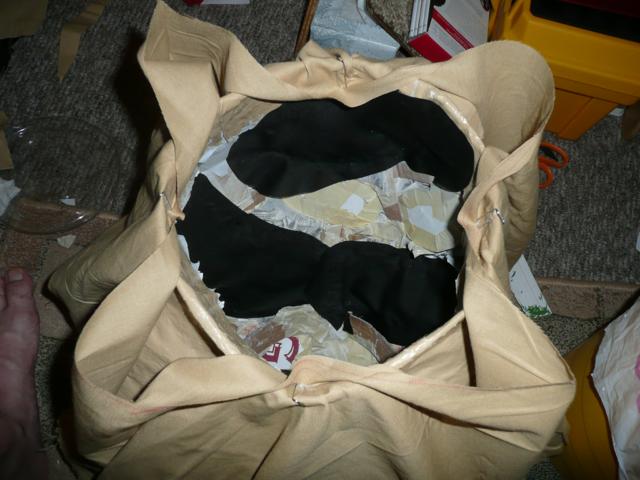
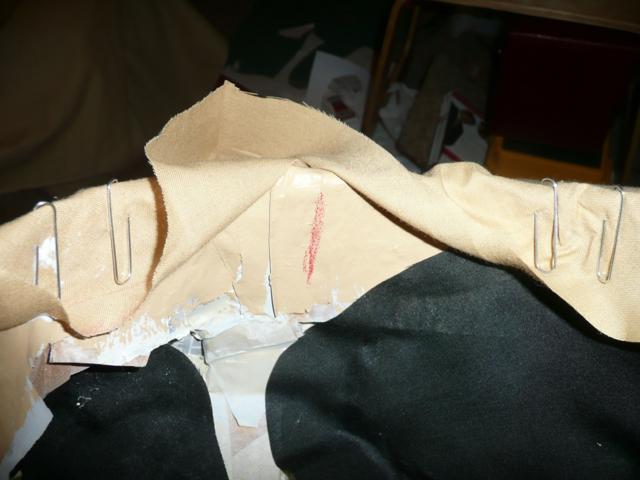
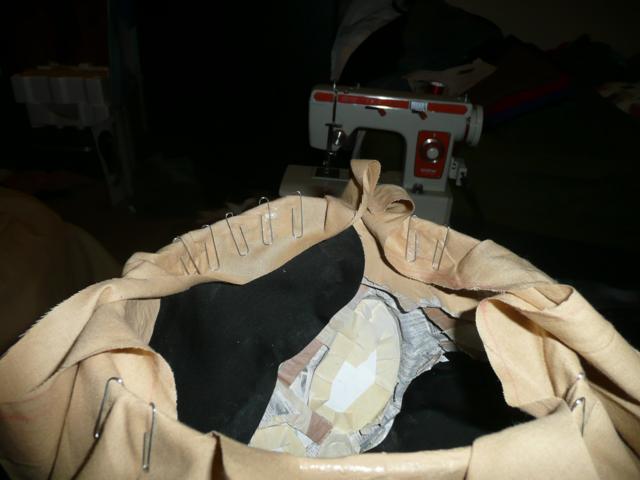
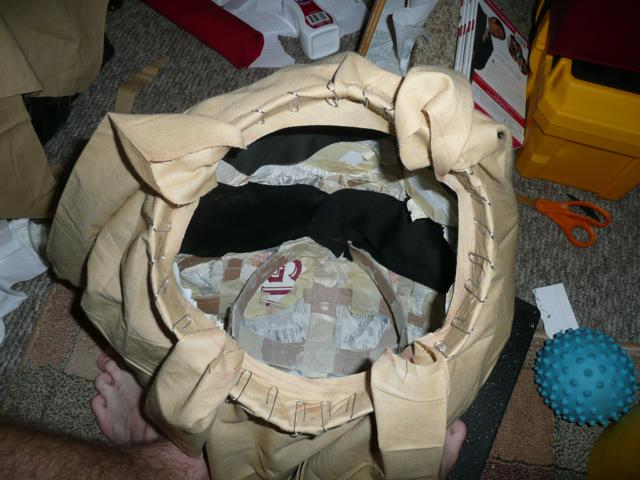
I devised a simple wait to attach the cloth around the inside of the mask.
First, we'll cut a hole in the center of the remaining yard of fabric that is just about as wide as the mask itself (larger than the head hole).
Next, turn the mask upside down so that the head hole is up. Lay the fabric over the hole so that corners are pointing forward, backward, left, and right. Take the front edge of the hole you cut in the fabric and line it up with the front of the mask rim. Fold it over and glue it to the inside of the mask.
Repeat this for the other three sides, making sure to glue the fabric that is directly in from the corners of the sheet.
Now draw a line halfway between each of the four original glue locations. Glue the fabric from each original location to this marking from both sides. This gives the mask fabric a somewhat pleated look.
Wait for all the glue to dry and then remove the paper clips and flip the mask over. Fantastic. Let's kill some more time before we check on the dye.
Sockses and Sleeveses
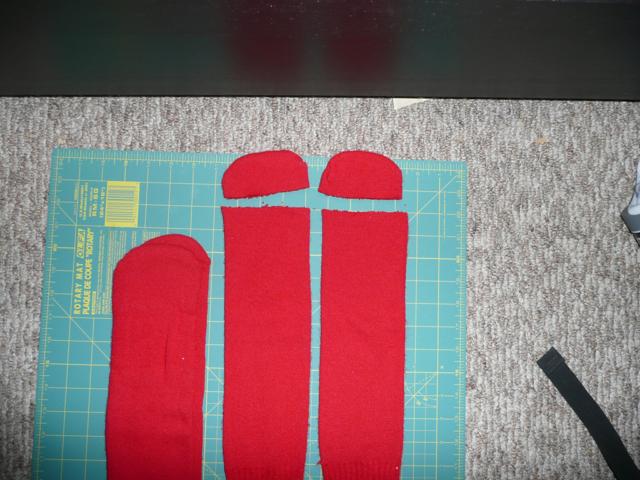
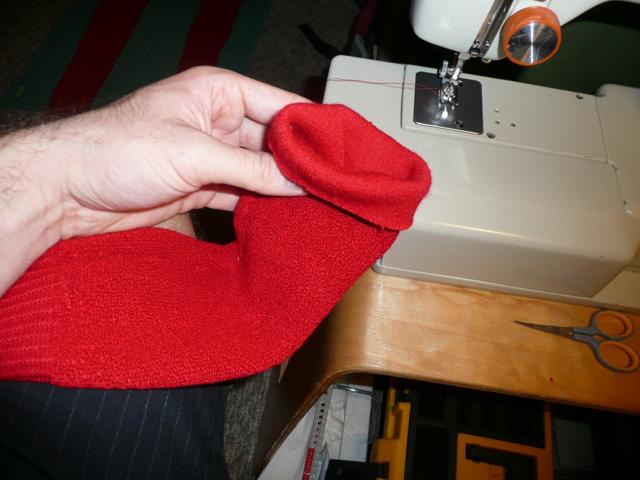
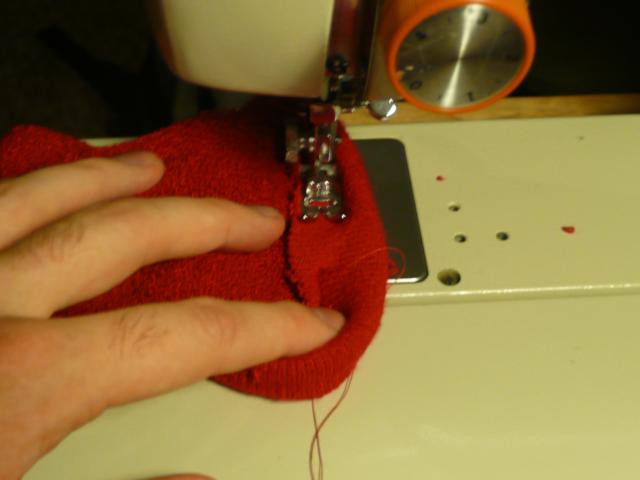
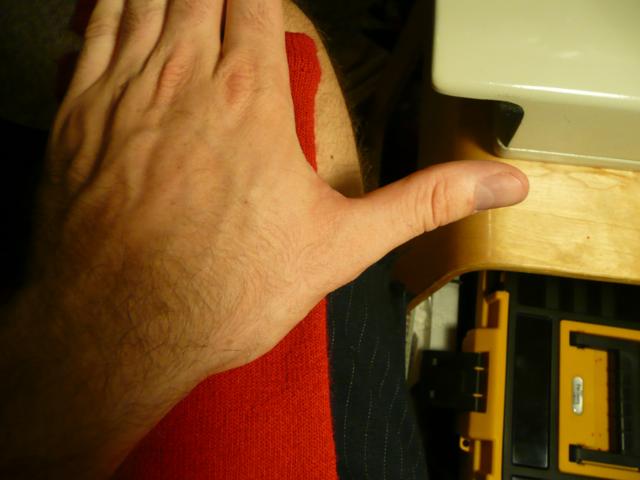
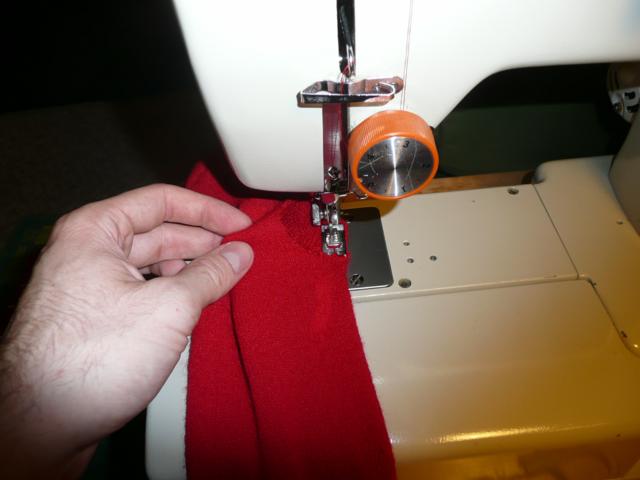
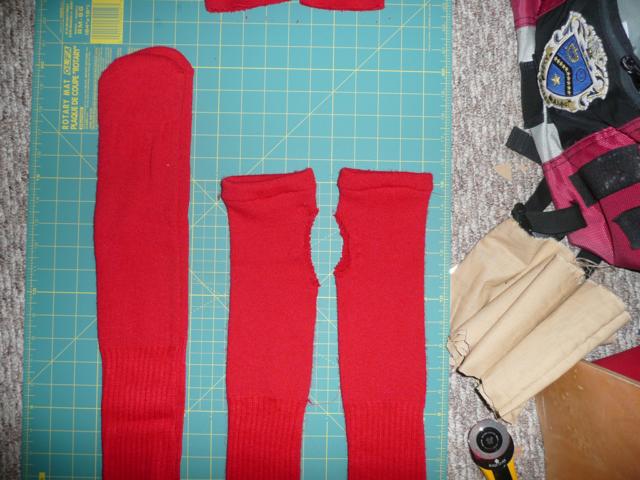
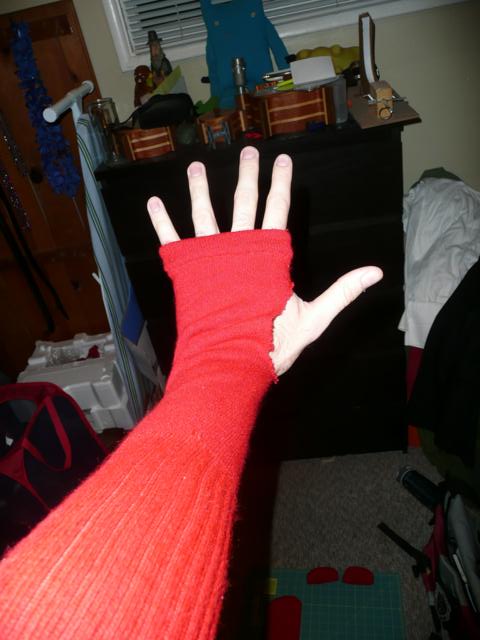
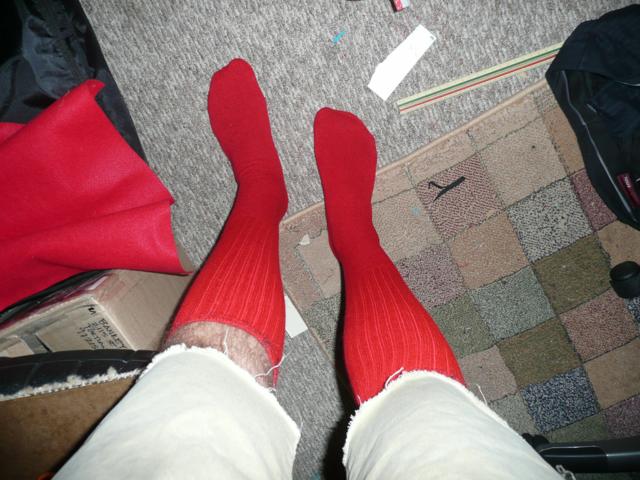
We're gonna need something to cover up our bare feet and arms. Tube socks sound good to me. Check your local sports-type store for various colors.
Materials:
2 pair Tube sox; color of choice
Set one pair aside. These will be for your feet and do not need alteration. I originally intended to use toe socks, but I didn't want to order them online and tube socks are way cheaper.
With the other pair, cut off the toe seem. Hem the socks by folding the end back a little less than an inch and sewing around the tube. Do not sew the tube shut unless you have no fingers, in which case you shouldn't cut the toe seem off the sock to begin with.
Place your hand over the sock, positioned so that the hemmed end sticks past your knuckles. Mark off and cut a thumb slit/hole on the side. Sew this up similar to the neck hole so that the sock cannot unravel.
Try them on.
Let's go check on the dye.
Finish and Assemble

SO CLOSE!!!
Now that our dye has had a chance to soak in, let's rinse it out and put this thing on. You should be pretty antsy by now, like the end of any good project.
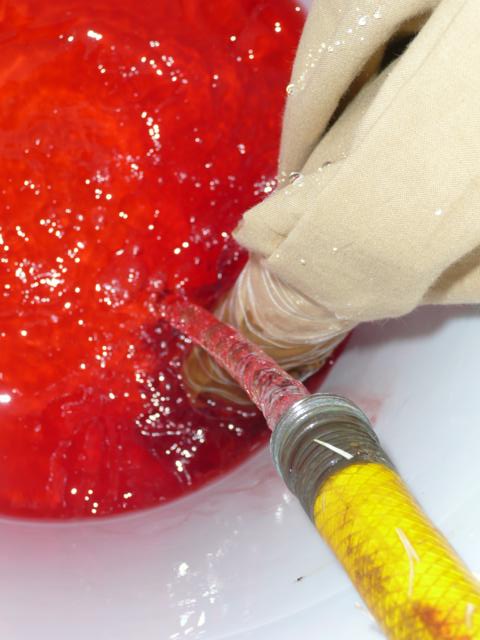
Take the bundle out of the dye and check the length of absorption. It wasn't quite as much as I had planned, but it turned out really well anyway. Rinse the bundle well and then remove the string and rinse again. Use the bucket to contain the mess. Dump the water somewhere safe (I had a plant that needed killing).
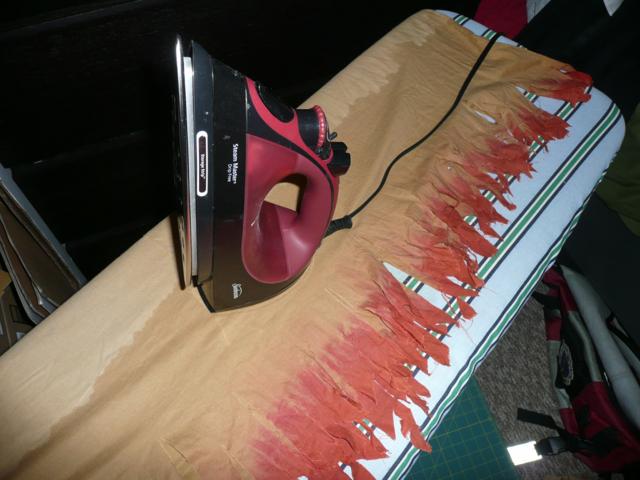
I used my iron to dry it the fastest. As I inspected the blood closer, I noticed it almost had a cool tie-dye effect in some areas. The bundle was pretty loose, but produced some very nice results. At this point I was about ready to vomit from excitement (don't worry, all I had eaten recently was a few rat liver tablets).
Throw on the socks and sleeveses like a maniac, pull on the pillowcase-poncho, and plop on the mask. Sure it might be a little warm, but hey, you have to make sacrifices sometimes.
Amaze your friends and roommates with your craftiness, then hunker down with your 400 photos and work out an Instructable. If this keeps up, I'm gonna need a bigger hard drive.
Partay
Find a friend that's throwing a party. Enjoy.
I will be adding photos to this section after Halloween!
I will be adding photos to this section after Halloween!