Making a Hair Clip in Fusion 360: Something a Girl Would Do!
by alamtania in Design > Software
2320 Views, 3 Favorites, 0 Comments
Making a Hair Clip in Fusion 360: Something a Girl Would Do!
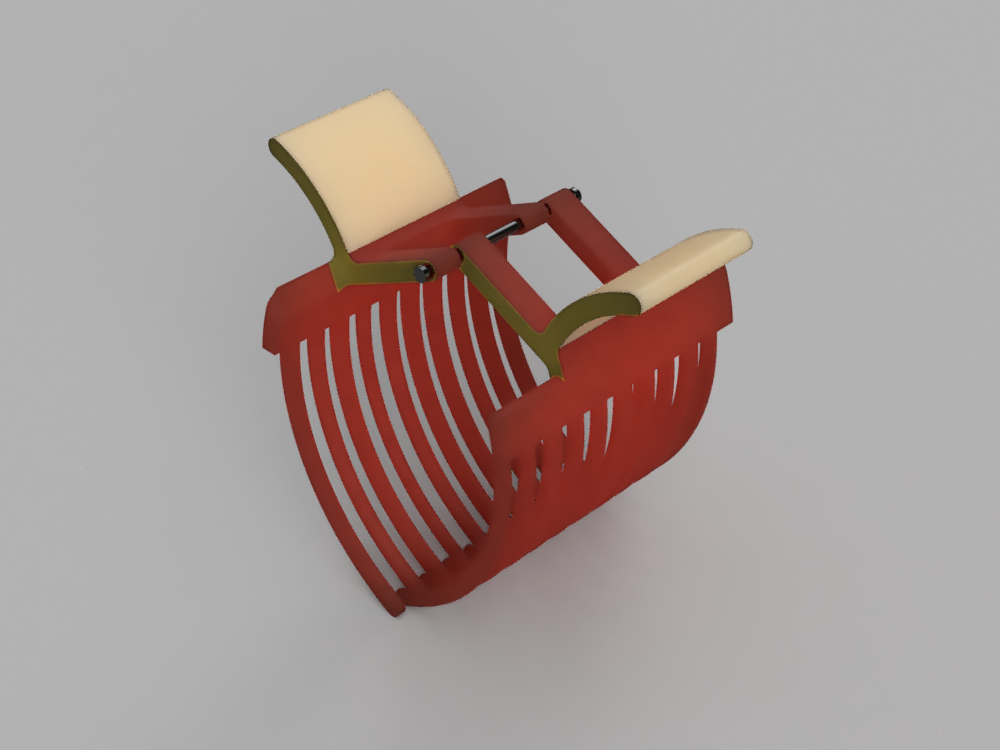
Not too long ago, I saw someone asking a very interesting question is a post. "Write the girliest thing you did with CAD?" it read. Truly speaking, the idea of making this clip came spontaneously and it reminded me of that post. So, here goes out the complete tutorial on making a 3D model of a hair clip. Dedicated to all the CAD Girls!
Creating One Side of the Clip
.png)
.png)
.png)
.png)
.png)
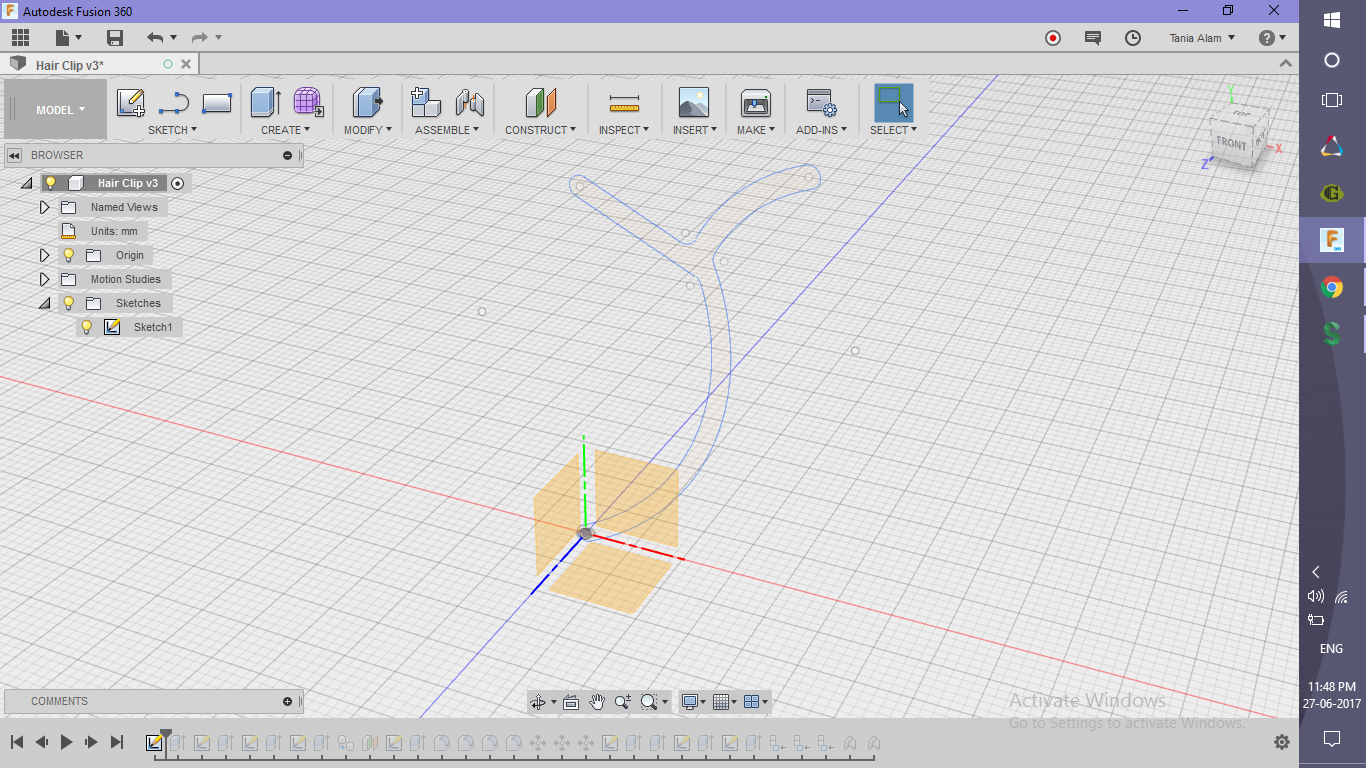
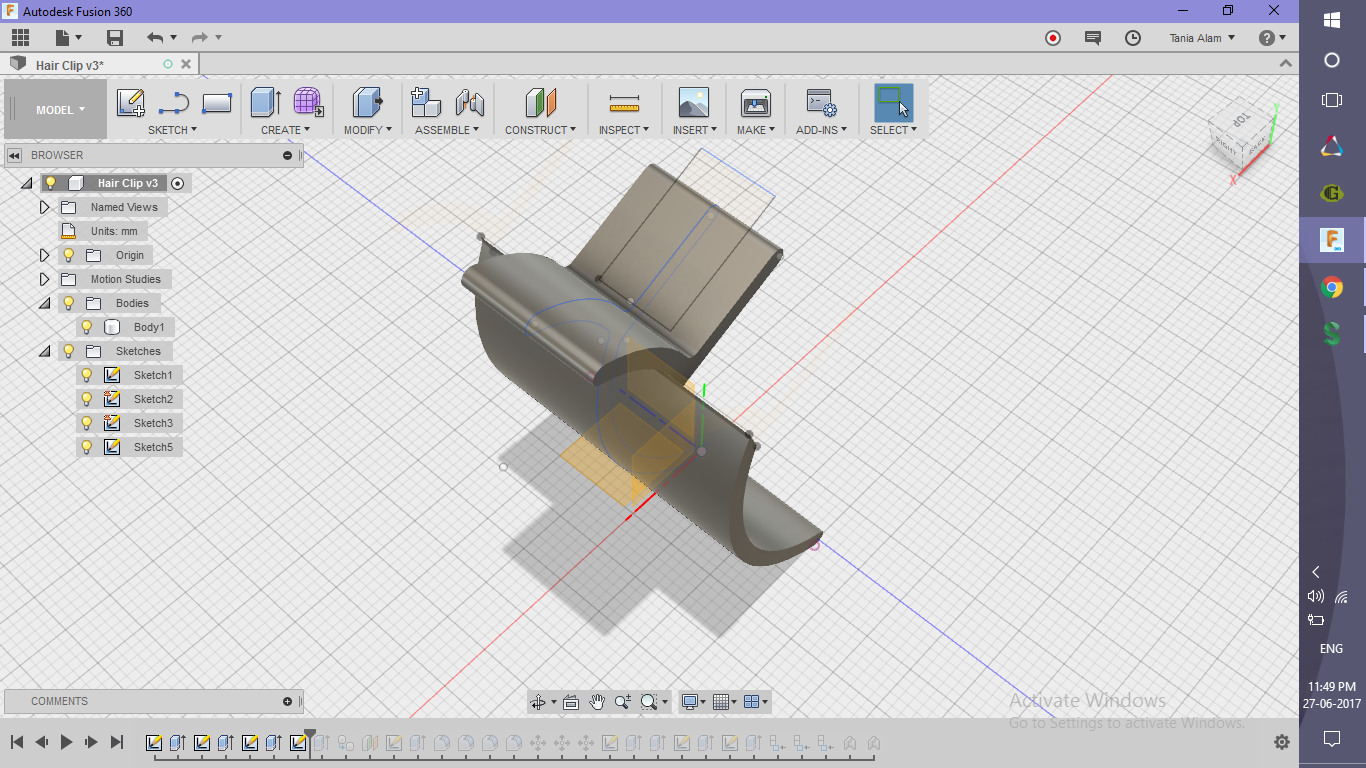
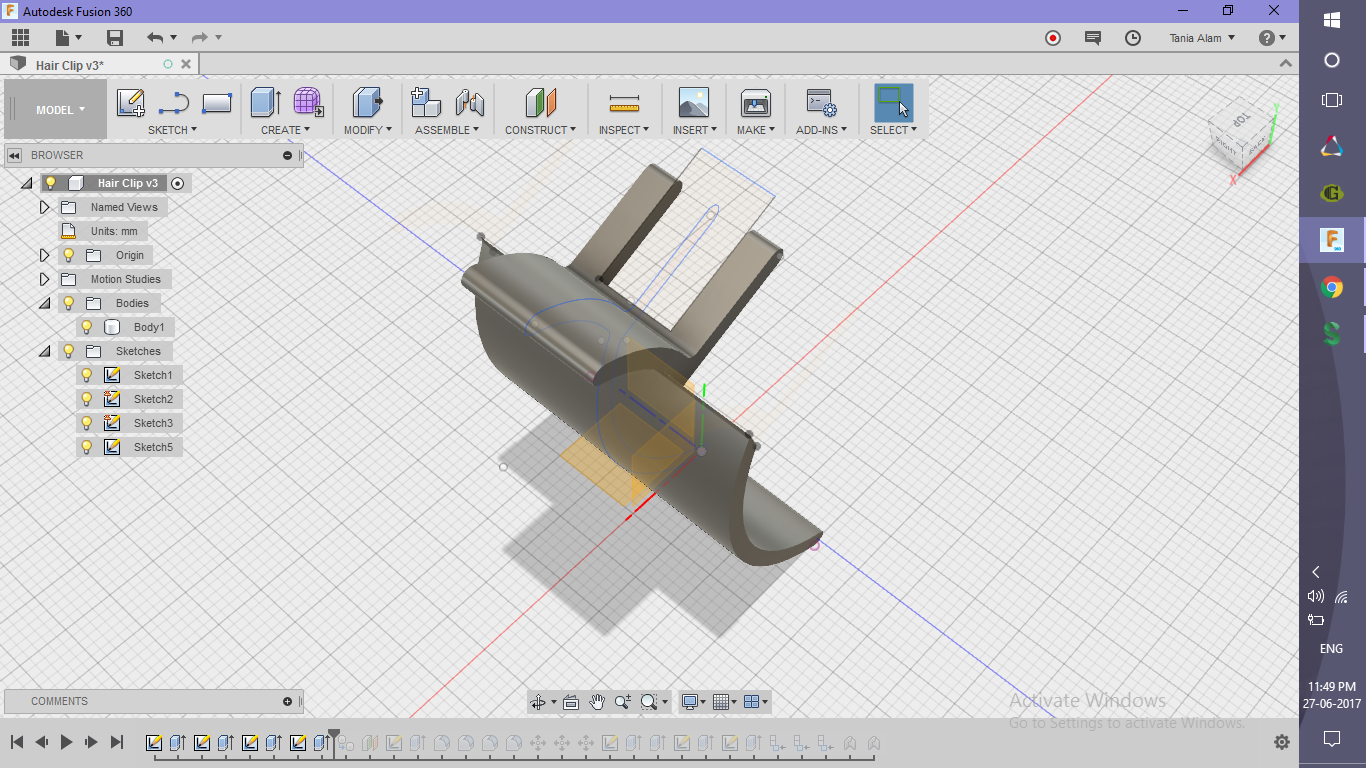
- Sketch the profile
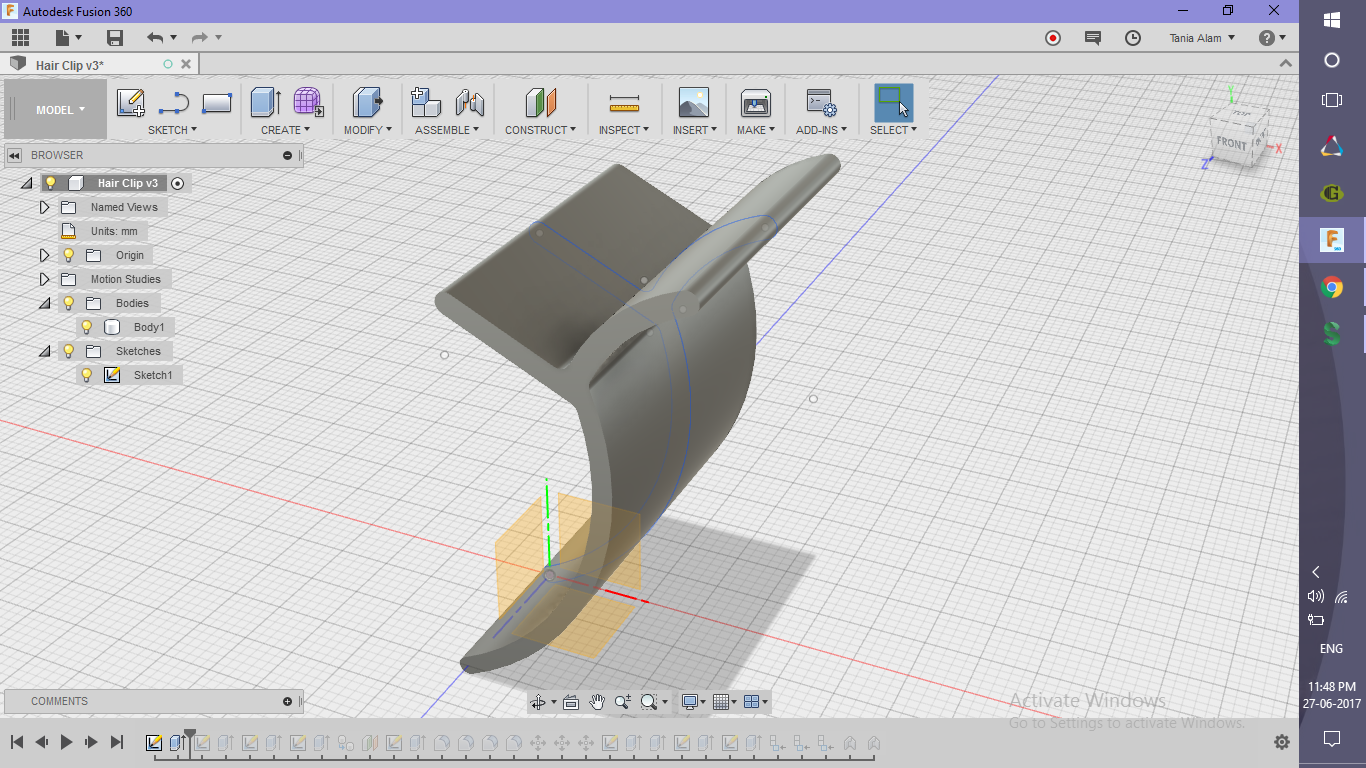
- Extrude it
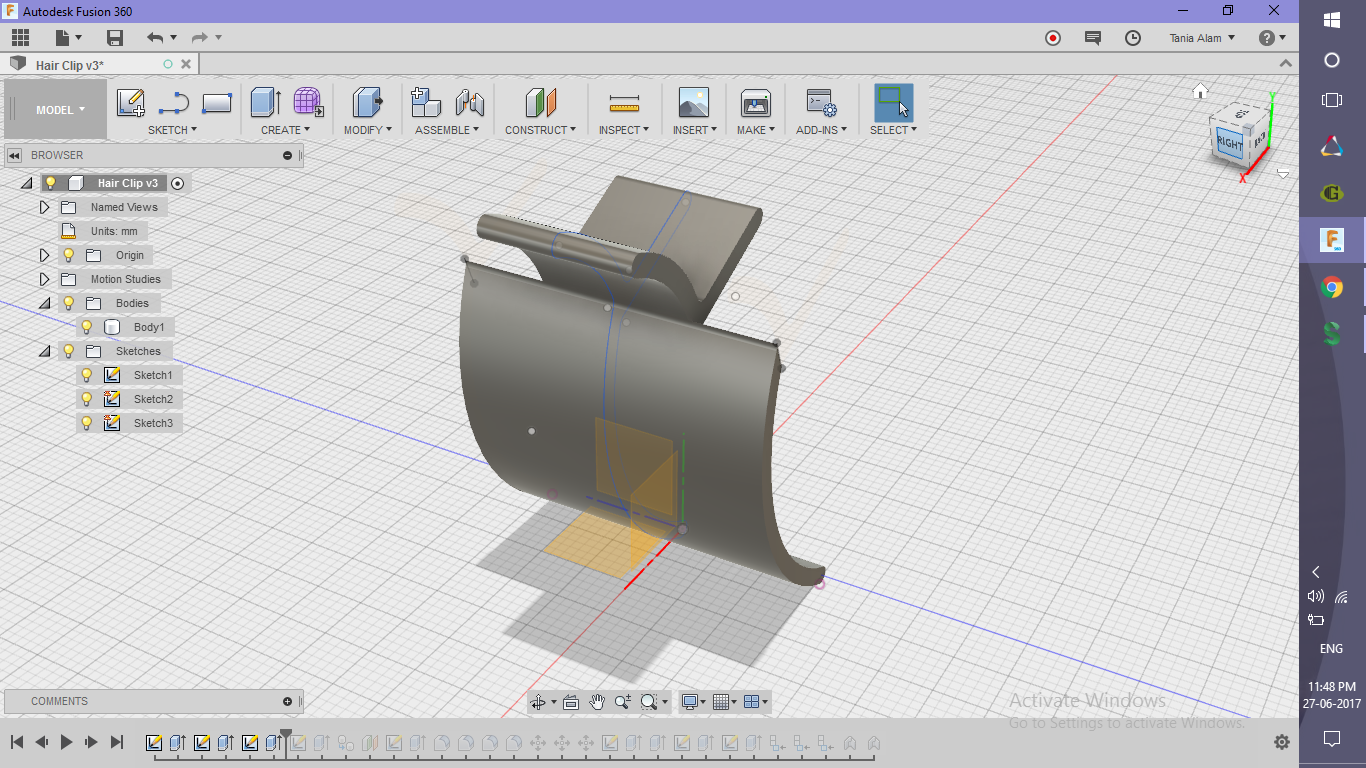
- Cut the sides as shown using "Sketch Line" and Extrude commands
Creating the Teeth
.png)
.png)
.png)
.png)
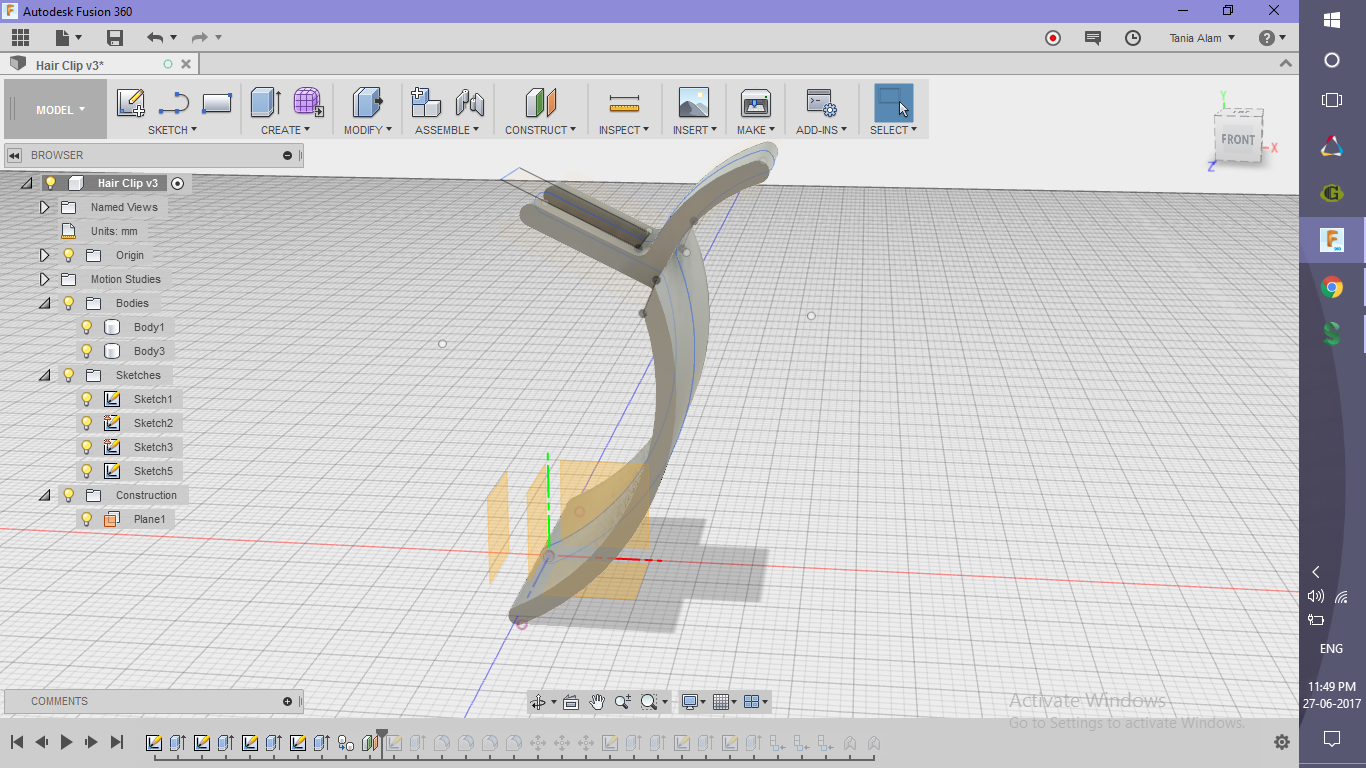
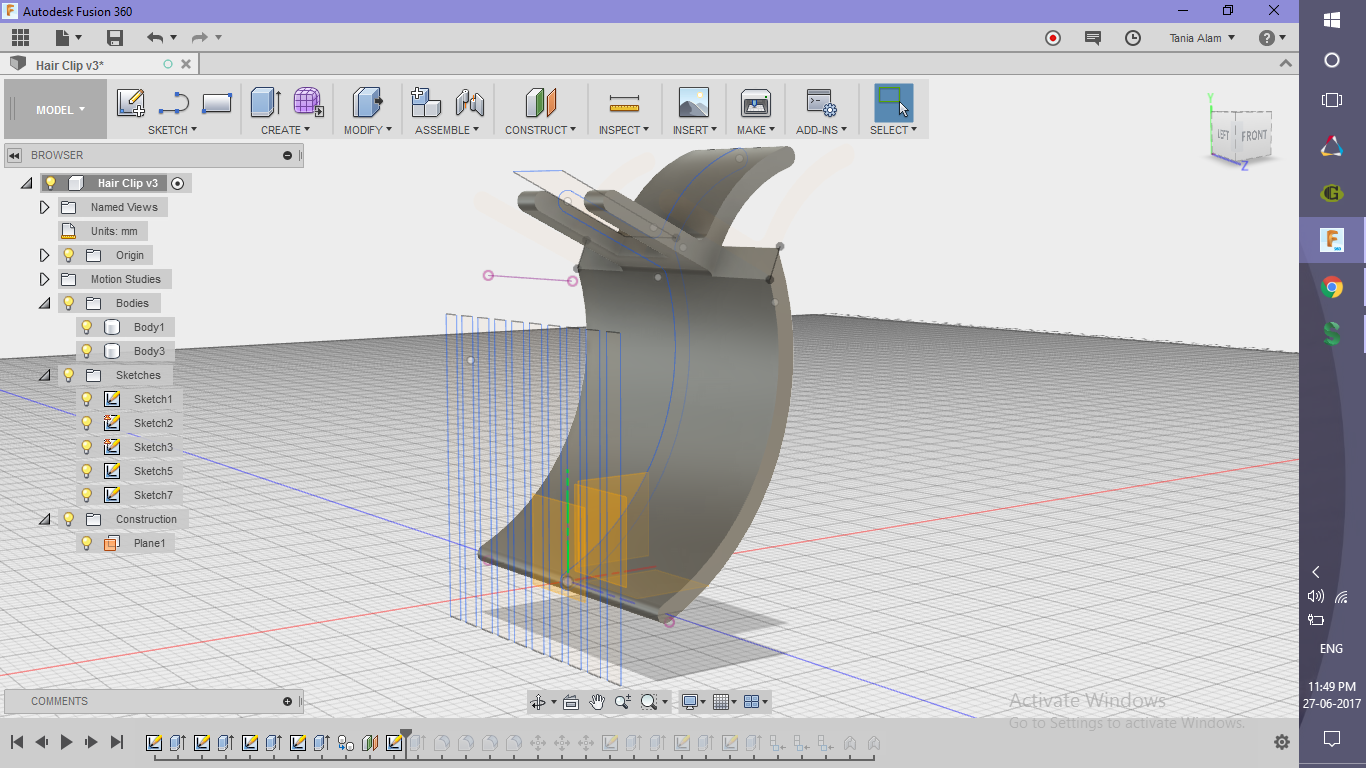
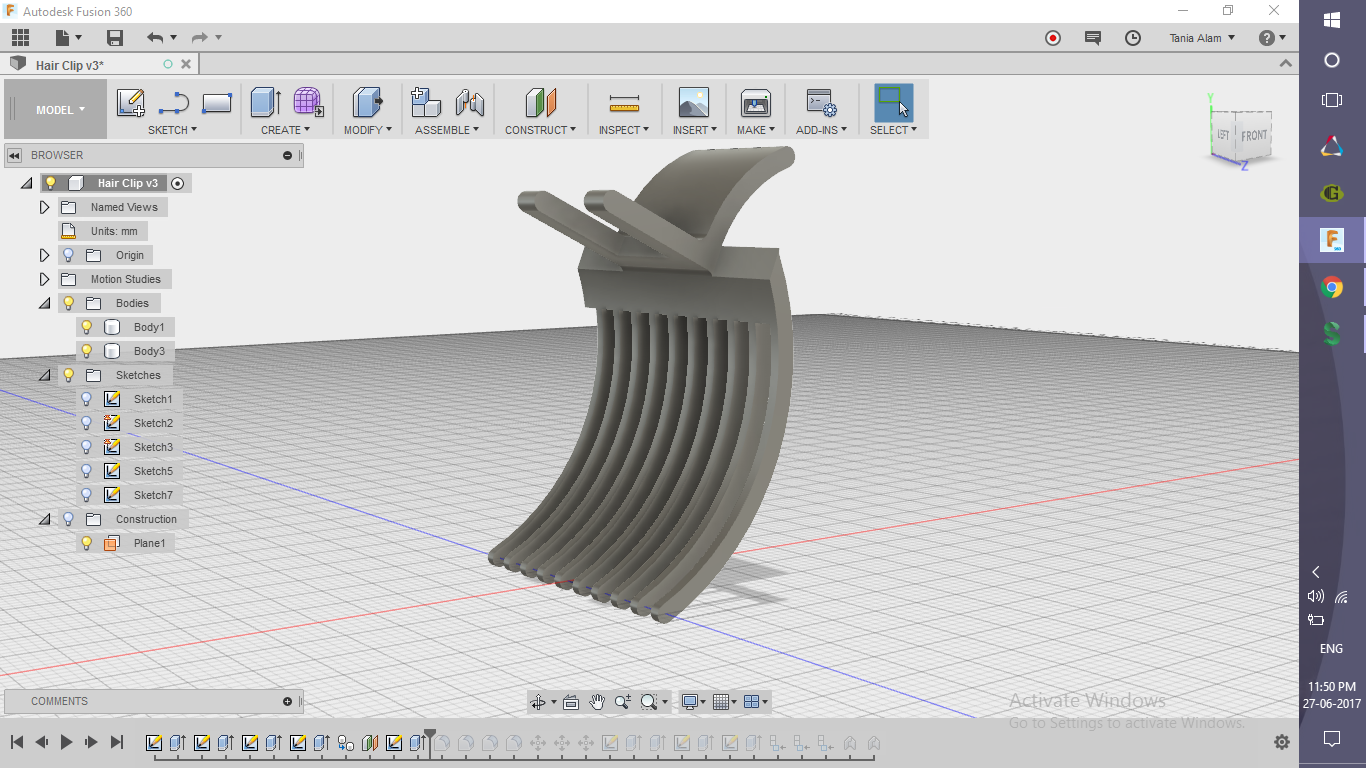
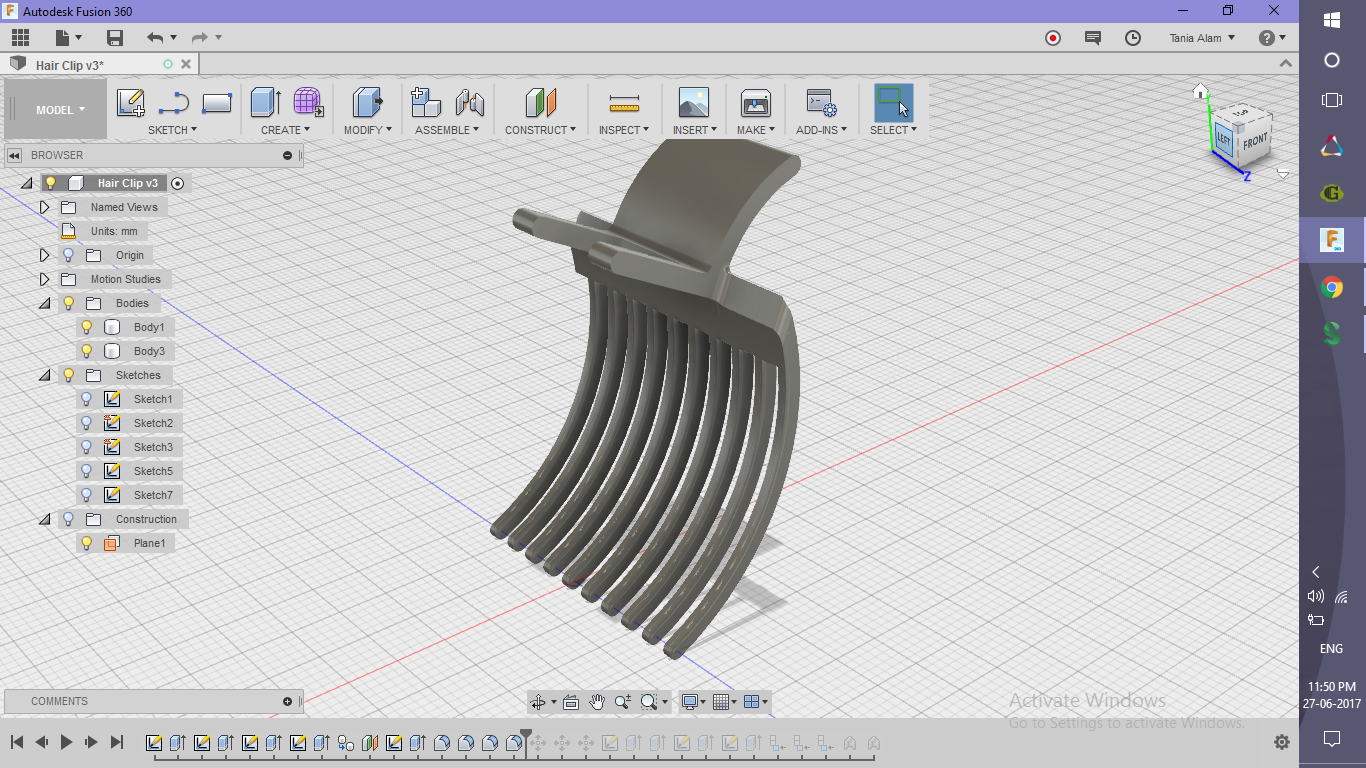
- Create a construction plane at some distance as shown
- Sketch the lines using rectangle and rectangular pattern
- Extrude those profiles to cut the clip
Making the Other Half of the Clip
.png)
.png)
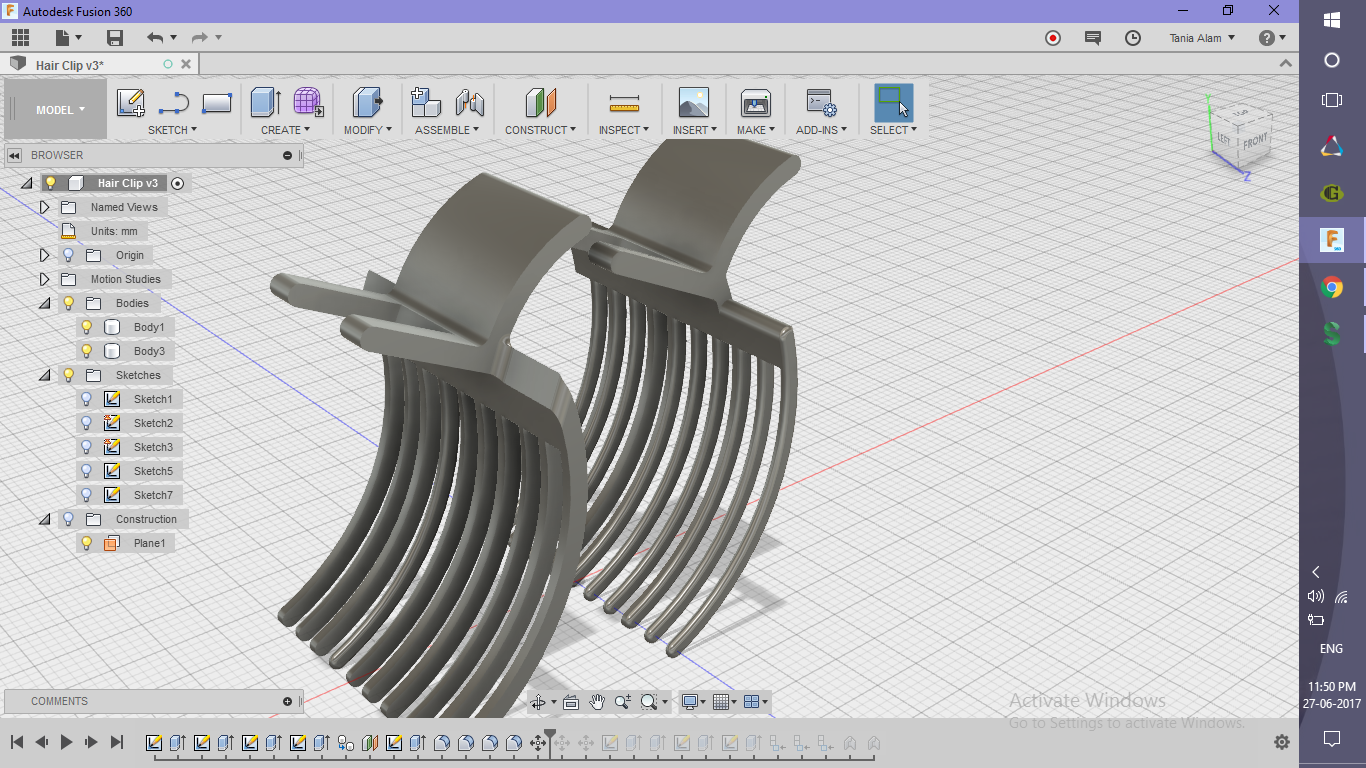
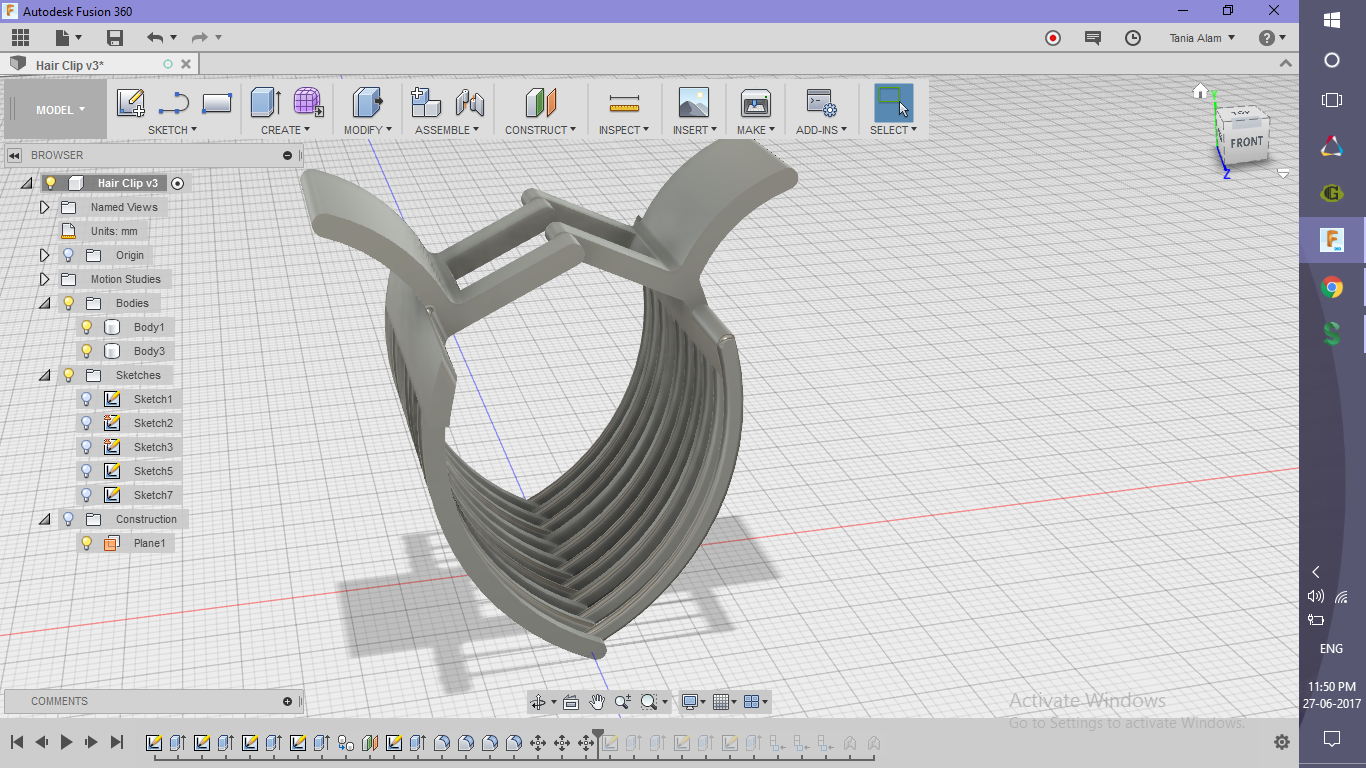
- Simply use "Copy" and "Paste" (Why would you anyway take the pain all over again?)
- Rotate the new body by 180 degrees
- Translate it to the desired position as shown
Creating the Small Connecting Rod
.png)
.png)
.png)
.png)
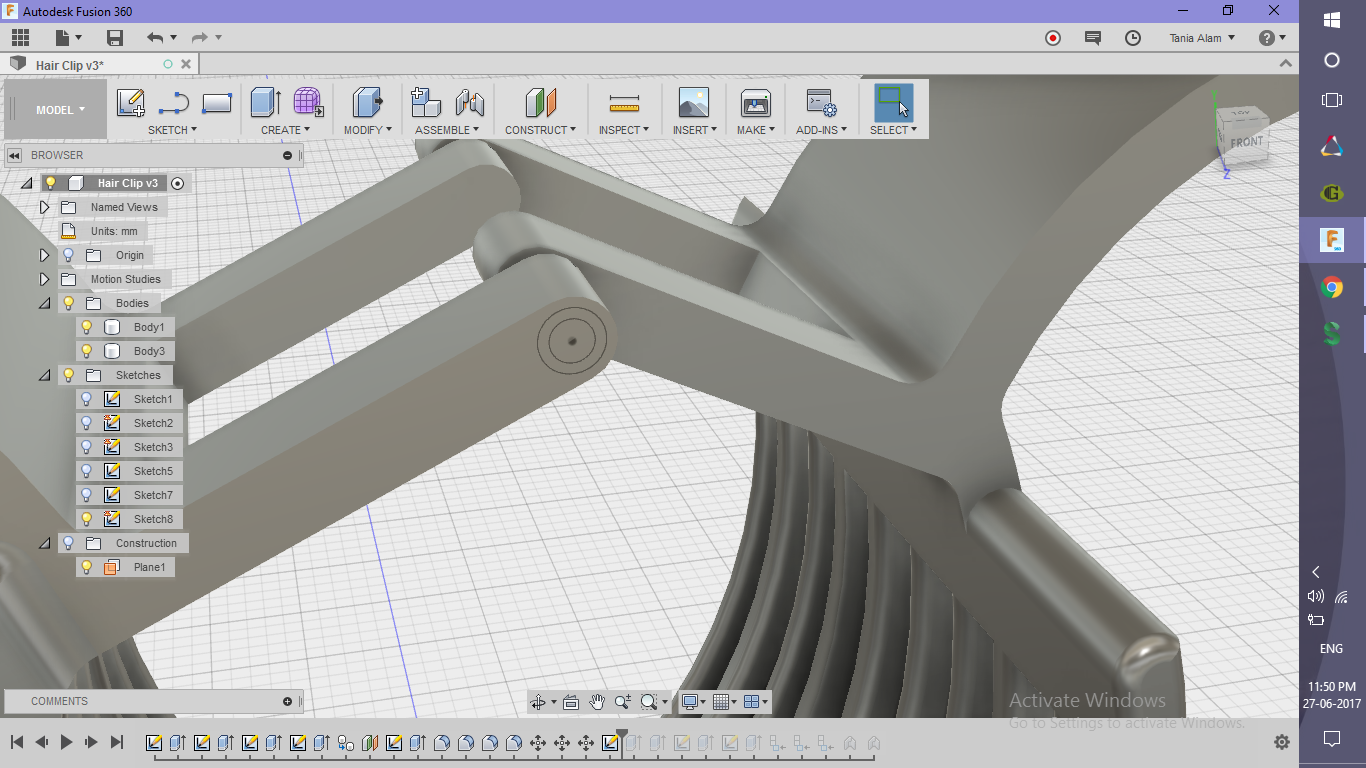
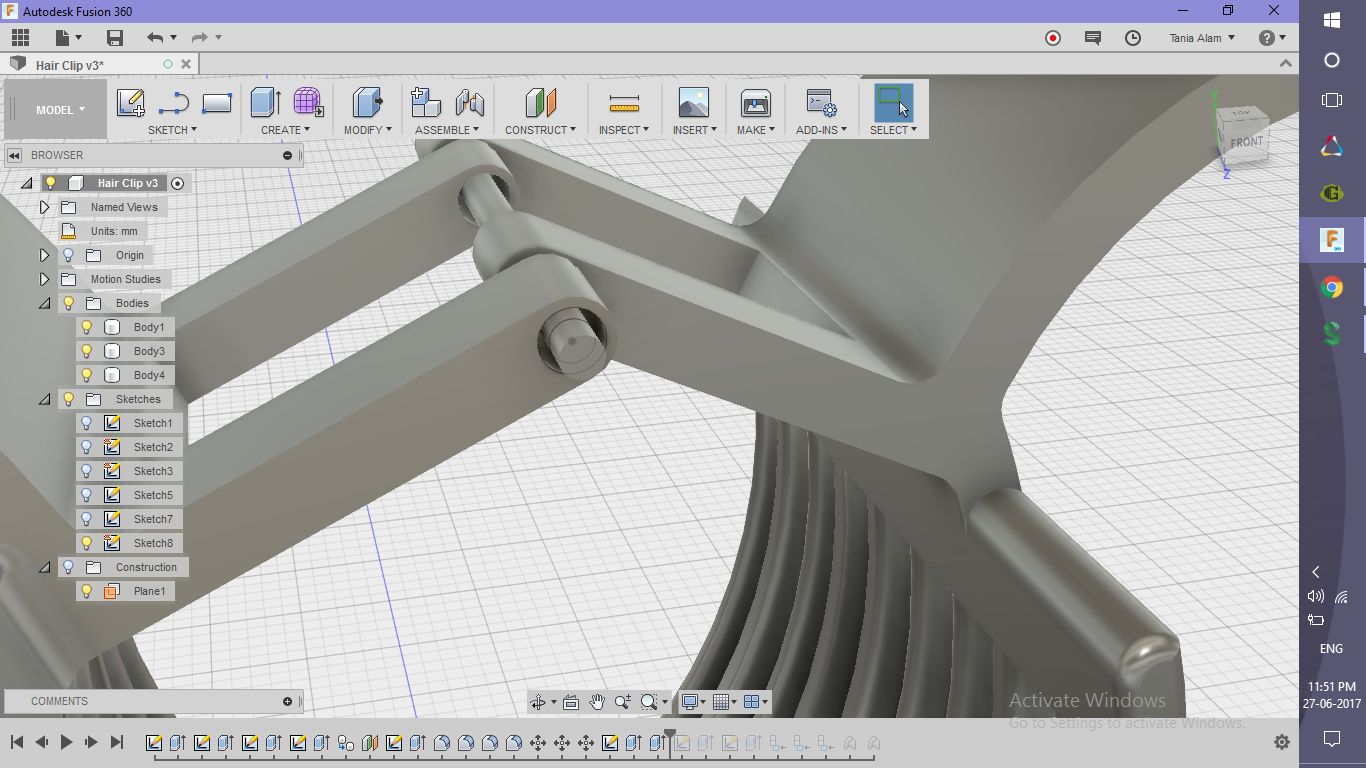
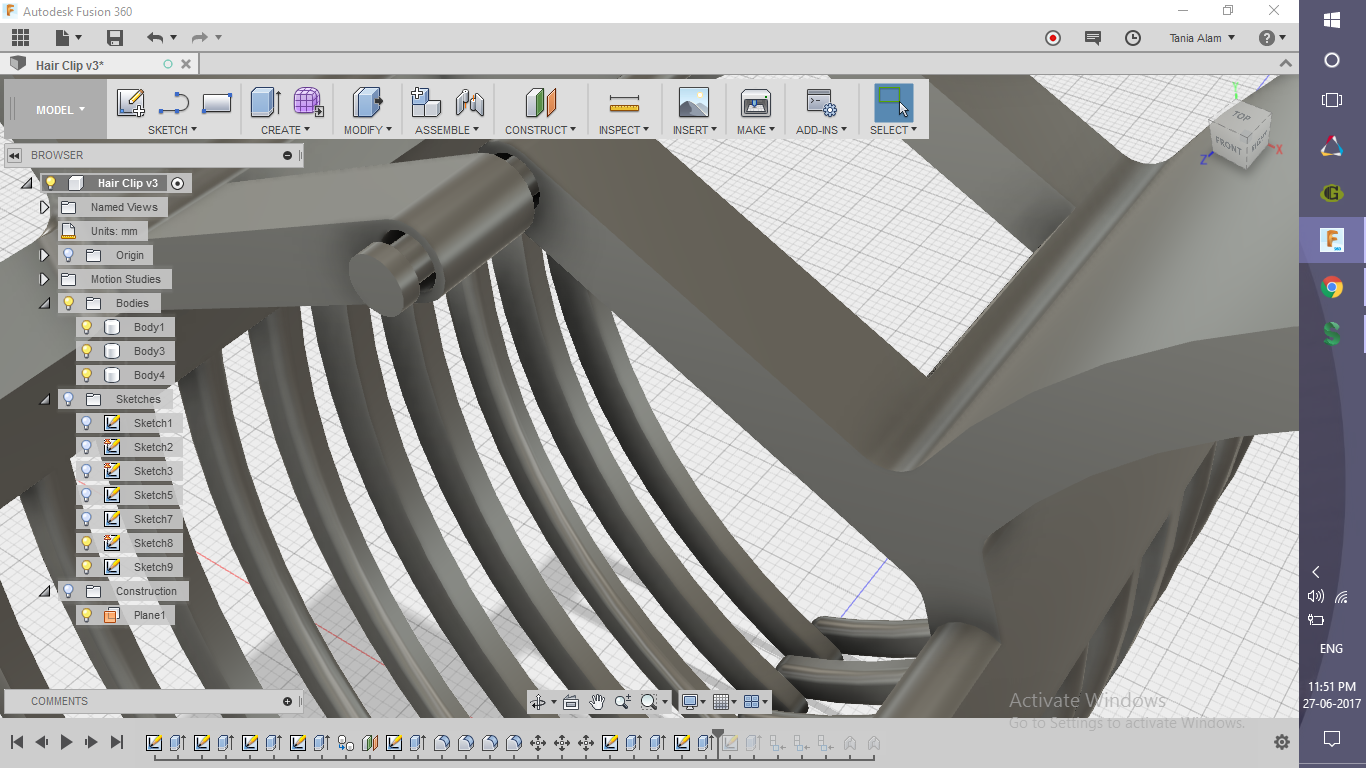
- Create two circles
- Extrude the larger one to cut the bodies
- Extrude the smaller one to make the rod
- Make a small disc to prevent the clips from falling off
Assembling the Parts
.png)
.png)
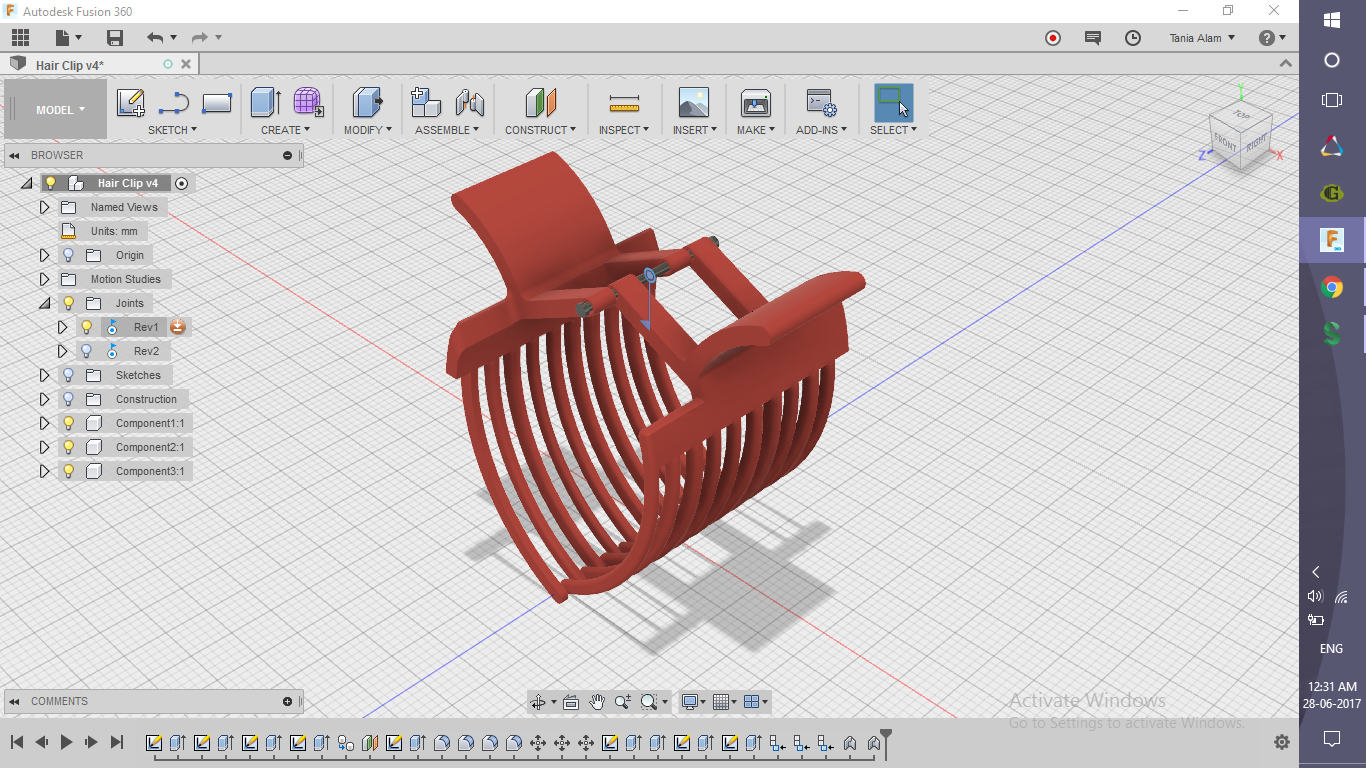
- Create components from bodies
- Use two "As-Built" joints, one between left half and rod, other between right half and rod
- Type: Revolute
Add Beautiful Colors to It
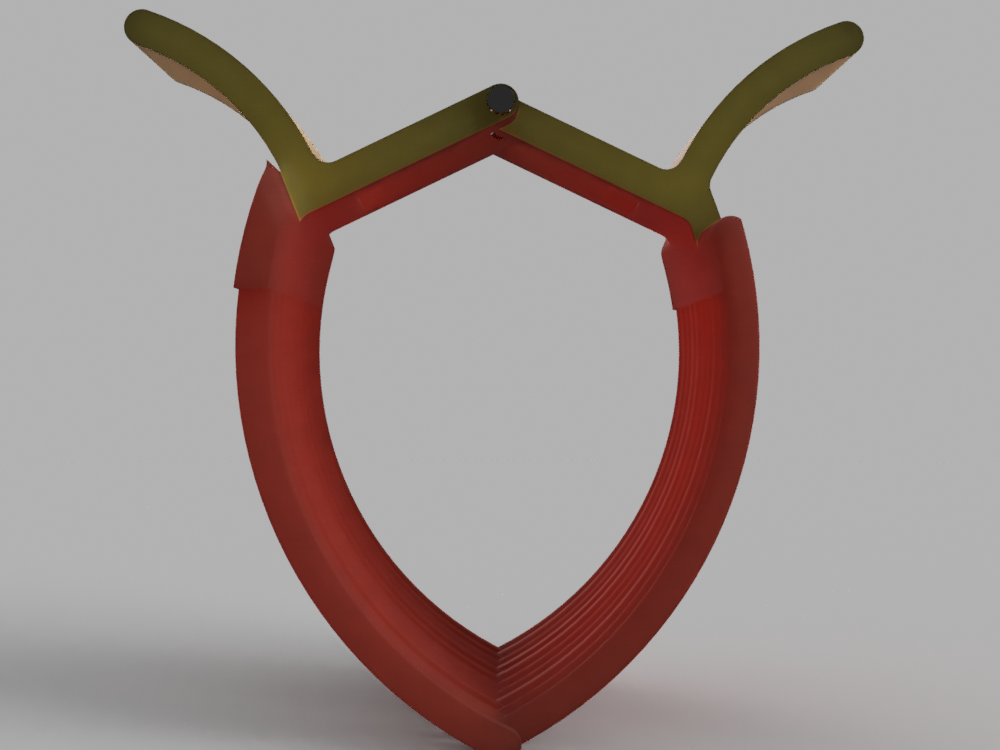
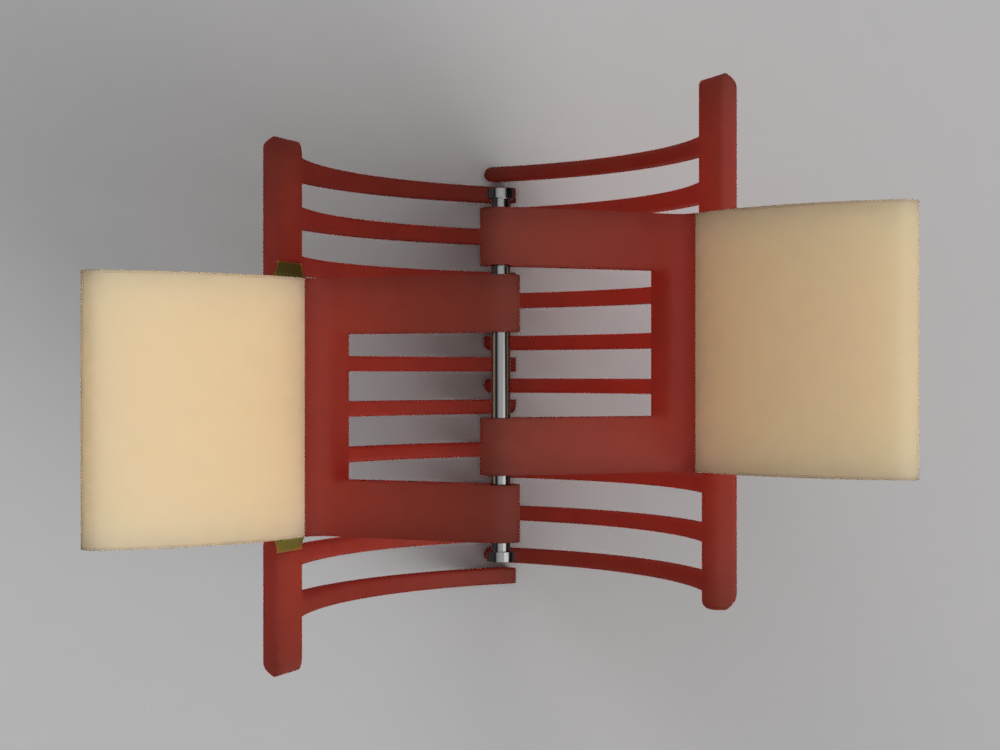
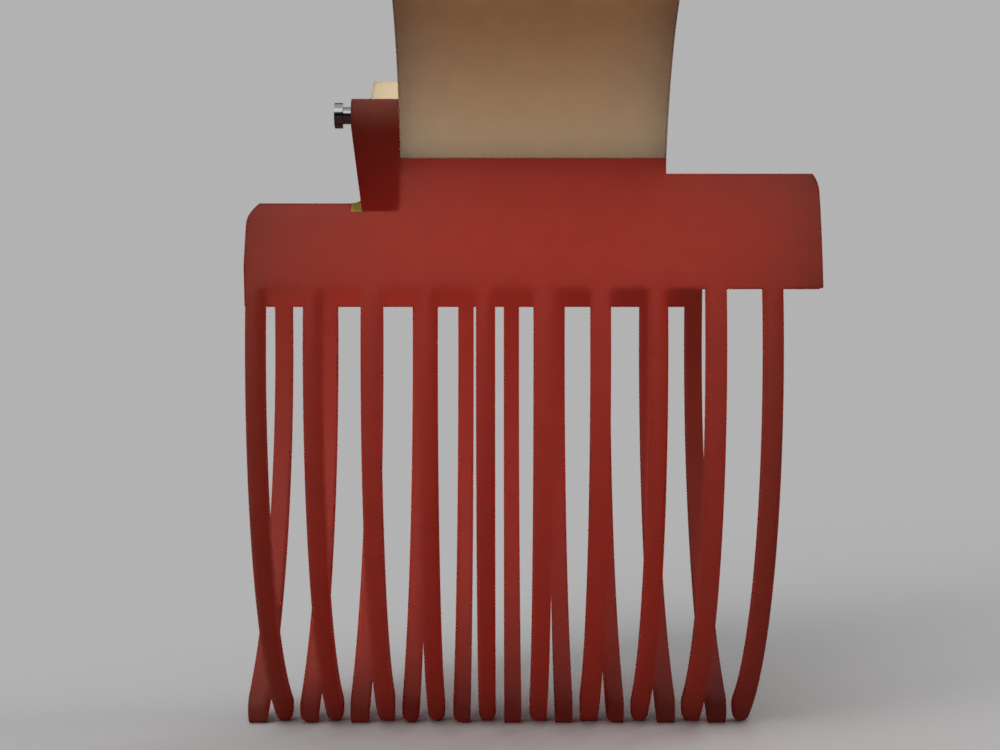
- Add Physical Material
- Add Appearance (to bodies and faces)
Create a Motion Study (Optional)
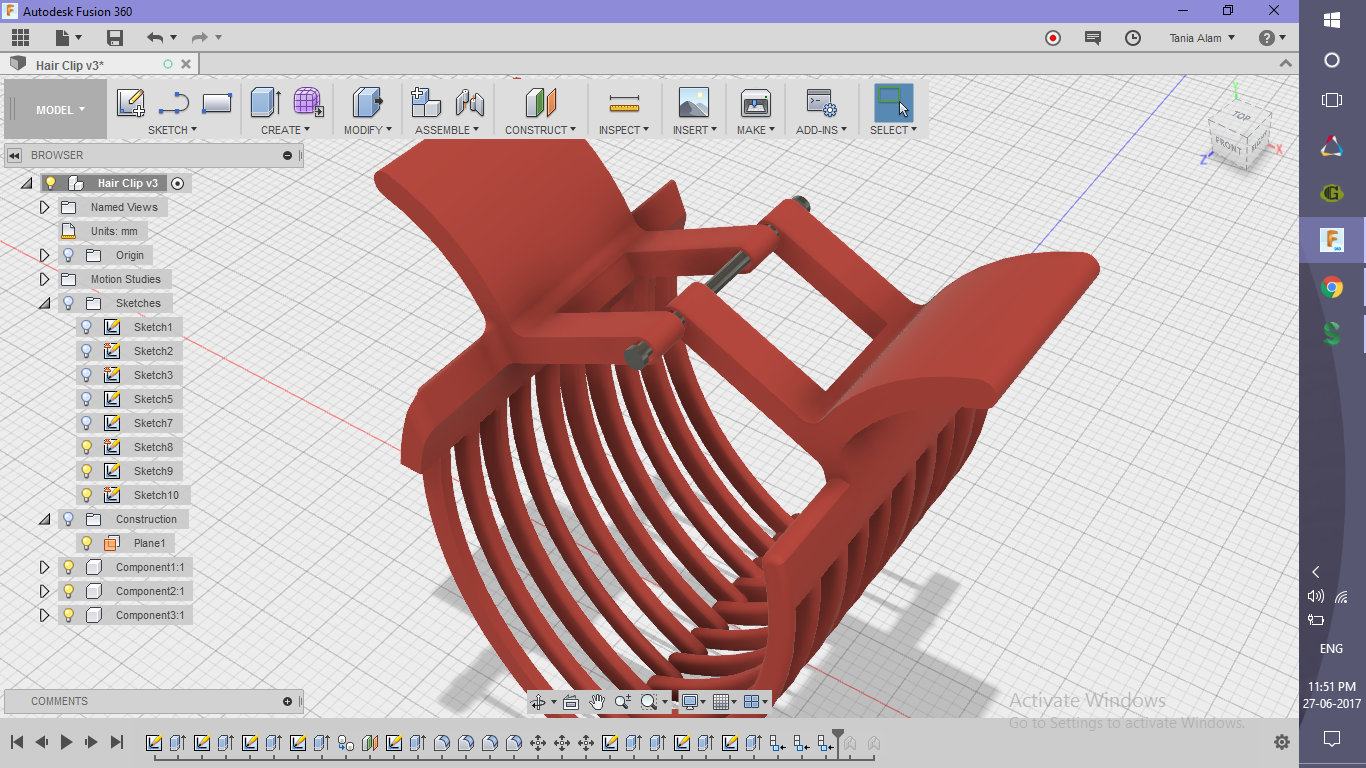.png)
- Edit joint limits
- Revolute 1: Min=0 deg, Max= 75 deg
- Revolute 2: Min=-75 deg, Max= 0 deg
- Create a motion study
- Revolute 1: Angle=75, Step=40
Revolute 2: Angle=-75, Step=40
Rendering a Motion Study
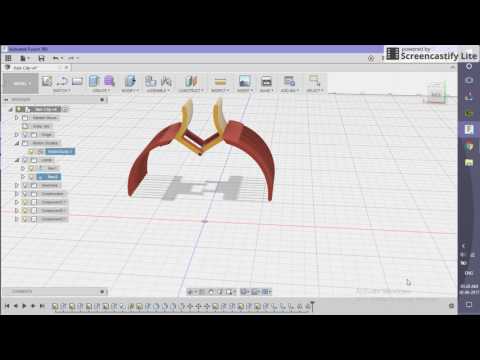
If you have created the motion study, also render it. IT is recommended to use the Home view, but you can use any other view as per your wish.
Head over to the screencast to see how I did it!
And don't forget to show off your work here using the "I Made It!" button :)