Making a Digital Automata Background (Using Scratch!)
by SparkBark in Design > Software
884 Views, 6 Favorites, 0 Comments
Making a Digital Automata Background (Using Scratch!)
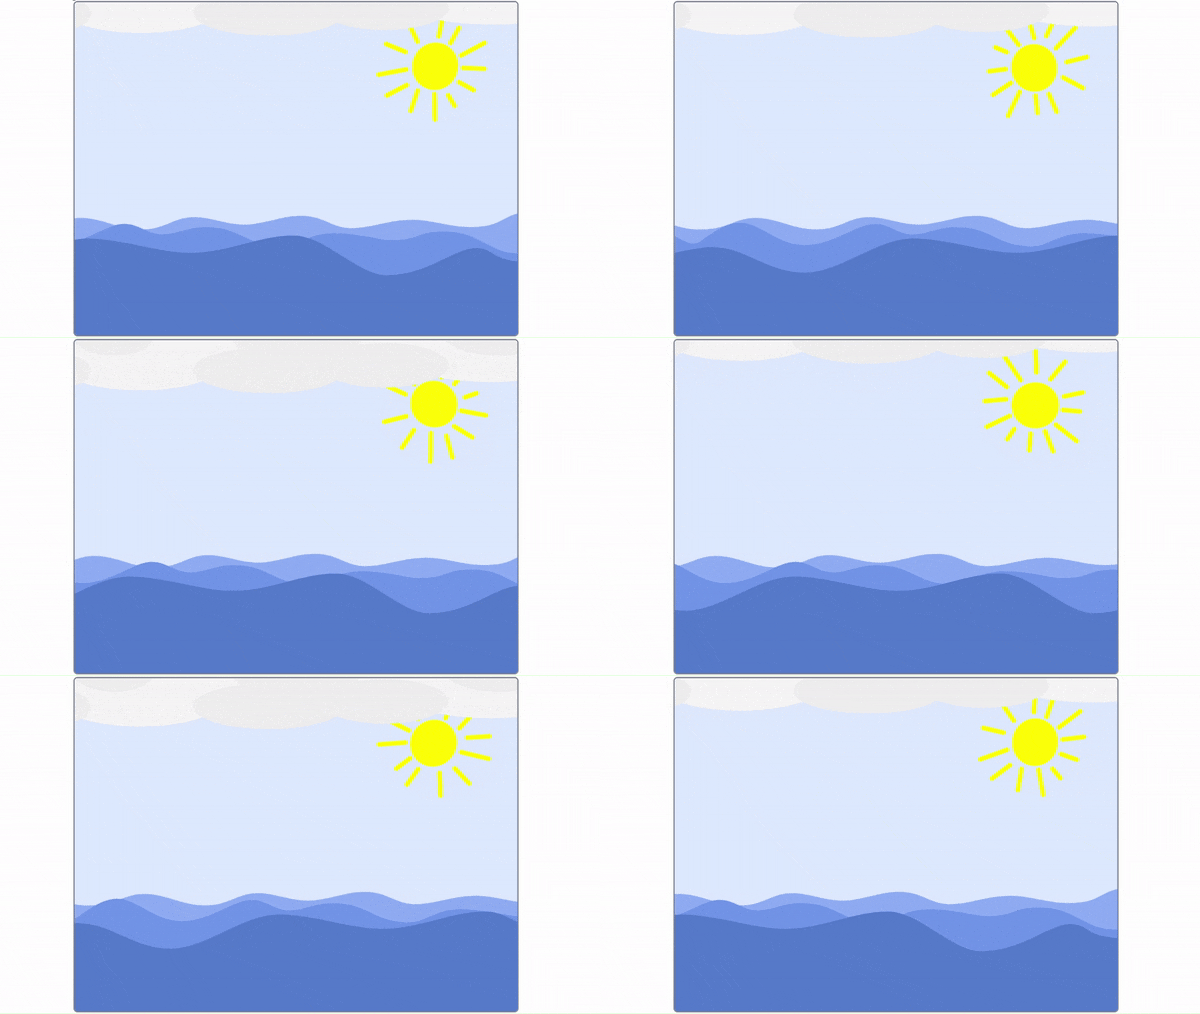.gif)
Have you ever seen an automata? It's a little machine that has a gear (or set of gears) connected to a rod that attaches to whatever's above it (like a background) in order to animate it. In our case, there's a digital "gear" that spins around to make the pieces of our background move and create a beautiful automata.
Prerequisites:
(What you'll need to know before you start)
-We'll be using a block-based coding platform called Scratch. If you have never used Scratch before, or have just started learning to code, you can find some great tutorials to learn the basics Here
-Since we're going to be using Scratch, you'll need to make an account if you don't have one. It's simple and free to do. You can sign up Here
-Finally, you will need a computer (with an internet connection). But since you're currently looking at this Instructable, You're probably all set!
Vocabulary:
(words you'll need to know before you start)
X: the axis that crosses from the left of the screen to the right.
Y: the axis that crosses from the top of the screen to the bottom.
Script: a set of code that's read in order from top to bottom.
Starting the Project
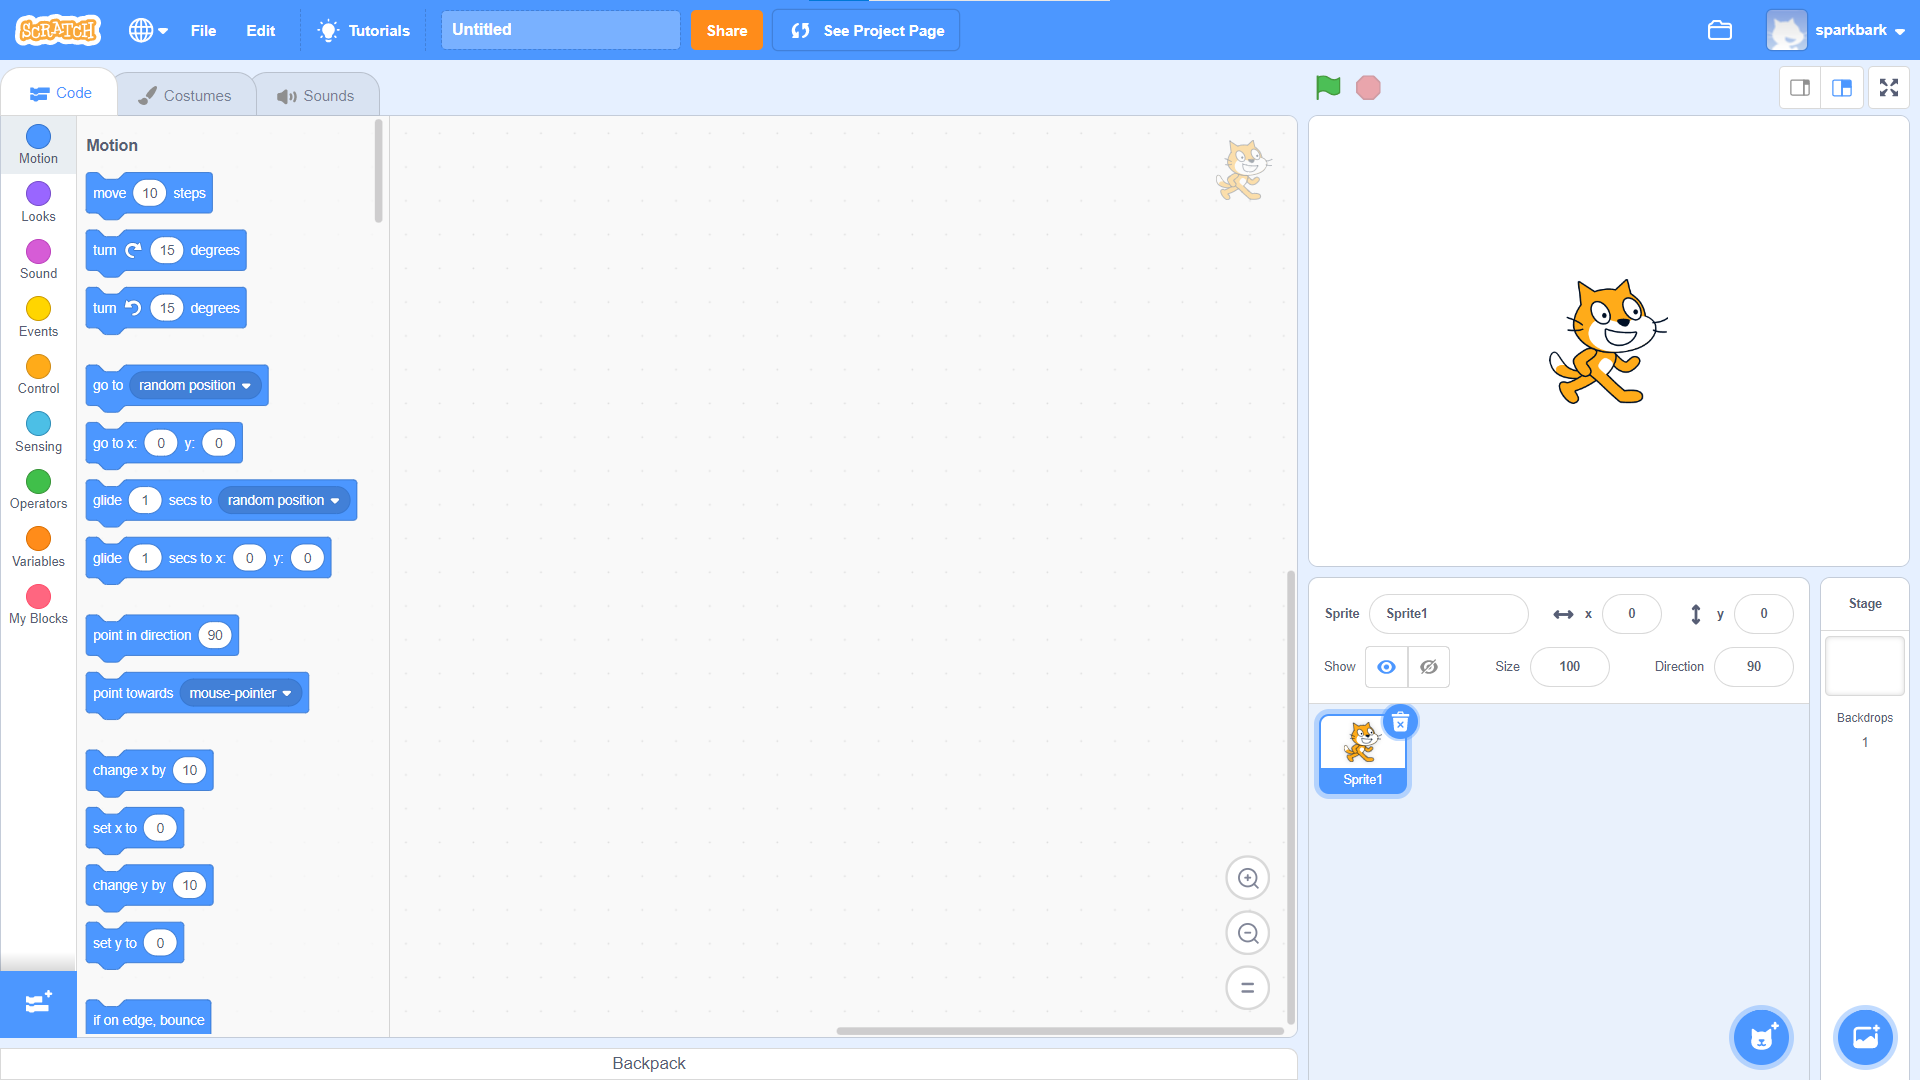
The first step is to figure out what type of background you want to make. I've decided to make an ocean, but you can make whatever type of background you want, as long that it has parts that can move around to be animated.
Next, you'll want to make a new Scratch project. I'm going to call it "Digital Ocean Automata", but you can call it something different depending on what background you decide on.
Since Scratch puts in a default Scratch Cat, you should go into the sprite's costumes and delete the cat costumes as you won't need them.
Creating the Digital Gear
Making the Gear Costume
In order to move our background, we are going to have to make a digital "gear". This gear will help move all the parts in our background, just like how a physical automata works.
-Rename the default sprite to "Gear" since that's what we're making
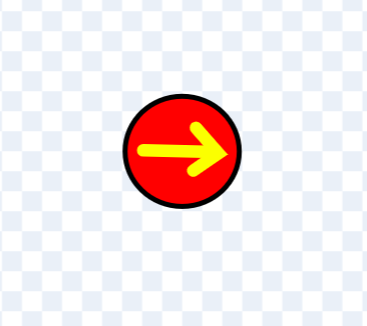
-Go into the costumes tab and make a new costume. Then make a medium-sized circle in the middle of the workspace using the circle tool. Once you've made a circle, draw a right facing arrow using the line tool. This won't be seen in the finished product, but the arrow can help you tell which direction the gear is facing when you're coding it.
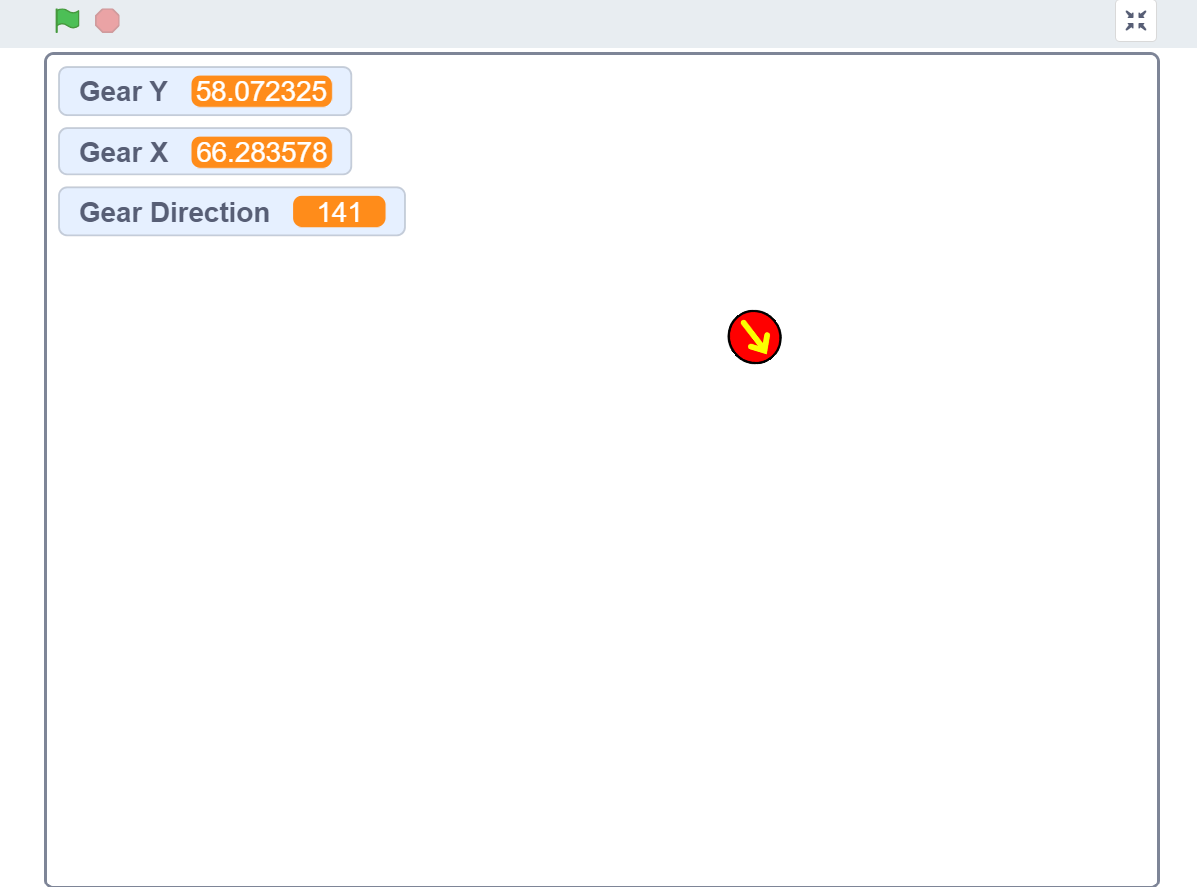
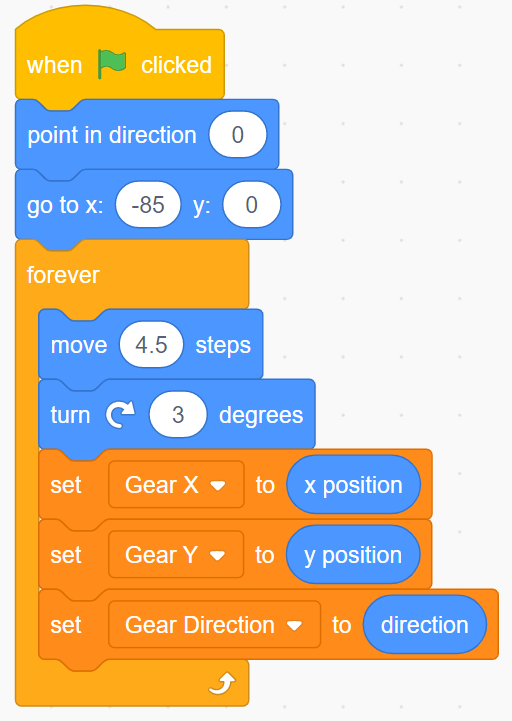
-Right now your gear doesn't do anything, so you'll need to code it! Use the picture above to help you.
Coding the Gear
-Under a when green flag clicked block, set the gear's direction to 0°, or up. then set x to -85, and y to 0. This will reset the gear. Just below that, put in a forever loop.
In order for the gear to turn around in a circle, you'll need to move and turn it. Do this by putting in a move steps block and setting it to around 4.5. then get a turn block (clockwise) and set it to about 3. When you click the green flag the gear should go around in a circle.
Good Job! Your gear works now, but it isn't very useful if it isn't connected to anything. To fix this, let's make a few variables to read off our data from the gear so the background can use it!
-Make three variables, "Gear X", "Gear Y", and "Gear Direction". Now in your forever loop, set each of them to the corresponding values of your gear (the gear's X position, Y position, and its direction). You should be able to find all these blocks in the Motion tab.
If you followed the steps correctly, your gear should be turnin' and spewin' out variables!
Making the Seven Seas (or Maybe Just One)
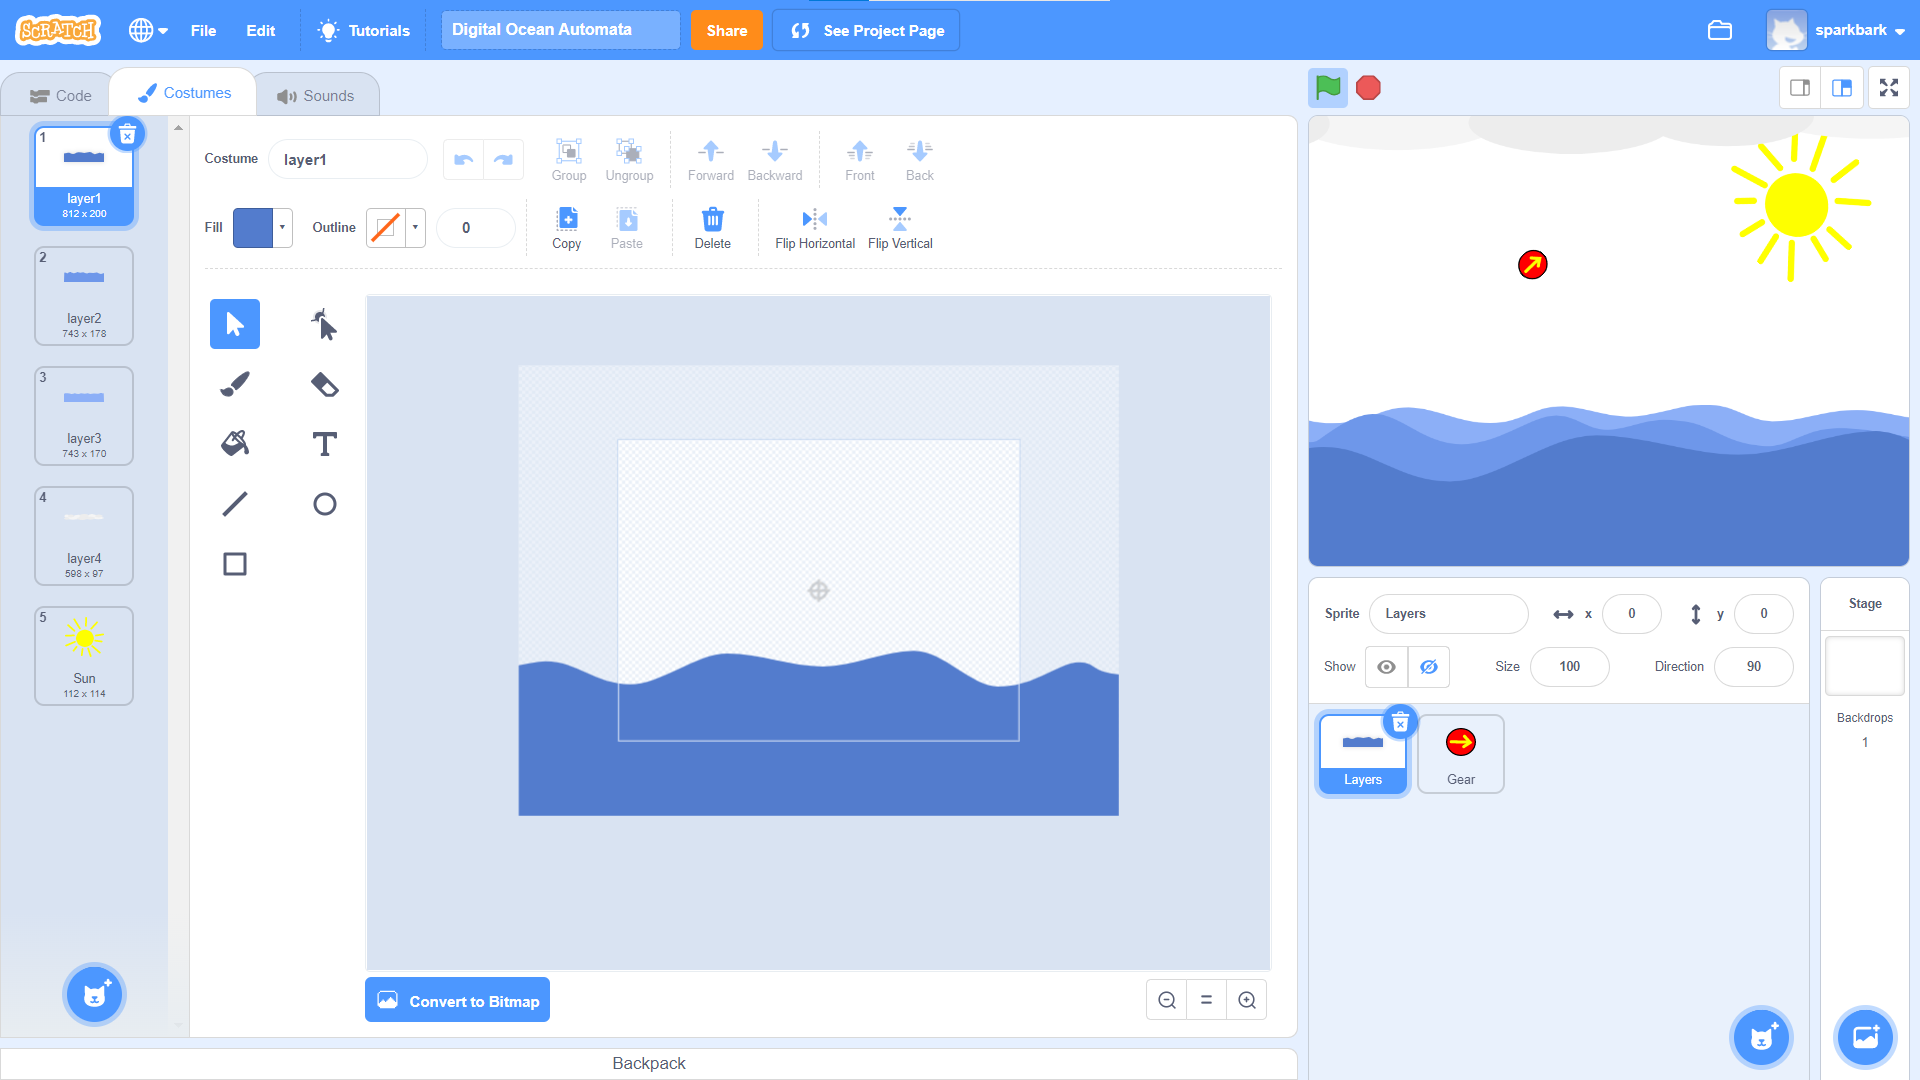
Now that we have our gear, we need to work on the layers for our background. To do this we are going to have one main sprite clone all of them, and have each clone move in a different way.
Layer Costumes
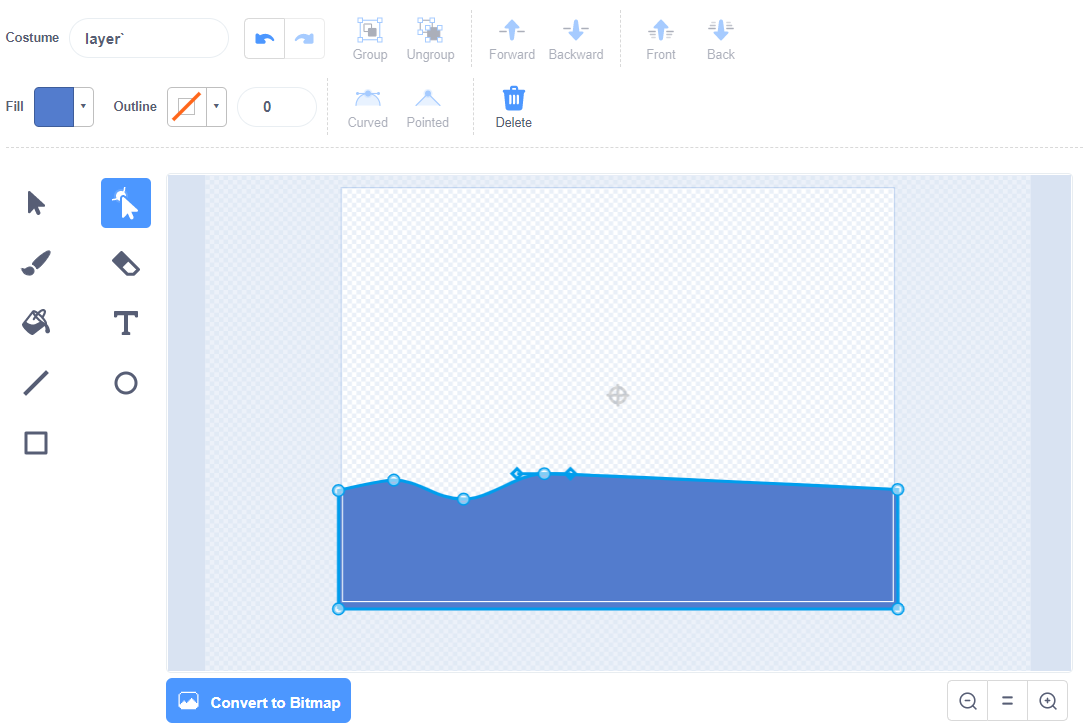
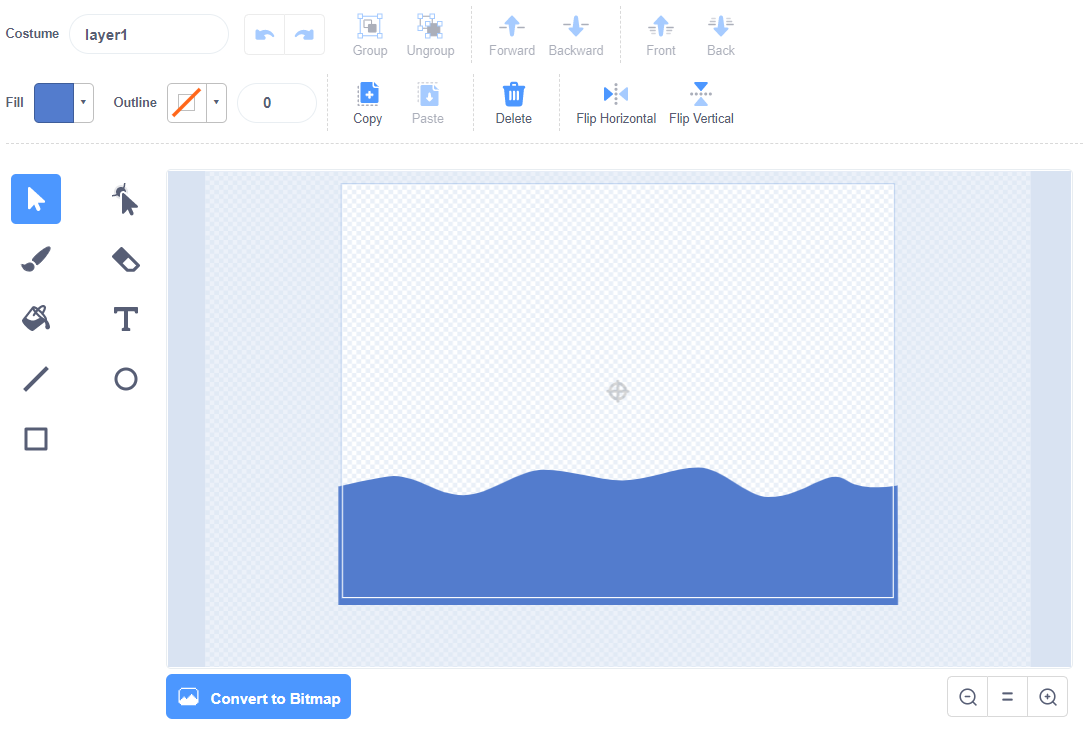
-Start by making a new sprite called "Layers". Go into the costumes tab of the layers sprite and make the first costume, called "layer one". this is going to be the layer closest to you. If you're making an ocean it would be the biggest wave, right in front of the other two. I put a rectangle and spread it across the bottom of the screen, then used the reshape tool to make the crests in the wave.
-Once you've finished, select the entire layer and enlarge it so it goes past the borders of the screen. Or You could add more to the ends of the layer instead. This will make sure that you don't see either end of the layer when it moves left and right.
-Make more layers. It is up to you how many you want, but I made 3 layers for the waves, a layer for the clouds, and a layer for the sun. Anything that you want to move needs to be made in your layer sprite. Also remember that the things that you want farther away (like waves on the horizon) need to be lighter to give the appearance that it is farther away. you may want to make it higher up too so it doesn't get blocked by other layers.
-You may want to change the color of your background. To do this, go into the Background sprite and click on the costumes. Switch to bitmap and use the fill tool on the background (Make sure to change back to Vector after!).
Coding the Layers
Coding the Main Layer
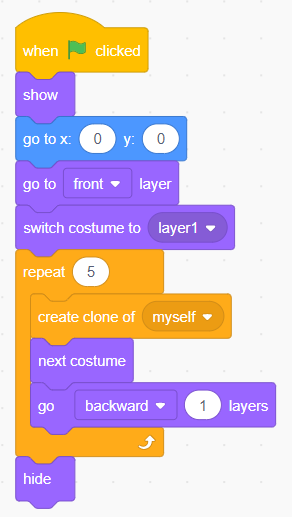
Let's code our background now! Since all the layers are going to be clones, we need to start by cloning them. Set the Layers sprite to be in the middle of the screen (0,0) and put it in the front layer. Next, switch the costume to the first layer, or Layer1. Then put in a repeat loop and set it for however many layers you have (I have 5, so I'm going to set it to 5). put the create clone of myself, next costume, and go back one layer, blocks into the repeat loop. This will make the main sprite copy all of the layers. Put a show block on the top and a hide block on the bottom of the script so the main layer is hidden (you only need the clones to be seen).
Coding the Clone Layers
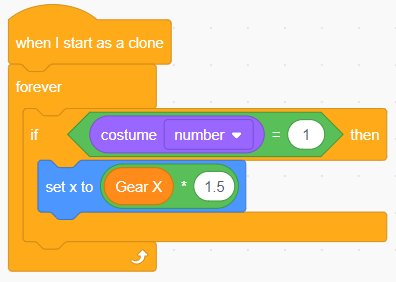
-Now put a forever block on the bottom of a when I start as a clone. Then put in an if block with costume# = 1 as the condition. This means that only the Layer1 clone can follow whatever script we put in there.
-Since Layer1 is a wave, we want it to move from left to right. Put a set x into the if block, and use the gear x variable with the multiplication block (the one that has a "*") in the set x block, in order to move it. Use the multiplication block to make the wave either go faster or slower than the gear (above 1 is faster, below 1 is slower). Since Layer1 is the closest wave, it should also be the slowest. I set mine to 0.5, but you can change it by your preference
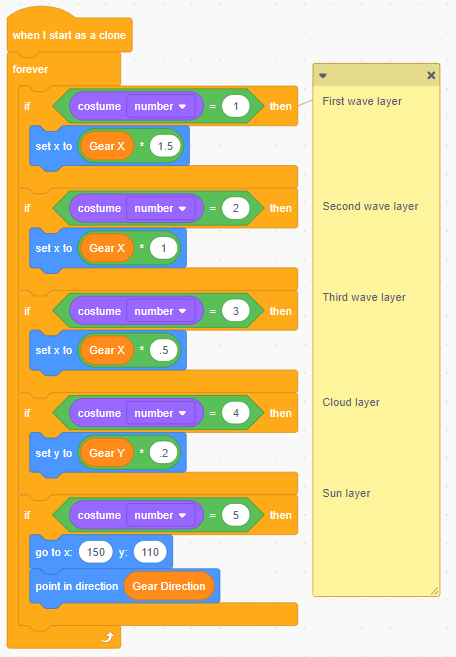
-You should now have one of the waves working! Just copy and paste your if block with everything inside it for the other layers. Remember to change the costume number for each if block. Play around with the multiplication value. Try making the layers farther out to move slower. If you want one (or more) of your layers to move vertically, change the Y value instead of the X (and change the gear variable you're using to Y too). Use the set direction block to rotate your layers. Once you're done, make sure to hide your gear sprite.
Finished!
That's it, You've completed it! If you need a reference project, you can find it Here. Can you think of anything else you could add? maybe changing the color of the background to simulate a sunset or adding another gear with new properties. It's up to you.