Making a Burj Khalifa Model With TinkerCAD - Entry for Scene in Student Design
by arduino_bot1 in Workshop > 3D Printing
2209 Views, 3 Favorites, 0 Comments
Making a Burj Khalifa Model With TinkerCAD - Entry for Scene in Student Design
_Nick_Merrick_for_Hedrich_Blessing_(9).jpg)
Hello everyone!
This is an instructable that teaches you how to create a Burj Khalifa model from scratch.
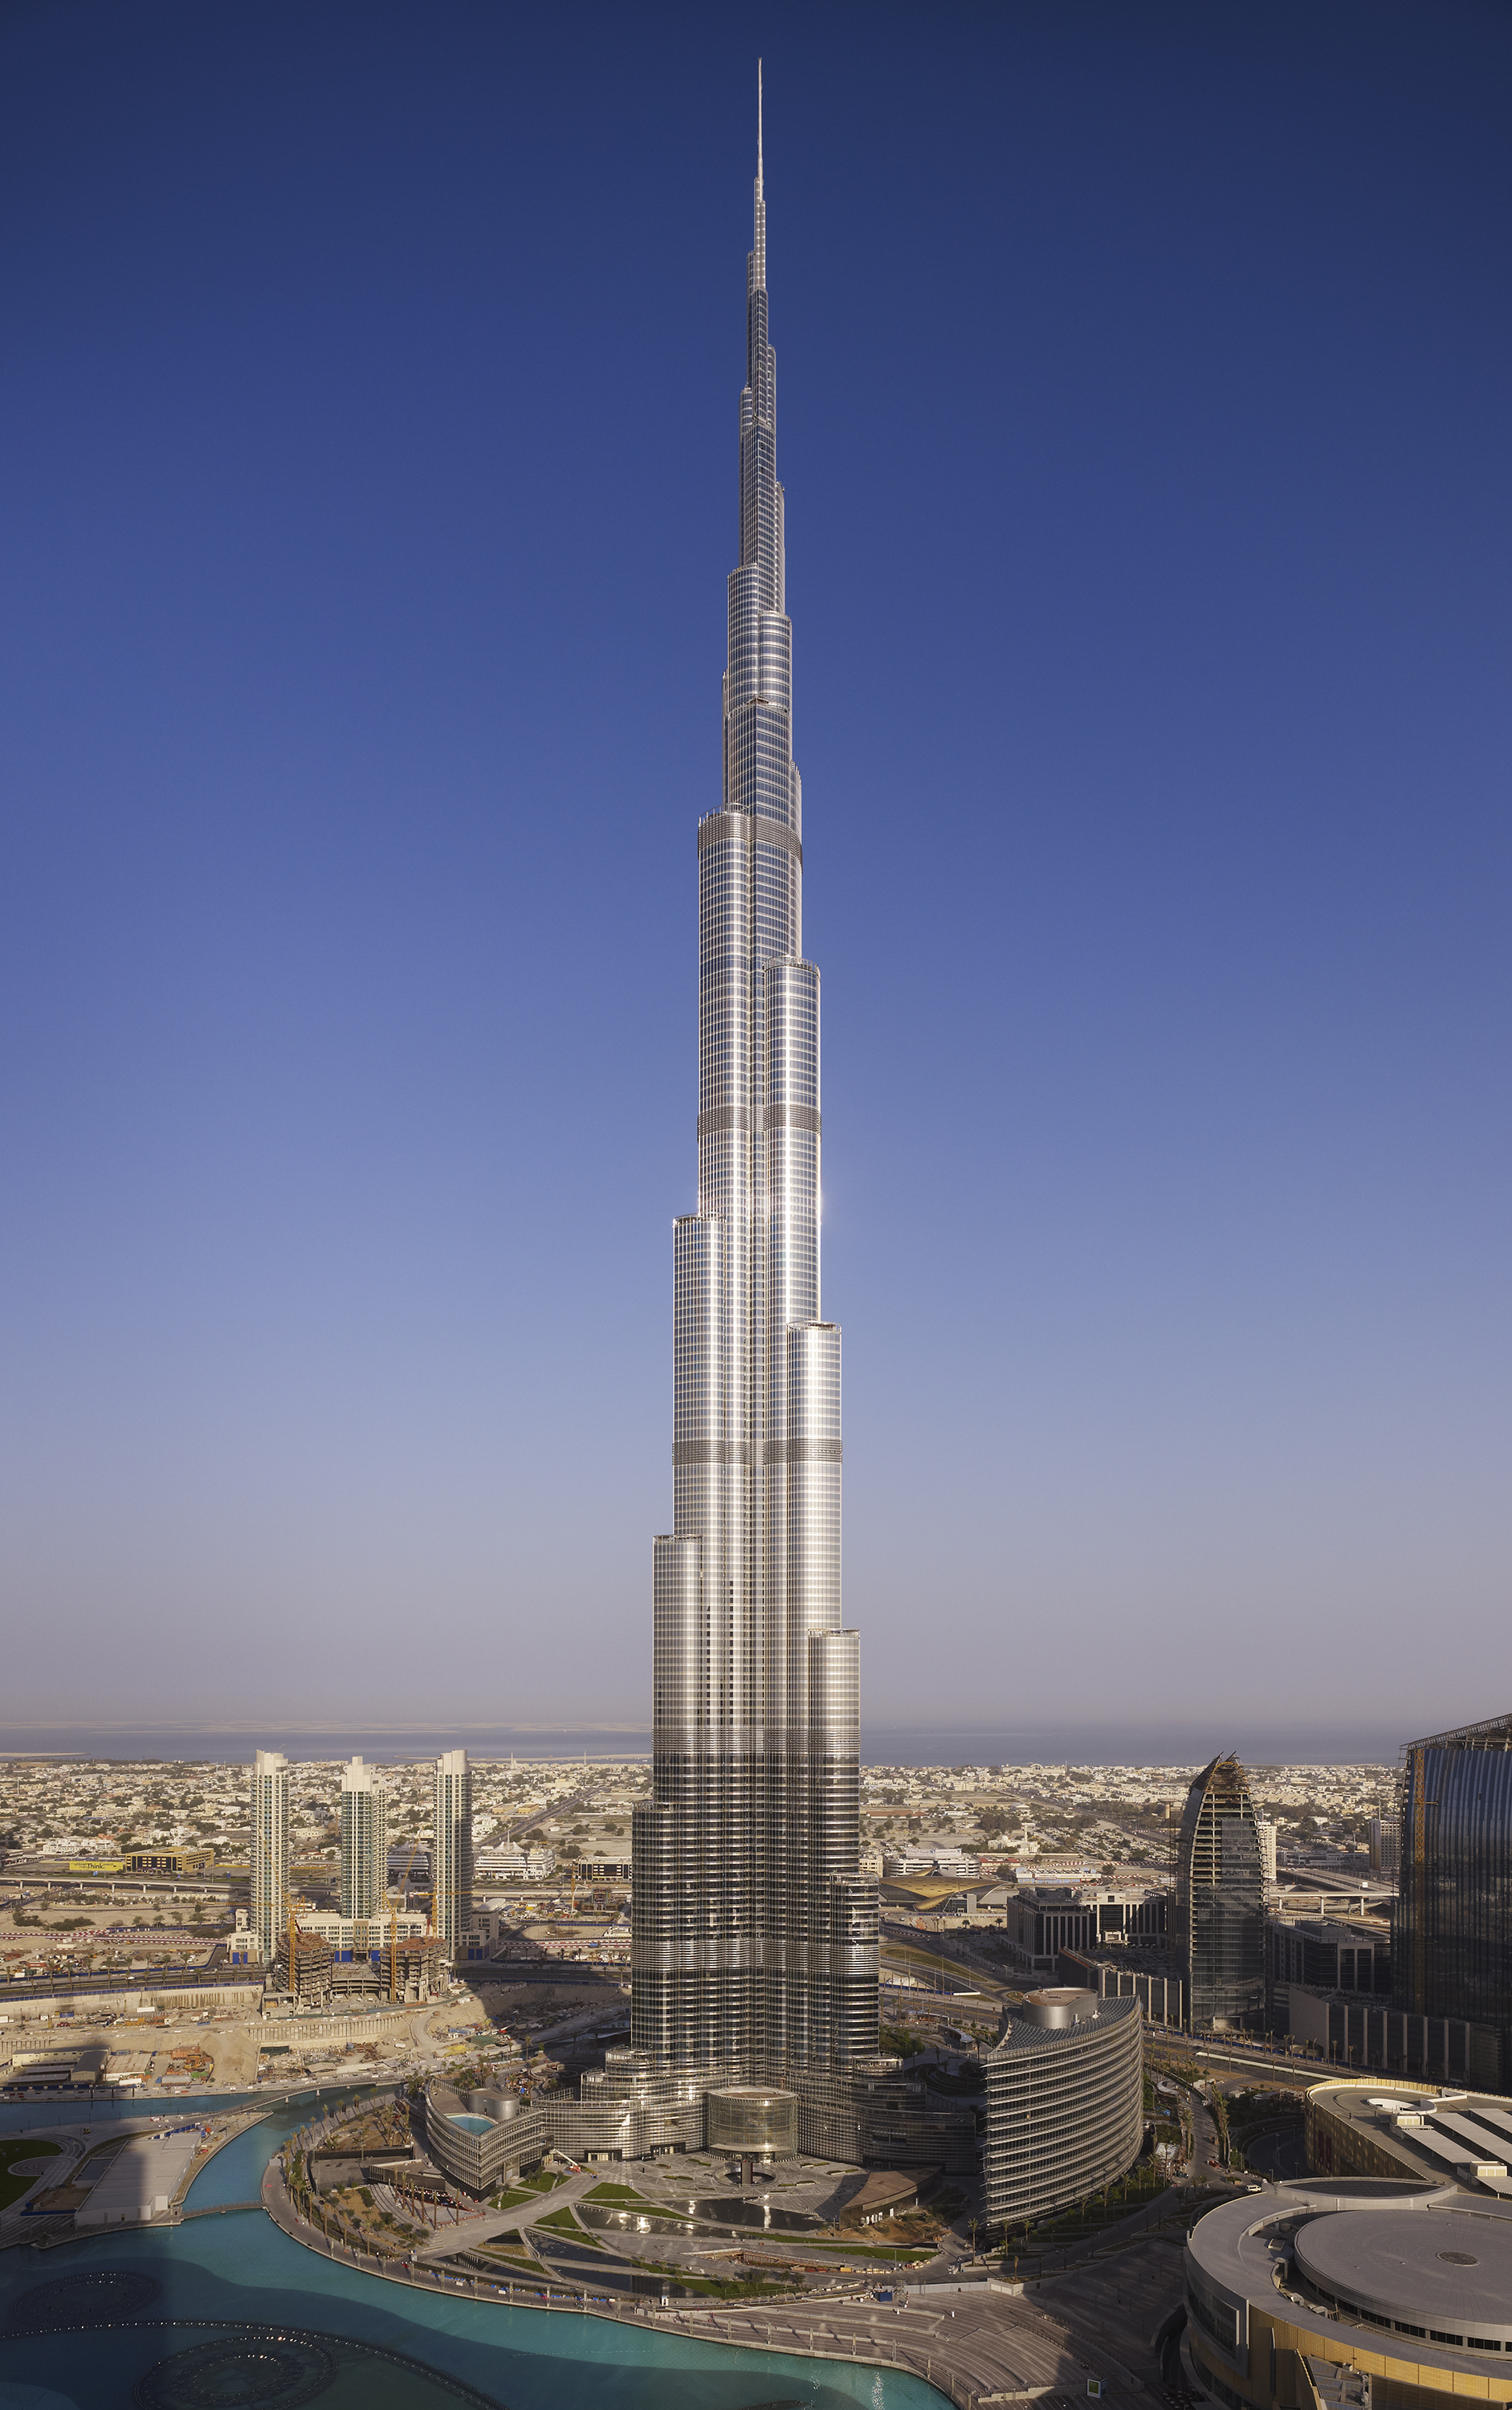
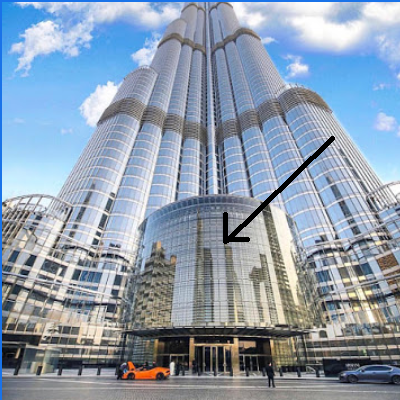
The most iconic monument of the whole world, as it's a whopping 830 m tall!
while ours is 400 mm tall
So, that makes our Burj Khalifa a 1:2075 scale model !
Hope you enjoy it !
supplies
- Free TinkerCAD account
- A laptop/PC with a web browser
And that's it!
I also added the .stl file just in case...
Lets jump into it !
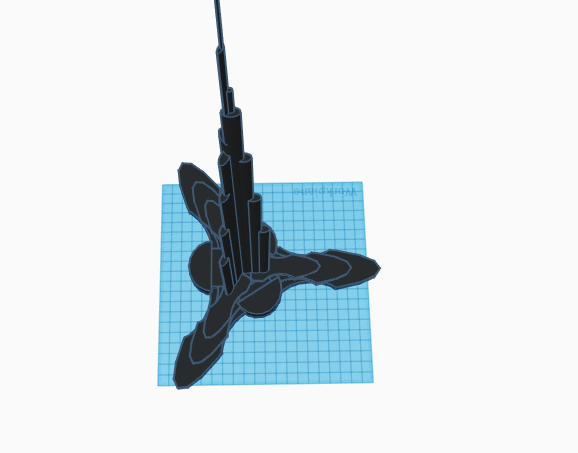
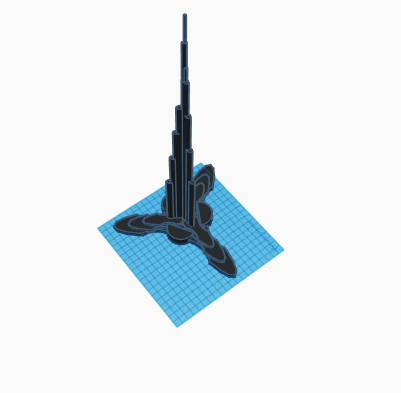
Here Is How It Looks
Basic Controls for TinkerCAD
If you already know all the controls in TinkerCAD you can skip this...
Things to know:
- 'd' for bringing an object to 0 mm level
- 'm' to mirror
- 'l' to align
- right click and drag to move around
- scroll in and scroll out to zoom in and out
Some shortcuts:
- ctrl+g = group
- ctrl + shift + g = ungroup
- ctrl+c = copy
- ctrl+v=paste
- ctrl+x=cut
and.. that's it !
The Video
Follow the video... It's recorded in 1080p so that you can see the values clearly.
It took me days to record, compile and edit the footage so please share it with like minded friends and show your appreciation by hitting that like button !
Moving on...
The Beginning....
- open a browser
- go here : https://www.tinkercad.com/
- Log in through Google,Apple or AutoCAD account
- And open a new project
We're good to go !
The Base Element
.png)
So the first step is to make the part that acts as the base.
You can always follow the YouTube video made exclusively for this instructable.
Here is an image:
Completing the Base
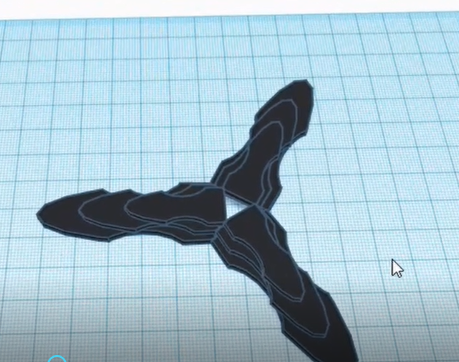.png)
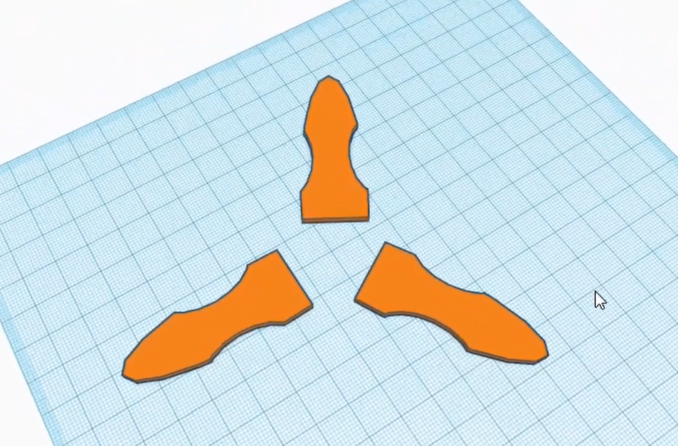
The base consists of 3 layers of the base element arranged with 120° angular distance
The base is now completed.
Lets move on to the main building structure....
The Building Design
.png)
.png)
At first when I looked at images of this amazing building, the design looked impossible to replicate, but a few hours of grueling brainstorming made me realize that the building's design is just cylinders arranged in the coolest way possible.
have a look:
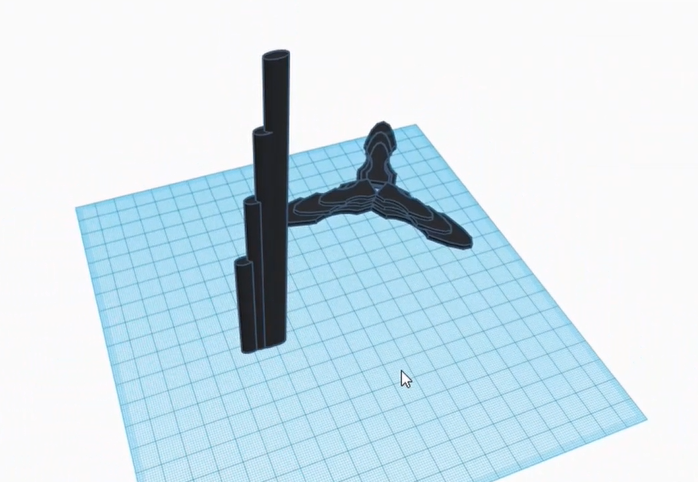
Putting It All Together....
.png)
Then, just align both the objects we made previously...
It looks like this:
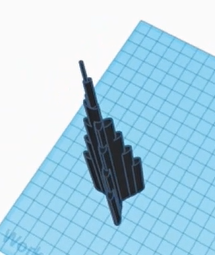
Optional Step....
.png)
As I wanted to replicate it as identical as possible, I added another part...
This:
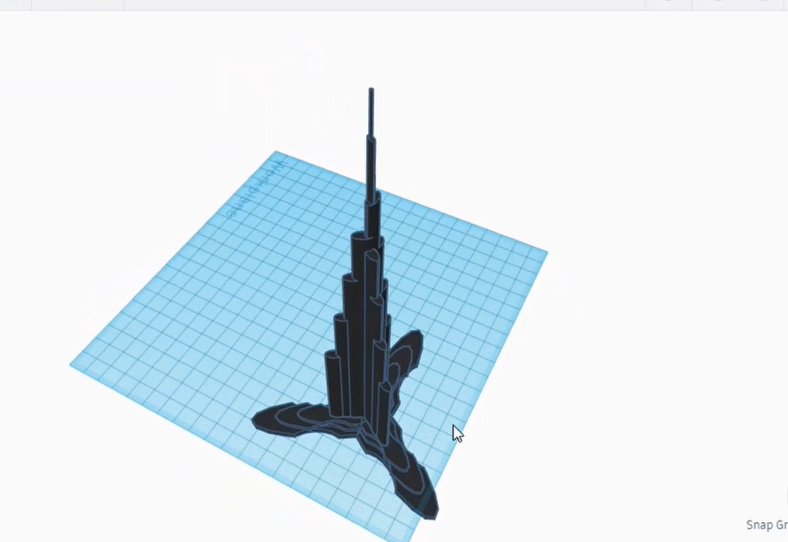
Aligning All 3 Parts.
.png)
Align all the parts and... BOOM ! its done!
It was a wonderful yet grueling journey in recording,editing and making the video and this instructable.
It would be awesome if any of you could 3D print it as I don't own a 3D printer
The final product:
Thanks for Scrolling Down !
Thank you for viewing my instructable...and don't forget to vote for me !!!!
like, share and subscribe
See you later and stay curious !