Making a 3D Printable 3D Map With Roads and Features
by benbenson2004 in Workshop > 3D Printing
4768 Views, 16 Favorites, 0 Comments
Making a 3D Printable 3D Map With Roads and Features
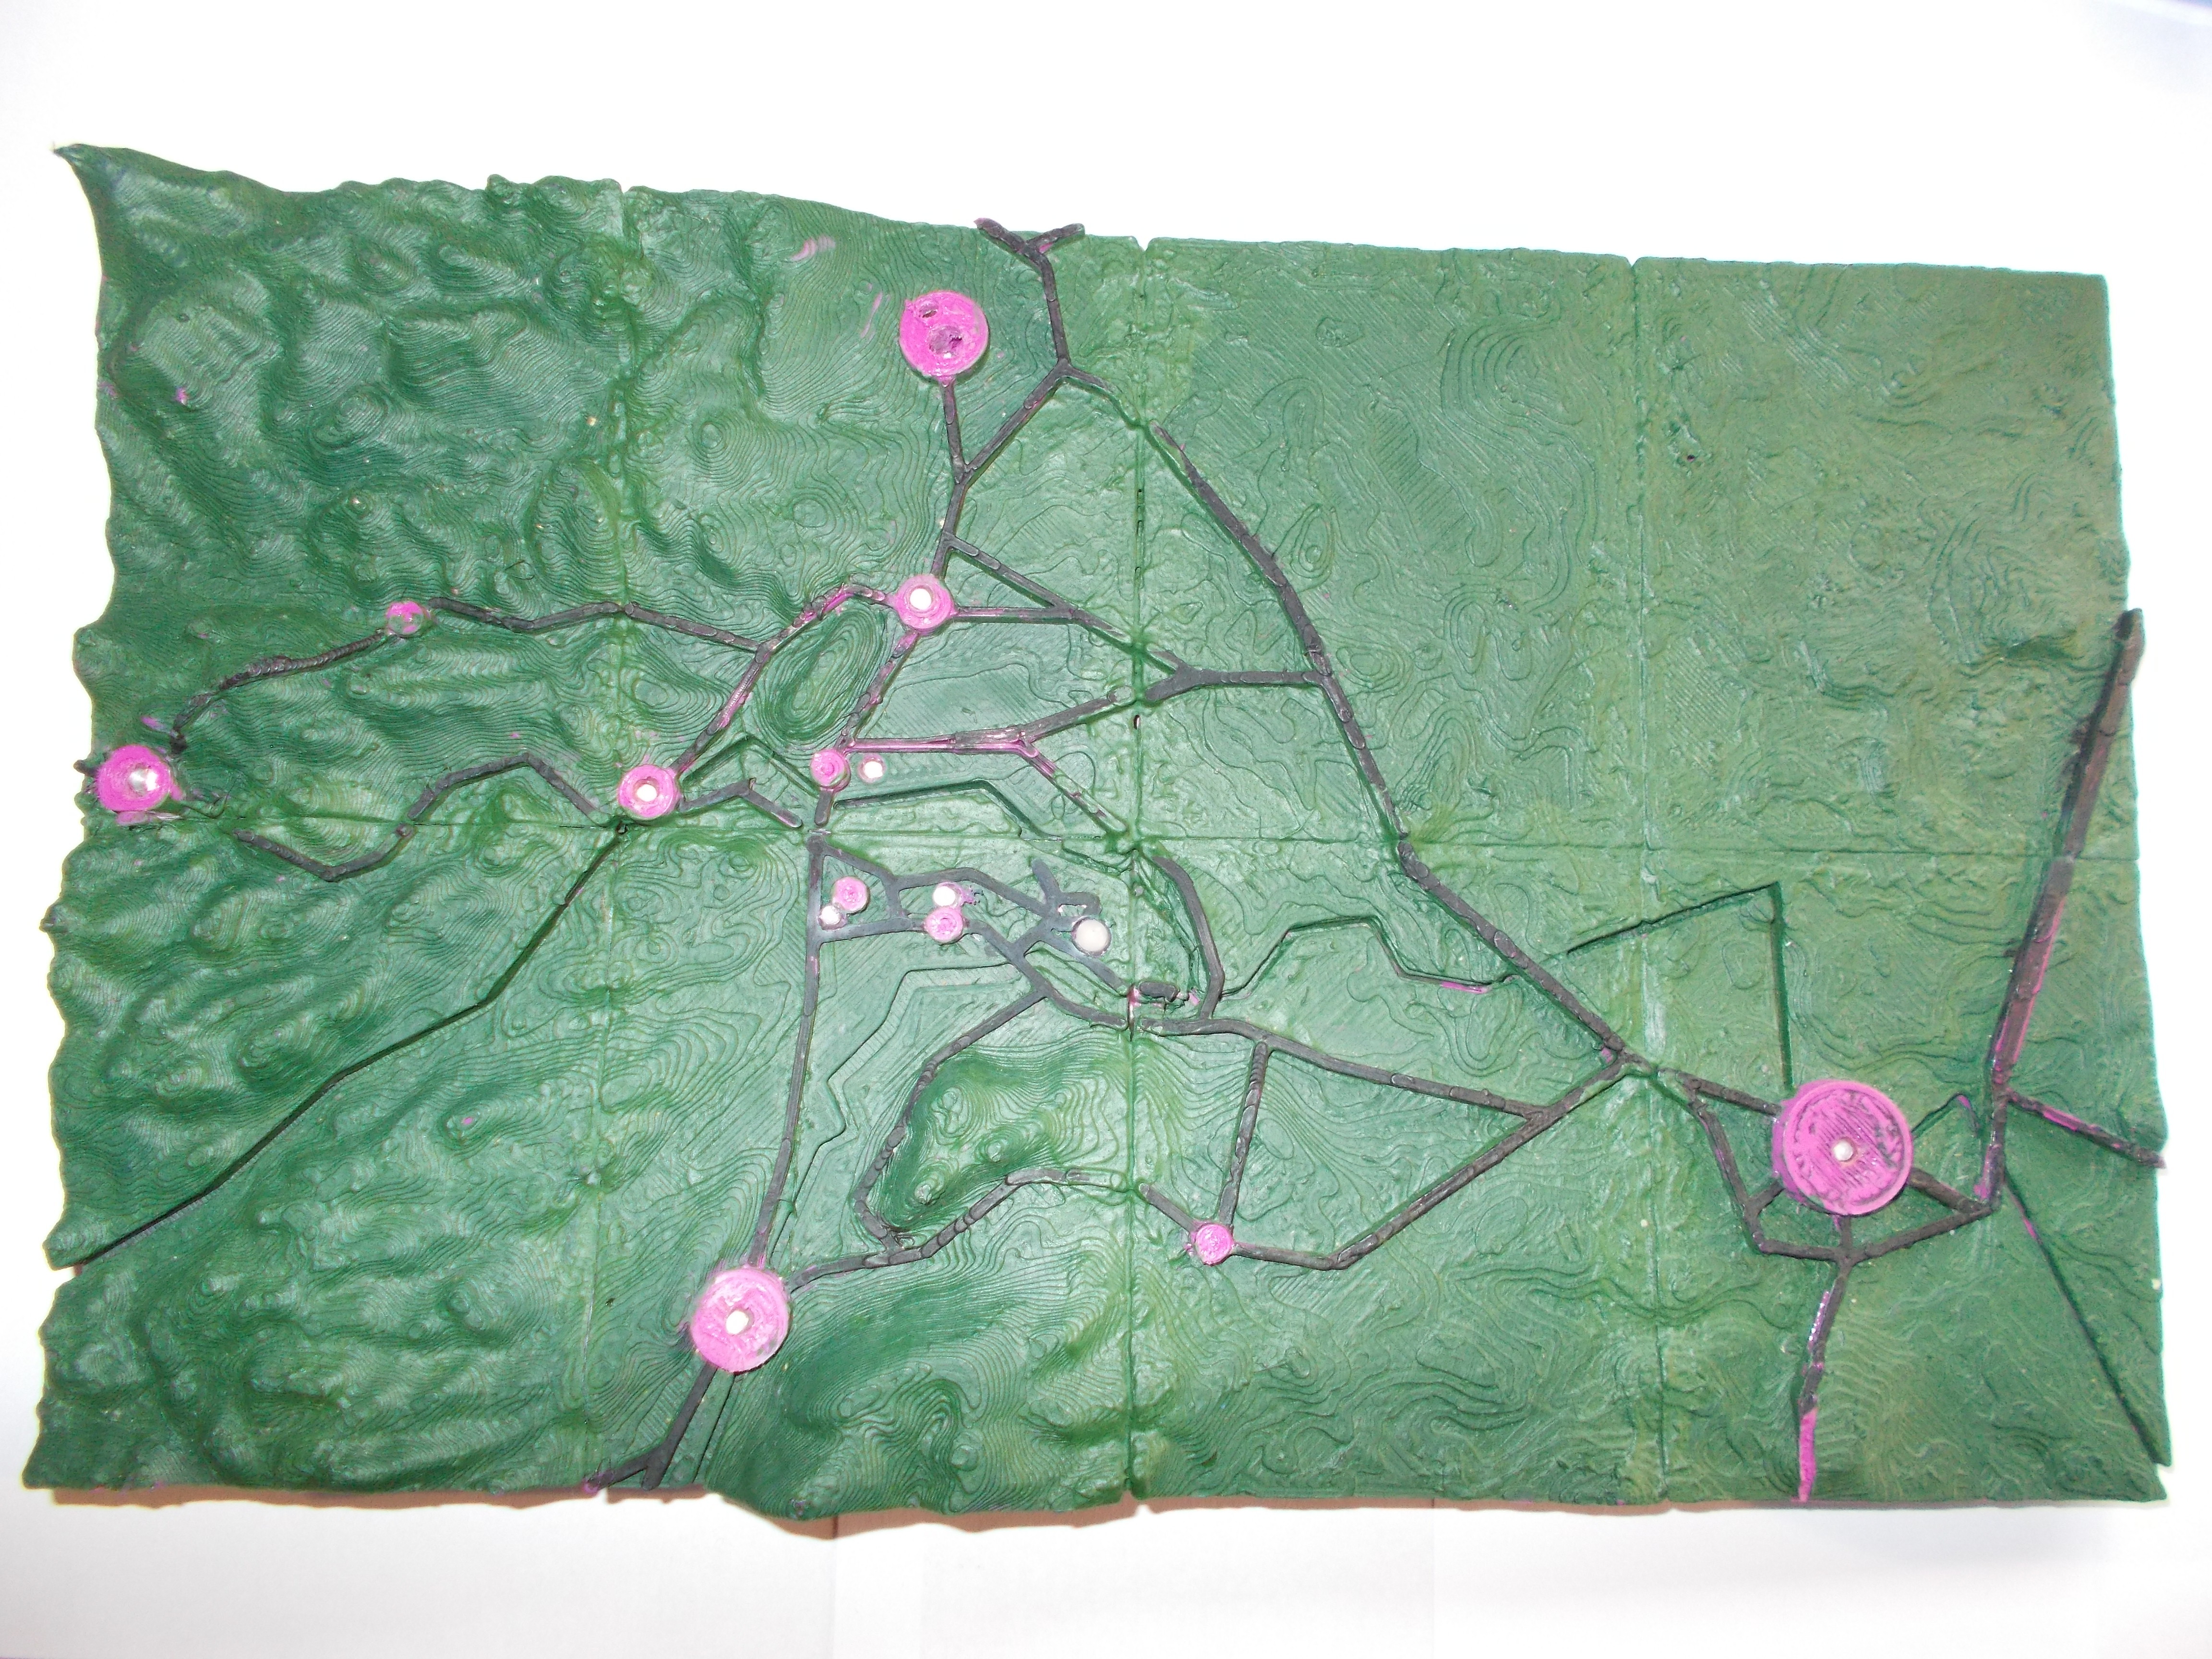
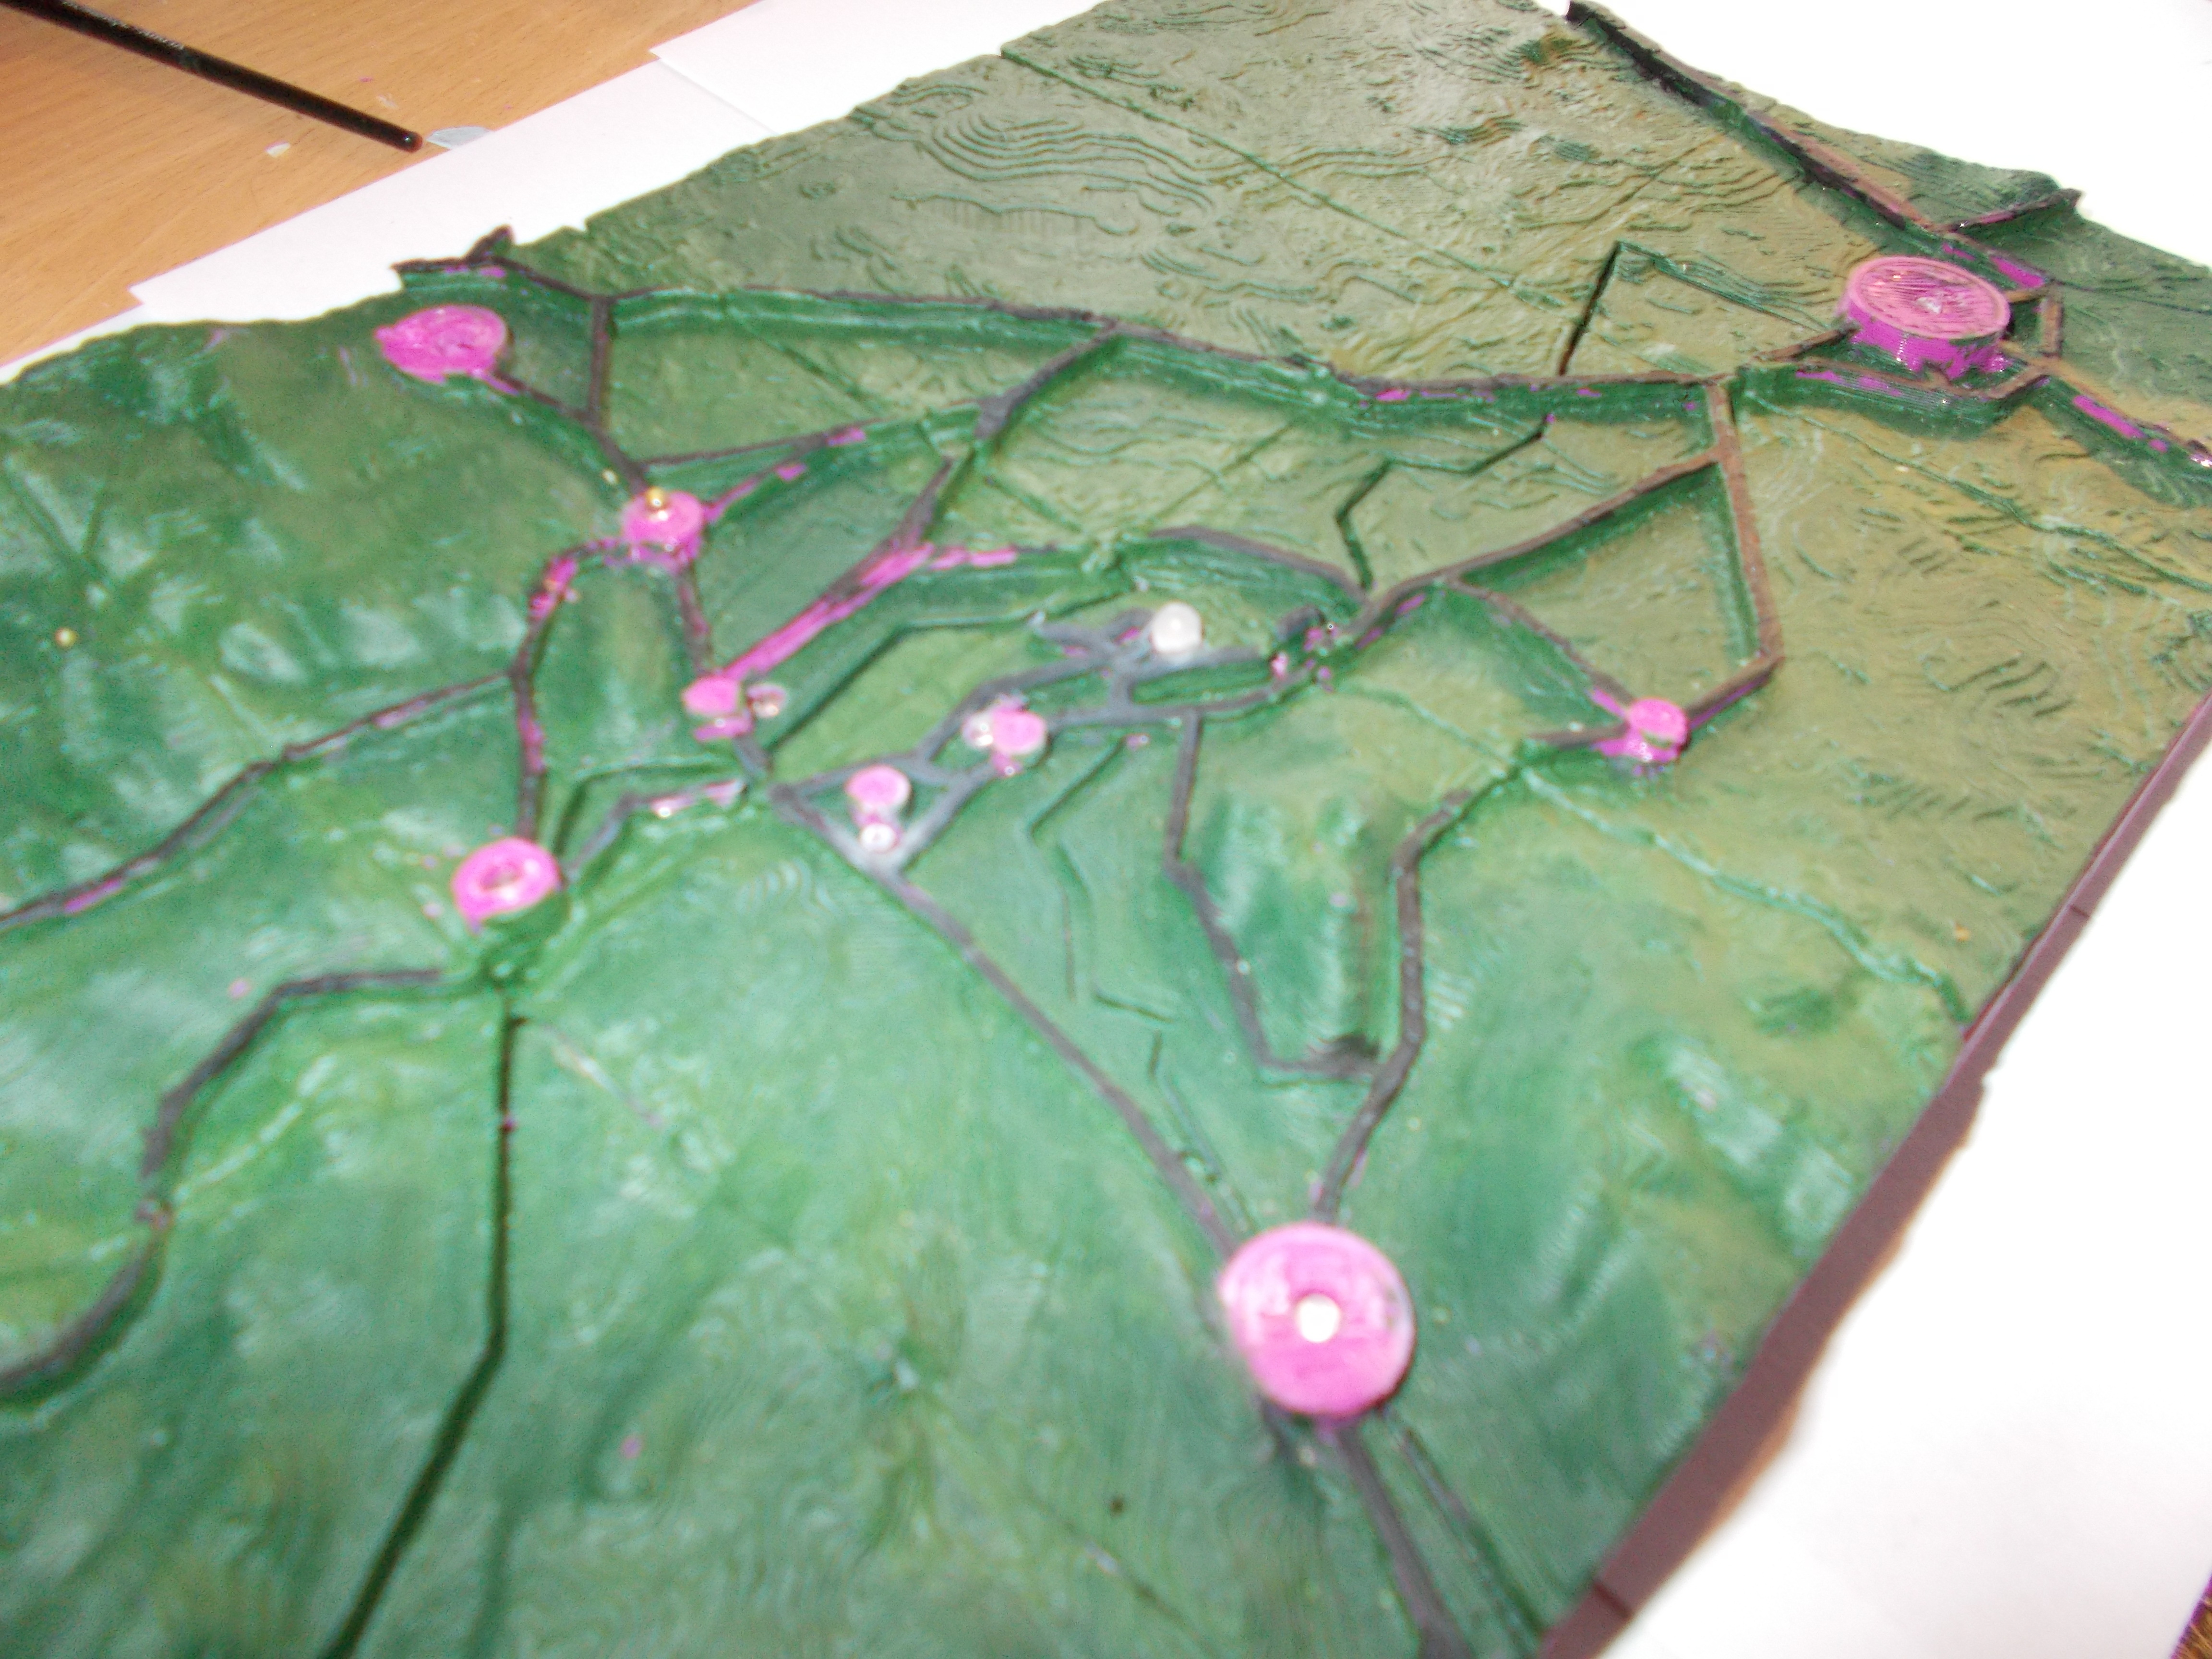
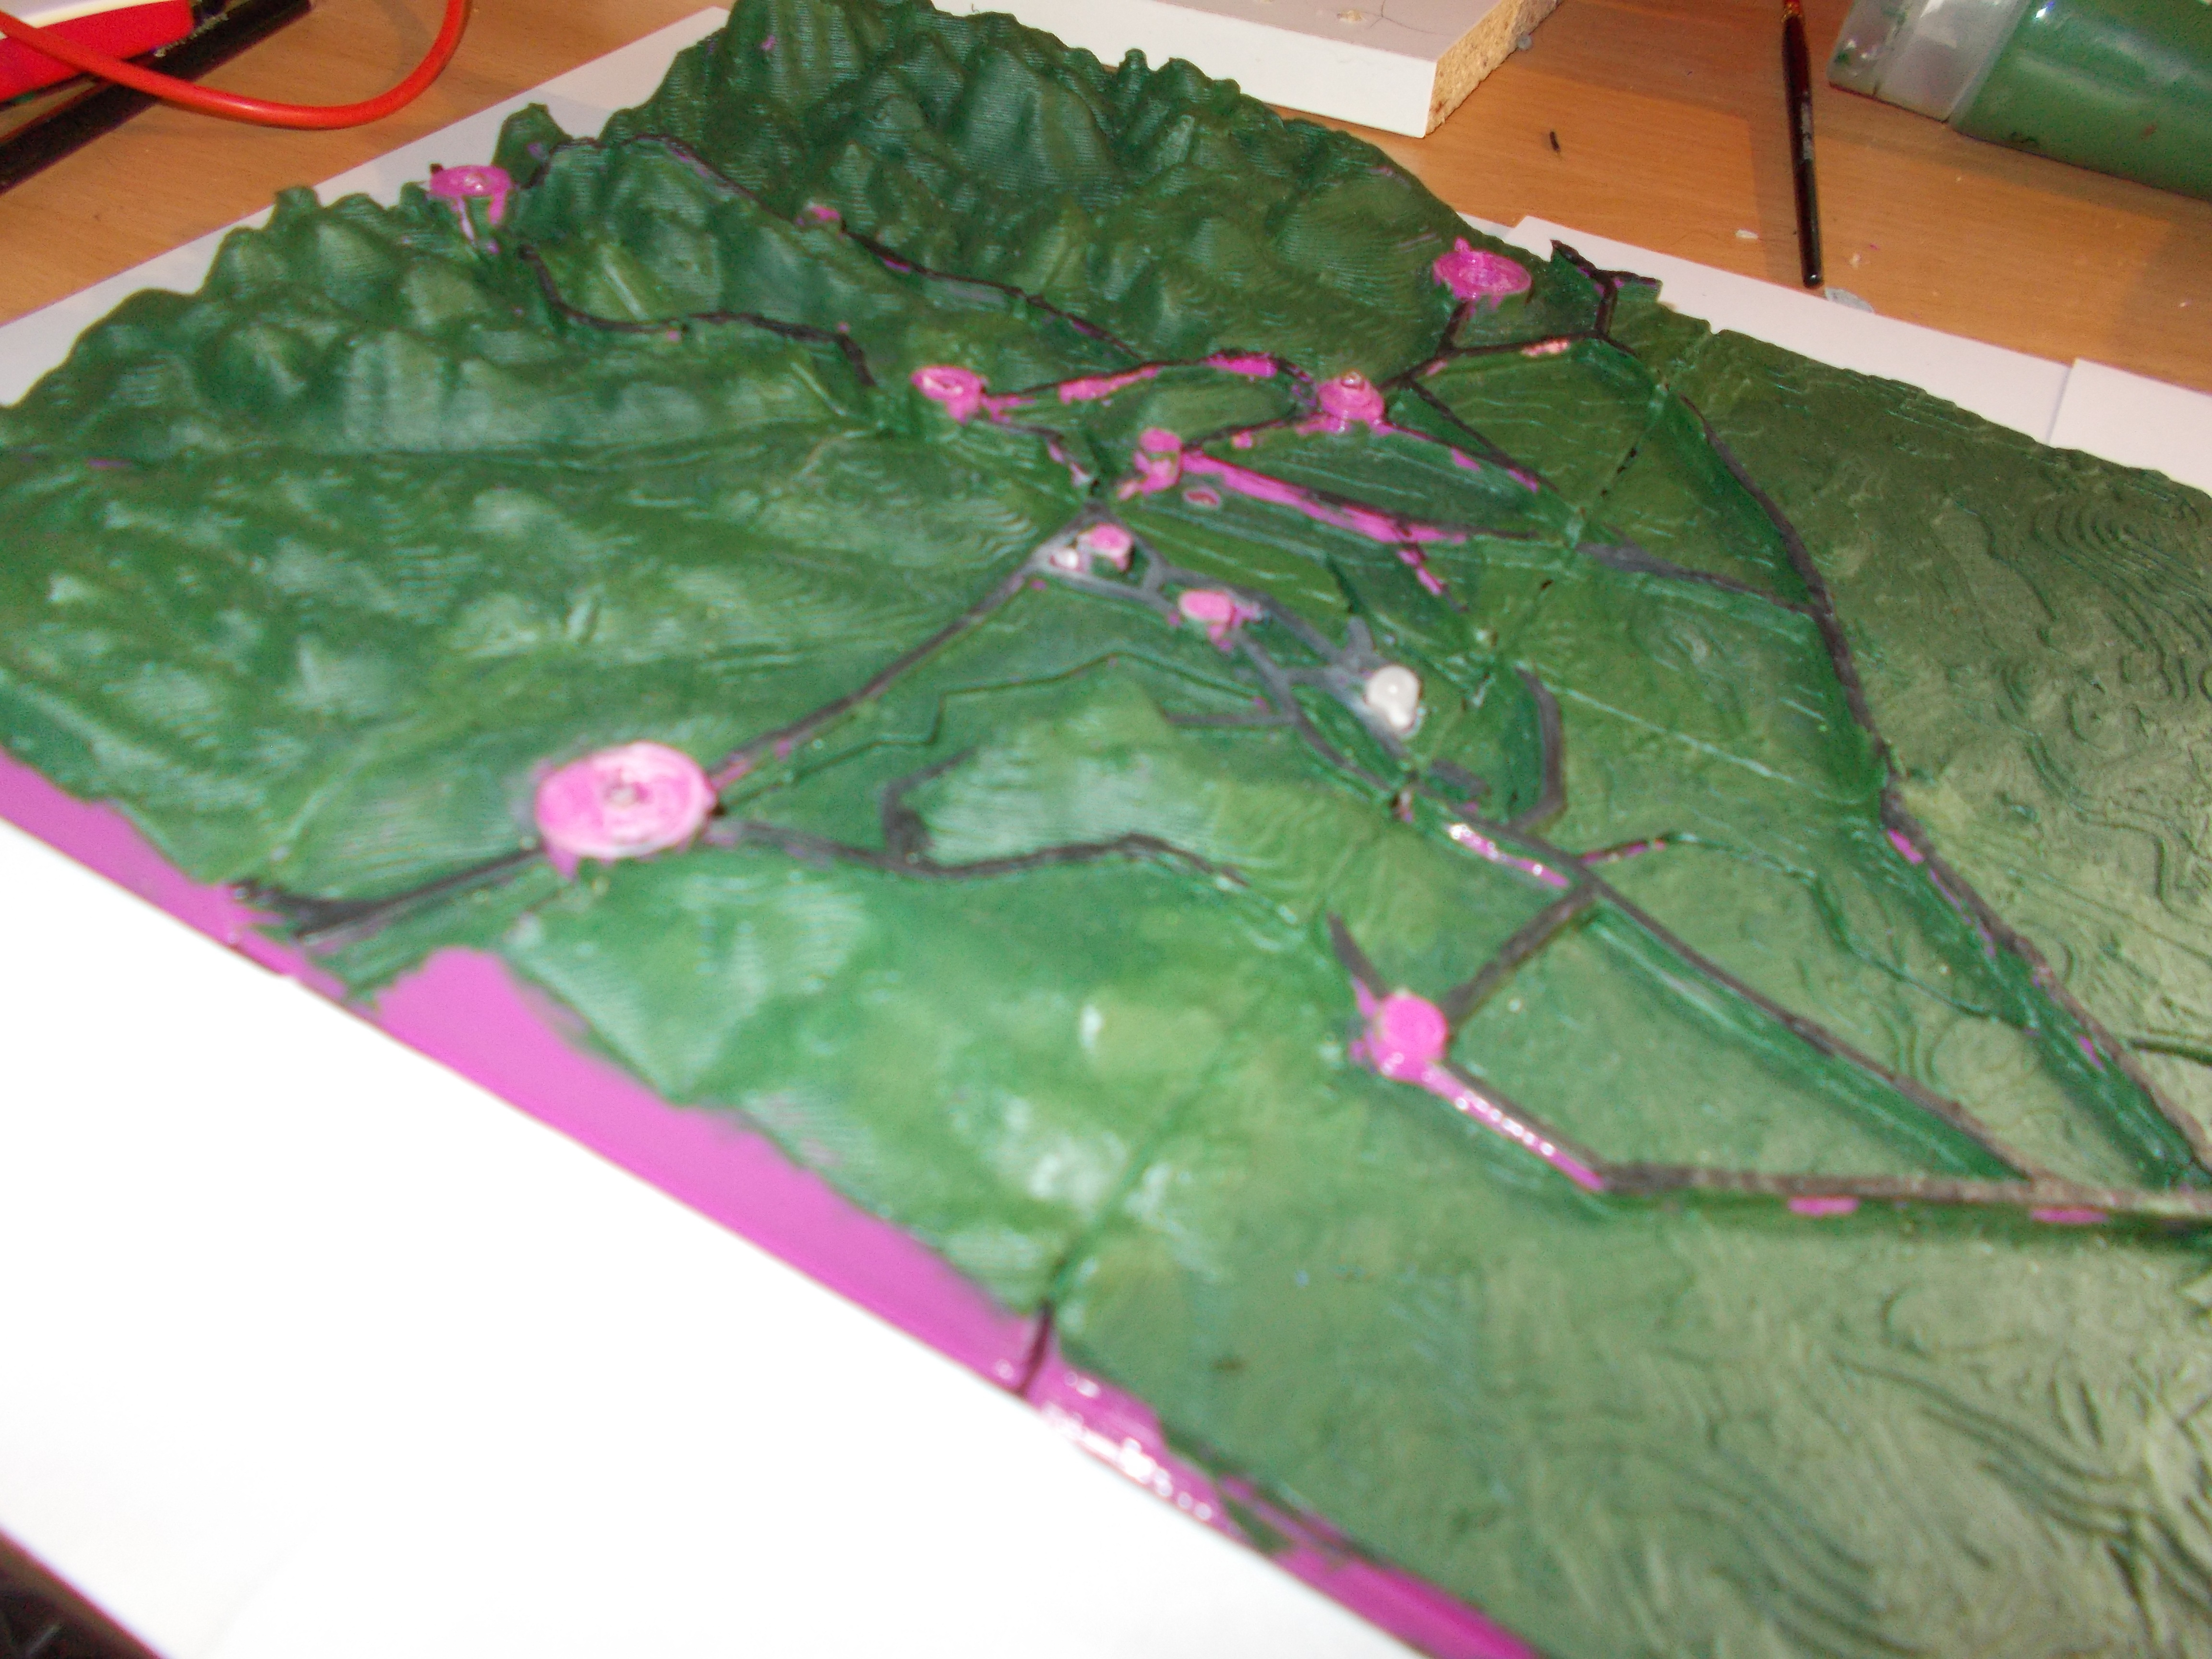
This is a tutorial where I will be showing you how to make a 3D map of your local area.
Also, Here's the instuctable showing how I turned it into a GPS Tracking Map:
Get Your 3D Data!
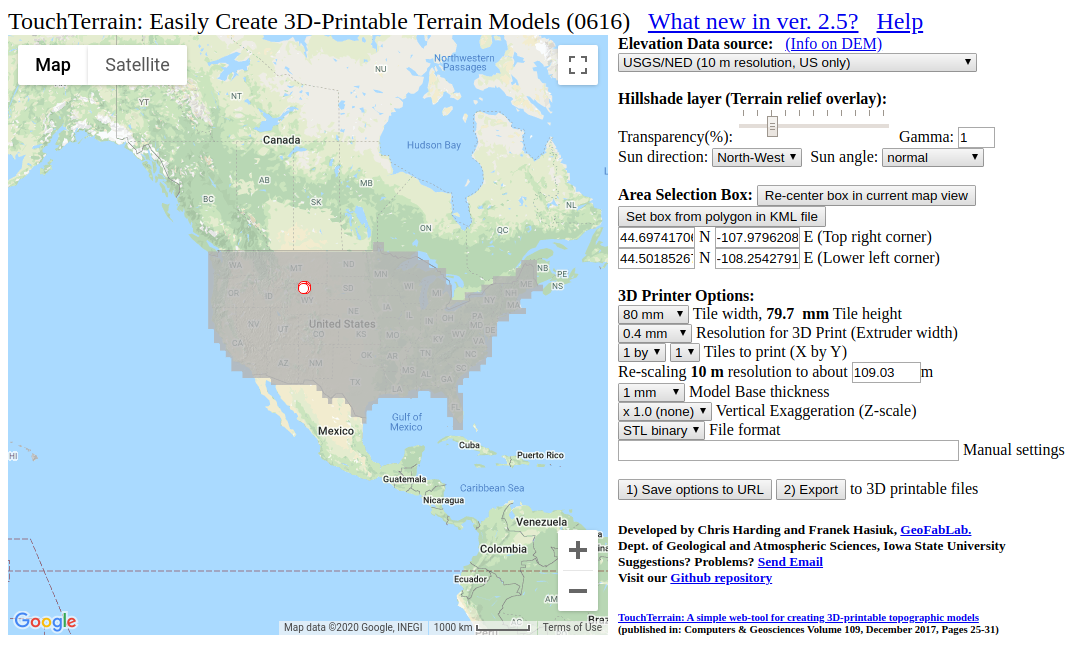
I browsed a number of sites to attempt to get a 3D map of my area, but it can be quite hard. The one I had most success with was touchterrain. Here's how to get your 3D map:
Open the web link: https://touchterrain.geol.iastate.edu/
Select the Area You Would Like to Use
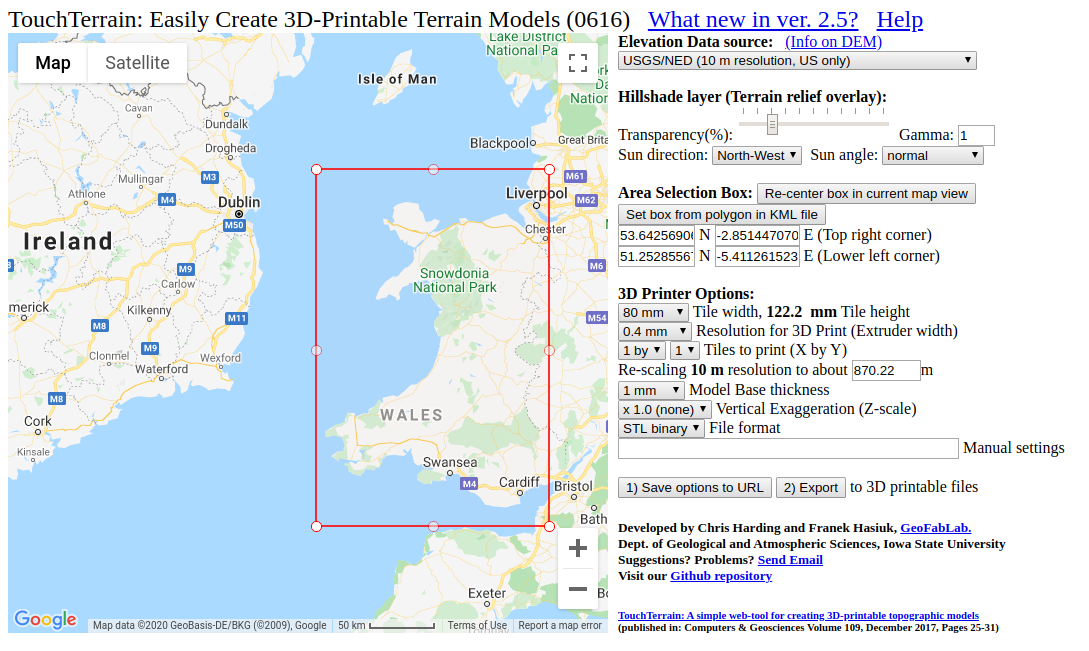
On the map widget, There is a red box. by default, it starts in the US, but I have moved it to there area I would like to have an STL file of. Move the red box to your local area, which will define where it grabs the 3D data from.
Define Which Dataset to Get the 3D Data From
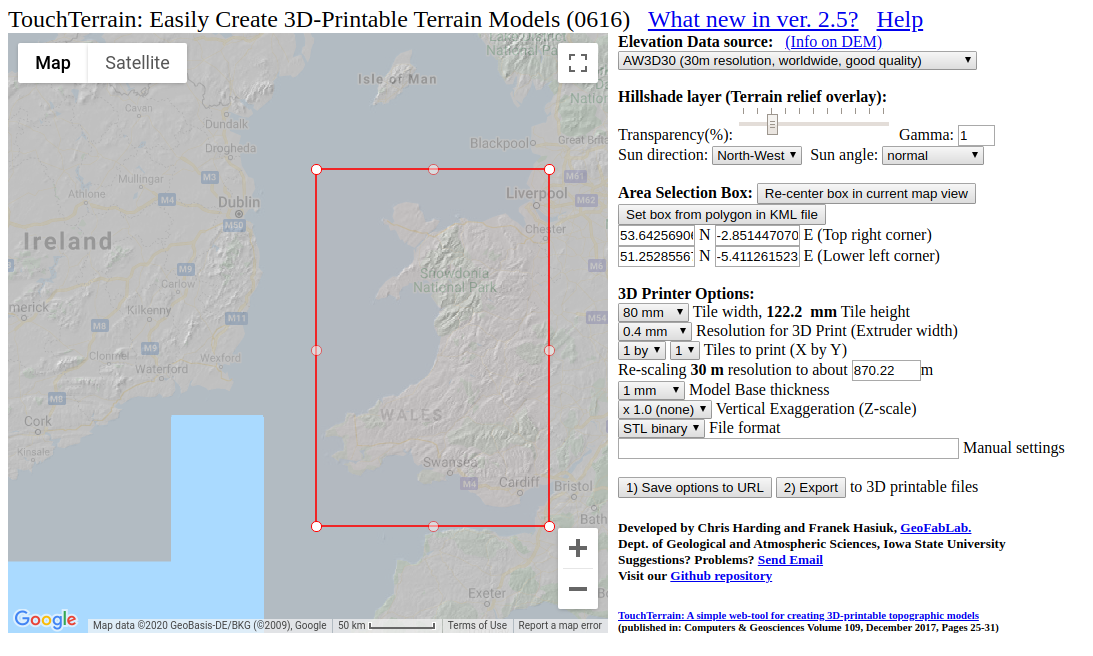

Because there have been many missions by nasa and other companies, such as google, to map the world in 3d, there is a number of datasets that you can use. If you are in the USA, the one I would reccomend would be USGS/NED, as this has the highest resolution. For the rest of the world, including me, we will use the AW3D30 dataset. You will see as you select this, it changes from a default google maps, to a 3D map.
If you do not see this change, Try another data source, I kept getting no data outputted, but this was because I kept on forgetting to change the data source to AW3D30.
Export the Map!


Once you have selected the area and datasource, you will want to get your 3D data. Before we export, we want to do one more step, Which is to make the hills and valleys stand out much more. We can go to the option of vertical Exaggeration, which scales the map in the Z axis. I set this to 4, as this makes it look dramatic, but you can change this later, when we come to add the roads.
Finally, you can click export, and if you have an error, change the map 'Tile width' to something smaller, as there is a limit to the size of file it can export. You can also change the resolution to a highter value, to make the file size smaller.
If all goes well, you should see a train animation, and the option to download your file!
Preview Your .STL
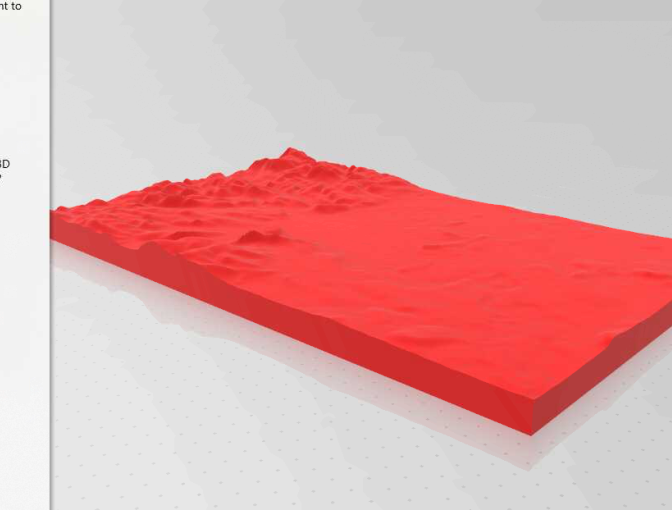
Open your 3D file to have a look at it. I will be using a microsoft based approach to this, but I assume it is also OK to work on a mac to do this.
You will see that your .stl does not have roads or rivers.
You can go ahead and 3d print this file, and you will be left with a lovely 3D model of your area, but for what I want this for, I need to add roads, towns and rivers.
Add Roads to Your Model.
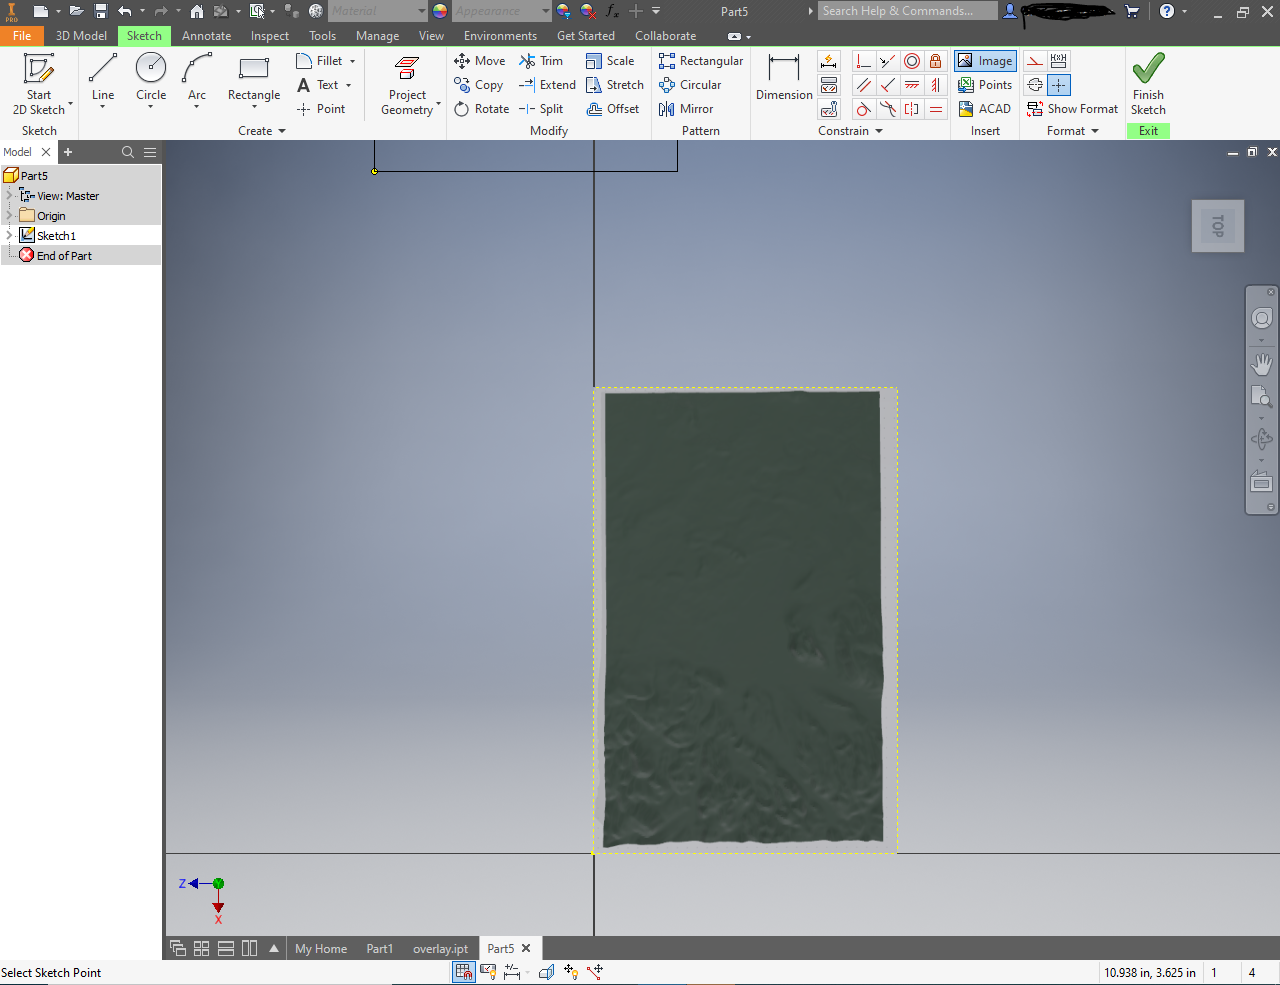
I am using Autodesk Inventor to carry out this next task, but again, you can use whatever tool you would like.
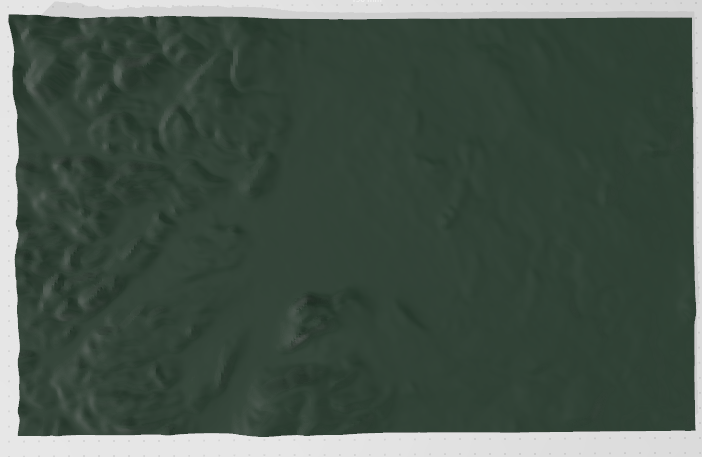
I created a new project, started a new sketch on the flat plane. I then went and took a screenshot of the birds eye view of my 3D model. I then imported this into inventor so I could see where to draw the roads.
Drawing, Making and Exporting the Roads.
Next, you need to draw using the rectangle tool, the roads onto the map. Using the rectangle from 3 points, draw on where you want the roads to be. I used thicker roads for main roads and thin rectangles for minor roads.
This does take a while, but I did this during lockdown, and this was a fun project to pass the time, and the end result is definitely worth it.
Finally, once you are done, finish the sketch and extrude the drawing that you have done, the thickness does not matter, as we will come back to this later.
Export your file as an .stl, and move on to the next step.
That's the hard work done! : )
Open Your Map in 3D Builder.
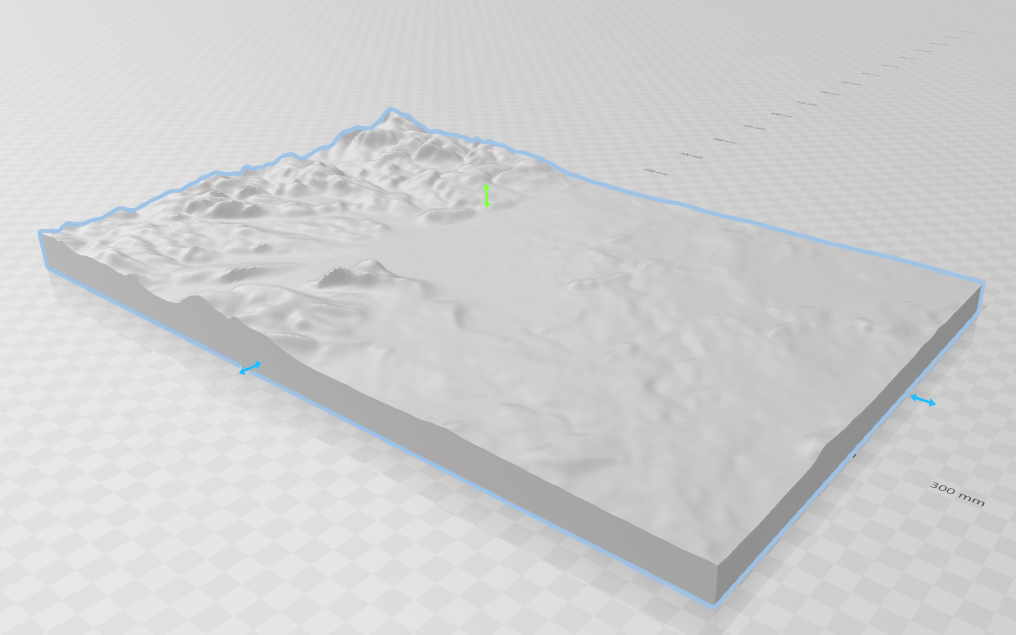
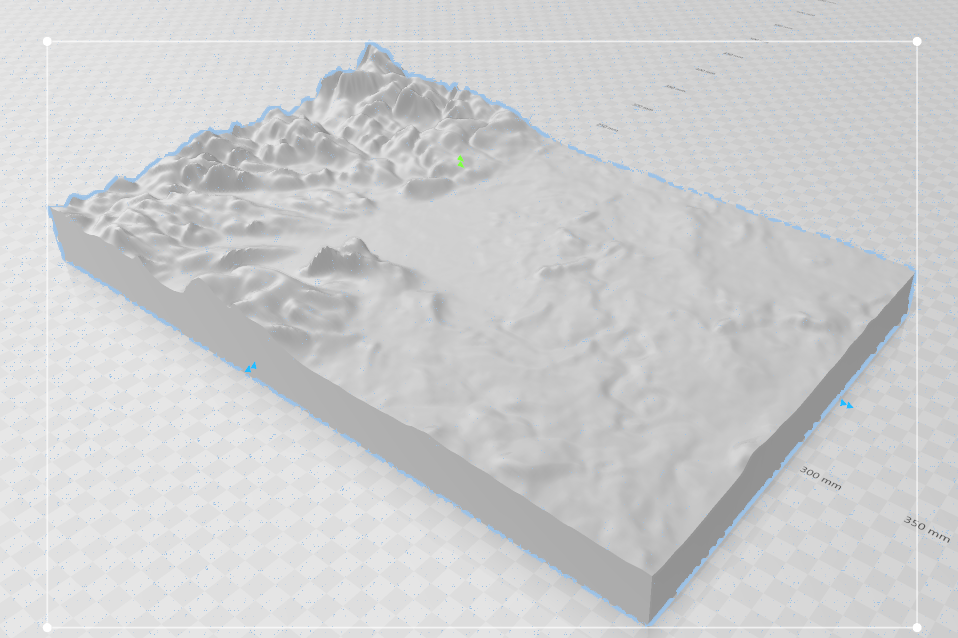
Open your map in 3D builder
This is the only chance you get to change how the 3D Map hills look. I found that my hills were not very distinctive, and so I wanted to stretch it vertically so that you could really tell where we were. You can see in the images the before and after.
Now I am happy with the terrain, we need to add some roads!
Importing the Roads
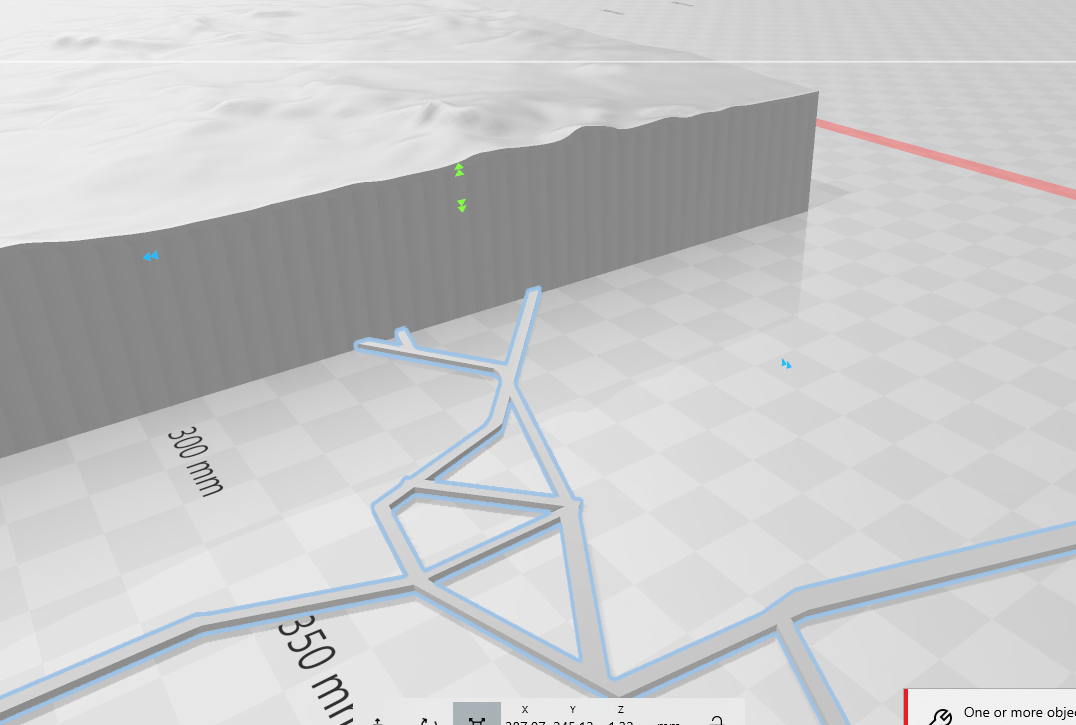
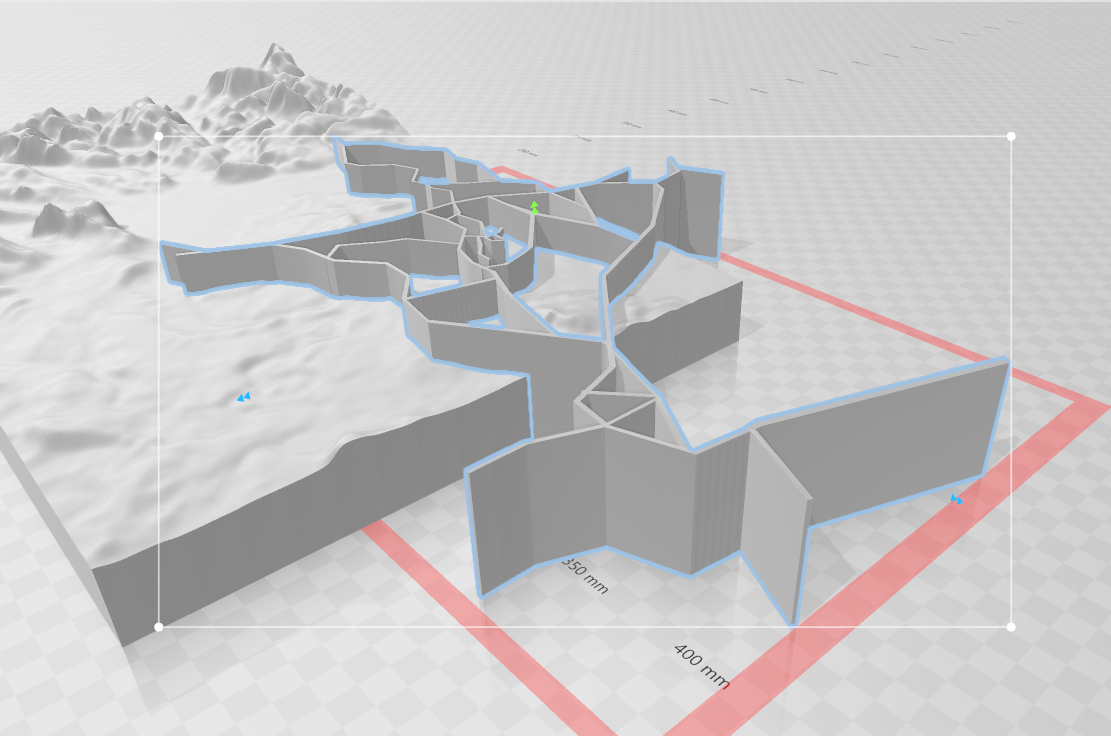
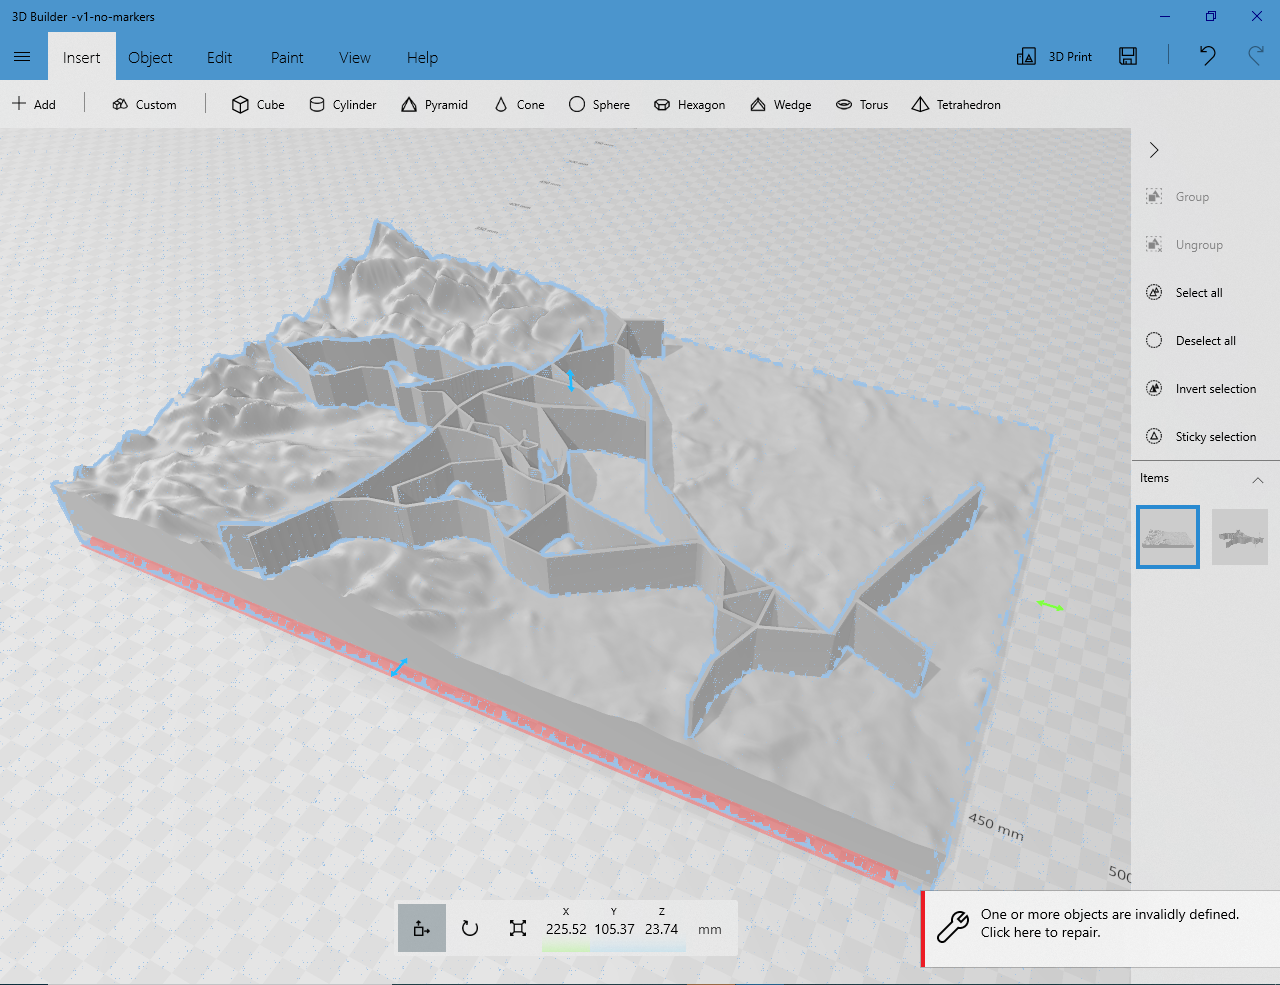
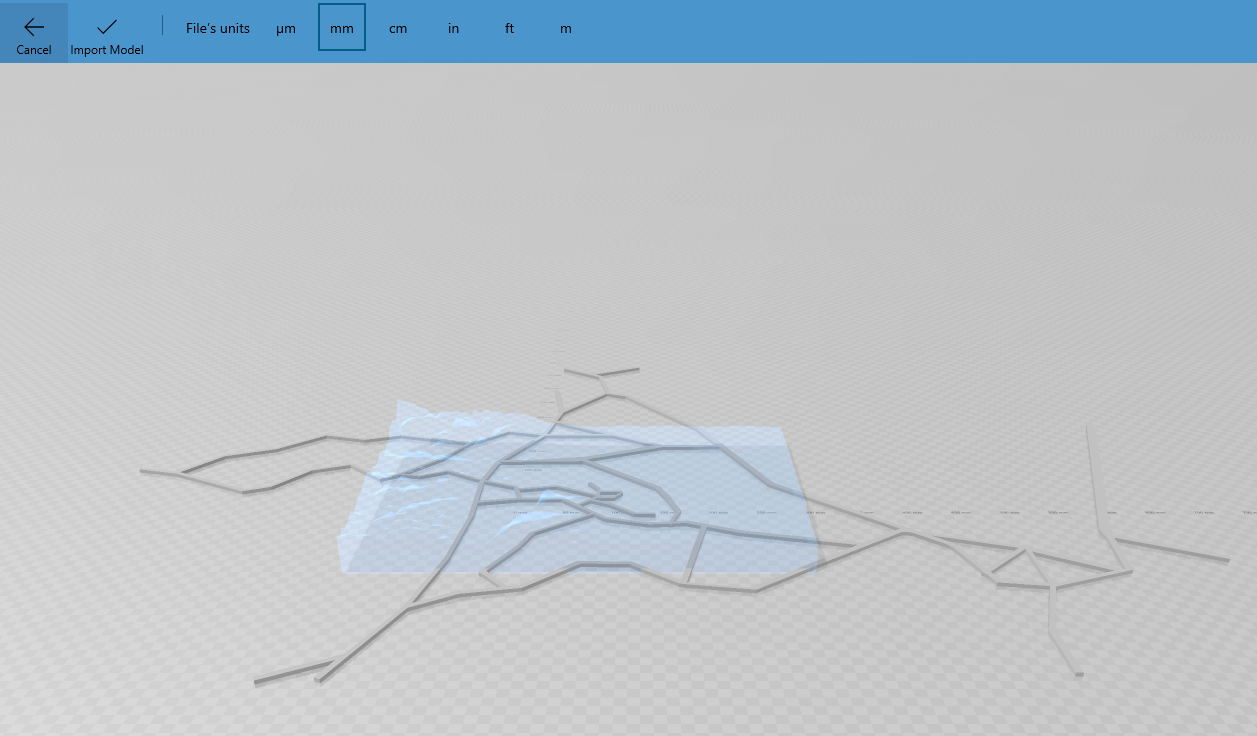
Import the road file that you had previously made.
Mine was way too short to be visible, so I stretched it so that all of it was above the map. This is essential as we need to make it look like the roads go up and down with the terrain.
I then positioned it, and realised that I had not made the roads go far enough, but this is sorted in the next step.
Trim Down the Map So That the Roads Fit
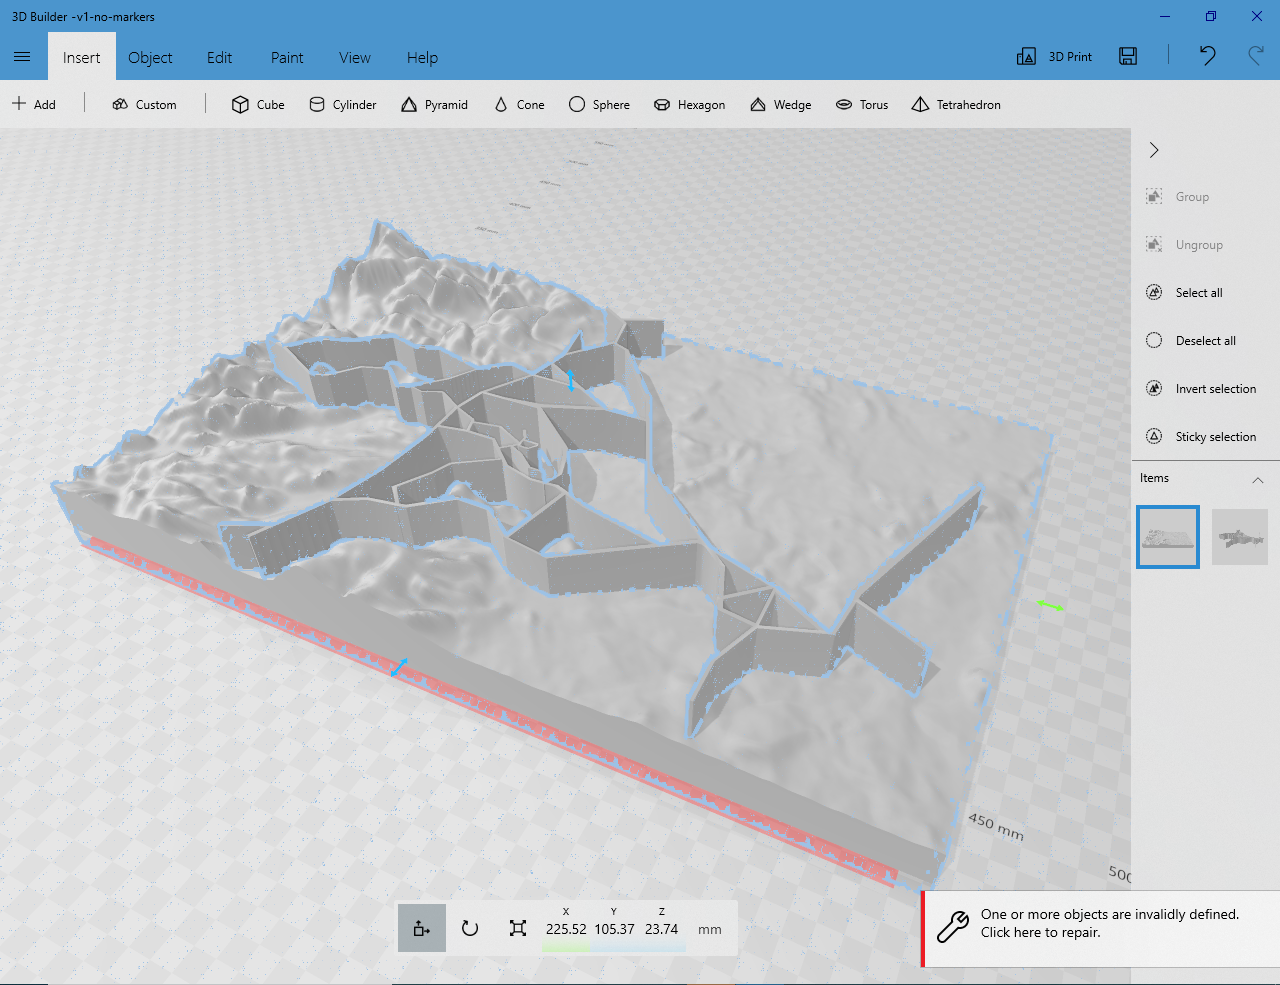
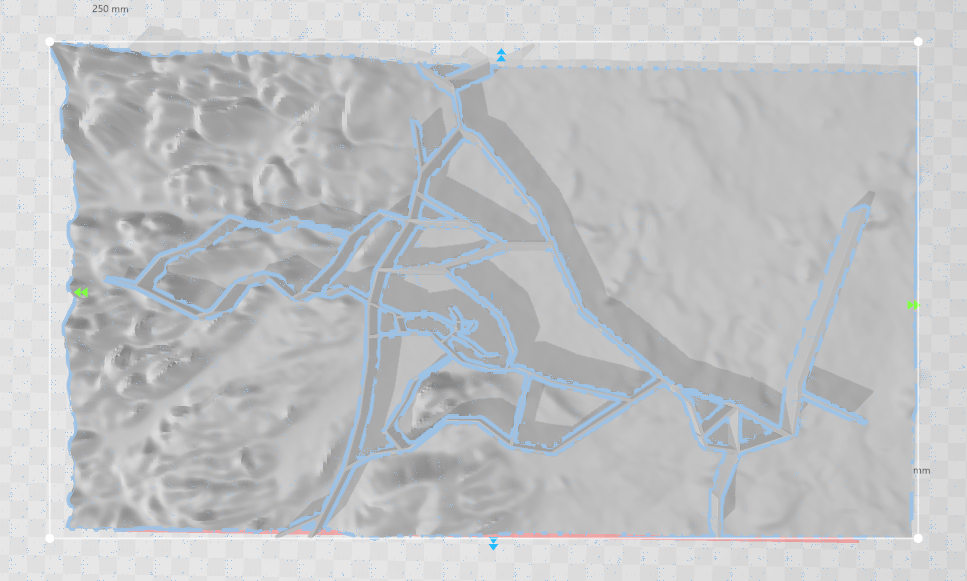
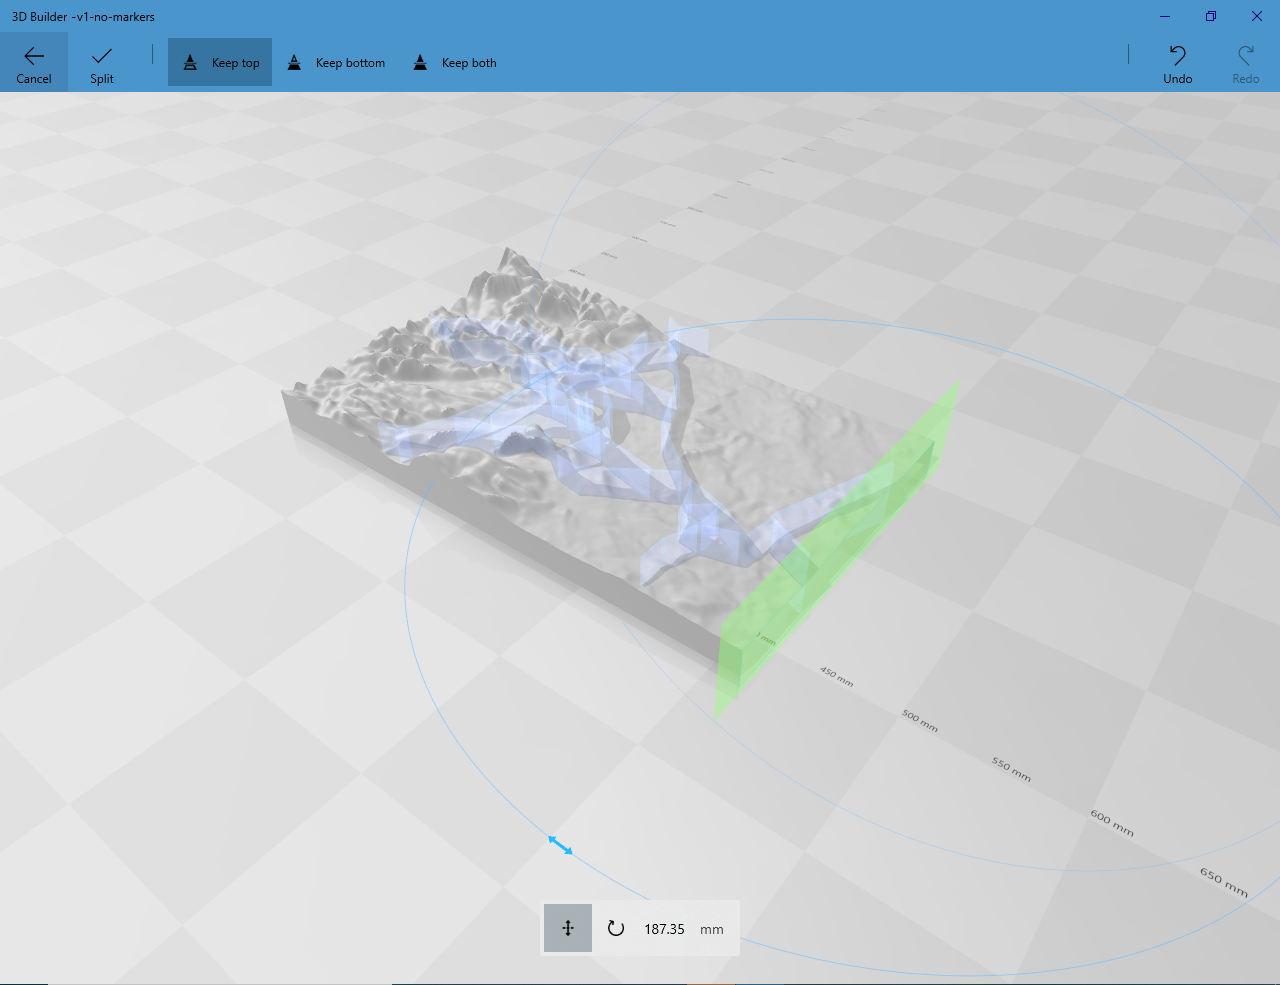
As seen in the previous photo, we can see that the roads end slightly too short.
In one direction I managed to stretch the roads, and this worked and looked fine. In the other direction, I will have to trim off a small amount of map. Use the Split feature to cut bits off the map that are not needed, and then you ae left with a final map with roads.
Make the Roads Follow the Terrain
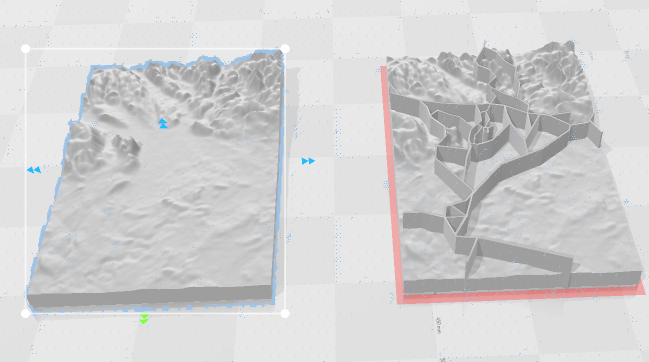
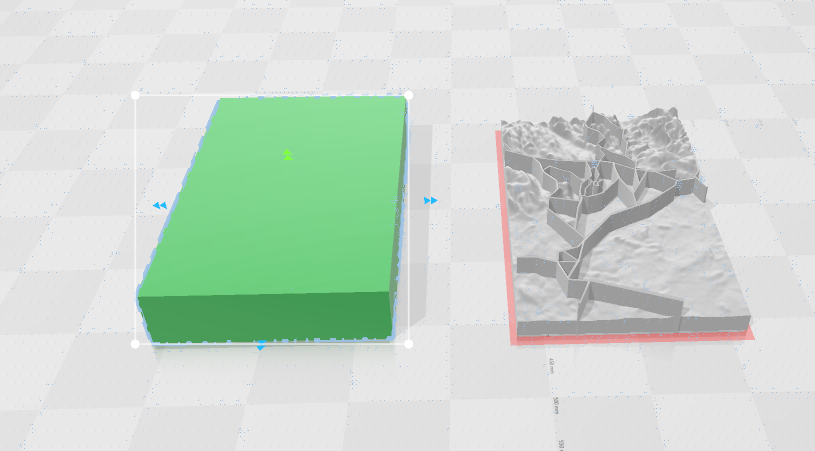
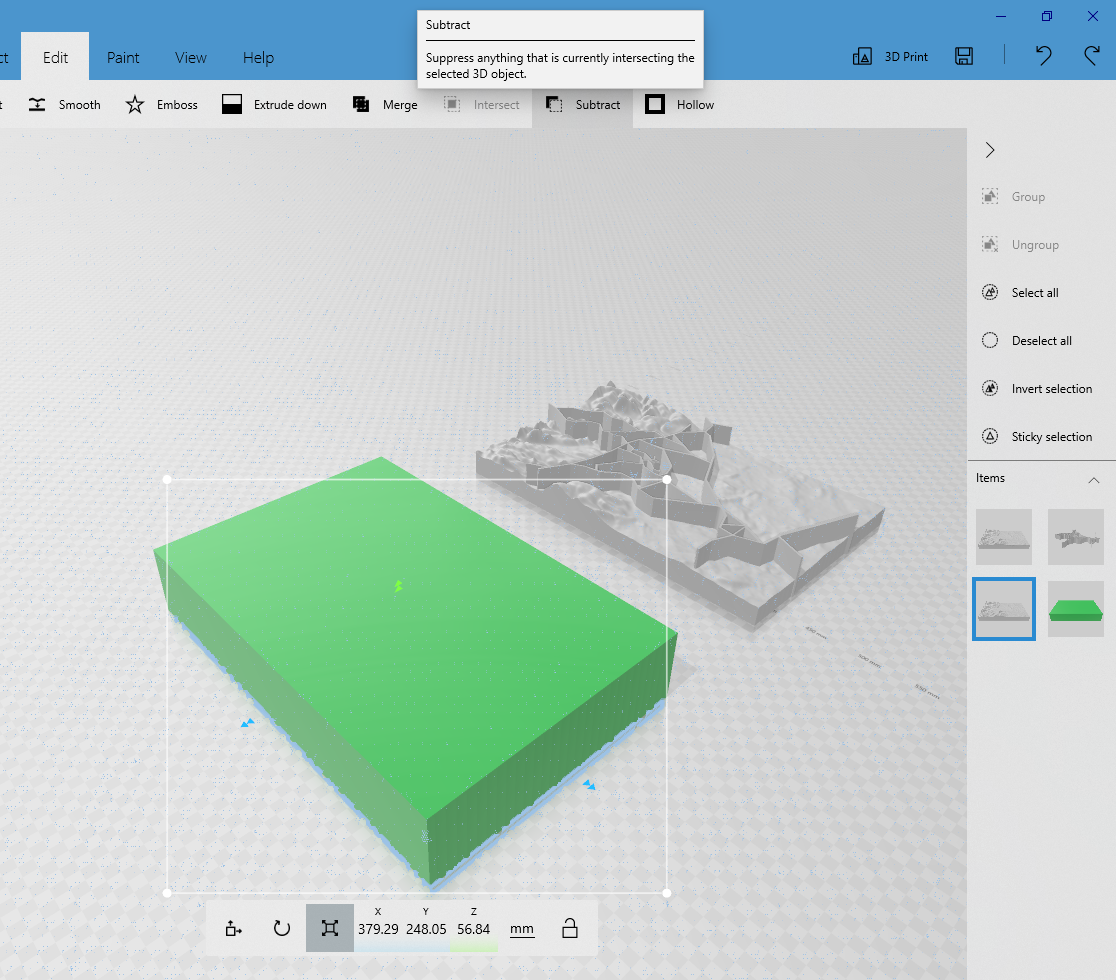
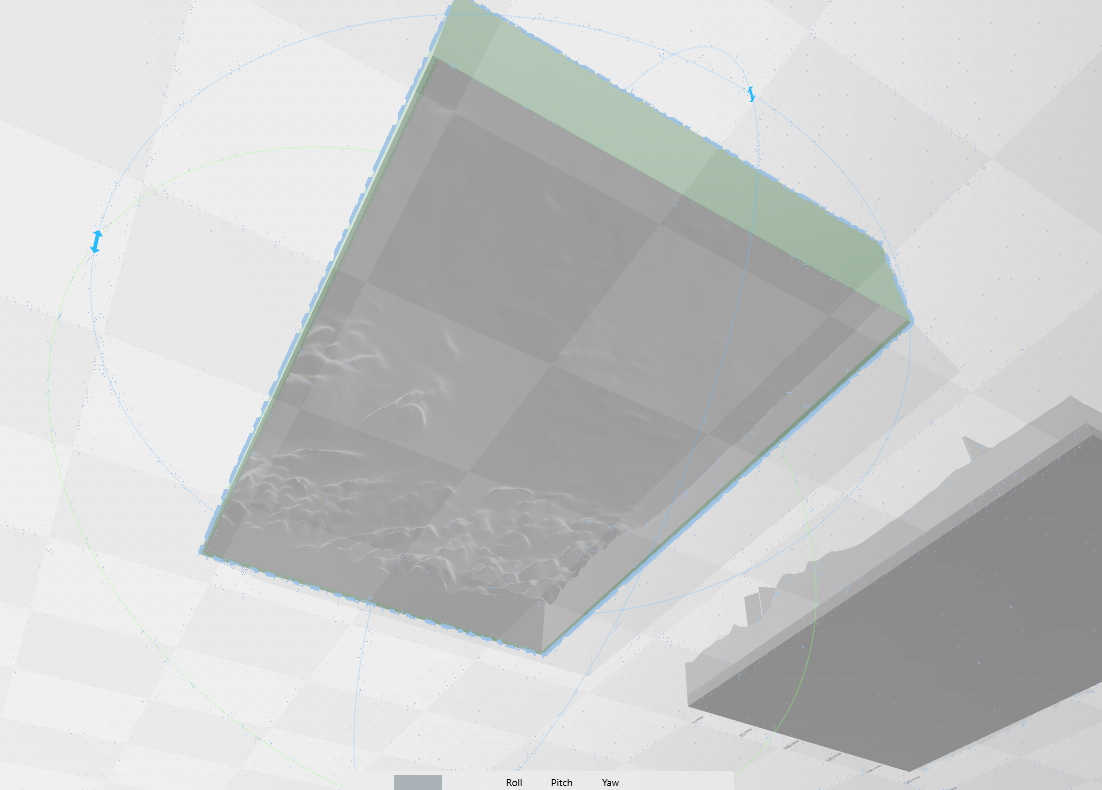
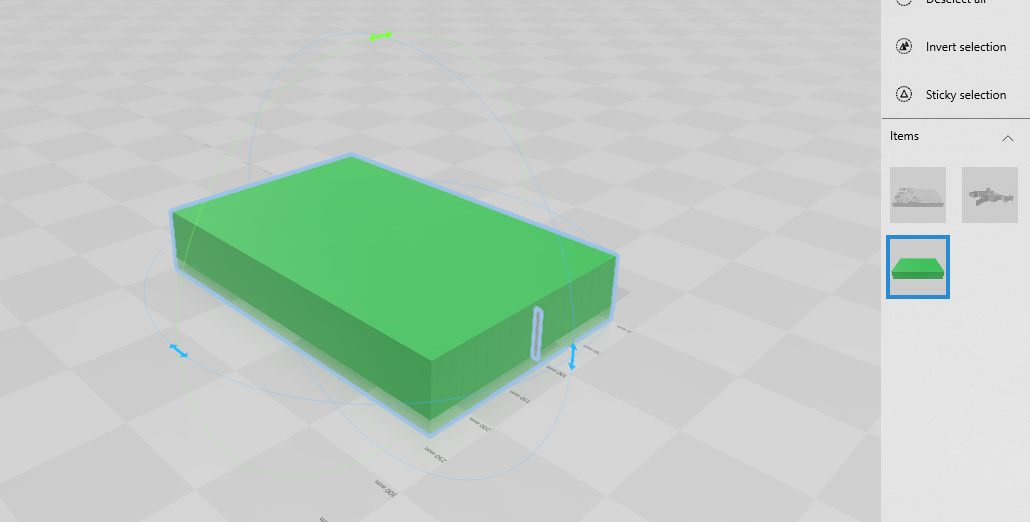
Because we do not want roads that stick up above the surface dramatically, we will chop them so that they follow the same pattern as the base.
First, We copy the 3d terrain next to the map.
Next, we get a large cube and place it over the second map.
Thirdly, we subtract the 2nd map from the cube, leaving us with a mold for the roads, and an inverse of the terrain.
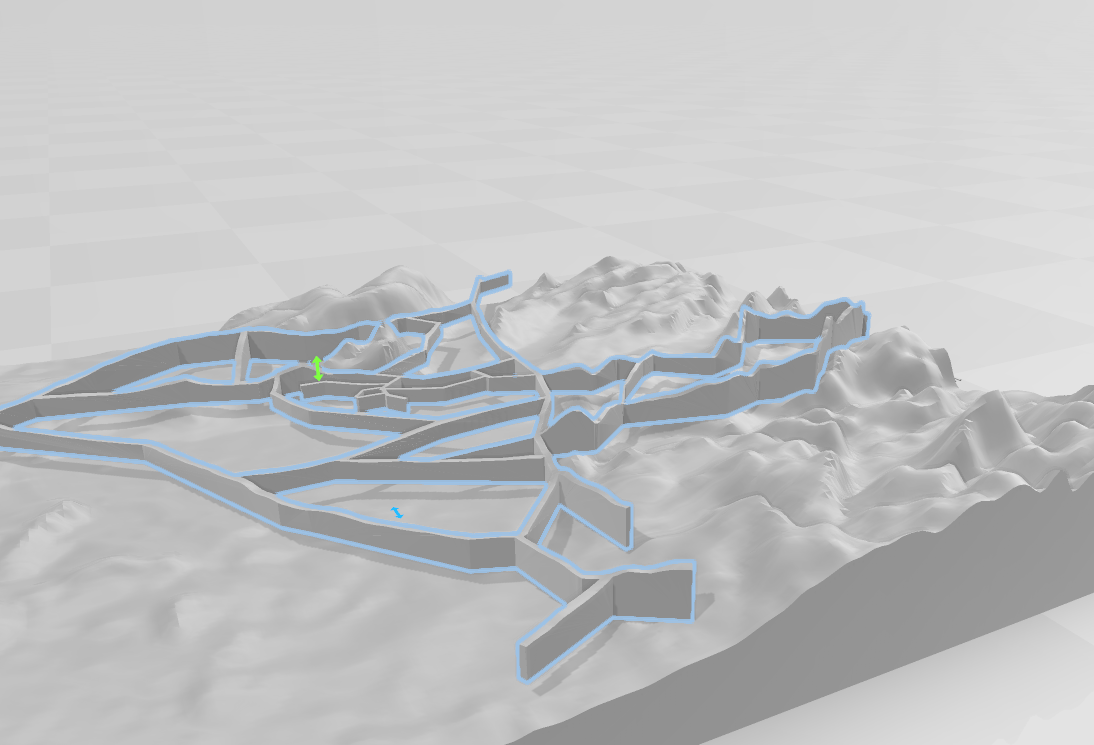
Finally. place this over the roads, and subtract it from the roads, transferring the terrain onto the roads, and cutting it in the correct place. (This is a bit confusing, I hope you understand, Sorry)
Now, you have a road with a gradient on it, that matches the map, which can then be moved onto the map.
Looking at the final image, we can see that the road now follows with the map
Give Everything a Splash of Paint!
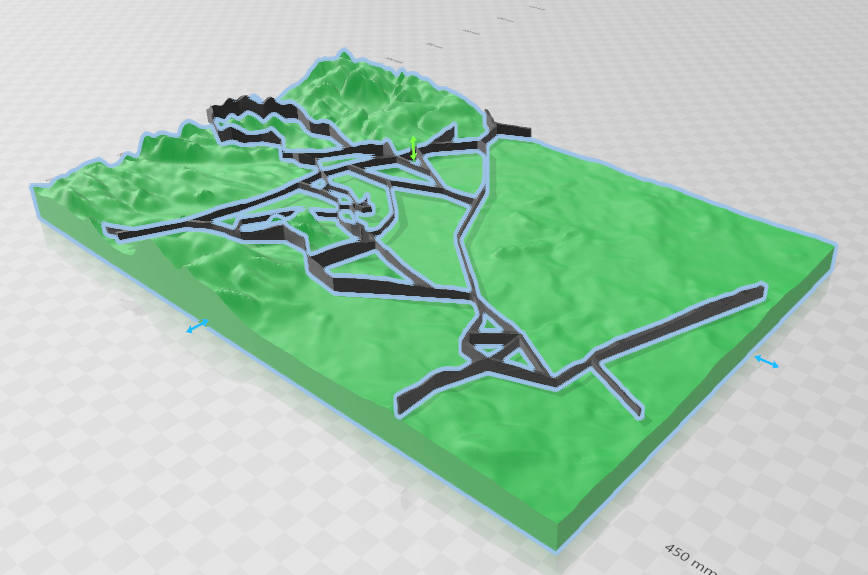
Using the paint tool, colour things so it is obvious which parts are which.
Adding in Towns
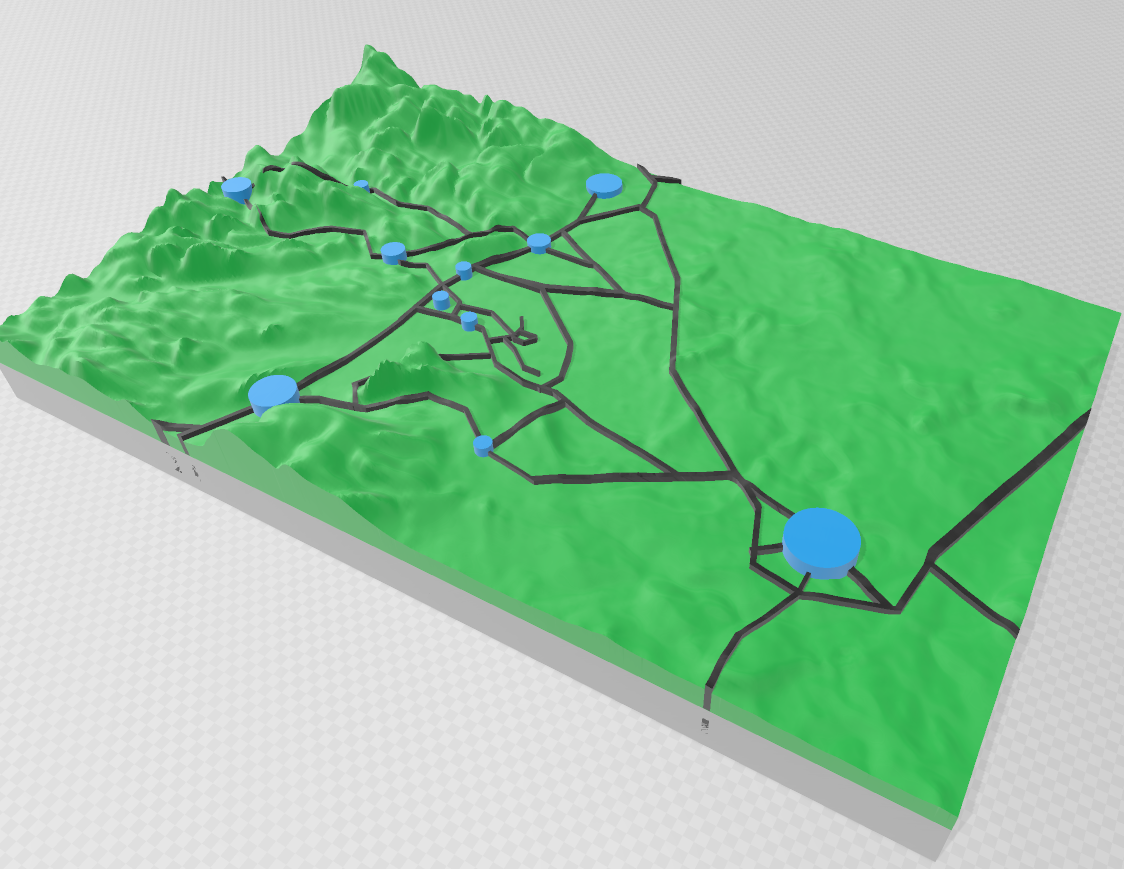
This part is nice and simple, Insert a cylinder, Scale it to the right size, and place where we want to have a village/town marker.
Finally, we are lift with a lovely 3D map of our local area, with roads and towns.
Rivers
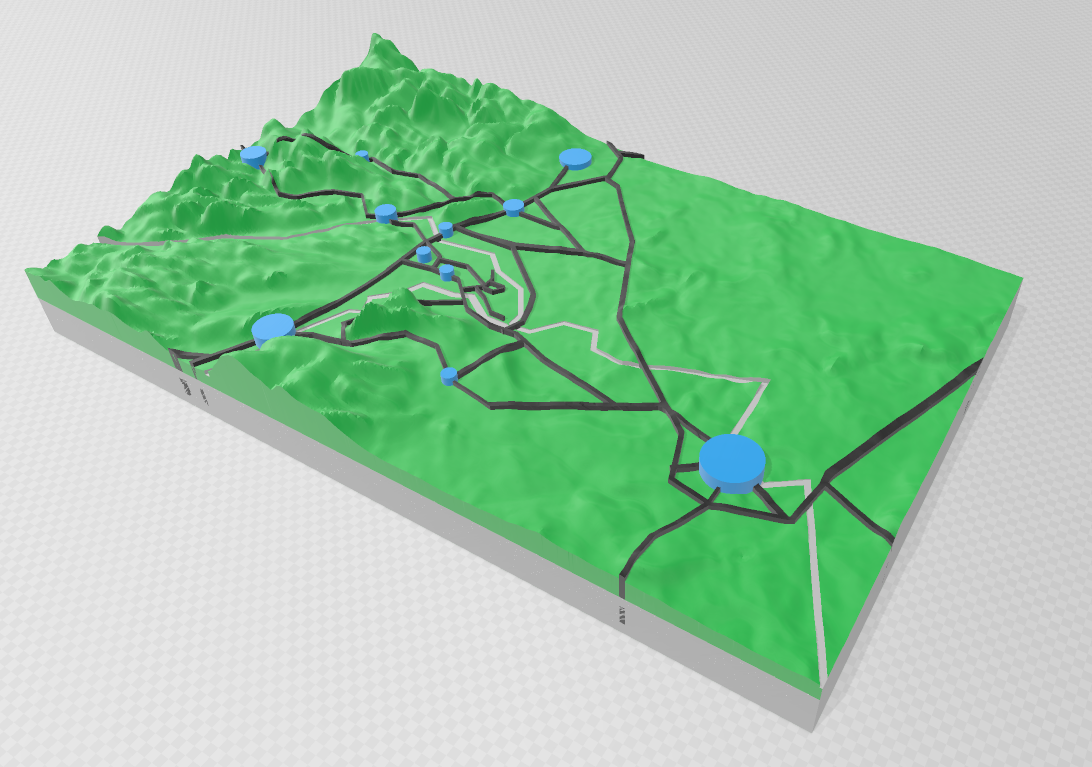
I won't be showing you how to add rivers, as it is the same process as creating the roads, but you subtract them to leave a groove in the model.
Splitting the Model for 3D Printing on a Large Scale
Using the split feature, cut the model into as many bits as you desire, 8 bits seemed to make sense for my model, and each one took a few hours, but the resulting model was fairly big, around 40cm by 20.
Add Some Real Paint, Mark Out the Roads, and Admire Your Build!
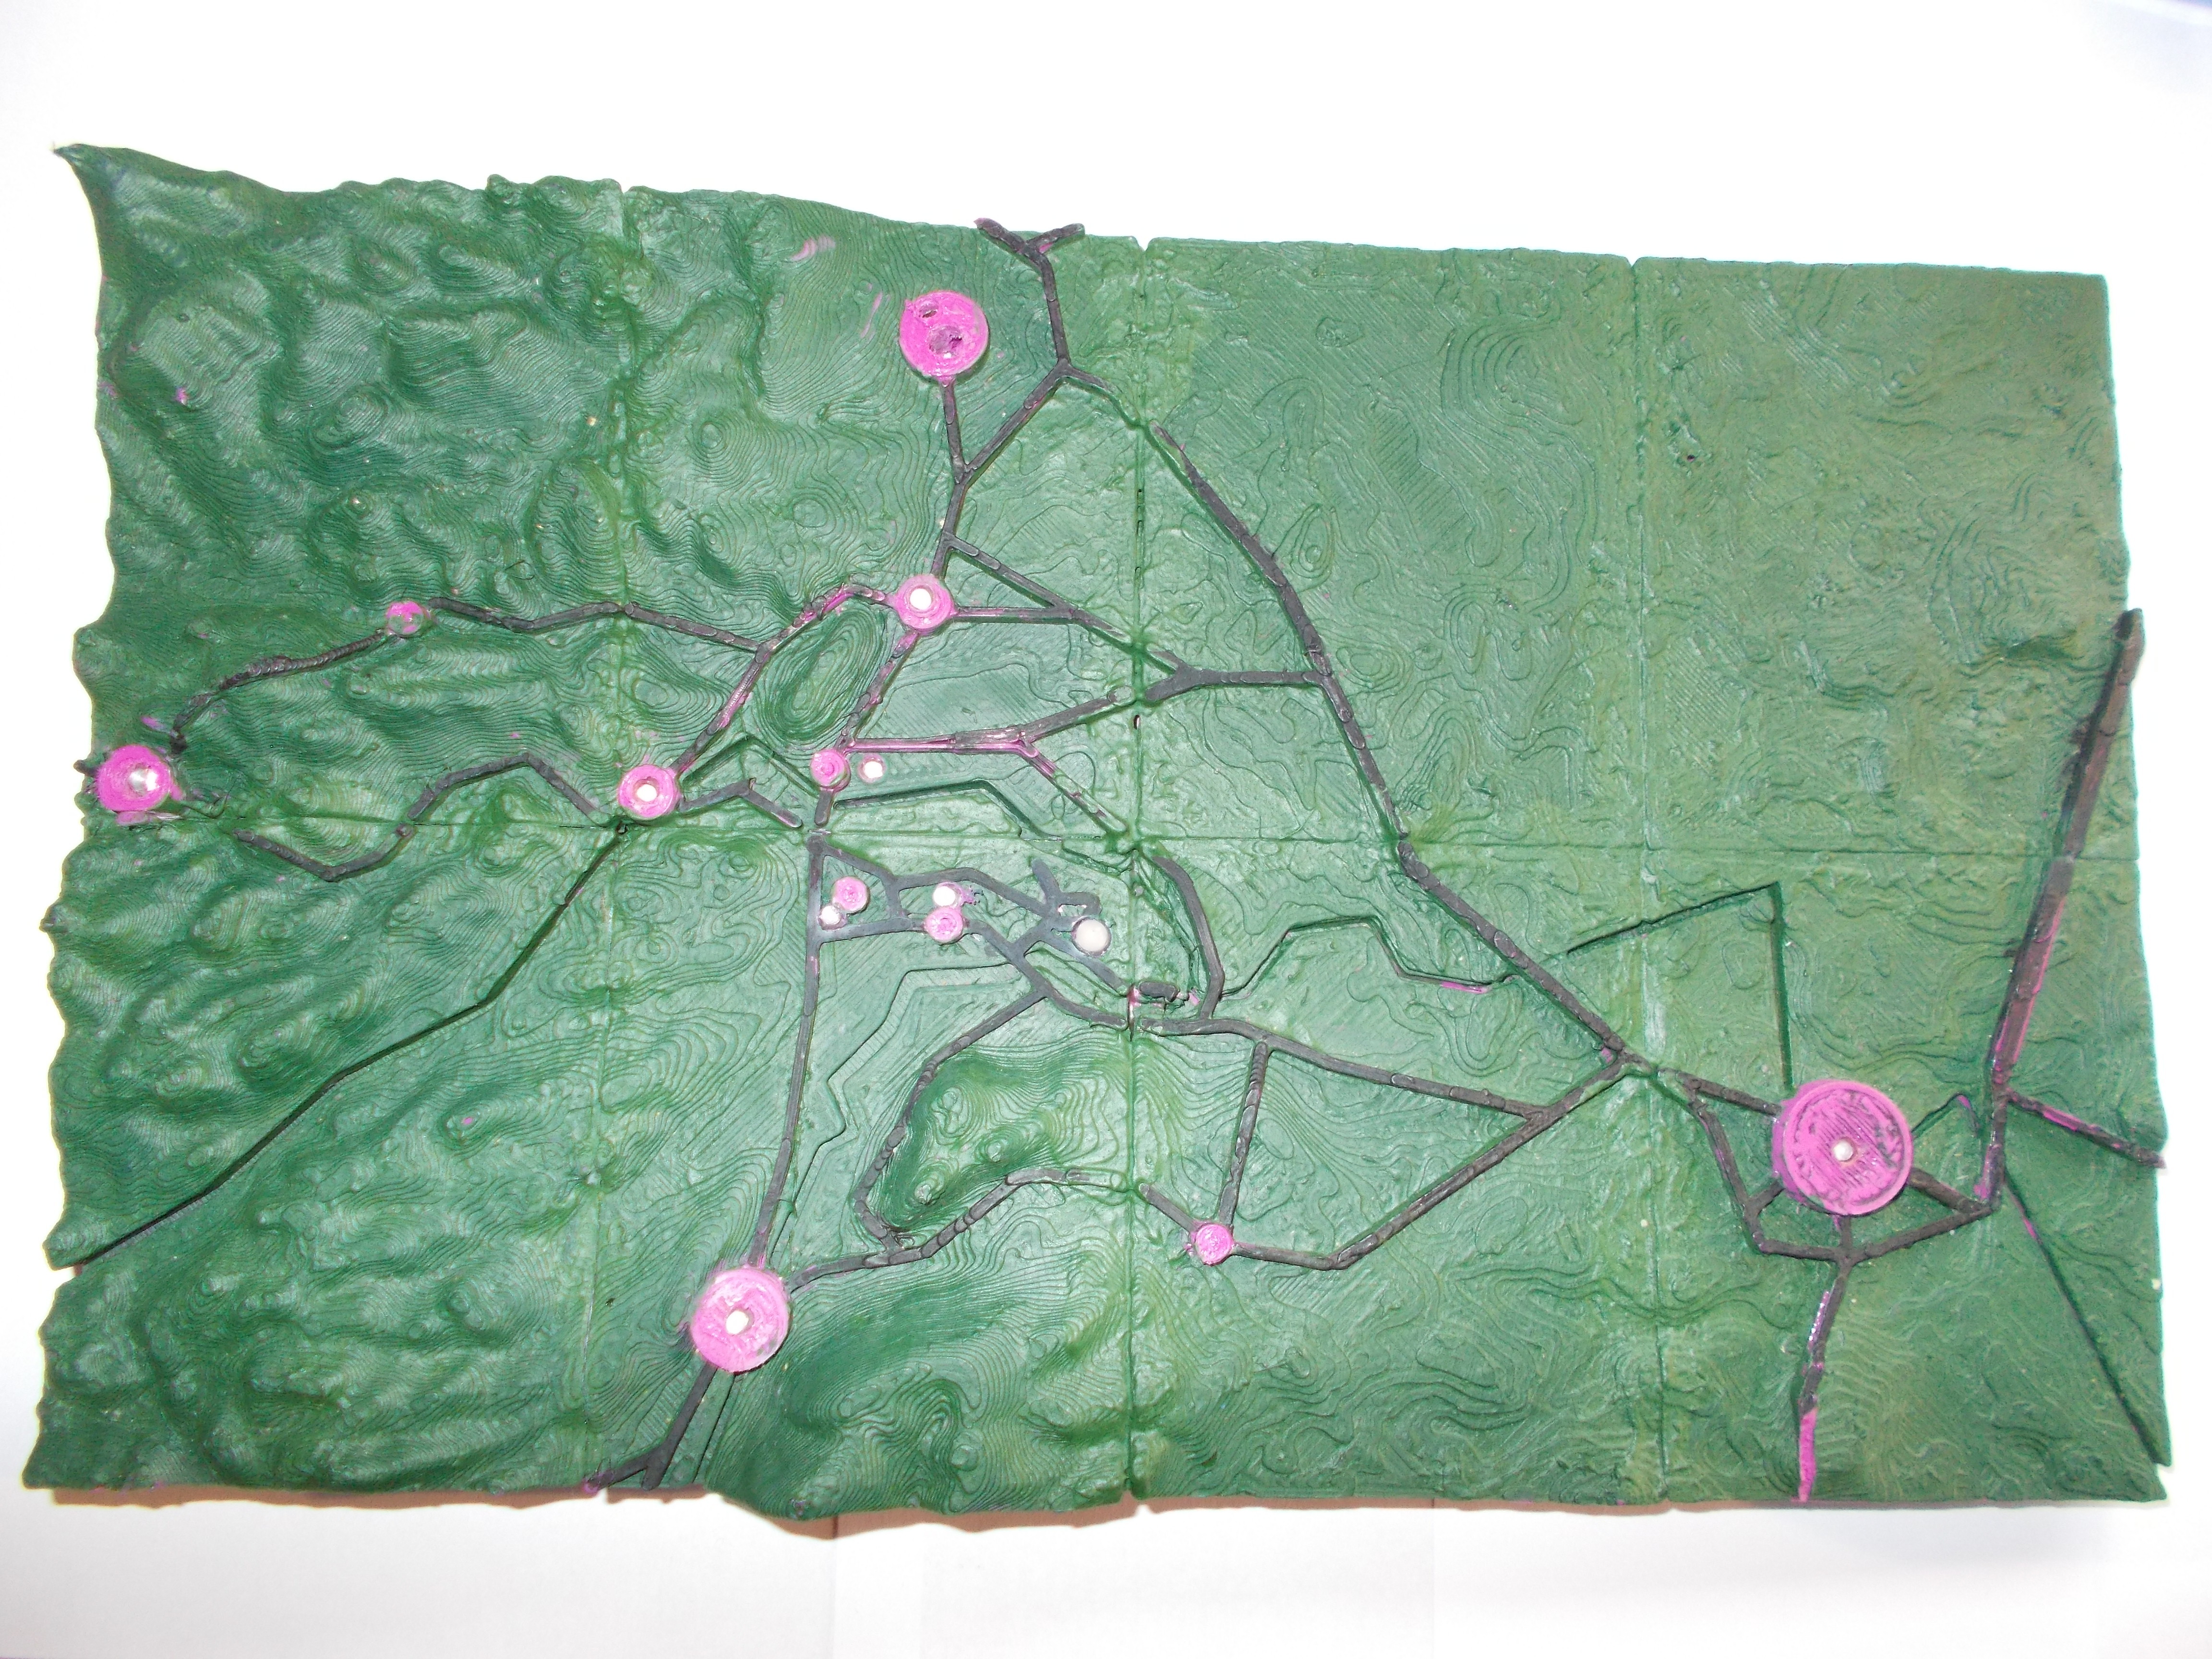
Now that it is printed, I glued it together using superglue, as my edges were all very flat, and then I printed over the cracks and imperfectons. A Pernament marker seemed to do the trick for the roads, as I could be very neat with this.
This project is part of another project that I am making, where I will be using LEDs to track the location of my family, and be able to see where they are, whether they are at work or school, shops or home, The 3D map will indicate their wherabouts.
I hope you enjoyed reading about how I made my map, and I hope you will try it out too!