Making a 3D Model of a Shuriken in Blender
by killersquirel11 in Design > Software
6945 Views, 7 Favorites, 0 Comments
Making a 3D Model of a Shuriken in Blender
This instructable is intended to be a clear, detailed set of instructions on how to create a simple model in Blender. It makes a great first project and teaches some of the basics of blender which can be used to create much more complex models. If you need to get Blender, the newest version can be downloaded here. Another interesting blender tutorial can be found here.
Getting Started With Blender
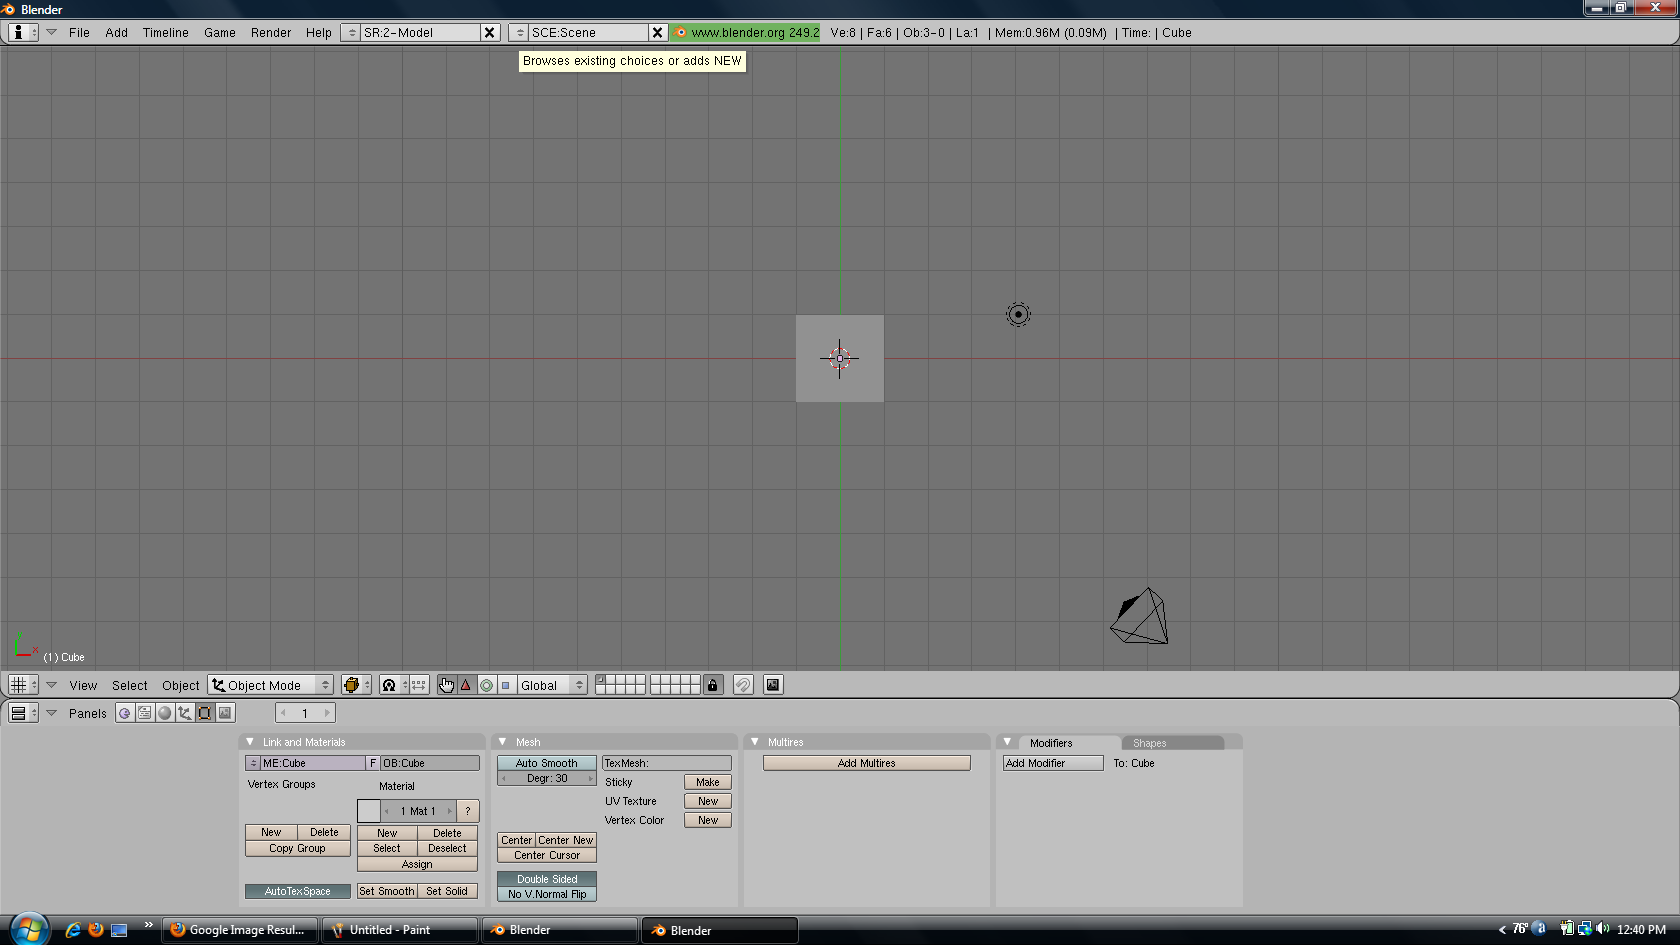
When you open Blender, you will notice that there is already objects there. At this stage we don't need these objects so let's delete them. But, before we do that, let's go over some basic commands that help make Blender so powerful.
Left Mouse Button (LMB) is generally in charge of moving stuff around
Middle Mouse Button (MMB) is what changes the viewpoint
Right Mouse Button (RMB) is what selects and deselects
A is select all / deselect all
E is Extrude
S is Scale
Space brings up a menu for item creation
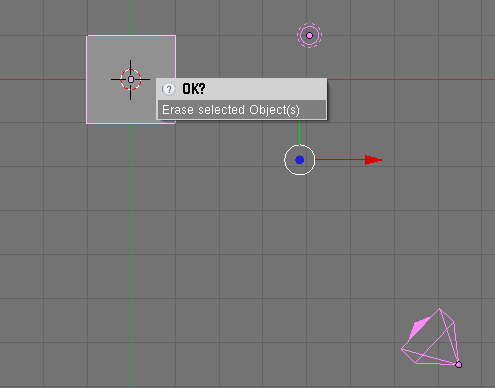
So just press A until all of the items are pink then press Del then
Left Mouse Button (LMB) is generally in charge of moving stuff around
Middle Mouse Button (MMB) is what changes the viewpoint
Right Mouse Button (RMB) is what selects and deselects
A is select all / deselect all
E is Extrude
S is Scale
Space brings up a menu for item creation
So just press A until all of the items are pink then press Del then
Make a Plane

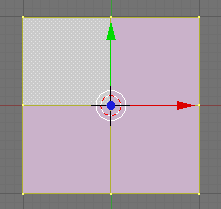
The base for this shuriken is a plane. Create one by pressing Space then put your mouse over Add>Mesh then click Plane. A square should appear on your screen
Subdivide
Blender has a feature called Subdivide which will split the plane into 4 identical planes. We will use that to get the plane ready to be transformed into shuriken shape.
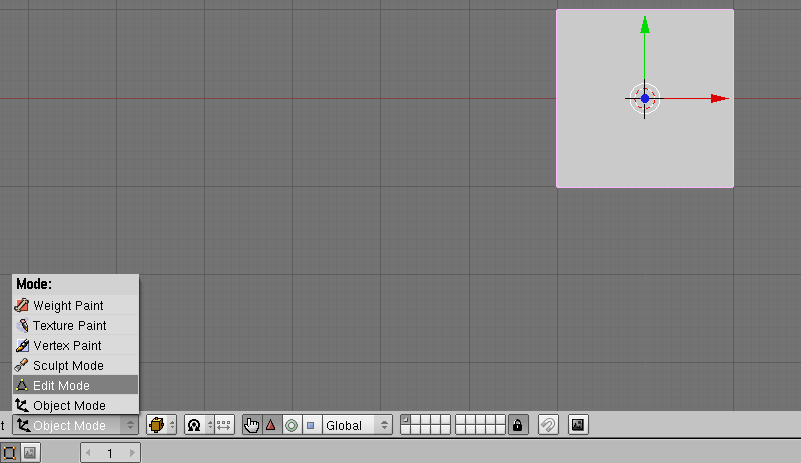
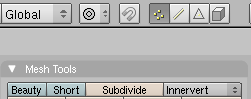
First enter Edit Mode
Then click Subdivide
The plane should now look like the picture.
If this doesn't work, make sure you have selected the plane by pressing A
First enter Edit Mode
Then click Subdivide
The plane should now look like the picture.
If this doesn't work, make sure you have selected the plane by pressing A
Give It the Shuriken Shape
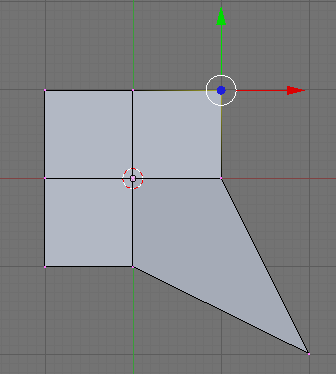
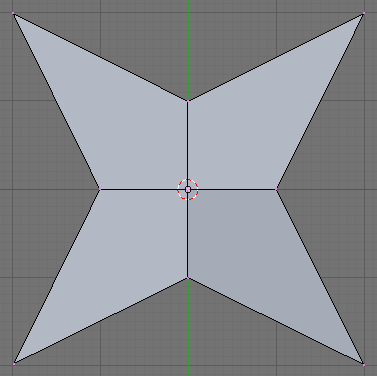
So to get the plane to look like a shuriken, start with one corner and drag it out until it looks good. For me, this was one big square in the grid.
To select a corner, make sure everything is deselected (selected points, or vertices, turn yellow)
RMB on the corner then drag it out and use LMB to set the vertex there.
Do this to all four sides.
To select a corner, make sure everything is deselected (selected points, or vertices, turn yellow)
RMB on the corner then drag it out and use LMB to set the vertex there.
Do this to all four sides.
Change the Viewpoint
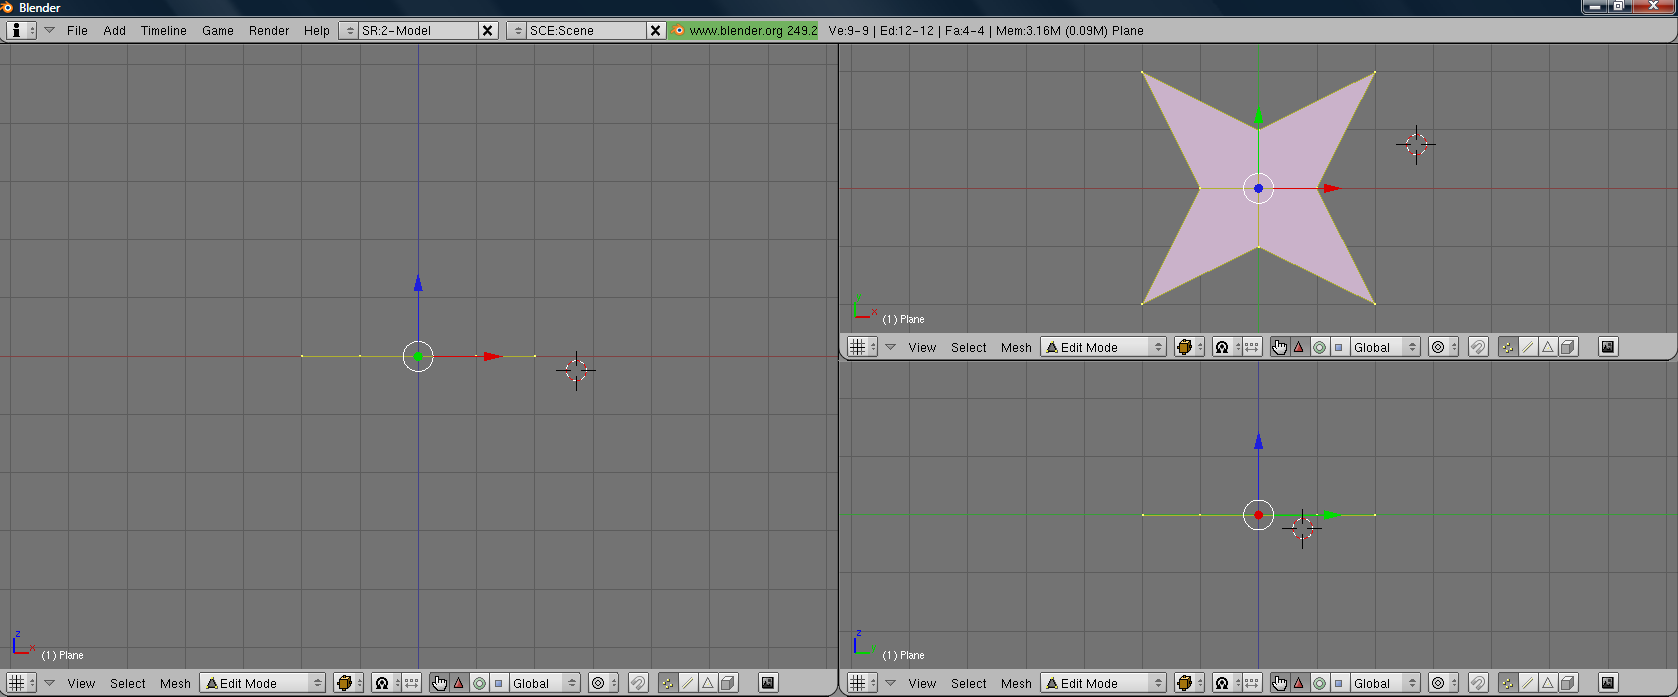
One window worked just fine while we were manipulating the 2D version of this model, but now we need something a little more useful. To do this we will split the window into 3, all with different viewpoints.
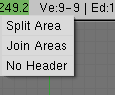
First, bring your mouse up near the top where it should turn into a double-arrow re-sizing cursor.
Next Right Click and select Split Area.
Click somewhere in the middle of the screen to complete the vertical split.
Do this again on the right side to give us a third window.
Now press Num 1 while your mouse is over the left window,
Num 7" while your mouse is over the top window,
and Num 3 while your mouse is over the bottom window.
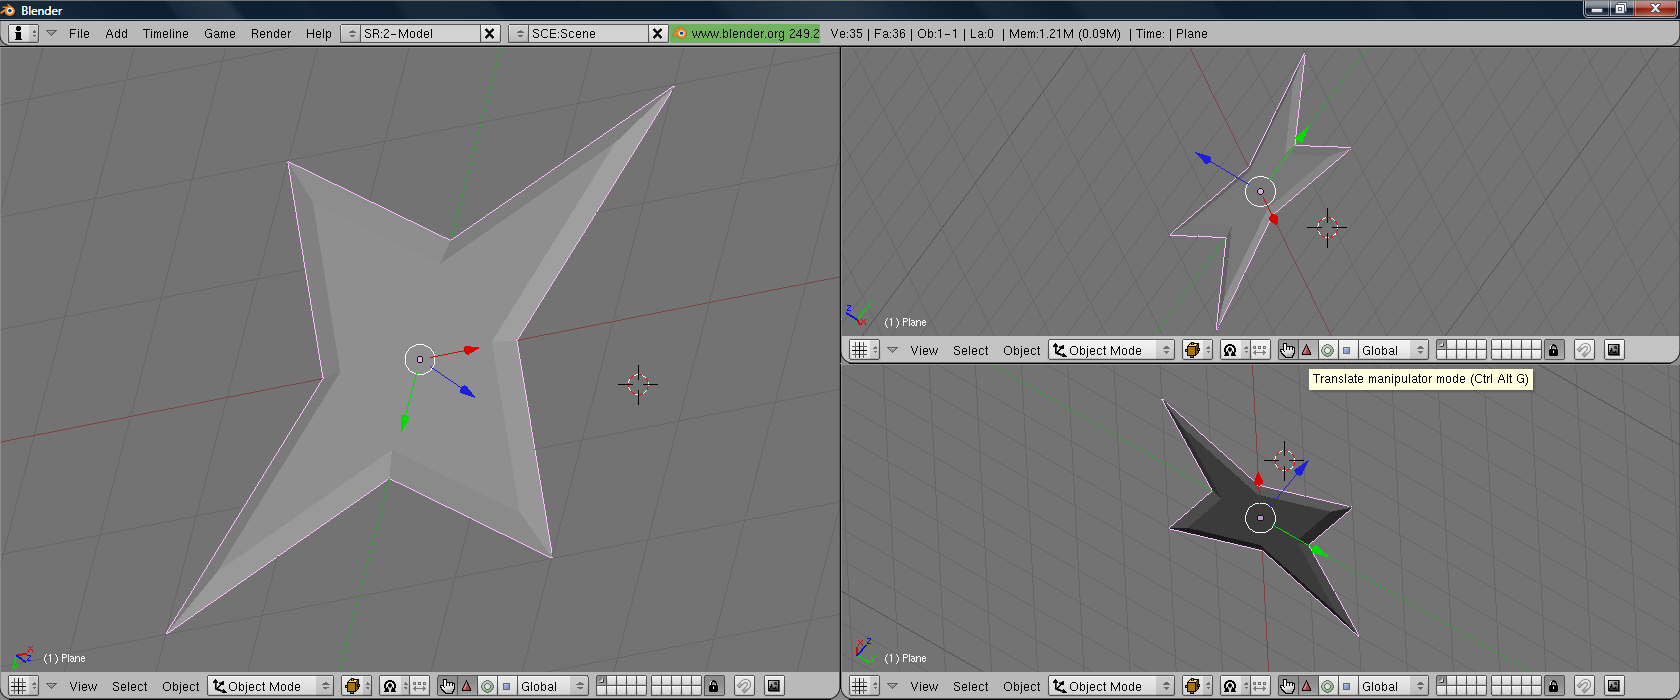
Extrude the Shuriken Upwards
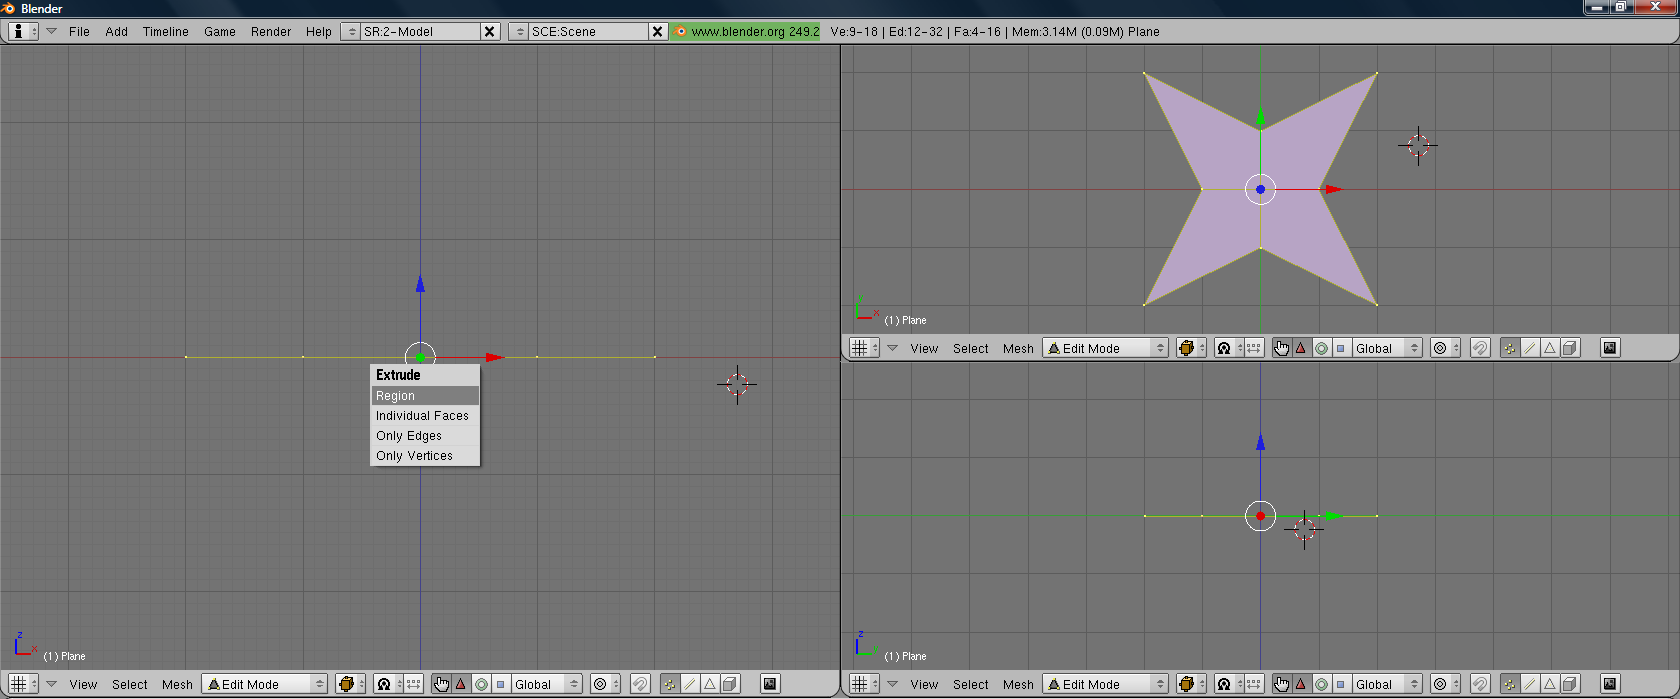
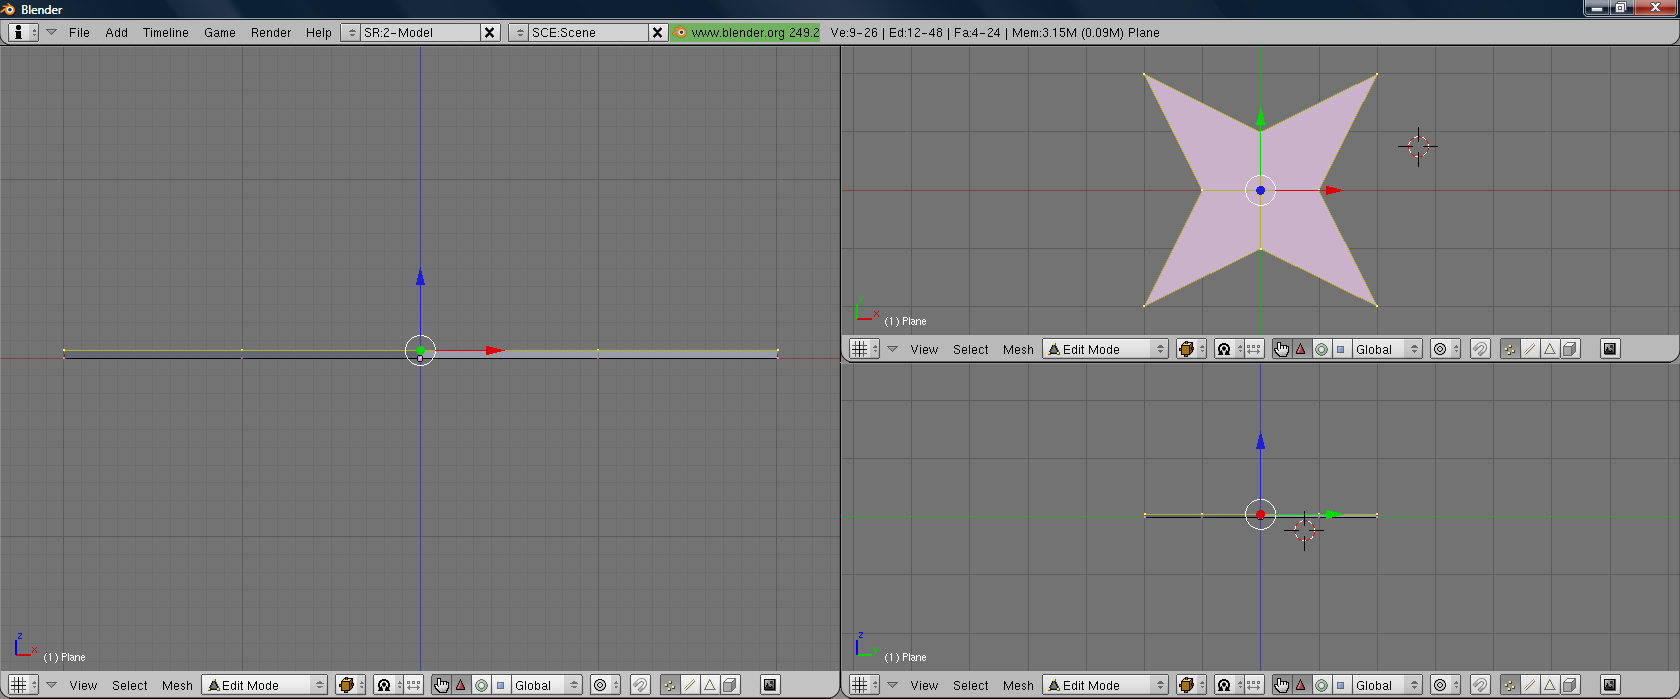
Now we turn the 2D drawing into a 3D model.
Select all by pressing A
Extrude upwards by pressing E
Continue up until it is about half as thick as you want the finished product to be then press LMB
Select all by pressing A
Extrude upwards by pressing E
Continue up until it is about half as thick as you want the finished product to be then press LMB
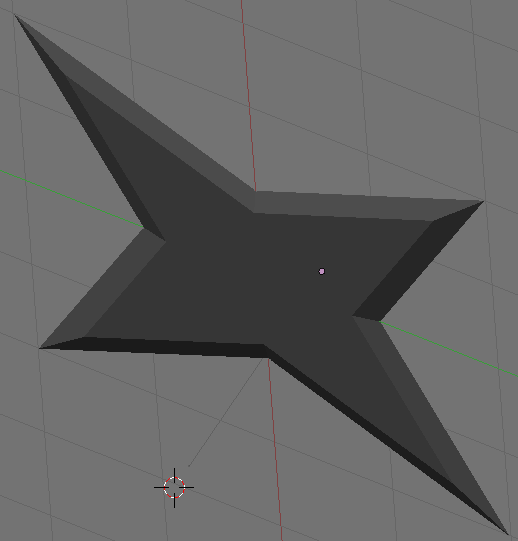
Give the Shuriken a Nice, Pointy Edge
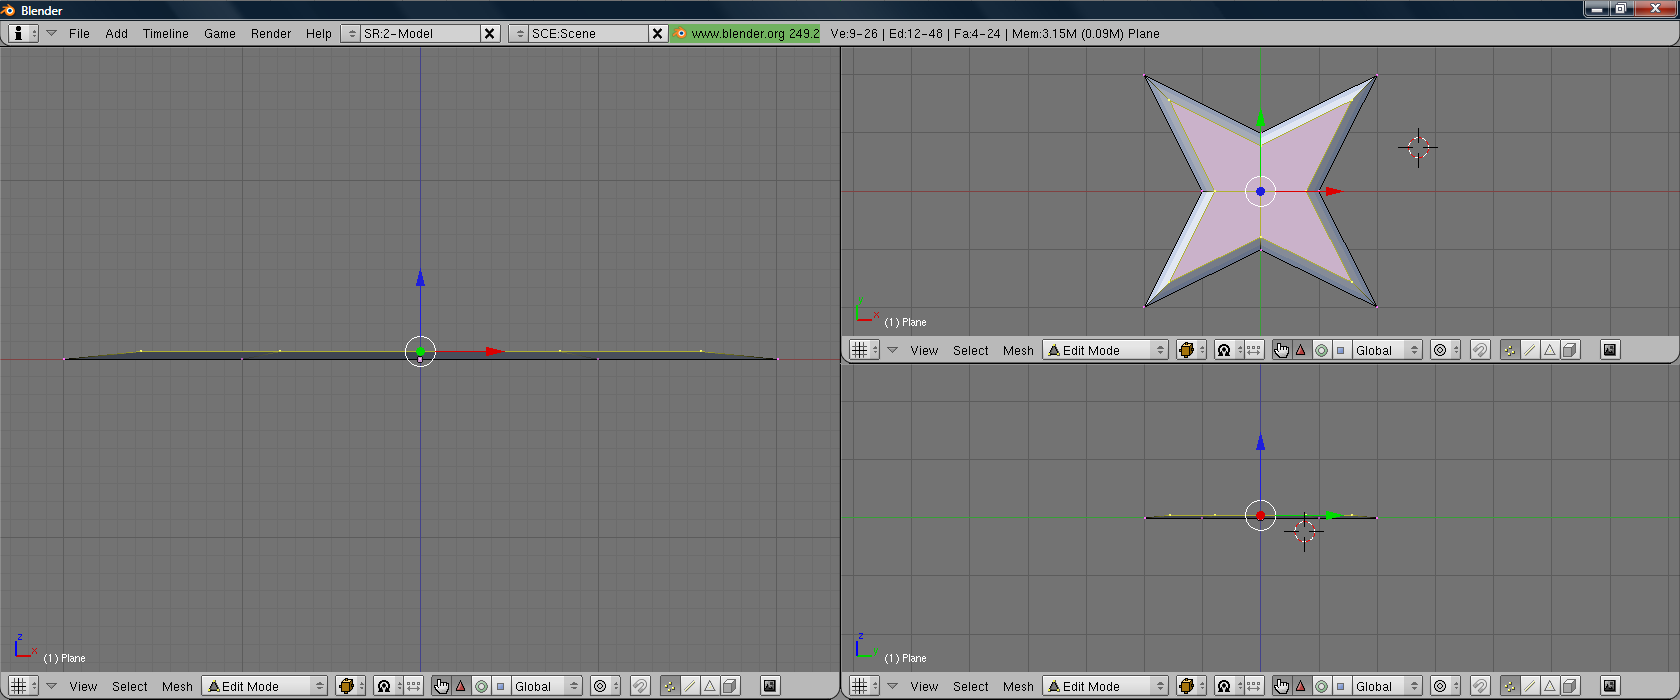
All right this step is fairly simple.
Press S To start scaling.
Move the mouse until the shuriken looks something like the one in the picture.
Press S To start scaling.
Move the mouse until the shuriken looks something like the one in the picture.
Mirroring the Shuriken
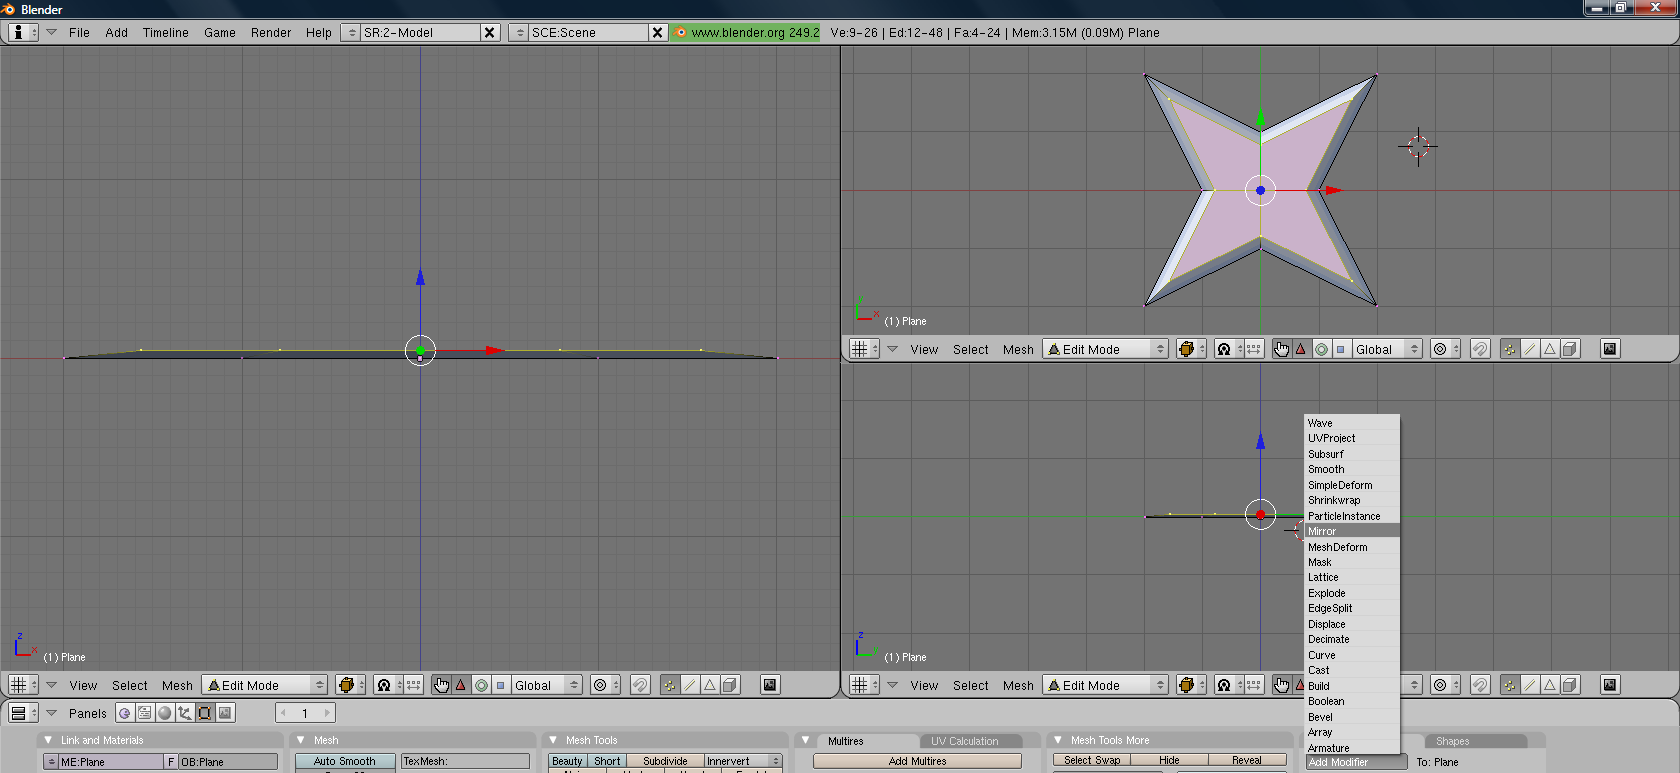
Well, that looks pretty good, but it seems to be missing a side. To fix that we will use a function of Blender's called Mirroring.
Use A to select all of the vertices
On the bottom right of the screen there should be a button called "Add Modifier".
Click on that then select "Mirror".
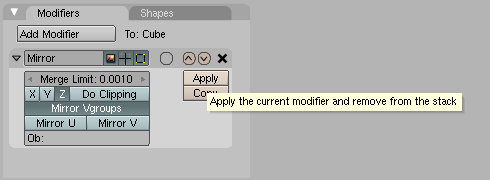
Make sure that the settings match the picture.
Click Apply
Use A to select all of the vertices
On the bottom right of the screen there should be a button called "Add Modifier".
Click on that then select "Mirror".
Make sure that the settings match the picture.
Click Apply
You're Finished!!
Doesn't that nice shiny shuriken look positively lethal now?