Making Things Interactive - Twitter Projector
by cambau in Circuits > Raspberry Pi
2900 Views, 15 Favorites, 0 Comments
Making Things Interactive - Twitter Projector
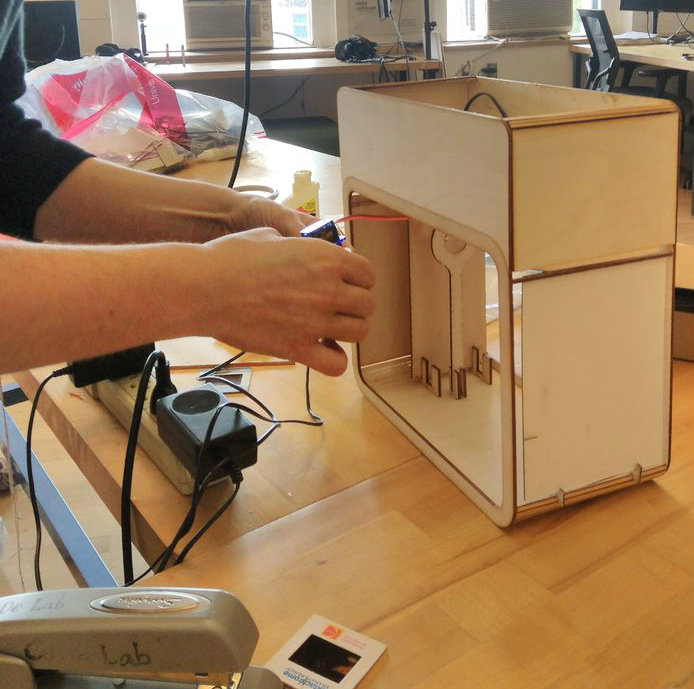
The Twitter Projector combines a sense of nostalgia for a local past with contemporary technology. It is a compact prototype that uses a raspberry in order to control the rotation of Polaroid photos based on tweets that are filtered through NLTK's sentiment analysis library (vader).
Step 1: Slide Photos From Pittsburgh's Past
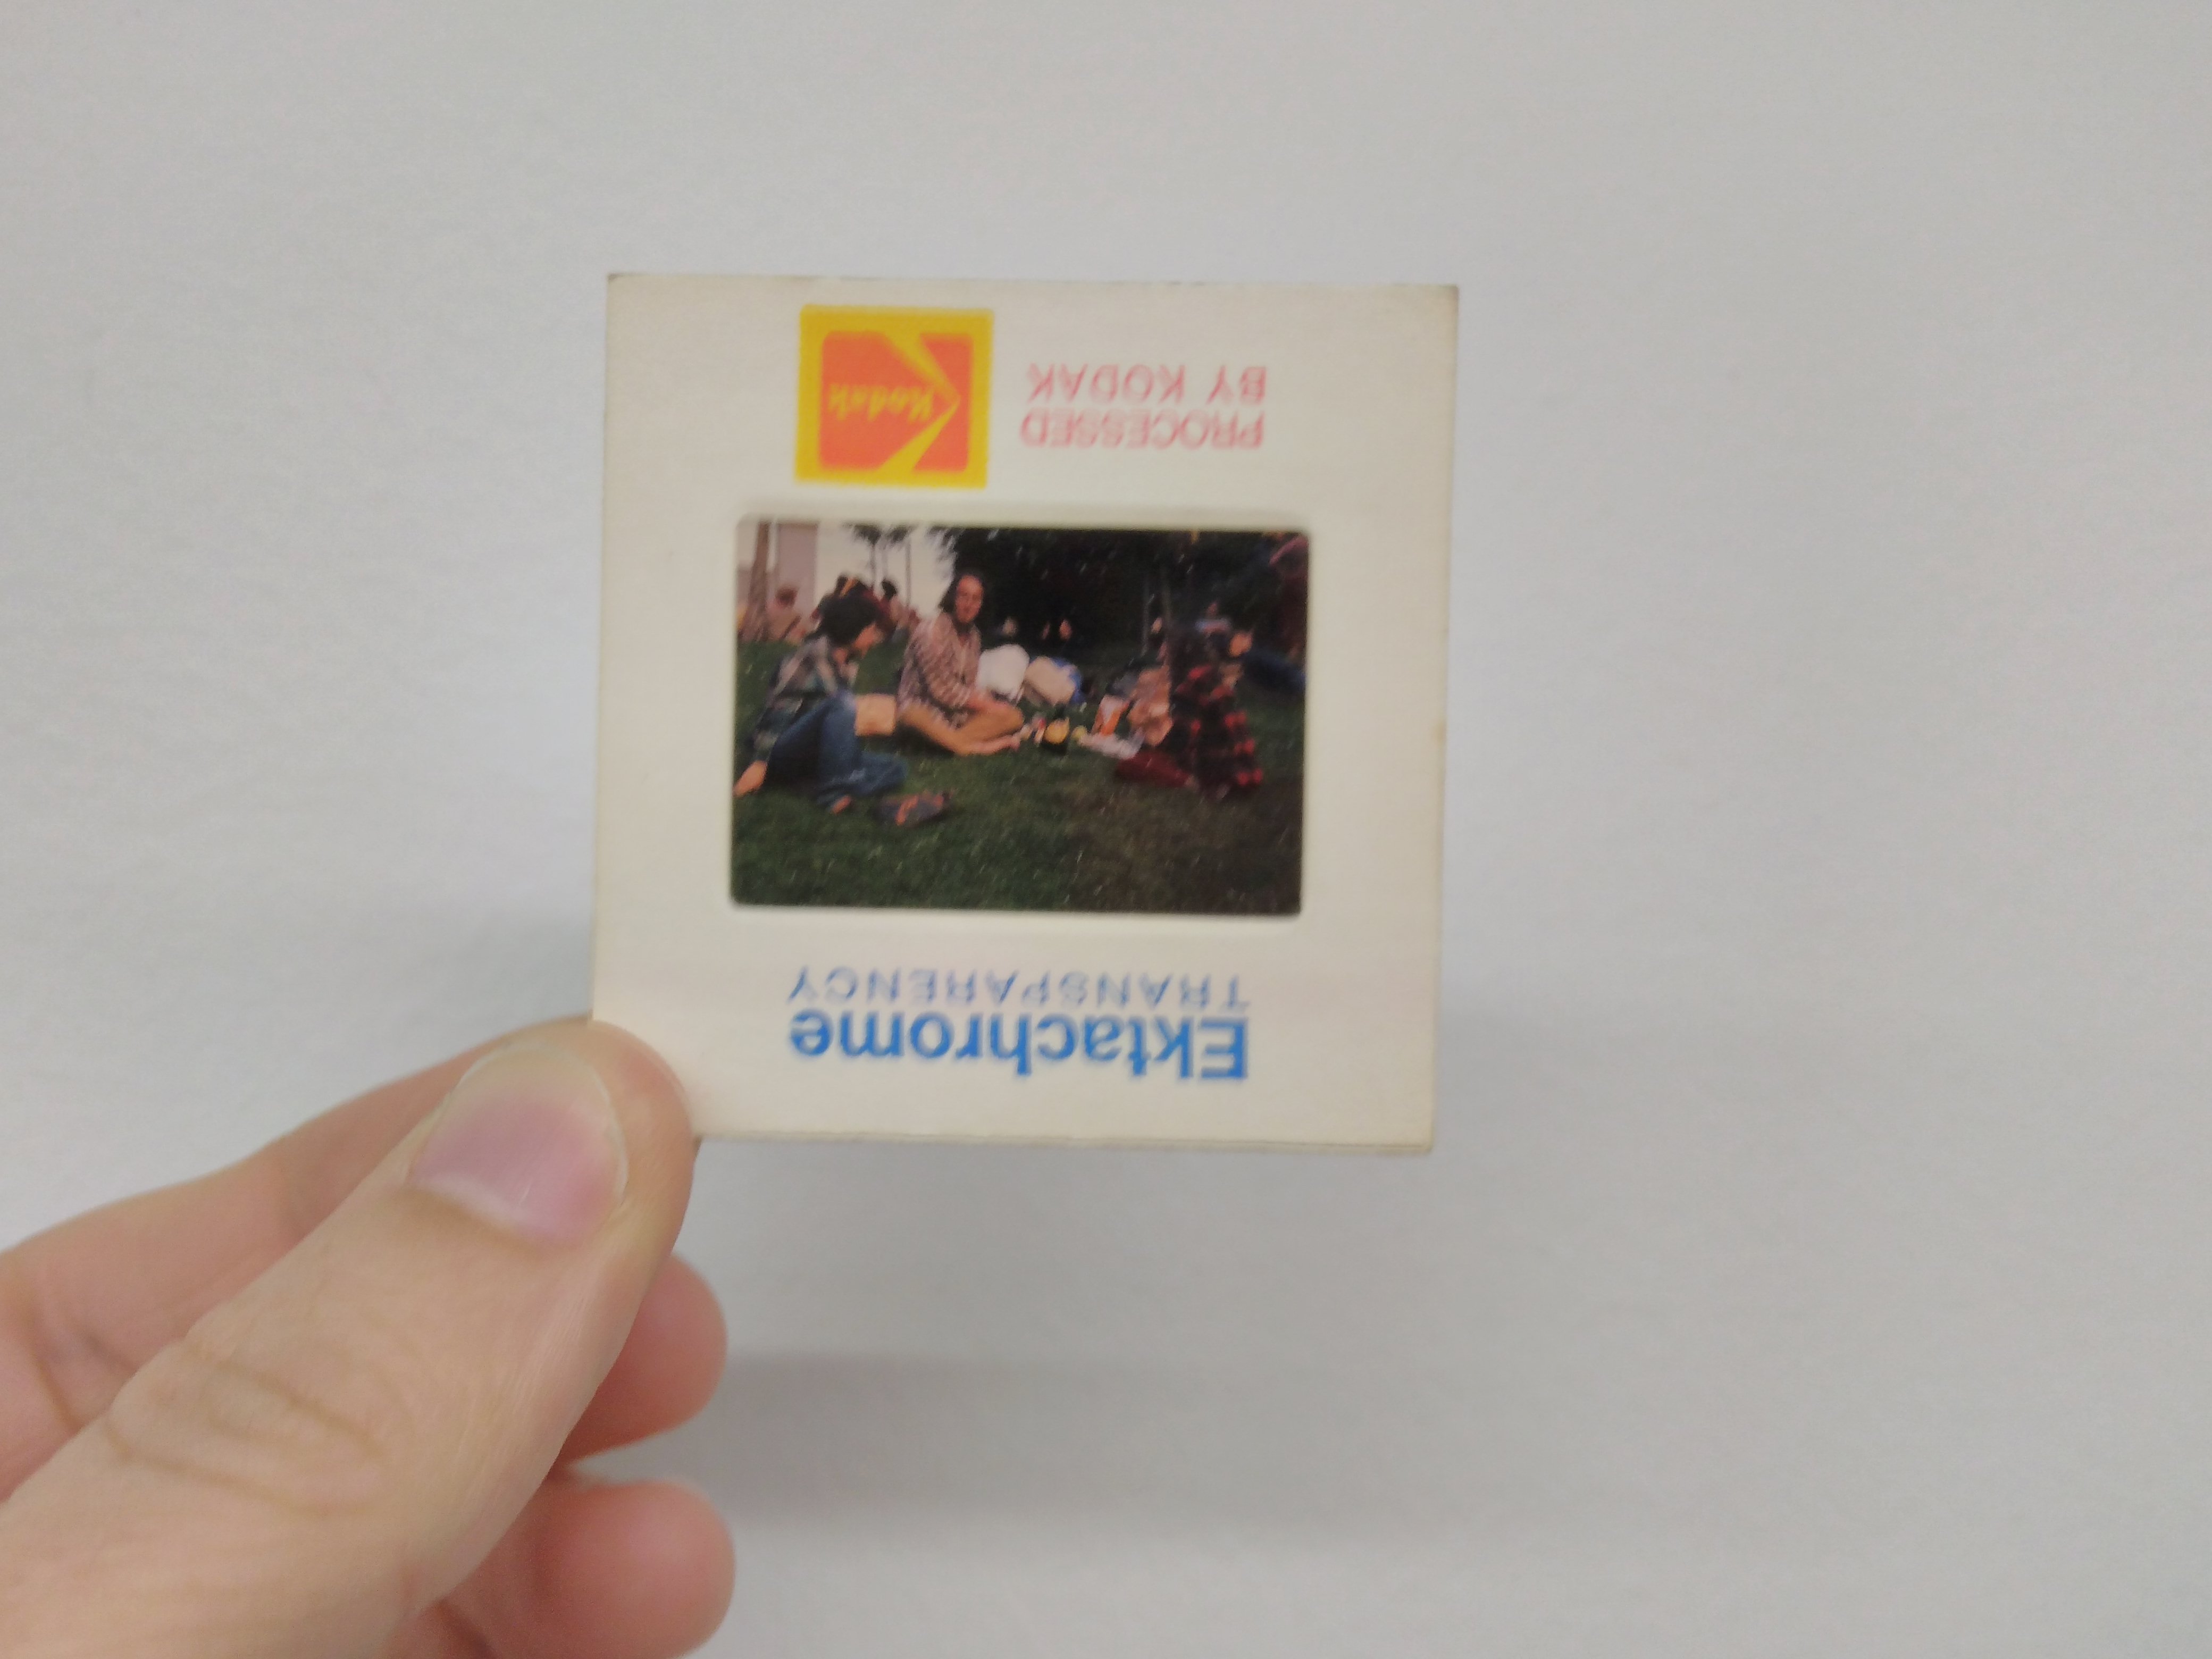
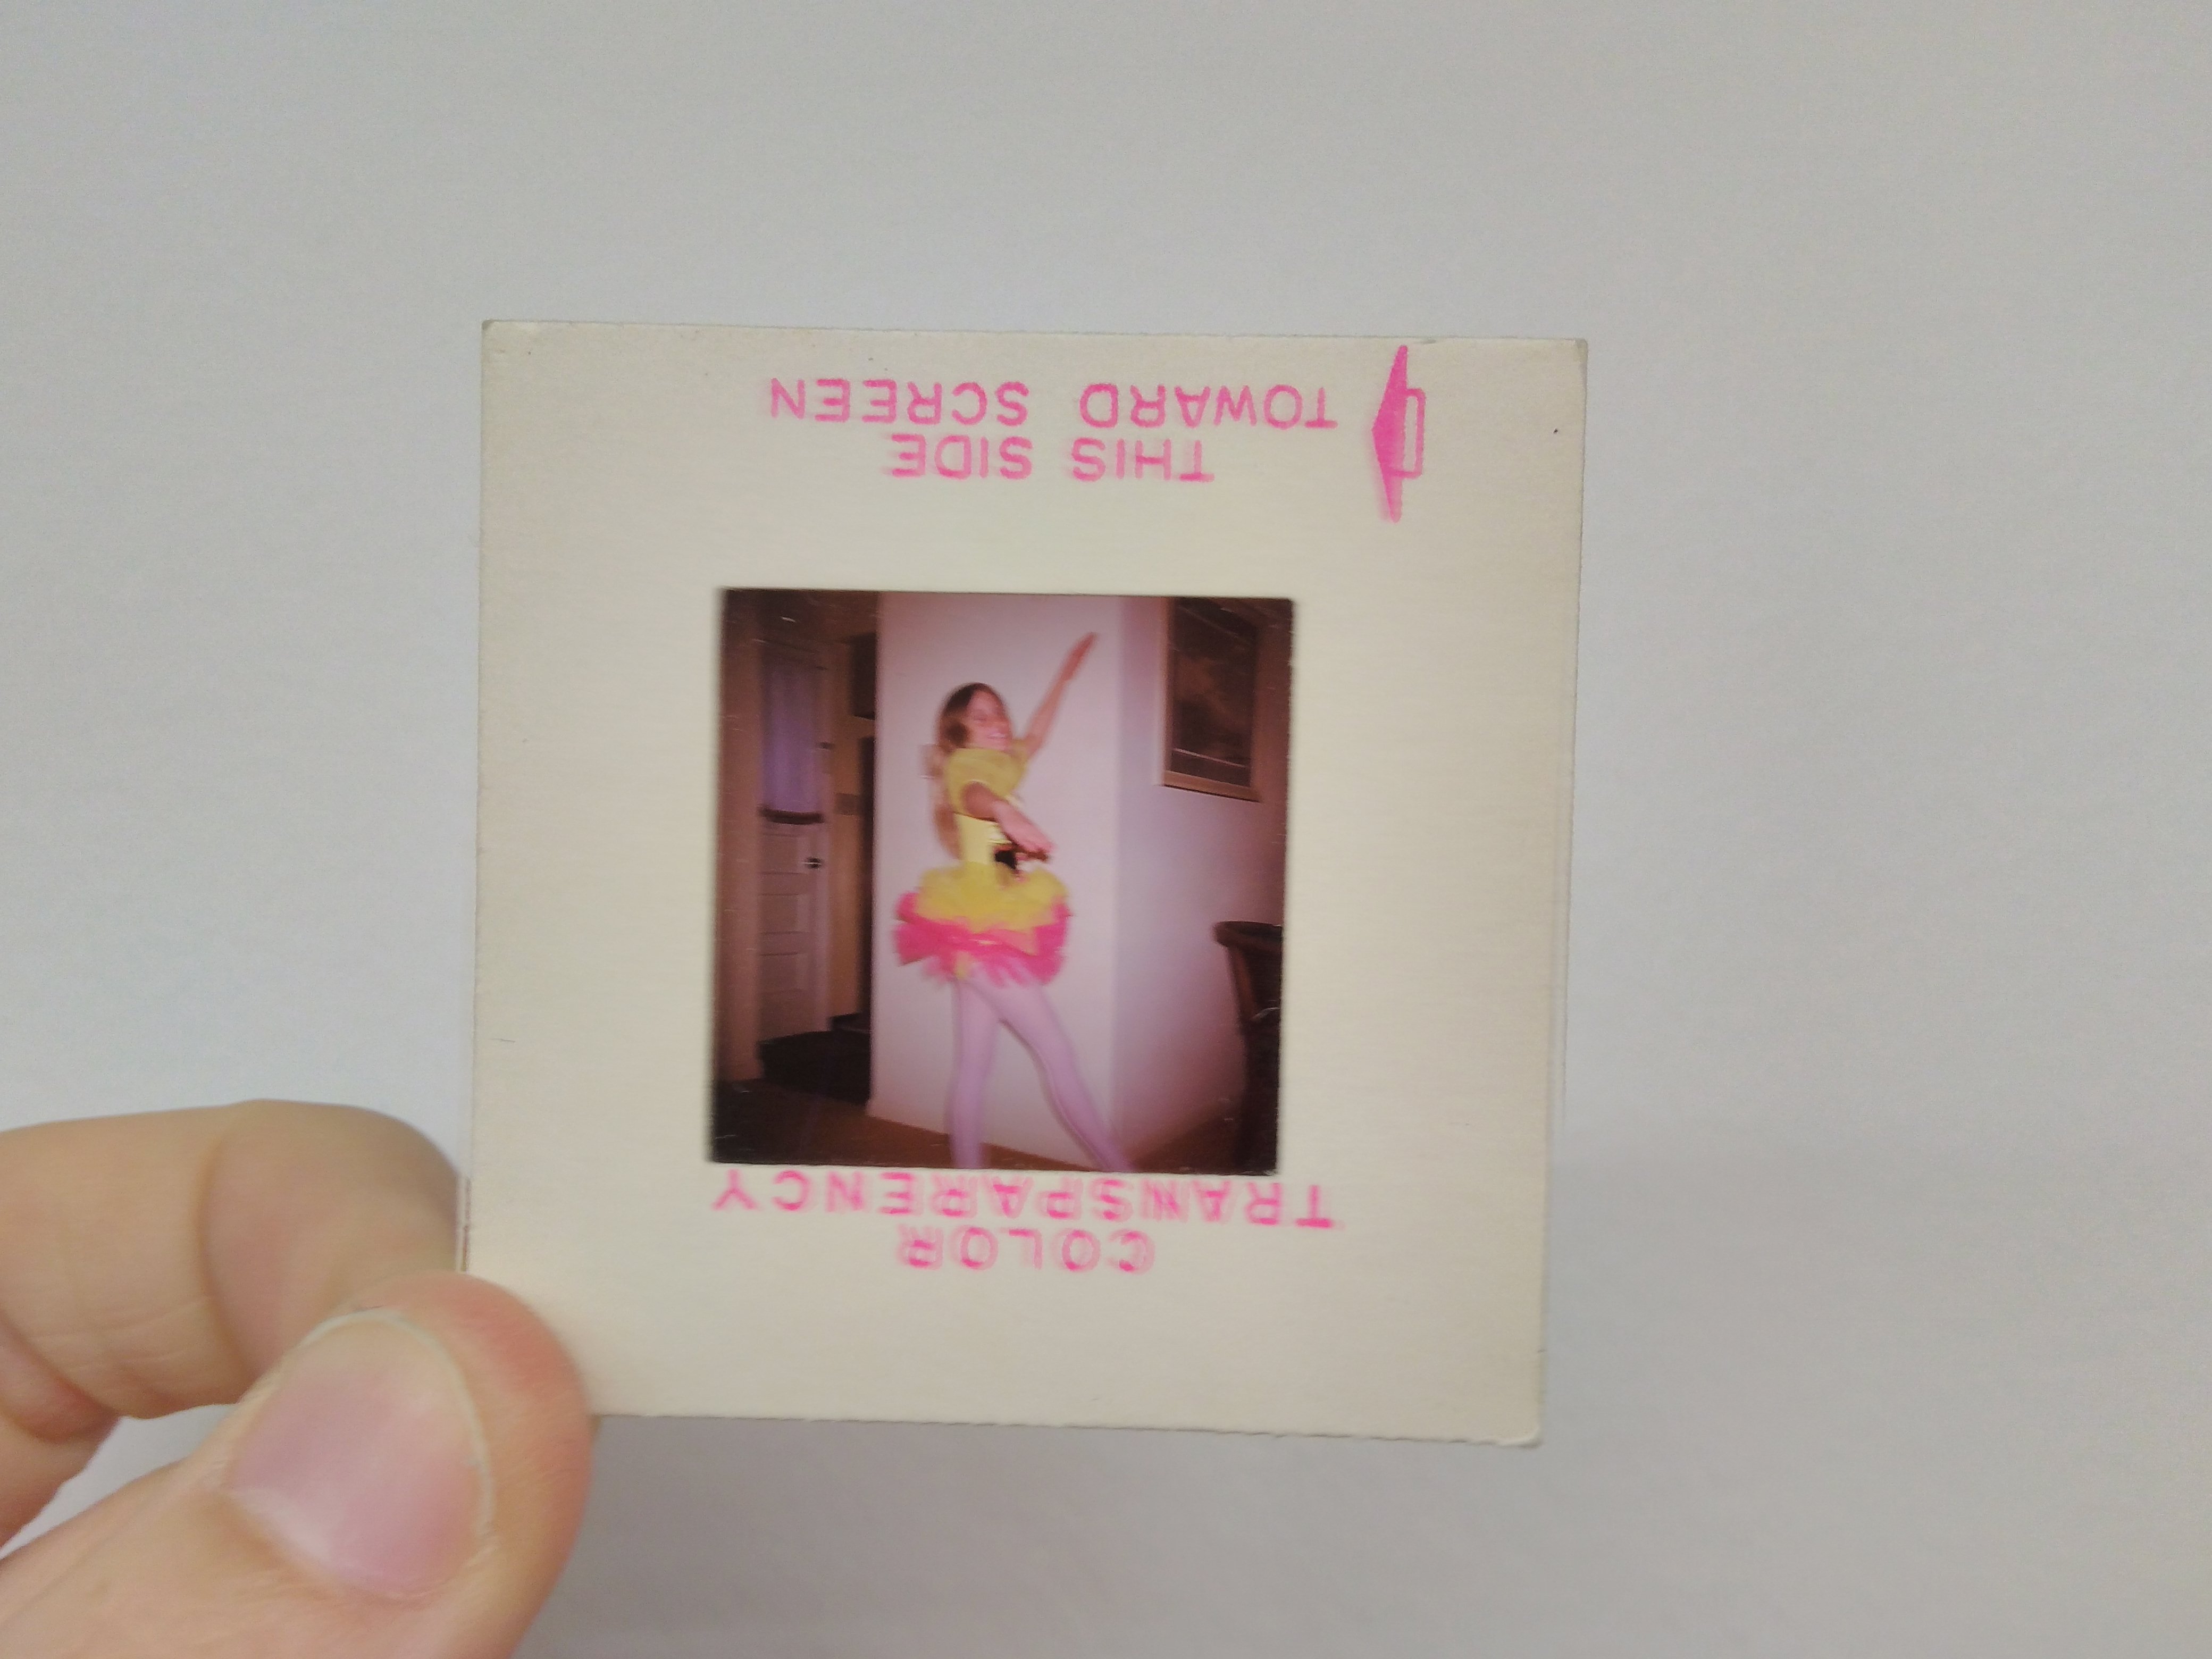
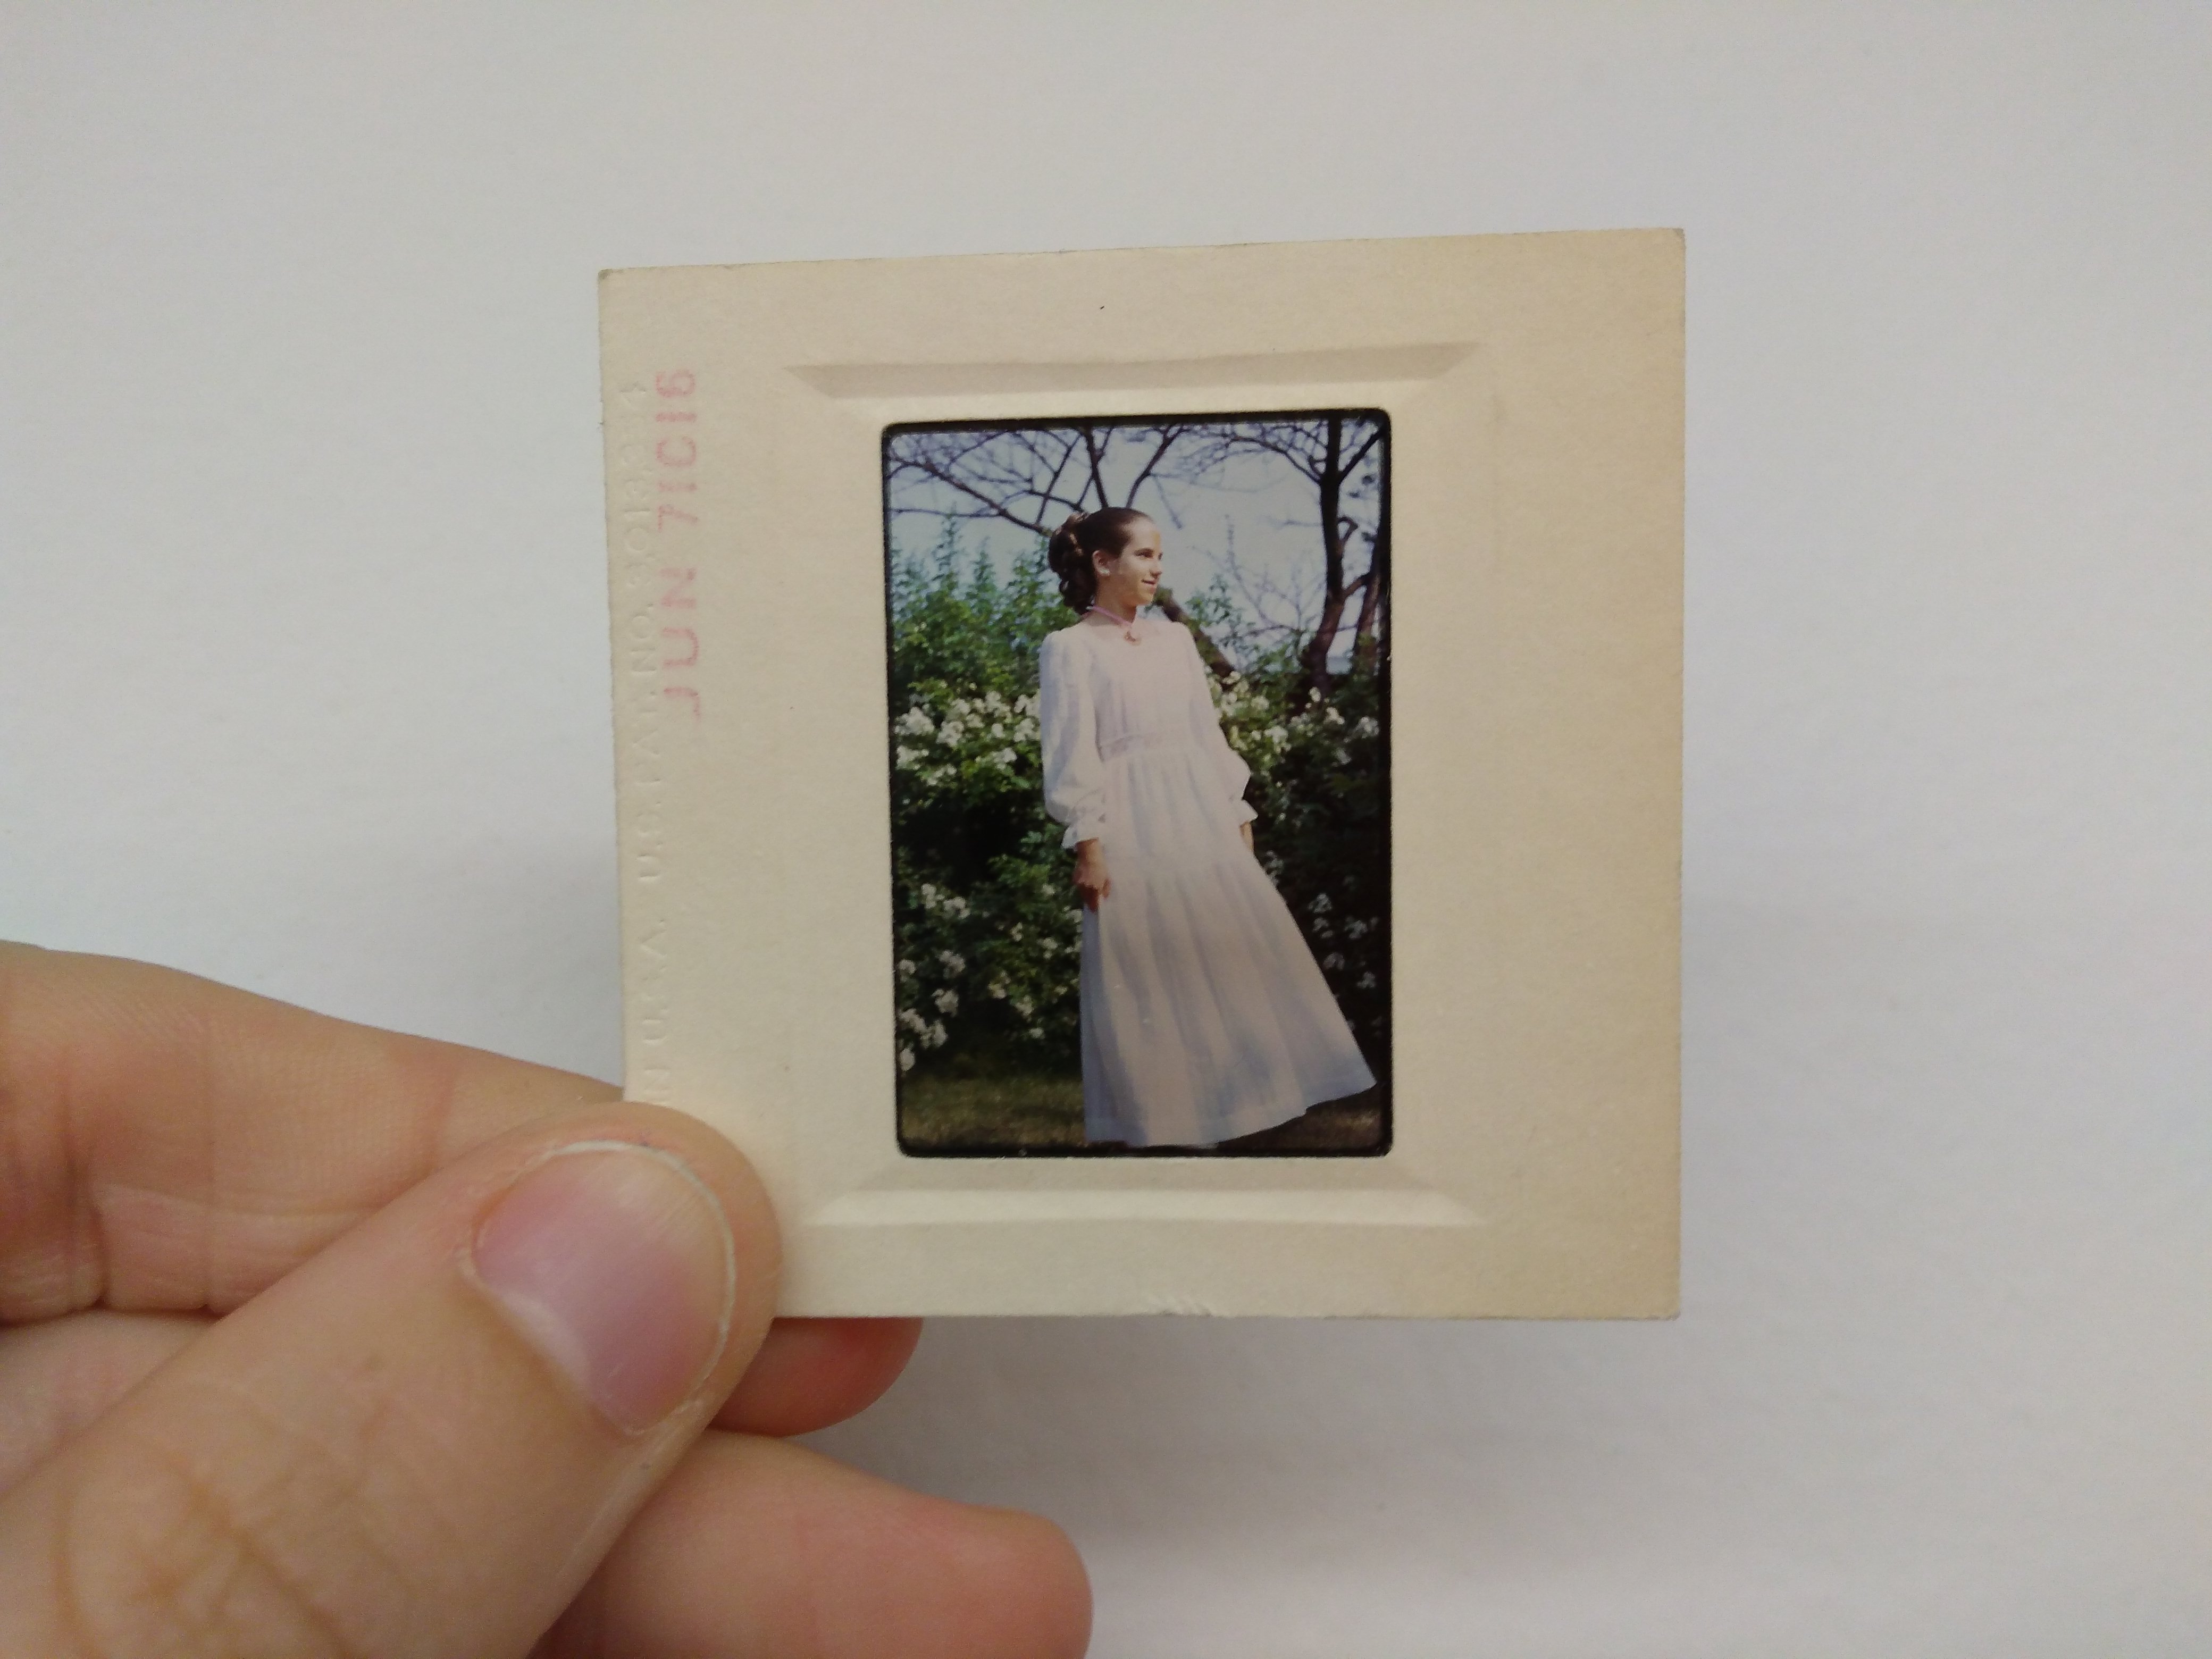
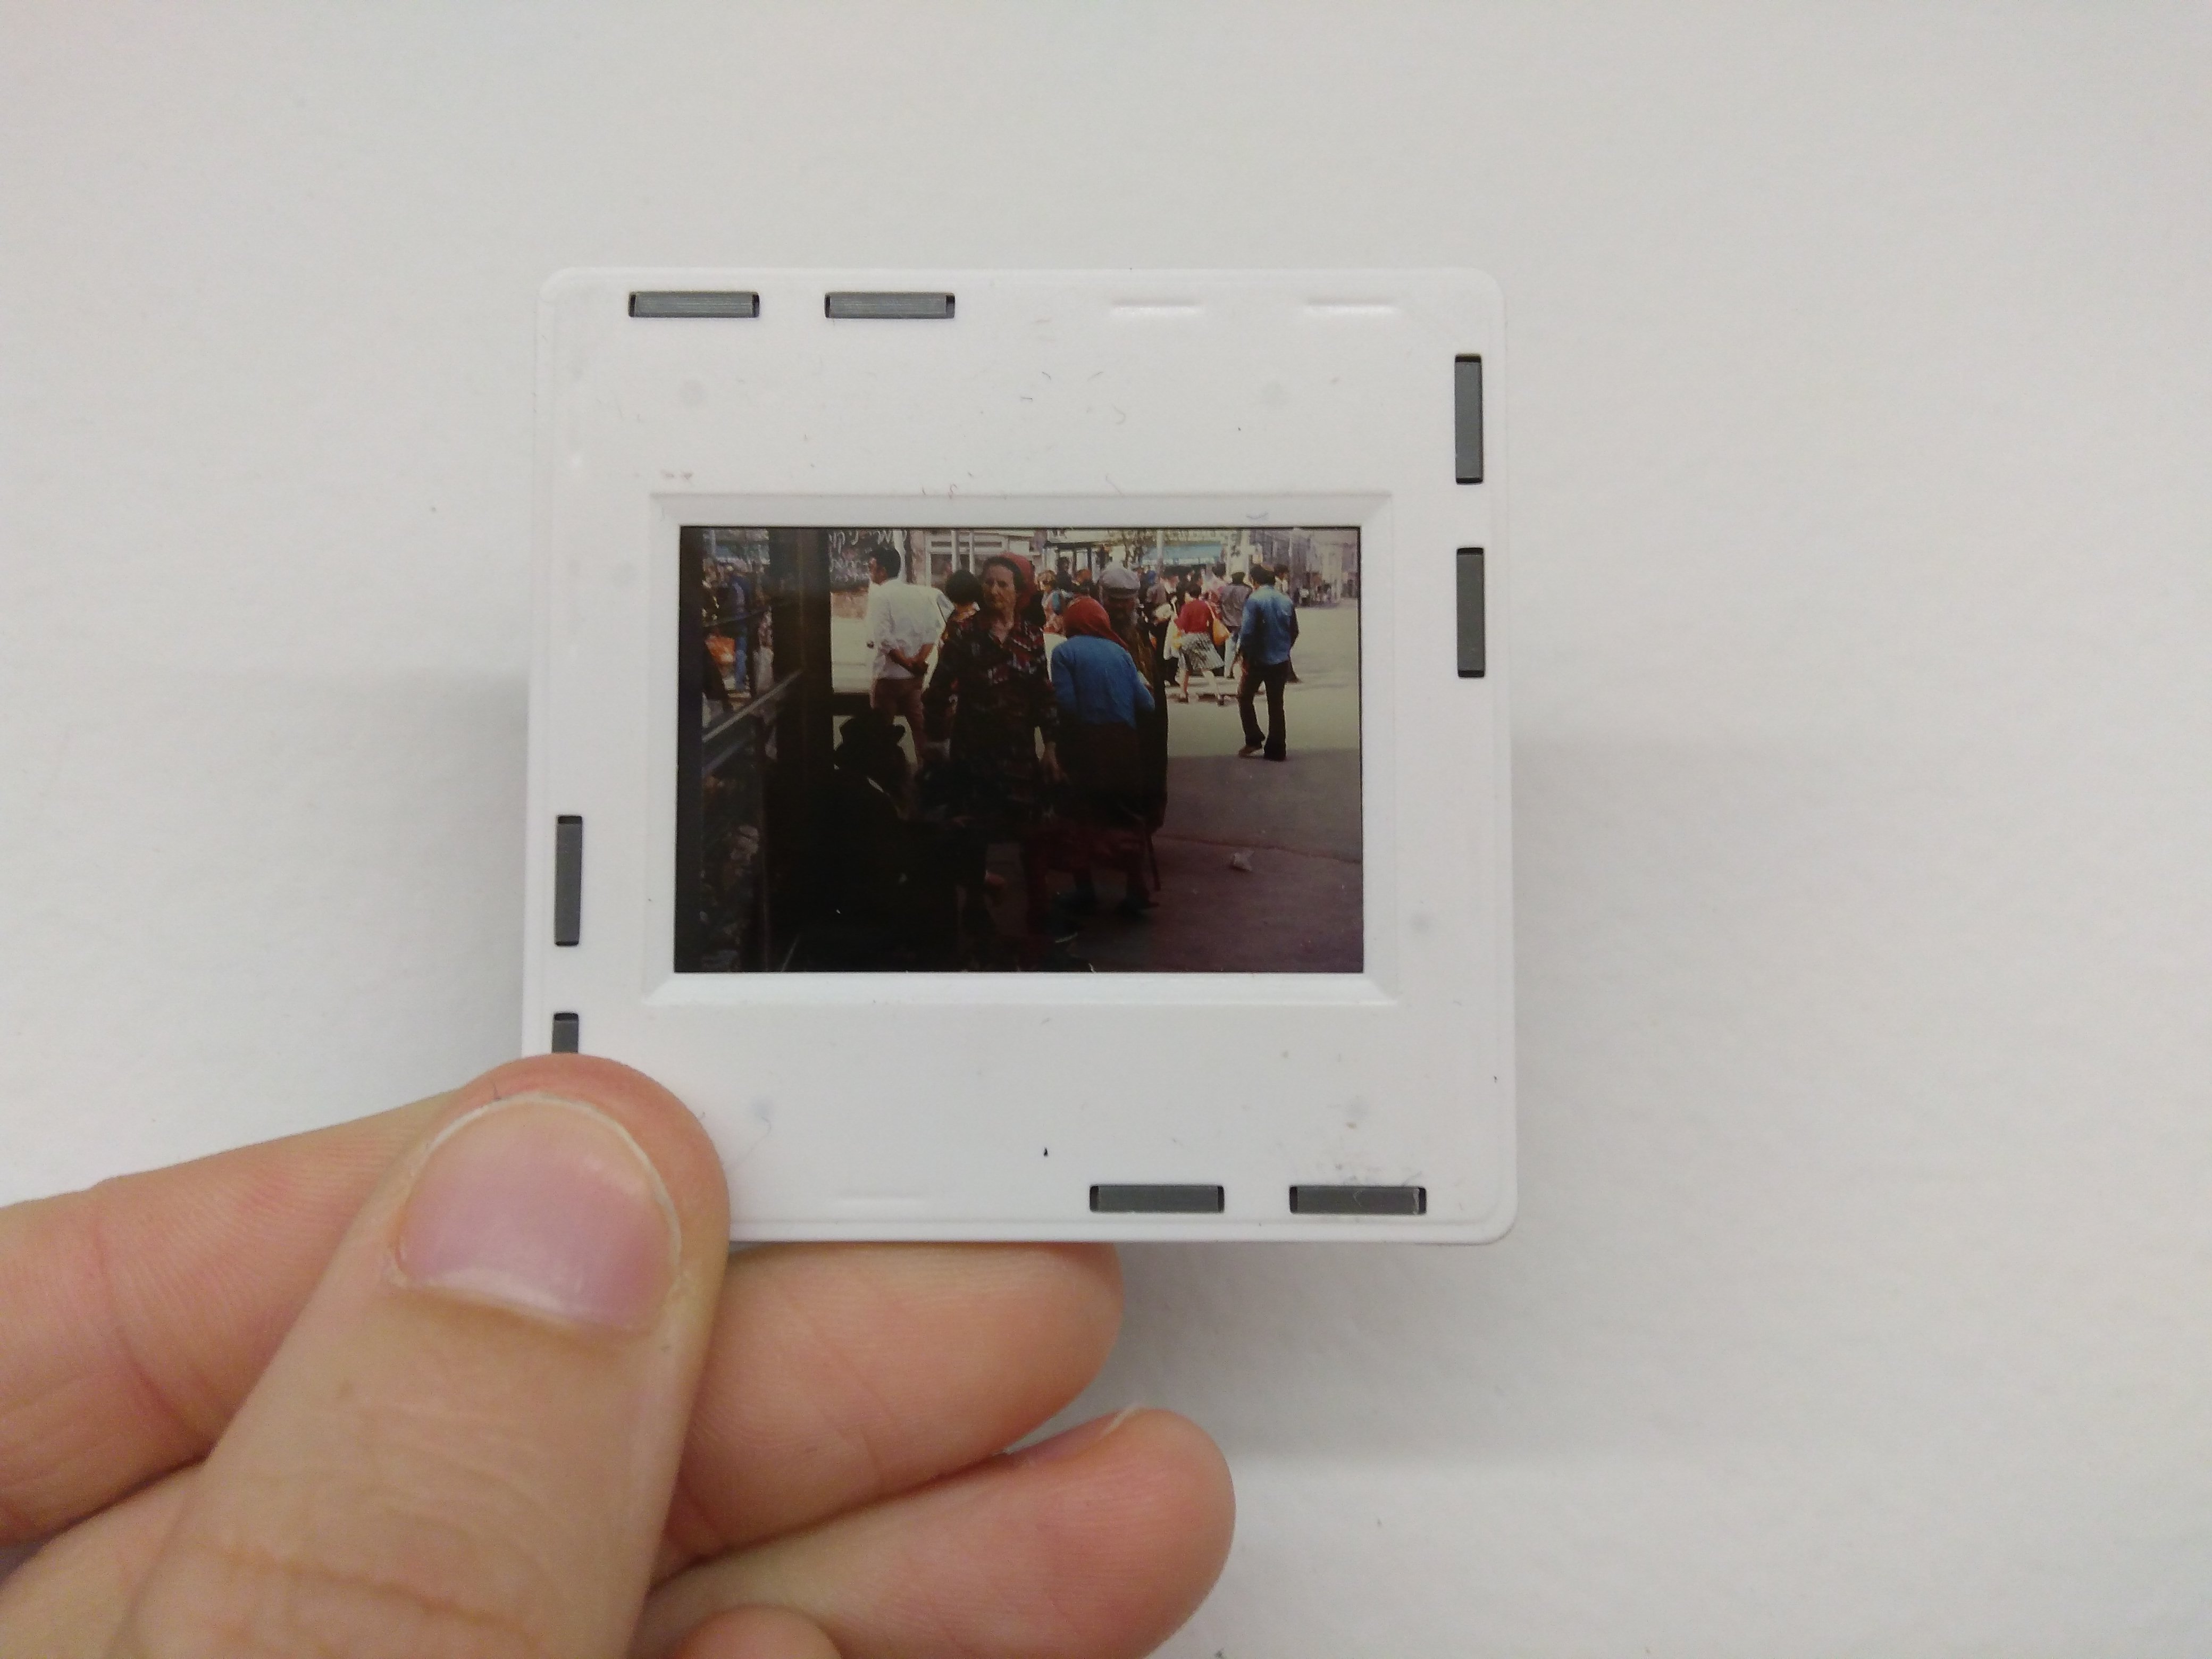
My partner and I were inspired to make this project after finding old slide photos at the Center for Creative Re-use in Pittsburgh, PA. We were interested in giving new life and meaning to these images in today's society.
Step 2: Lasercut Frame and Testing
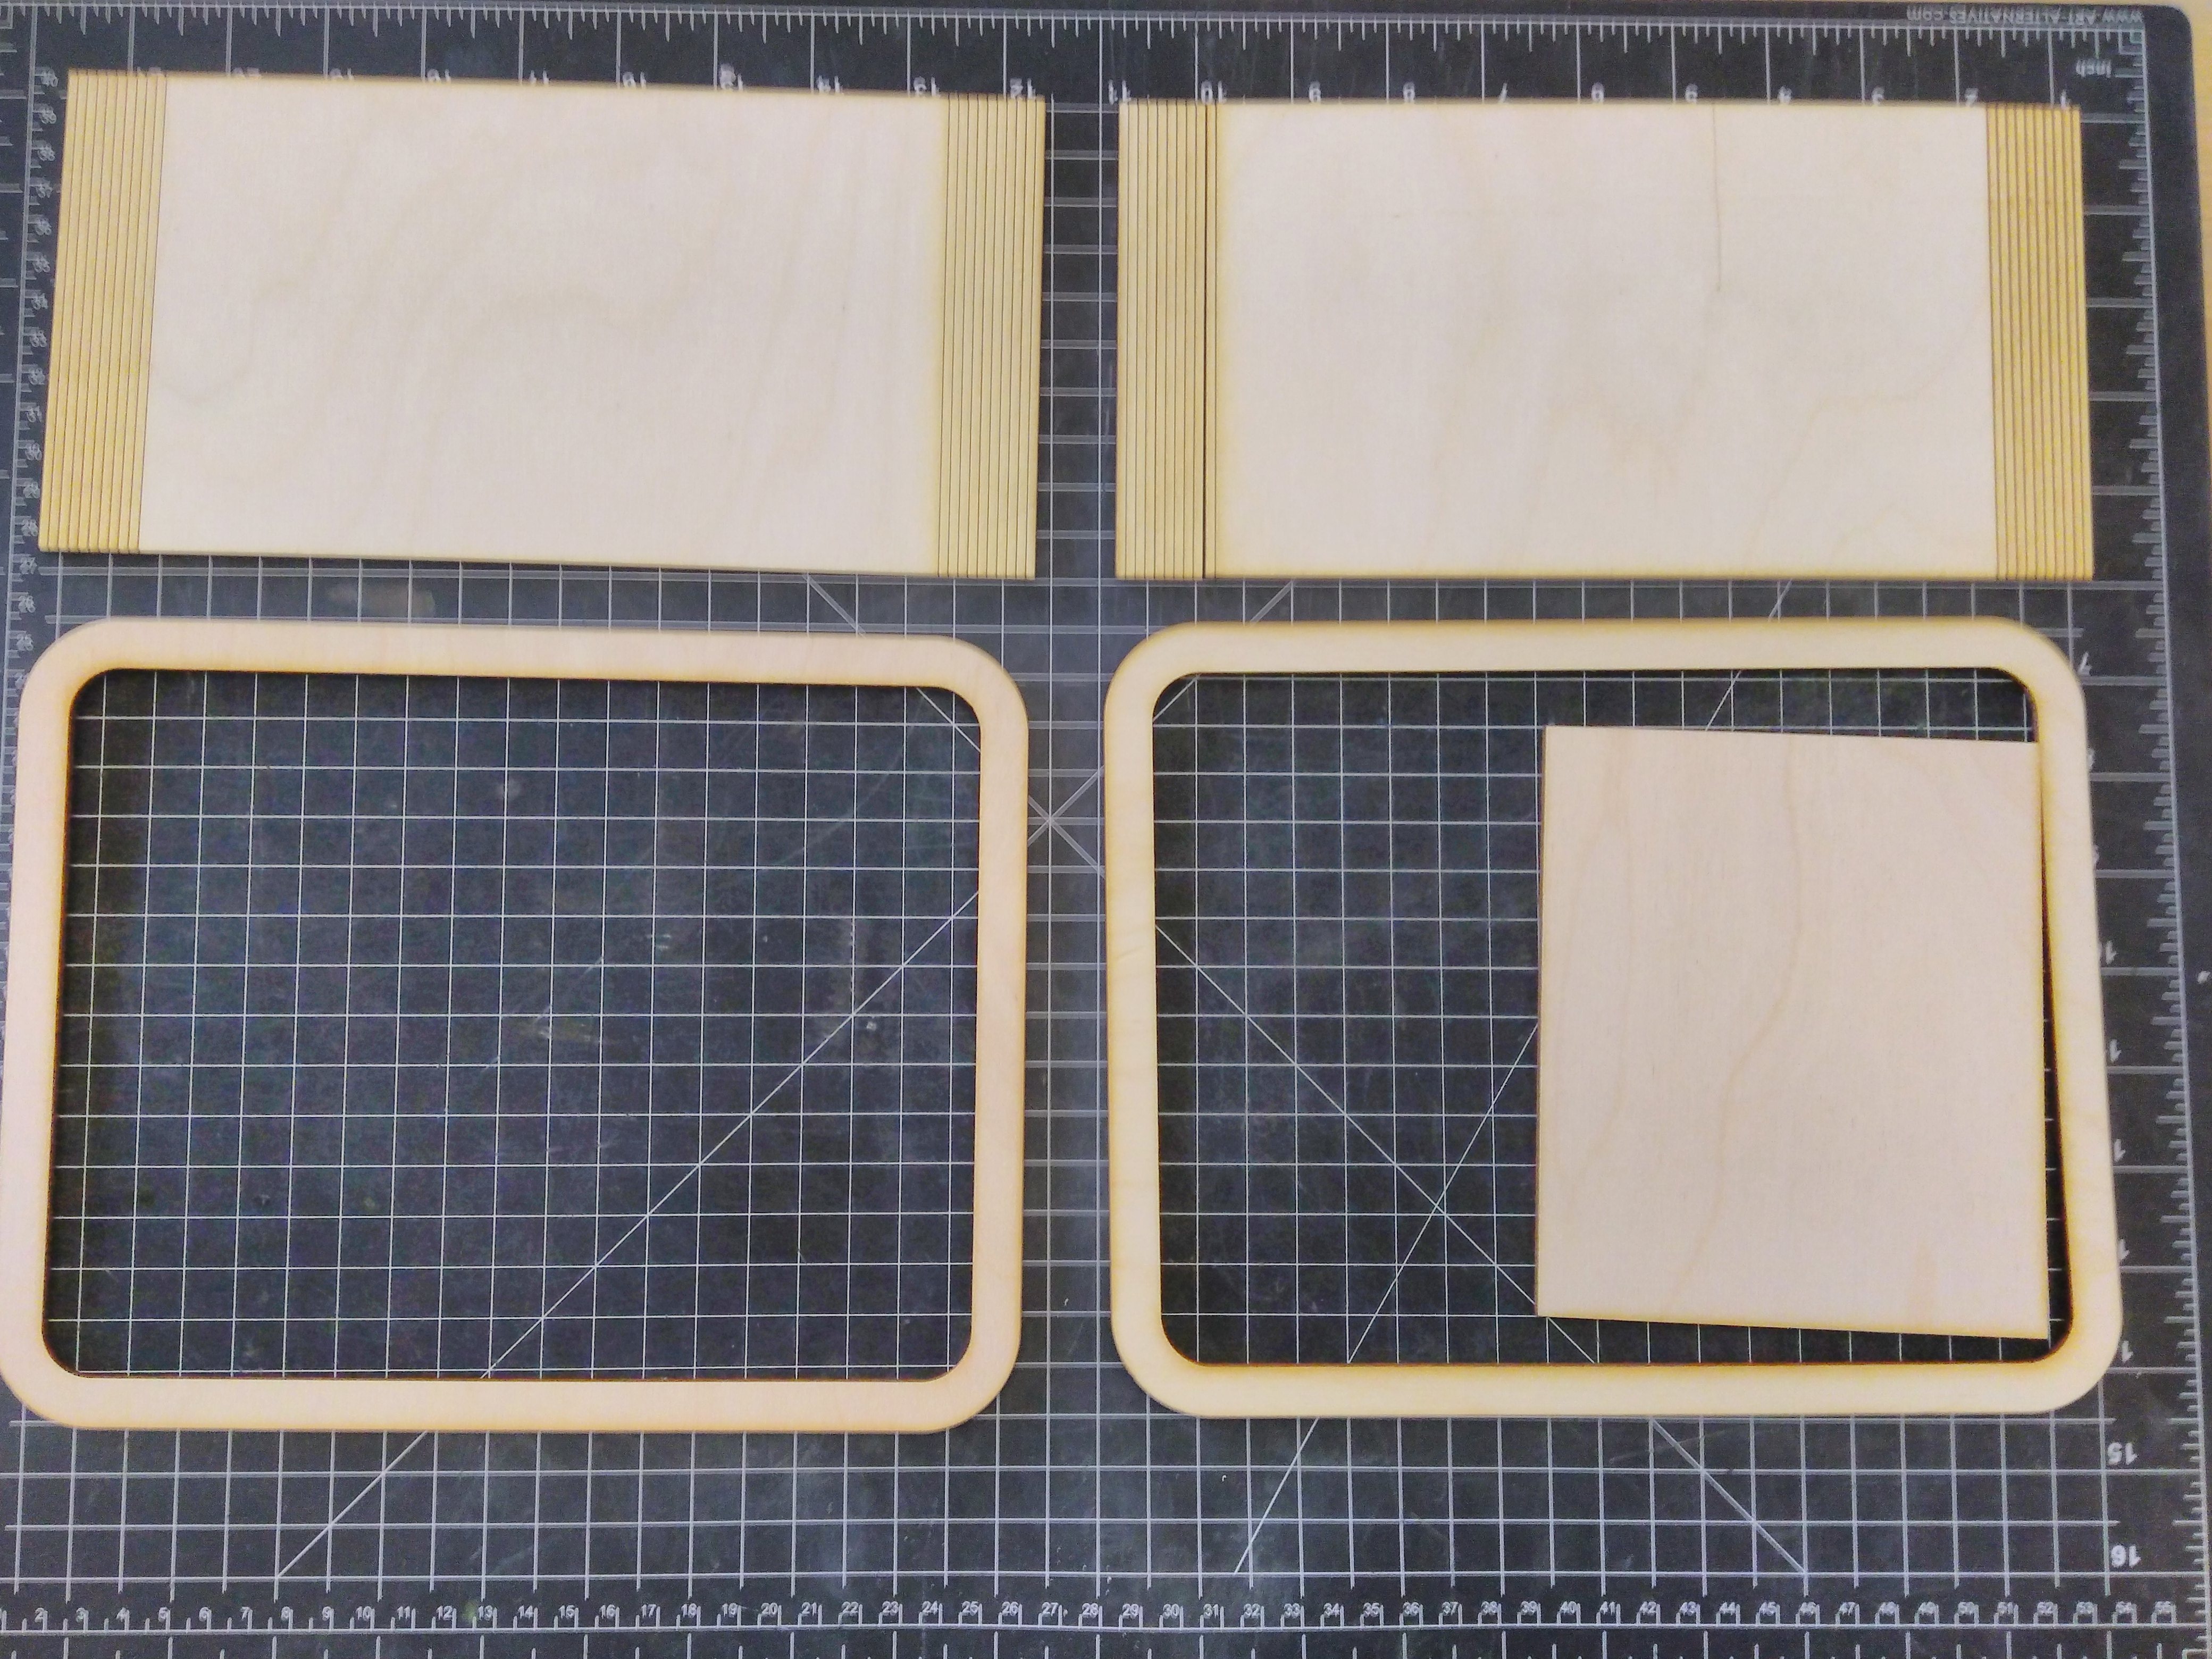
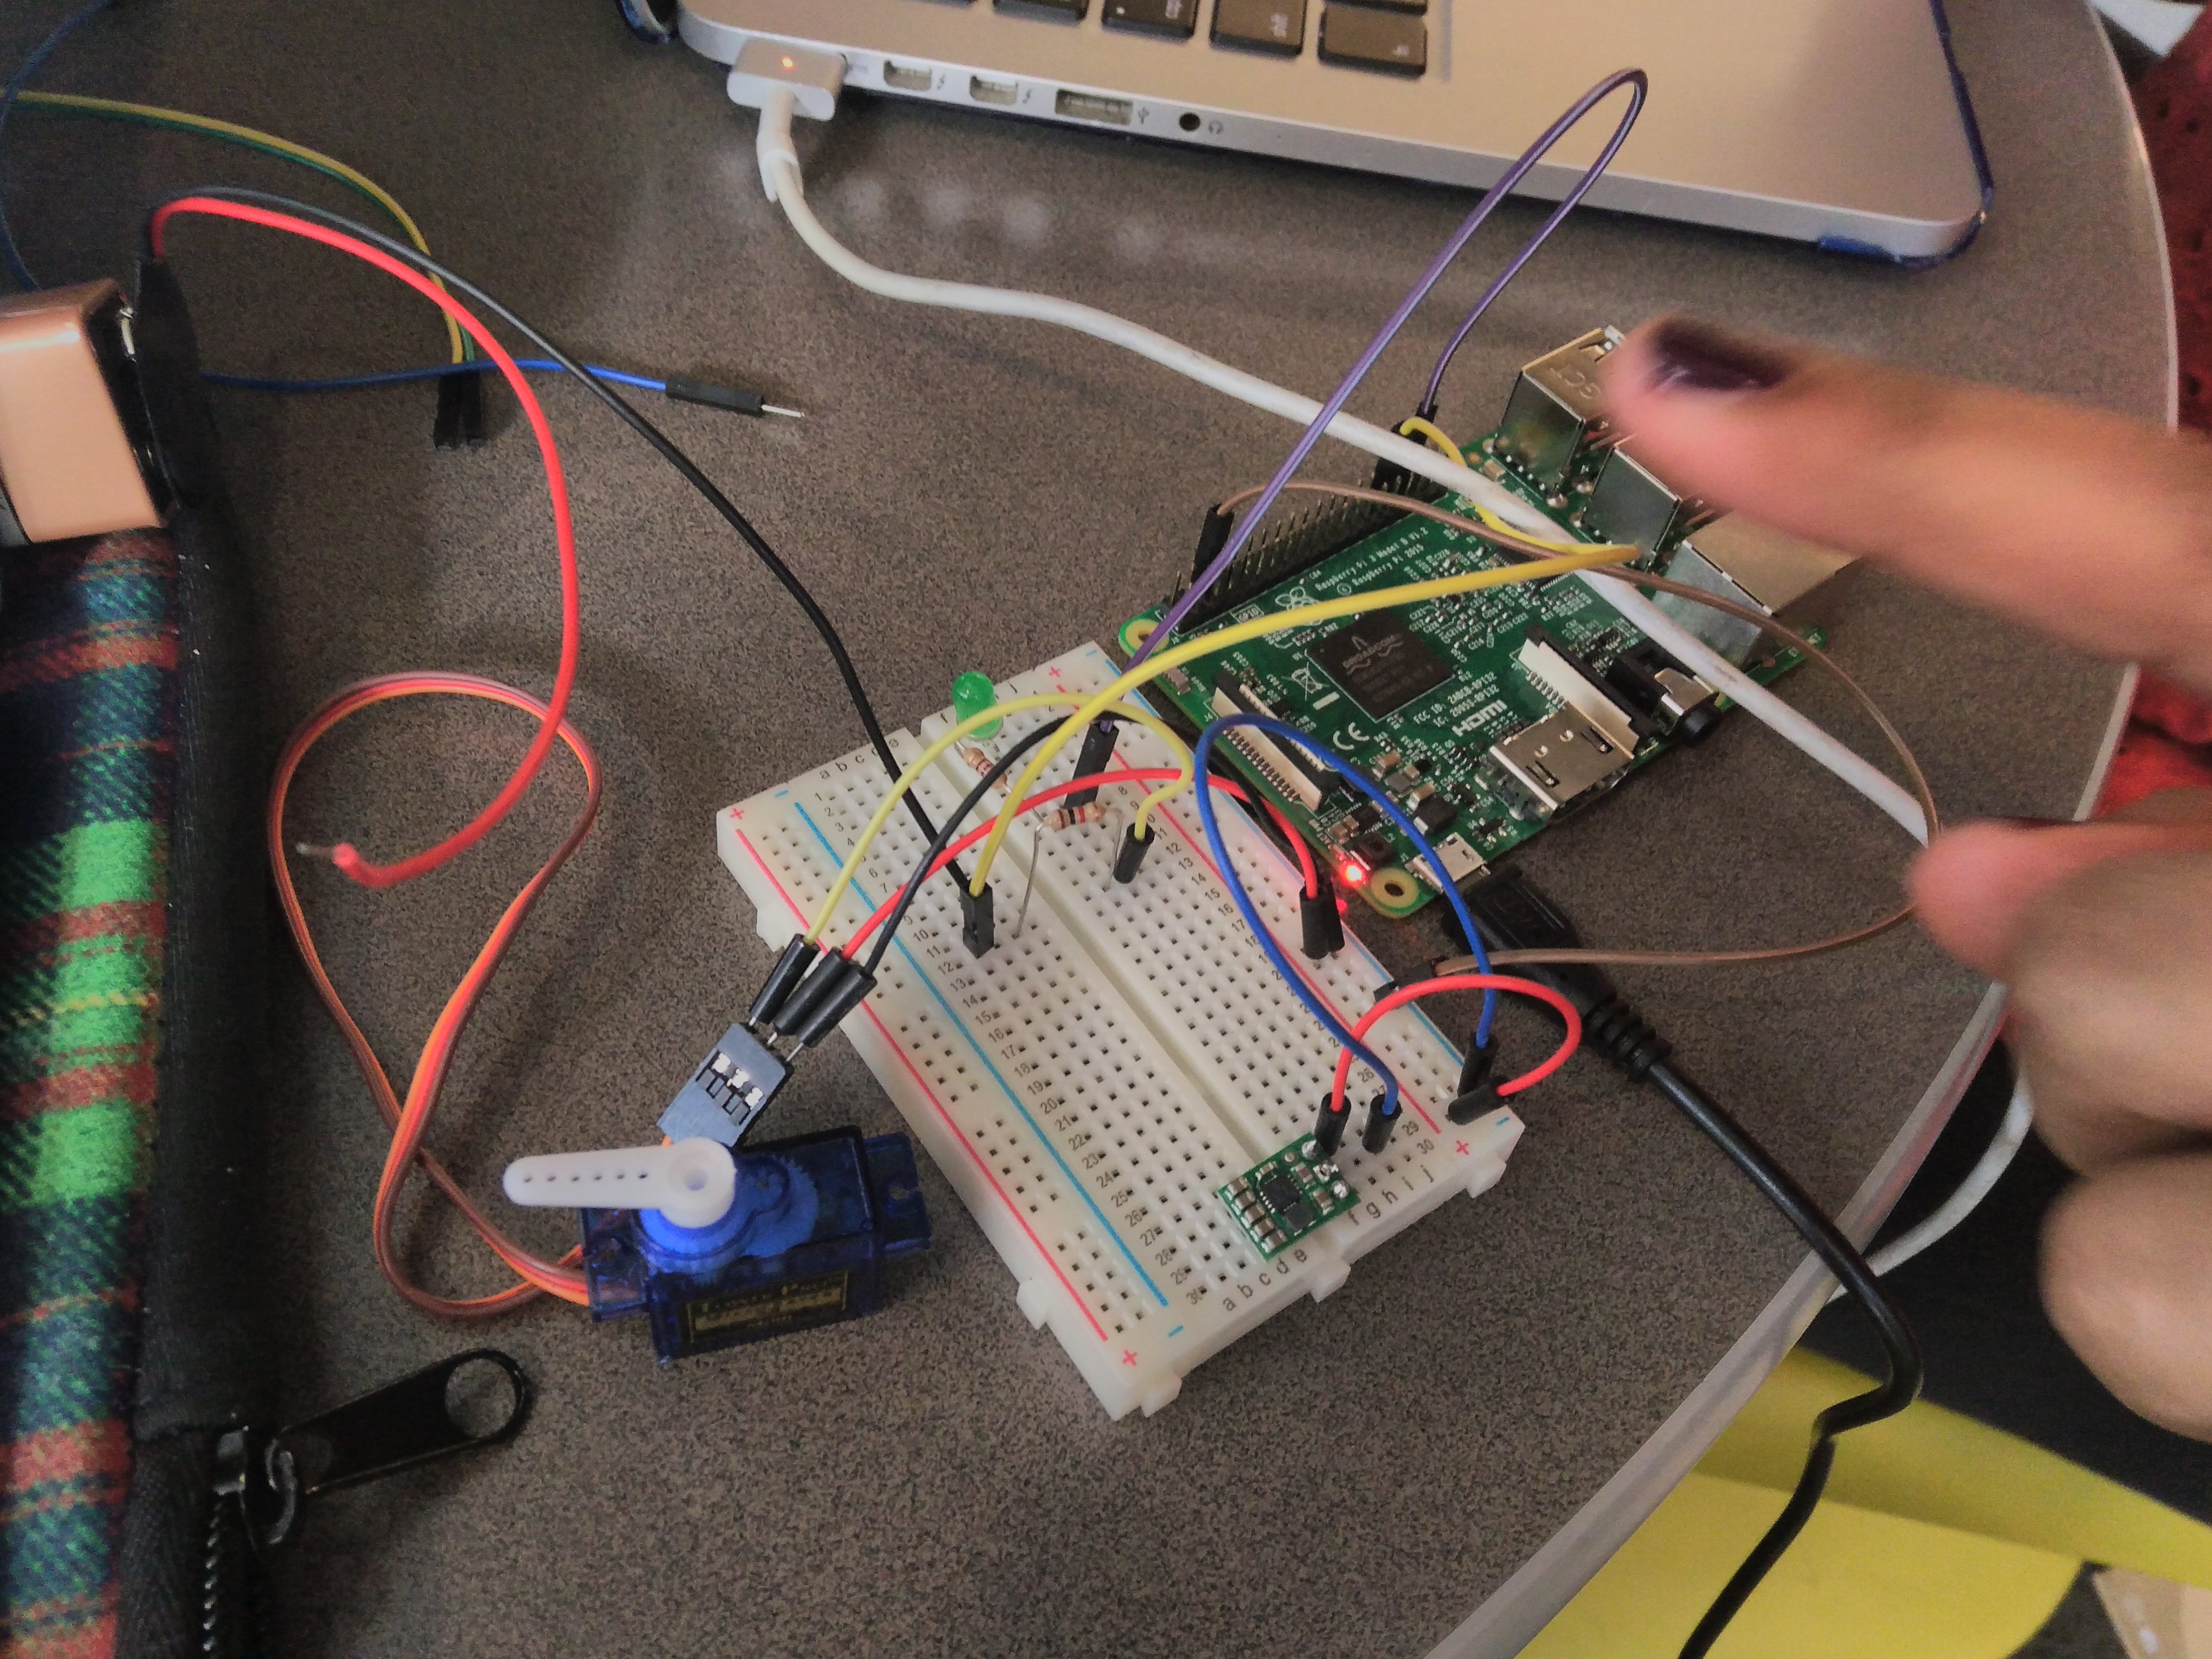
For this step, first lasercut the frame for the projector and test the wiring between the raspberry pi and the servo.
Downloads
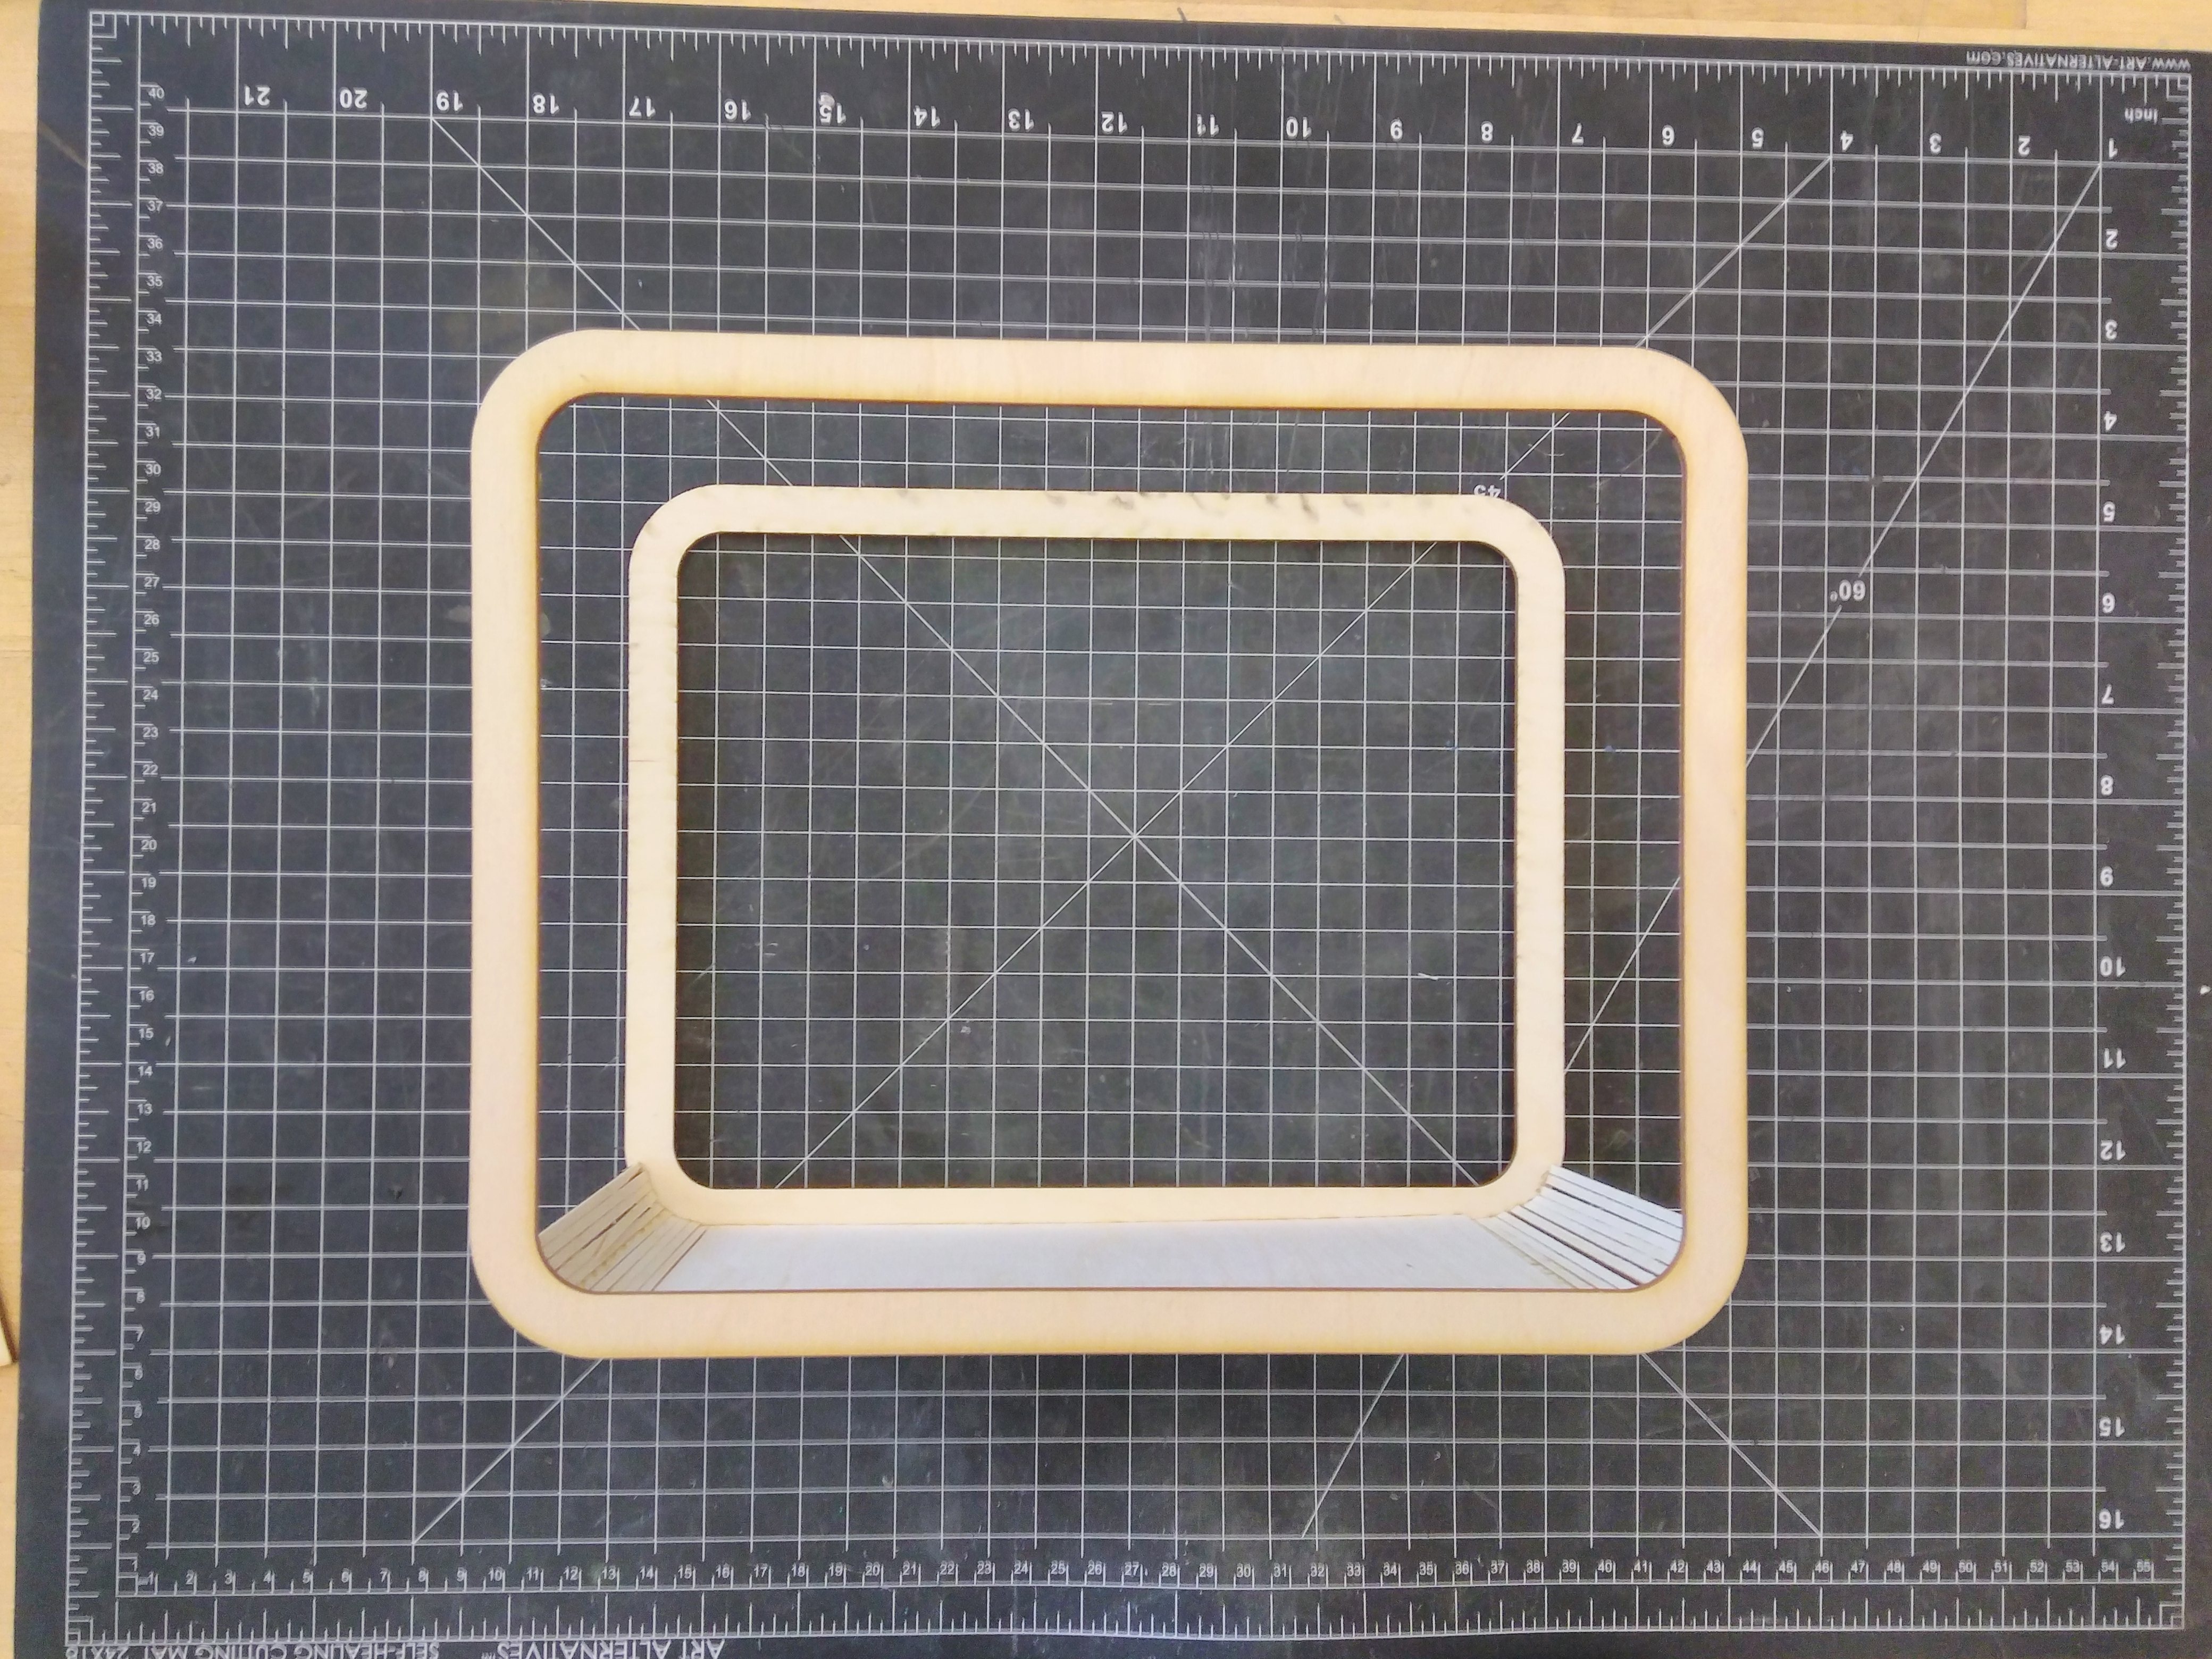
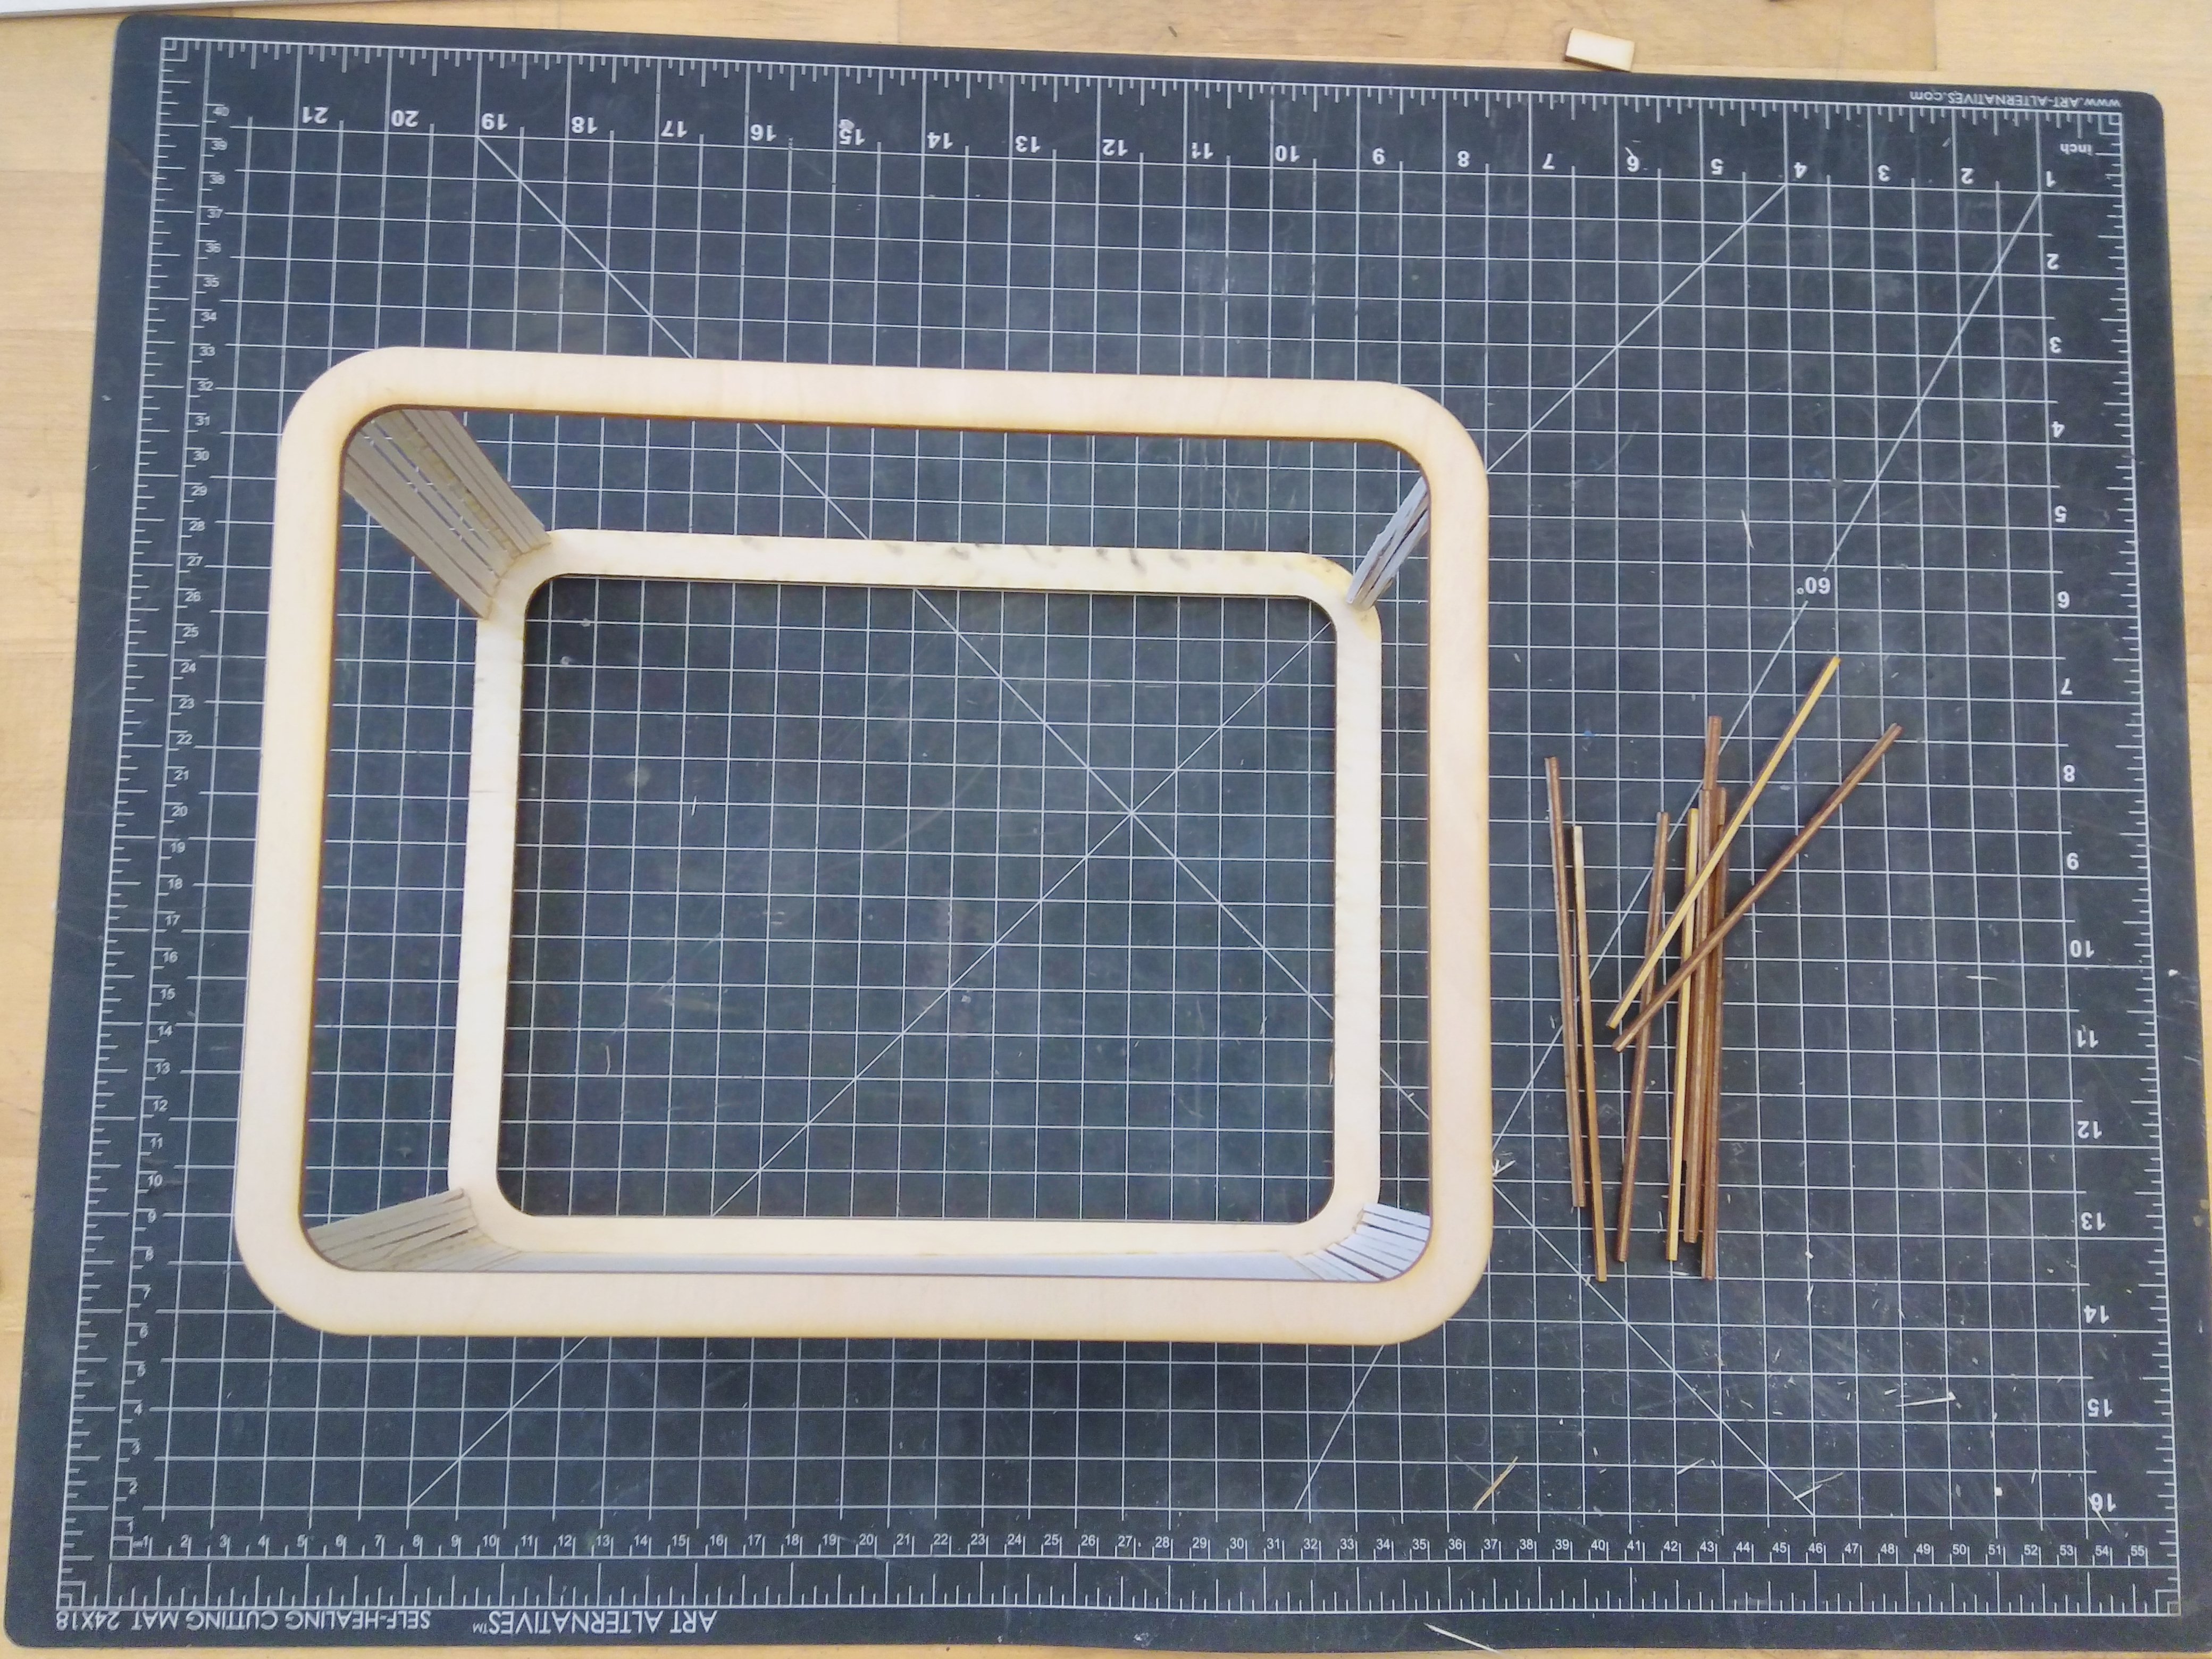
In order to build the frame, it is best to build out one side of the frame and then prop the other side on top of the first half of the frame.
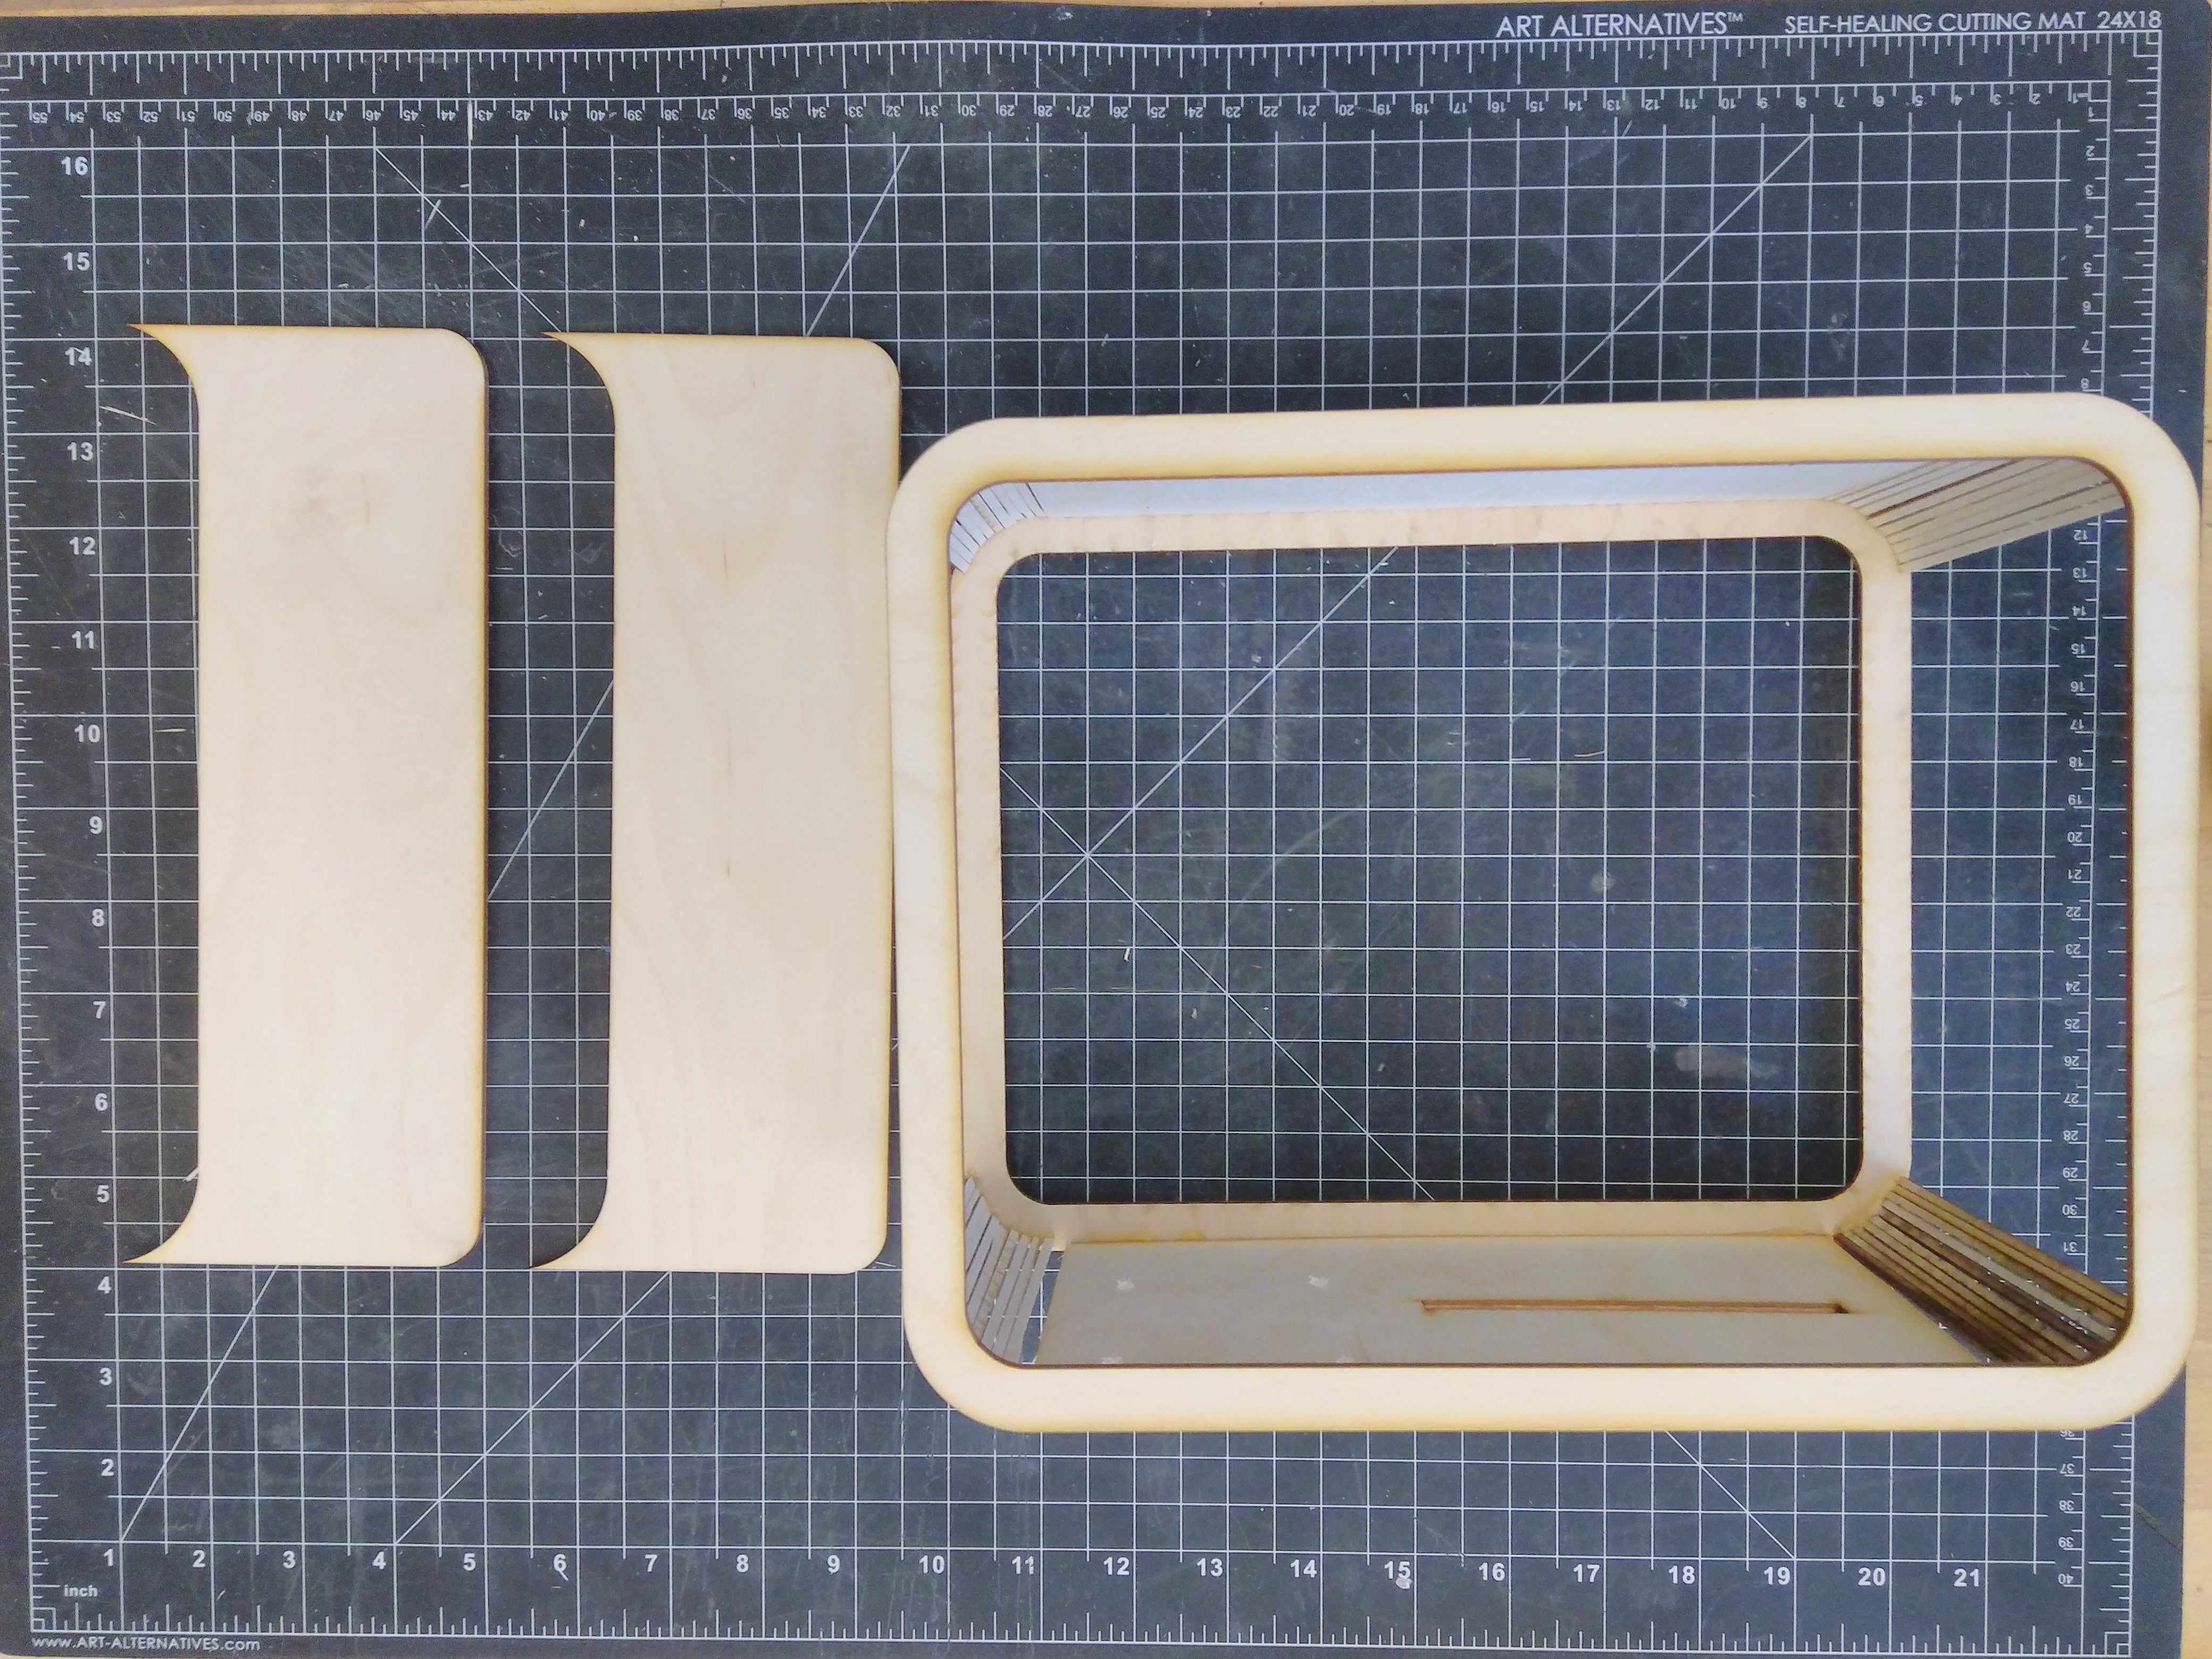
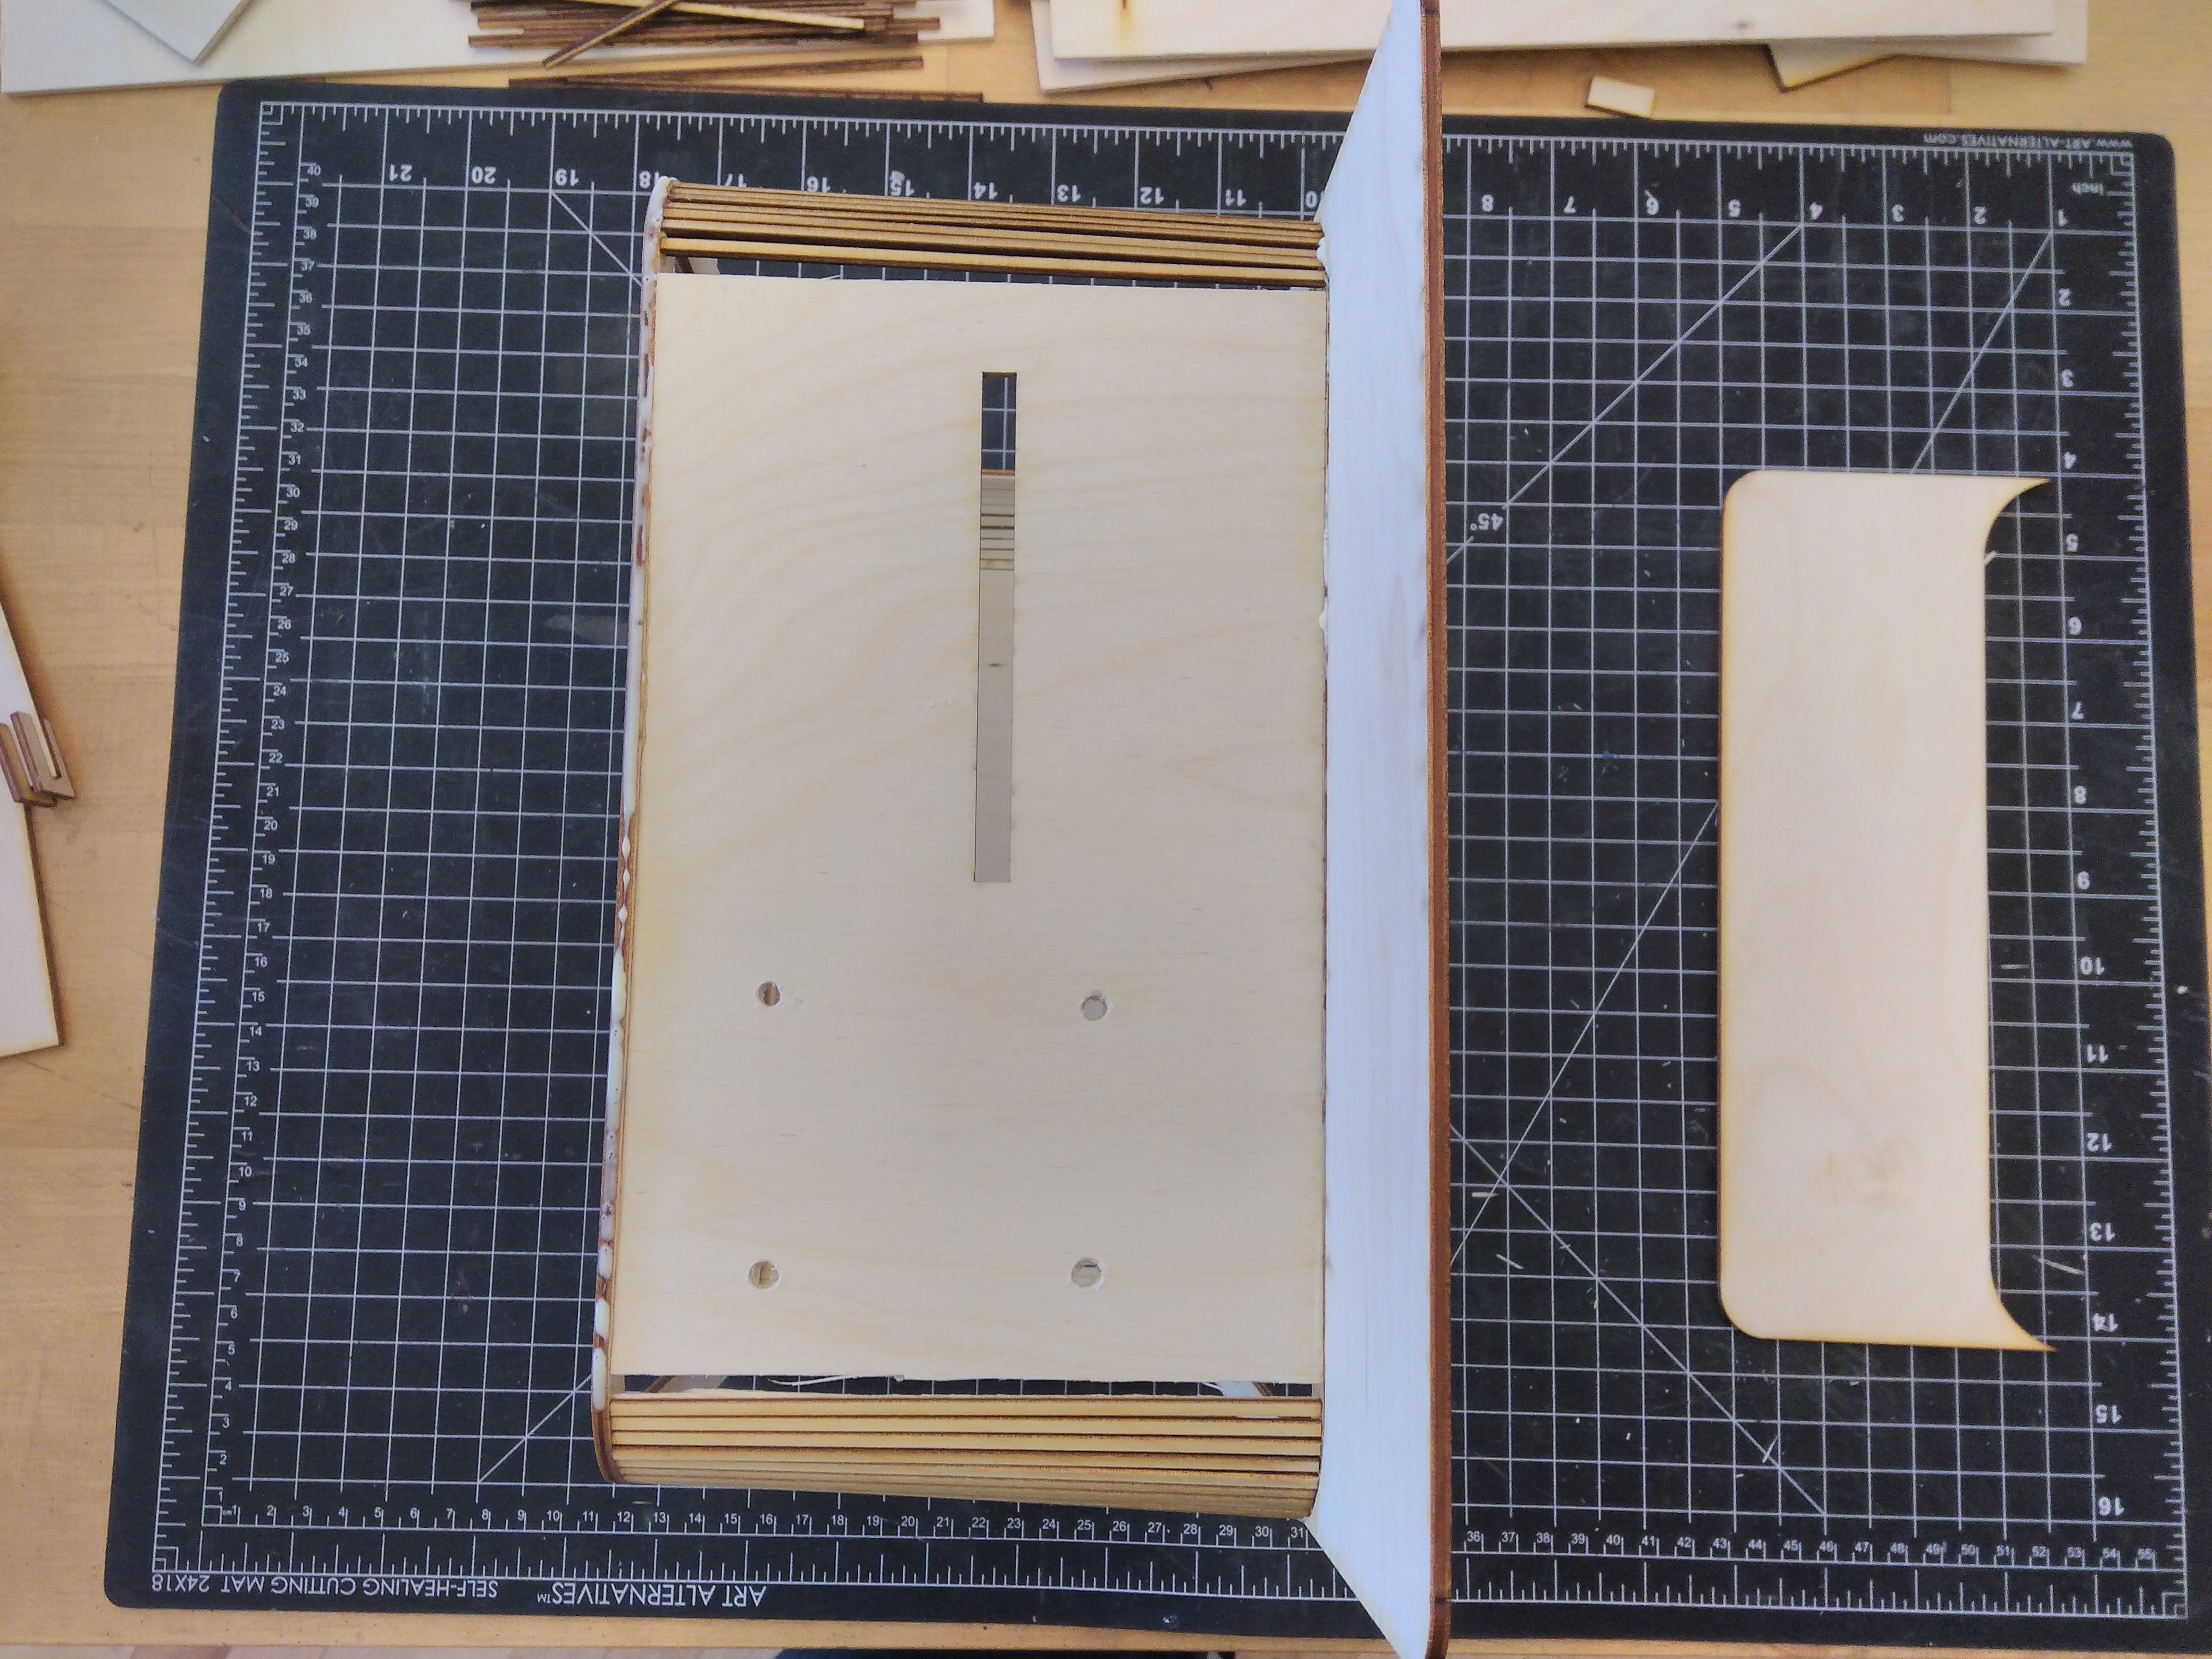
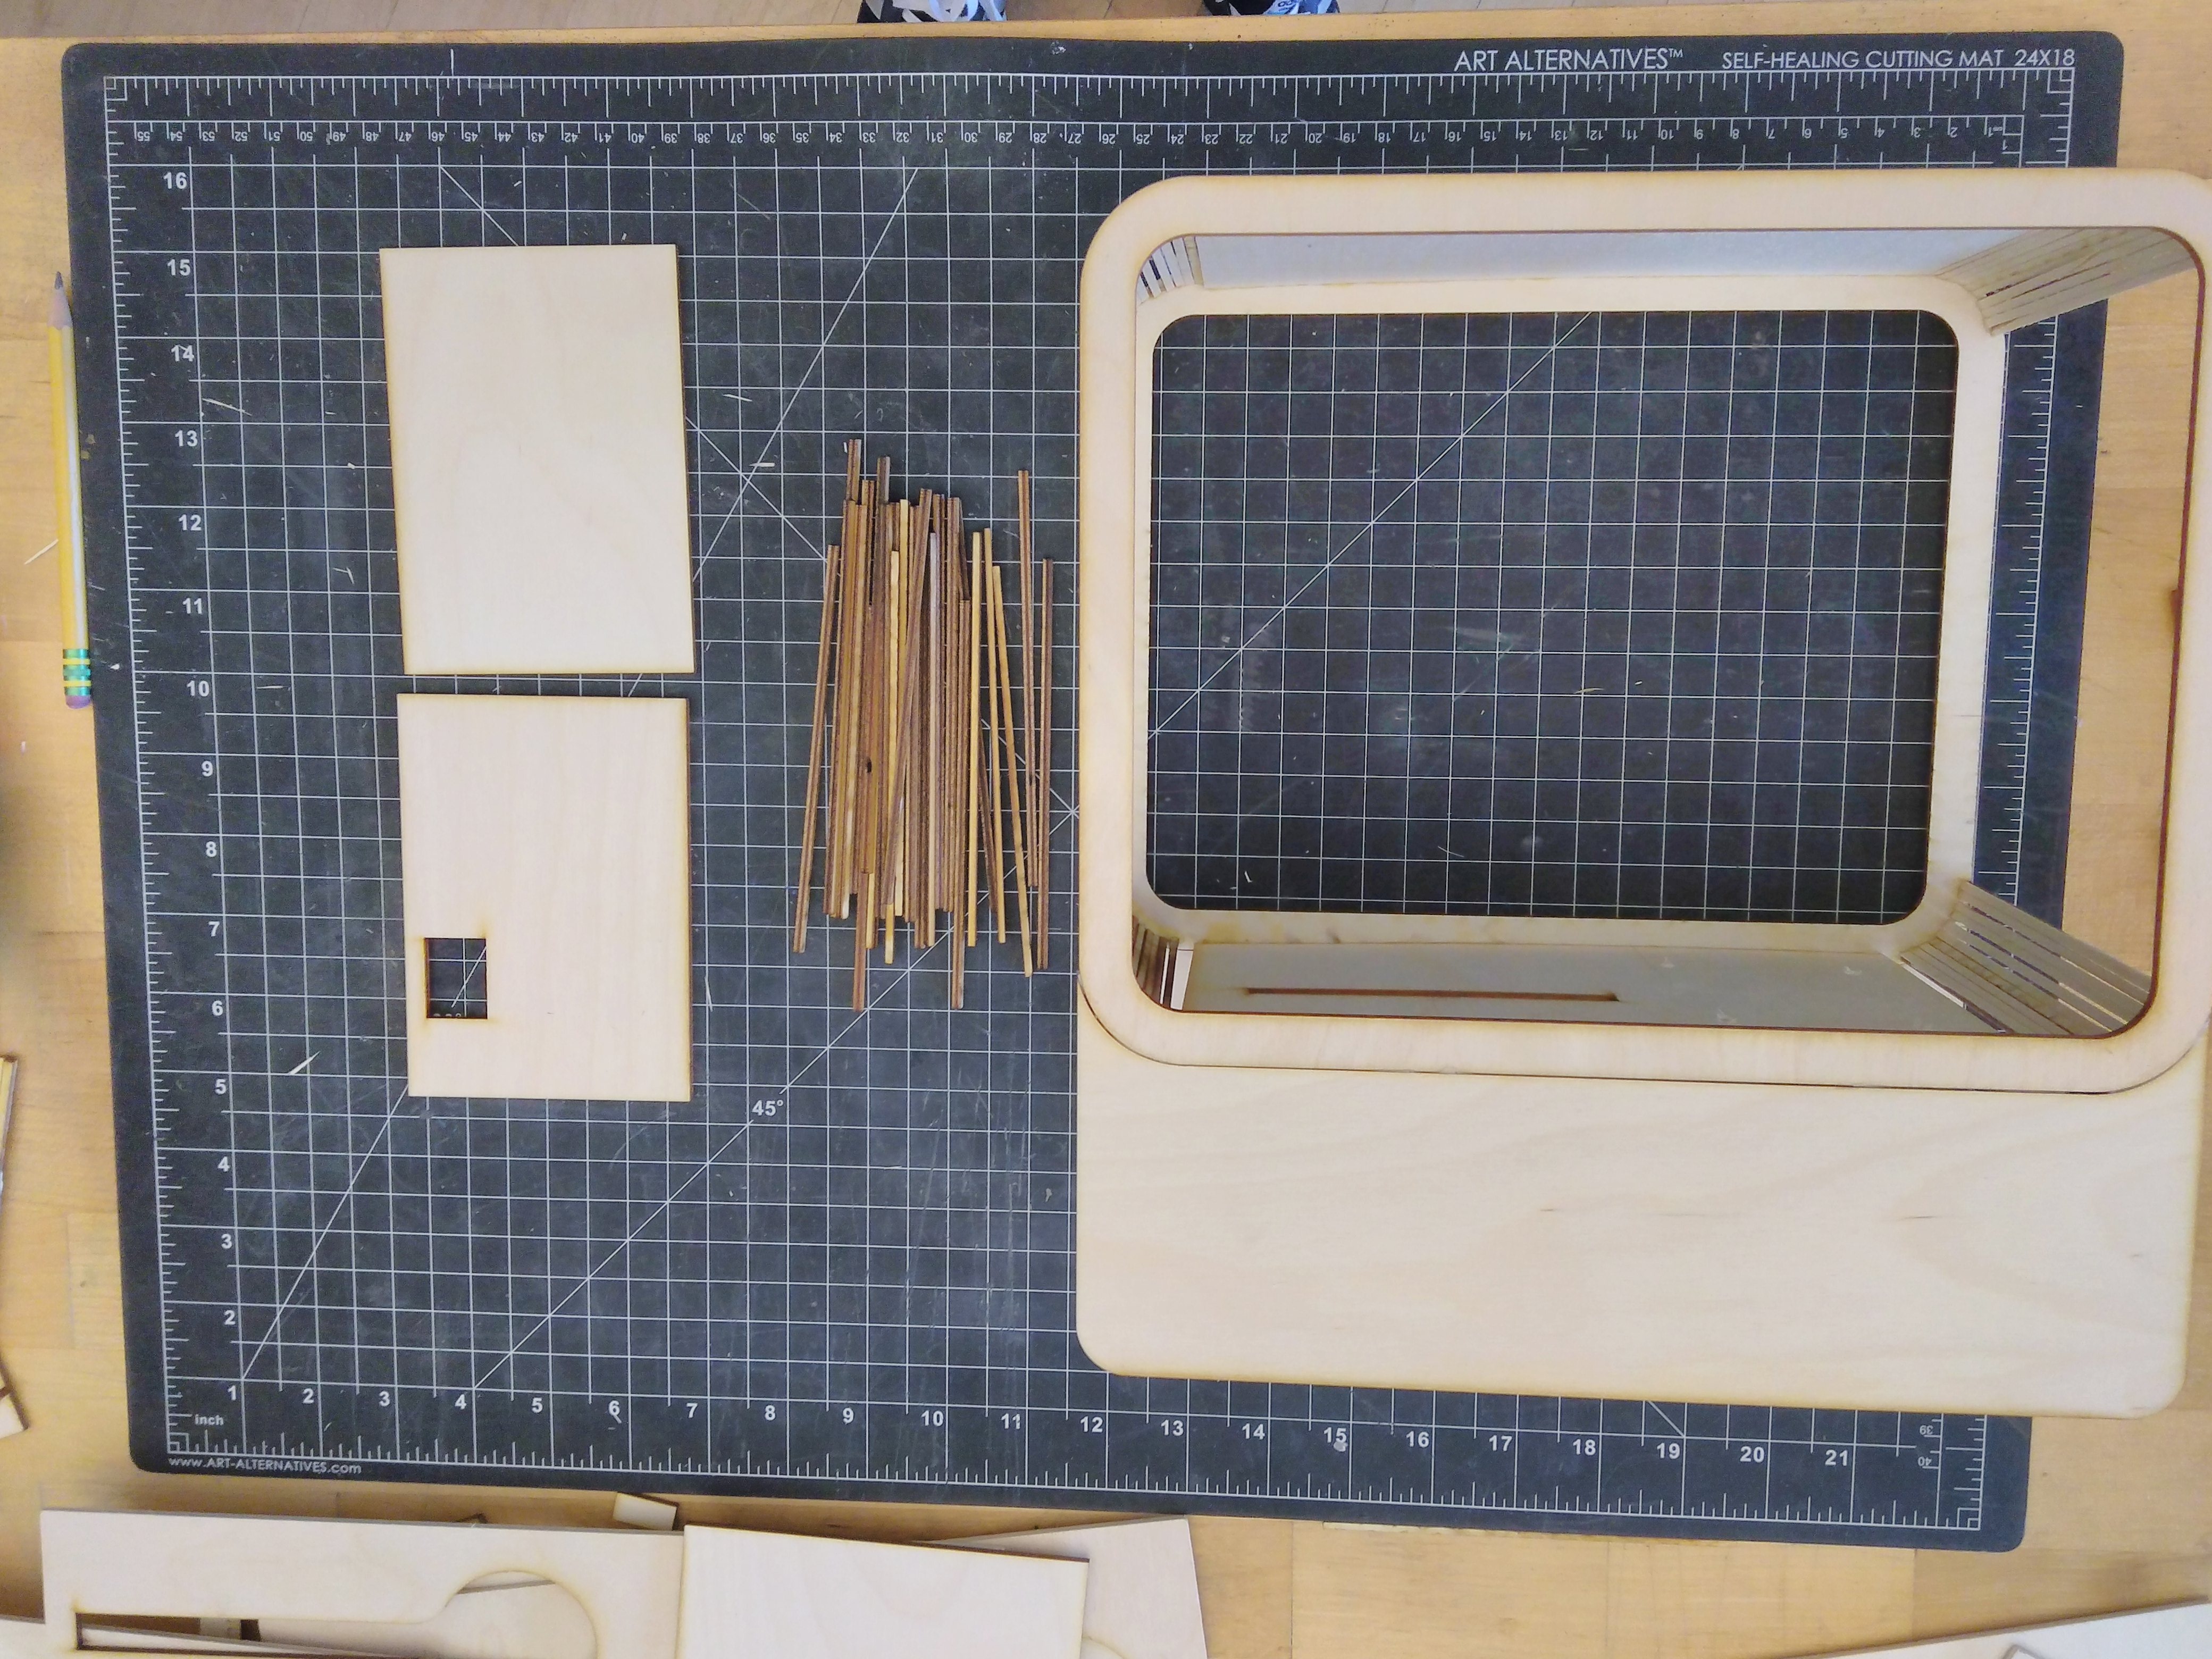
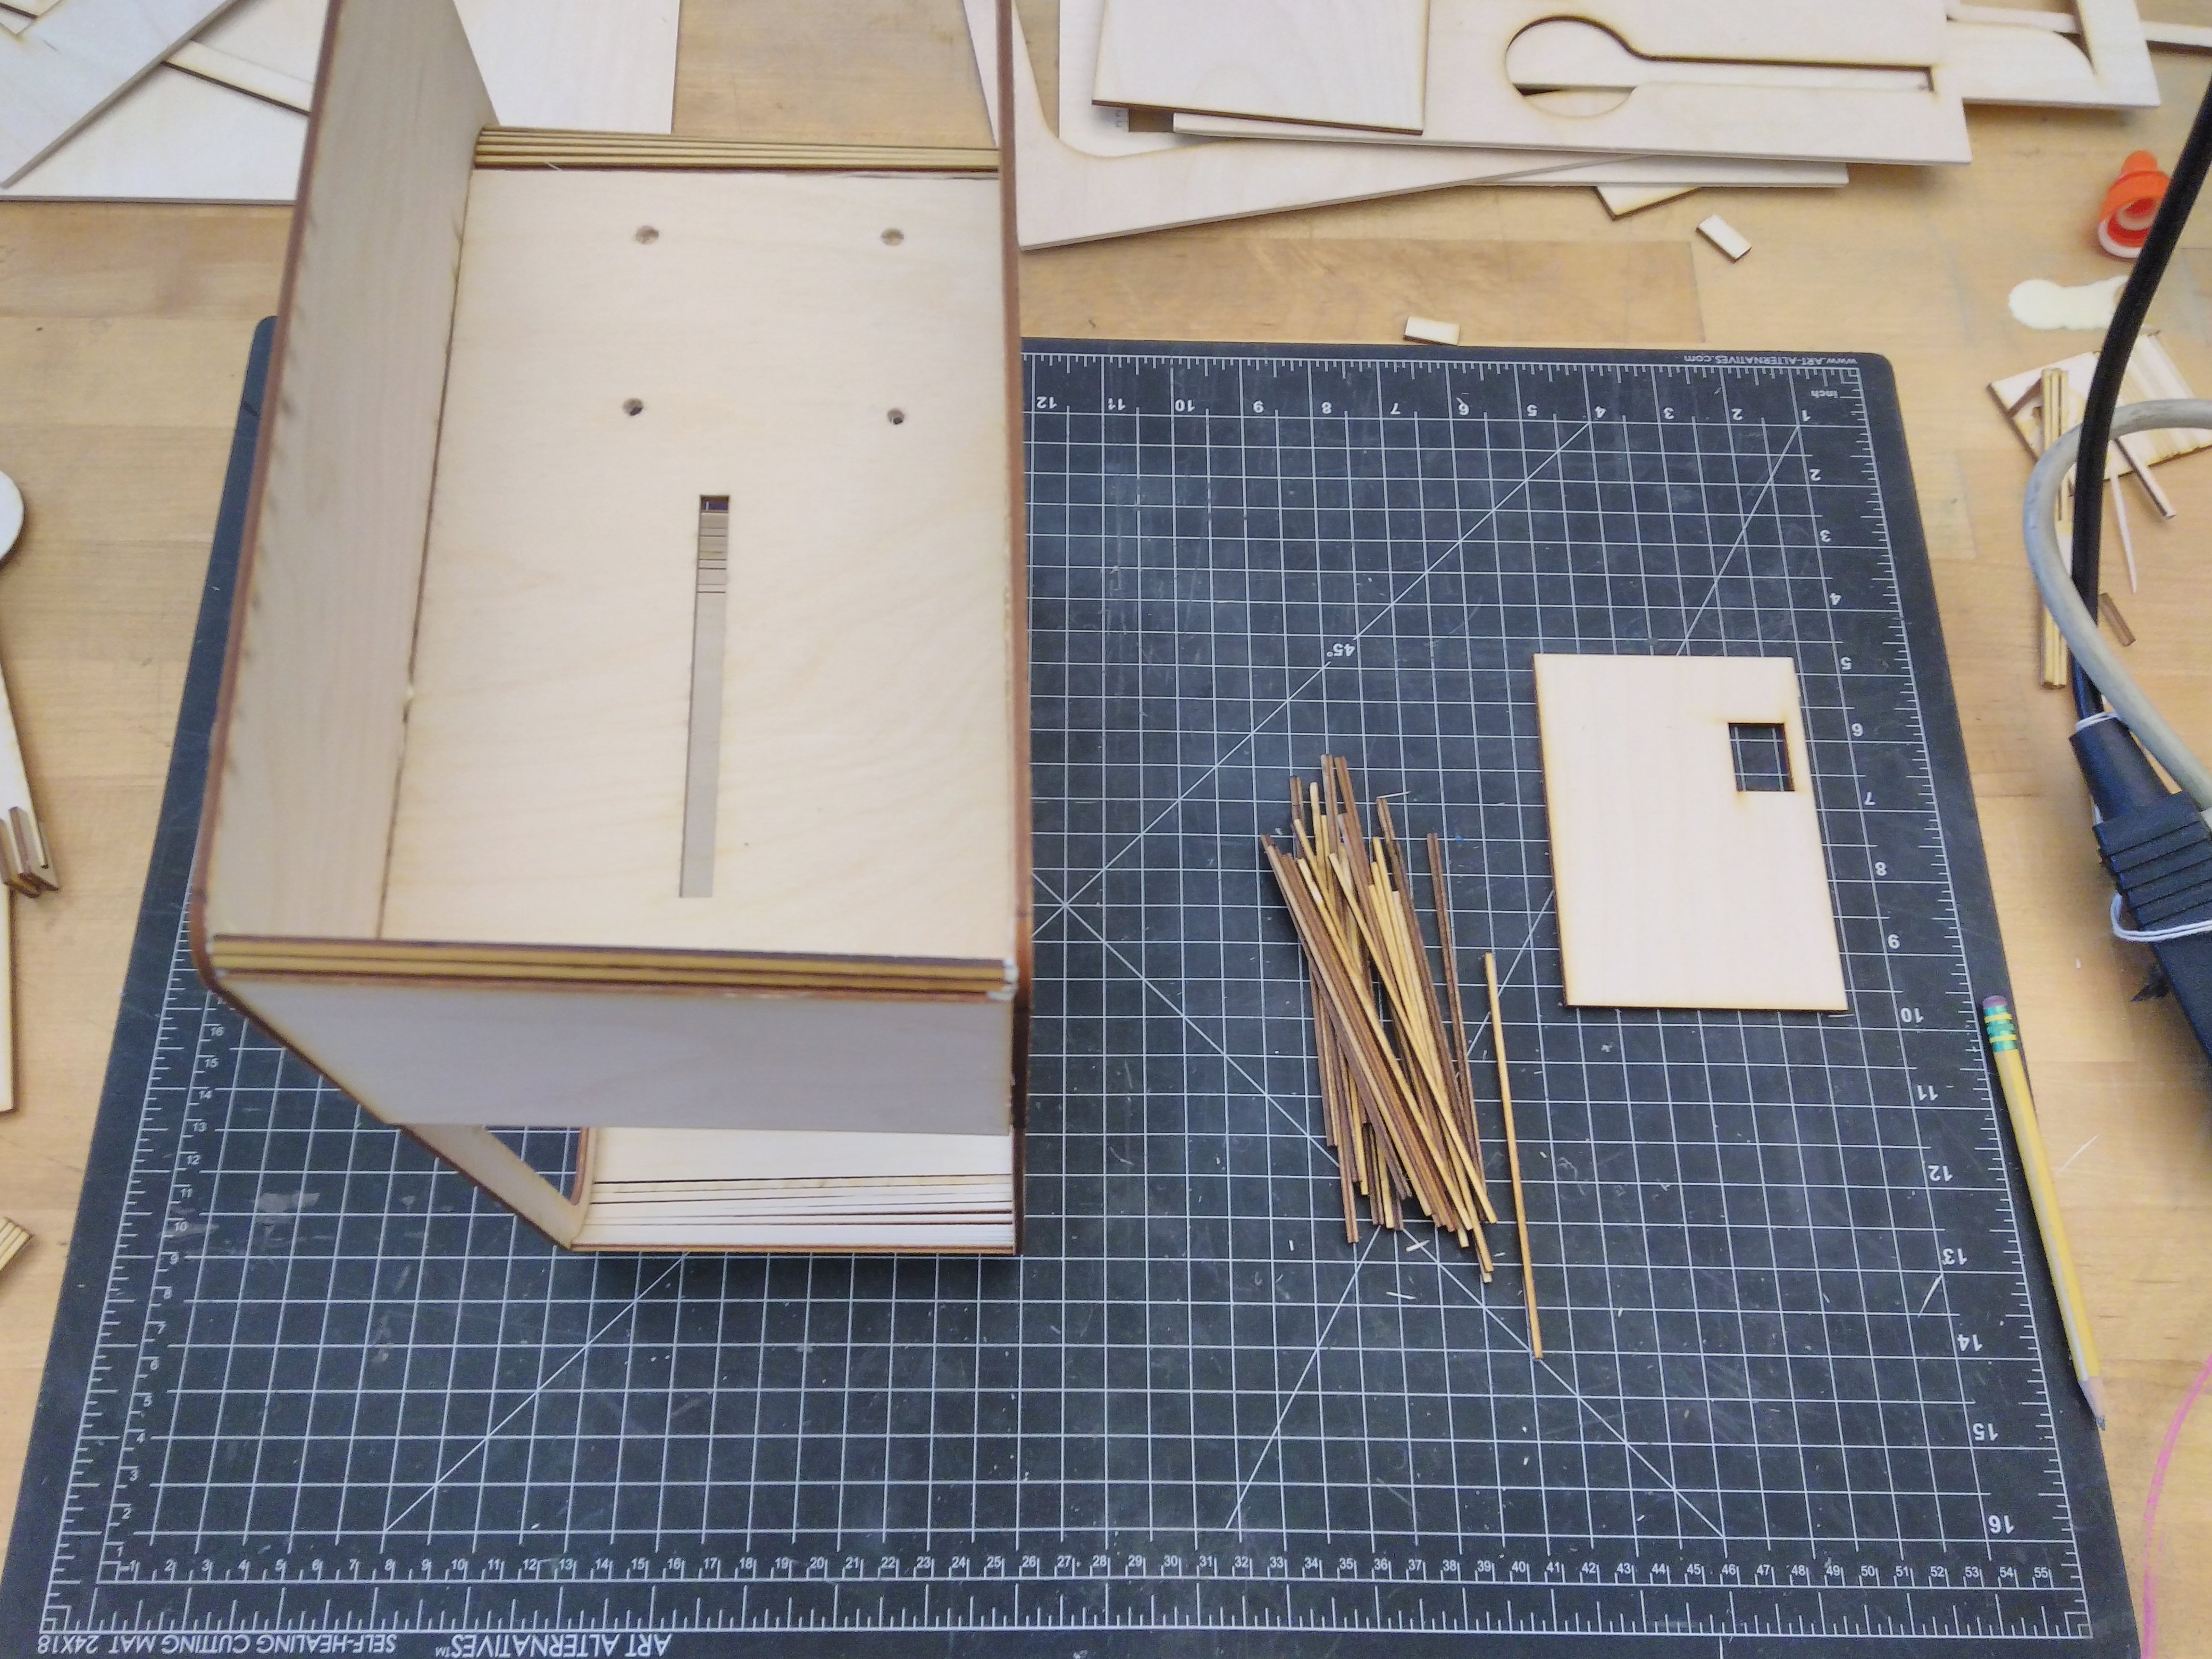
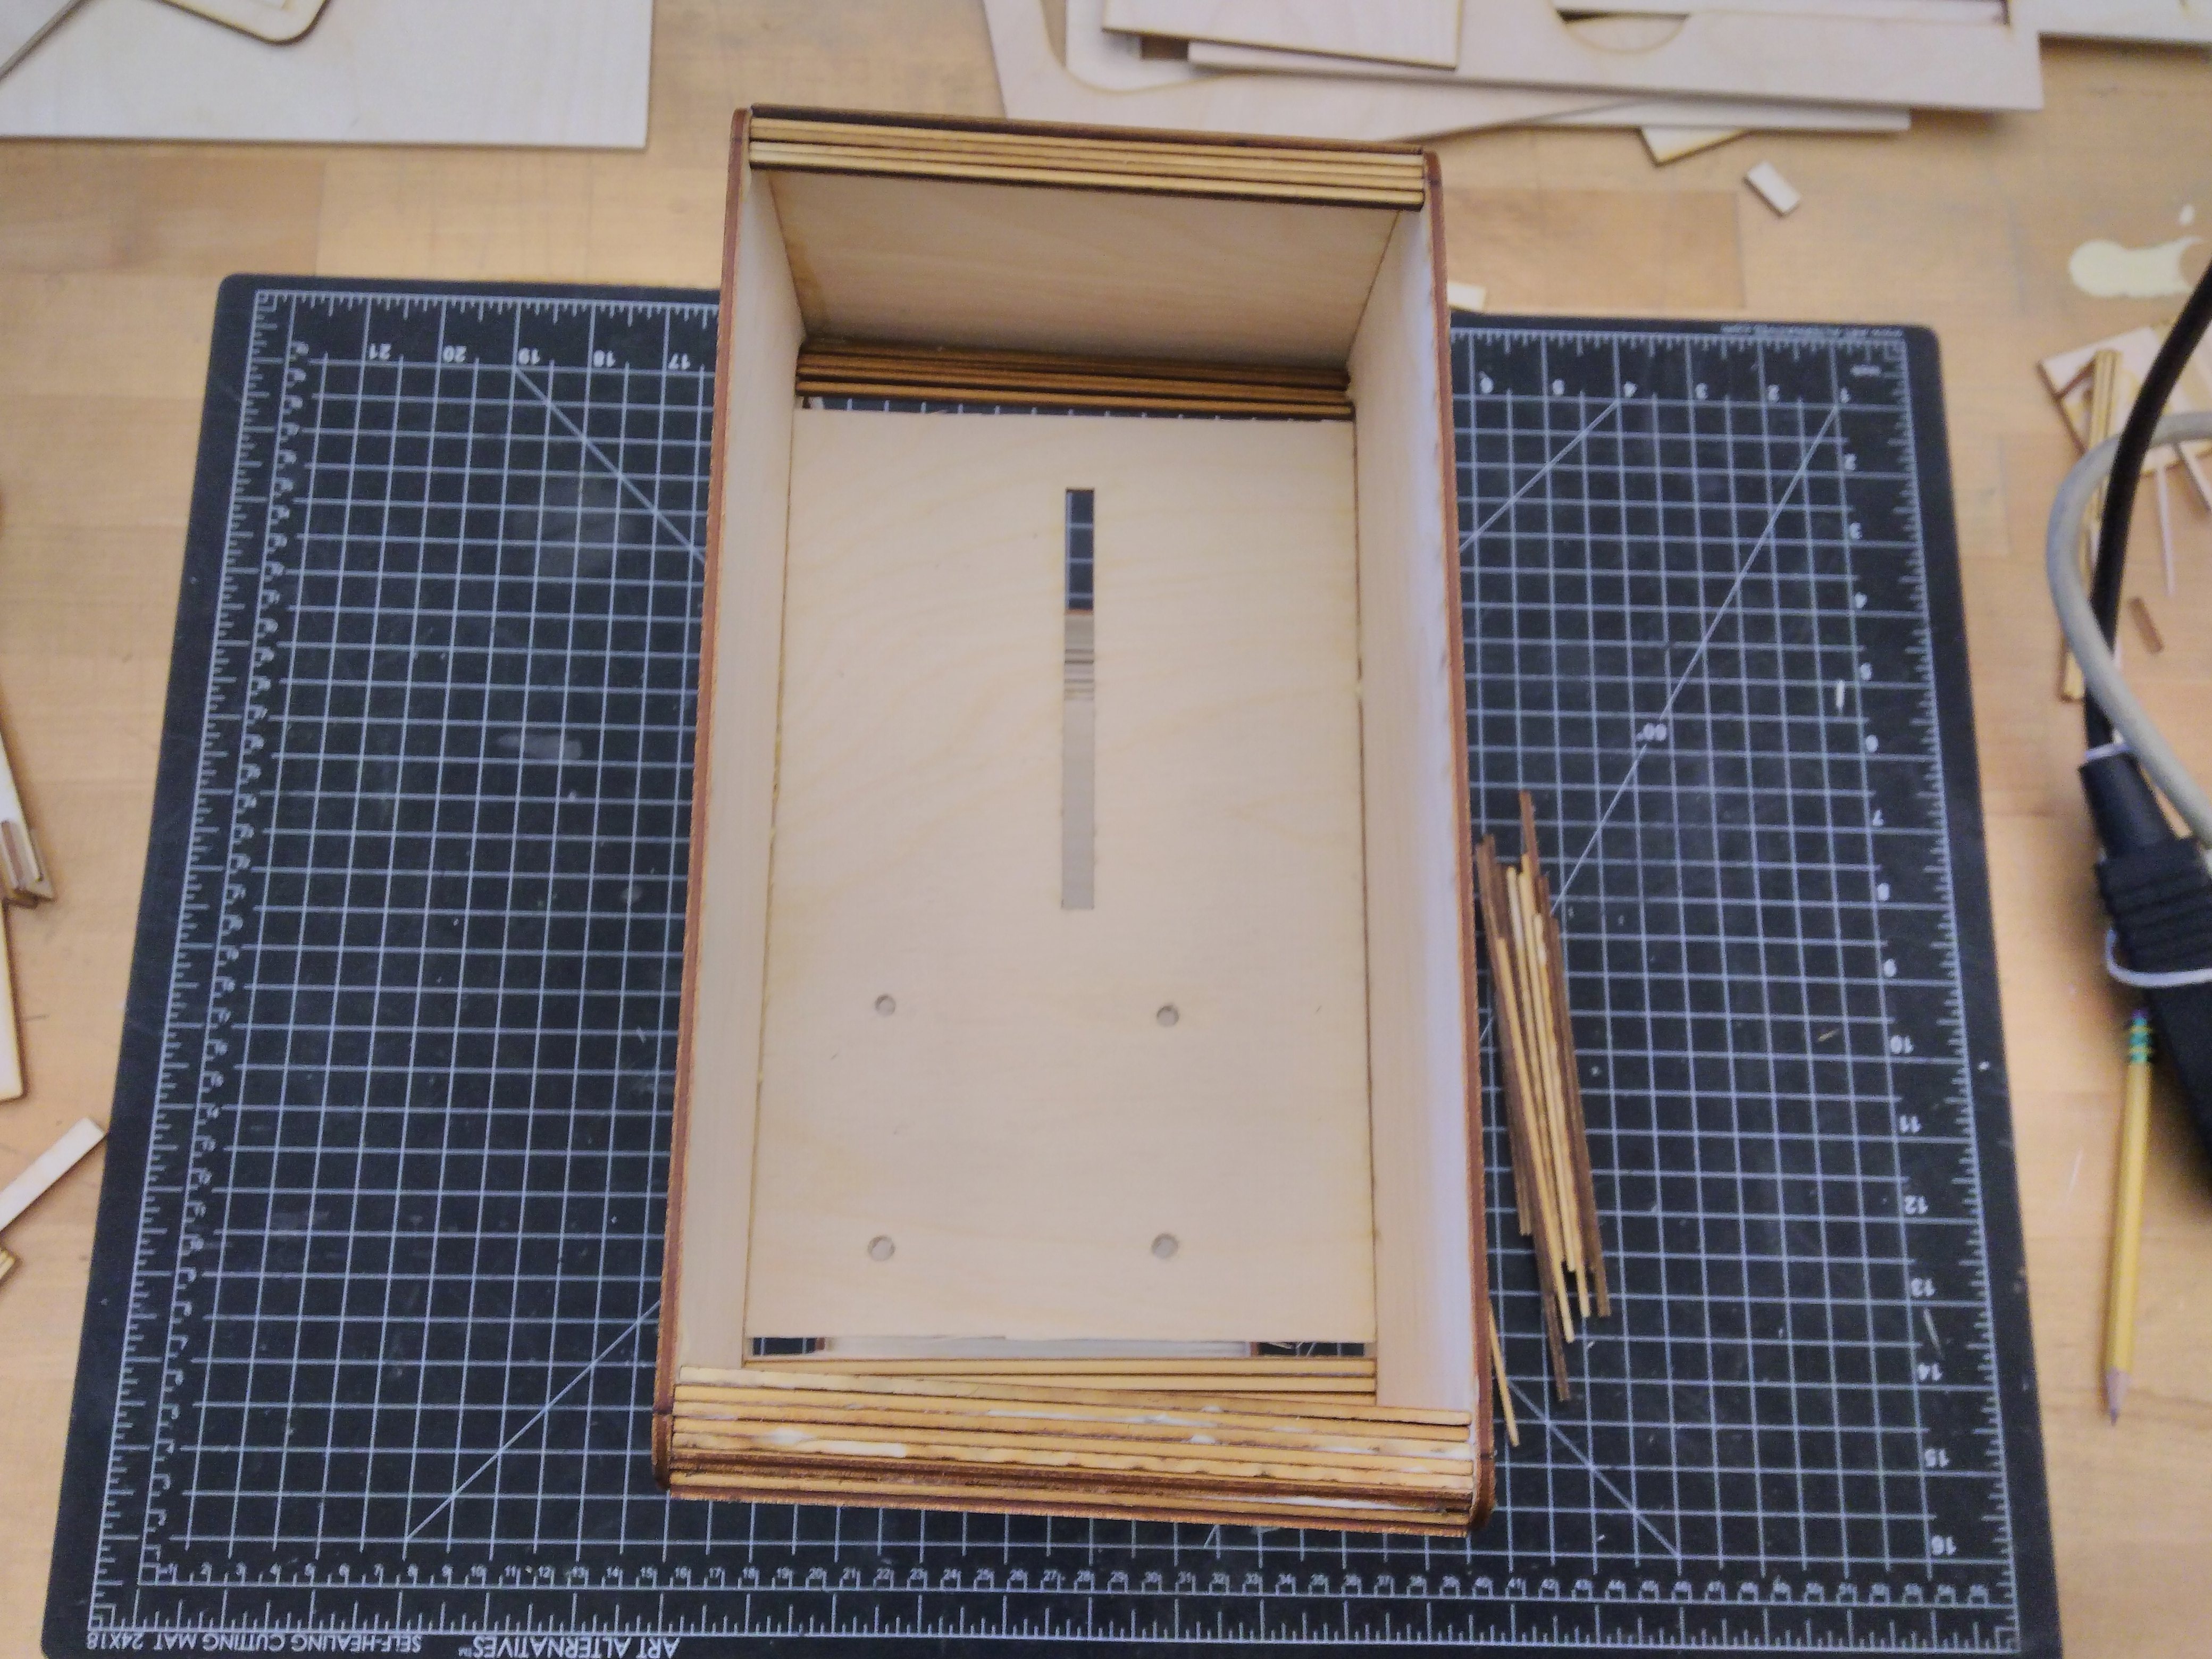
One the bottom half of the frame is complete. Then assemble the top portion of the frame where the Raspberry Pi and servo will be installed (note: be sure to measure and drill holes into the bottom of the frame so that you can secure the raspberry pi).
Step 5: Assemble Cellphone Stand and Lens
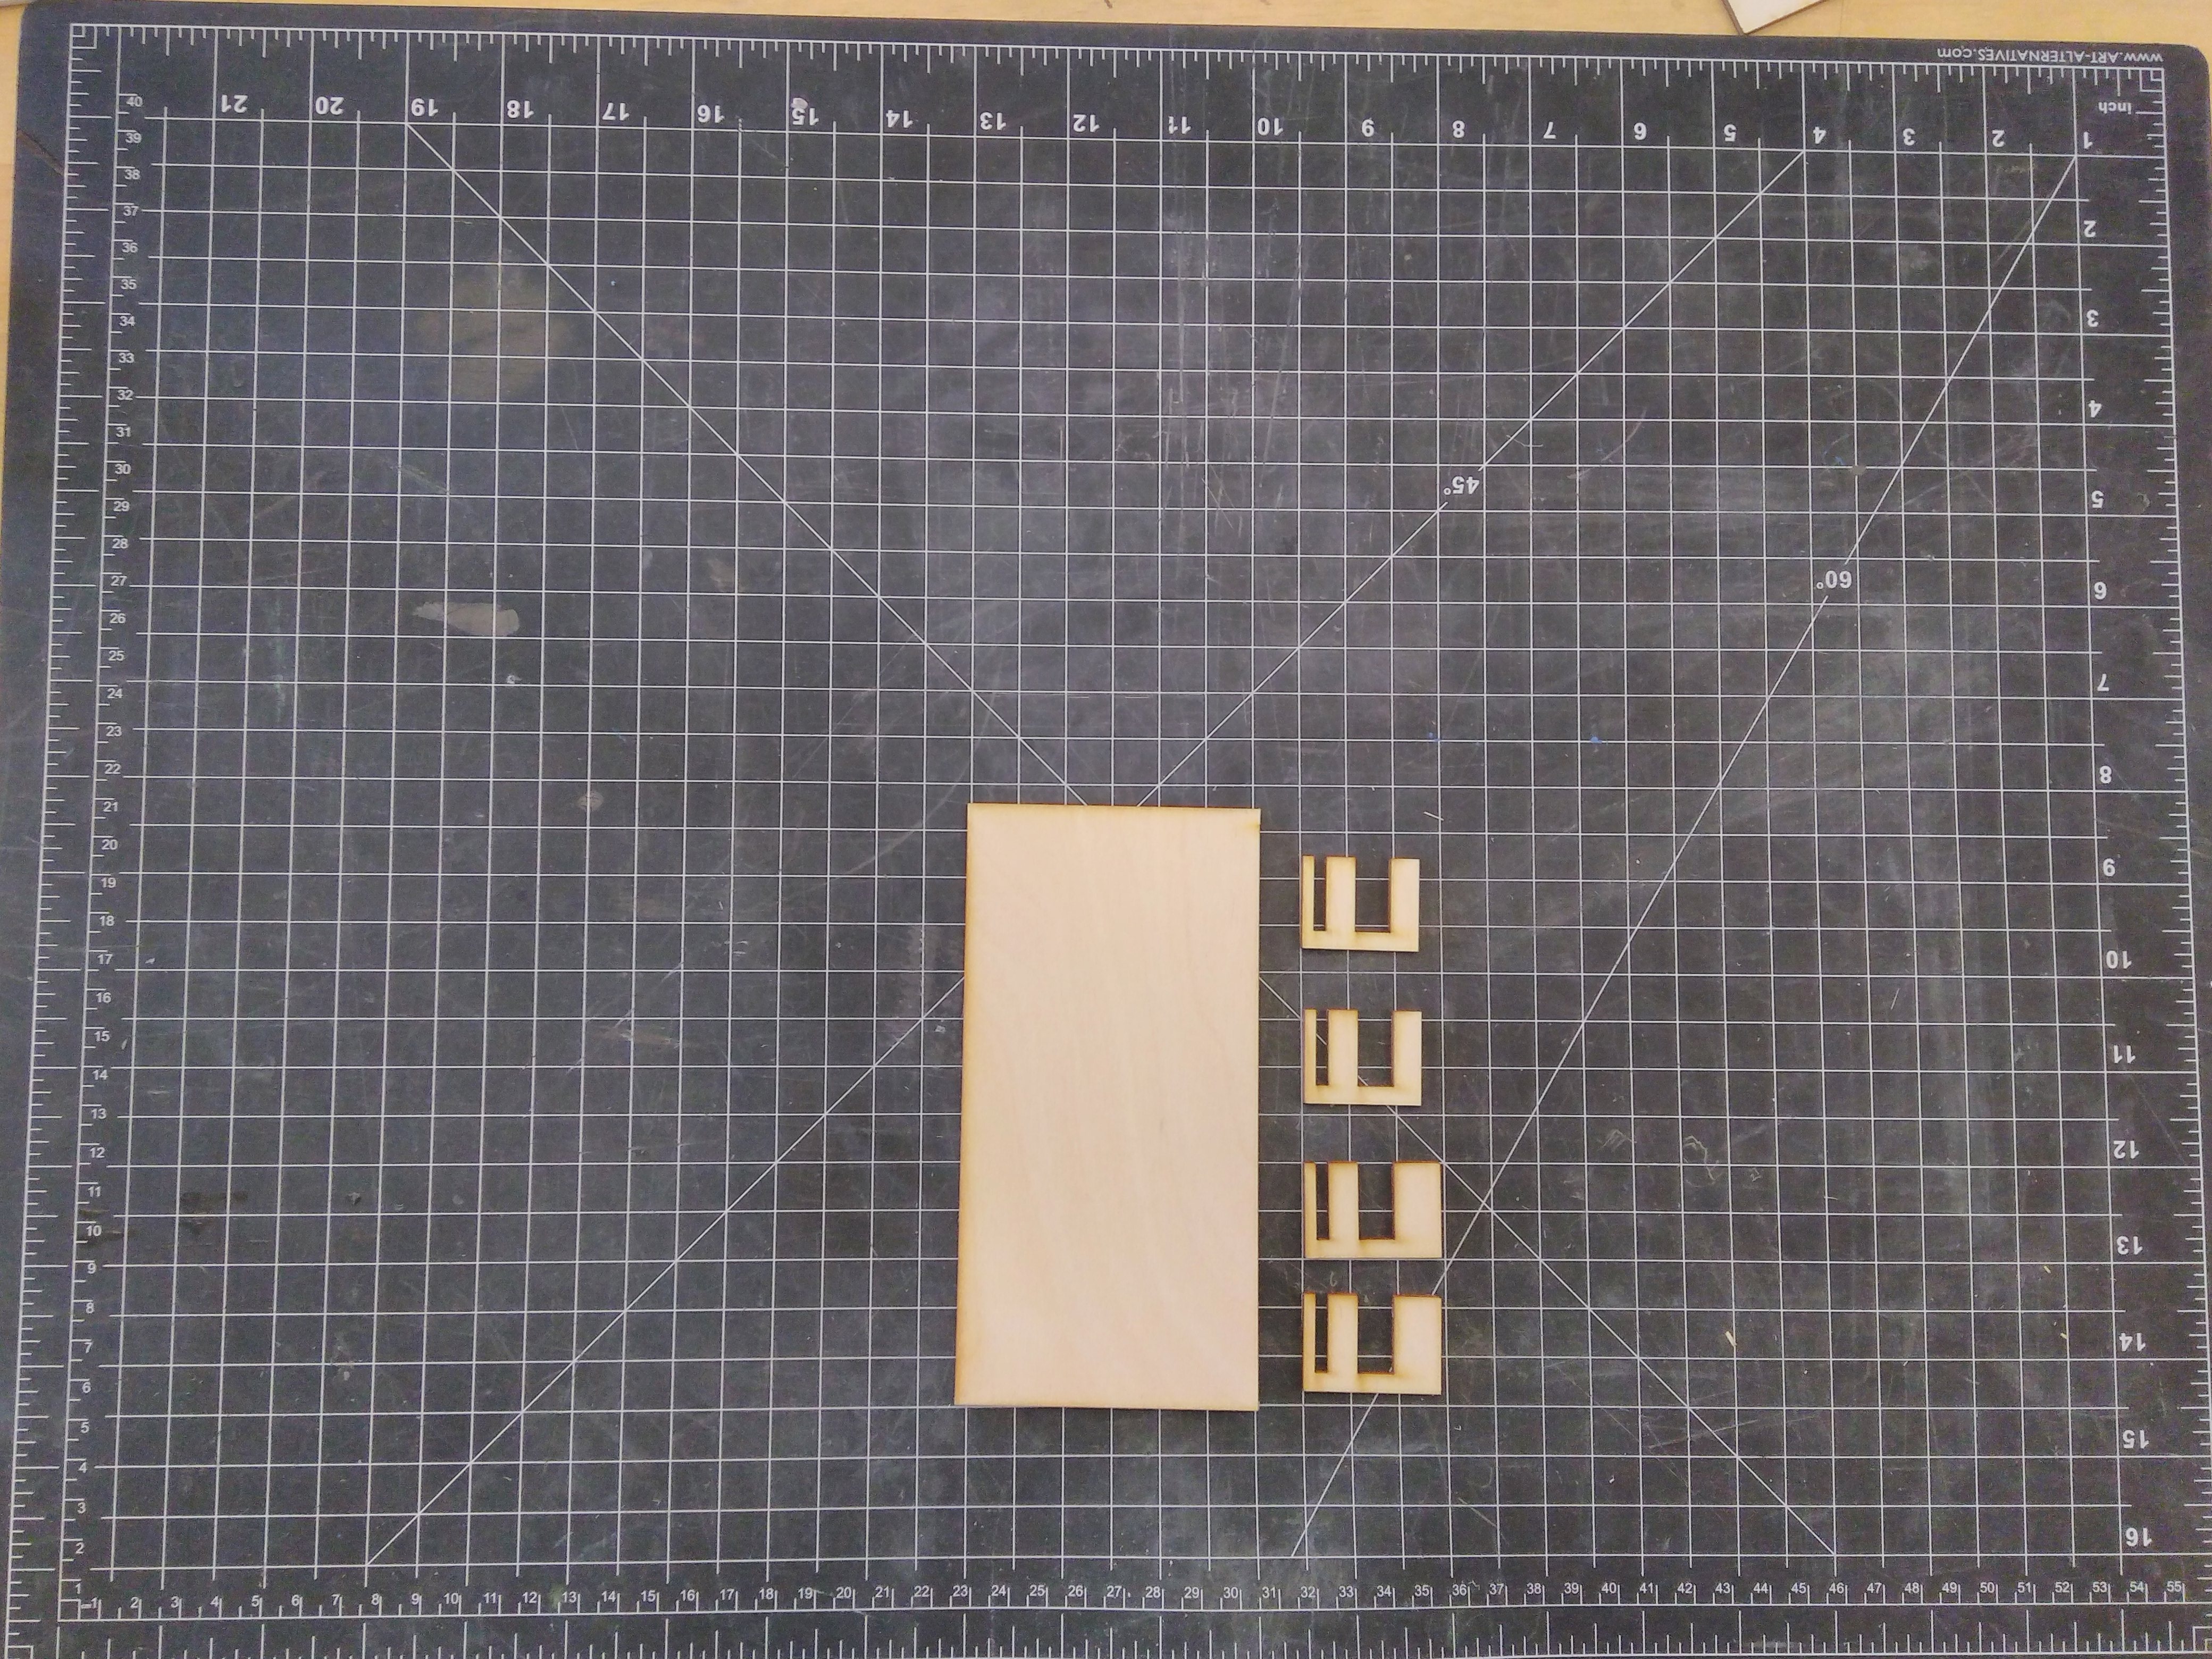
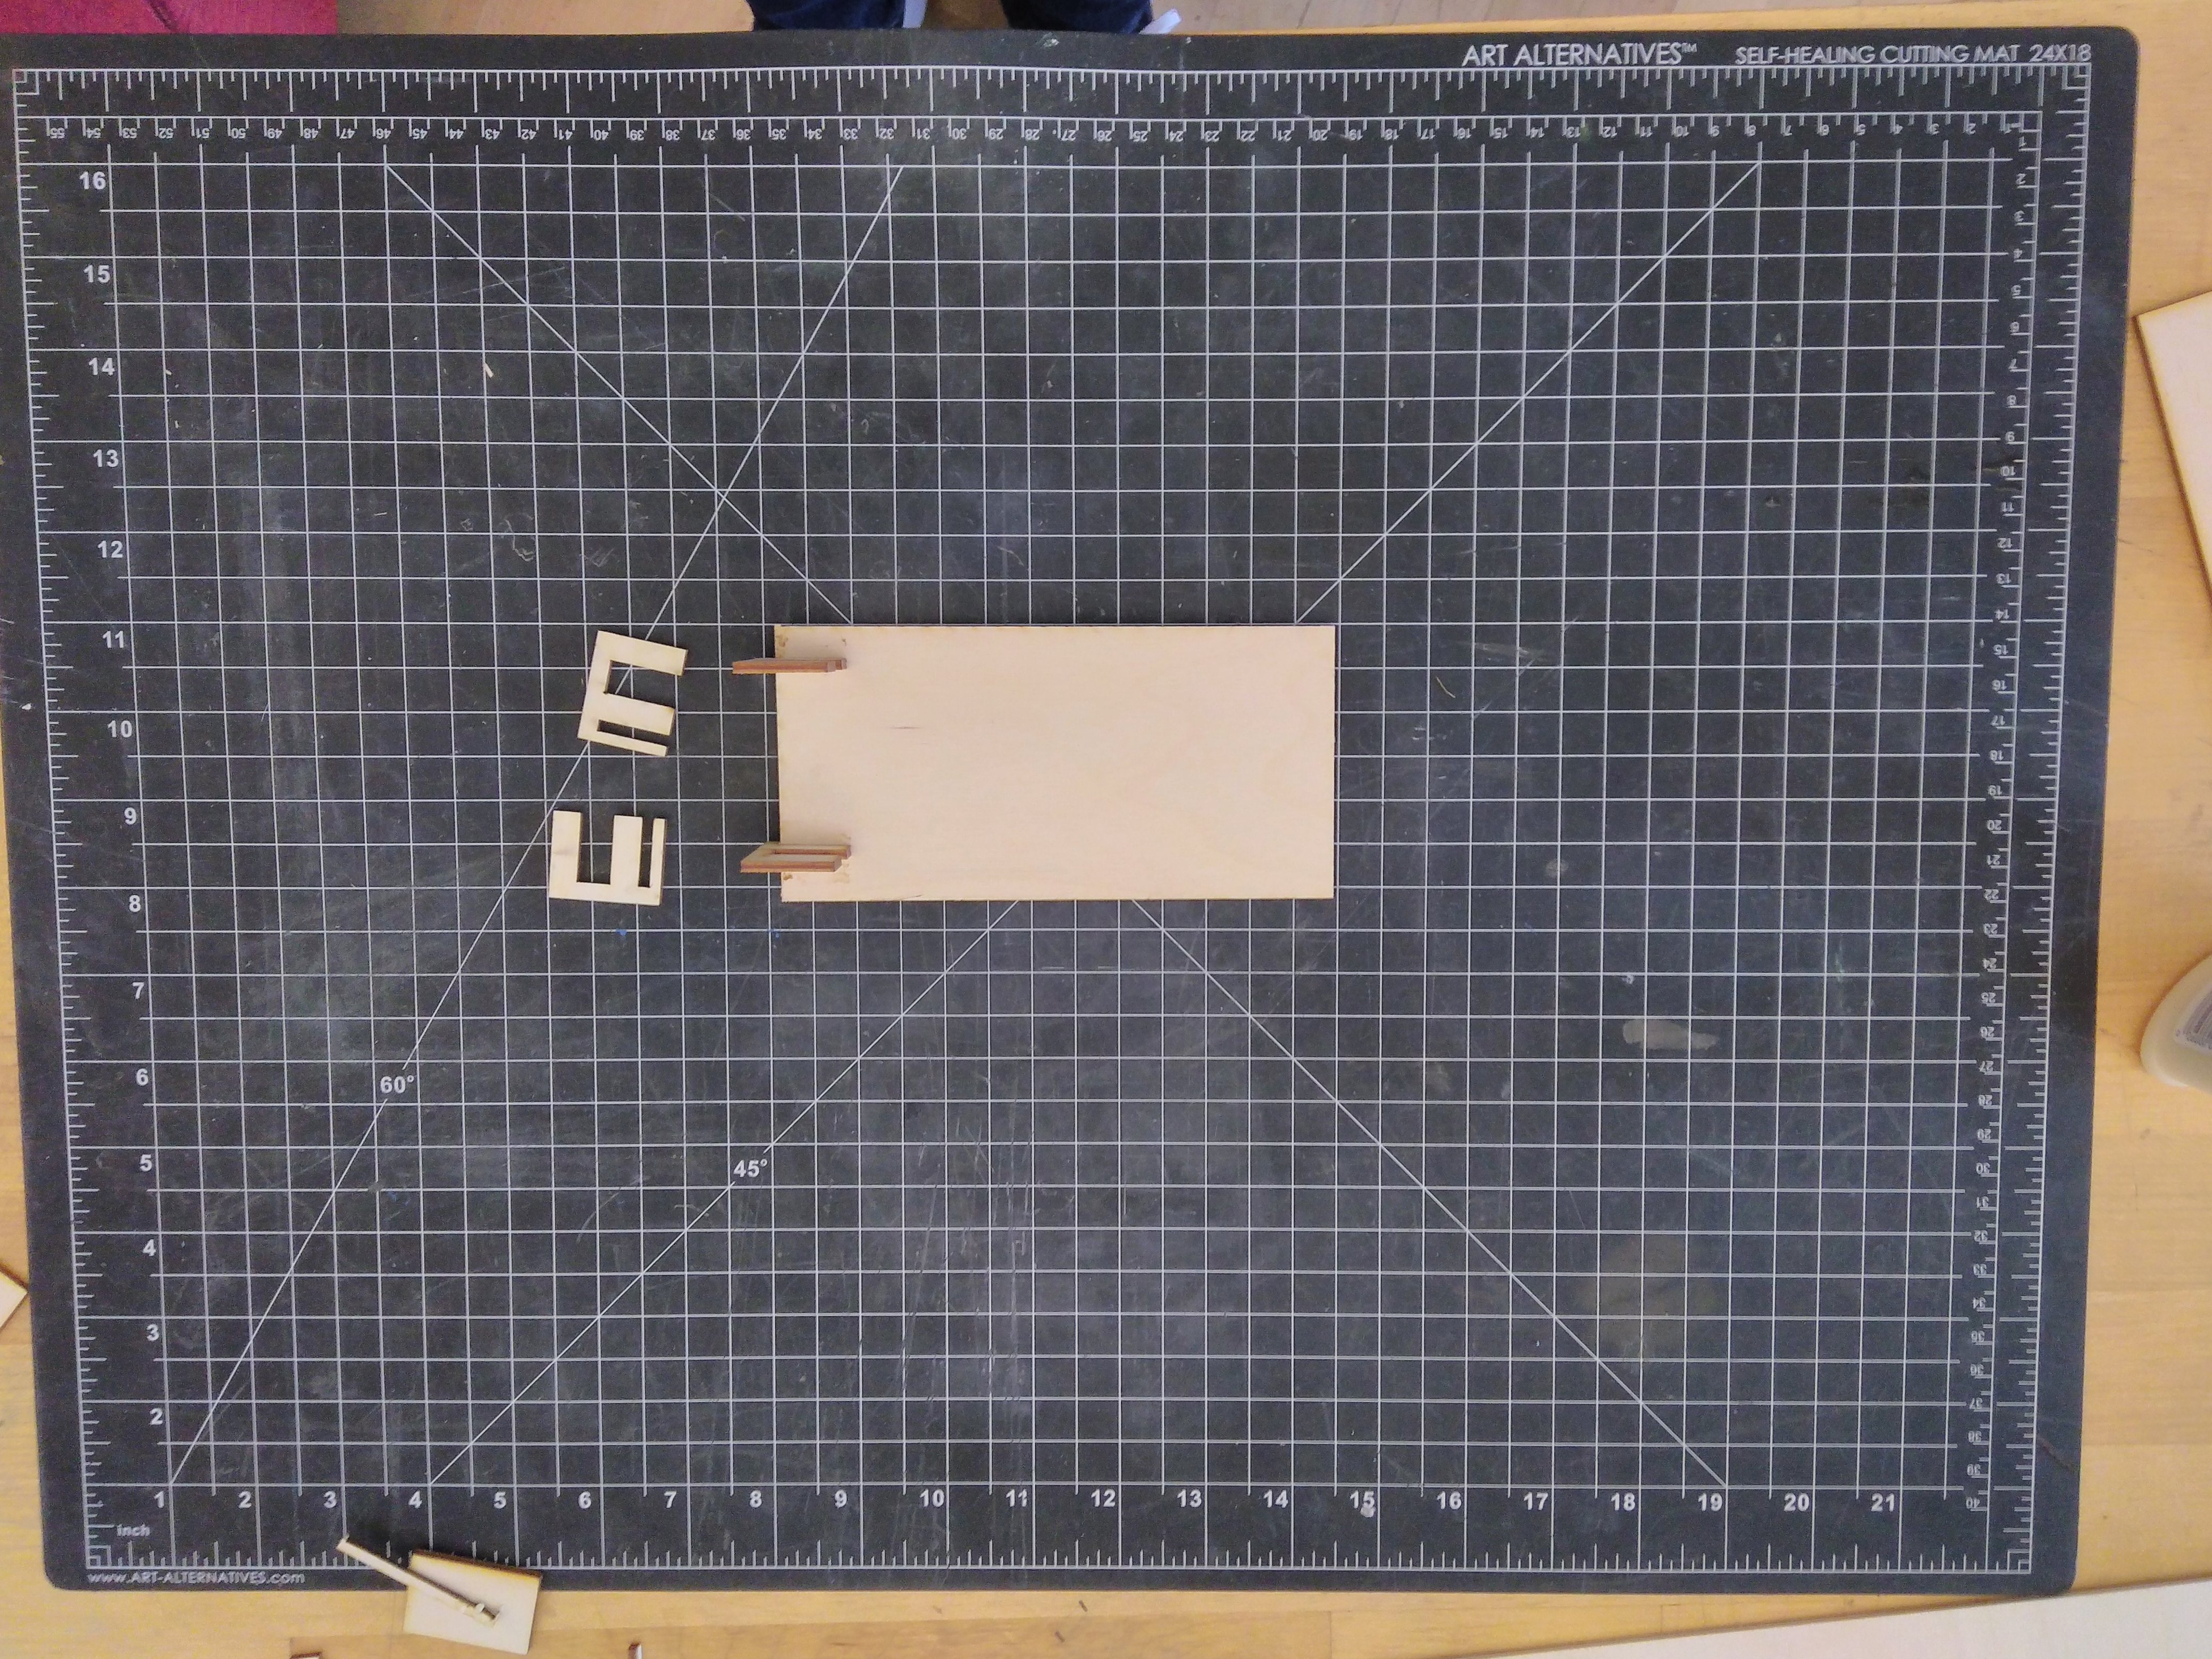
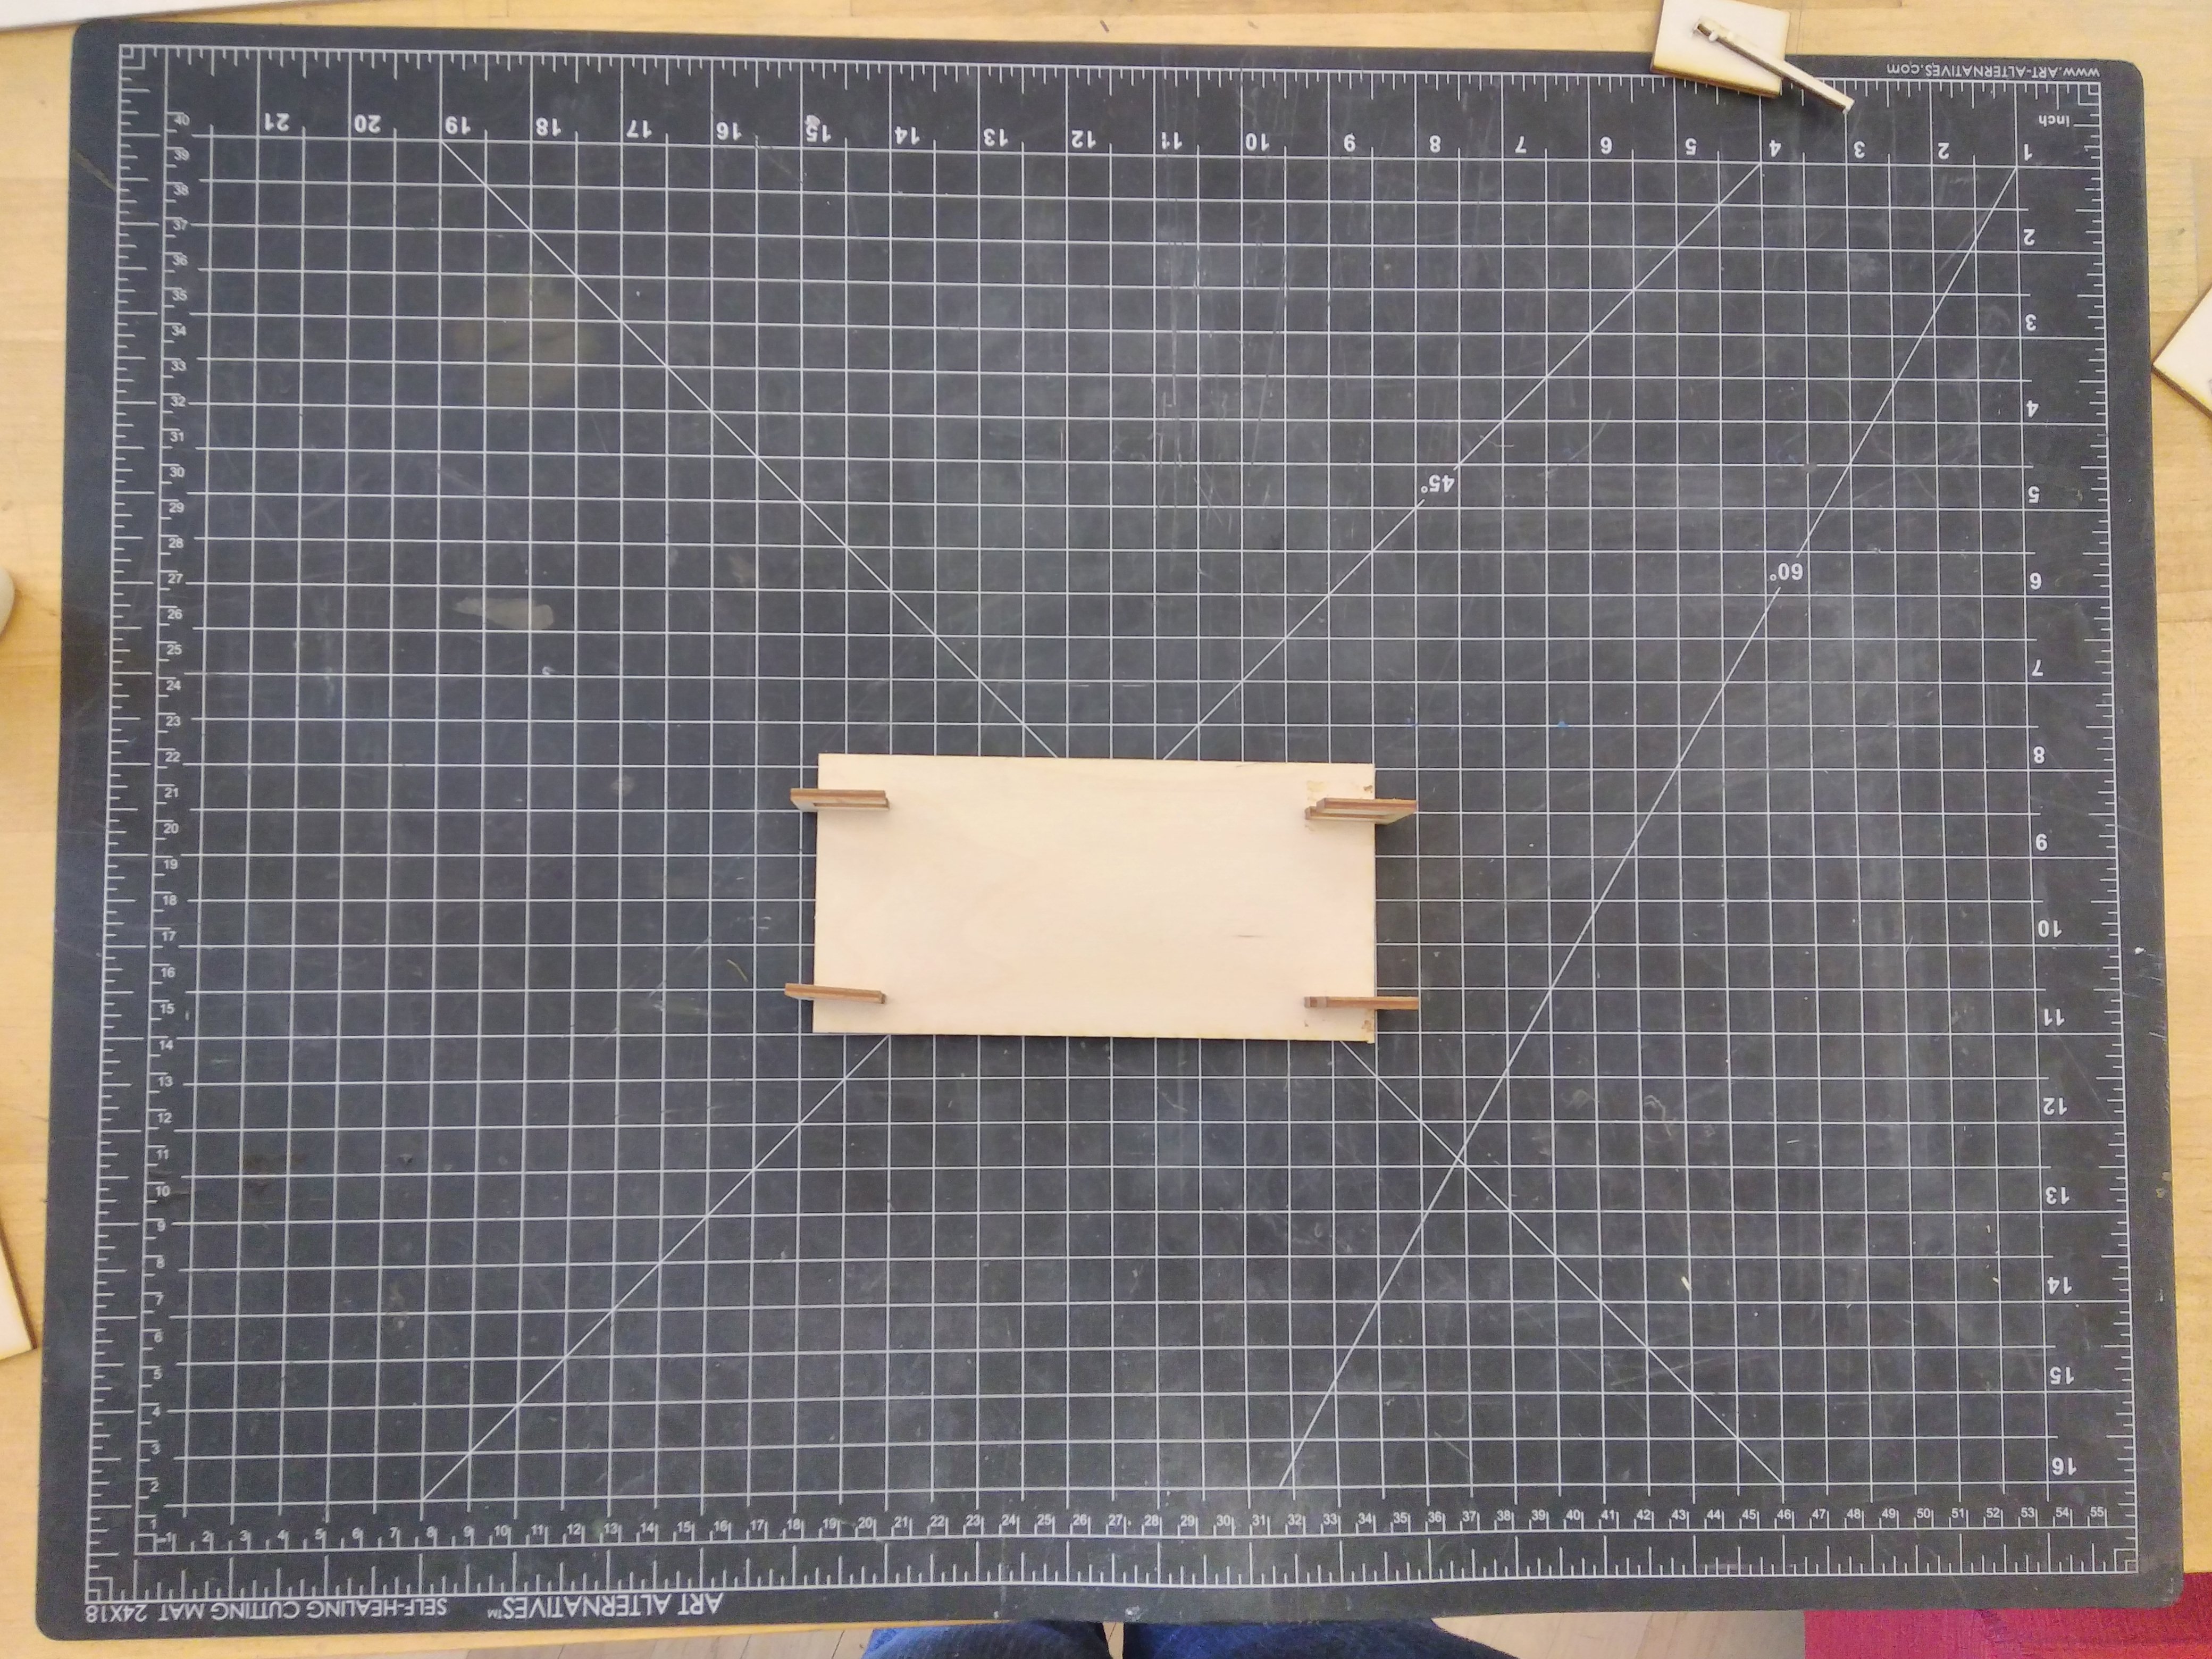
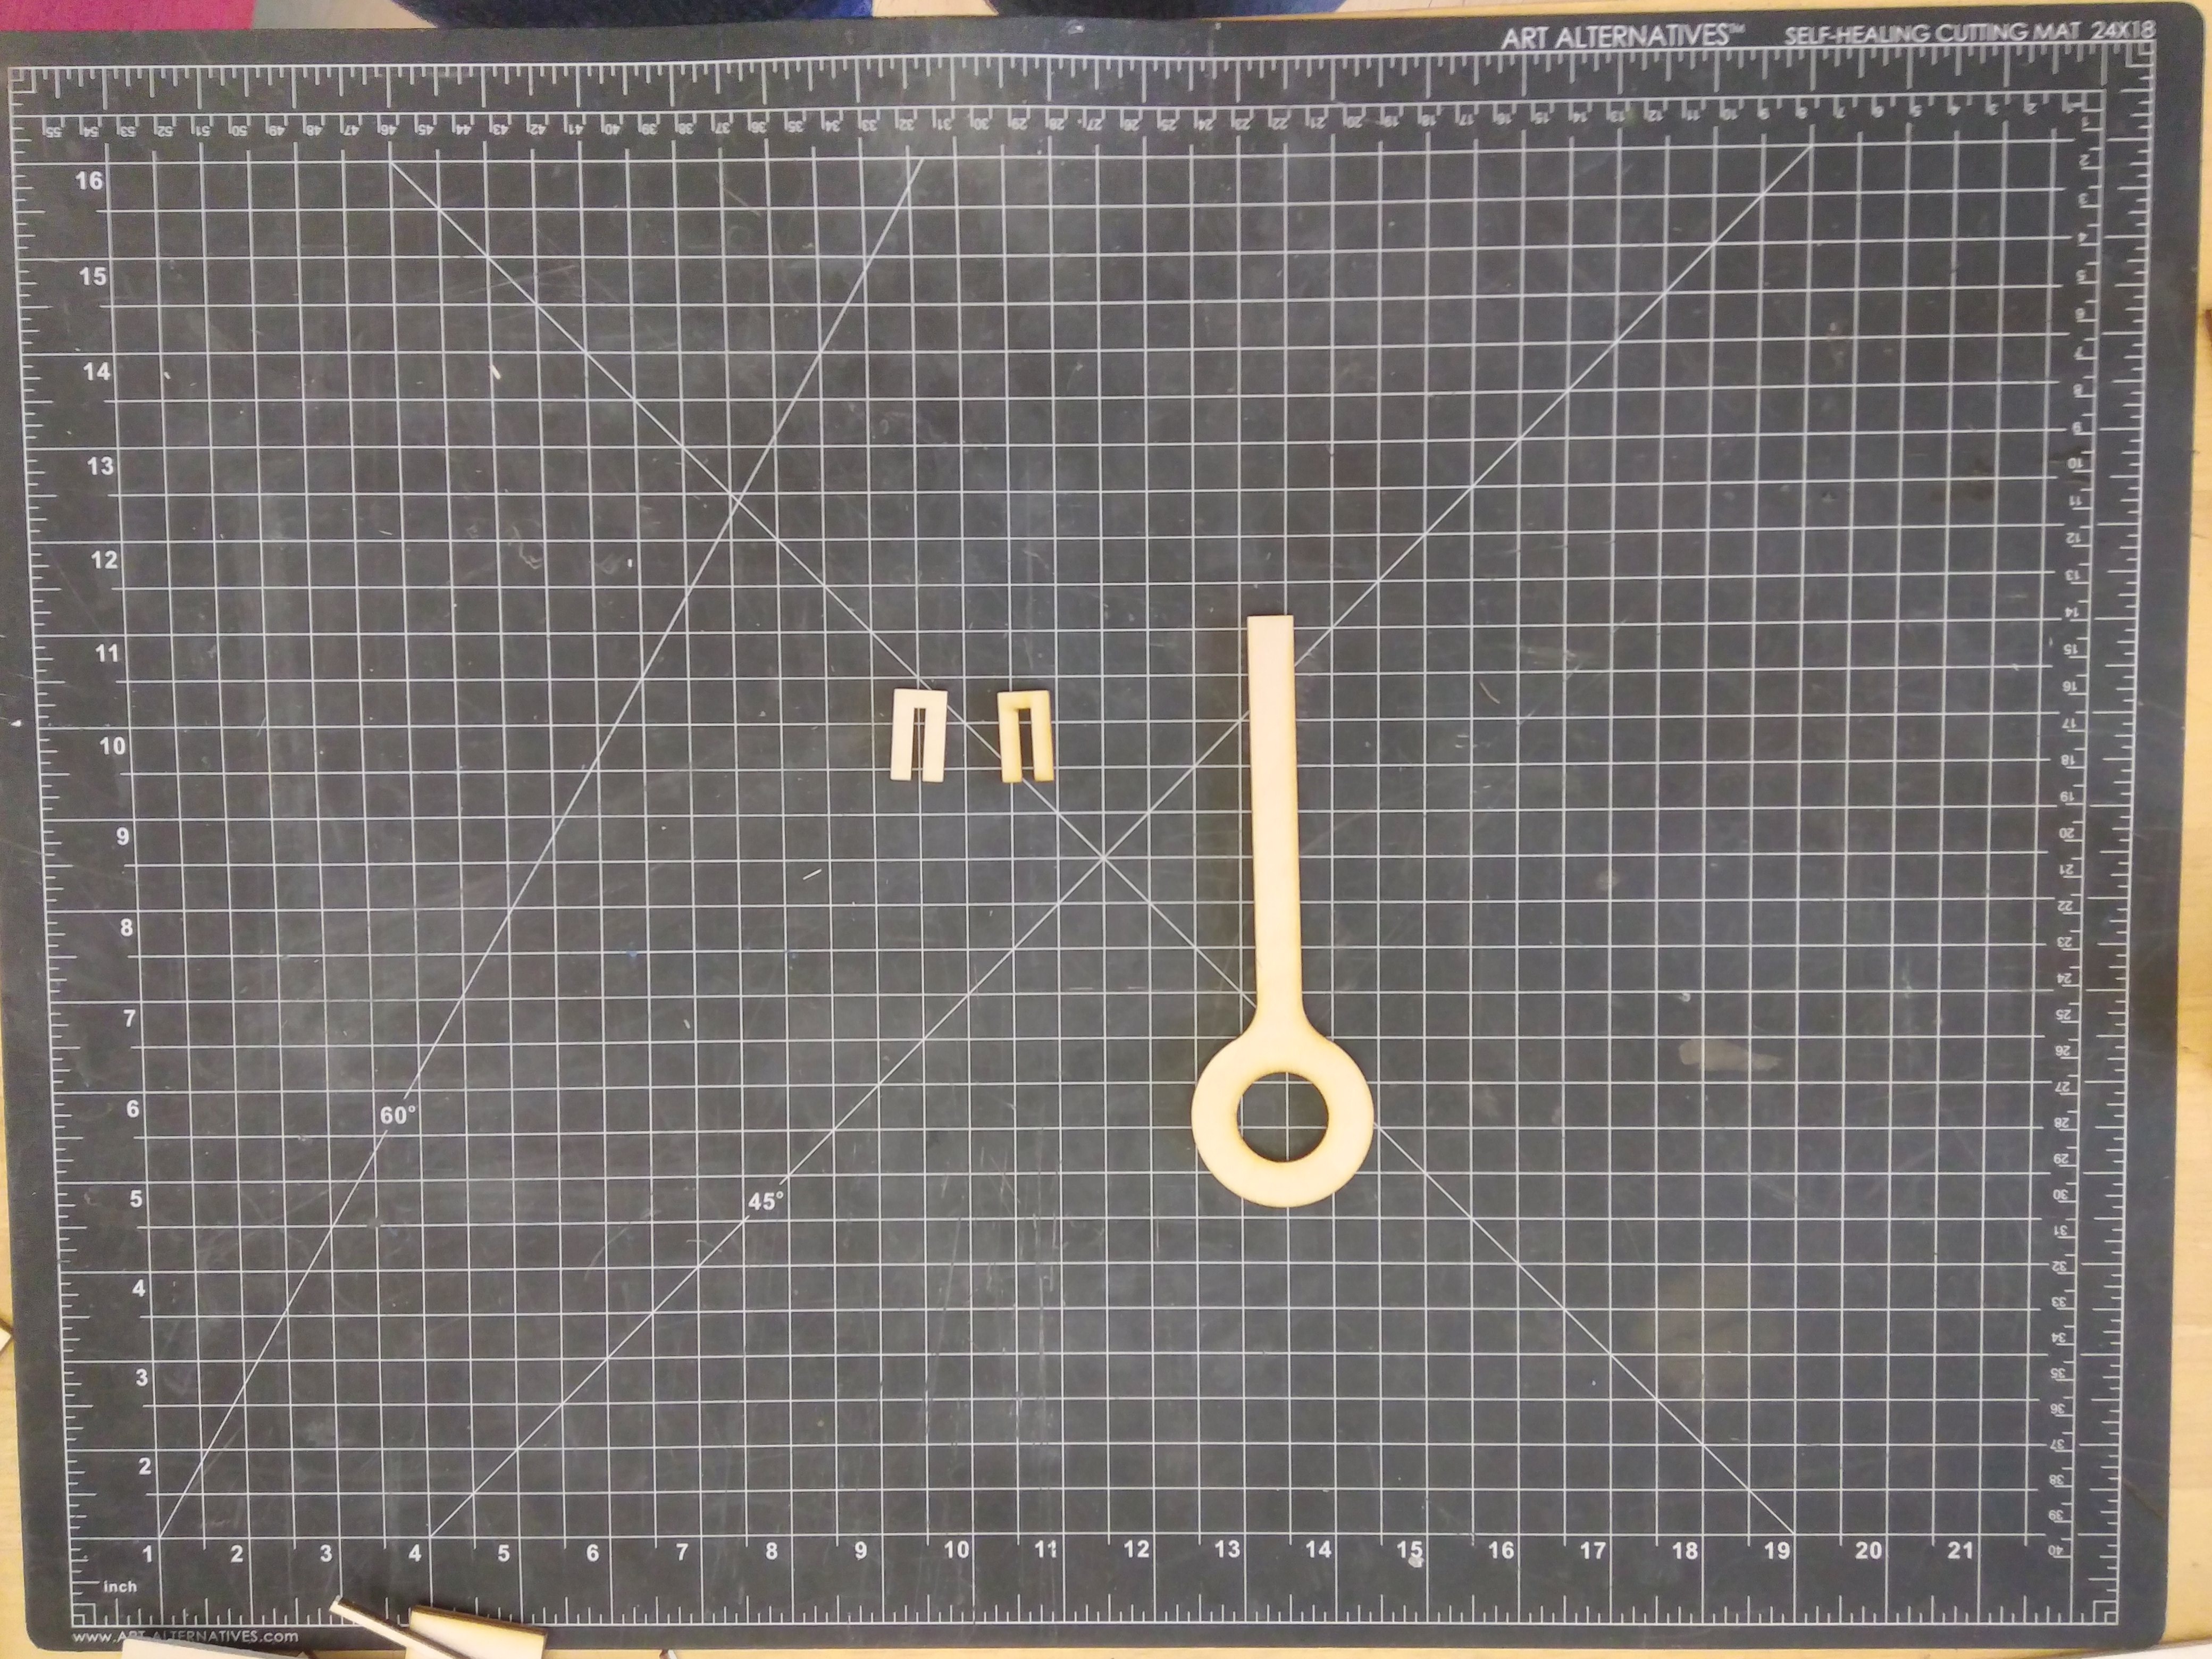
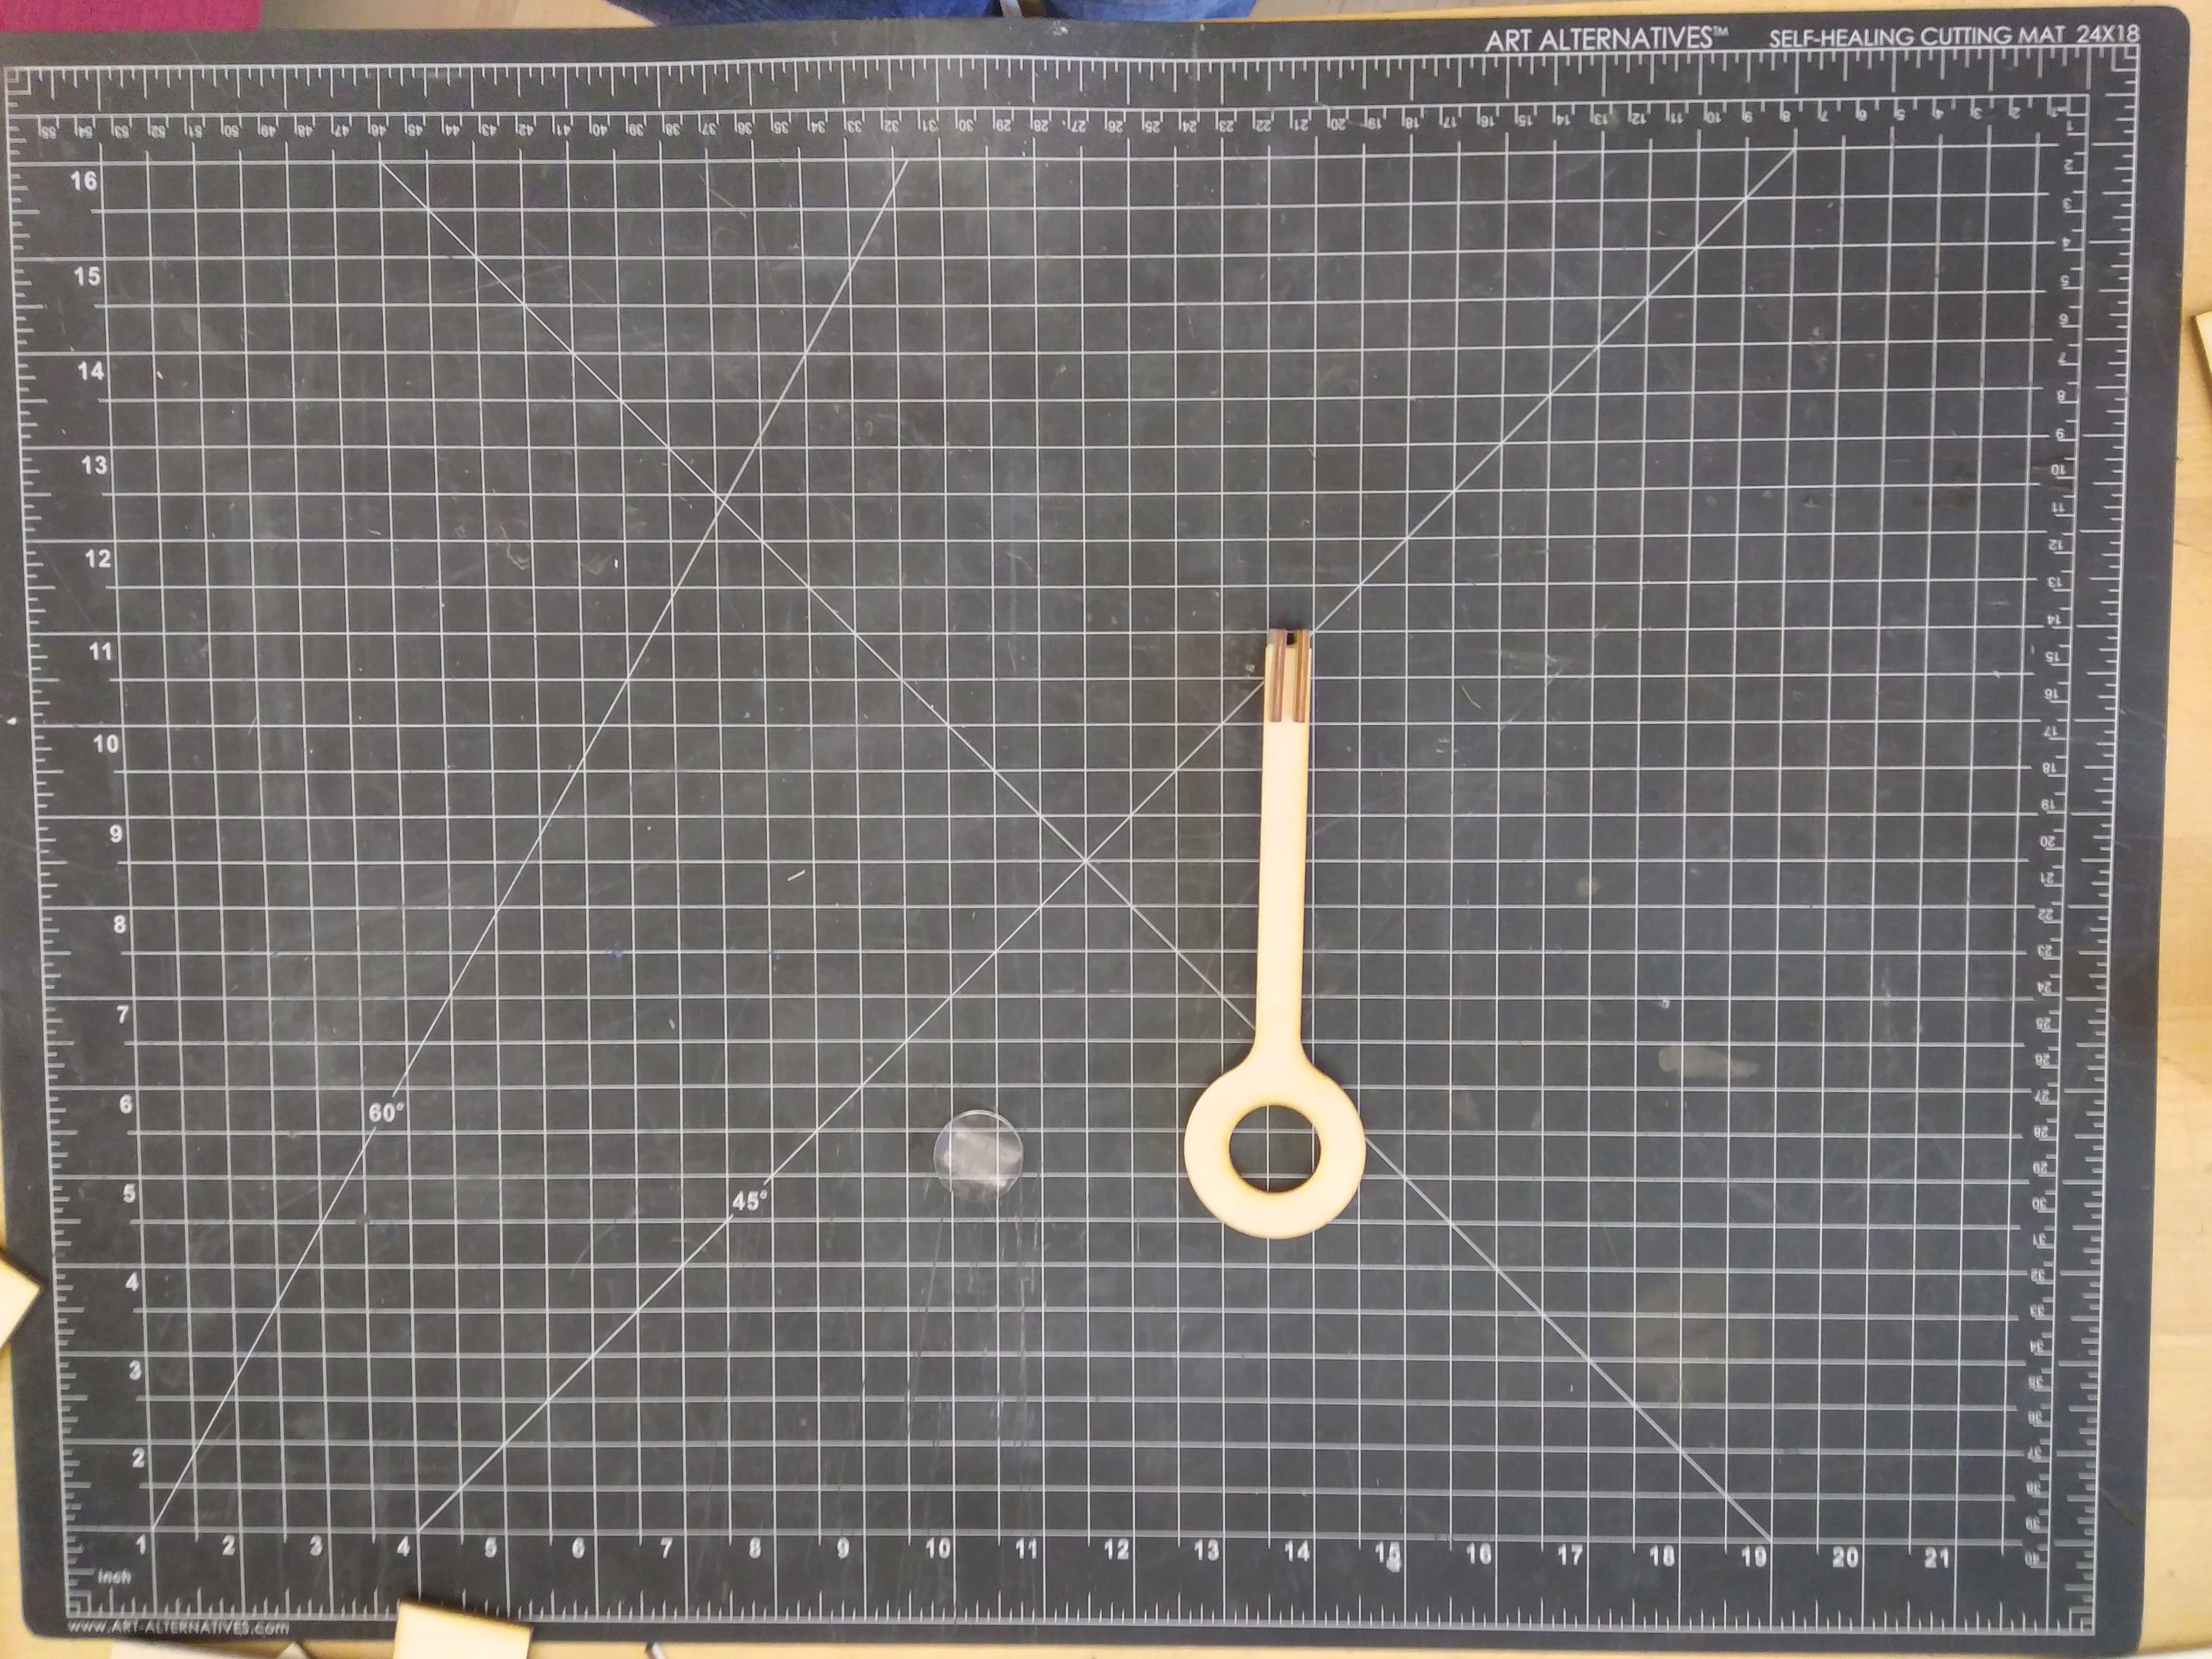
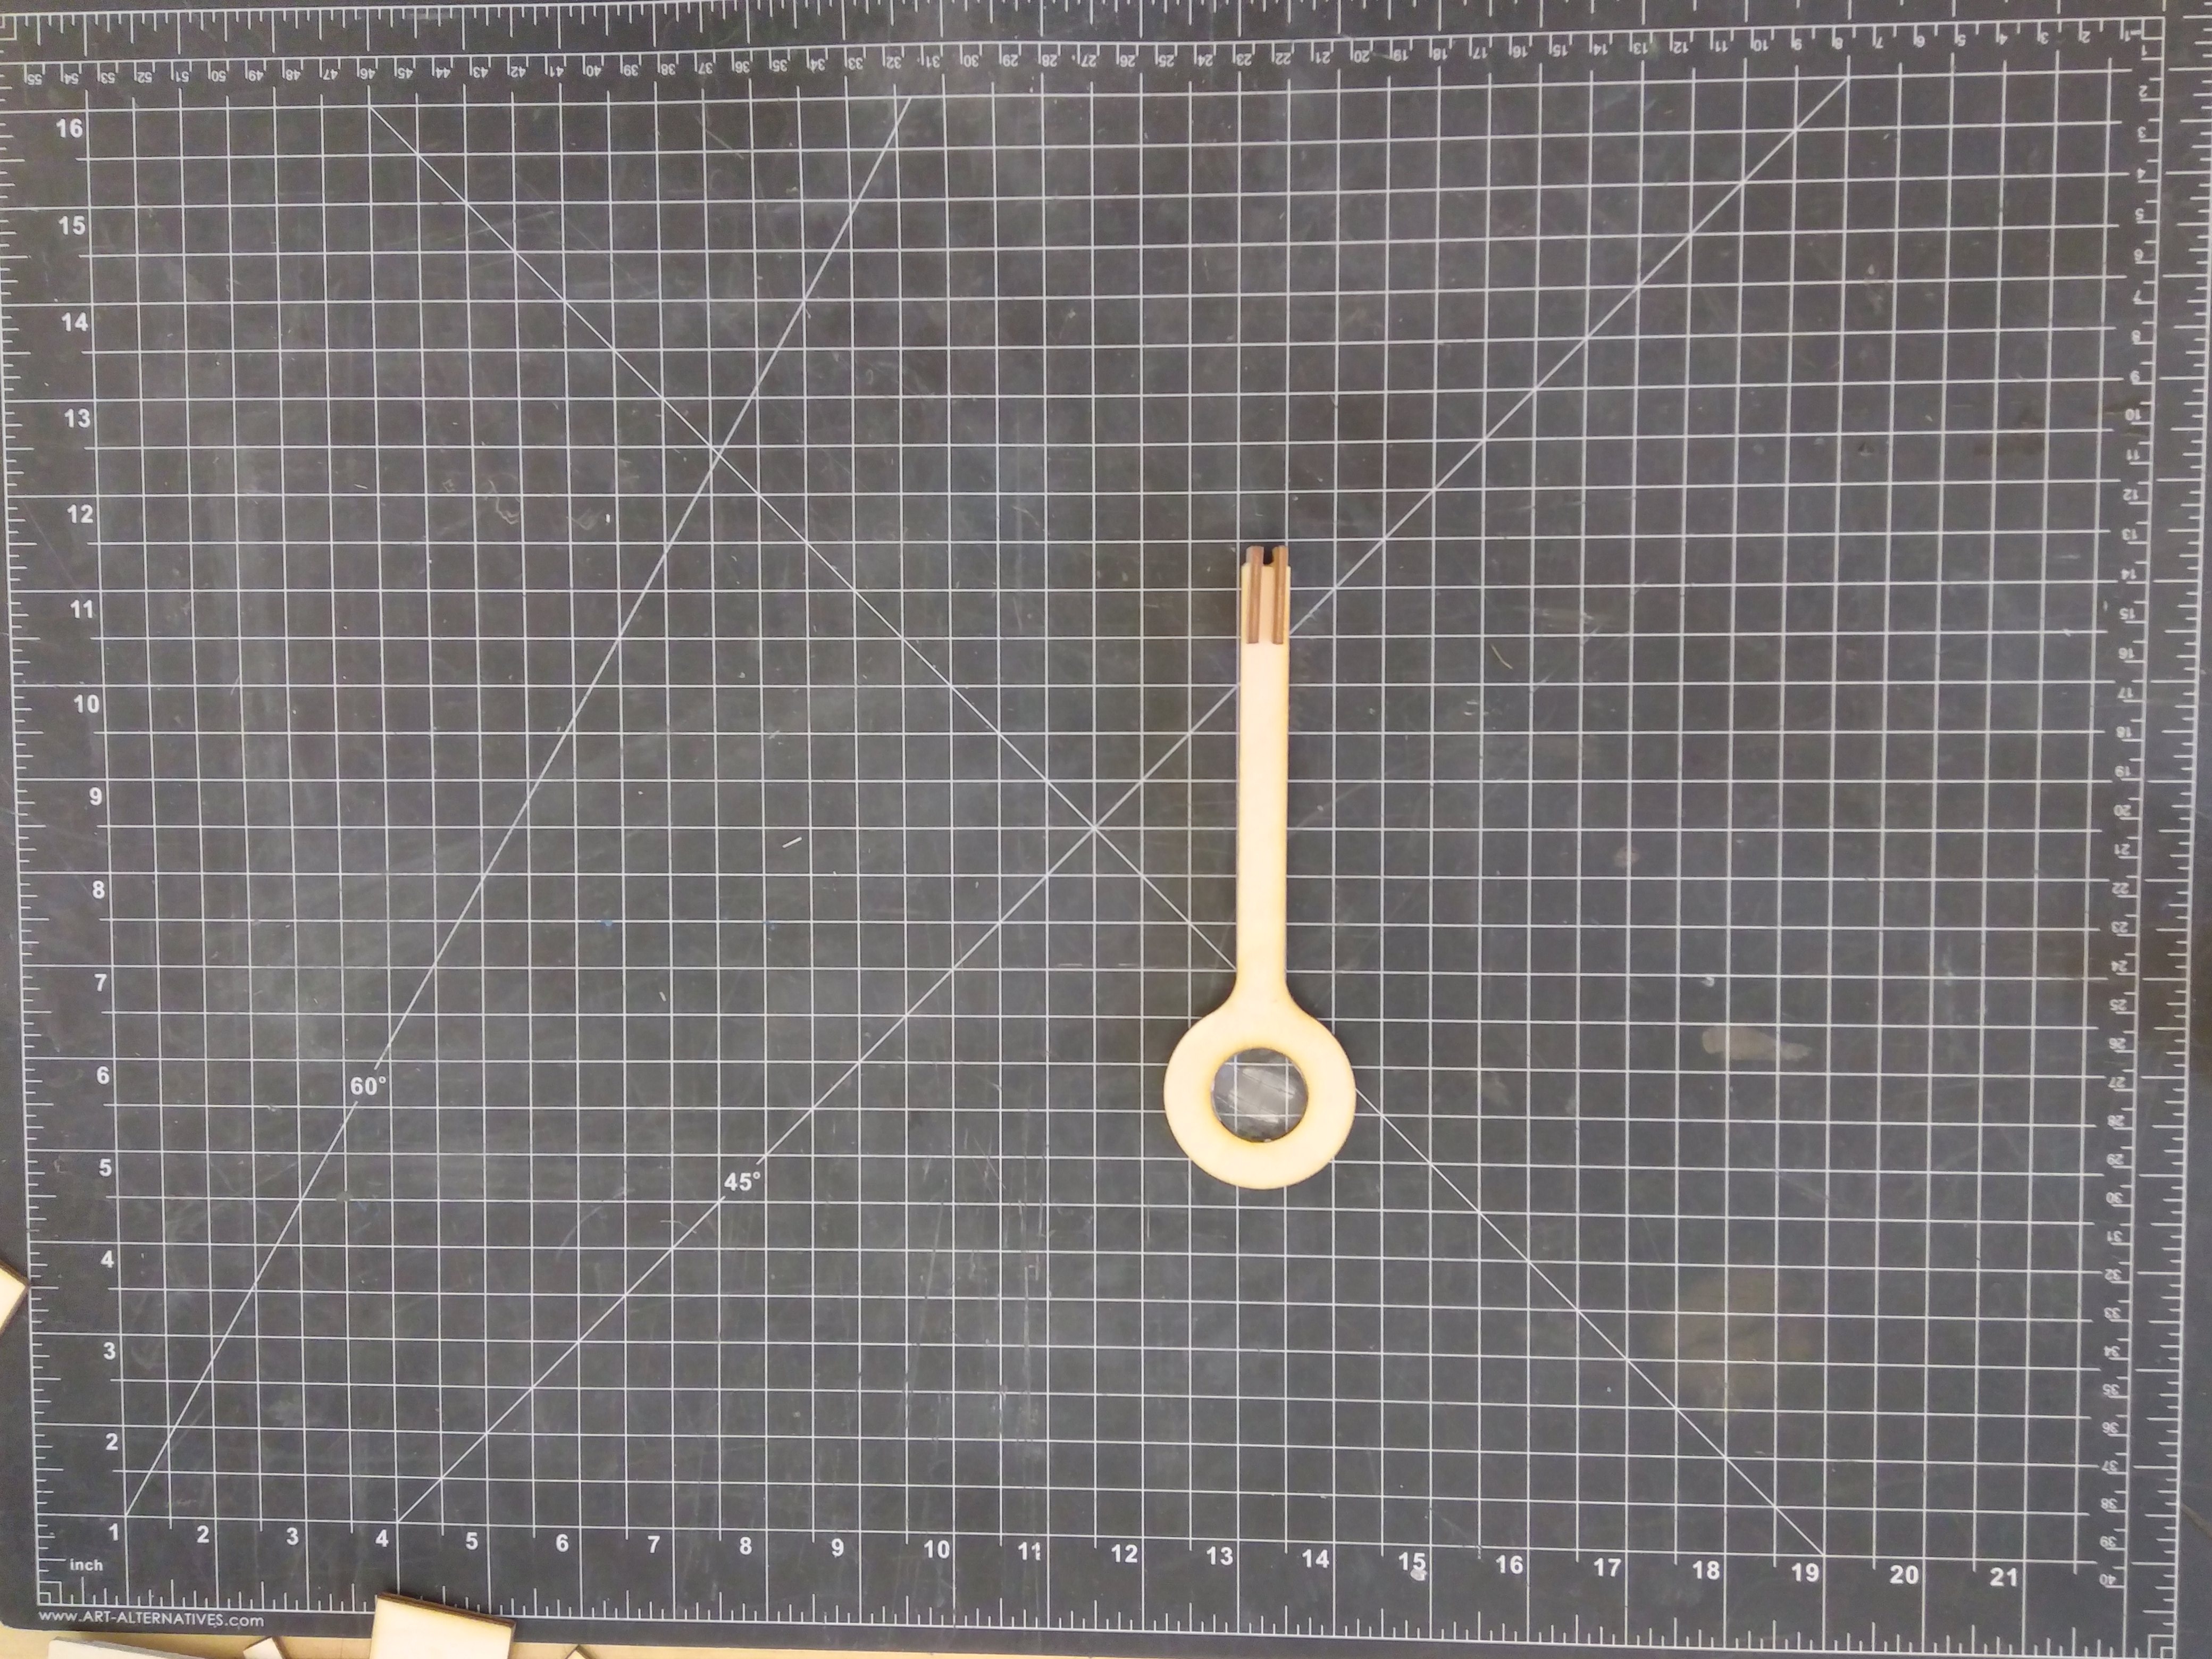
In this step, assemble the cell phone stand (images 1,2,3) and the lens by inserting the lens into the frame and gluing the supports onto the frame (images 4,5,6).
Step 5: Assemble the Slides on the Servo
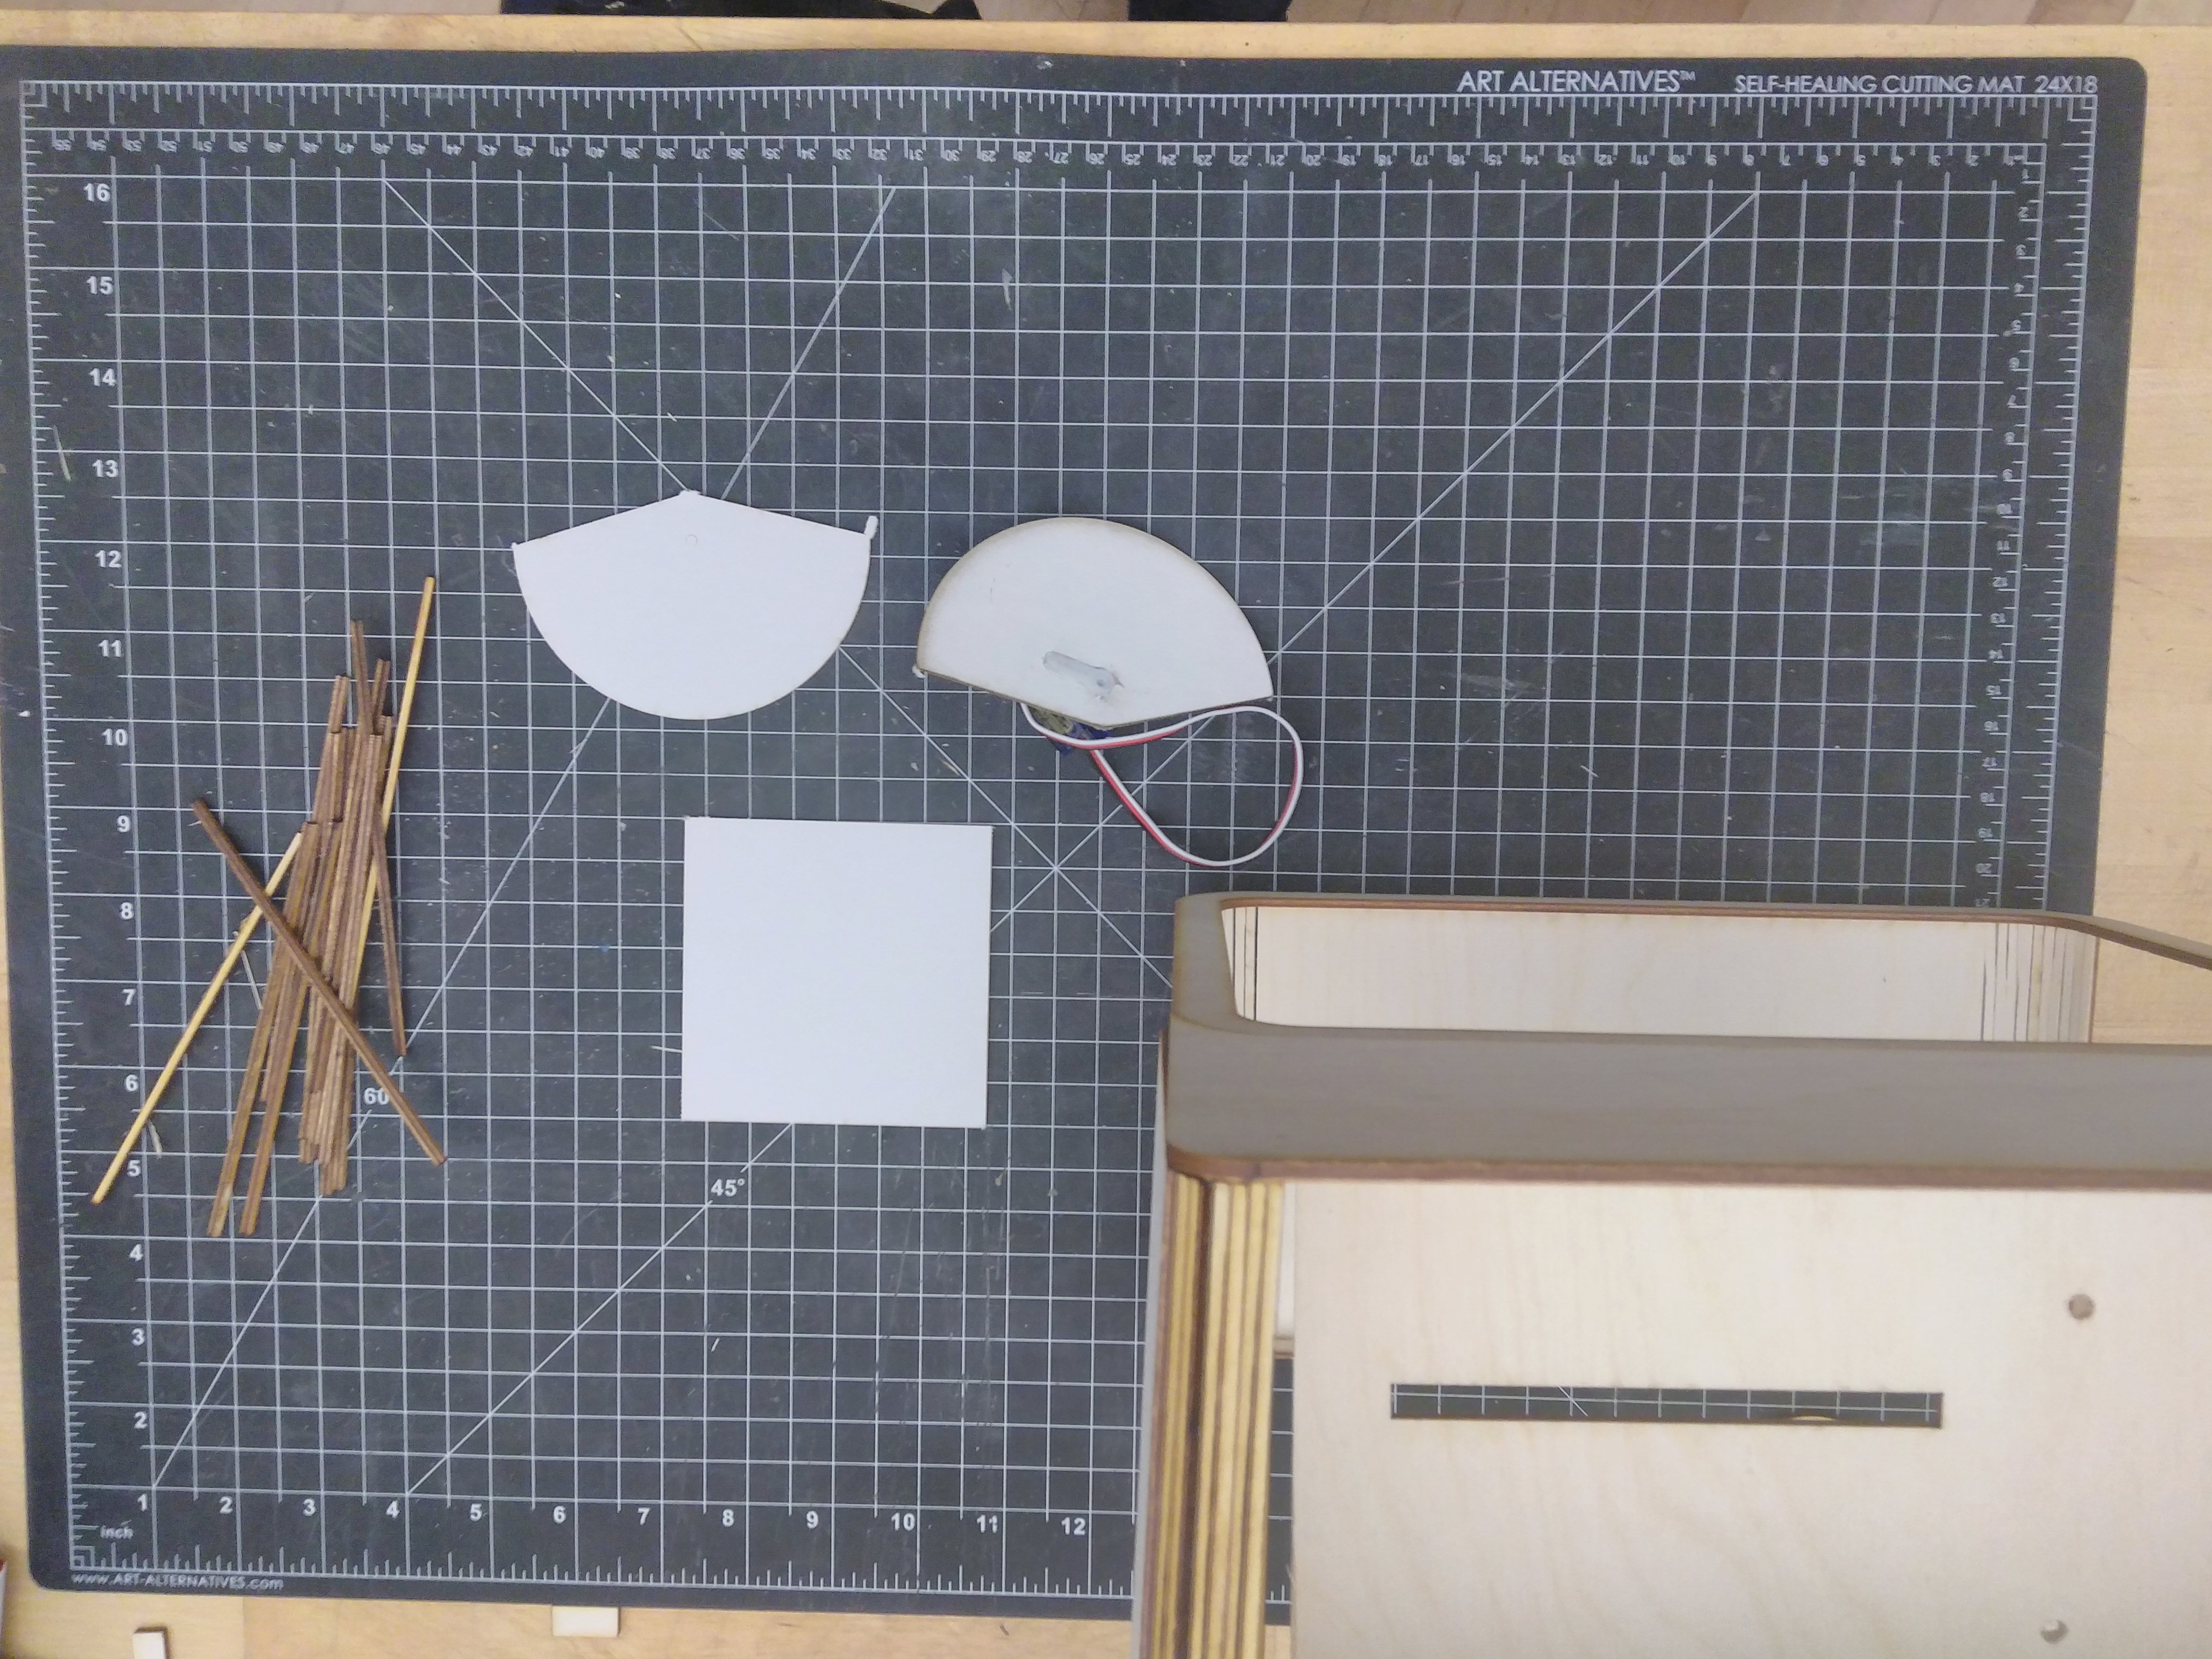
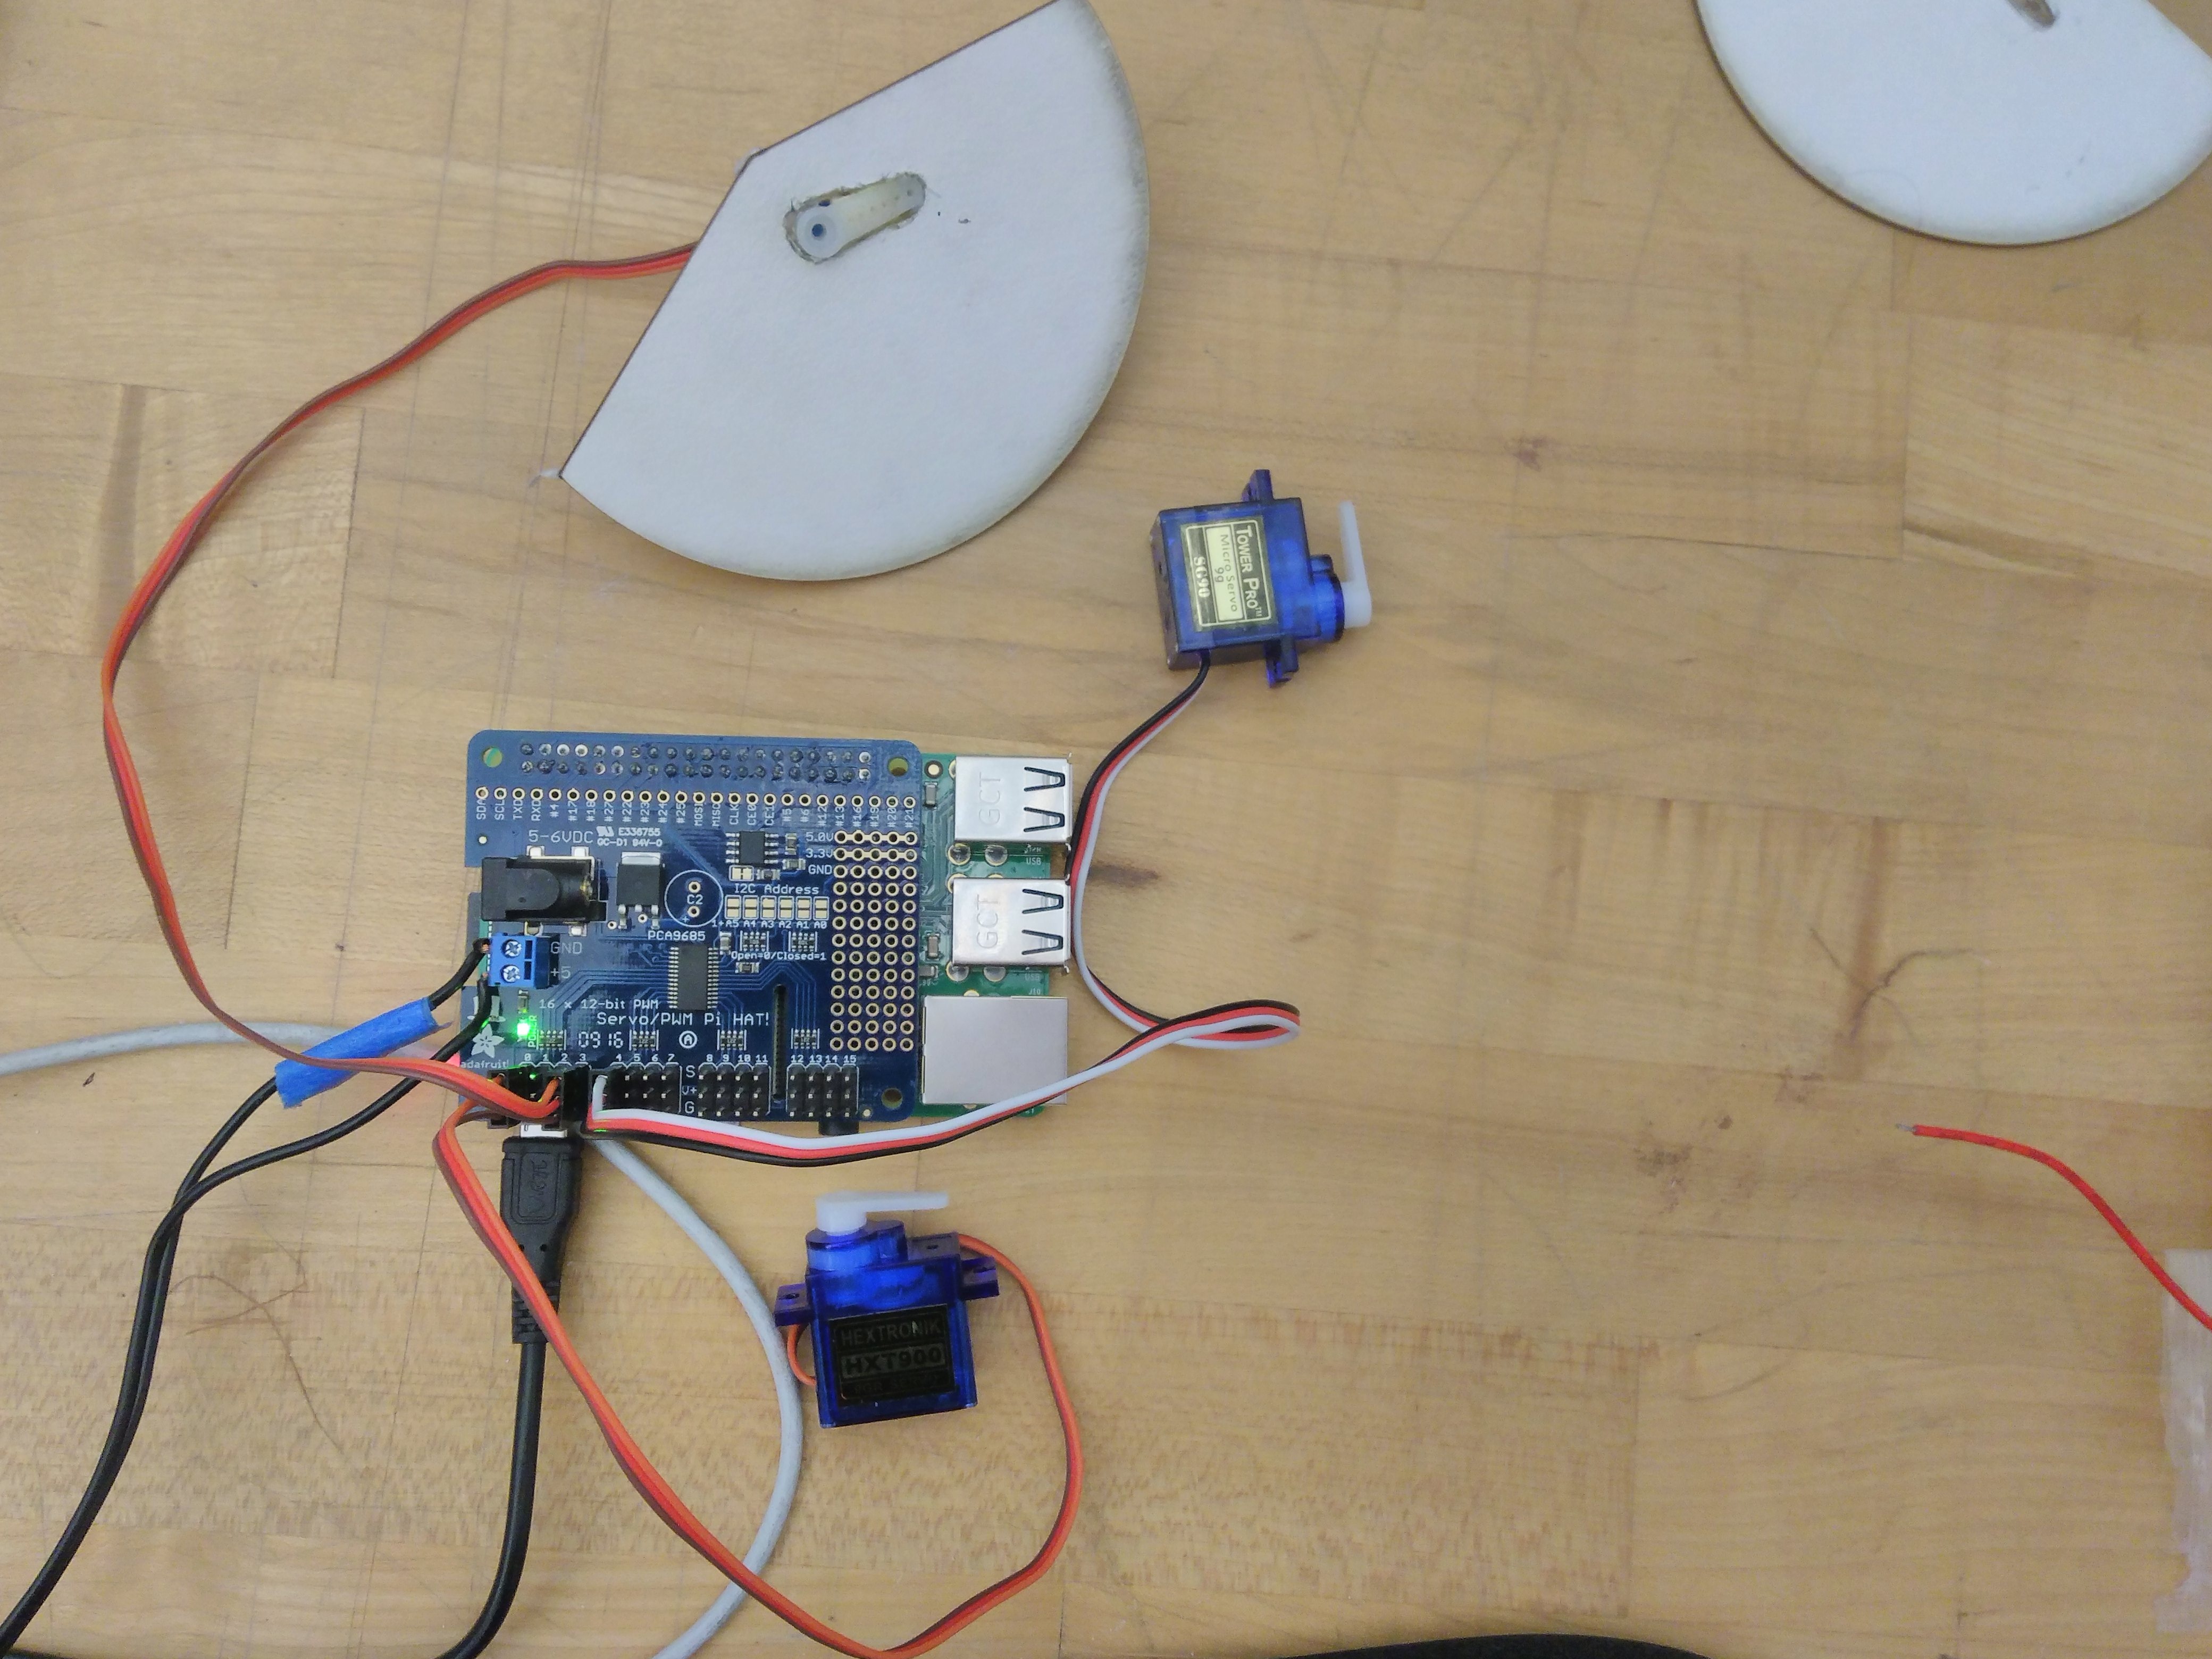
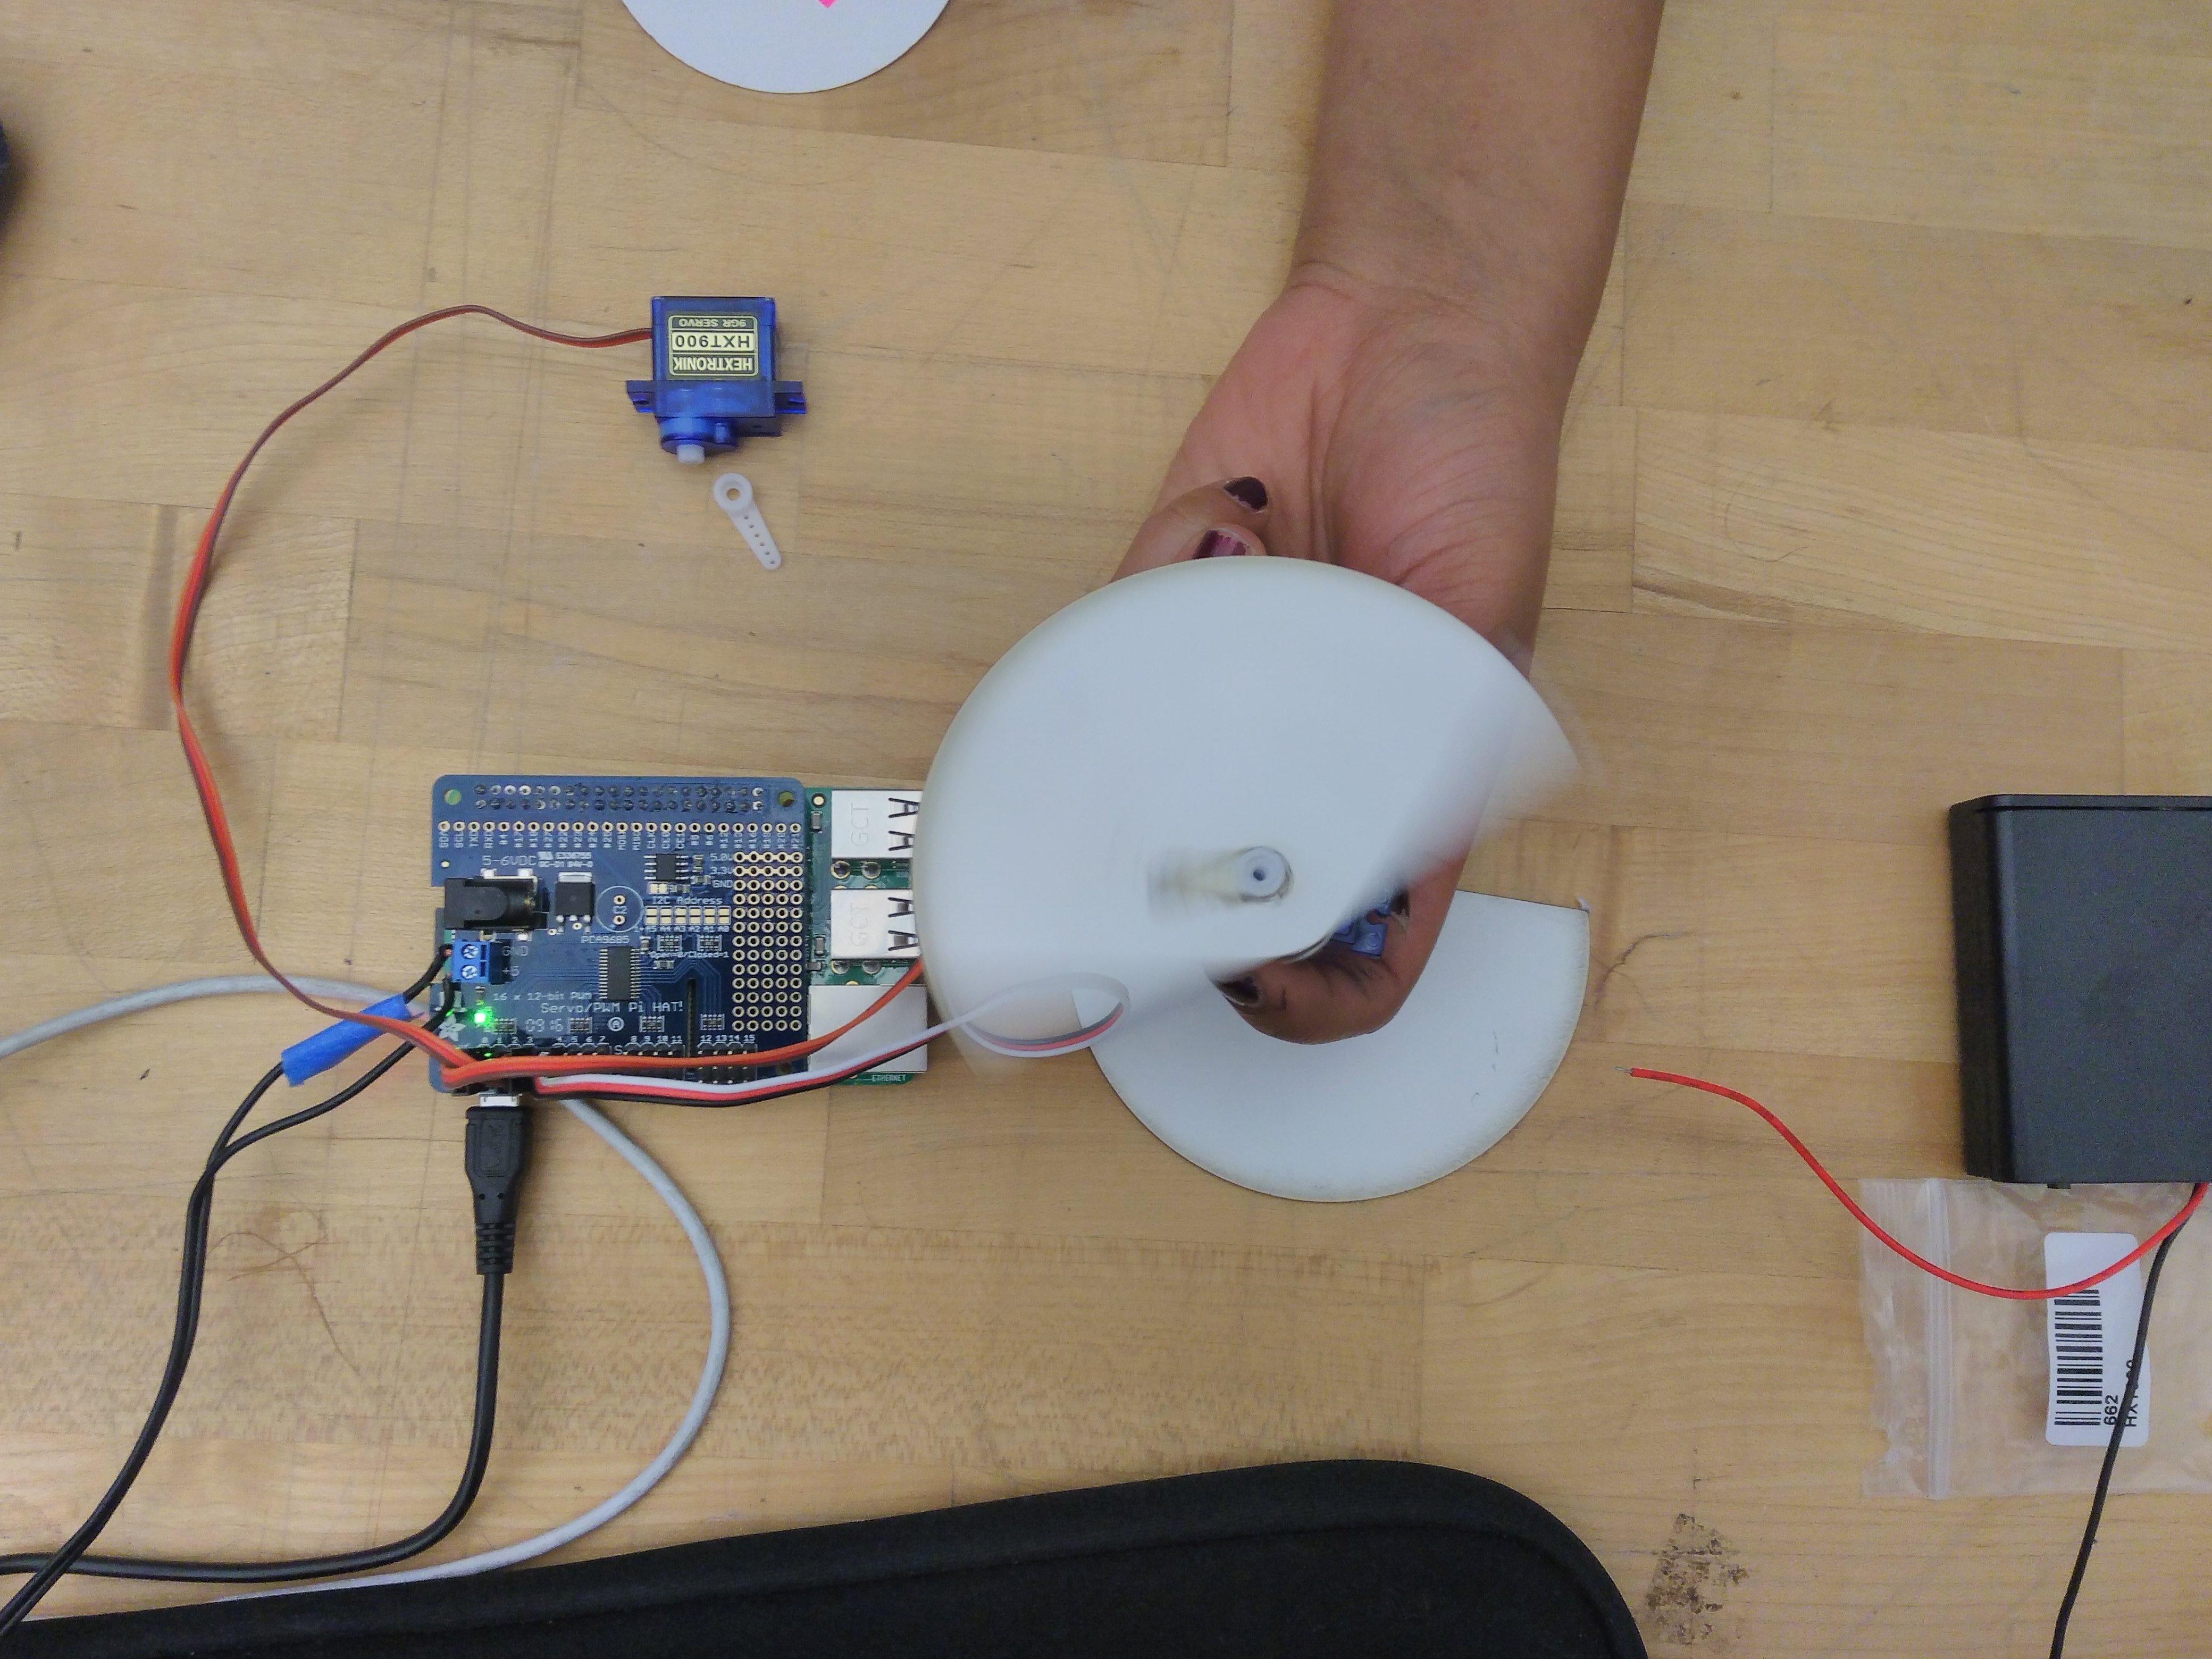
In this step, cut out and assemble the support structure for the slides onto the servo. Test to make sure that it does not hinder the servo's ability to rotate.
Step 6: Install and Secure Raspberry Pi
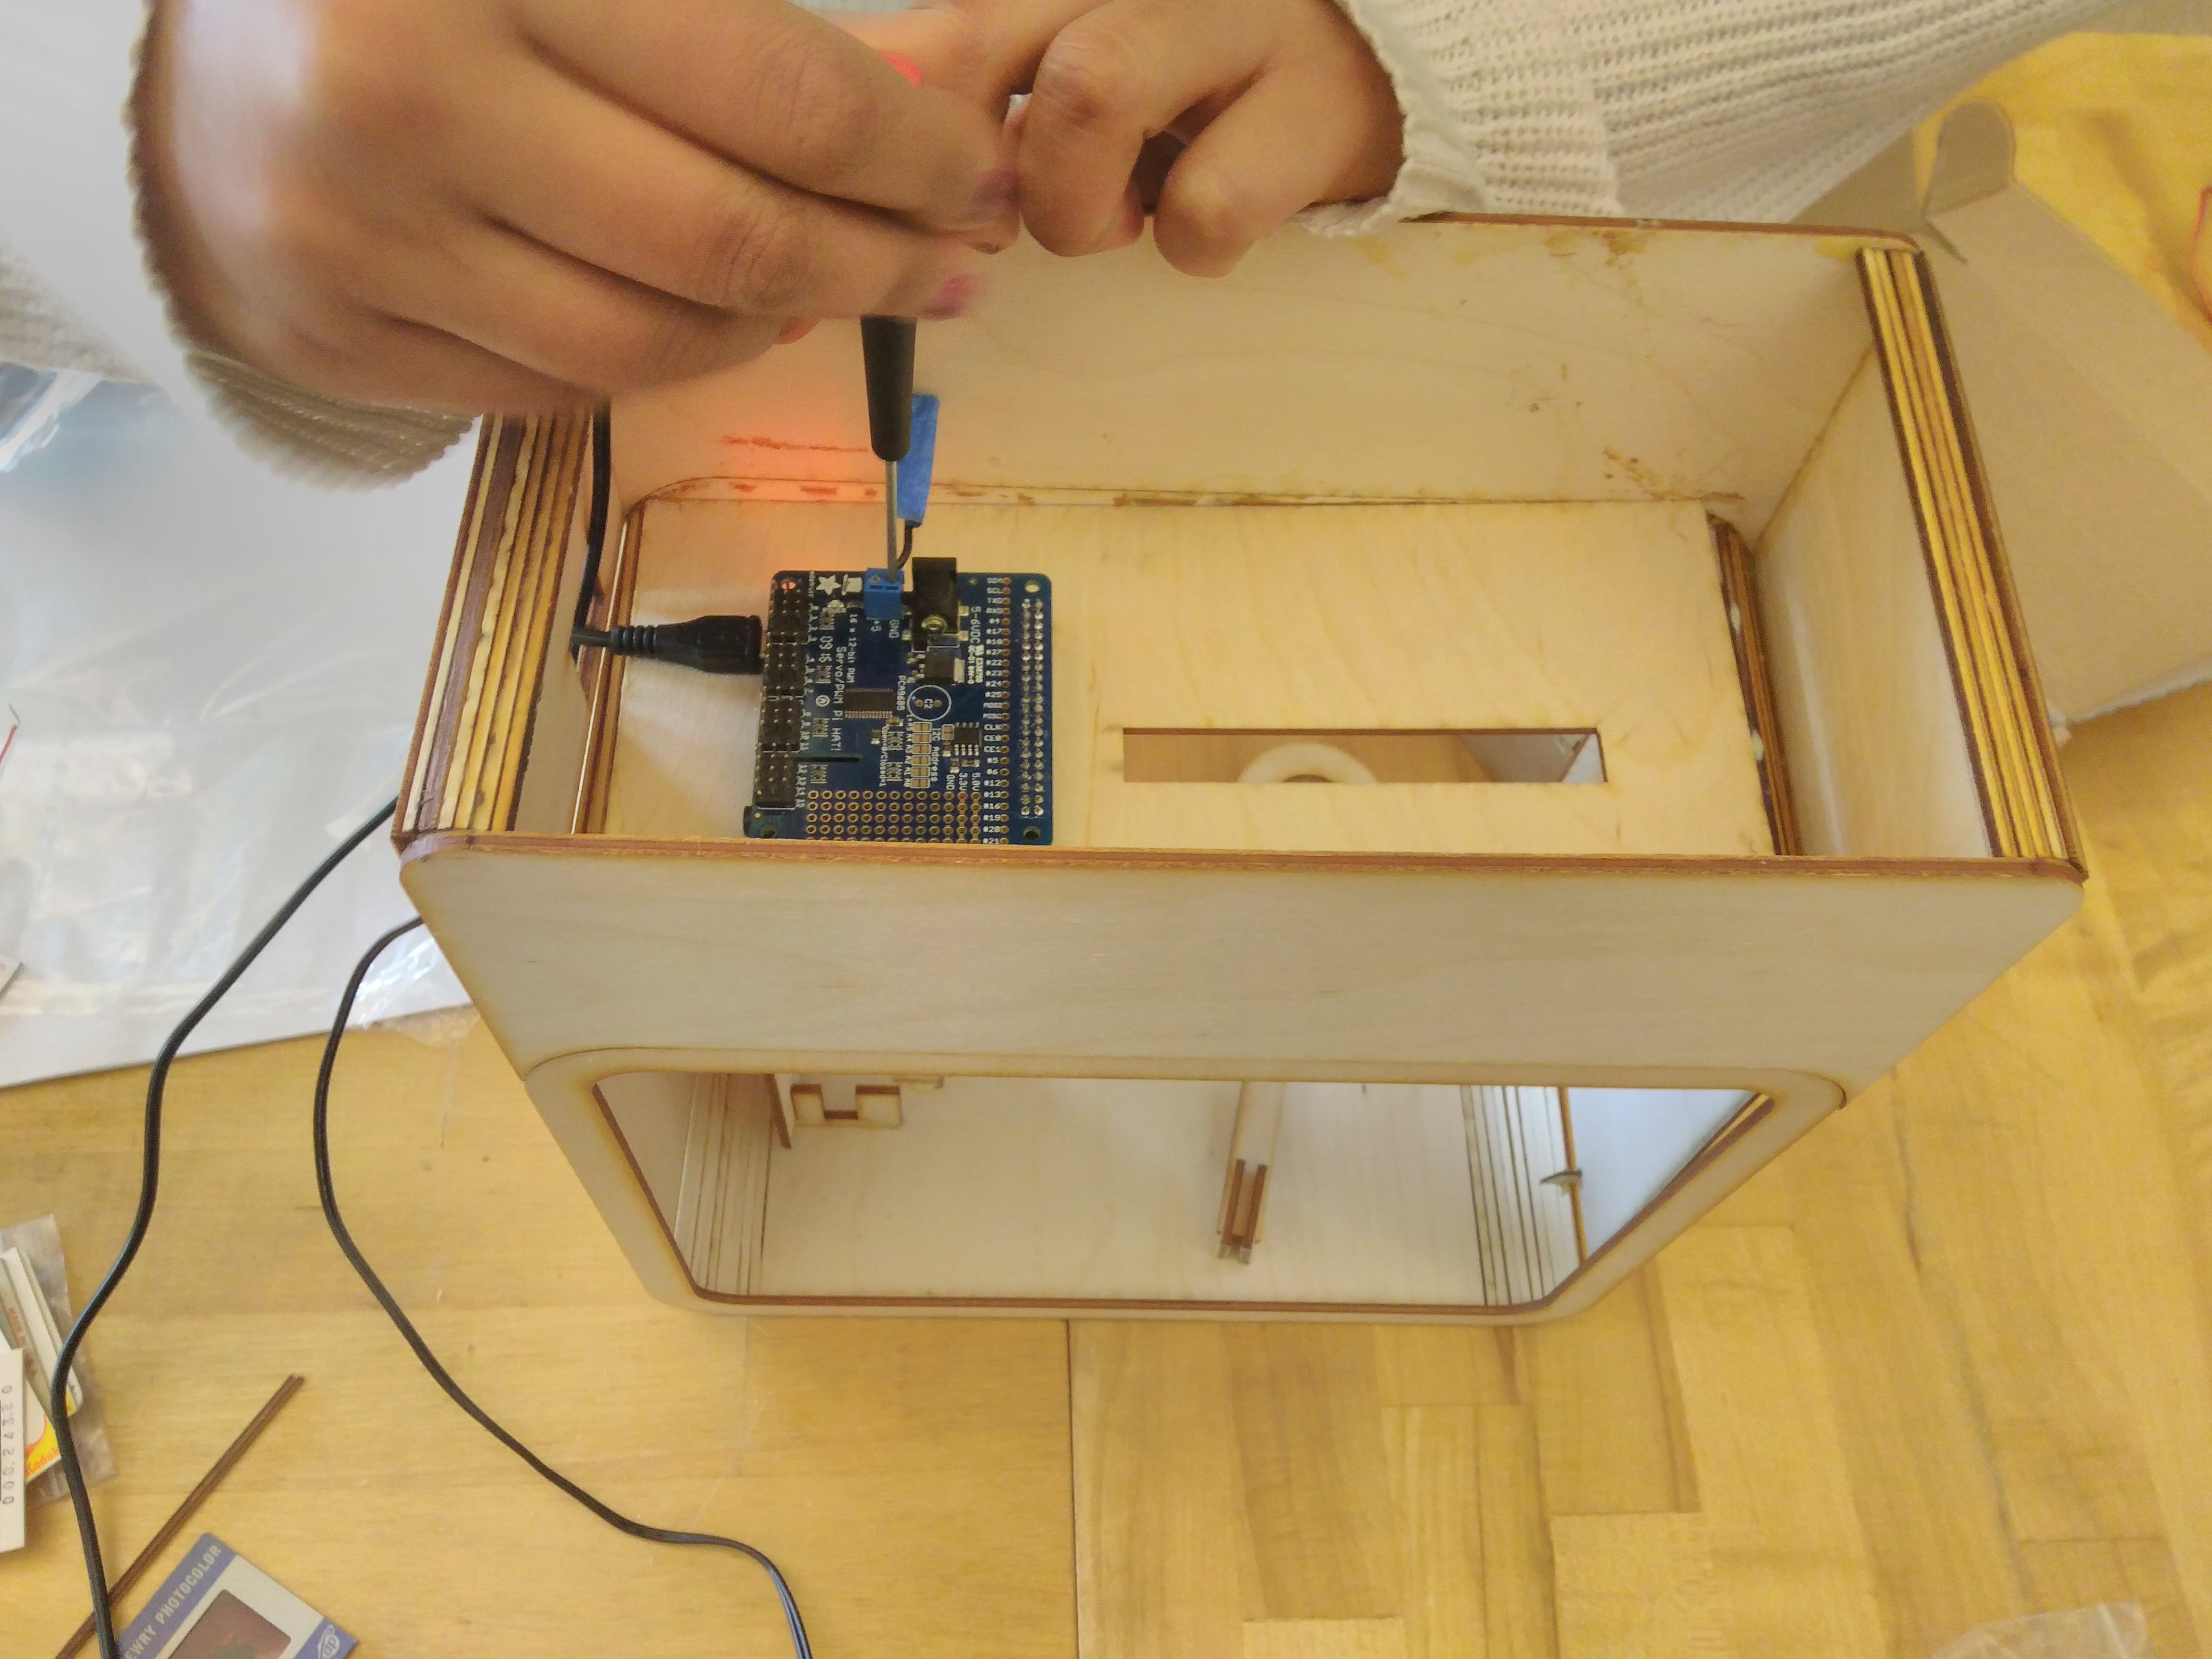
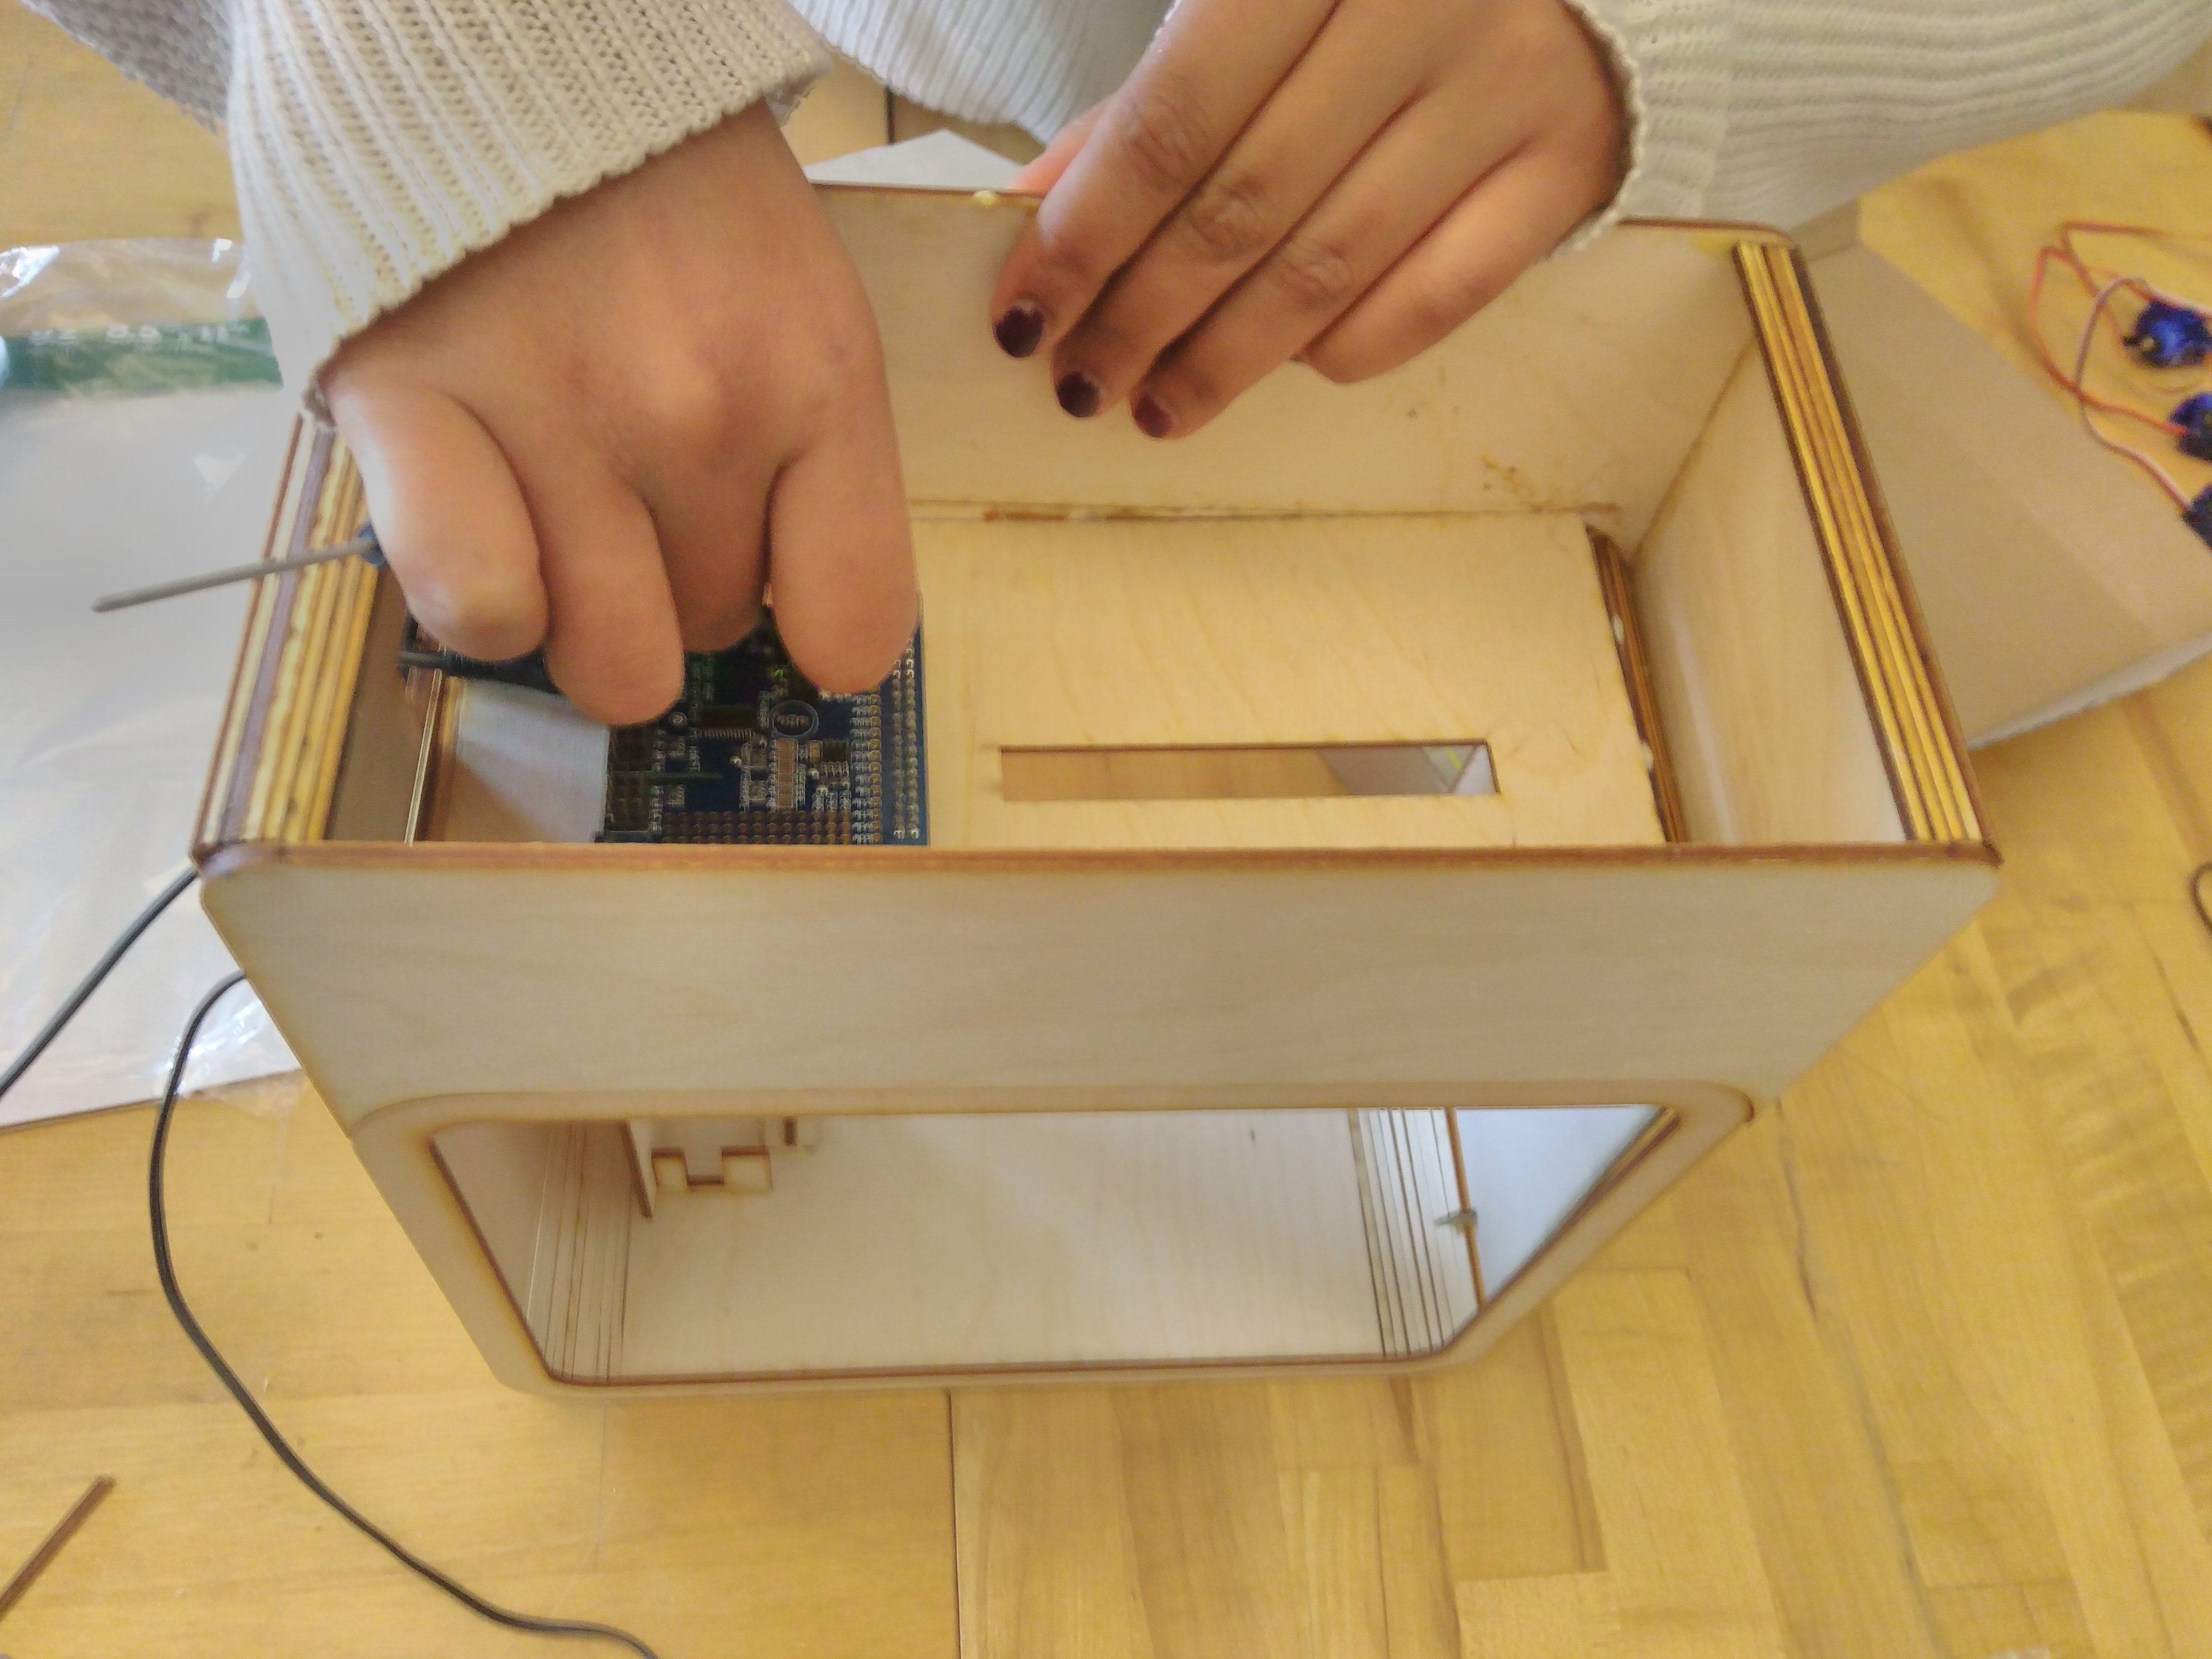
After ensuring that your frame is secure, place your Raspberry Pi into the frame and secure it.
Step 7: Wiring
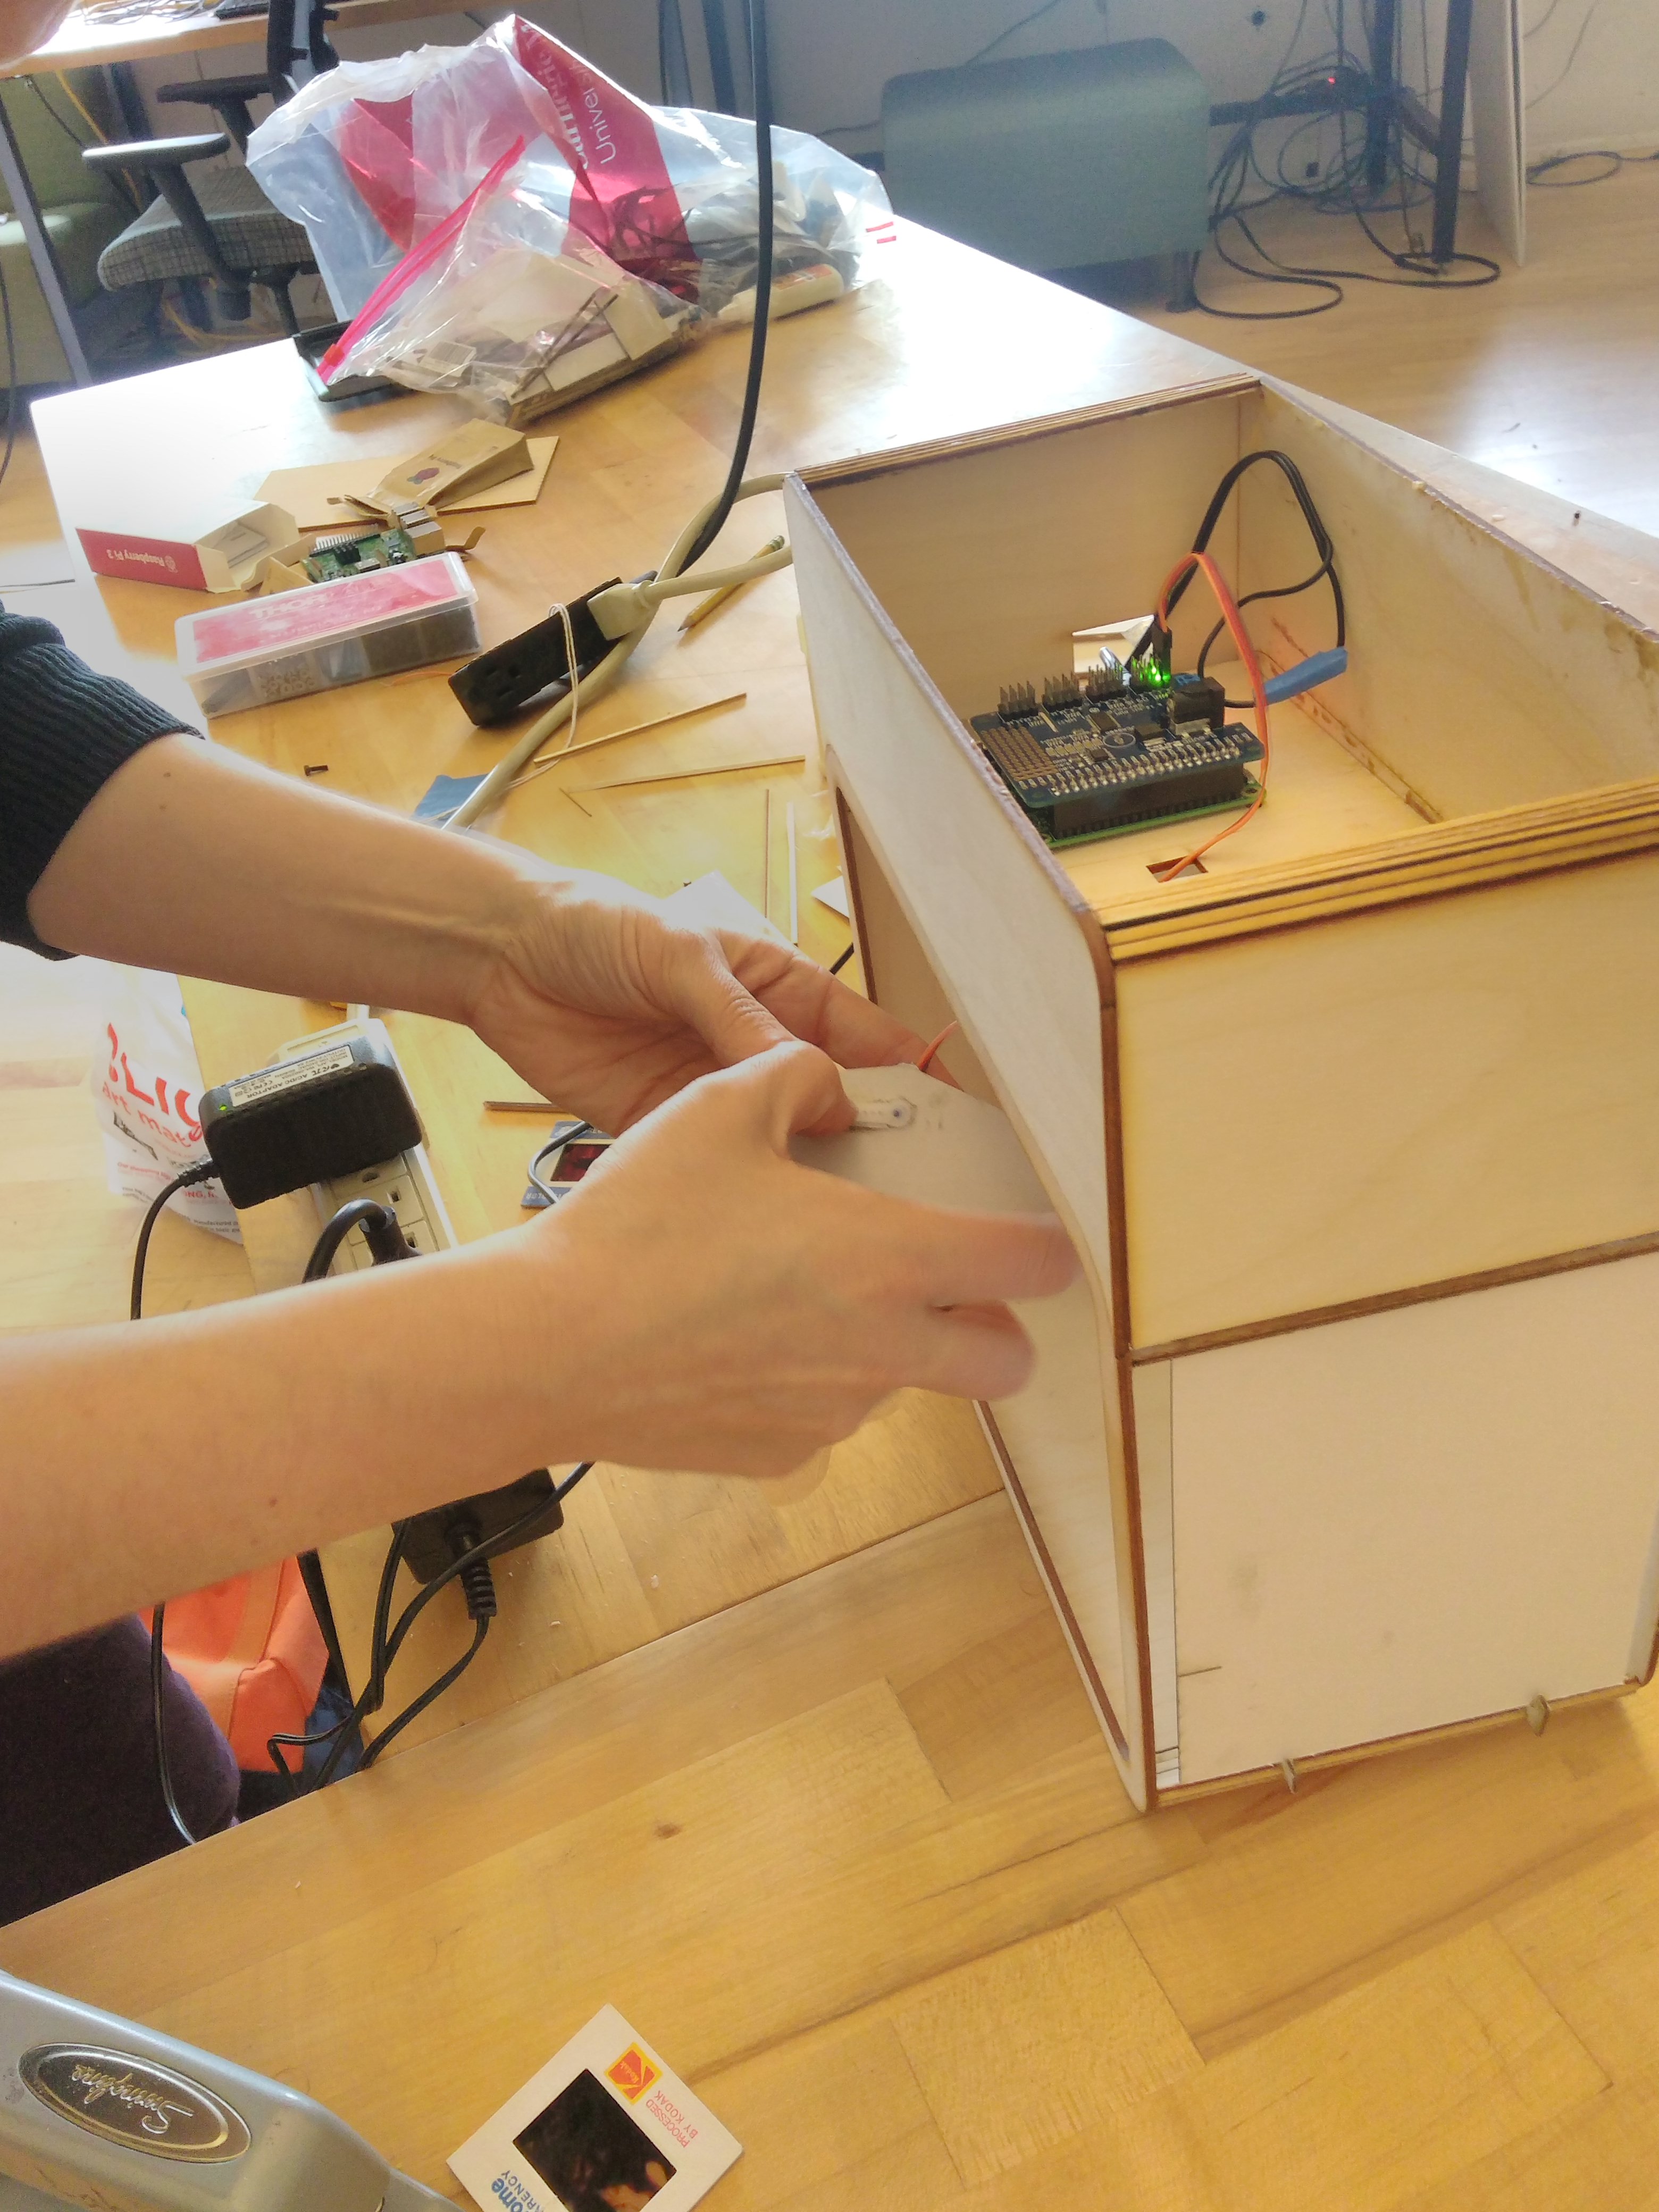
Wire the Raspberry Pi to the servo. Then squeeze the servo through the opening cut into the frame and secure it.
Step 8: Final Product
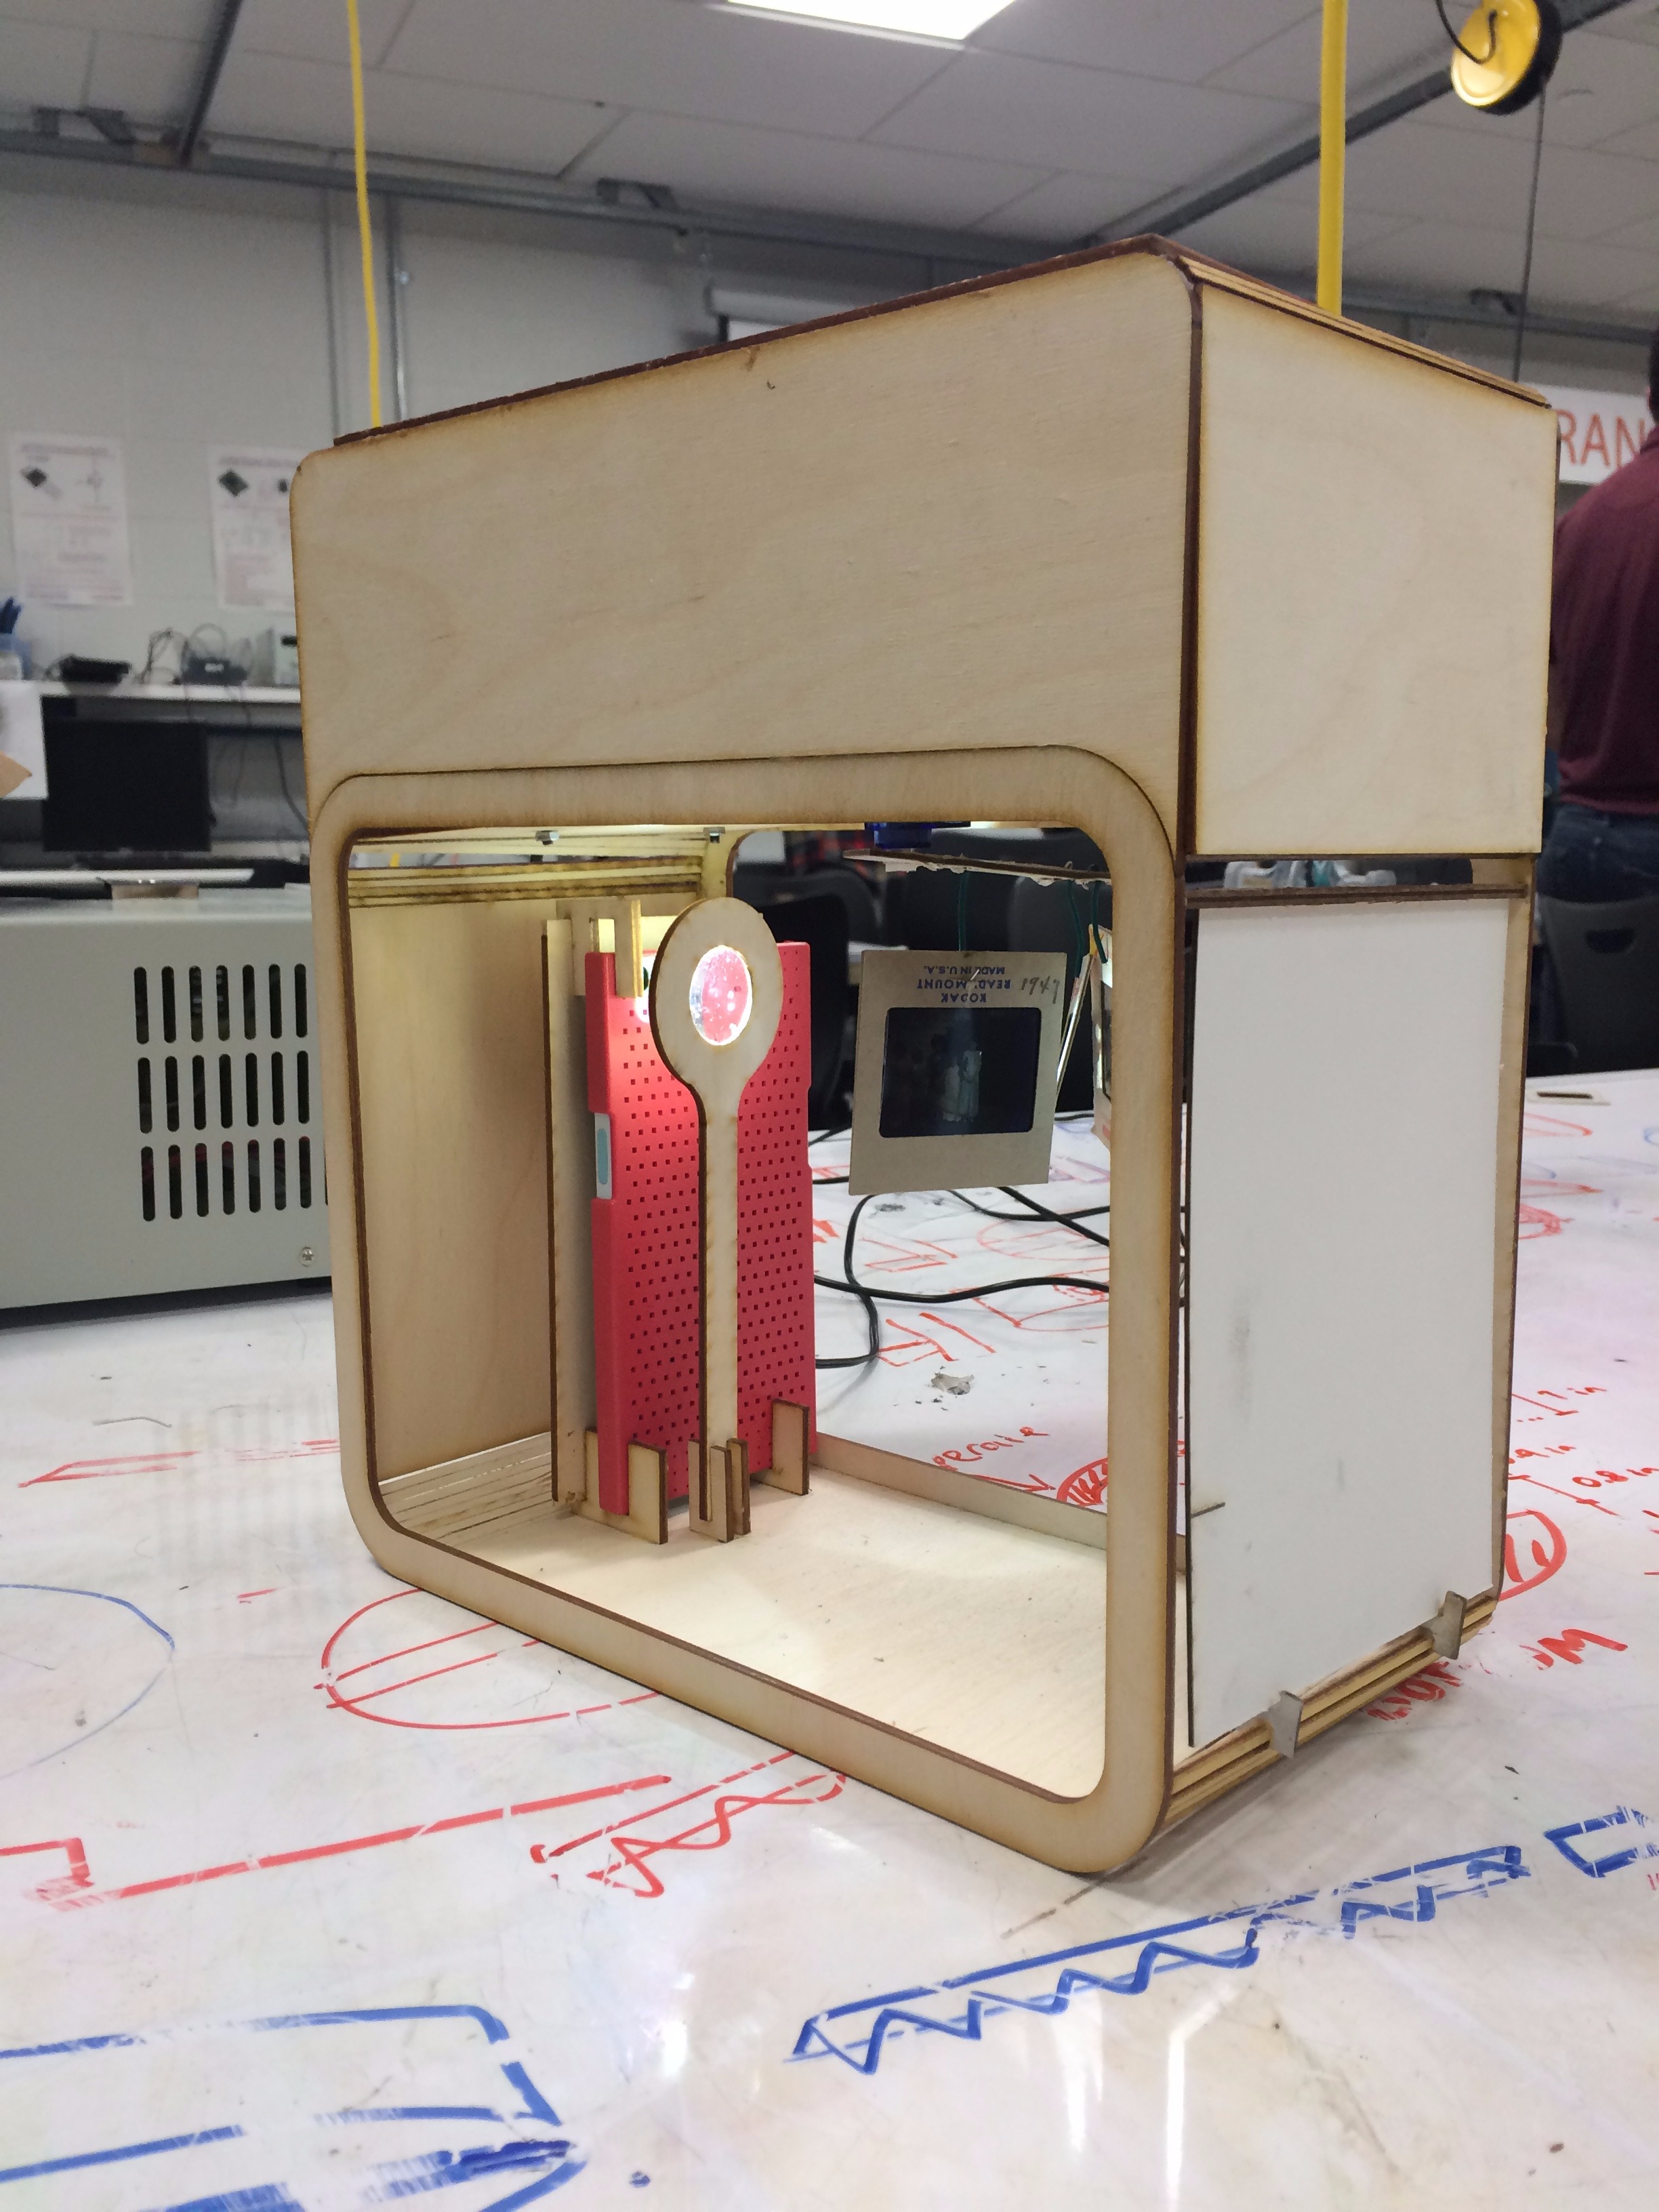
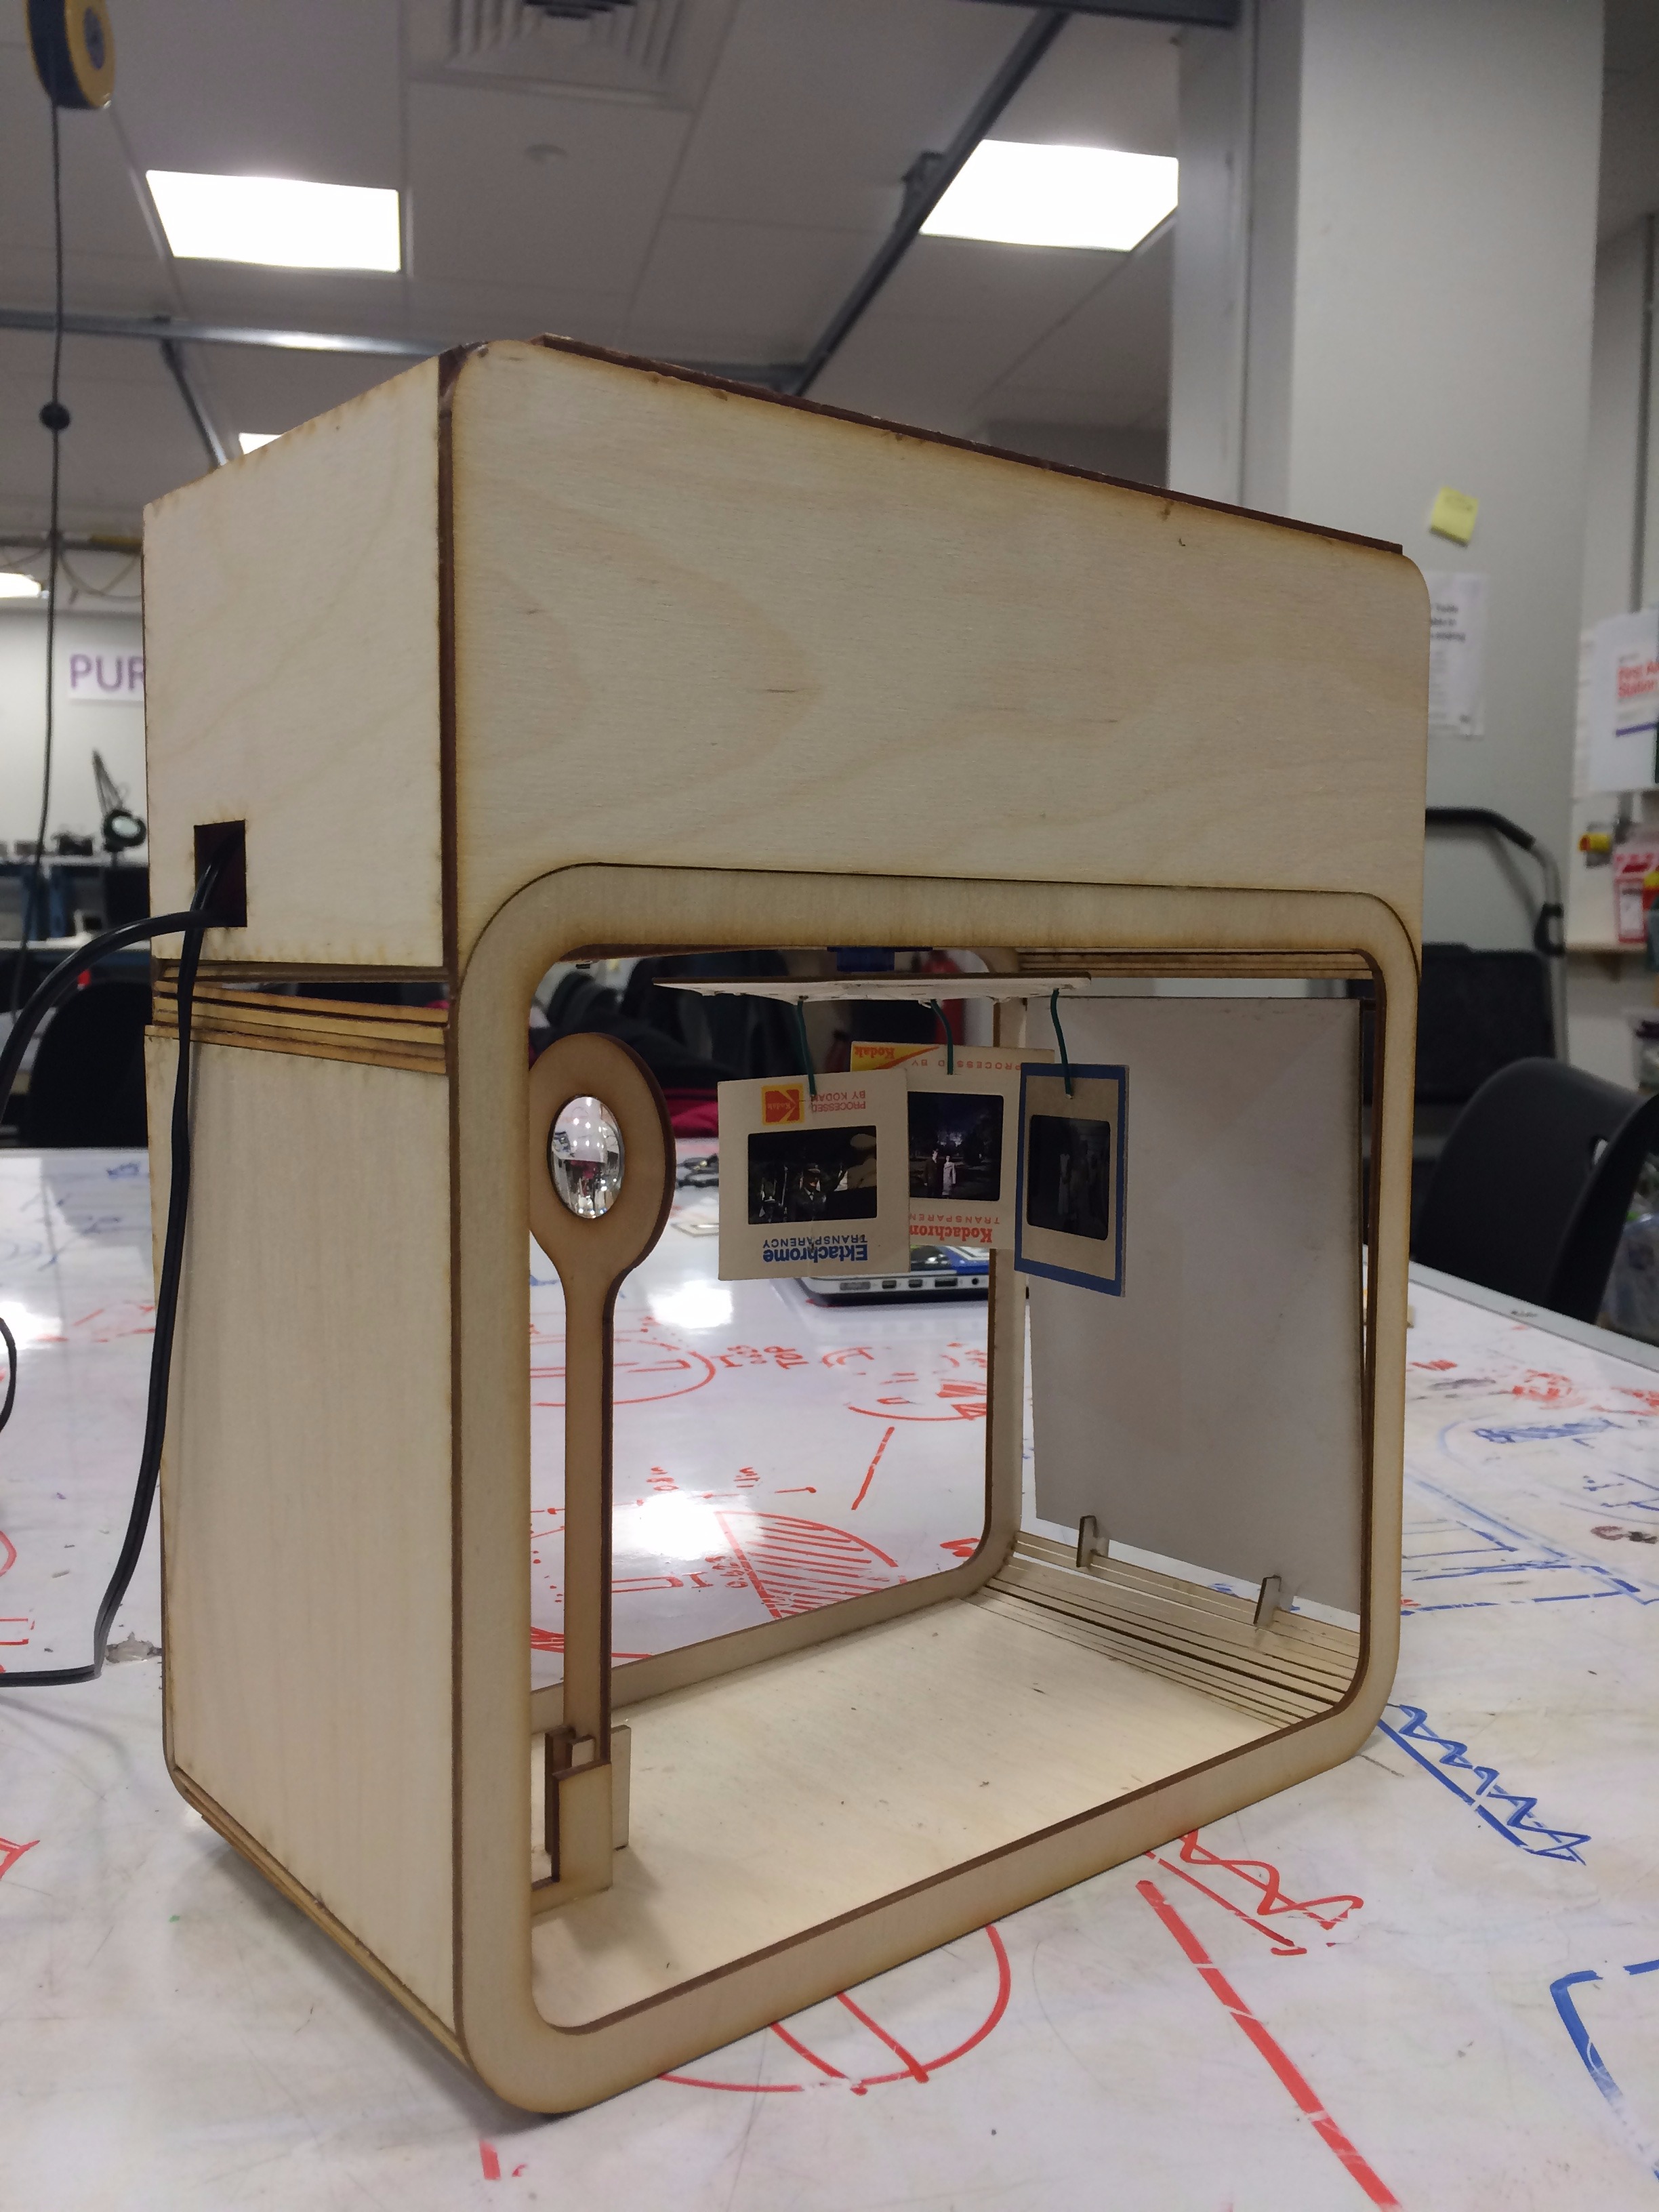
Your done with building the prototype!
The code for the Raspberry Pi and the file for the lasercutter can be found at:
https://github.com/ranjinipnarayan/MTI_project2
Now that you have assembled the prototype. Just run the code from the link and watch your picture slides respond to a twitter stream!