Making Tessellations in Inkscape
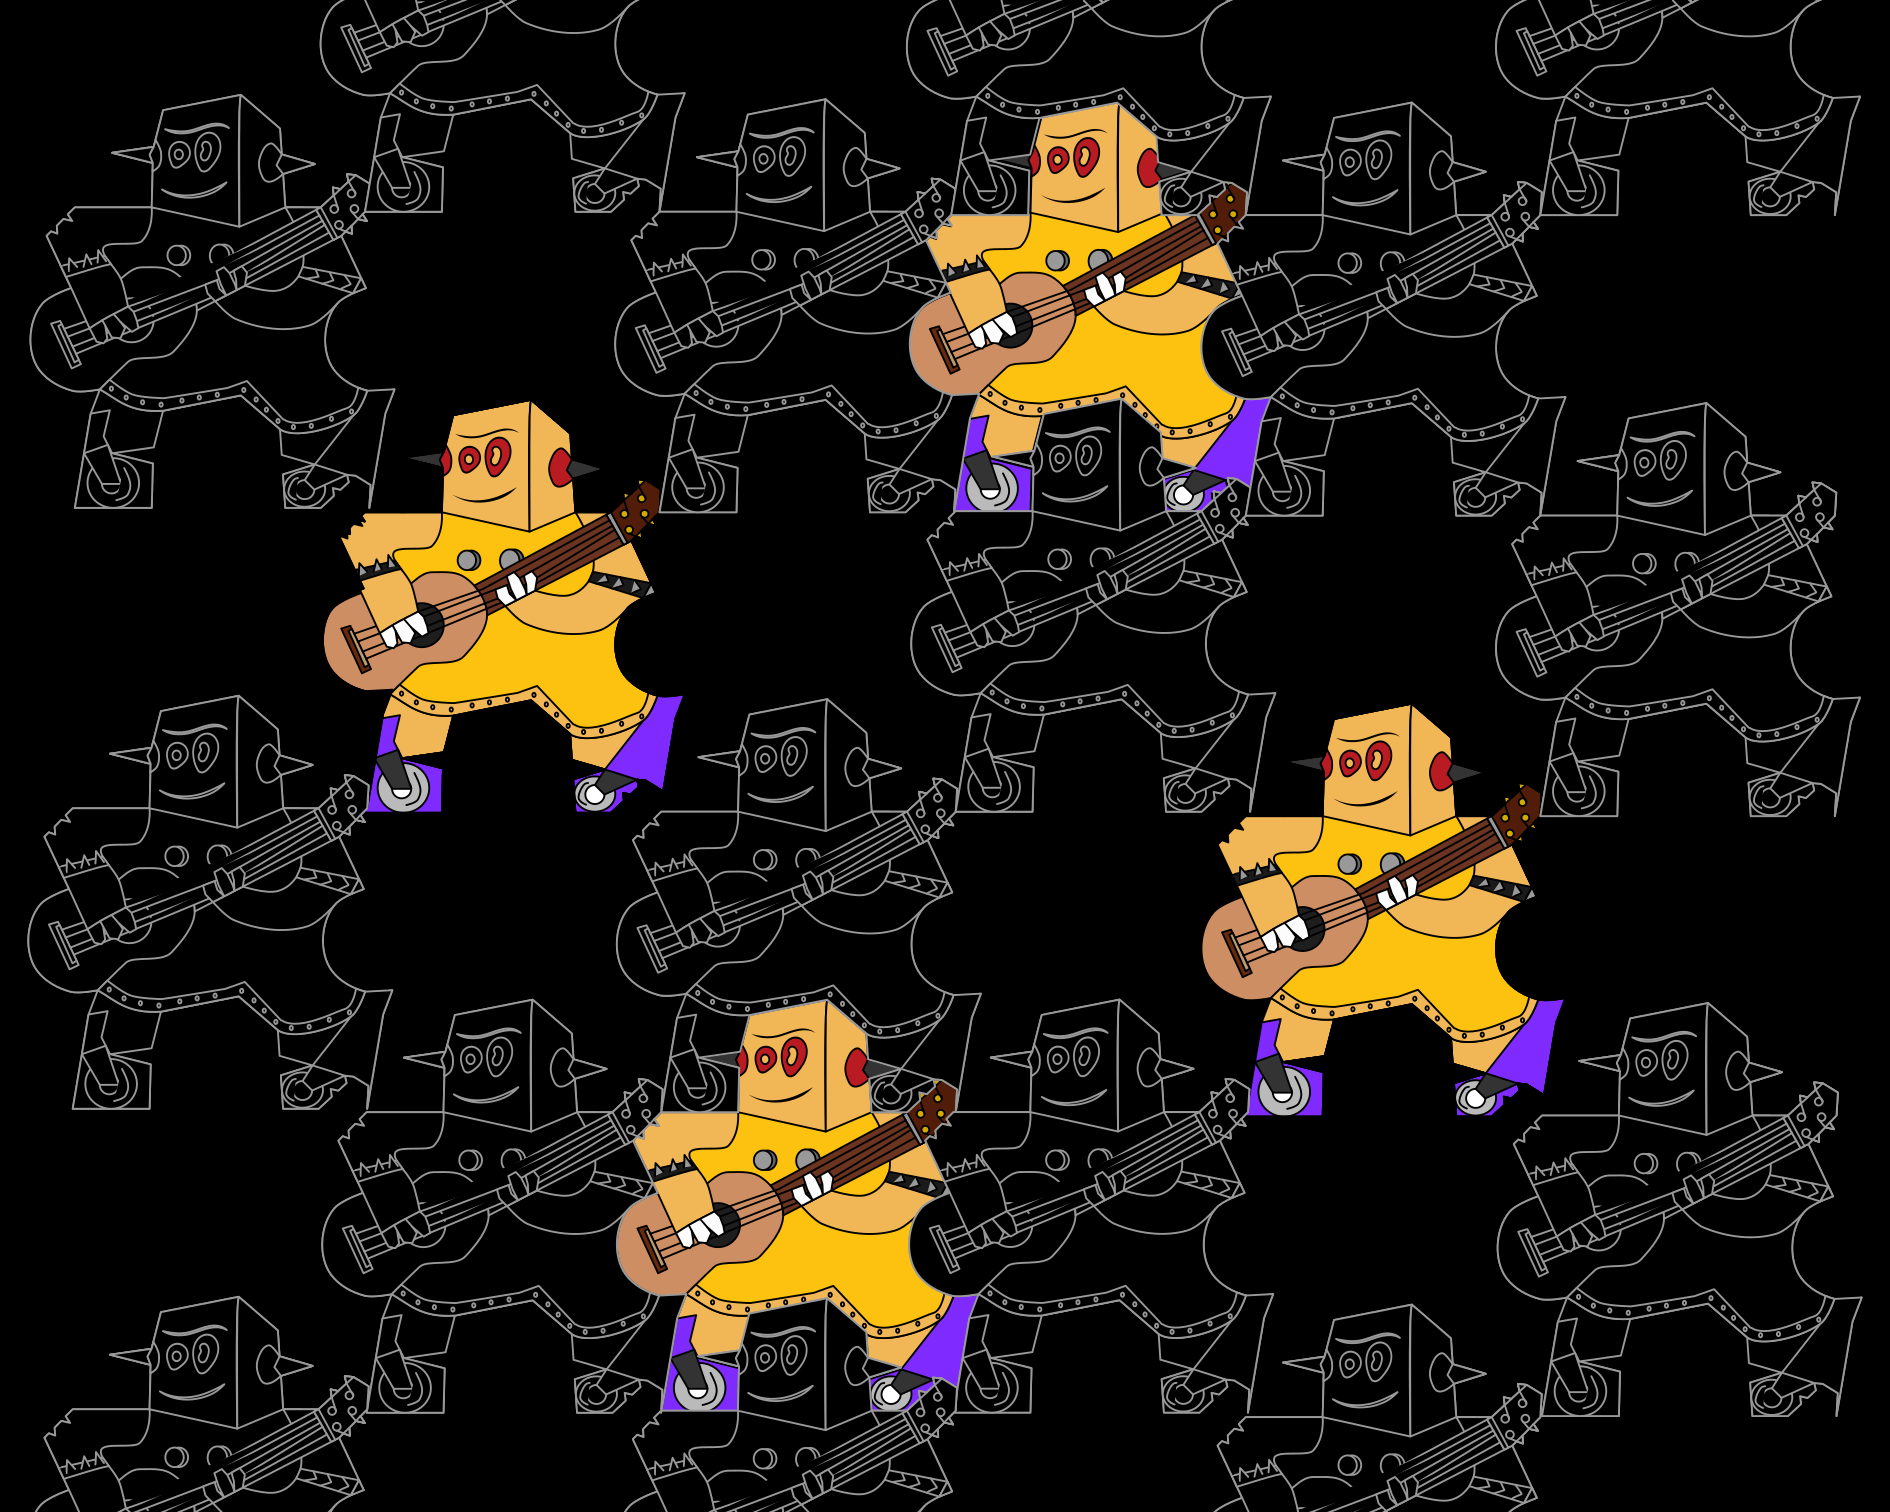
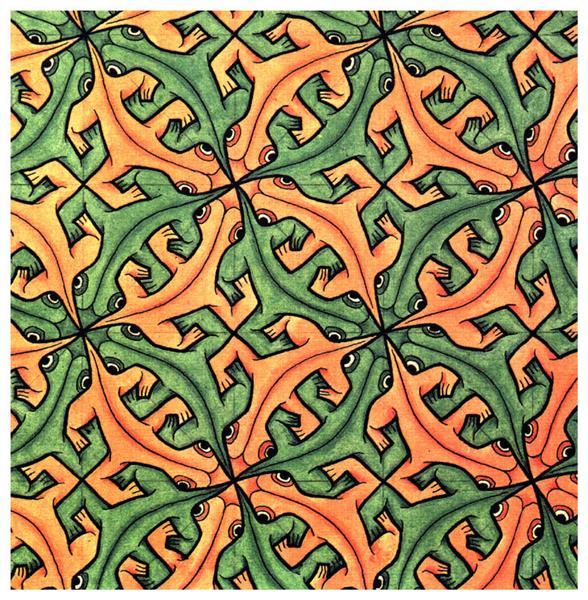
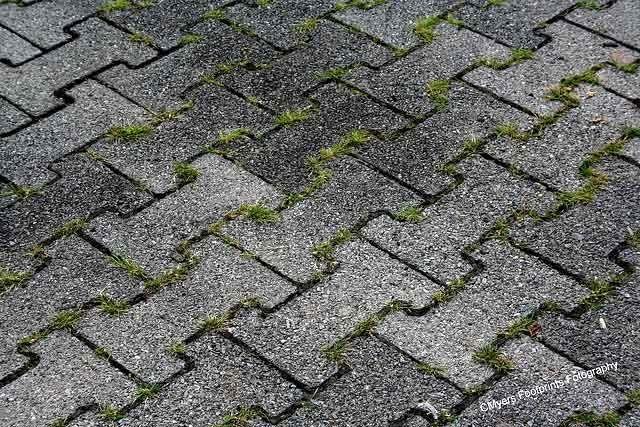
Have you ever seen an M.C. Escher tessellation and wanted to make one yourself? Well this tutorial is for you. This Instructable will teach you how to make your own custom tessellation of what ever you want!
What is a Tesselation?
A tessellation is a type of tile placement and a great intersection of math and art. An easy example are bricks. You can fill a 2D plane with an infinite number of bricks. They are rectangles which makes them simple to place next to one another. Bricks can even be more complex like the H tile photo (Or even Texas shaped bricks!). There is a lot of math that can go into making a tessellation but the core principles can be replicated using a custom template in Inkscape.
This Instructable will teach you how to make your own custom tessellation in Inkscape!
Supplies

This Instructable only needs three things
- Inkscape
- My Inkscape template
- A creative mindset!
Luckily all of these things are free and easy to use.
Inkscape is a free and open-source alternative to Adobe Illustrator. Inkscape is a great tool for vector art and I use it for many fun projects. There are many tutorial videos on youtube and great documentation. You can download the latest version from this link: https://inkscape.org/release/inkscape-1.3.2/
Inkscape uses templates when you first make a document (usually different page sizes). My template includes a special square which when modified is guaranteed to create a tessellation.
You can make anything tesselate if you think creatively. You won't be able to make a picture perfect dog but maybe a dog sitting or just a dogs head. I'll go through some strategies for ideation below.
Downloads
Open Template
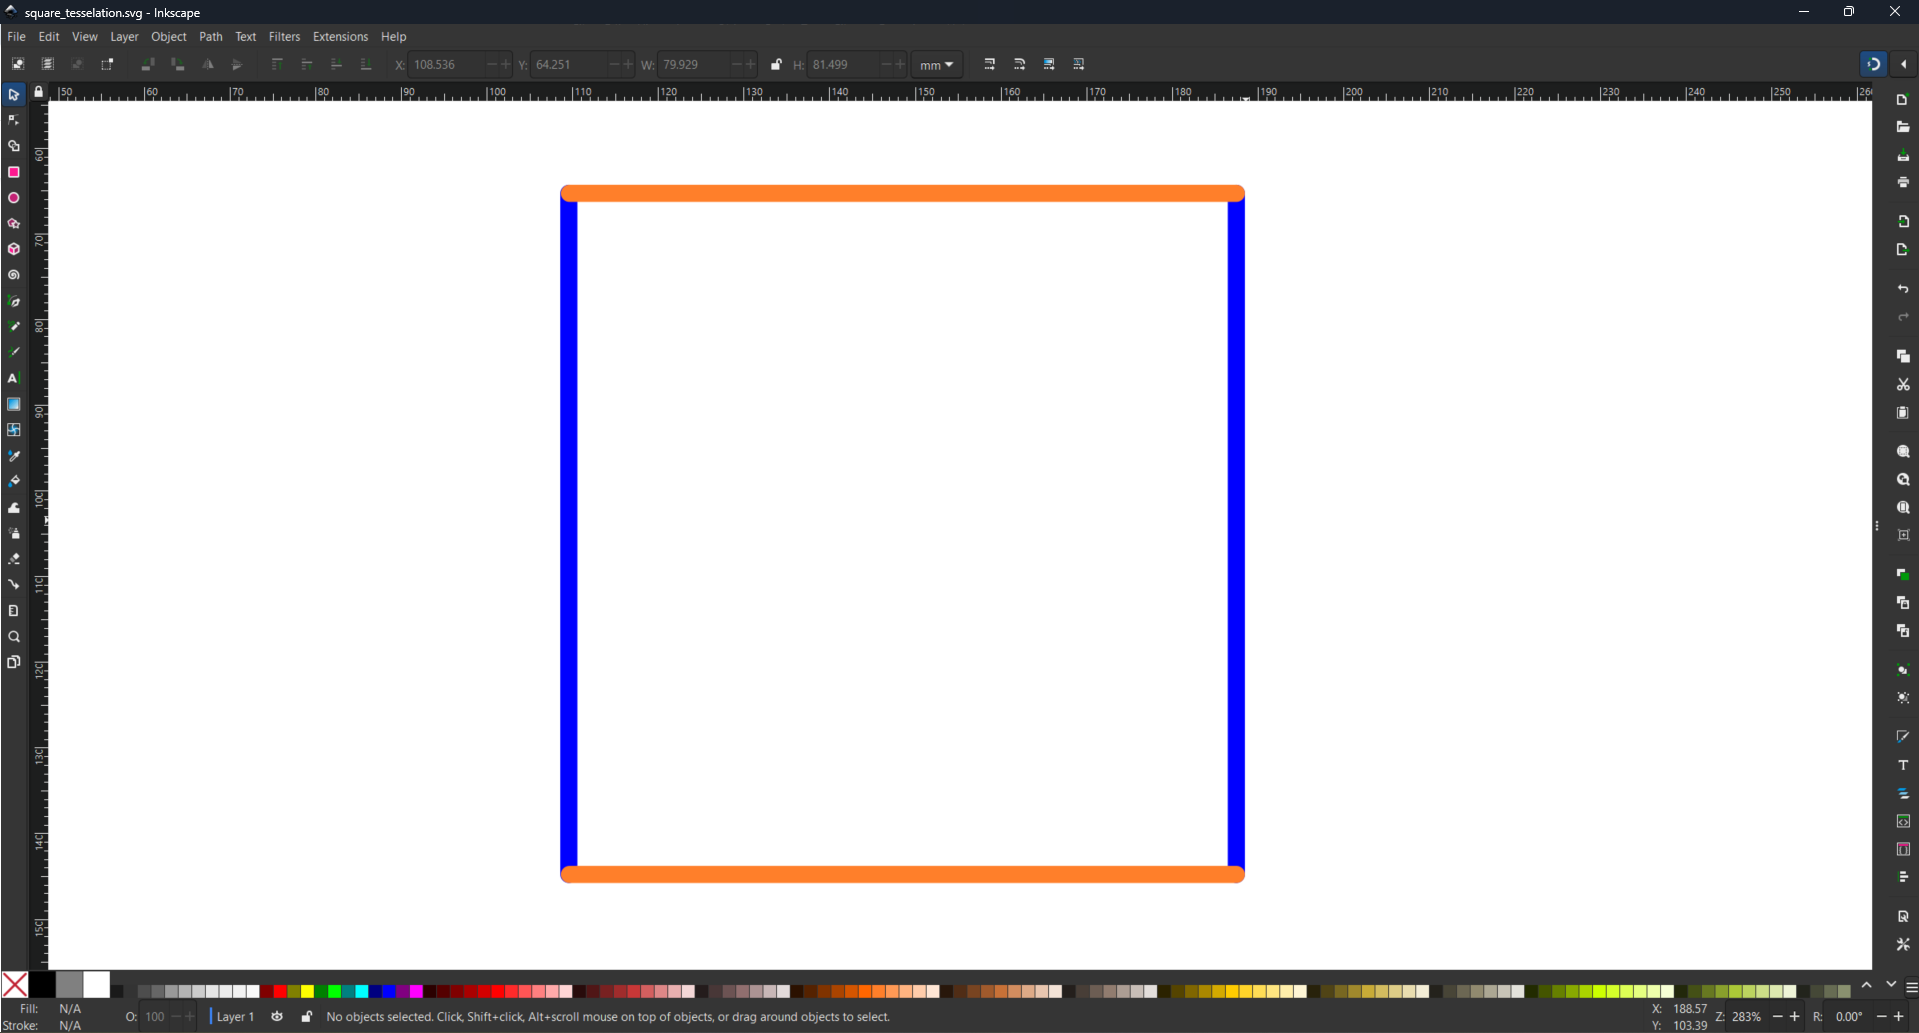
Download the square_tesselation.svg file and open it in Inkscape. This template has two orange bars and two blue. The top orange bar and left blue bar have been cloned to the lower and right bars respectively. This means any change you make to the top and left bars it will be replicated in the others. This is how we can guarantee tesselation!
The one caveat is that you cannot edit the corner nodes! Doing this will mess up the tesselations outer perimeter. You can always use Ctrl+z if this happens.
Think of What You Want to Make

Think for a bit about something you would want to see tesselate. Search images and gather various inspirations. You can copy paste into Inkscape to build a vision board.
For my demo I will be making the Instructables Robot. I found the above image on google images and added it to my Inkscape Page.
If you can't think of anything start moving nodes in Step 3 and see what it looks like. Don't be afraid to change your vision. I usually think of broad ideas during this phase so that I don't restrict my creativity.
Start Manipulating Nodes to Make Your Shape
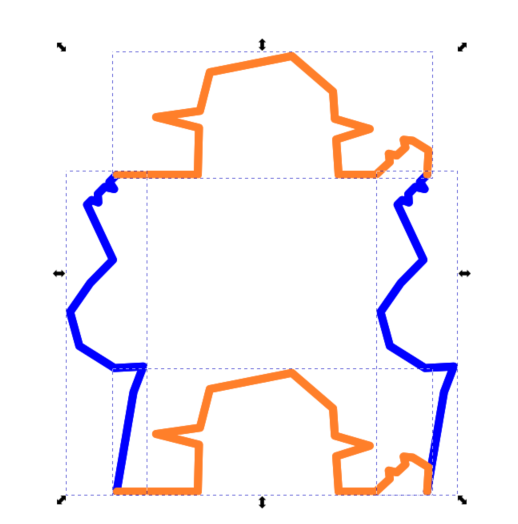
In this step you will need to manipulate the top and left most lines to make an outline of your shape. This is a frustrating process since any change you make will affect the other lines.
I wanted to make a basic robot but quickly got side tracked into adding a guitar. This will happen to you. You might be making a cat but think it looks more like a dog, embrace it! Play around with your designs and go down a path that seems easy but still fun!
Remember that you are only making the outline! Don't worry about details.
The guitar I added was just the soundbox and tuning pins. But when I color in the shape I will be able to draw it on in more detail.t
Some general Inkscape Tips:
- Use hotkey N to edit nodes in a line
- Double click a line to add a new node
- Add curves by dragging lines between nodes
Convert the Template Into an Object
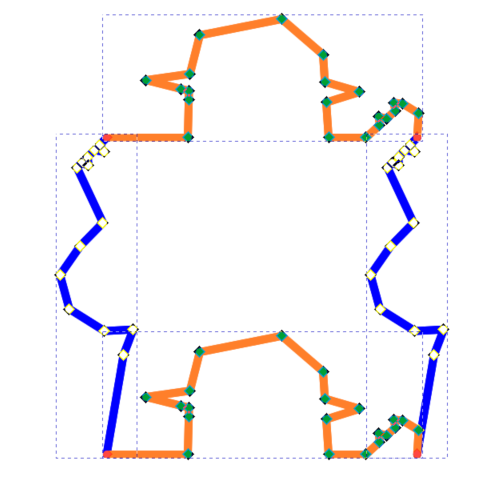
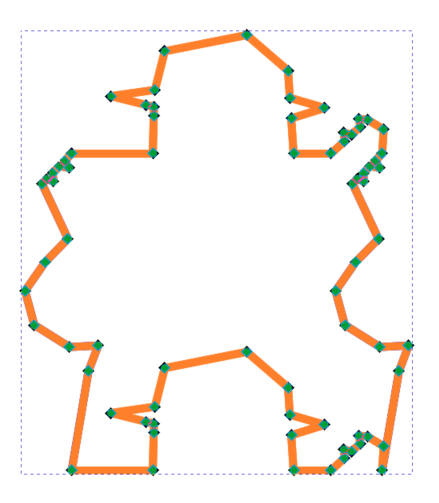
Once you have made the outline that you are satisfied with this is the step of no return. You will need to merge all lines into one to make the final shape.
First, select all lines and hit alt+shift+d. This un-clones the lines so now editing one won't change the other. At this point any edit to the outline will mess up the tessellation.
Next, select all lines and hit Hotkey N. And then hit ctrl+a to select all nodes.
Hit the Join Selected Nodes Button in the toolbar. It is the 4th from the left option. This will merge all overlapping nodes (the corners) and make one shape.
Now that you have one shape you can change the outline color or fill.
Color in Your Shape
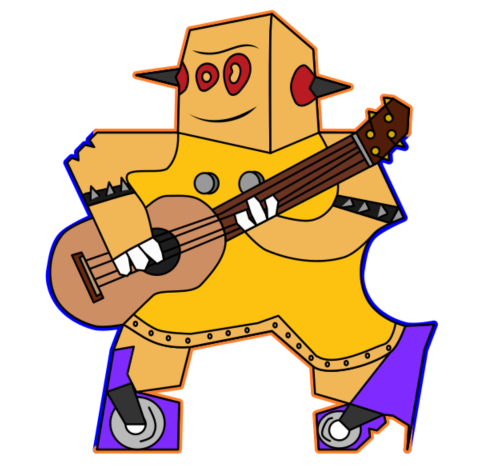
Use the bezier tool (Hotkey B) to add lines, curves, and shapes to your object. Don't be afraid to go back to step 3 and remake the outline to fit your coloring goals (just remember you will have to redo step 4).
In my Instructables robot the legs (normally wheels) have boots on. I couldn't make the legs round without messing up the shoulders so I improvised.
The boots led to thinking about a punk rocker so I added armbands with spikes to the design. These add flavor without needing any change to the outline.
The more experience you have with Inkscape (or the more you are willing to watch tutorials) the more complex you can make this step!
Some tips:
- Shift+click a color on the bottom row of colors to change the line color
- Click a color to change the fill color
- Use the premade circle tool to add circles then stretch them to the shape you want
- watch tutorials when you have a specific need, there are lots of great tips to make exactly what you want.
Take your time here and when you are satisfied go onto step 6.
Make It Tesselate
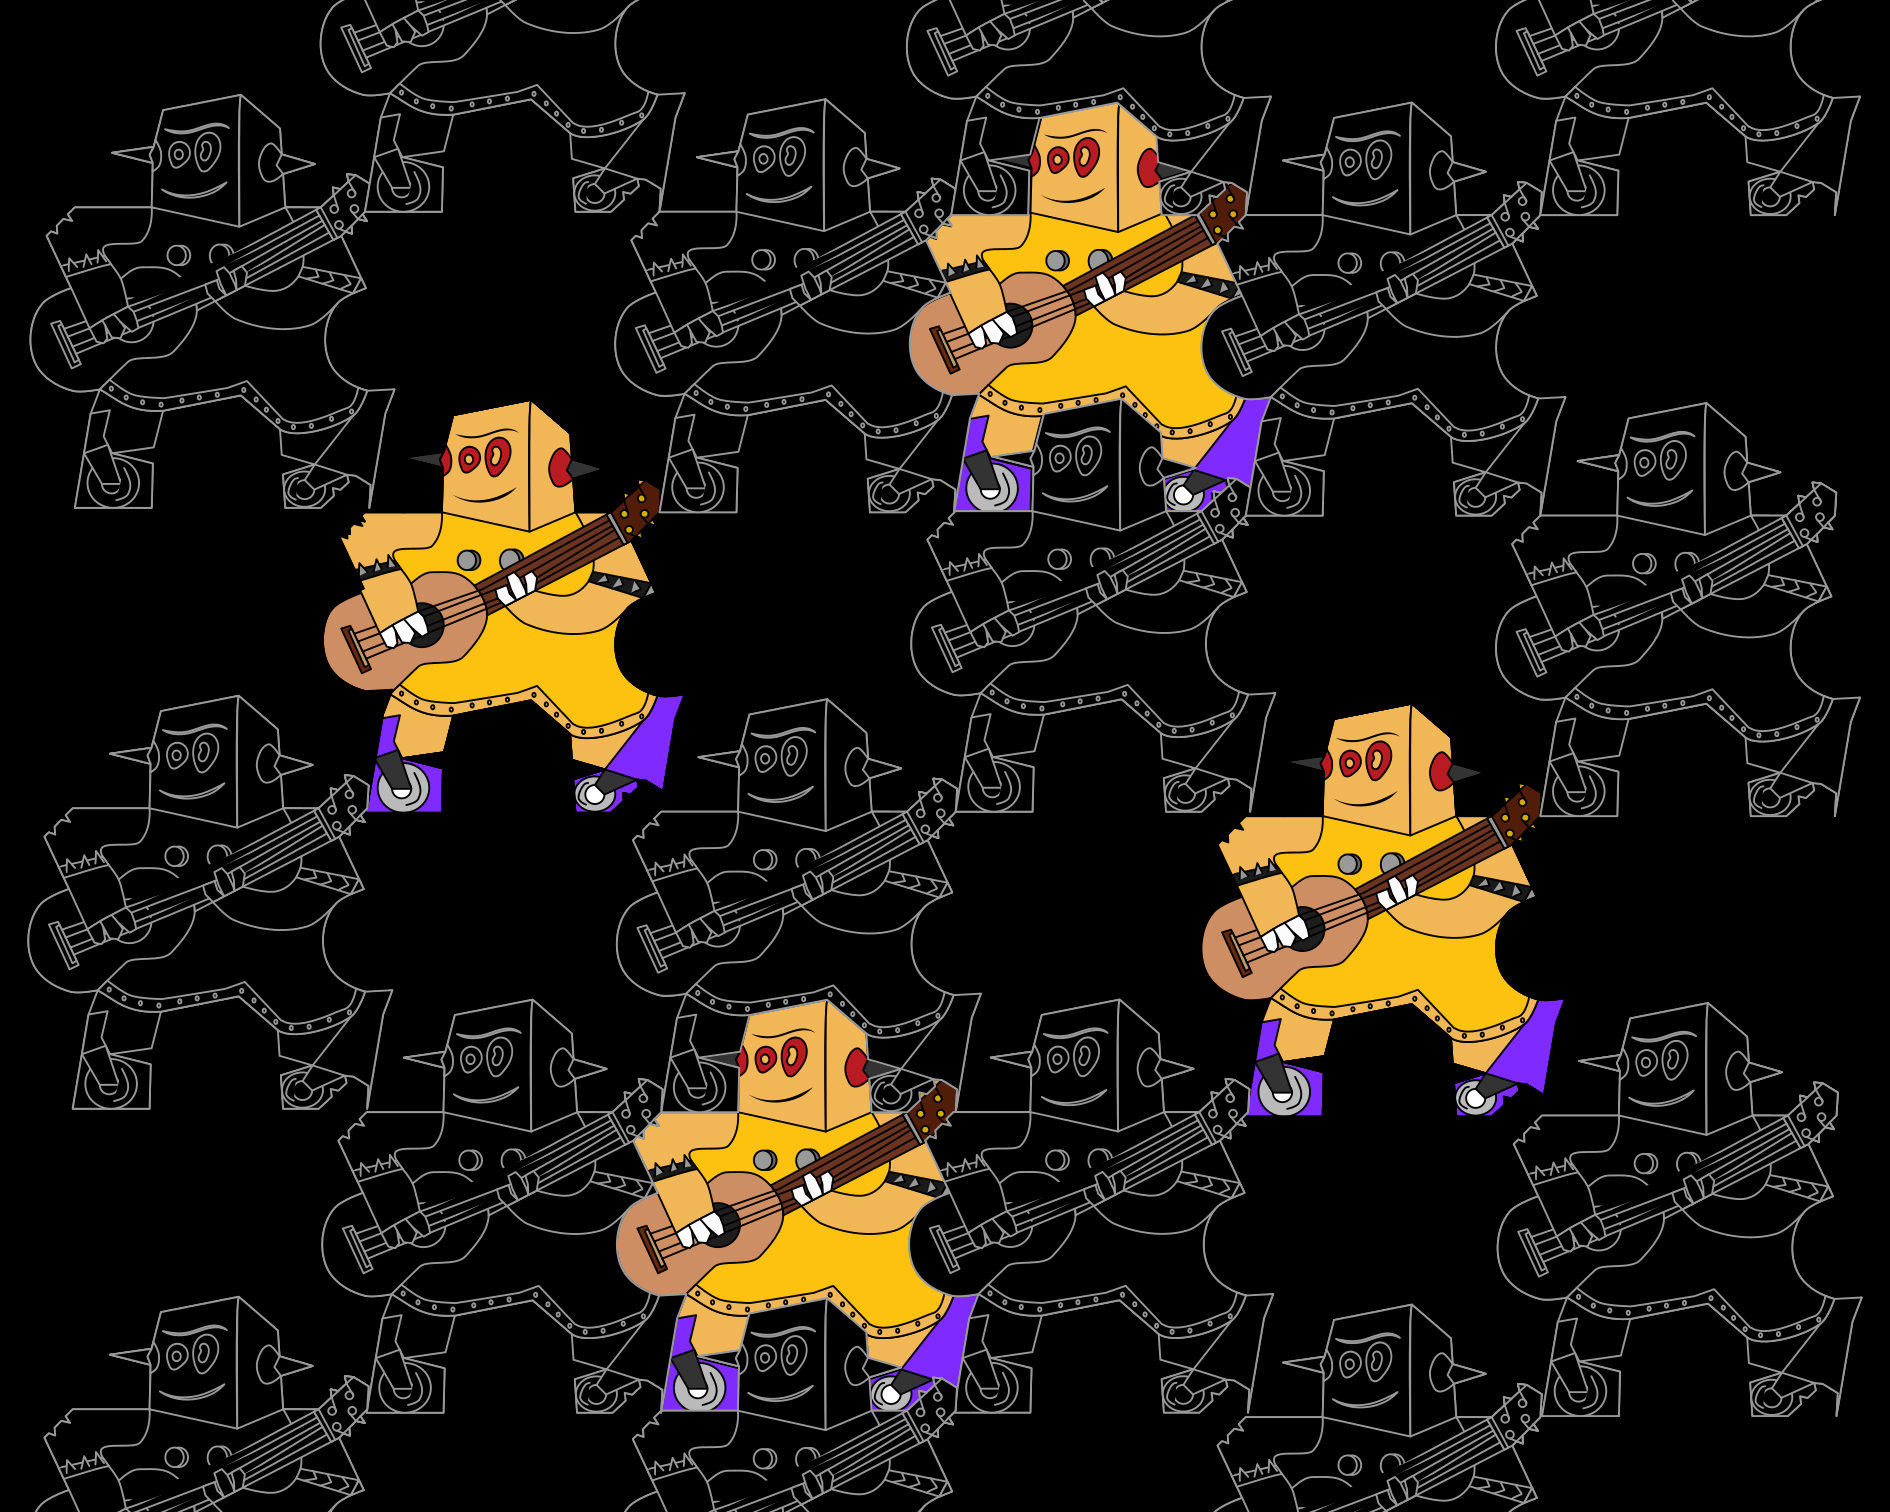
Now that you have a fun colored object you can make it tesselate in a pattern. Highlight all parts of your object and hit ctrl+g to group it into one. Now you can duplicate the model (ctrl+d) and drag duplicates into a pattern, just like a puzzle! Make sure snapping is on (top right of Inkscape) so the duplicated parts fit together.
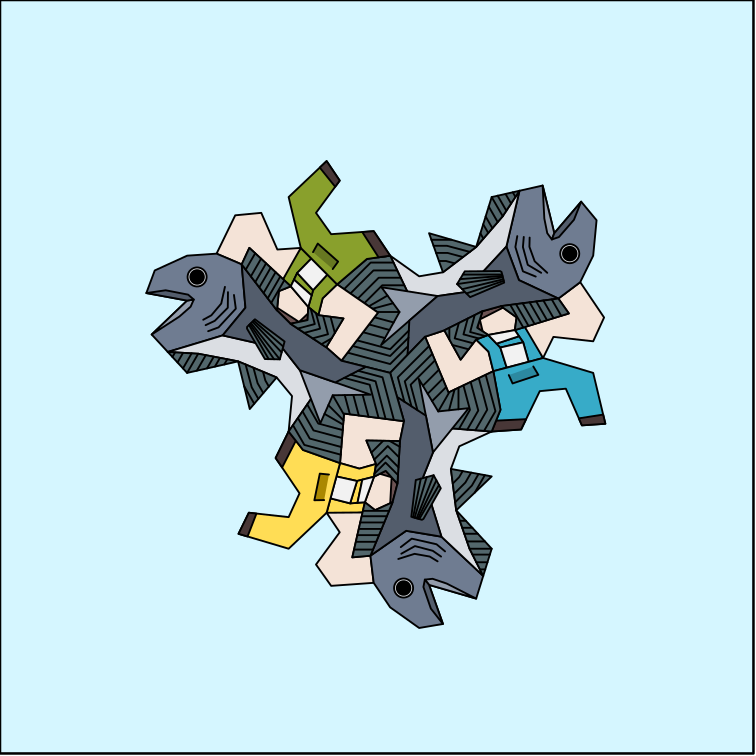
You can have fun here too. I often will color in duplicated objects differently to make them stand out (fisherman below). Here I decided to go more poster-like and made every other robot all black or black with gray outlines. Now my tessellation is done! I have demonstrated how a complex shape, the Instructables robot, can fill a plane.
Conclusions!
If you've made it this far you have hopefully created your own tessellating shape! I would love to see them! Post your makes below!
The process above can be applied to a bunch of tessellation types. Geogebra has a great database of different tessellation formats, find one you like and try making your own template!
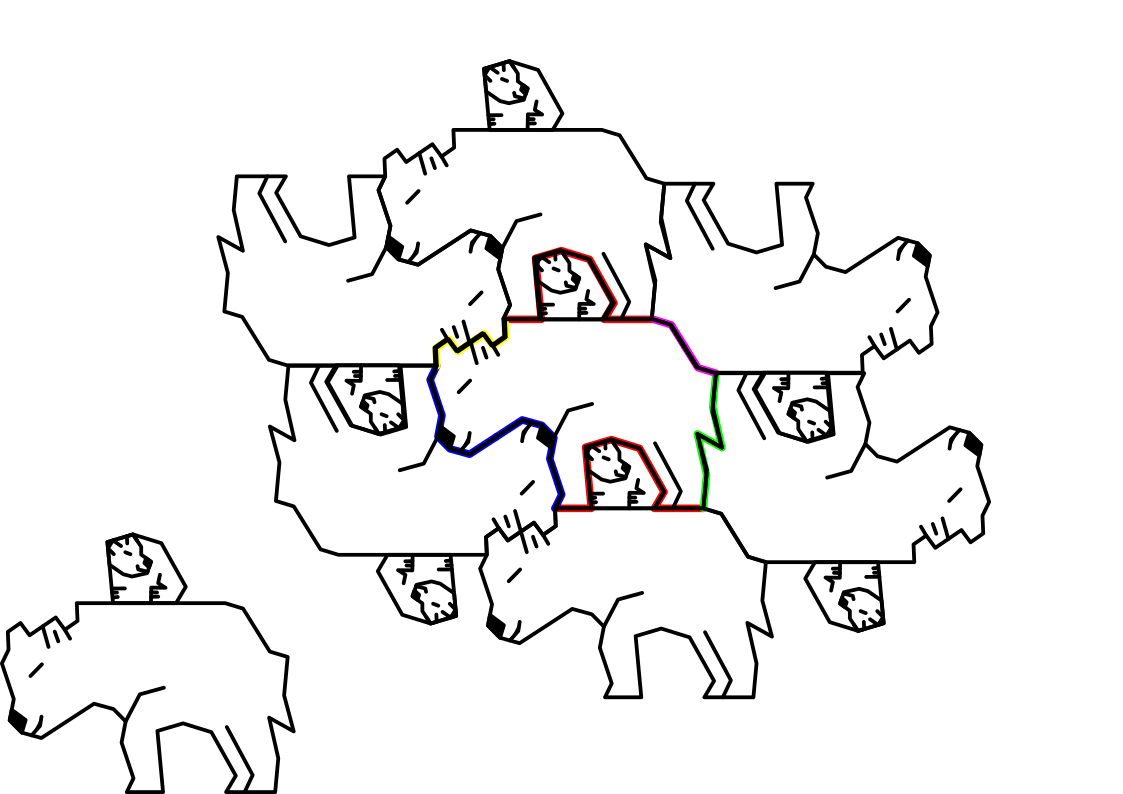
I have made lots of other tessellations using this template and others. The bear and baby are on a pentagon template and the fisherman and fish are on a hexagon. Creativity is your only barrier!
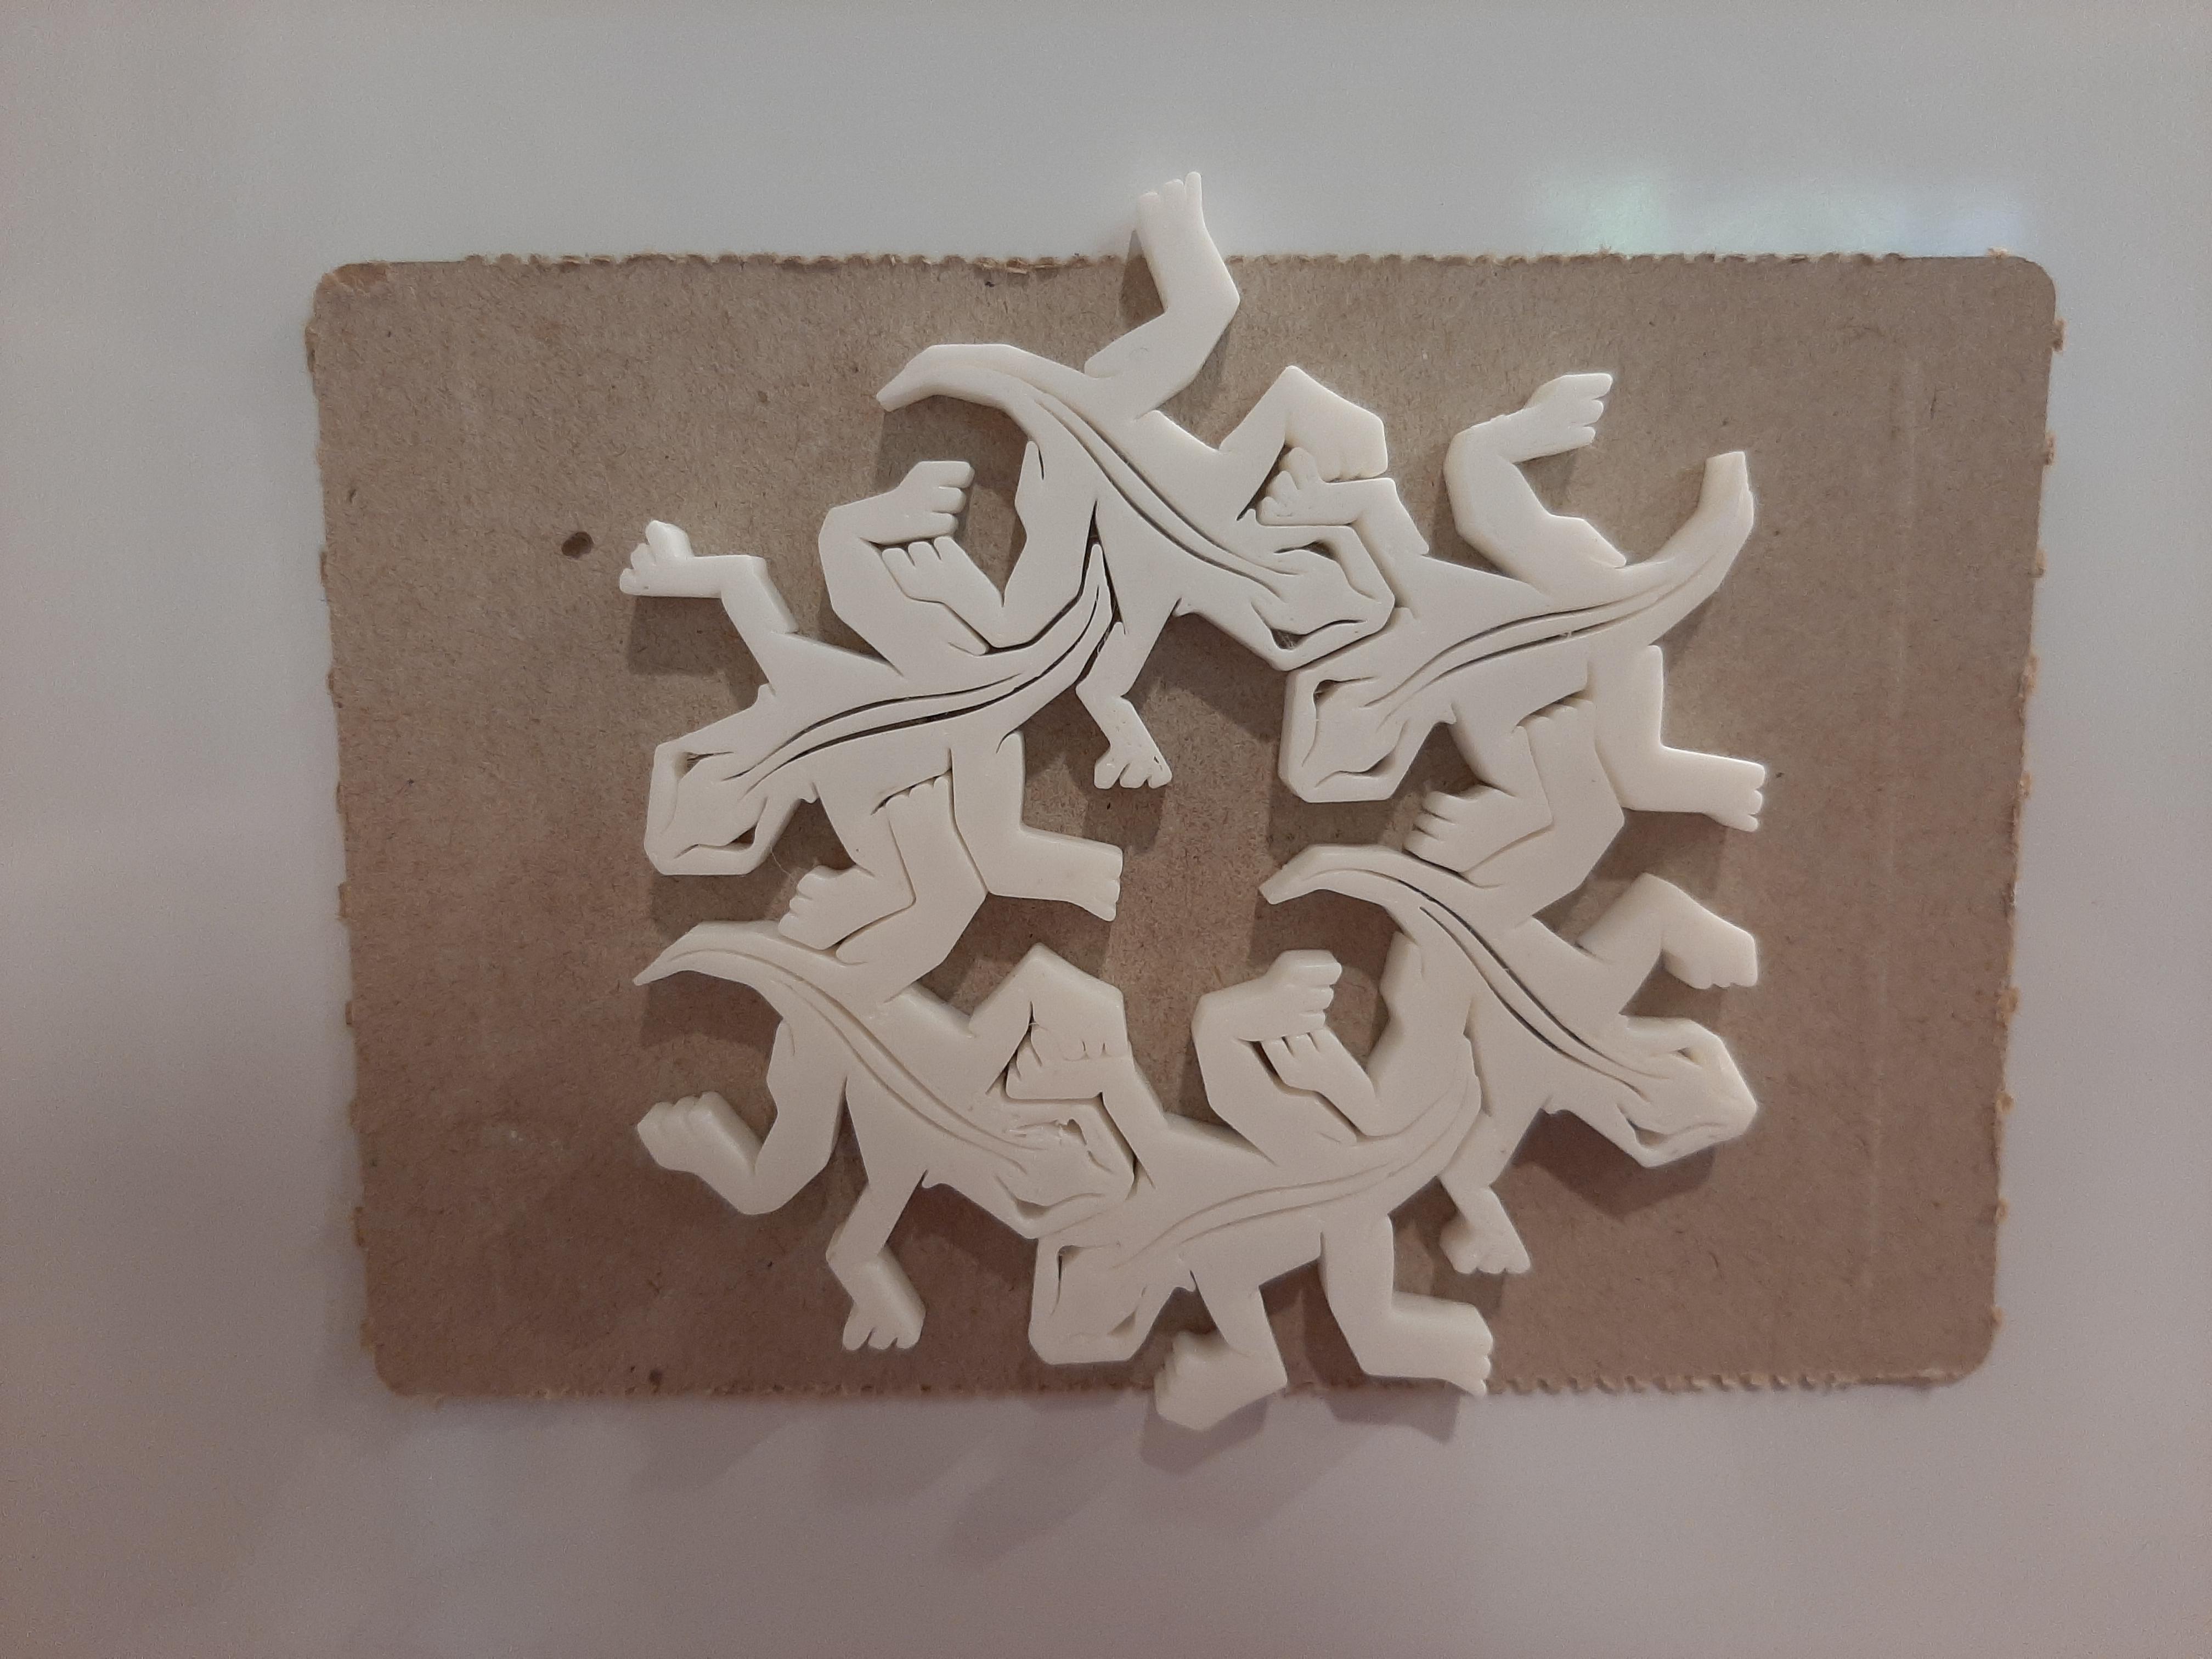
Tessellations are great for printing out and playing with! If you have access to a 3D printer or laser cutter you could make these into actual puzzle pieces. Export your design as an SVG and many 3D modelling tools will have no trouble making them 3D. I made the lizards above based on the M.C. Escher lizards and 3D printed them with magnets! They are super satisfying to place together.
Now with your new skills you can make some more and have fun!