Making Holiday-Themed Stickers Using Silhouette Studio: a Step-by-Step Guide
by johnsonb25 in Craft > Gift Wrapping
96 Views, 2 Favorites, 0 Comments
Making Holiday-Themed Stickers Using Silhouette Studio: a Step-by-Step Guide
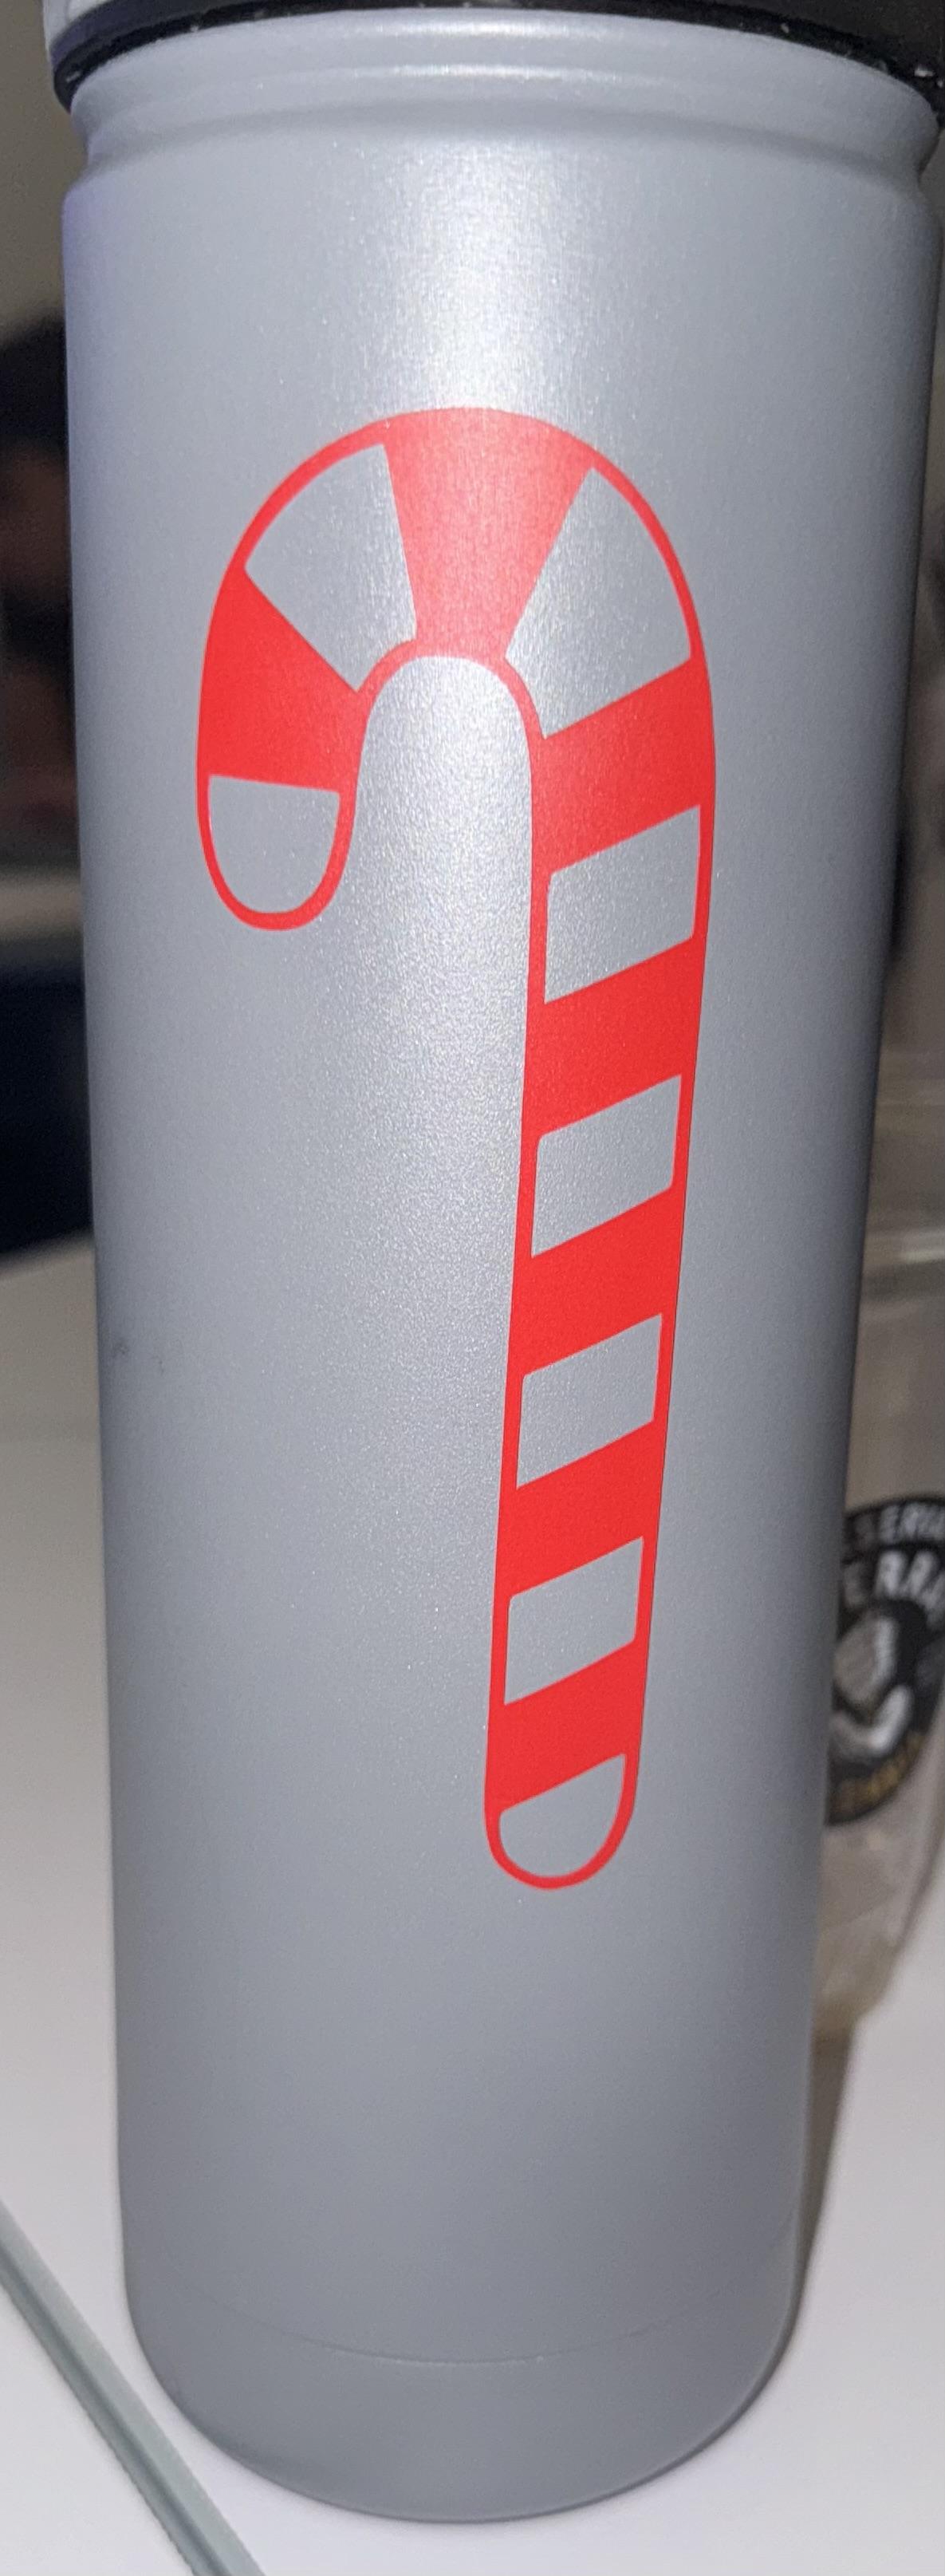
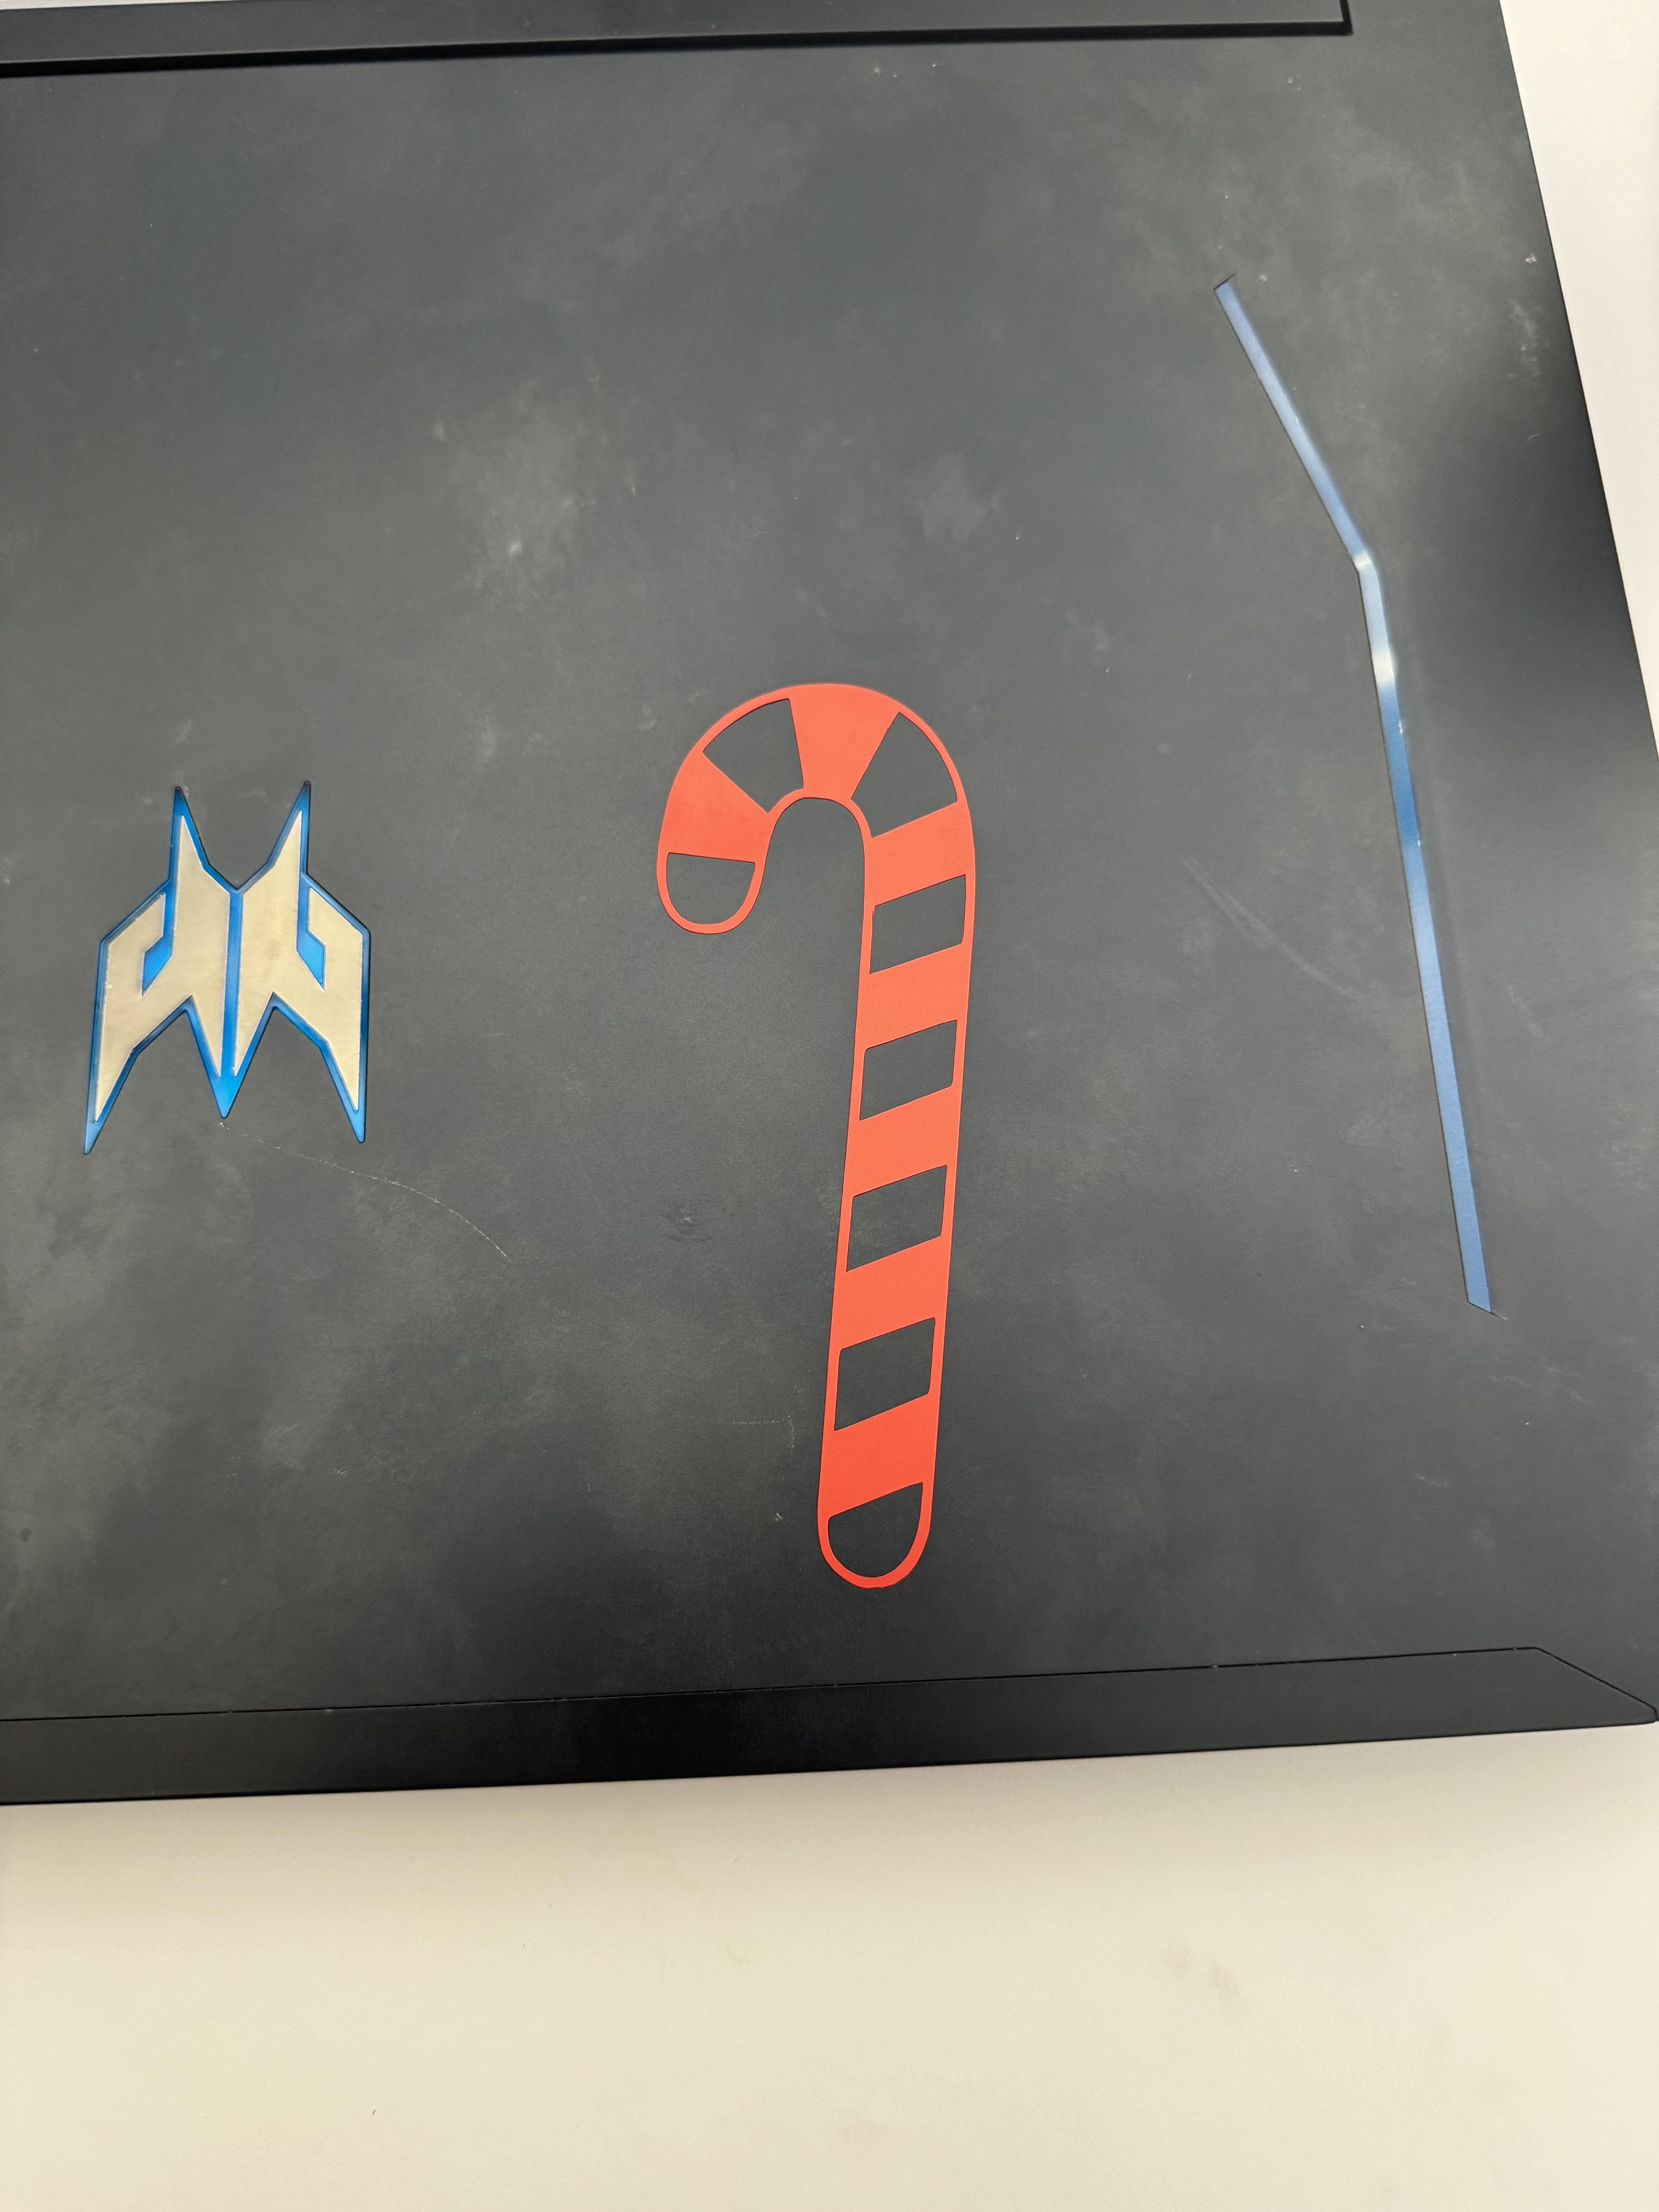
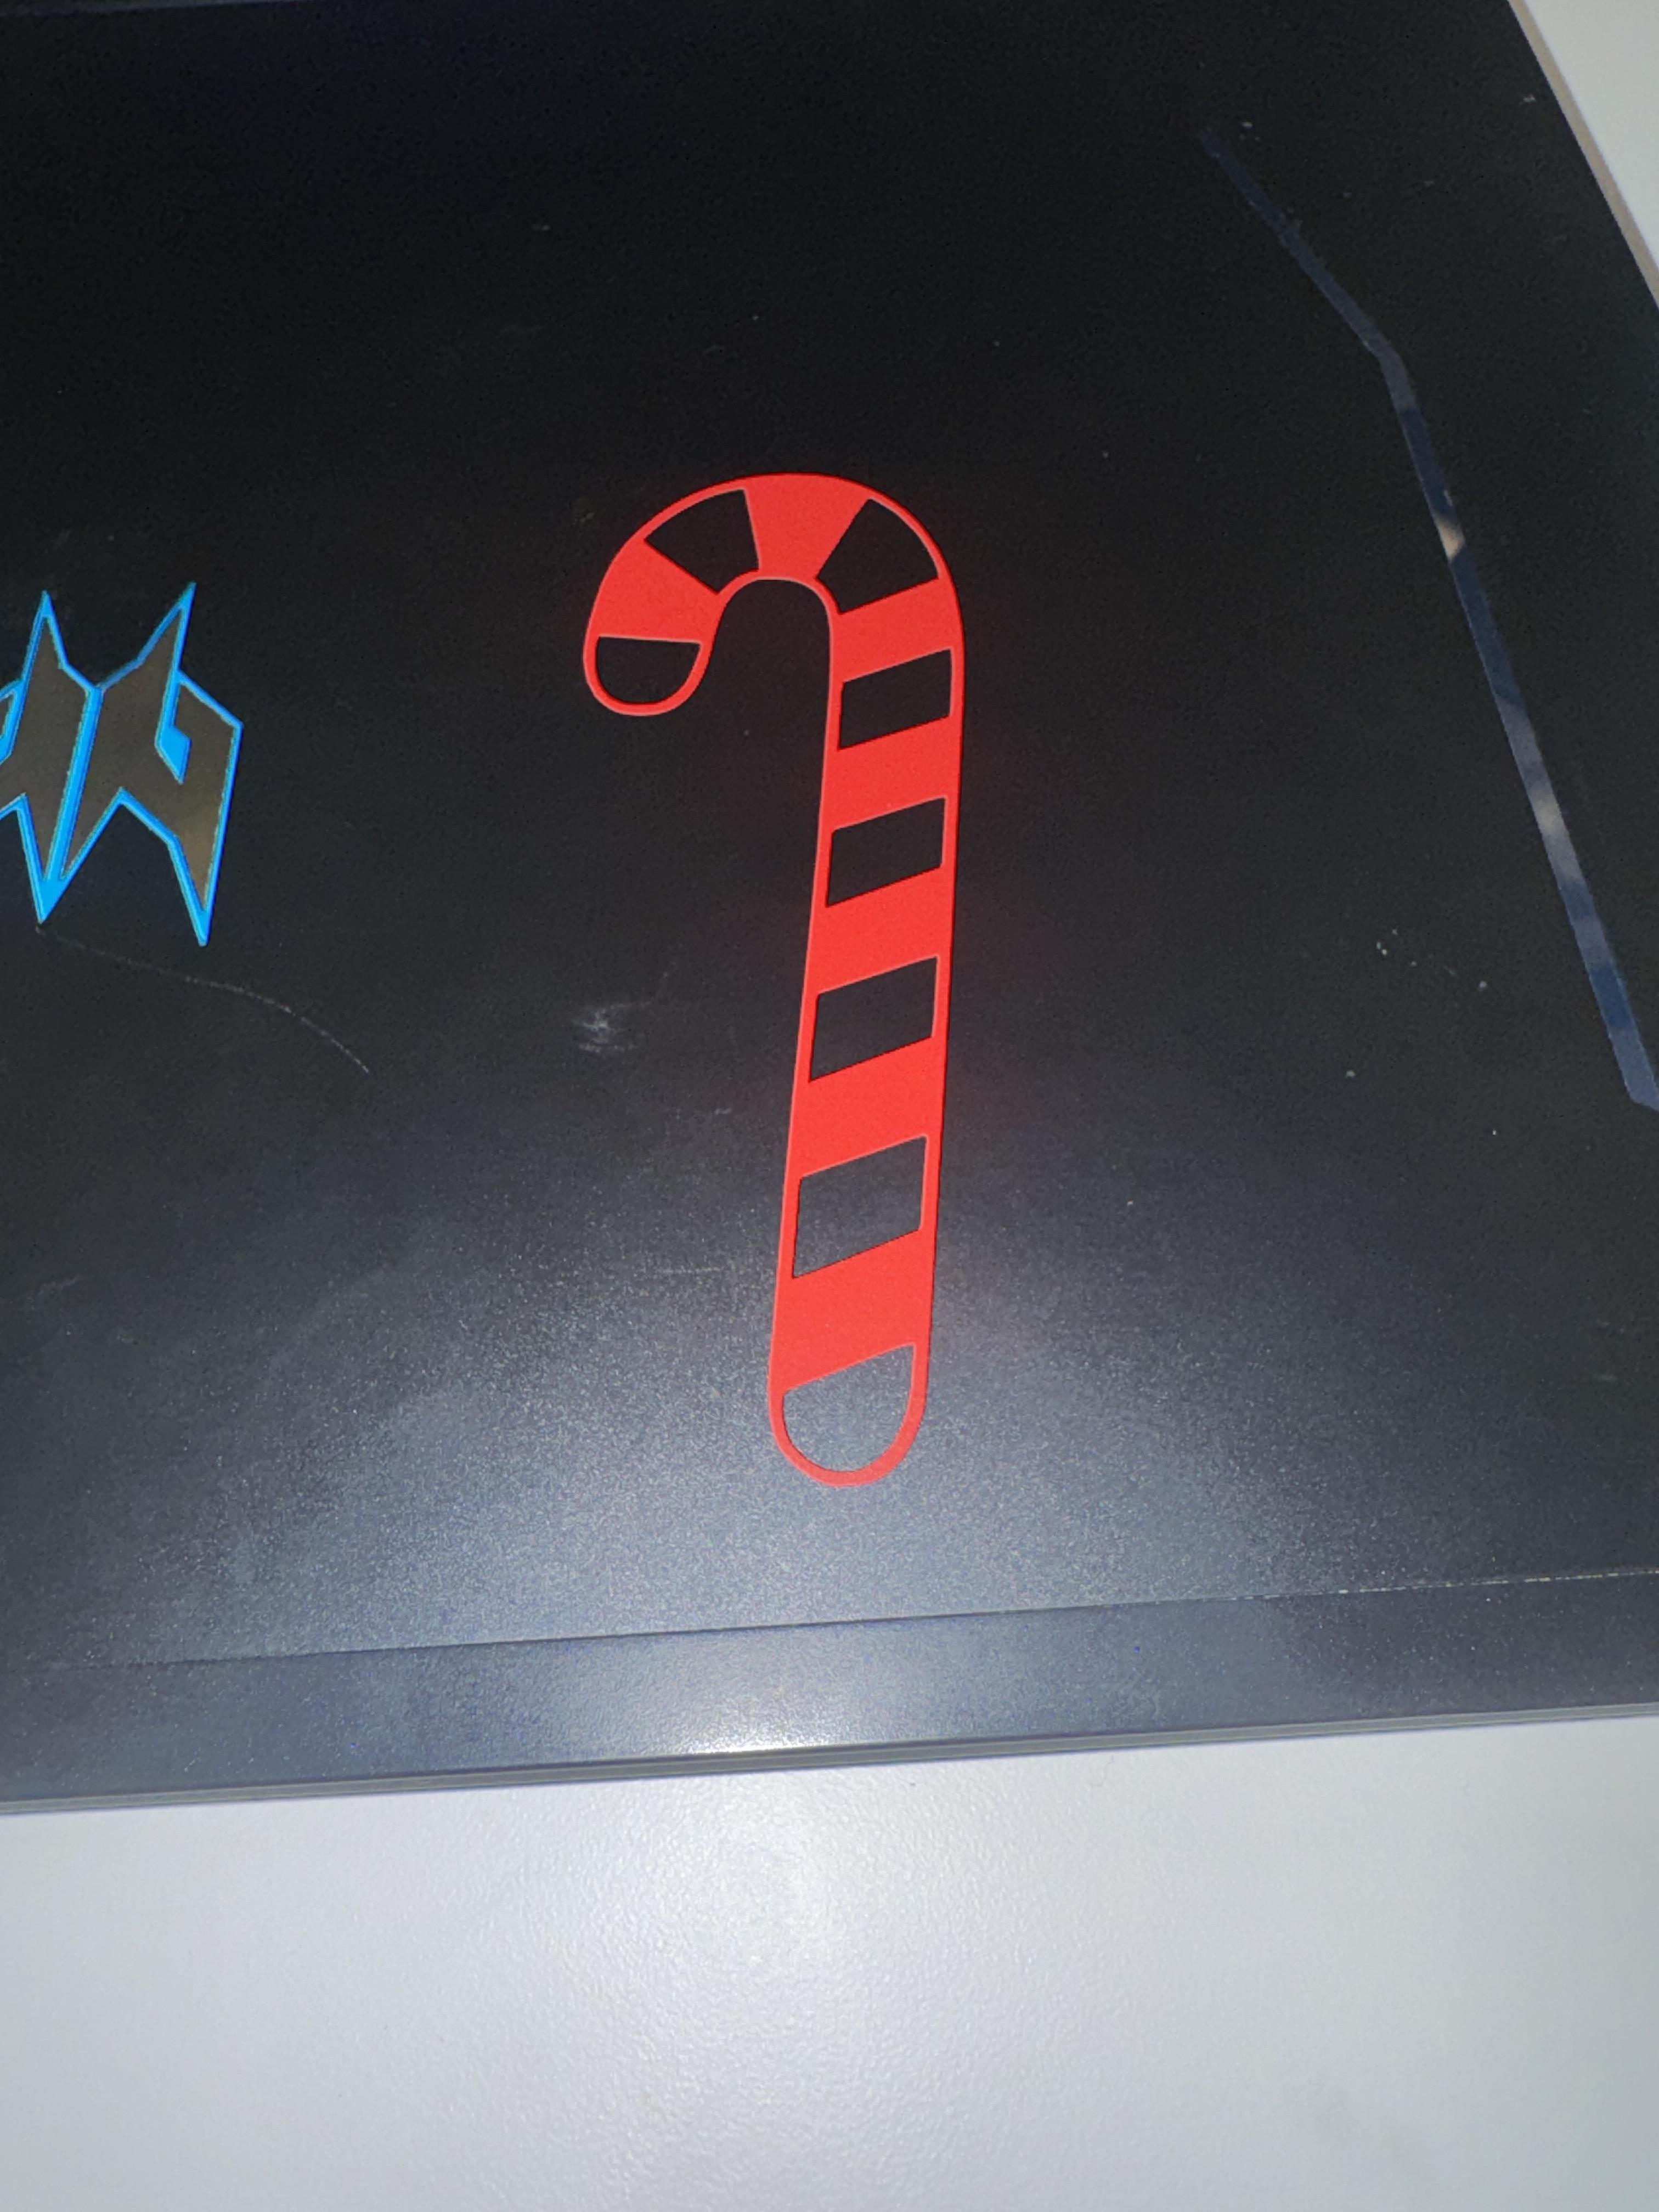
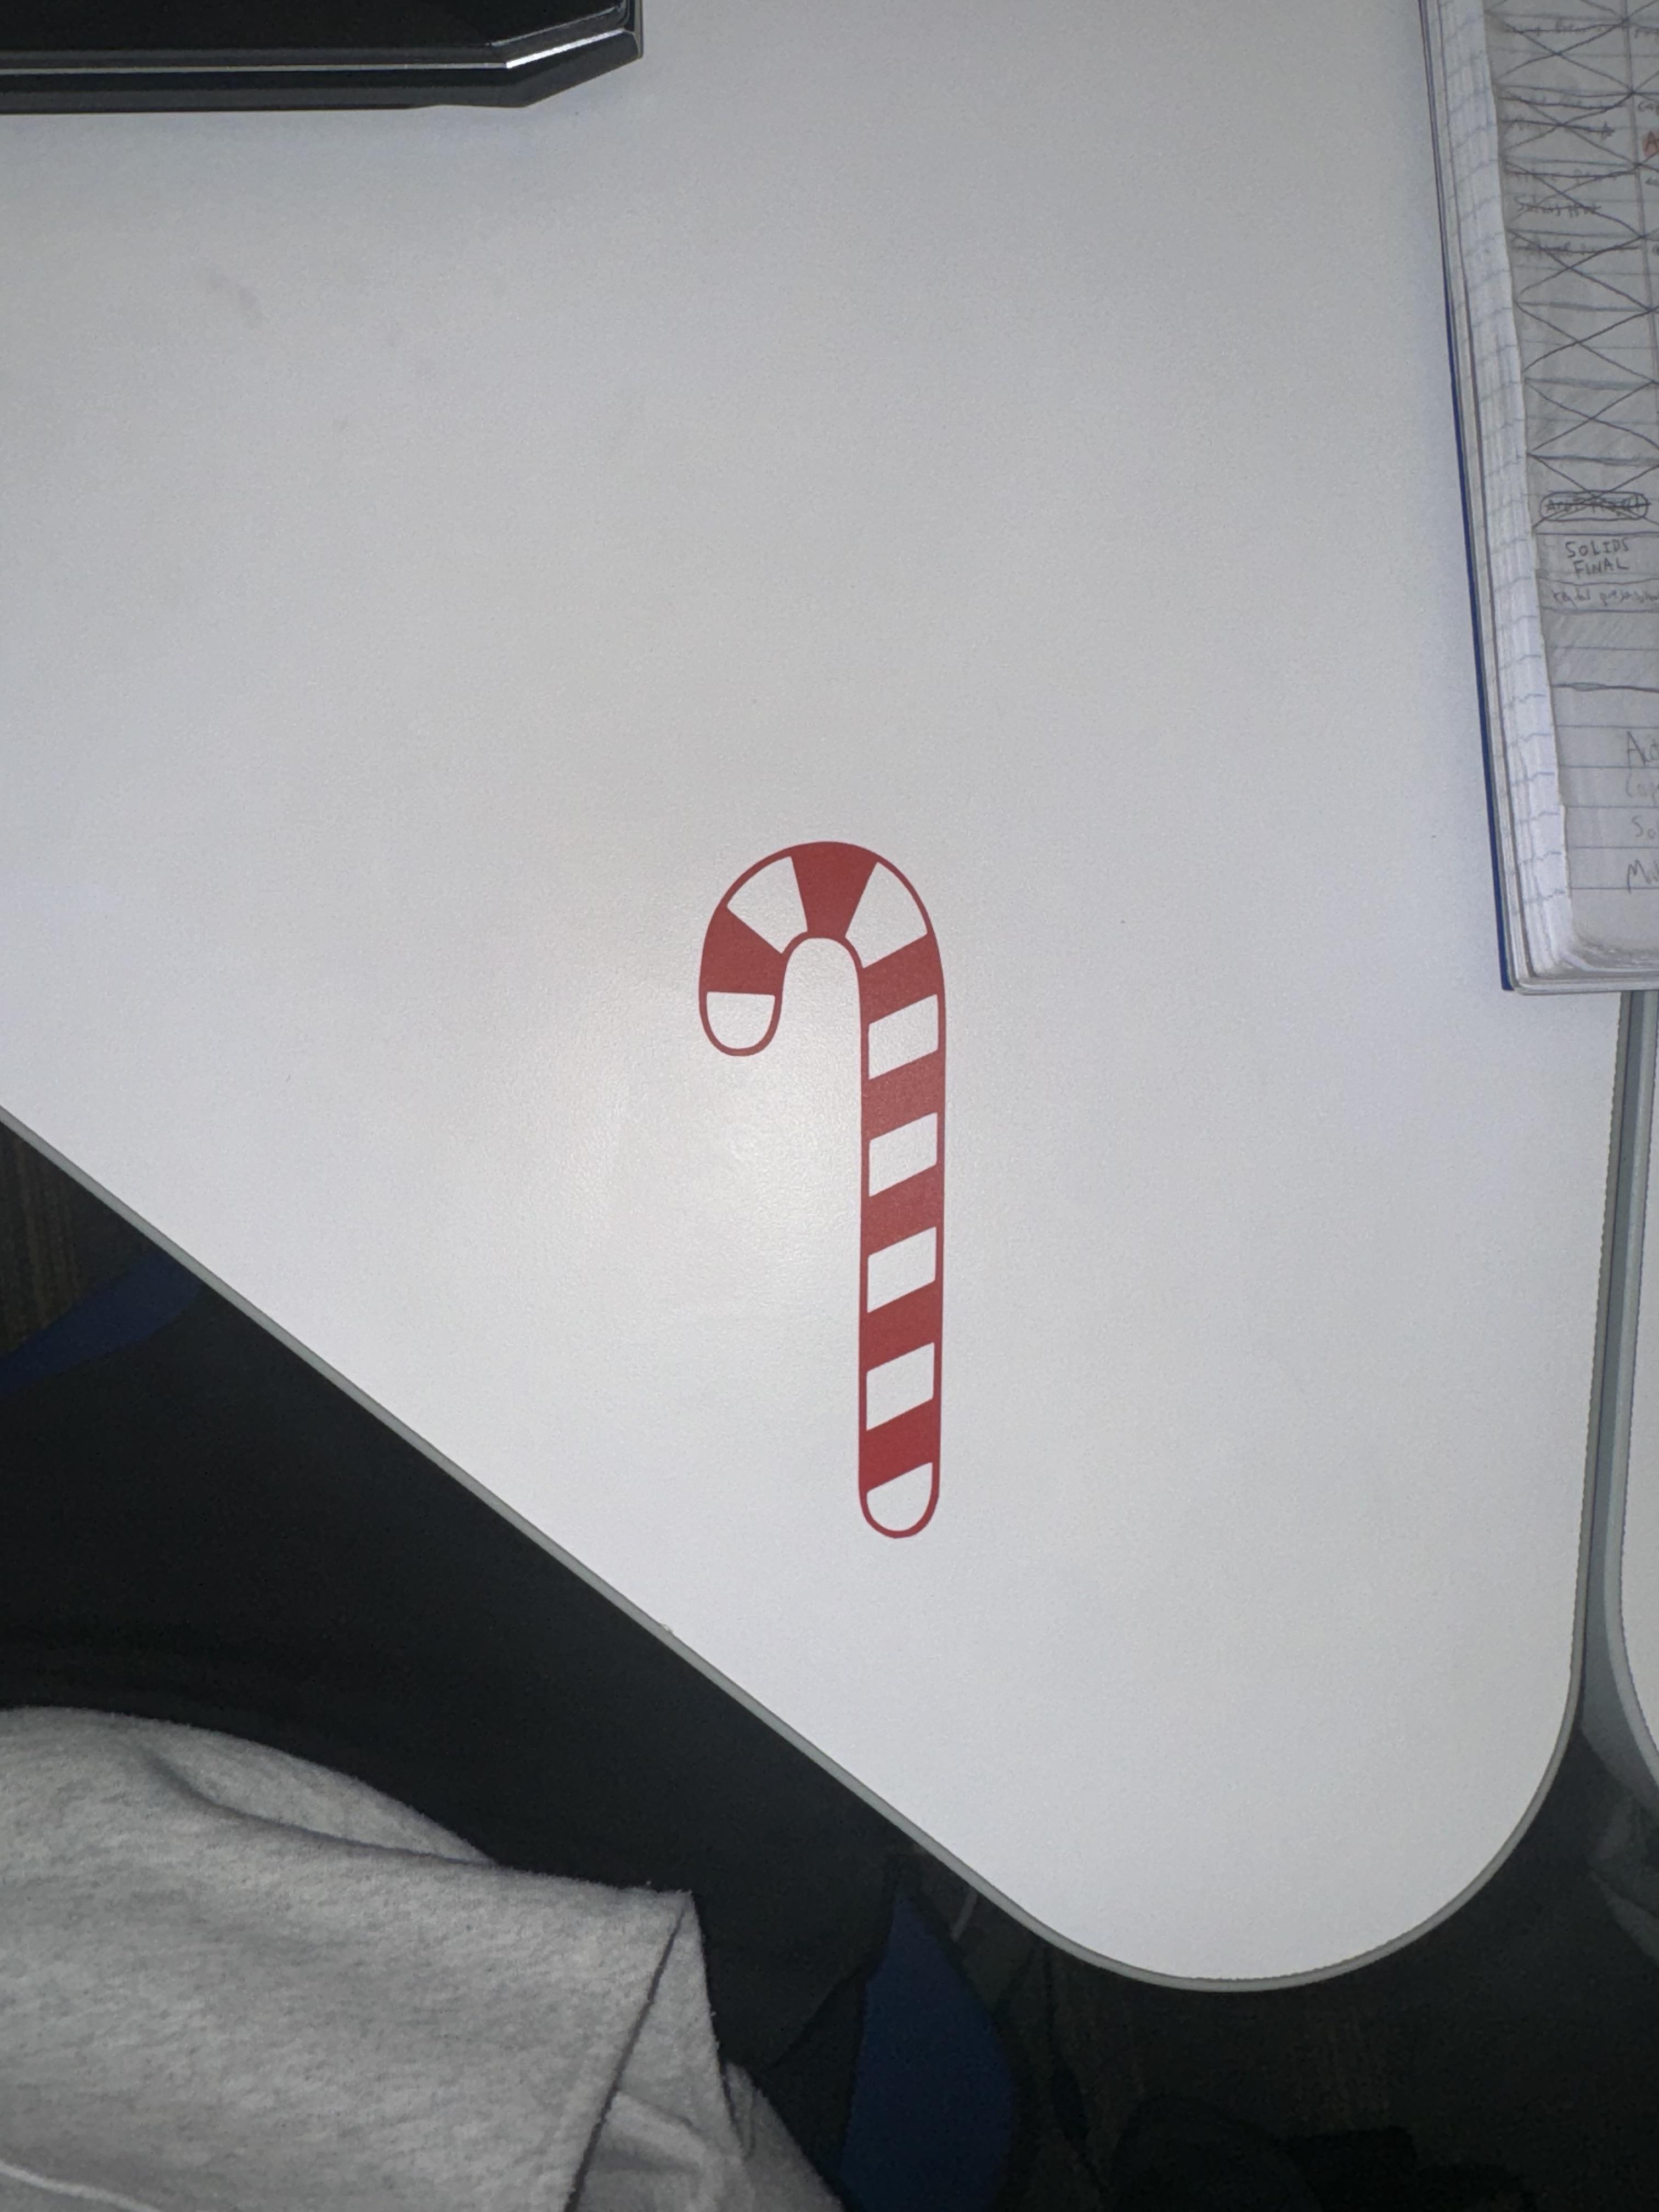
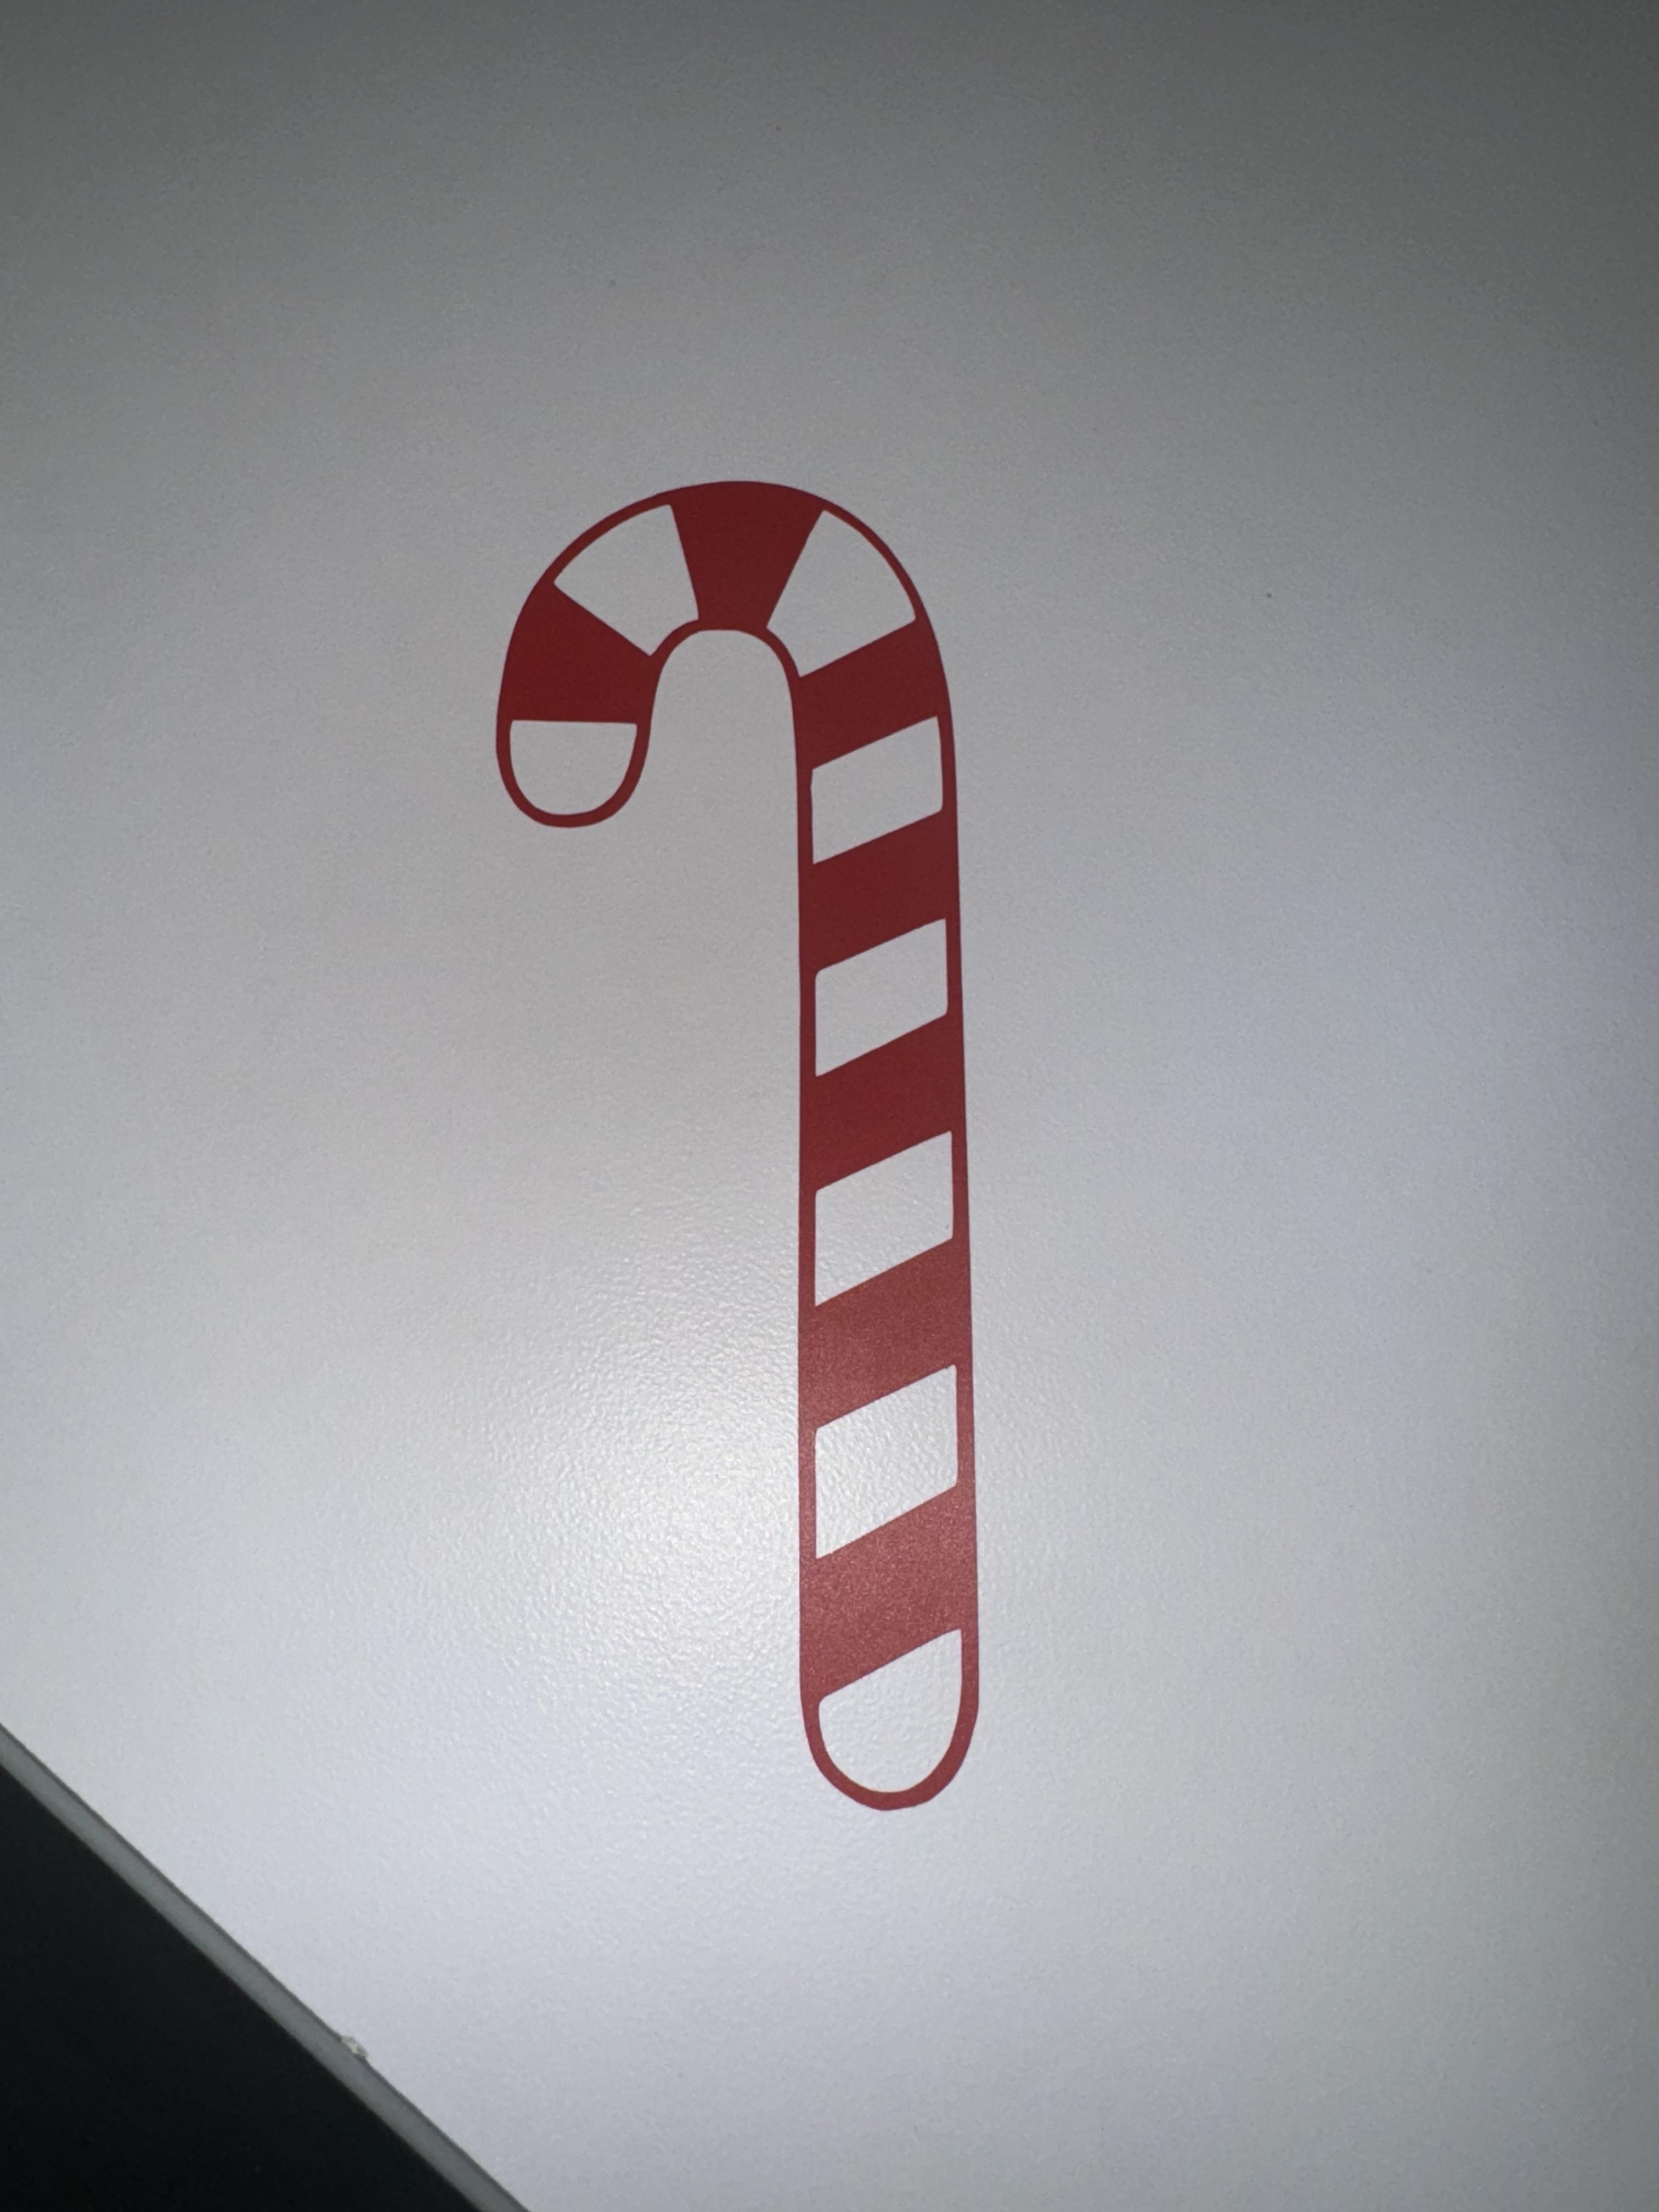
Holiday stickers are a delightful way to bring a personalized and festive touch to various holiday essentials like gifts, cards, planners, and home decor. These charming embellishments can transform ordinary items into something special and unique. Using Silhouette Studio, you can create custom holiday stickers from the comfort of your home, making it a fun and creative activity for the season. Whether you're an experienced crafter or just starting, this guide will walk you through everything you need to know to design, cut, and craft your own holiday-themed stickers with ease.
Creative Applications for Holiday Stickers
- Gift Wrapping: Add a whimsical touch to presents by including stickers with "To/From" labels or festive designs.
- Holiday Cards: Enhance your handmade or store-bought cards with holiday-themed stickers for an extra layer of charm.
- Planners and Journals: Use stickers to mark special dates or decorate your pages with festive flair.
- Party Favors: Seal goodie bags or party treats with colorful and custom-designed stickers.
- Home Decor: Brighten up your space with wall-safe or window-friendly stickers for temporary seasonal decoration.
Creating your own stickers is not just about adding decorations; it’s a way to share joy and creativity with loved ones while celebrating the holiday spirit!
Supplies
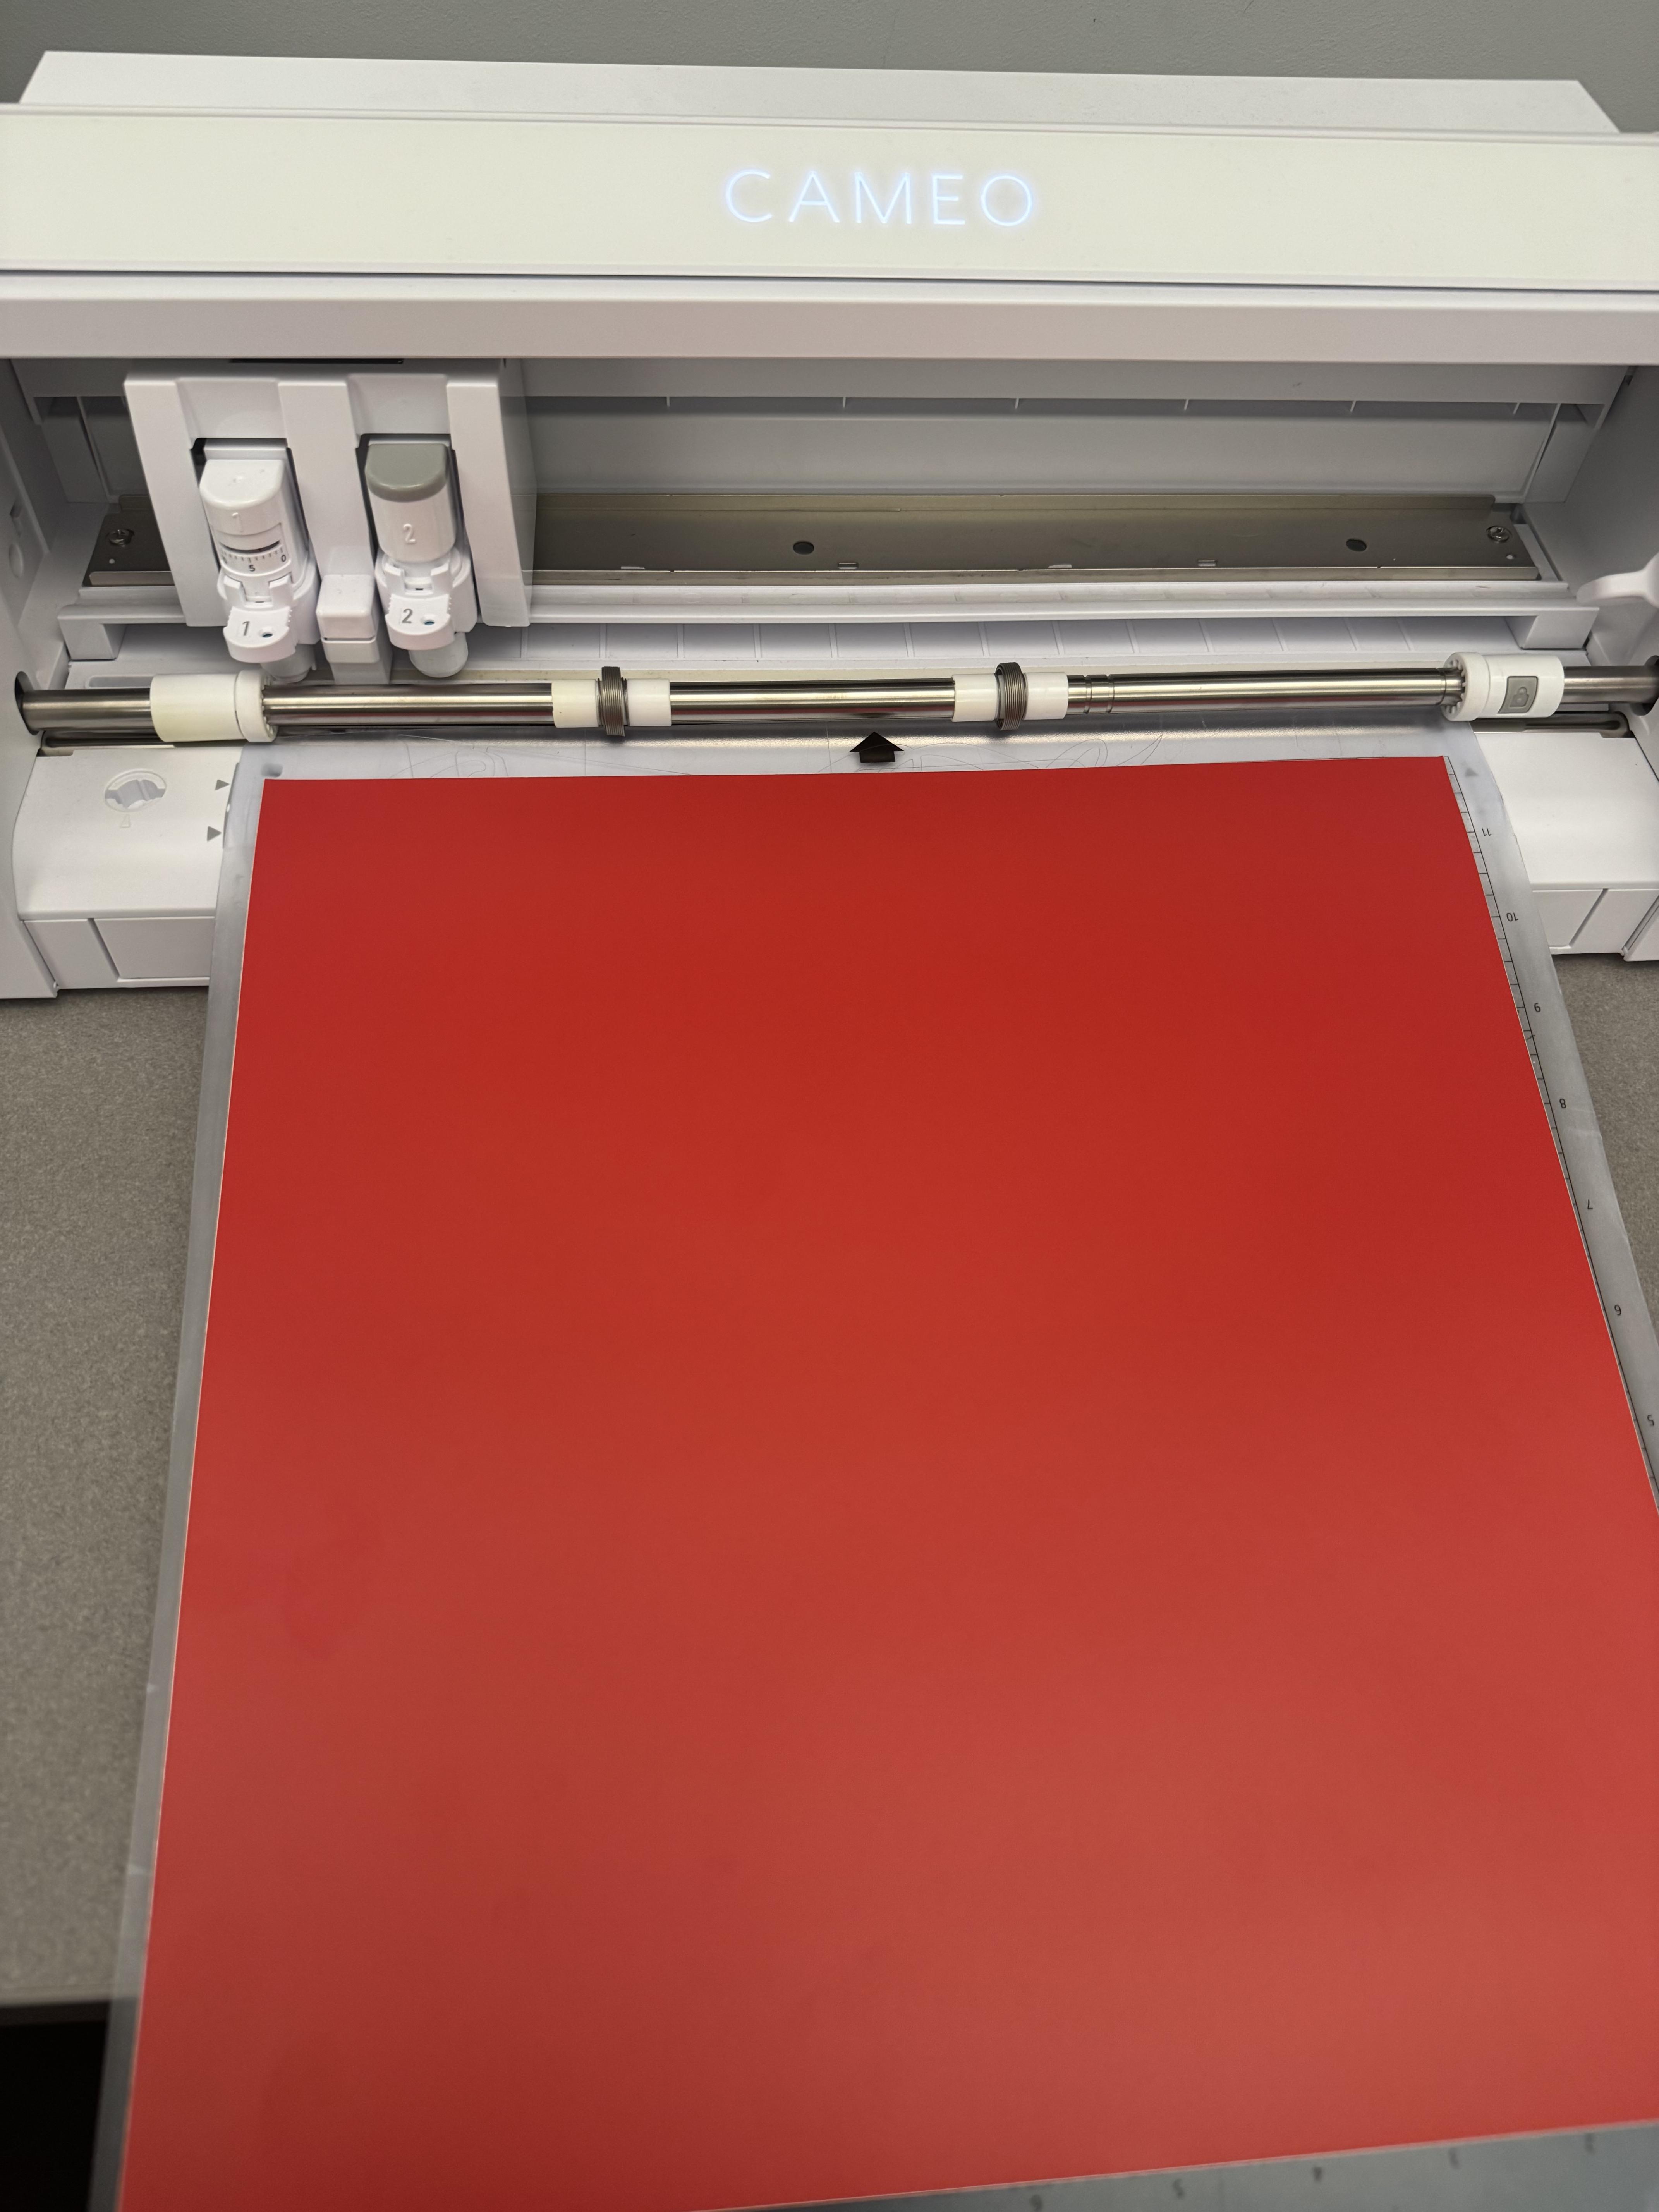
To create fun holiday stickers, you need minimal supplies. Find what I use in this guide below:
- Silhouette Machine: I use the Cameo
- Sticker Paper: any color or finish will work, so choose what you like the most
- Cutting Mat: this is so the machine can cut out the stickers without the paper slipping
- Design: either make your own in a software like Photoshop or Illustrator, or find one online
- Silhouette Studio Software: the free version works perfectly for our goals
Setting Up Silhouette Studio
We need to start off by making sure the software is up and running and connected to the cutter. Open up Silhouette Studios and ensure that the cutter is recognized. I use 11x11 sheets of sticker paper, but whatever size you use make sure to set the page dimensions correctly. To do so:
- Go to Page Setup in the top right corner (icon is a page)
- Match the dimensions to that of your sticker sheet
- Ensure the Cutting Mat option is enabled
Designing Your Stickers
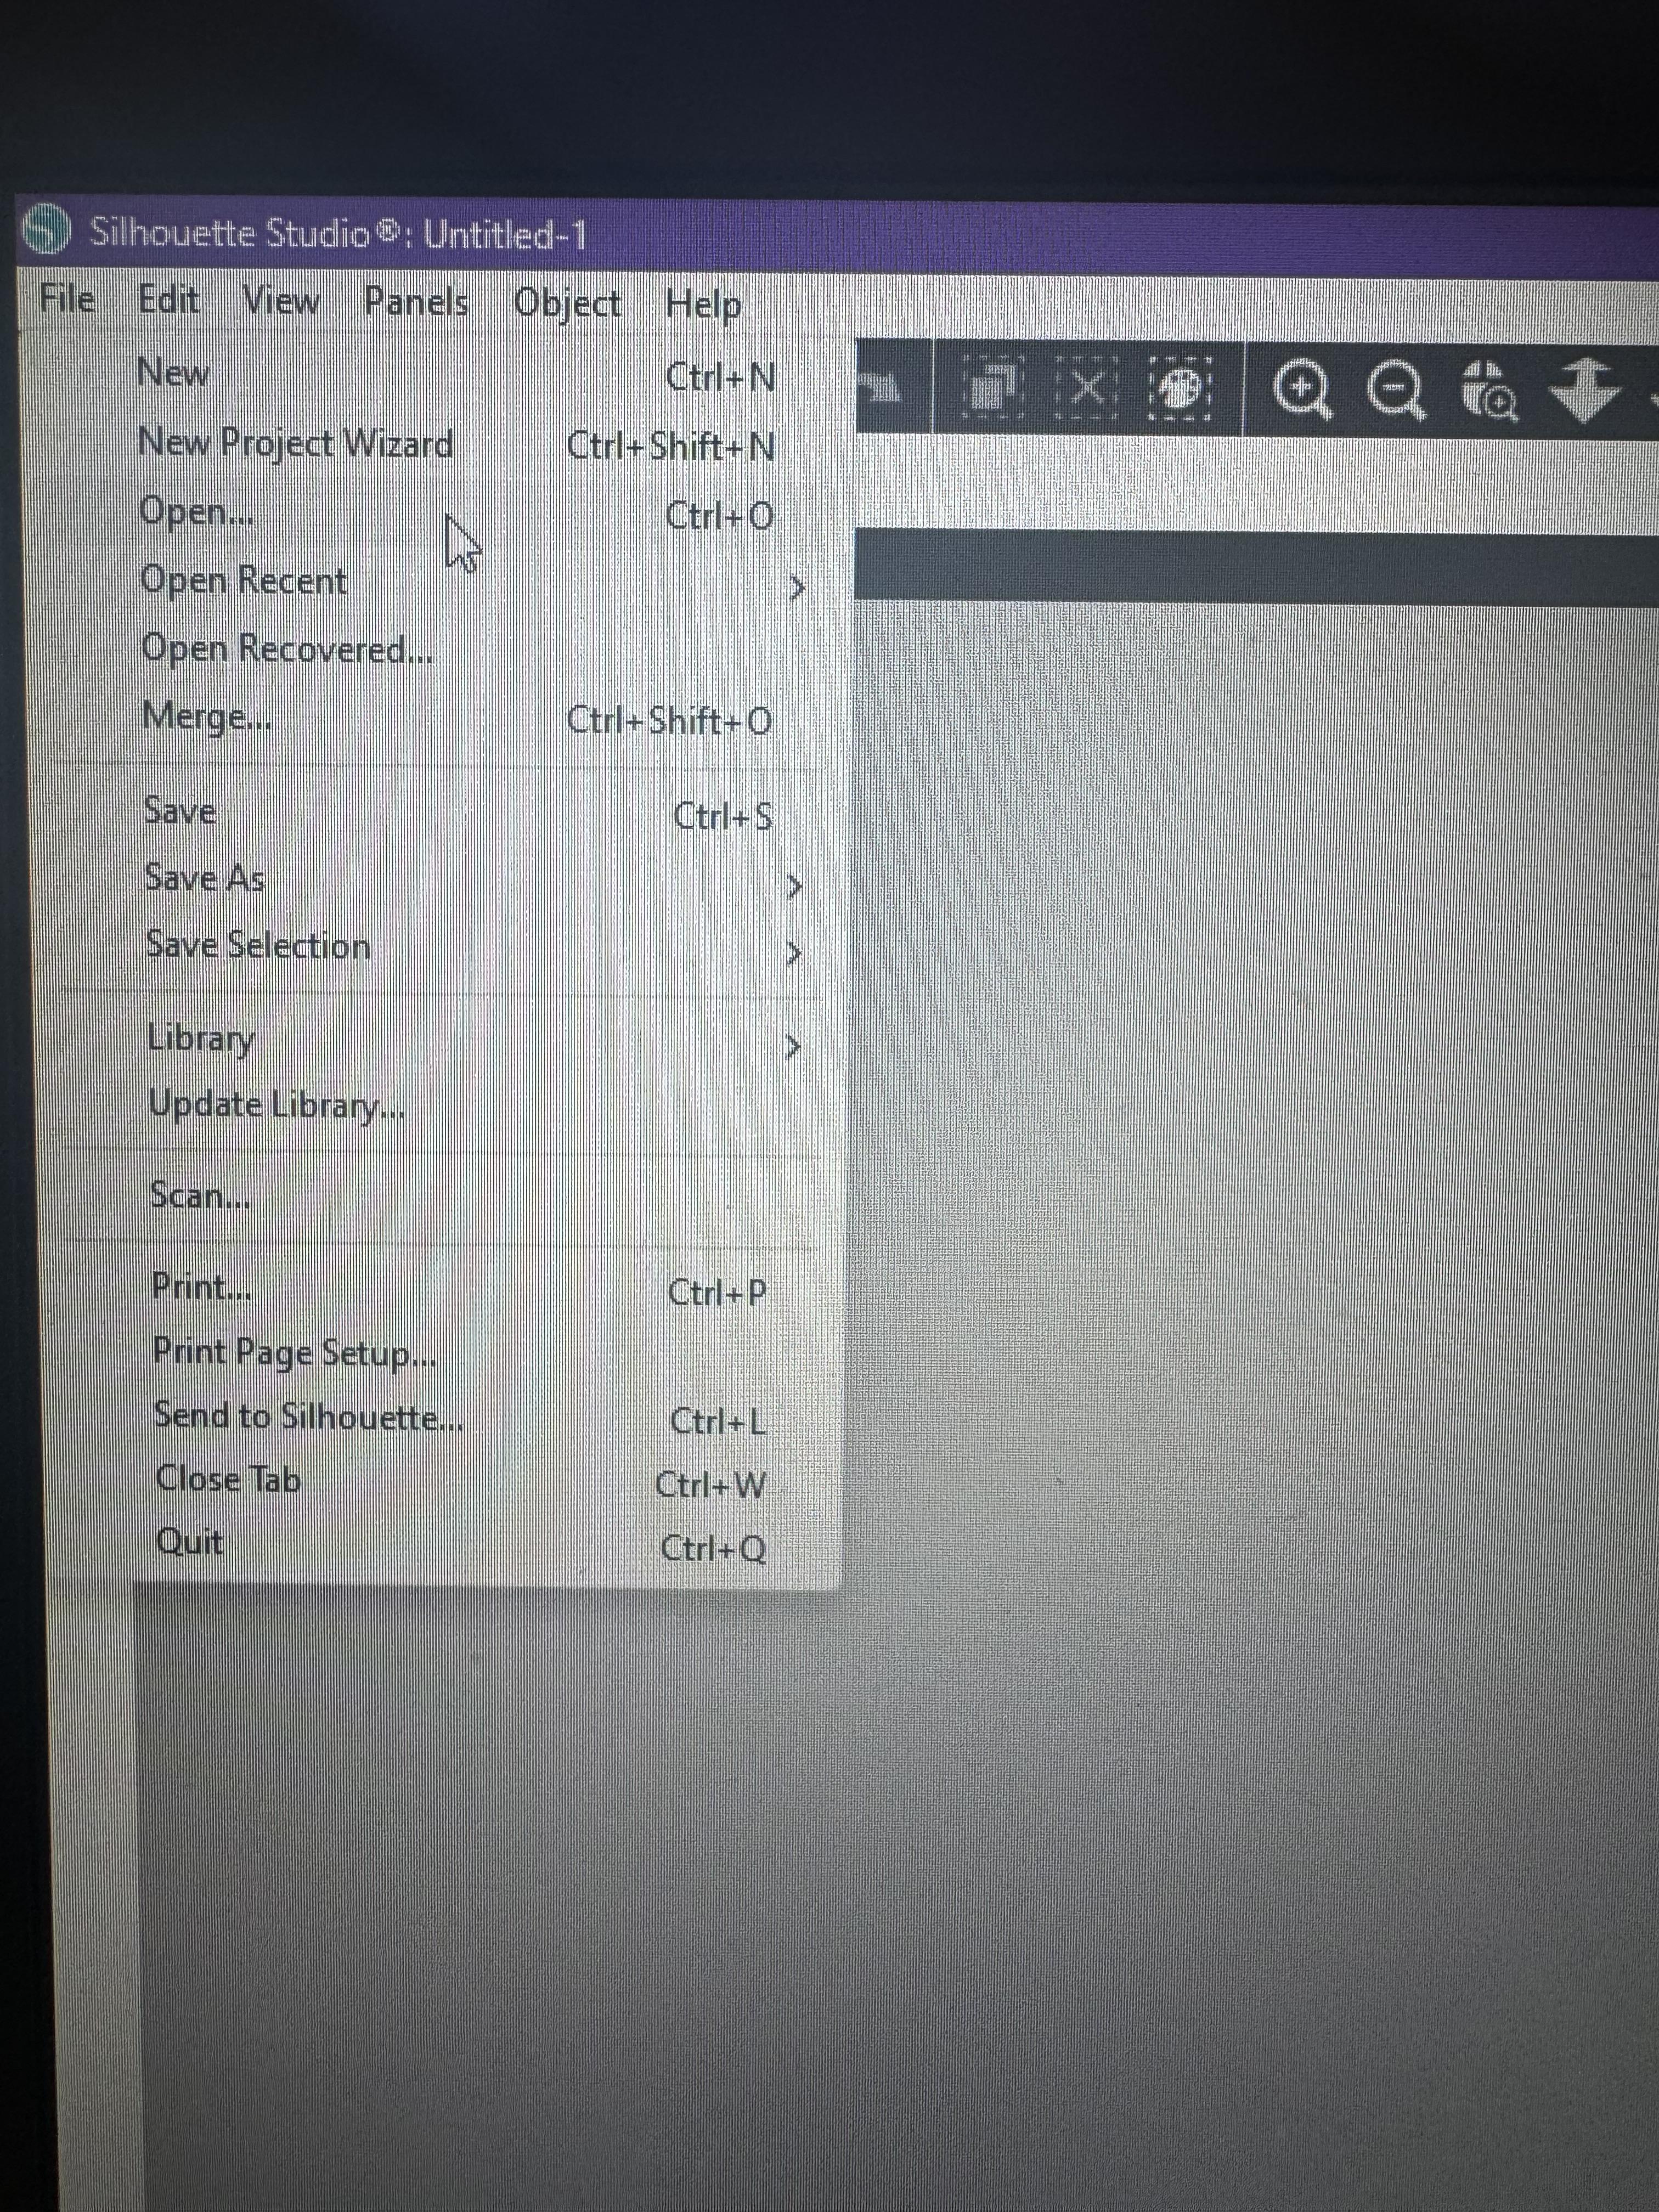
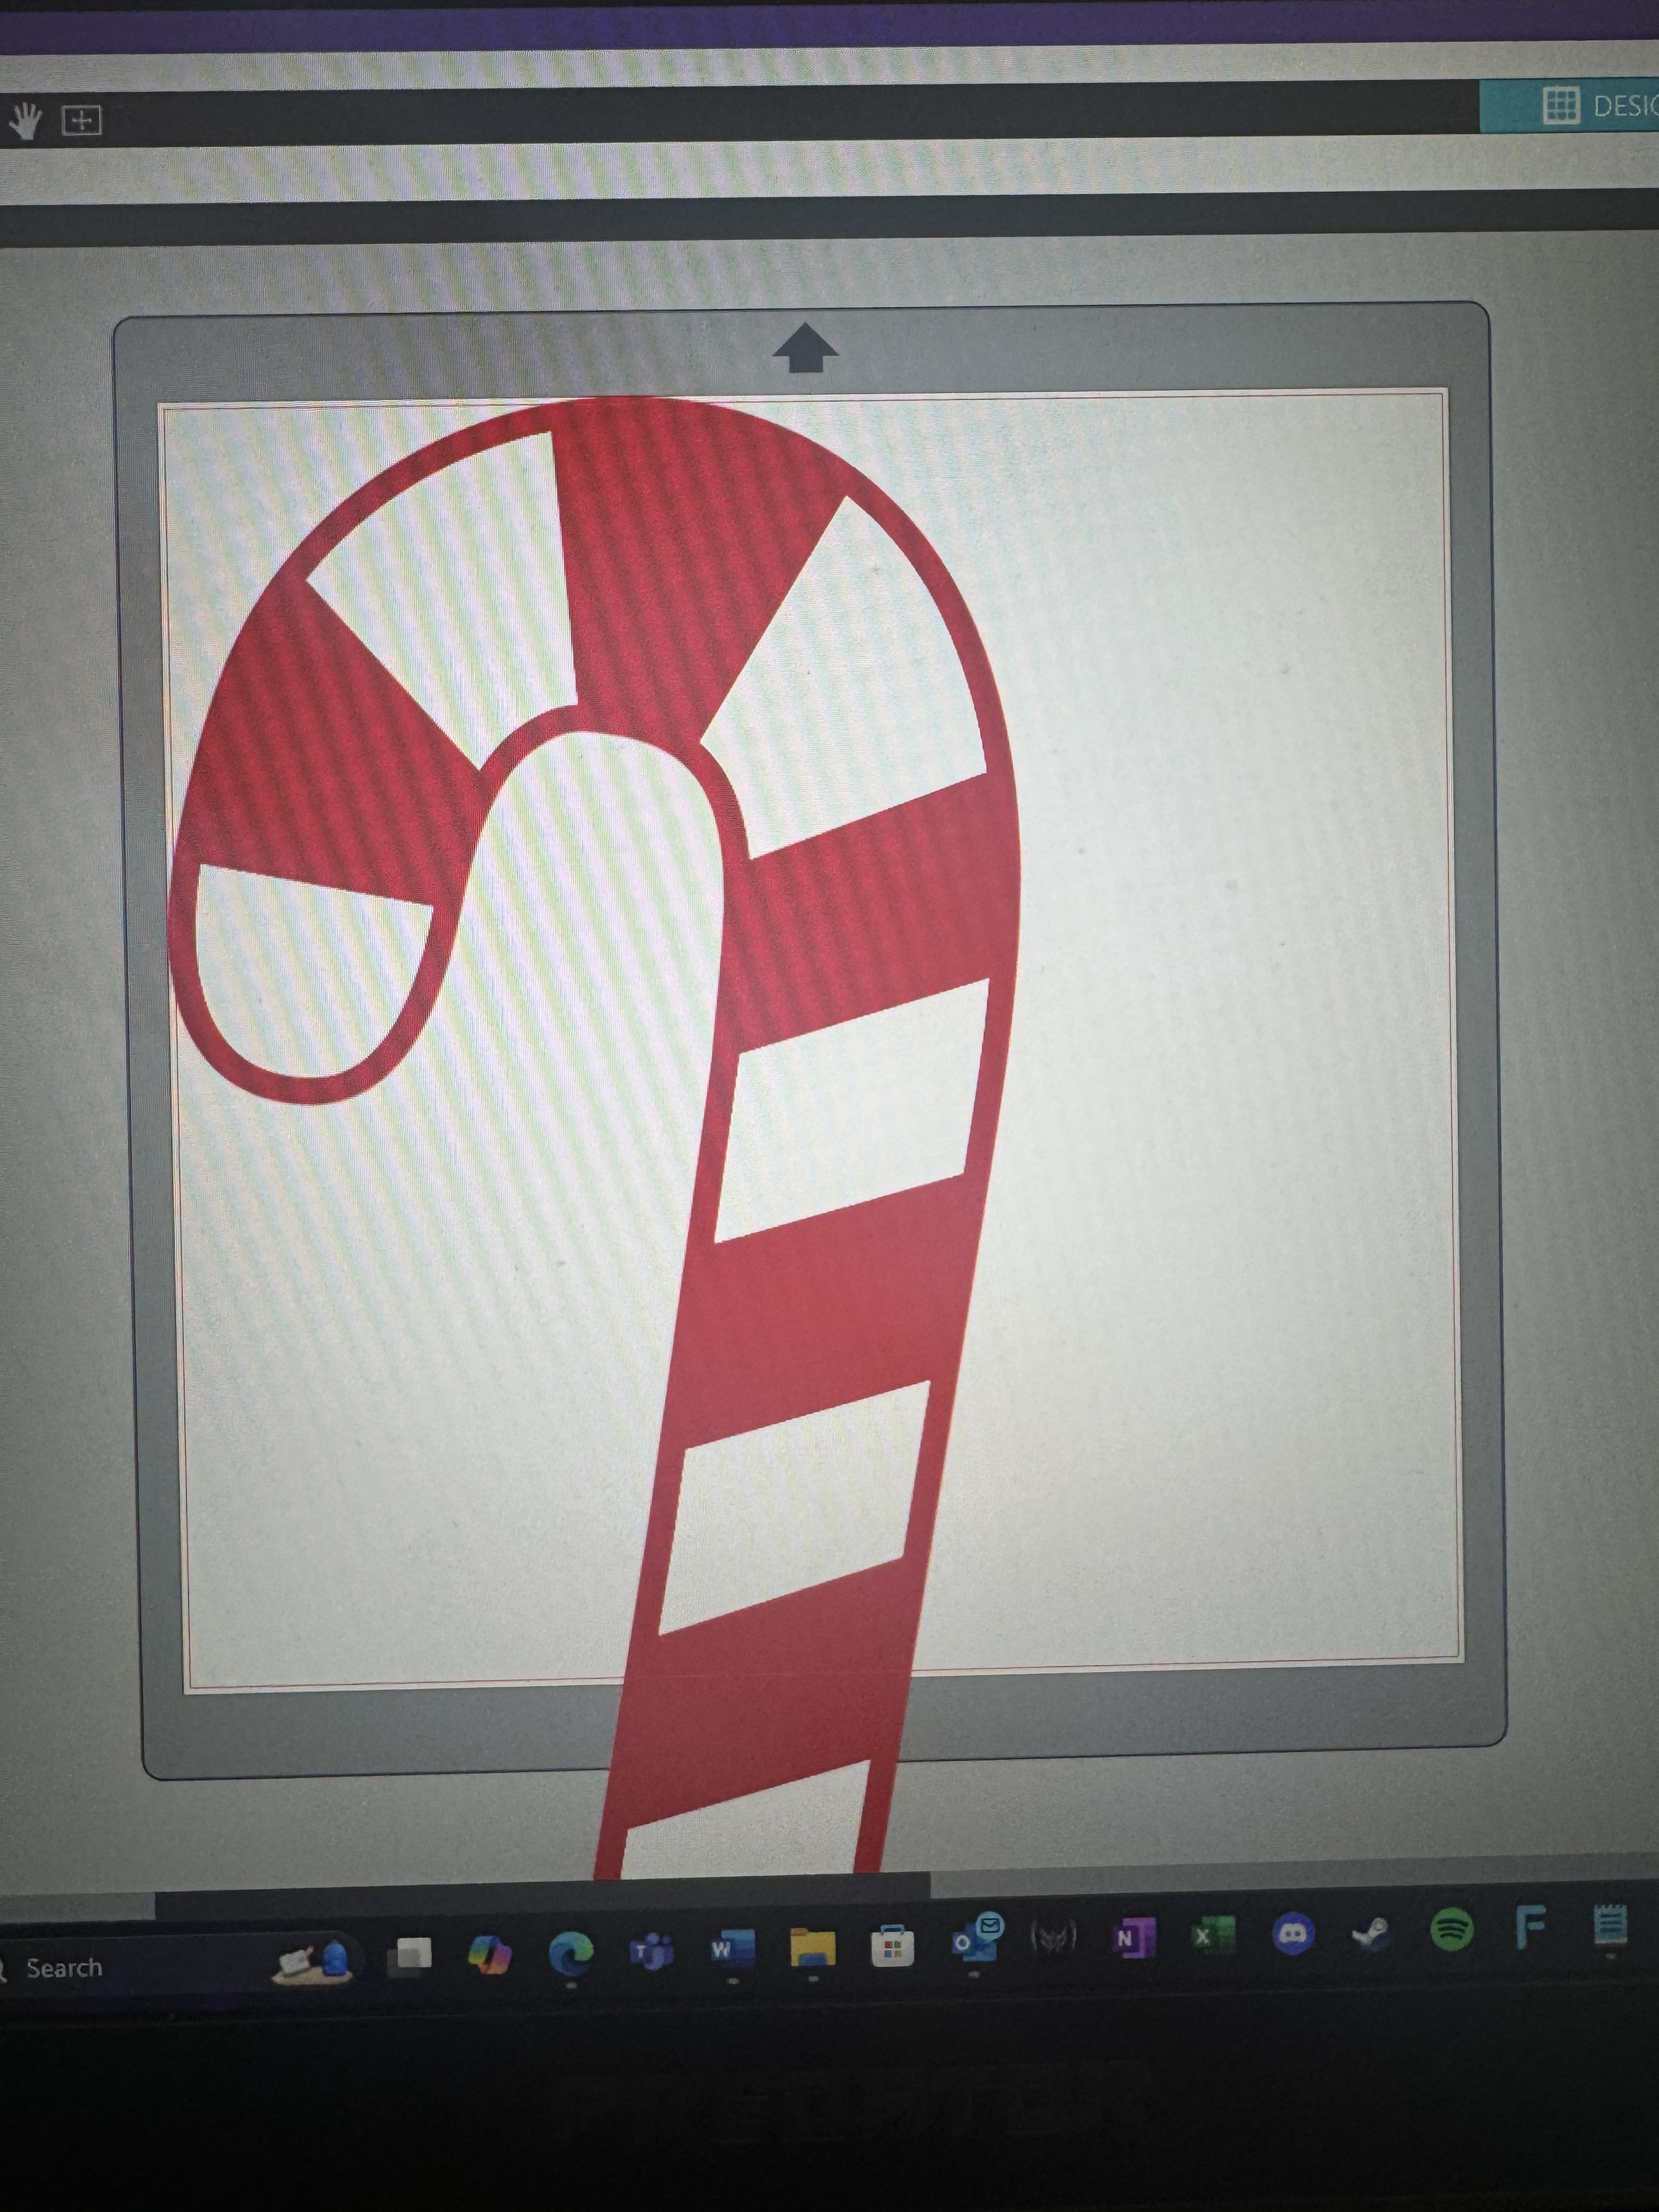
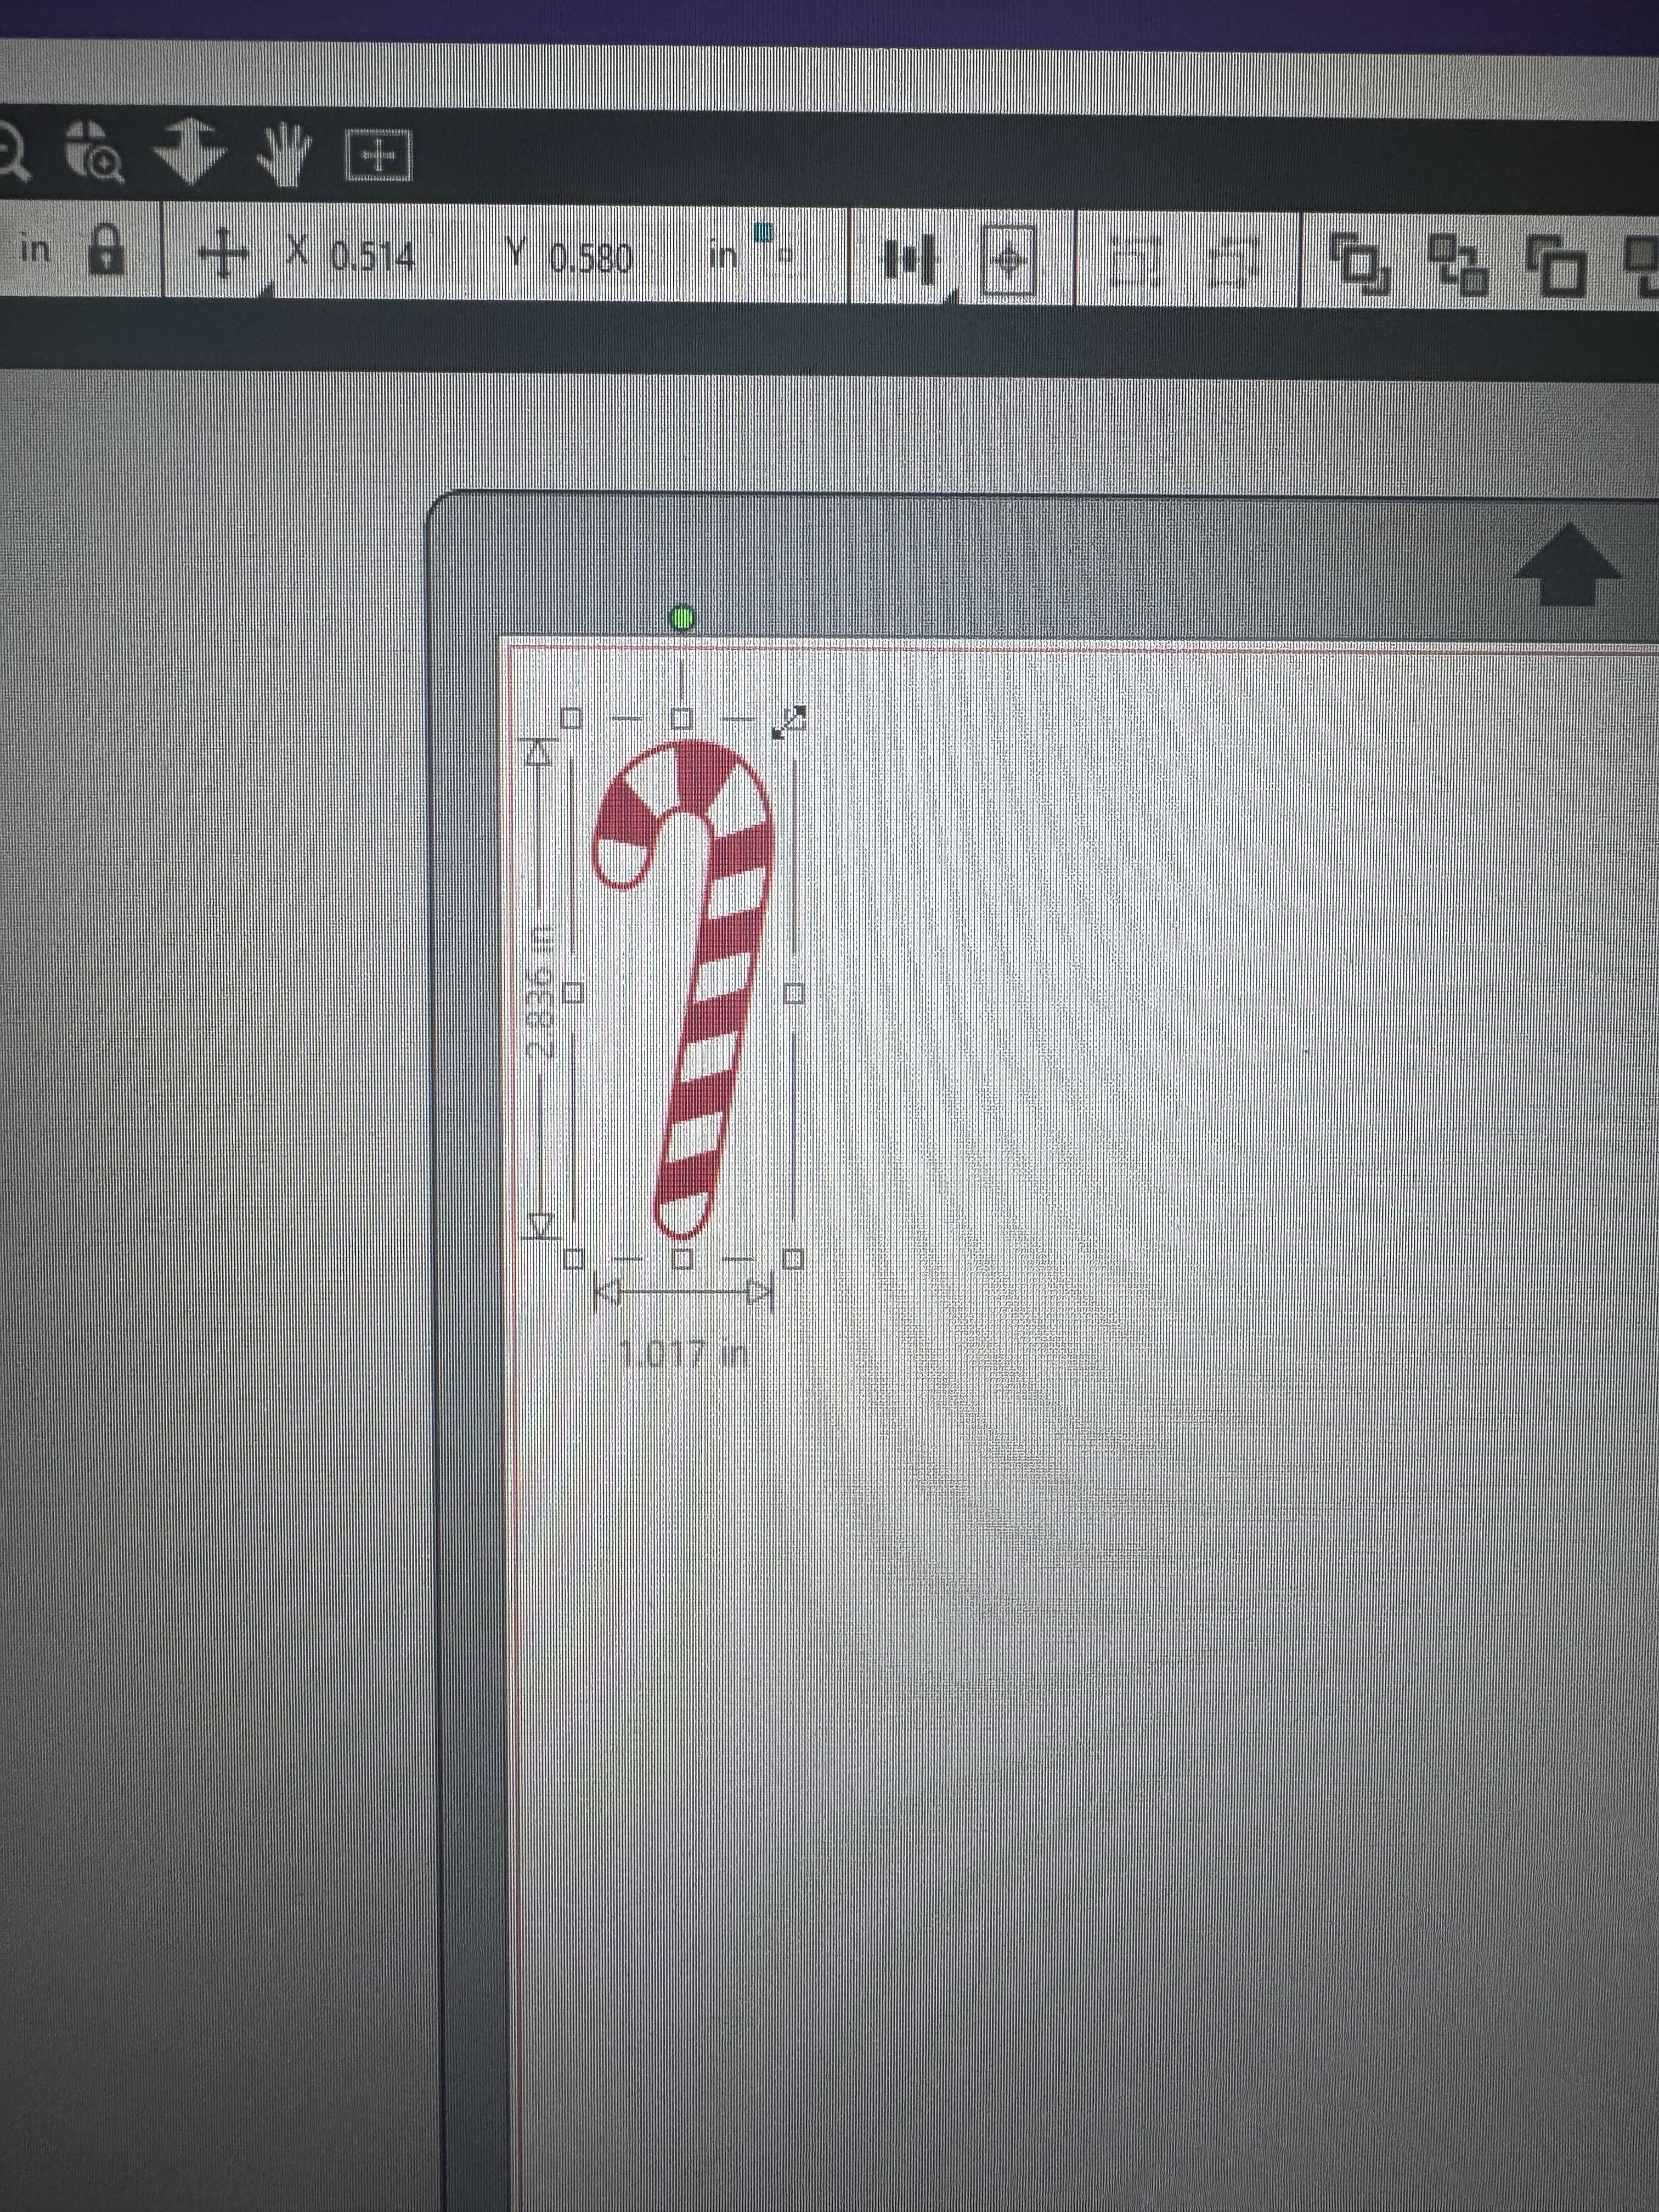
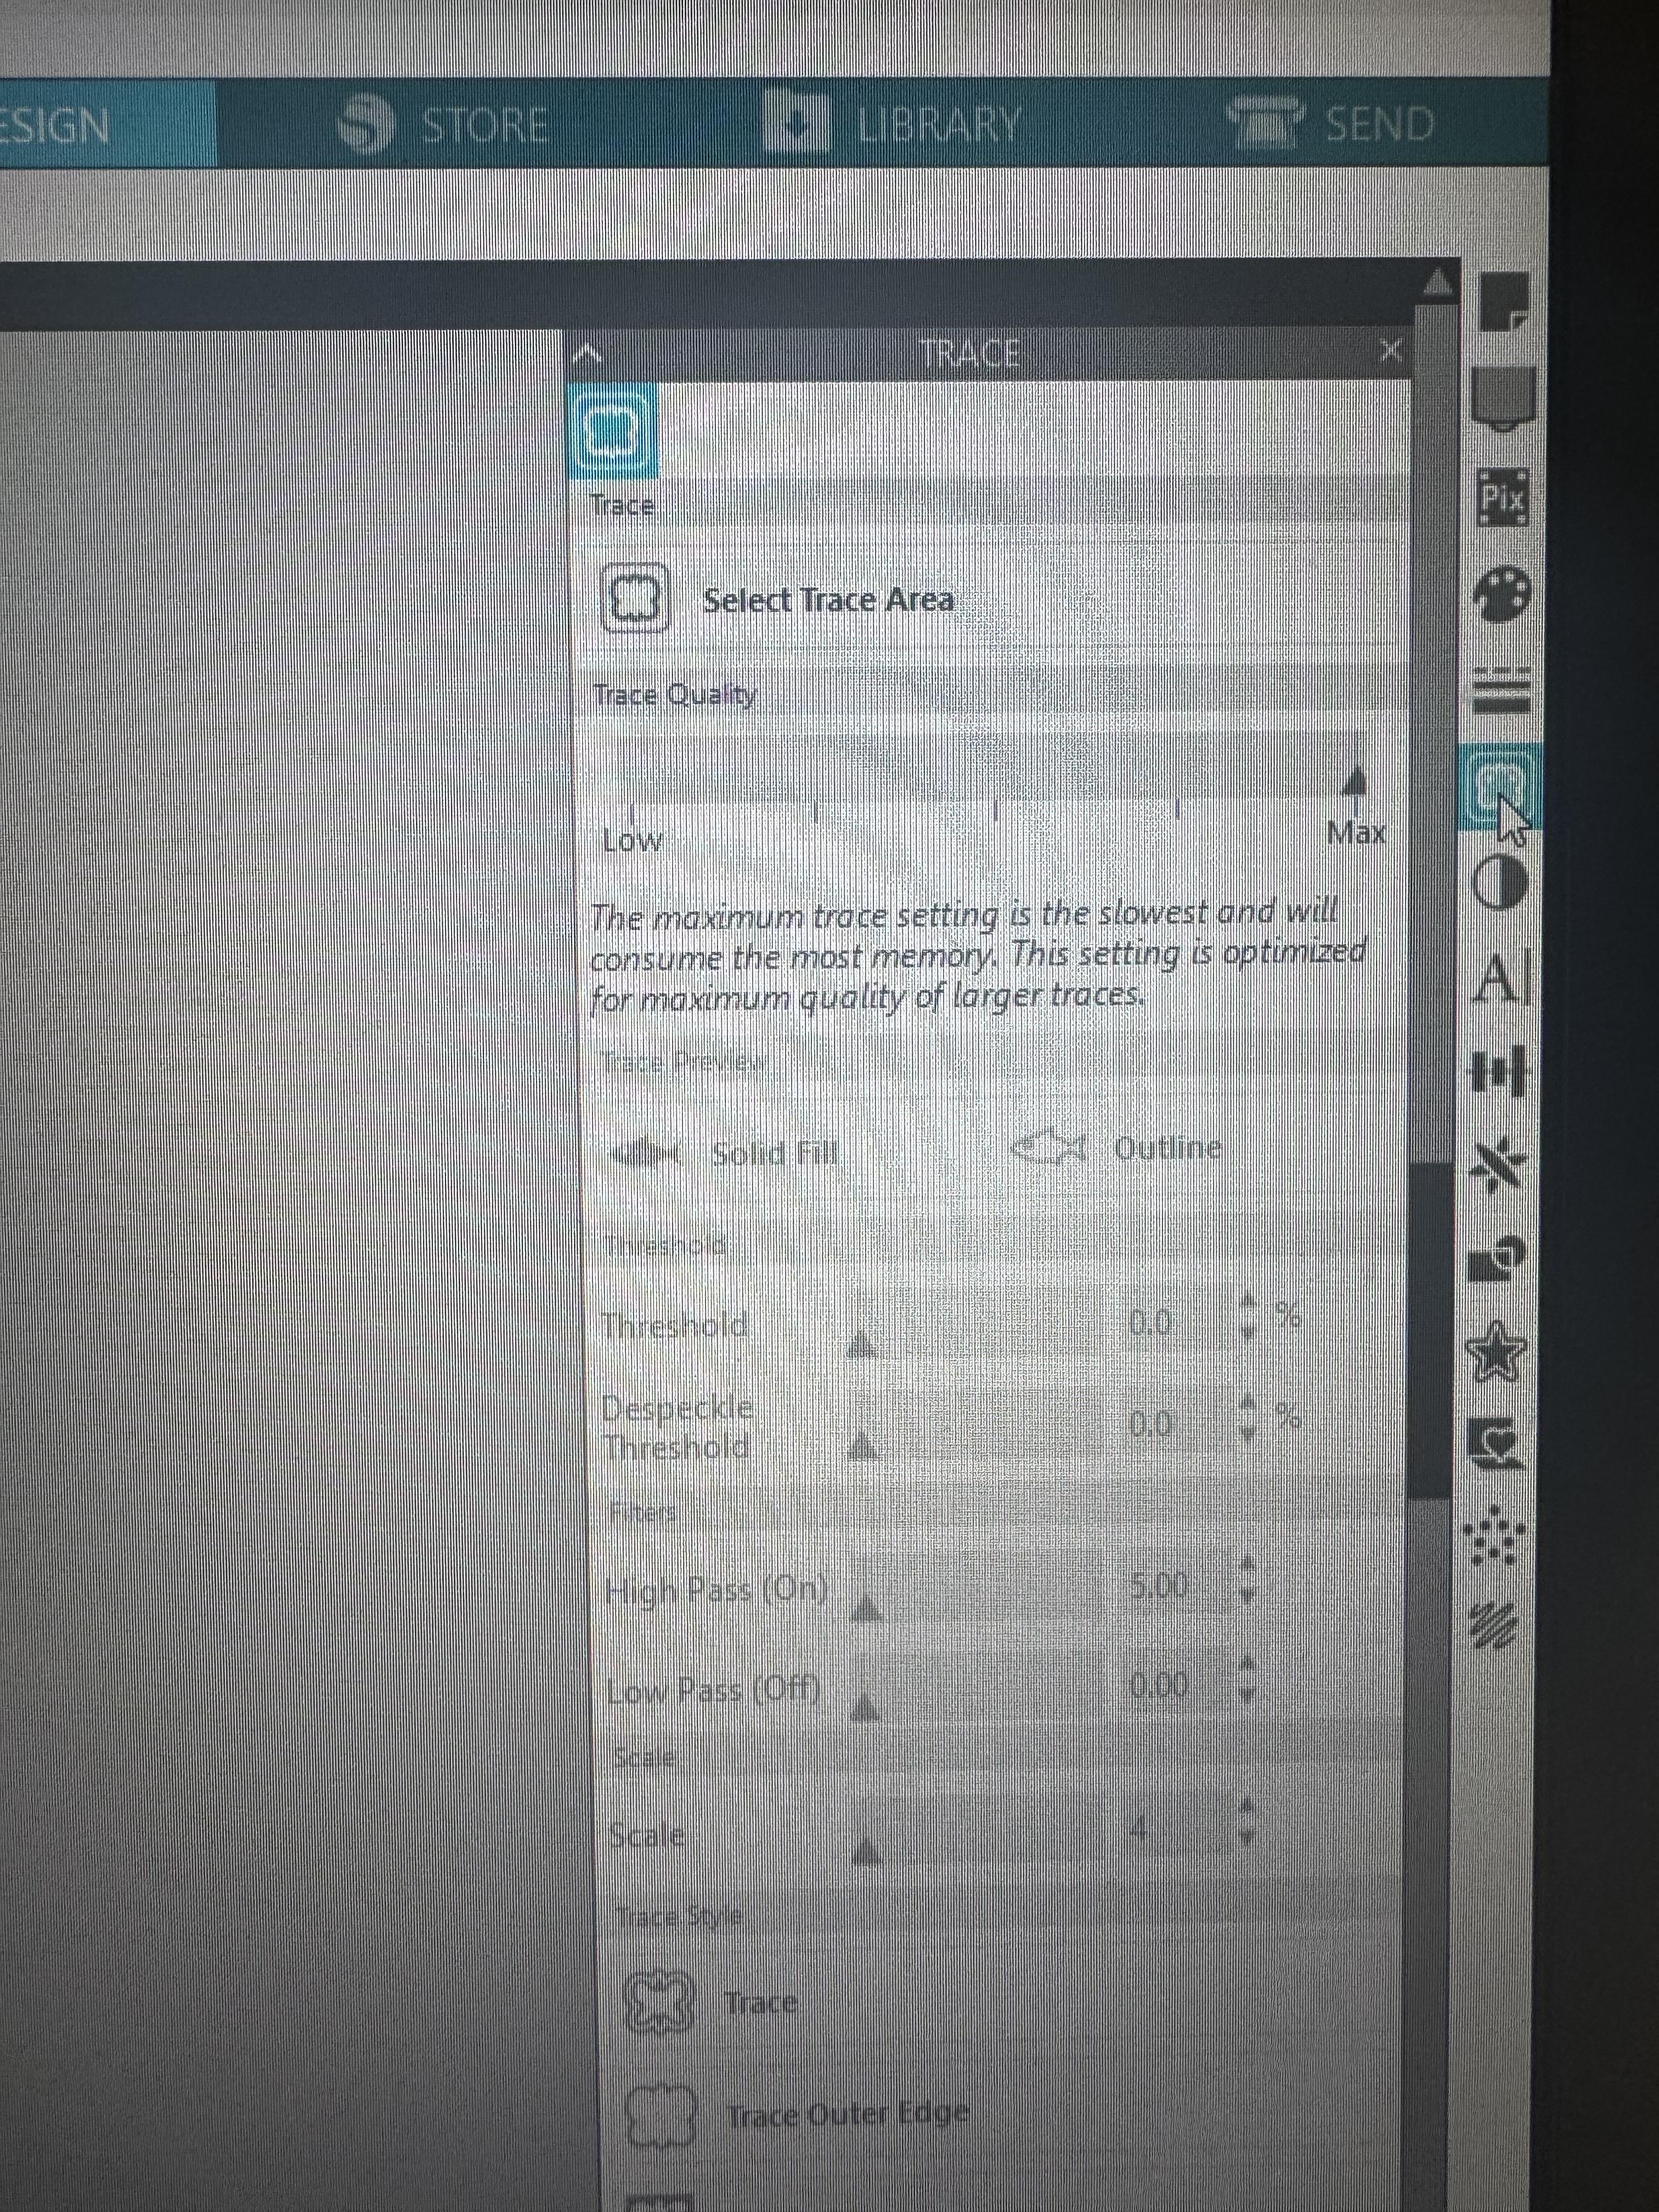
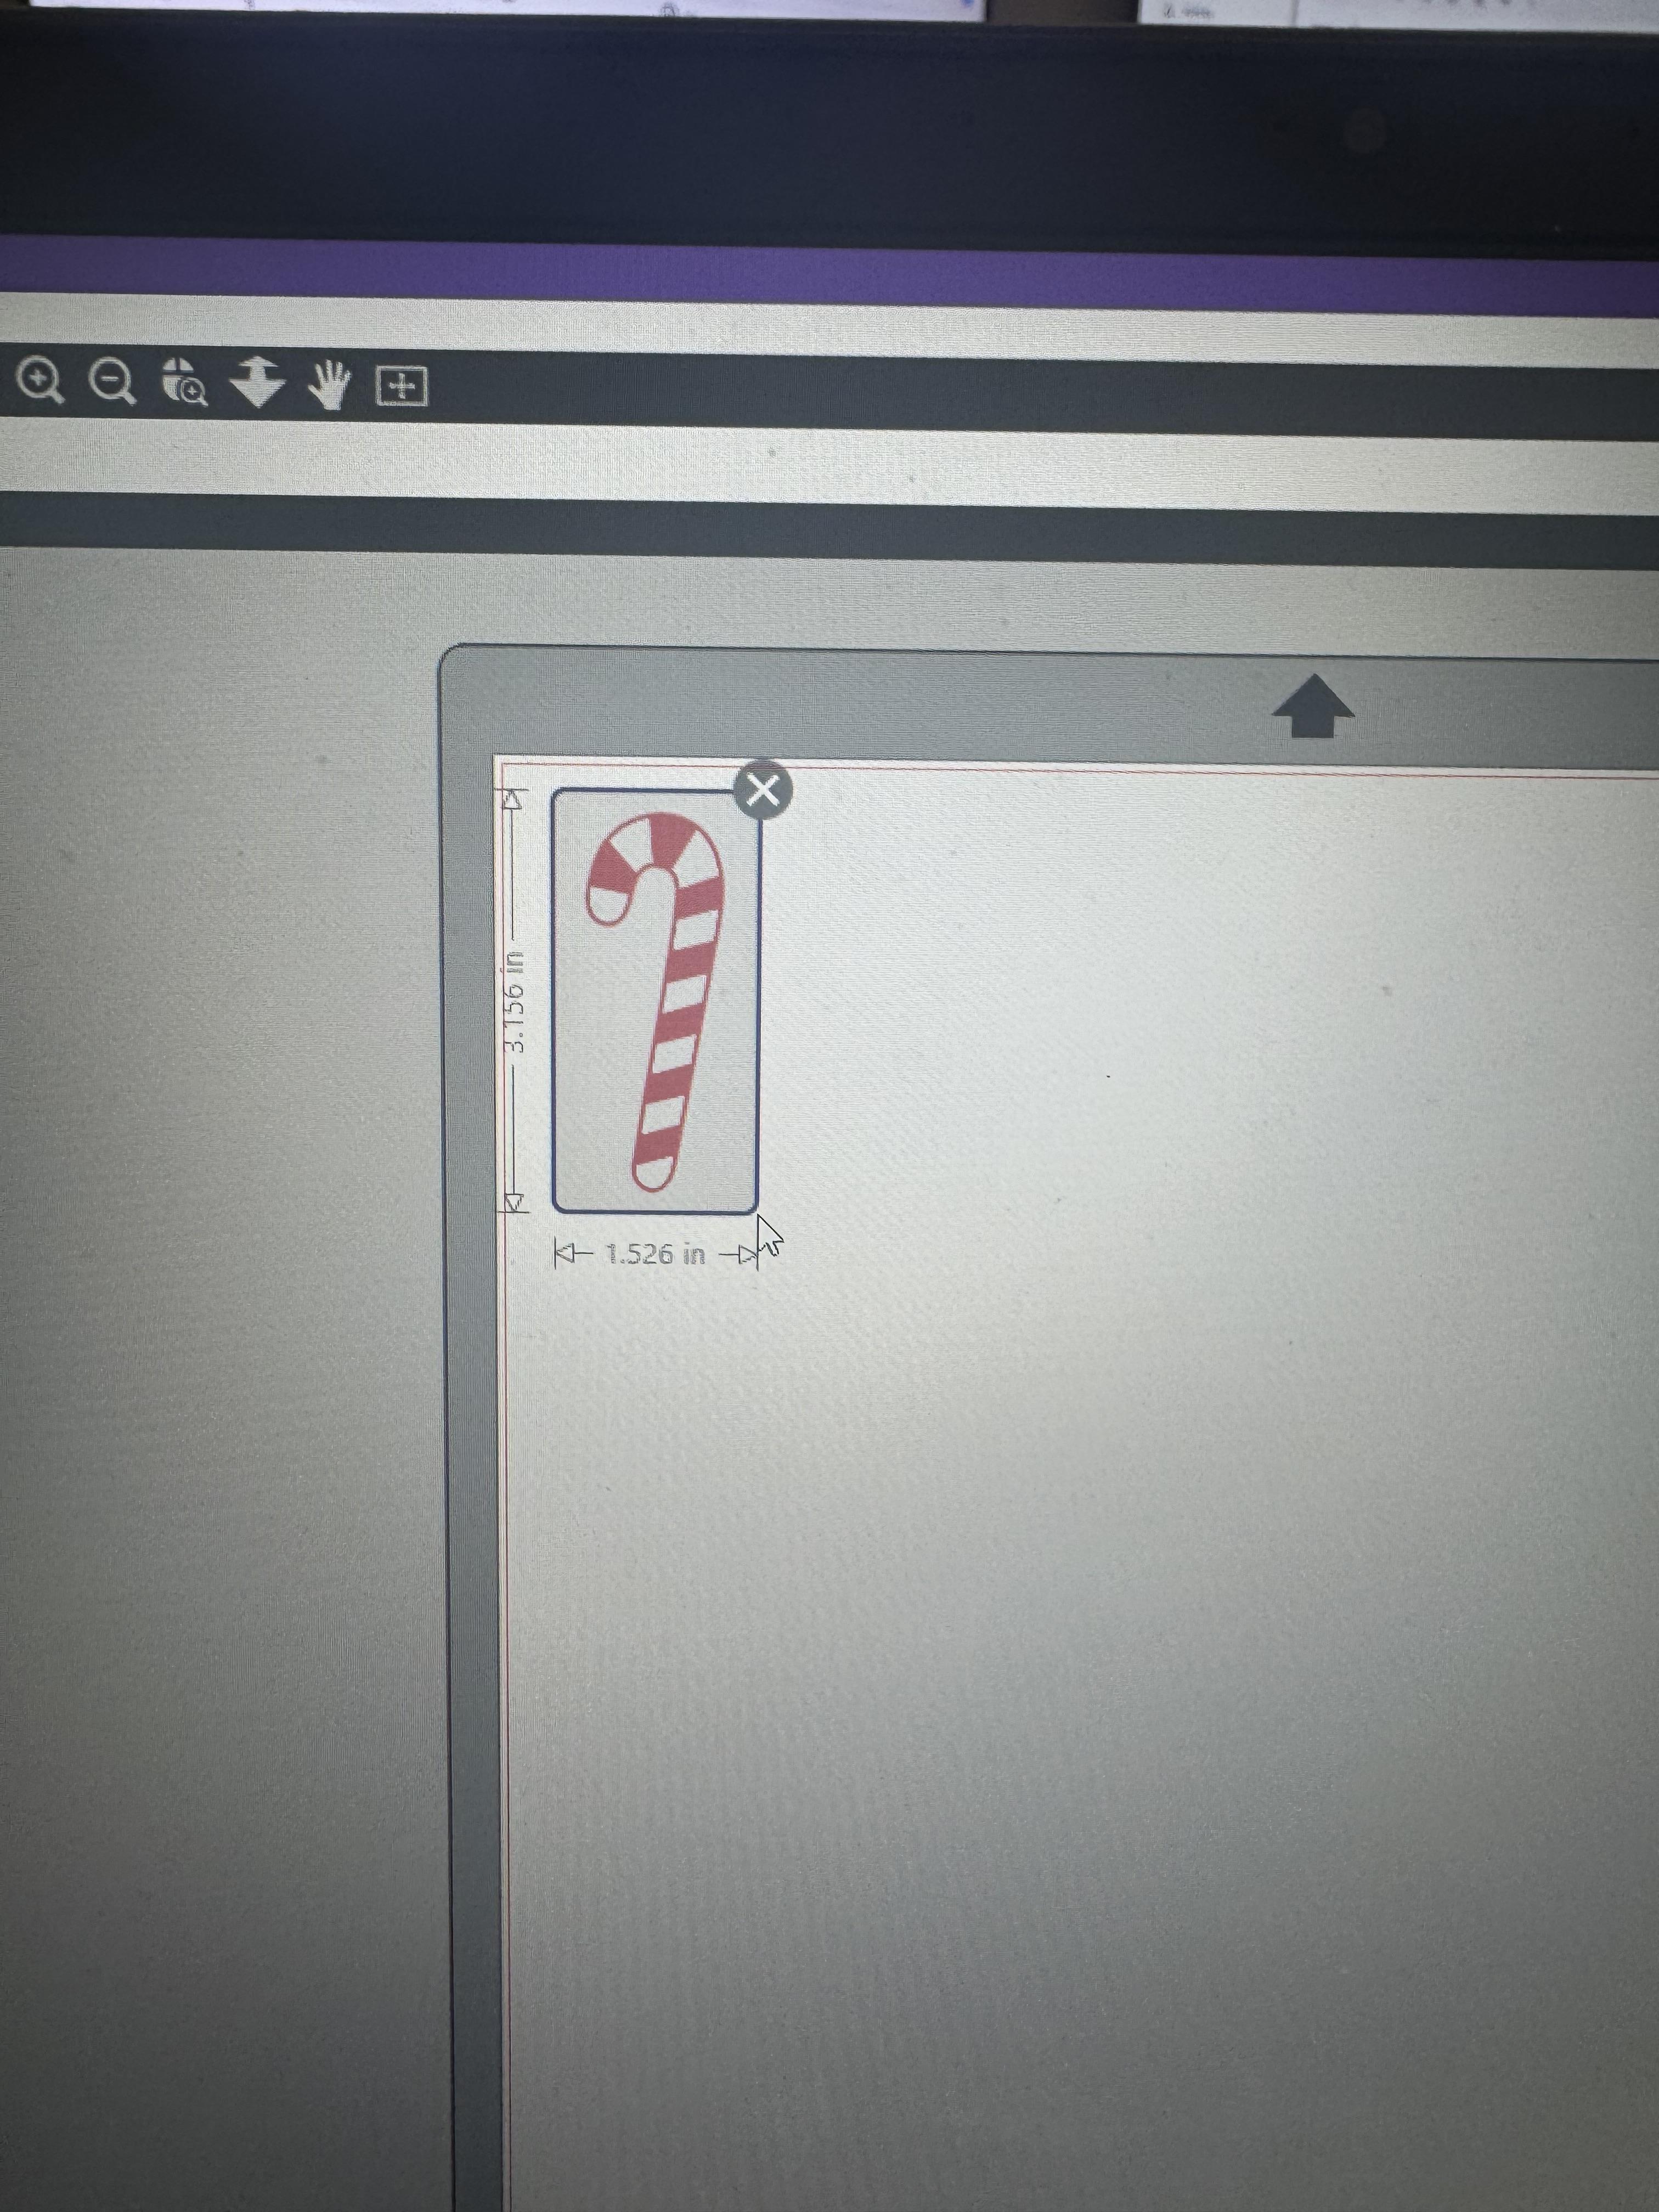
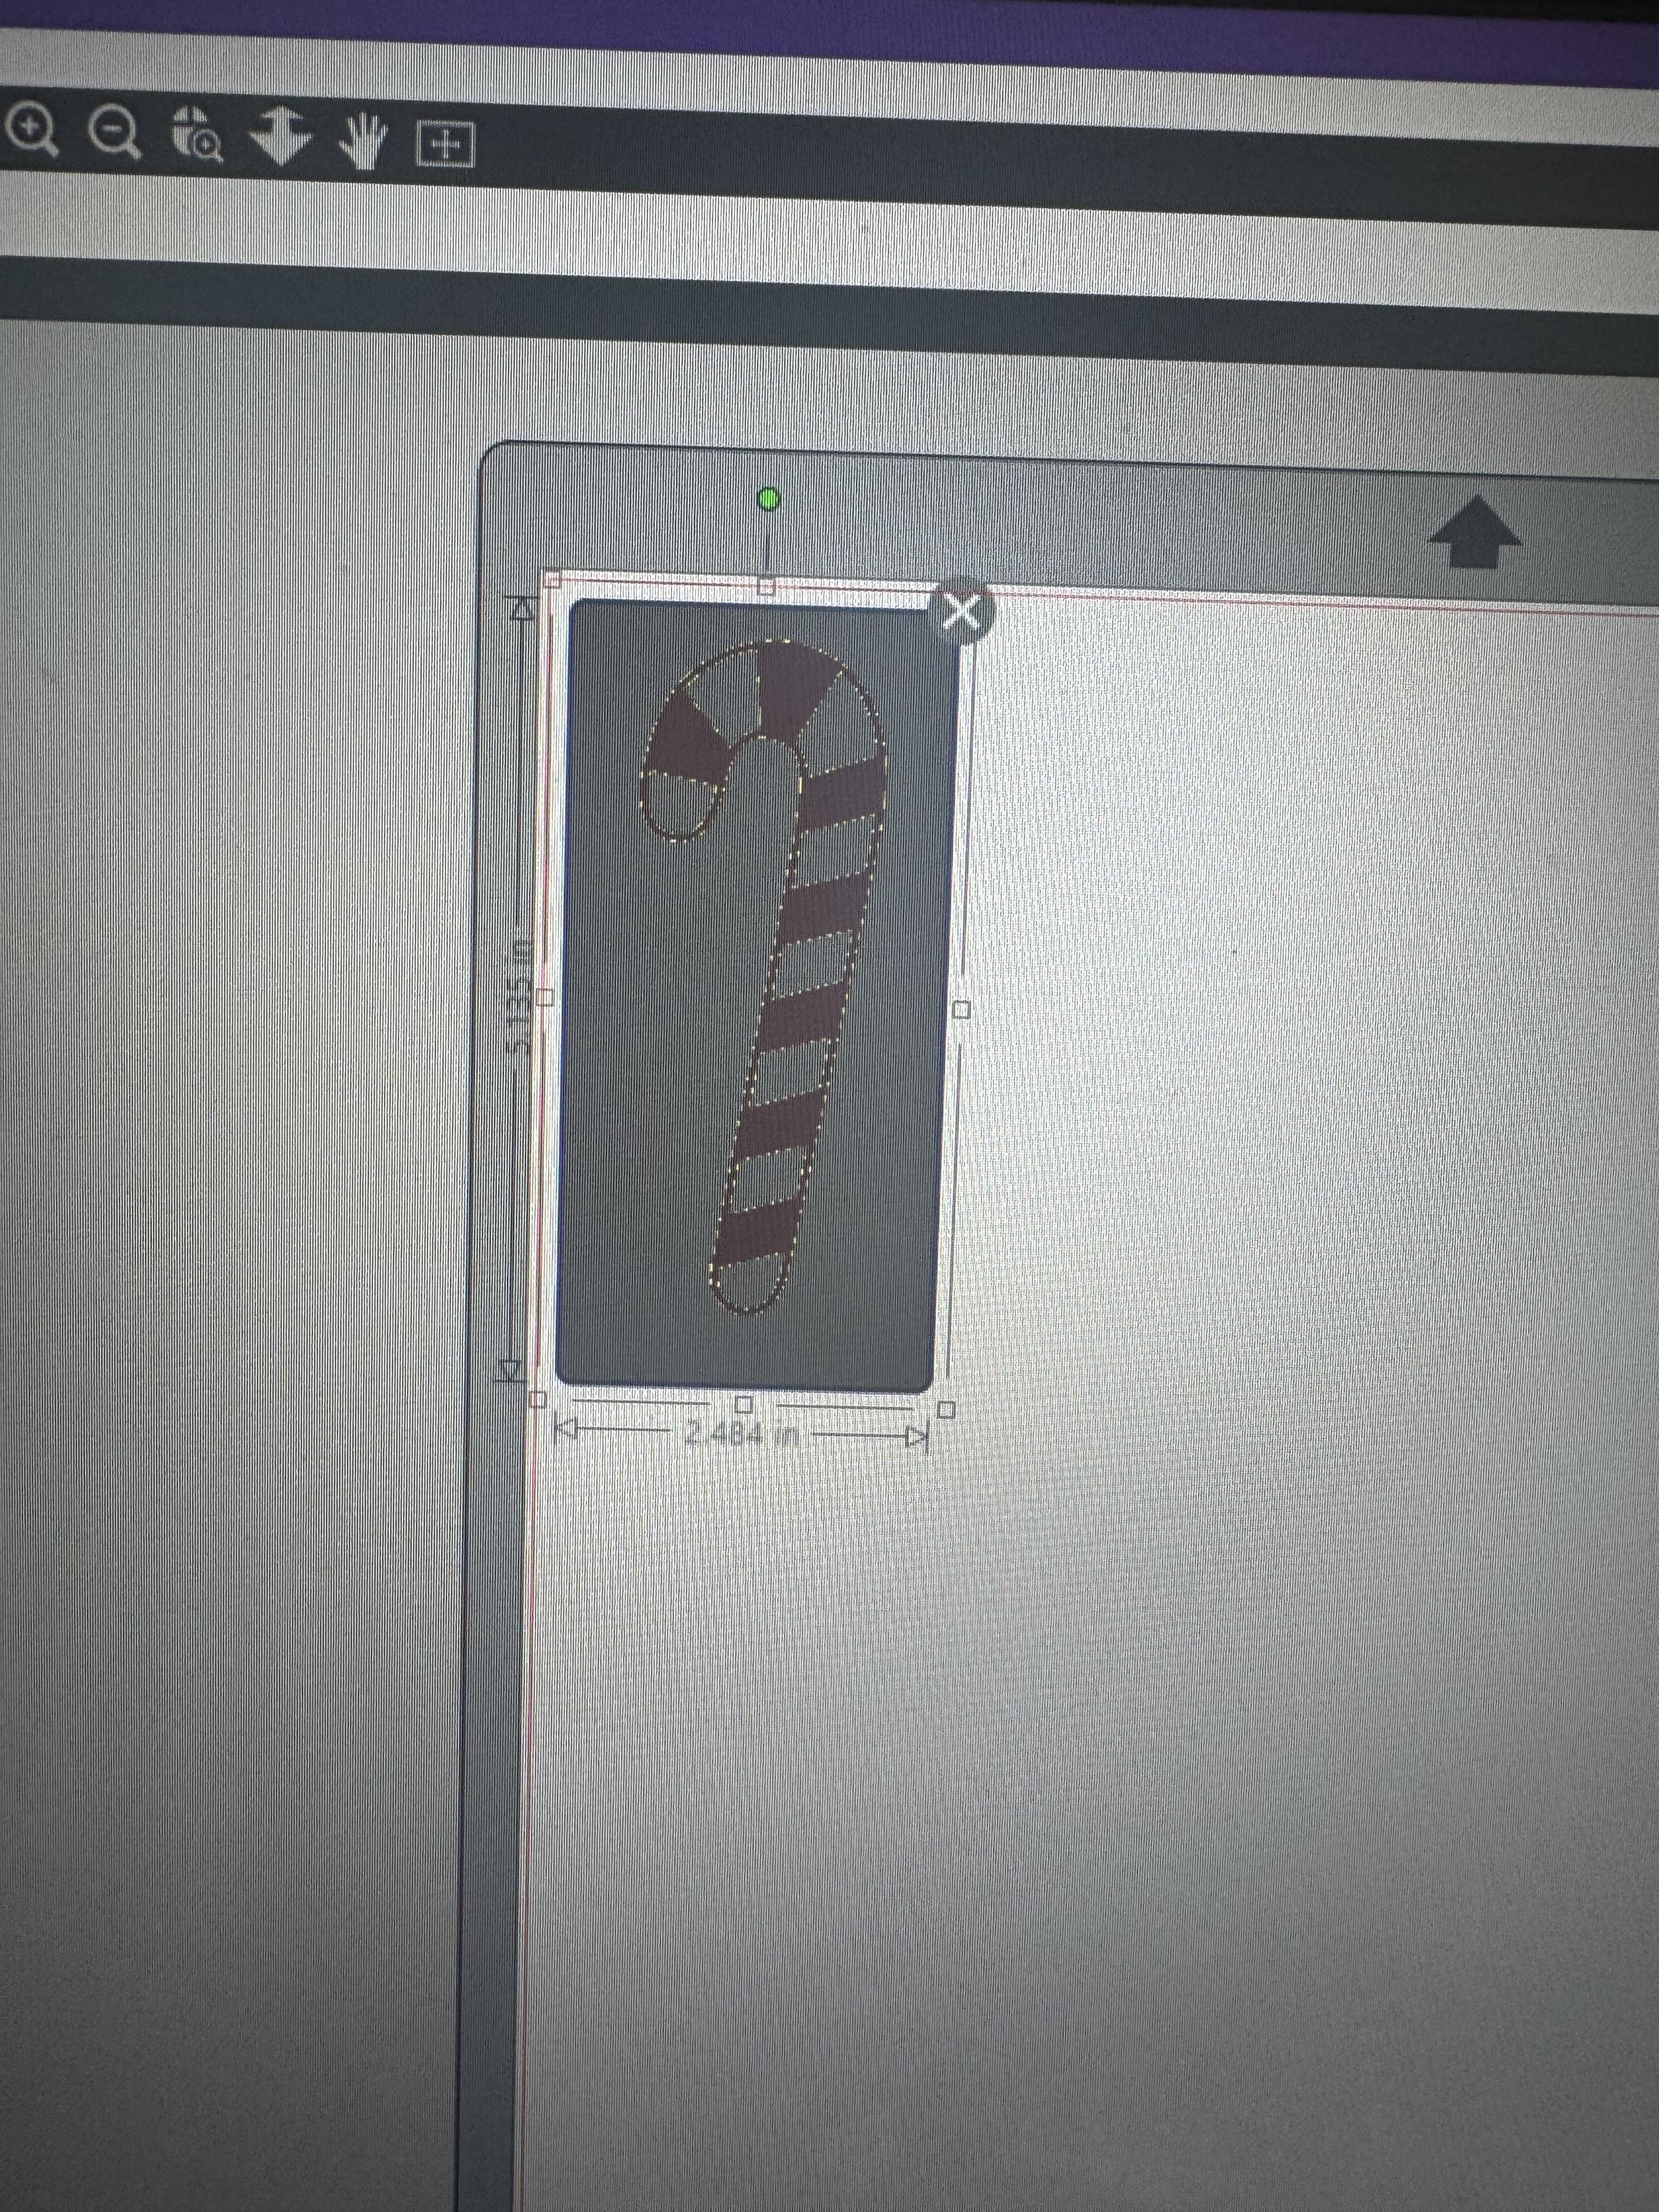
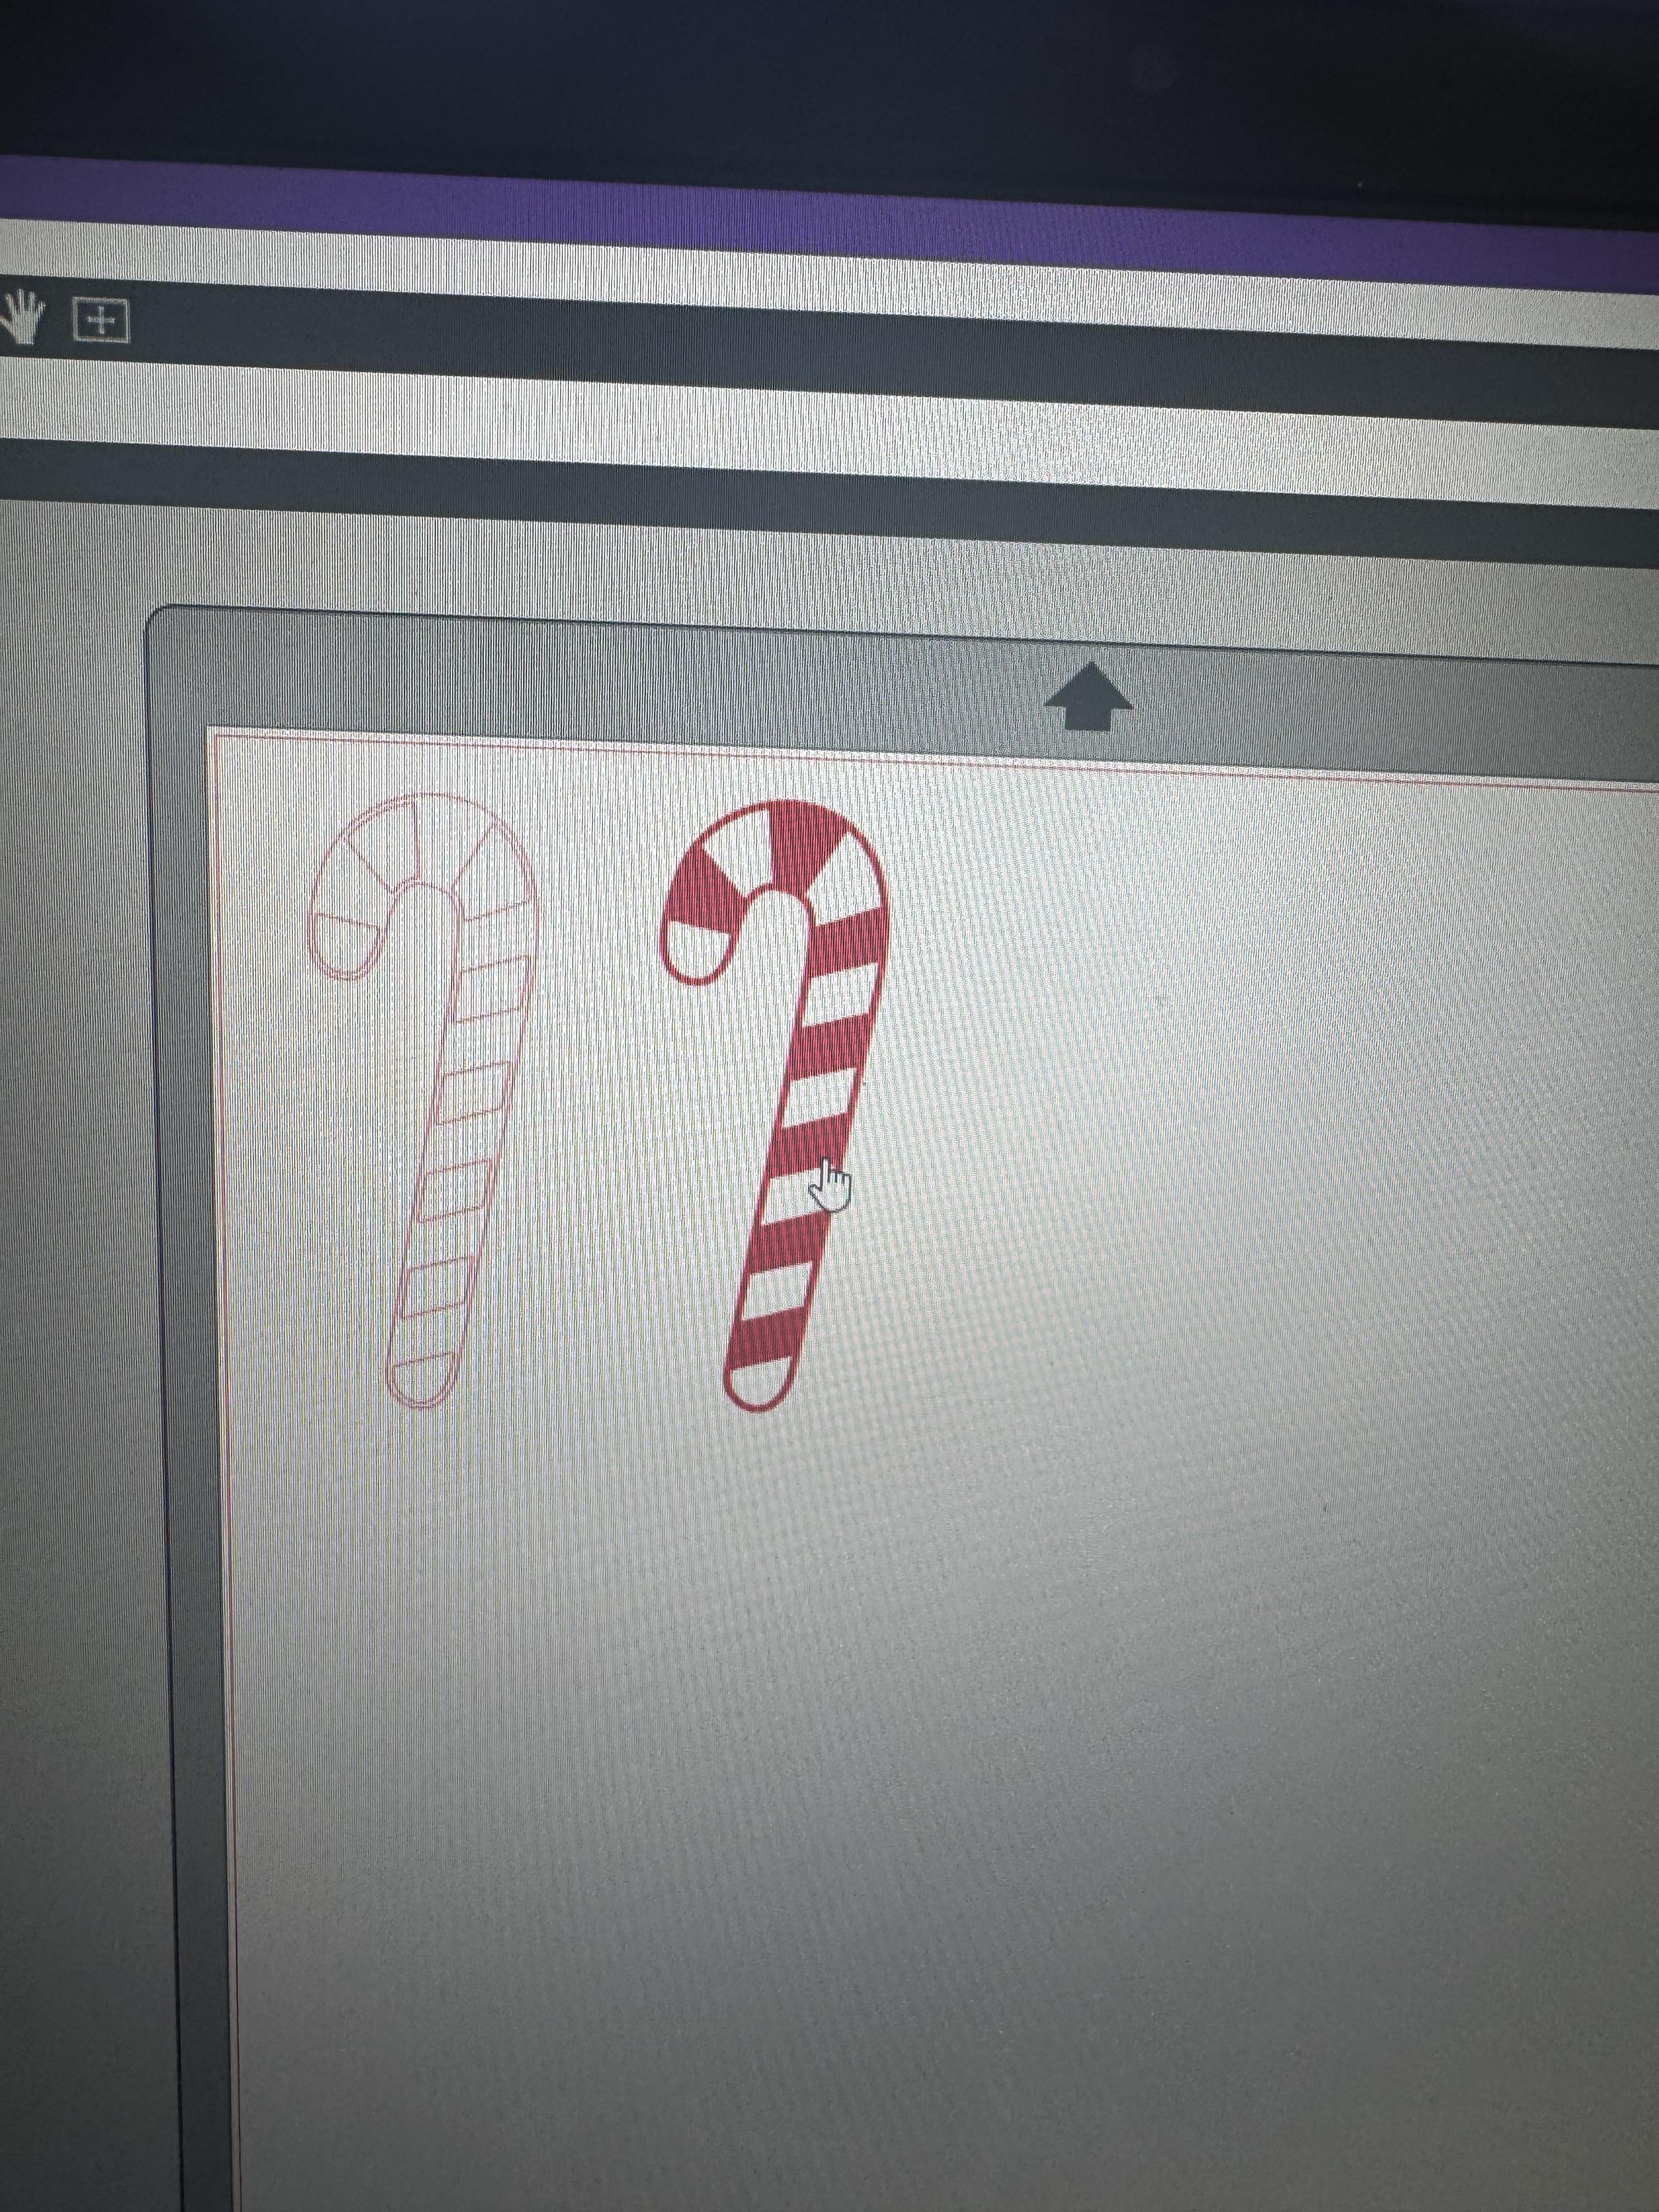
Design your stickers by choosing the theme that you want to go with. For me I went with some festive Christmas and holiday themes. You can import your design into Silhouette Studio by either going to File > Open or just drag and drop the file into the design space. One way to cut out your stickers is to use the trace function which will outline the design and allow you to cut out the shape. If you want to cut out more or in a different shape, you can use the shape tool and add in rectangles or circles as you see fit.
Cutting the Stickers
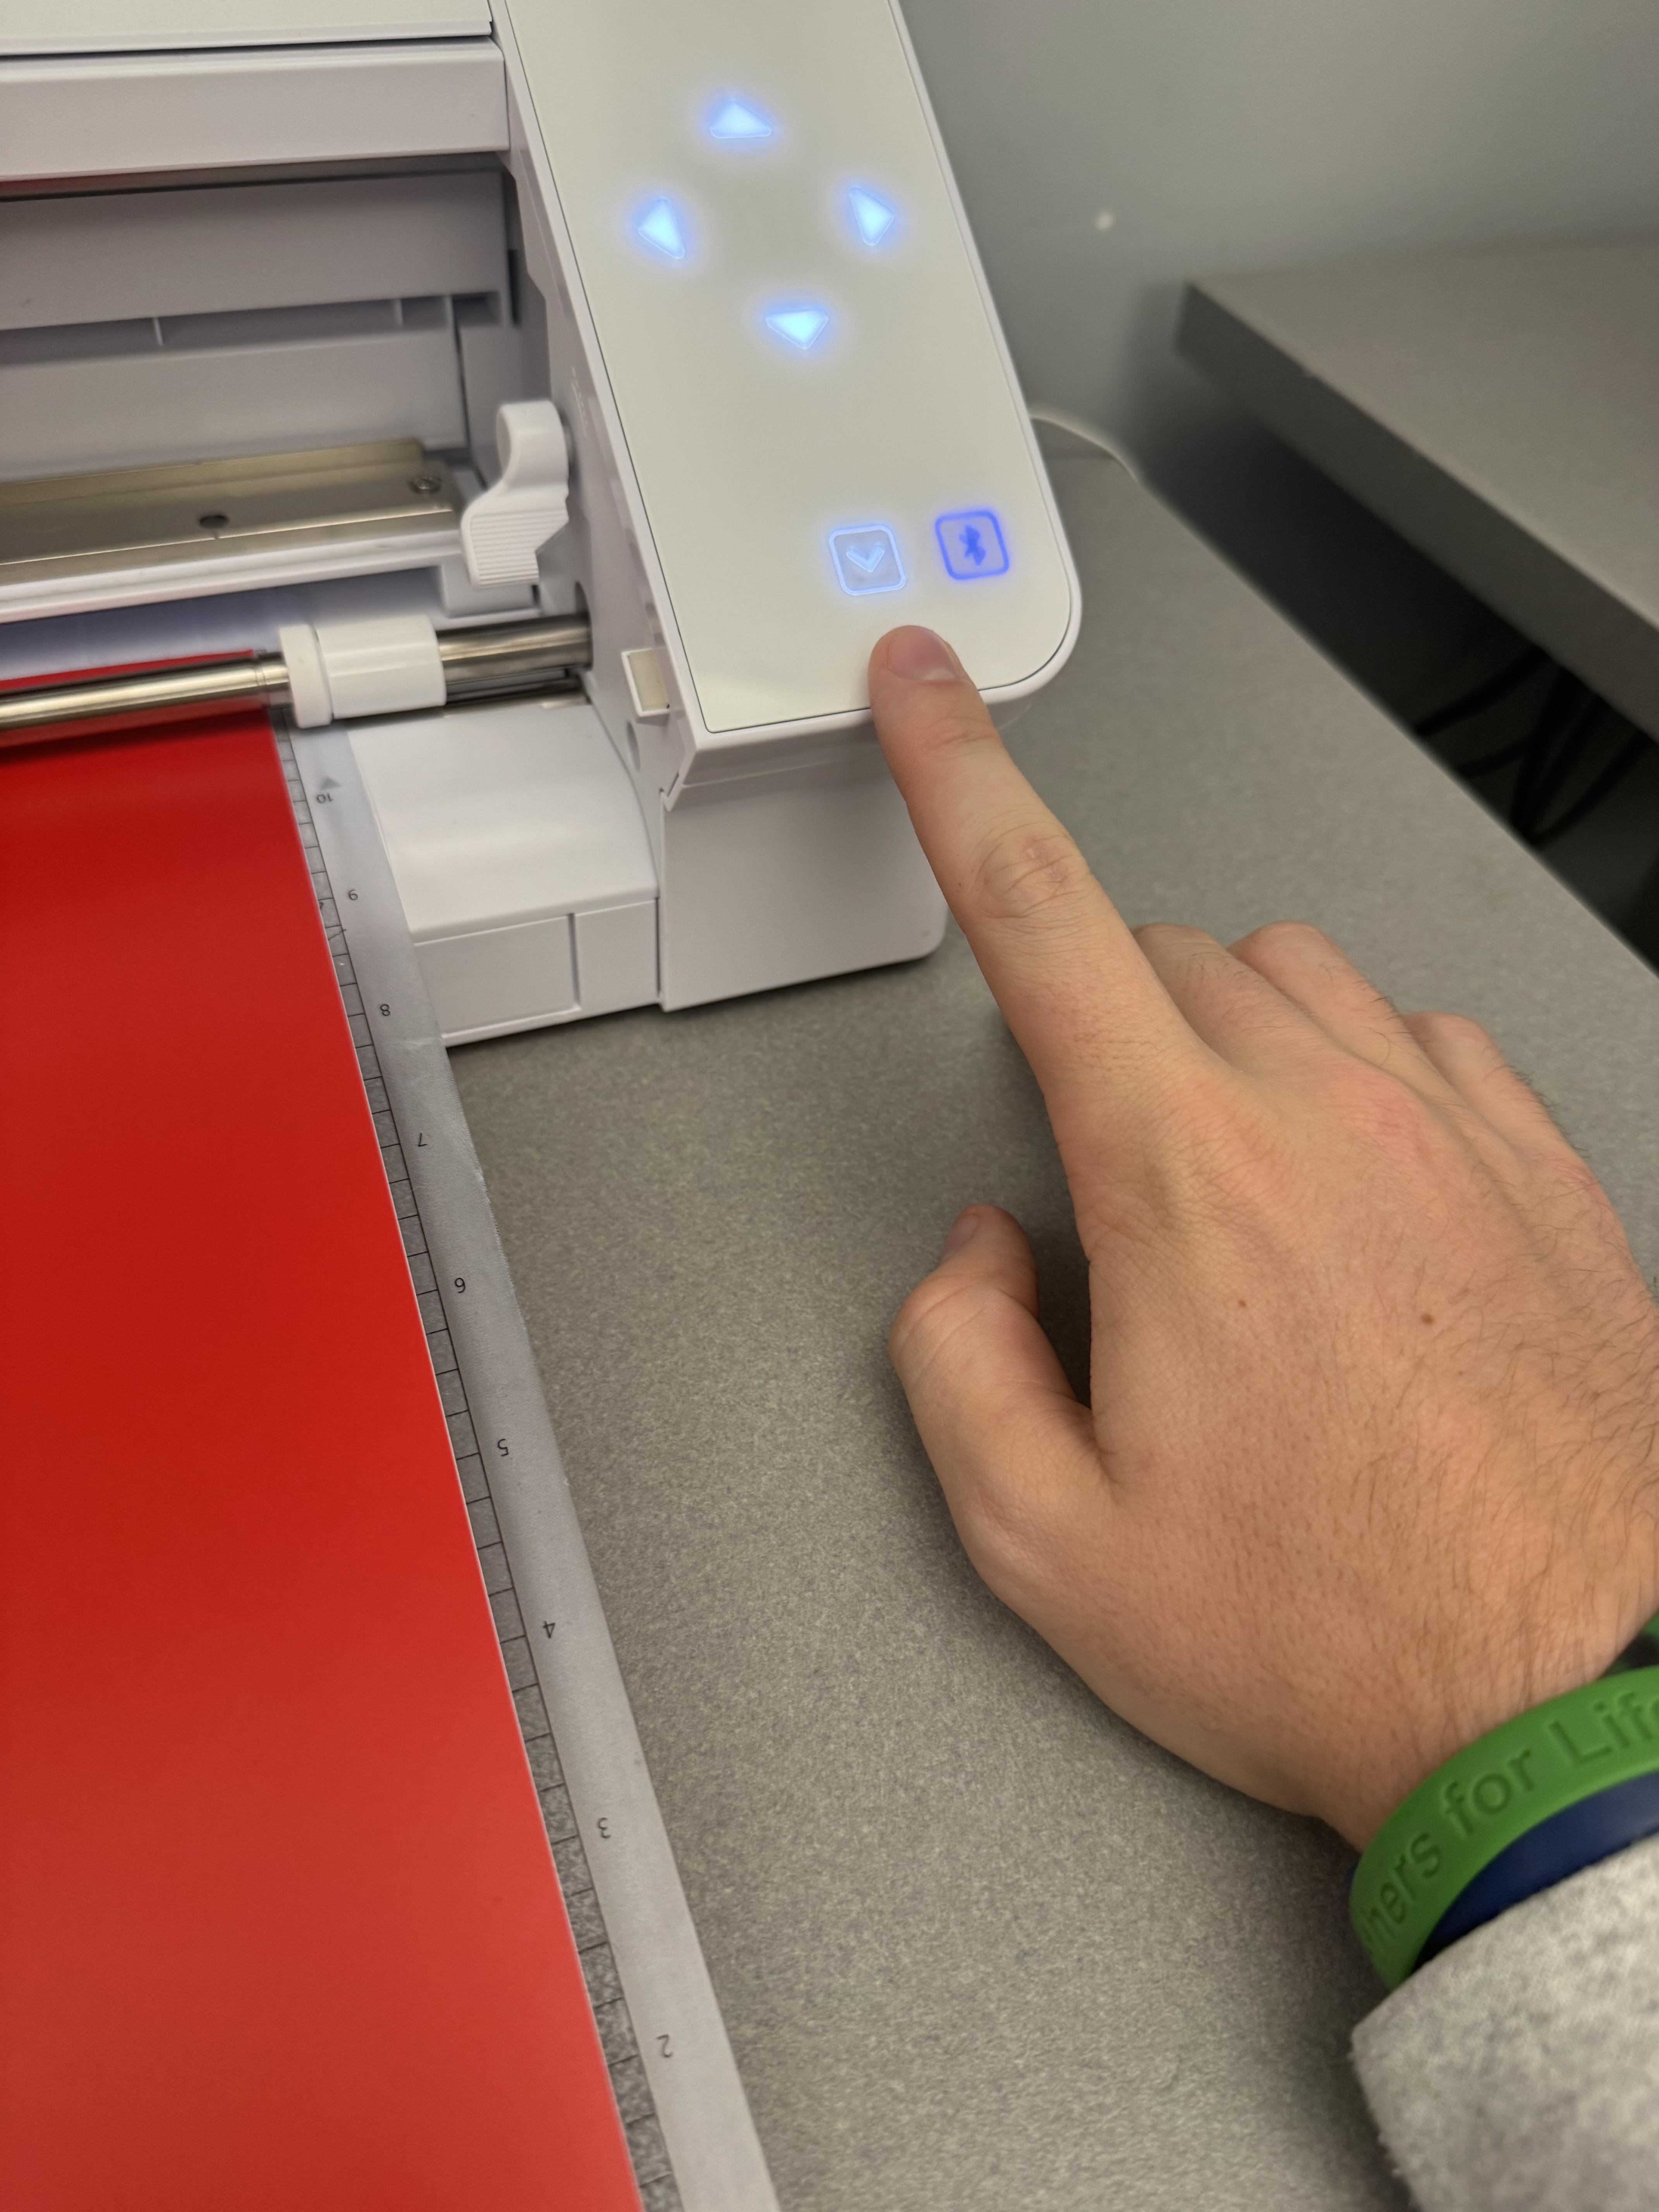
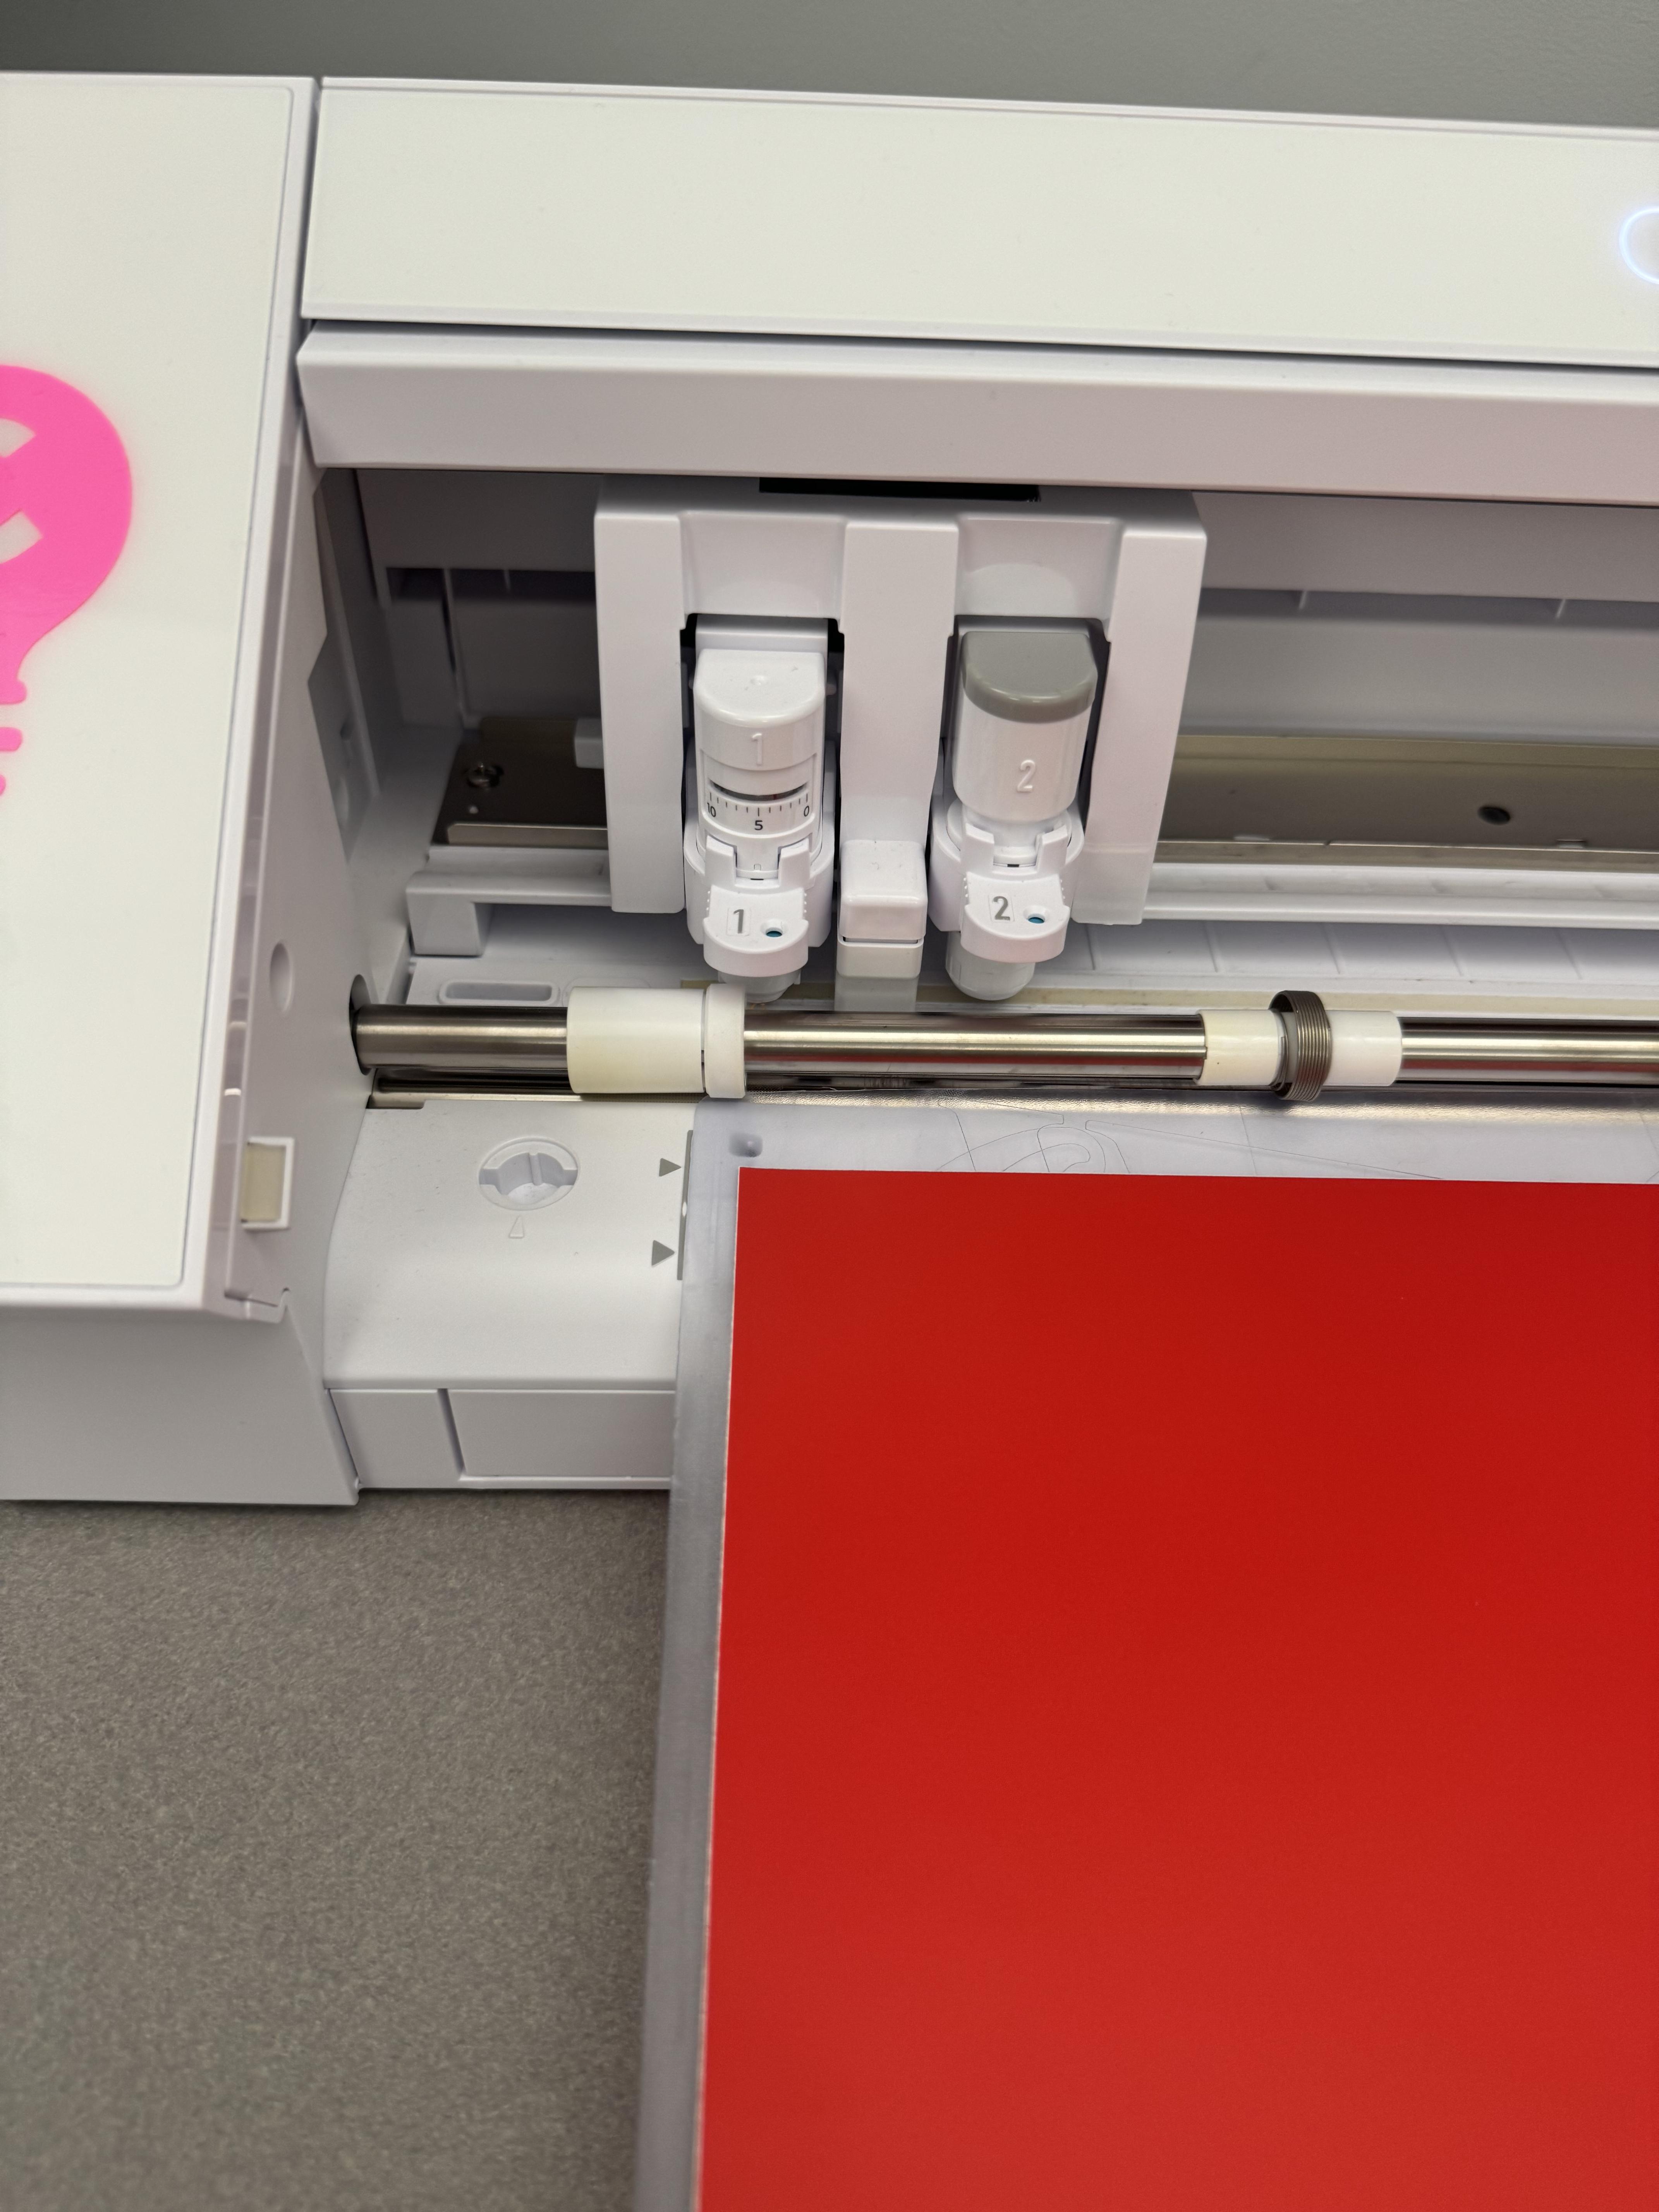
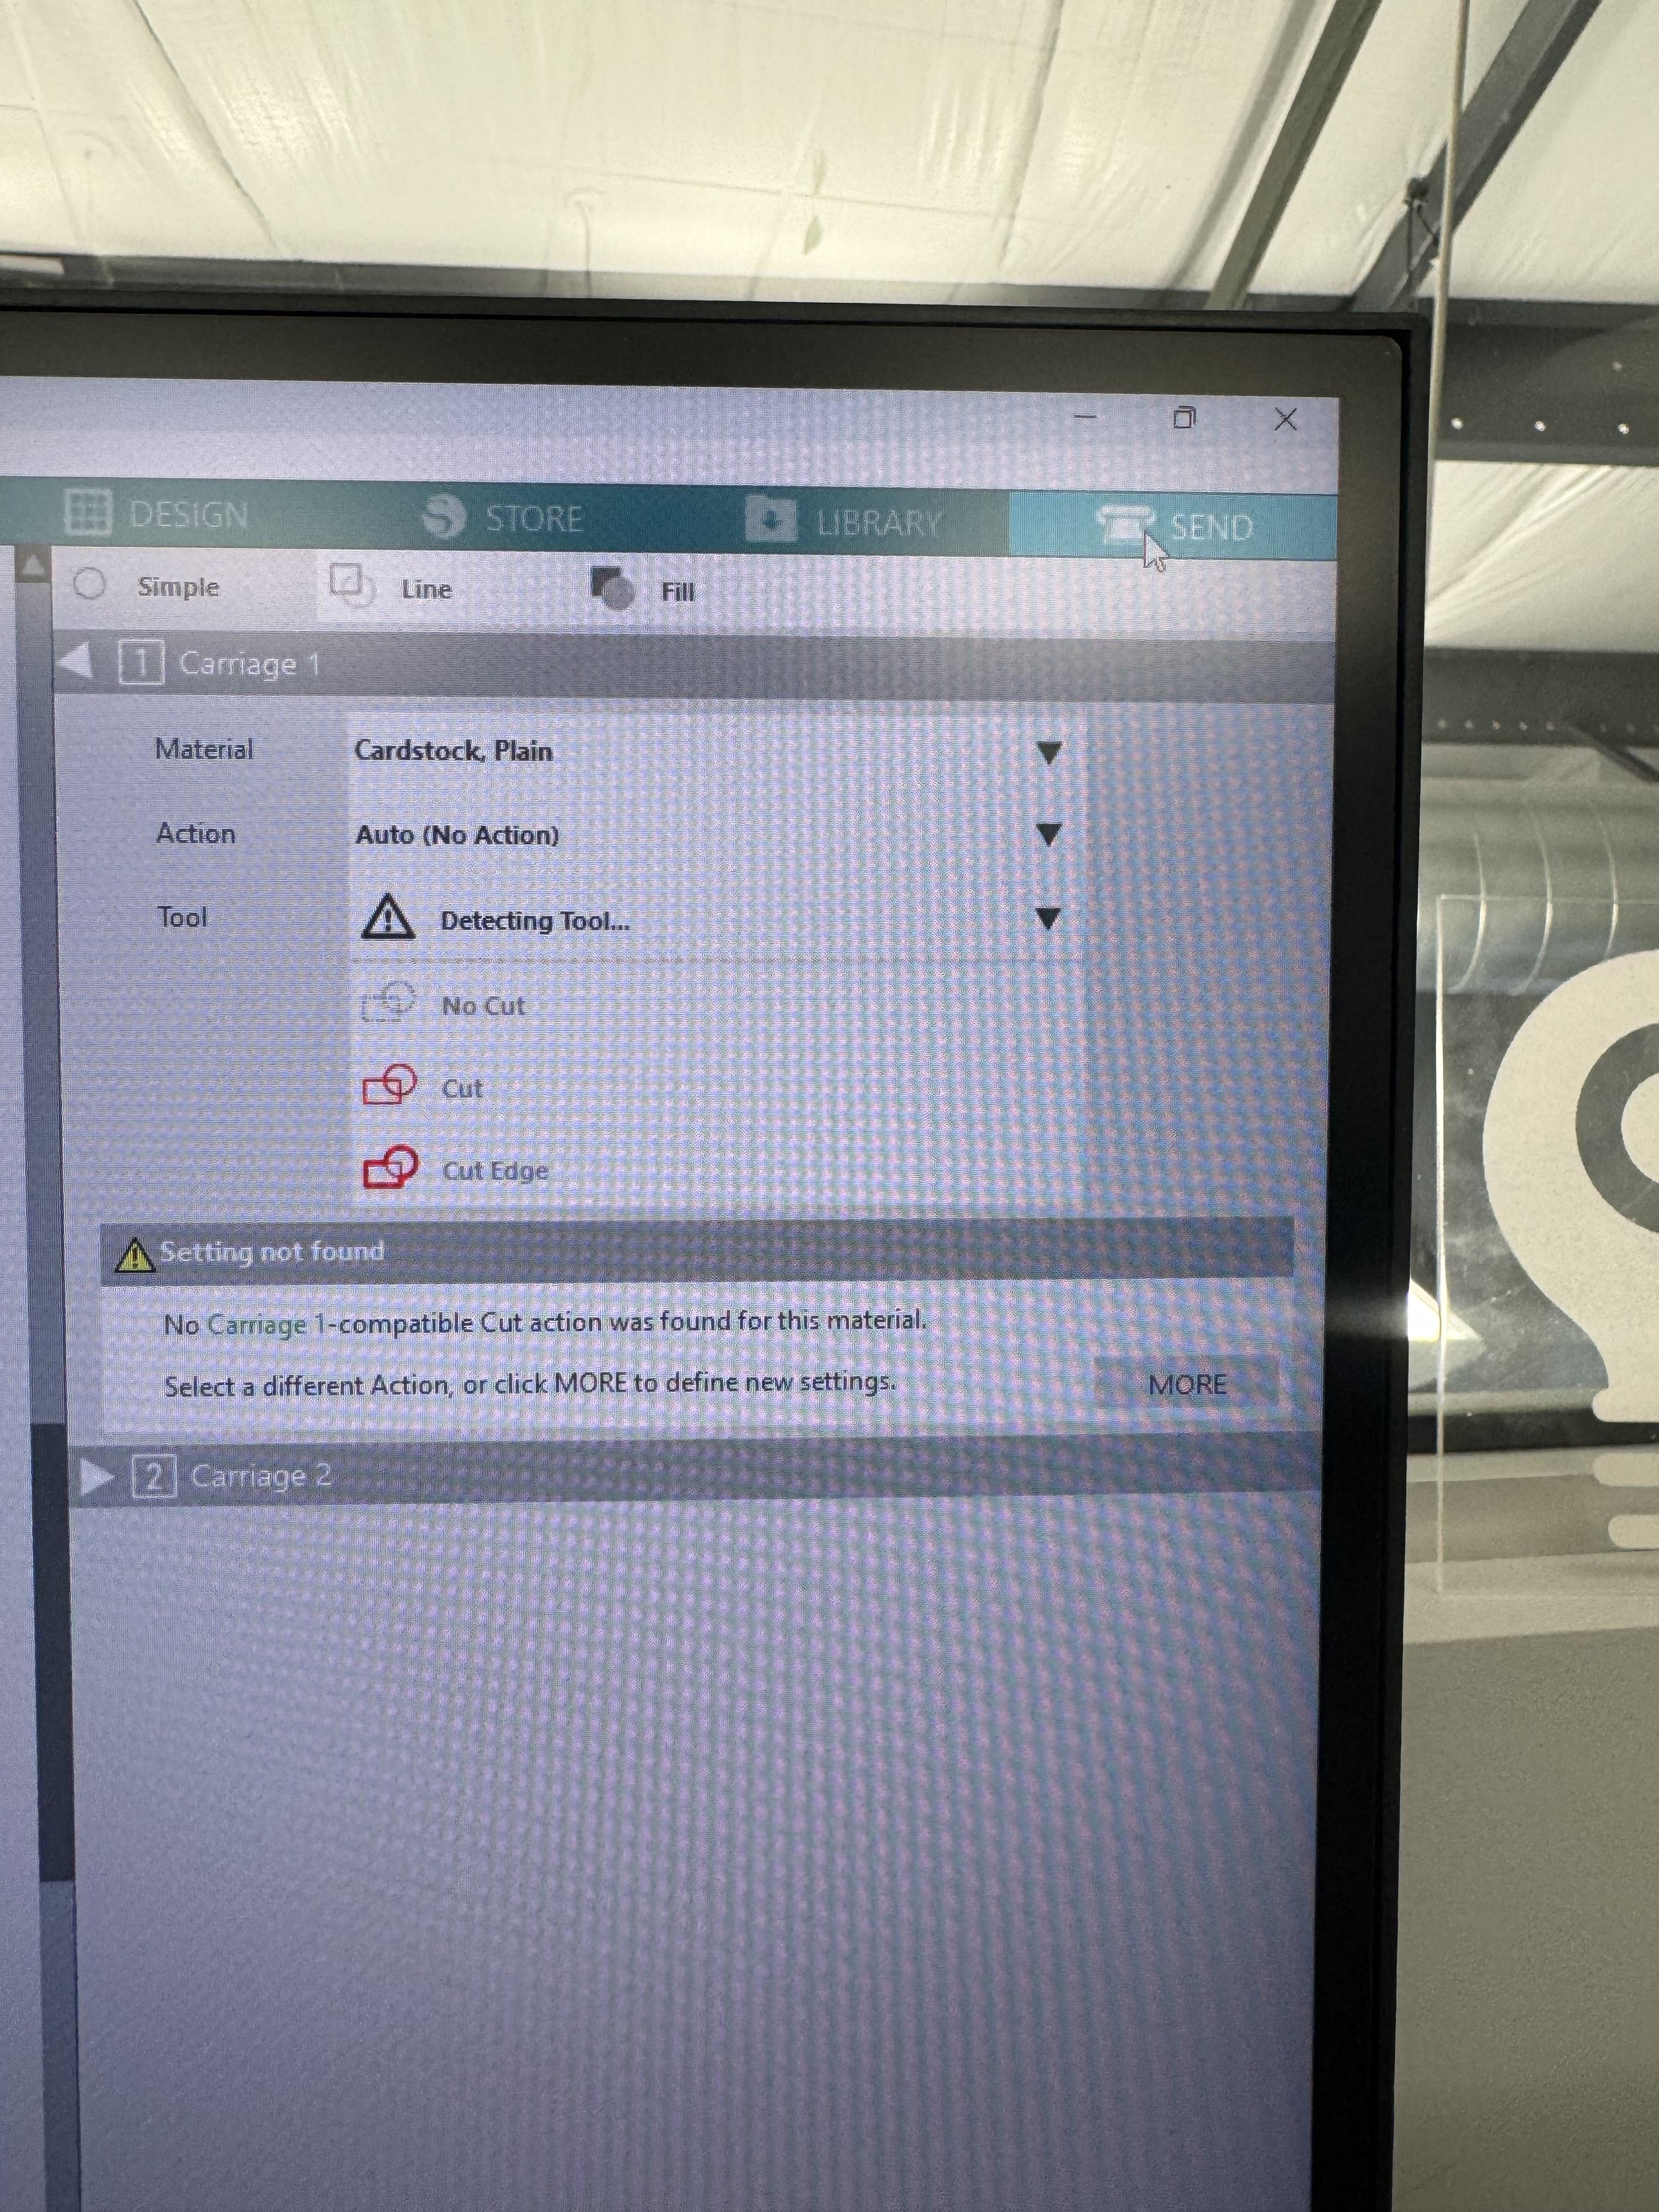
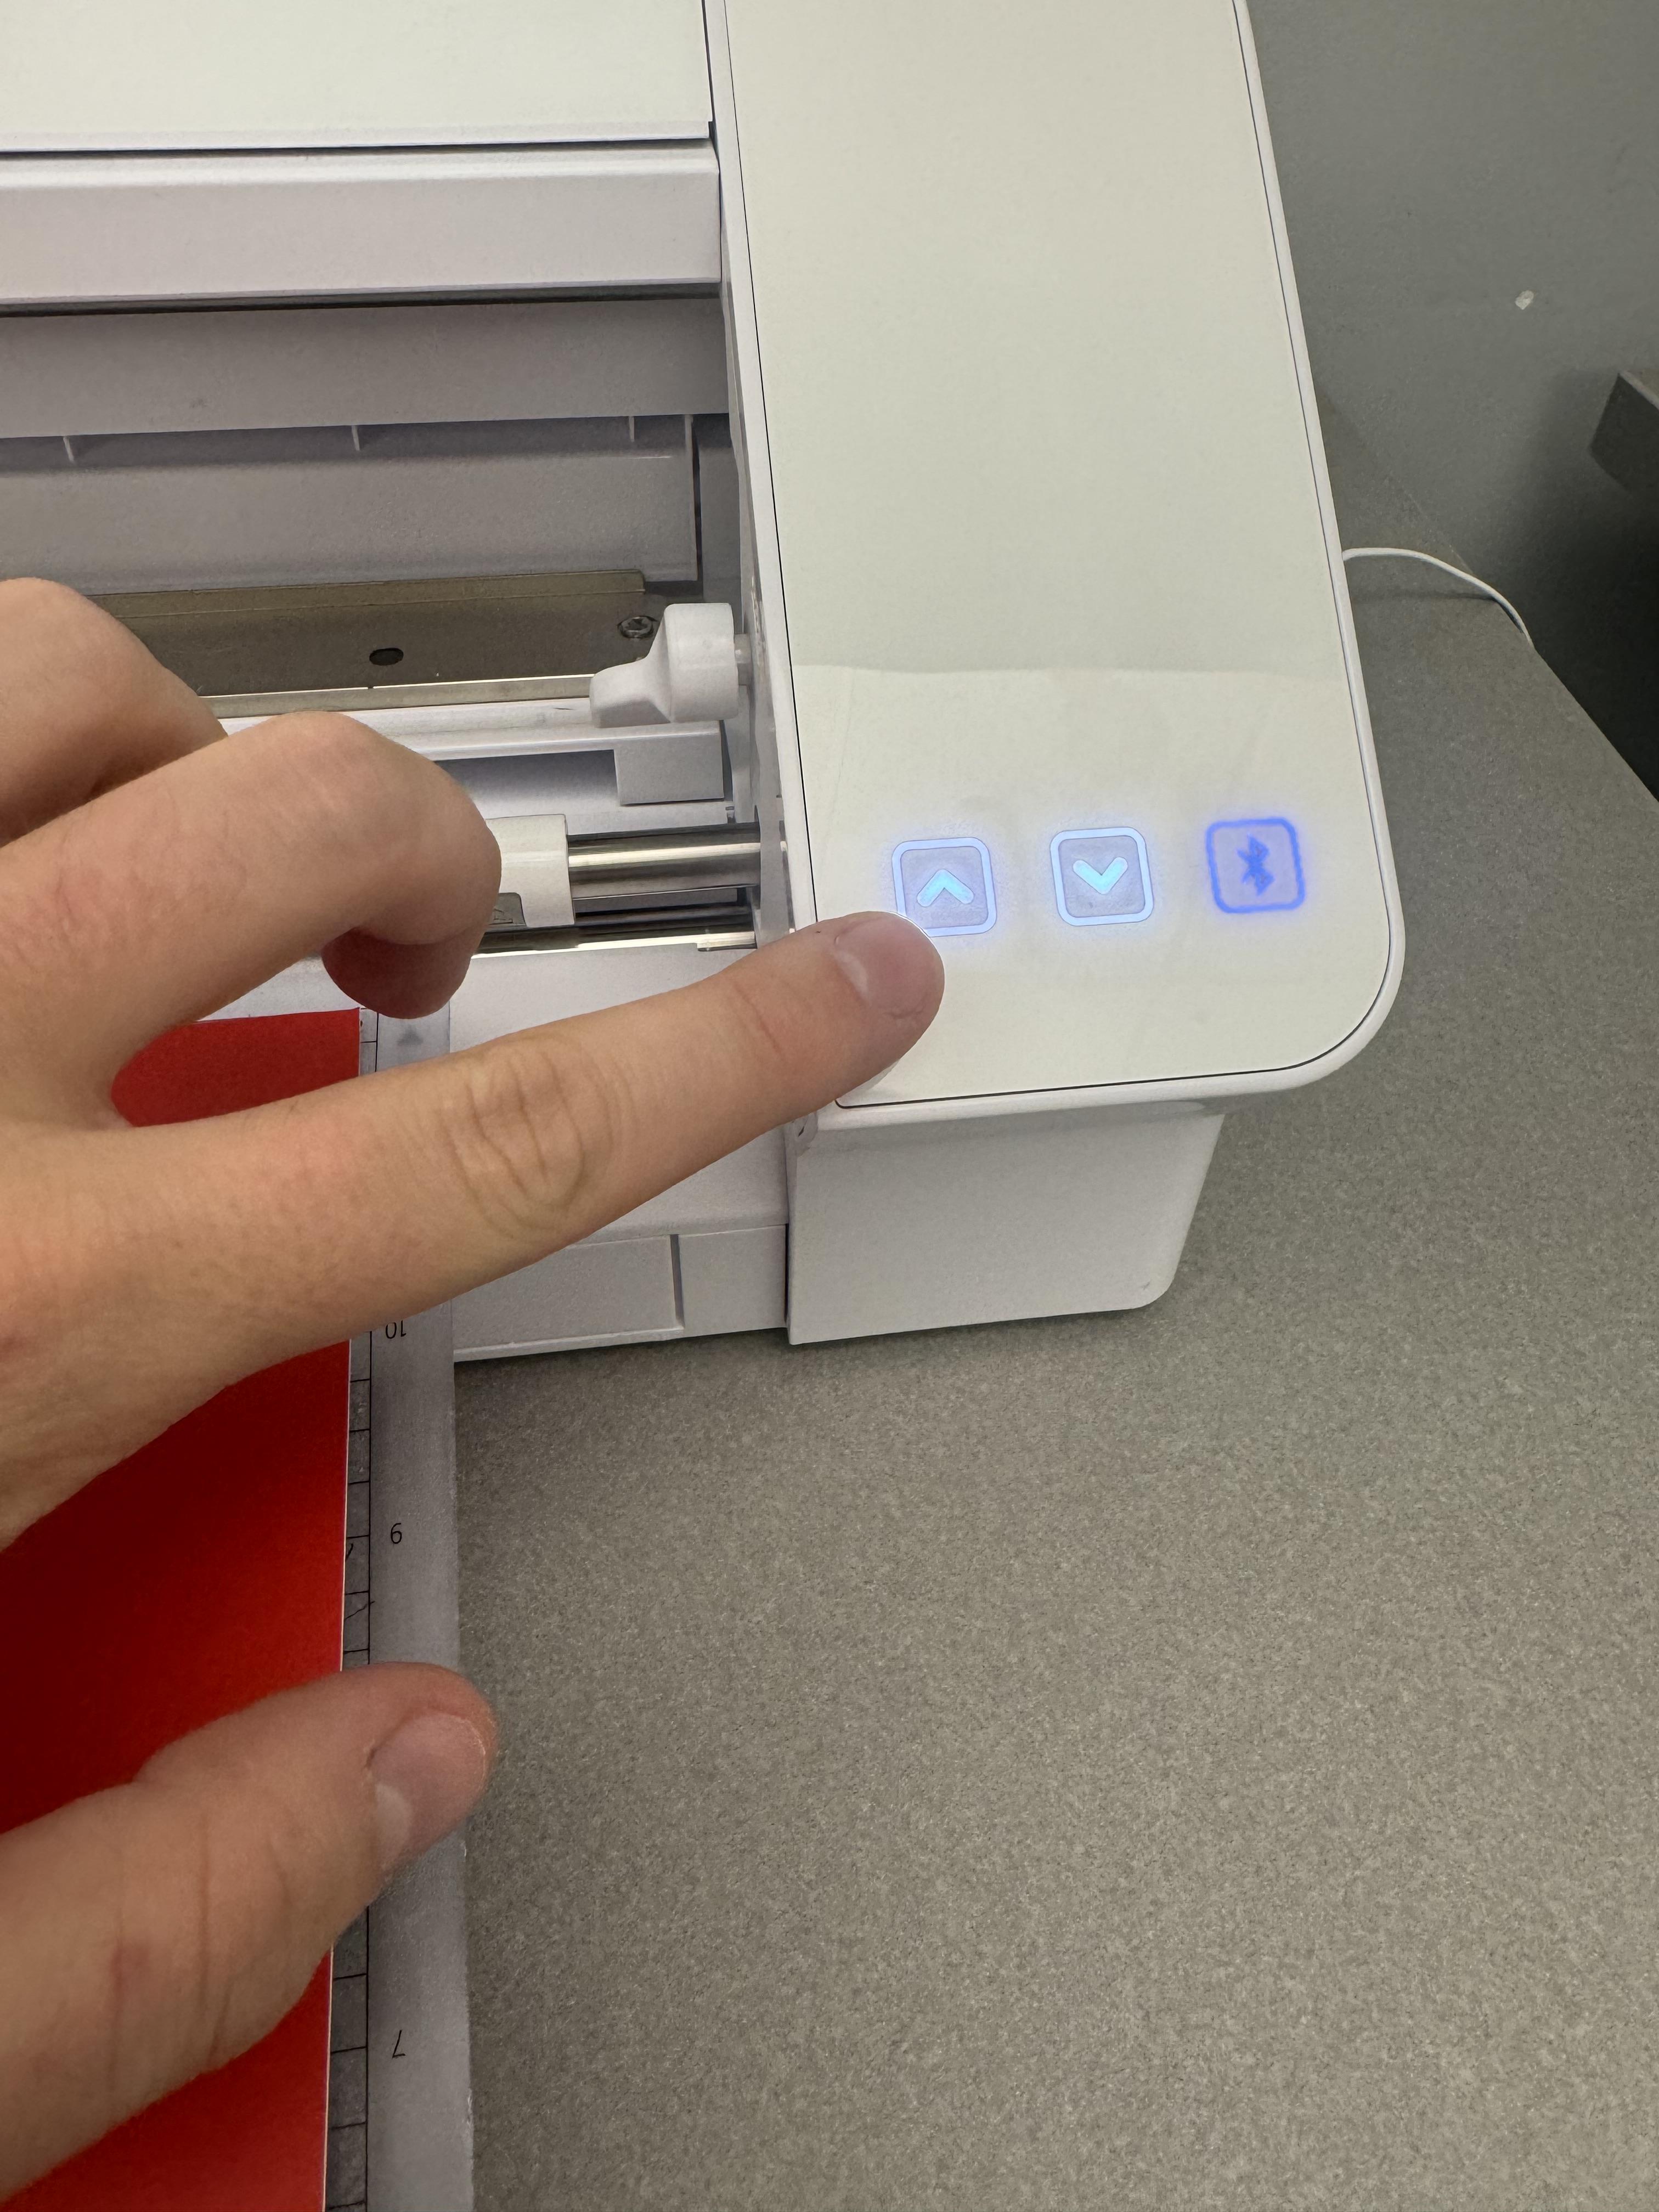
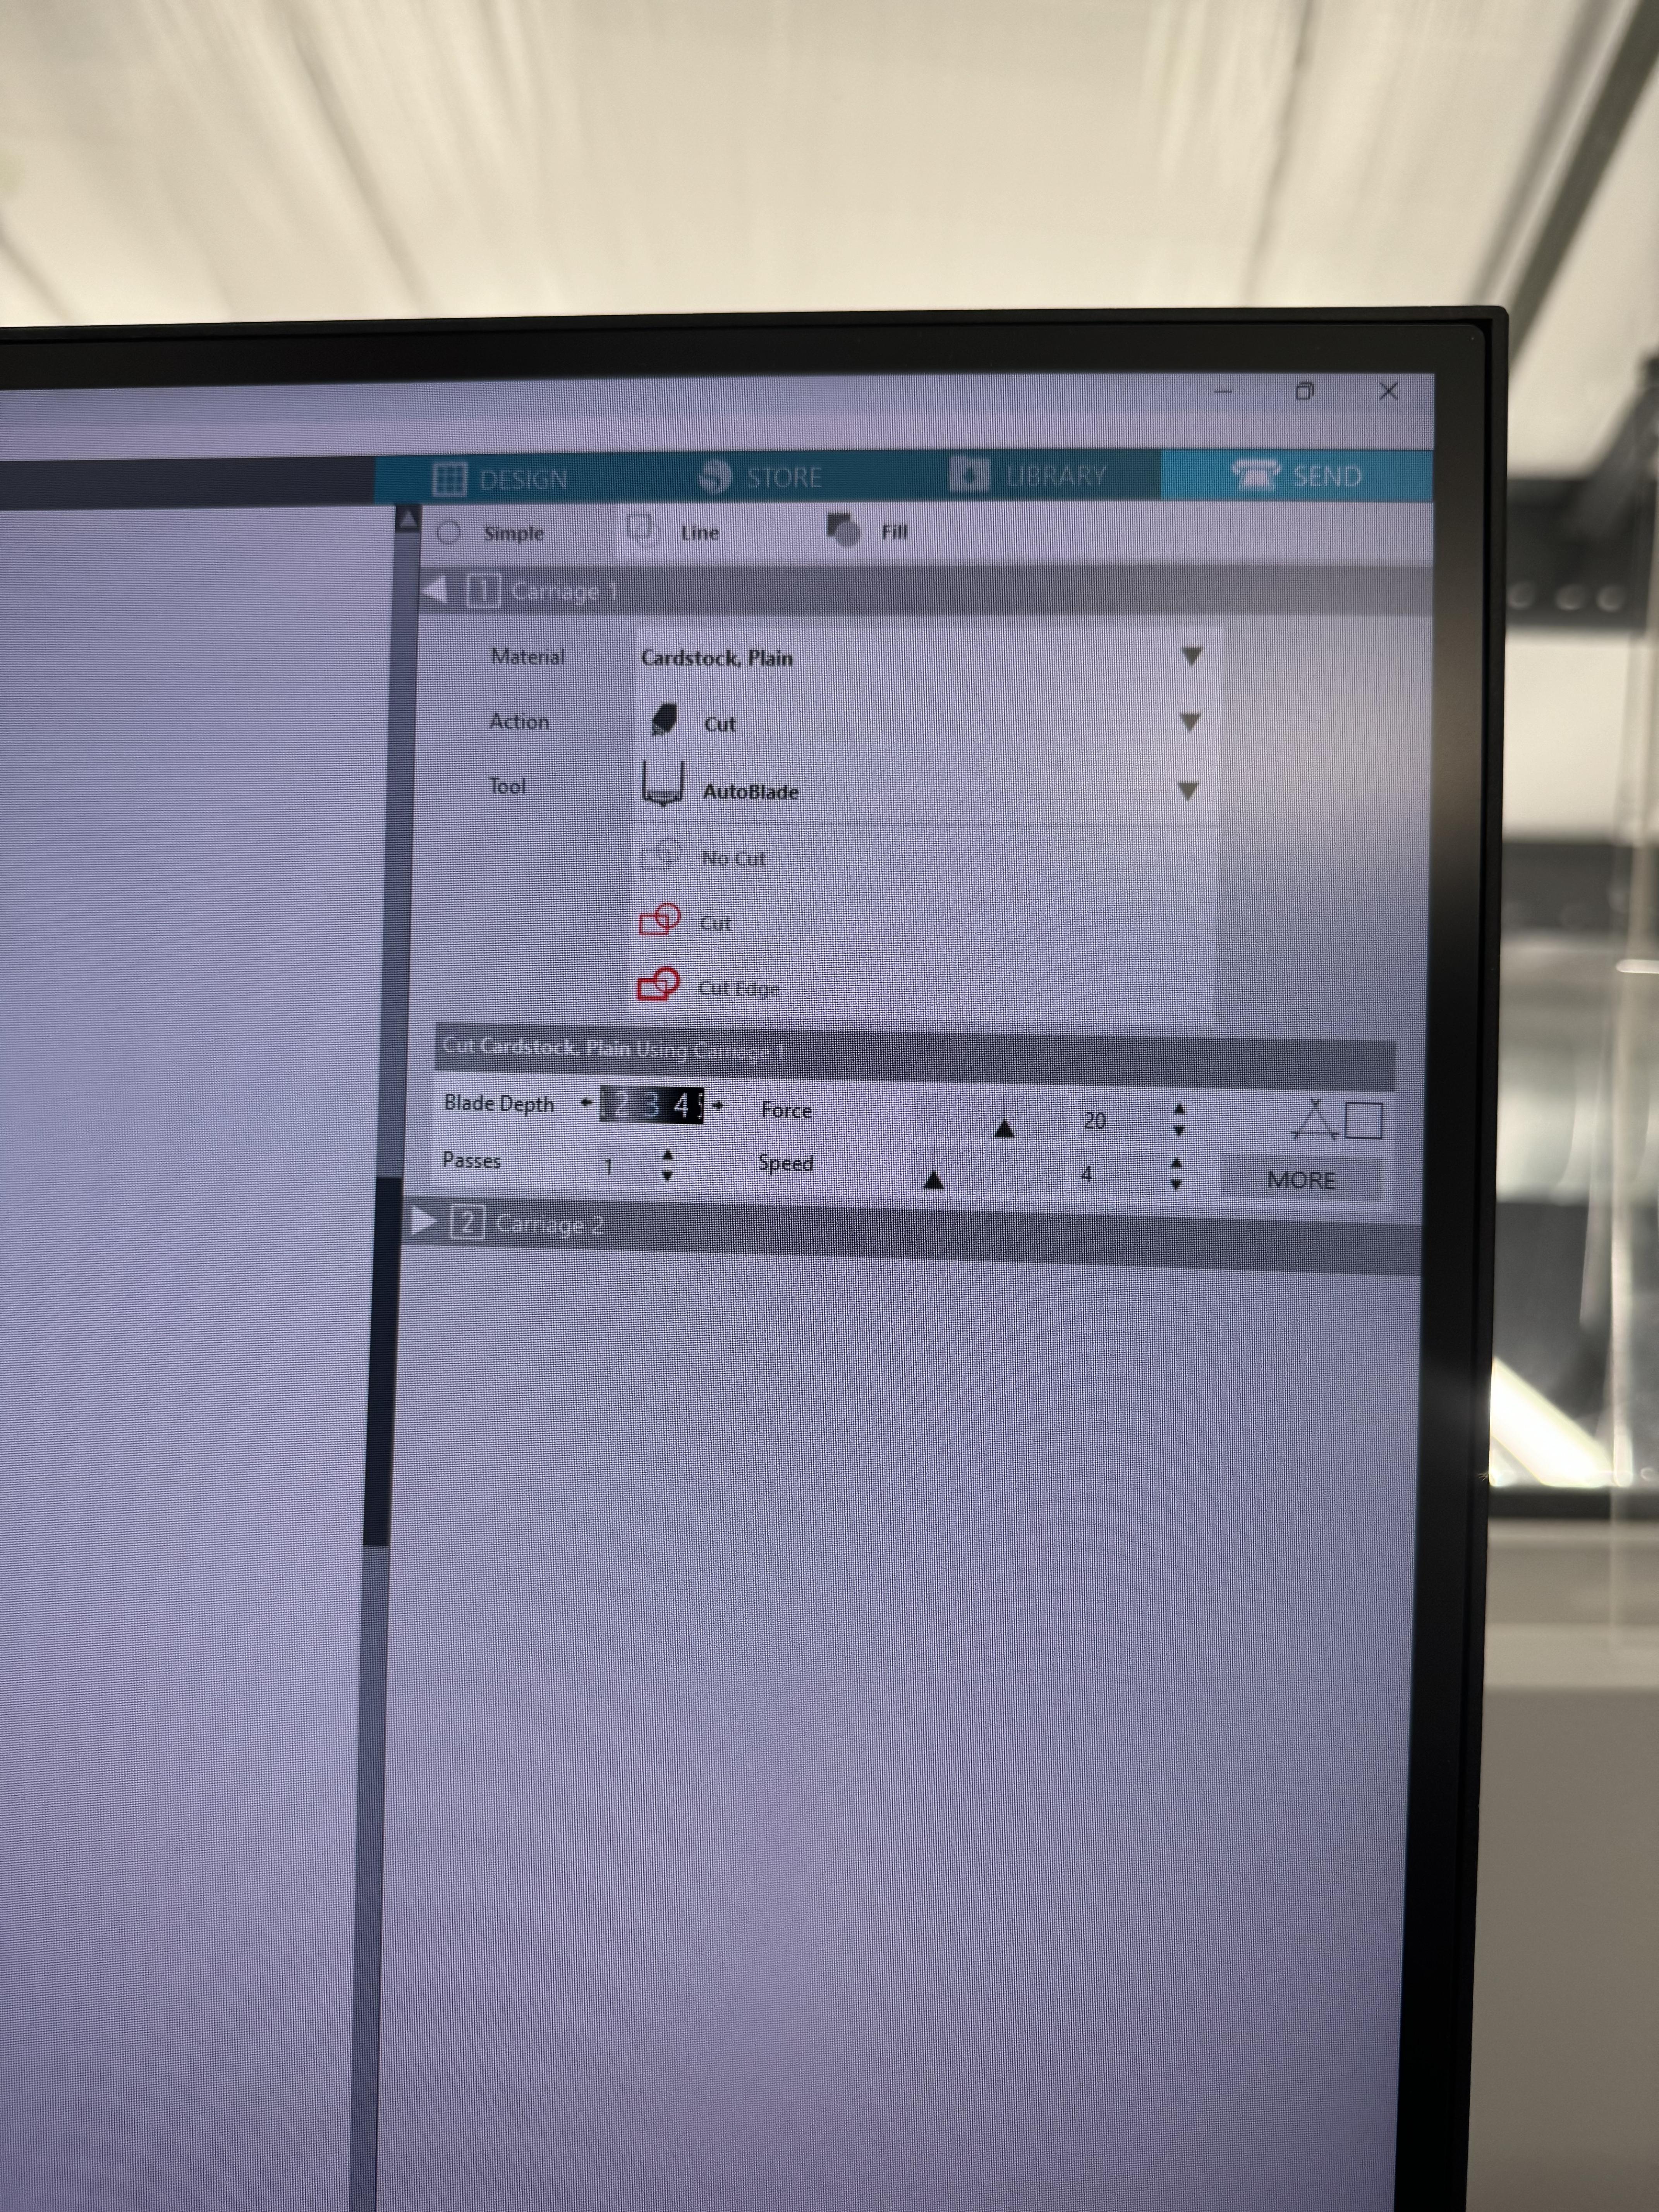
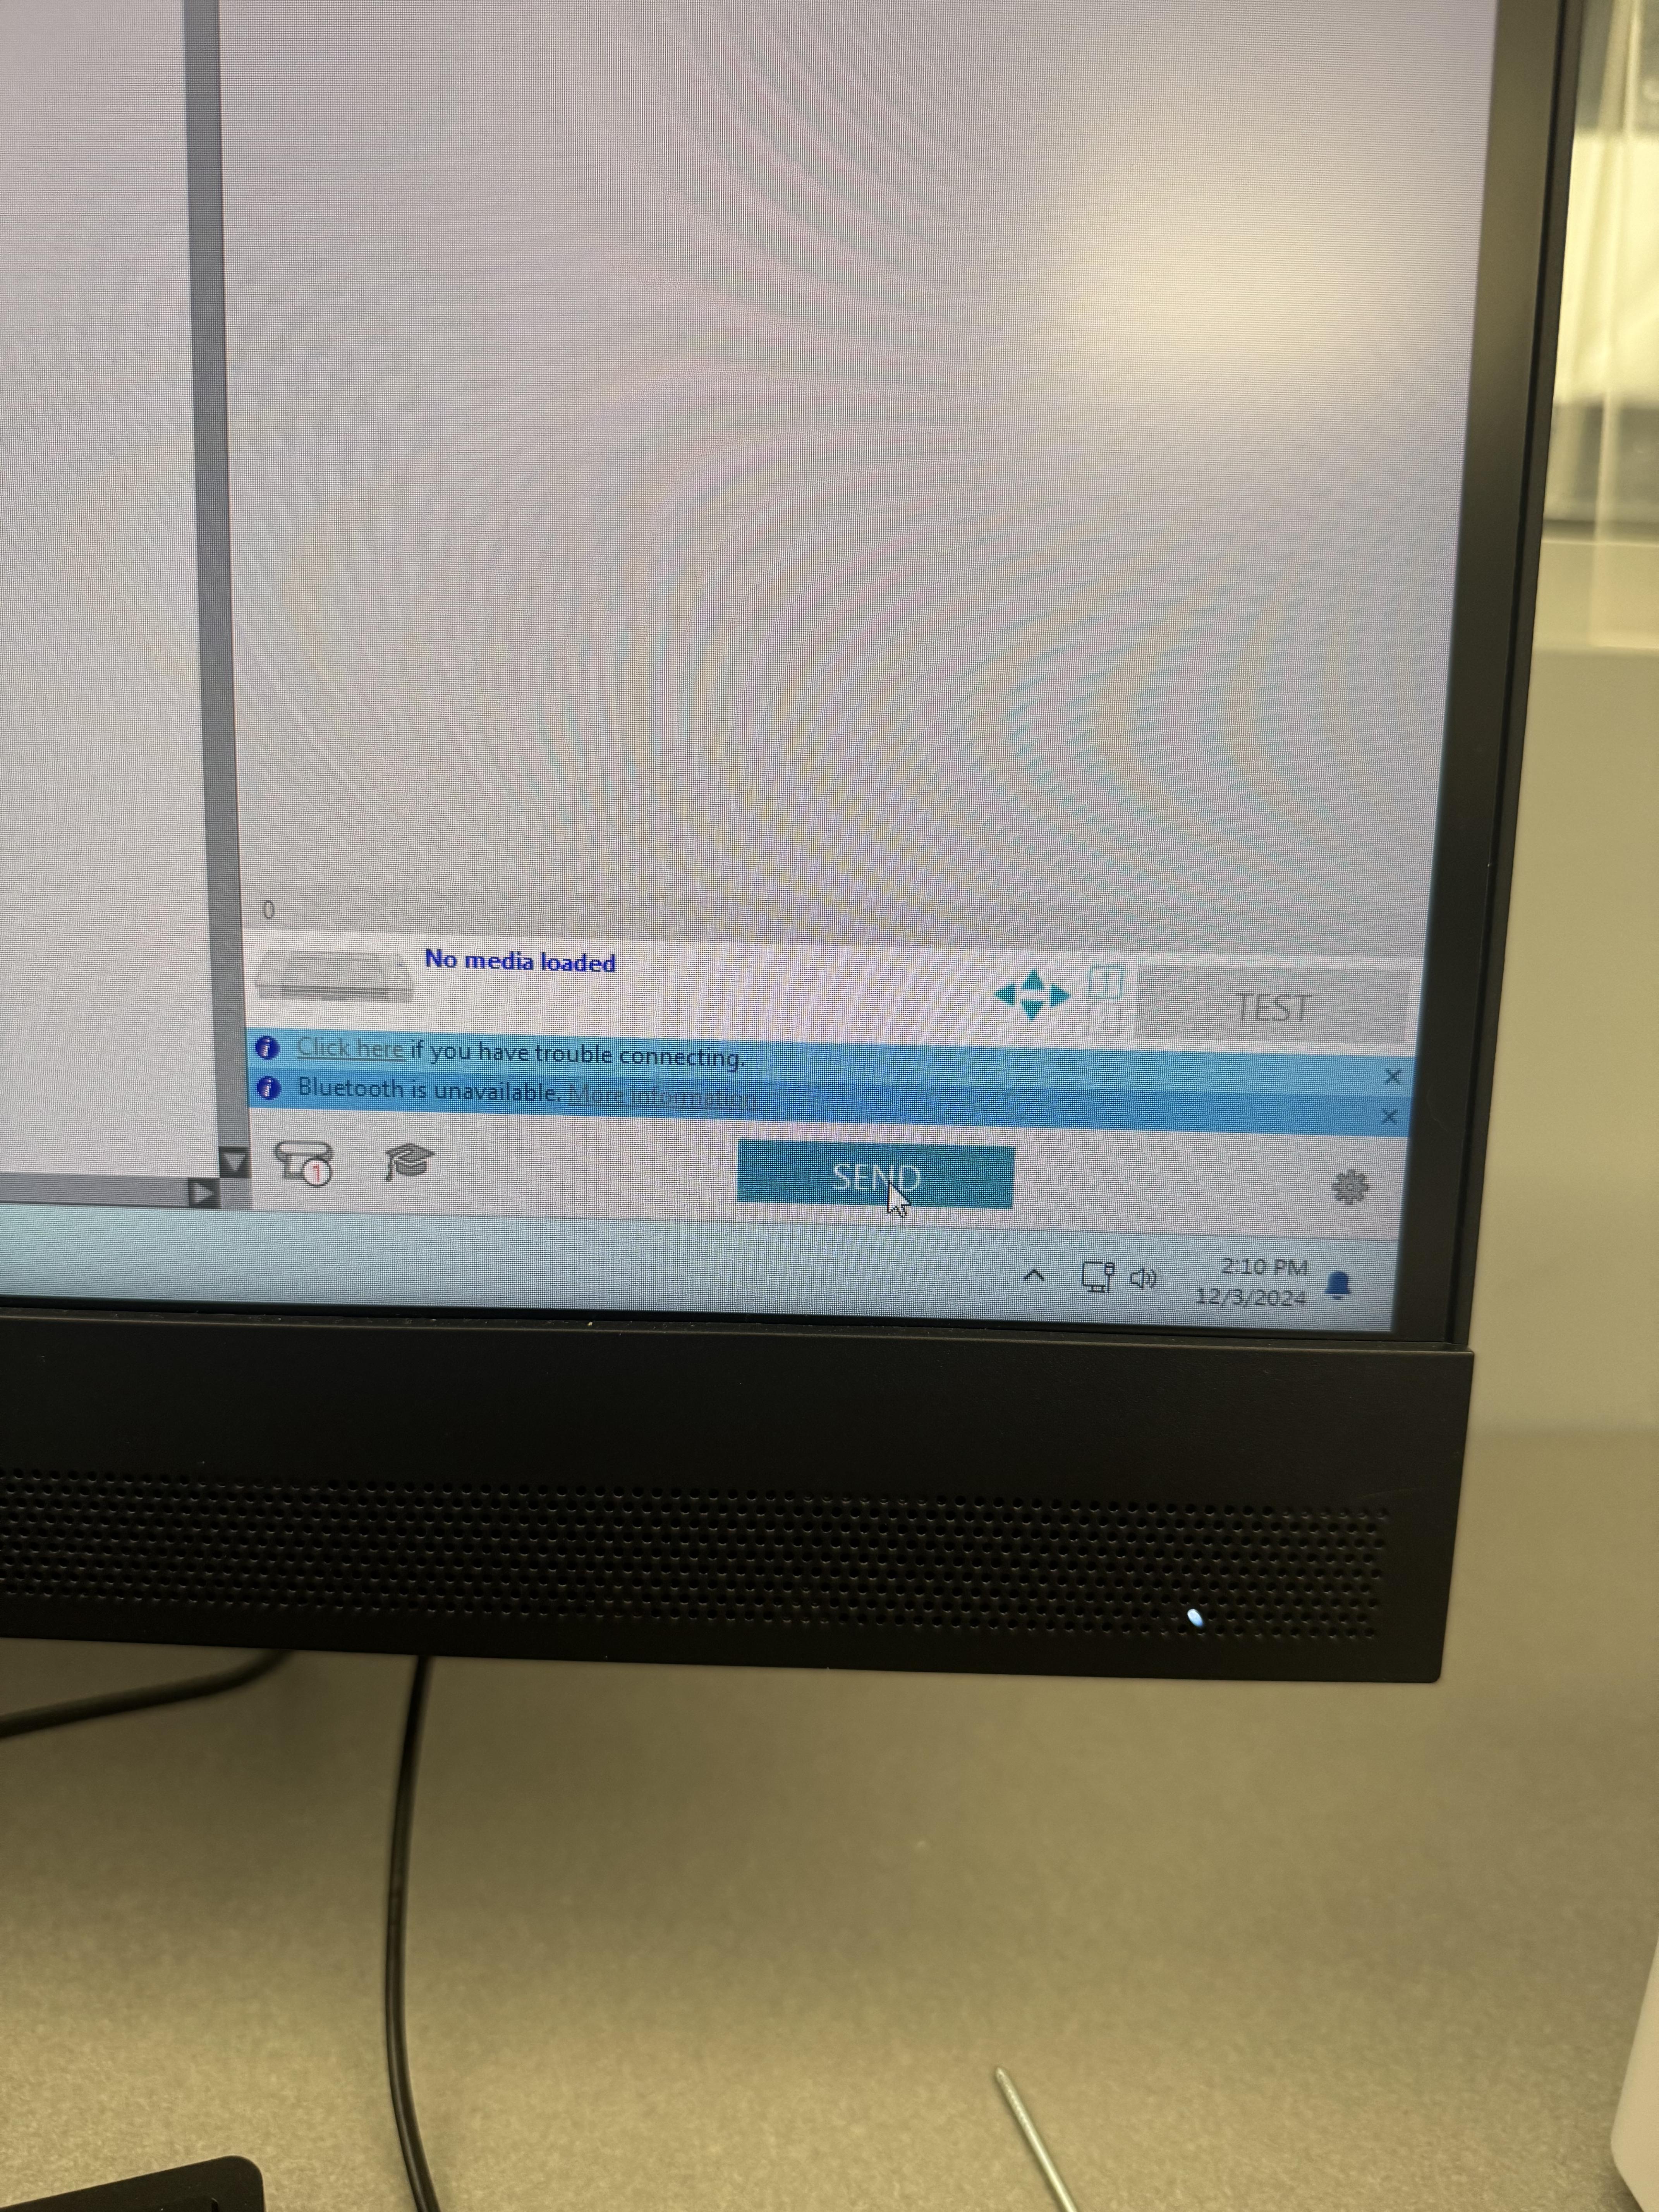
To cut the stickers there are 4 main steps:
- Load the paper into the machine
- Place the desired sticker sheet onto the cutting mat aligning with the borders
- Load the mat into the machine by clicking the up arrow on the machine
- Ensure you adjust the location of the knife to the edge of the paper using the arrows on the machine
- Select the correct material
- For my cutter I use the cardstock, plain setting; however, other cutters may have settings specific for the sticker paper
- Make sure the blade selections are in auto or you manually change them if you have a desired setting
- Cut the stickers
- When you are ready to go just click Send
- Unload the paper from the machine
- To unload click the down arrow to make sure the sheet is safely removed from the machine and remove the sticker paper from the cutting mat
Finishing Touches
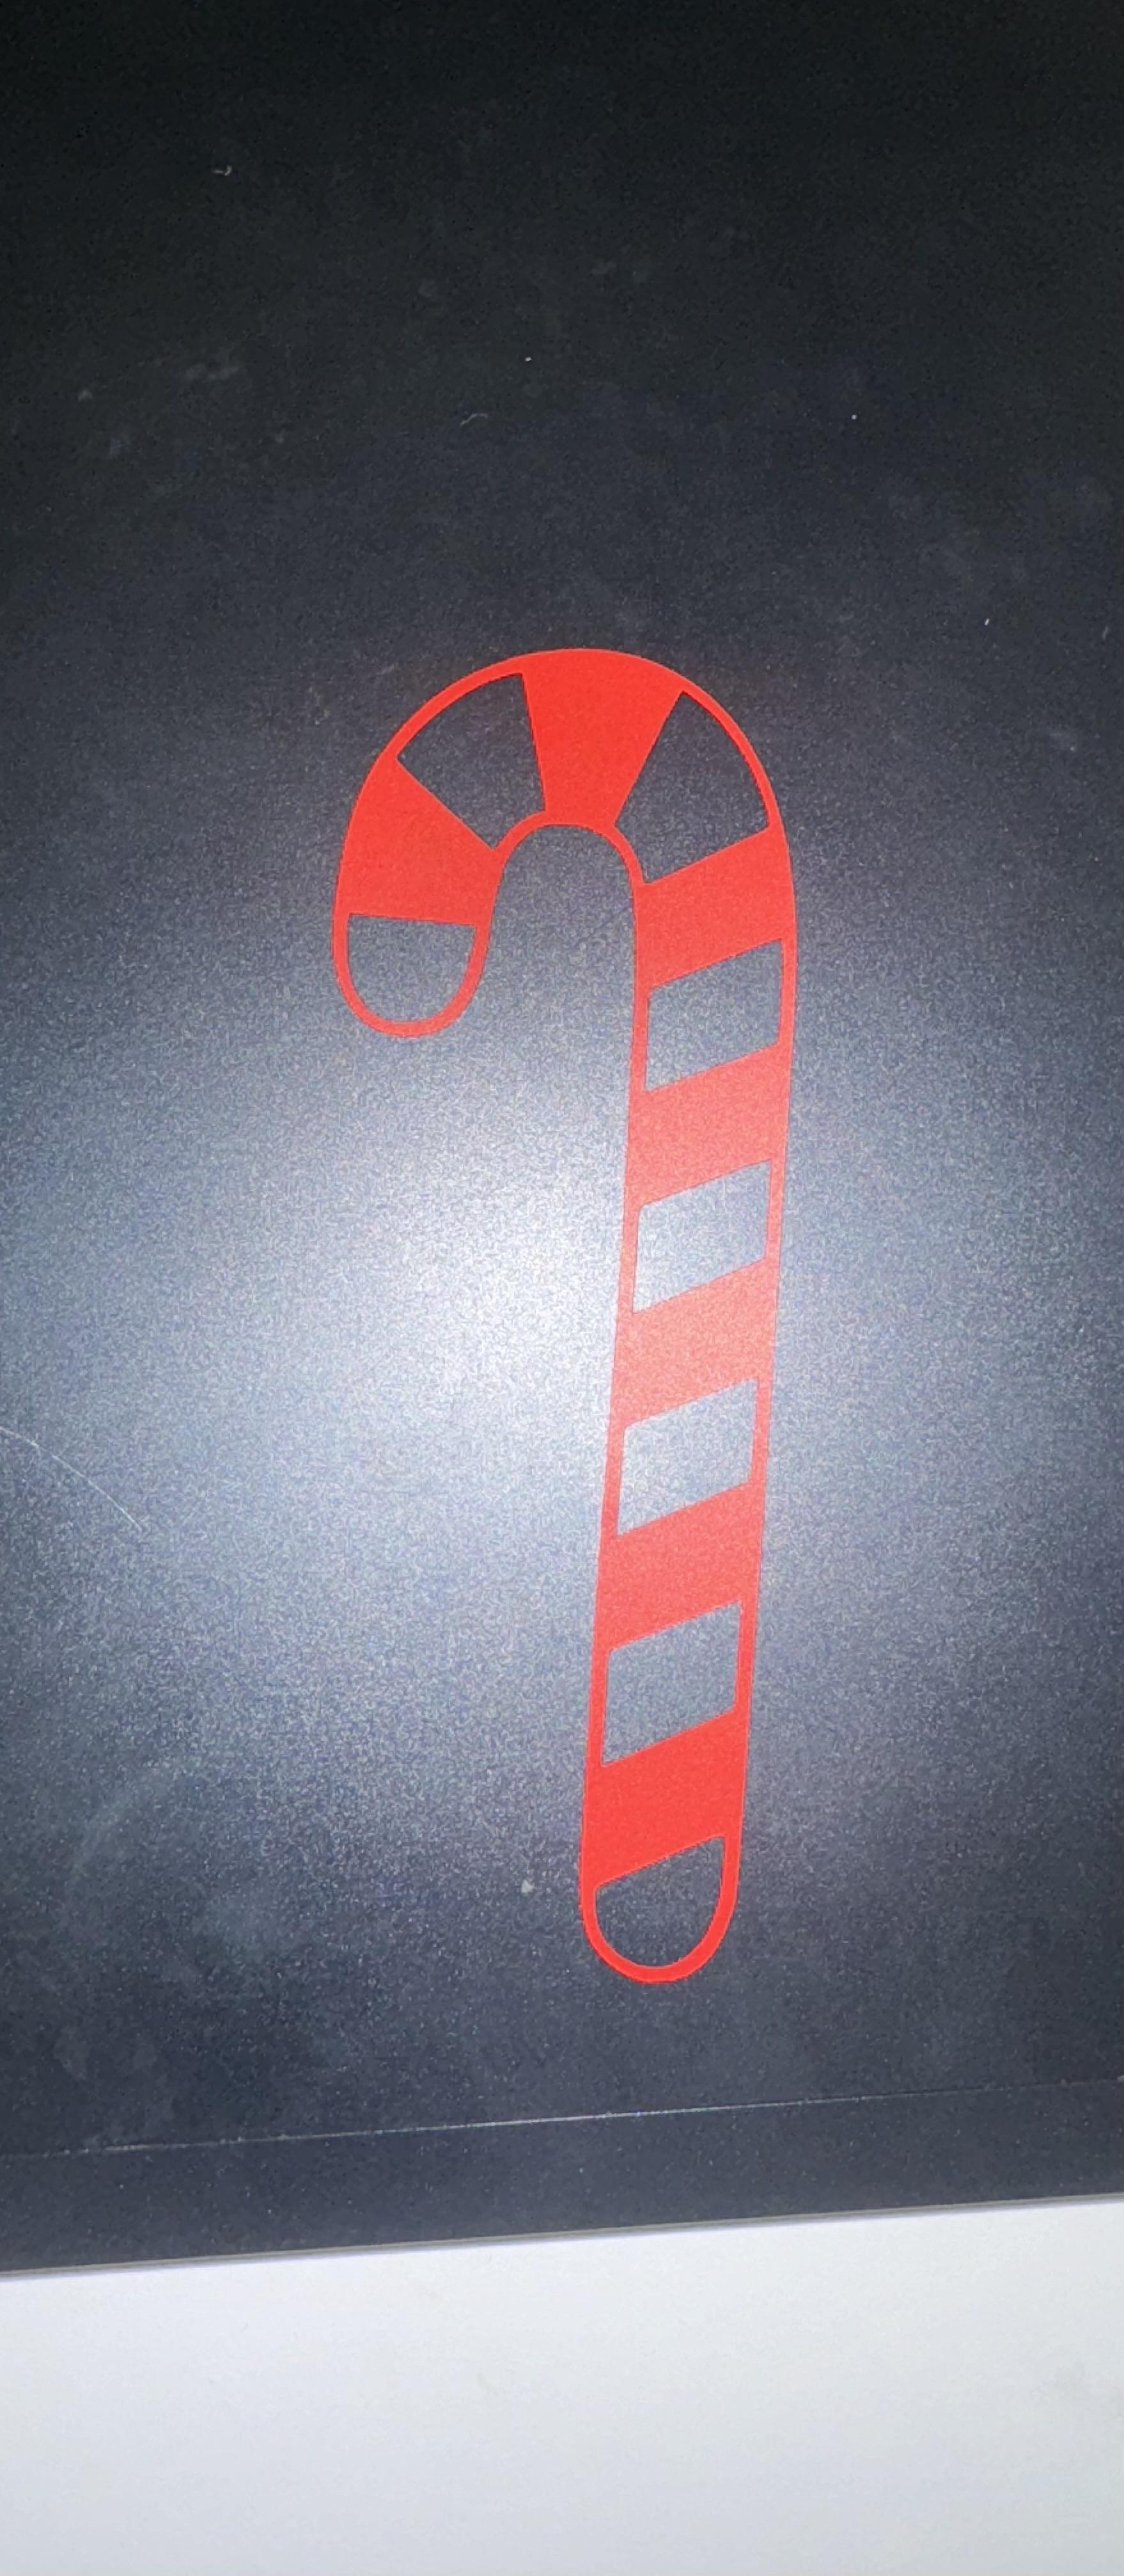
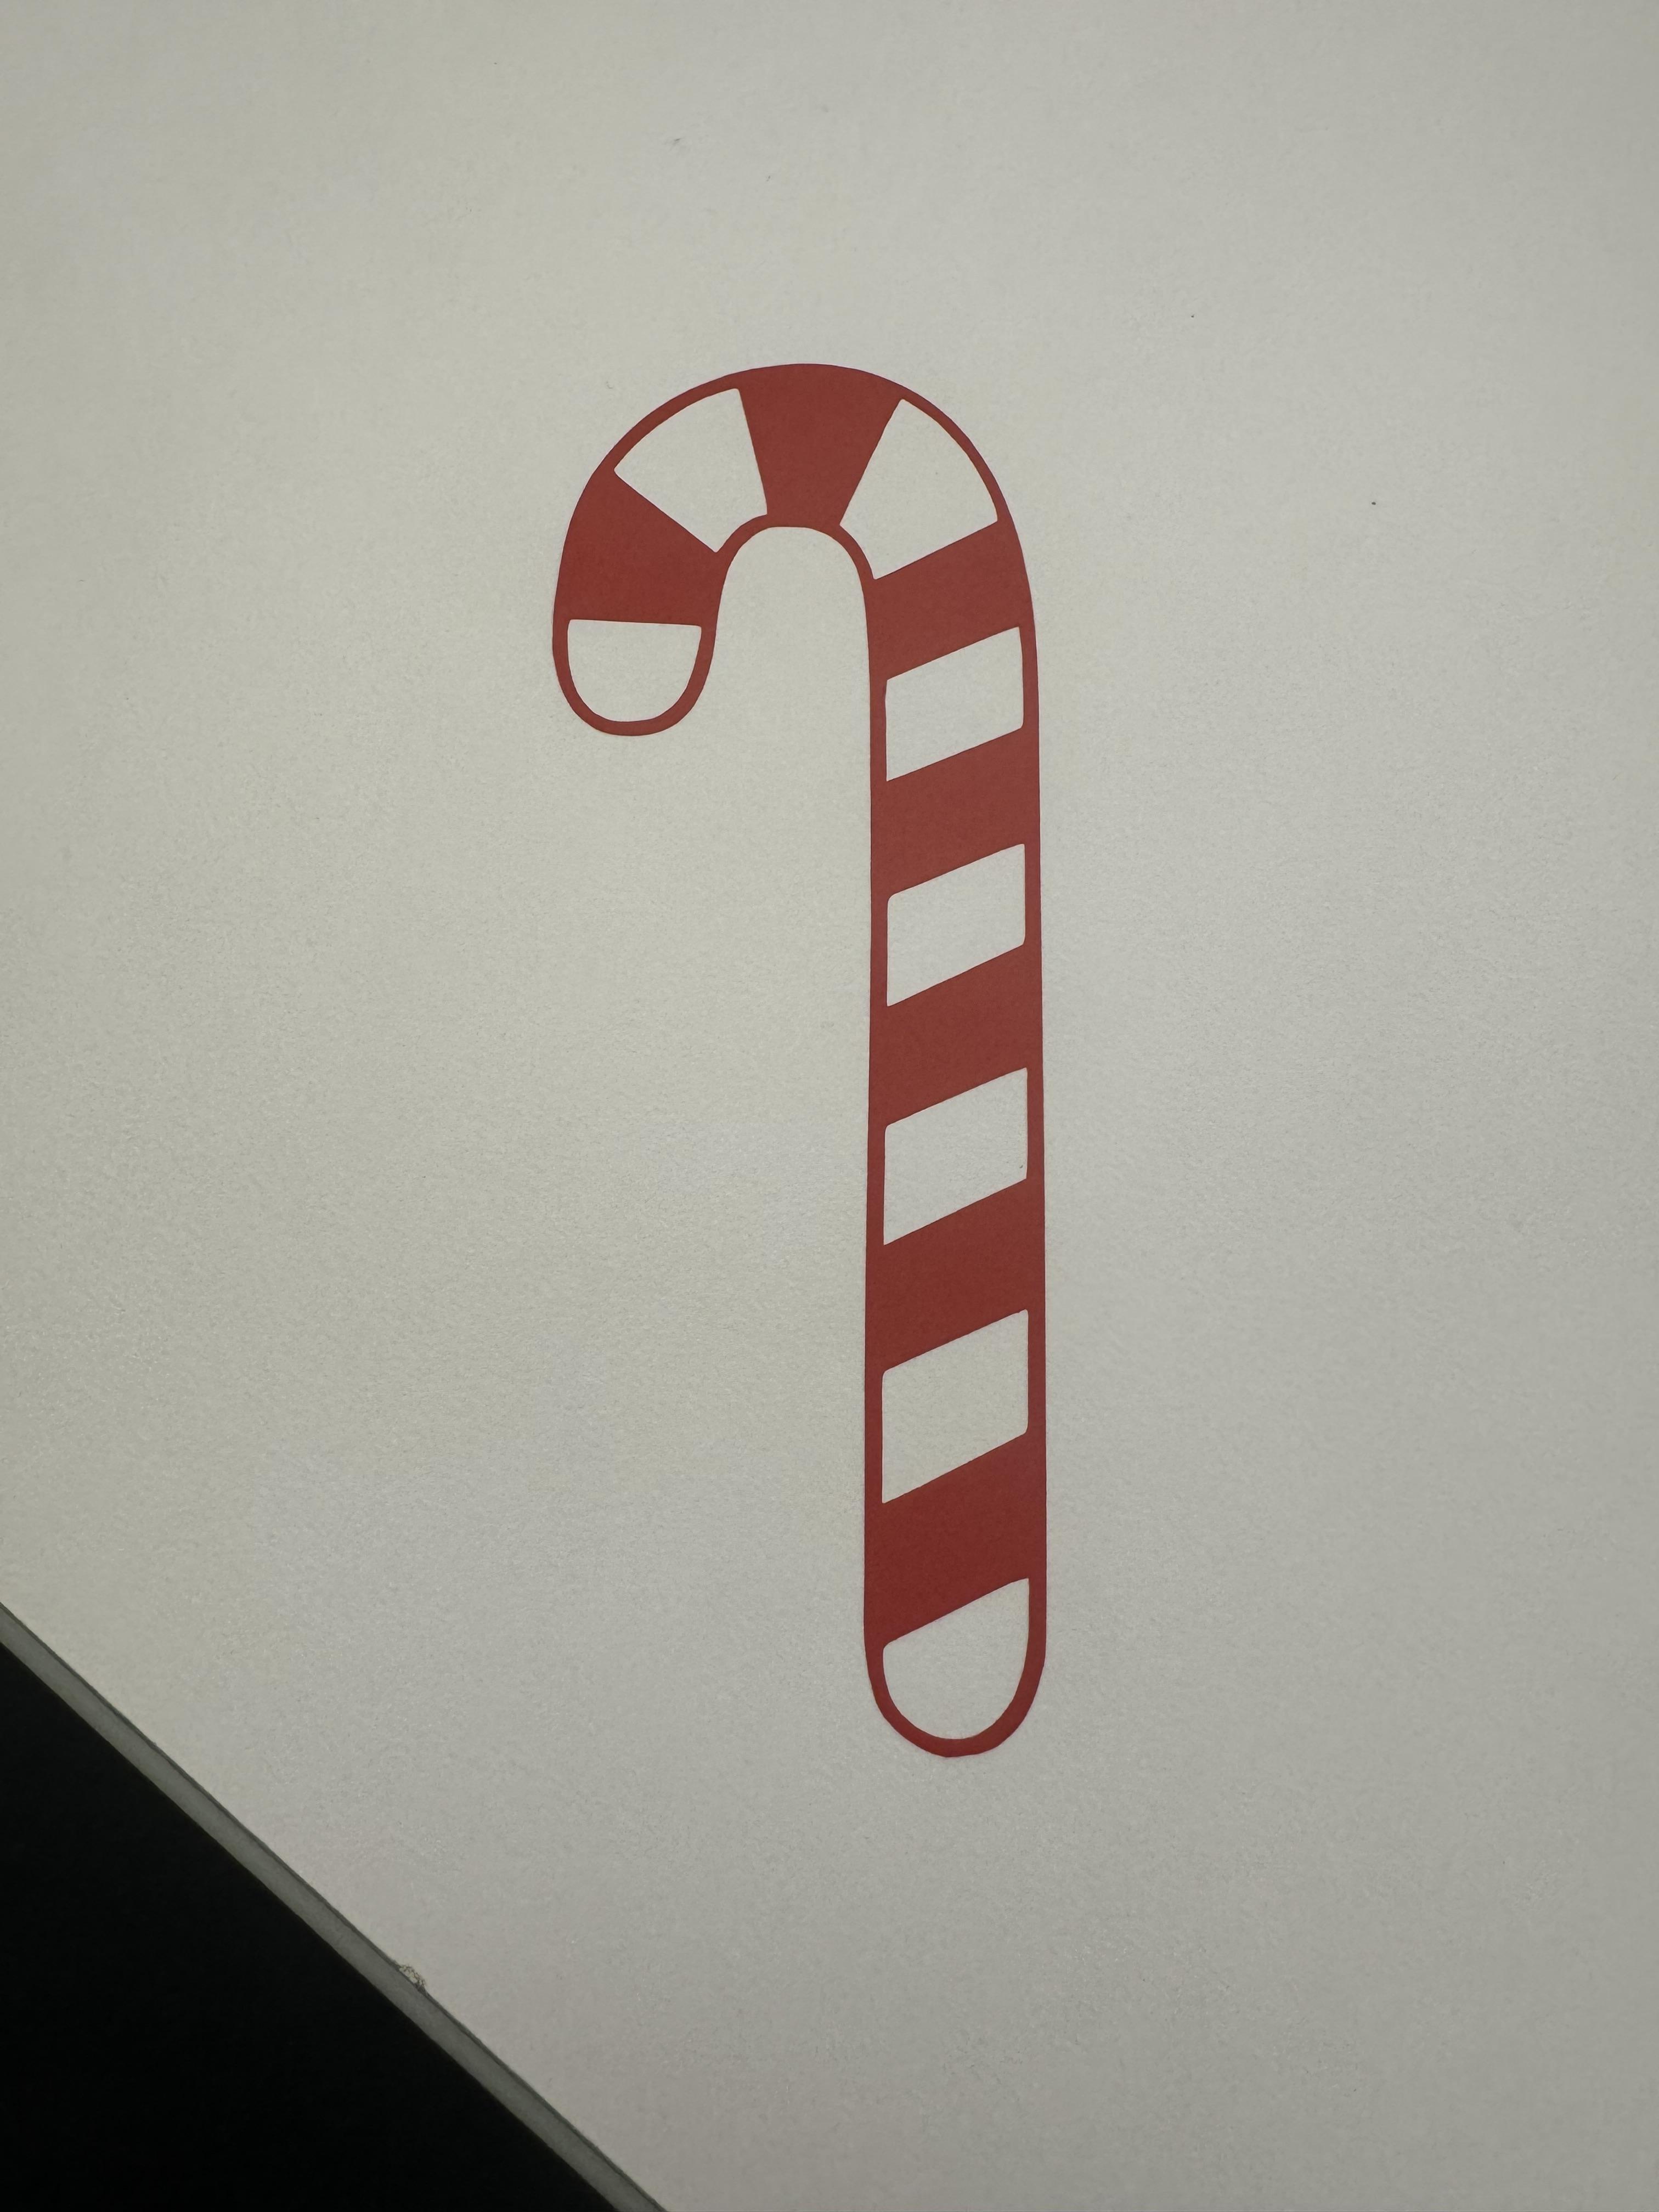
Now all that is left is to take the sticker off the paper and throw it on the present of your choice! I would recommend using a sharp edge to remove the sticker from the backing as it can be a bit tricky and you do not want to ruin your beautiful sticker. If you find that there was a mistake in the cutting you can always go back into the material settings and try again!
Tips & Troubleshooting
Creative Tips and Tricks
- Use Patterns:
- Fill shapes with festive patterns available in Silhouette Studio or imported from other design resources.
- Mix and Match:
- Combine text and clipart for custom sticker designs.
- Try Clear Sticker Paper:
- Create transparent designs for a unique look.
- Batch Printing:
- Fill an entire page with various designs to maximize sticker paper usage.
Troubleshooting Common Issues
- Sticker Paper Not Cutting Properly:
- Adjust blade settings for thicker or thinner paper.
- Perform a test cut to ensure the blade depth is correct.
- Material Not Detected
- Check to see if there are any updates the machine needs to go through.
- If firmware and software are both up to date, then check the FAQ on the company website to see if there is a solution
Conclusions
Through this process, I discovered that creating stickers is far simpler than I had imagined. Along the way, I learned how to effectively use the Silhouette machines and software while also creating a delightful product that I know my friends and family will enjoy. Although I encountered some design challenges when deciding what to make, I realized that sometimes all it takes is a conversation with a friend to overcome creative blocks and spark new ideas. This experience has been as rewarding as it has been educational, offering me a new way to express creativity.
Creating holiday and festive stickers with the Silhouette Studio and Silhouette Cameo Cutter is not only a simple and enjoyable activity but also a thoughtful way to add a personal touch to your gift-giving. This holiday season, go the extra mile by customizing your gifts with handmade stickers inspired by this guide. You've learned how to design, modify, and produce your own personalized creations—skills you can now use to impress and delight your friends and loved ones. Whether it's for gift wrapping, decorating, or sharing your passion for crafting, this is your chance to shine. Start your holiday crafting journey today and spread joy with your artistic touch!