Makey Makey Remote for Binge Watching
by JaakkoR in Workshop > Home Theater
2048 Views, 8 Favorites, 0 Comments
Makey Makey Remote for Binge Watching
When I cast Netlix from my laptop to the TV, I have to keep the laptop in front of me so that I can pause the show when necessary. The laptops screen is a distraction, and it disturbs my binge watching. The solution? A Makey Makey remote control for binge watching. I thought it would be silly, but actually it turned out quite nice!
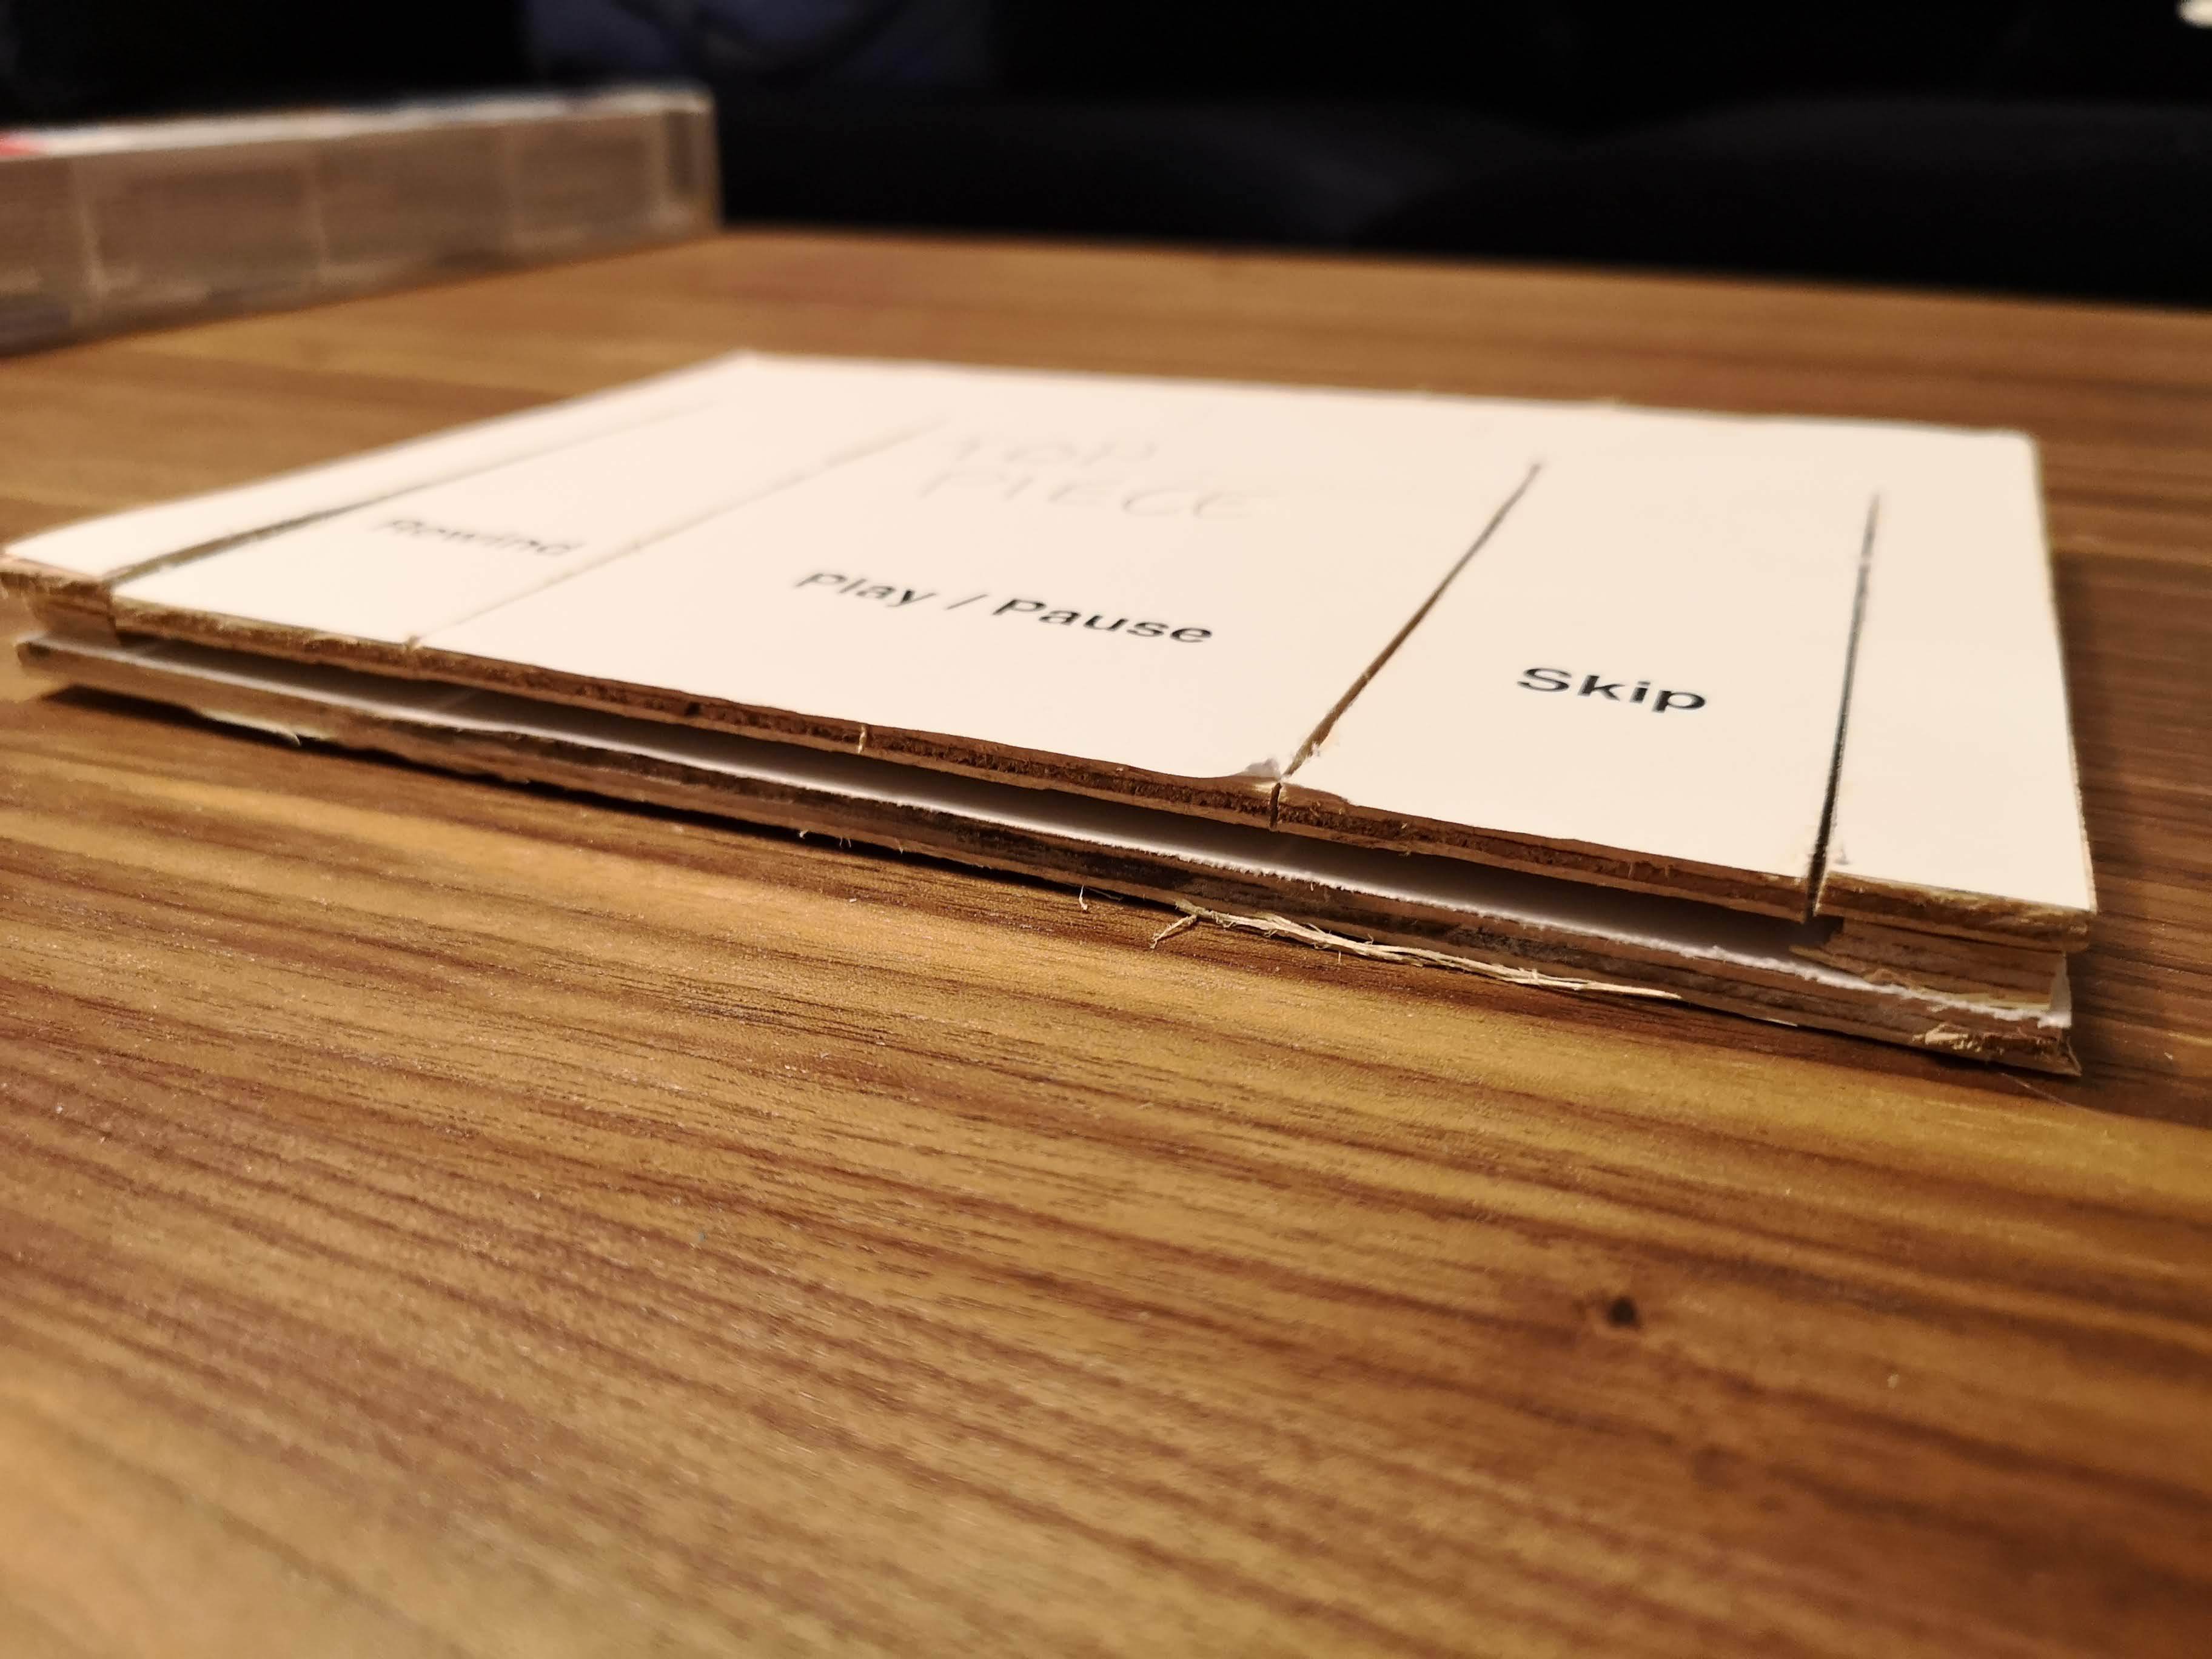
The remote has three buttons: 'Rewind 10 sec.', 'Play/Pause' and 'Skip Intro'. Those are the ones I use, but you can configure yours to whatever you like.
I decided to make it with things that I had lying around. So here is how to make one yourself.
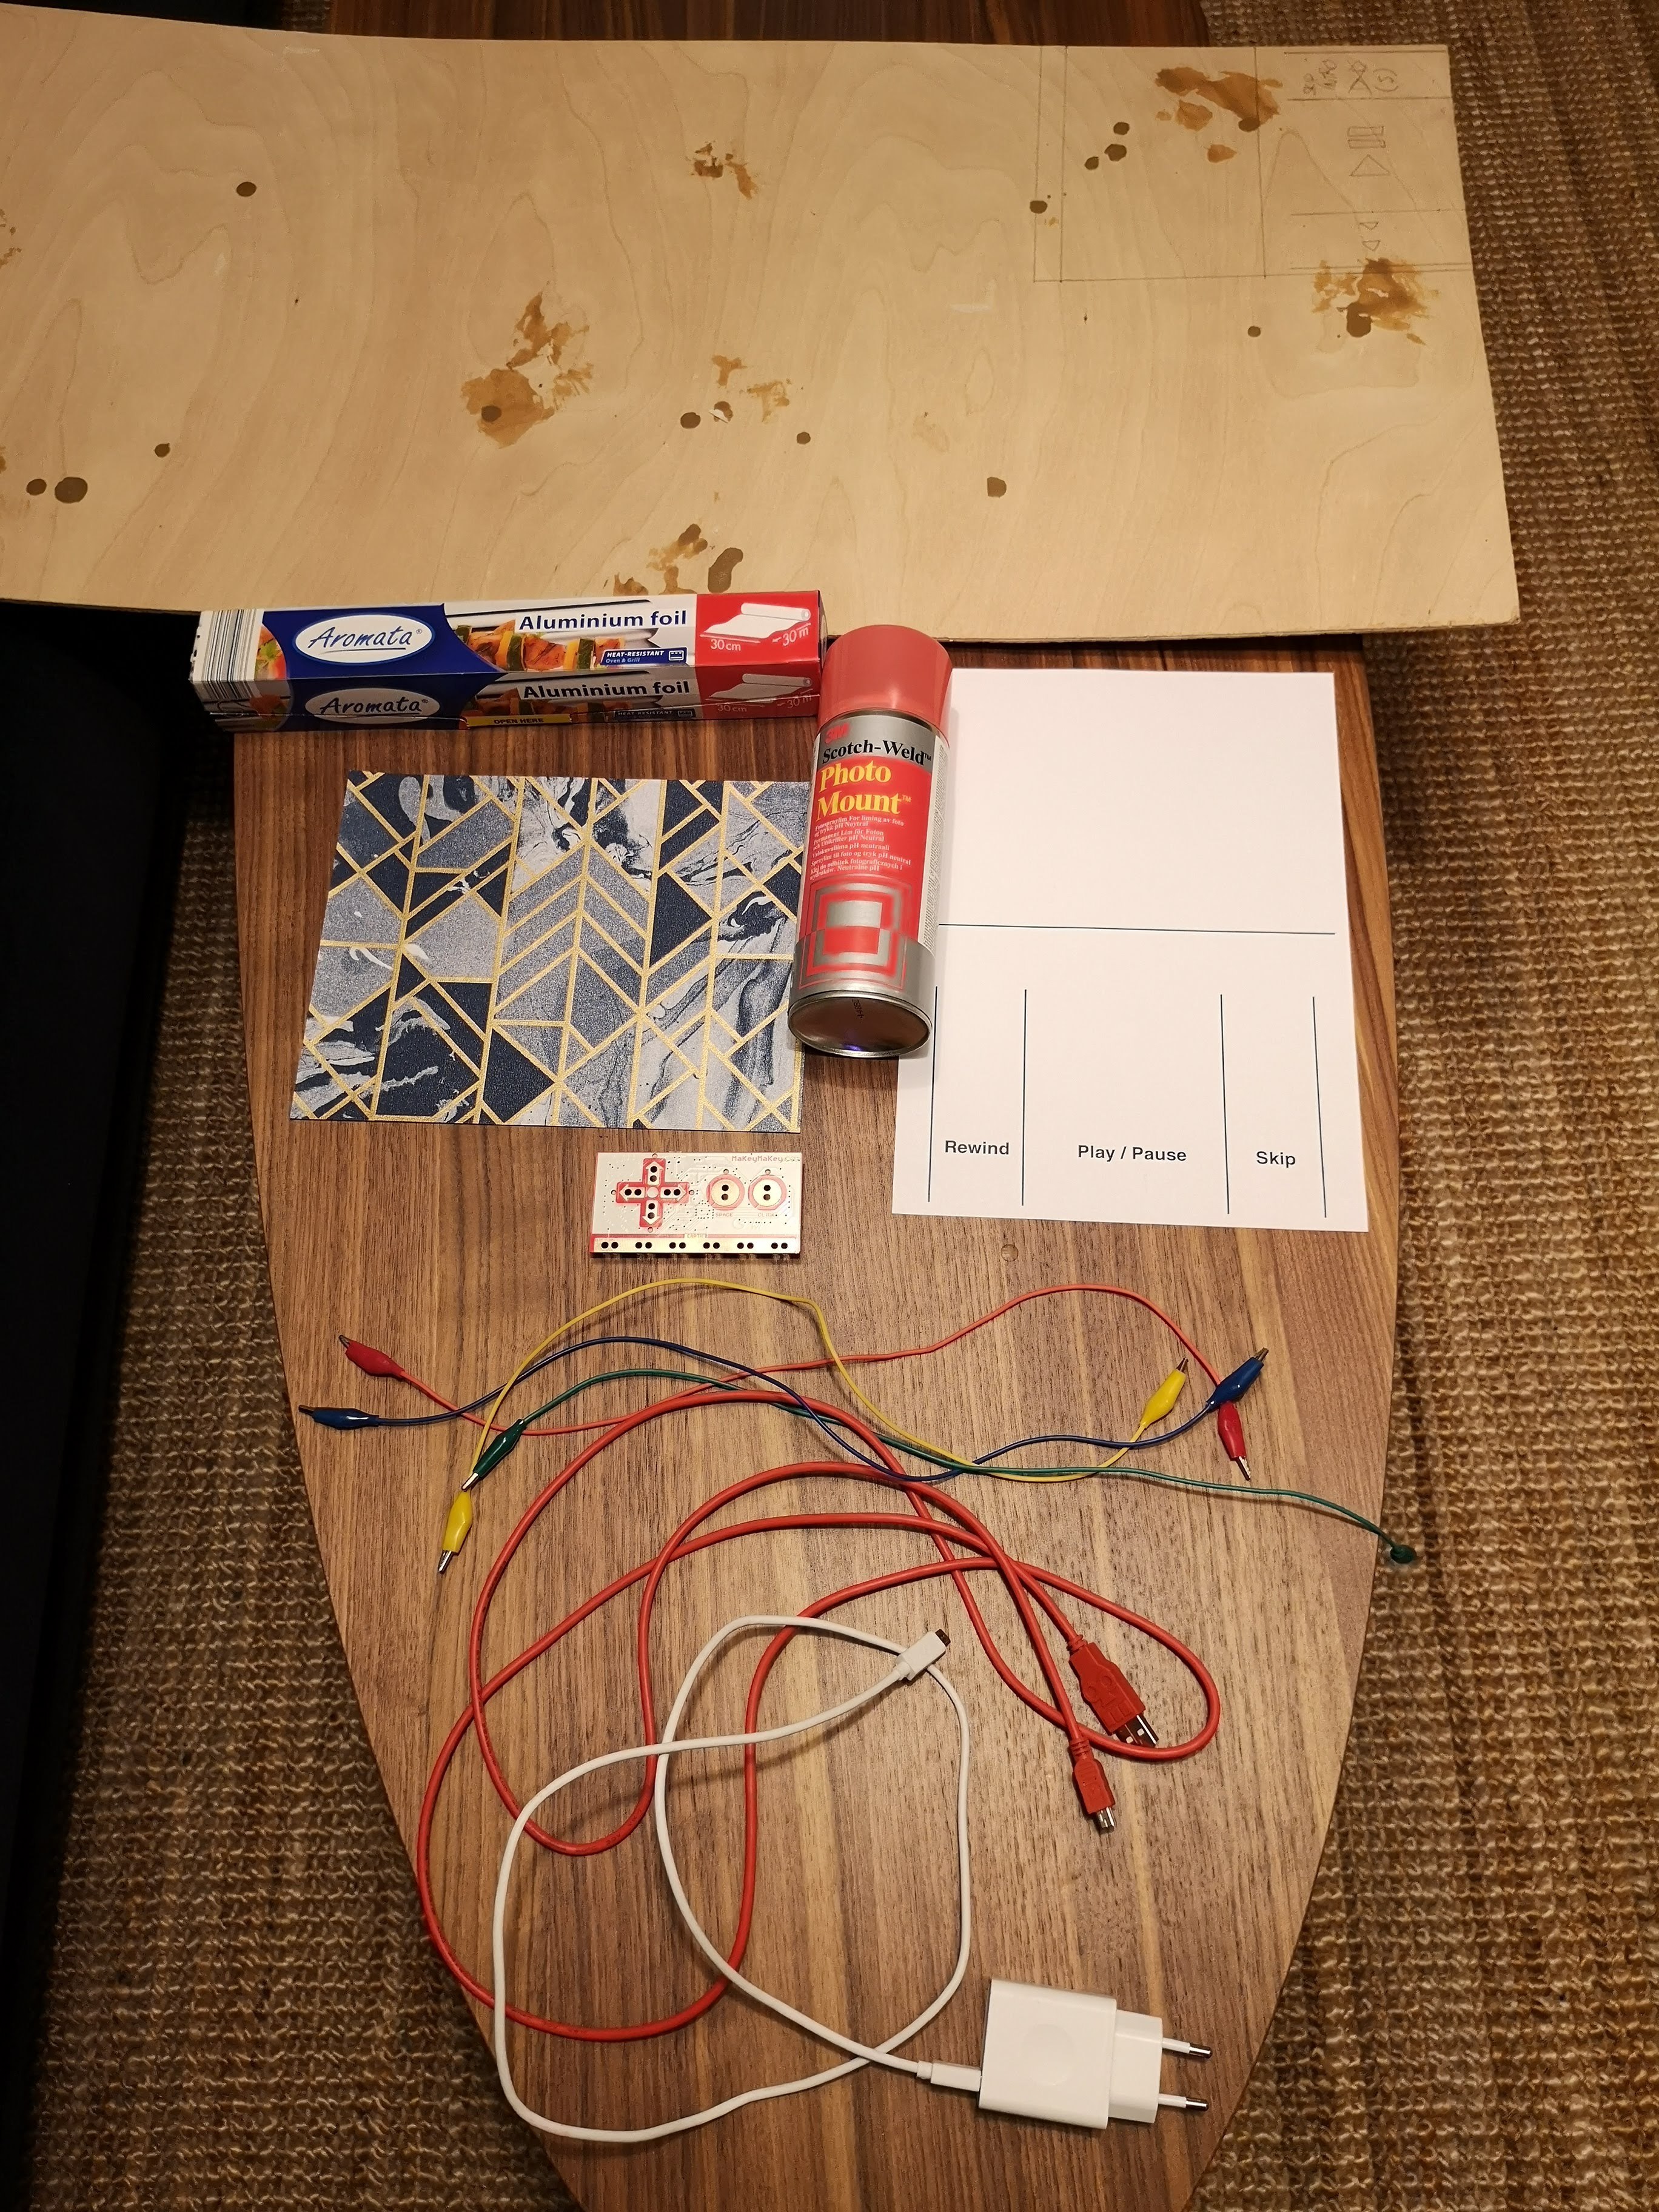
Supplies
- a piece of plywood (about 3 mm thick)
- aluminum foil
- a Makey Makey
- glue spray
- printout of the cutting plan
- some nicely colored paper (I used leftover wrapping paper from Christmas)
- a container for the Makey Makey (mine is a decorative turtle)
You also need these tools: a saw, a knife, scissors, sandpaper
Getting Started
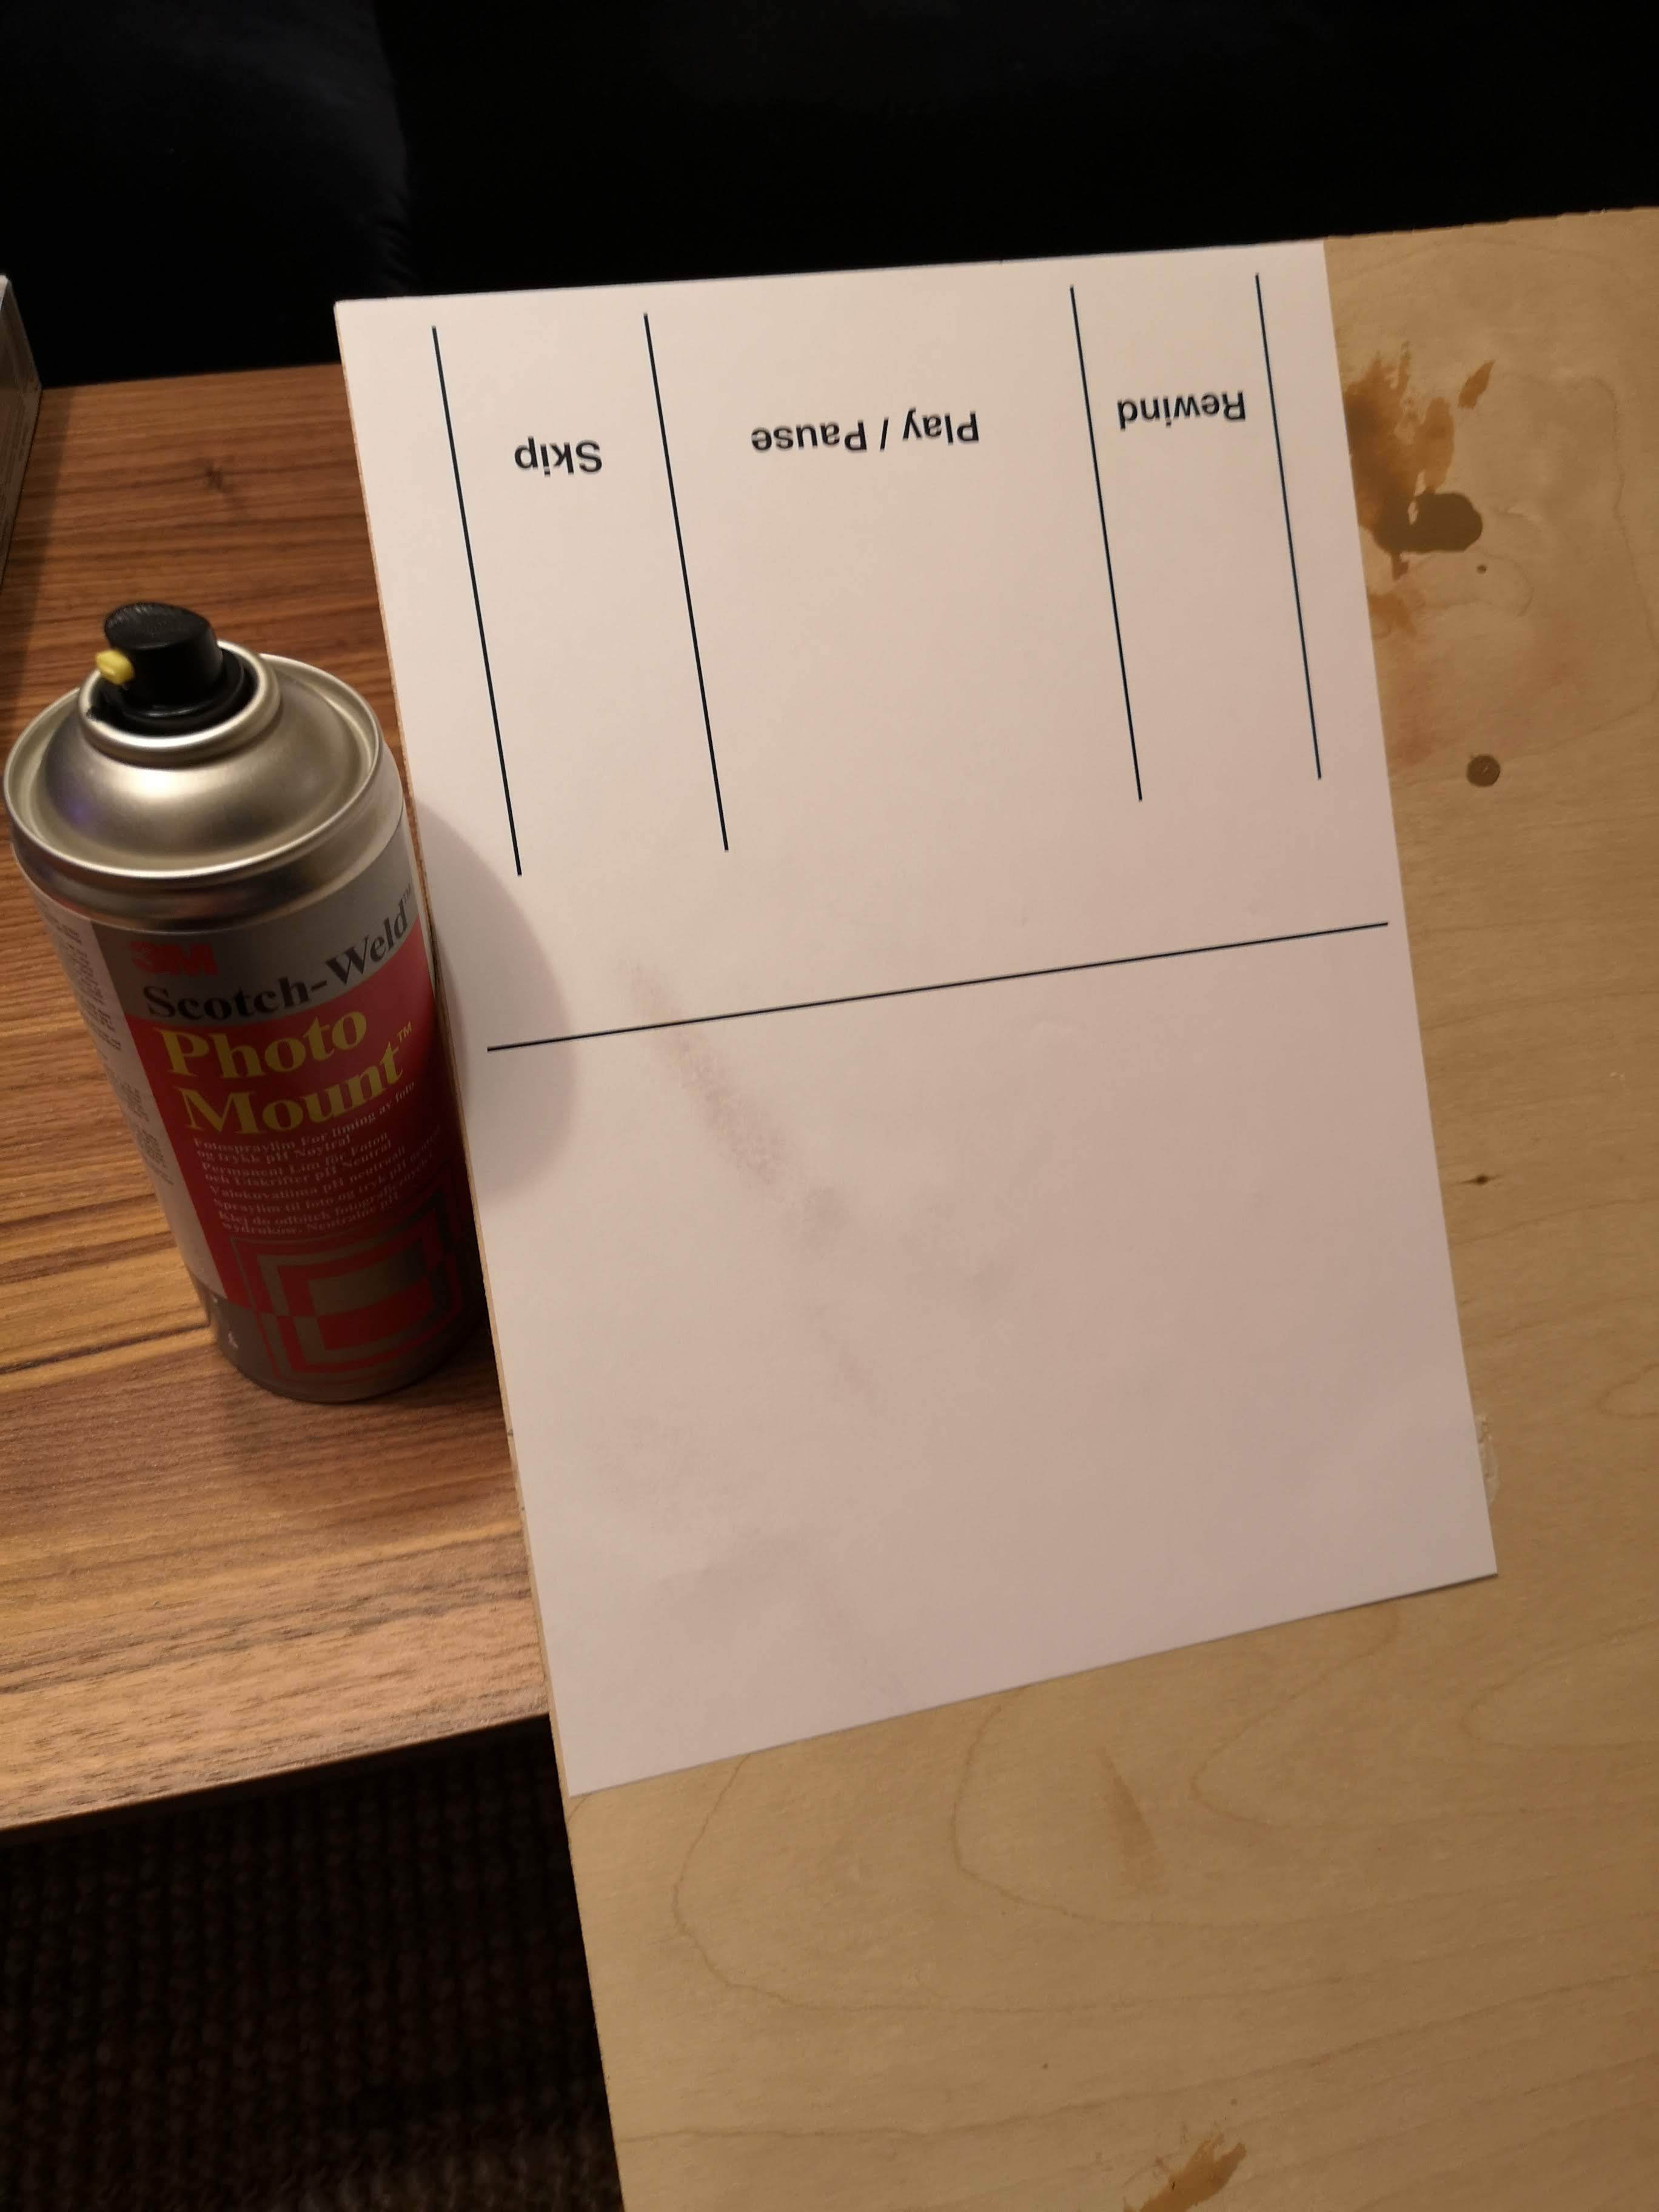
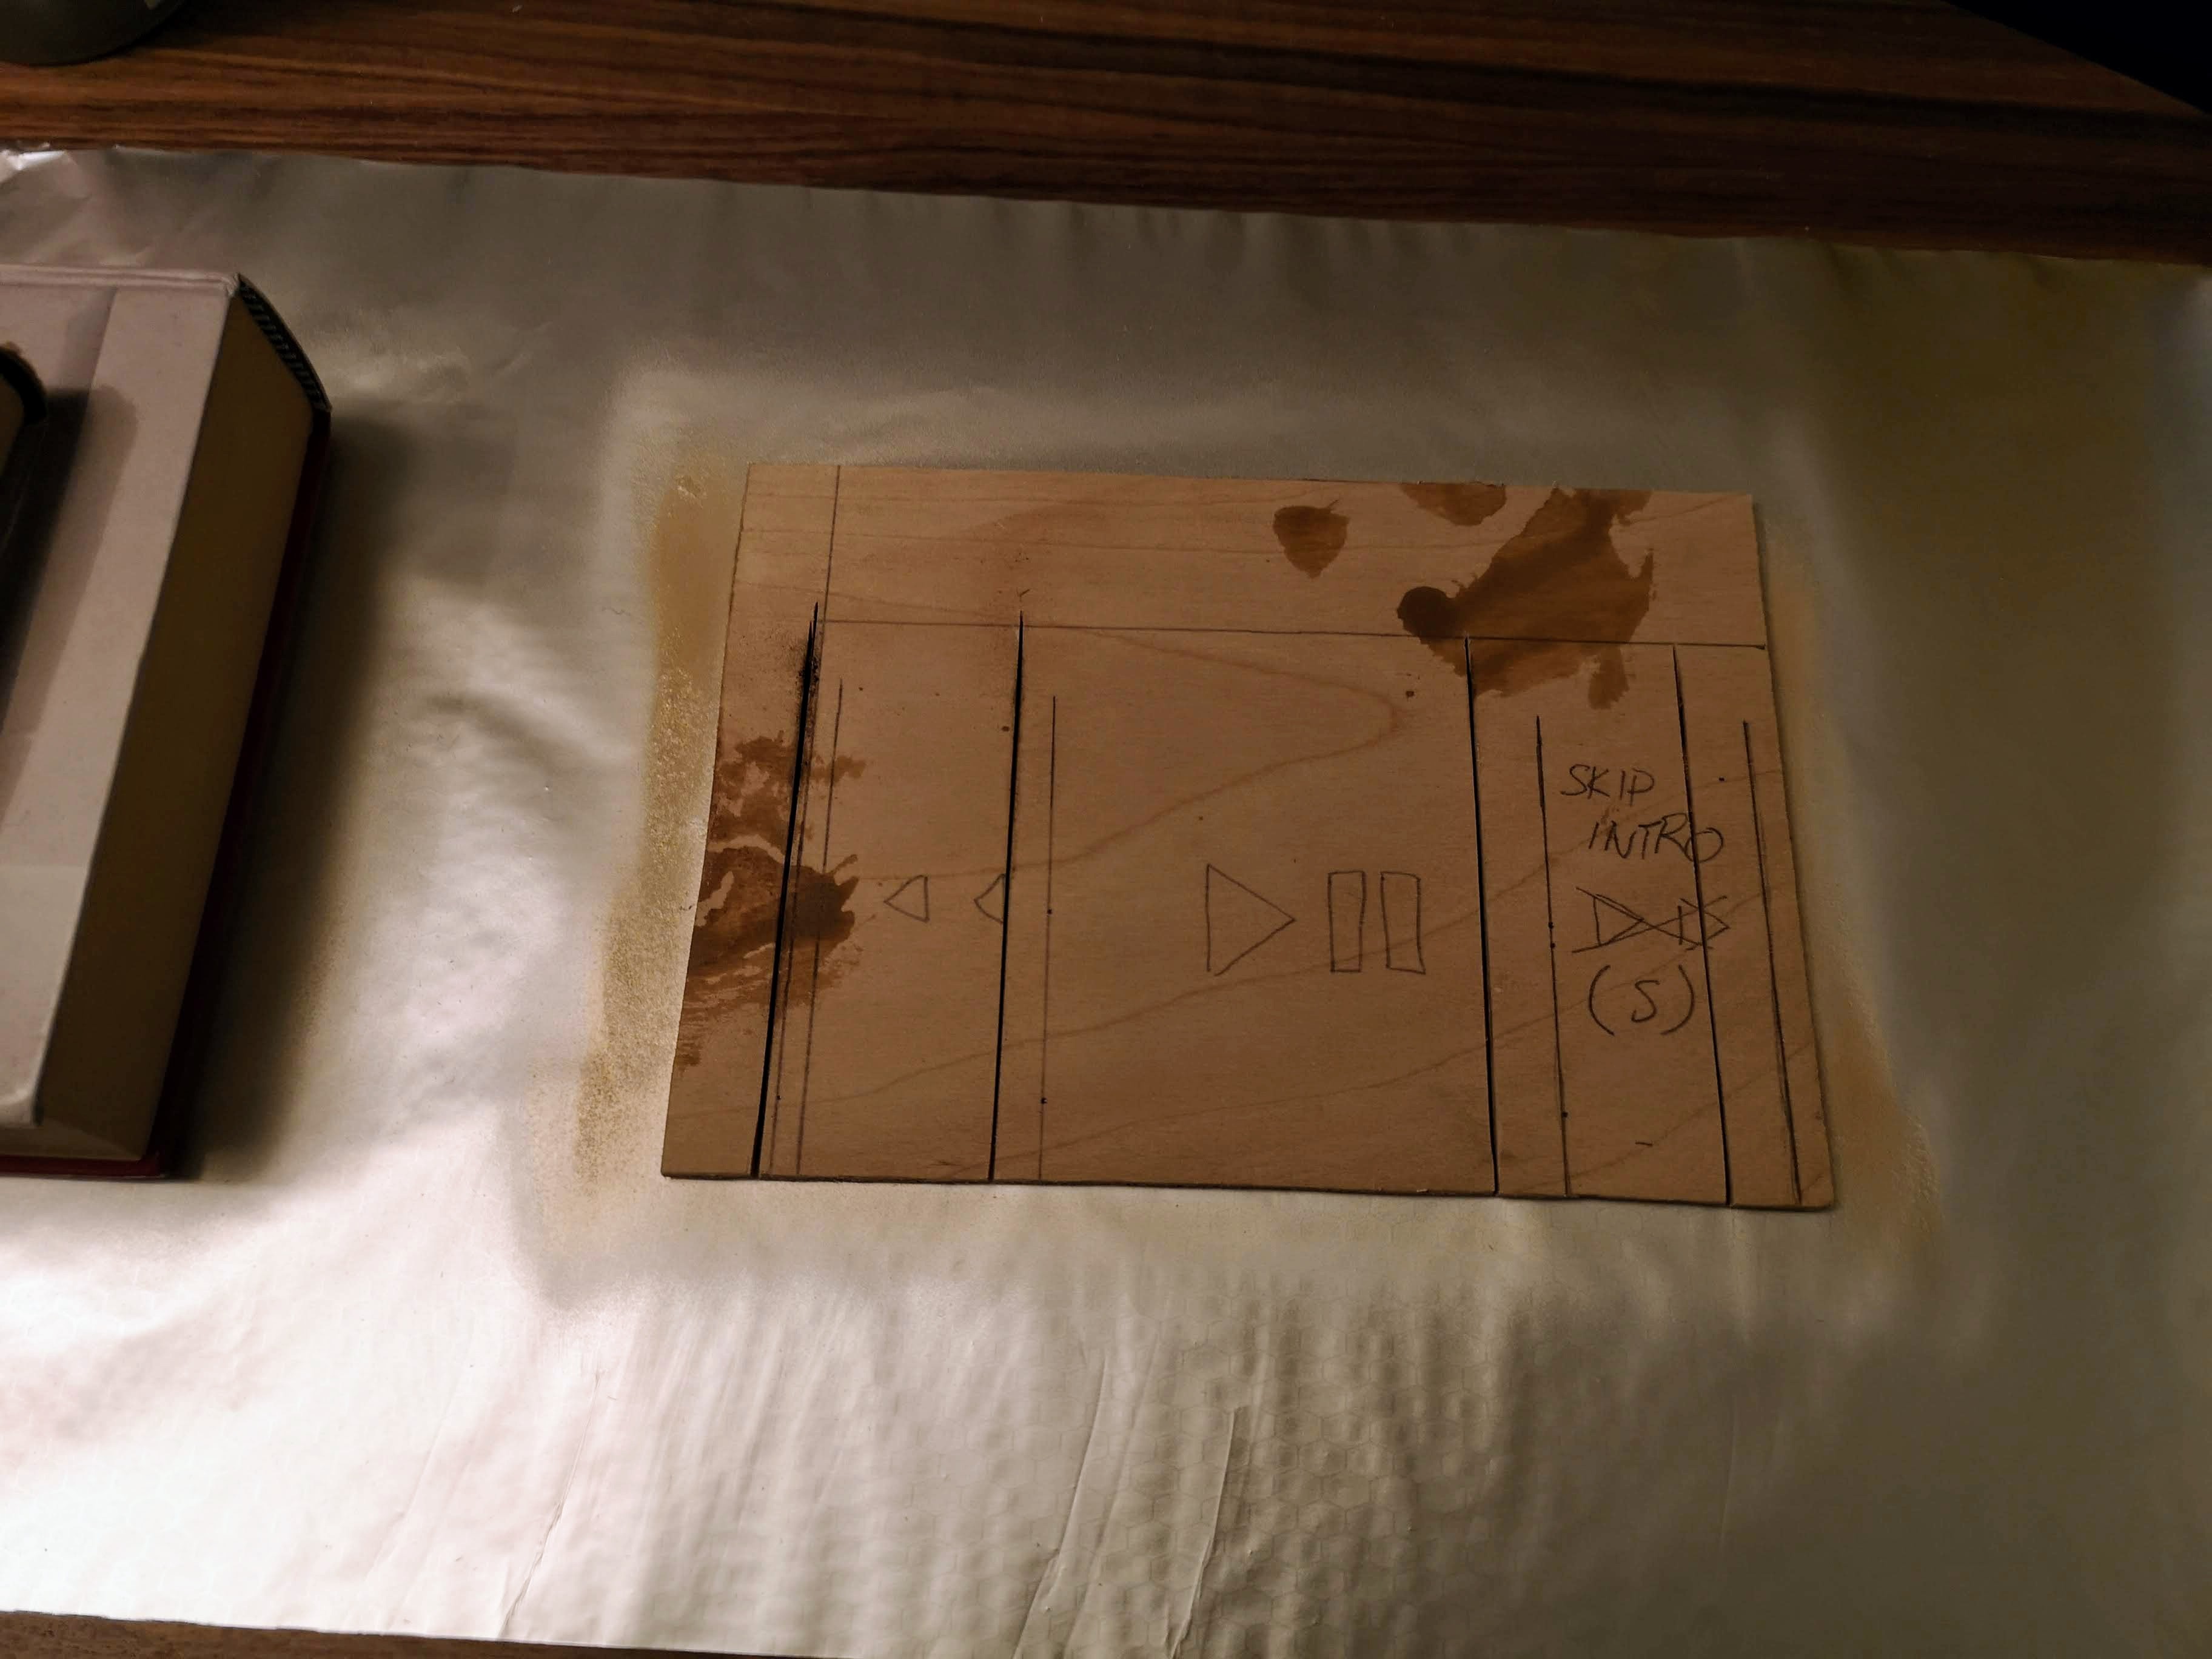
Gather your supplies and glue the cutting plan to your plywood. Place it in a corner so you'll have two sides less to cut. We will be removing the paper later, so just a light layer of glue will do nicely.
Downloads
Cut the Plywood Pieces
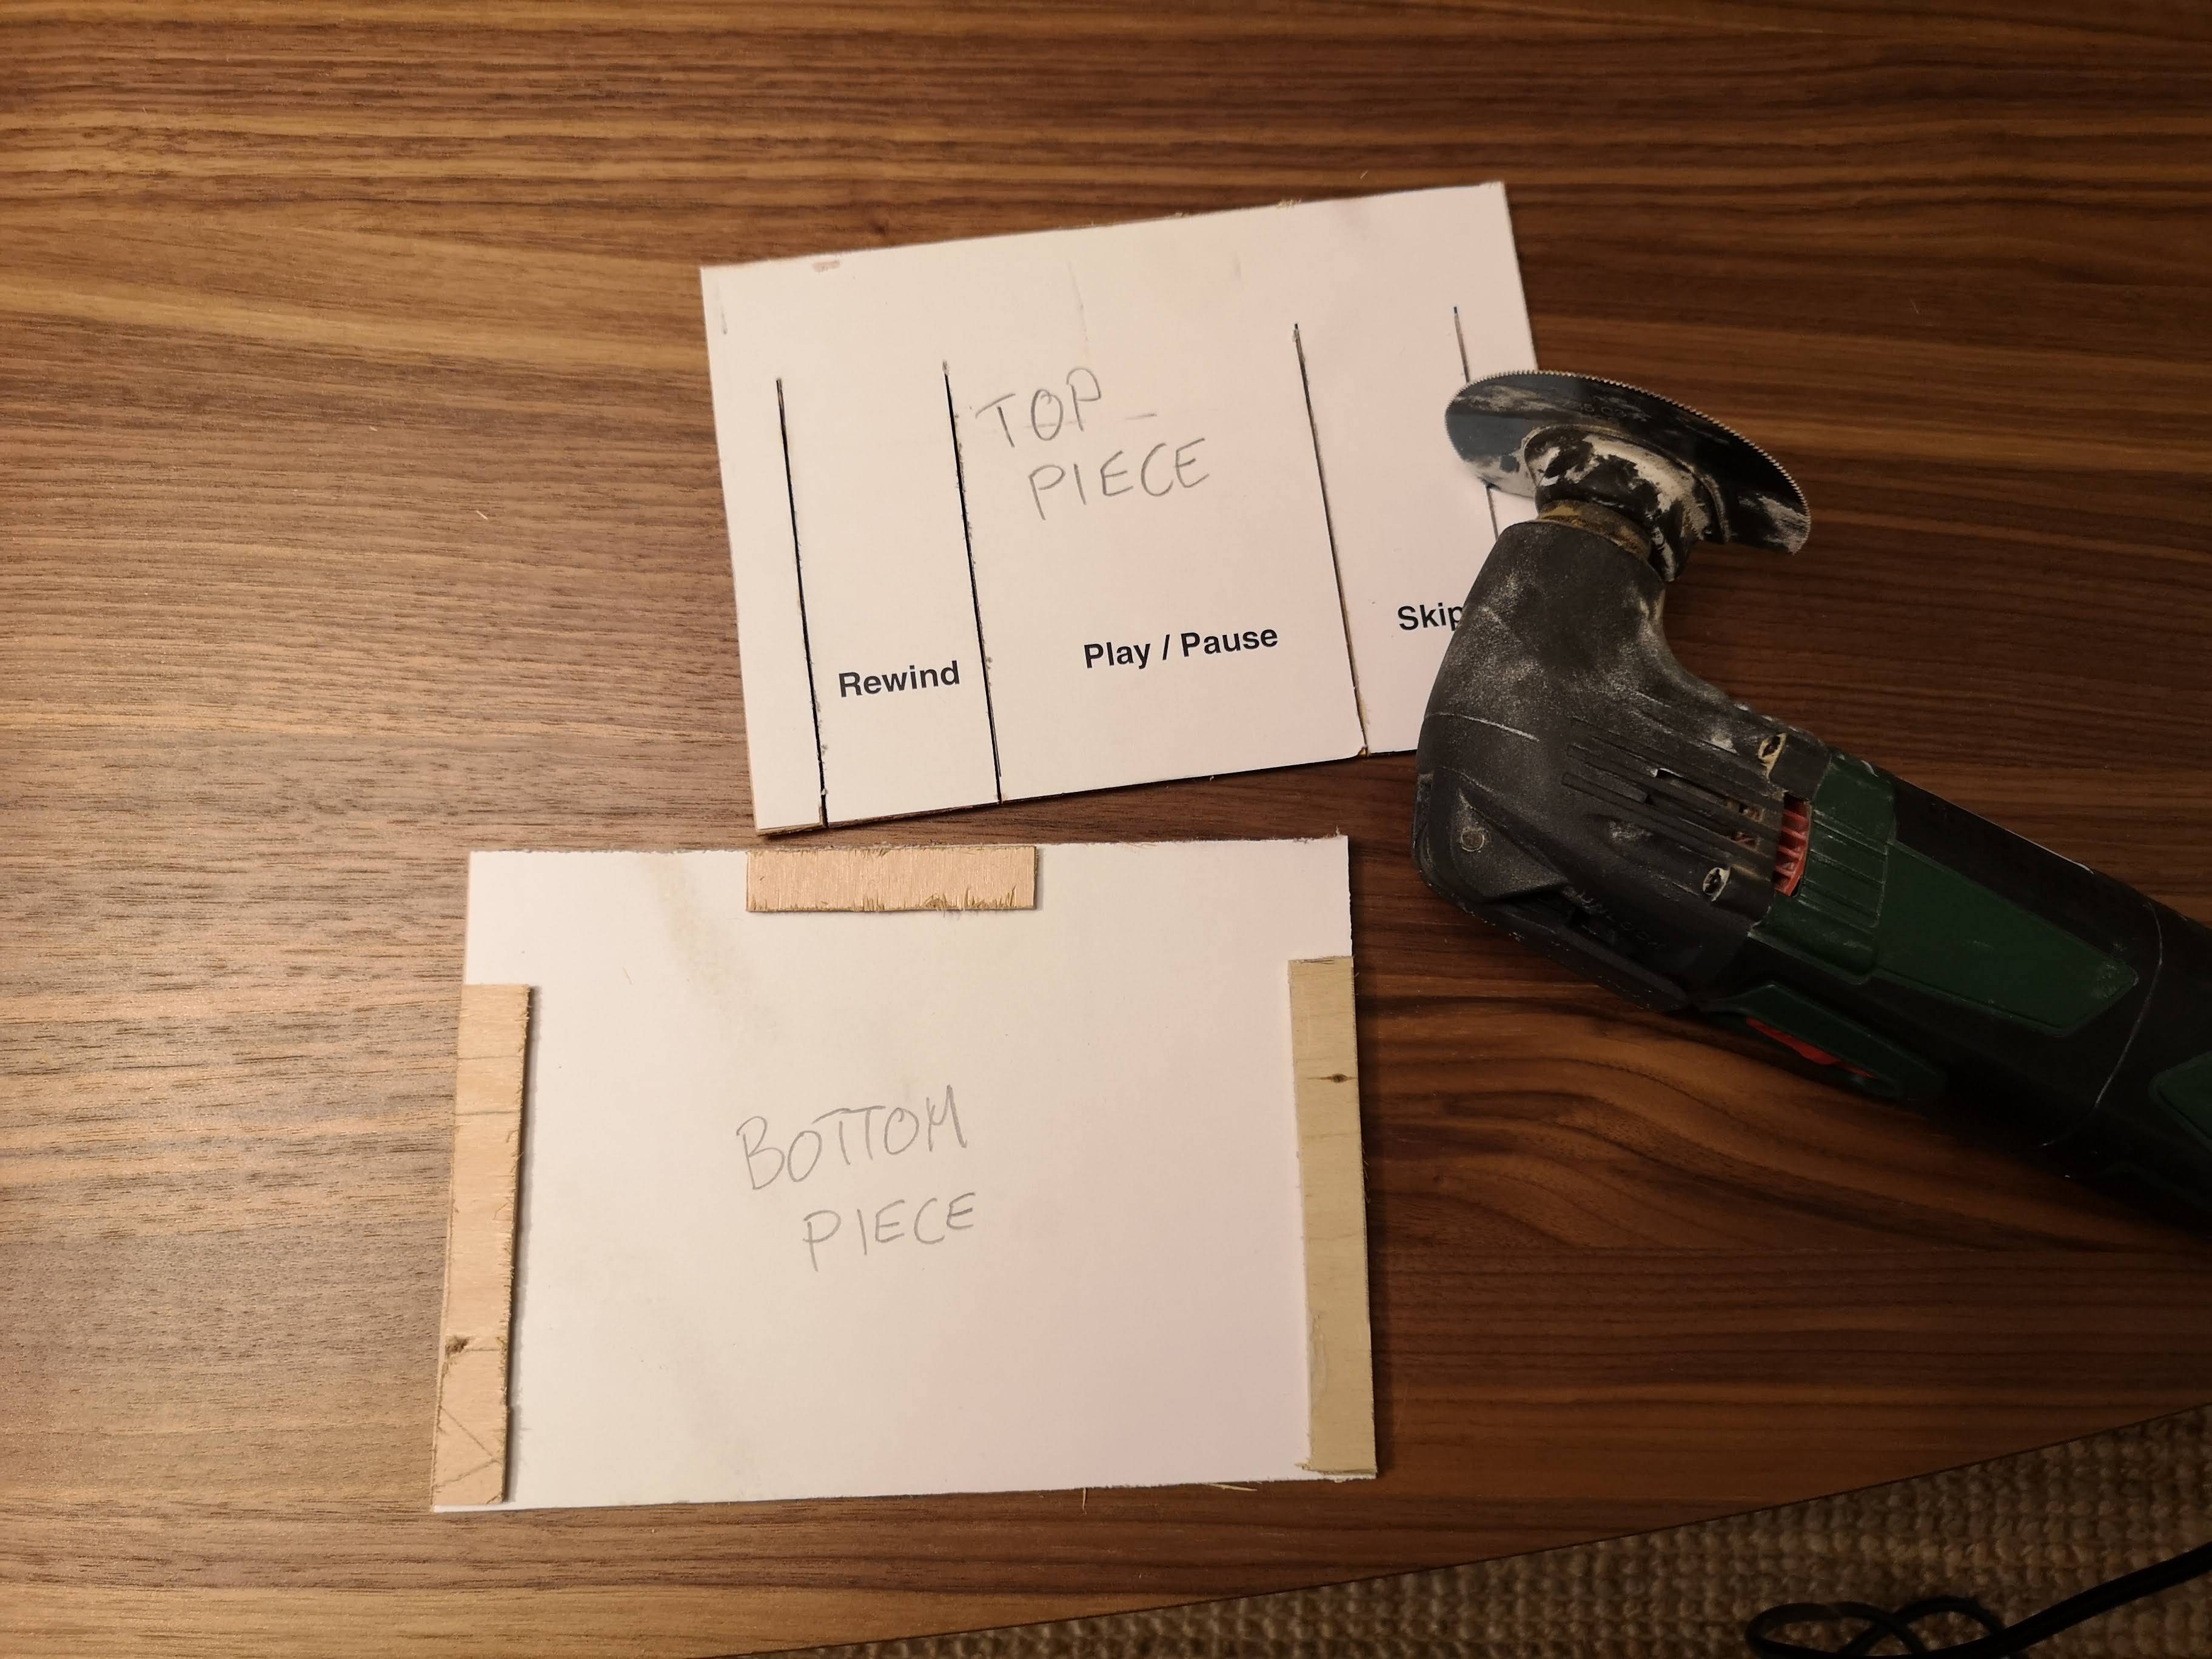
I used an oscillating tool to cut these pieces, but any saw should do the trick. Cut along the edges of the paper and cut along the black lines. You should end up with two rectangular pieces: one solid piece (bottom piece) and one with parallel lines cut into it (top piece). The parallel cuts need to reach one end of the top piece.
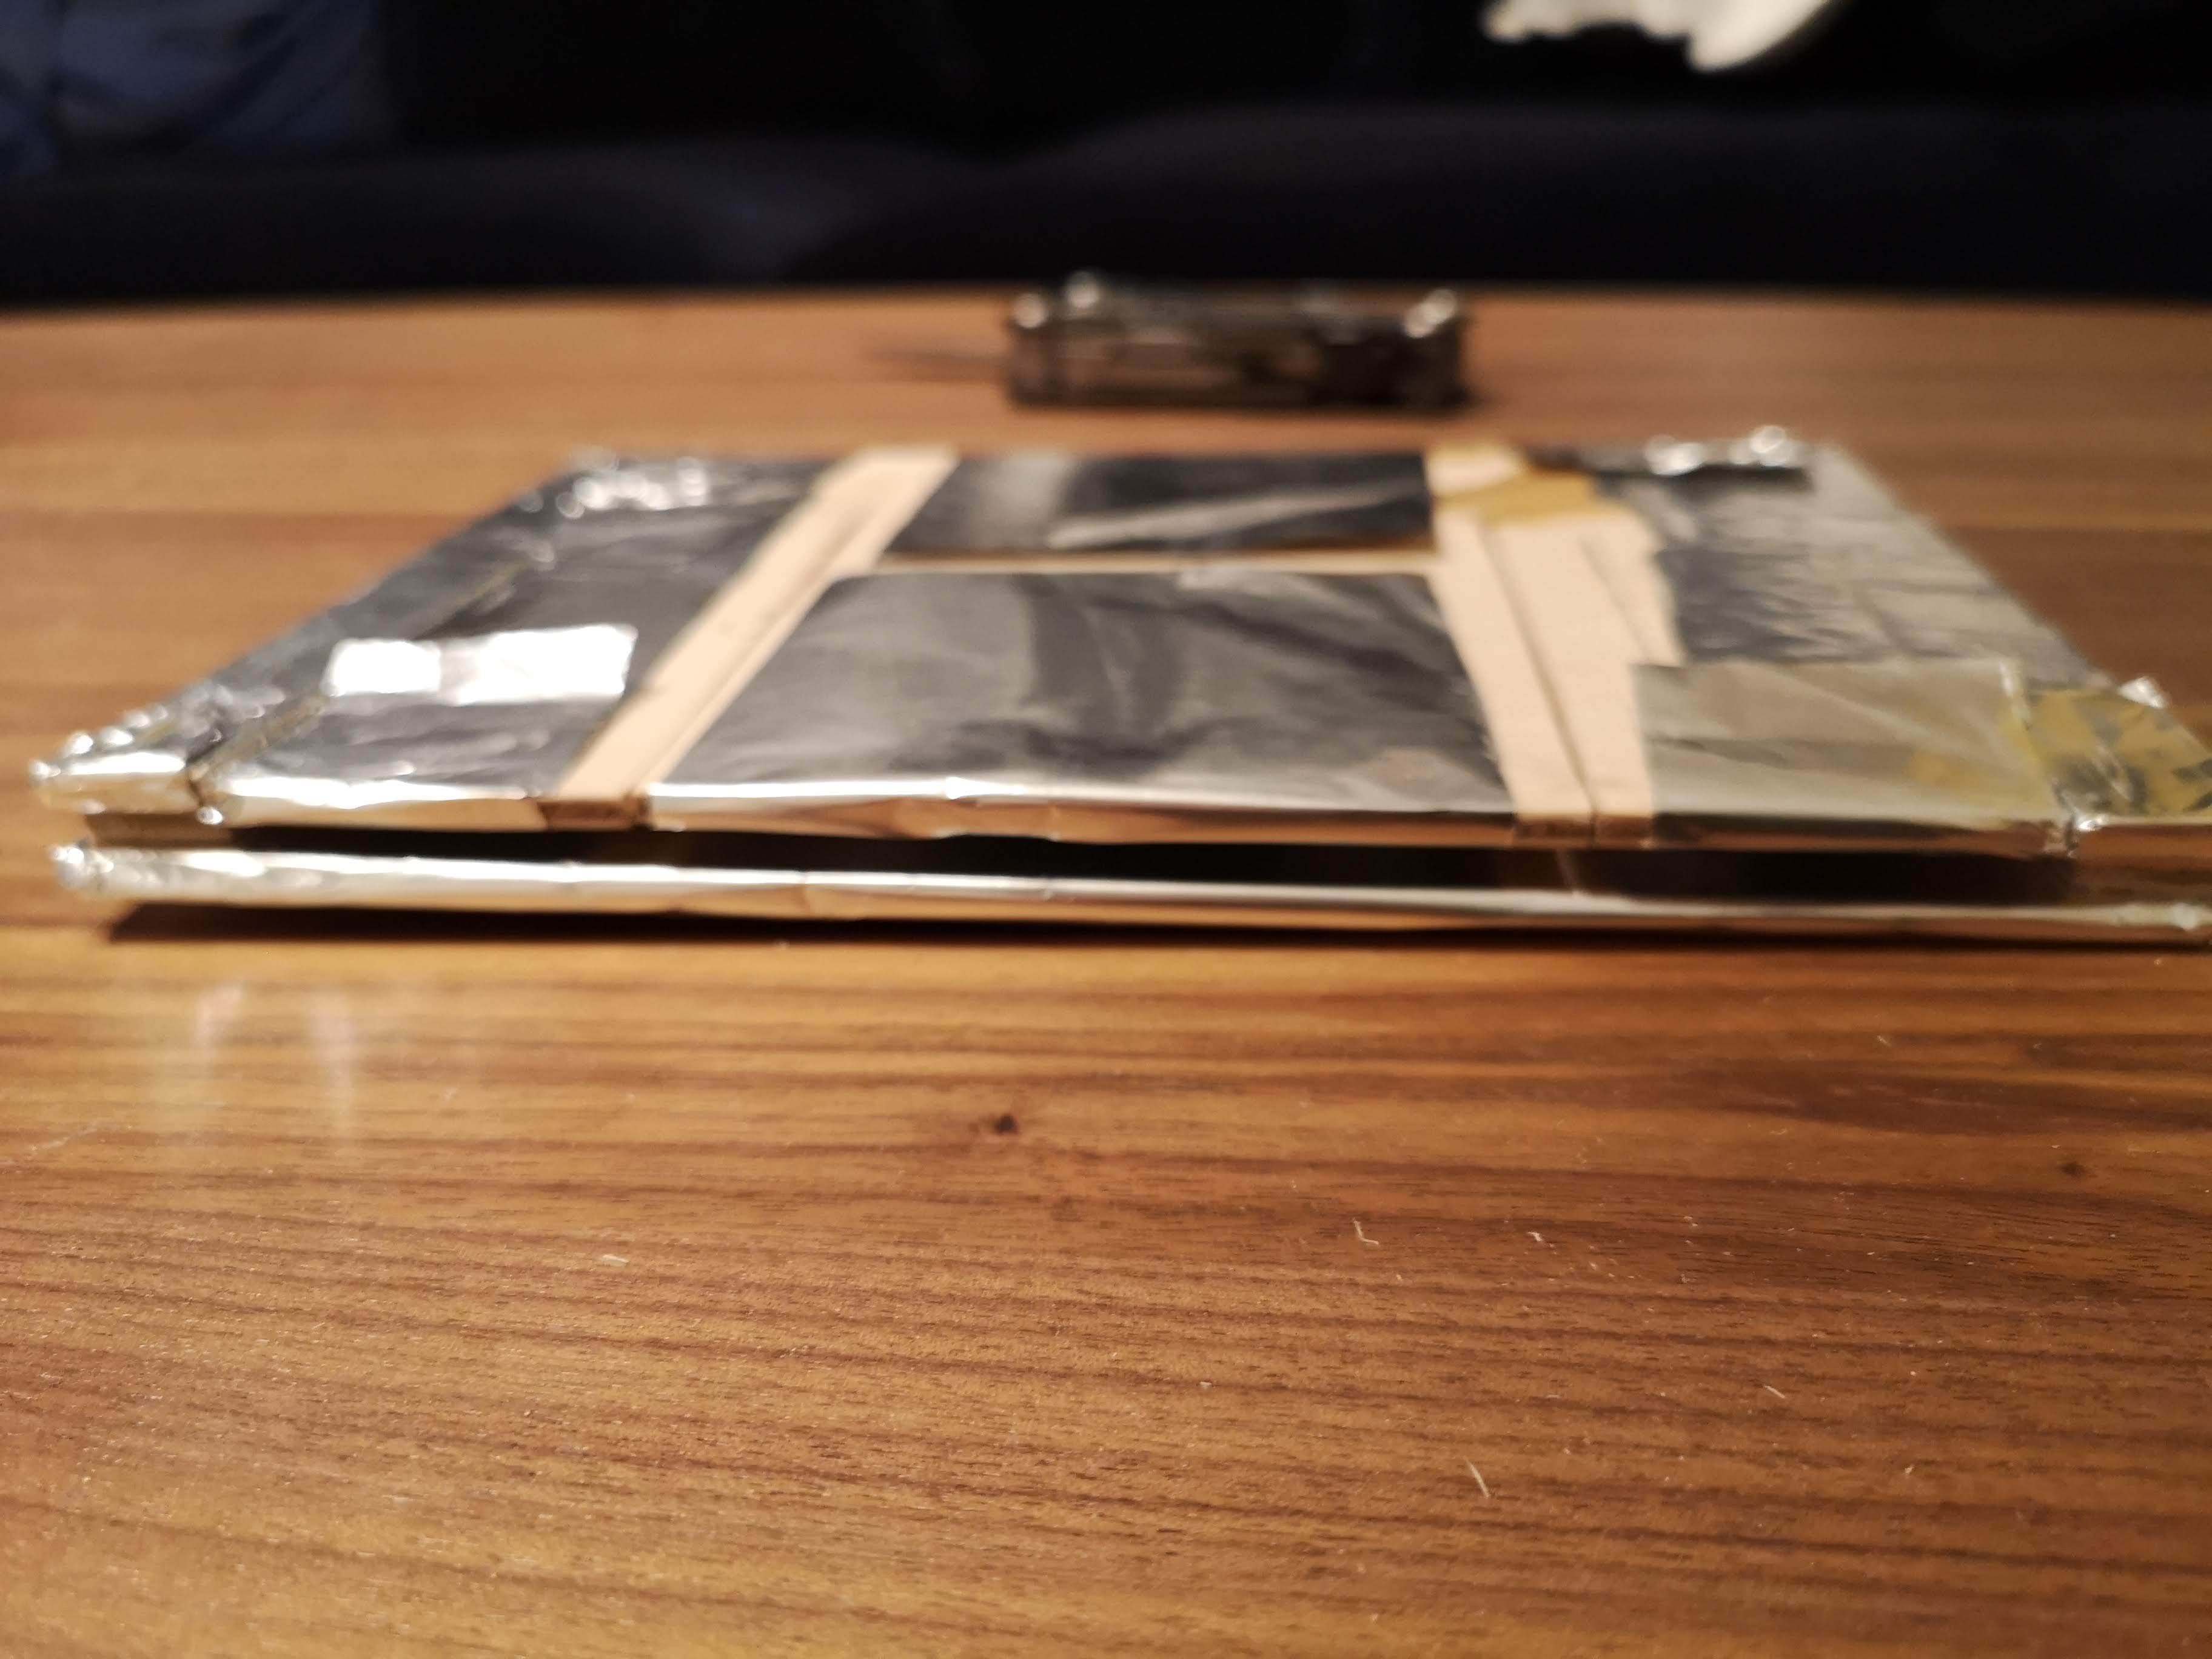
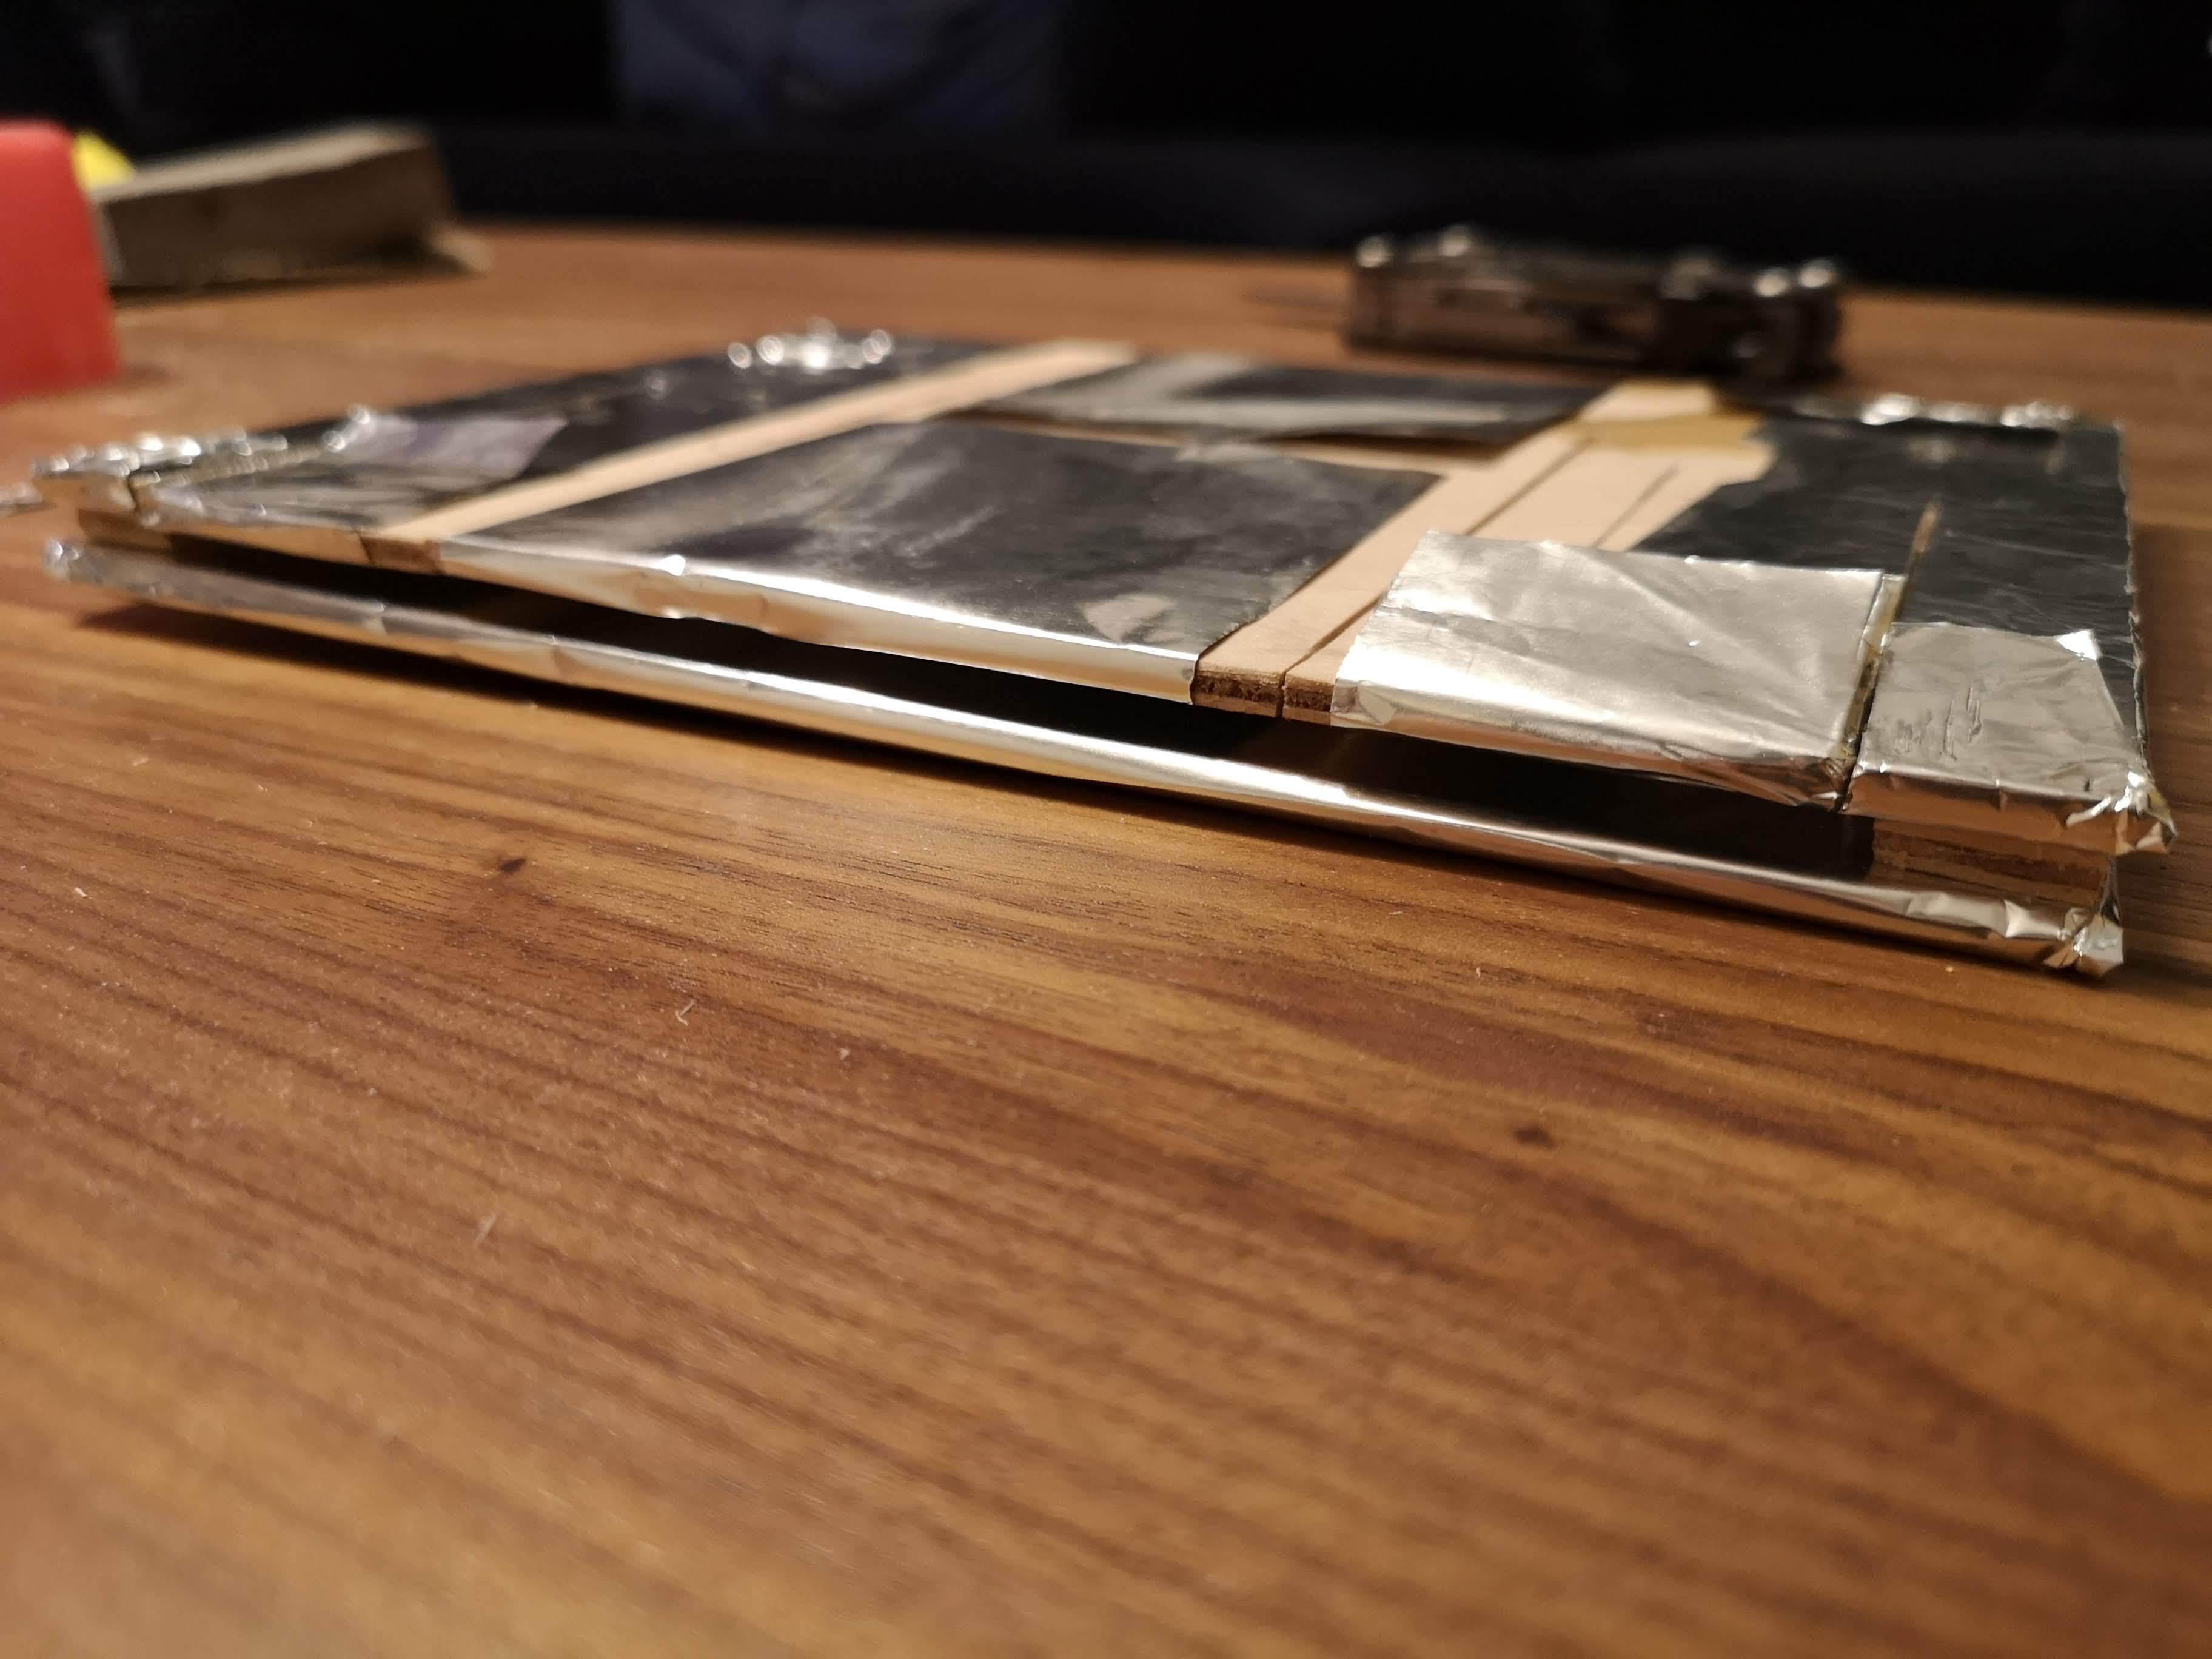
Additionally, I also cut three small strips of plywood that will be used between the top and bottom pieces. See the photo for reference on their sizing.
The second photo shows how the layers will be stacked.
Glue on the Foil
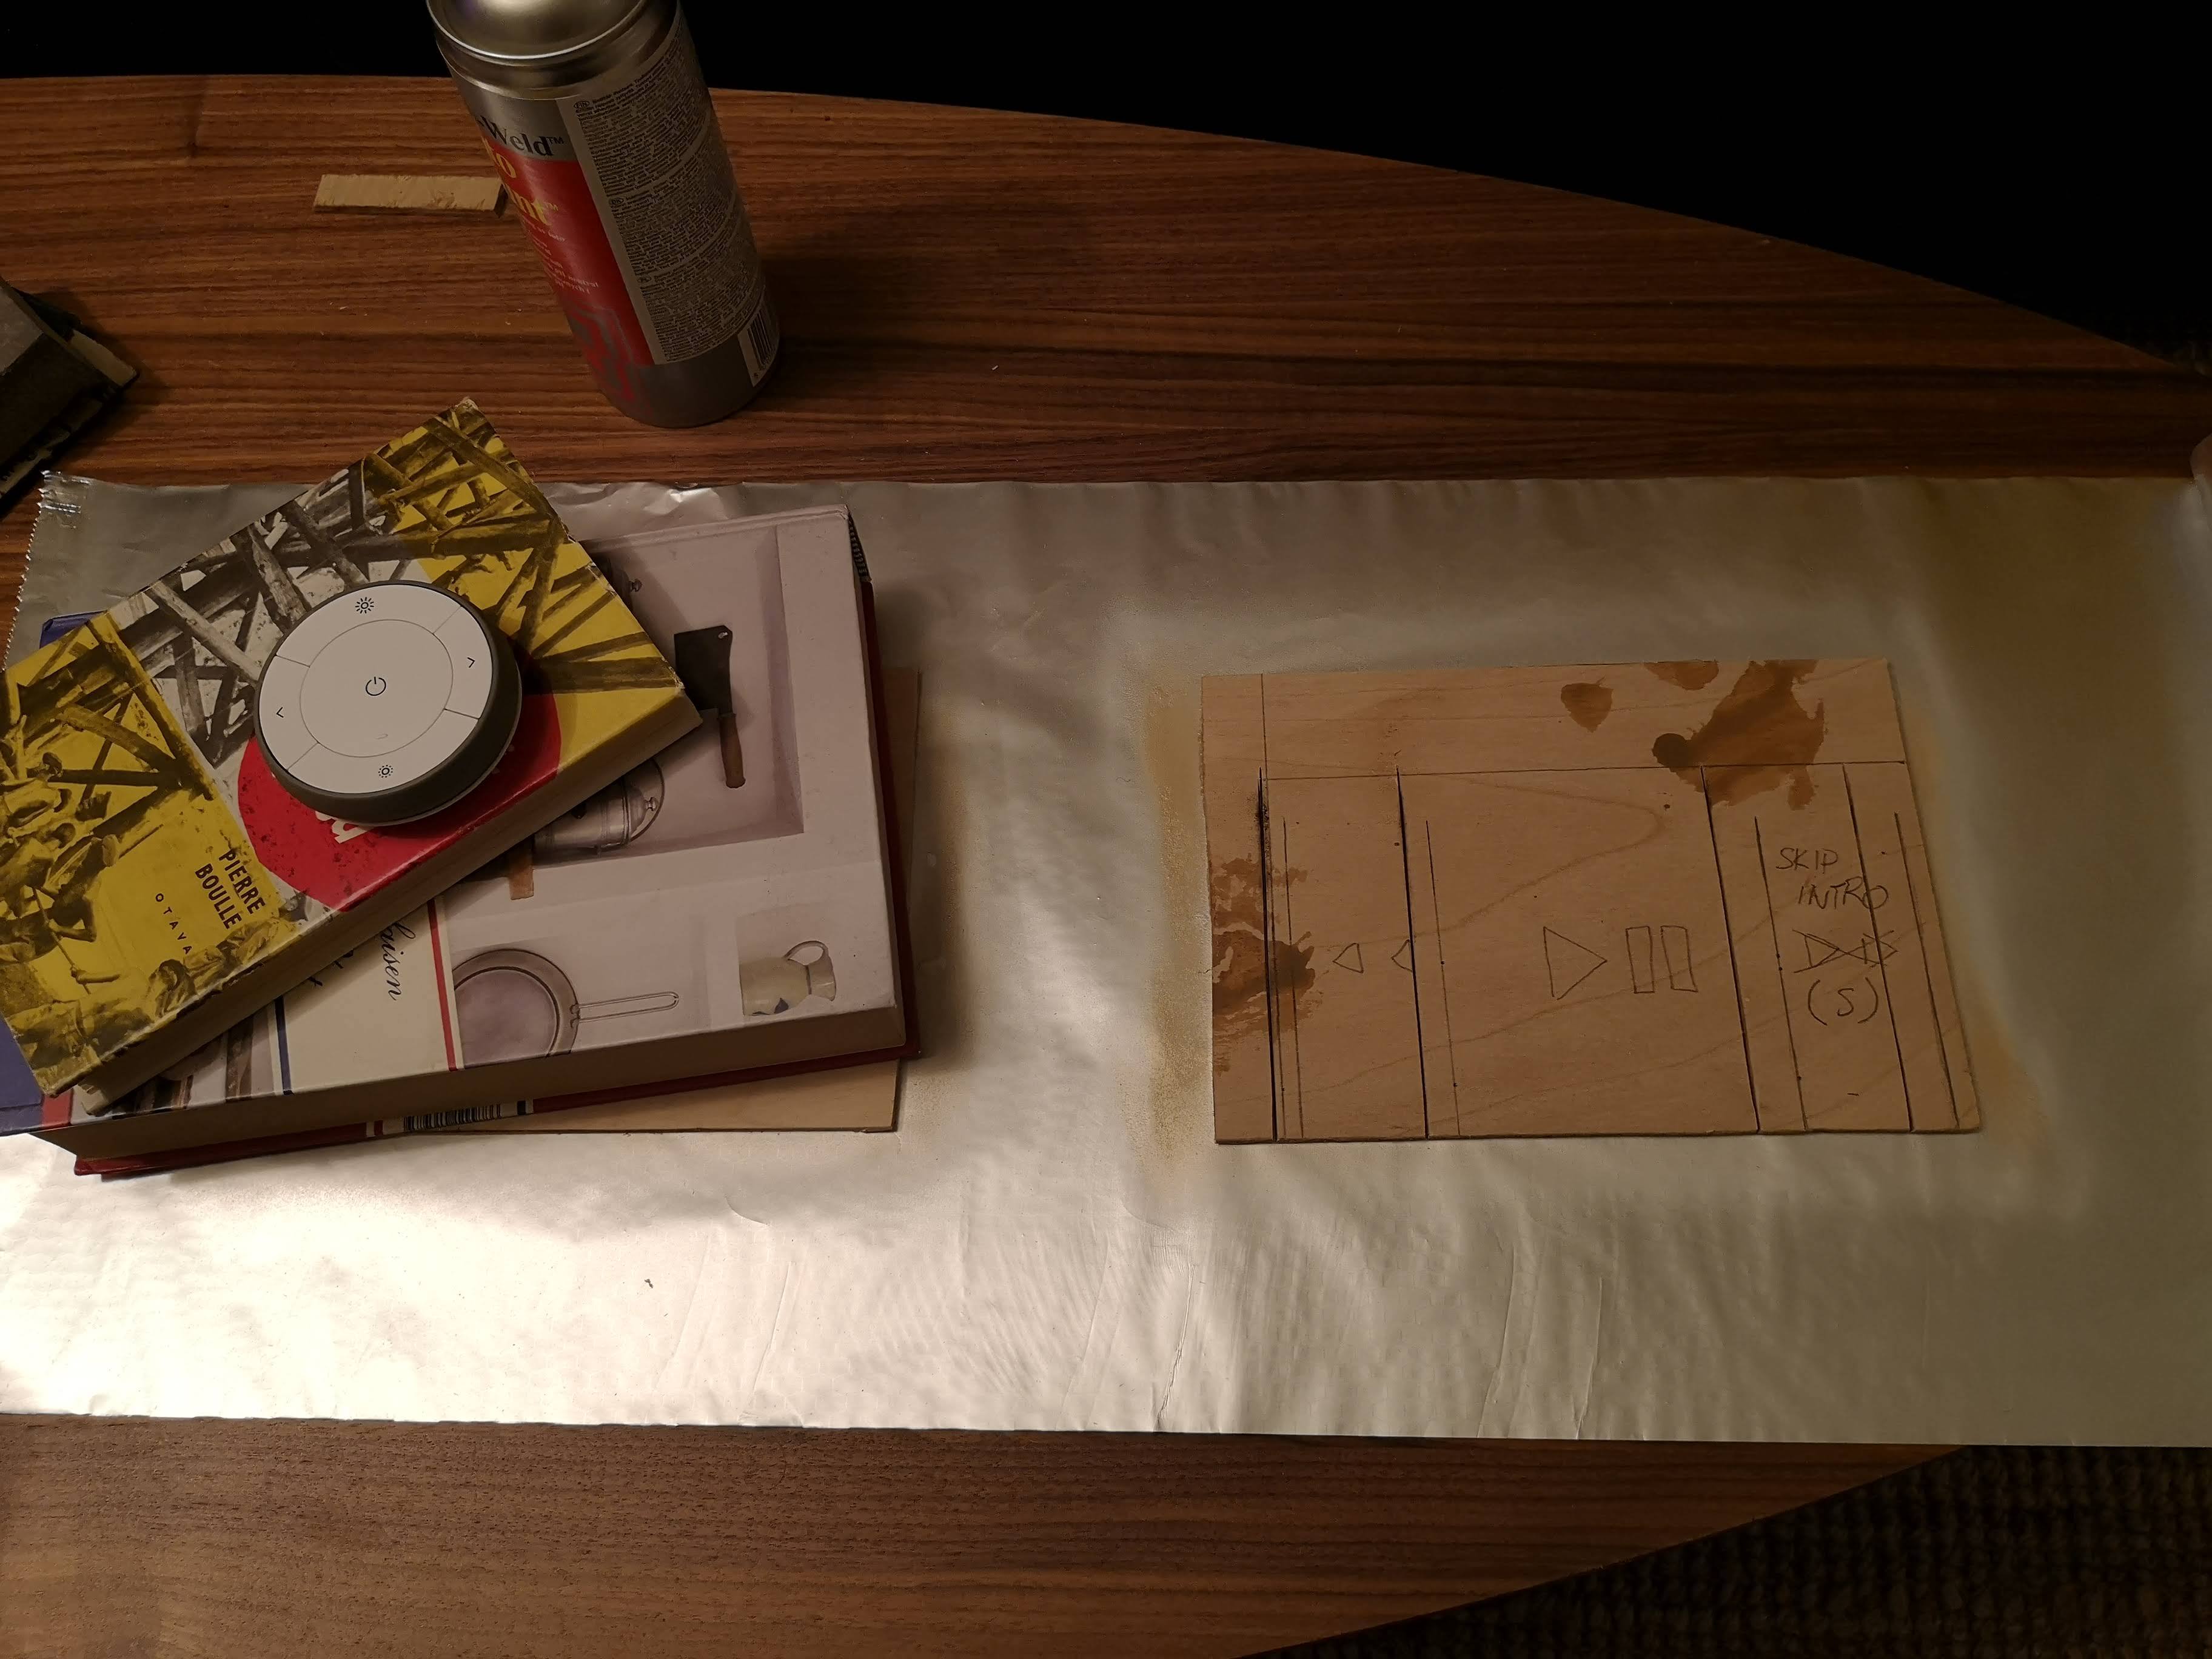
Remove the cutting plan before gluing on the aluminium foil. Try to get everything nice and flat, and use enough glue to make sure the foil sticks well. You only need to glue the foil to one side of the plywood rectangles. Place books etc. on top to apply pressure while the glue dries.
Don't glue foil around the three small plywood strips!
Add Connectors to the Makey Makey
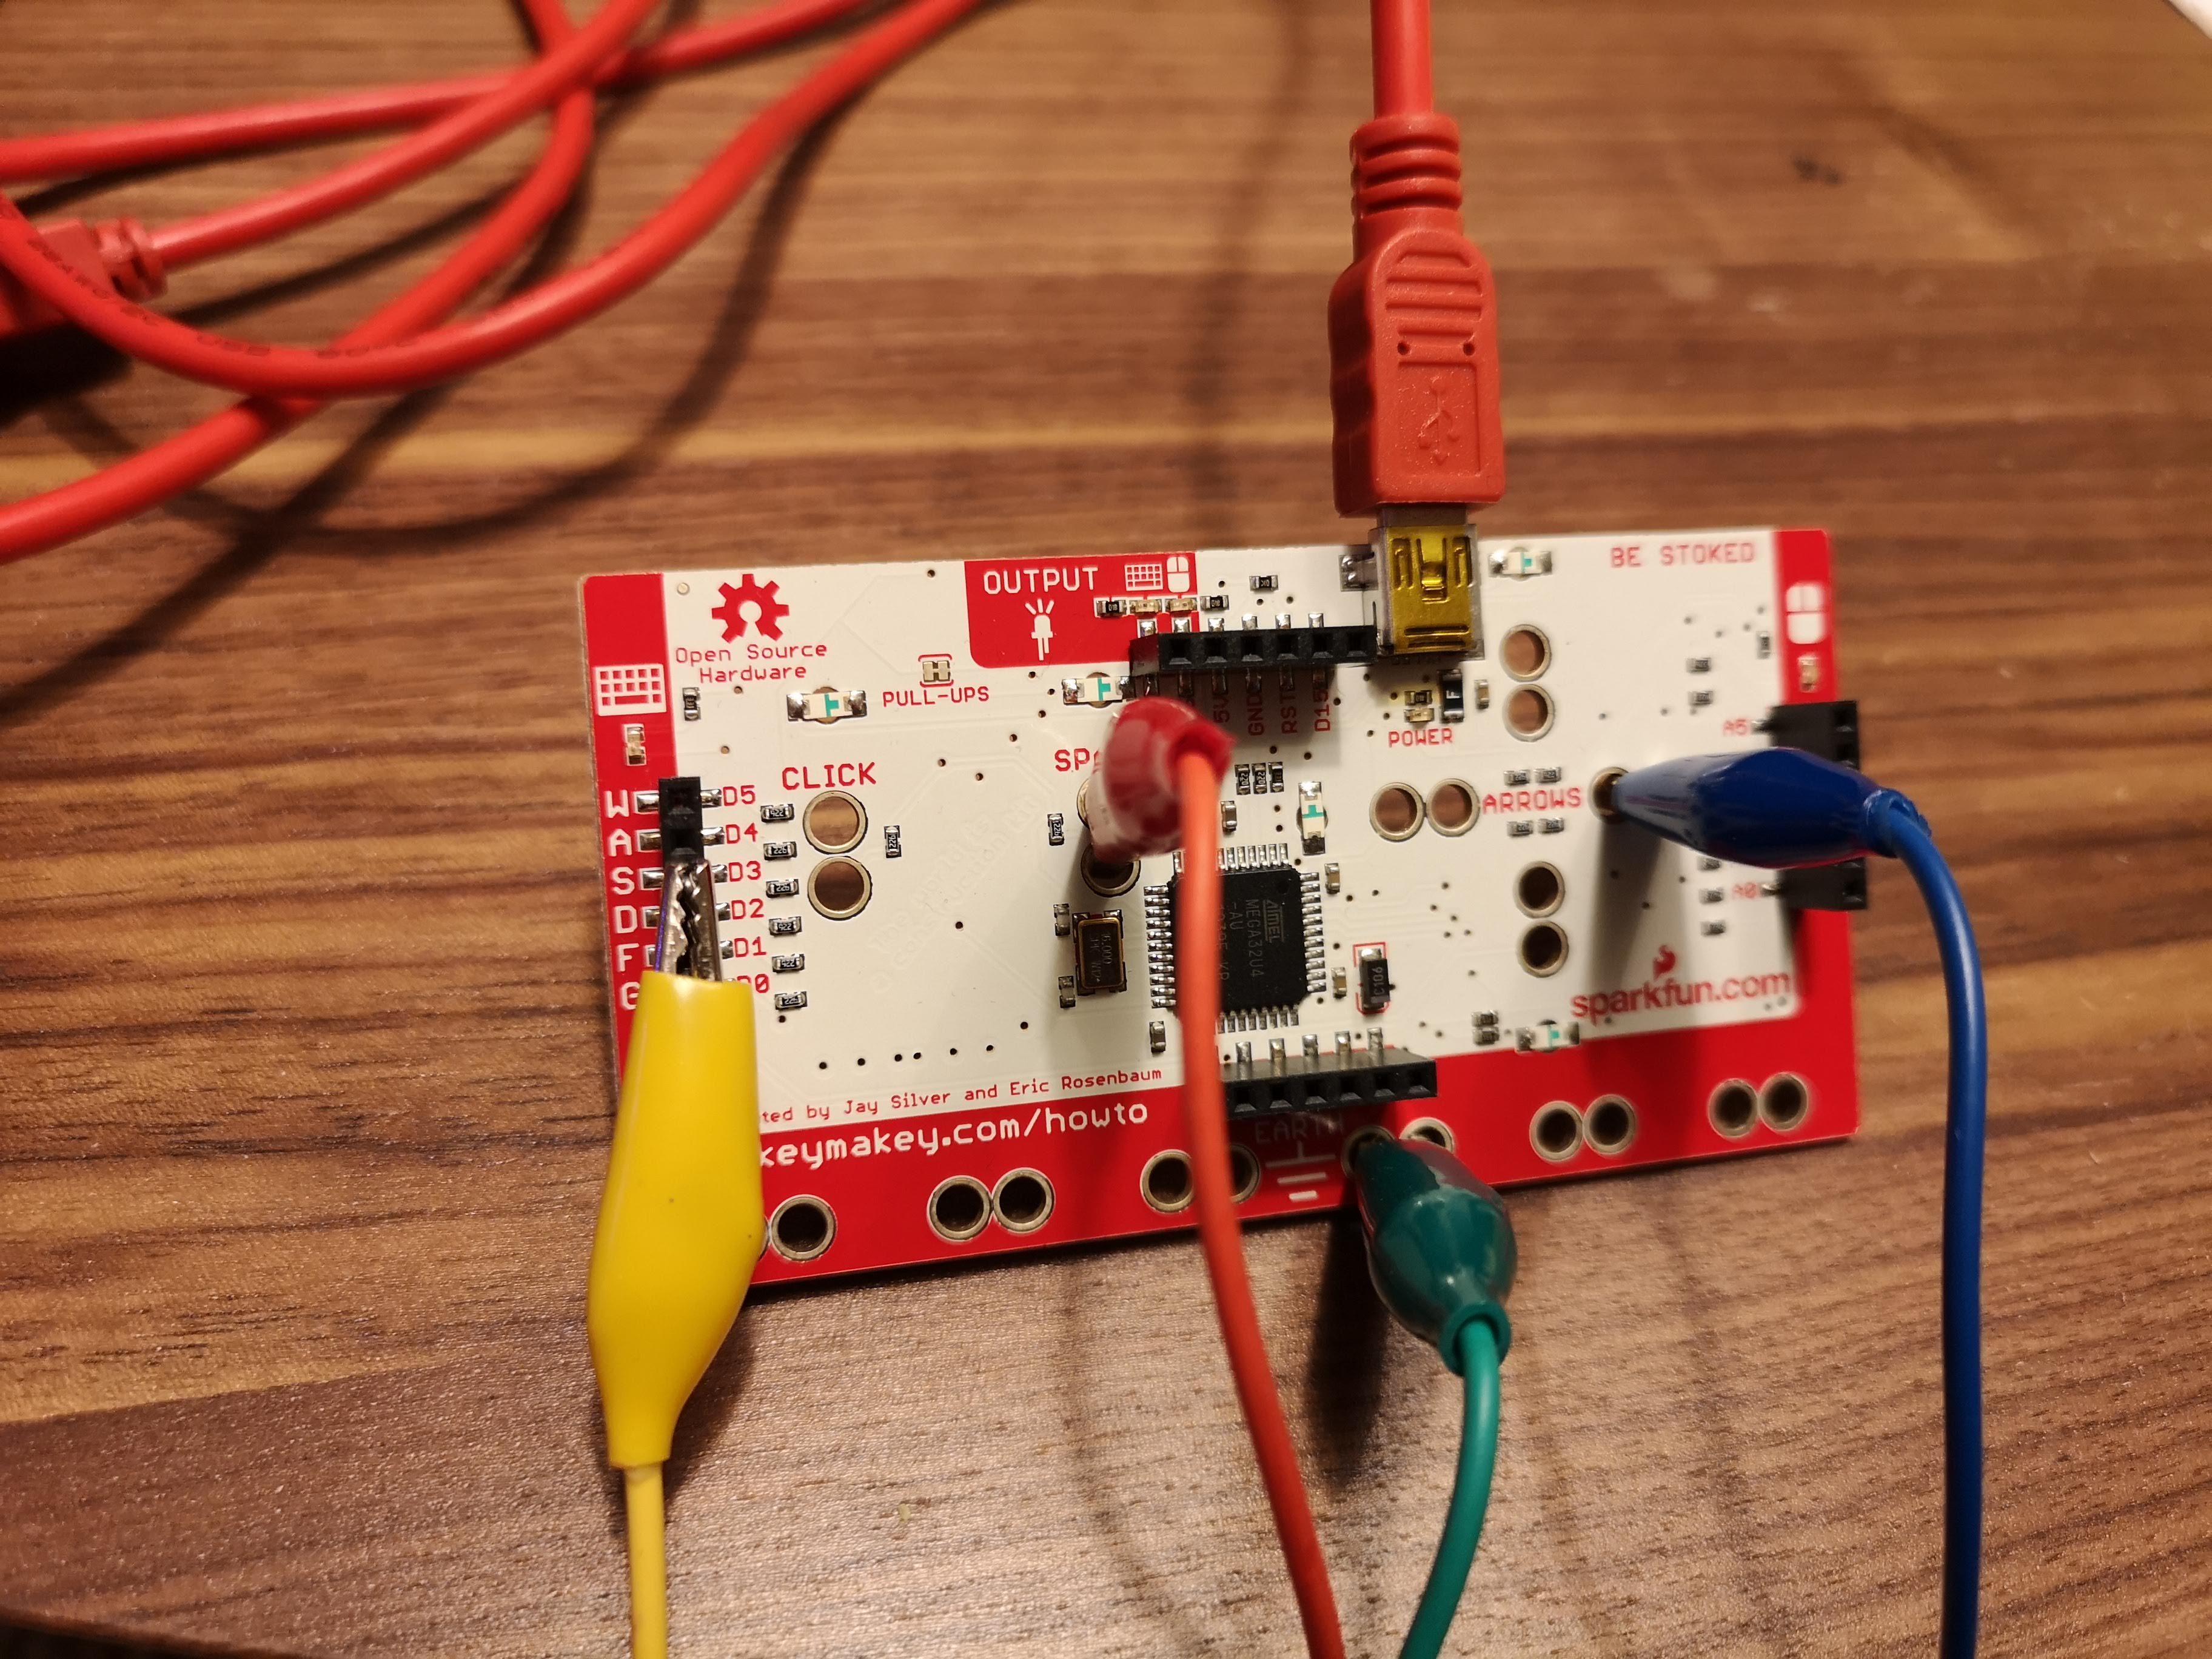

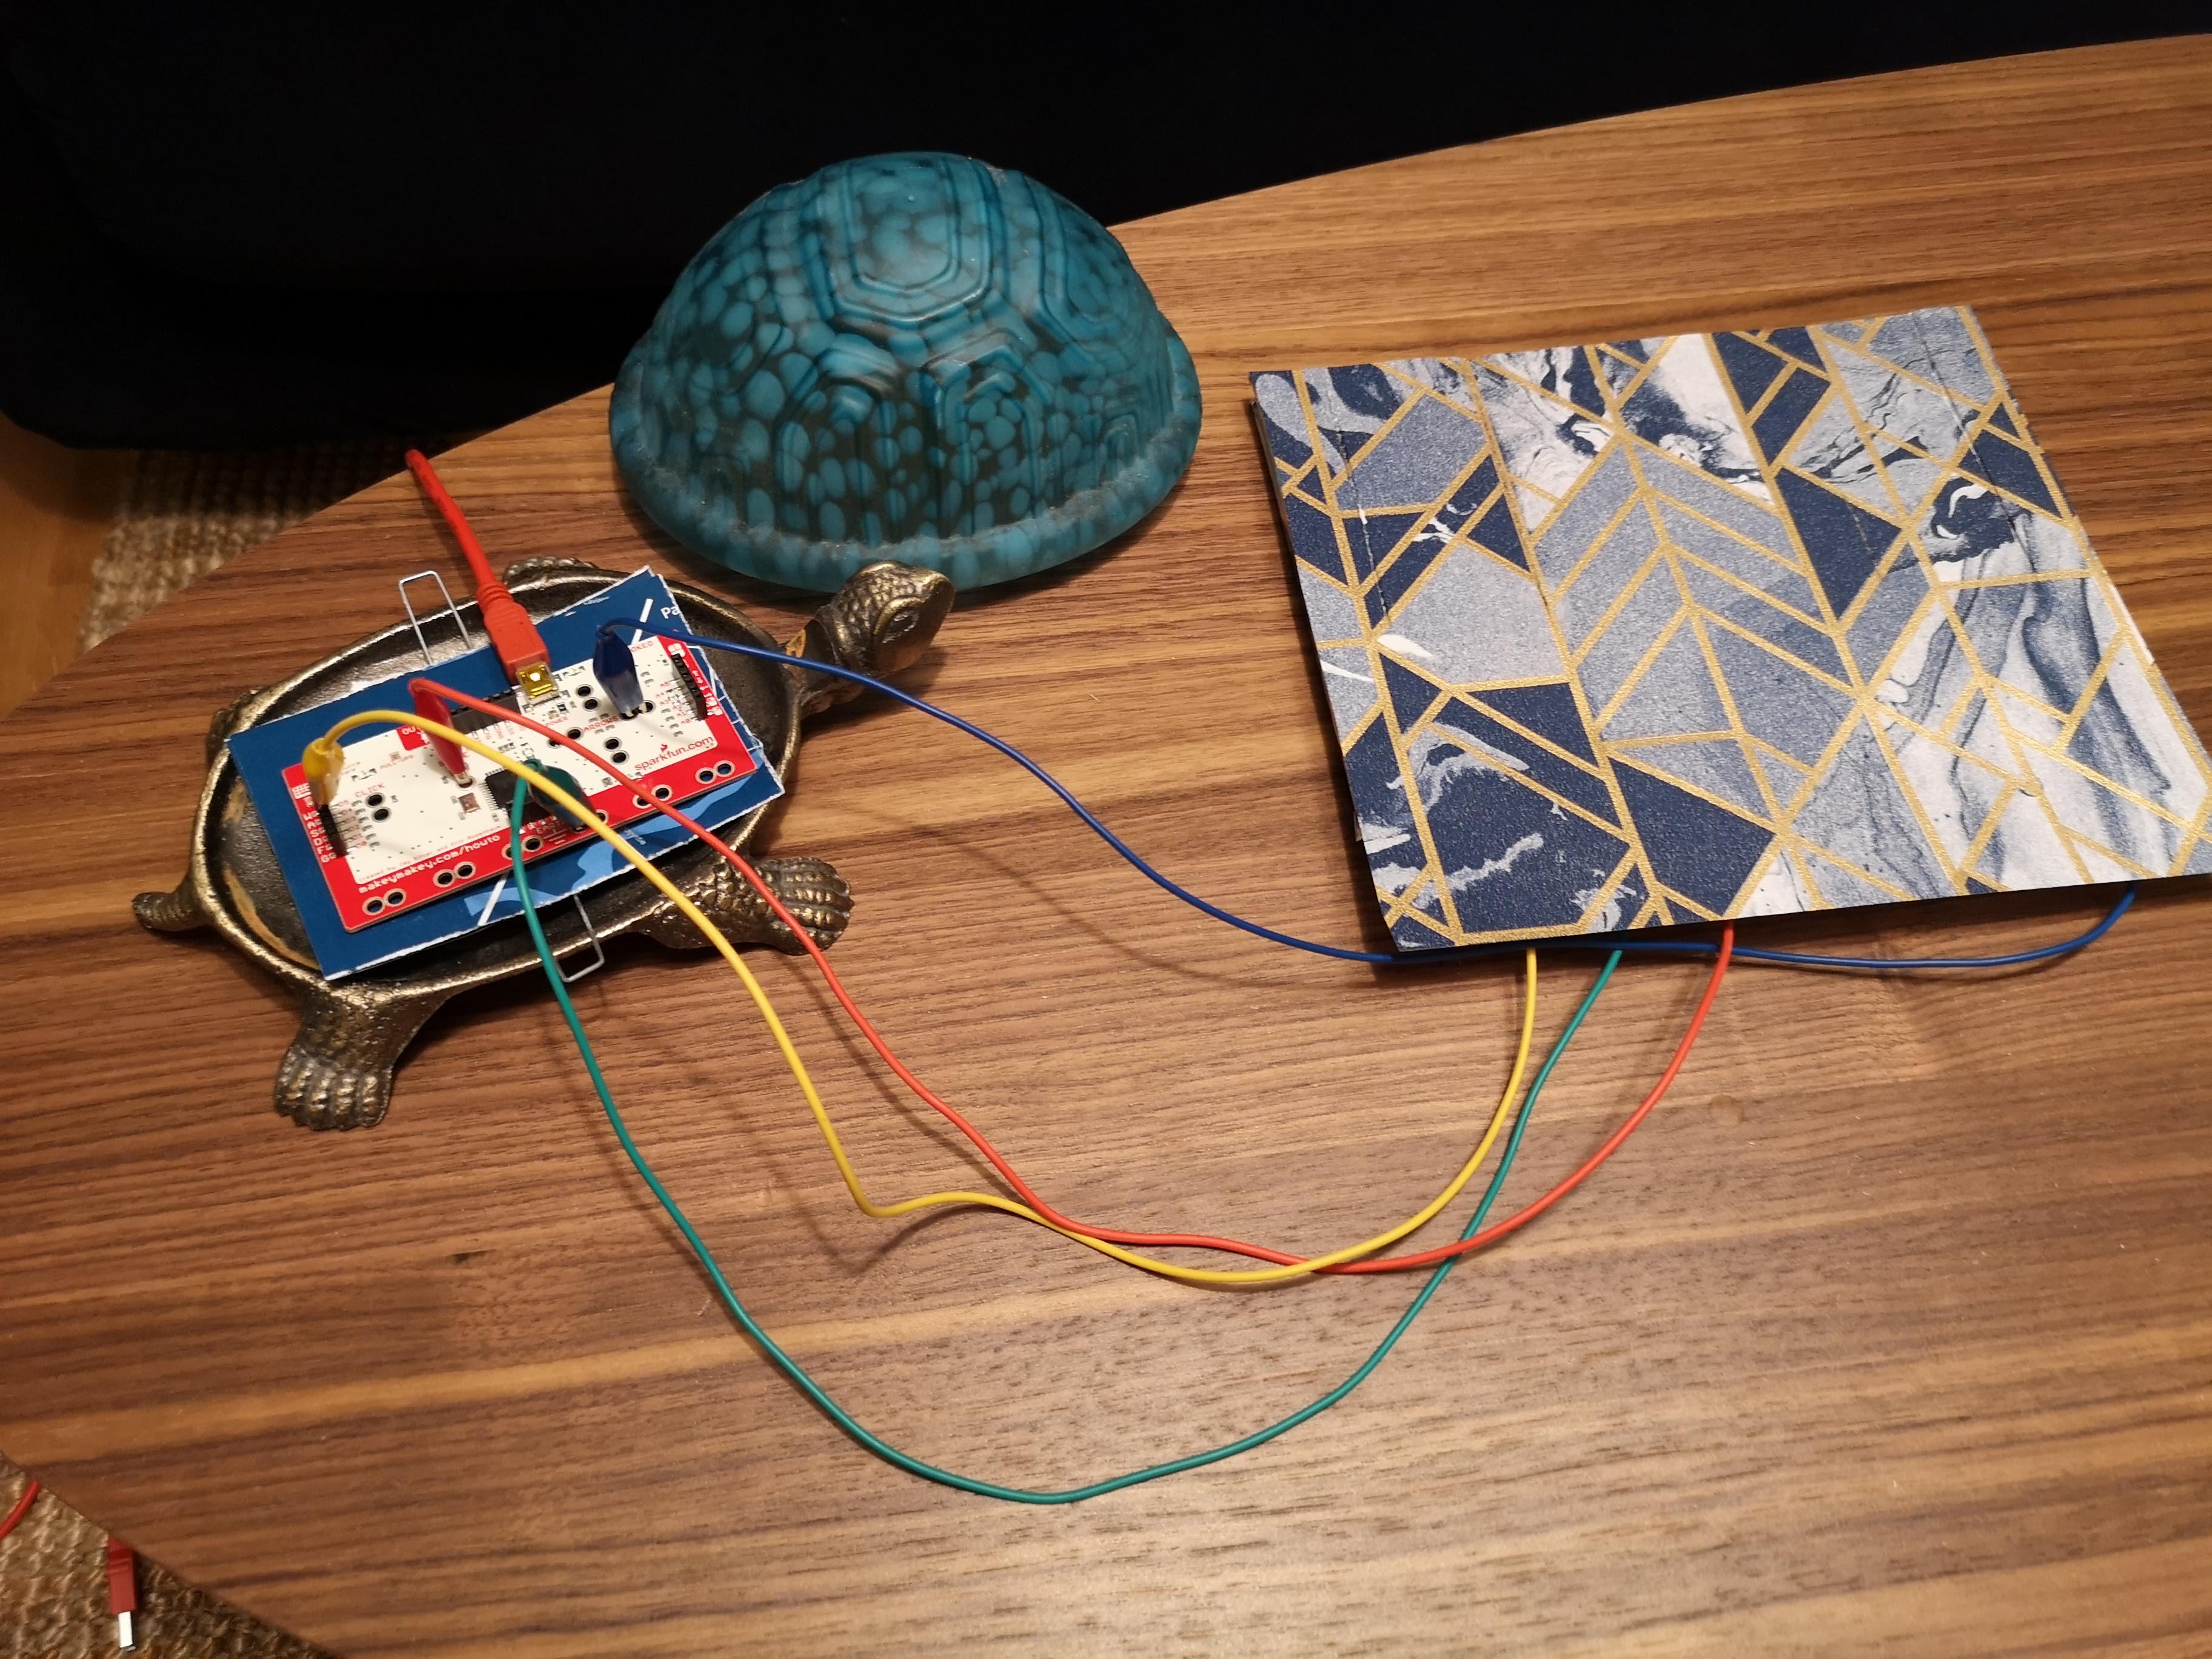
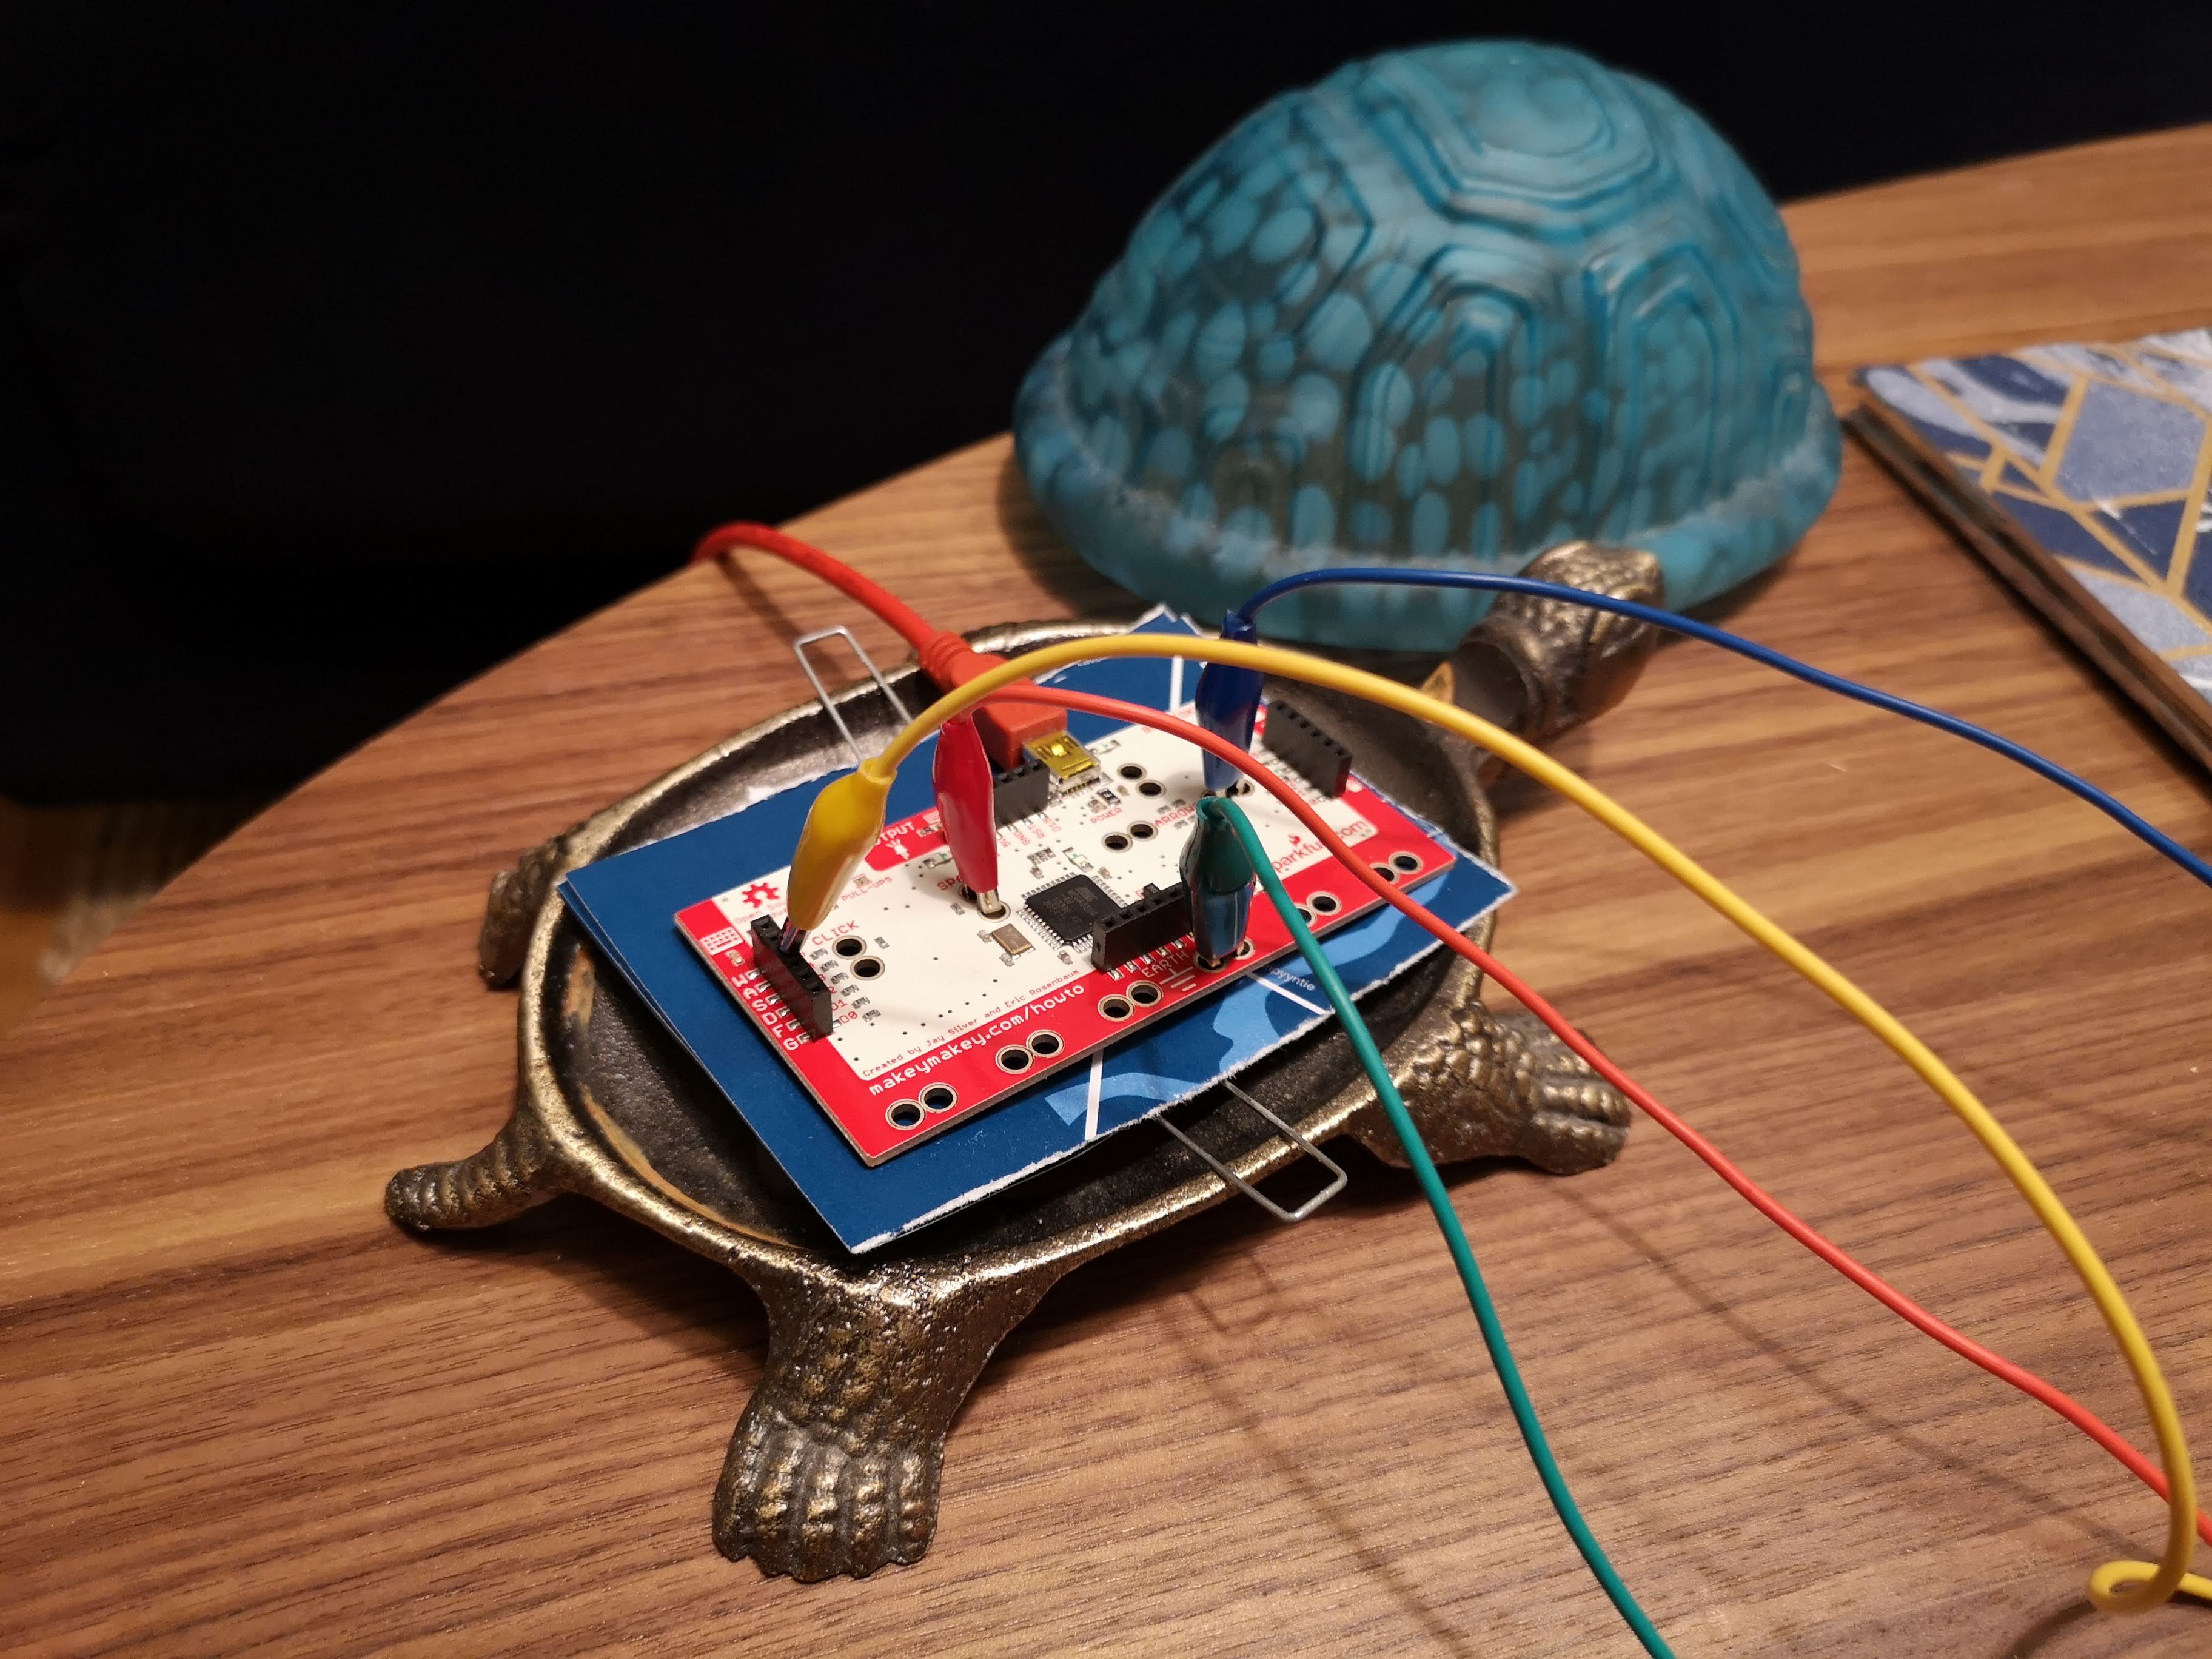
Attach the connectors to your Makey Makey while waiting for the glue to dry. Also attach the USB/Power cable. Note that we are attaching the connectors to the back side of the device.
Yellow = S (the hotkey in Netflix to Skip intros)
Red = space (Play/Pause)
Blue = left arrow (Rewind 10 sec.) Since this is the back side the left arrow is actually on the right side.
Green = earth
You can not connect the Alligator Clip Cables directly on to the letter S. I didn't have any jump connectors handy, so I just stuck in a piece of wire to give the yellow Alligator Clip something to hold on to. I guess that a staple or a paperclip would have done the job just as well.
Cutting the Foil
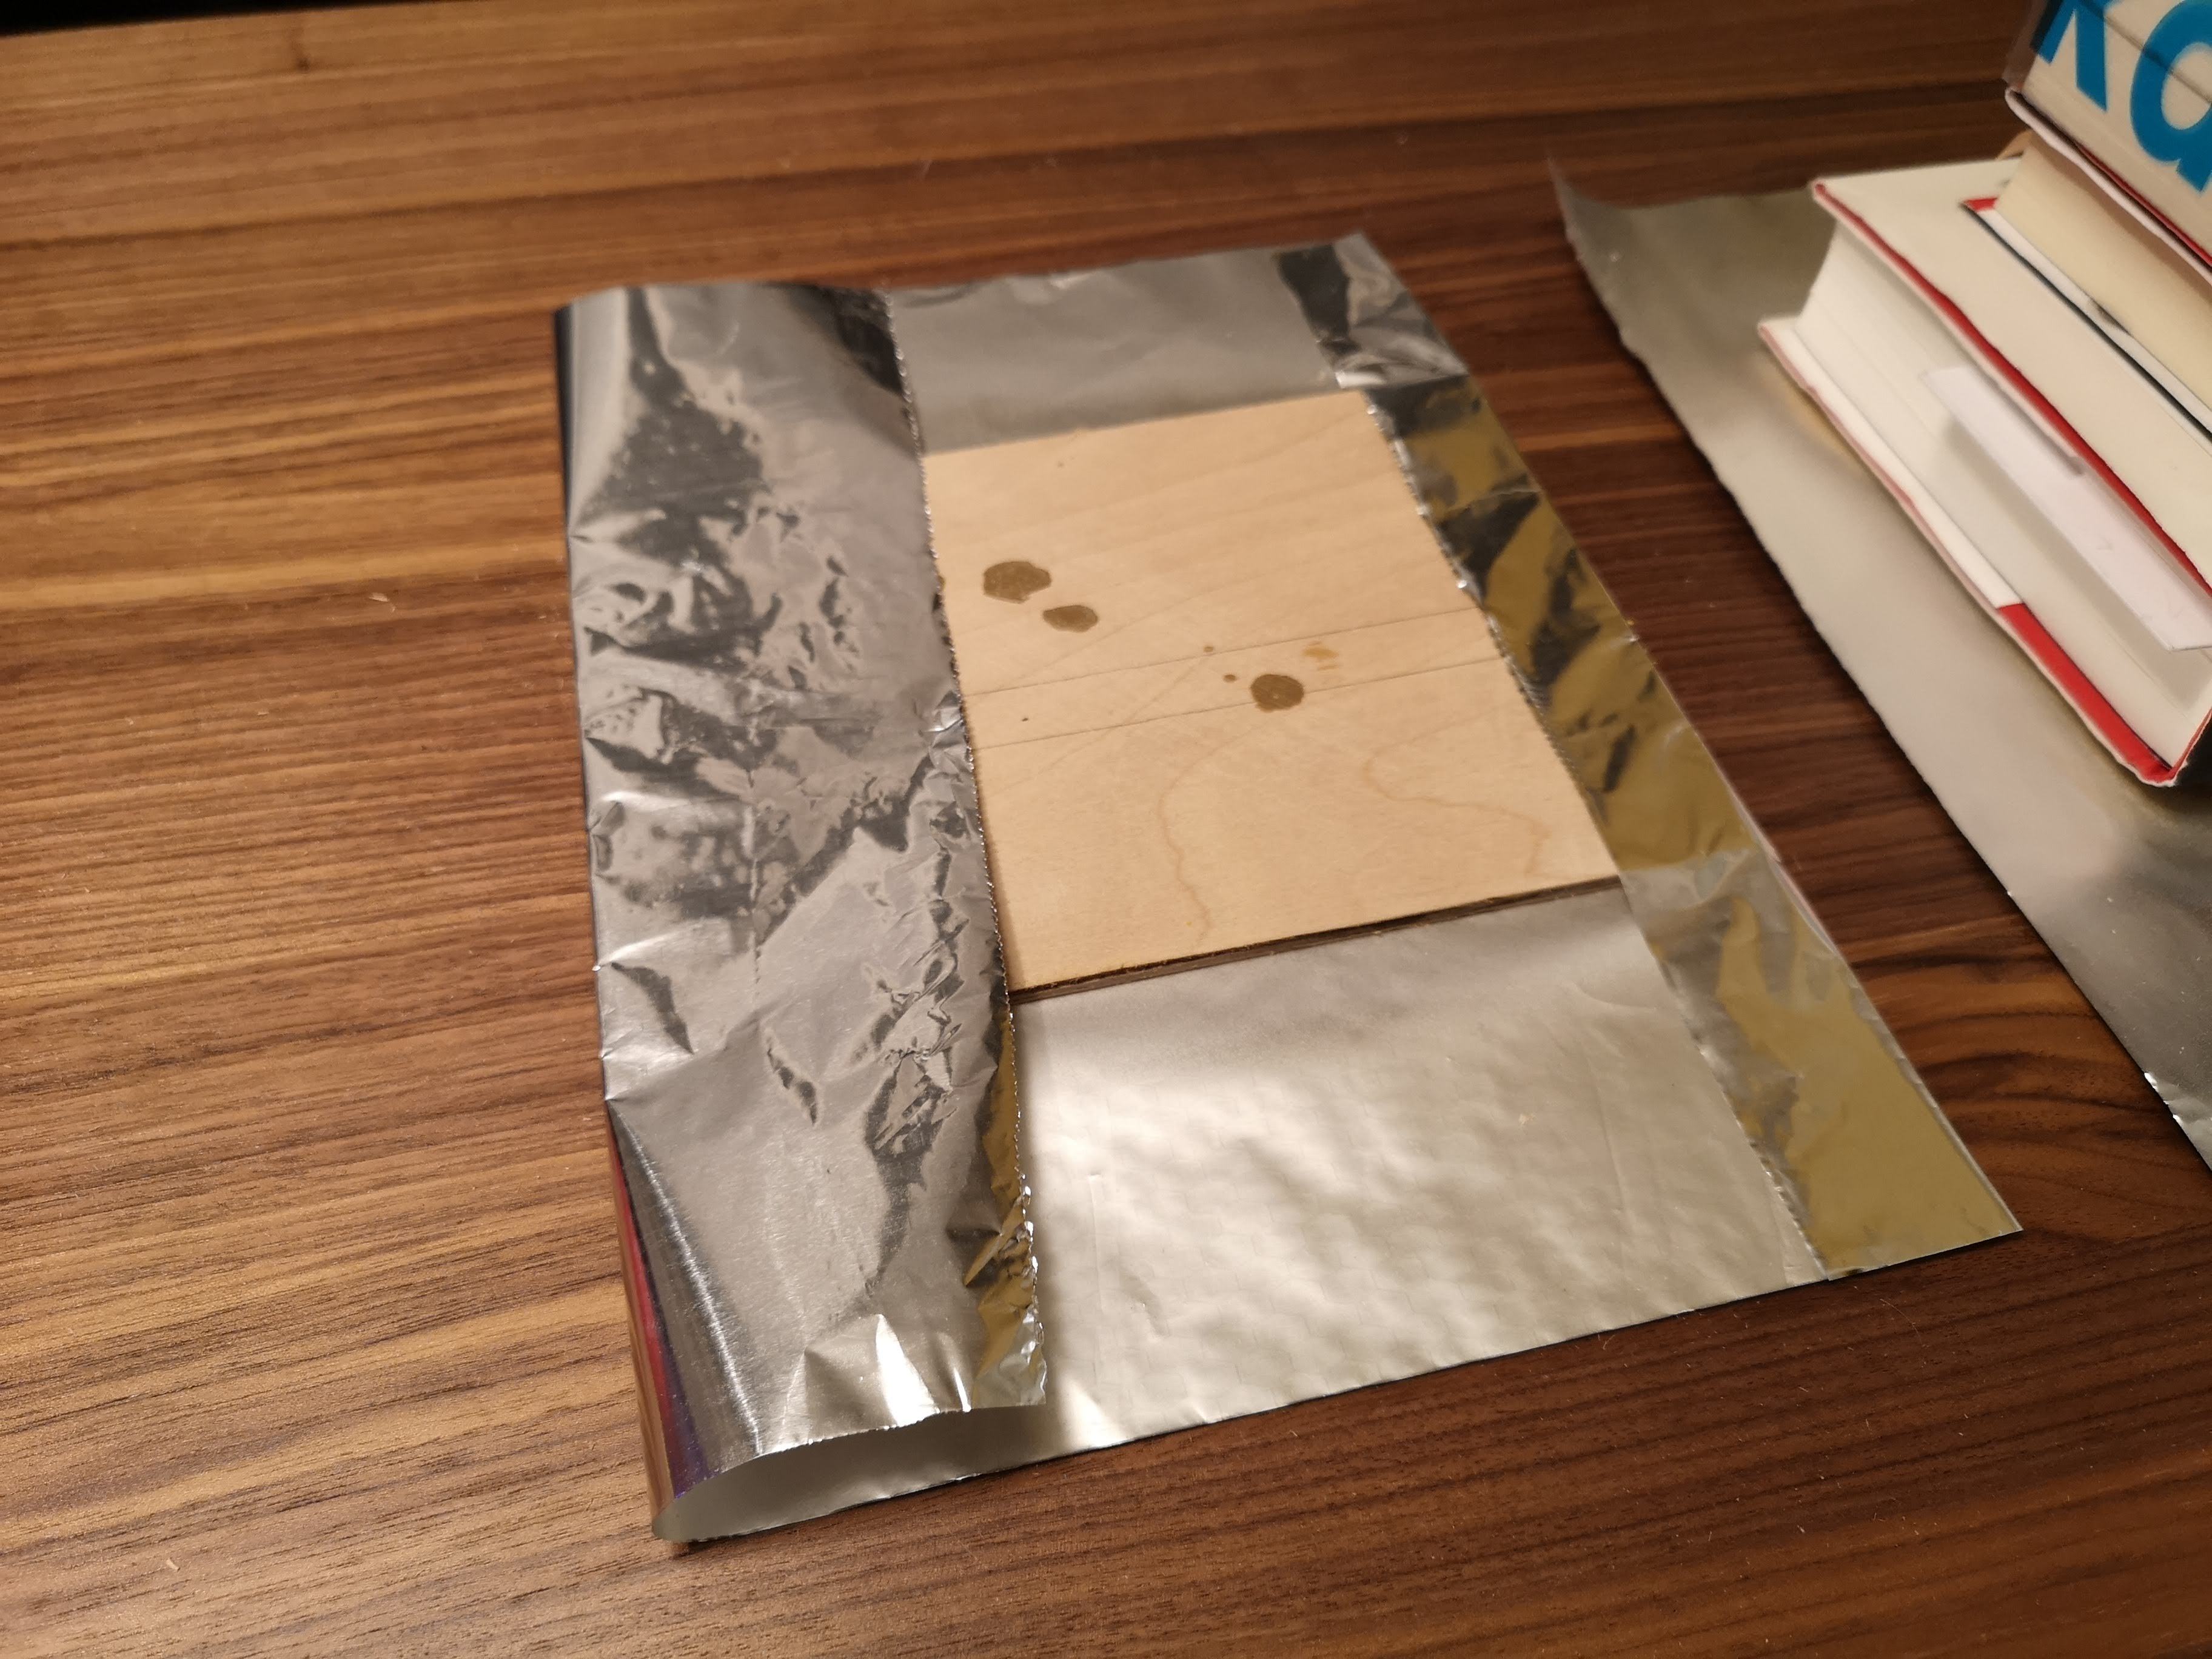
The next step is to cut the foil. Leave a decent margin of foil around the plywood so that you can turn the edges to the other side.
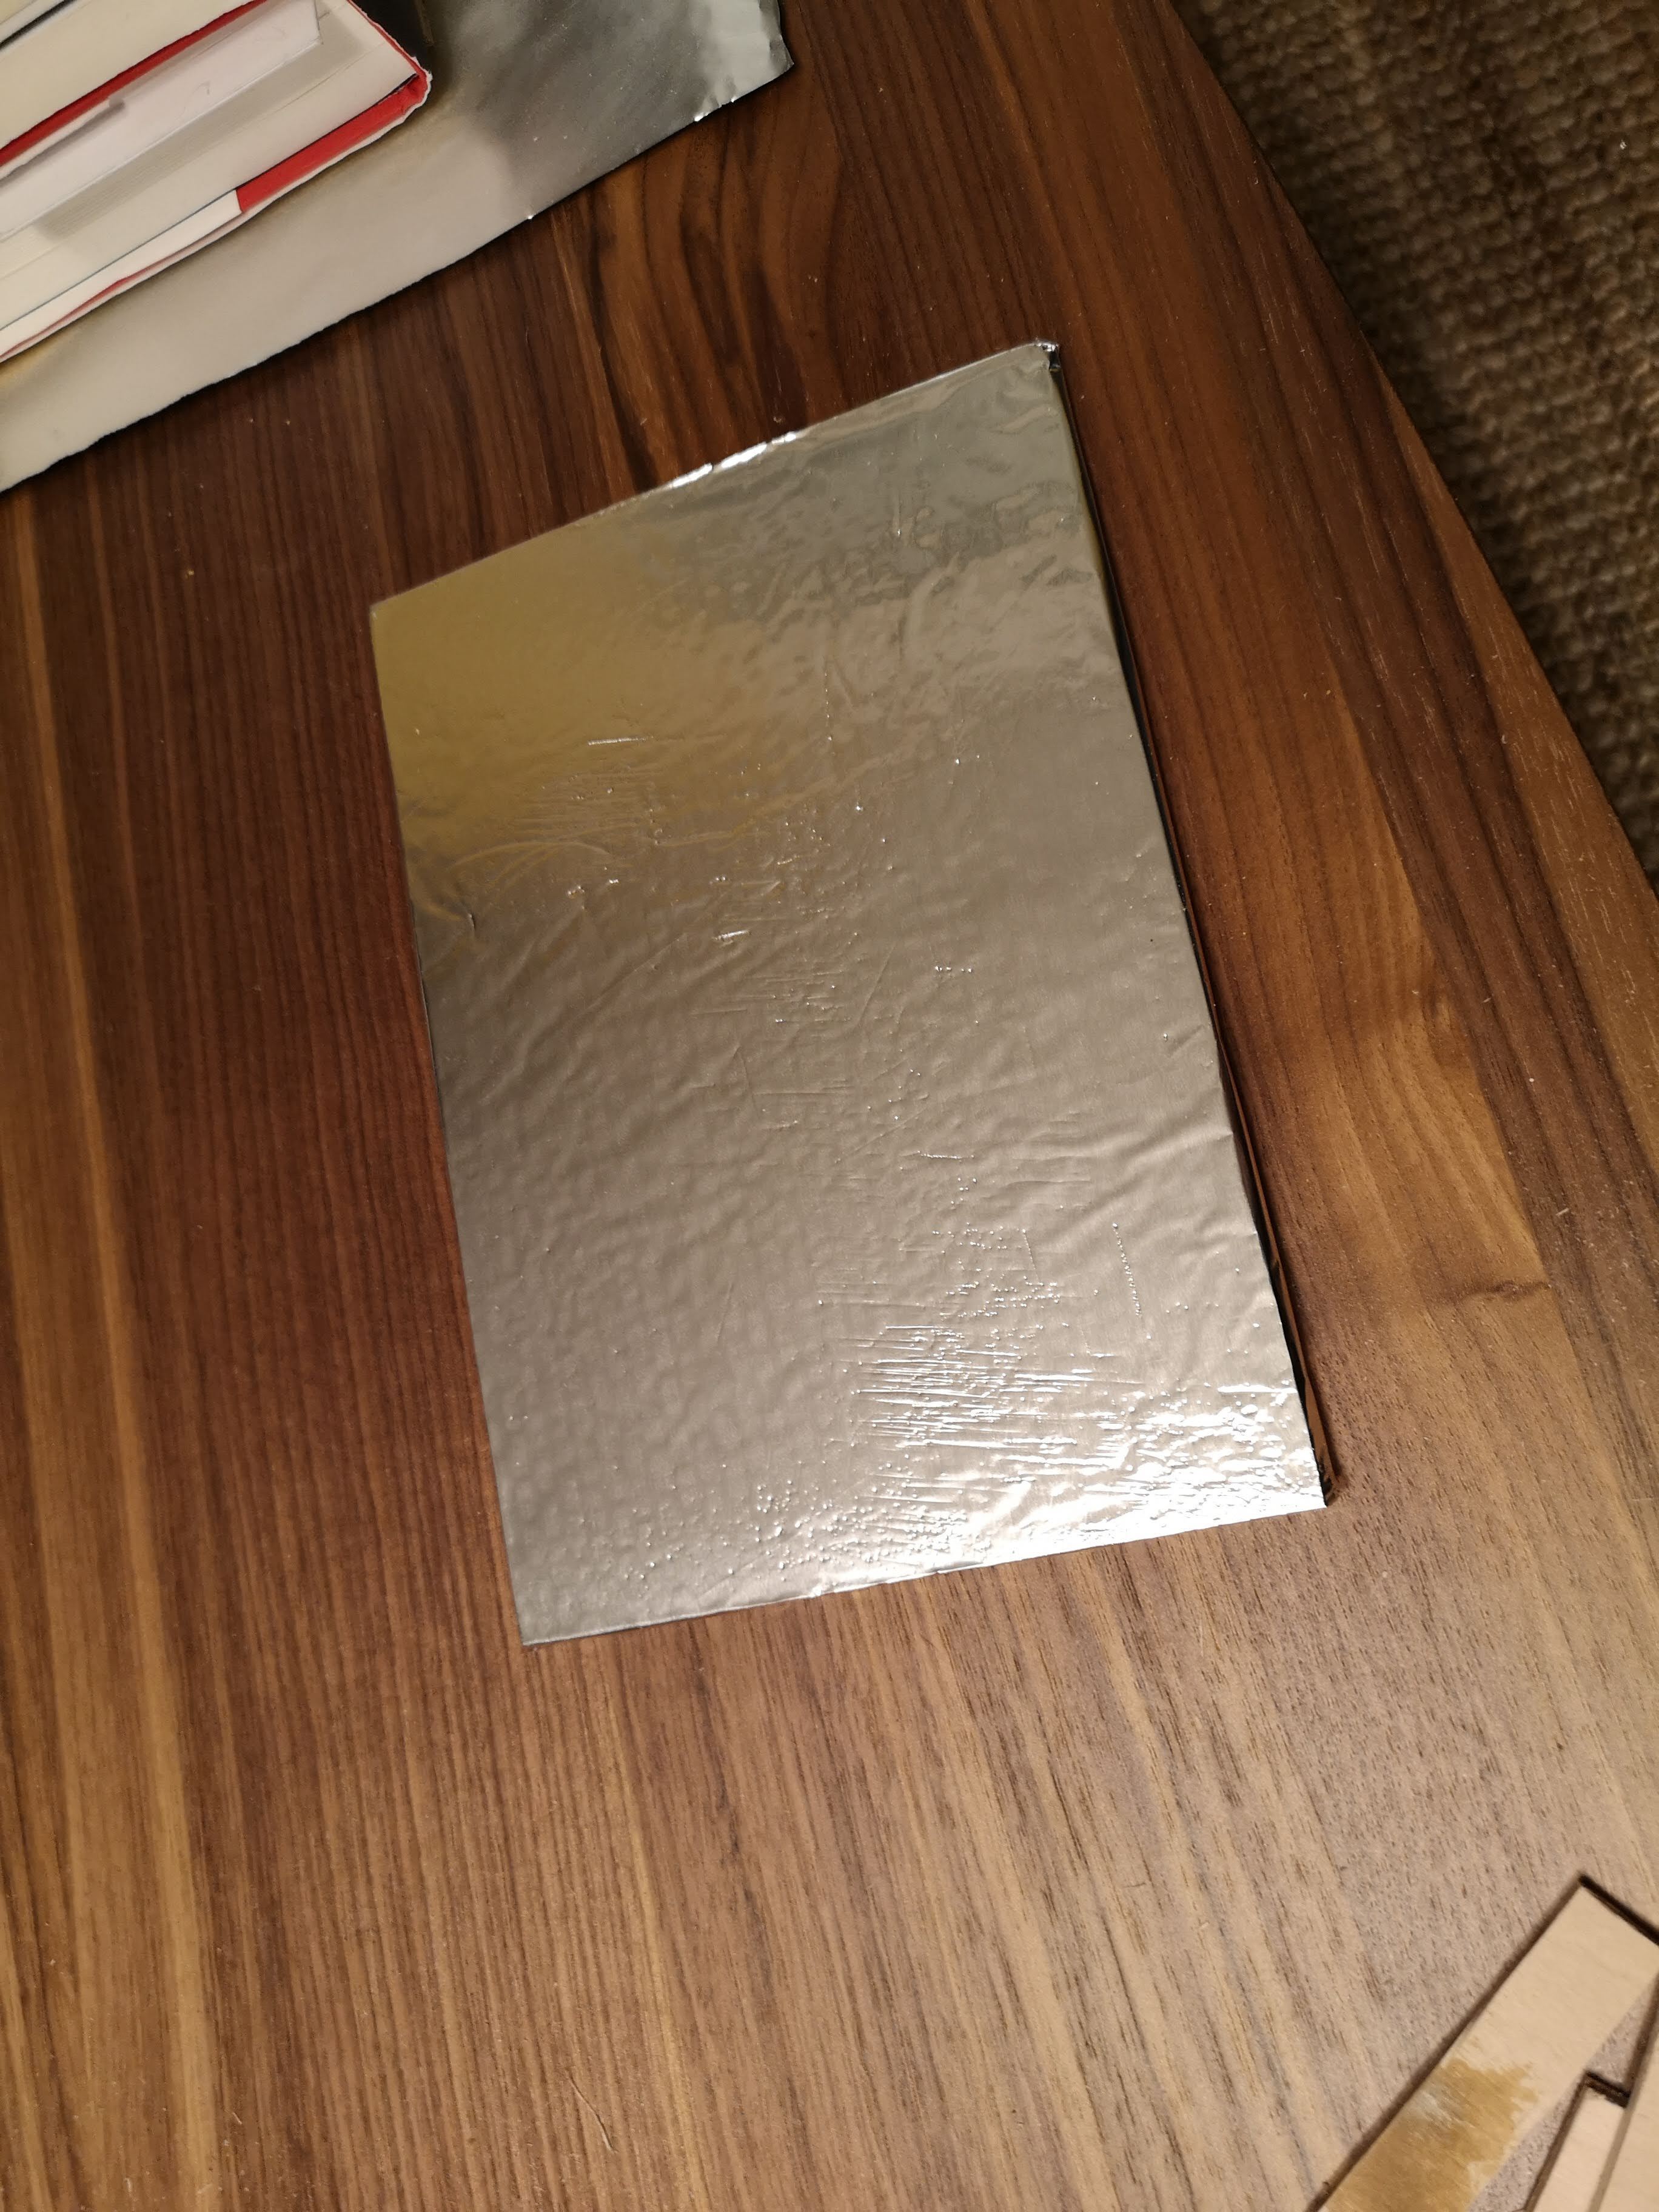
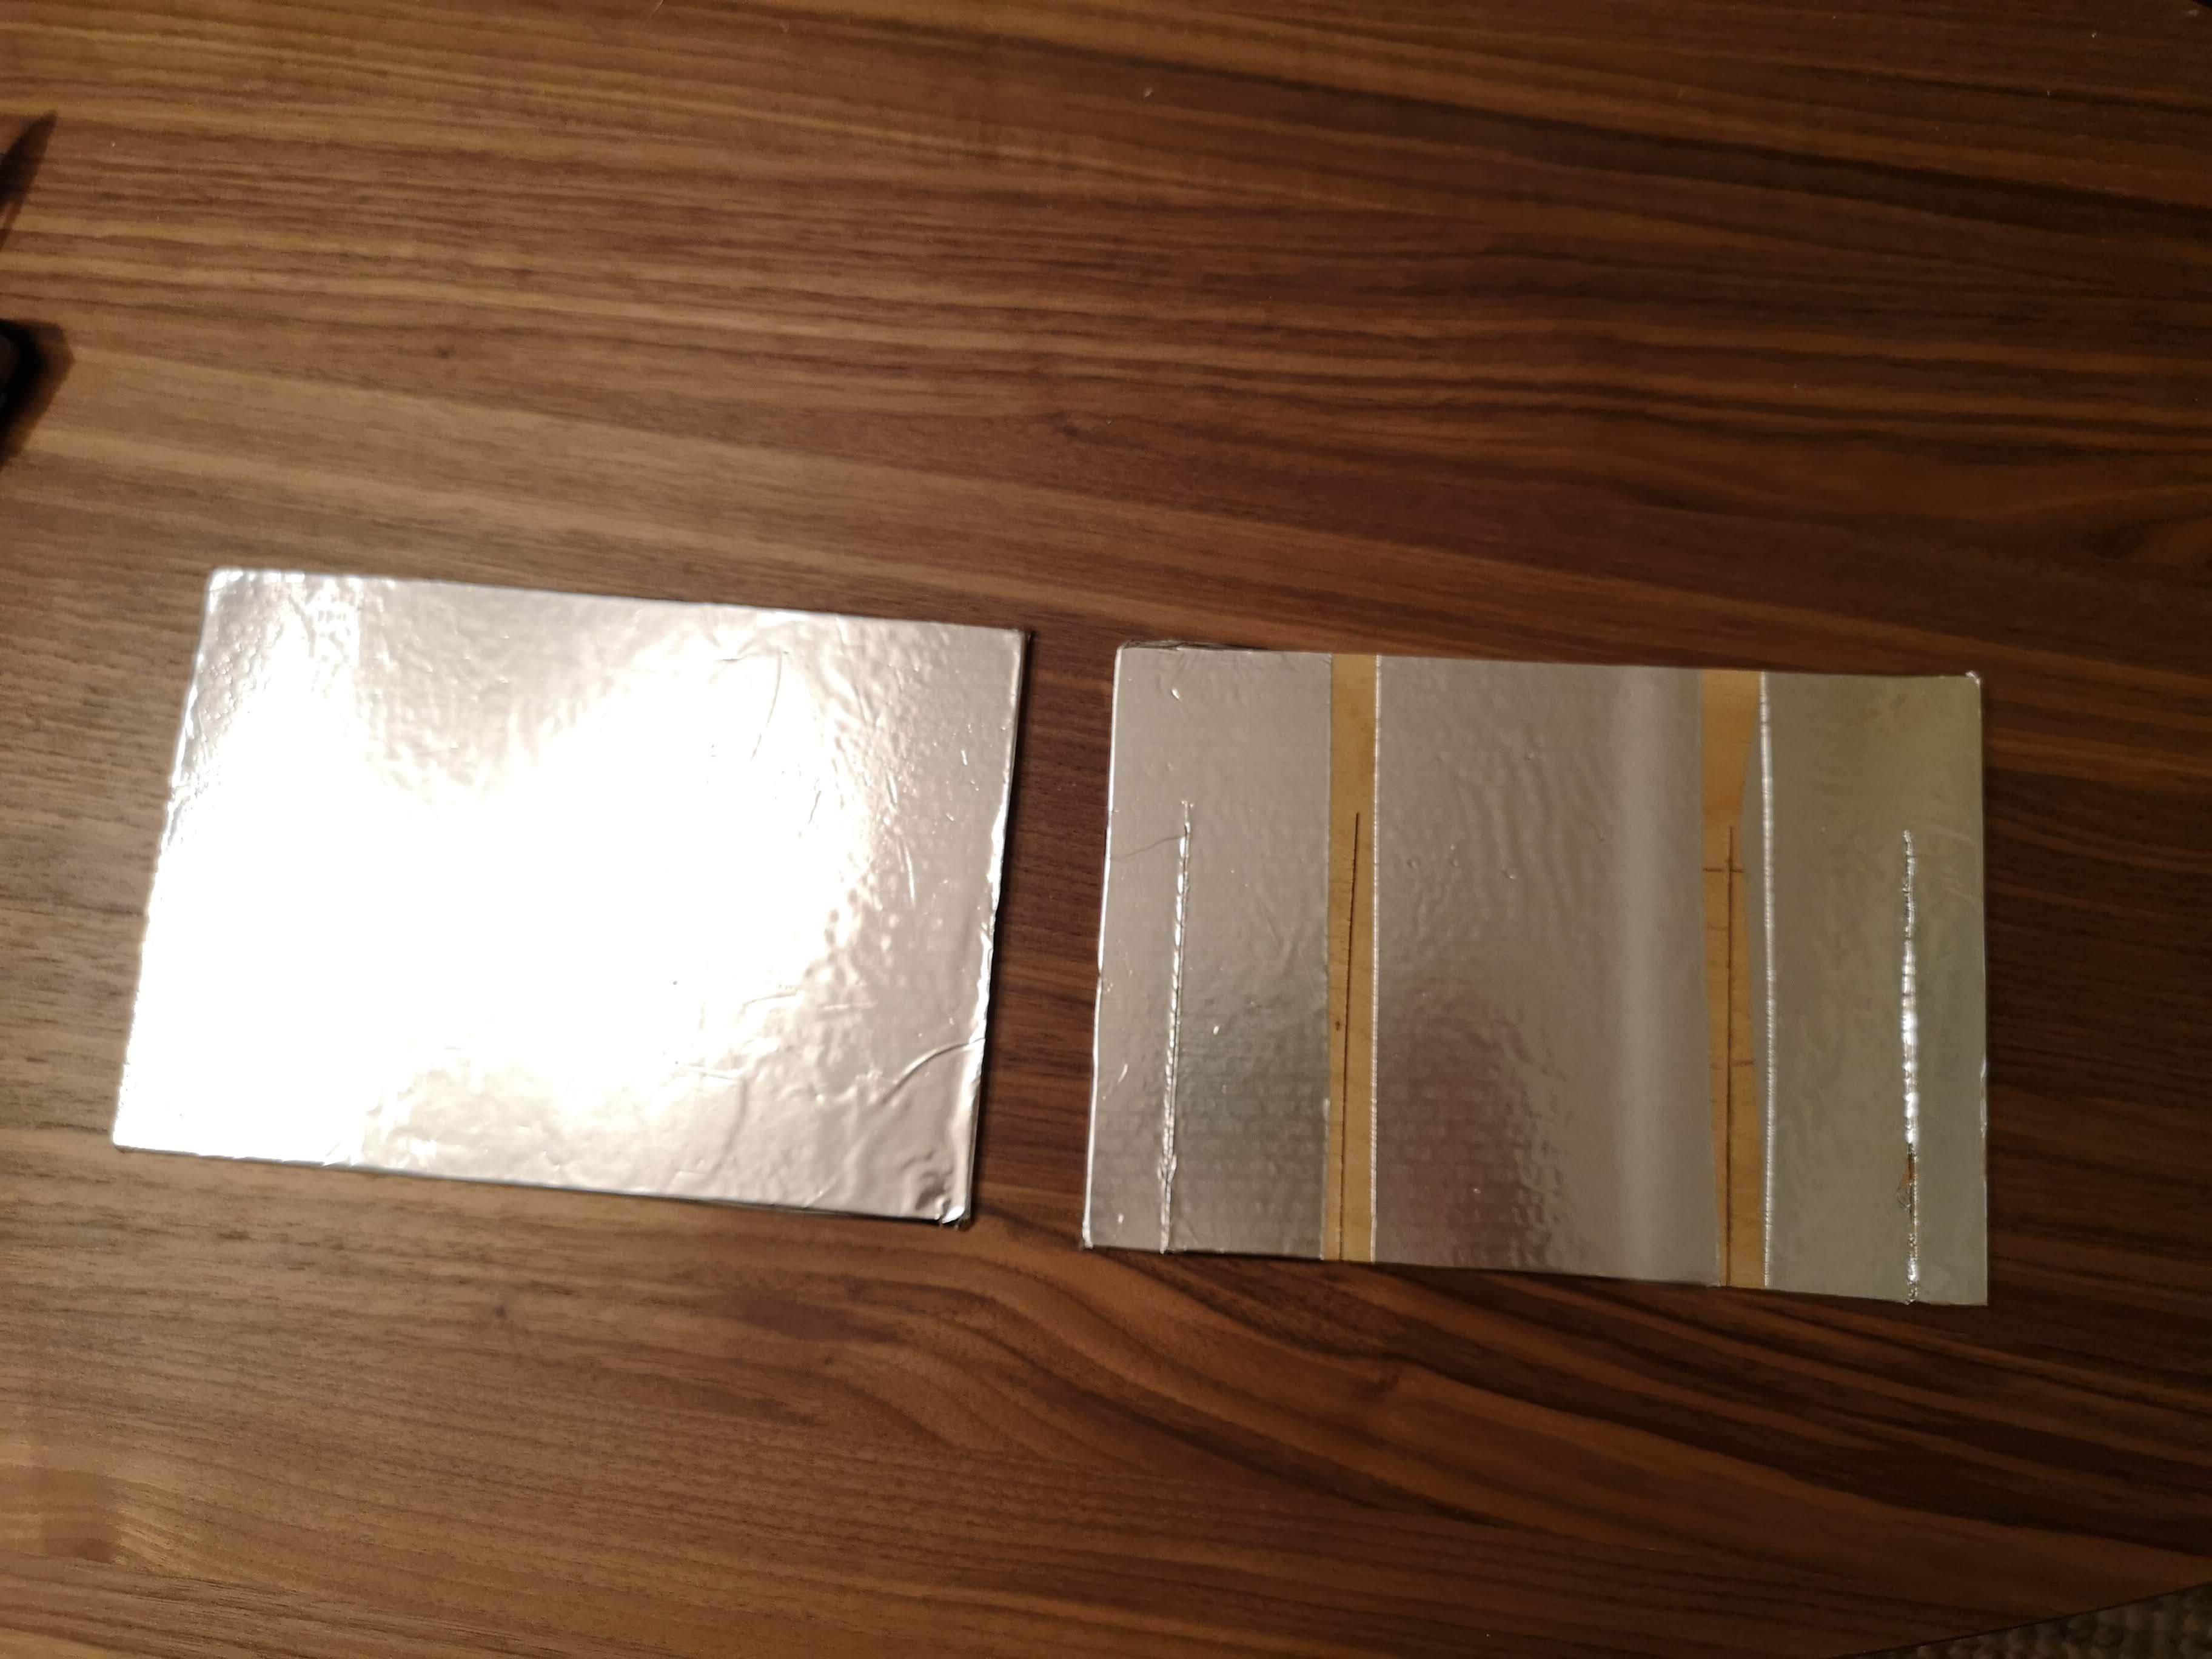
The bottom piece is easy. Just wrap the excess foil to the other side, like in the first picture. You will end up with one nice side and one side that is a mess.
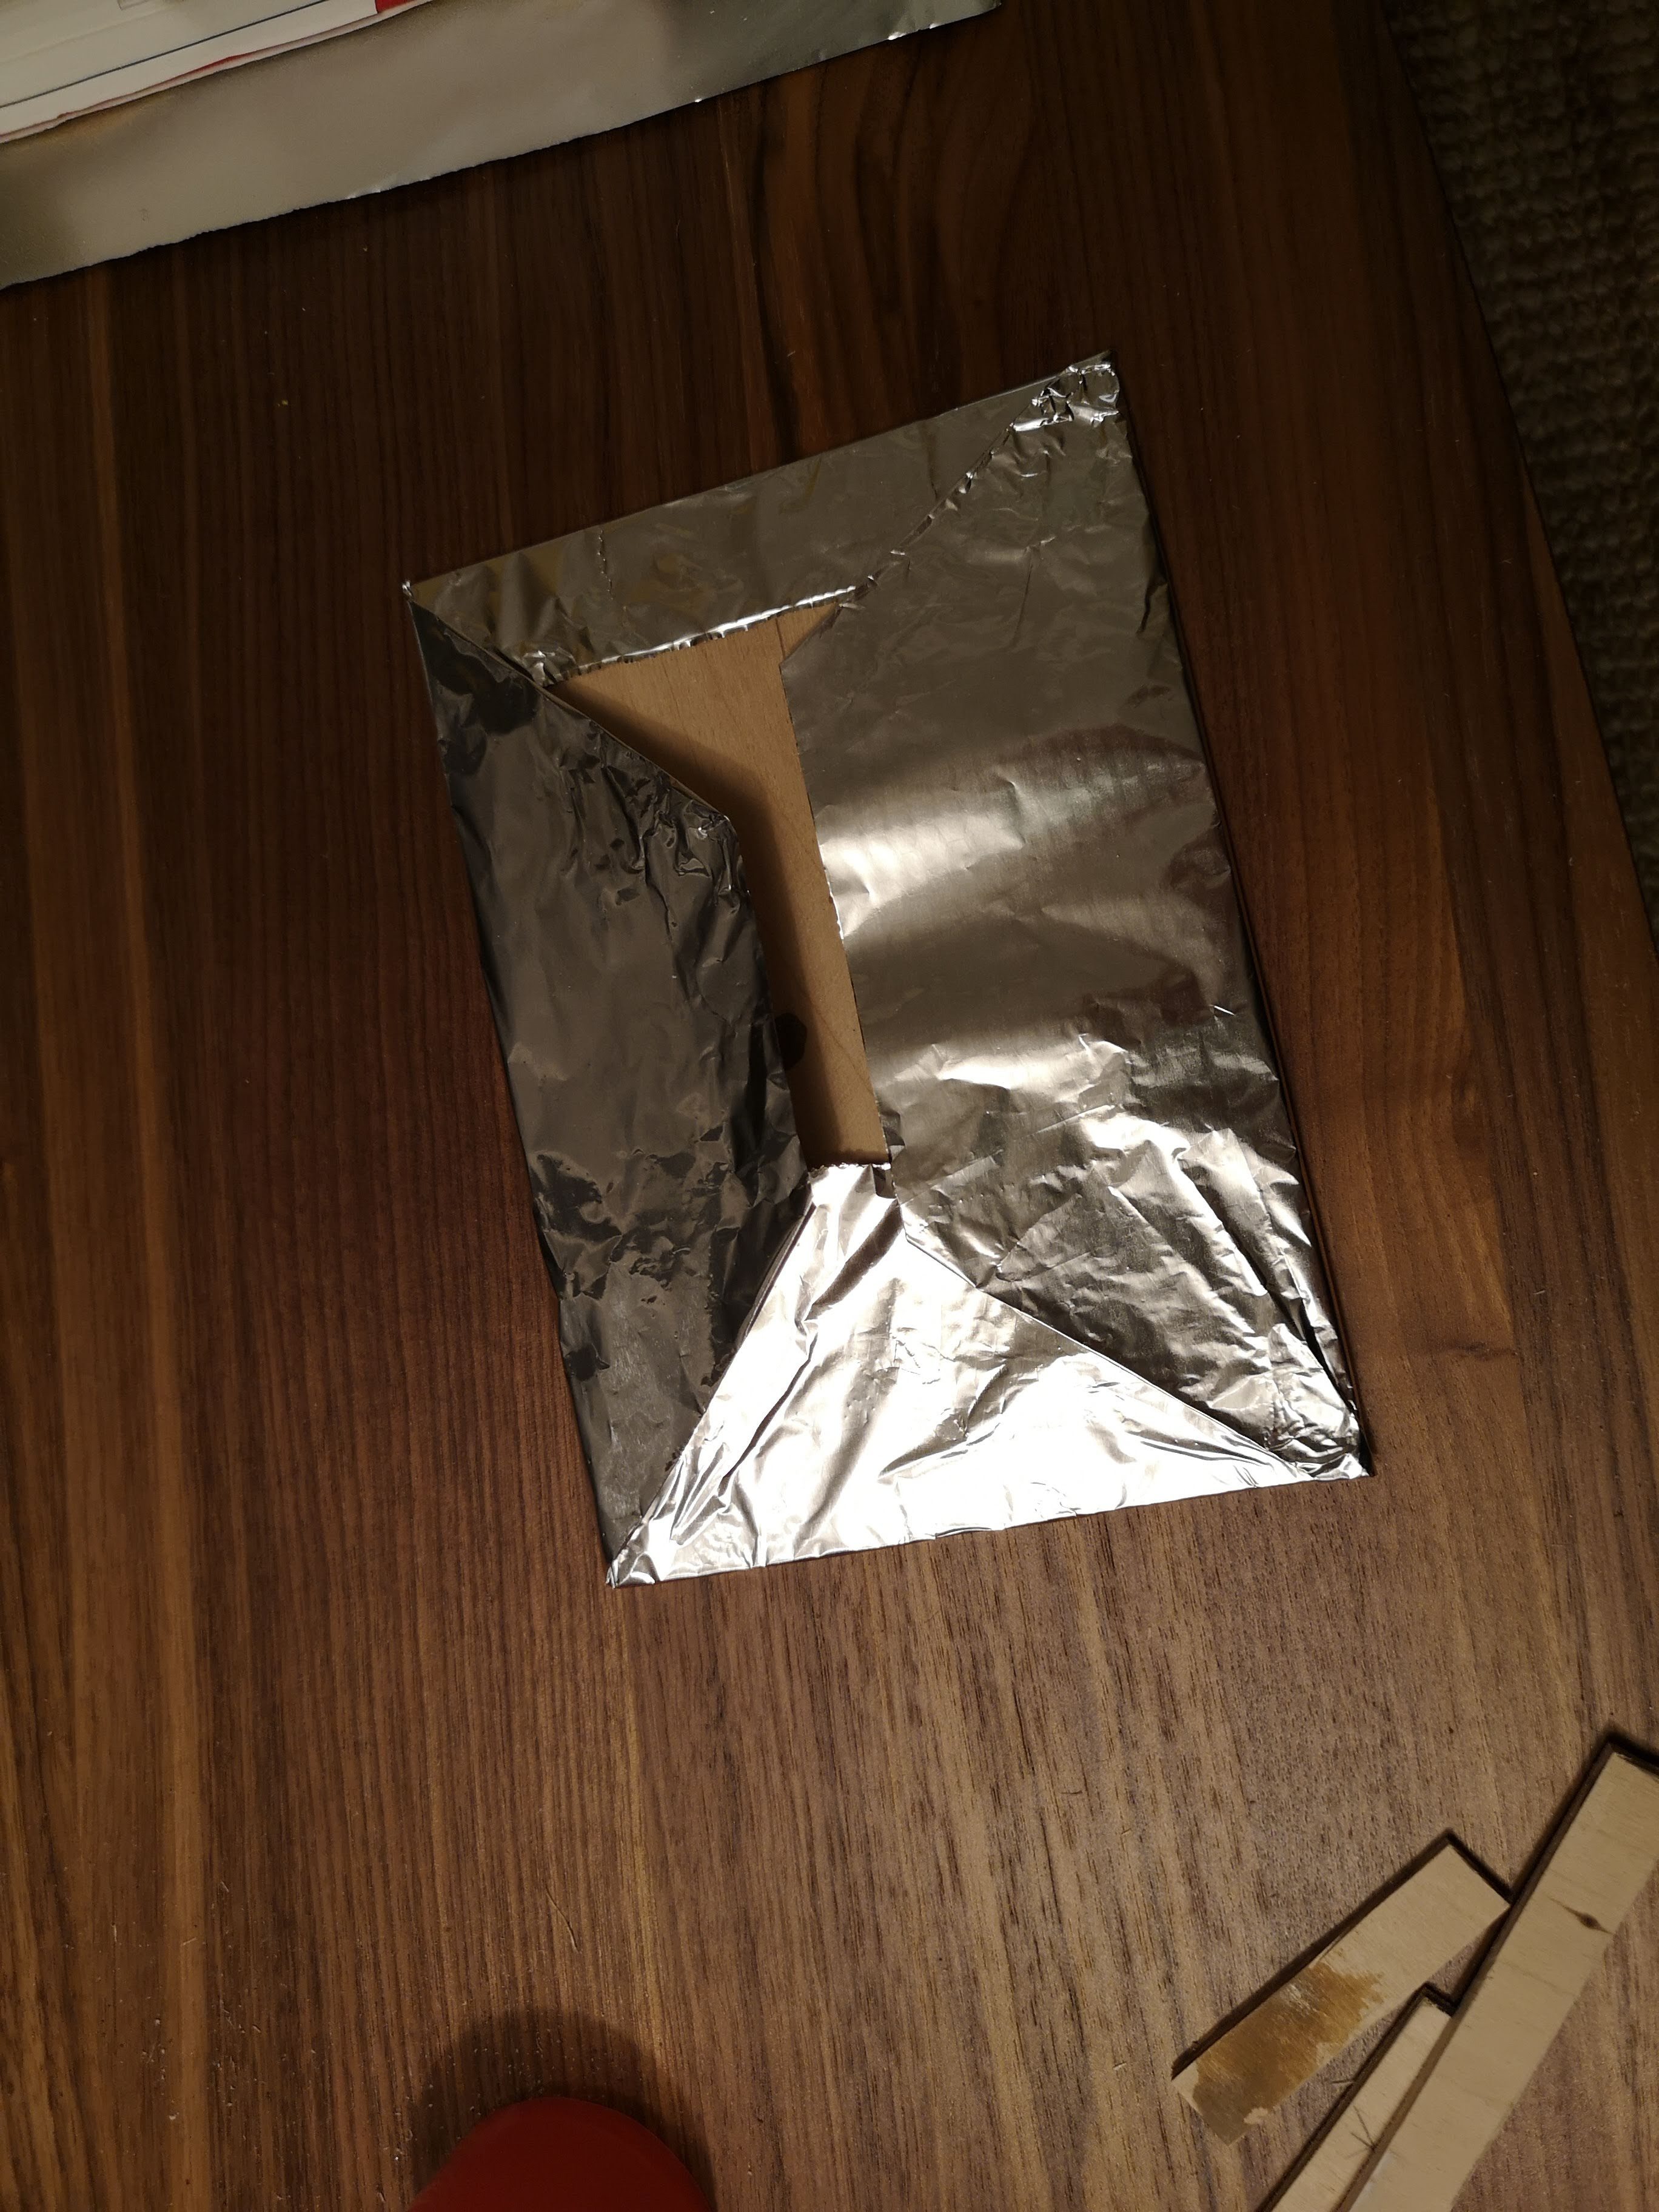
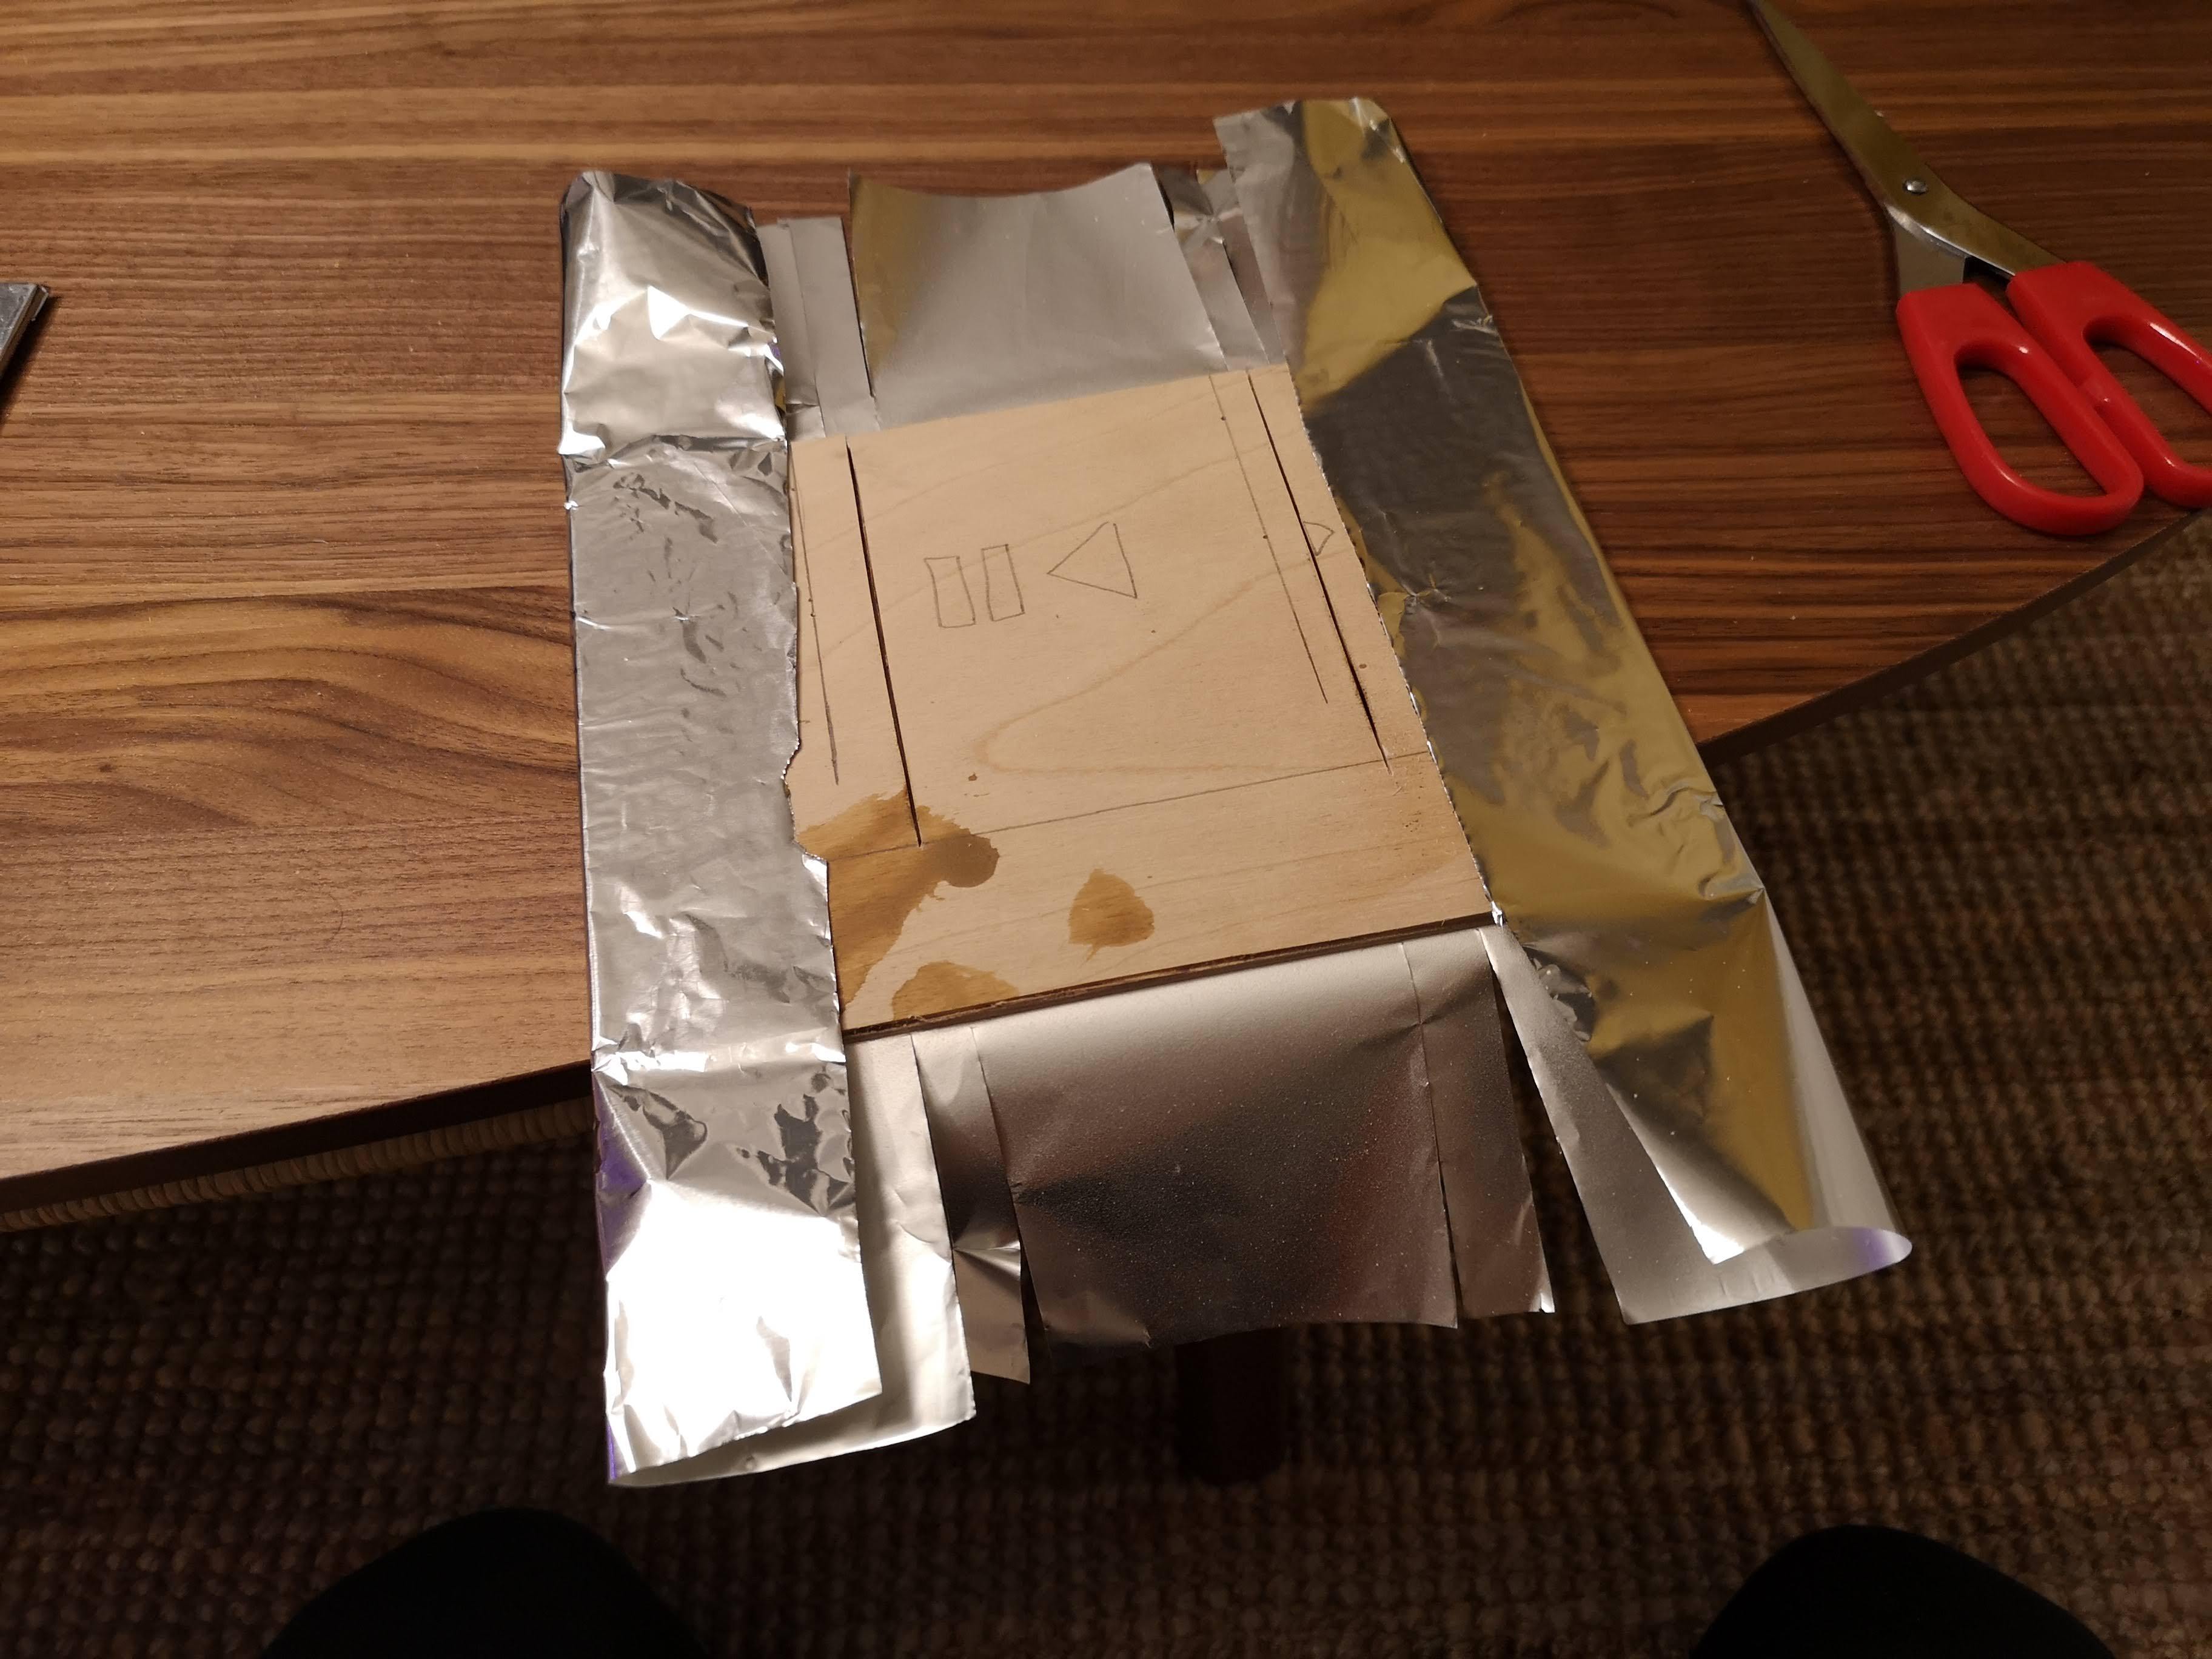
The top piece needs a bit more work, but follow the photos and it should be easy. You need to cut and peel some foil off so that you end up with three foil regions that do not tough one another. Also cut slits on the foil in the same places where the plywood is cut. The final photo shows what you should end up with.
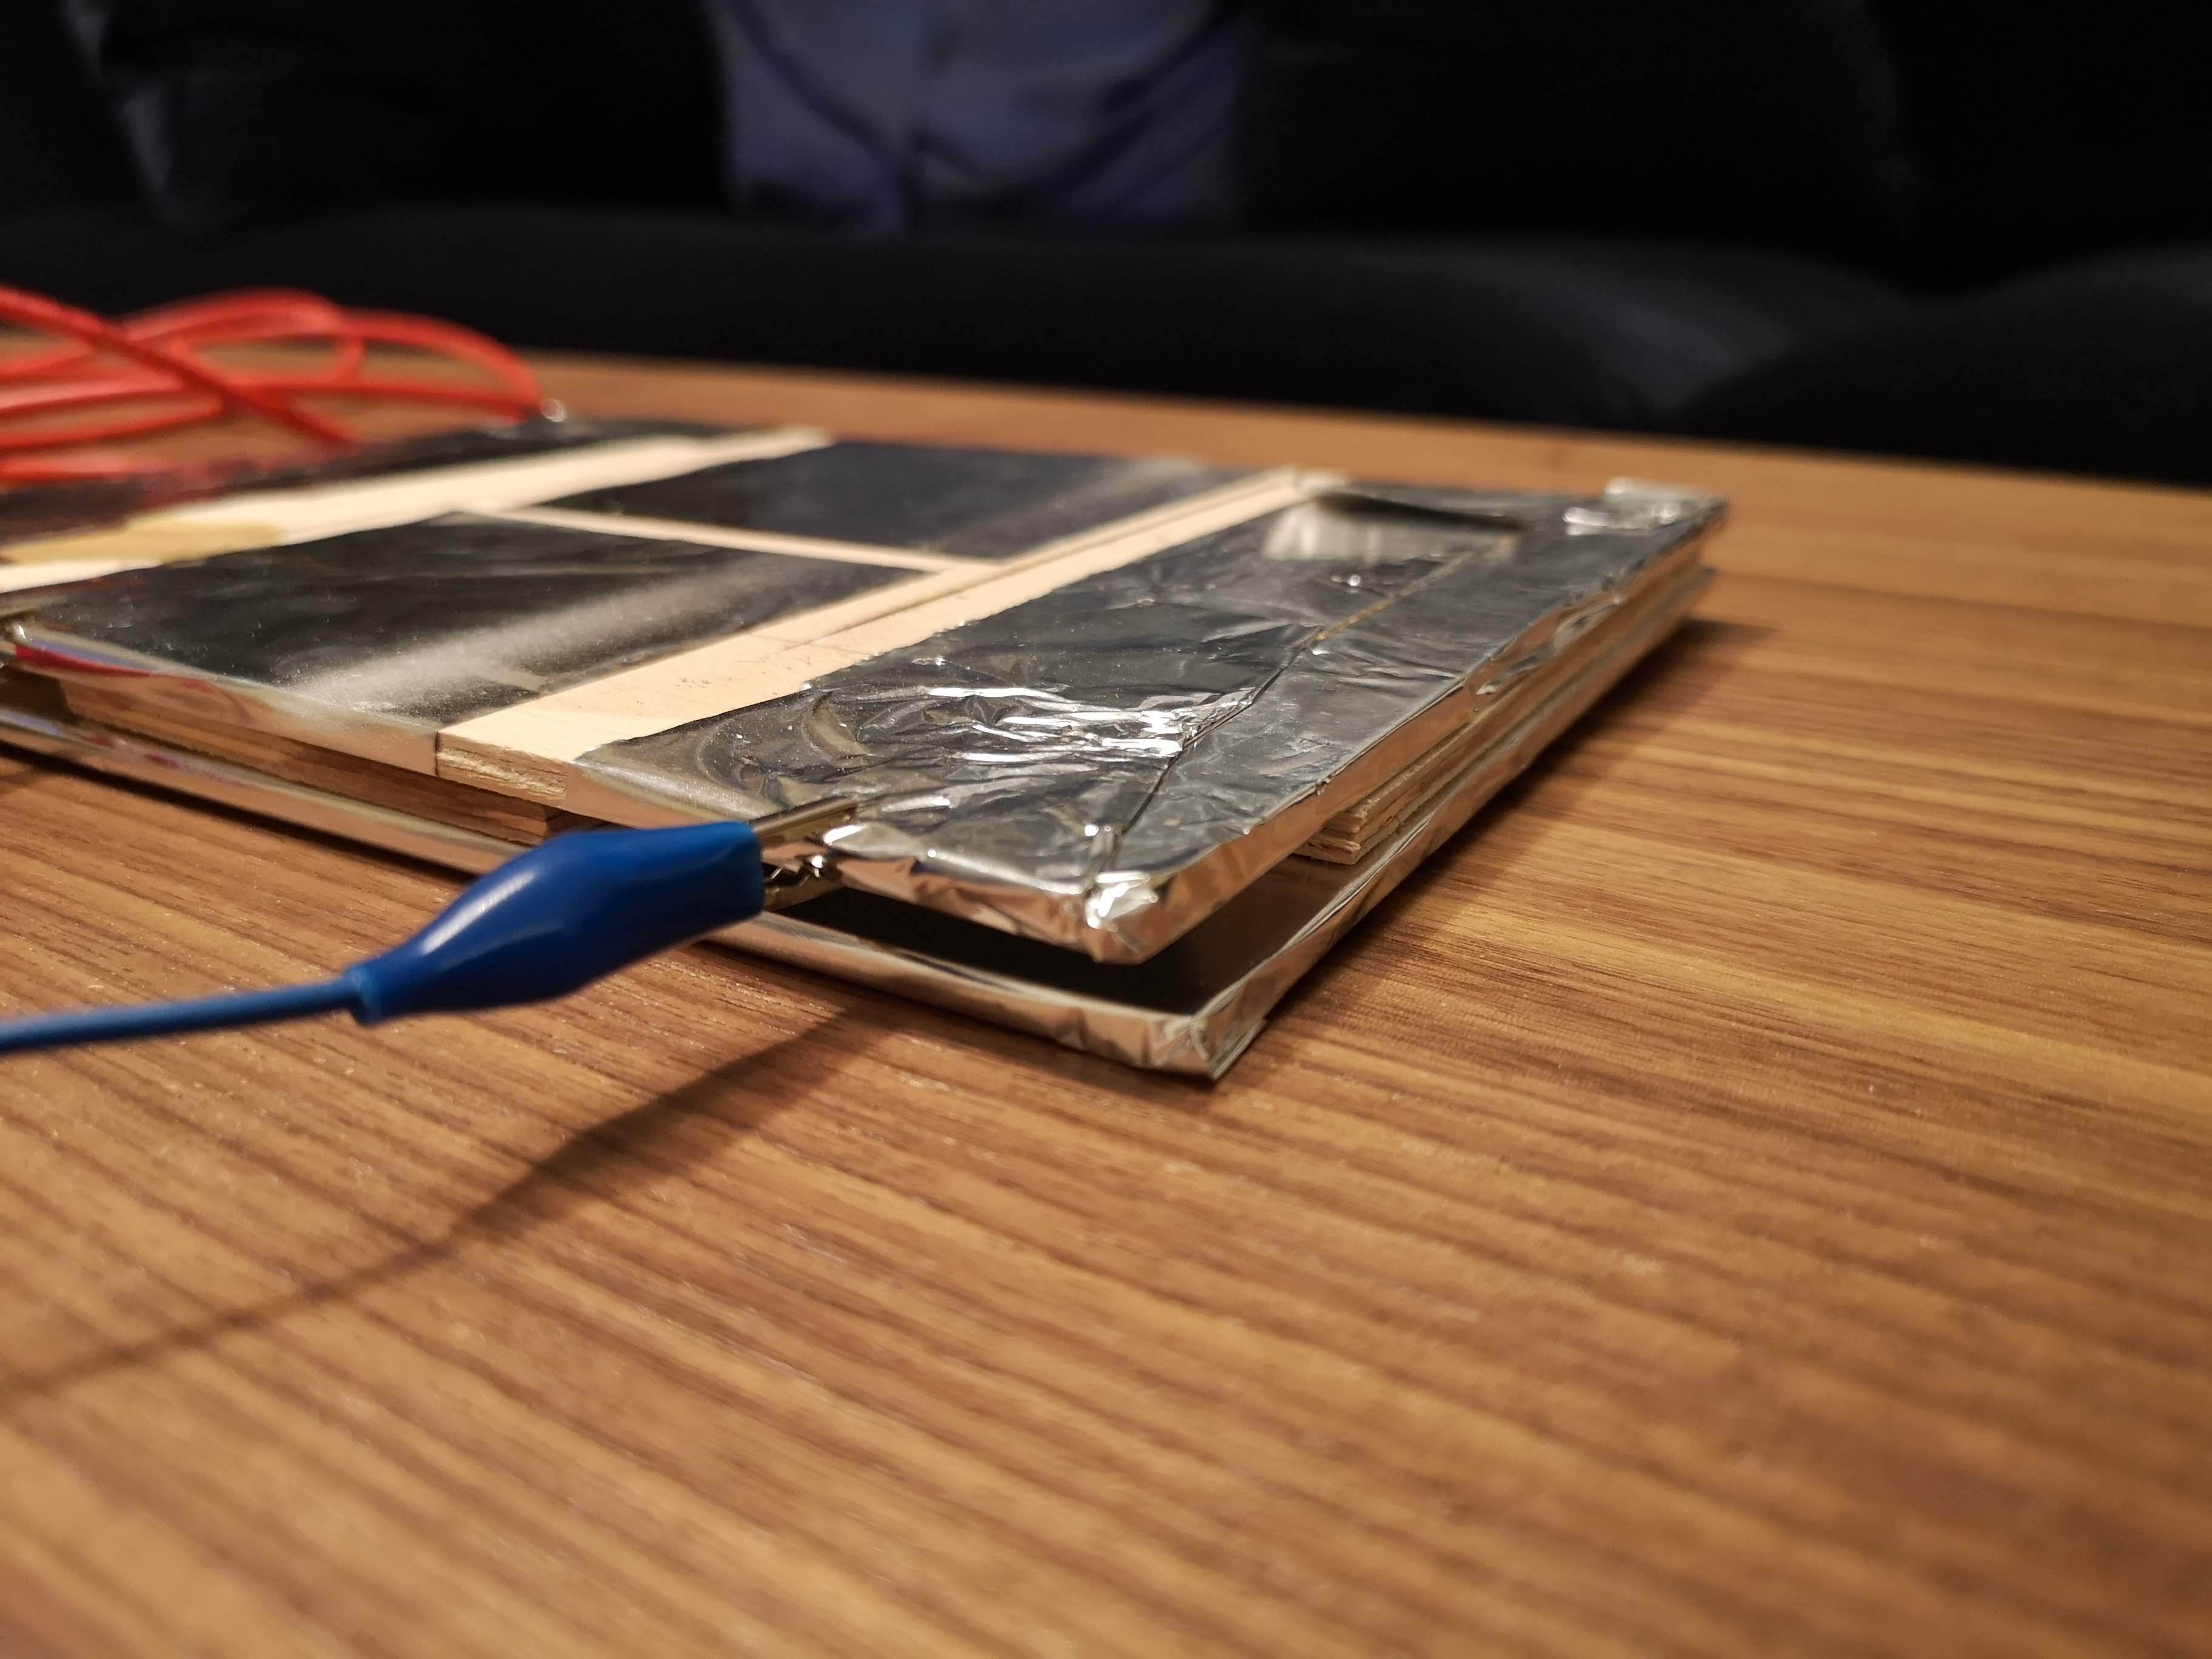
Putting the Pieces Together

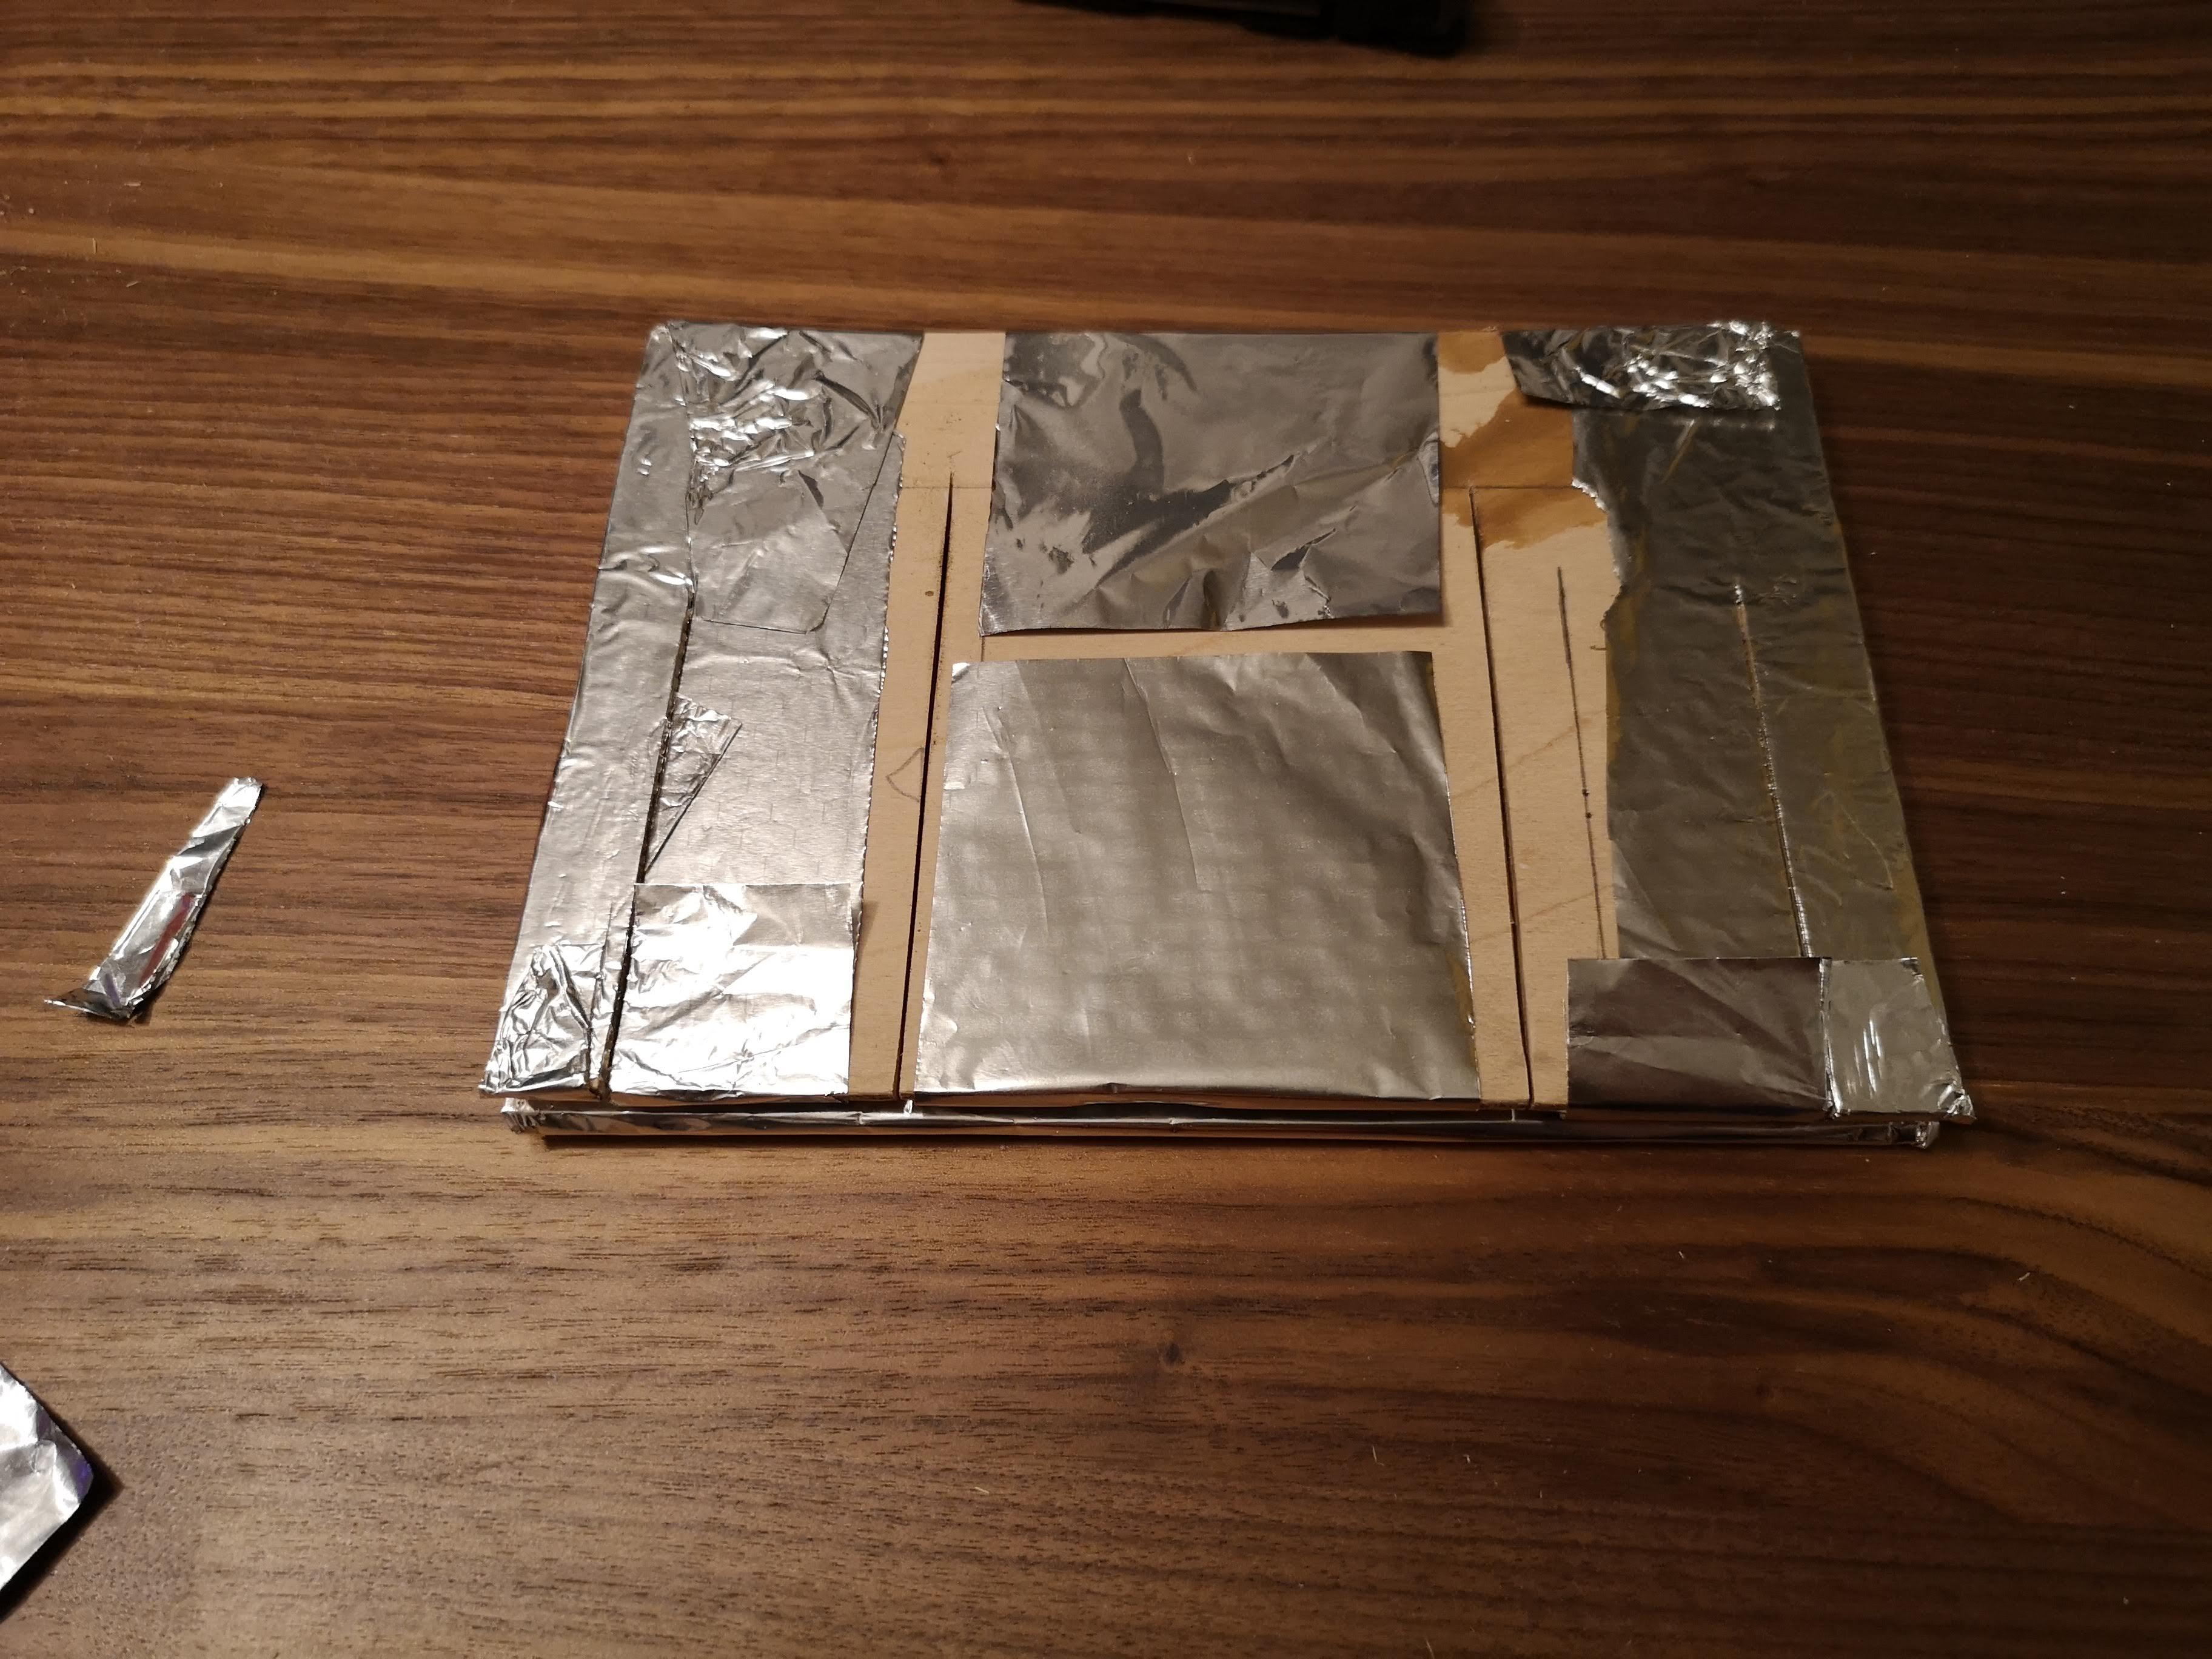
Now we put it all together. Place the bottom piece smooth side up. Glue on the plywood strips like shown in the first photo. Note that the top strip is slightly off center.
Next, glue the top piece on to the plywood strips, smooth side down. Make sure that the top and bottom pieces do not touch each other.
Put some books on to weigh the plywood down while the glue sets.
Connect the Alligator Clips and Start Testing
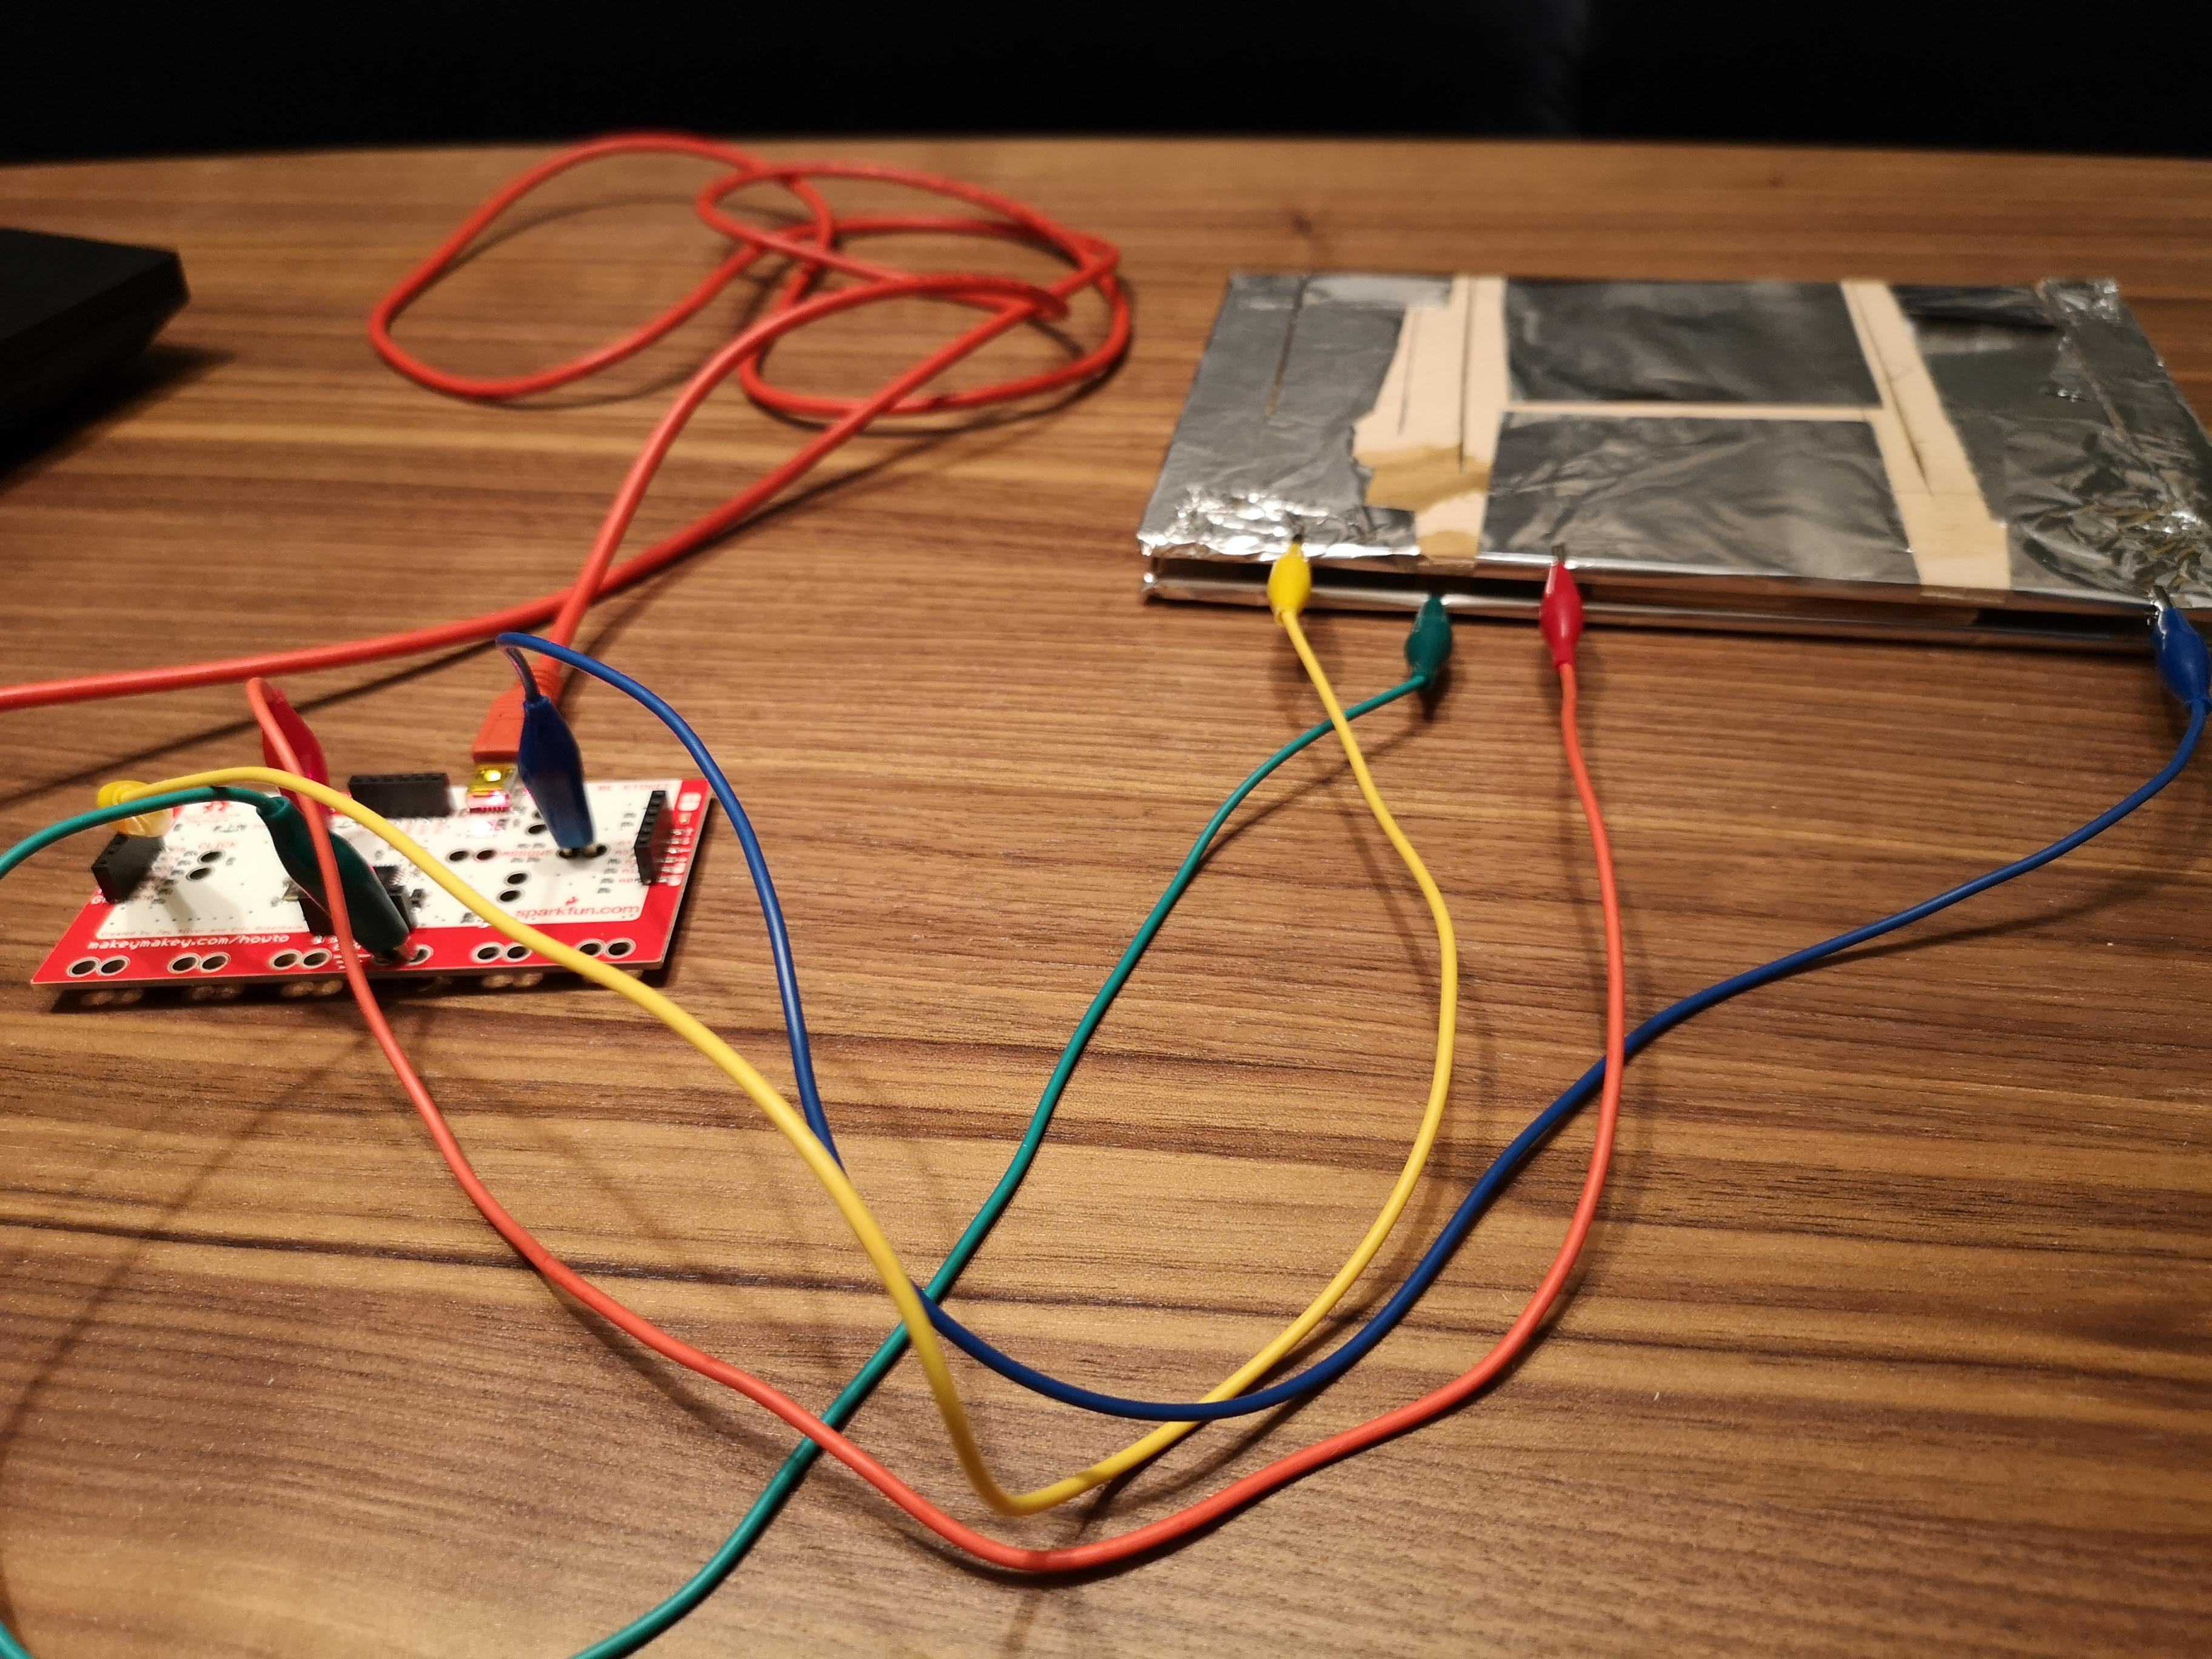

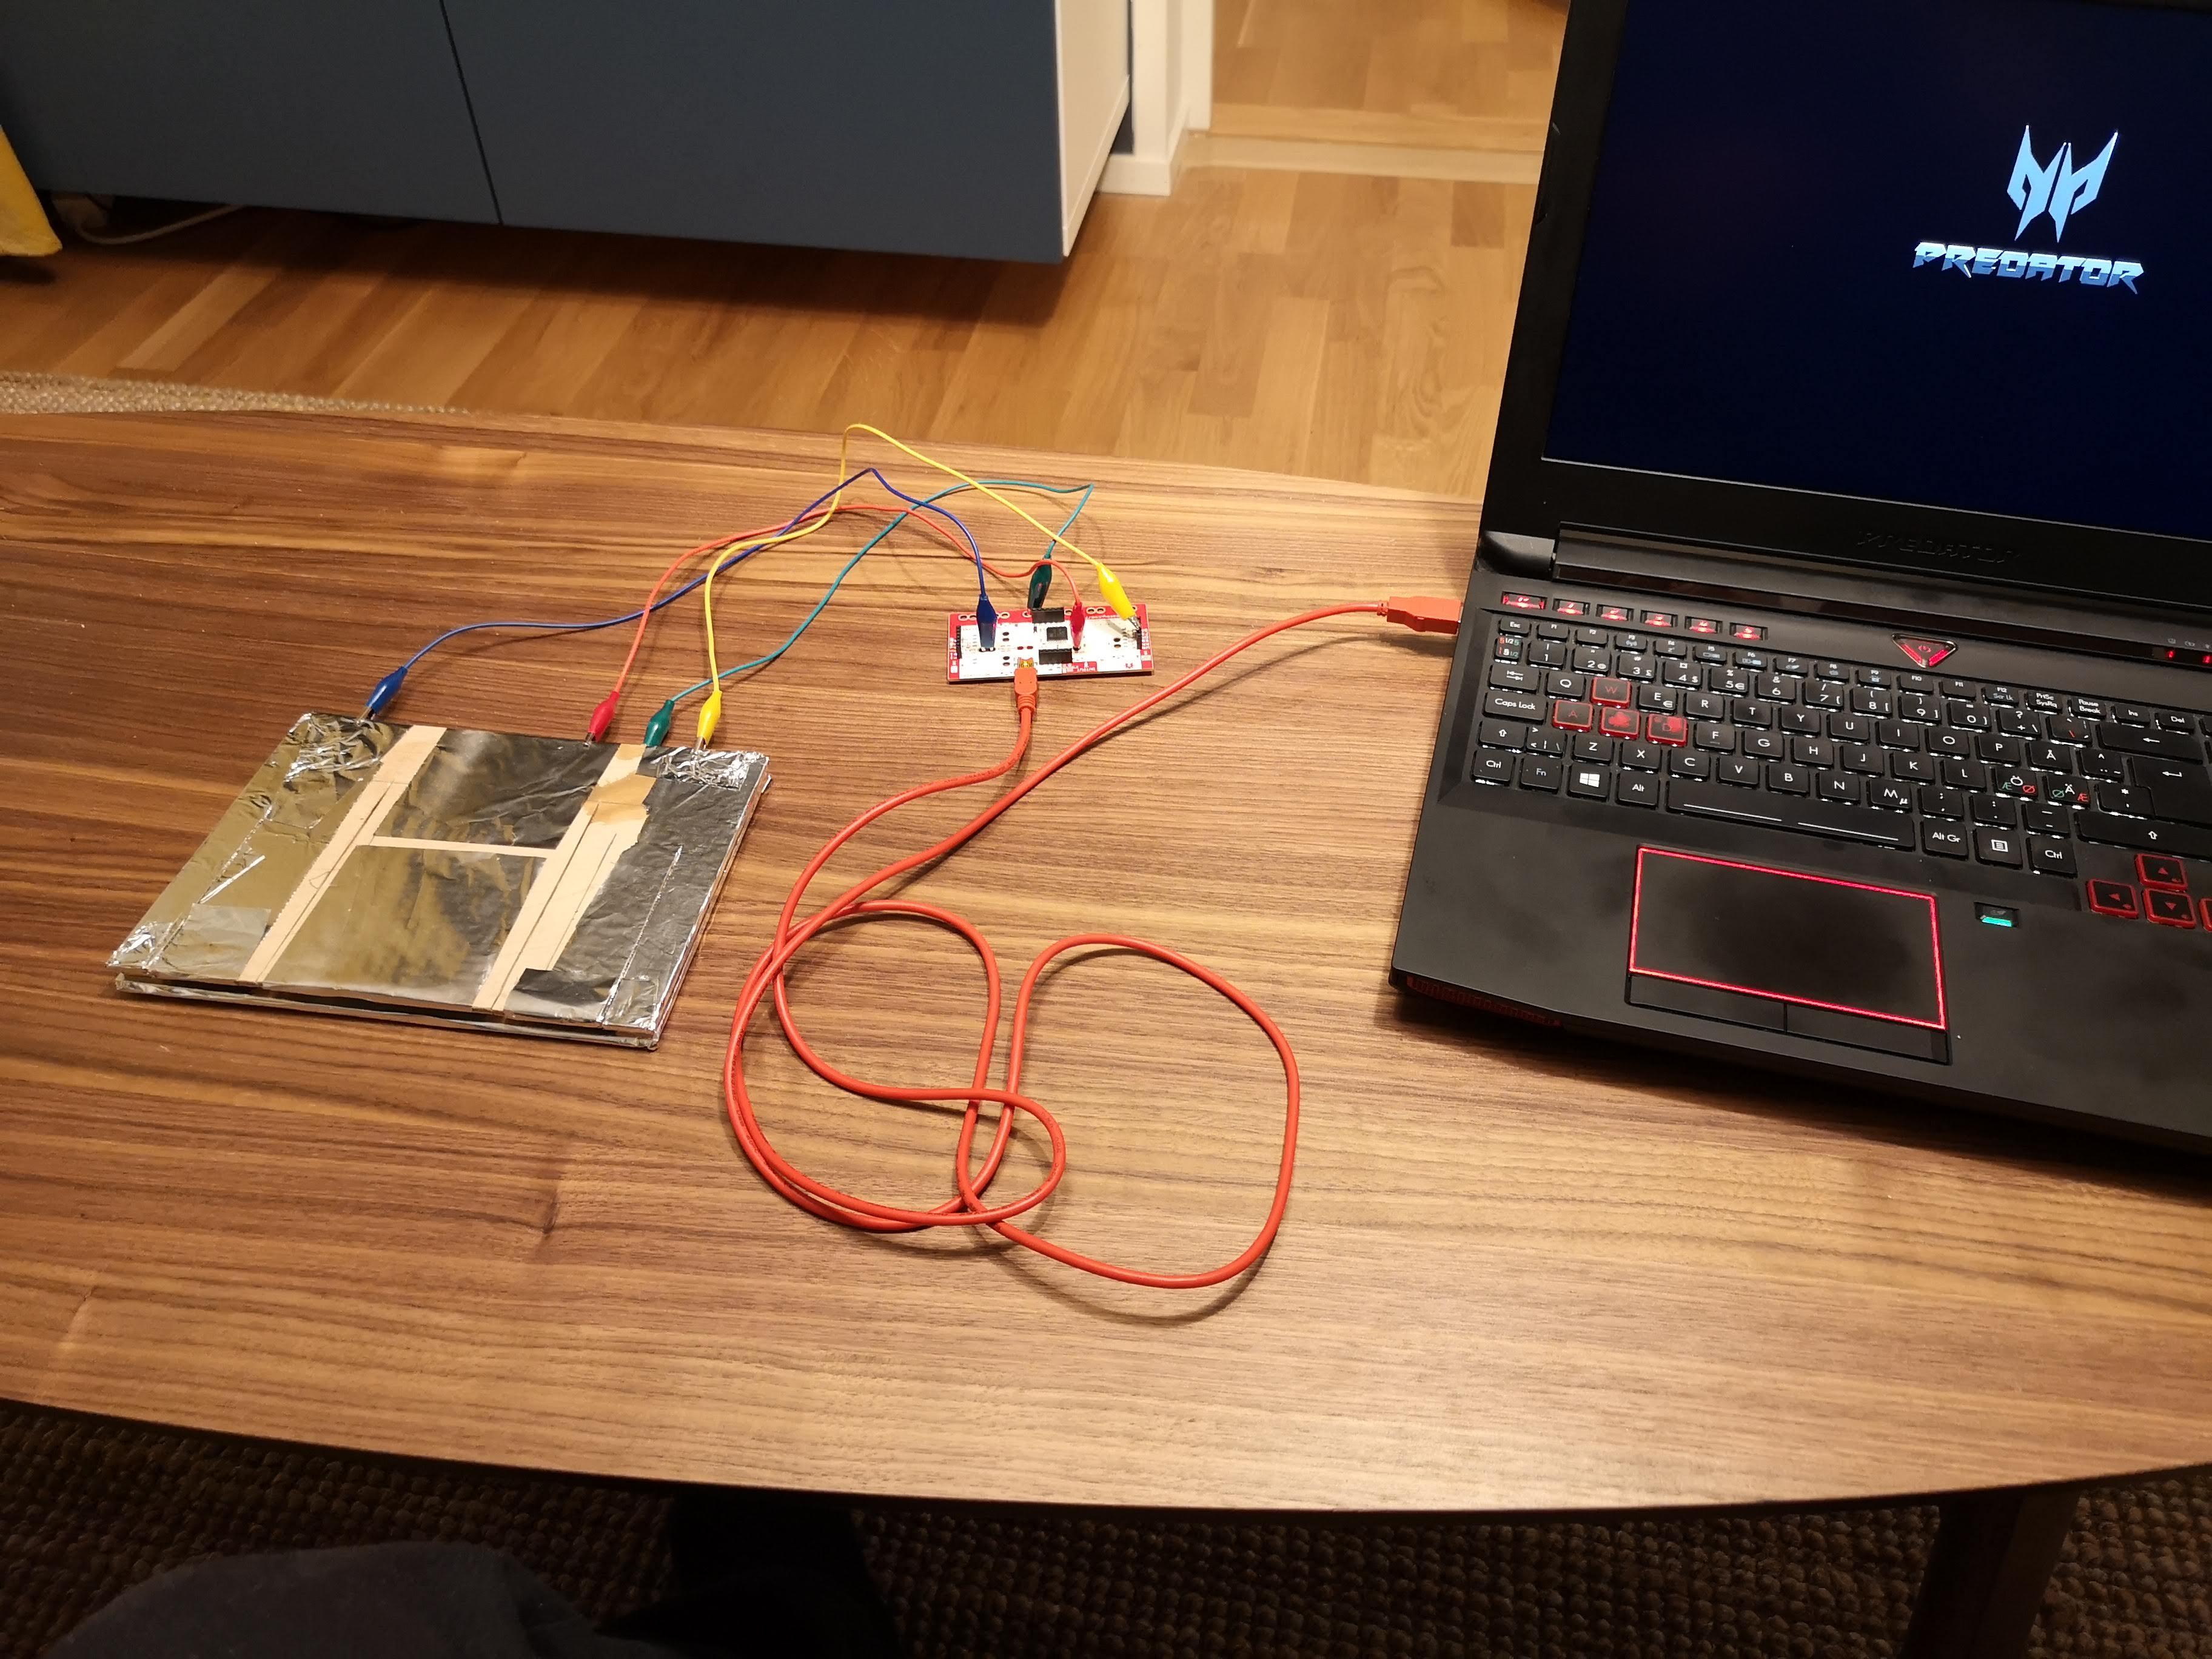
Connect the Alligator Clips.
Earth (green) goes to the bottom piece.
Space (red) goes to the center of the top piece.
S (yellow) and Left Arrow (blue) go to the sides of the top piece.
Make sure that the top and bottom pieces are not touching. Also check that the Alligator Clips only touch the layer that they are supposed to be touching.
Now everything is ready! Connect the Makey Makey to your laptop and see if it works. First time I tried, I could only get the Pause button to work, but unplugging and restarting somehow fixed the problem.
Decorate It, and You're Done!


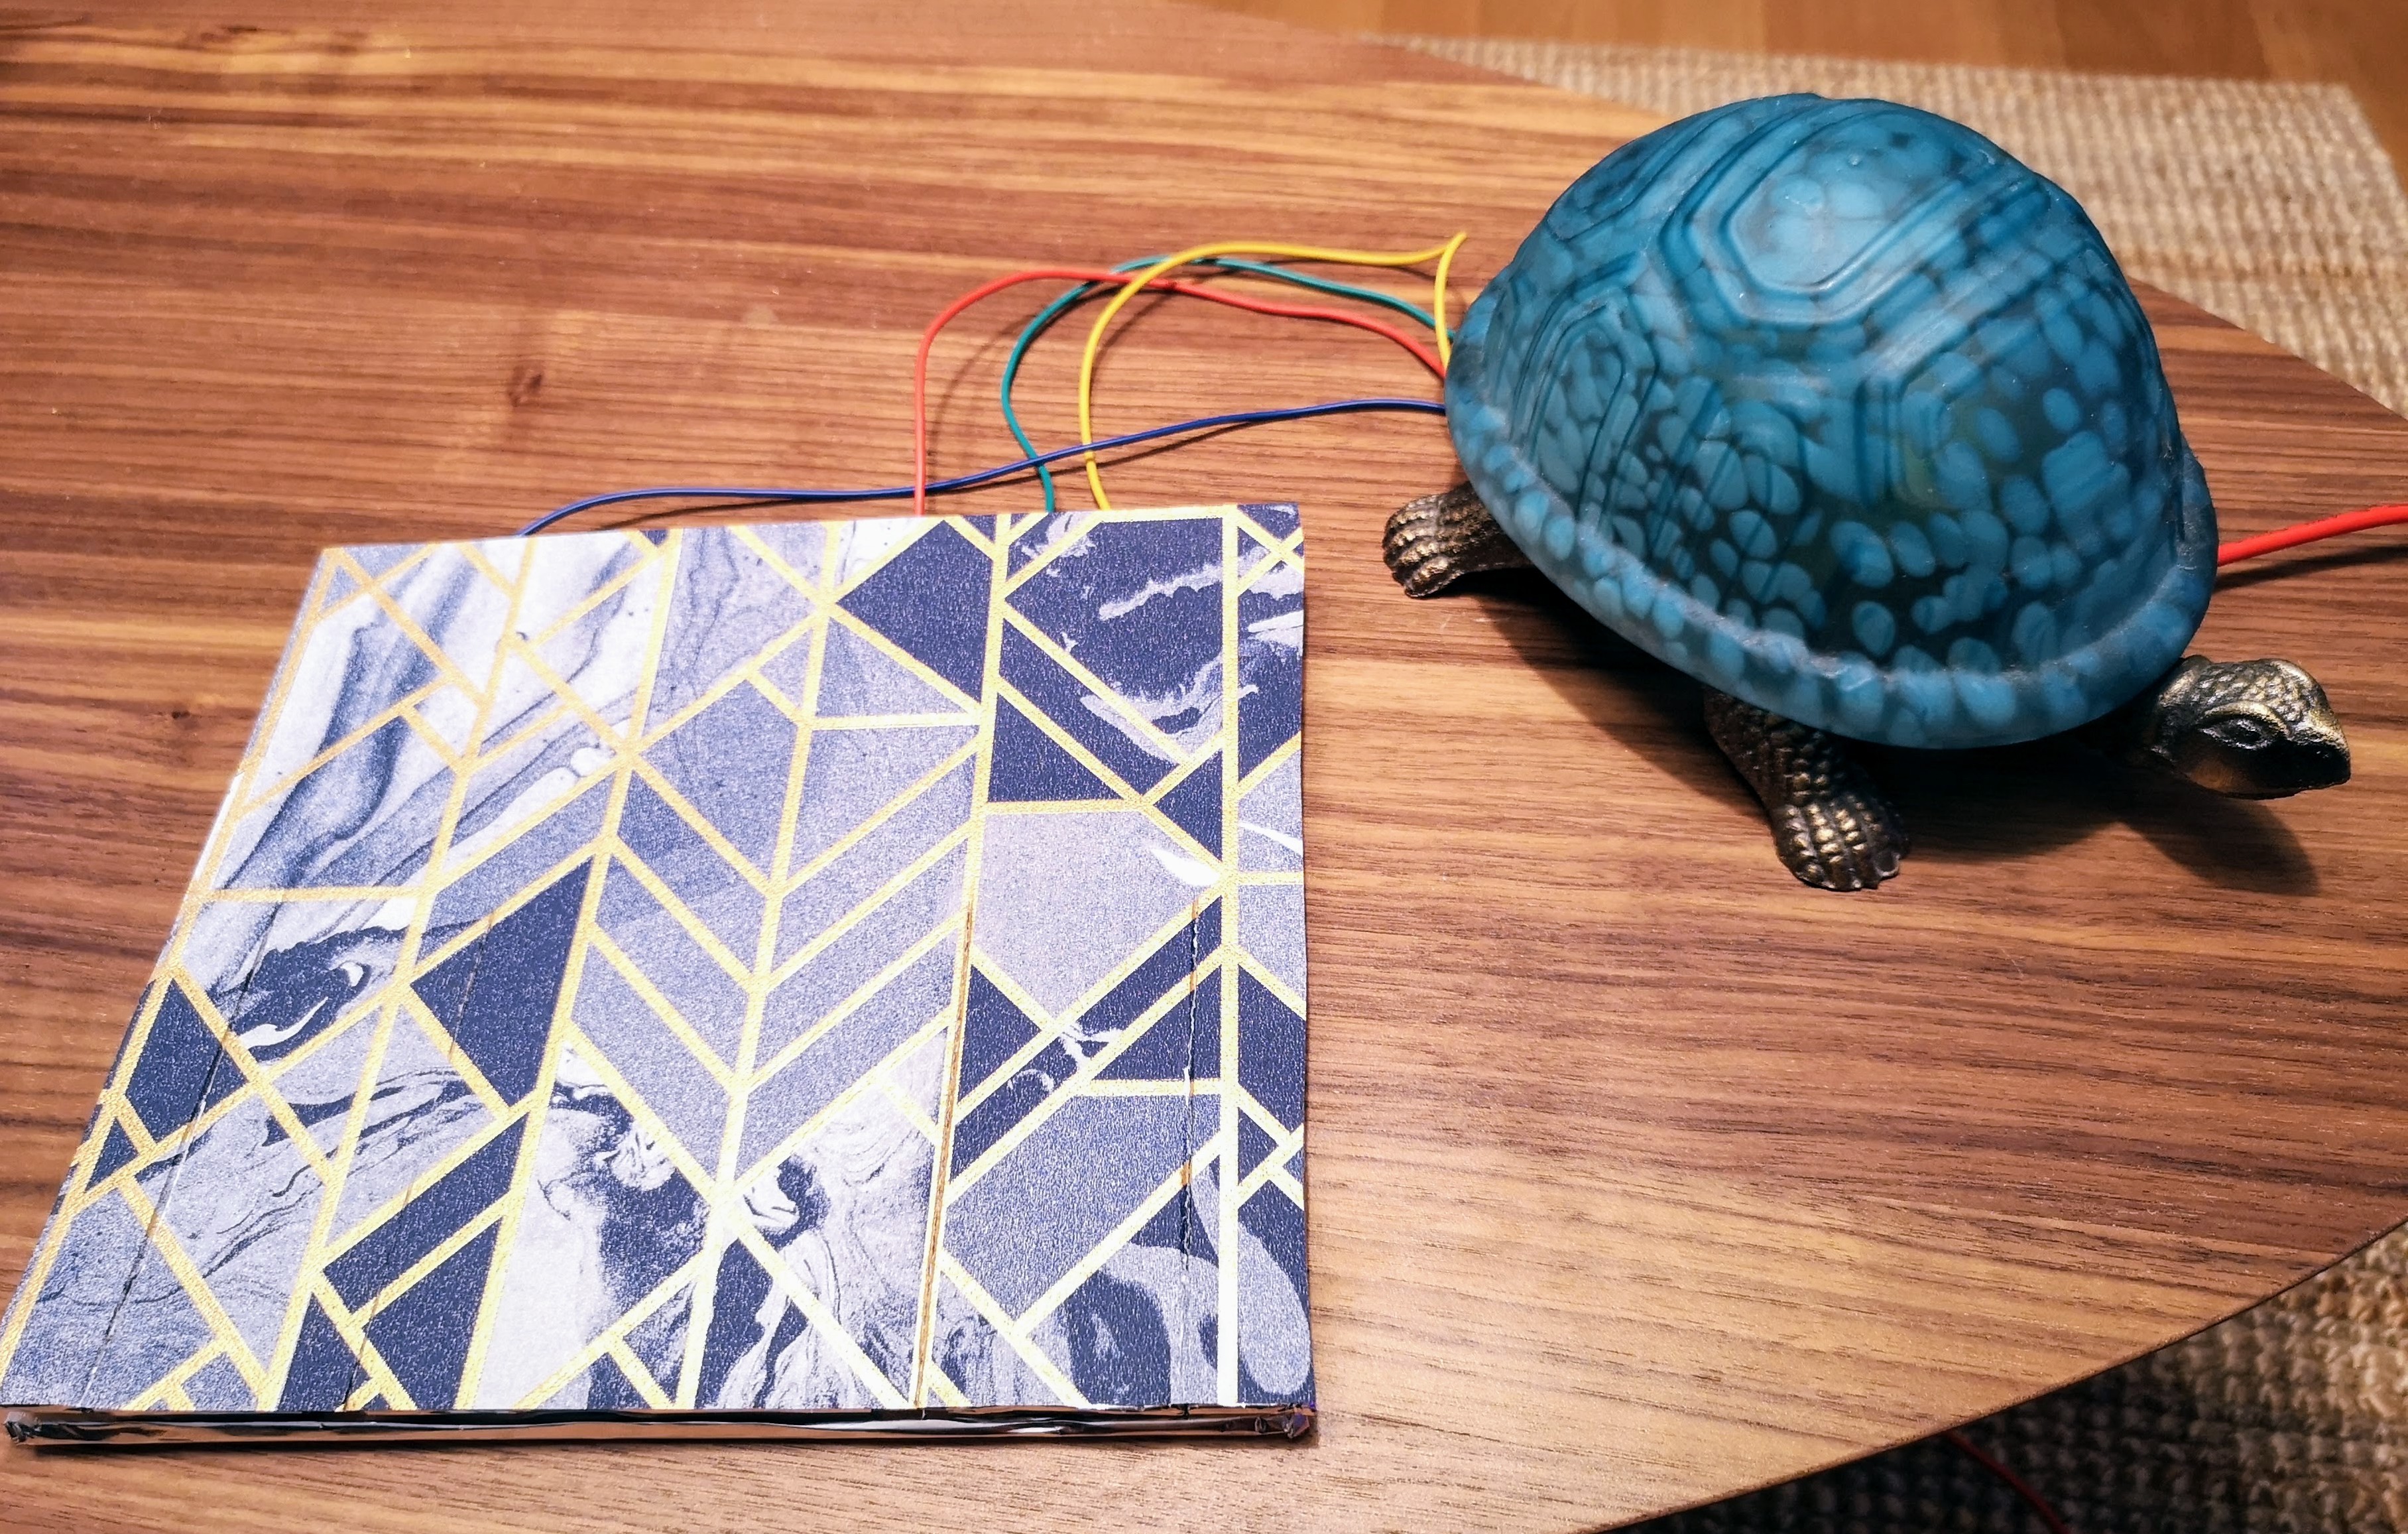
Now that everything works, its time to make the remote pretty. I glued an over-sized piece of gift wrapping paper over the remote to hide the Alligator Clips. Remember to cut slits on the paper, so that you can still operate the remote!
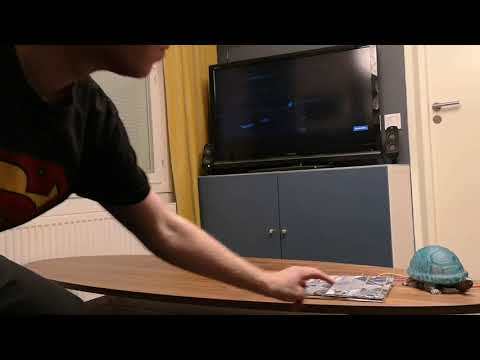
I then placed the Makey Makey in a decorative turtle, so that it would be somewhat hidden from view. Any sort of box would have done the job, but I happened to have this handy.
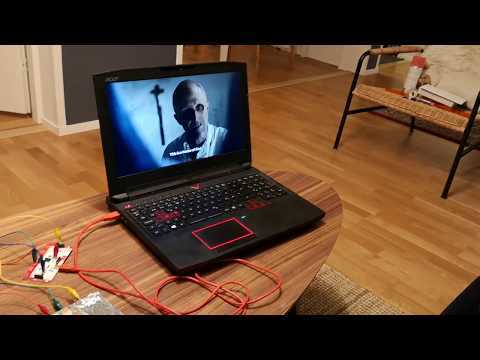
I'm really pleased with the result. Now I can binge watch on my sofa without having a distracting laptop in my line of sight.
One thing to note: The Skip and Rewind-buttons only work when casting your entire desktop to the TV. For some reason Netflix disables them if you try to cast by pressing the 'Cast' button on the bottom of your video screen. Play/Pause works just fine everywhere.