Makey-Makey Number Guessing Game
by chenedi in Design > Digital Graphics
1630 Views, 2 Favorites, 0 Comments
Makey-Makey Number Guessing Game
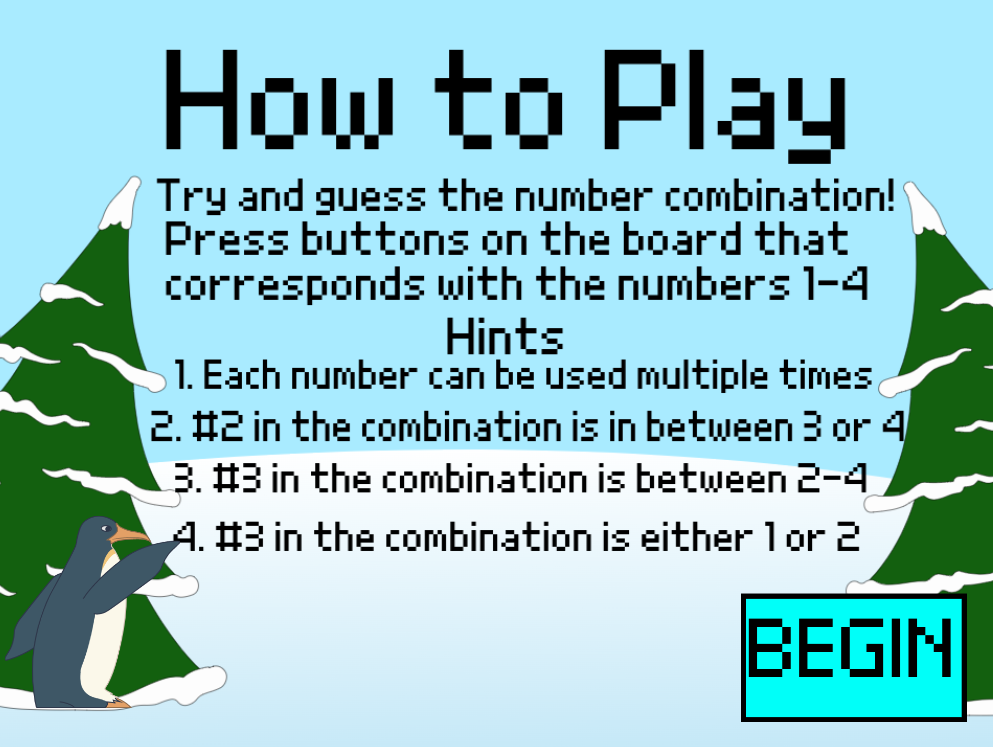
This is a makey-makey number guessing game! The objective of this game is to guess the correct combination of numbers, with some hints to make the game a bit easier. In order to have a number be pressed, you would press one of the 4 number buttons on a physical "gamepad." In this tutorial, I will guide you through my process of creating this game!
Supplies
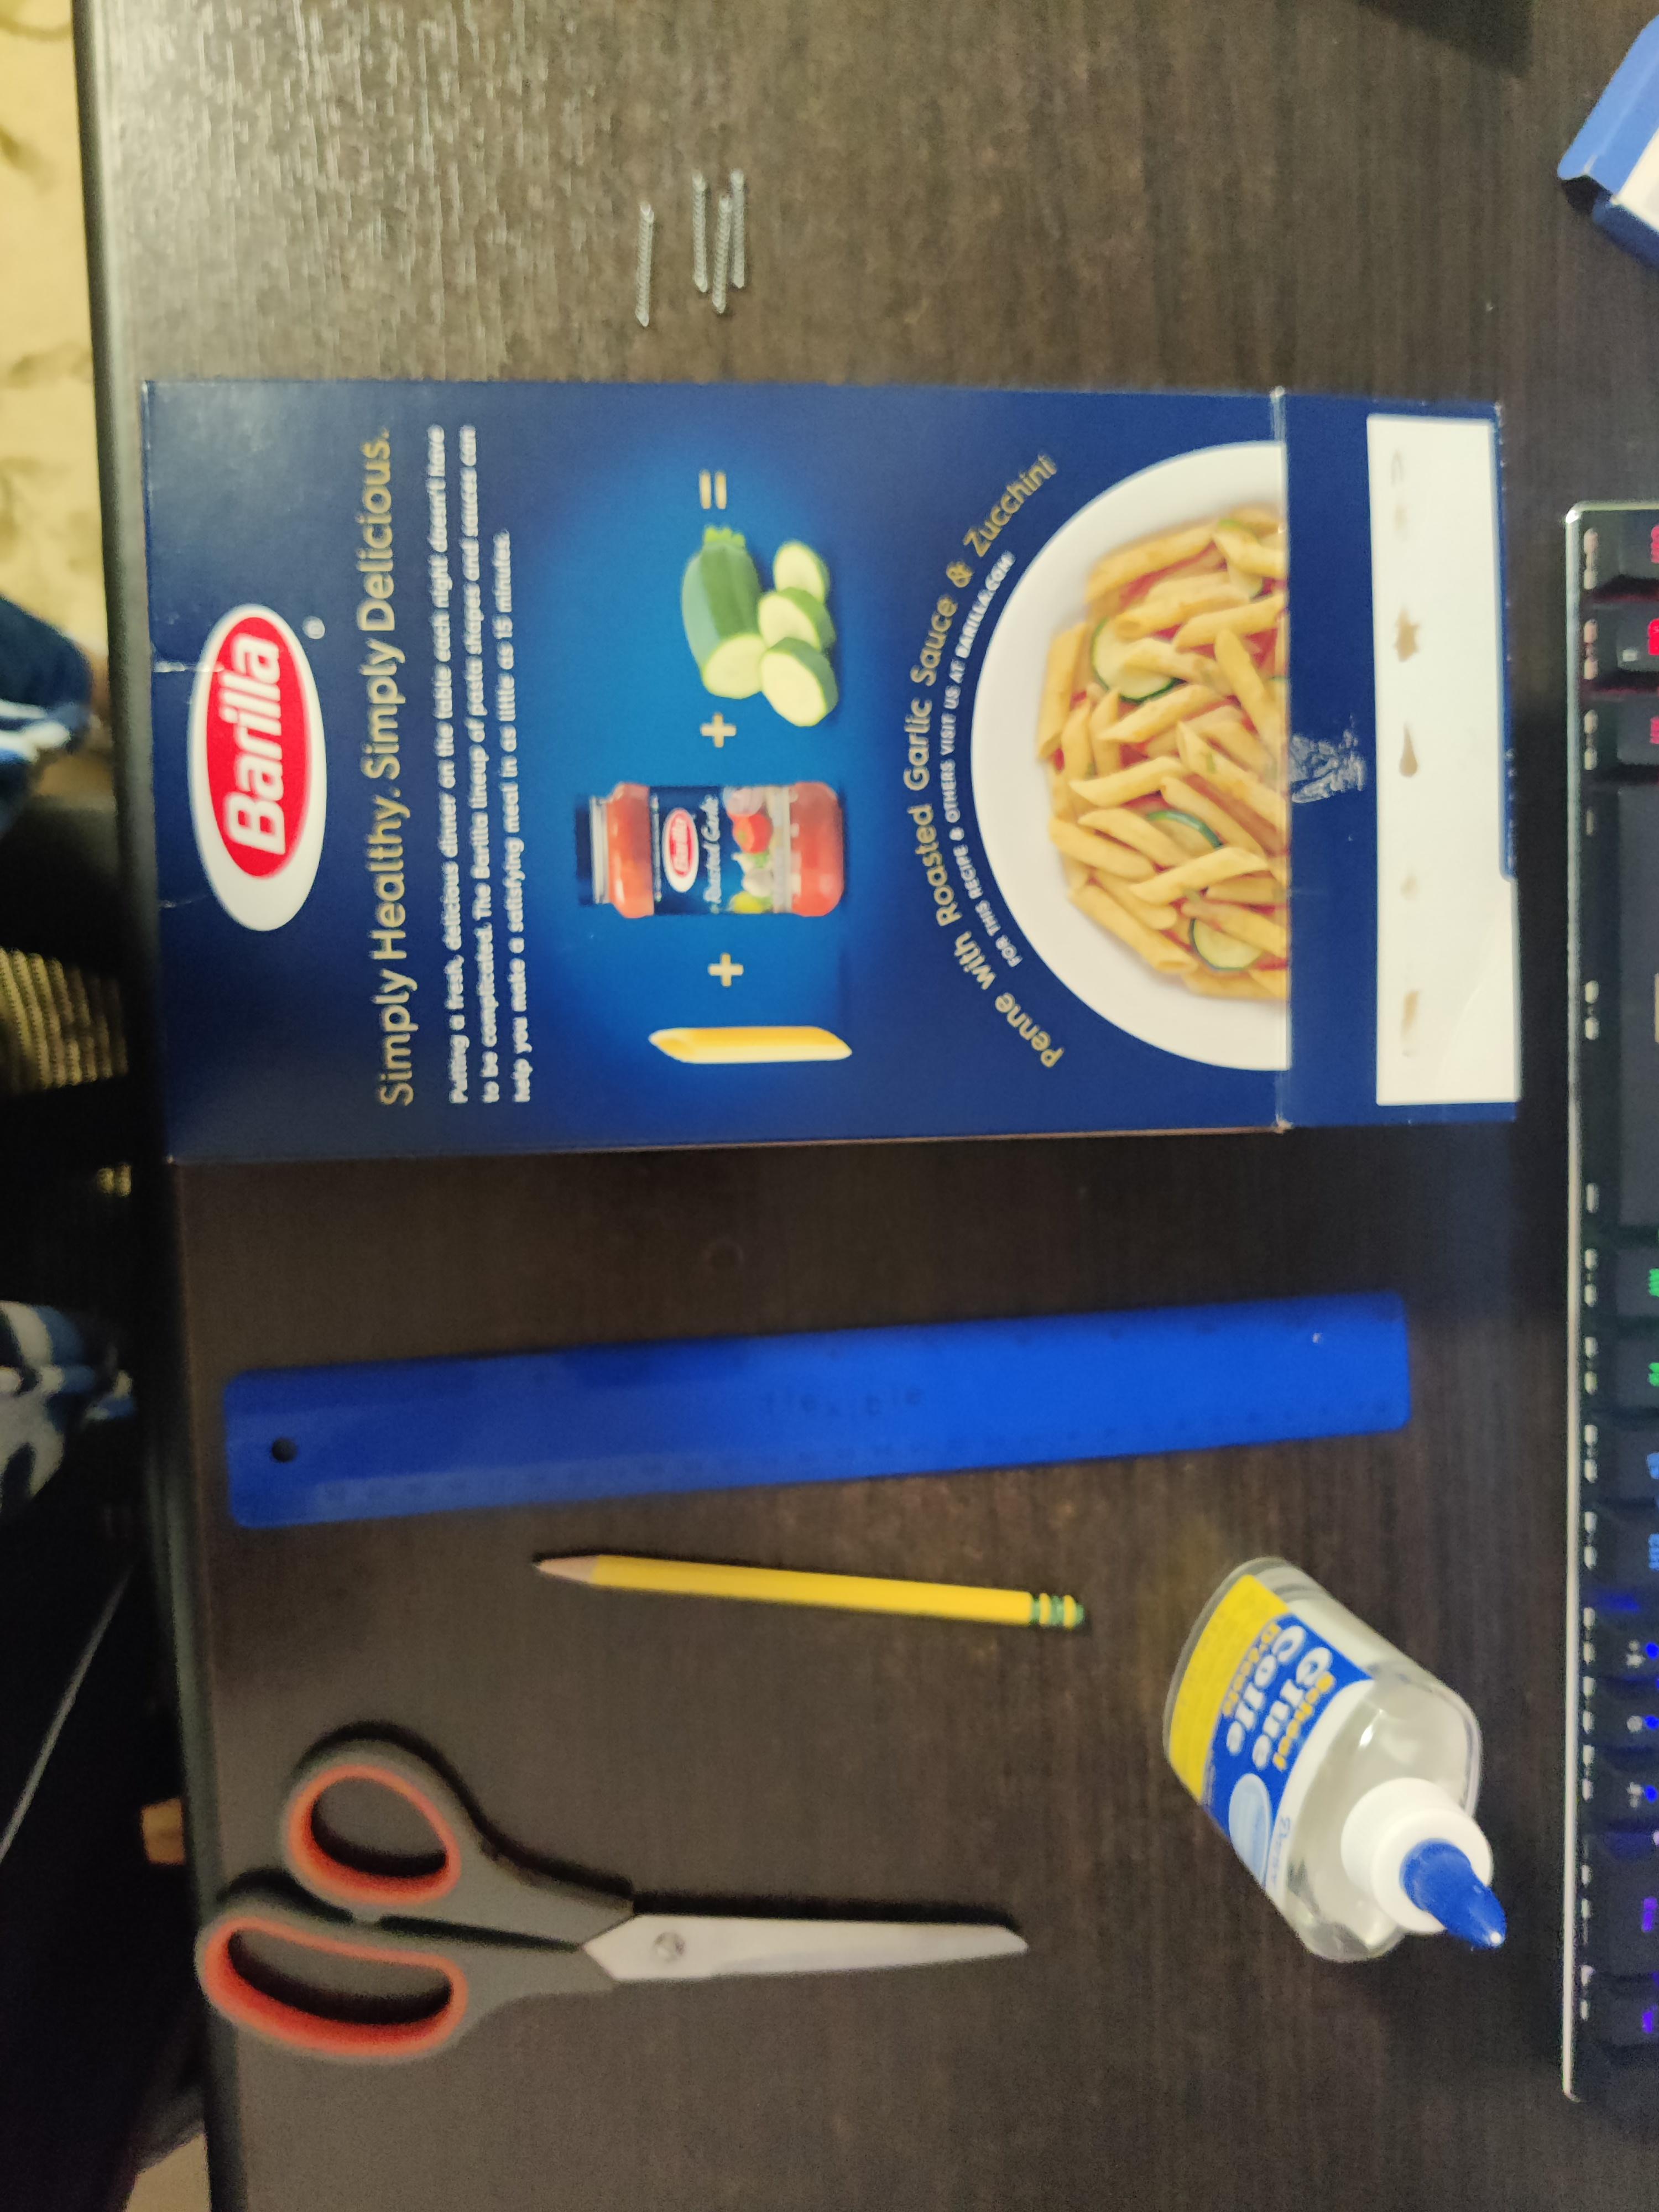
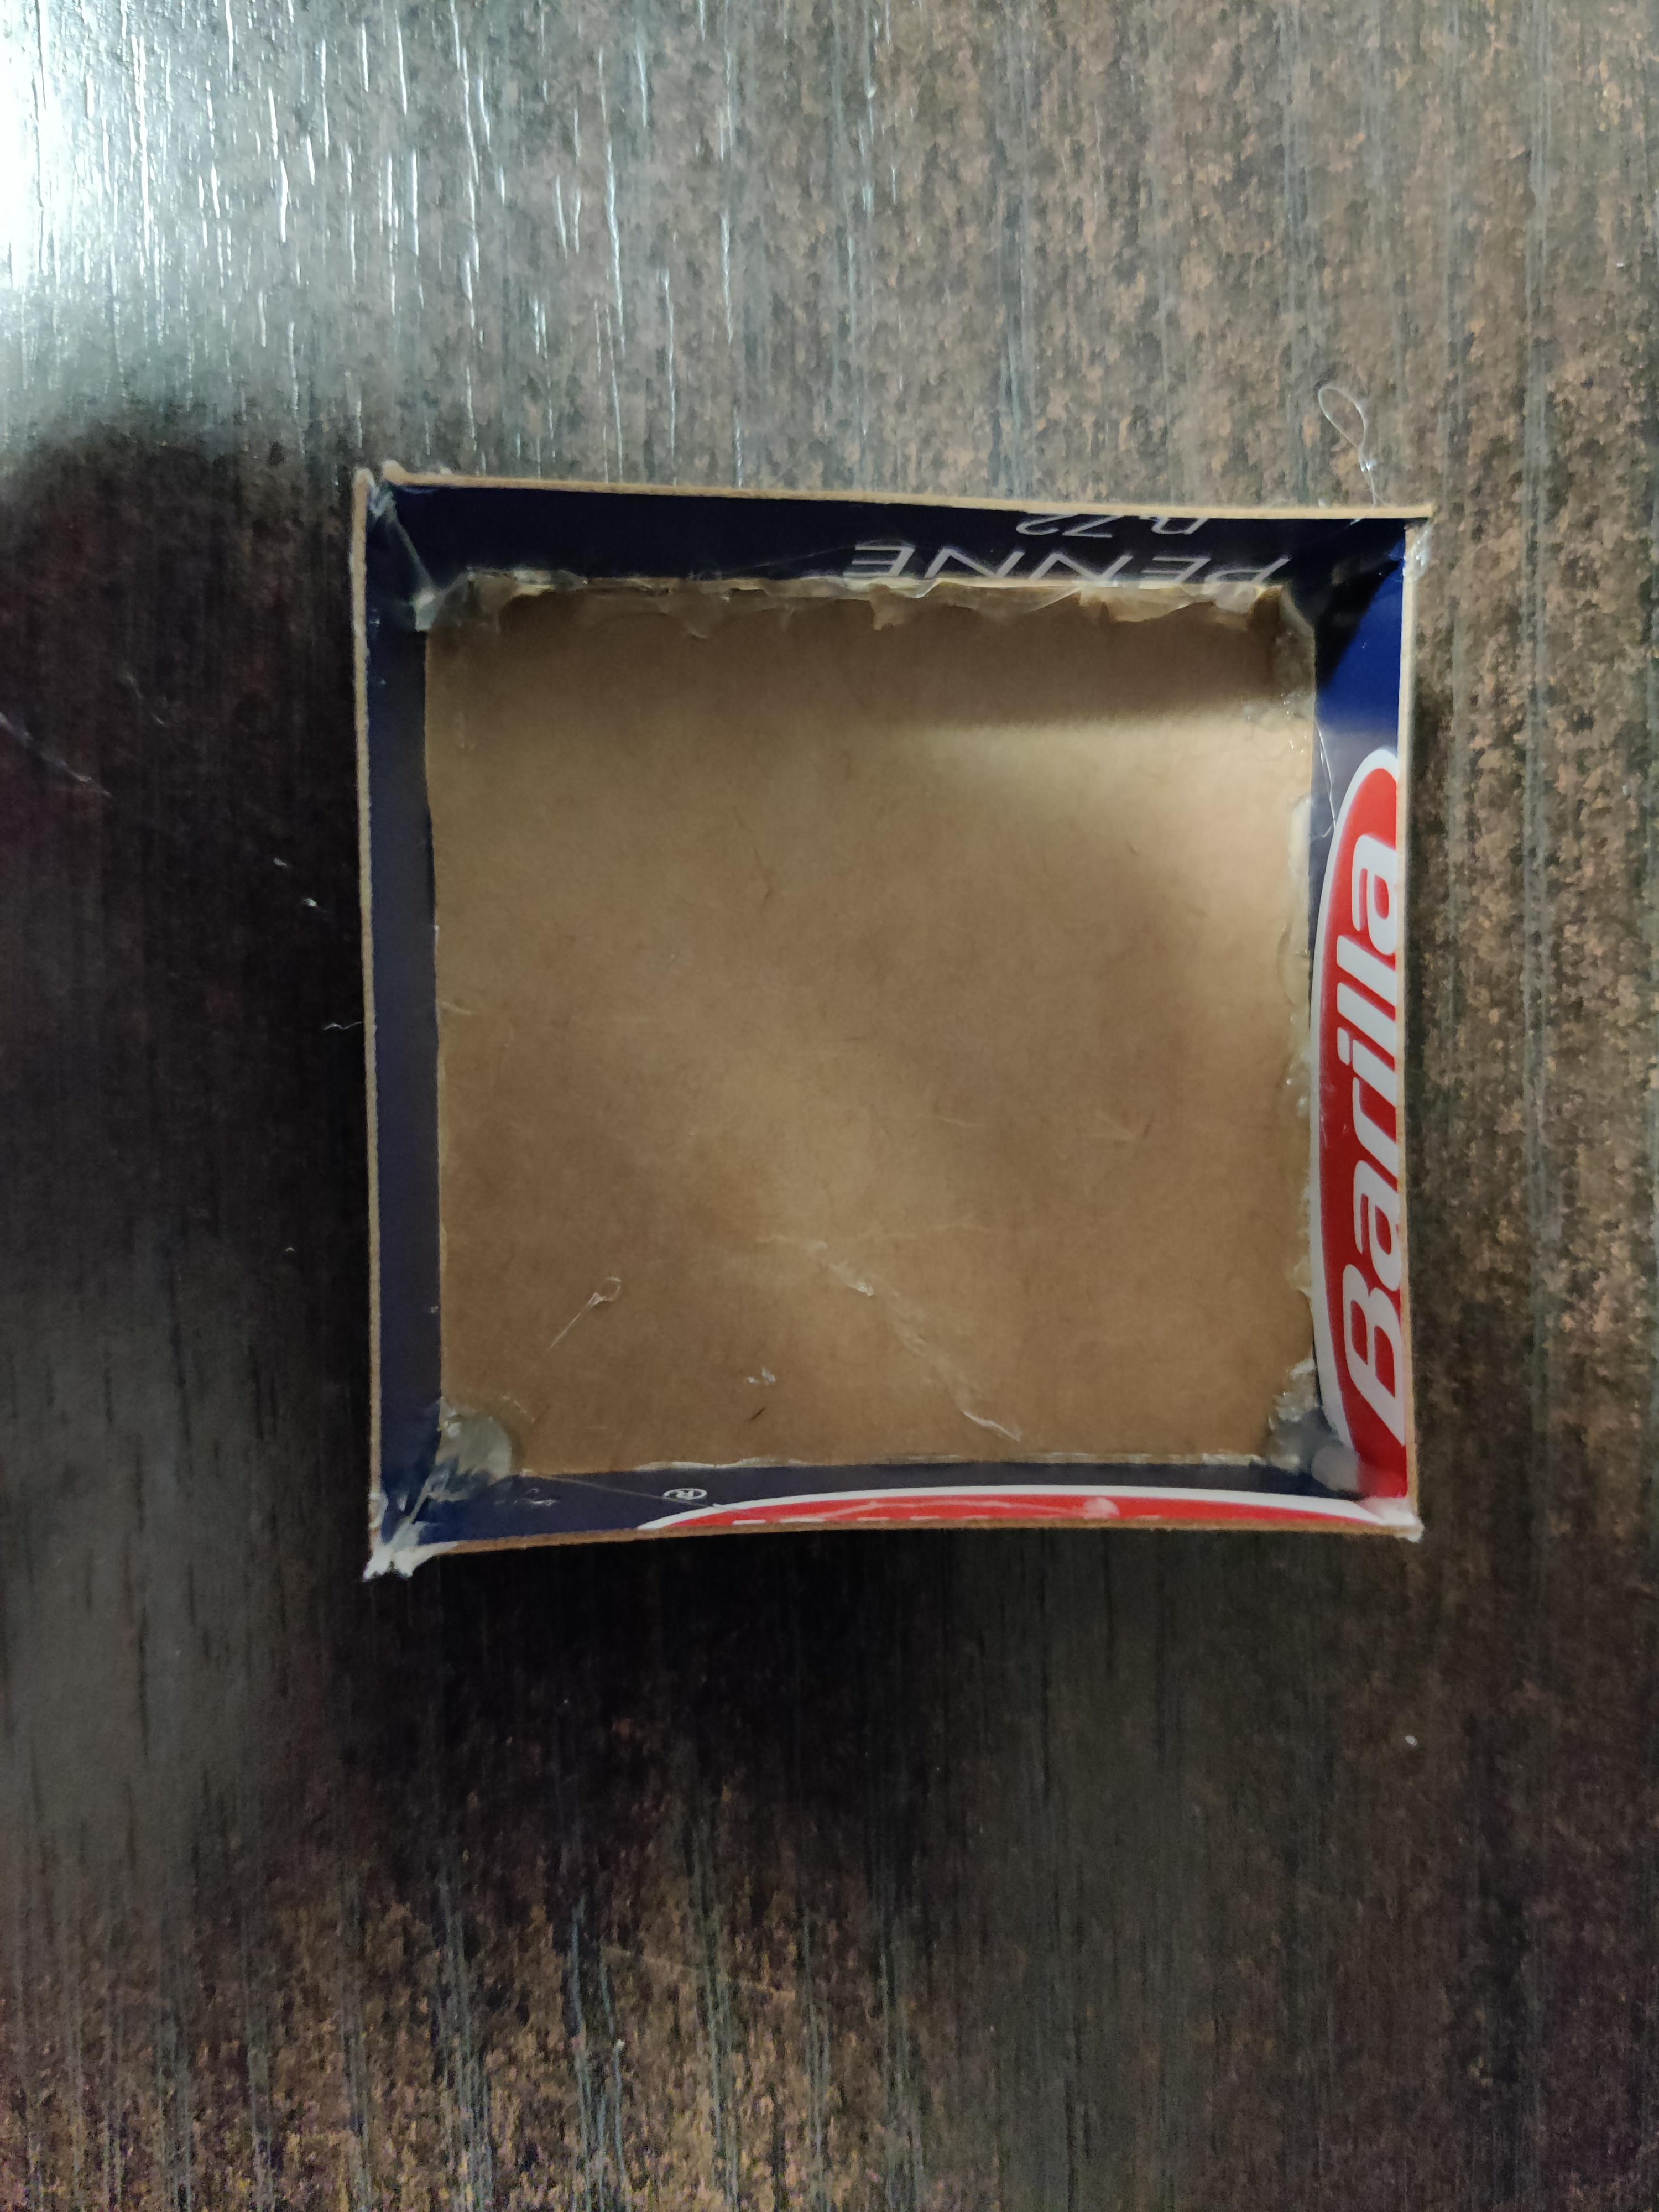
- A shoebox(or a regular box)
- Some cardboard scraps(I used a pasta box)
- Paper
- Tiny springs(10)
- Scissors
- Glue/hot glue
- Sharpie and/or pen
- Any device that a usb can plug into
- Ruler
- Pencils/pens
- Makey-Makey Kit
Creating the Buttons

- Start off by creating some buttons for the game!
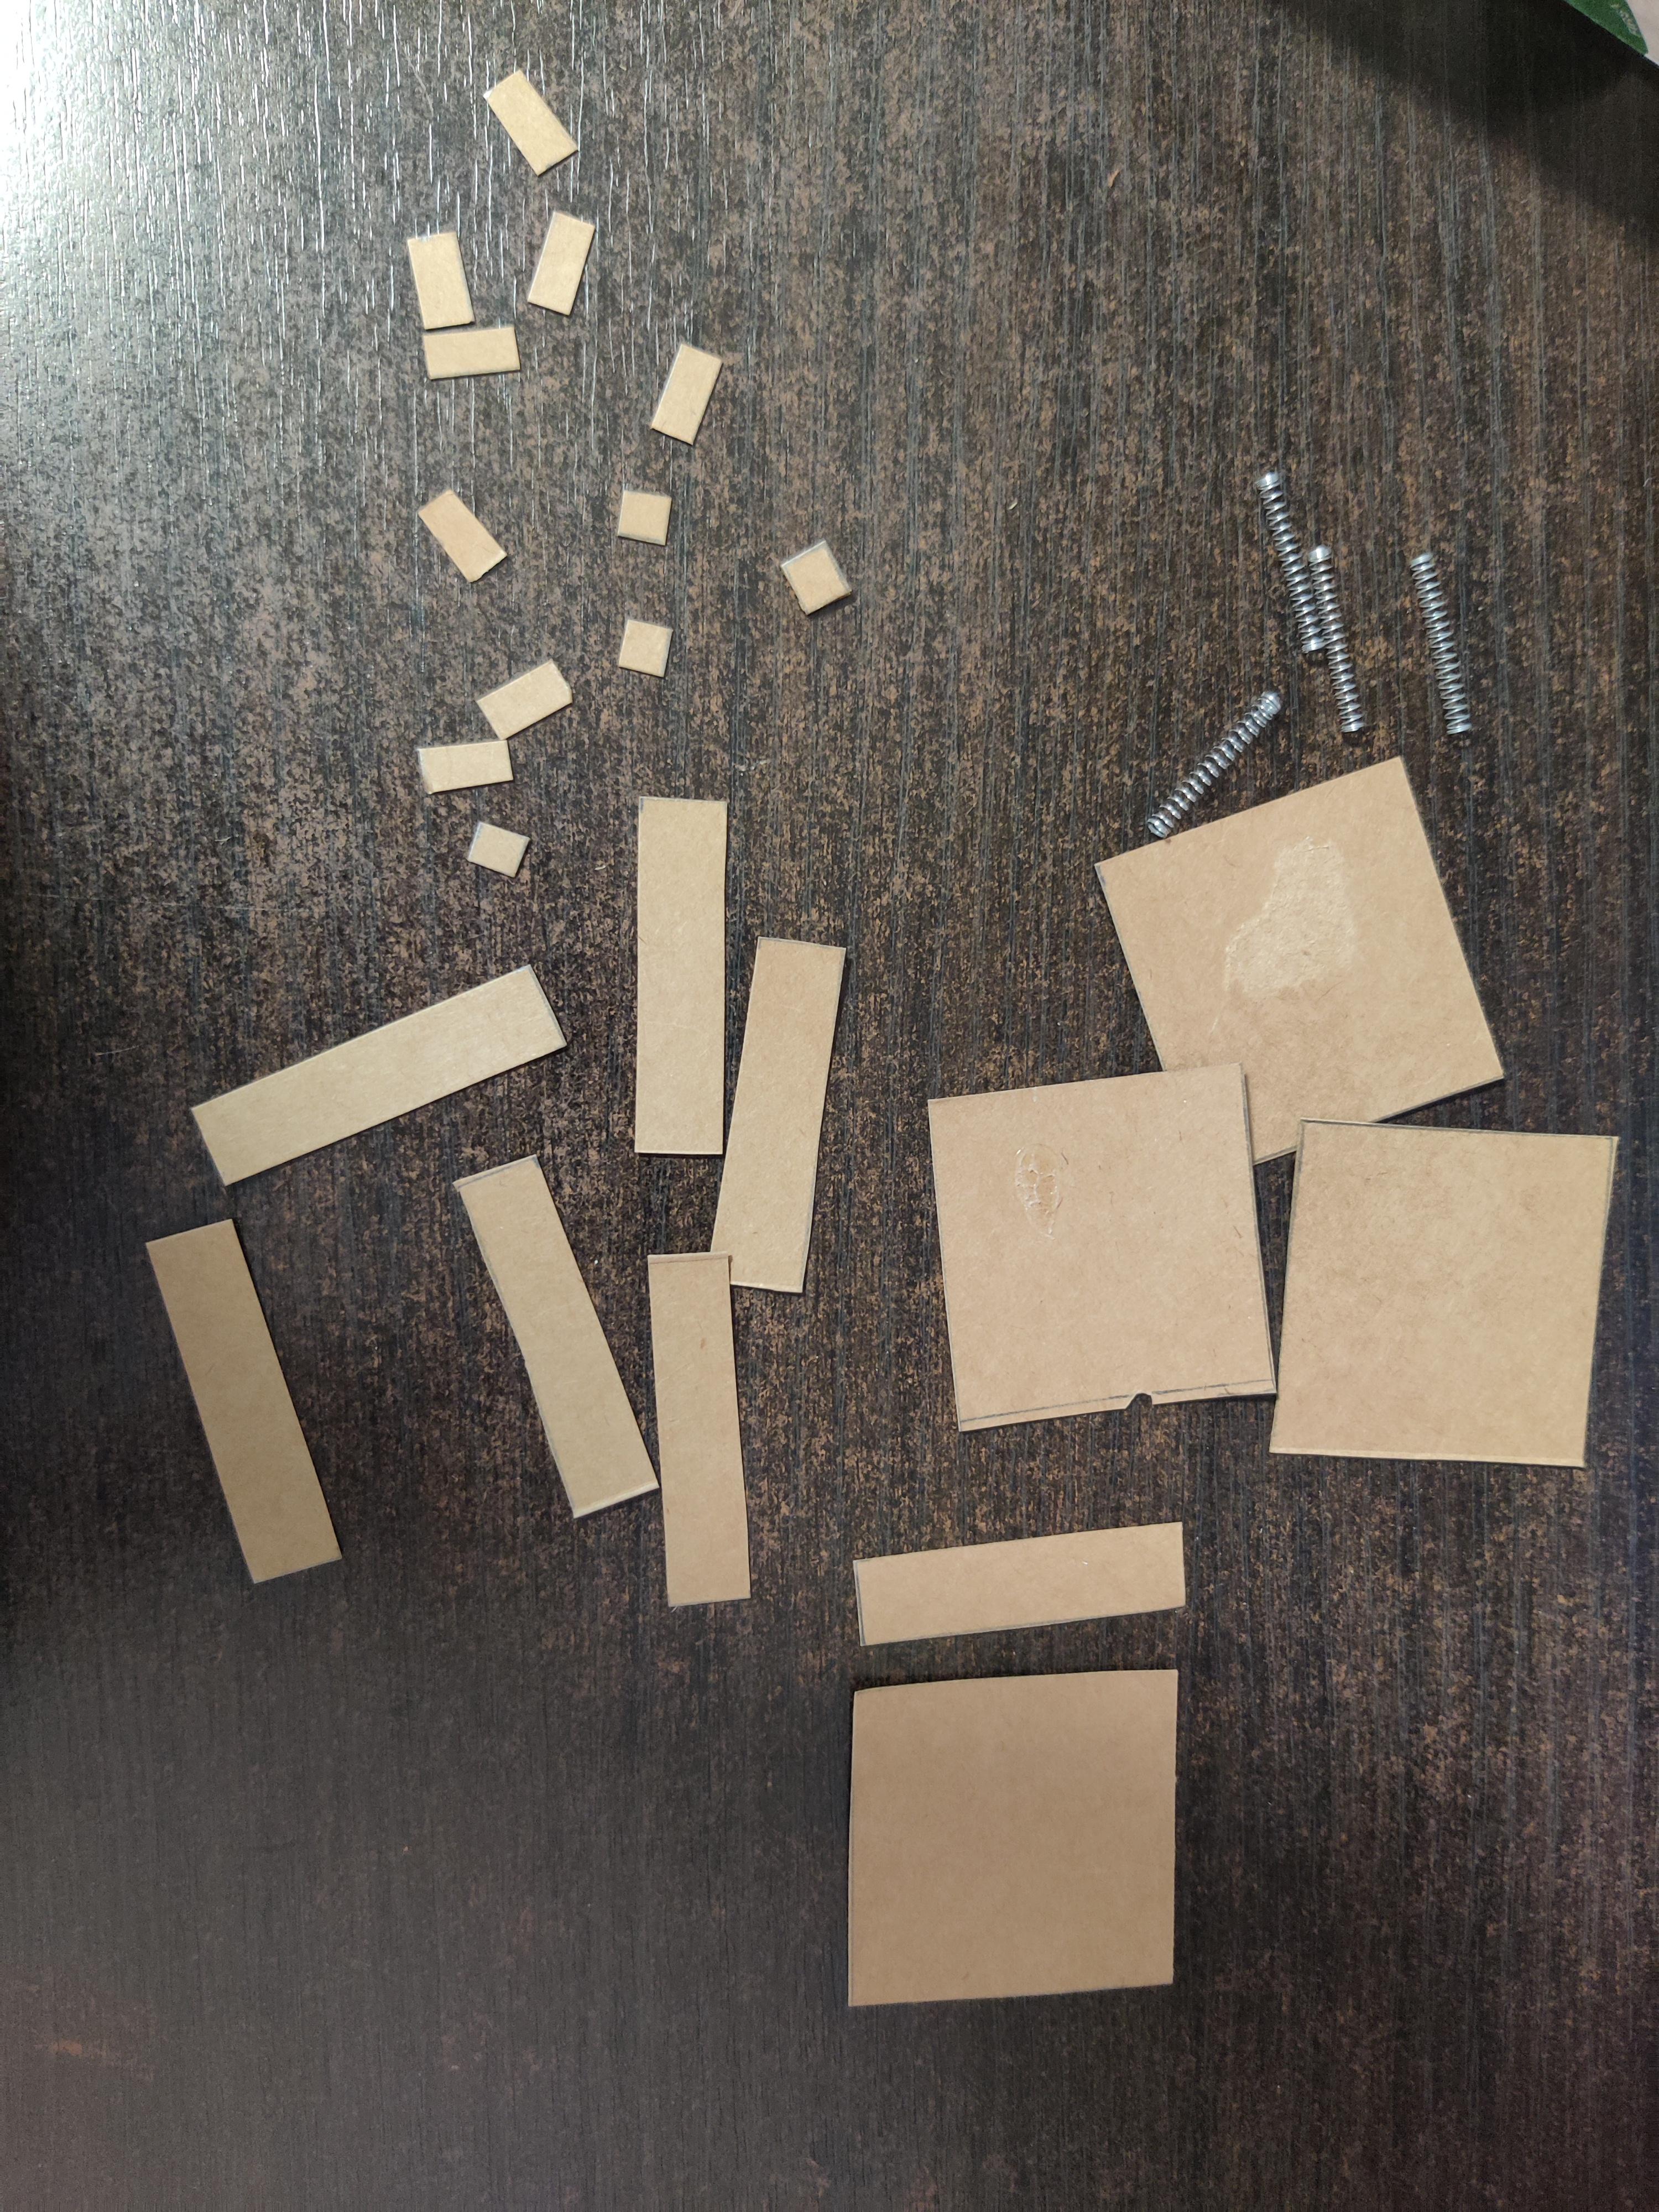
- First take out the cardboard scraps(in my case pasta box), scissors, ruler, glue gun/ glue
- Start to heat up the hot glue gun.(If you are using it)
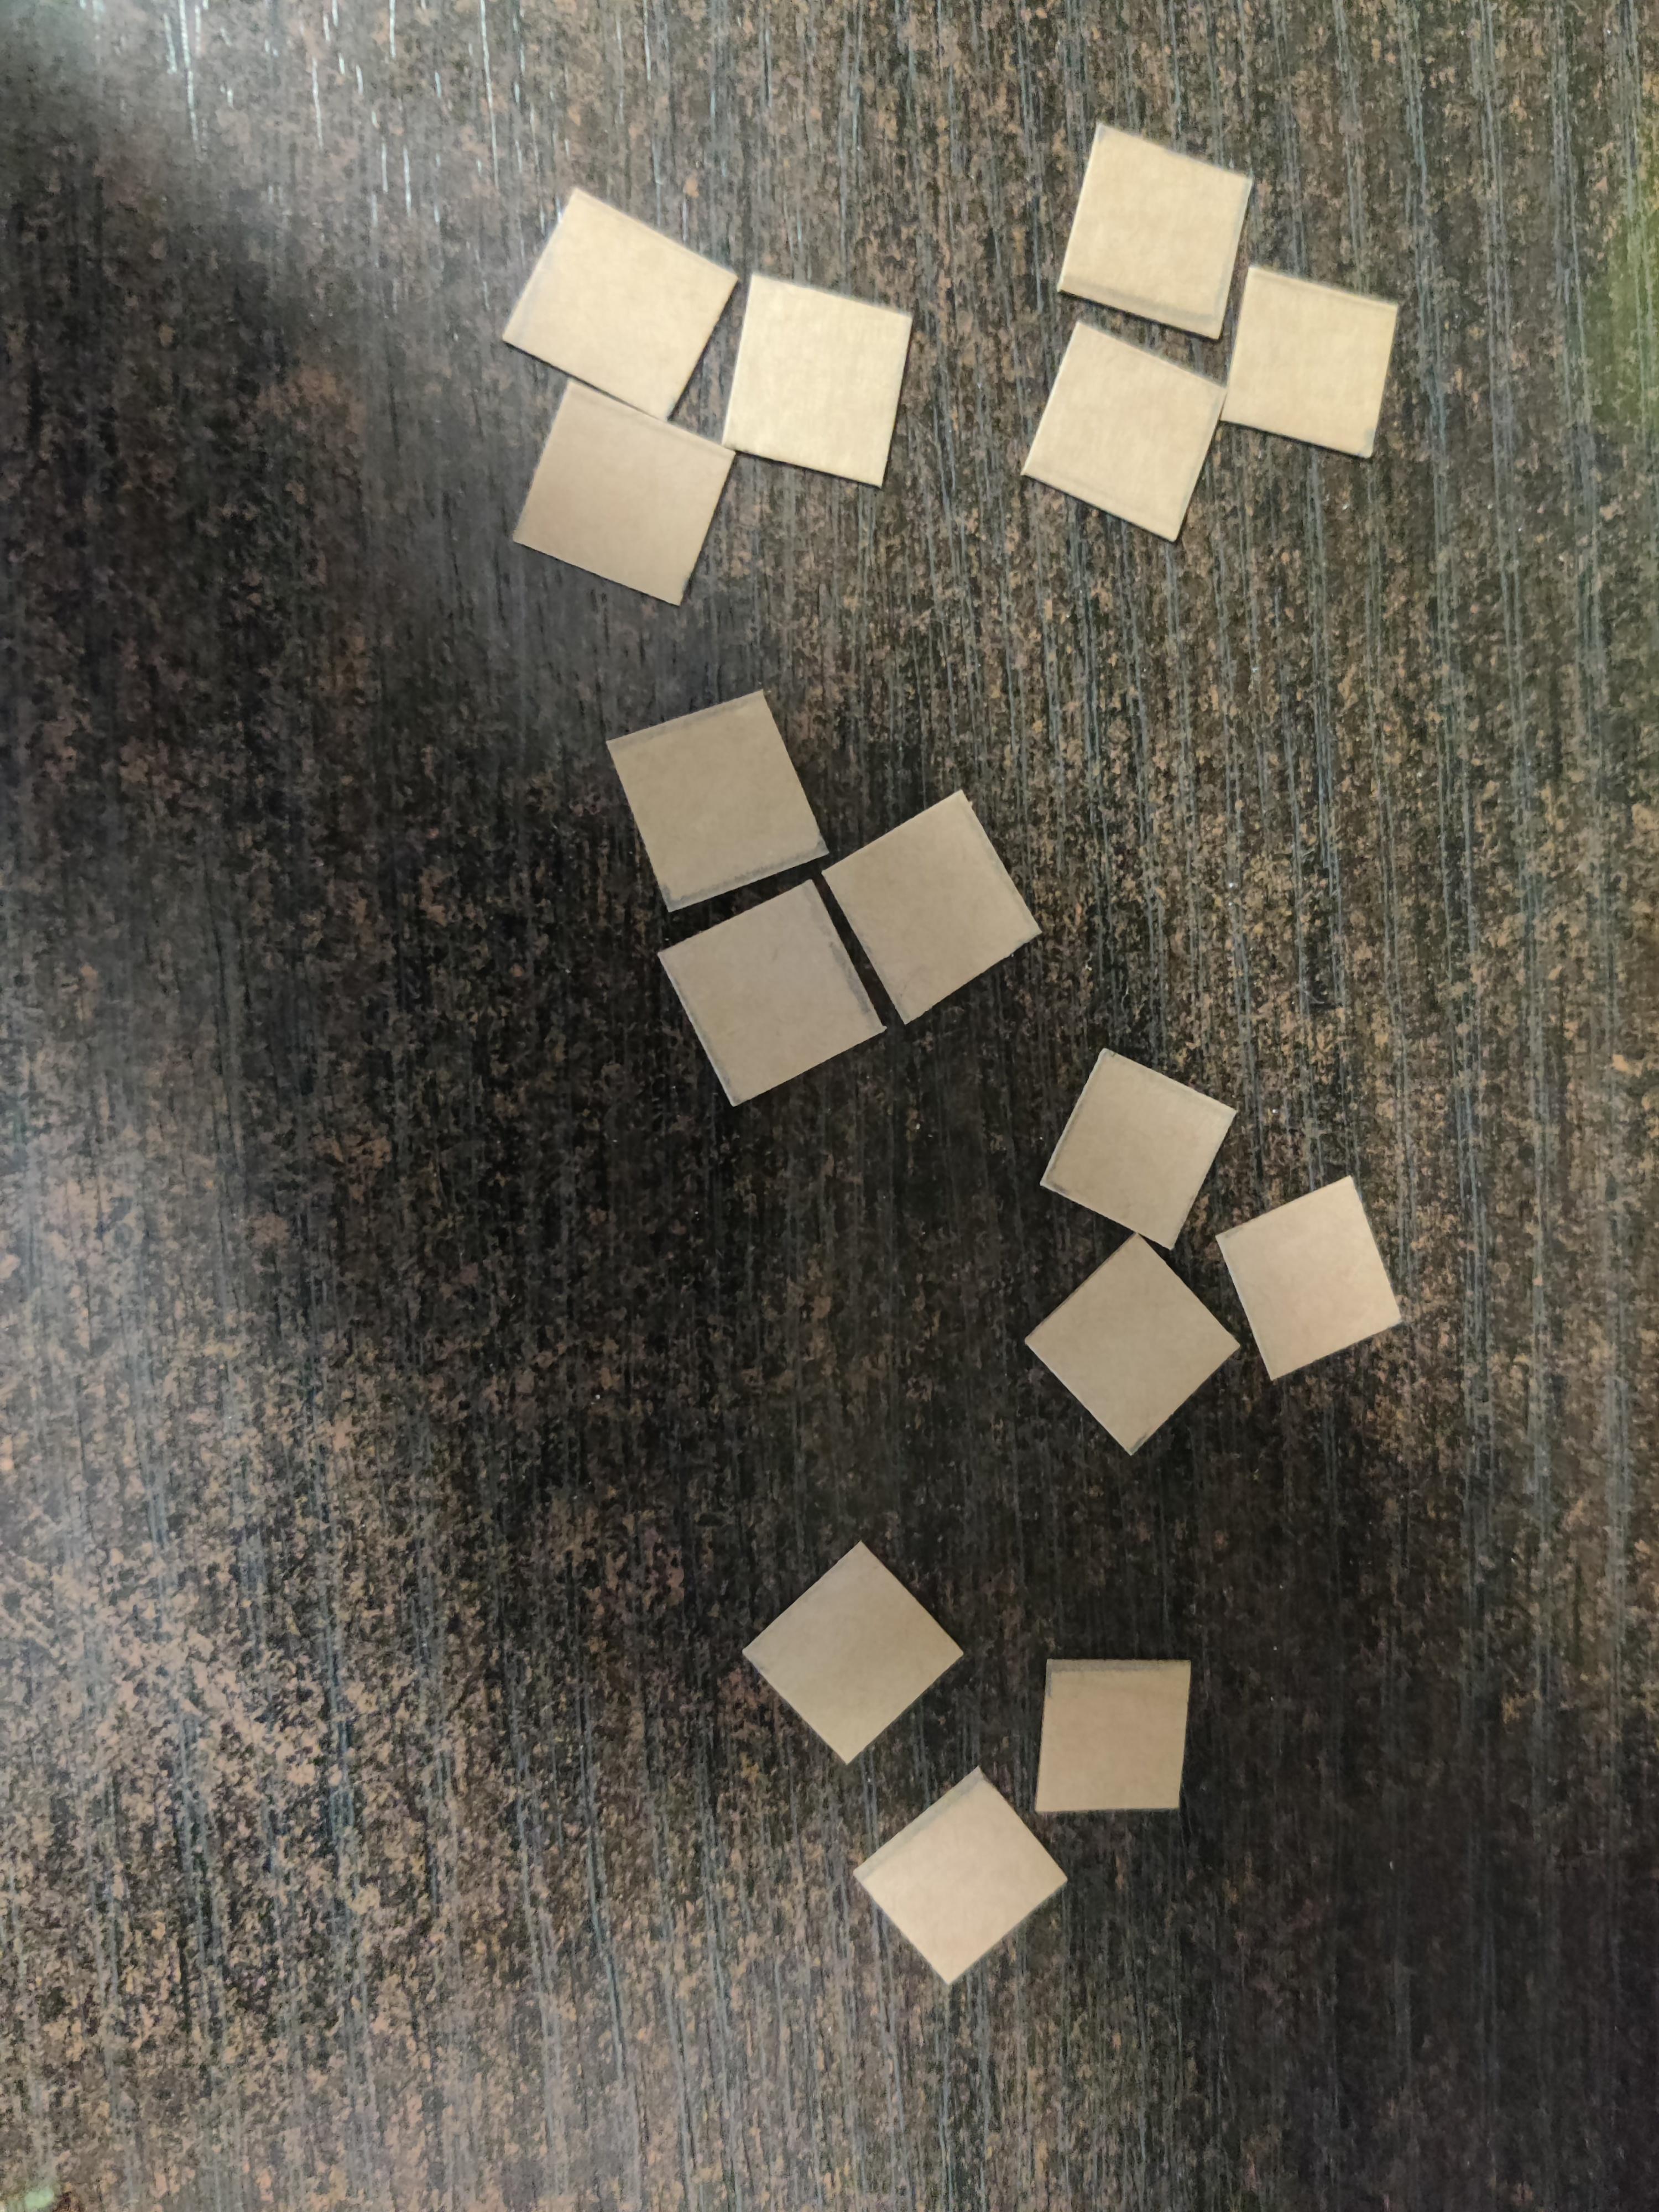
- Measure out 2x2 inch squares on the pasta box.
- Draw out 10 of them. Measure out 1/2x2 inch rectangles on the pasta box.
- Draw 20 of those Measure a 1/2x1/2 inch rectangle.
- Draw out 15 of those again Cut out all the squares/rectangles you drew.
- Now hot glue the 1/2x2 inch rectangles onto the 2x2 squares, 4 of the 1/2x2 rectangles per square.
- After 4 rectangles have been hot glued, hot glue the 2x2 inch square on top of those rectangles
- Repeat for another button
- Now find the middle of the square and mark it
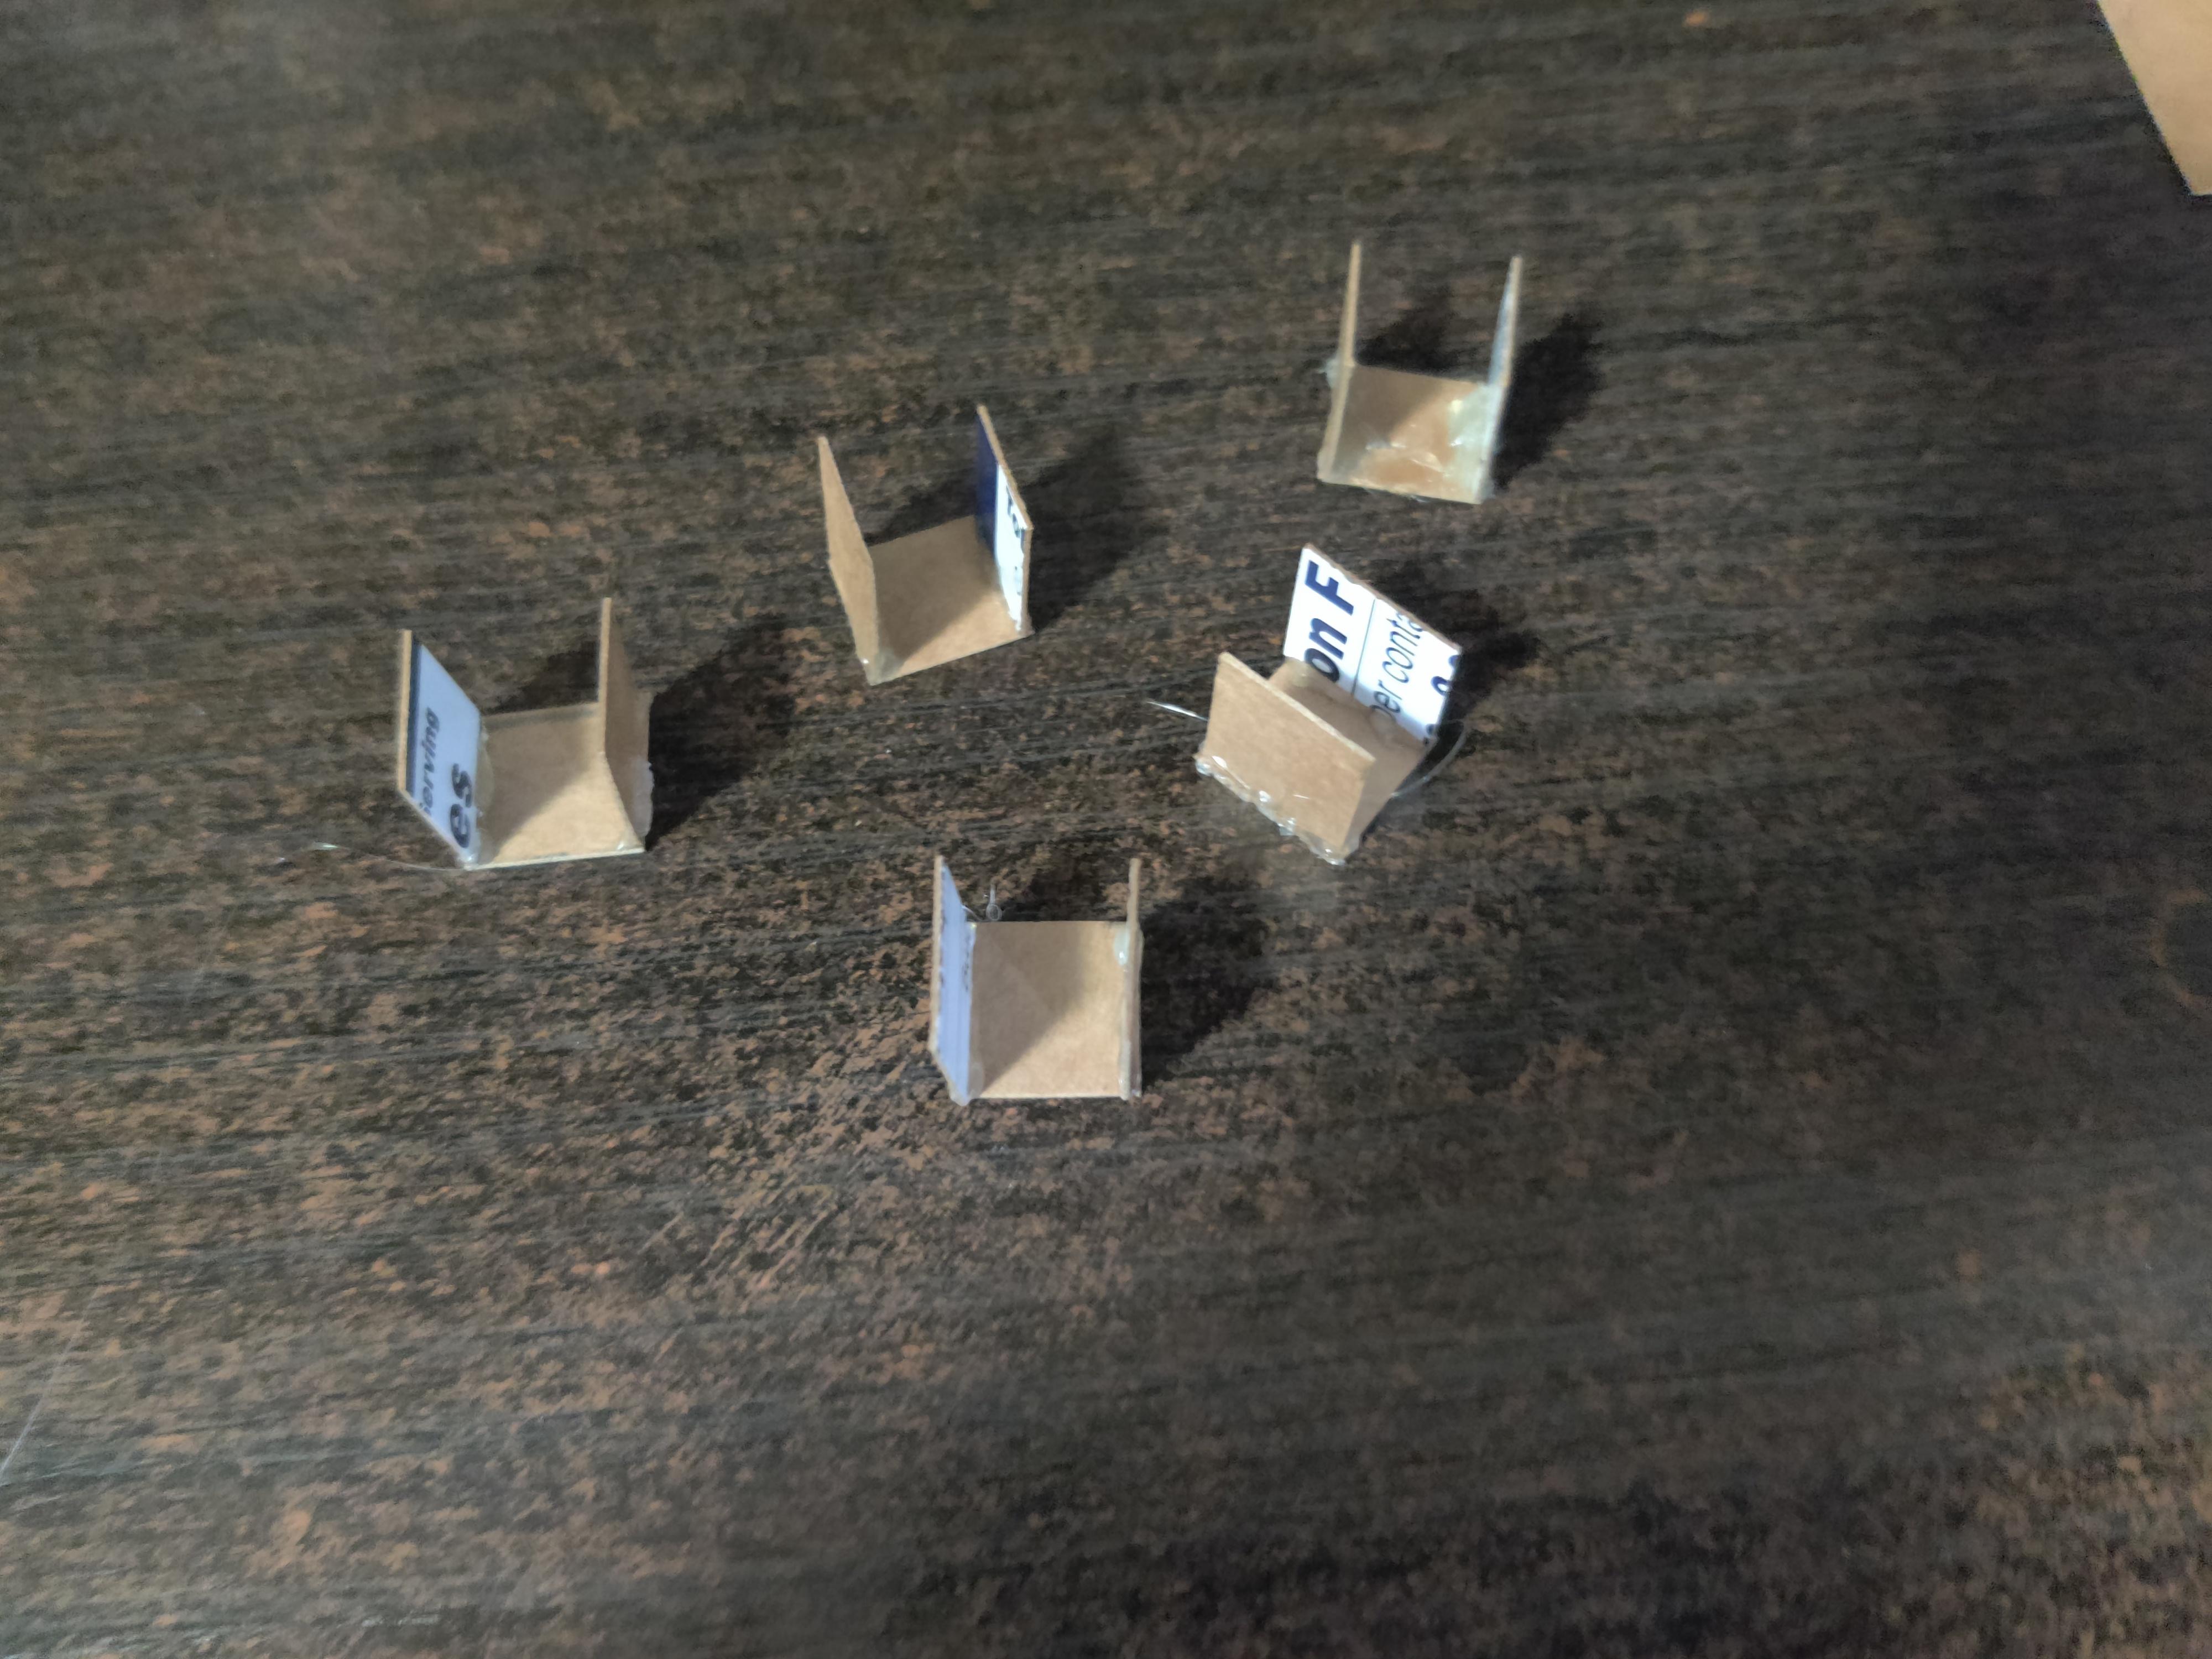
- Hot glue together the 1/2x1/2 inch rectangles such that it forms almost a rectangular prism(3 per “rectangular prism”). Place the middle of the 1/2x1/2 rectangle on top of the middle of a side of the 1/2x1/2 square and hot glue that.
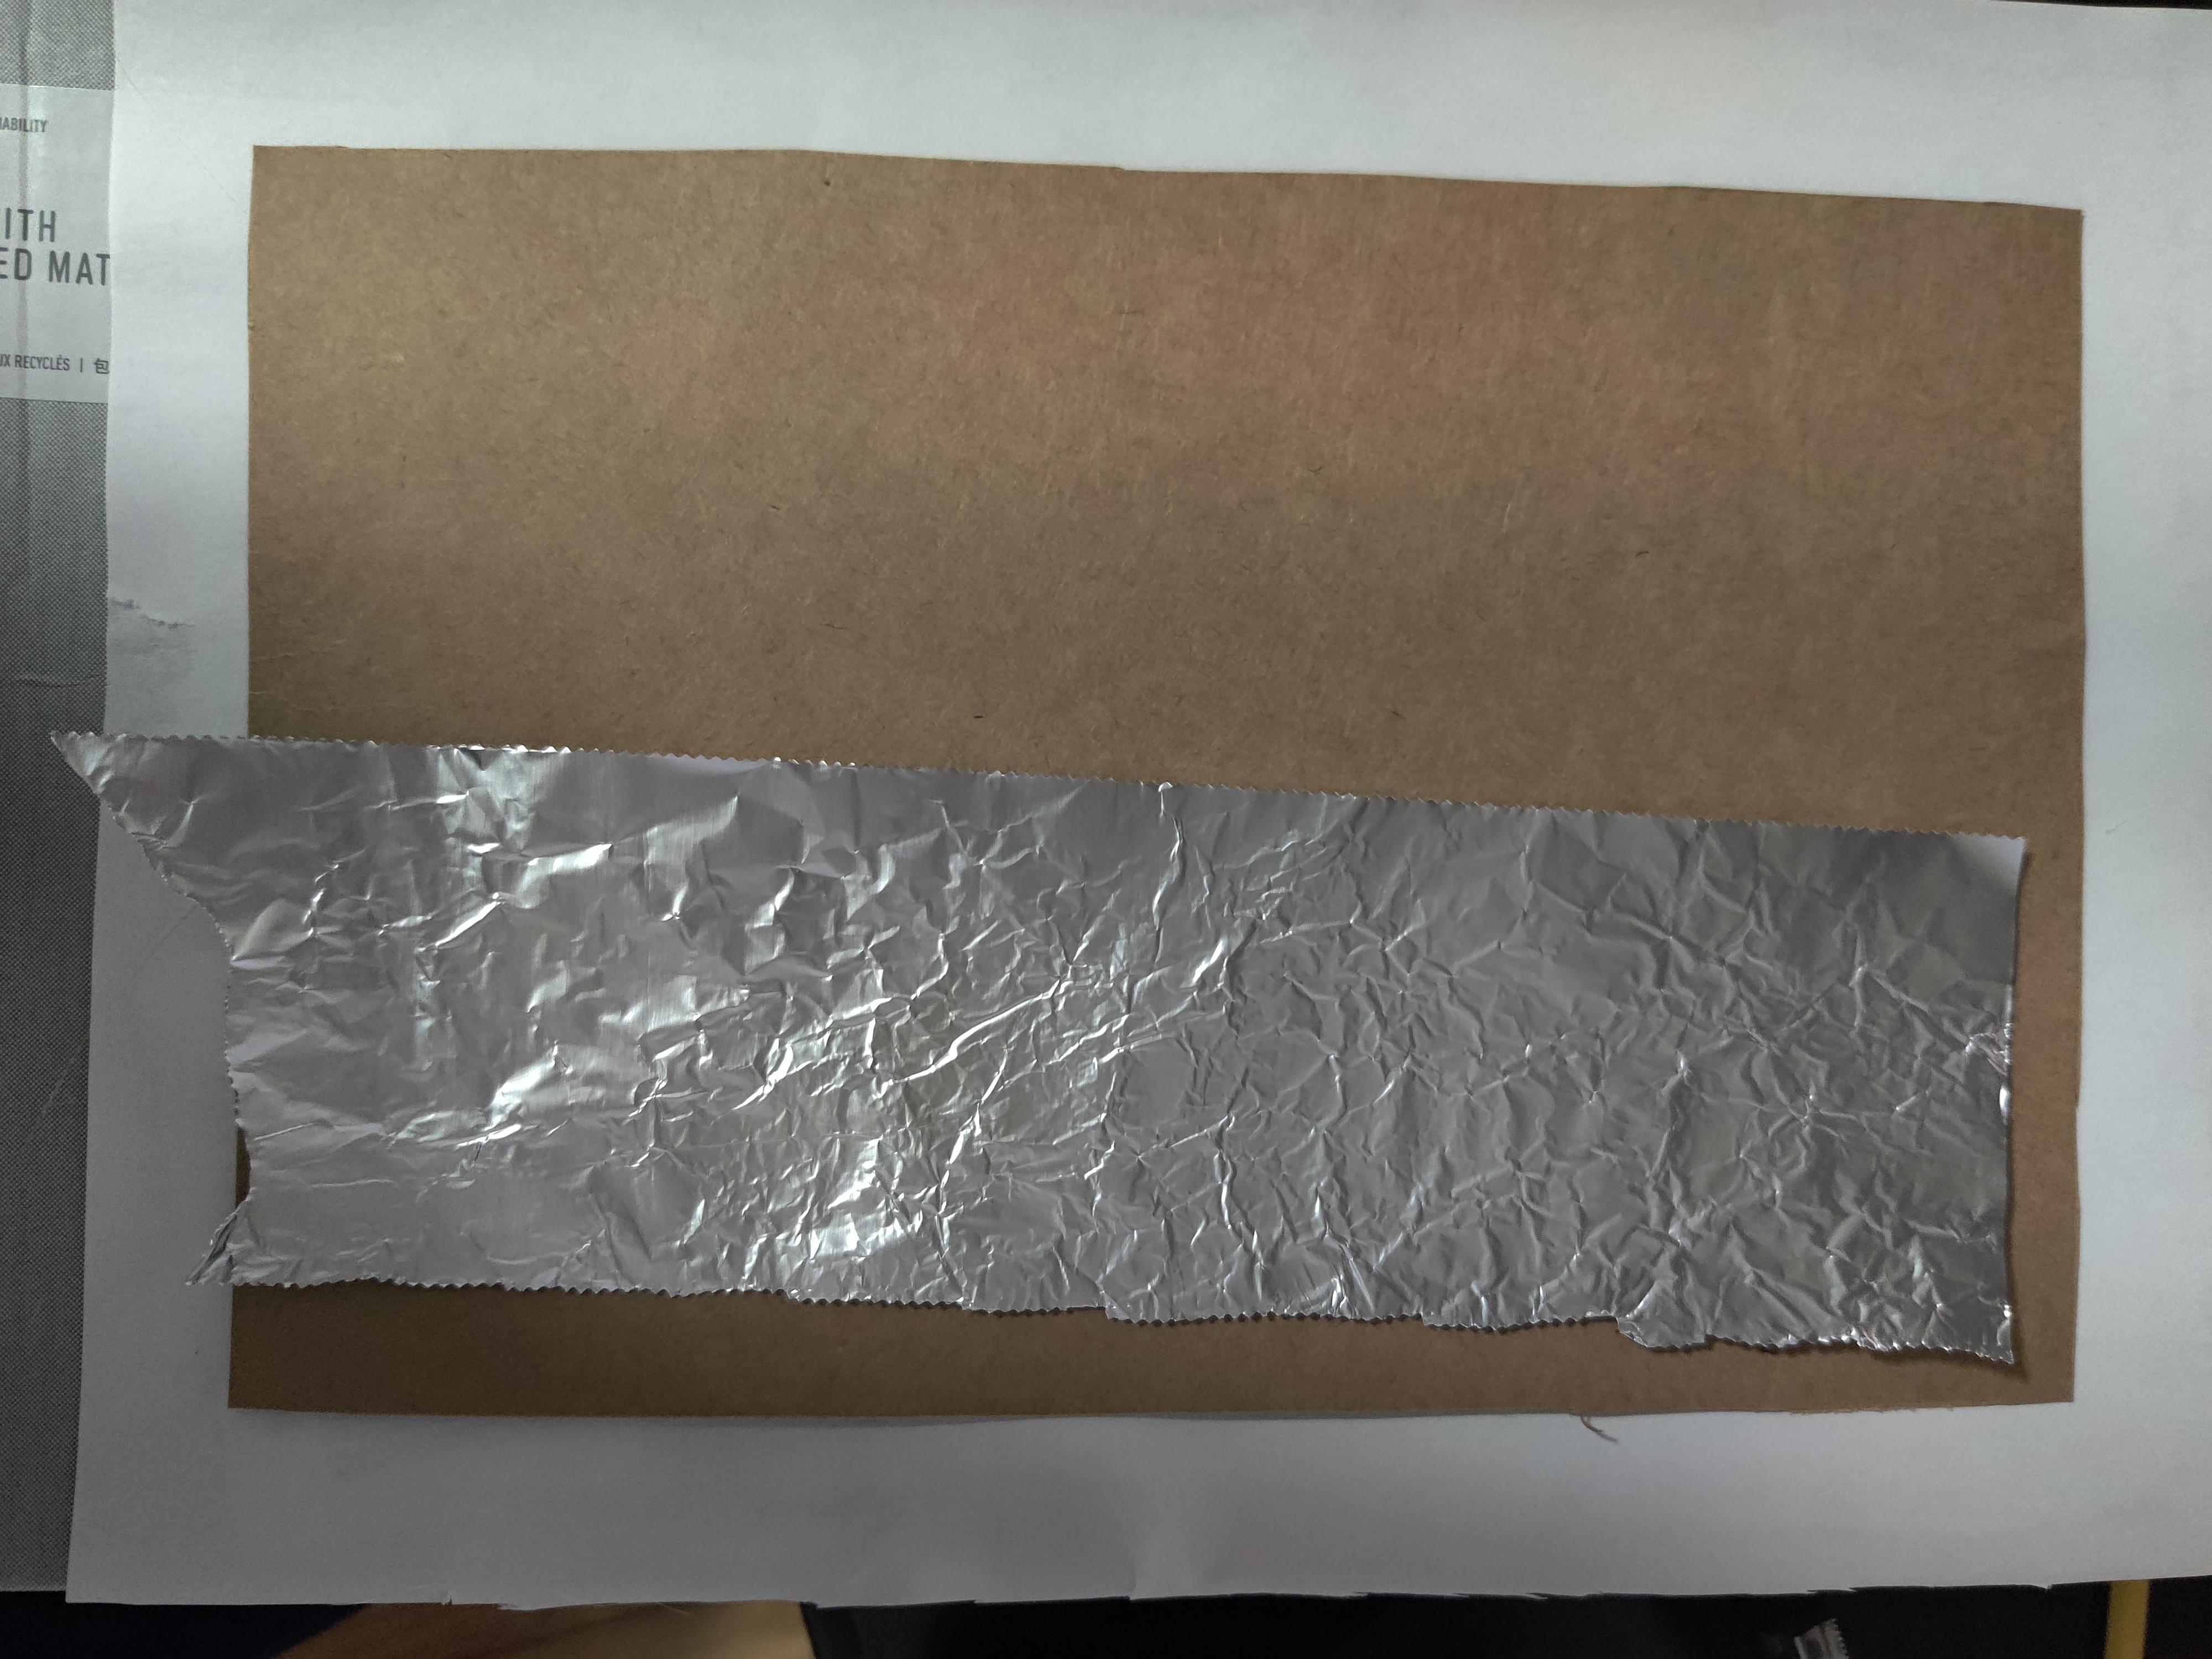
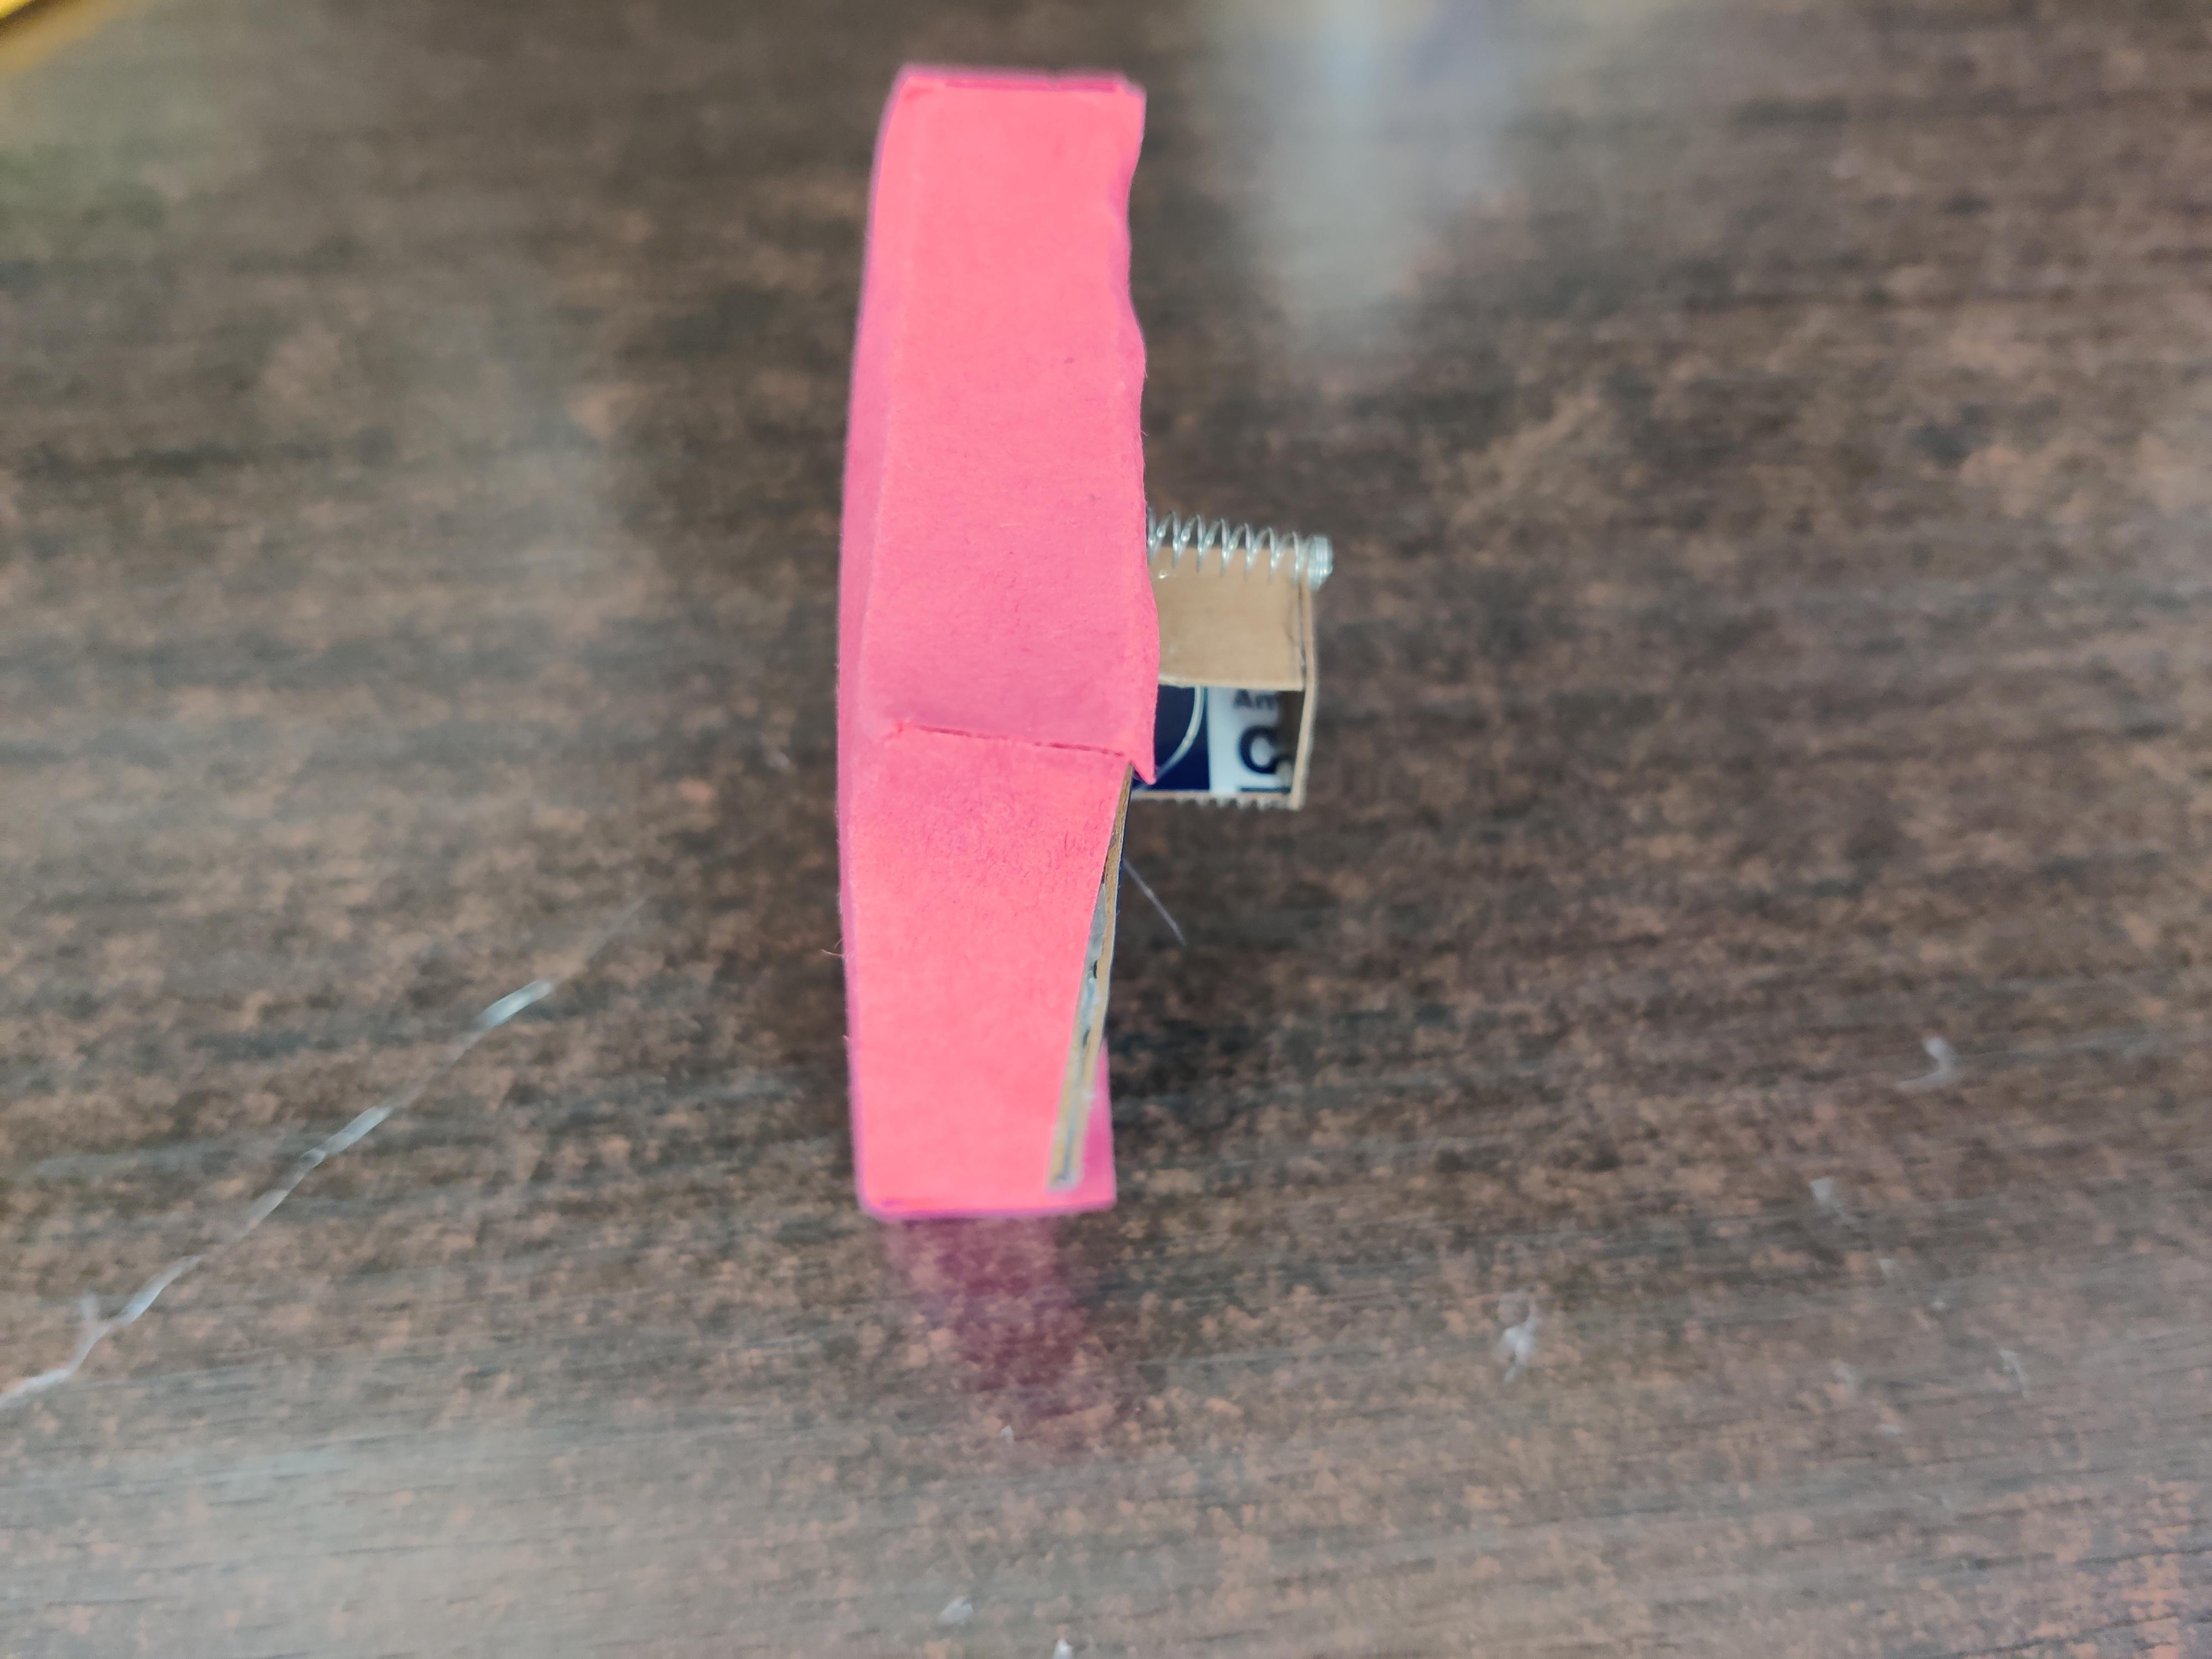
- Take out the 10 tiny springs and hot glue them onto the 1/2x1/2 square on the side with the rectangular prism. 1 spring should go above the prism and 1 should go below. Each button should only have 2 springs.
- Attach aluminum foil onto the rectangular prisms on the back of the button
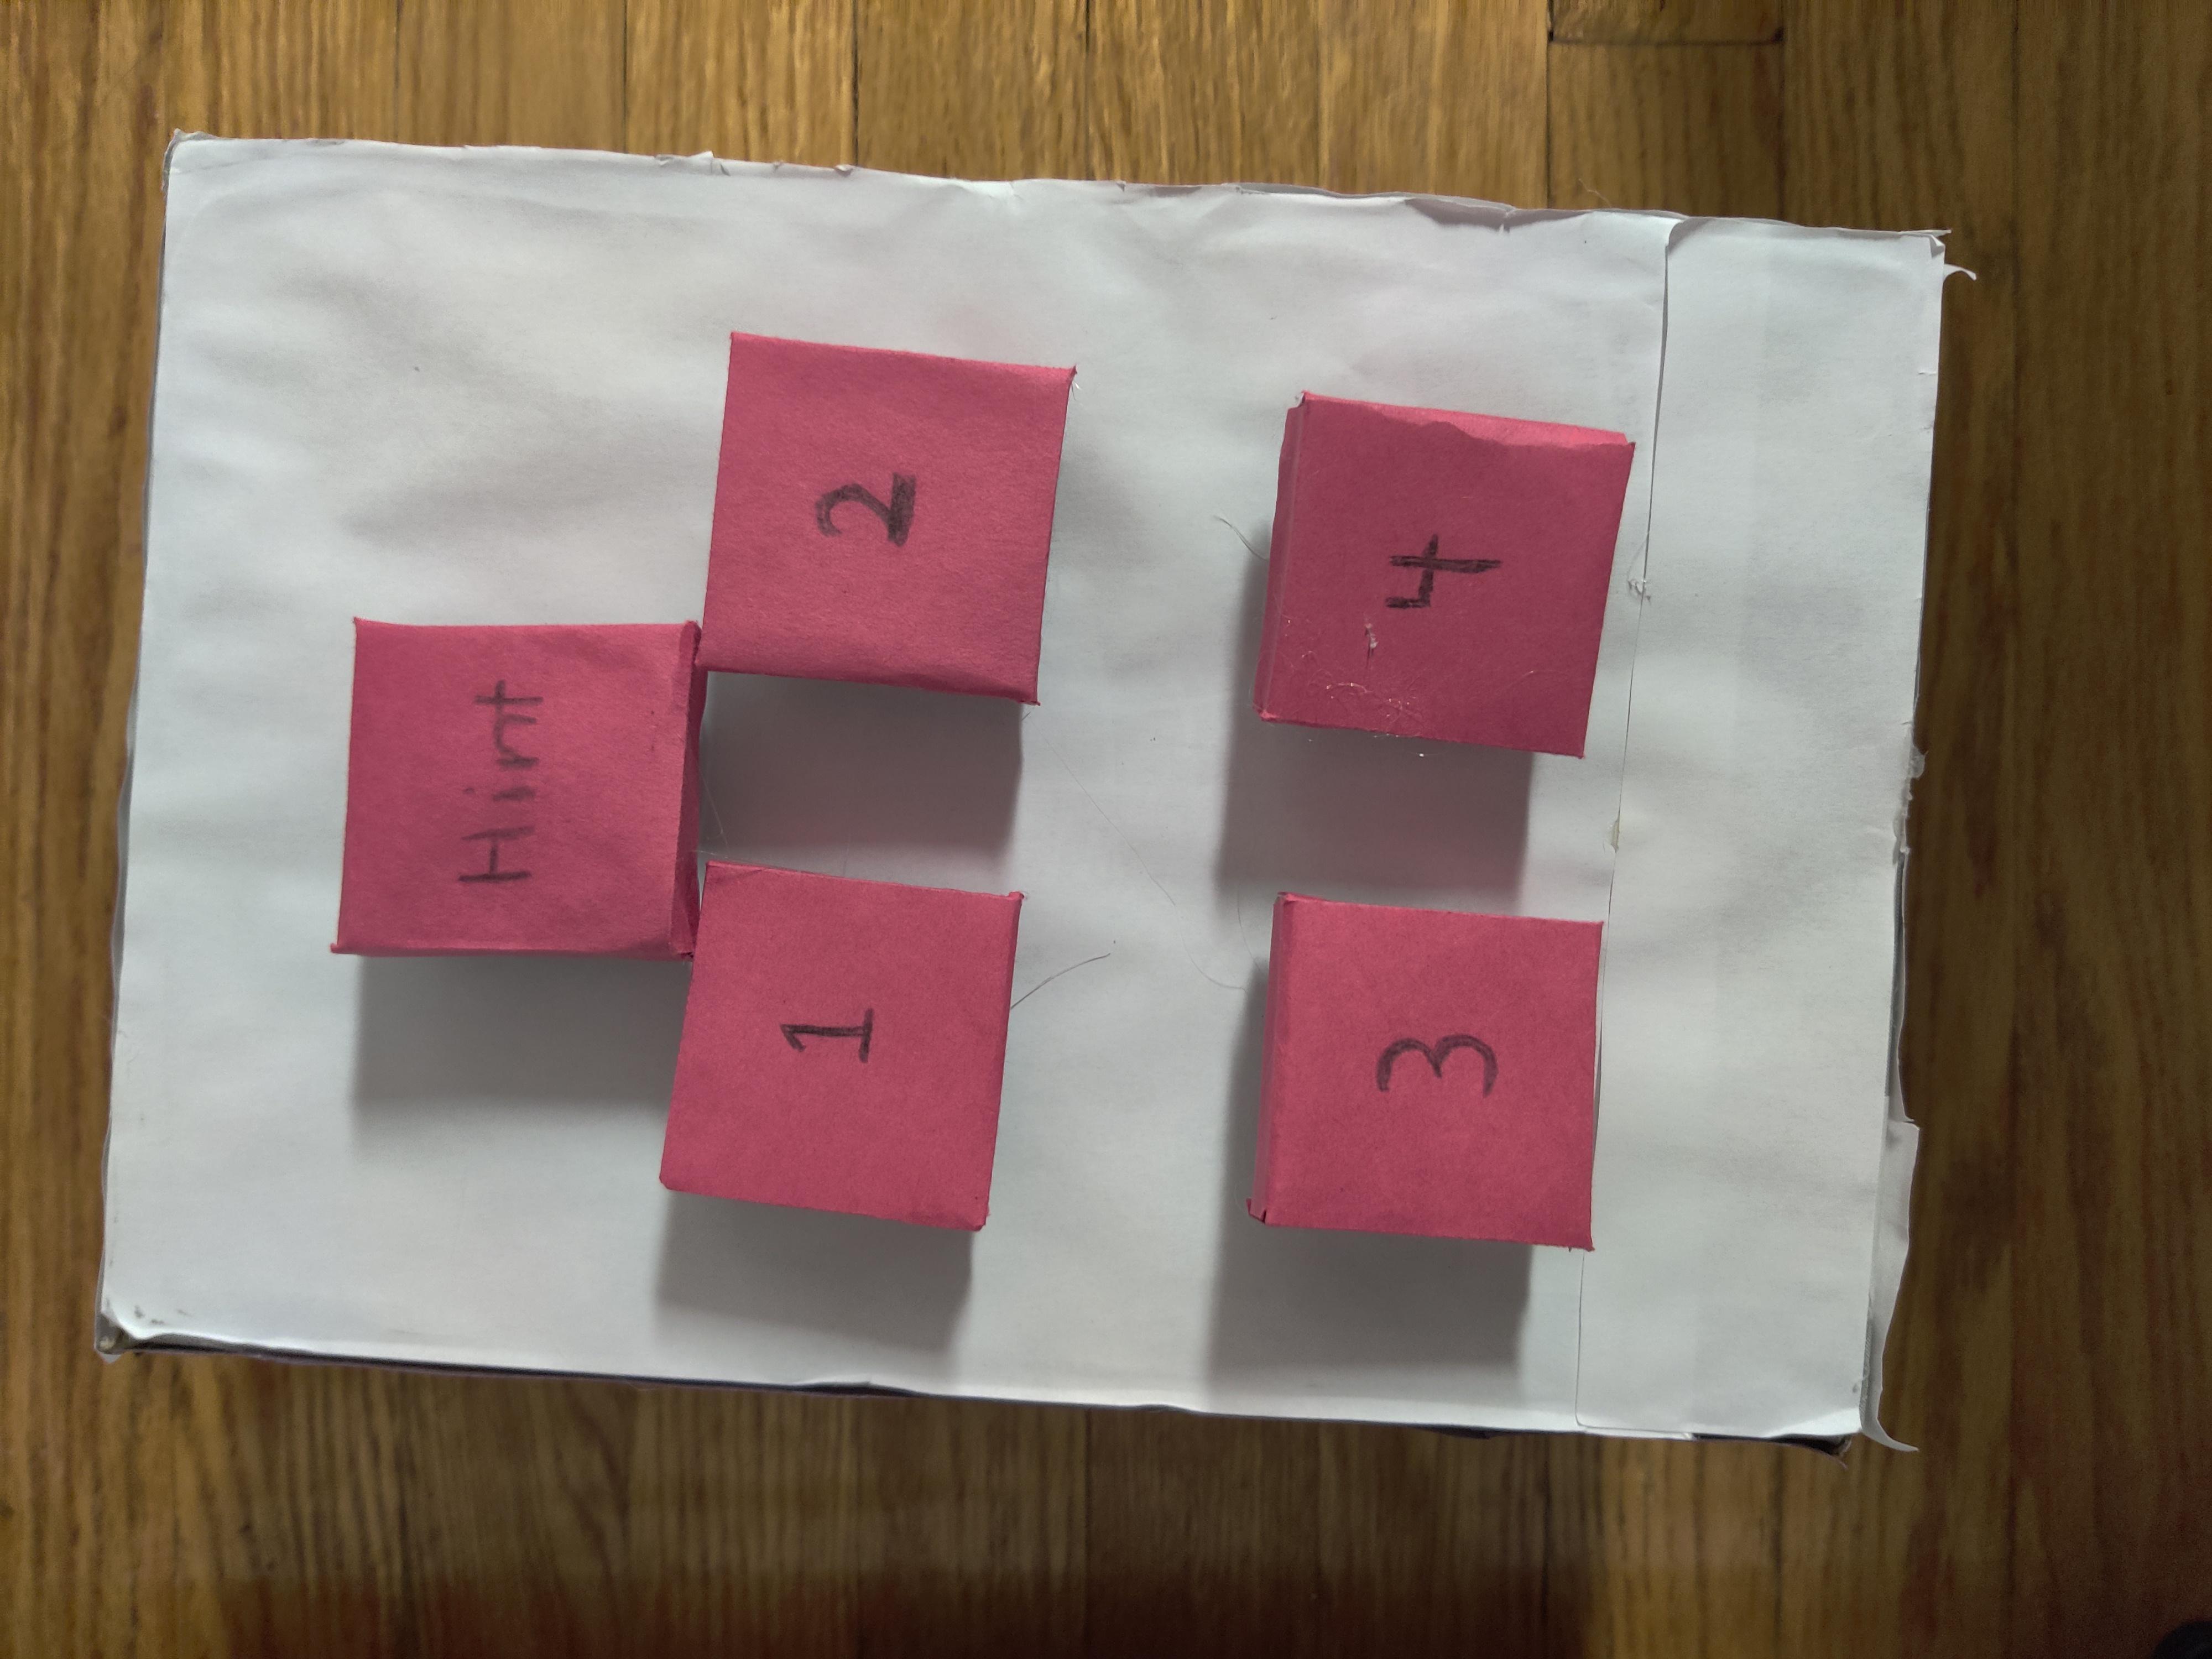
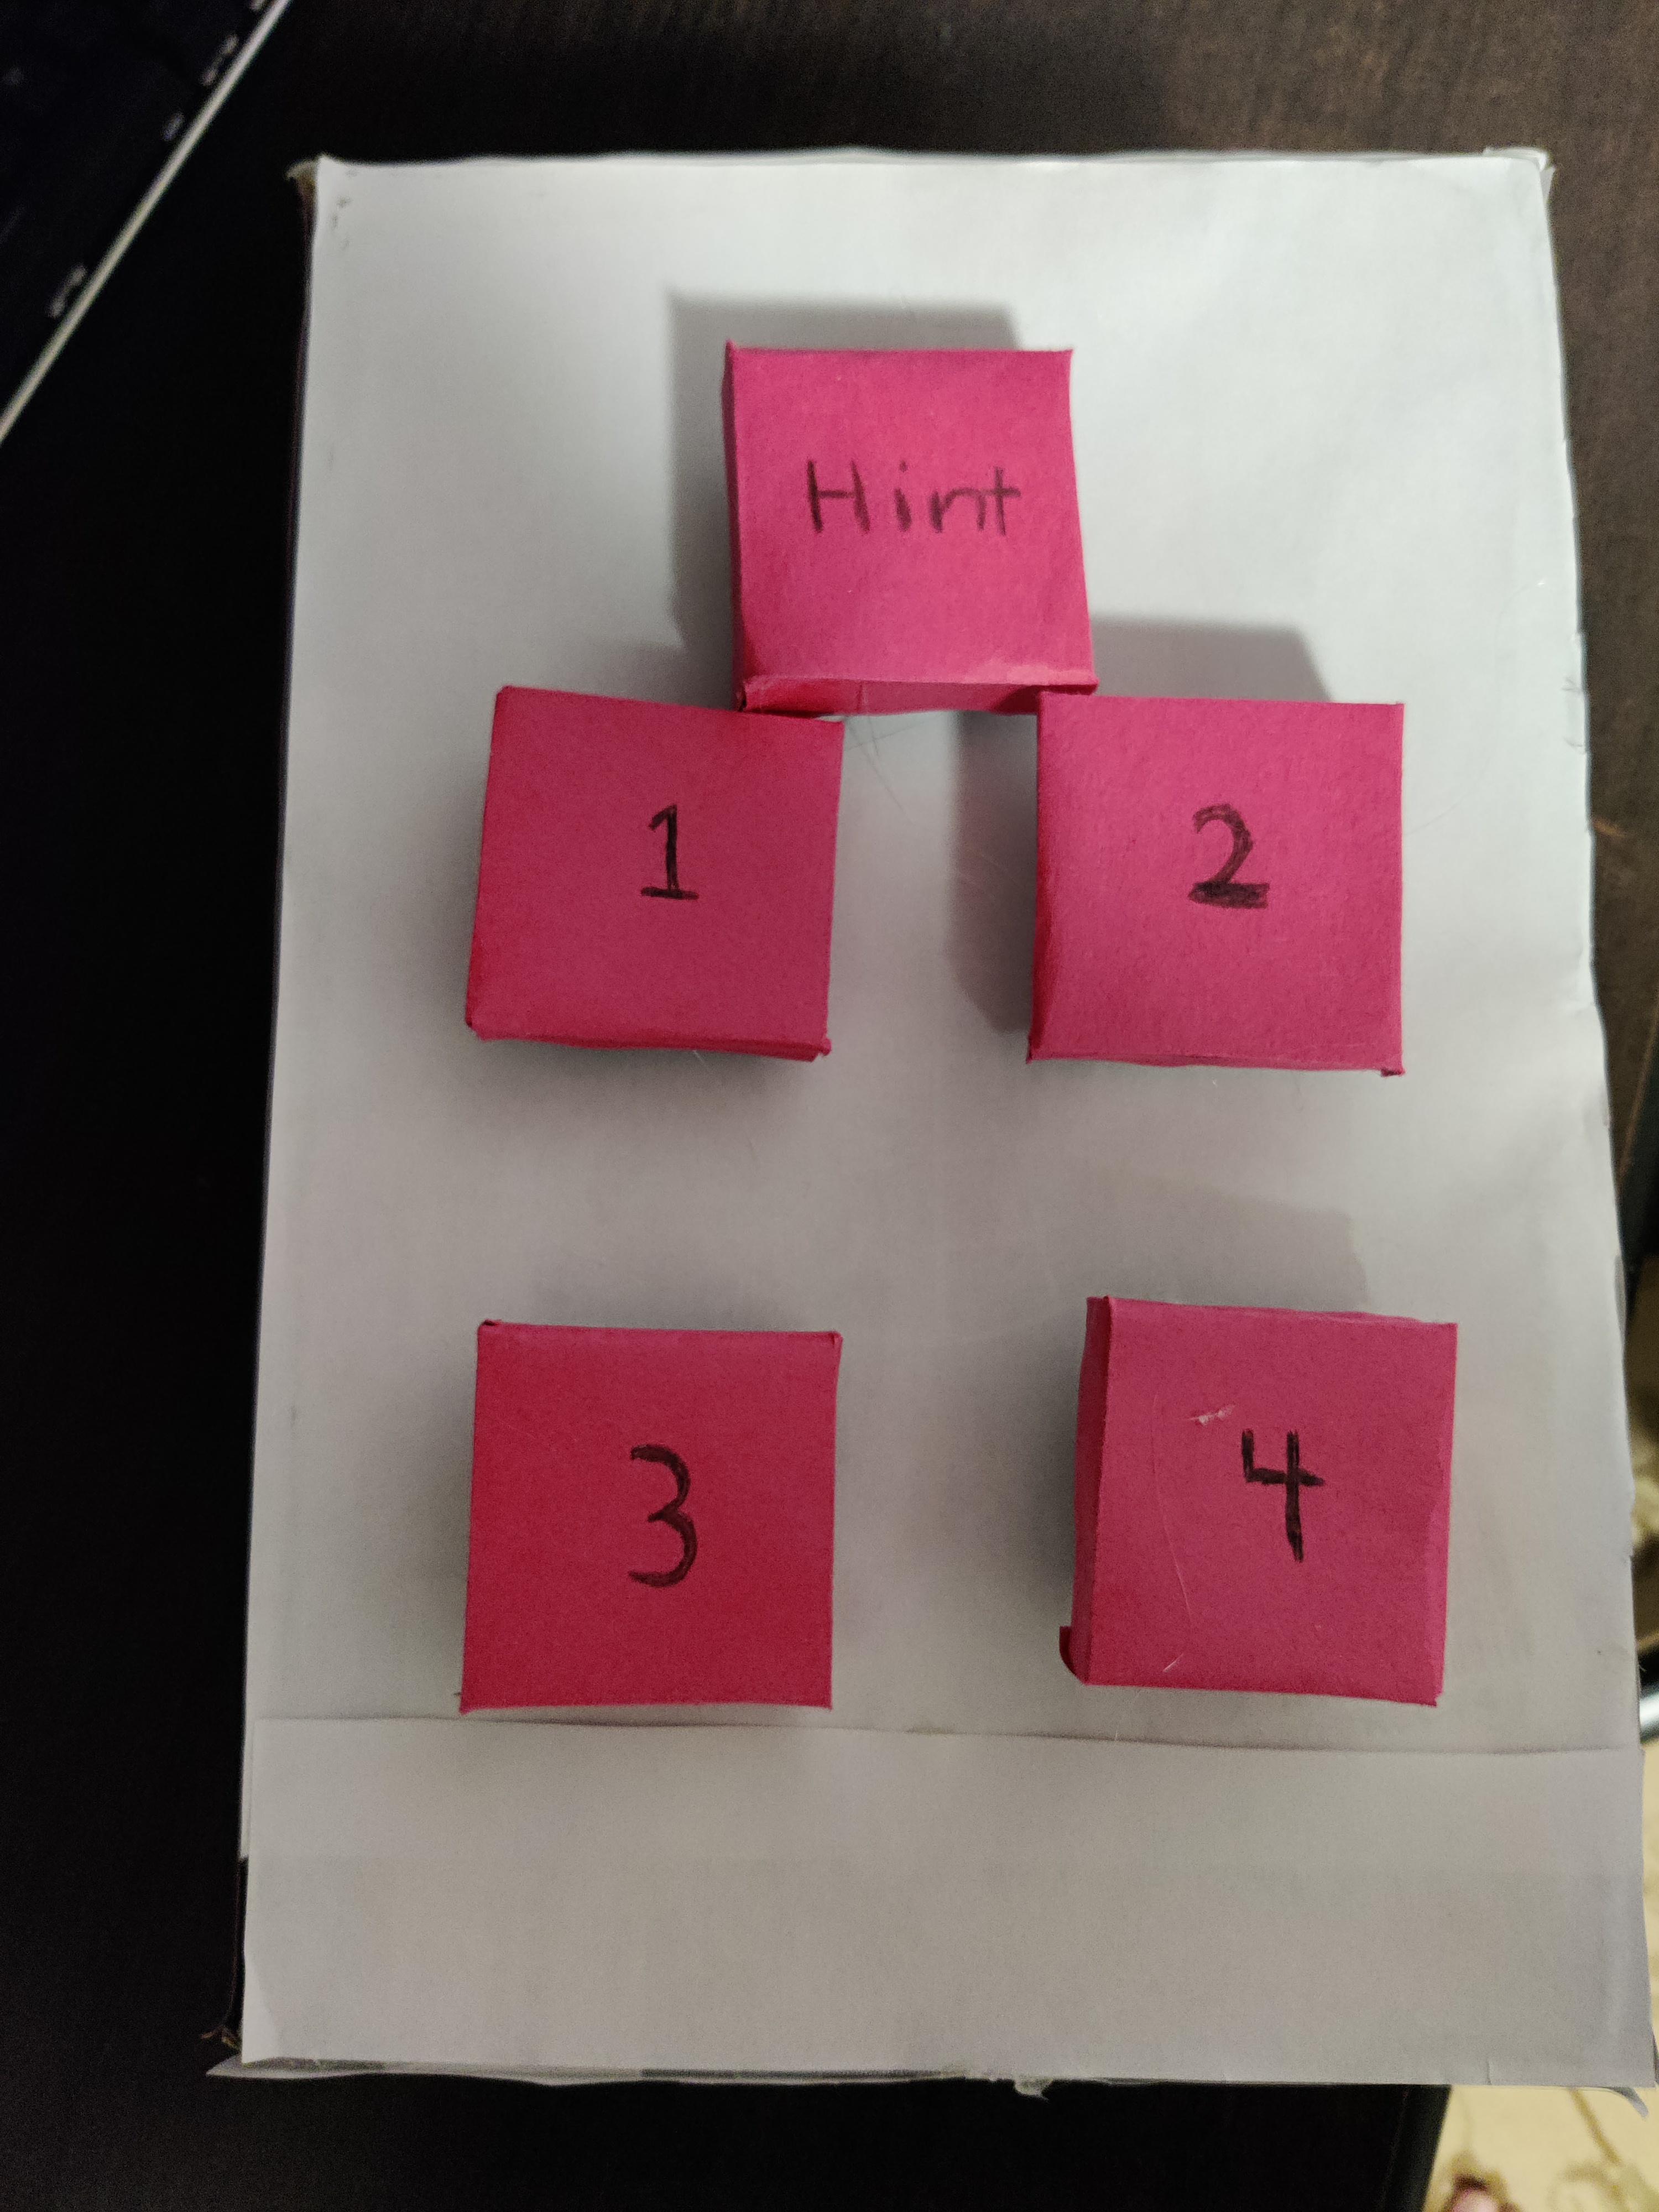
- Name each button the following:
“Hint”, “1”, “2”, “3”, “4”
- Now you have the 5 buttons for the game!
Attach the Buttons Onto the Box

- Take out a pencil/pen, a ruler, hot glue gun and your shoebox
- Choose any location for the buttons to be placed, it is up to you(other than the border of the lid)
- On these spots, draw 5 1/2x1/2 inch squares 3 inches away from each other(2 row of 2, and 1 row above that with 1)
- Using either a scissor or a xacto knife(under adult supervision) cut out those squares.
- Hot glue the springs onto the places above and below the hole that corresponds with the location on the button(ex. If spring was ¼ inch above the rectangular prism on button, then it would be hot glued ¼ inch above the hole on the shoe box)
- Repeat for the other buttons
- Now the buttons are attached onto the box!
"Wiring" the Buttons
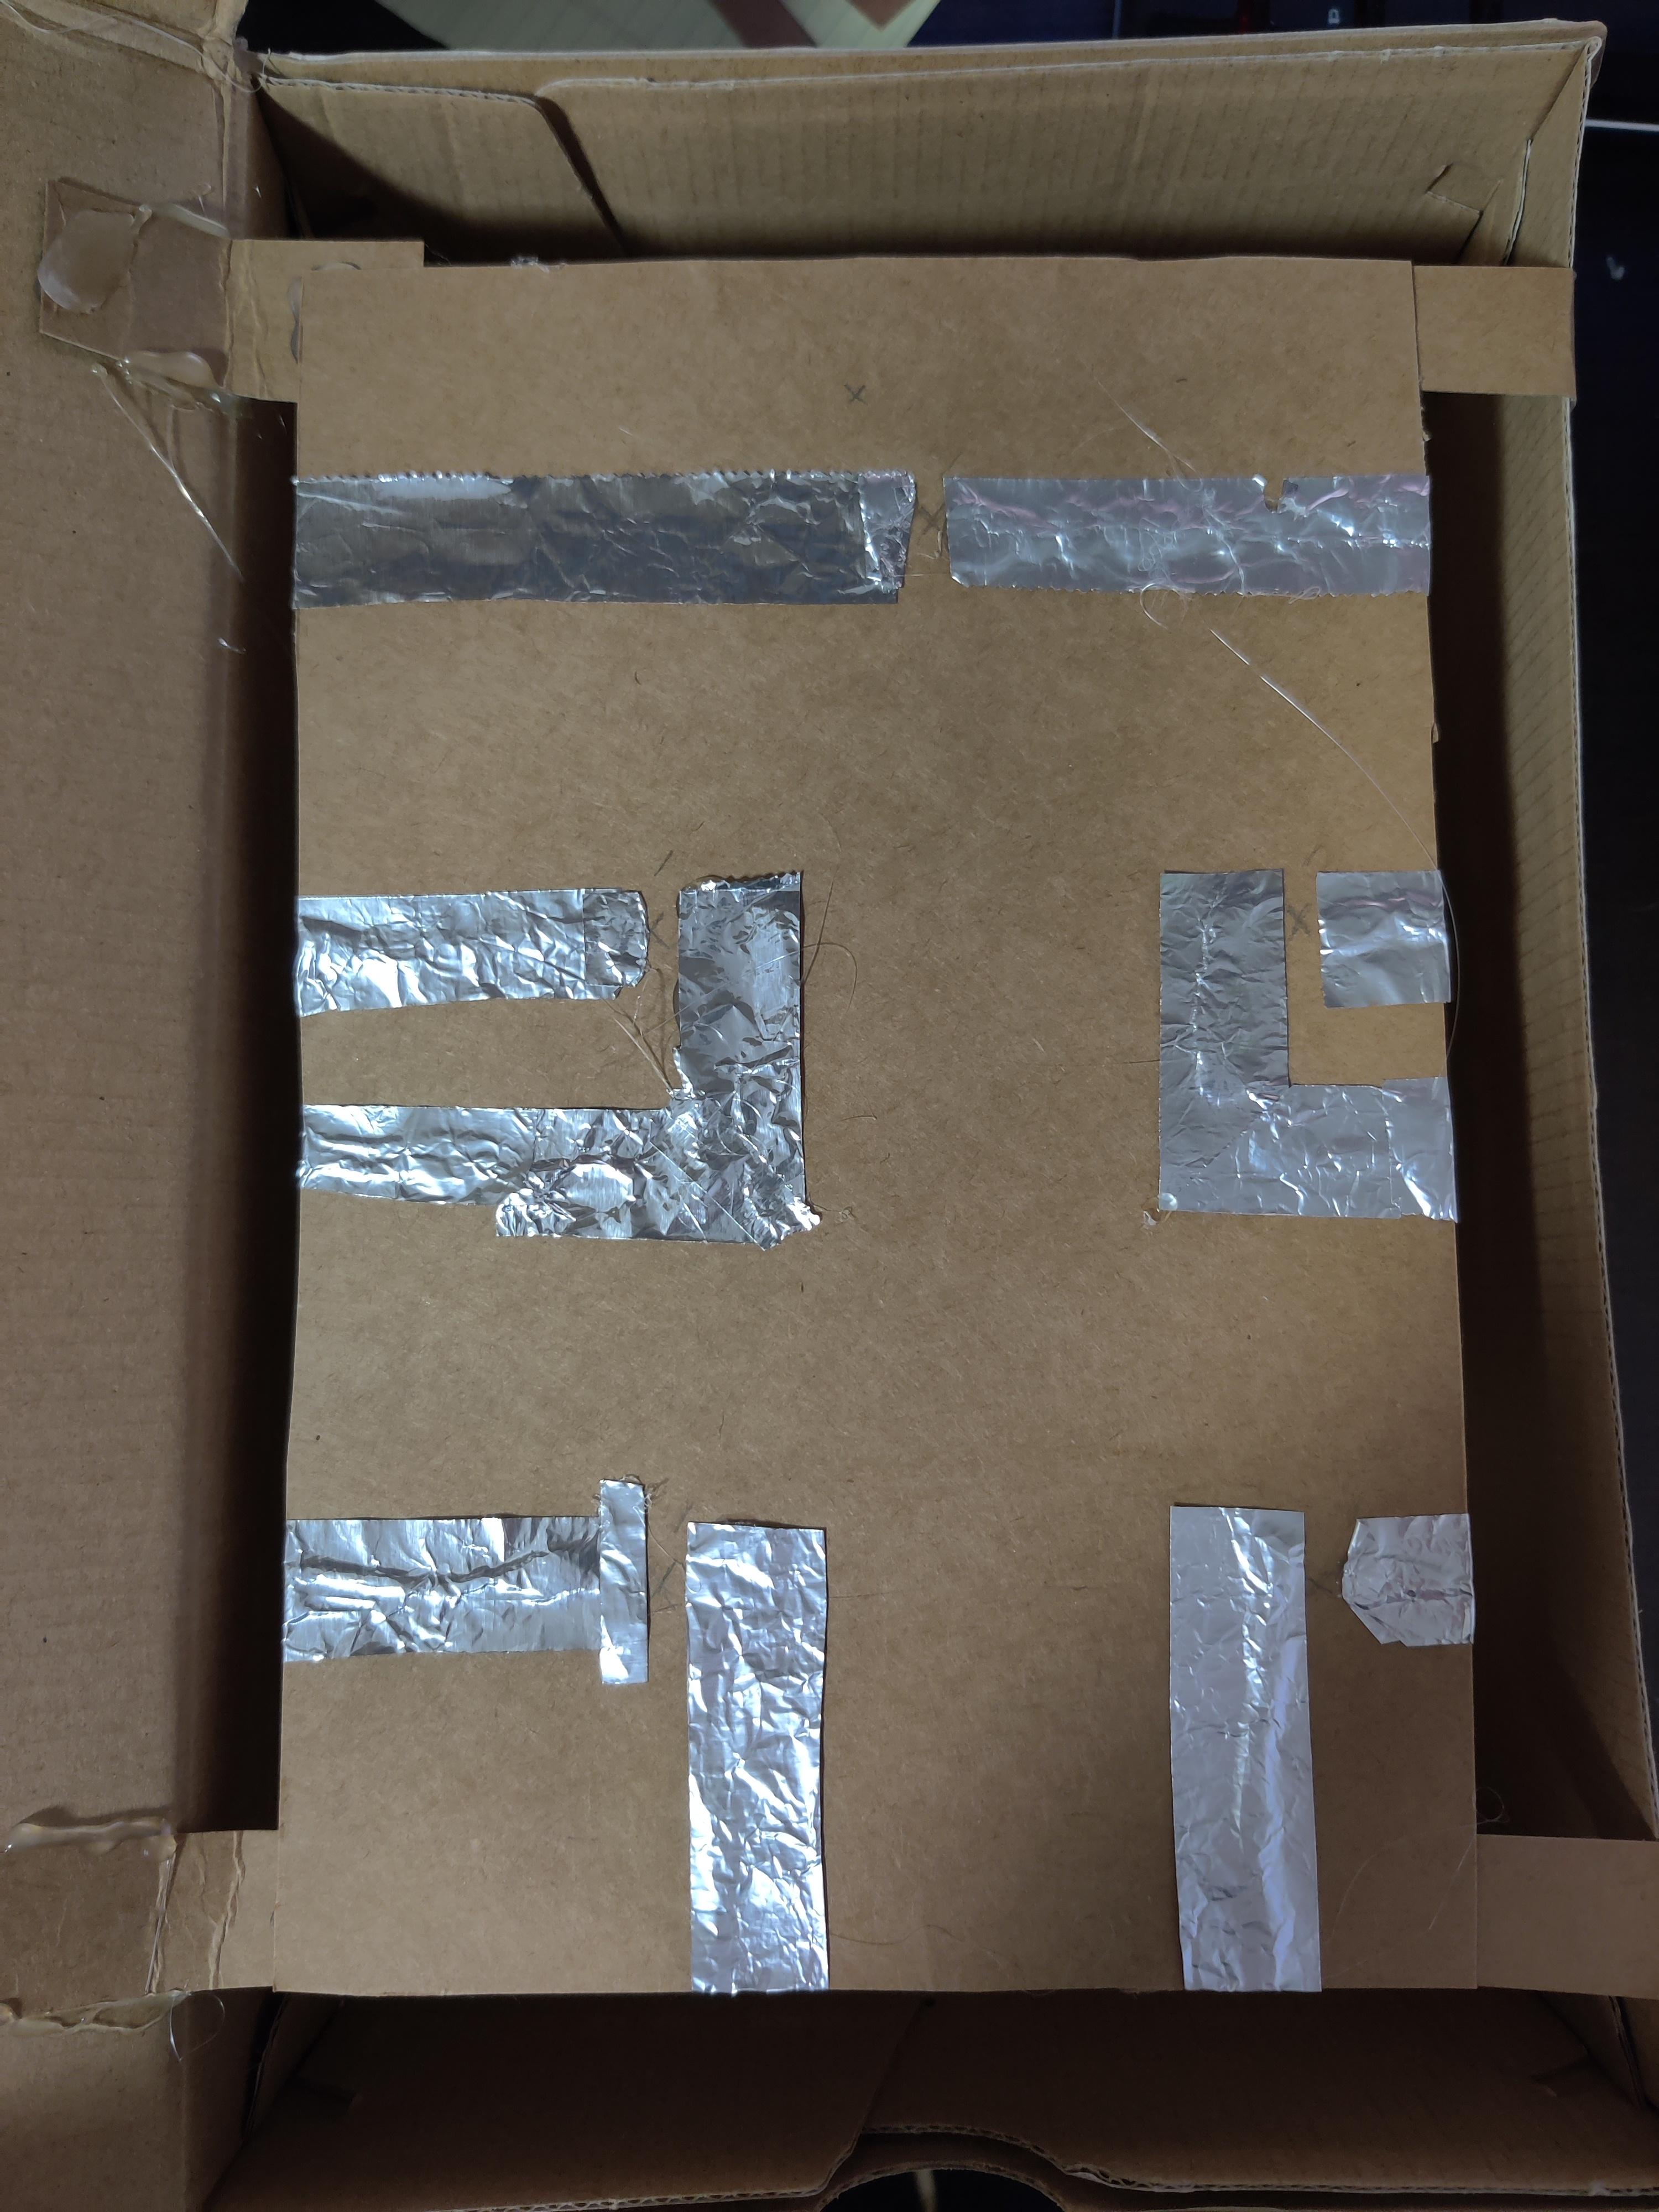
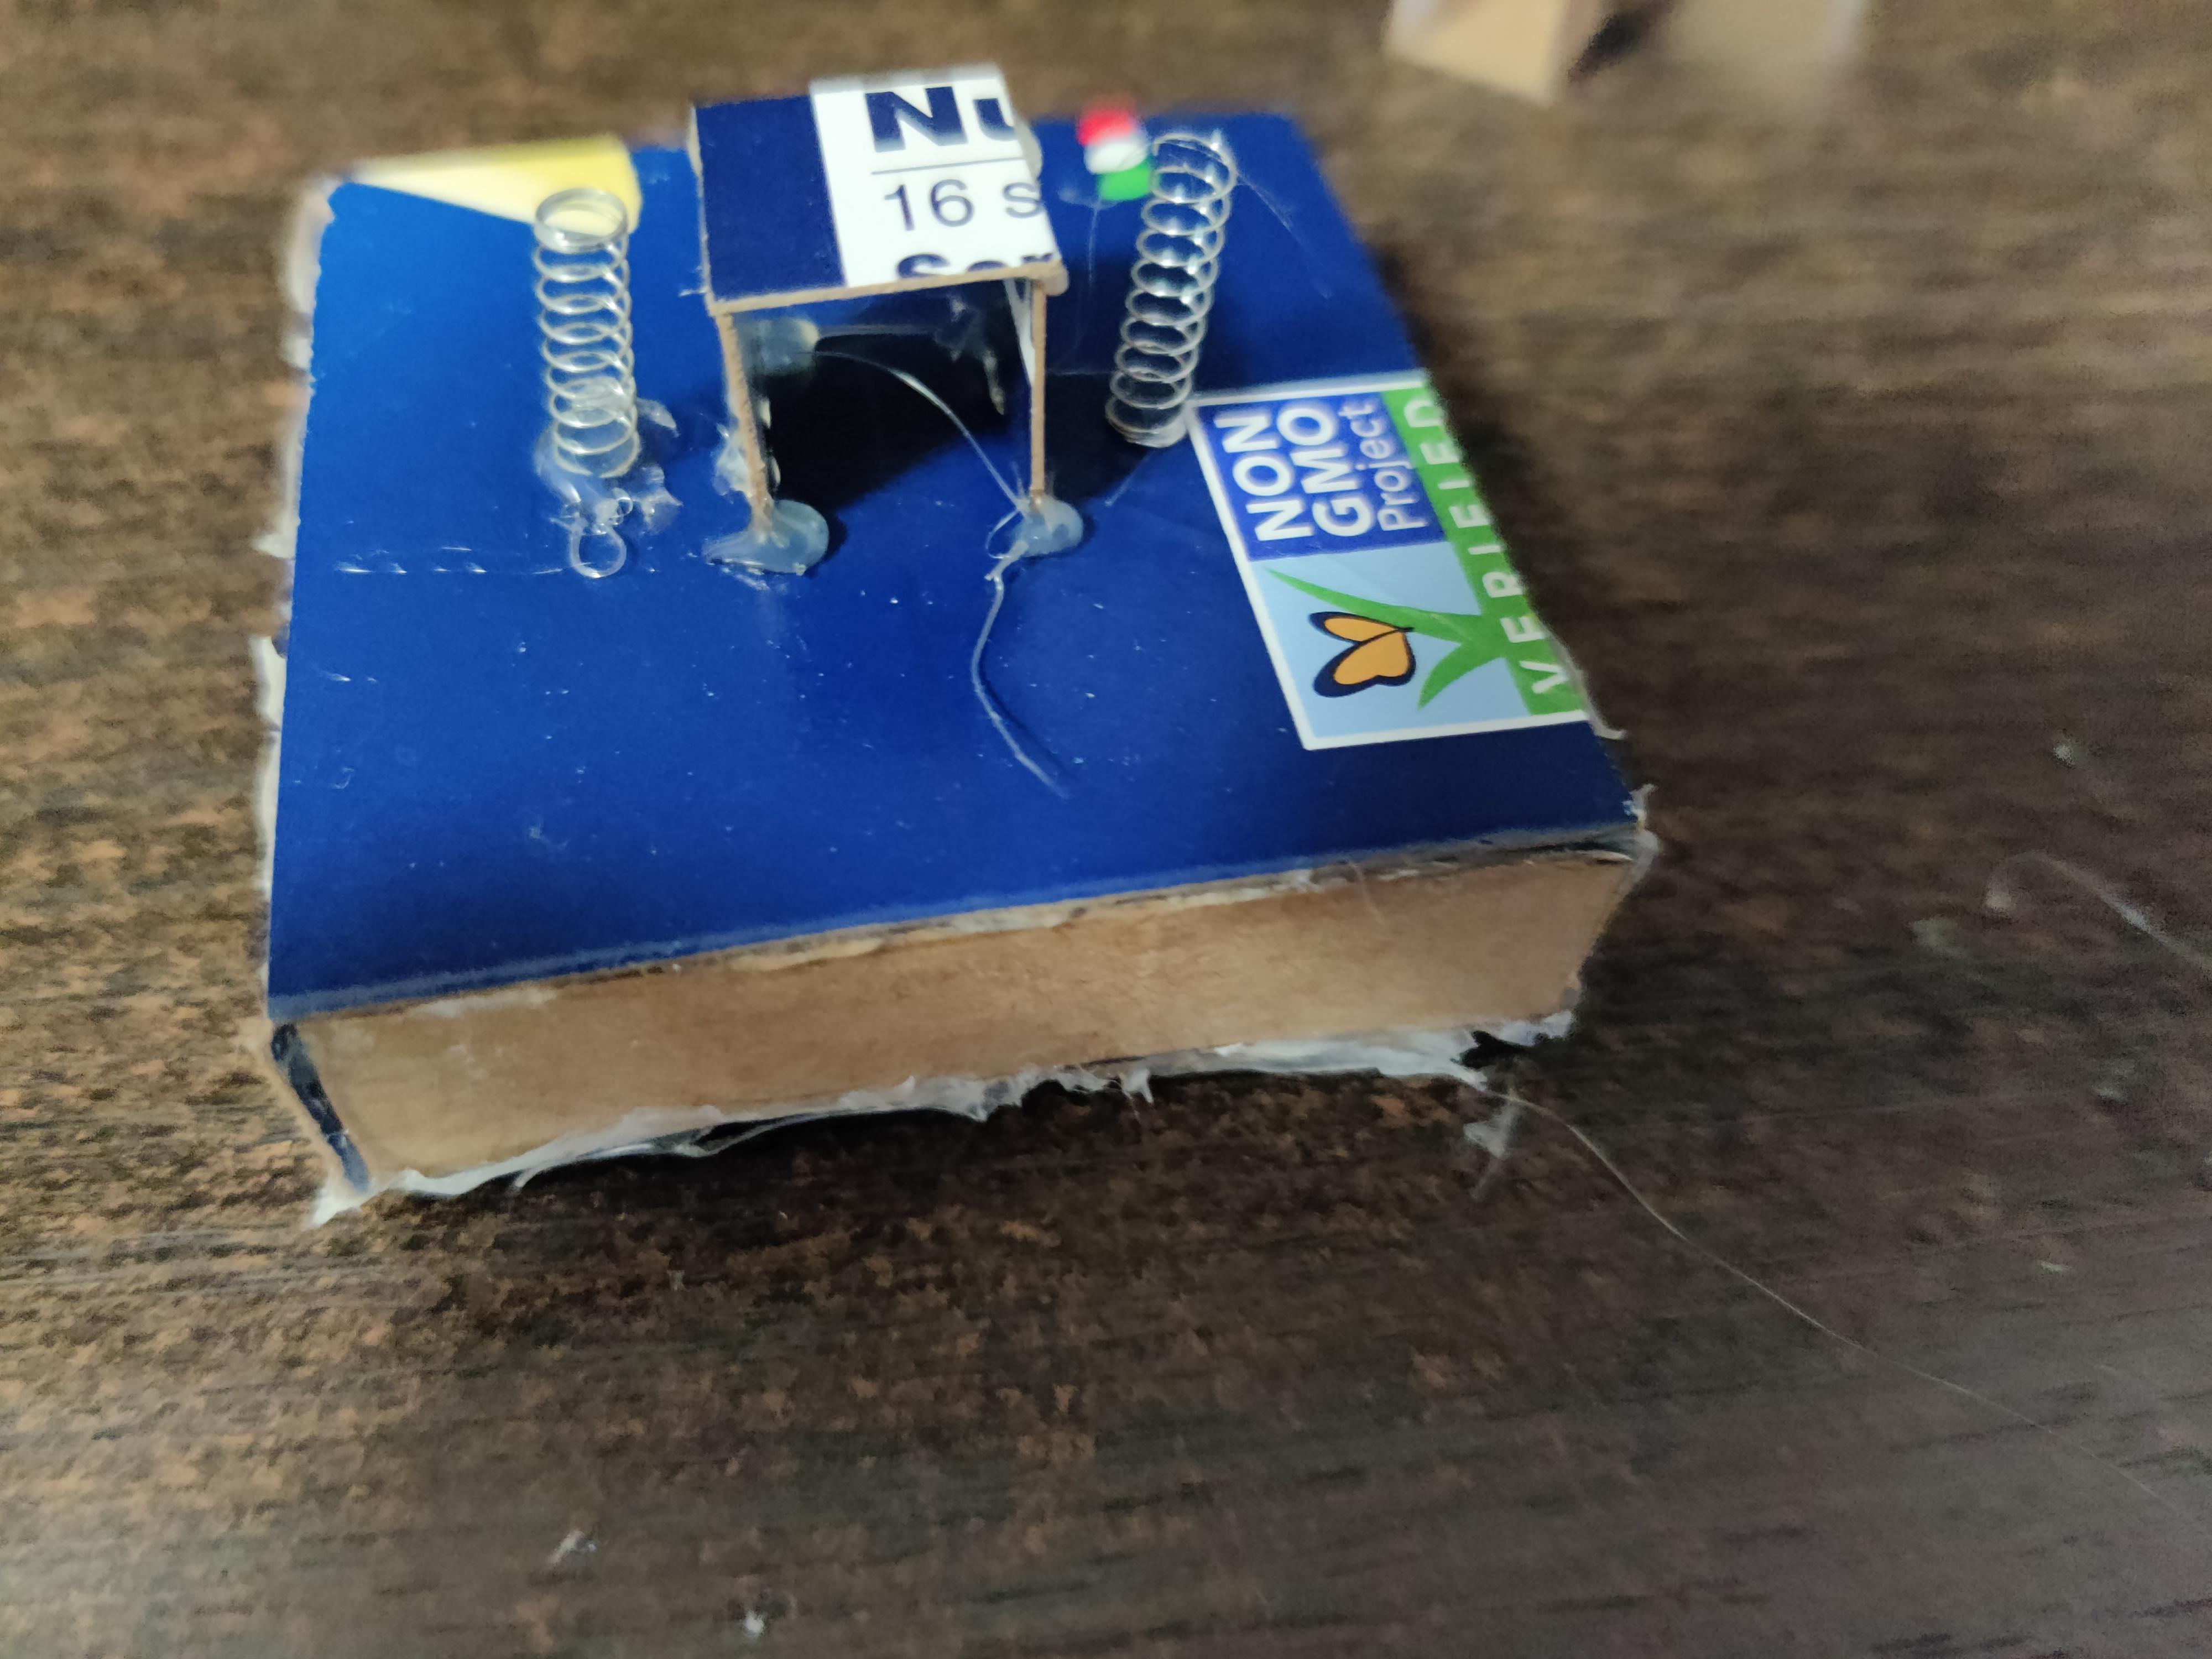
- Take out aluminum foil, scissors a piece of cardboard that measures relatively close to the lid of the box and hot glue
- Cut out strips of aluminum foil and hot glue to(reference to the picture) the cardboard(foil goes under cardboard too). Each button will have a different wiring setup
- Connect each of the following “wires” to its correct spot on the Makey-Makey:
- Space - Top
- Up - Top left
- Left- Top right
- Down- Bottom left
- Right - Bottom right
- Cut the bottom of the box if necessary
Decorating the Box
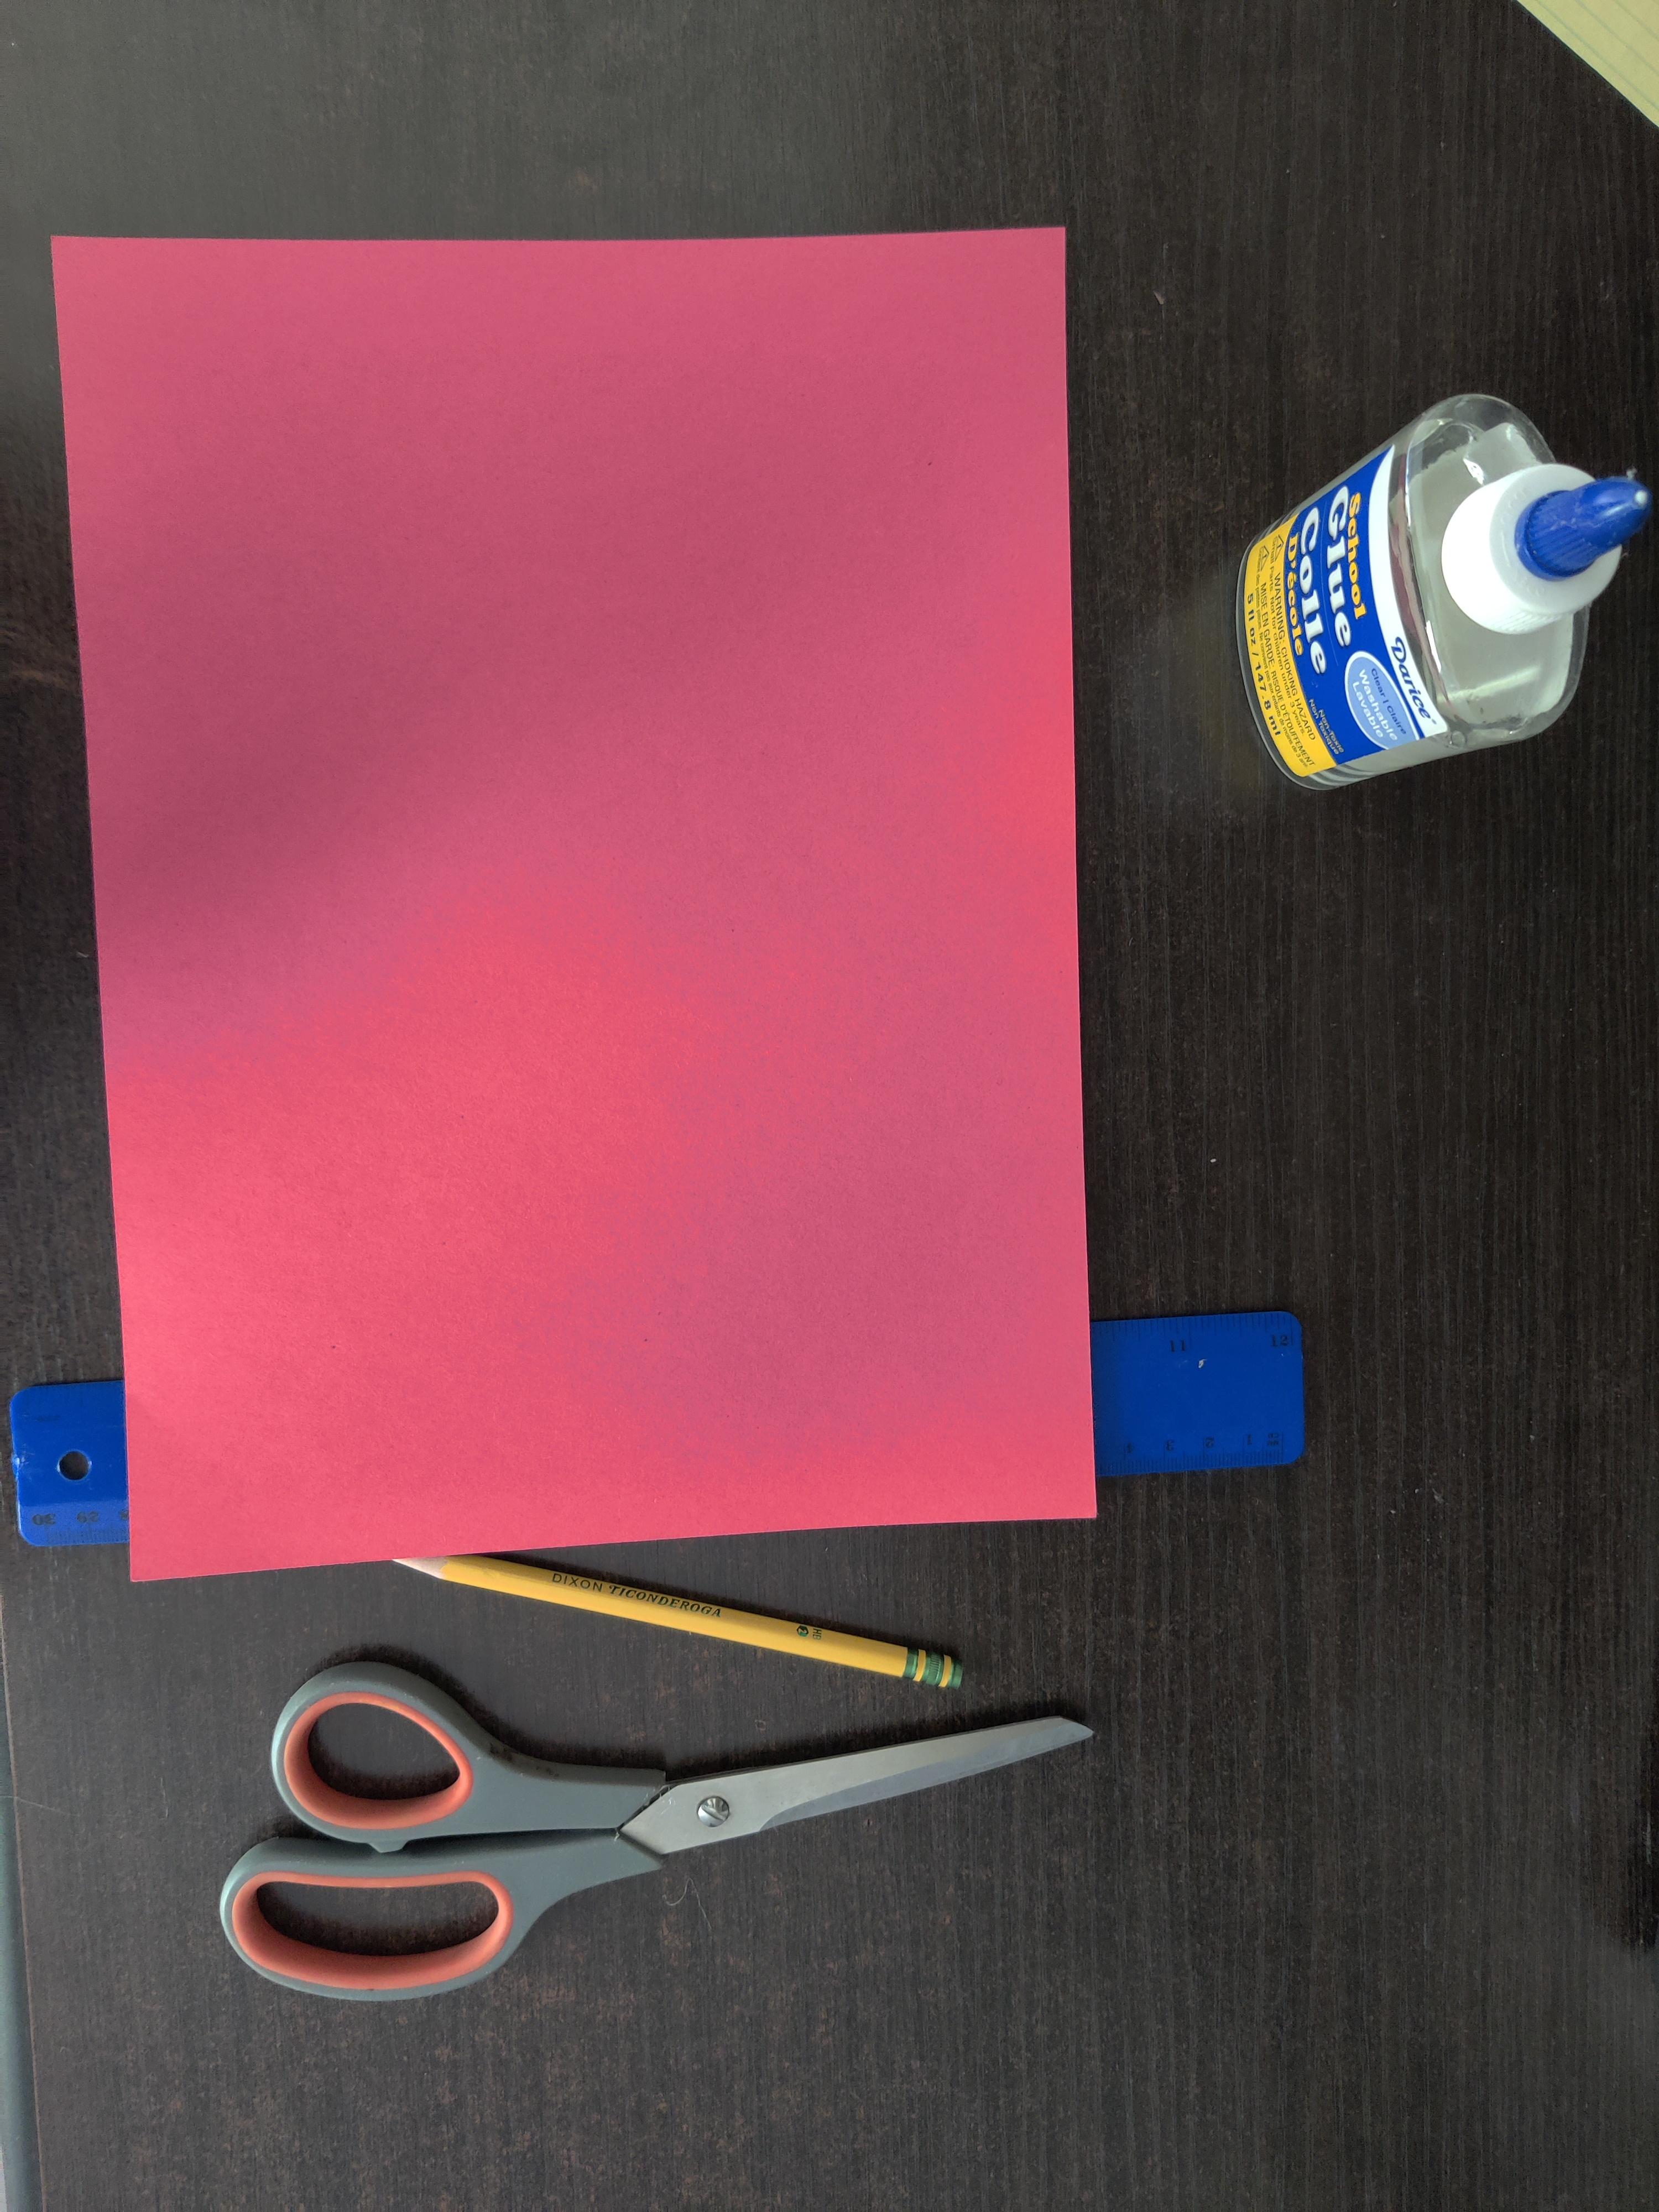
1.Take out any construction paper of your choice, and a glue stick or a hot glue gun.
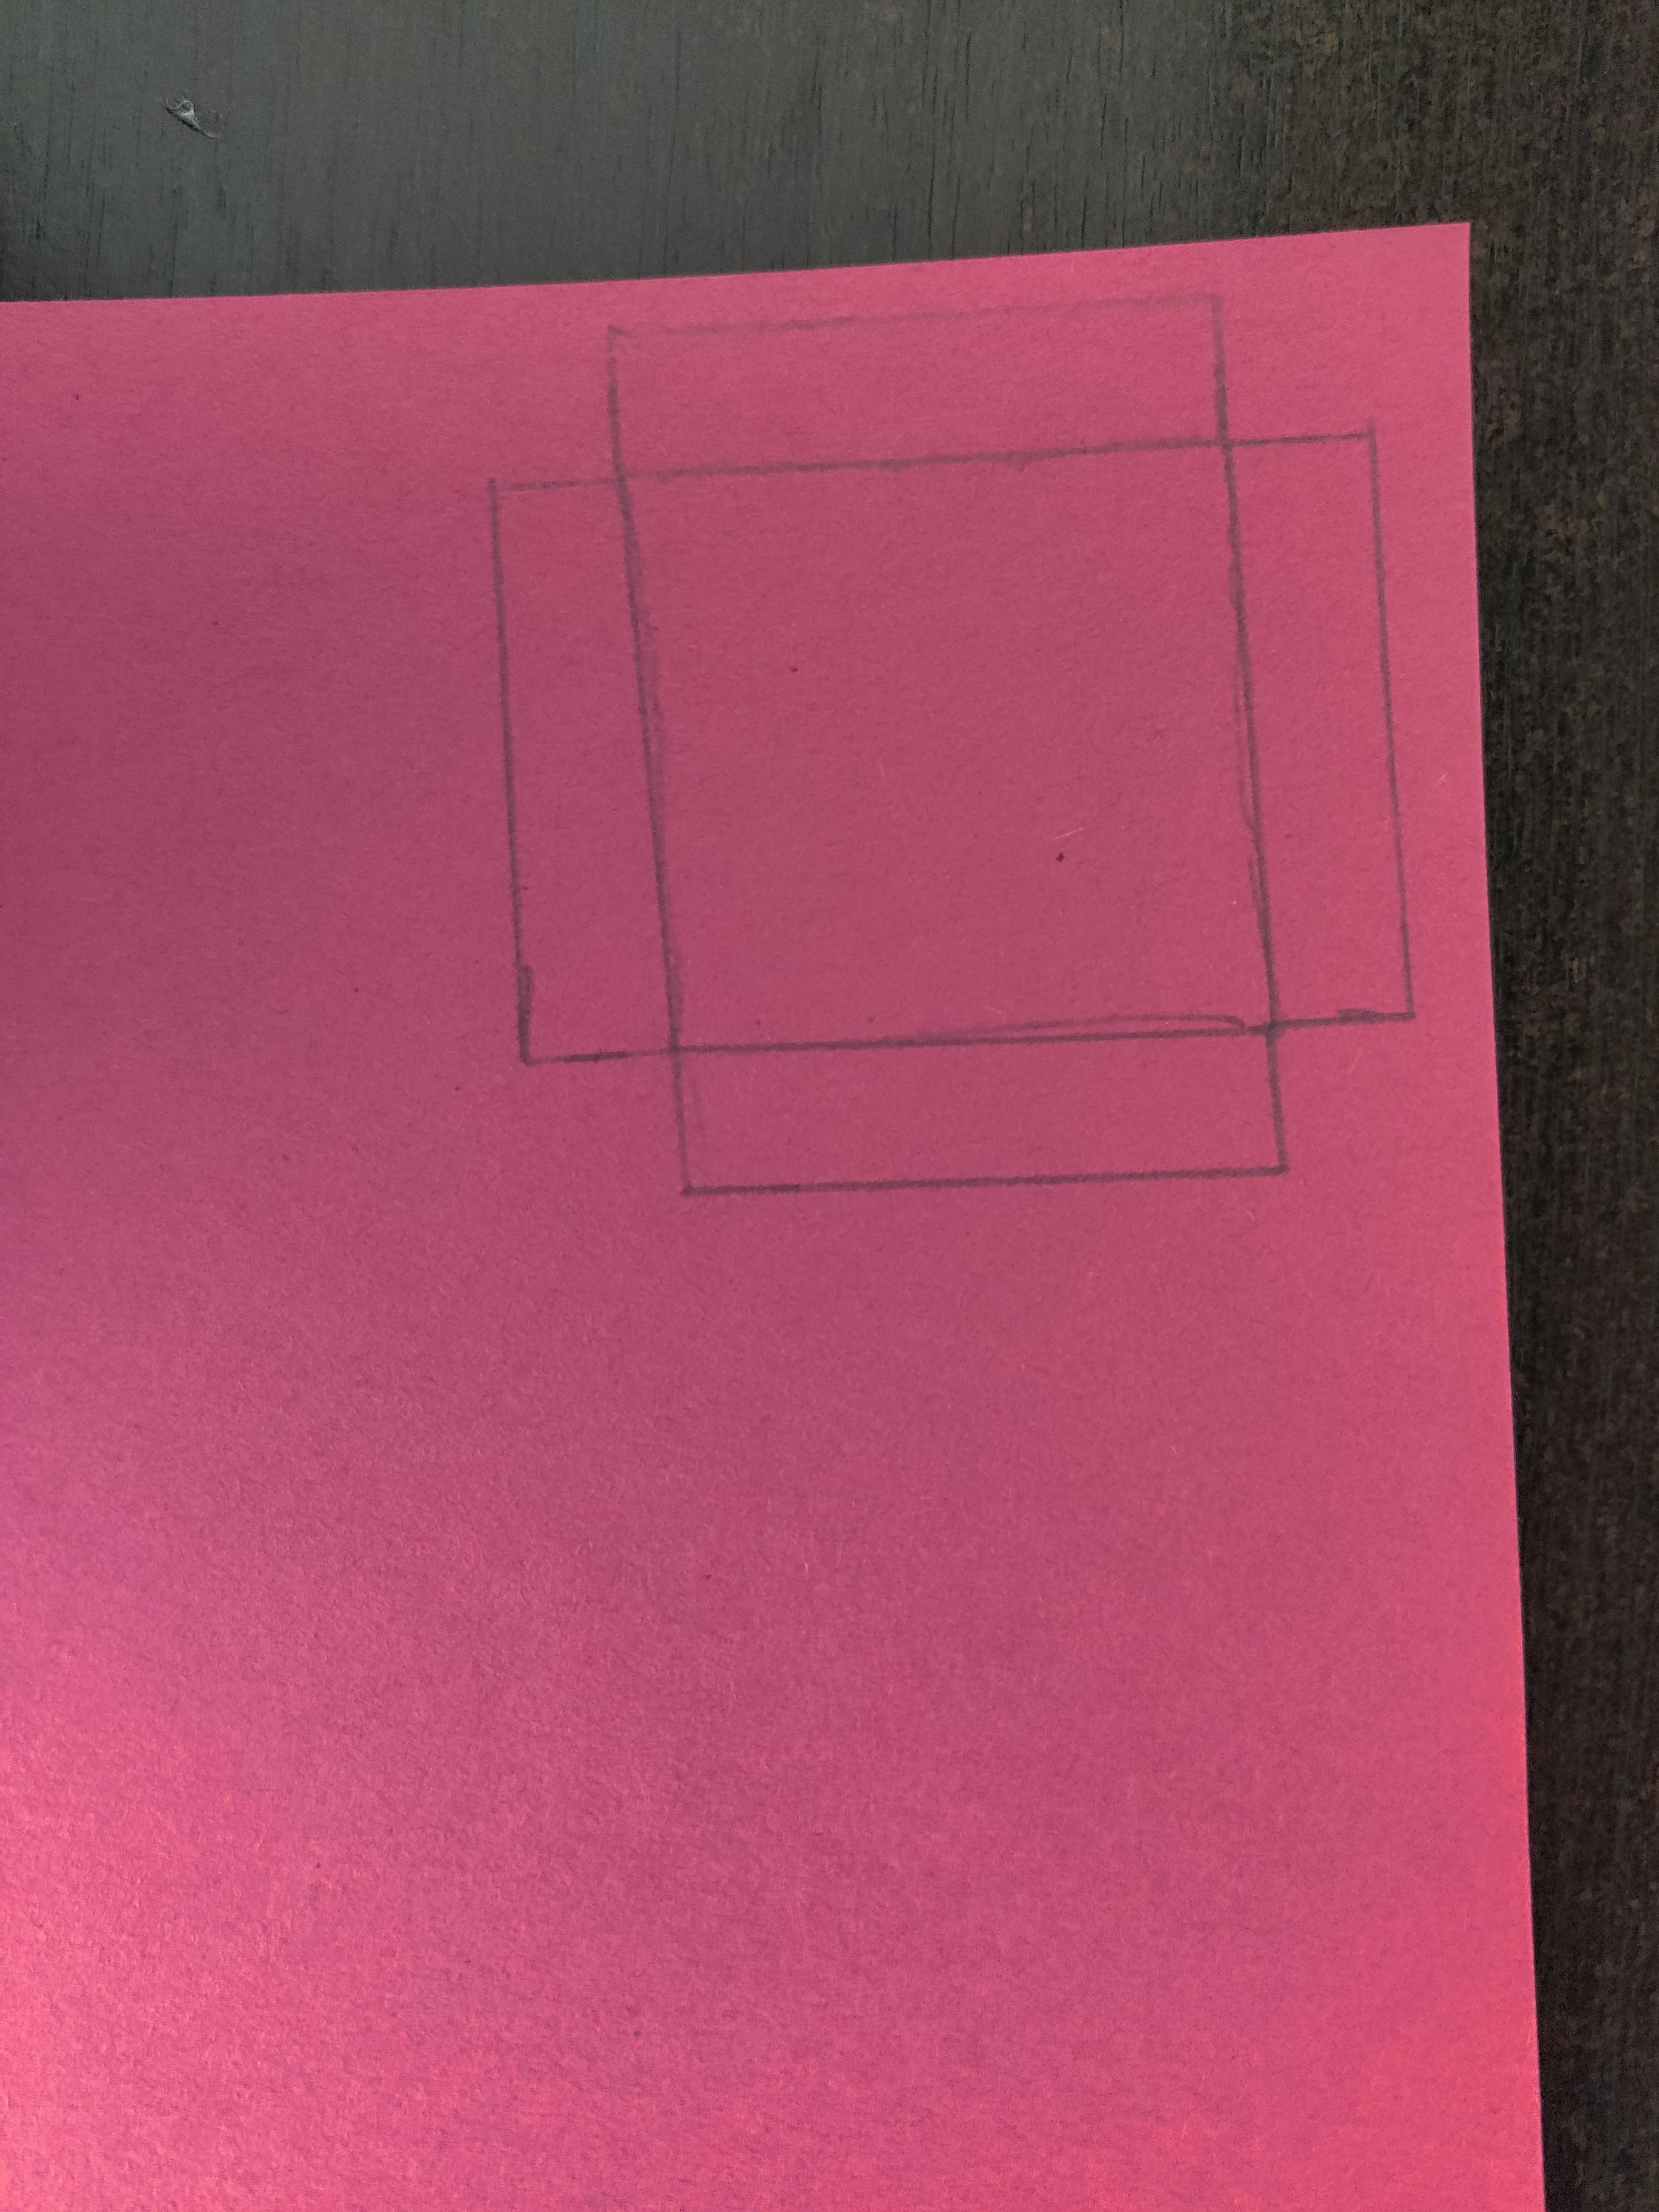
2.Cut out construction paper the size of a button. Repeat this 5 times(because there are 5 buttons)
3.Use the glue stick or hot glue to glue the construction paper onto the buttons
4.While waiting for the buttons to dry, cut out construction paper the size of a side of the box. I suggest using a color that wasn't used for the button.
5.Repeat for all the other sides of the box, other than the bottom
6.Glue the construction paper onto the box, and let it dry.
7.You can add anything else to make it look nice and eye catching.
*Note: After decorating the buttons remember to rename then on the construction paper
Name each button the following:
“Hint”, “1”, “2”, “3”, “4” (From previous step)
Code the Project
- Go onto scratch.com
- Click create a new project
- Start by uploading any sprite of your choice(or use starter sprite)
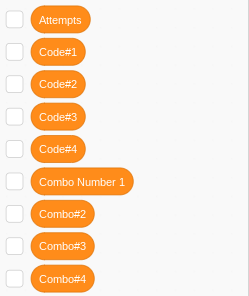
- Create these variables/lists(shown in picture)
- Add all the blocks into the sprite(look into the code of my game(link below))
- Add a win and introduction screen with instructions
- NOTE: You can change the hints if you decide to change the numbers in the random number section
Link to my scratch game to compare: https://scratch.mit.edu/projects/632352999/editor/
Conclusion

Now test out the game! Above is a video of MY makey-makey number guessing game! You can see it will be tricky to guess, which makes this game even more fun if you want to time yourself or compete with friends!