Make Your Twin
by slu6alka in Living > Pranks, Tricks, & Humor
123431 Views, 110 Favorites, 0 Comments
Make Your Twin
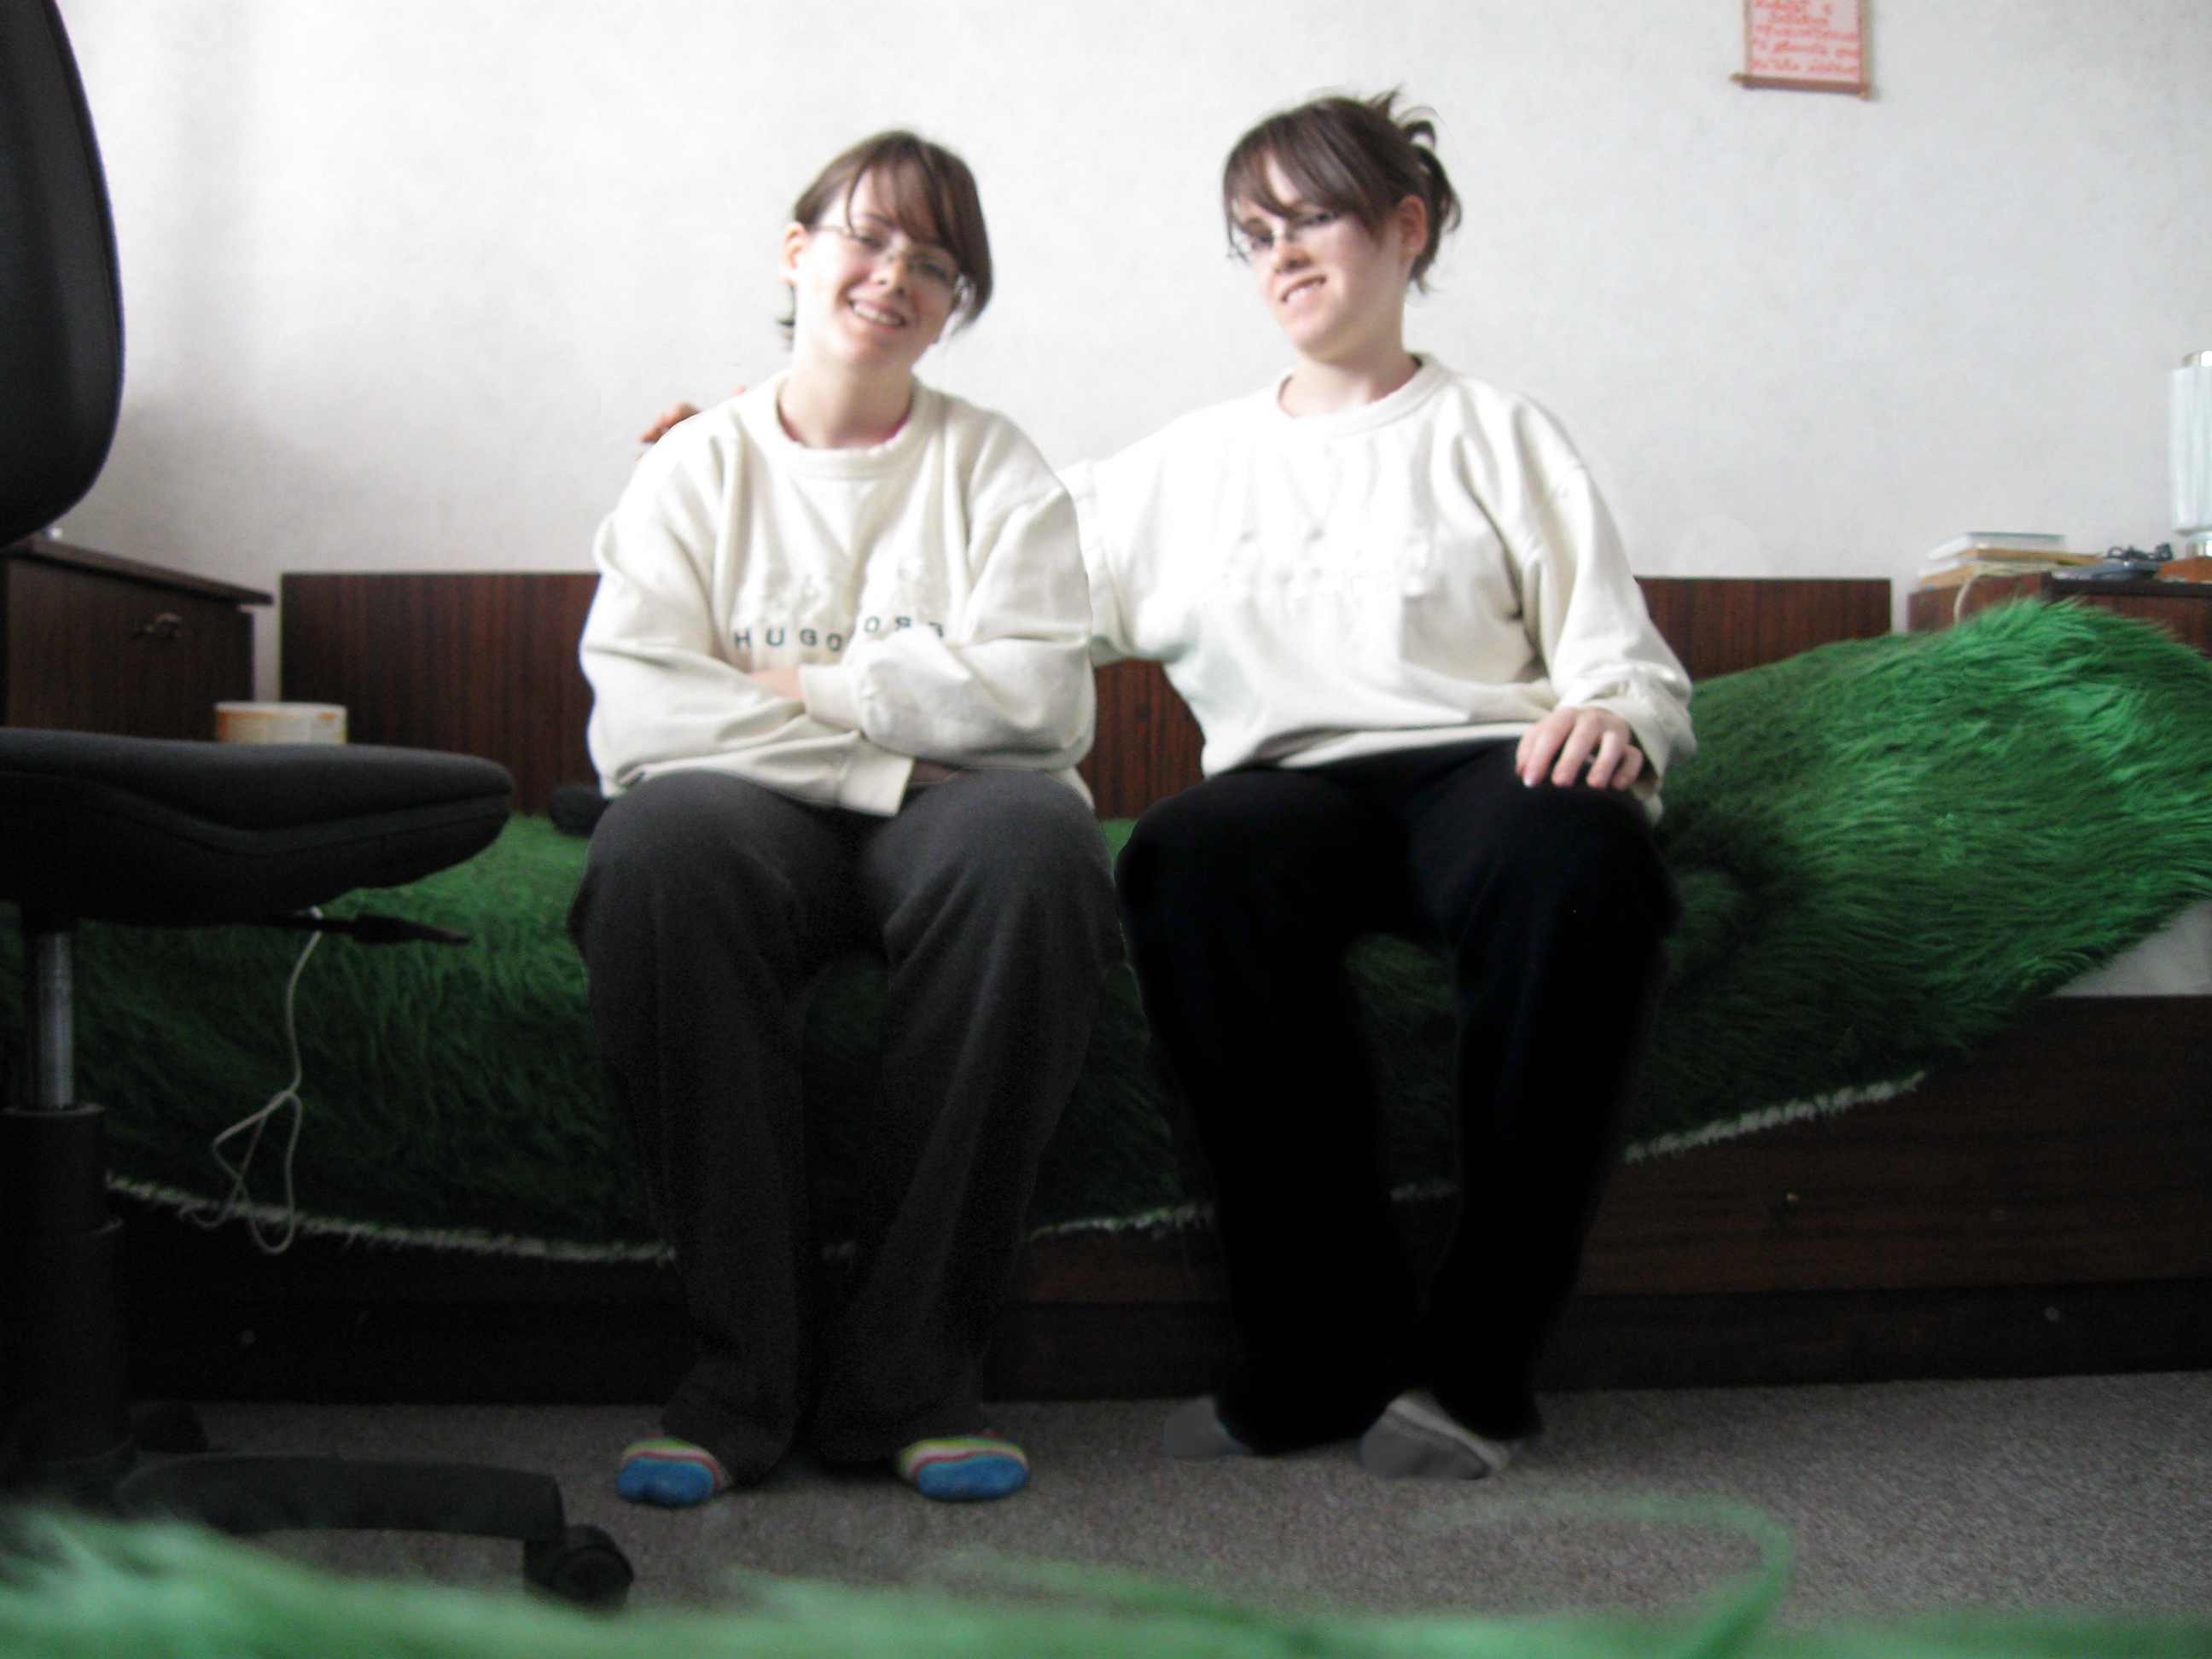
Here's an interesting way to trick your friends. Will they believe you if you told them that you have a twin? Well if not...then show them some pictures of you and your twin...
I'll show you how to make this with Photoshop.
I'll show you how to make this with Photoshop.
You'll Need...
- a camera with self timer
- tripod or if you don't have use anything else which can hold the camera stand still
- photoshop
- and...you haha :D
- tripod or if you don't have use anything else which can hold the camera stand still
- photoshop
- and...you haha :D
Taking Pictures
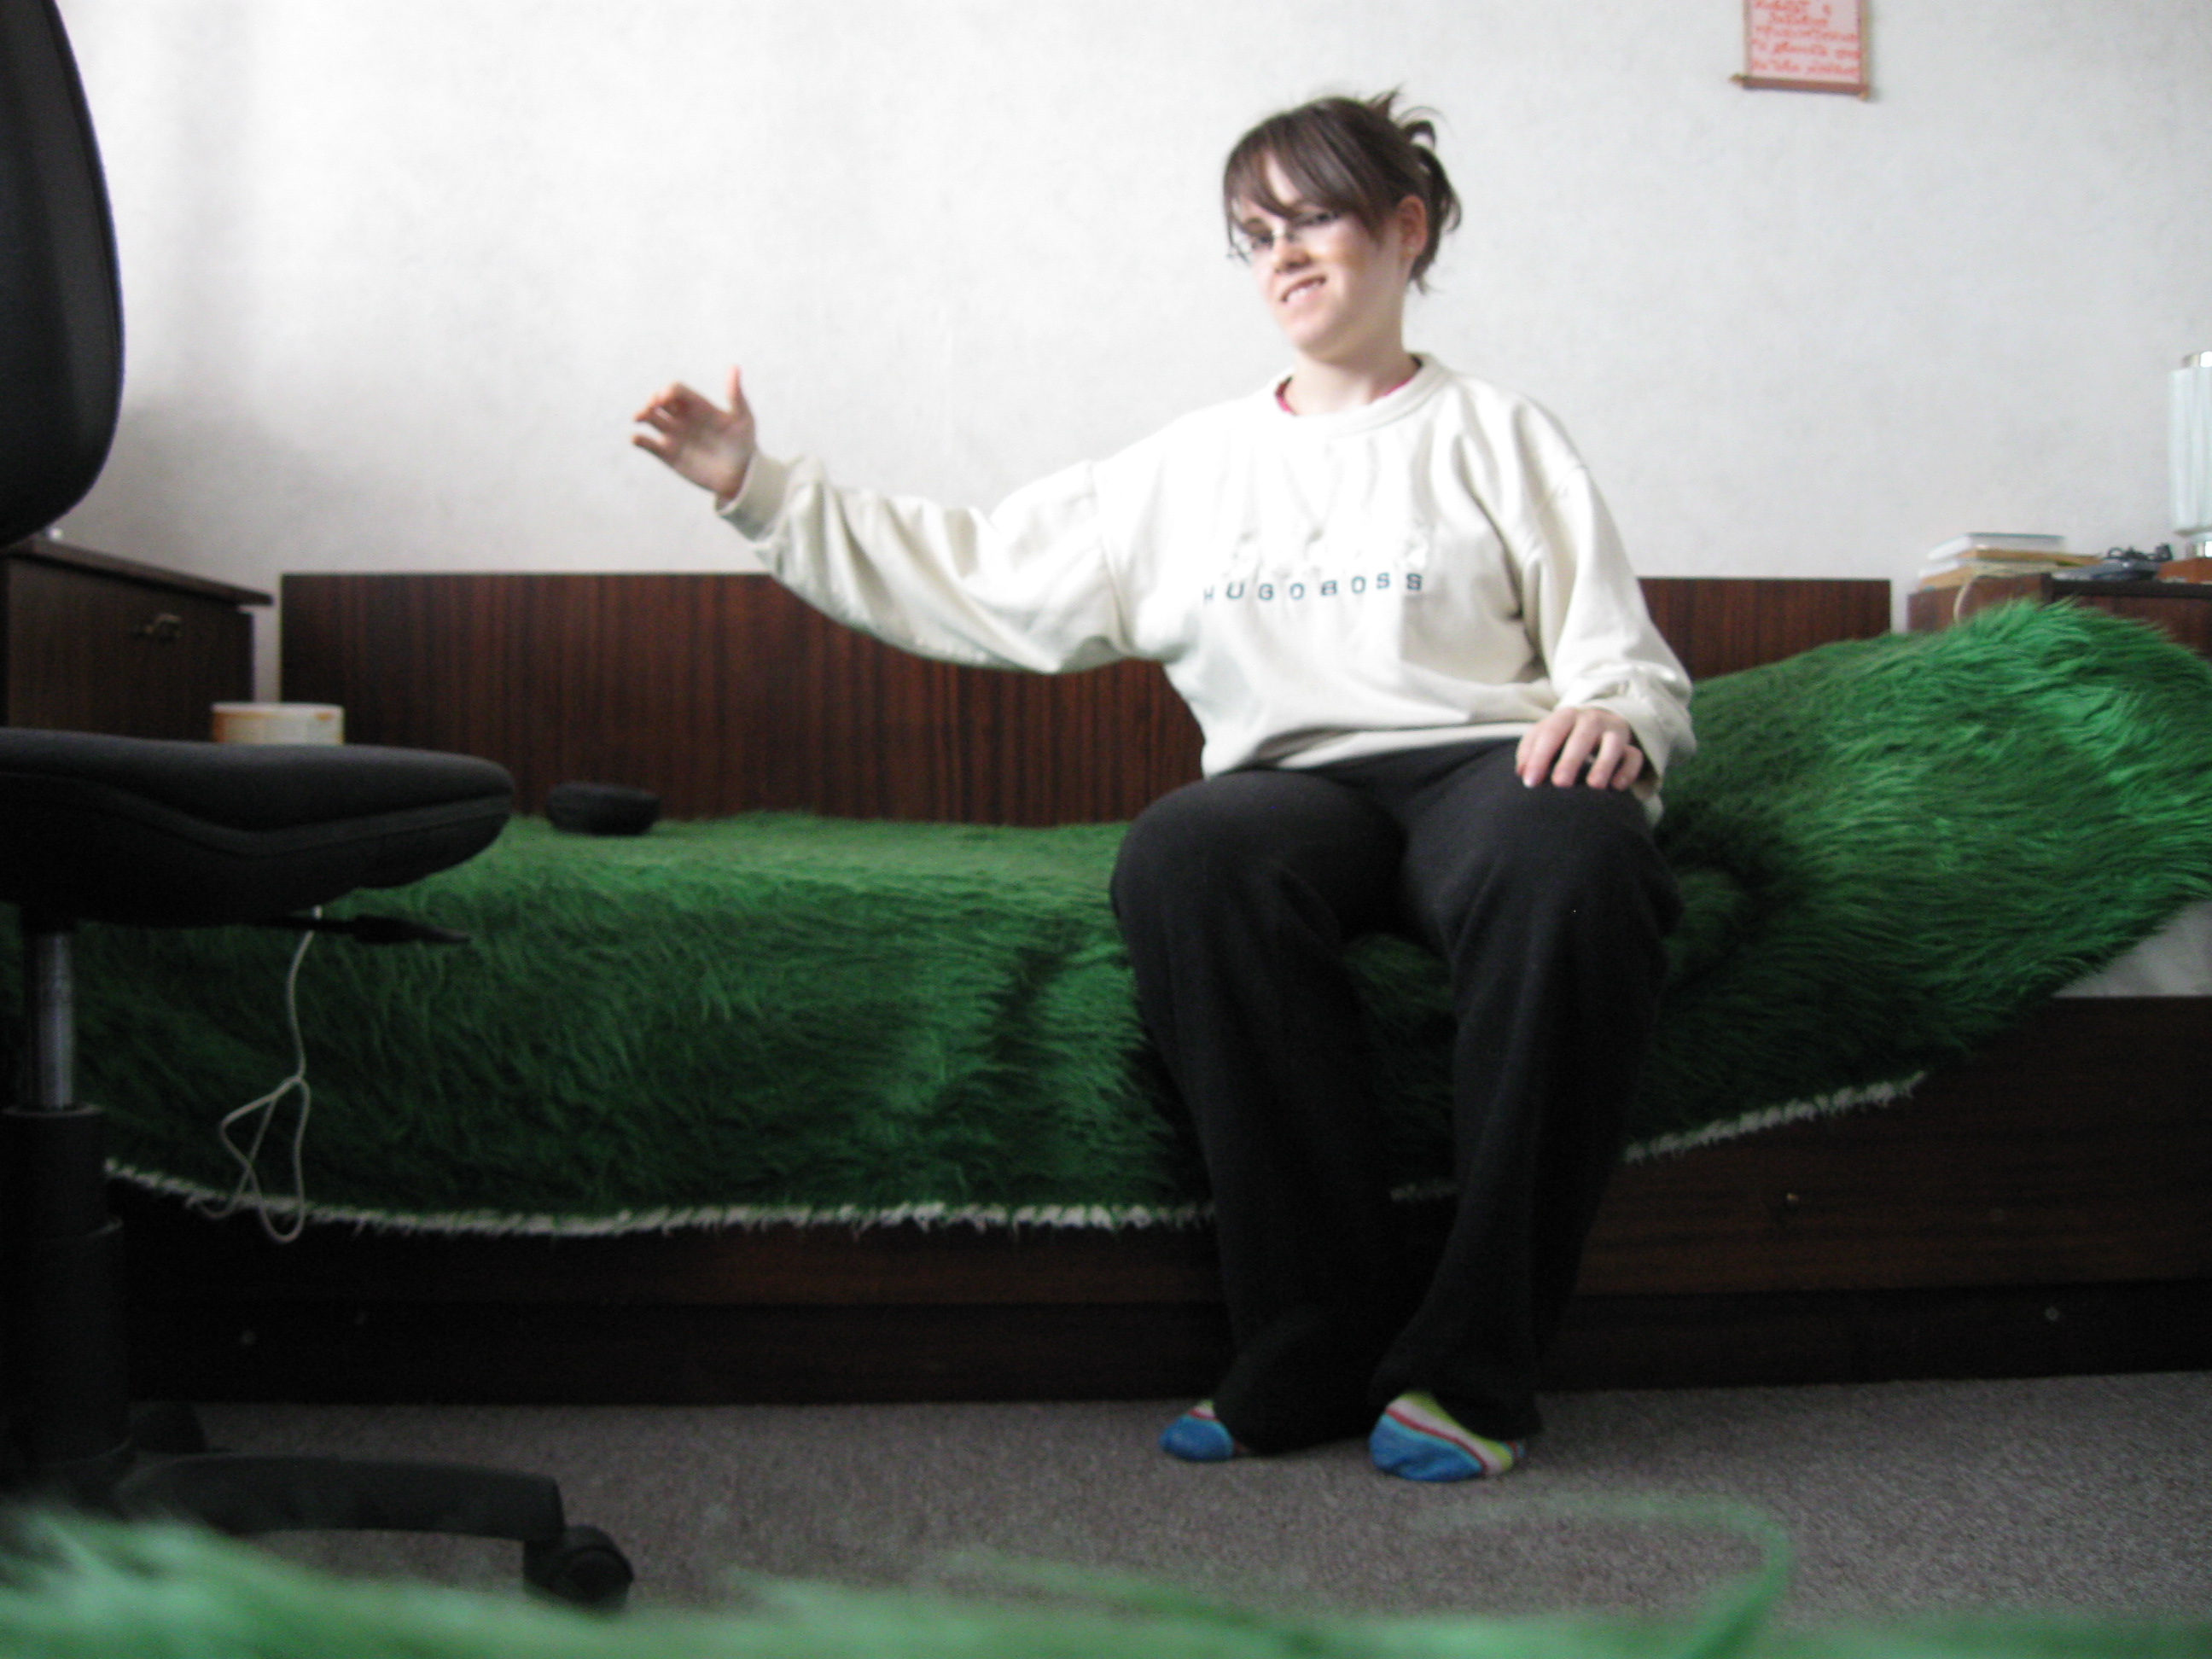
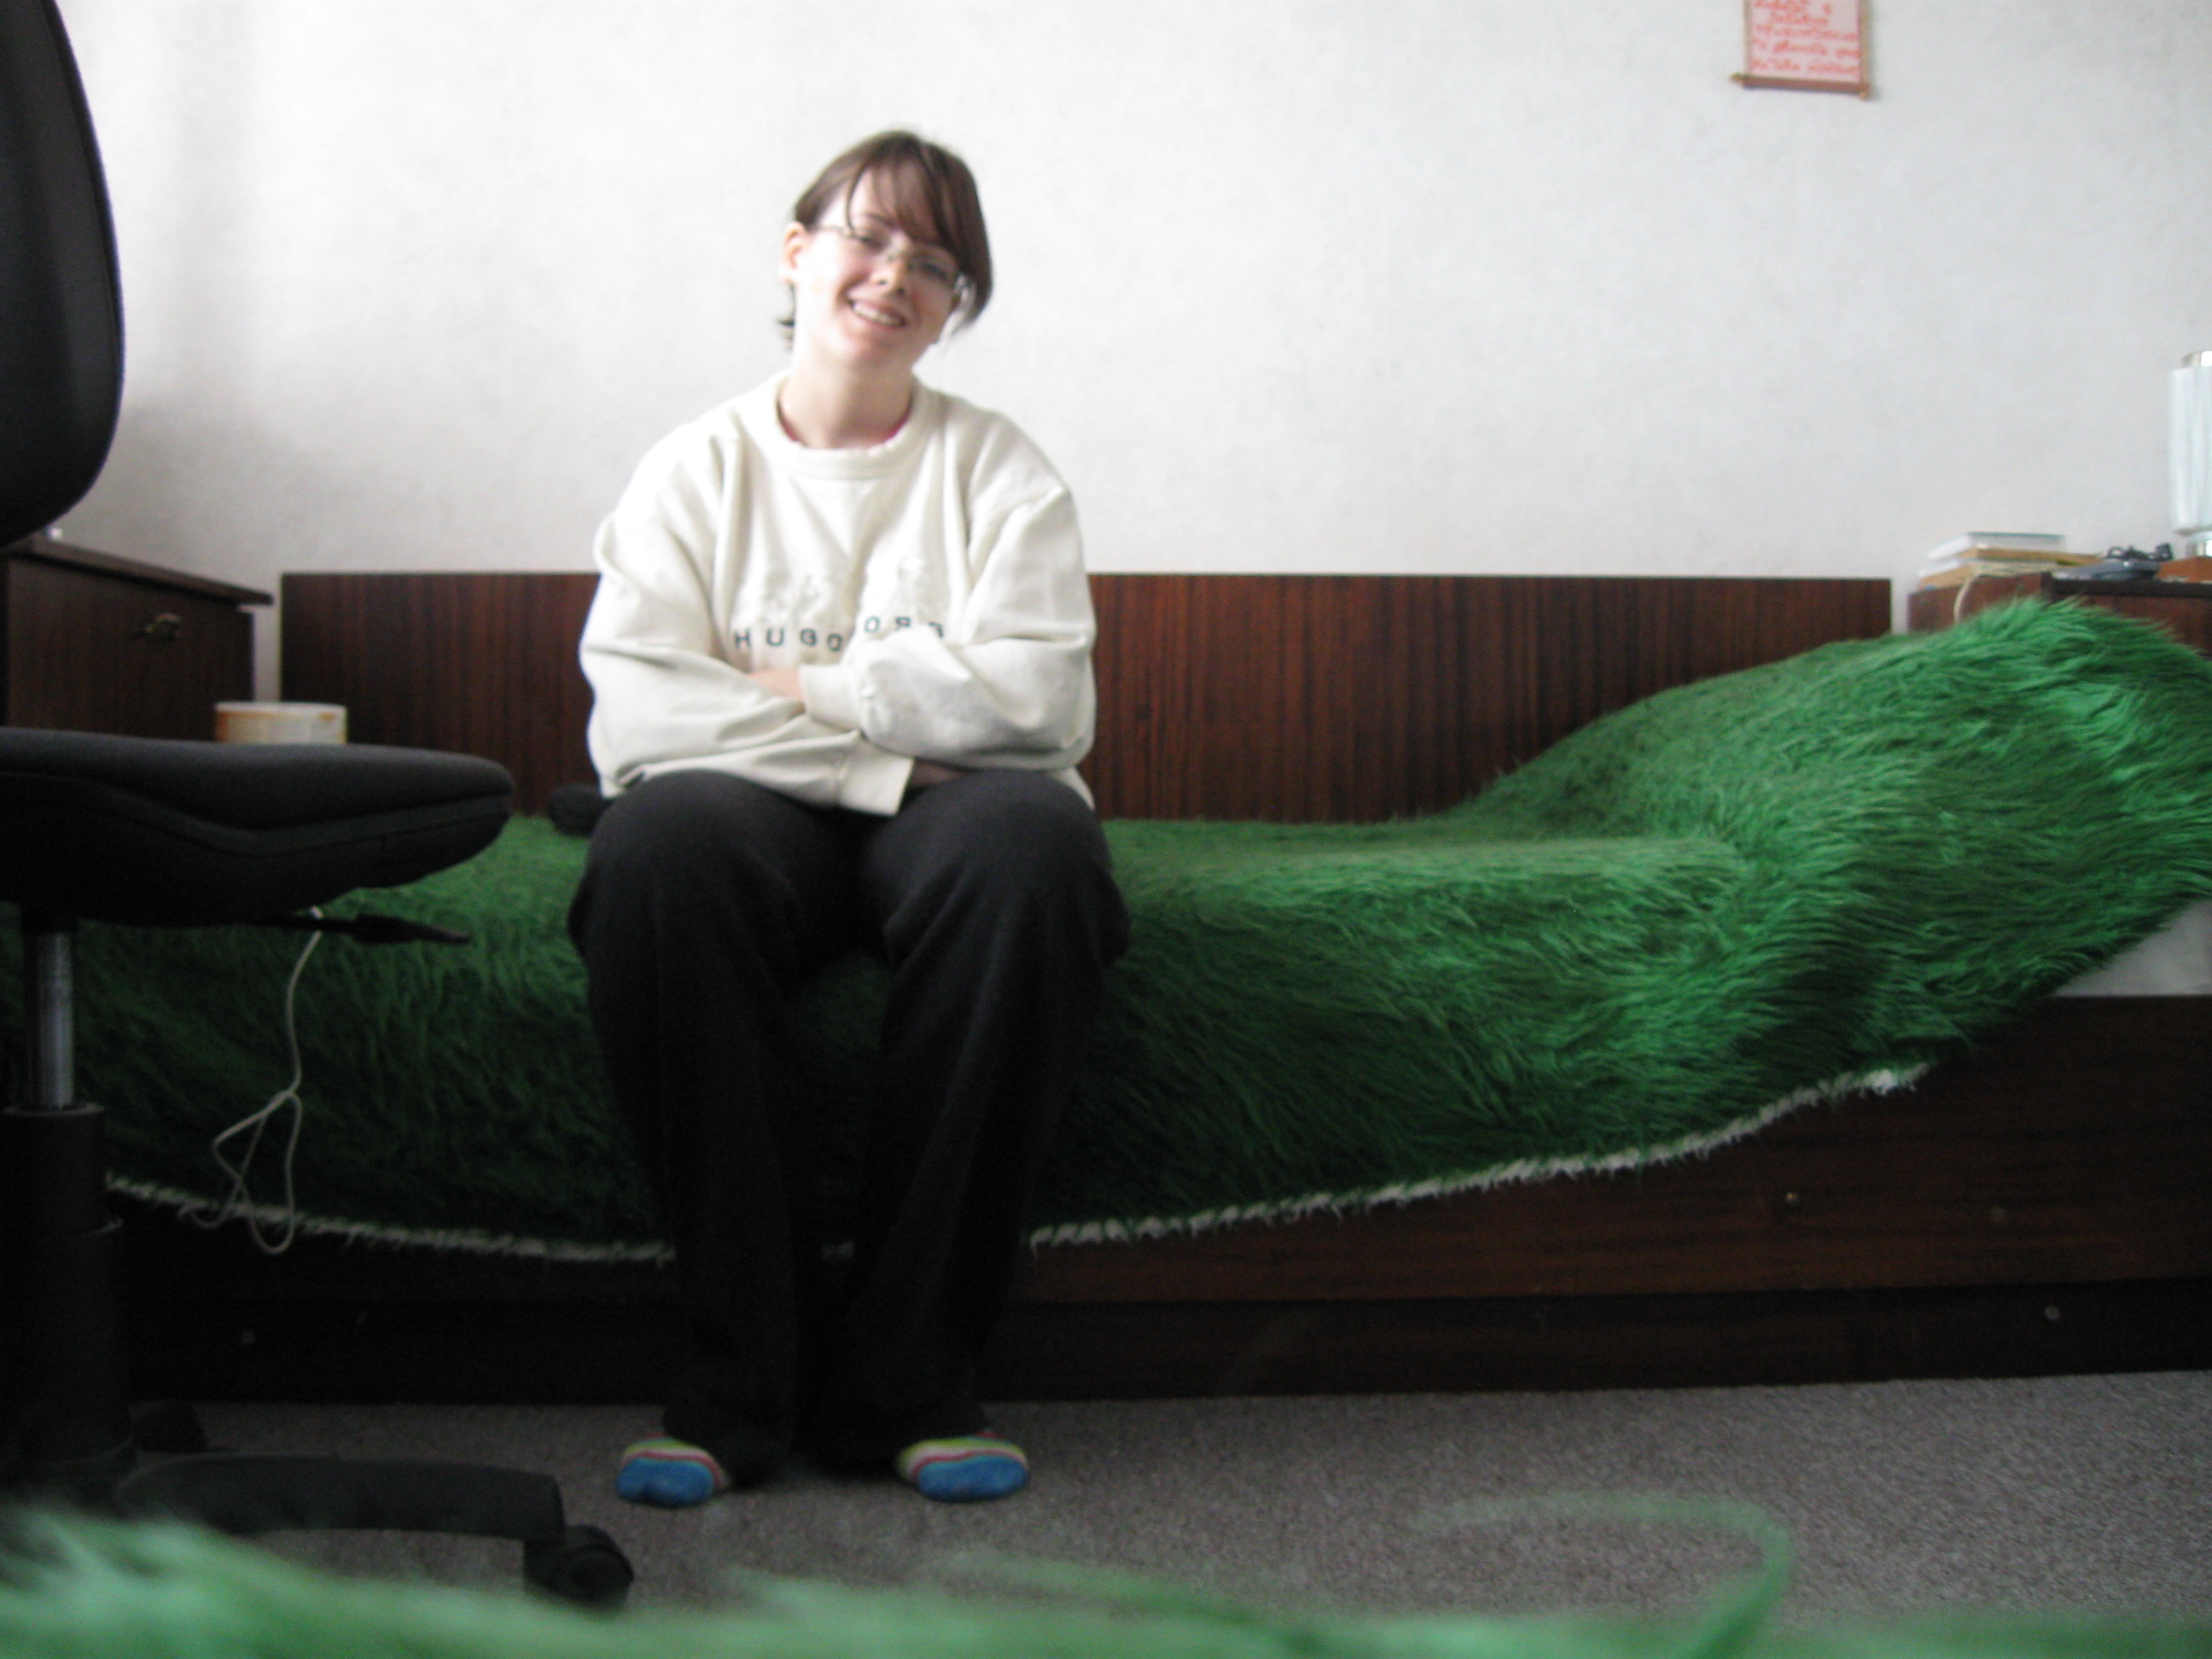
Place the camera and set it to self timer. Take two pictures of yourself, but don't move the camera, just change your position and if you like you can change clothes.
Here are my pictures:
Here are my pictures:
Photoshop
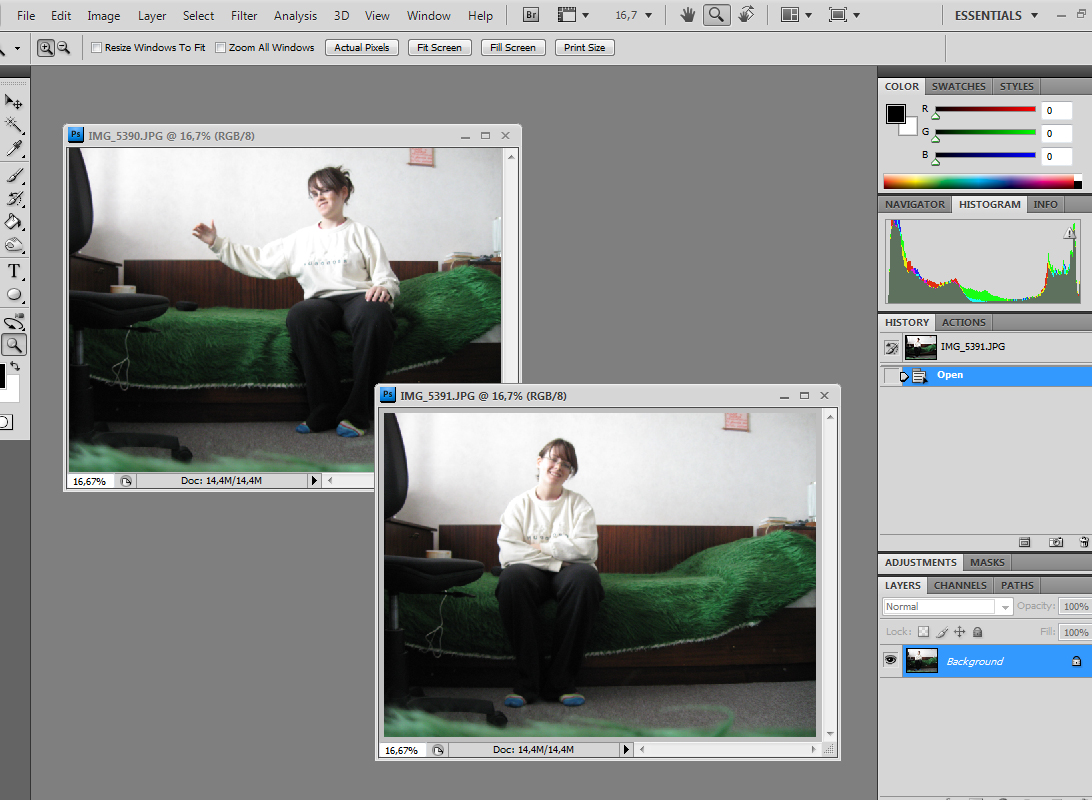
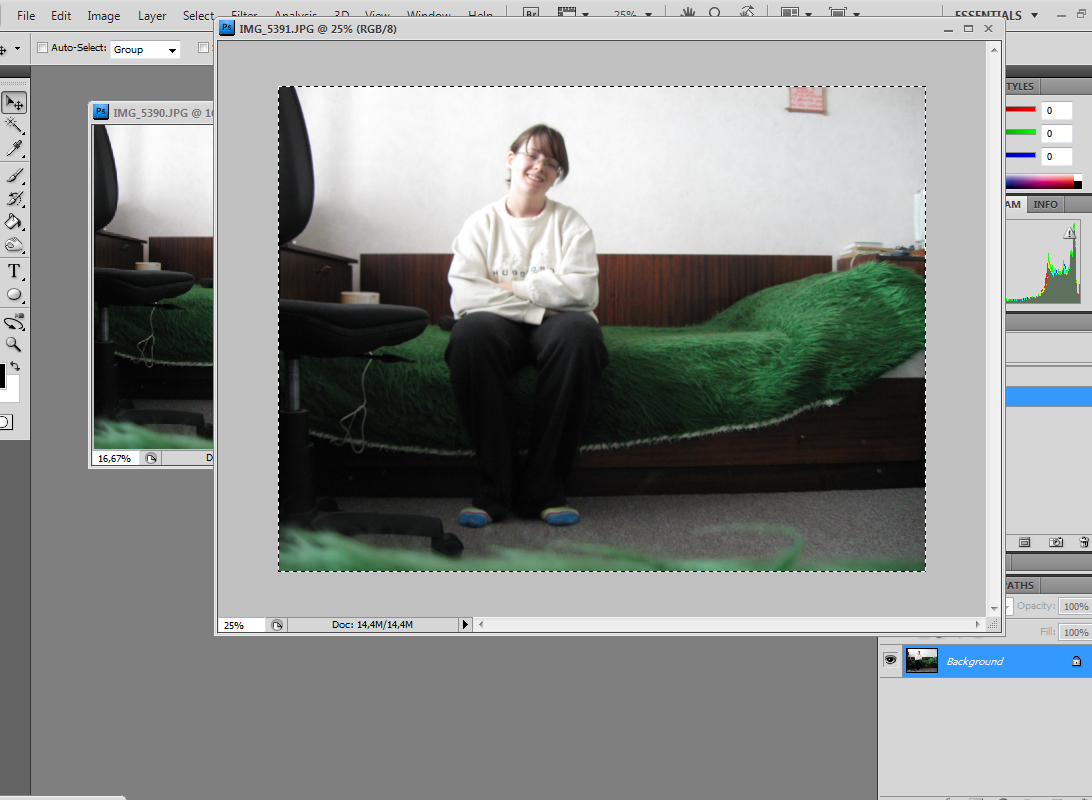
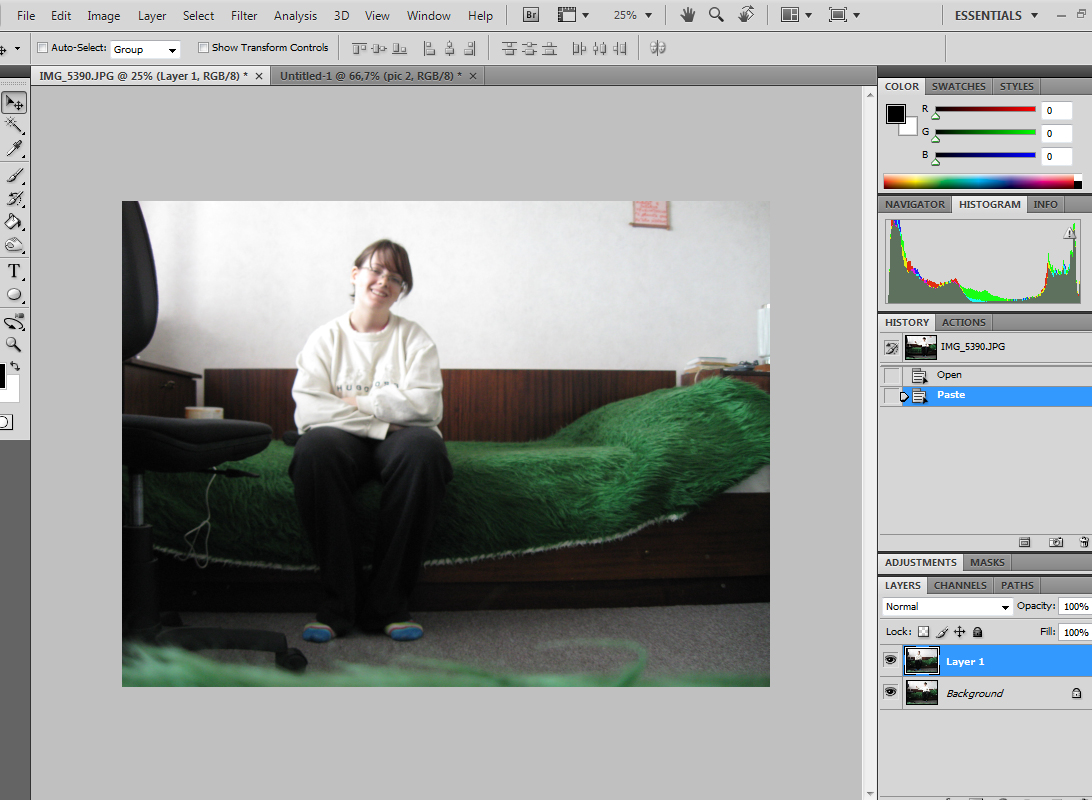
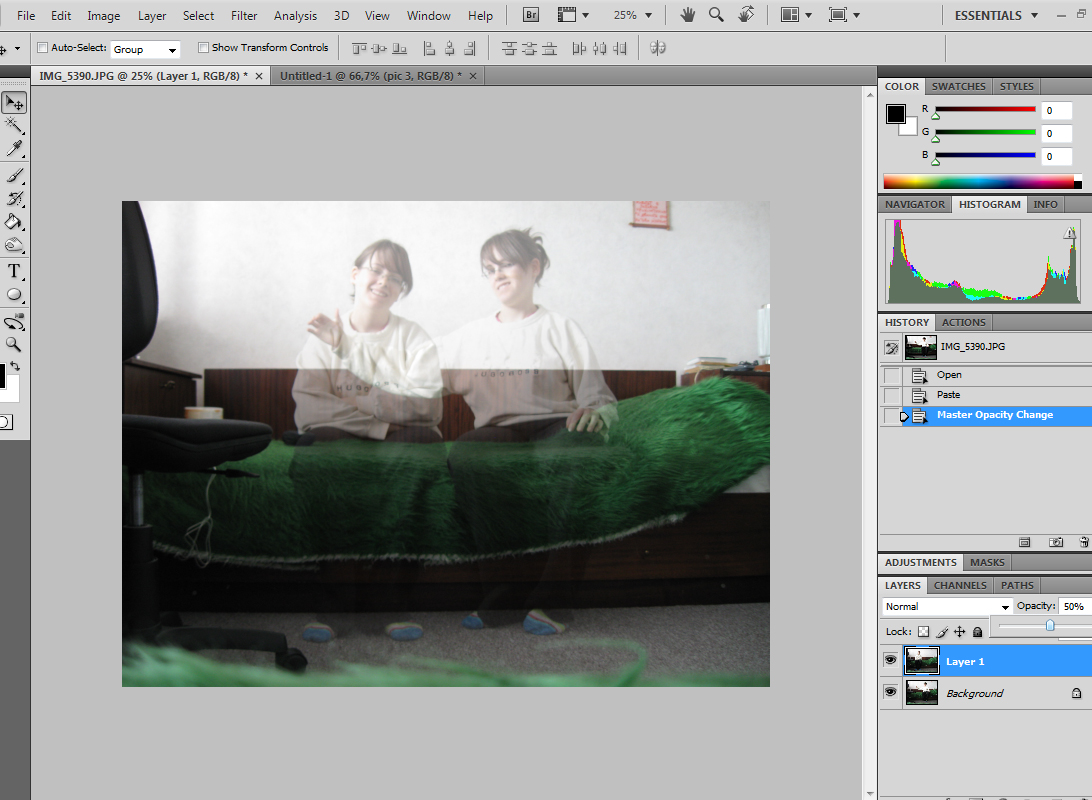
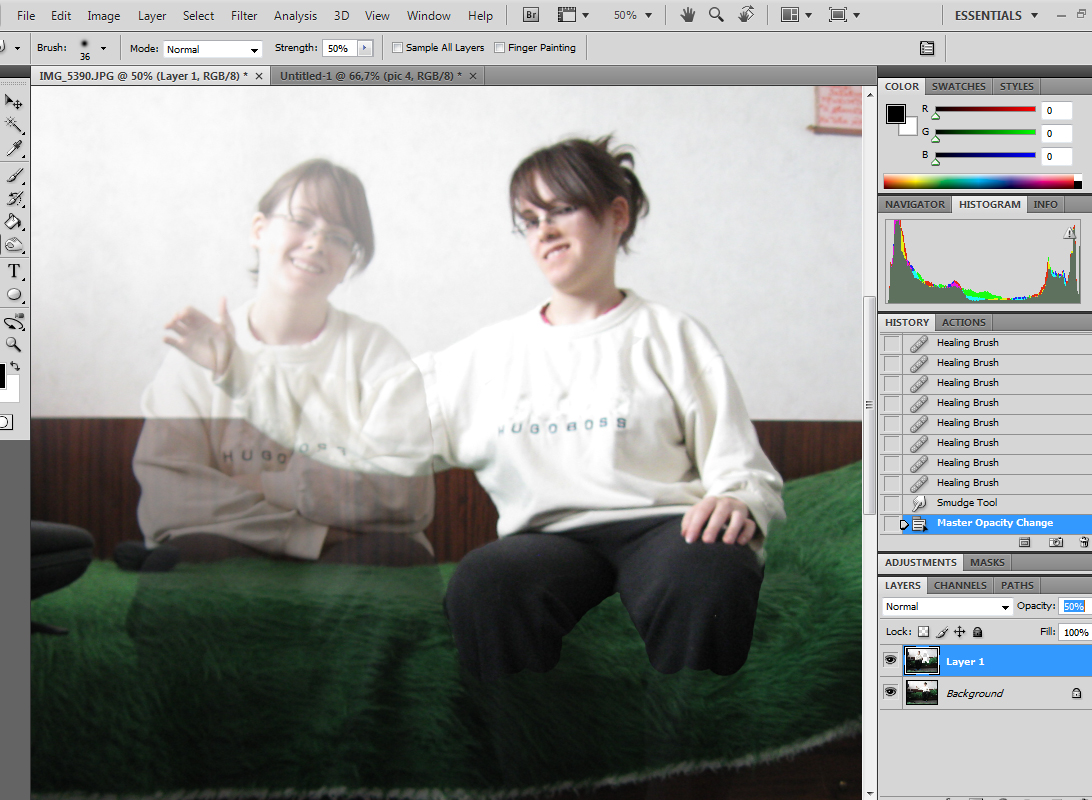
1. Send the pictures to your PC.
2. Open them in Photoshop.
3. Select the second picture and place it over the first one. (Shortcuts: Ctrl+A, Ctrl+C and on the first picture Ctrl+V)
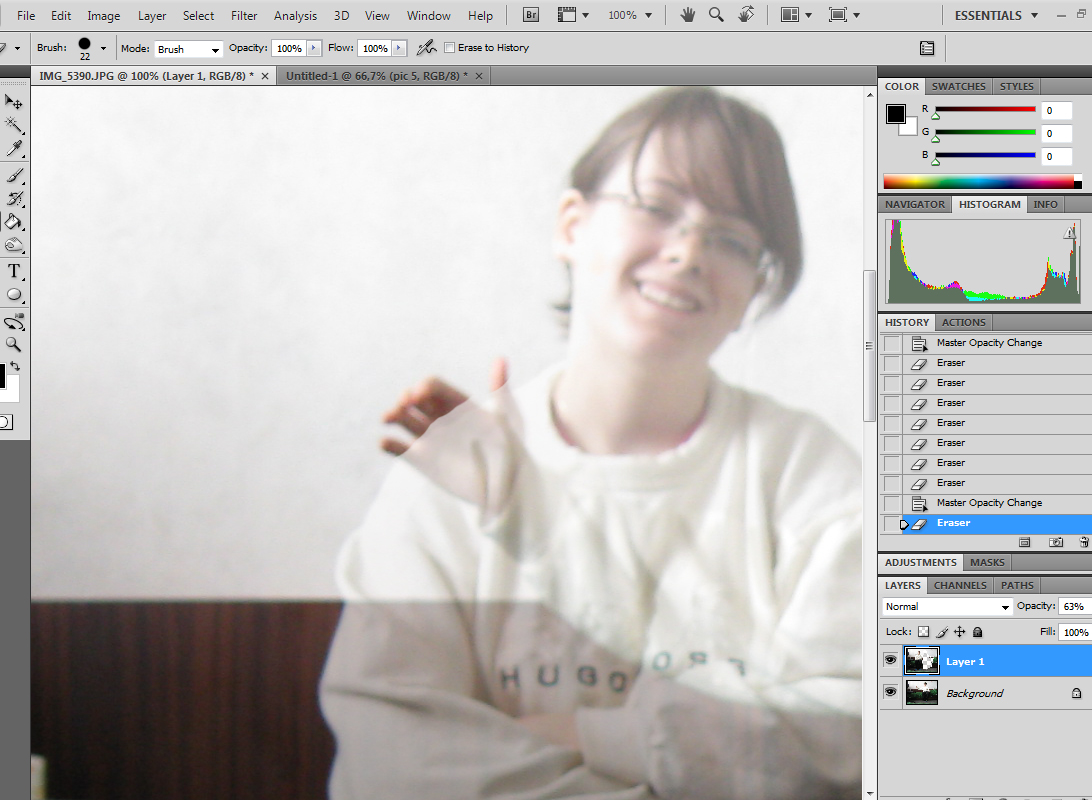
4. Change the Opacity between 30 and 50% so you can see the two pictures.
5. Take the Eraser Tool, choose Soft brush (size your choice) and start to erase the silhouette on the picture which is above the background. Like you can see it become clearer.
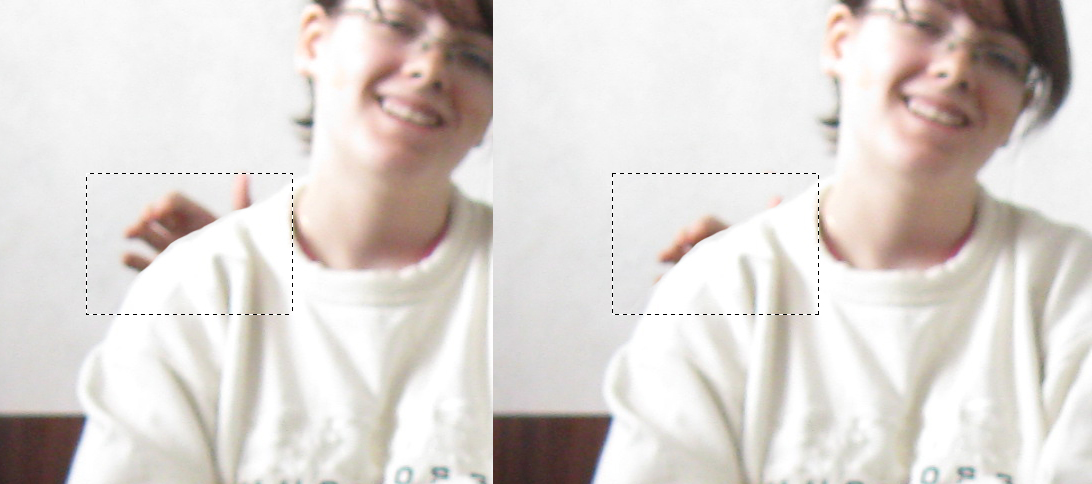
6. Erase the parts which are going to be seen after the change of the opacity back to 100%. Be careful with the fingers. Erase them very carefully! The fingers are a little above the shoulder. Here's how to fix them...Copy the layer "with the fingers", select the finger and move them a little bit to the shoulder.
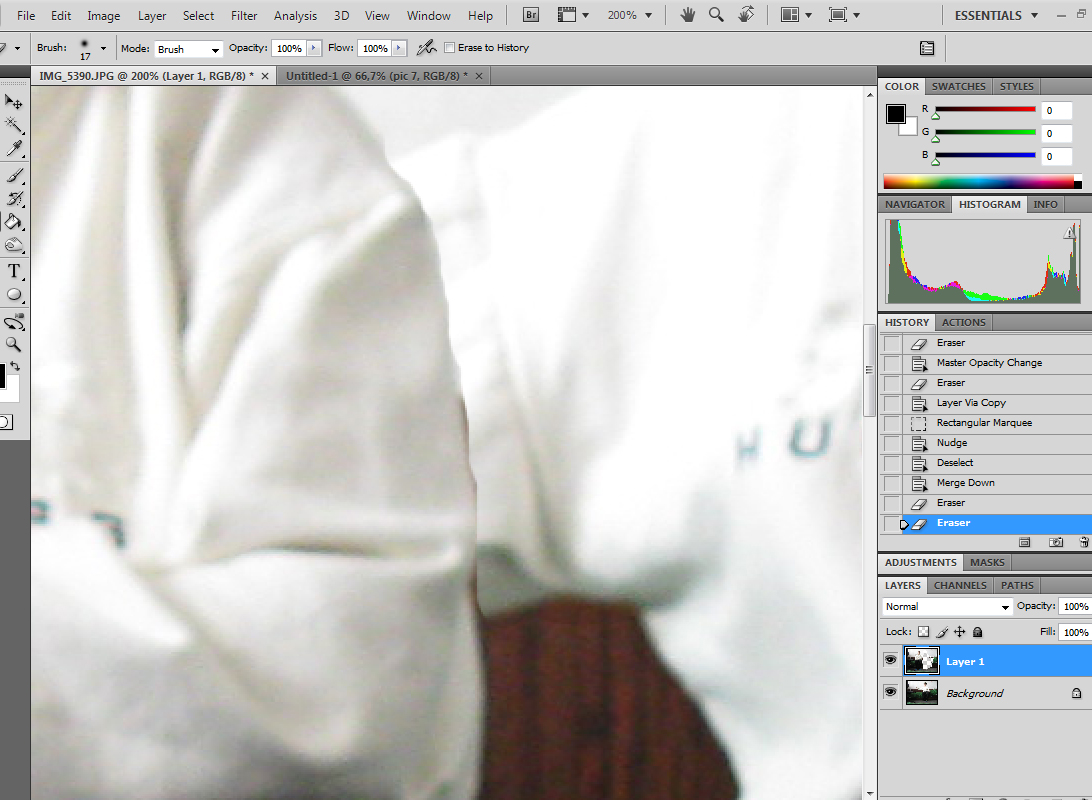
7. Zoom the picture and look carefully for unerased parts. Erase them there are some.
If there are shadows on the picture they must be seen too, so continue erasing... :)
When you like the picture change the opacity back to 100%. The picture looks more realistic now isn't it? If you haven't changed you clothes you can make some changes on the picture like I do. I changed some colors .
Save

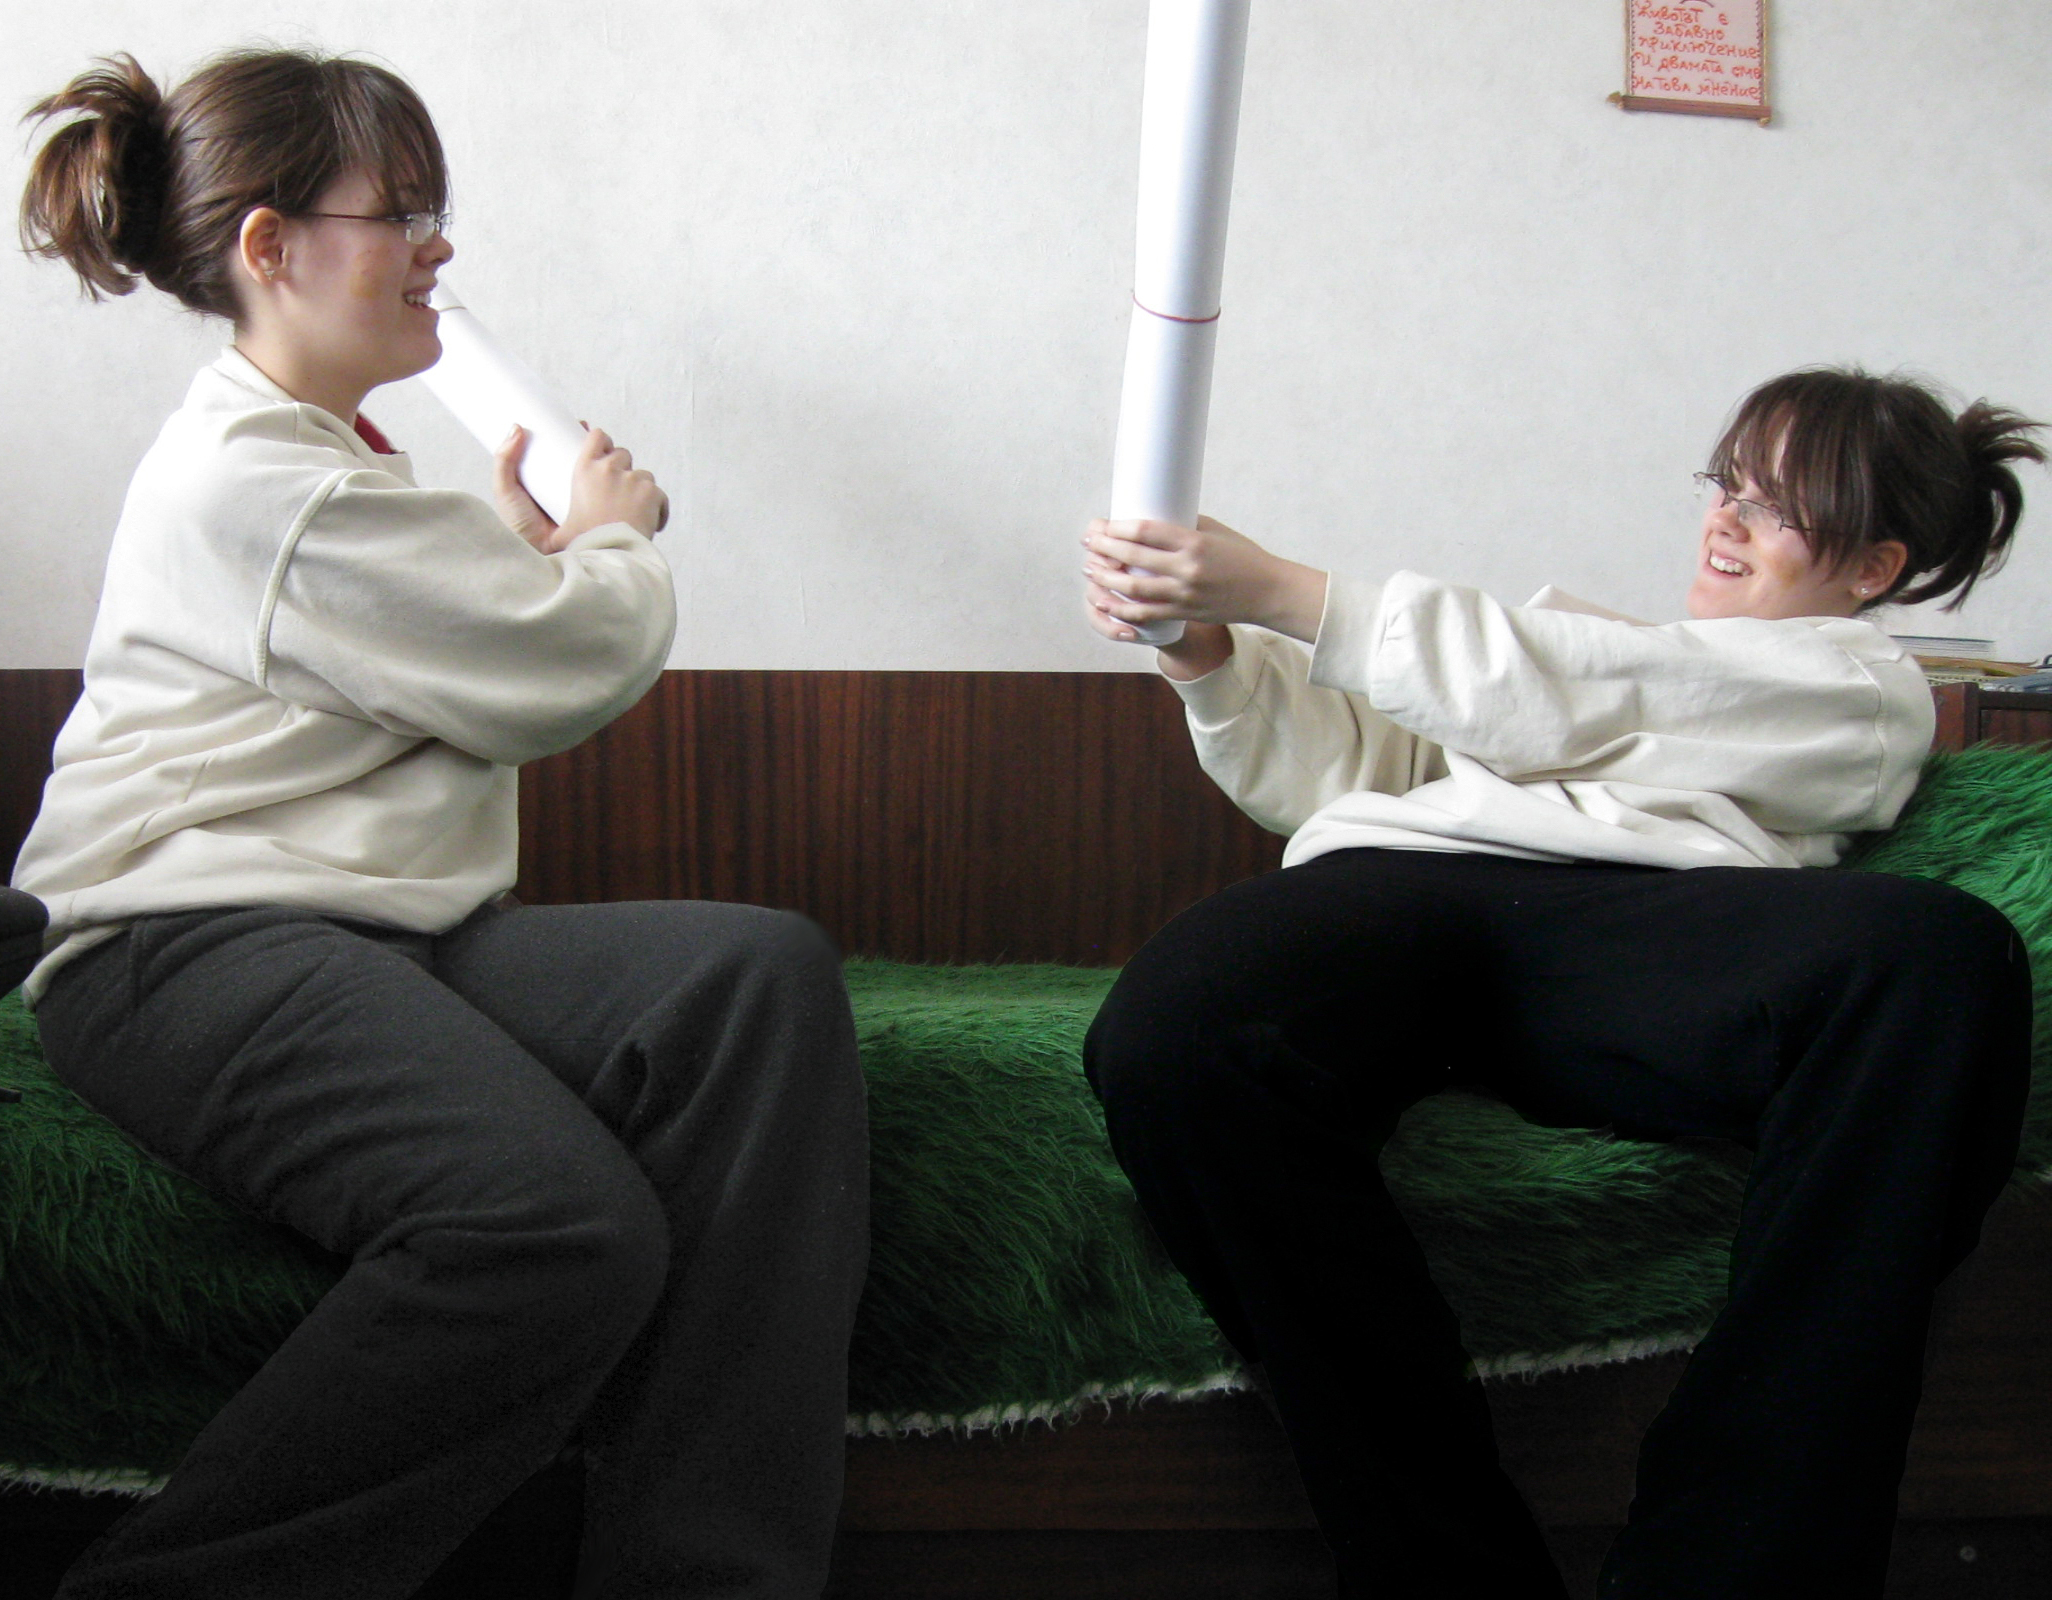
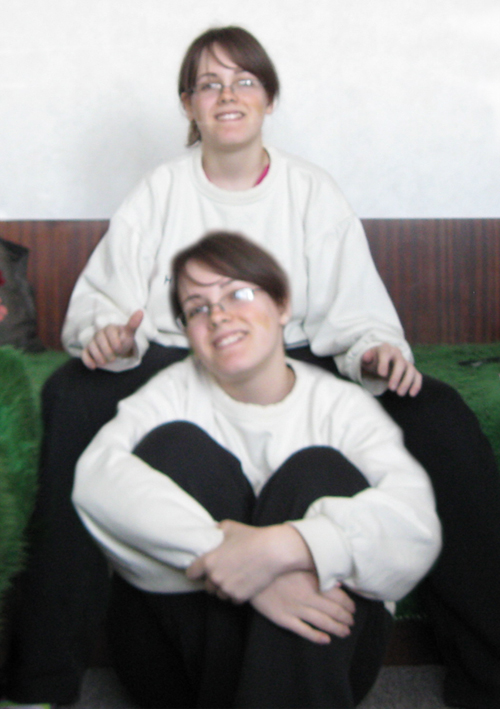
If you like your picture save it and show it to your friends. So what's their reaction?