Make an Instructables Robot Keychain!
by fozzy13 in Workshop > Laser Cutting
3440 Views, 11 Favorites, 0 Comments
Make an Instructables Robot Keychain!
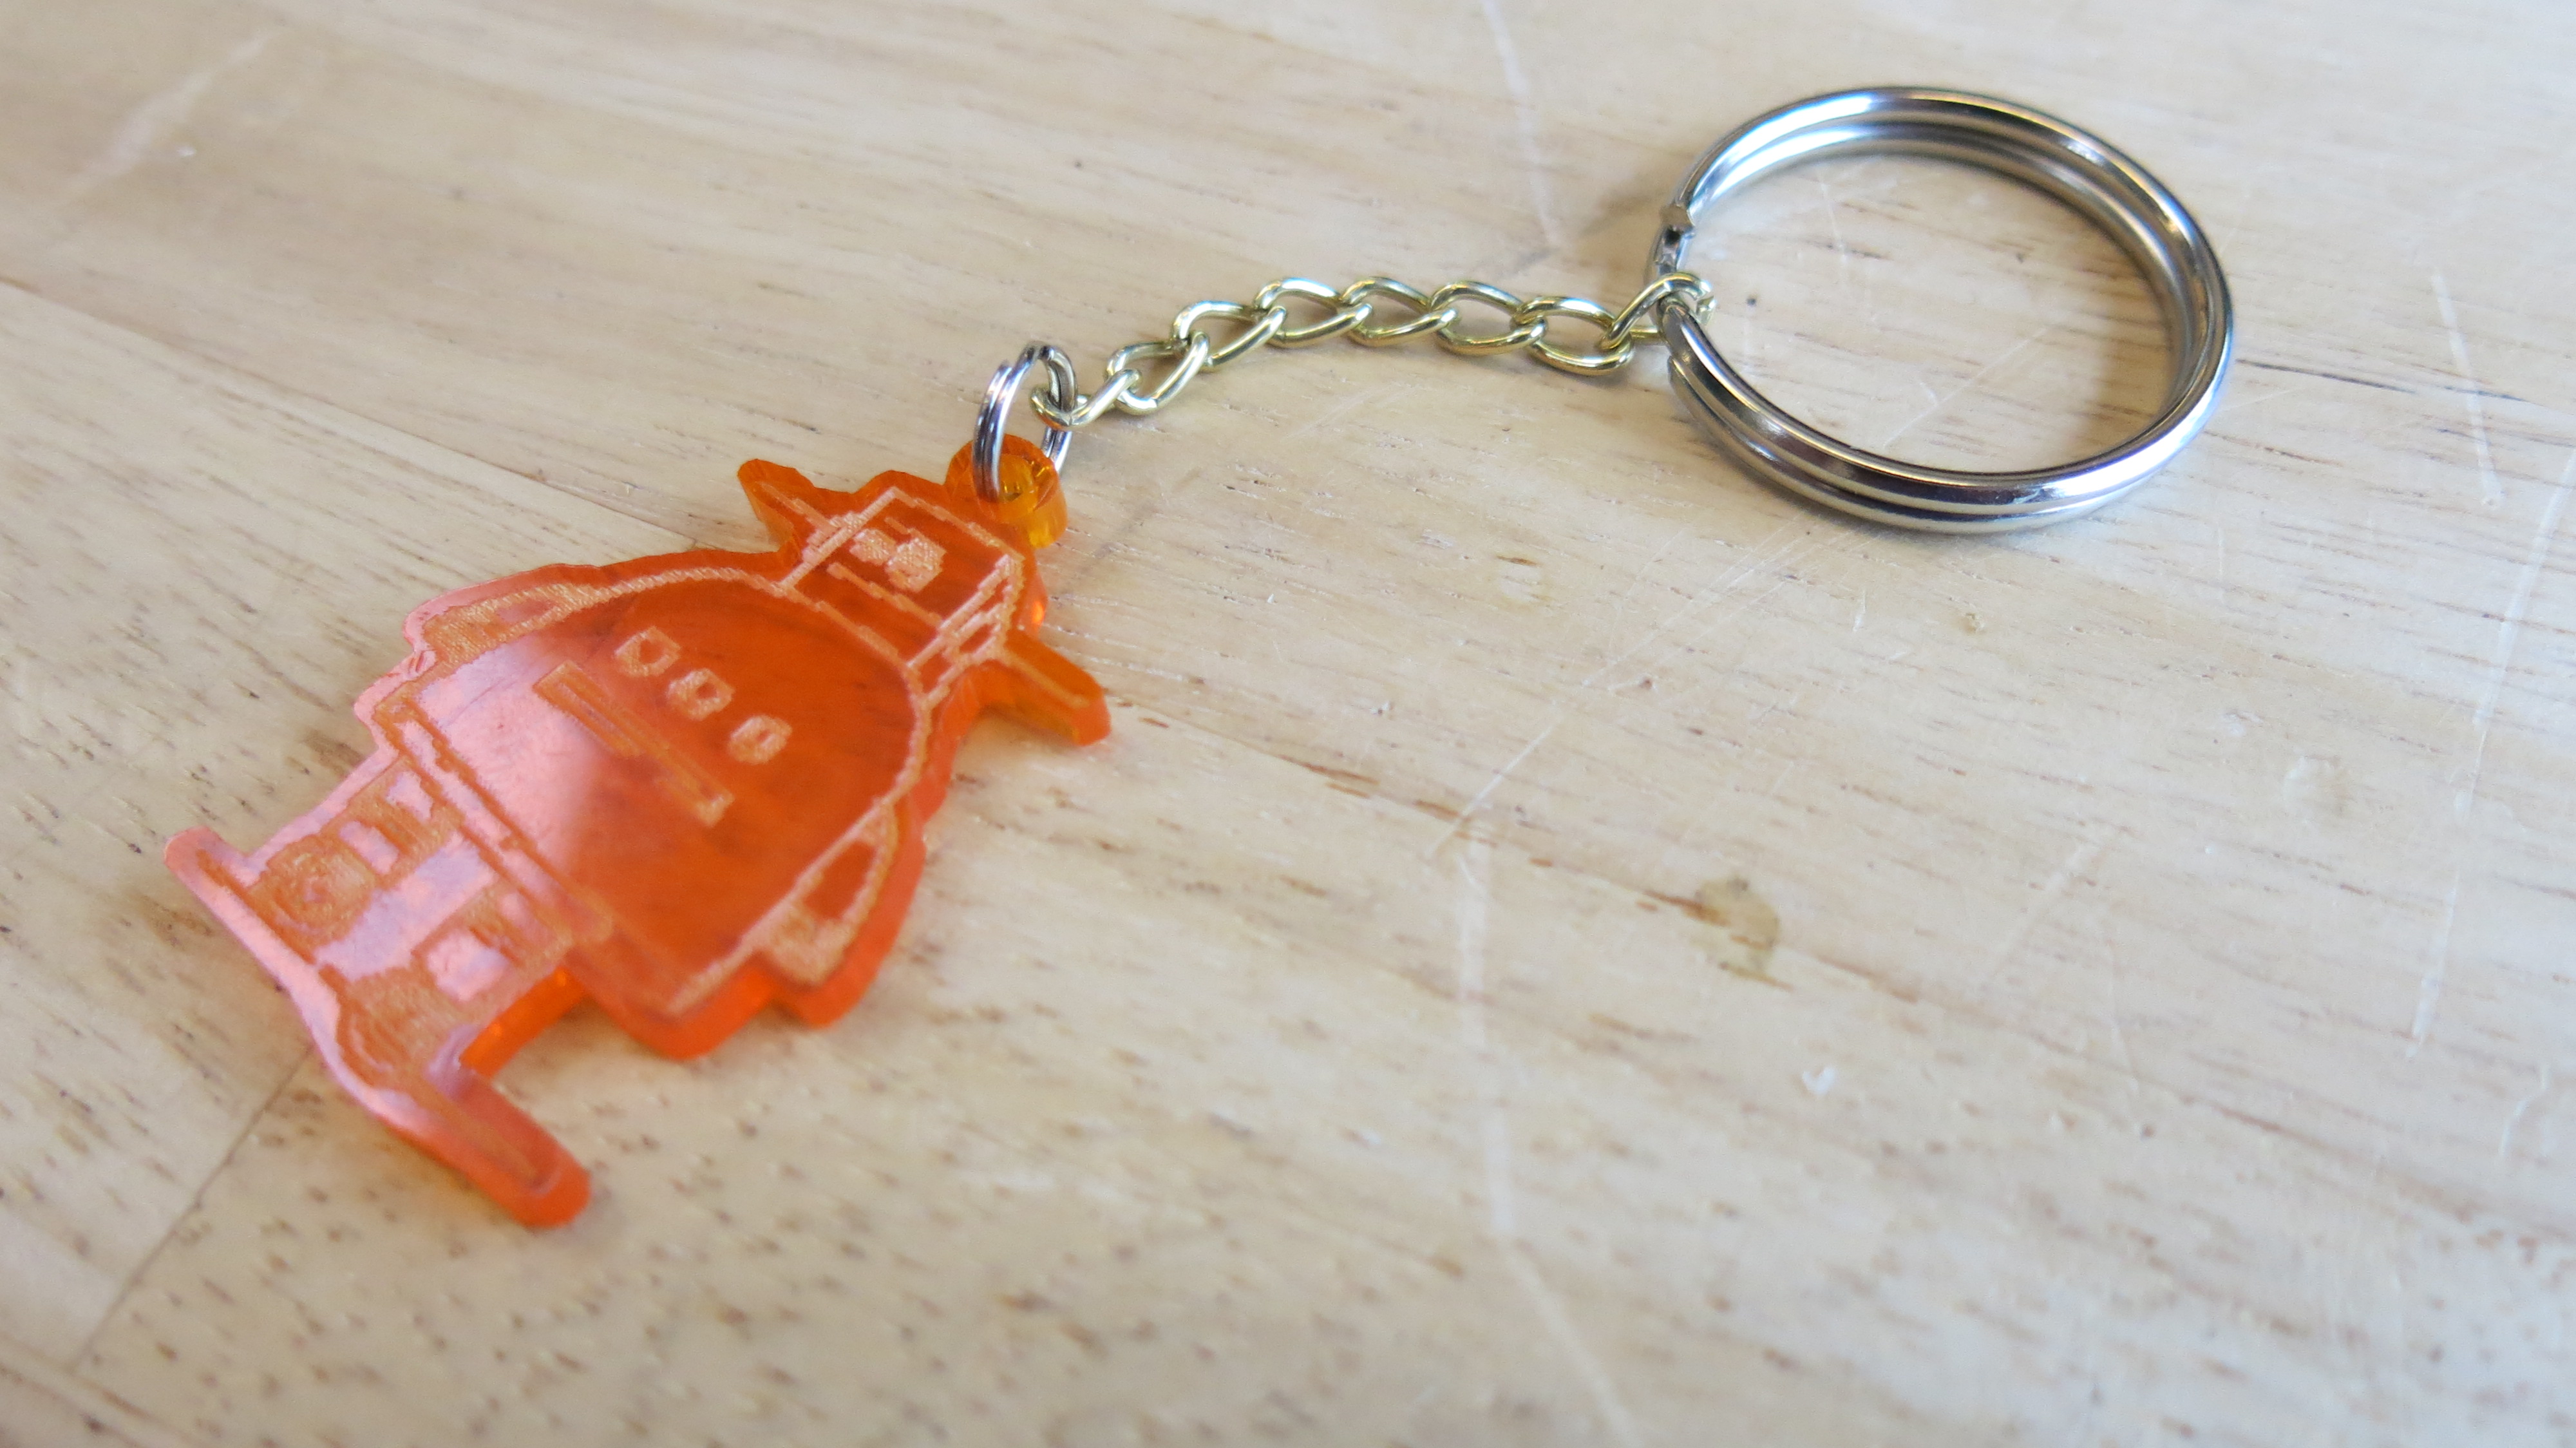
During my last day as an Artist in Residence at Instructables, I was determined to get some last minute use out of the awesome tools I had available before I had to say goodbye. During my stay I loved having access to the Epilog laser cutter. Having never used one before, I was able to pick up Inkscape quickly and get to do some fun projects.
This Instructable will show how I made Instructables robot keychains. I made a few to give to my family members as gifts when I went back home. Who wouldn't want everyone's favorite robot accompanying your keys!?
This Instructable will show how I made Instructables robot keychains. I made a few to give to my family members as gifts when I went back home. Who wouldn't want everyone's favorite robot accompanying your keys!?
Overview
This Instructable consists of four parts:
-
1. GIMP stands for "GNU Image Manipulation Program". The best open source photo editing and drawing program I am aware of. If you don't already have it installed, you should get if for free here.
2. Inkscape is an open-source vector graphics creator. If you've heard of Adobe Illustrator, this is like a free version of that program. I'm using it because it's free and available, but feel free to use your vector-graphics editor of choice. Or you can get Inkscape for free here.
- Tools/Materials
- Design - GIMP1
- Design - Inkscape2
- Cutting
- Clean and Assemble!
-
1. GIMP stands for "GNU Image Manipulation Program". The best open source photo editing and drawing program I am aware of. If you don't already have it installed, you should get if for free here.
2. Inkscape is an open-source vector graphics creator. If you've heard of Adobe Illustrator, this is like a free version of that program. I'm using it because it's free and available, but feel free to use your vector-graphics editor of choice. Or you can get Inkscape for free here.
Design - GIMP
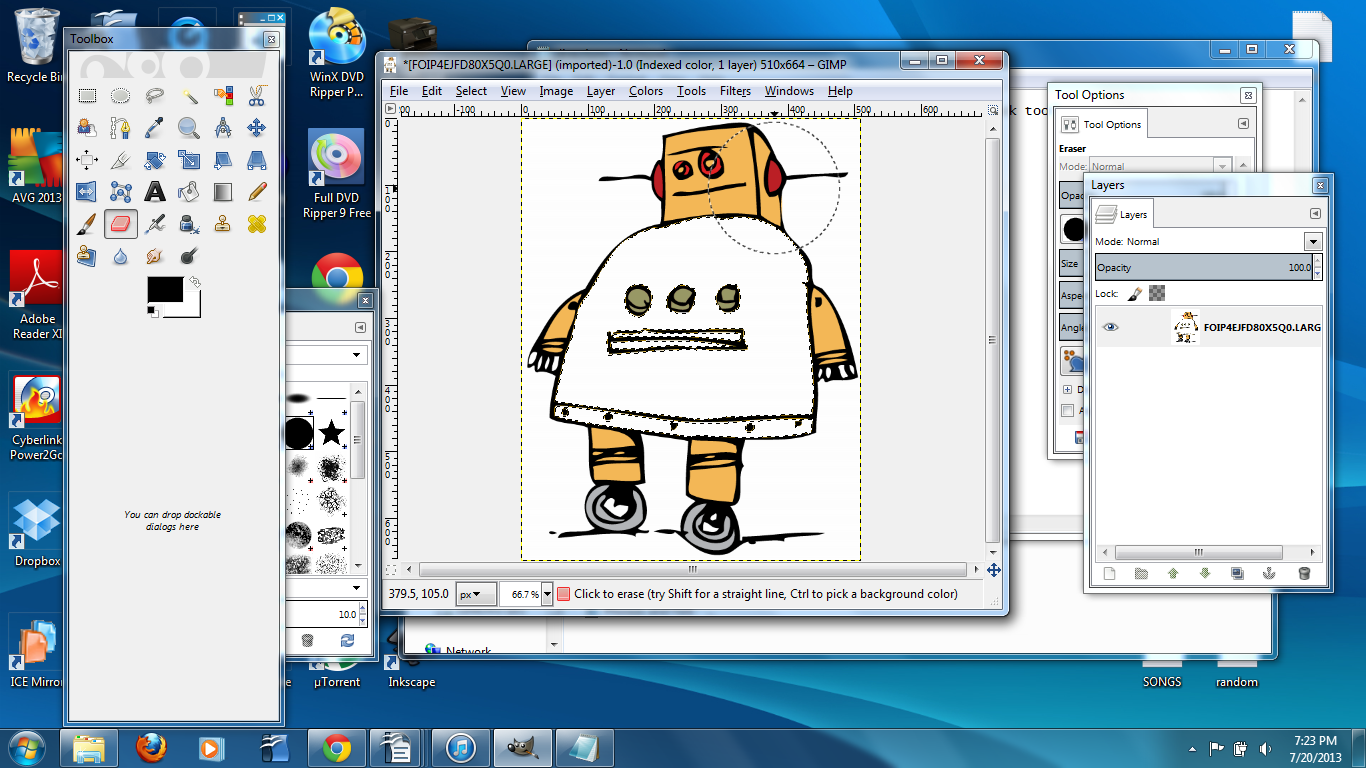
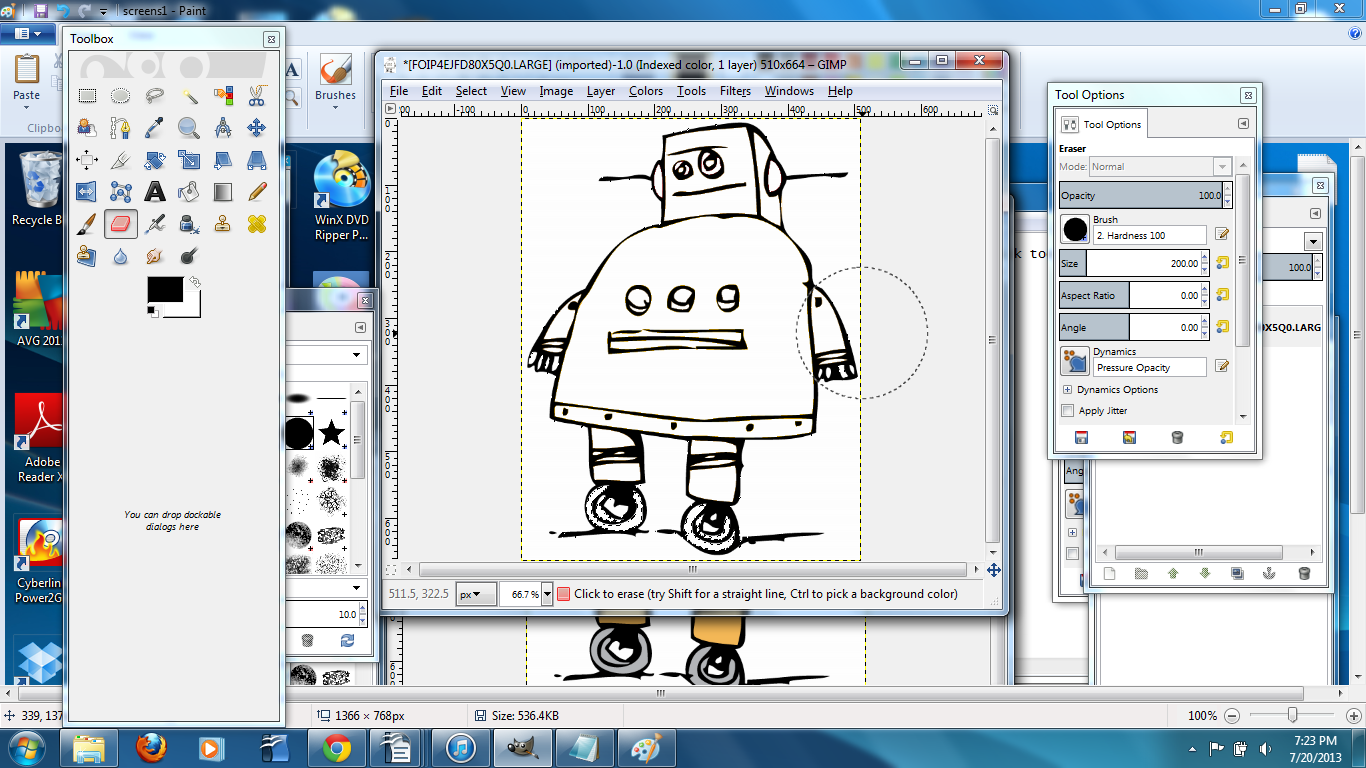
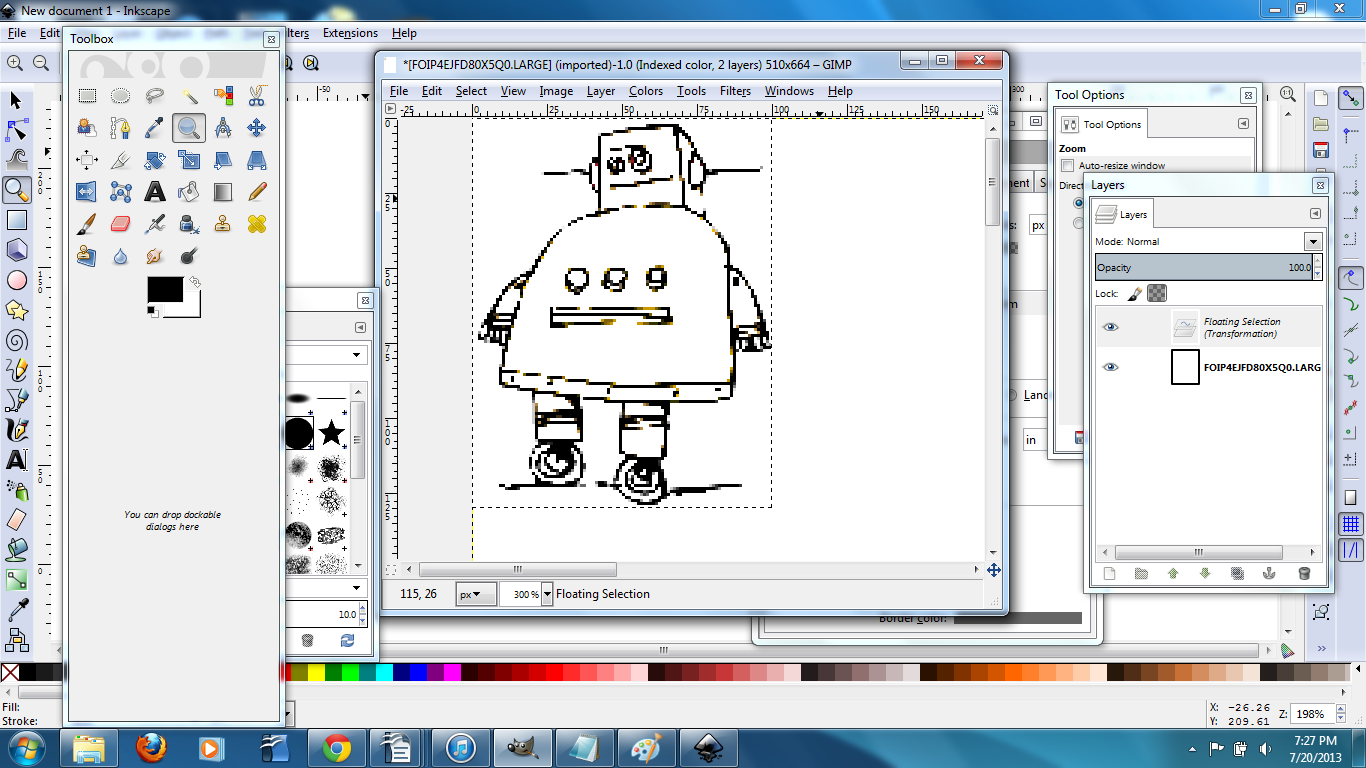
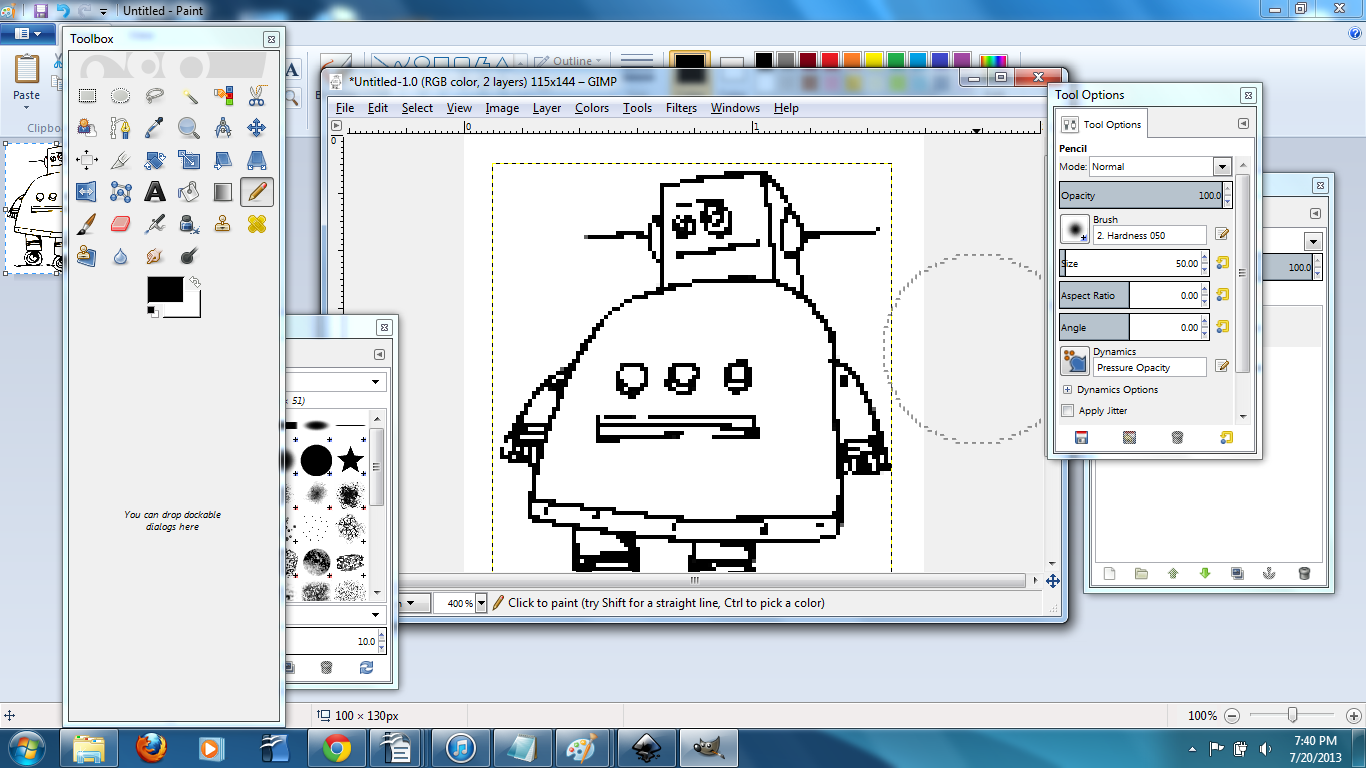
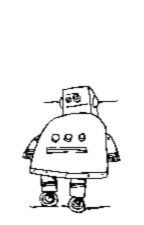
This was my first step. Many times during my residency I would leave the Pier, only to go back to my living space and get inspired to do something, and end up drawing for hours on Inkscape late at night.
This is a cool project, because we will be using both vector (cut) and raster (etched) graphics. I started with an Instructables robot picture that I found here. There's a few links on that page that will lead you to slightly different robot pictures. I downloaded the .gif file and opened it in GIMP1. This is an open source photoshop-like program
Editing the image in GIMP:
-
1. GIMP stands for GNU Image Manipulation Program. The best open source photo editing and drawing program I am aware of. If you don't already have it installed, you should get if for free <a href="http://www.gimp.org/">here</a>.
This is a cool project, because we will be using both vector (cut) and raster (etched) graphics. I started with an Instructables robot picture that I found here. There's a few links on that page that will lead you to slightly different robot pictures. I downloaded the .gif file and opened it in GIMP1. This is an open source photoshop-like program
Editing the image in GIMP:
- We want to get rid of all the colors. Select all the orange using the "select regions with similar colors" button. Use the eraser tool at a large size to erase all the orange color.
- Scale the image. Select the robot image if it isn't selected already. On the toolbar click: "Scale>inches>lock ratio>height=1.8".
- Logistical issues. GIMP gave me some issues with the file format or color settings or something. To fix this I copy and pasted the scaled robot image to paint, and made a new image in GIMP the same size. After pasting the robot back into GIMP, it was happy.
- Clean up the image. I converted the image to black and white to eliminate any strange-colored pixels by using the "Colors>desaturate" function. I've never noticed any difference by messing with the settings. I then used the pencil tool with a 1-pt. thickness to thicken up some of the lines. I wanted a clear image, and to avoid an unnotice-abley thin engraving. Because I didn't want the image to look super pixelated, I blurred it using the "Filters>Blur>Gaussian blur" function, set to 1 in each direction. I'm not sure how effective this last part actually was.
-
1. GIMP stands for GNU Image Manipulation Program. The best open source photo editing and drawing program I am aware of. If you don't already have it installed, you should get if for free <a href="http://www.gimp.org/">here</a>.
Design - Inkscape
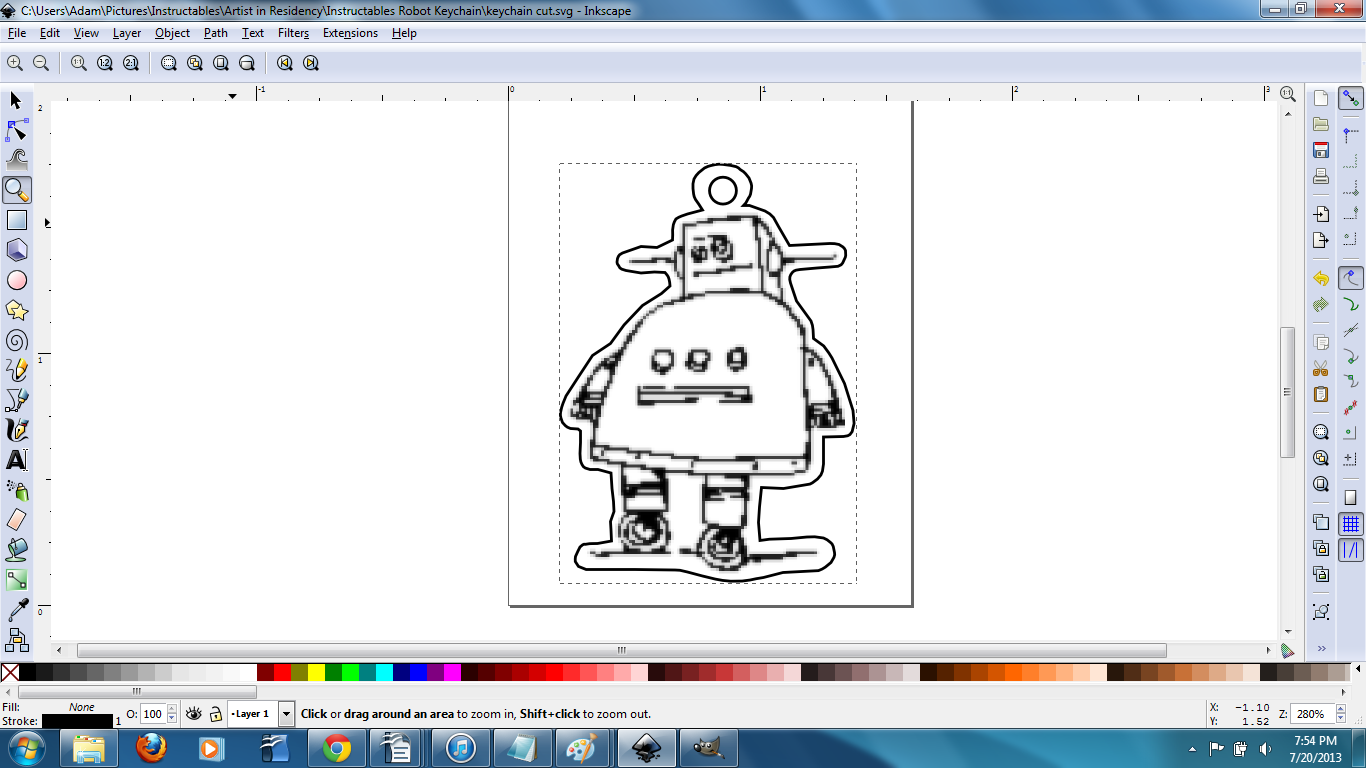
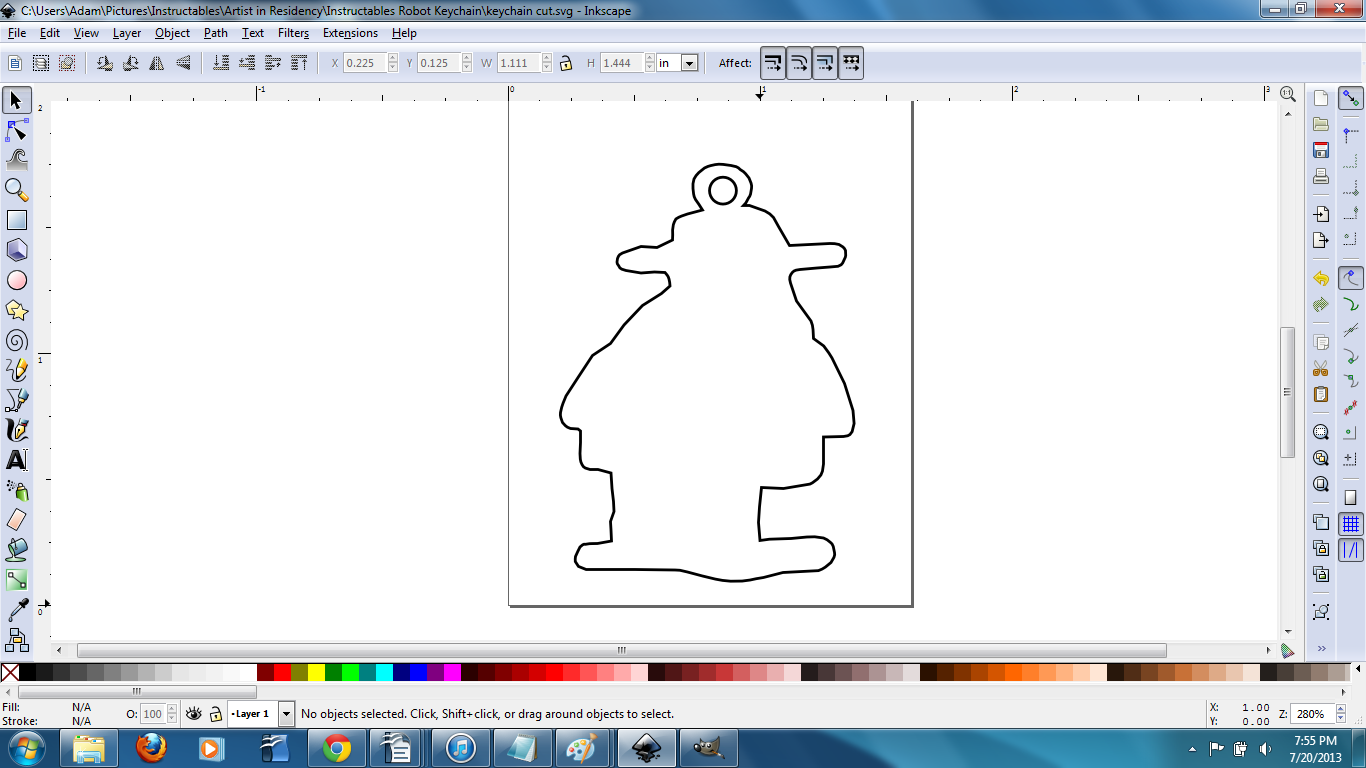
In Inkscape I made the vector portion of my image. This is the outline of the robot and the shape of they keychain that will be cut out of the plastic.
- Make a new image. "FIle>Document Properties>set default unit to inches> set height=2.5, width=1.5" This was enough space for me to work.
- Import or copy-paste your robot picture into Inkscape. This will serve as a guide to draw the shape of the keychain.
- Use the circle tool to draw a circle above the robot's head. This will be the hole where the keychain will attach.
- Use the "draw bezier curves and straight lines" tool to trace around the robot. The nodes were adjusted afterward to help smooth out the curves.
- Delete the robot image to leave only the curves that were drawn.
Downloads
Cutting
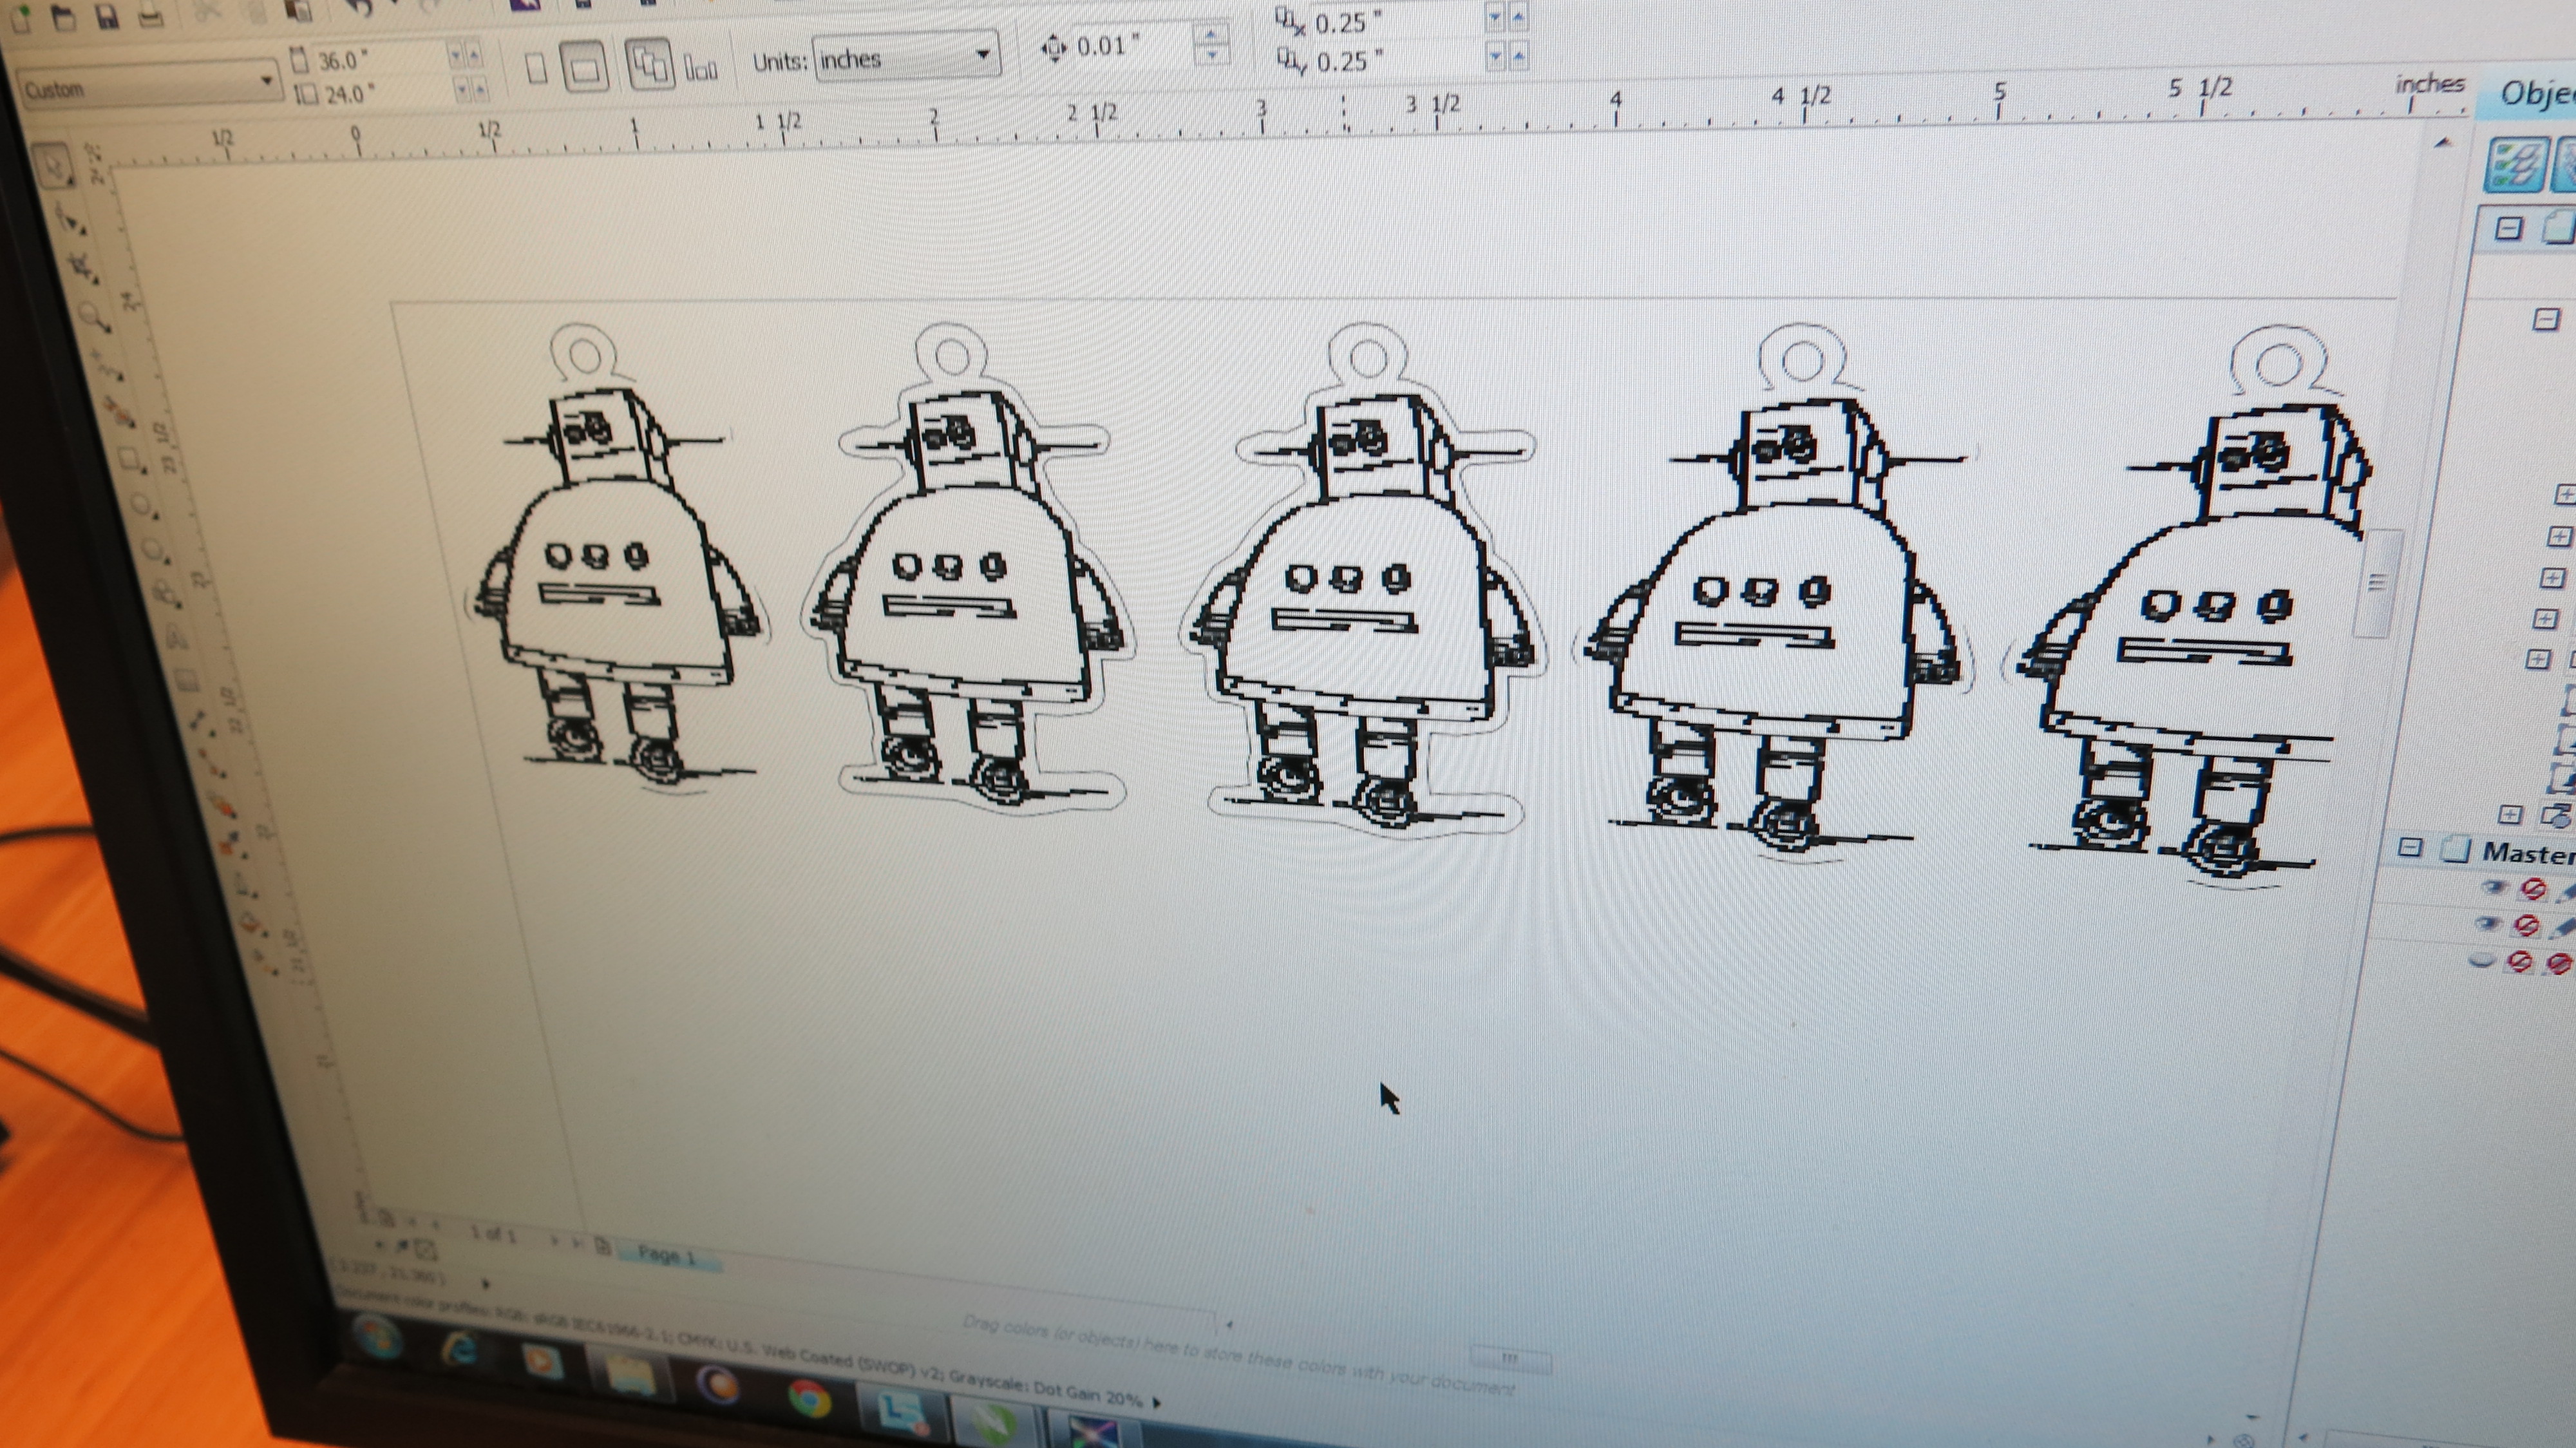
So we have two images: 1. a .png of our robot that will be our etched image. 2. a .pdf file of the cuts that will be made.
Import both images into CorelDraw. CorelDraw is the program that cooperates best with the laser cutters at Instructables. Then the two images were arranged together so that the etched image will be within the curve that will be cut. There's not much too this other than moving the two images around. In the image below, you can see a the few that I cut out.
This isn't a laser cutter tutorial, so use the appropriate set up and settings for the one you're using.
Clean and Assemble!
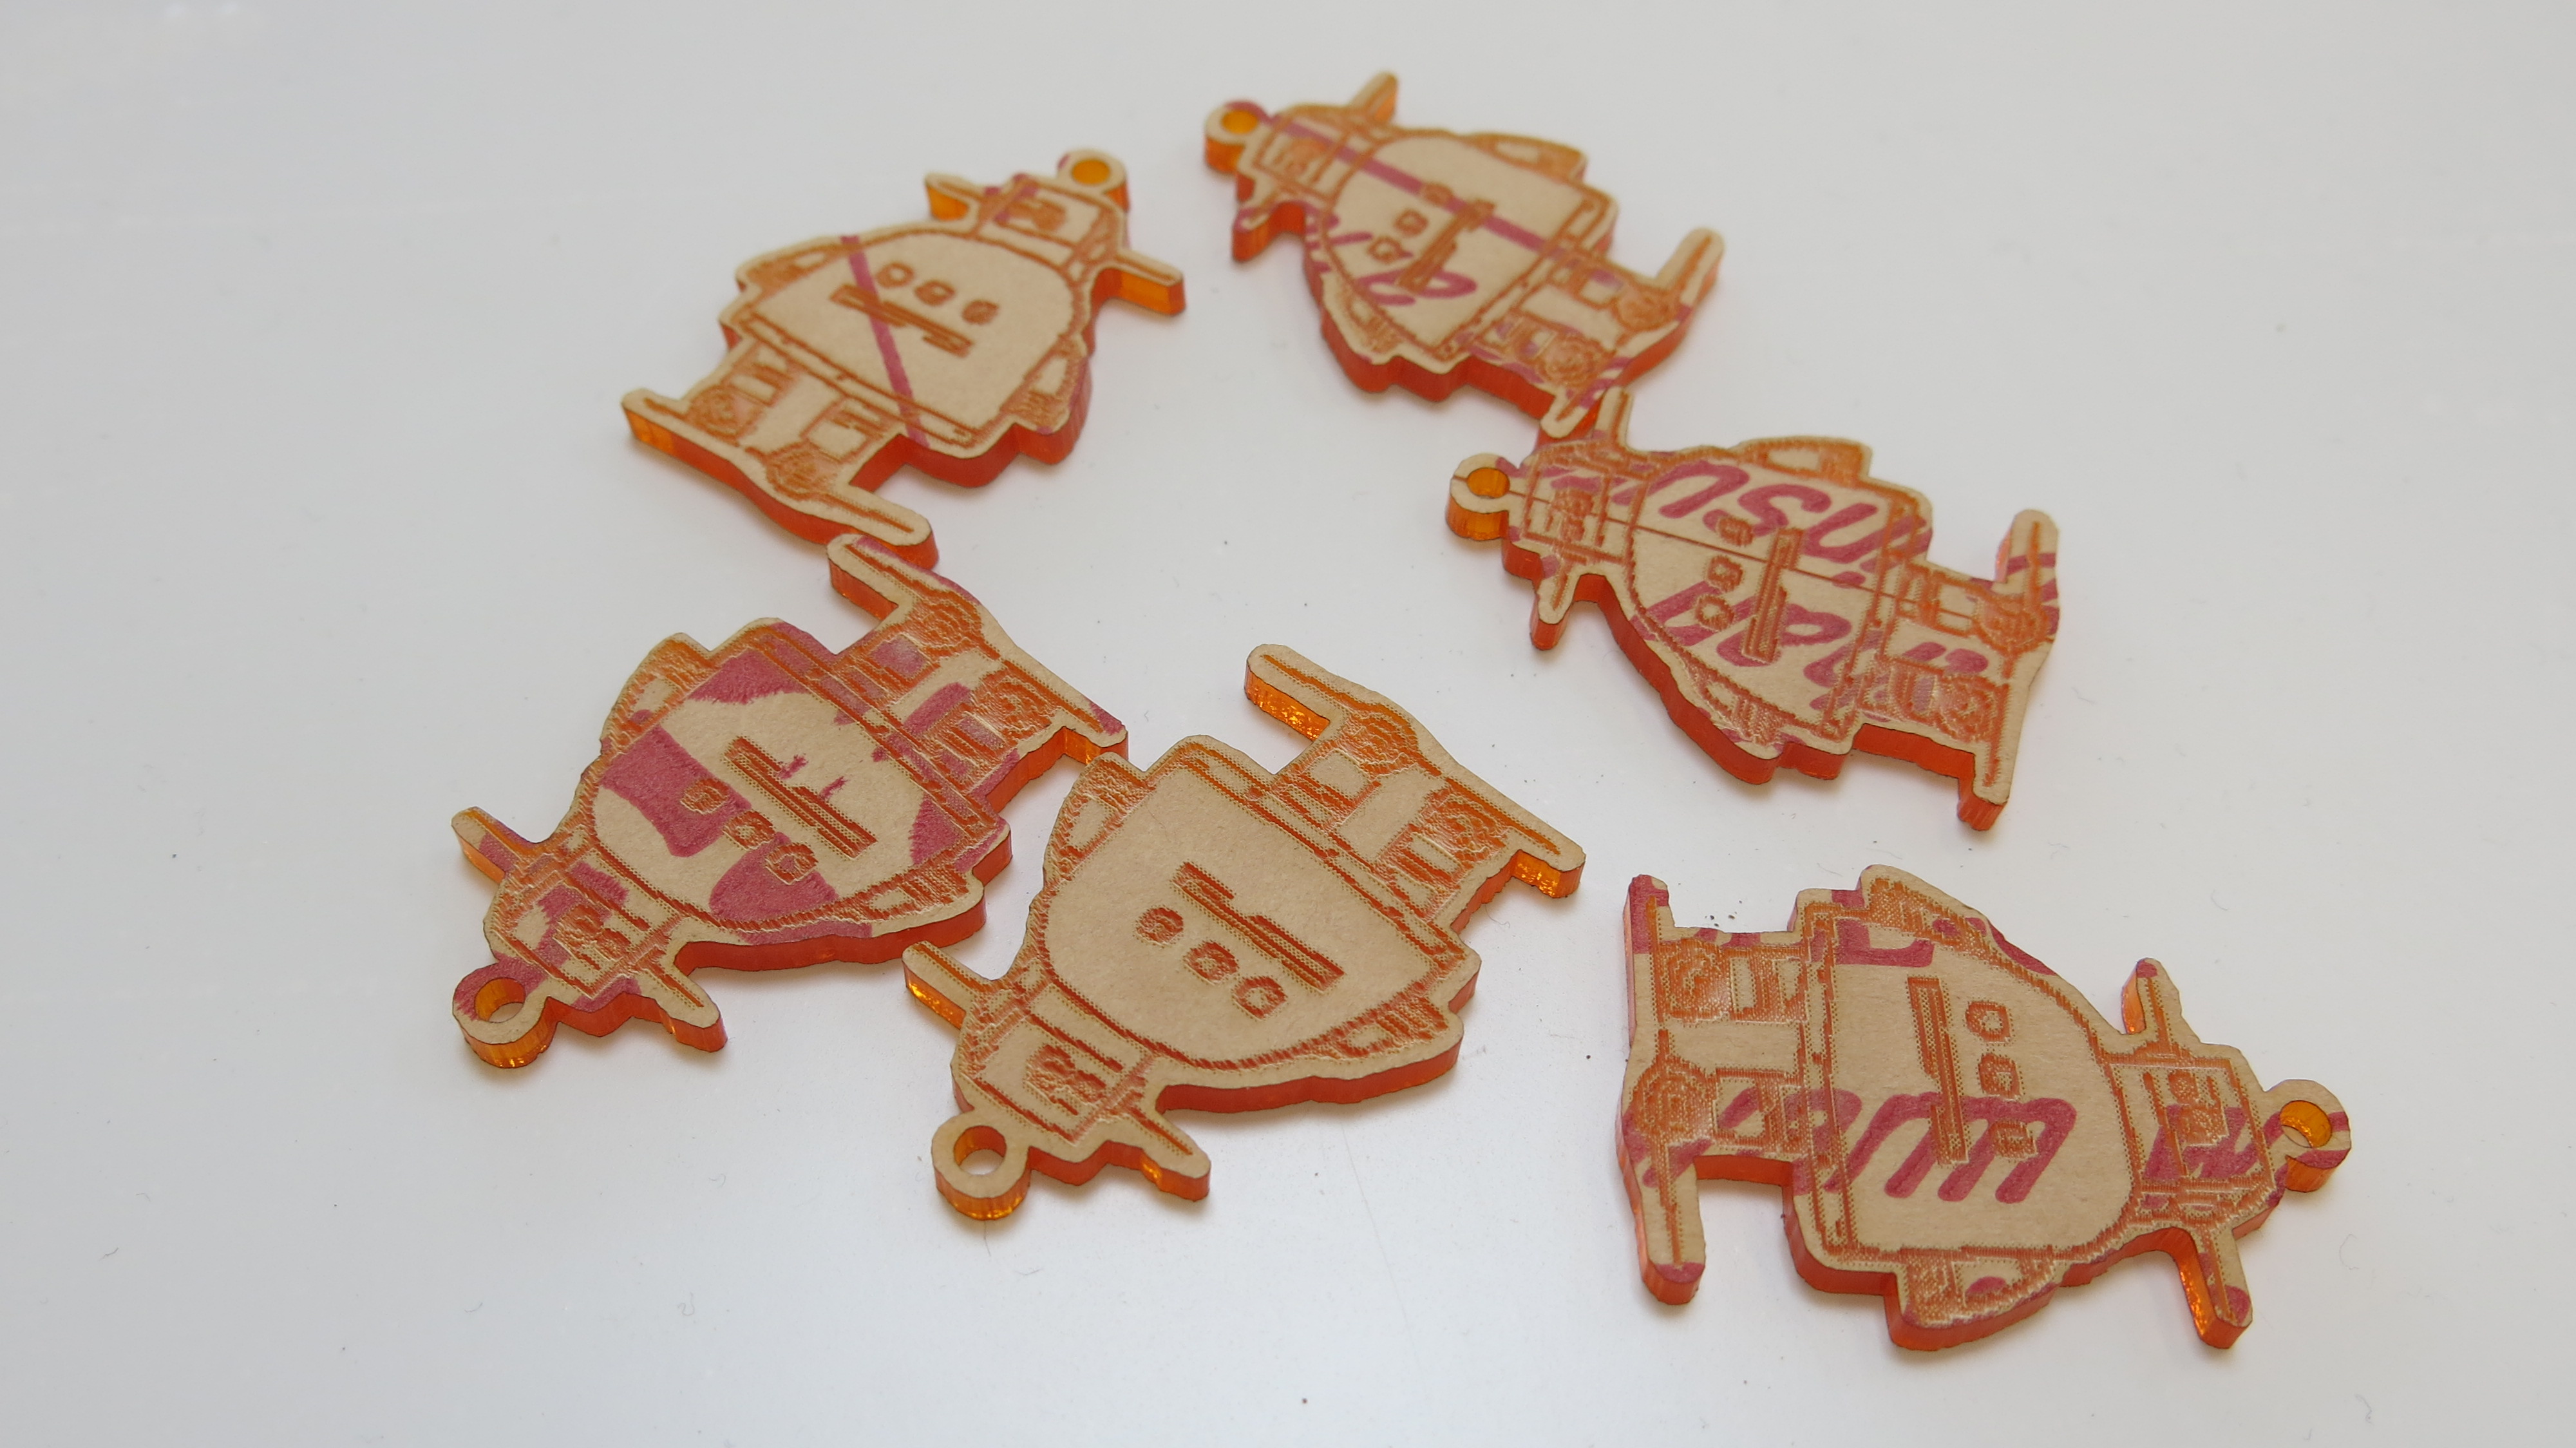
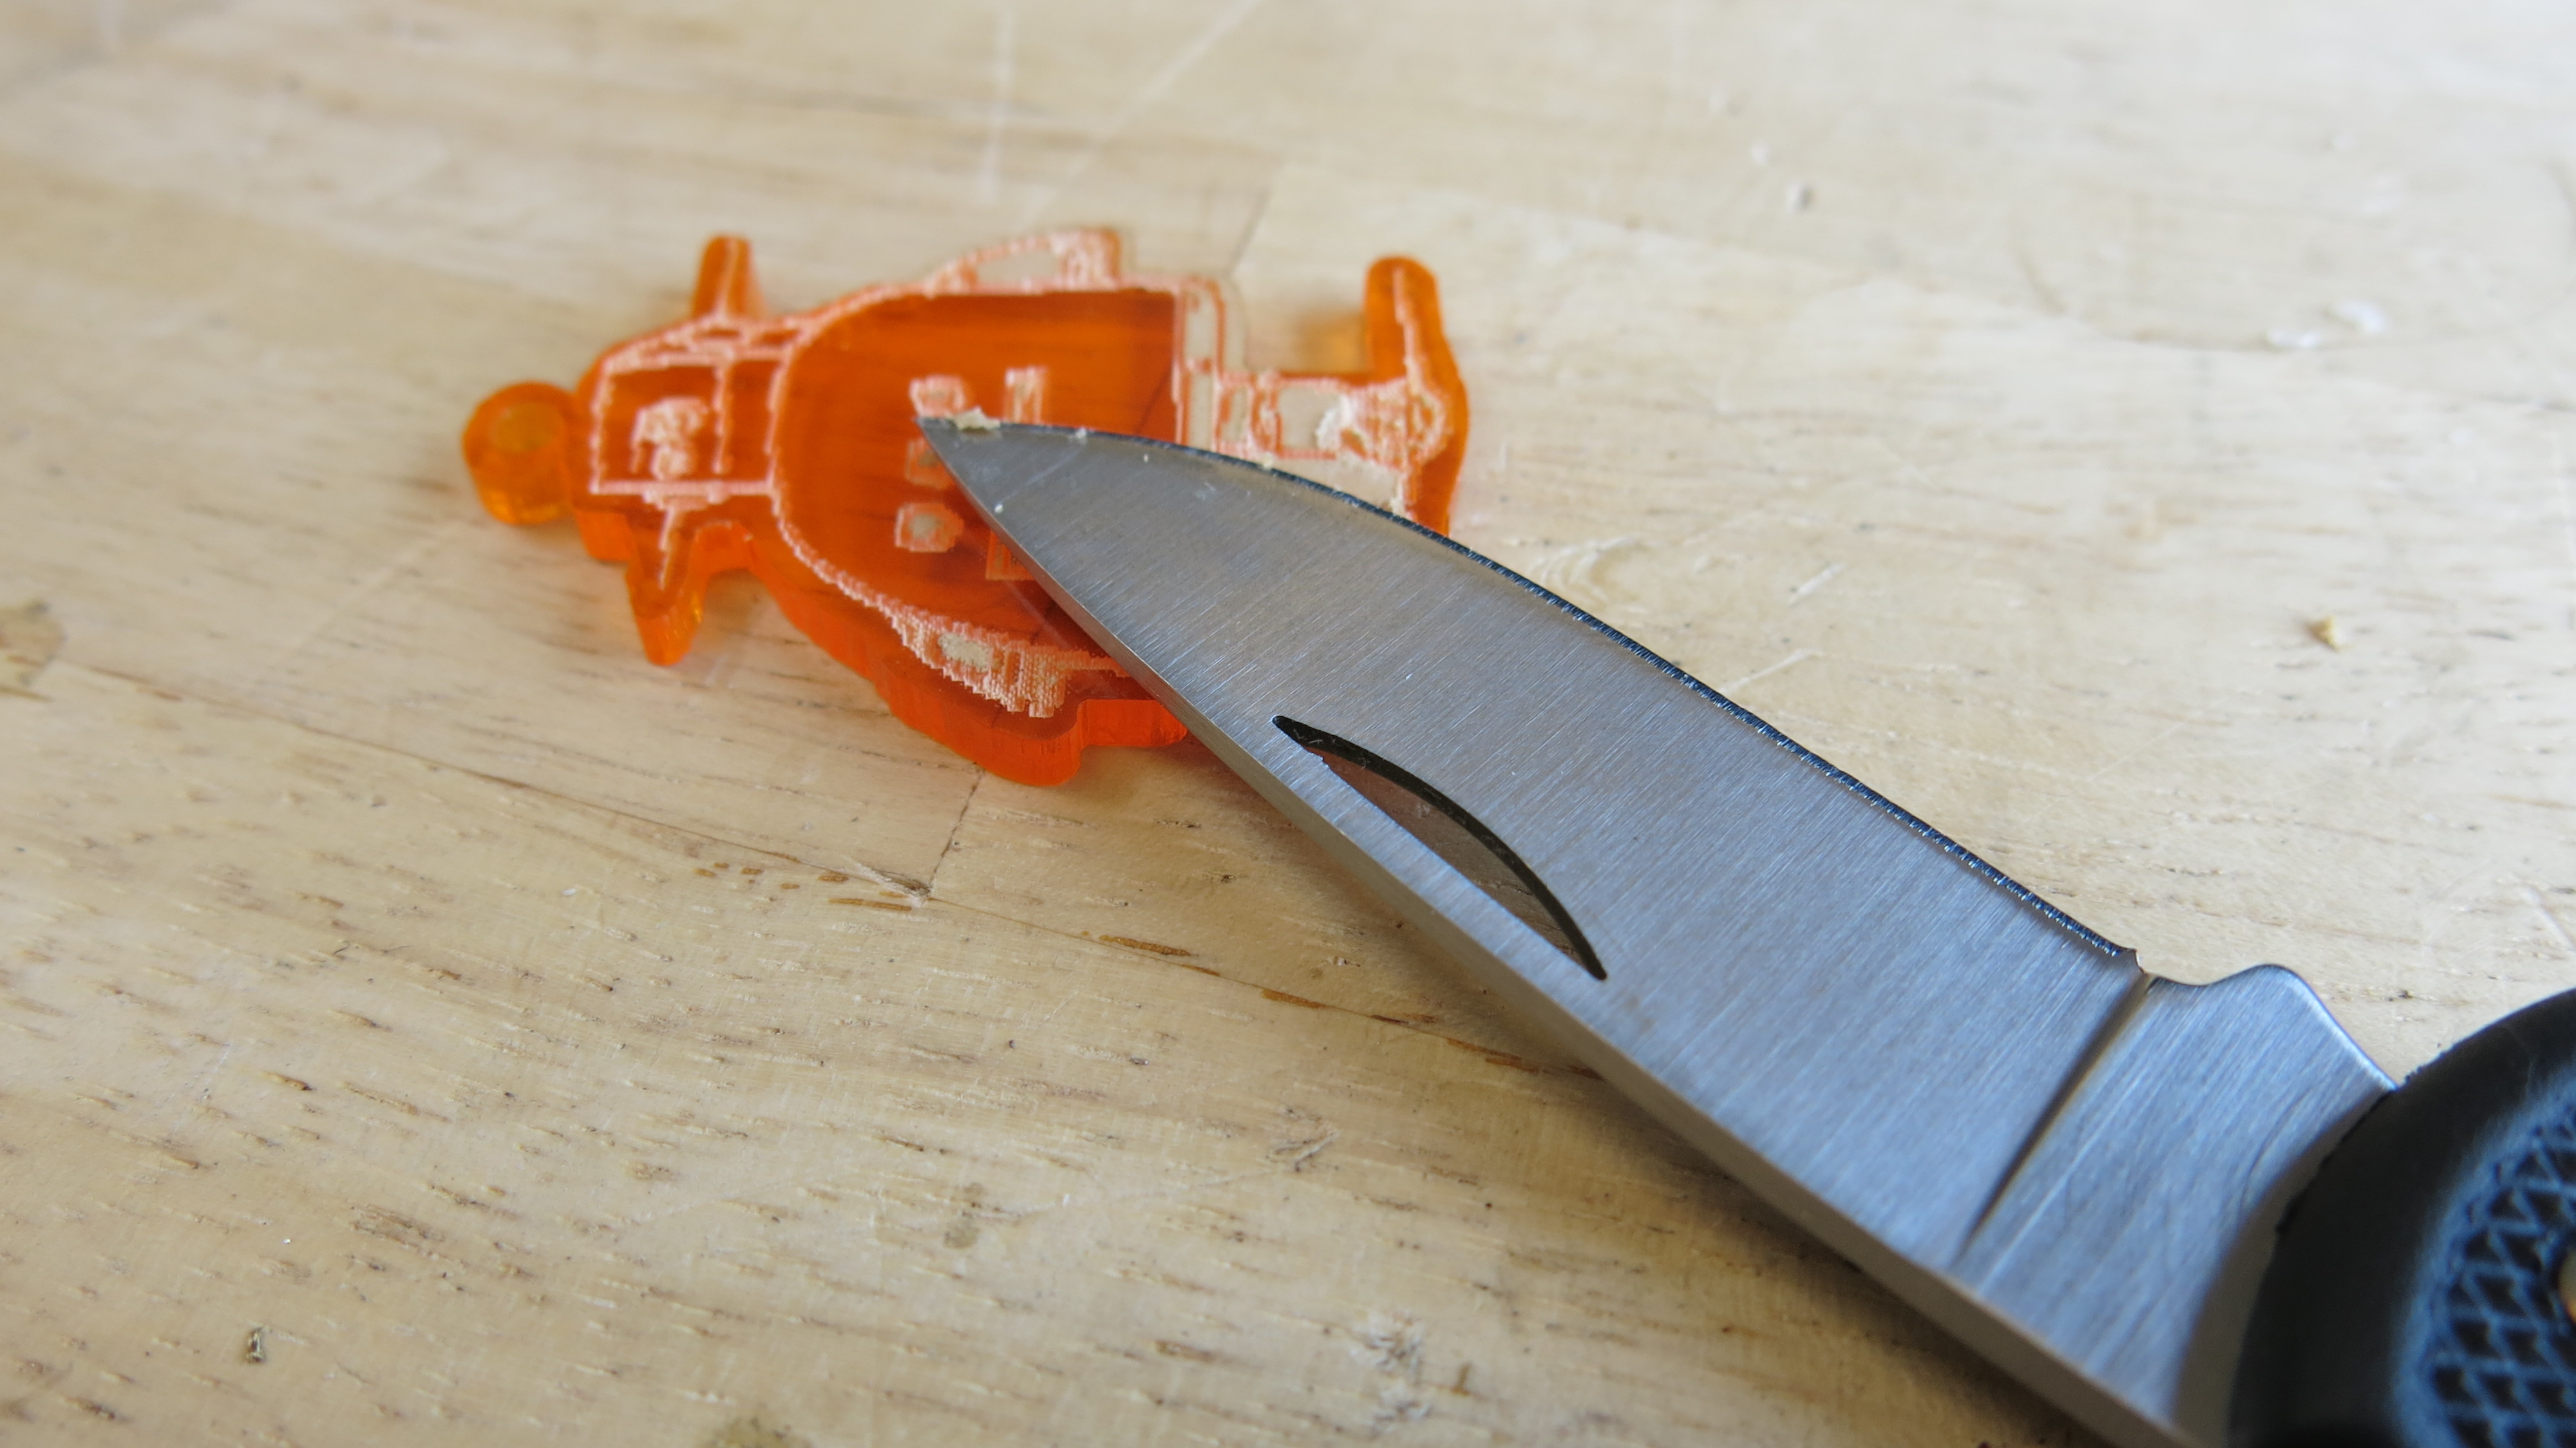
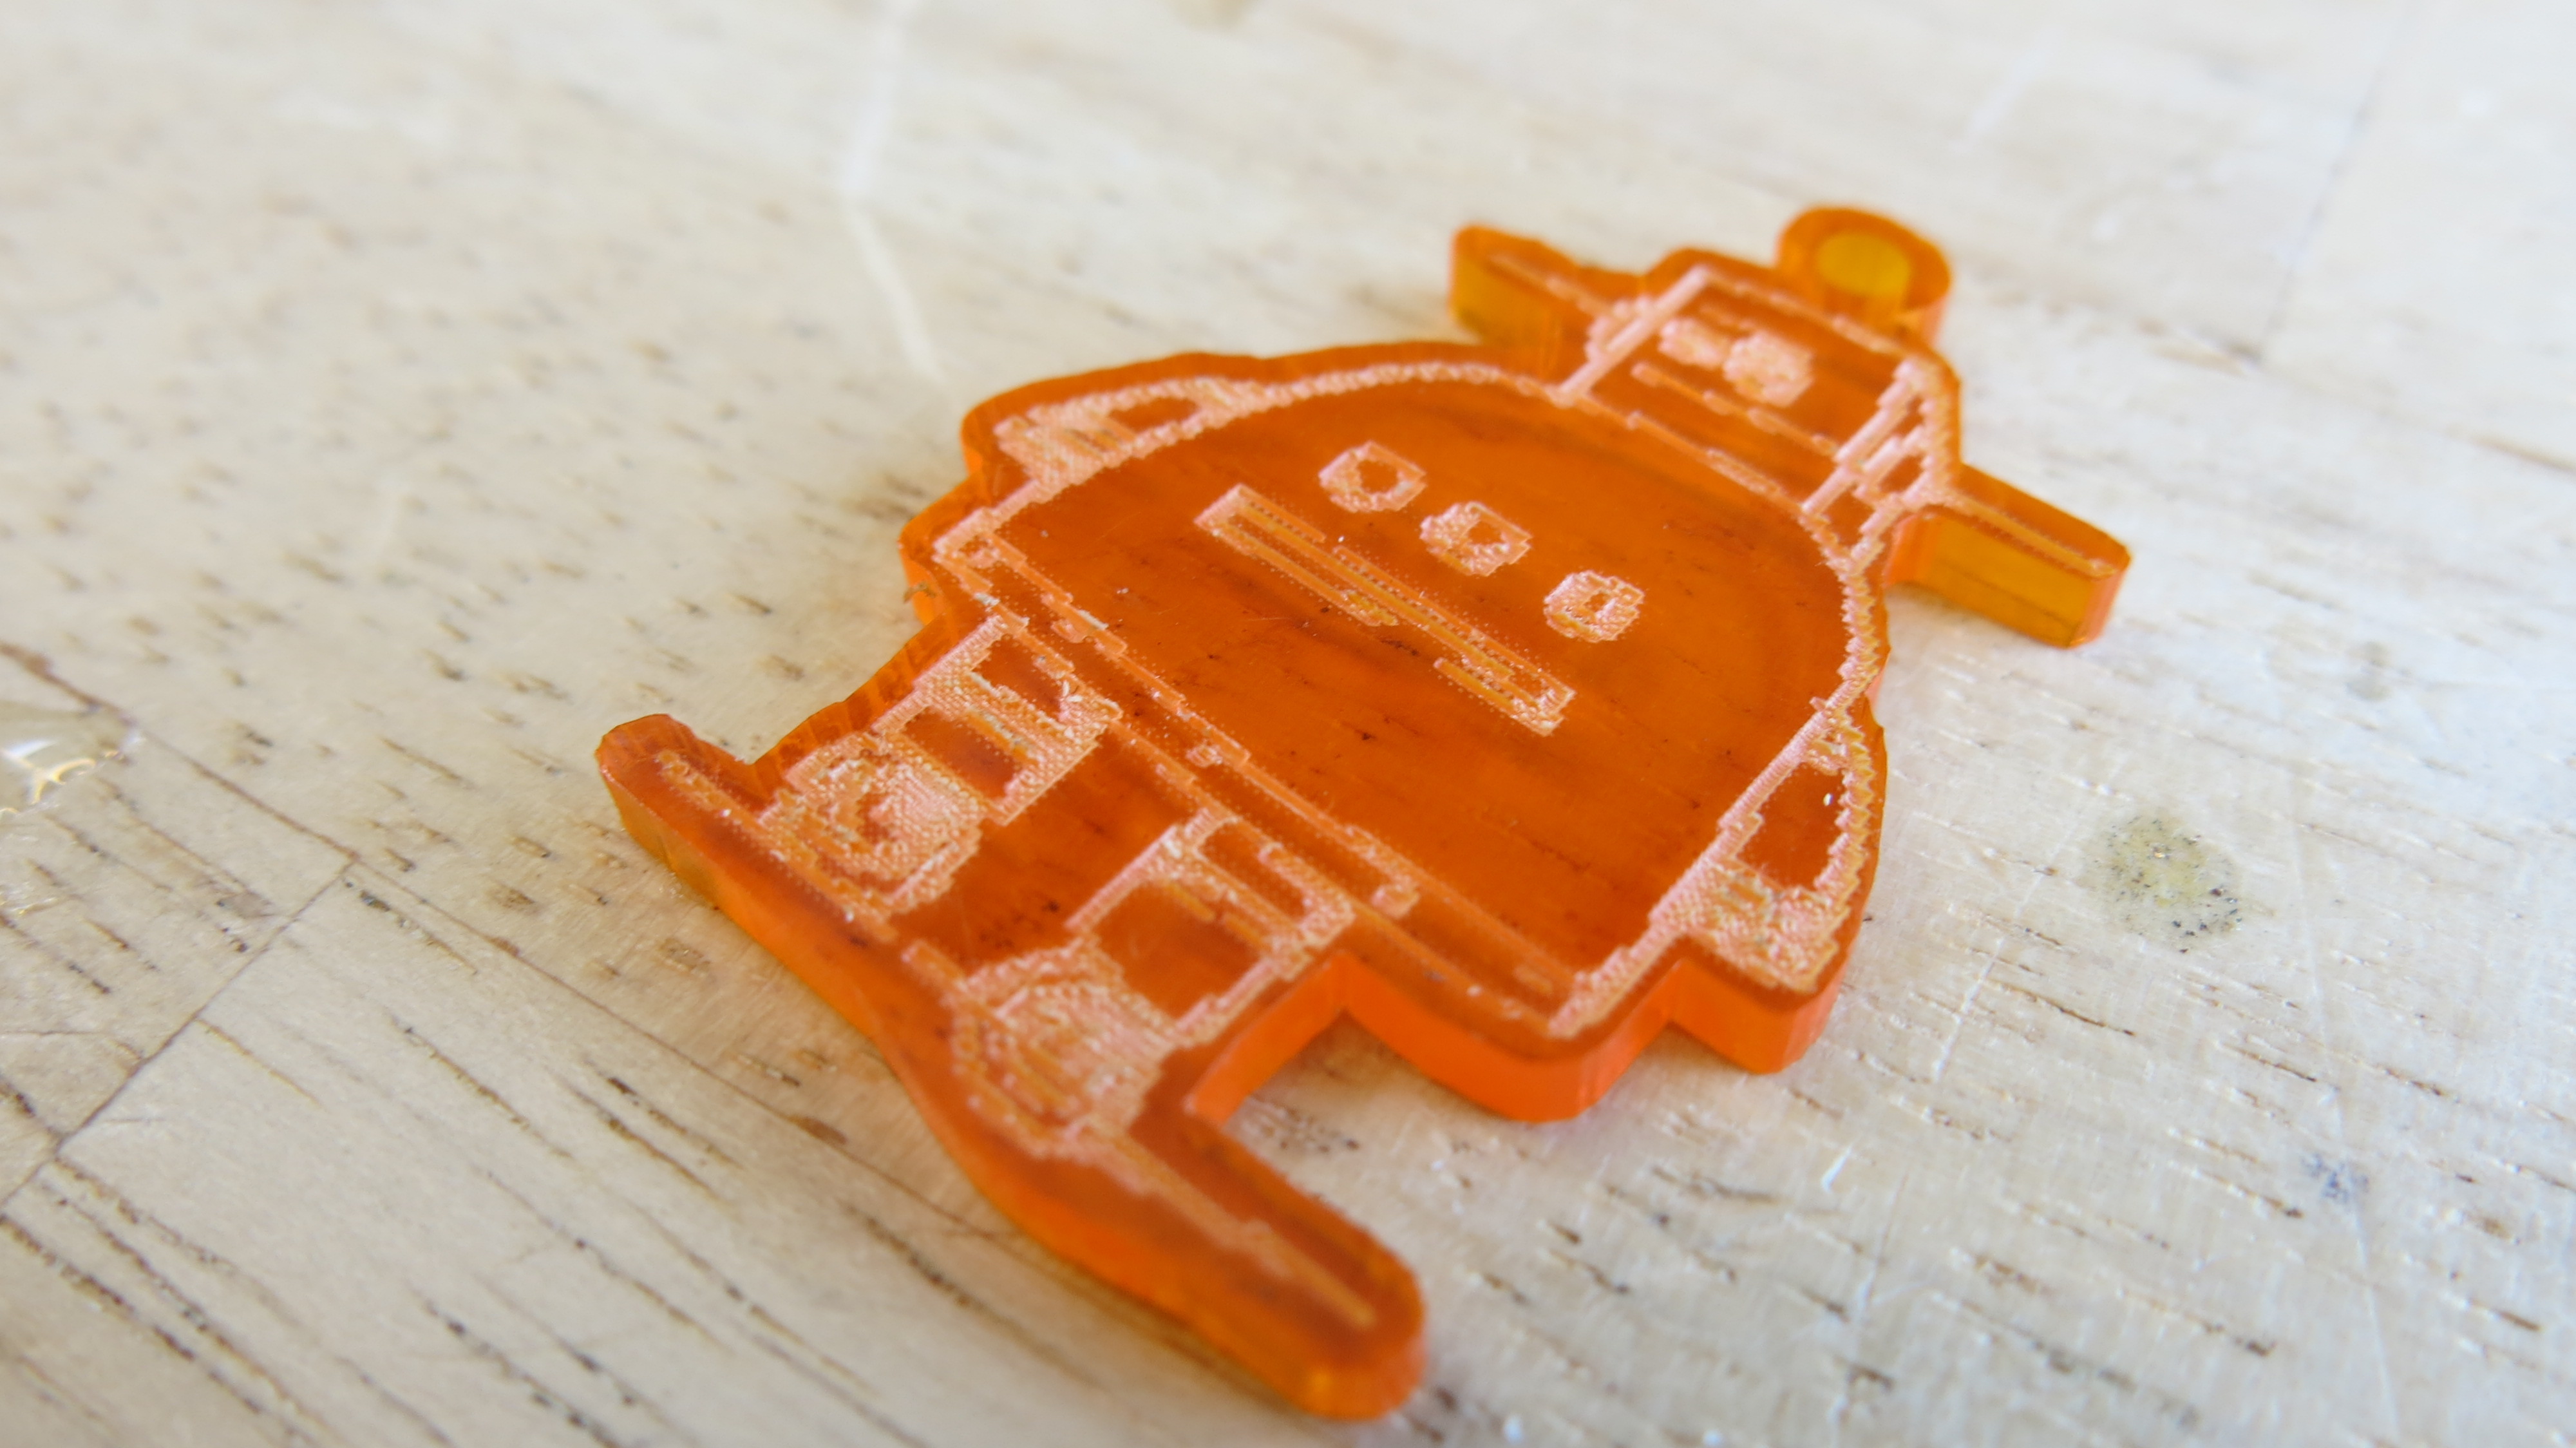
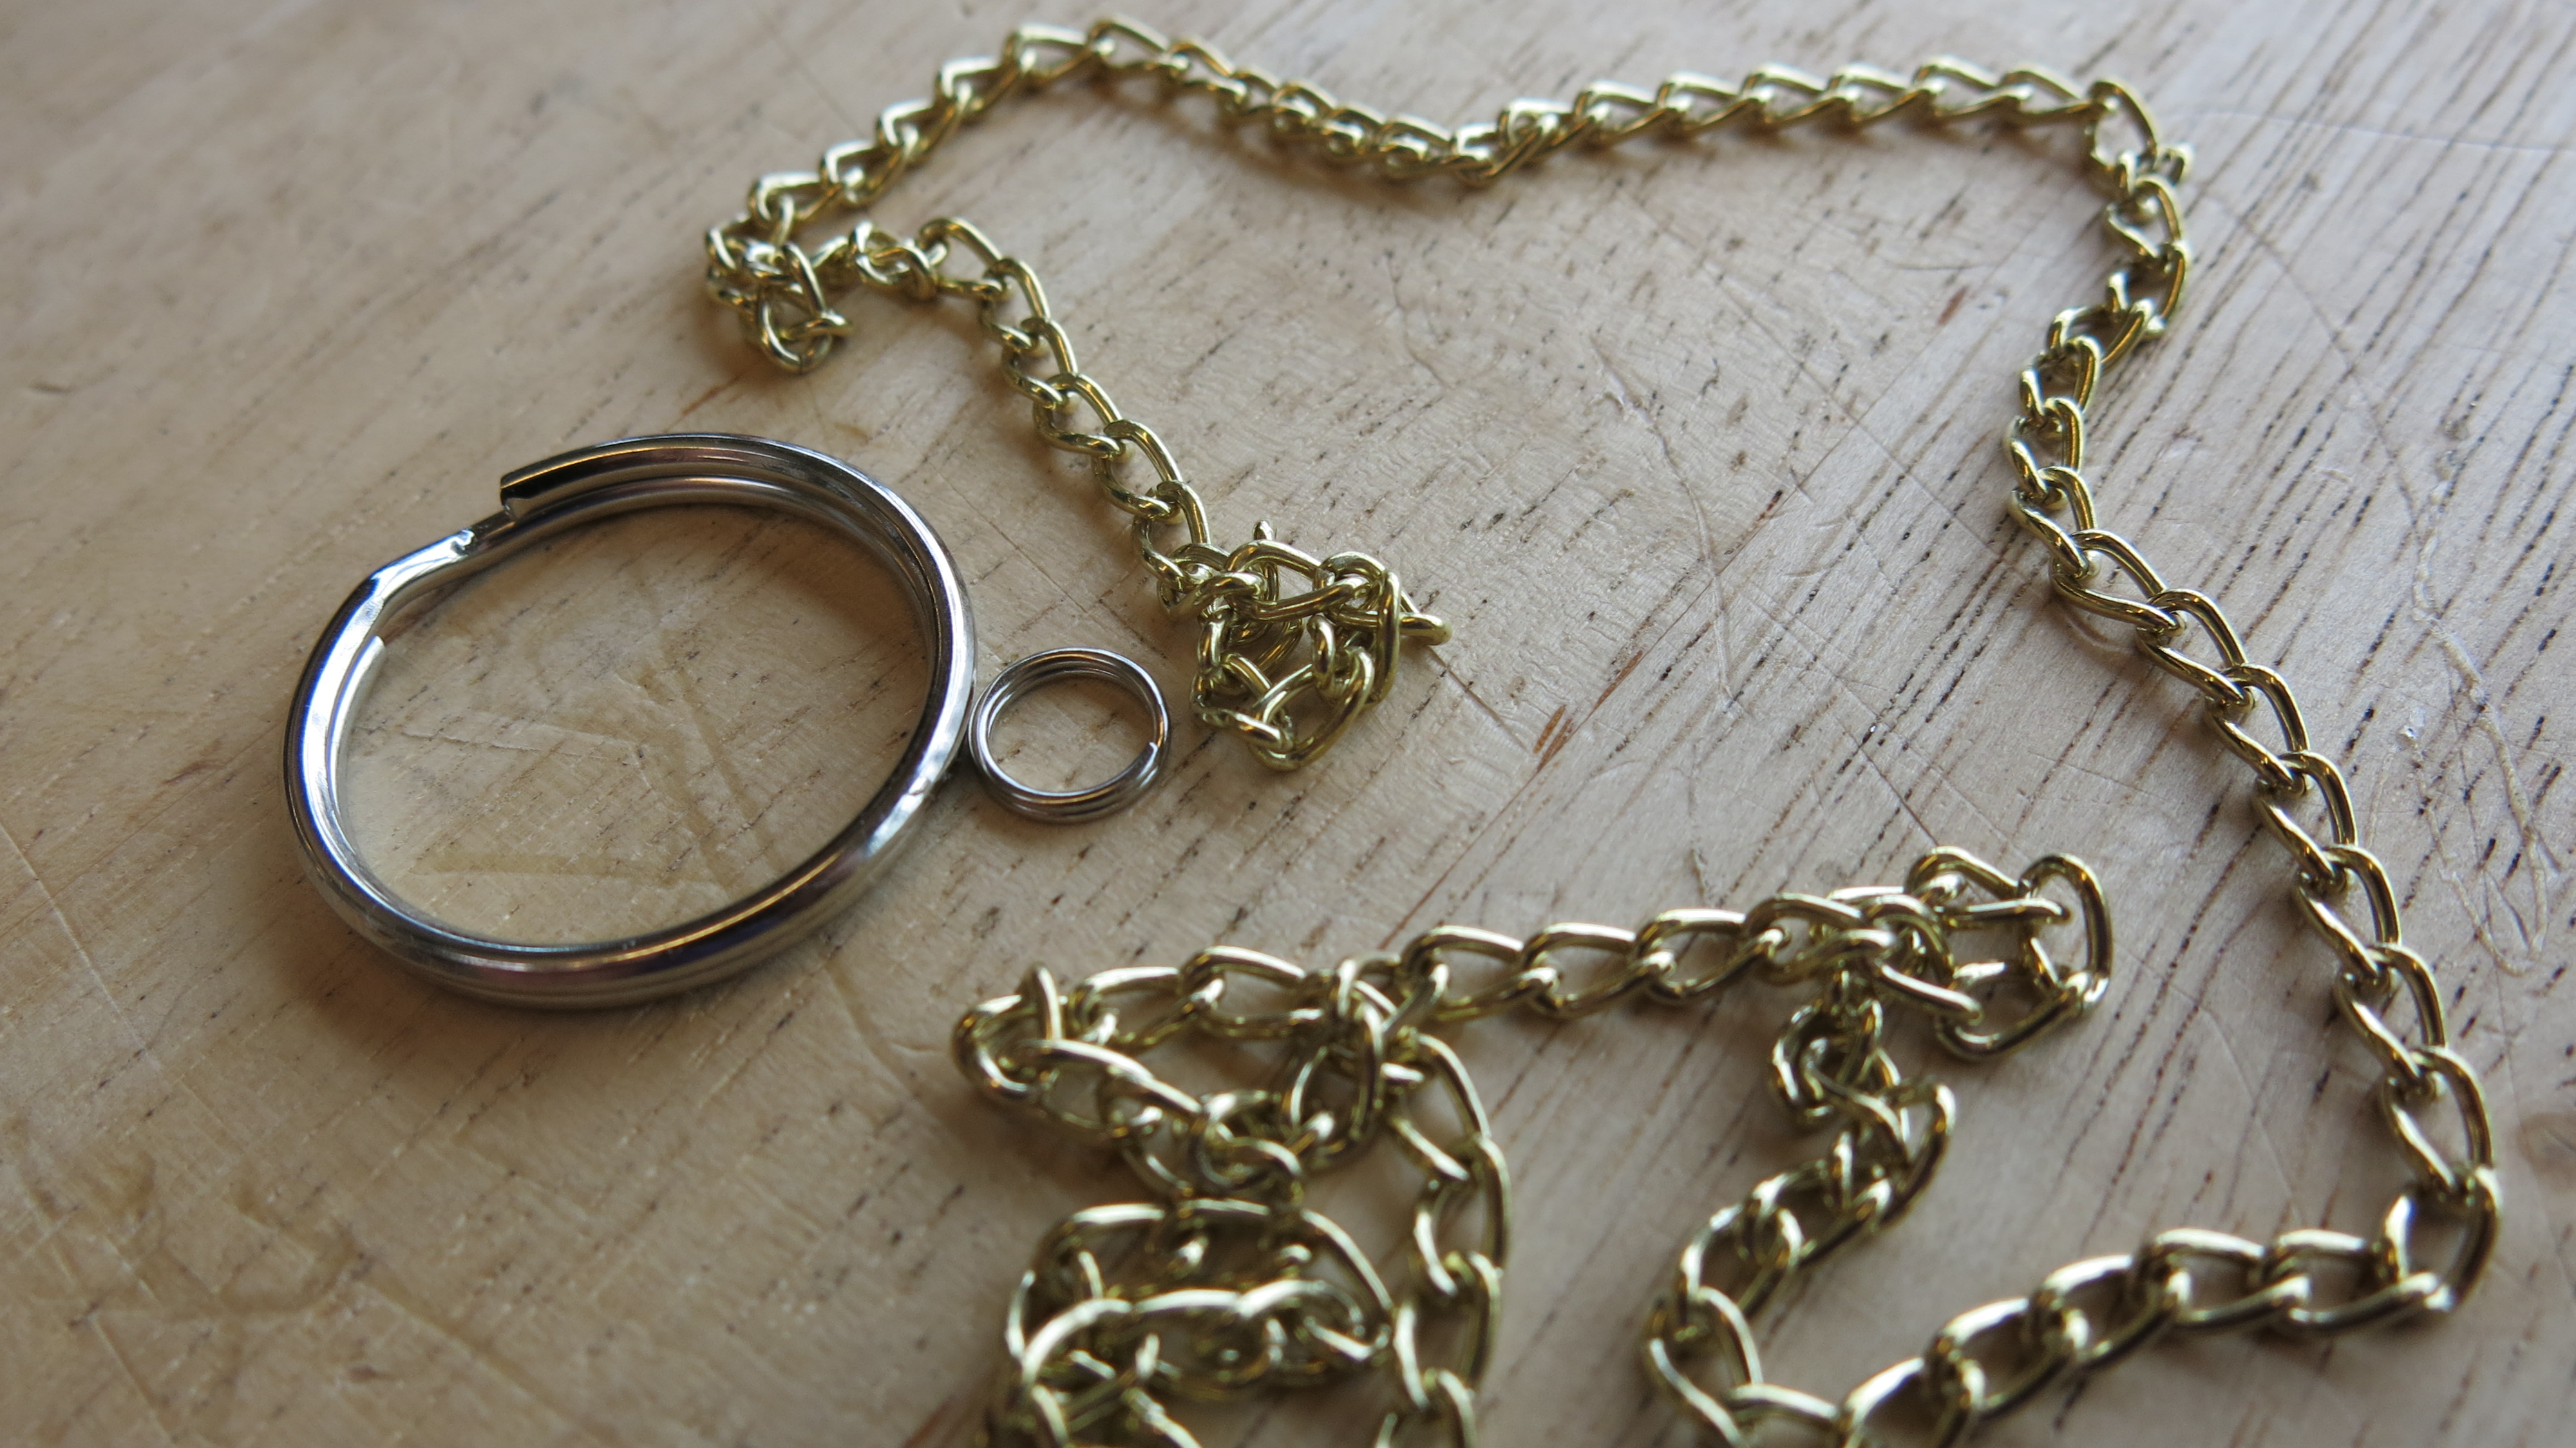
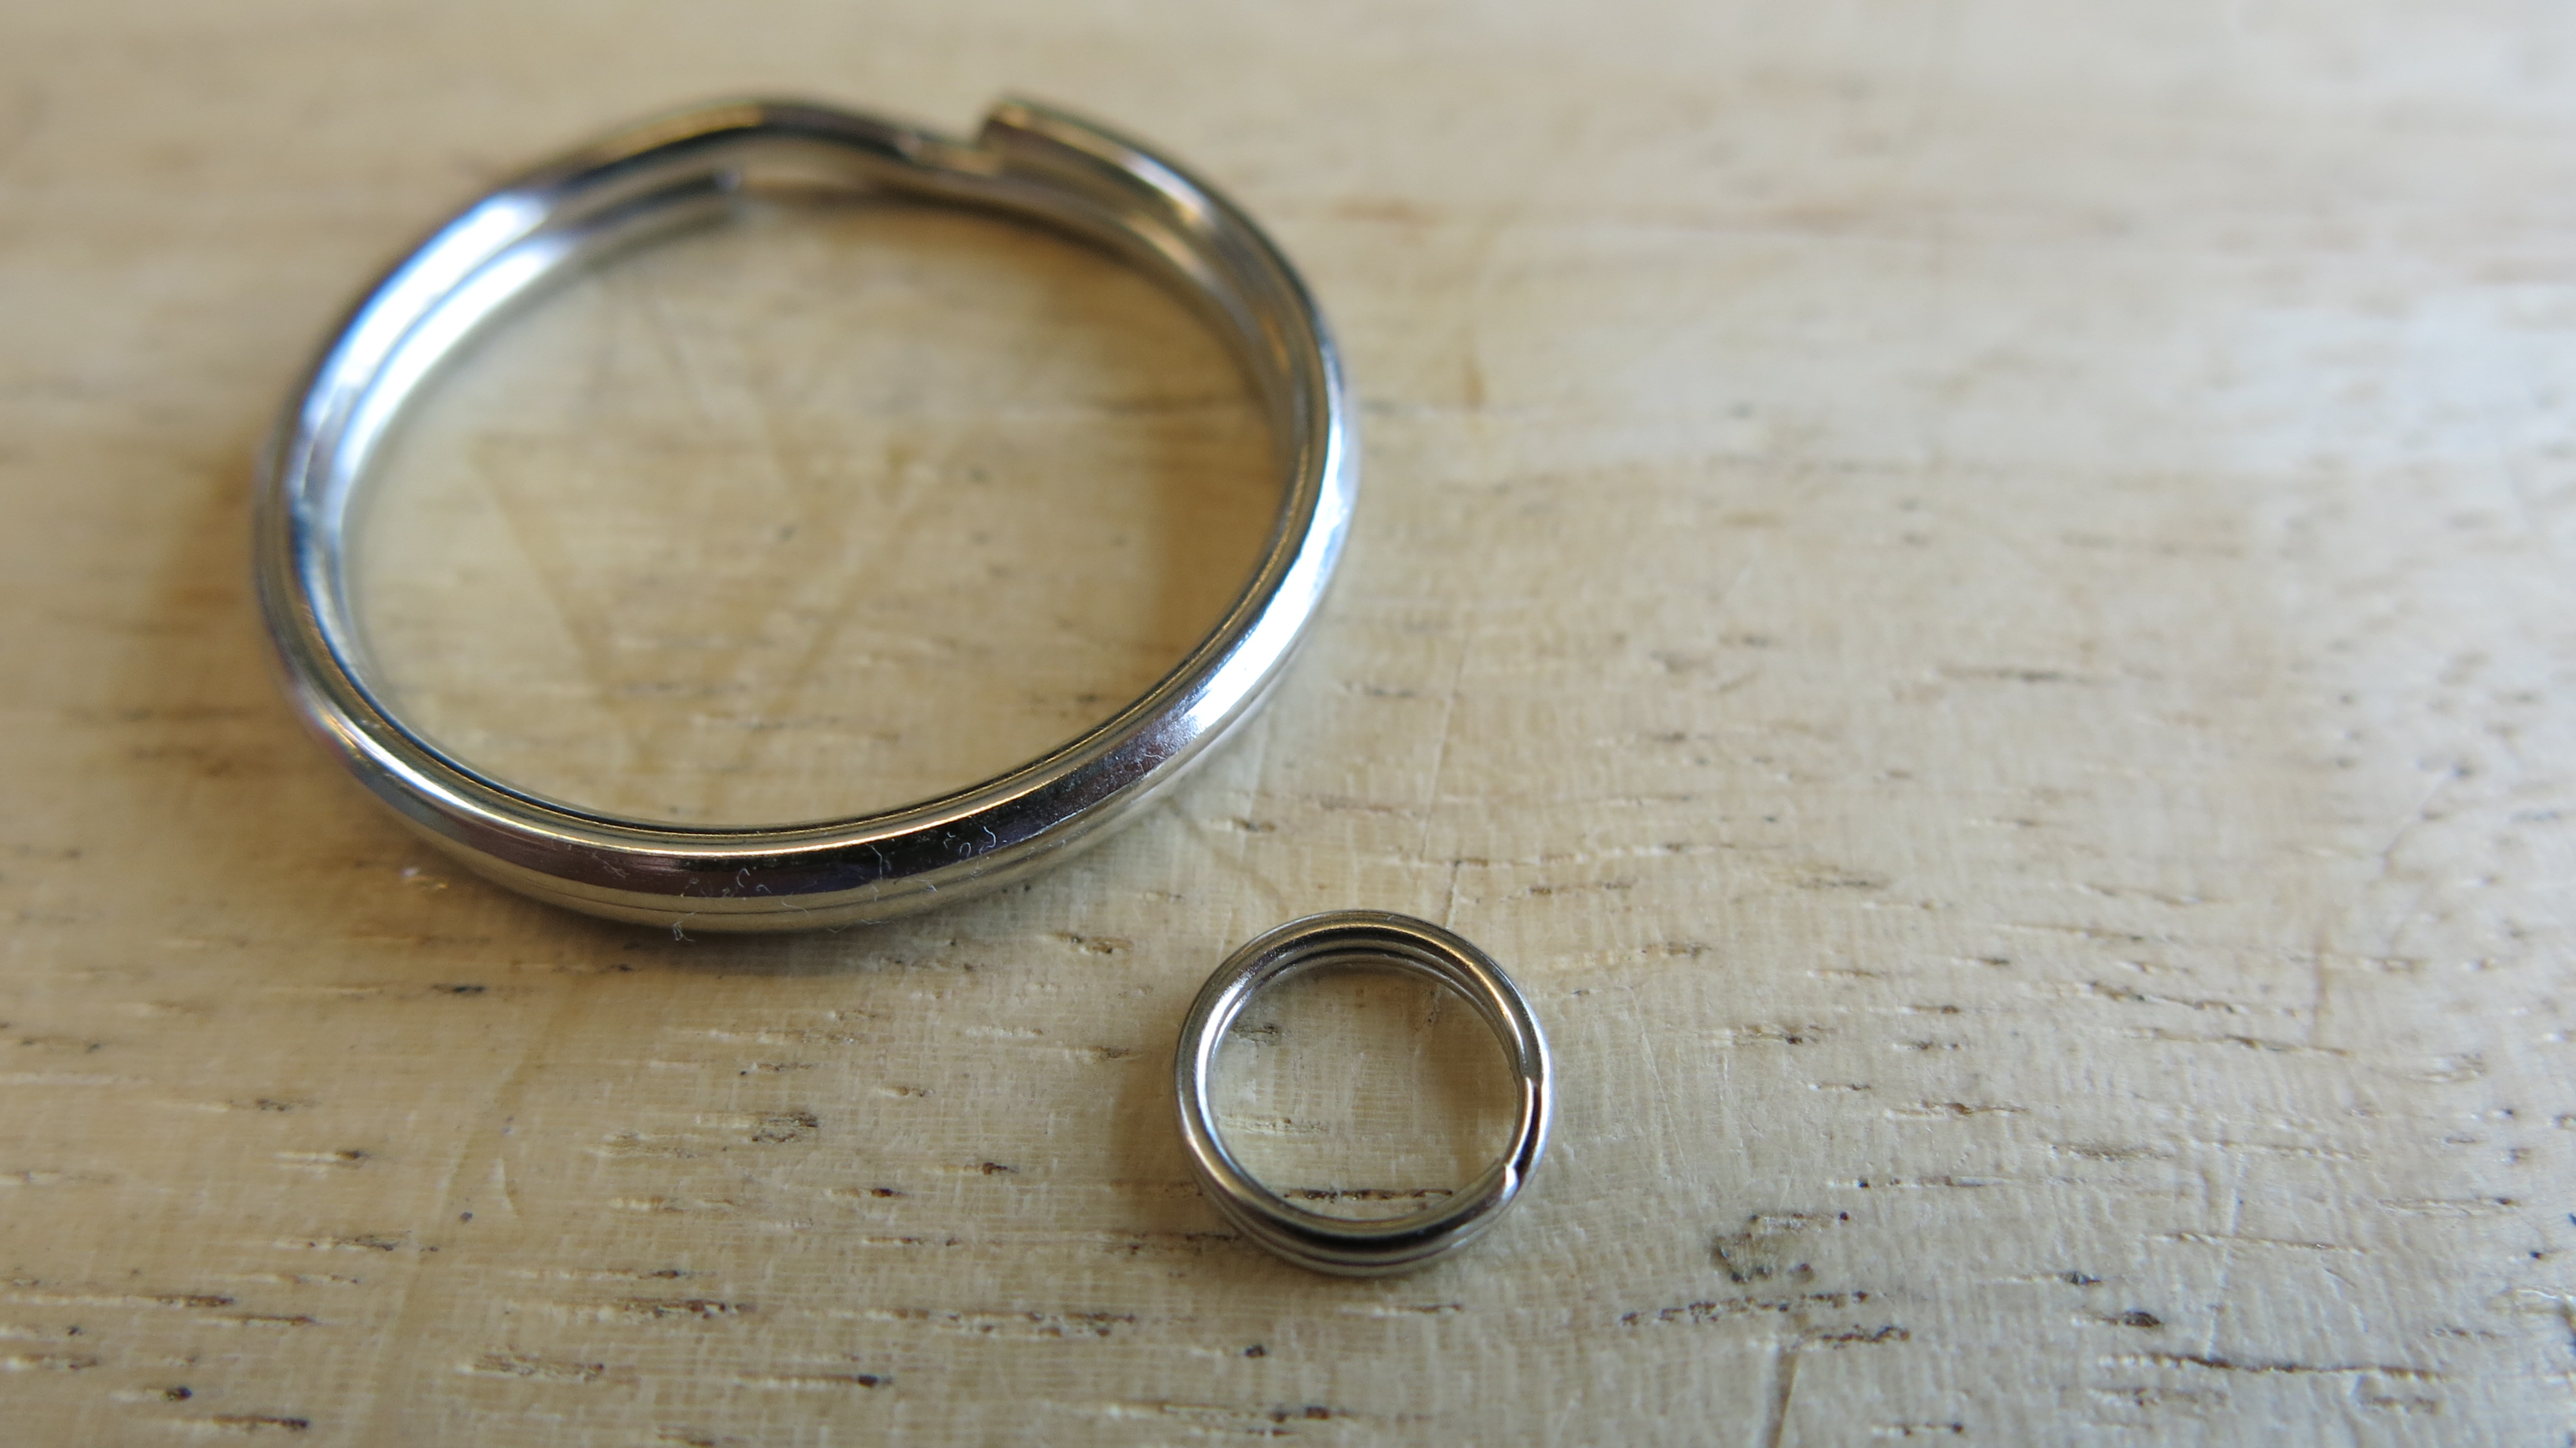
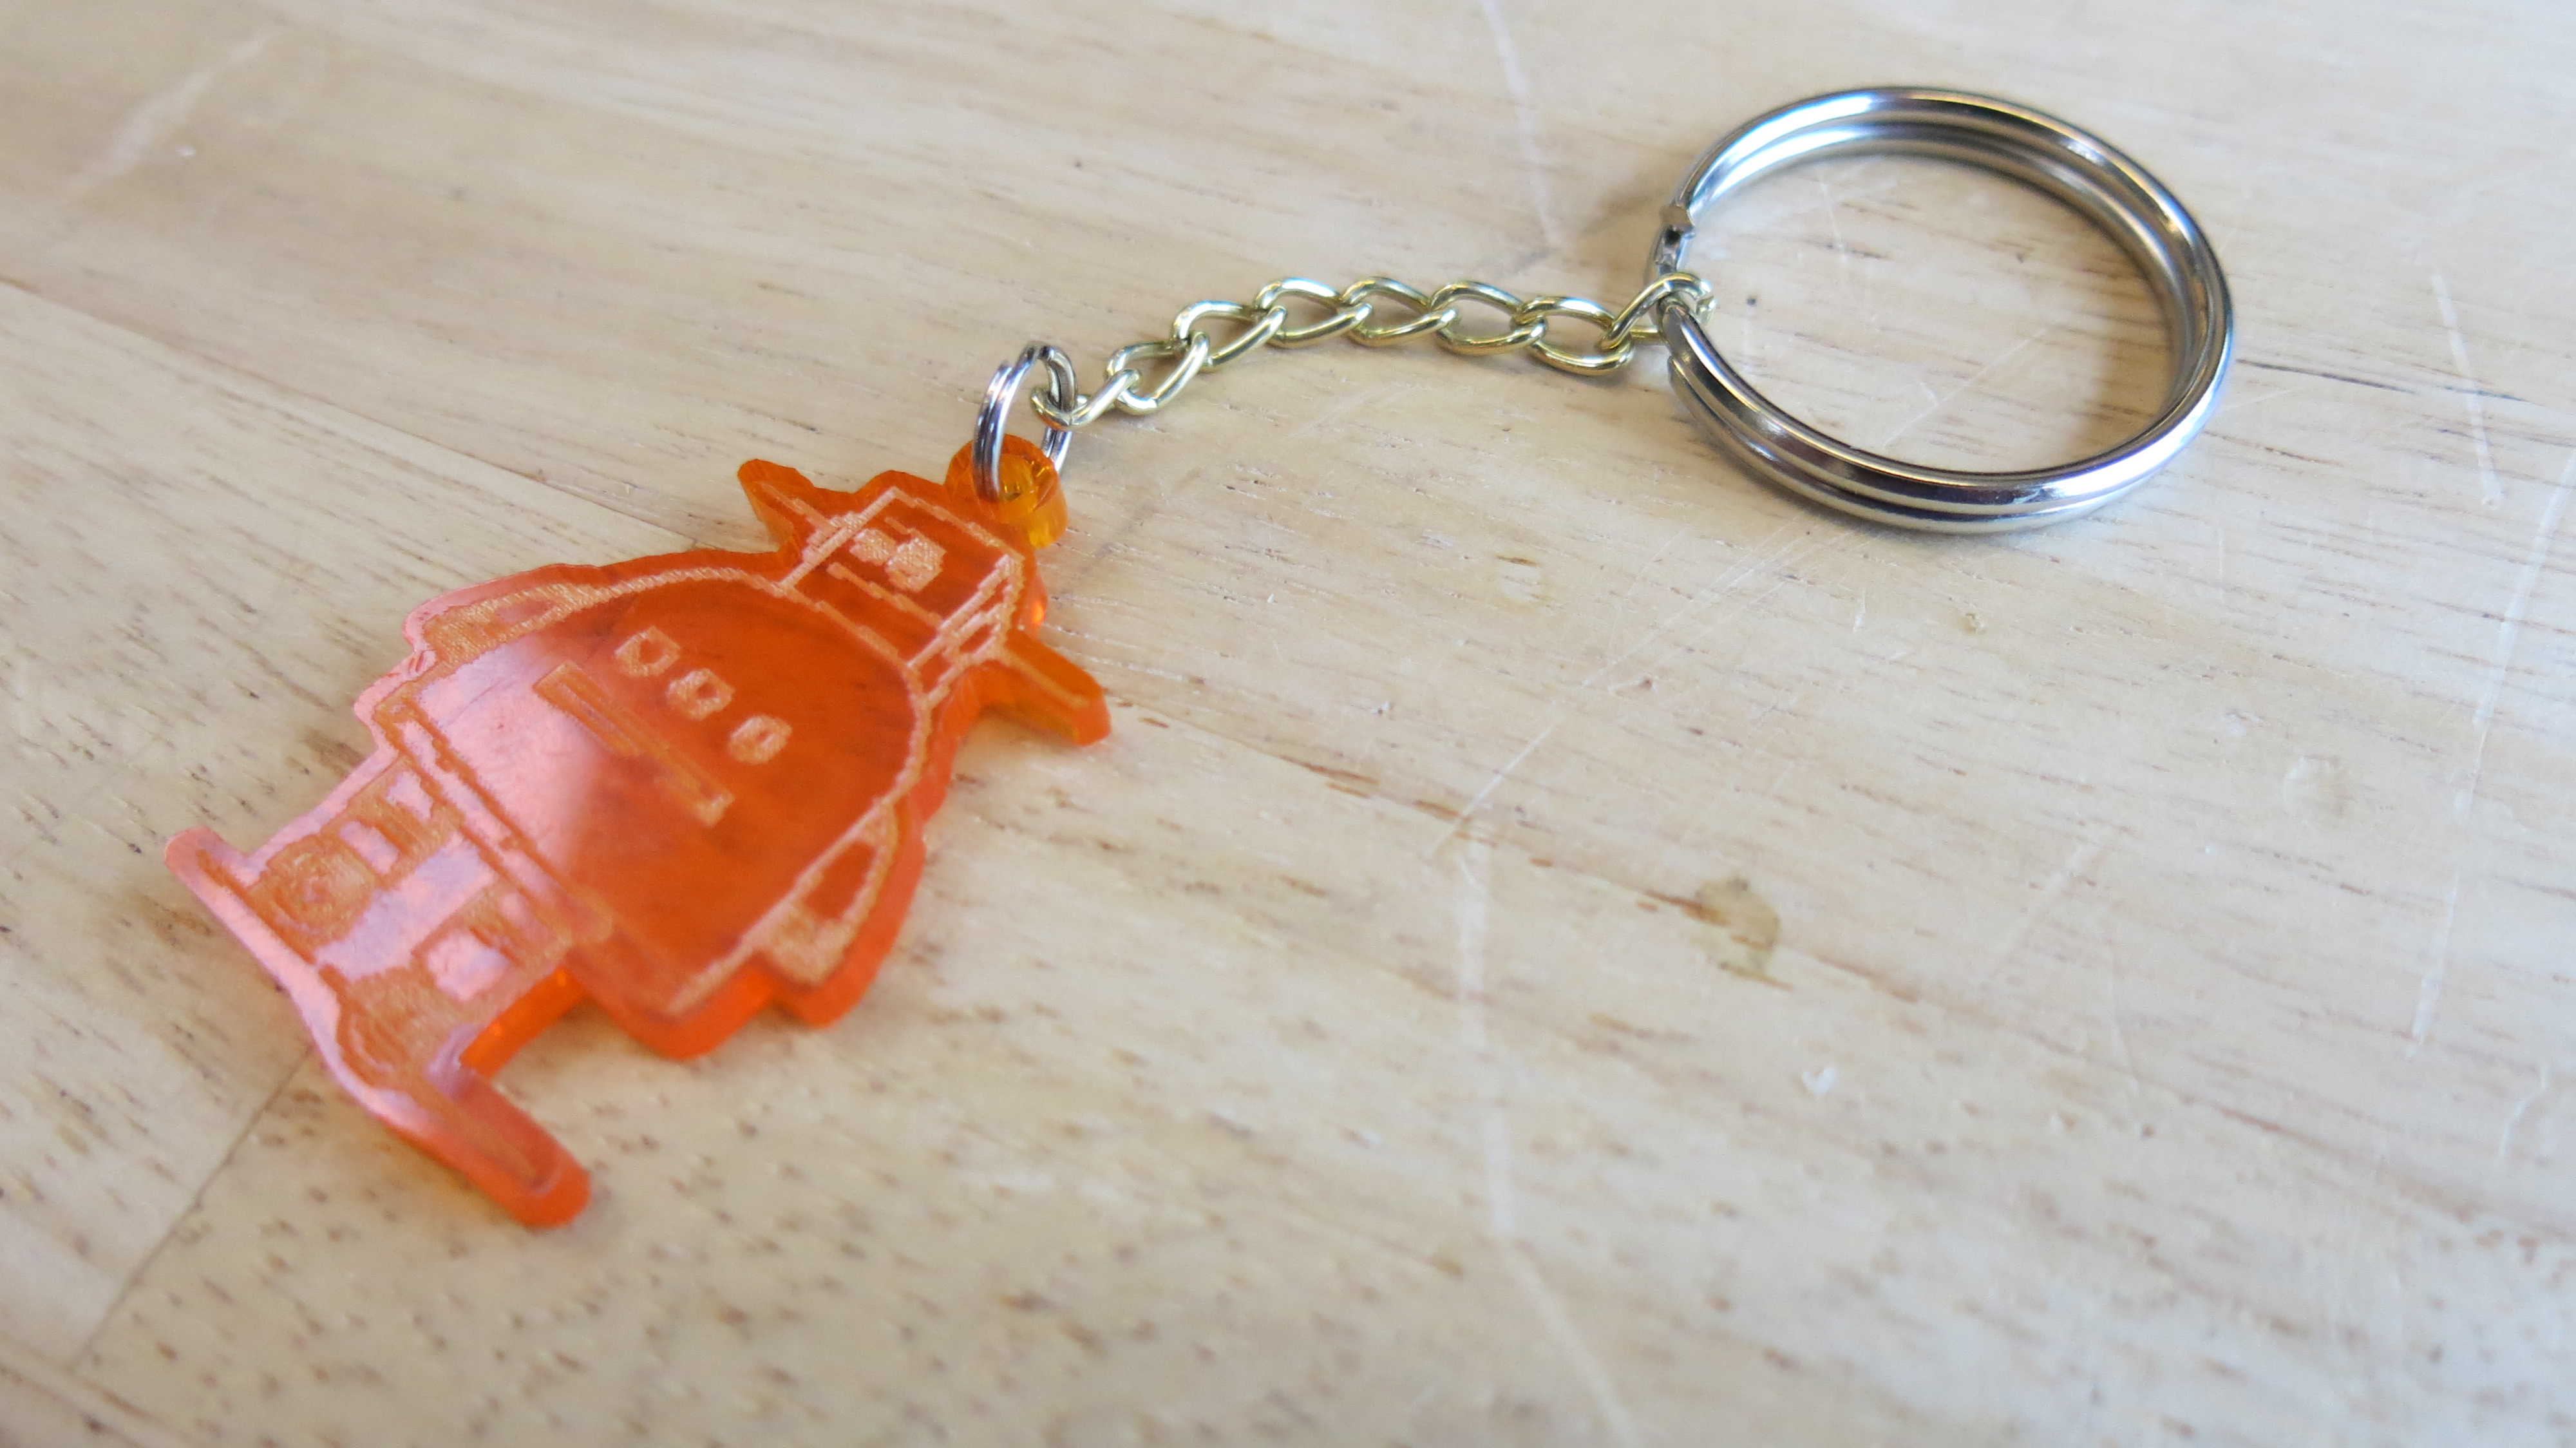
I cut my little robots out of this really cool transparent orange acrylic that we had in stock. I thought it would be appropriate to make my robots out of Instructables' orange. It came with paper over it to protect it, and needed to be peeled off with the help of a knife.
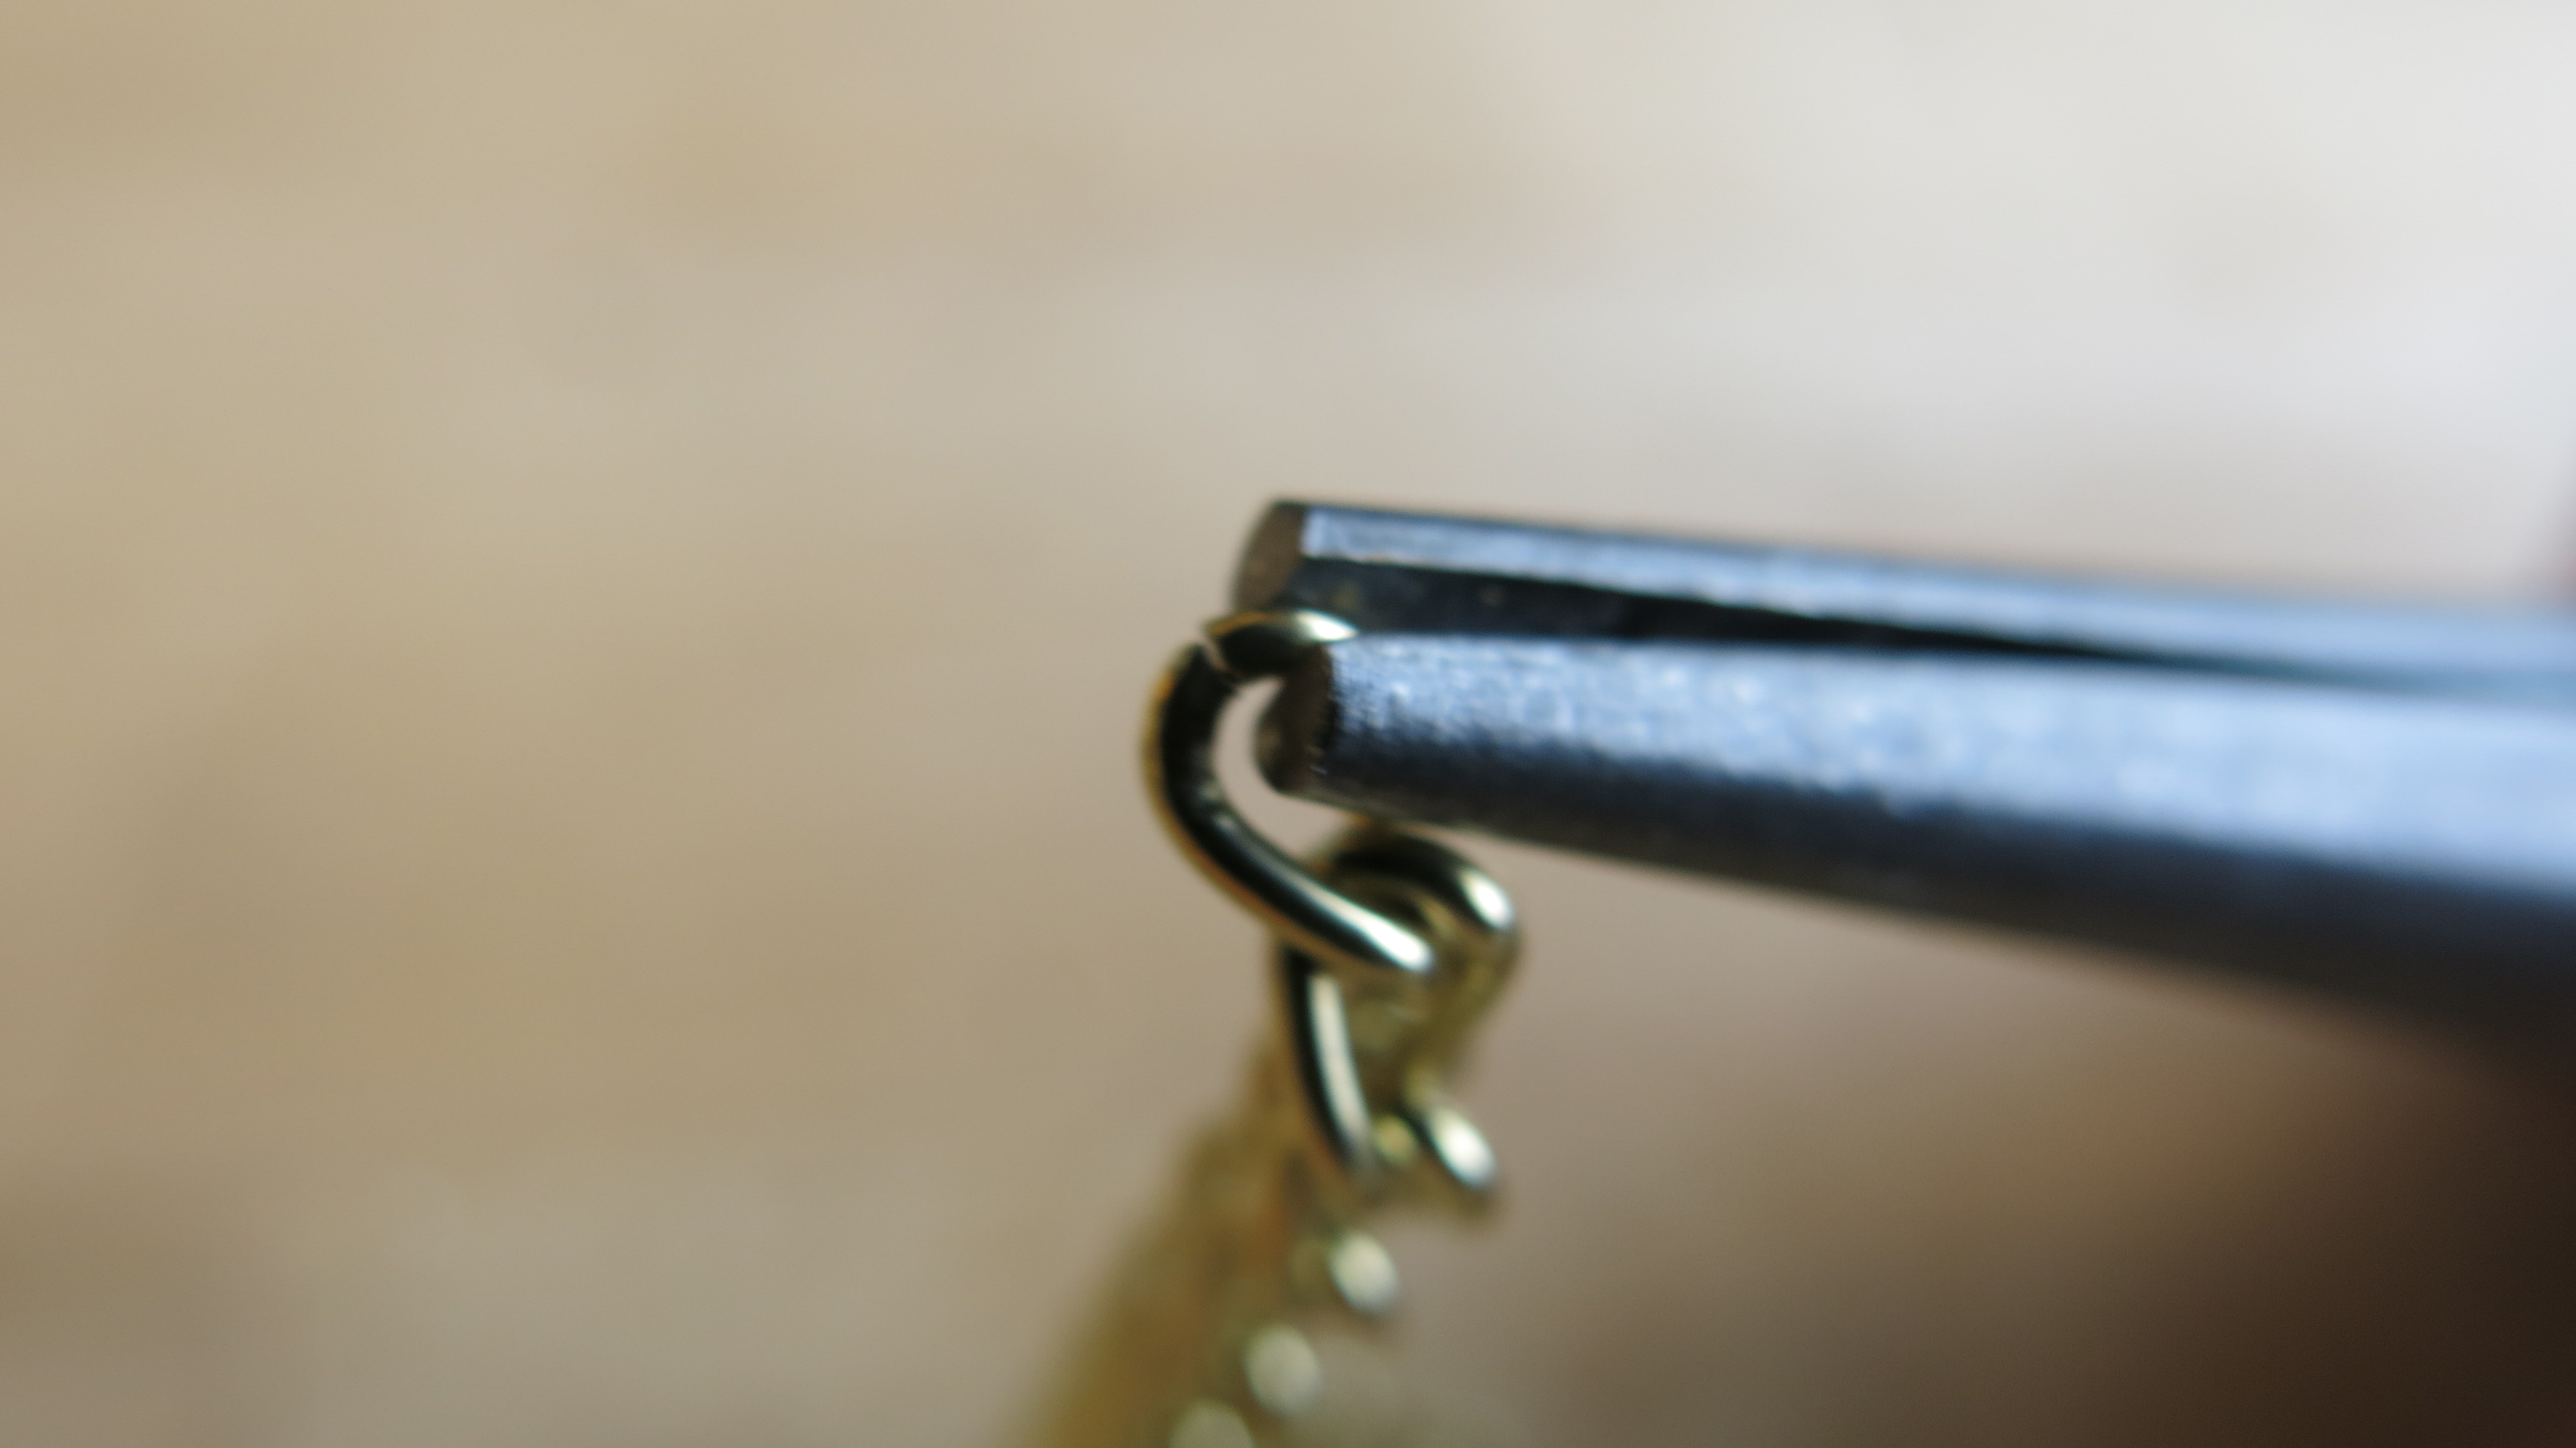
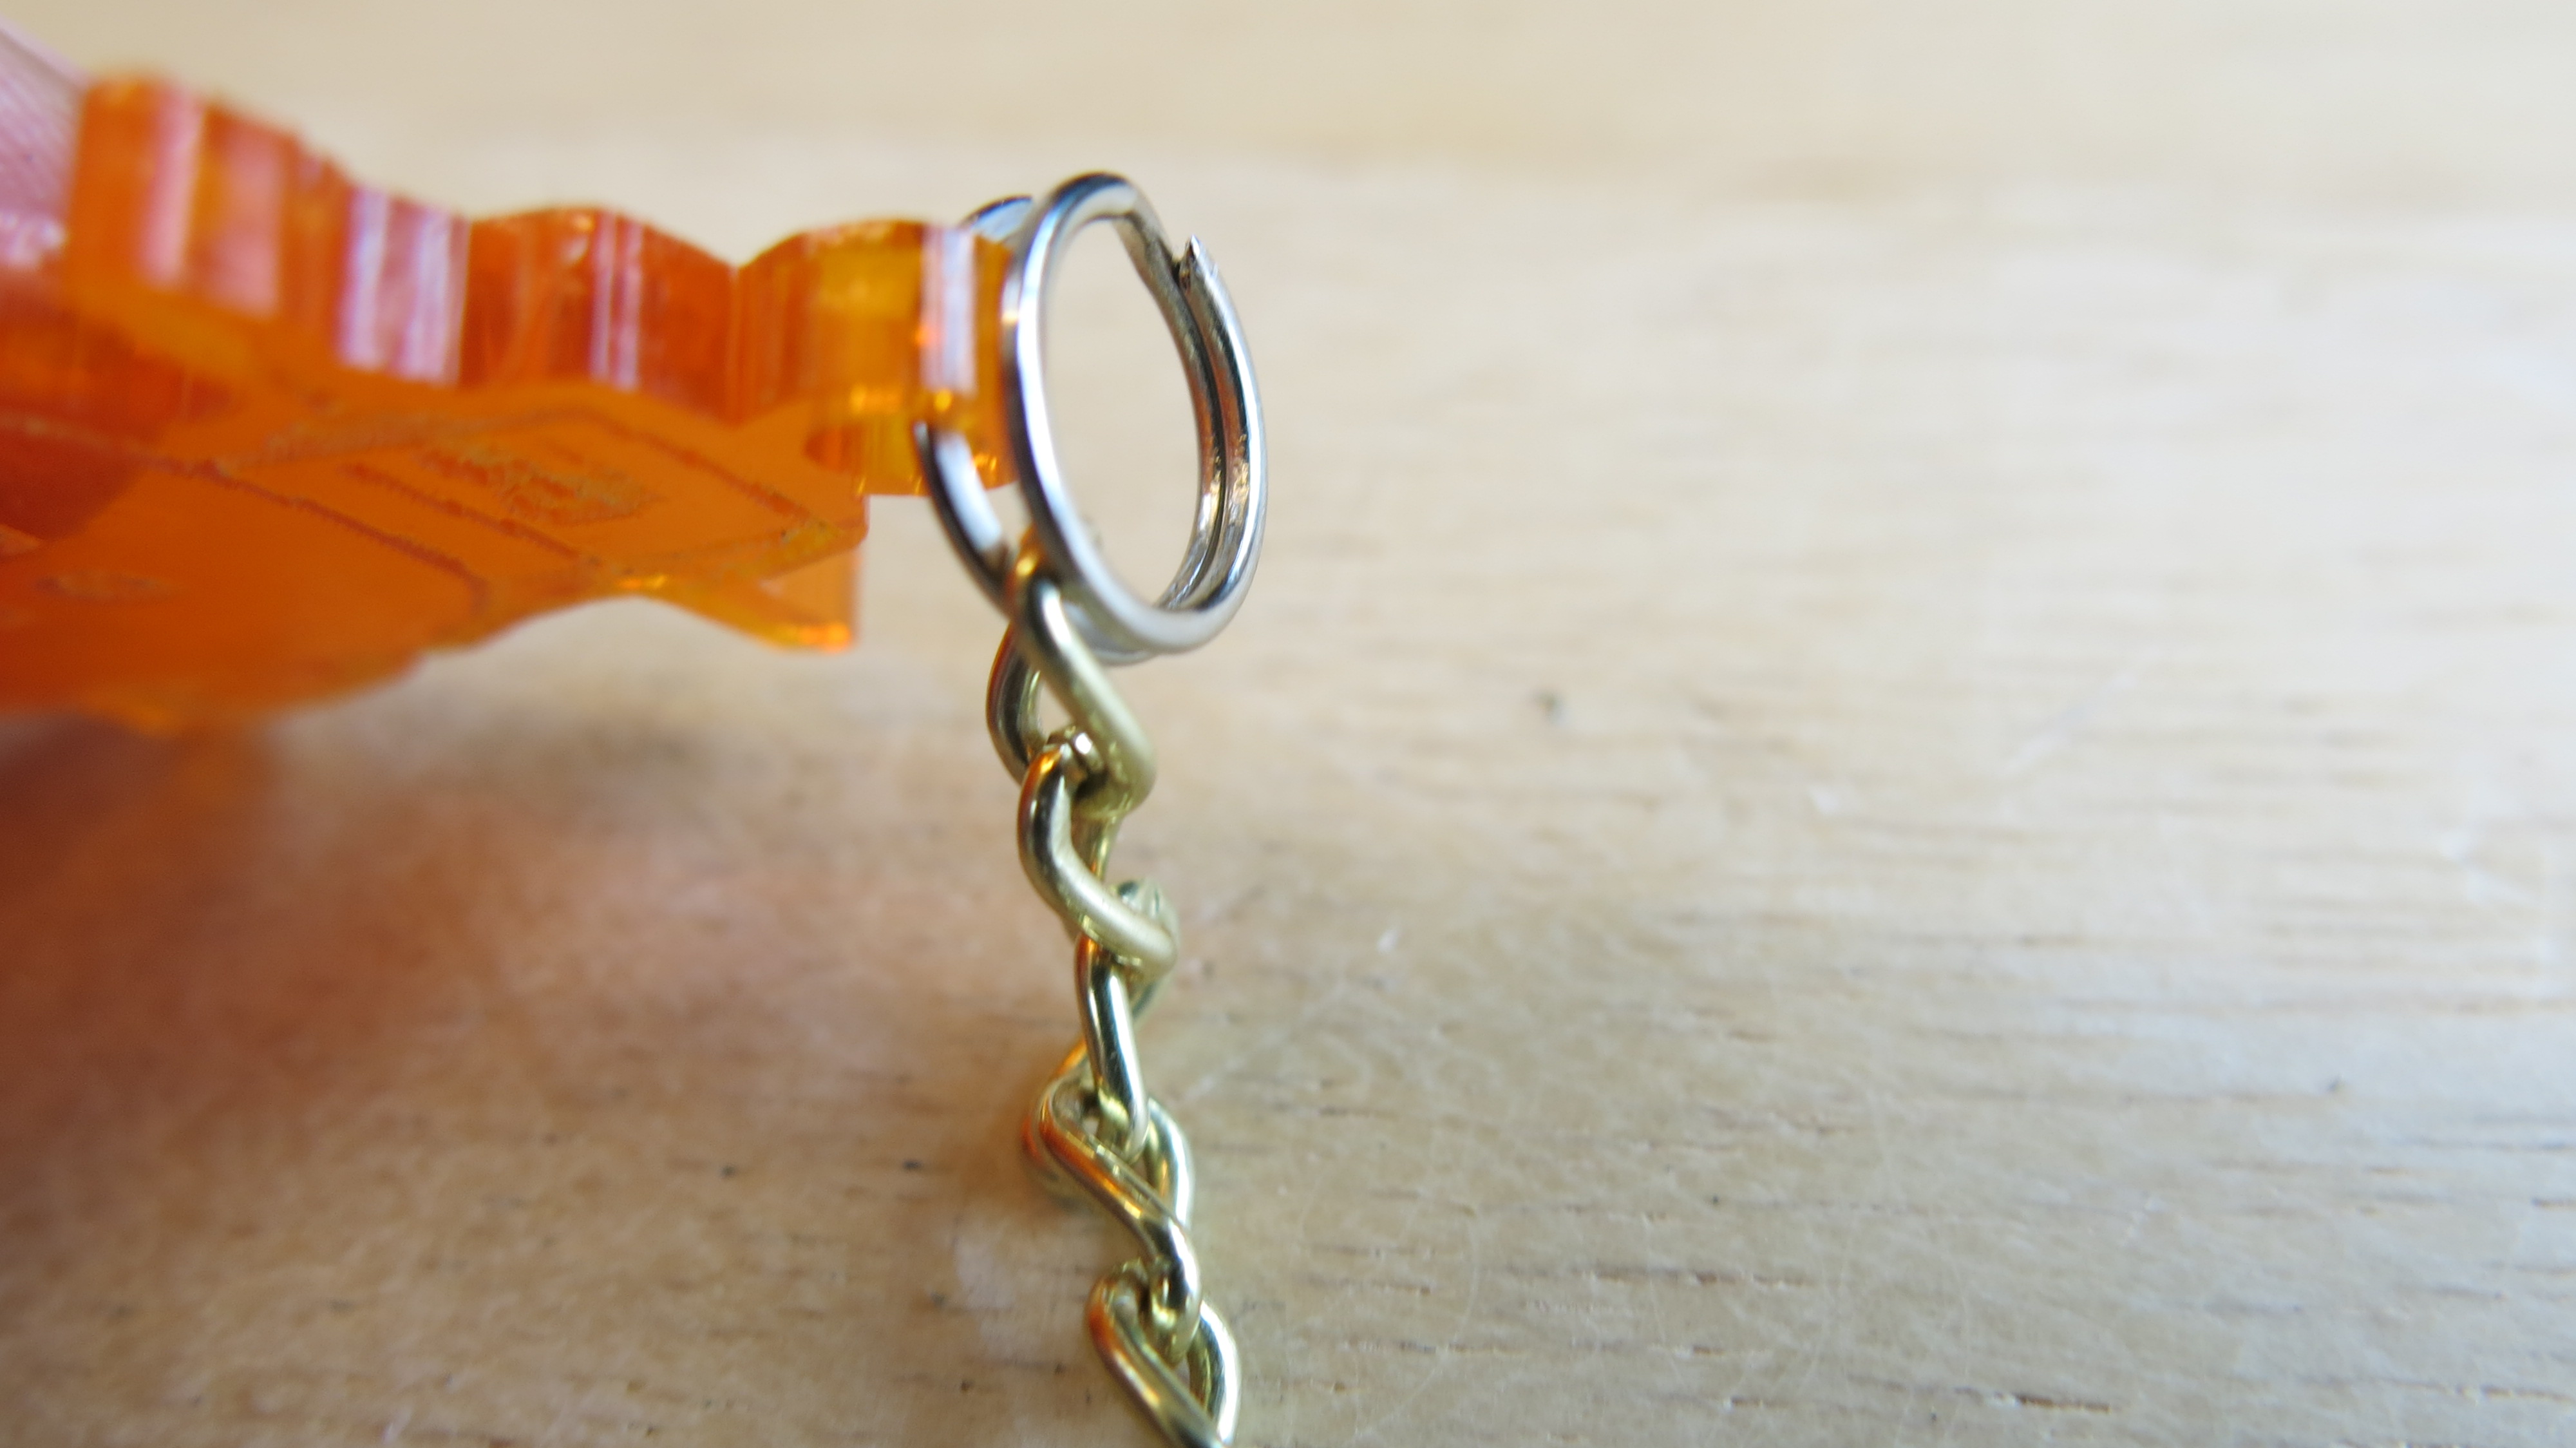
I got two different sizes of key rings and some chain from the hardware store that'll be used to make the chain of the keychain. A short segment of chain was separated by bending one of the links with needle-nose pliers (Picture 5). It was then attached to the two key rings as shown in the pictures below
-
You should leave me a comment! I like those! They help keep me motivated to publish articles instead of letting the pictures I took rot on my hard drive! : )