Make the Elizabeth Tower in 3d With Tinkercad
by 3Designer game in Workshop > 3D Printing
2208 Views, 13 Favorites, 0 Comments
Make the Elizabeth Tower in 3d With Tinkercad
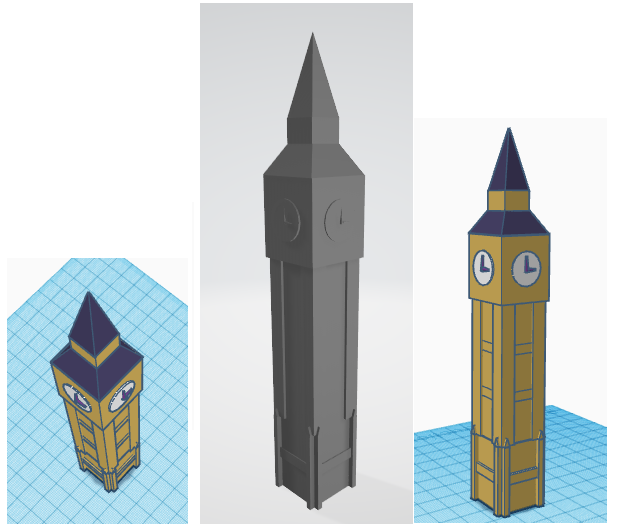
In this project I will create an Elizabeth Tower which people most often call Big Ben even though that is the name of the bell.
I'm going to do it in 3D with Tinkercad which we don't have to download.
I put a file in stl that I put just below this introduction.
So you can see the tower already finished.
Come on, let's get to building the tower.
Downloads
Supplies

We need Tinkercad software.
And we will use the following shapes:
- cubes
- cylinder
- cone
First Shape
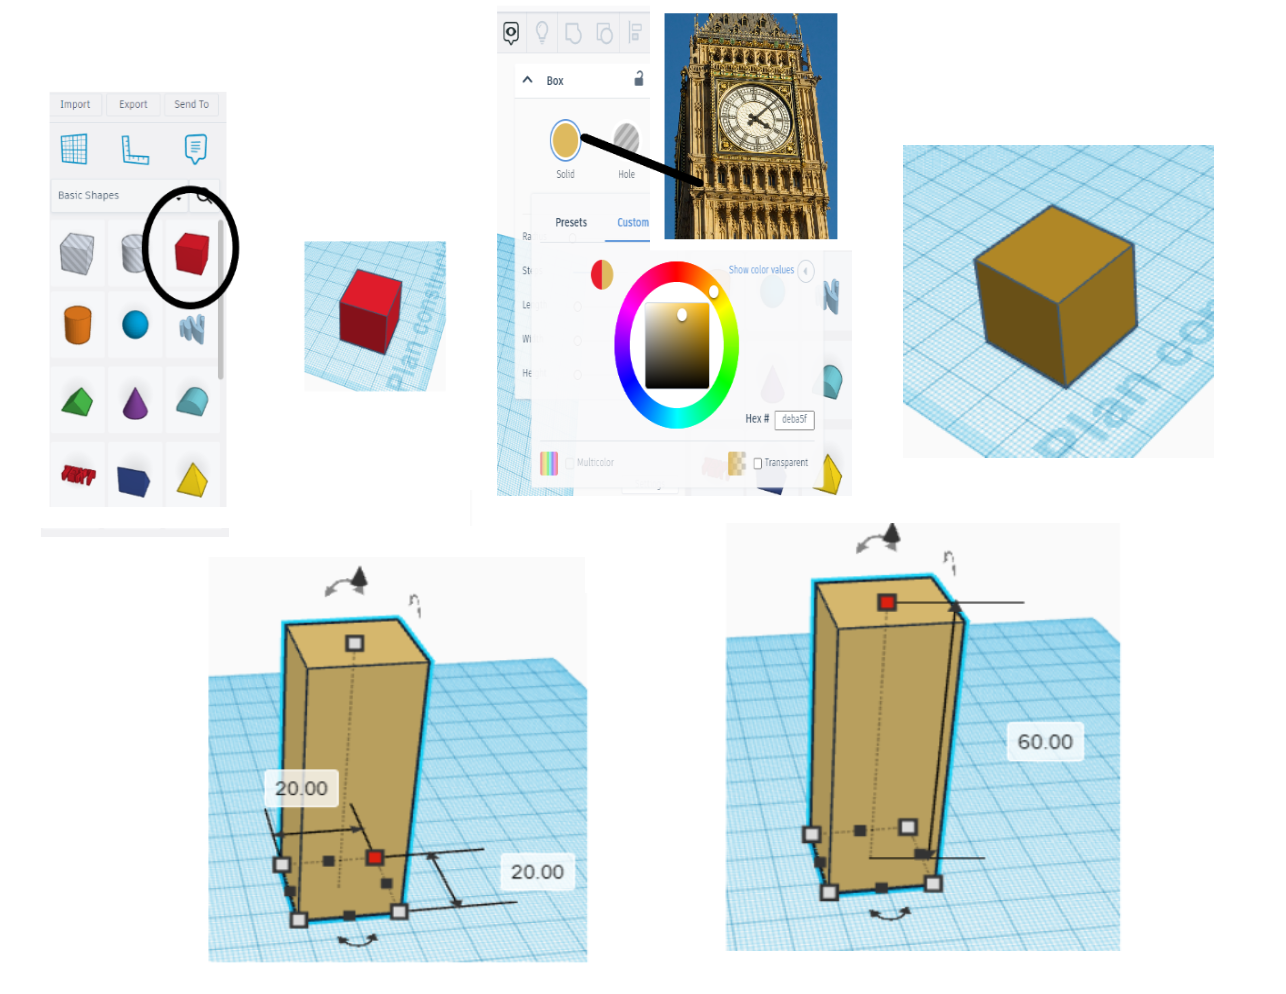
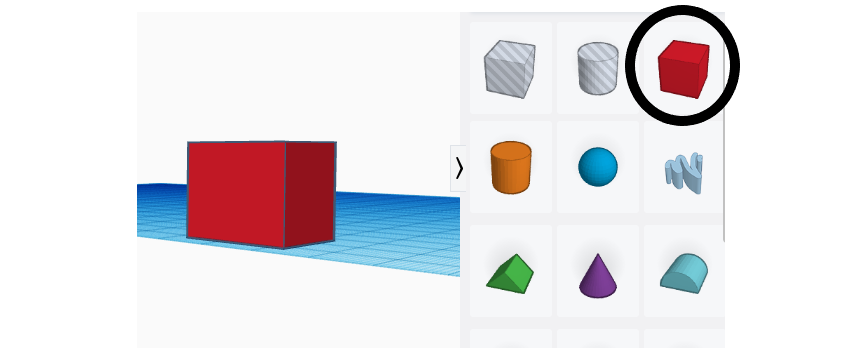
So to start we will take a cube,
I advise you to get used to it since it is the shape that we will use the most.
To take the shapes, we will just click on the shape we want, then we click on the place where we want to place it.
We are going to change the color of the cube.
Don't know how to do it?
Don't worry, just click on the shape, click on its color in the top right and then change it.
You can also customize your color by pressing customize.
Put it in brown. Make it as close to the color of the Elizabeth Tower as possible.
A tower is high, no?
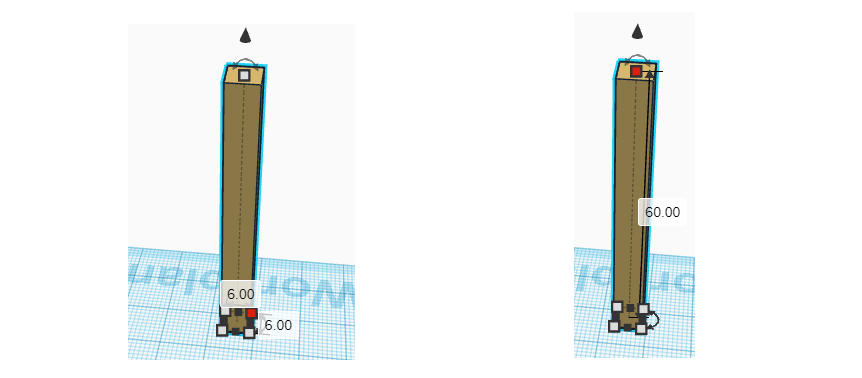
So let's set the height to 60.
And for the sides, we're not going to touch them.
First Duplication
.png)
.png)
.png)
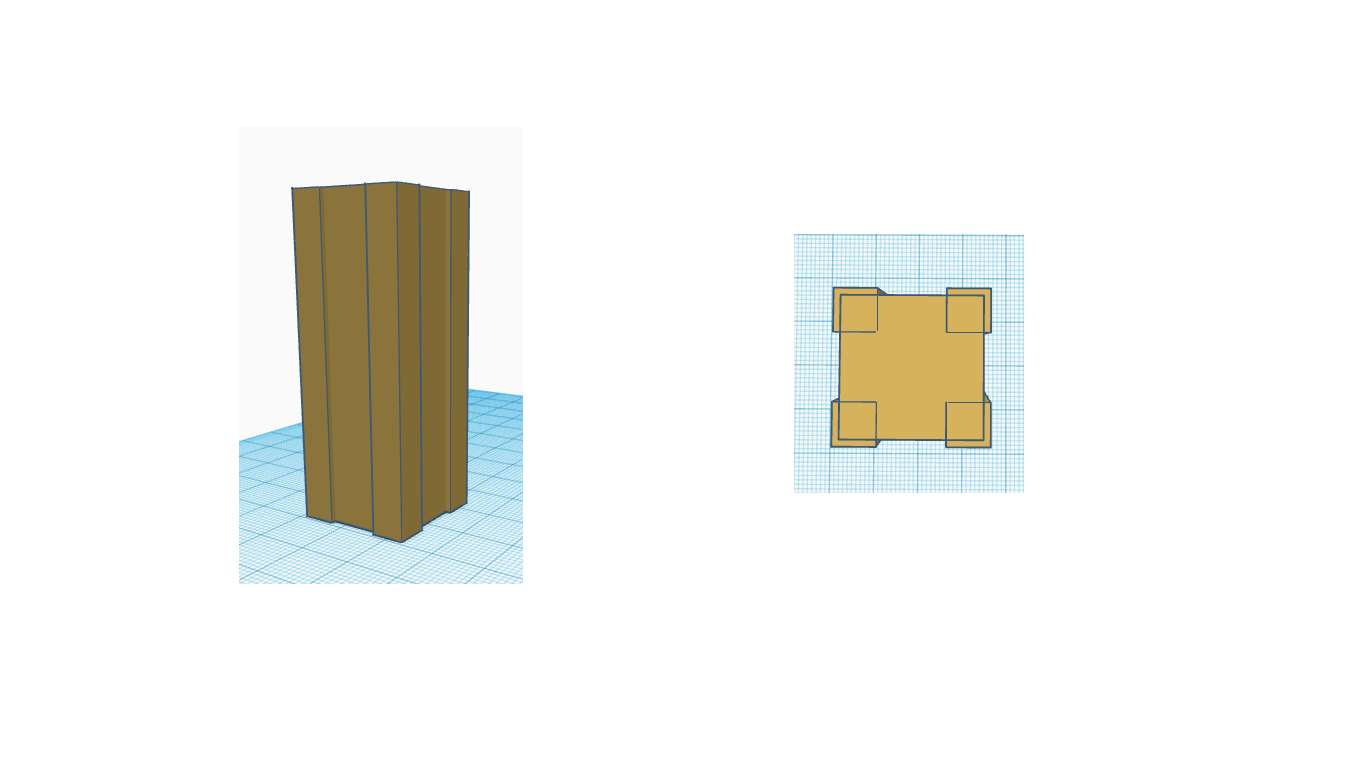
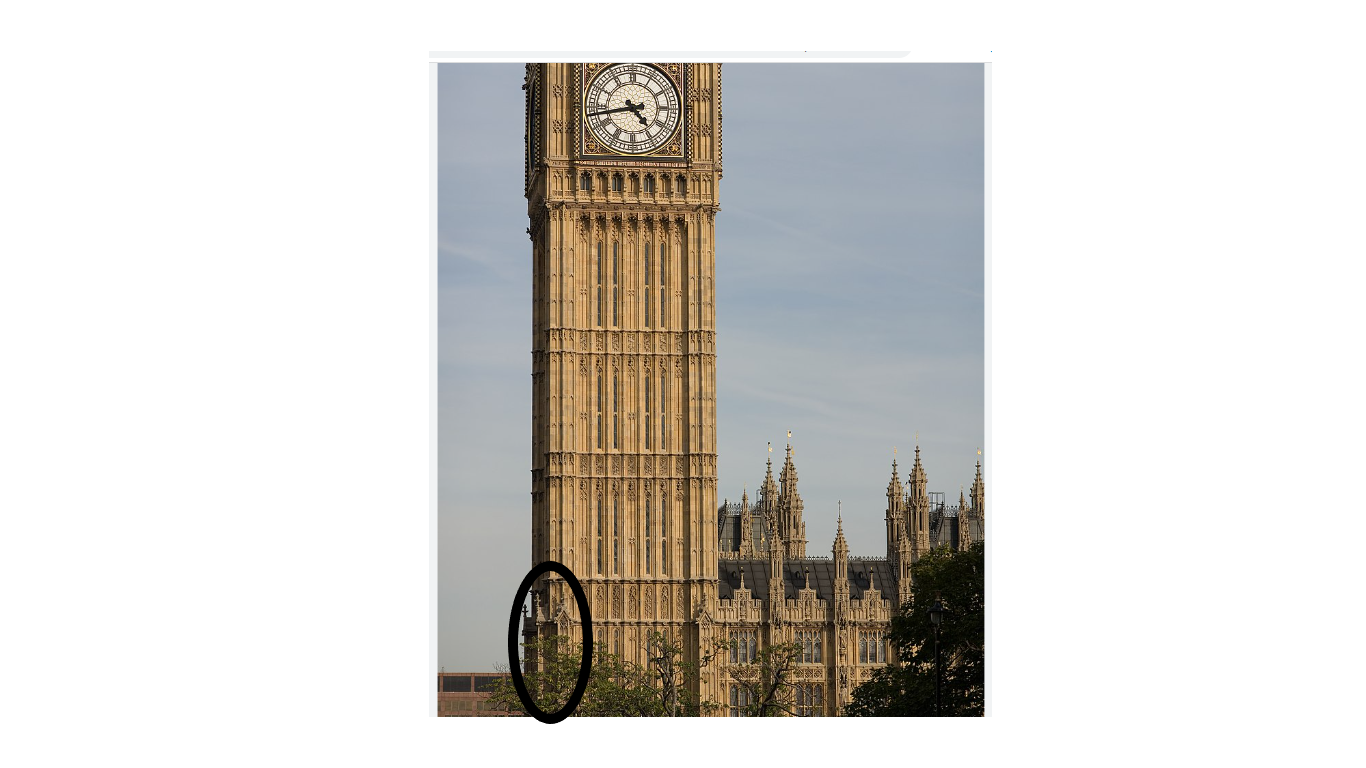
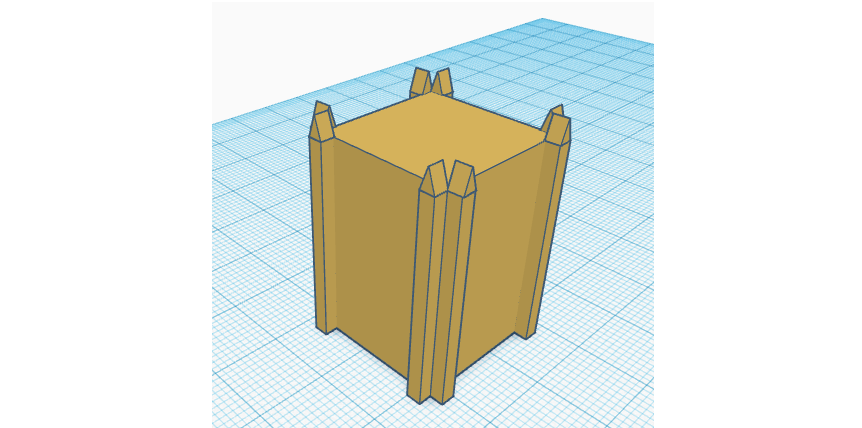
We will now make the 4 small rectangular parallelepiped which are as in the photo.
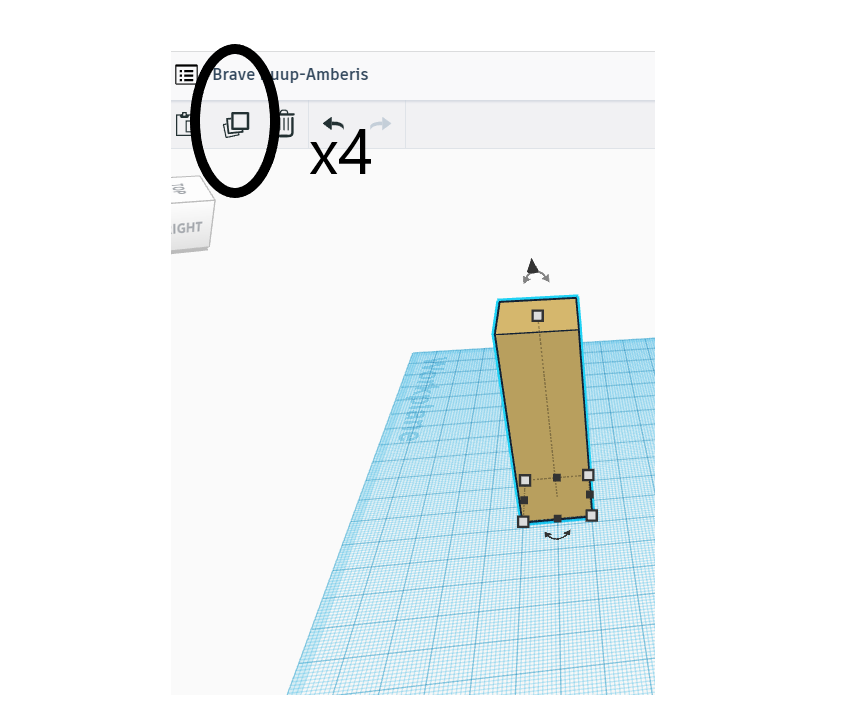
For that, we are not going to take a cube, color it, change its size...
We are just going to select our rectangular parallelepiped and then click 4 times on the duplicate. 4 times corresponds to the 4 small rectangular parallelepiped of the rectangular parallelepiped.
As the 4 small rectangles are thinner, we put the sides of its base at 6 and we will not touch the height.
2nd Duplicate
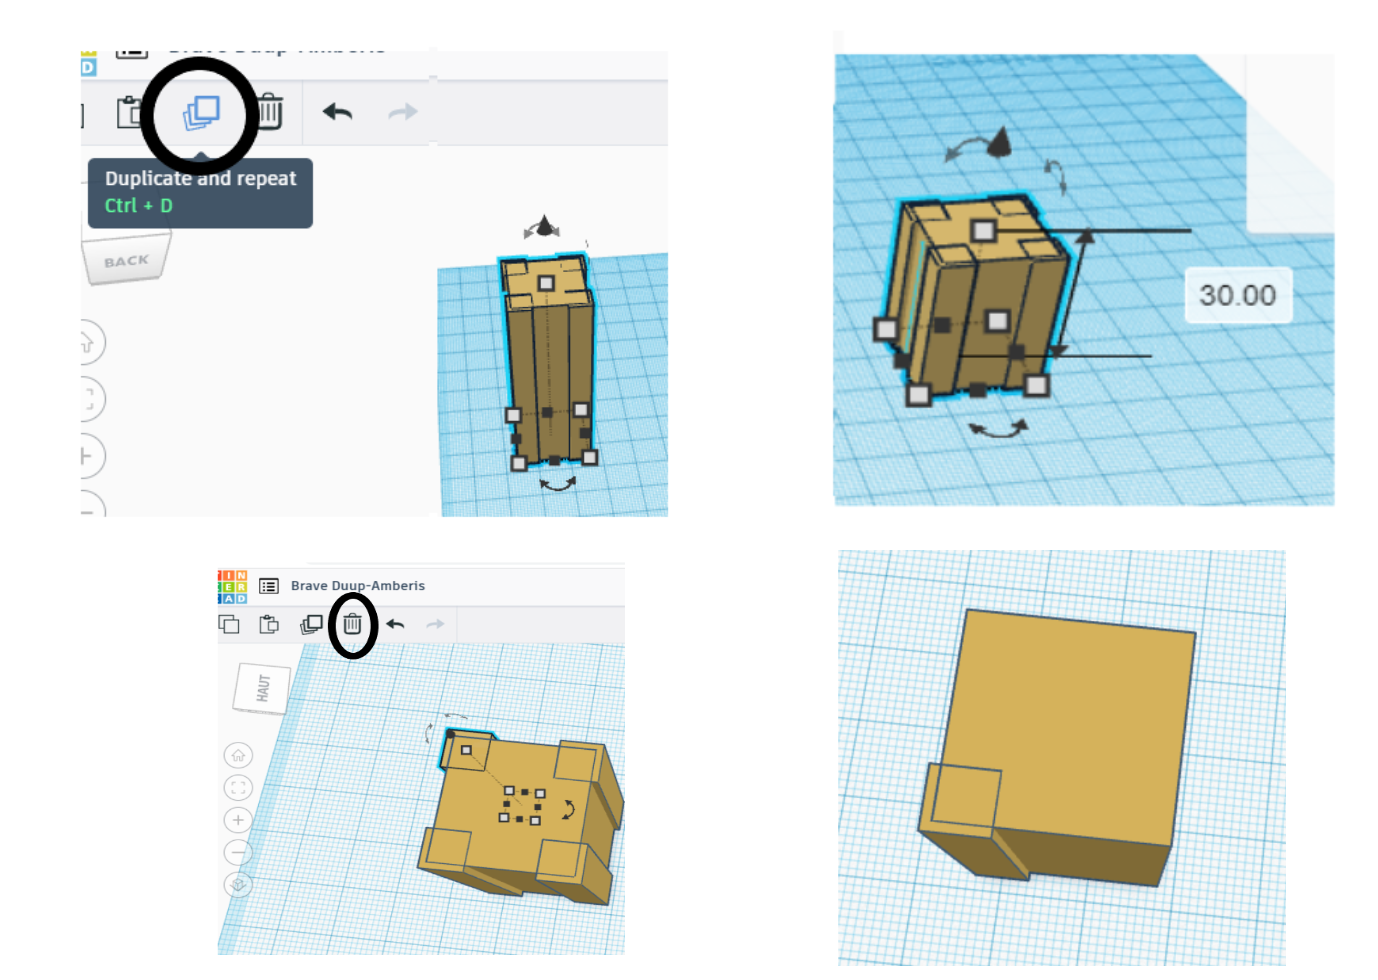
In this step, we are going to select what we have done so far then duplicate it and we are going to put one of them aside to take care of the other.
Now, taking one of our parallelepipeds and setting the height to 30.
To make our task easier, we are going to delete 3 small rectangular parallelepipeds to keep only one.
Smaller and Delete
Now, taking one of our parallelepipeds and setting the height to 30.
To make our task easier, we are going to delete 3 small rectangular parallelepipeds to keep only one.
Even Smaller
.png)
.png)
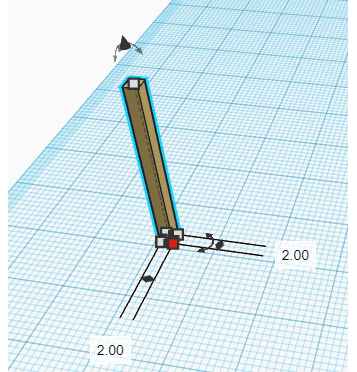
To make the smaller rectangular parallelepiped as in the image, we will put the sides of the small parallelepiped that we have left at 2.
Duplicate and Set Them Up
.png)
.png)
.png)
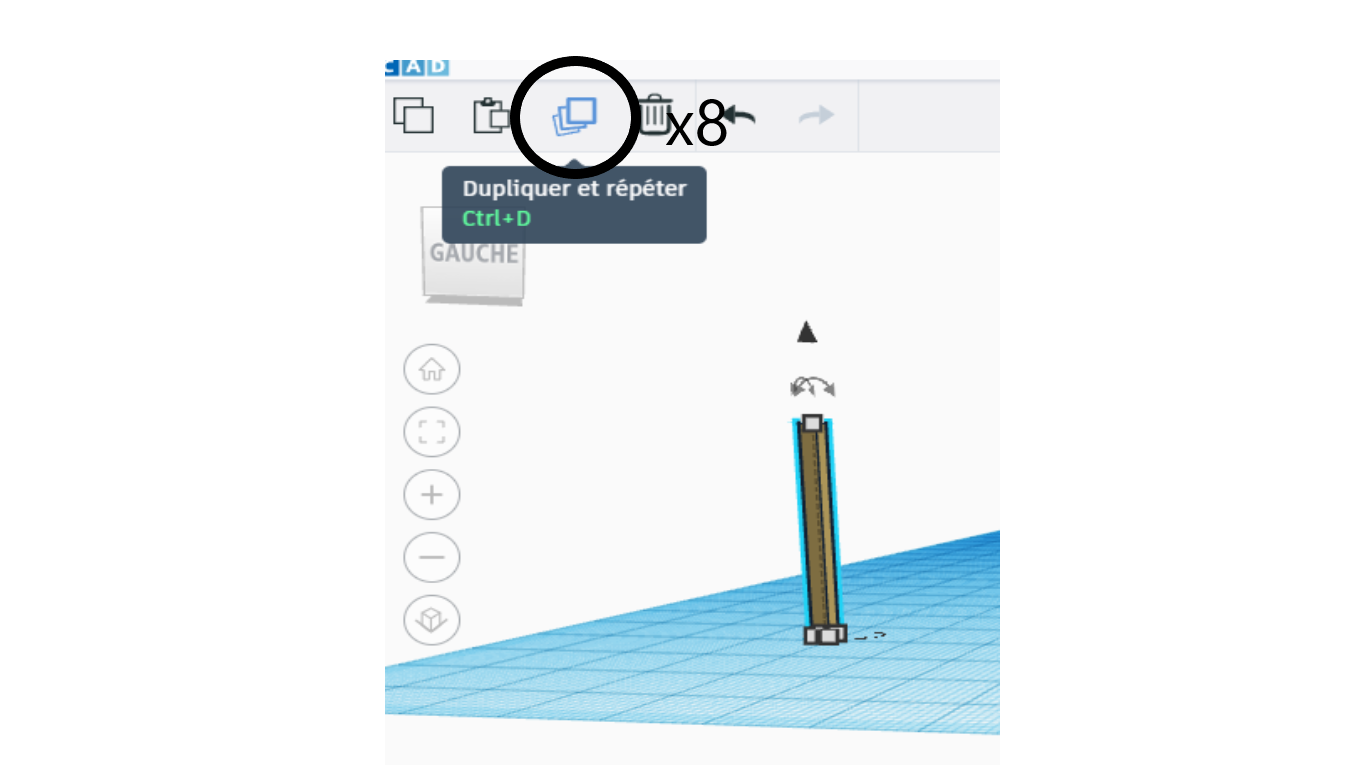
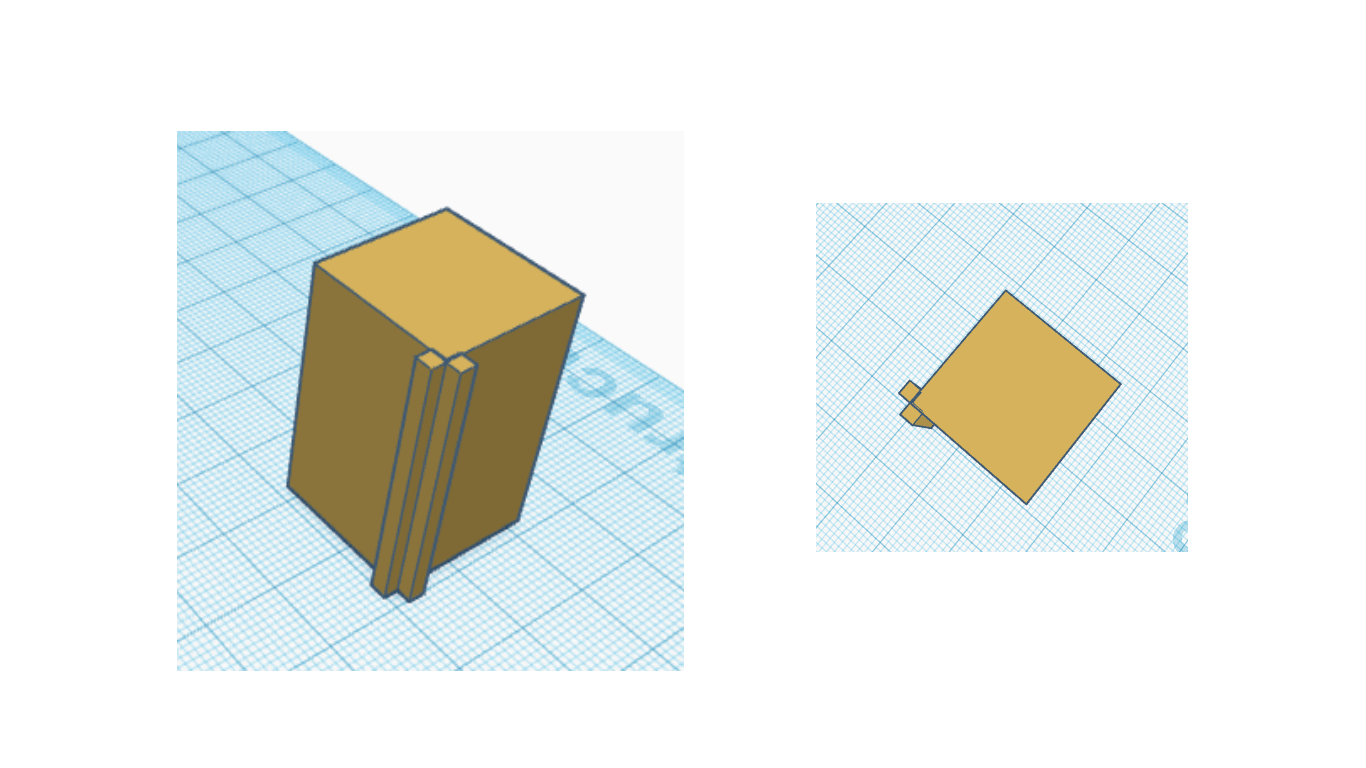
To make the 8 small rectangular parallelepiped, we will duplicate it by 8.
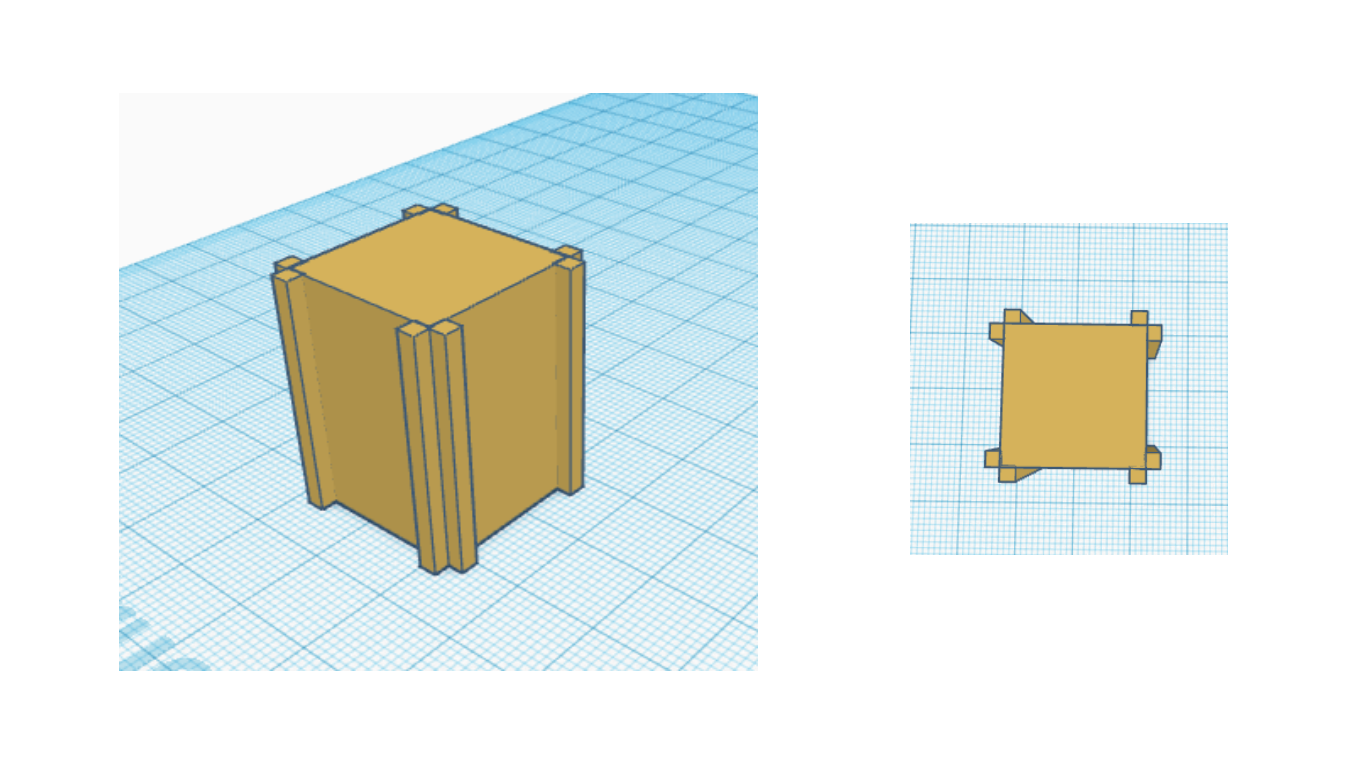
Then we will put 2 per border as in the picture.
We will do the same on the 4 borders.
Small Pyramids
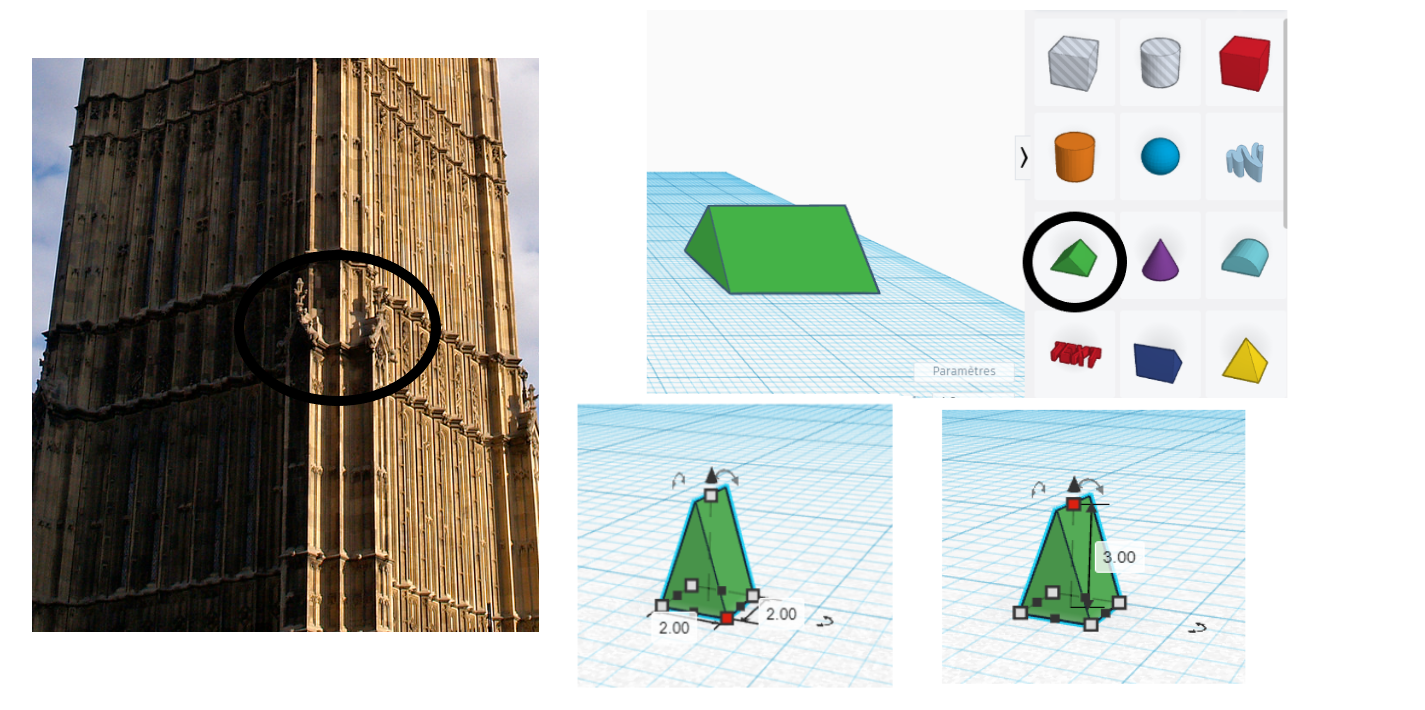
To make small pyramids as in the photo,
We will take a pyramid, then we will set the sides of the base to 2 and the height to 3.
Put in Height
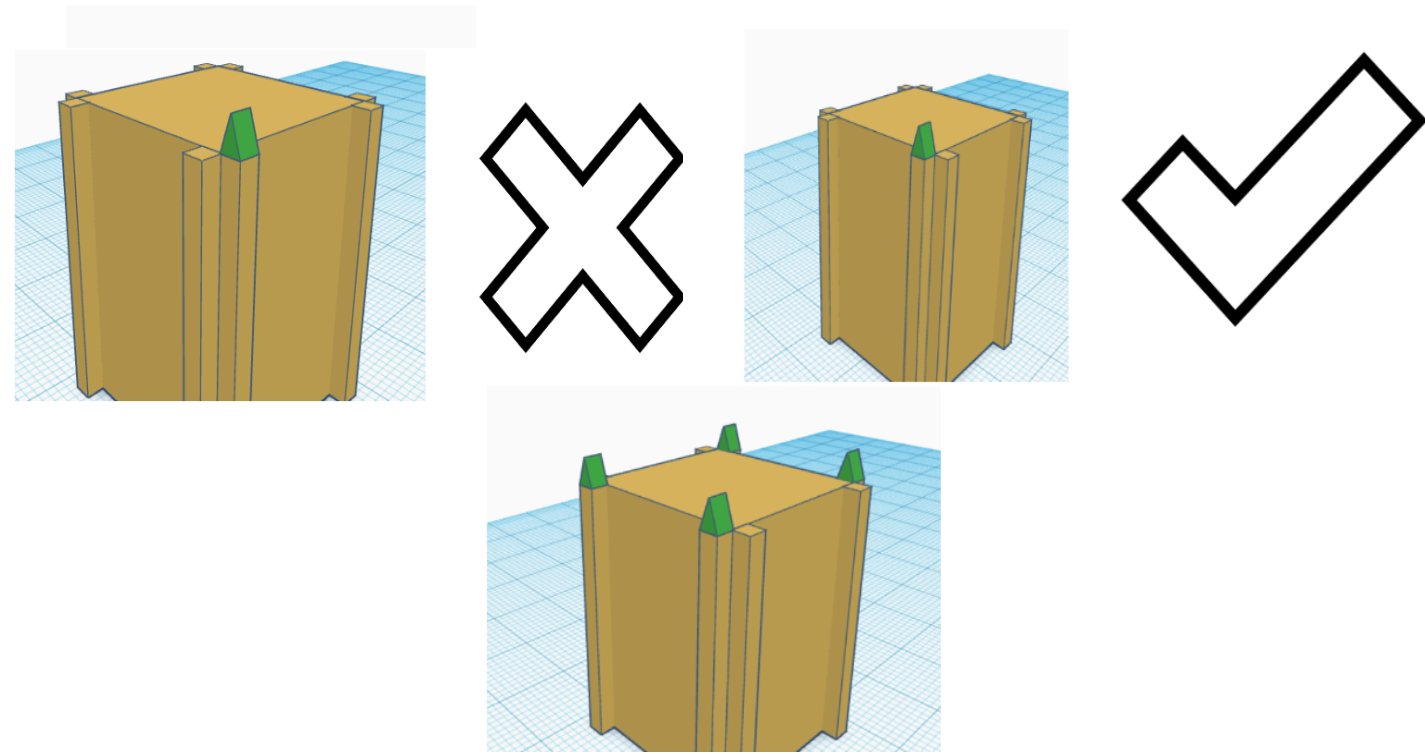 qu'on va mettre sur le step9.png)
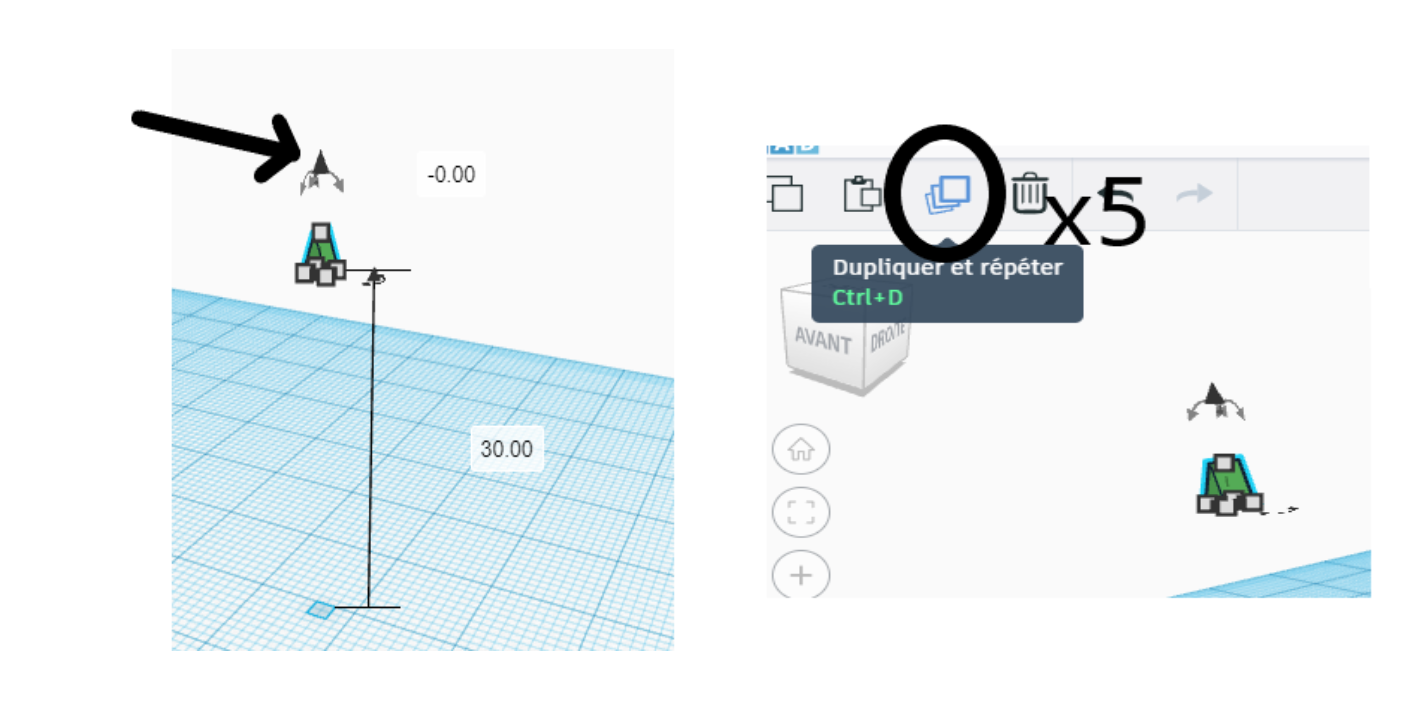
To put in height, you just have to take the small arrow indicated by the arrow and put it at the height you want.
In our case, we will set it to 30.
Now on will duplicate it by 5.
You may be wondering why we need 5? You will get the answer later.
Let's put aside the 5th prism.
We are going to put 4 of them in place. Put the prisms on so you can see a triangle when looking from one side.
If you misunderstood, just make it look like the real picture.
Rotate a Shape
.png)
.png)
.png)
.png)
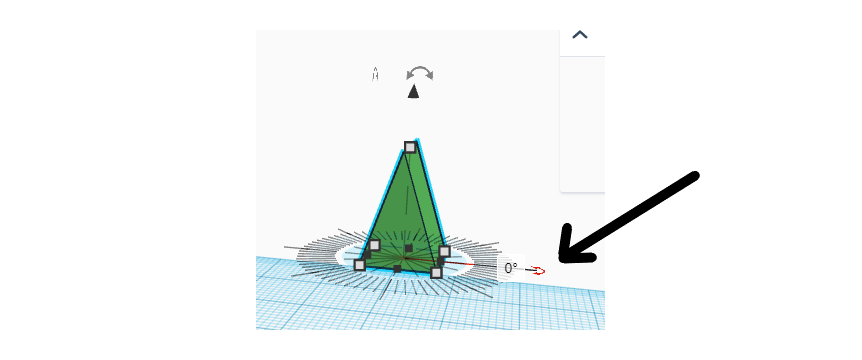
At last! We're going to take the 5th prism, then we're going to turn it.
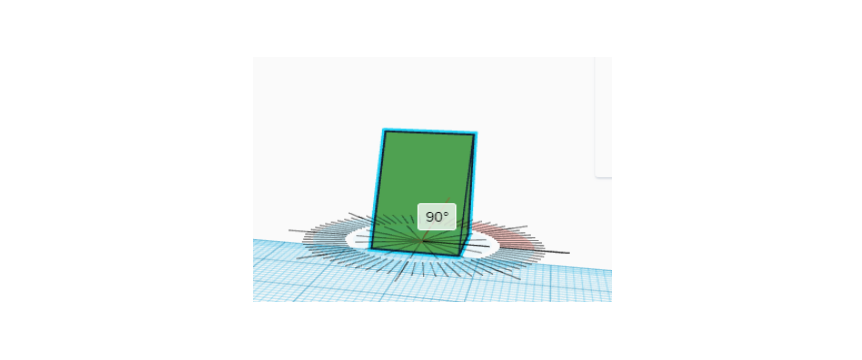
To turn it, we will take the arrow which is curved in red on the image and then we will turn it 90° in any direction.
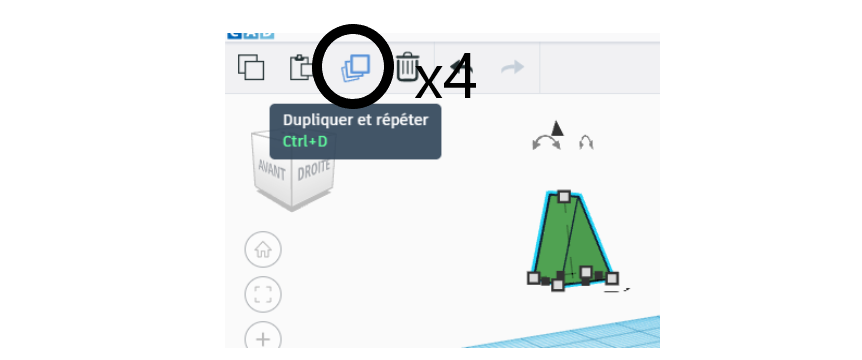
Now, we are going to duplicate the prism by 4 after having turned it then
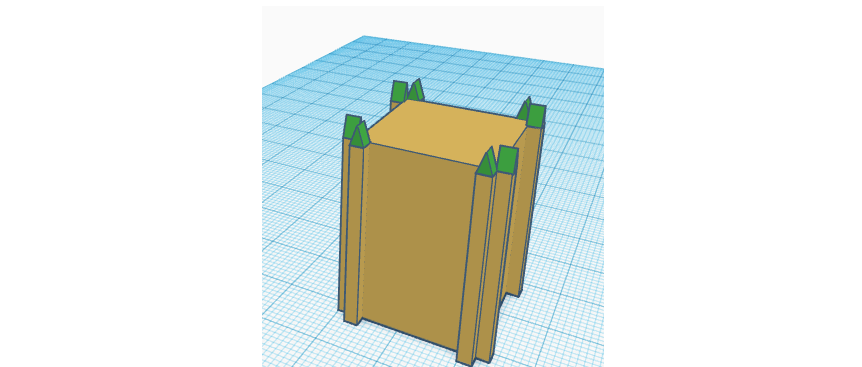
we are going to put them on the empty places to finally give a result as in the image.
Now let's put these prisms in the same color as the cube right on which it is.
You have personalized your color and you no longer know how to reproduce it? Don't worry there is an easier method which I will explain to you in the next step.
Change a Color Easily
.png)
.png)
.png)
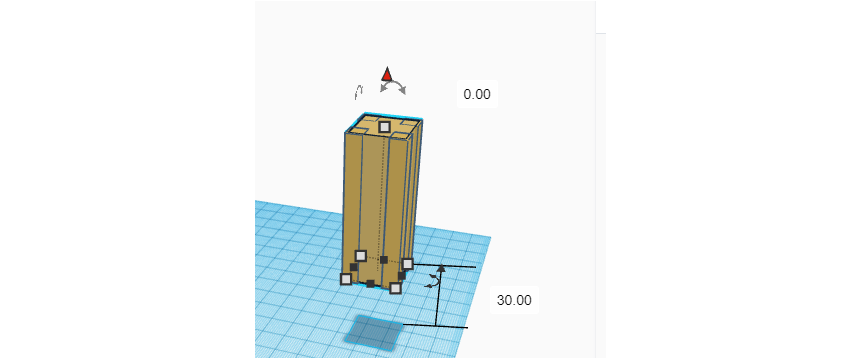
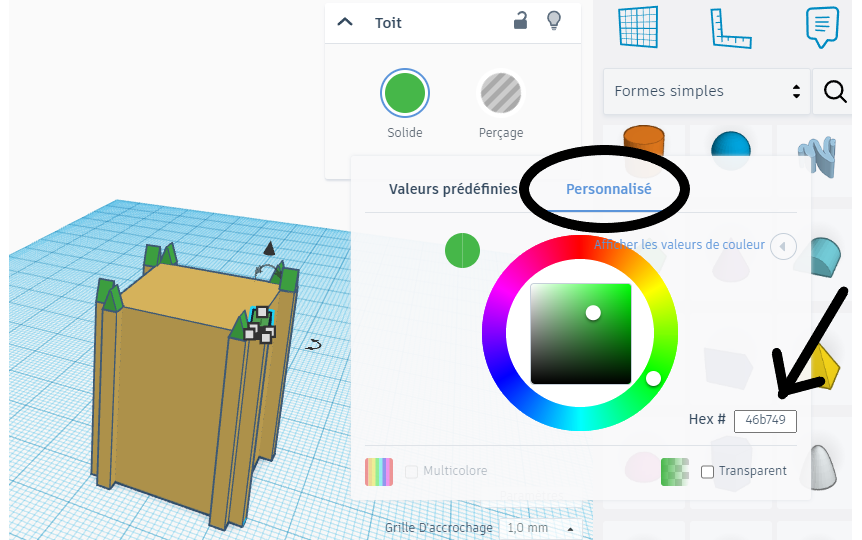
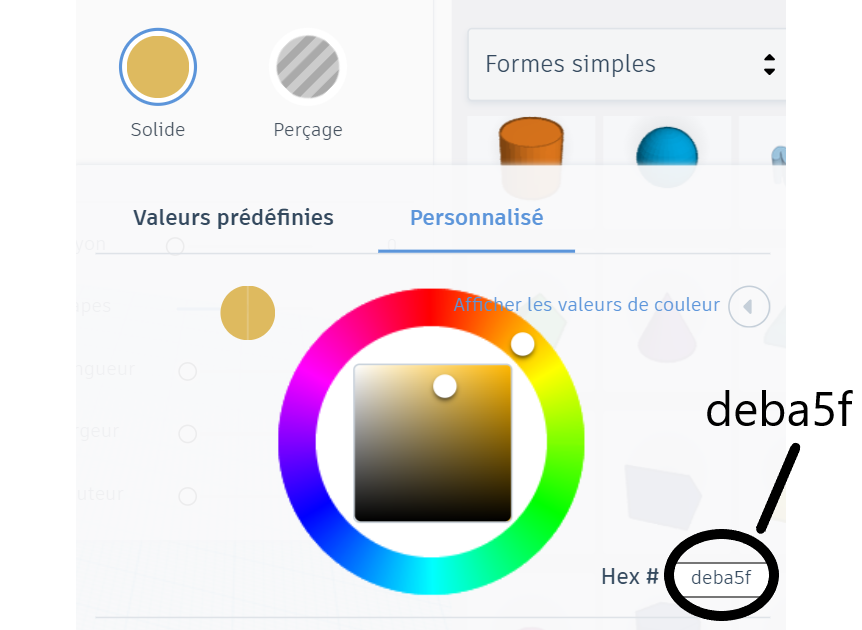
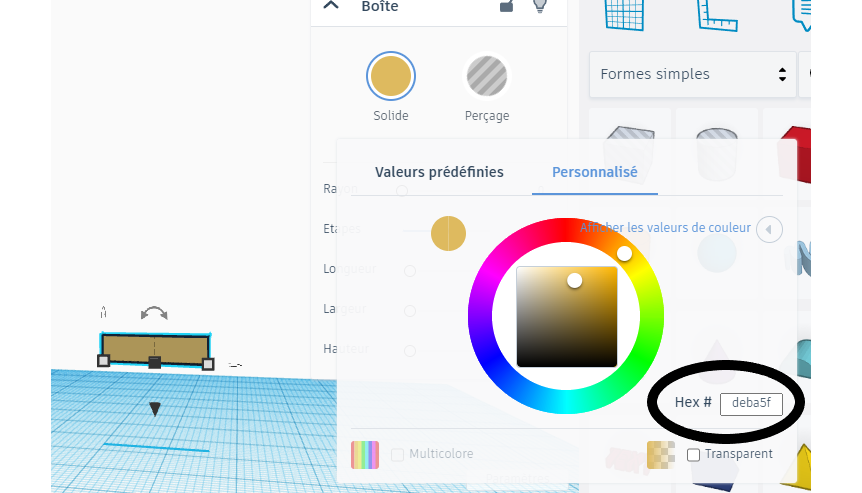
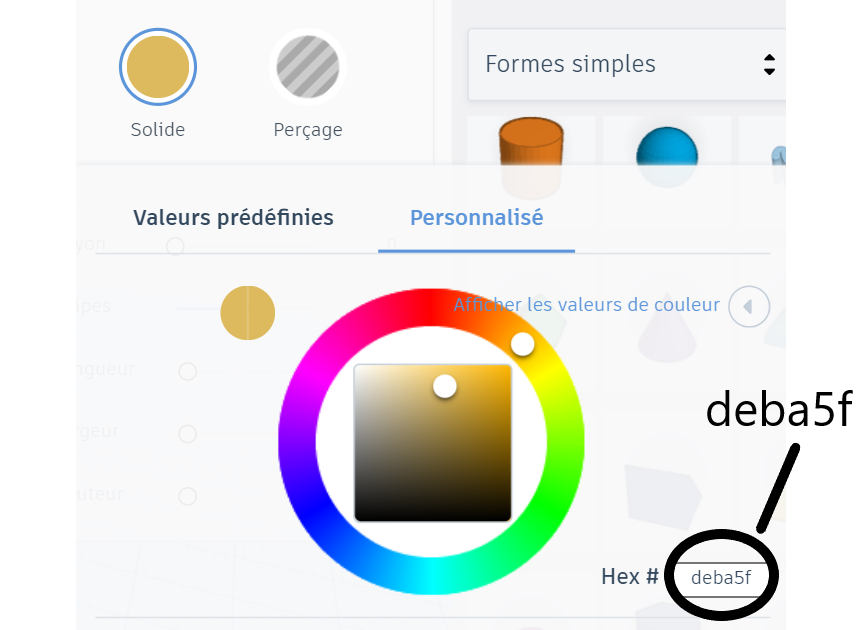
To change the color easily, you go to the color of the object then to personalized and you see that at the bottom right, there is like its color code.
And you just have to change it to the color code you want like in our case, the brown color code.
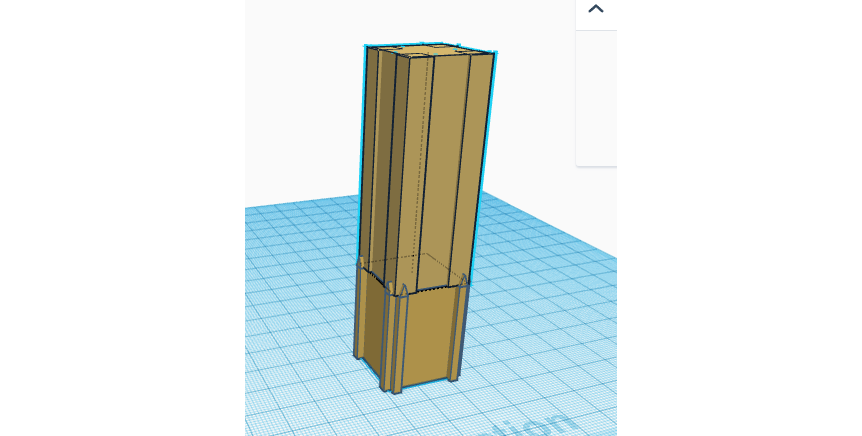
Now let's take the other parallelepiped that we made first and left aside.
And we're going to put it at a height of 30 and then put it on the parallelepiped that we just finished.
Take Another Cube
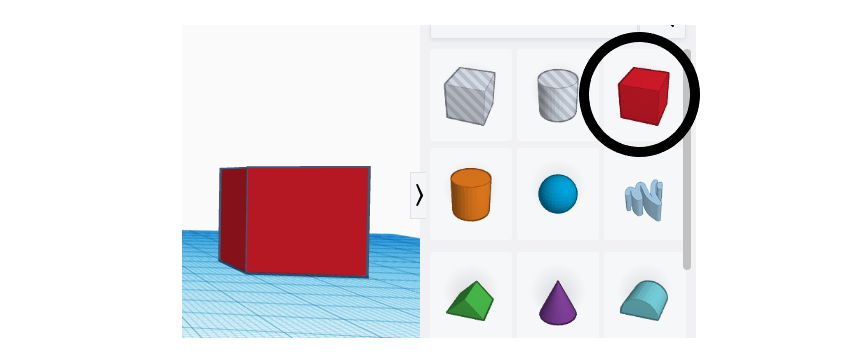
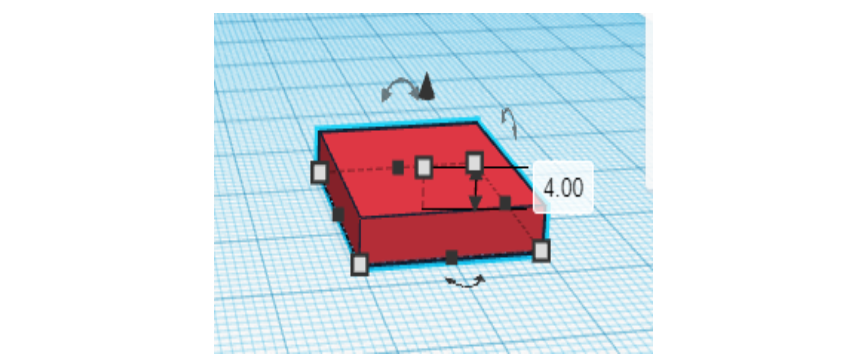
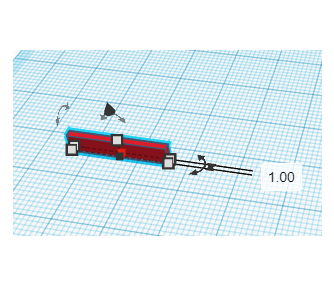
And yes, we're going to take another cube.
We will give it a height of 4 and a thickness of 1.
Then we'll change its color to brown.
Raise the Rectangle
.png)
.png)
.png)
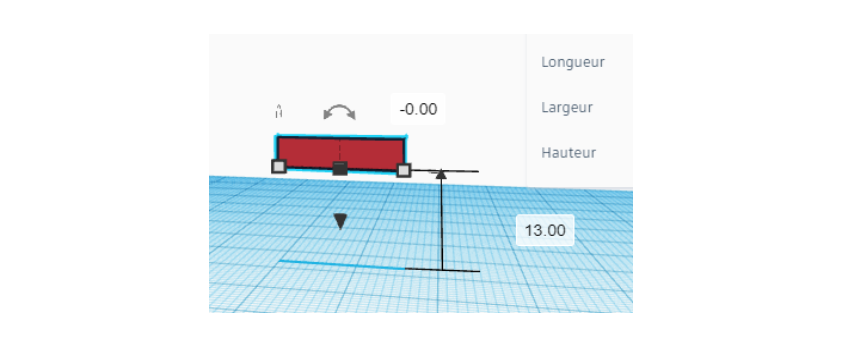
Now we are going to set the rectangle to a height of 13.
And let's not forget to change its color to brown.
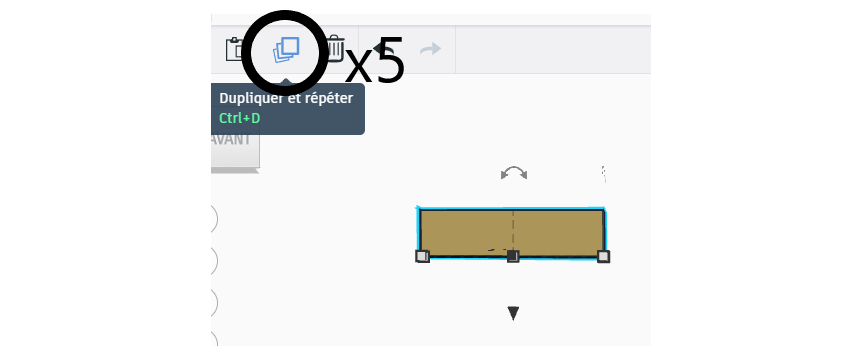
Then we will duplicate it by 5.
And you now know that we leave one aside to use later.
Set Them Up
.png)
.png)
.png)
.png)
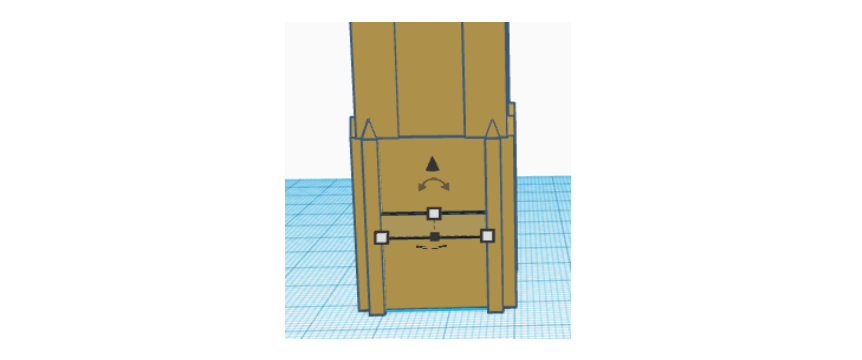
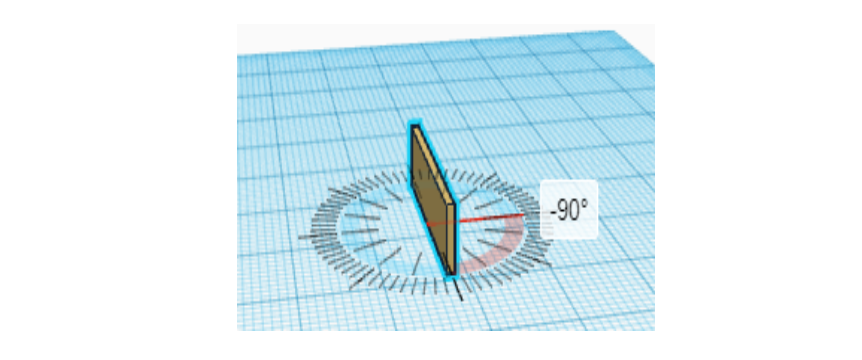
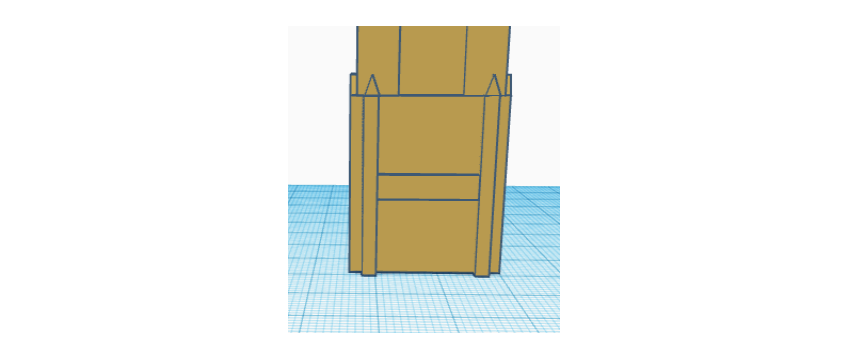
We put the two rectangles in their side, then we turn the other two either by 90° or by -90 and
we put them in the other two sides still empty.
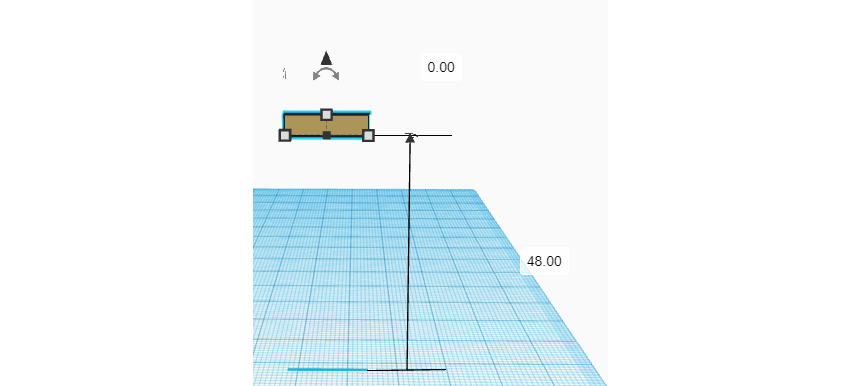
Now we will take the 5th rectangle and put it at a height of 48.
Duplicate and Put the Rectangles in Place
.png)
.png)
.png)
.png)
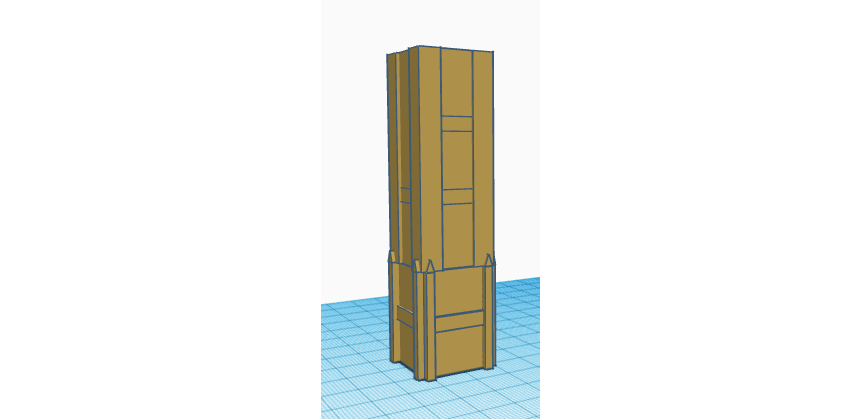.png)
Now we're going to do the same thing we did just before with the other rectangle.
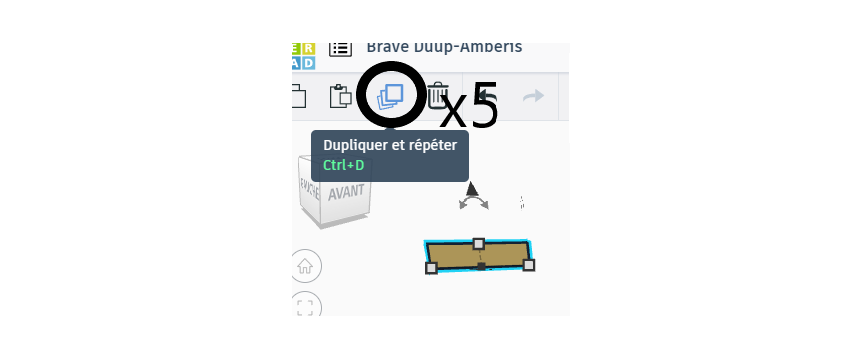
First duplicate it by 5, put 2 rectangles in place, turn the other 2 by either 90° or -90°, both will give the same result then put the 2 in place.
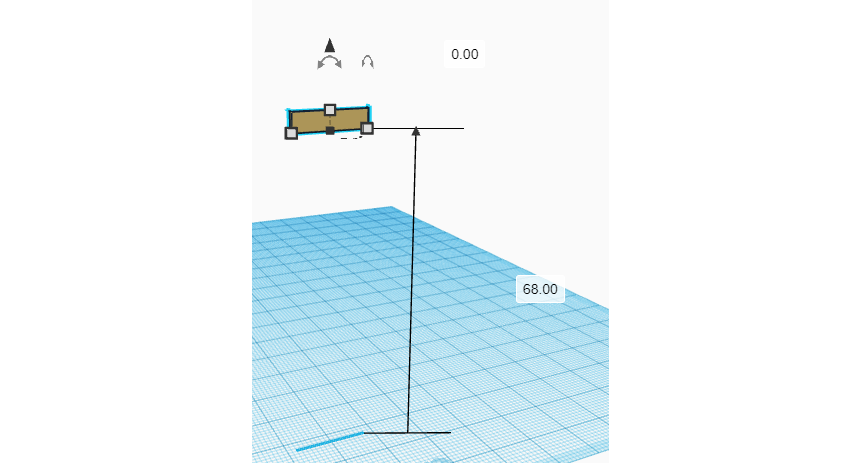
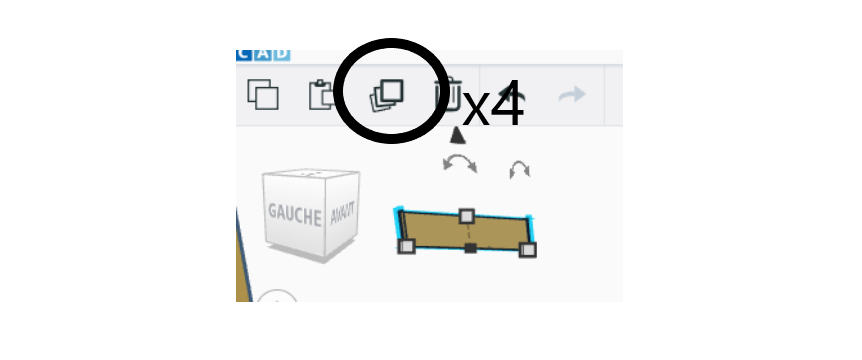
Now we're going to take the 5th rectangle that we put aside, then we're going to put it at a height of 68 and then do the same thing we did with the other two rectangles, the only difference is that we duplicate the rectangle by 4 since we no longer need a 5th rectangle.
Part Where the Clock Is
.png)
.png)
.png)
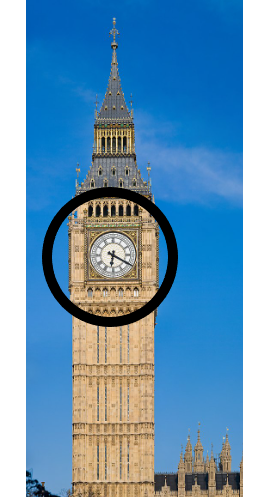
Now we're going to do the part where the clock is.
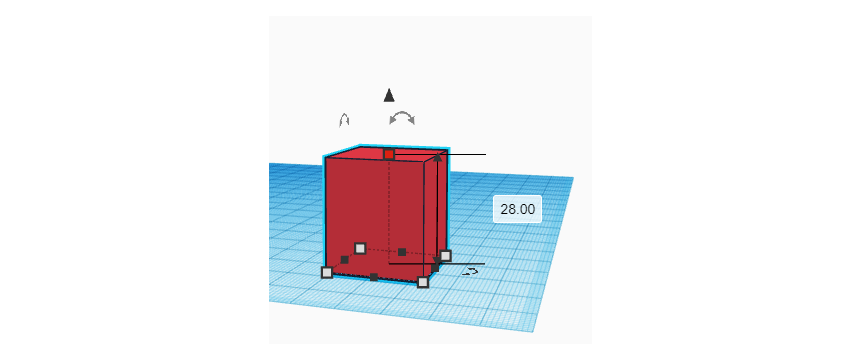
For that, we will take a cube and then put it at a height of 28.
And then we're going to put it in brown.
A Cylinder to Make the Clock
.png)
.png)
.png)
.png)
.png)
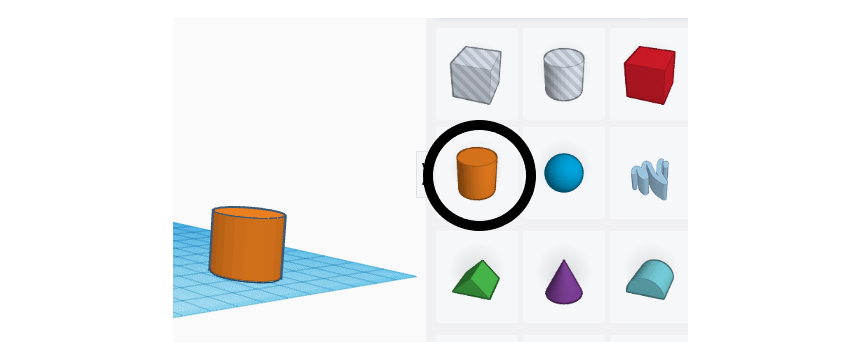
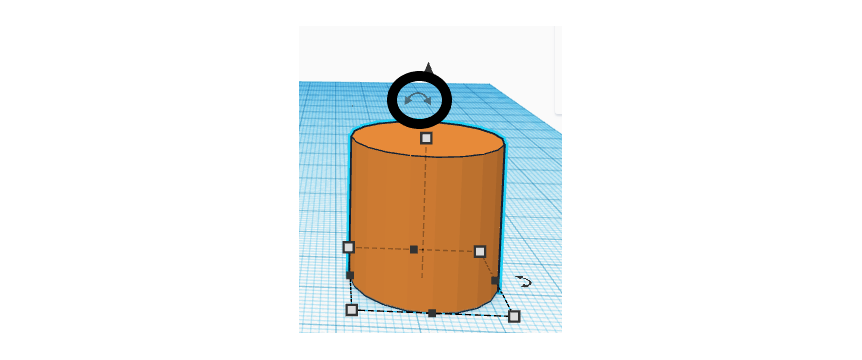
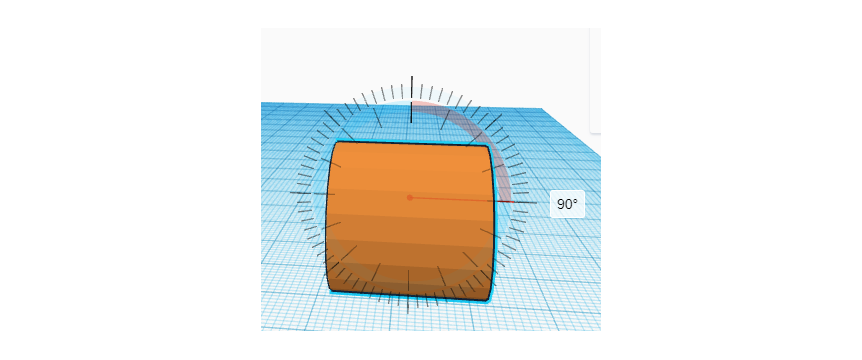
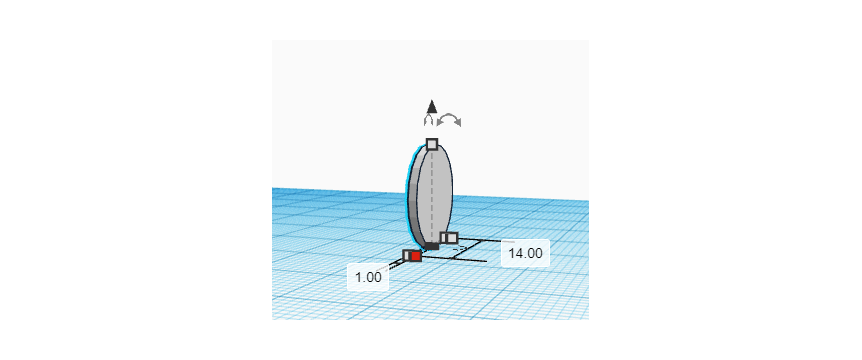
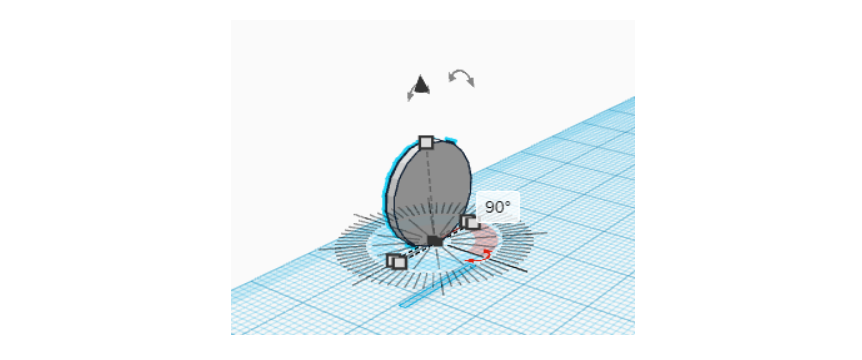
To make the clock, we will take a cylinder then we will take the arrow that I circled then turn it 90° or -90° since it will give the same result.
Then we will give it a thickness of 1 and a diameter of 14.
Put in Place
.png)
.png)
.png)
.png)
.png)
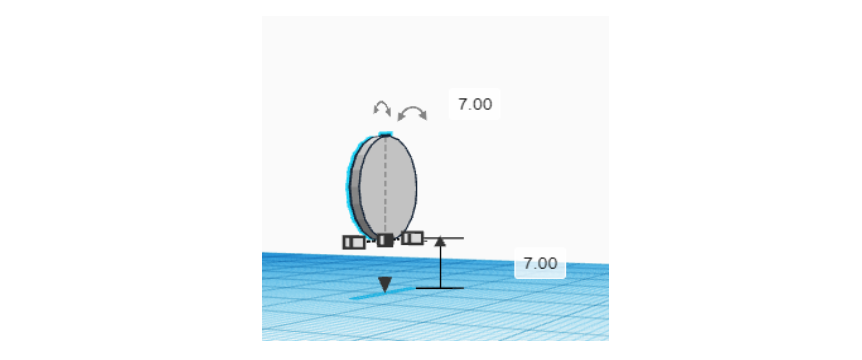
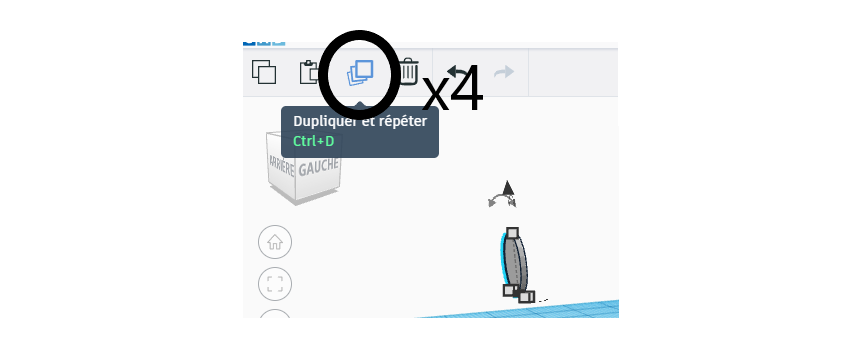
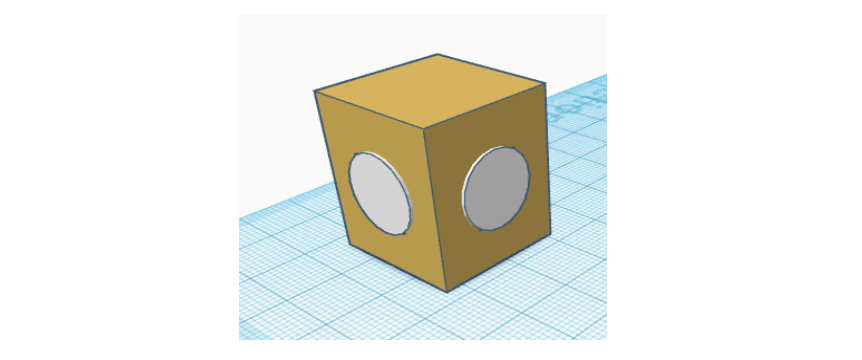
Now we are going to put it at a height of 7, then duplicate it by 4.
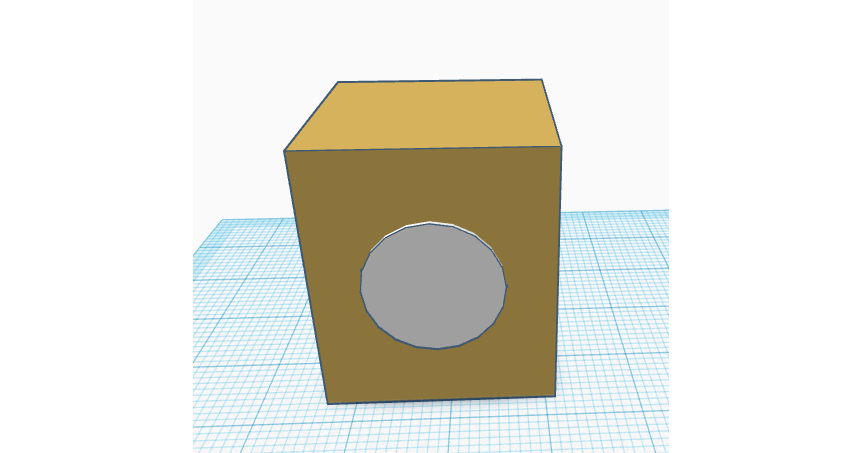
We are going to take 2 of them then put them in place as in the image and we take the other two, we turn them 90° or -90 ° then you put them in their places.
Just don't use the wrong arrow to turn it, otherwise you'll go around in circles.
The Roof
.png)
.png)
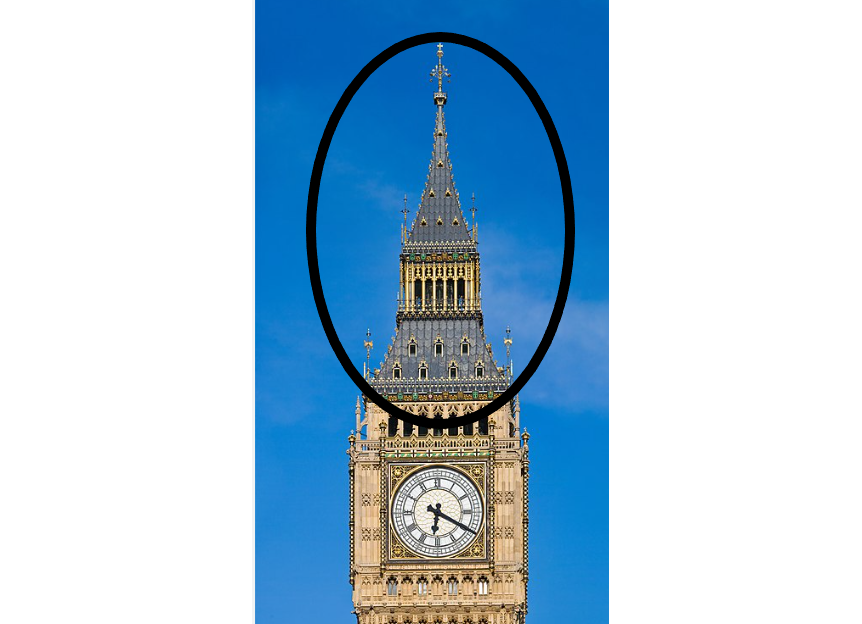
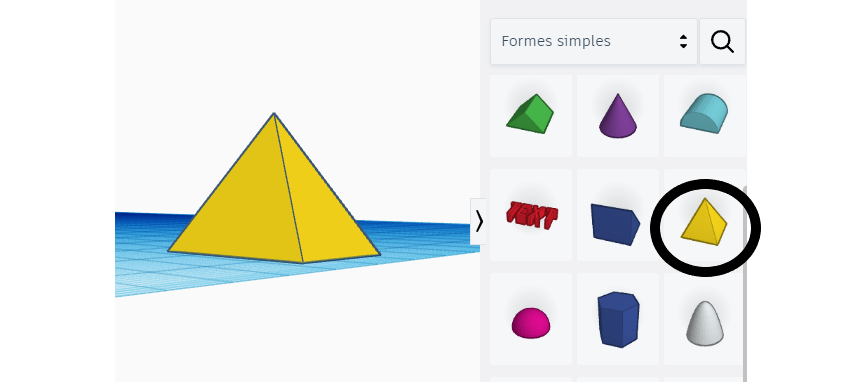
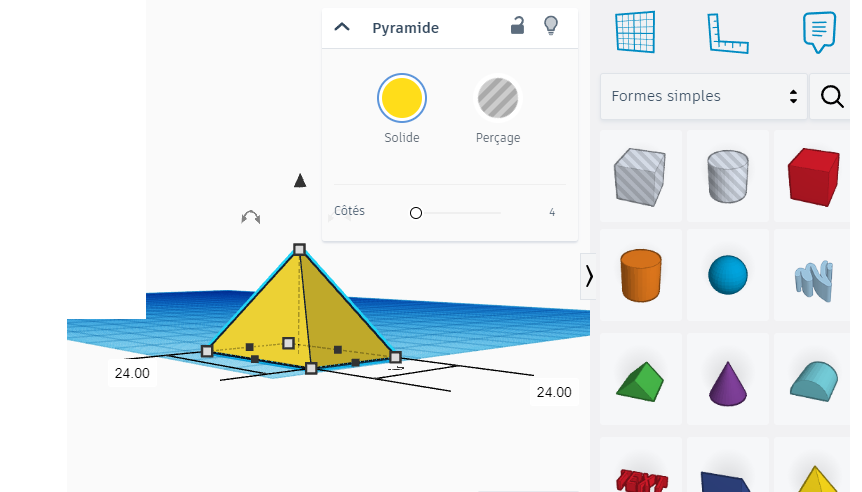
For the roof, we're going to take a pyramid then we're going to put the side of the base at 24. And for the height, we're not going to touch it.
Prendre Un Cube
.png)
.png)
.png)
.png)
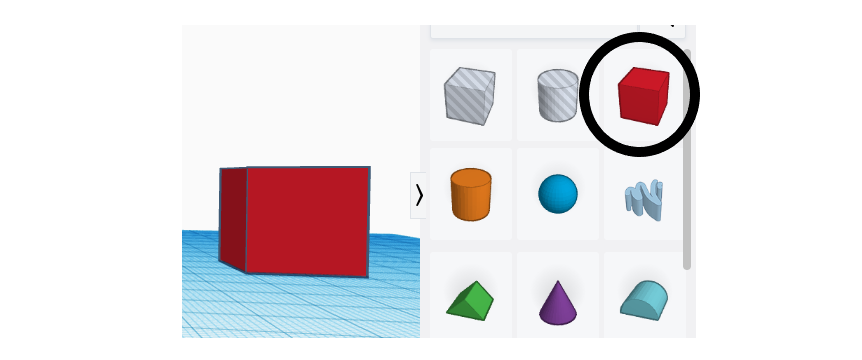
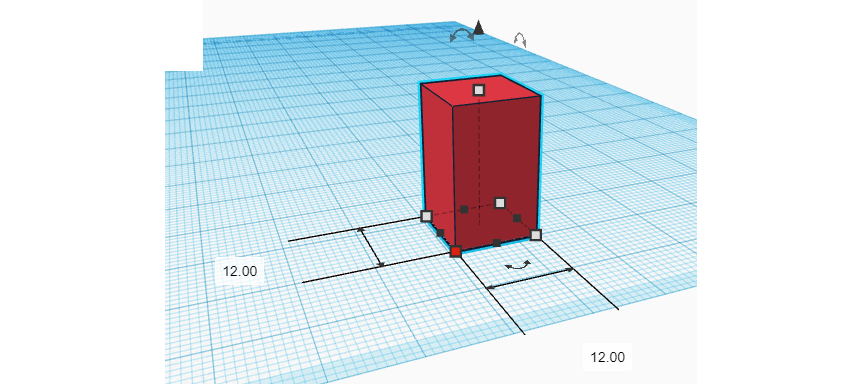
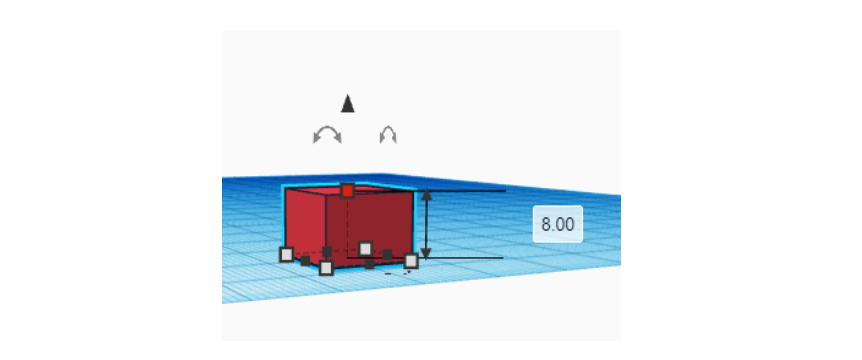
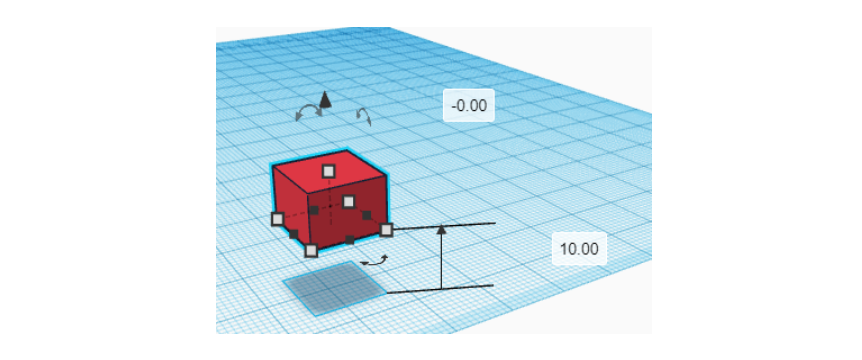
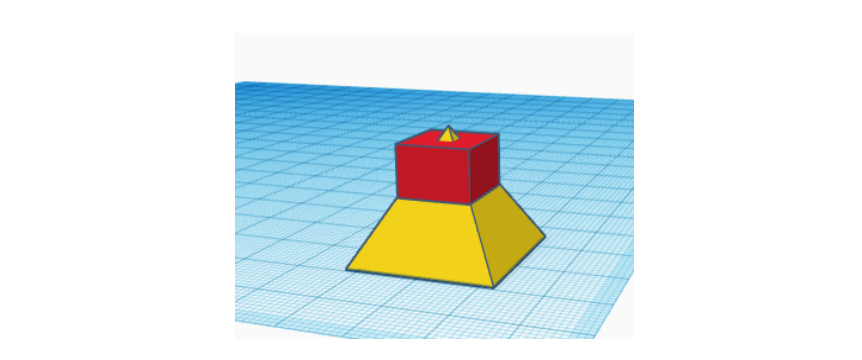
Now we're going to take a cube, then we're going to set its base side to 12 and its height to 8.
Then we're going to set it to a height of 10.
Finally, we're going to put it on the pyramid we just finished.
Take Another Pyramid
.png)
.png)
.png)
.png)
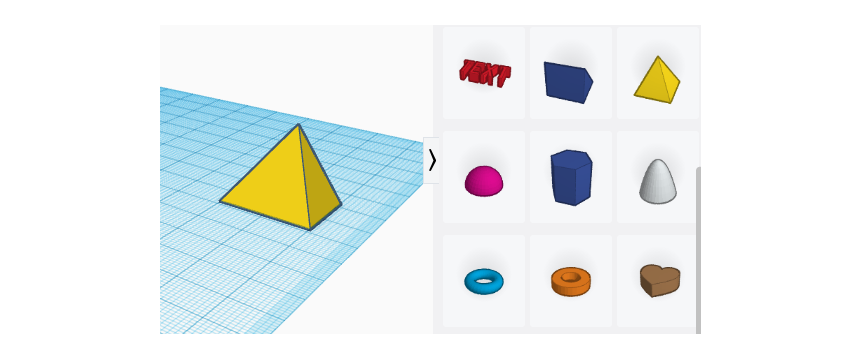
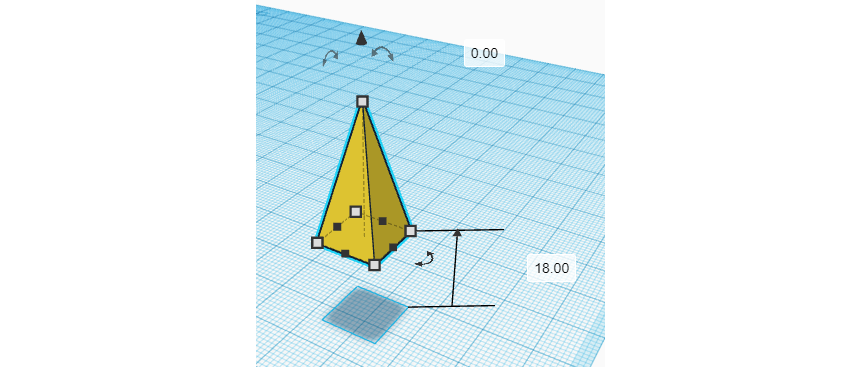
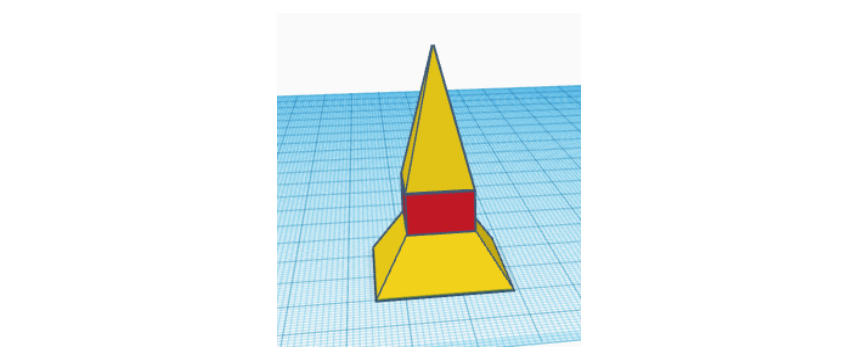
Now, we're going to take another pyramid,
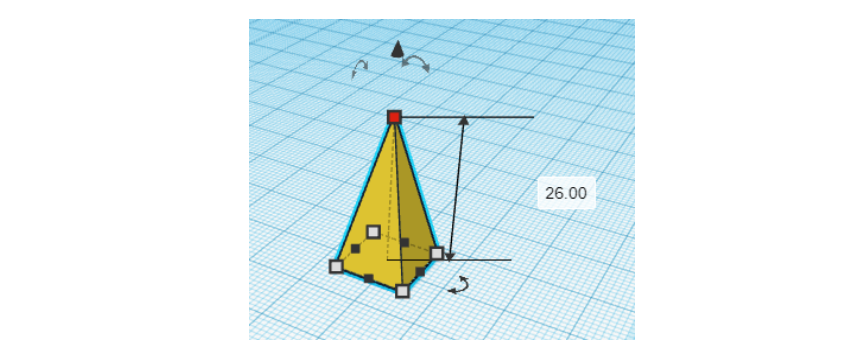
then we're going to set the side of the base at 12 and the height at 26.
Then, we're going to put it at a height of 18.
And we're going to put it on the other pyramid and the cube.
Change Colors
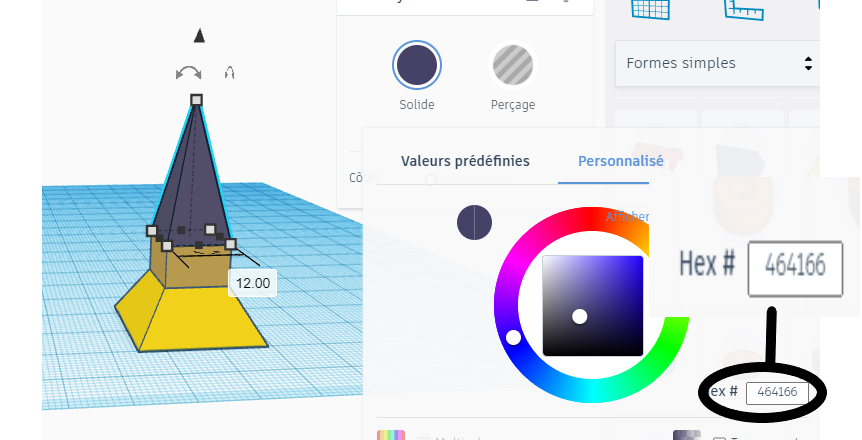
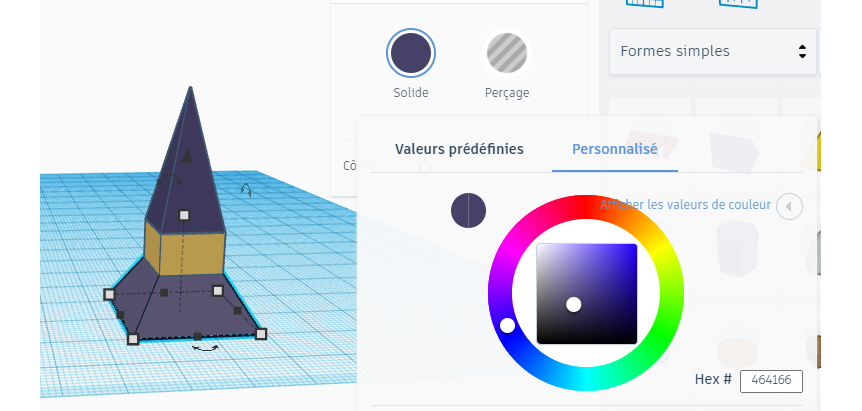
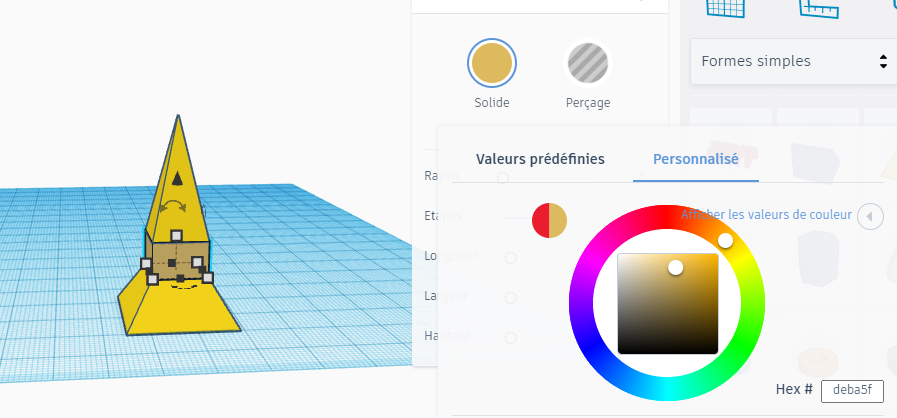
Now we are going to put them in the right color.
For the cube in the middle, we will put it in brown and for the two pyramids, we will put them in dark blue.
Do not hesitate to use the color codes so that the two pyramids have the same color.
Put Them on Top
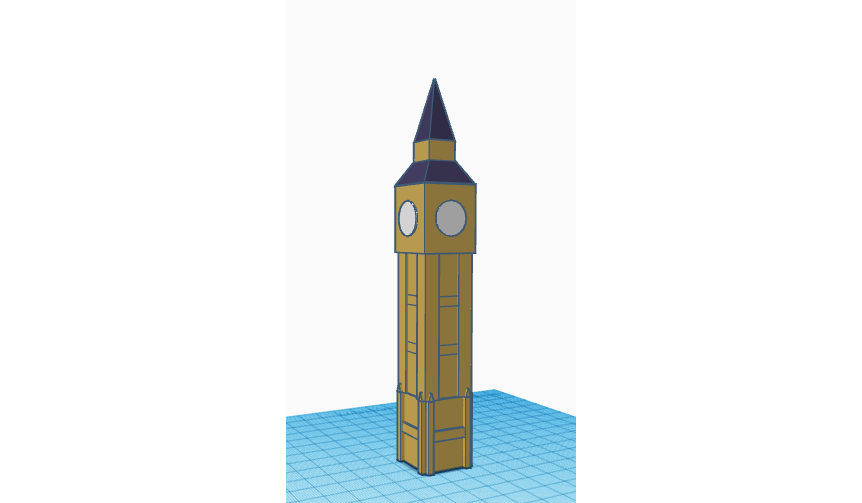
Now we're going to select everything and put it on top of the tower.
Nope! it's not over yet. Don't worry, all you have to do is make the hands to tell the time.
Take Cones.
.png)
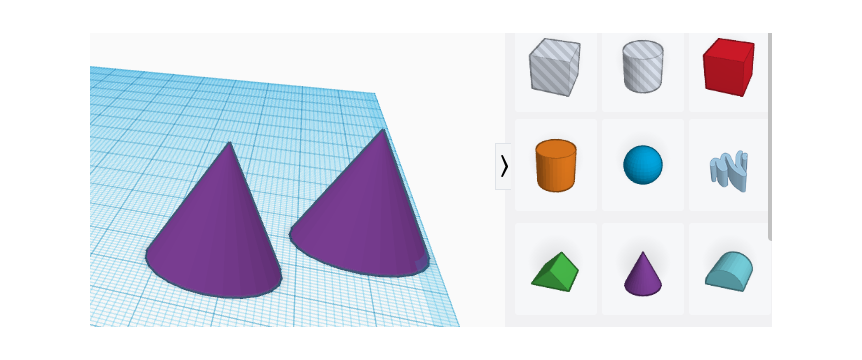
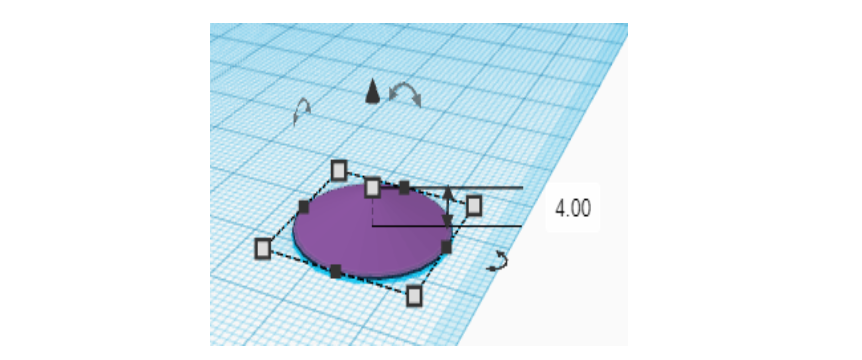
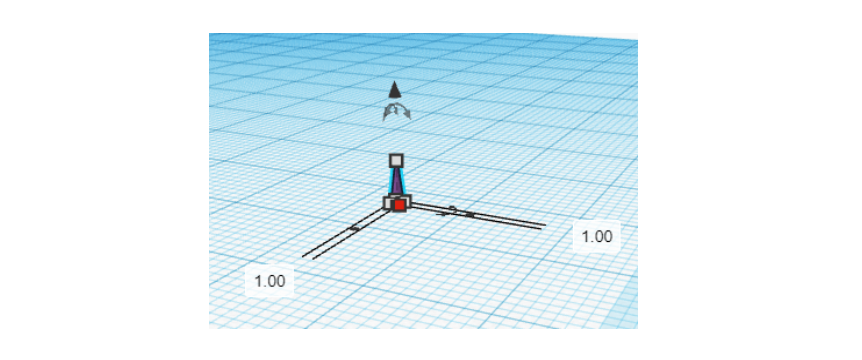
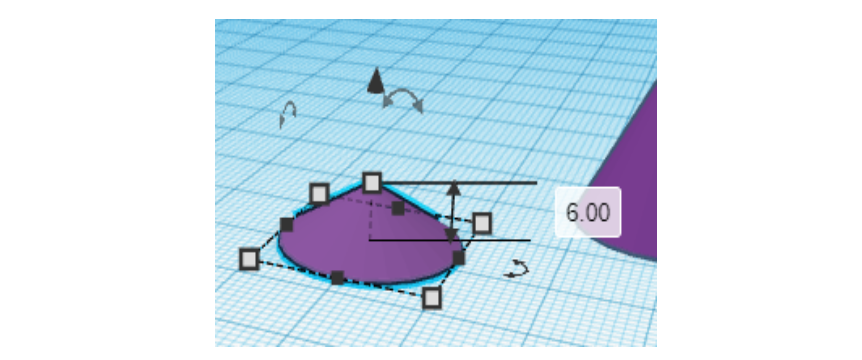
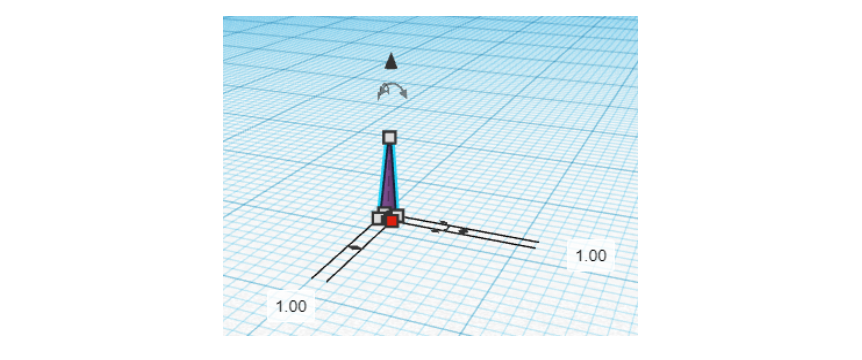
To make the needles, we will take 2 cones, there will be the small needle and the large needle.
So, the small needle, we will give it a height of 4 and a base diameter of 1.
And for the big needle, we will give it a height of 6 and a base diameter of 1 too.
Raise the Cones.
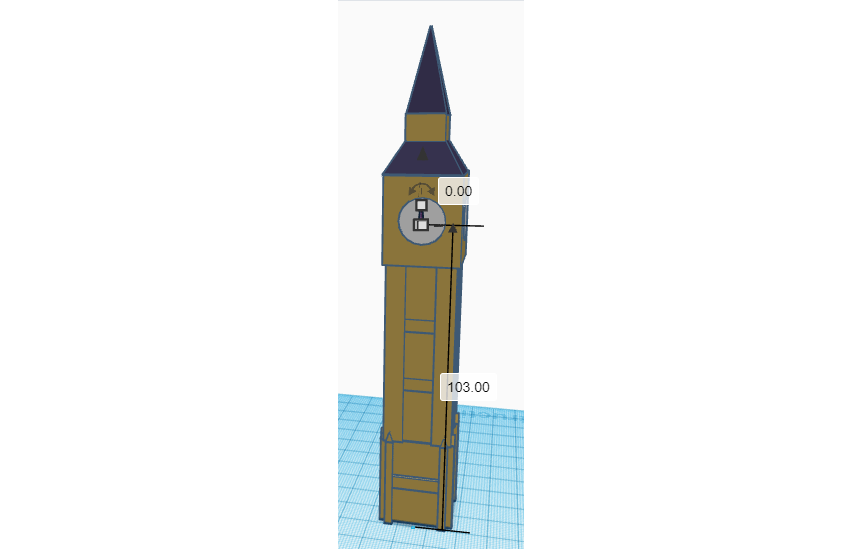
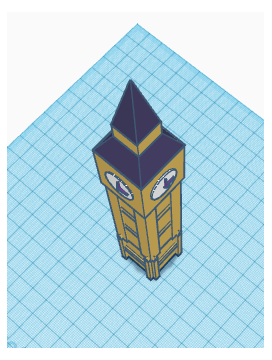
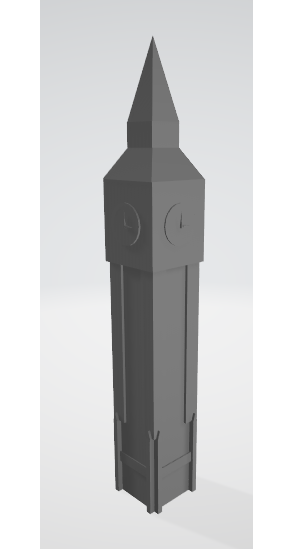
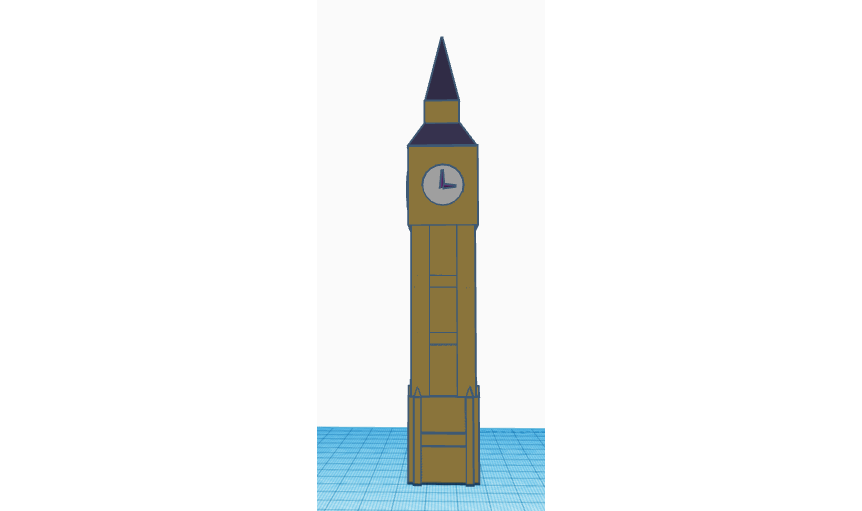
For the hands, I don't have an exact number to give you since it depends on the time you want to display, but in any case, the height of the hands will be around 103.
For example, if you put them at a height of 103, it will be 12:00.
You can also turn the needles to give something else.
Here we have finished our tower.
I put you some pictures of the finished tower on the pictures.
Thank you for looking at the project and see you soon for other 3D projects!