Make for Everyone: Elementary "Make It Real" Design Slam
by Tinkercad for Education in Teachers > Science
10811 Views, 44 Favorites, 0 Comments
Make for Everyone: Elementary "Make It Real" Design Slam
This has been written by Autodesk Tinkercad as a teacher-led resource to support New England educators in entering the "Autodesk Make It Real" contest with their students; however, anyone may use this resource to kickstart design thinking in their classroom through this fun, technical challenge that encourages young people to identify problems of importance to them and to work together to create solutions.
Recommended grades: K-5 (Middle school challenge | High school challenge)
Skills taught:
- Apply design thinking methods to a real-world problem.
- Practice design and technical skills in a fun and nurturing environment.
- Develop an entrepreneurial mindset in communicating ideas.
Lesson overview: Design Slams are a challenge of creativity, skill, and presentation. They introduce the design thinking process by creating a fun environment for participants to look at problems differently and pursue solutions based on quick decision-making. Regardless of their skill level, participants have the opportunity to apply their design- and critical- thinking skills and pitch their ideas in a visible gathering that promotes youth leadership, industry and community involvement, and innovation. In this Design Slam, students will compete to create the best design that promotes inclusivity and community in the built environment.
Estimated instructional time: 5-10 hours
Supplies
- Slideshow
- Shared folder of instructional resources
- Computers, internet, Tinkercad (a free, easy-to-use, web-based 3D CAD design tool)
- Optional: computer mice; craft supplies
Pose the Challenge

Being excluded is one of the worst feelings ever! Not getting an invitation to a party, or being left out of a game is something almost everyone has encountered at least once. You might launch this challenge by engaging students in a conversation about remembering times when they didn't feel included.
Recognize exclusion
In addition to the memory and the feelings associated, you might then encourage students to discuss any "barriers" they encountered during the experience that may have contributed to the feeling of being excluded. How could they re-design the experience so that these barriers would be eliminated, or better yet, how might the barriers be transformed into new ways of entry? Designing for people with permanent disabilities, for example, actually results in designs that benefit people universally.
Introduce the design prompt
Here is a slideshow you may use to introduce the prompt:
"How might we redesign our public spaces to encourage inclusivity and foster community? Create a model that illustrates your design. Develop a pitch that tells the story of how your design solves a problem for a user group in a new way."
Brainstorm a list of public places
What are some public places that could be redesigned to work better for everyone? Here are some ideas:
- playgrounds
- parks
- town centers
- classrooms
- school cafeterias
- community gardens
- sports stadiums
- libraries
- hospitals
- under-utilized spaces like sidewalks and hallways

Provide some context and inspiration
Introduce your students to football star, James Develin, through showing students the film at the top of this step. James got his degree in mechanical engineering and is passionate about getting more students involved in design and making. His story includes how he overcame challenges to find inspiration to make anything.
Other potential sparks include:
- Humankind: a design firm in the Netherlands that uses a novel approach to making social impact through reimagining the built environment
- Martin Richard Park: with its many inventive structures is an inclusive play space offering opportunities for children of all abilities to experience discovery and exploration
- NBA sensory rooms: a "sensory room" was designed for children with autism spectrum disorder and other intellectual and developmental disabilities at Salt Lake City's Vivint Smart Home Arena, home of the Utah Jazz
- "Children are Citizens" project: an initiative led by children on how to make cities more fair, safe, and livable
- A Doll for Everyone: why Mattel is releasing its first gender-neutral doll
- Dream Networks: co-designs play areas with schools, businesses, and communities with the hope to enable equal rights to play and to promote the idea that everyone can contribute towards engineering solutions
- EcoRise: inspires a new generation of leaders to design a sustainable future for all with curriculum and school-based programs that empower youth to tackle real-world challenges in their schools and communities by teaching sustainability, design innovation, and social entrepreneurship. You may be eligible for a free subscription. Learn more about this here.

Another easy entry point for innovation...
Recently, the Tinkercad team collaborated with Oregon Museum of Science and Industry (OMSI) to develop an interactive exhibit that engages visitors in quick design sprints around addressing global issues of social well-being.
The exhibit includes kiosk stations equipped with a custom configuration of Tinkercad allowing users to quickly and intuitively drag and drop premade 3D designs to the workplane. Using these kiosks visitors can create their ideal hangout space by selecting furniture designs included in the Tinkercad shapes menu. Not only is the task broadly appealing, but it addresses a real problem facing cities across the United States — how to design spaces where people can create stronger connections to their community. More info about this exhibit can be found here.
Luckily you don’t need to book a trip to Portland to tinker with the 3D furnishing designs used for the exhibit, (although you should totally check it out if you are visiting!) Under the main shapes menu in Tinkercad you’ll now find a selection for OMSI Hangout Space.

Designed by Autodesk high school interns in Portland, the furniture in the new OMSI Hangout Space menu allows anyone to play with decorating their own virtual space. We think it’s a fun exercise for students to quickly grasp the fun and fundamentals of moving objects around the workplace while feeling personally invested in the outcome of their design.
Begin with empathy
You will likely have to spend time teaching about empathy - its meaning and how to consider “Empathy” as part of the design process. Start with having students create a user profile - a "persona" of someone who may currently be excluded from a place, whom they will refer to during the rest of the design process. They should make this persona as concrete as possible. Give the persona a name, an age, a family, friends, hobbies, etc. The more real the persona seems, the more empathy the students can project when moving on to the other aspects of the project. There are lots of approaches to teaching about empathy, such as these suggestions from Edutopia.
Pictured below is a great tool from the Design Museum Foundation for creating an empathy map with the littlest learners.

Consider the learning outcomes
This challenge is designed so that it can be adapted by you (the expert educator!) to meet the needs of your students, as well as the expectations for the subject area you teach. With this in mind, you may enhance this challenge by emphasizing certain relevant concepts or skills. For example:
- Science: Form and function
- Math: Measurement and data
- English/Literacy: Presentation of knowledge and ideas; communication, teamwork, problem solving, critical thinking, and research skills
- History/Civics: Build knowledge about the Disability Rights Movement
- Art: Use of shapes and forms, such as organic, geometric, positive, negative, and varieties of symmetry; Critical response (during student presentations)

Provide Some Training and Get Hands-on

While students may begin building their model in paper, recyclables, and other craft materials, ultimately they should also create a digital design as part of the Design Slam.
Tinkercad is a valuable resource for students to bring their ideas from mind to design in minutes. It is also a FREE, easy-to-use, browser-based creativity tool for teaching 3D design and more! (Did we mention FREE?!)
After you have provided a brief overview of Tinkercad for your students, (including a quick demo, such as the one provided in the slideshow,) let your students try out some moves through these short starter lessons. Completing all seven should take no more than 30 minutes, and once they have mastered the basics, they should be ready to begin their own creations.
If you are interested in building a stronger background in Tinkercad and its use in the classroom BEFORE facilitating this design slam yourself, here are some resources:
- Slideshow explaining Tinkercad and its use in the classroom (aligned with ISTE Standards)
- Tinkercad Teachers Webinar on Project-based Learning (featuring a demo on how to design a playground in Tinkercad)
- Tinkercad Teachers Webinar on making learning more accessible (featuring a discussion about designing for inclusivity with members of the disability community)
- Free online course for learning both Tinkercad and Fusion 360, (a professional design tool that is the "next step" for learners 13 and older after learning Tinkercad.)
Allow about an hour for brainstorming and designing in Tinkercad before you move on to the next Step. For future reference, you may also provide students with this handy guide, created by educator John Umekubo.

Students may work individually or in pairs or teams. Because one of the objectives is for learners to gain technical skills, you should try to keep teams small enough, so that everyone has a chance to get hands on with the technology.
The opportunity to reimagine the THINGS we make, and how we MAKE them is now.
Worried that your students are too young to design in Tinkercad? Read this awesome reflection by kindergarten inclusion teacher Greer McCormick.

Introduce a Design Thinking Framework
In the world of design, problem = opportunity.
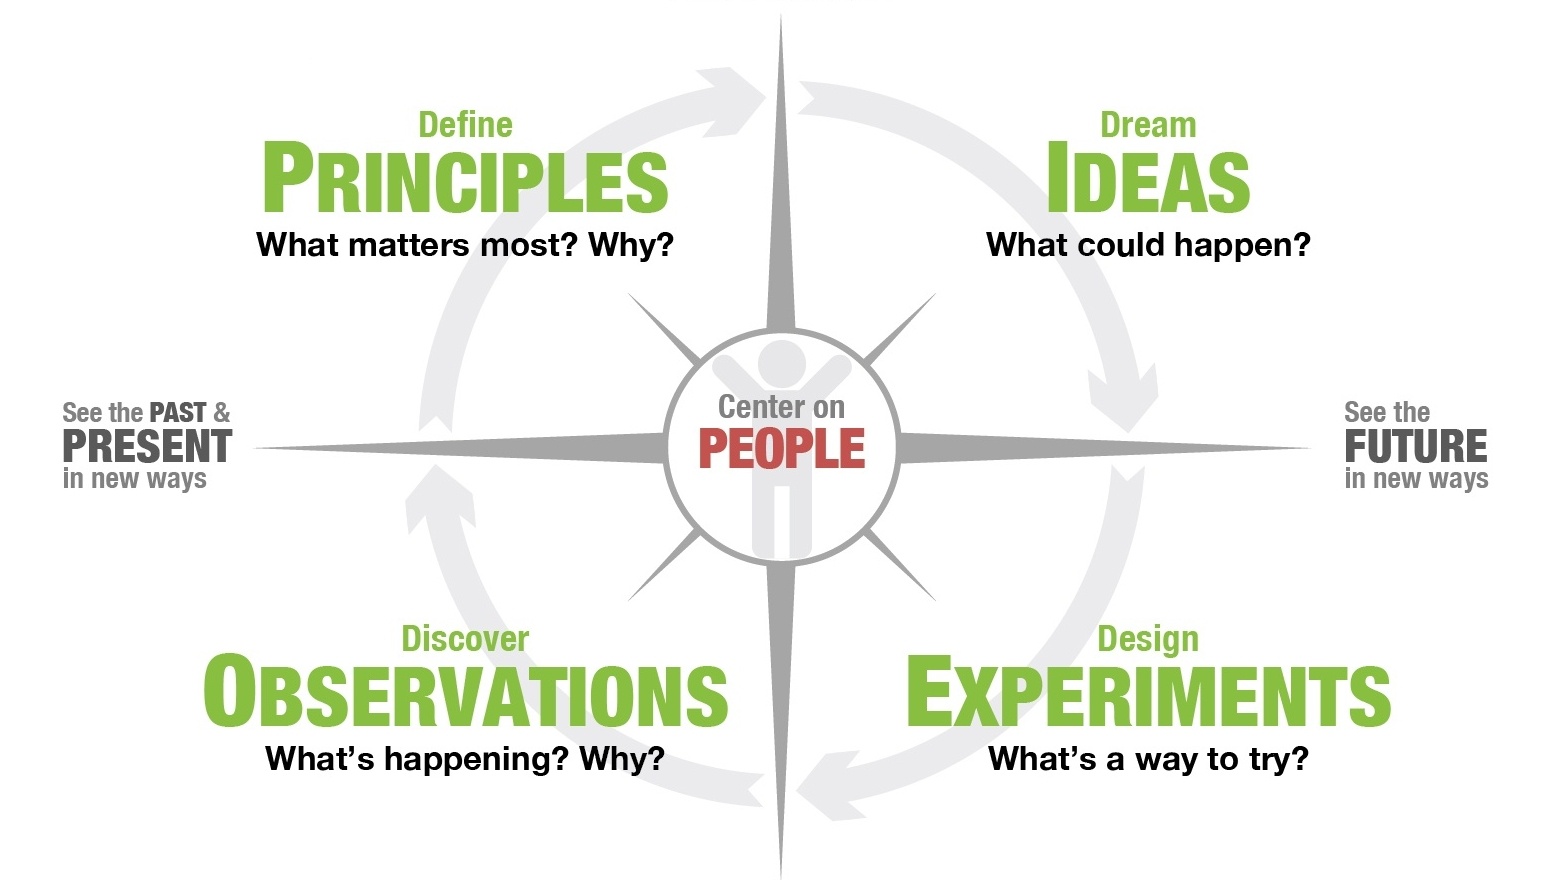
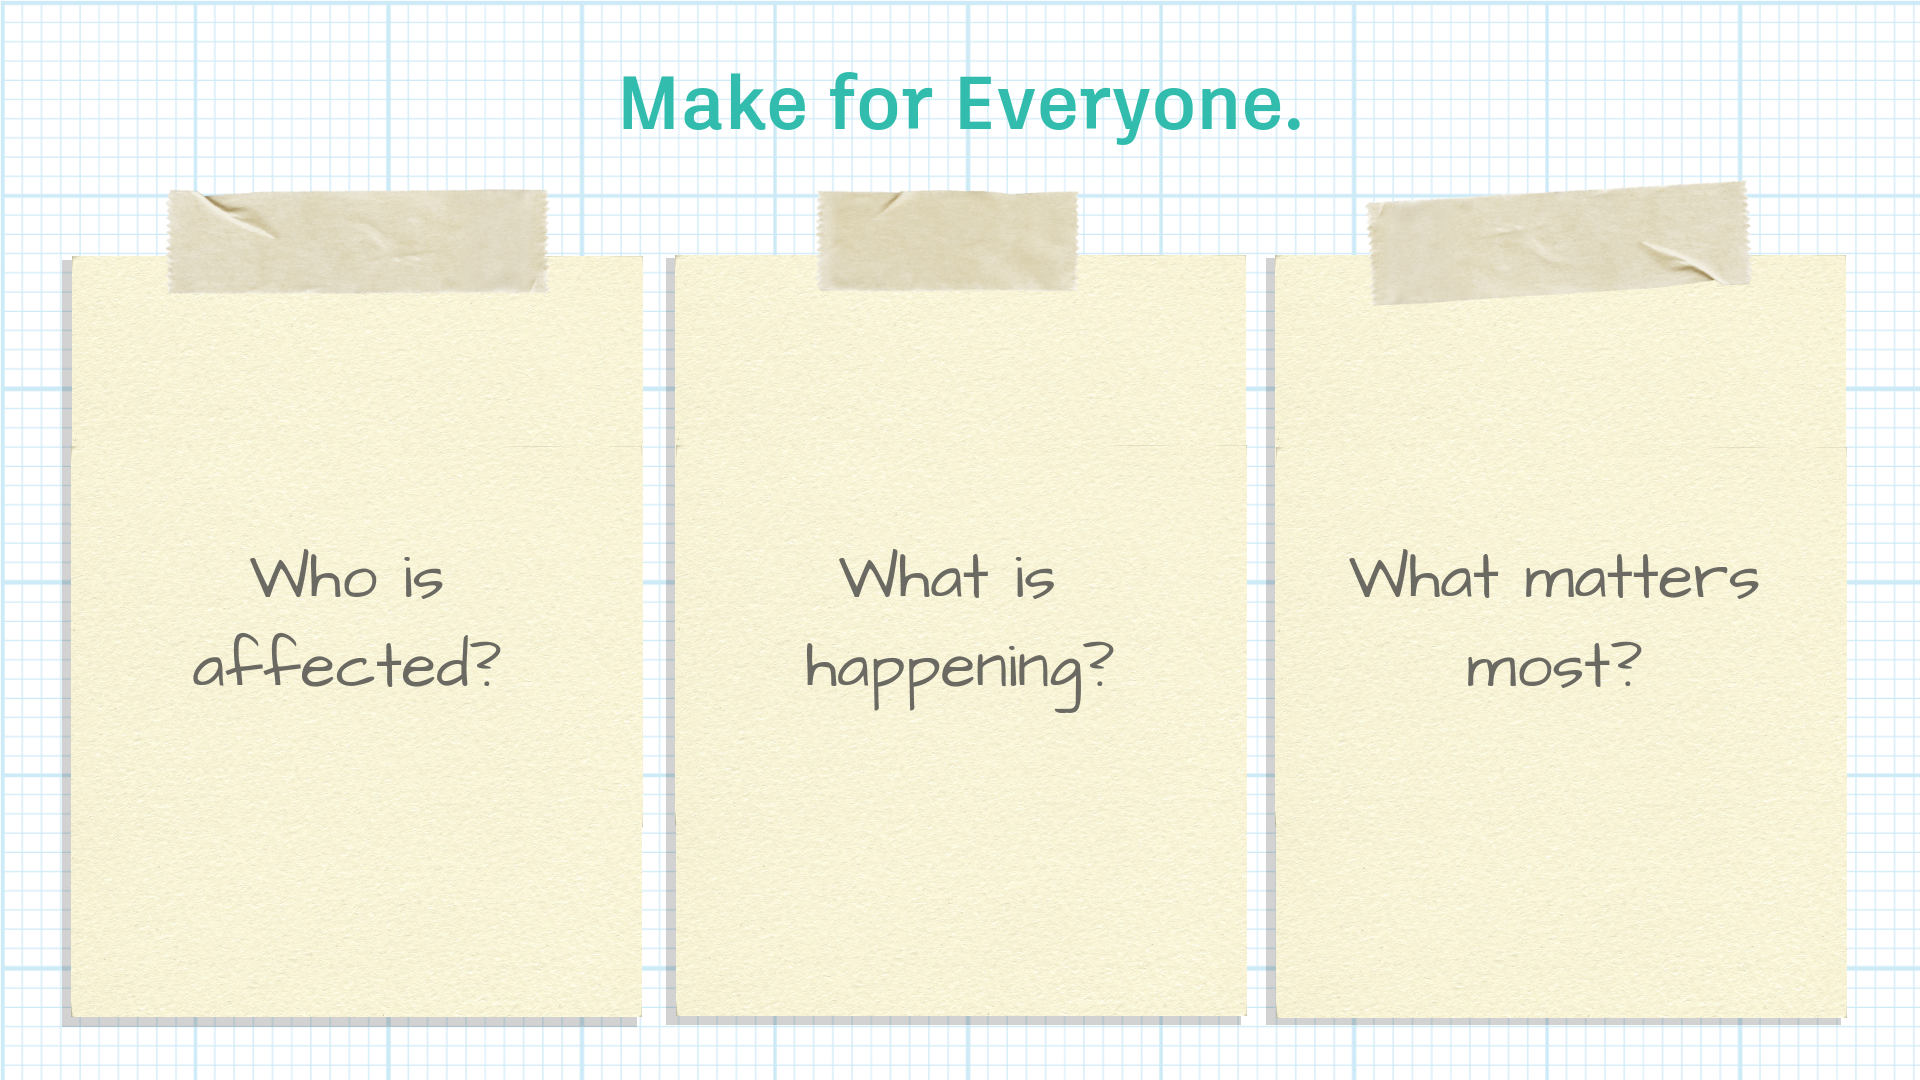
There are many different frameworks that are called "design thinking" with mostly subtle variations; the most important constant is that it has a human-centered core - meaning that the first and most critical step in the process involves empathizing with the end user of whatever it is you are designing.
After students have had a chance to generate some ideas and explore them using prototyping materials and design tools, it is now a great time to remind them about the end user and to prompt them to develop a more detailed plan for solving a problem that is relevant to the theme of this Design Slam: Make for Everyone.
The Innovator's Compass, a framework created by Ela Ben-Ur, is a highly learnable, uncomplicated approach that helps people find better ways to move forward that are grounded in the principles that matter most.
If you are interested in learning more about the principles of design thinking and its application in a school setting, this Instructable provides a deep dive.
Imagine, Design, Make
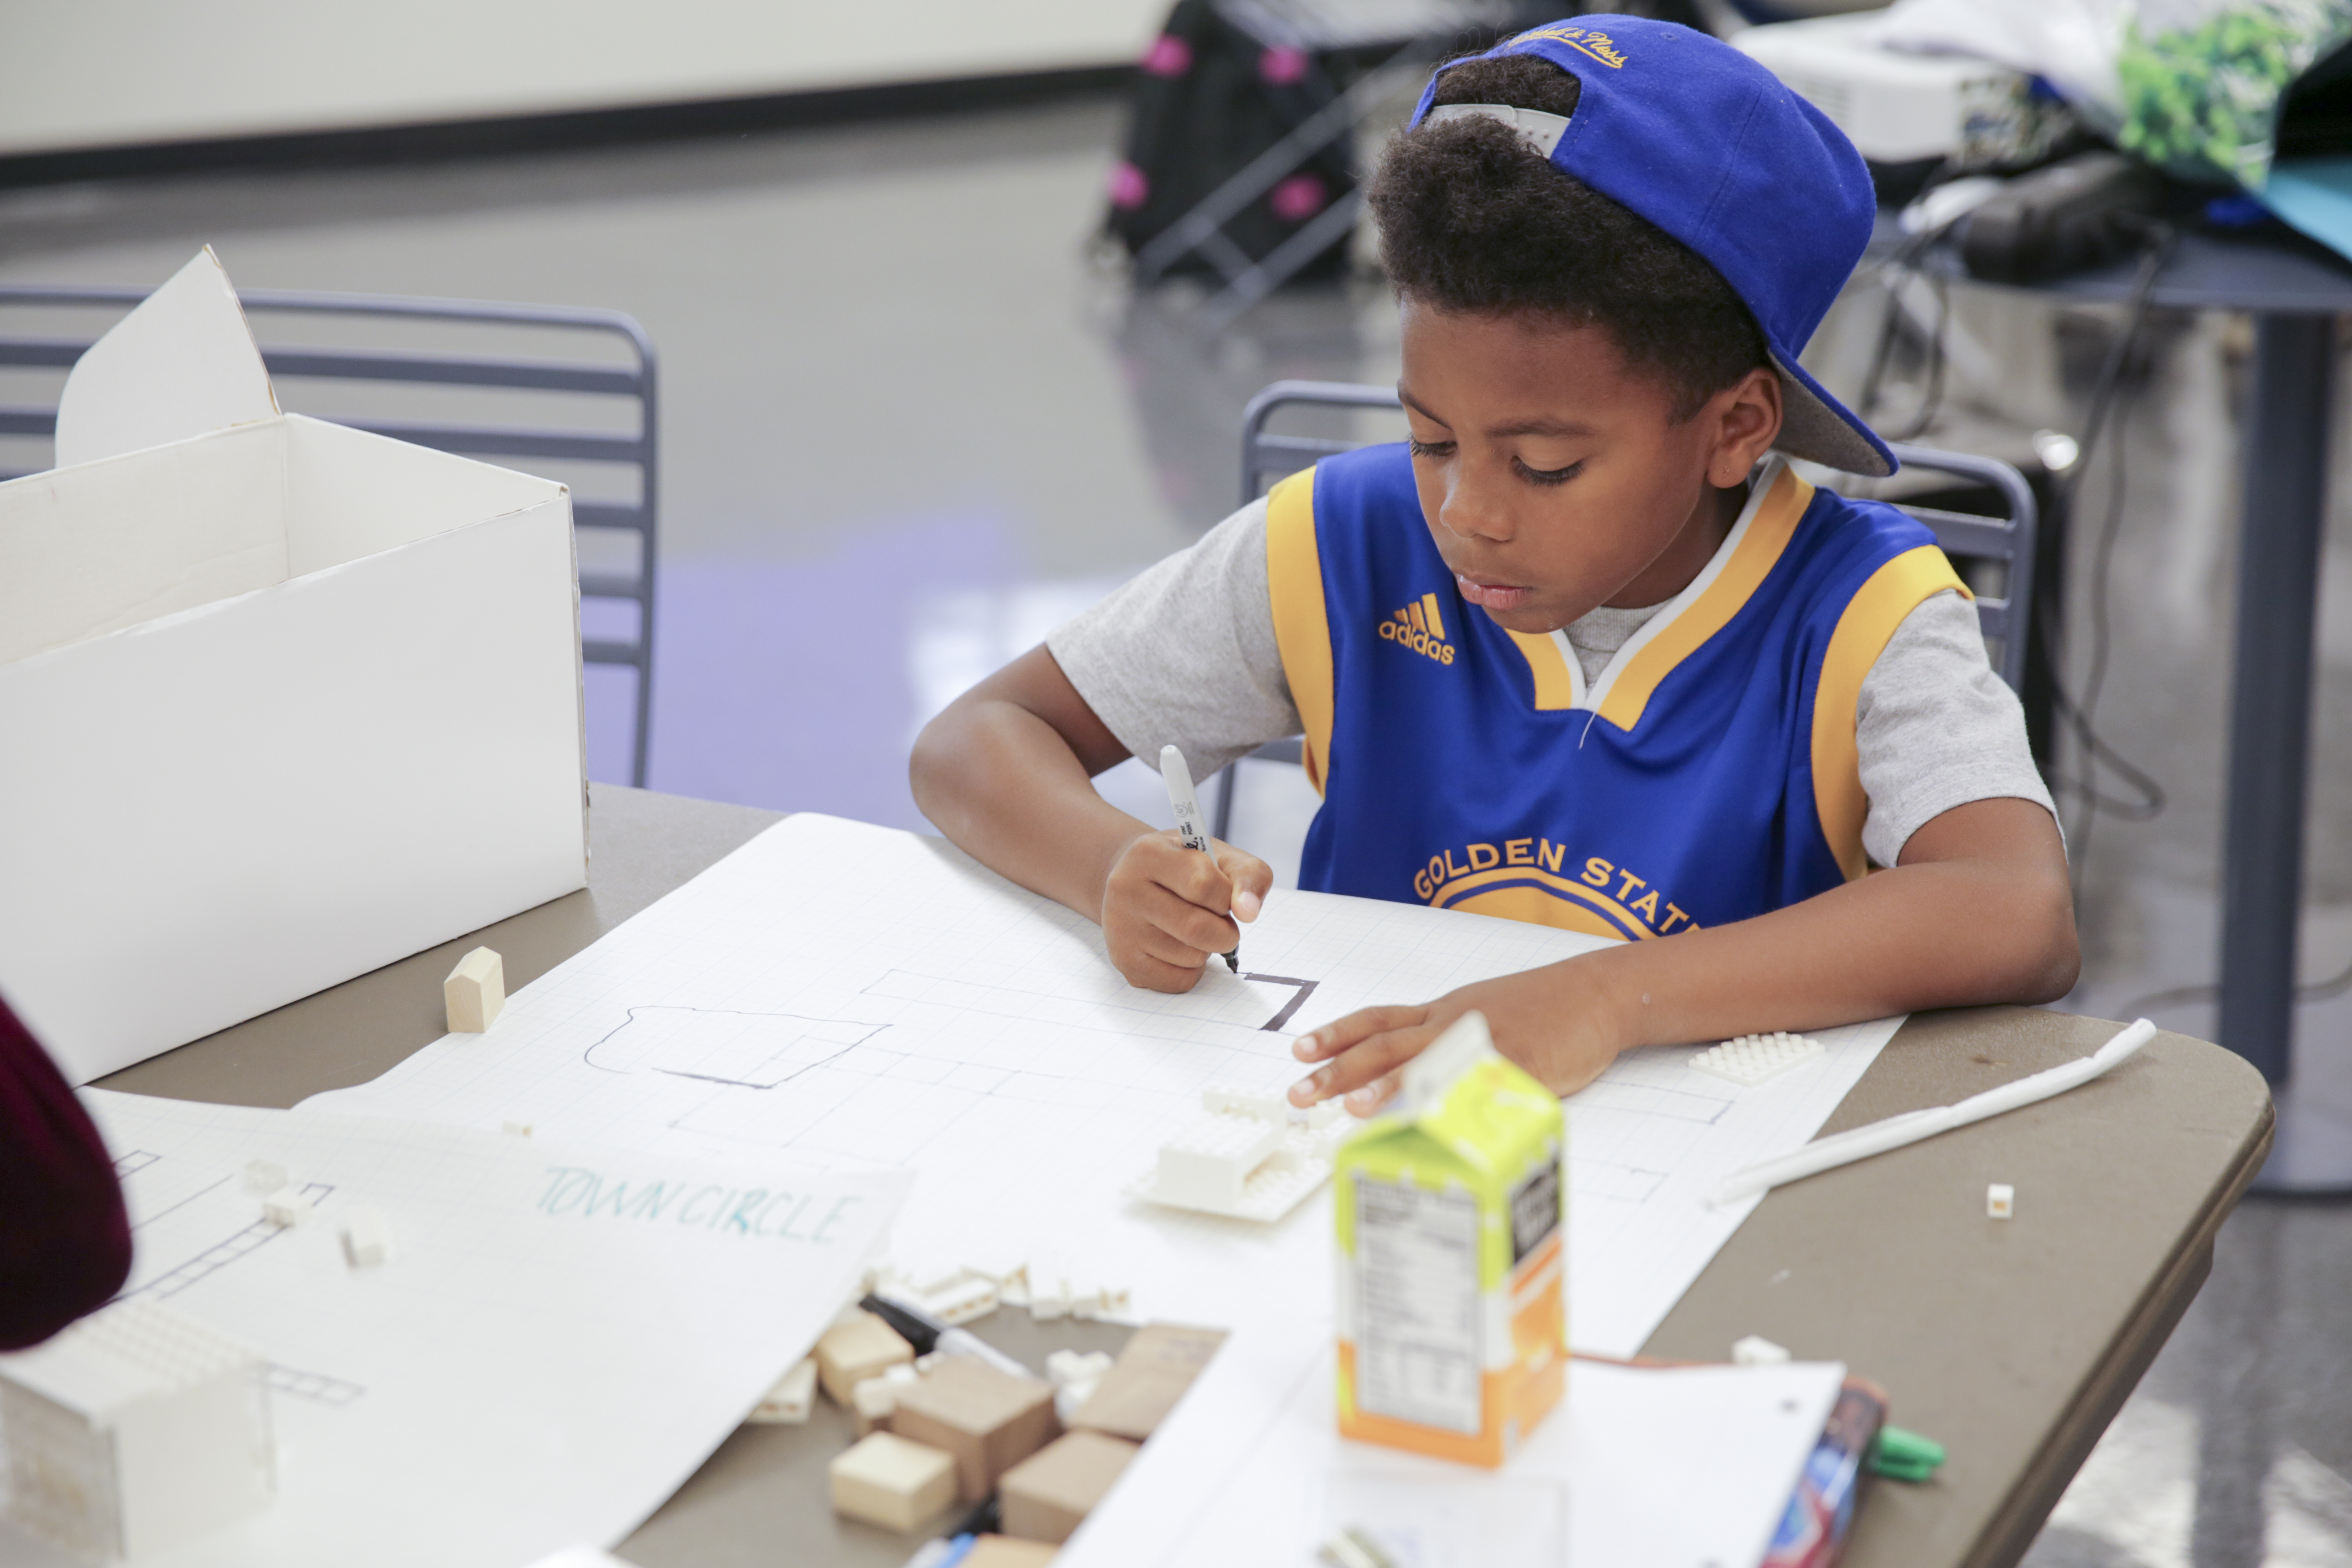
Move it. Size it. Scale it. Group it. This is a chance for your students to demonstrate 3D design literacy and show off their skills. For more information on this, here is a great resource for getting your students acting and talking like real design professionals.
In addition to technical skills, this design challenge is also meant to empower your students as innovators. Encourage them to use their imagination to challenge the status quo - to show creativity, cleverness, and simplicity in exploring form and function.
Remind them that their end product should also make an impact: Design can be a super power in addressing real-world problems. They should continuously stay grounded in the needs and goals of the end user.
When they have completed their designs, they will also be expected to tell their design story. While they are immersed in the design process, you may pause them periodically to stop and reflect: What did you learn? Why should others care? Why does your design matter? How could it make the world better?
If you are looking for ideas on how to offer constructive feedback to students on their designs, here are some great talking points for helping students think through ways of making their designs even more inclusive.
Infuse an Entrepreneurial Mindset

Kids are natural innovators.
Did you know that the popsicle, ear muffs AND the trampoline were invented by kids?
Similar to design thinking, thinking like an entrepreneur means looking at the world through the lens of opportunity. It also means failing fast and learning from mistakes, finding new ways to create value, and turning ideas into action.
As your students are wrapping up the first iteration of their designs, you should start getting them ready to share their ideas with a wider audience. Most good entrepreneurial pitches include a value proposition.
A value proposition* should aim to:
- Acknowledge the problem and pains felt by your target audience
- Show an understanding of their needs and hopes
- Quantify the benefits of your product
- Highlight the difference between your solution and the status quo
Depending on the ages or ability levels of your students, you might have your students create a poster or prepare a slideshow that expresses the value of their design and tells the story of their process. This should also include calling out specific features of the design.
Set the Stage for the Pitch

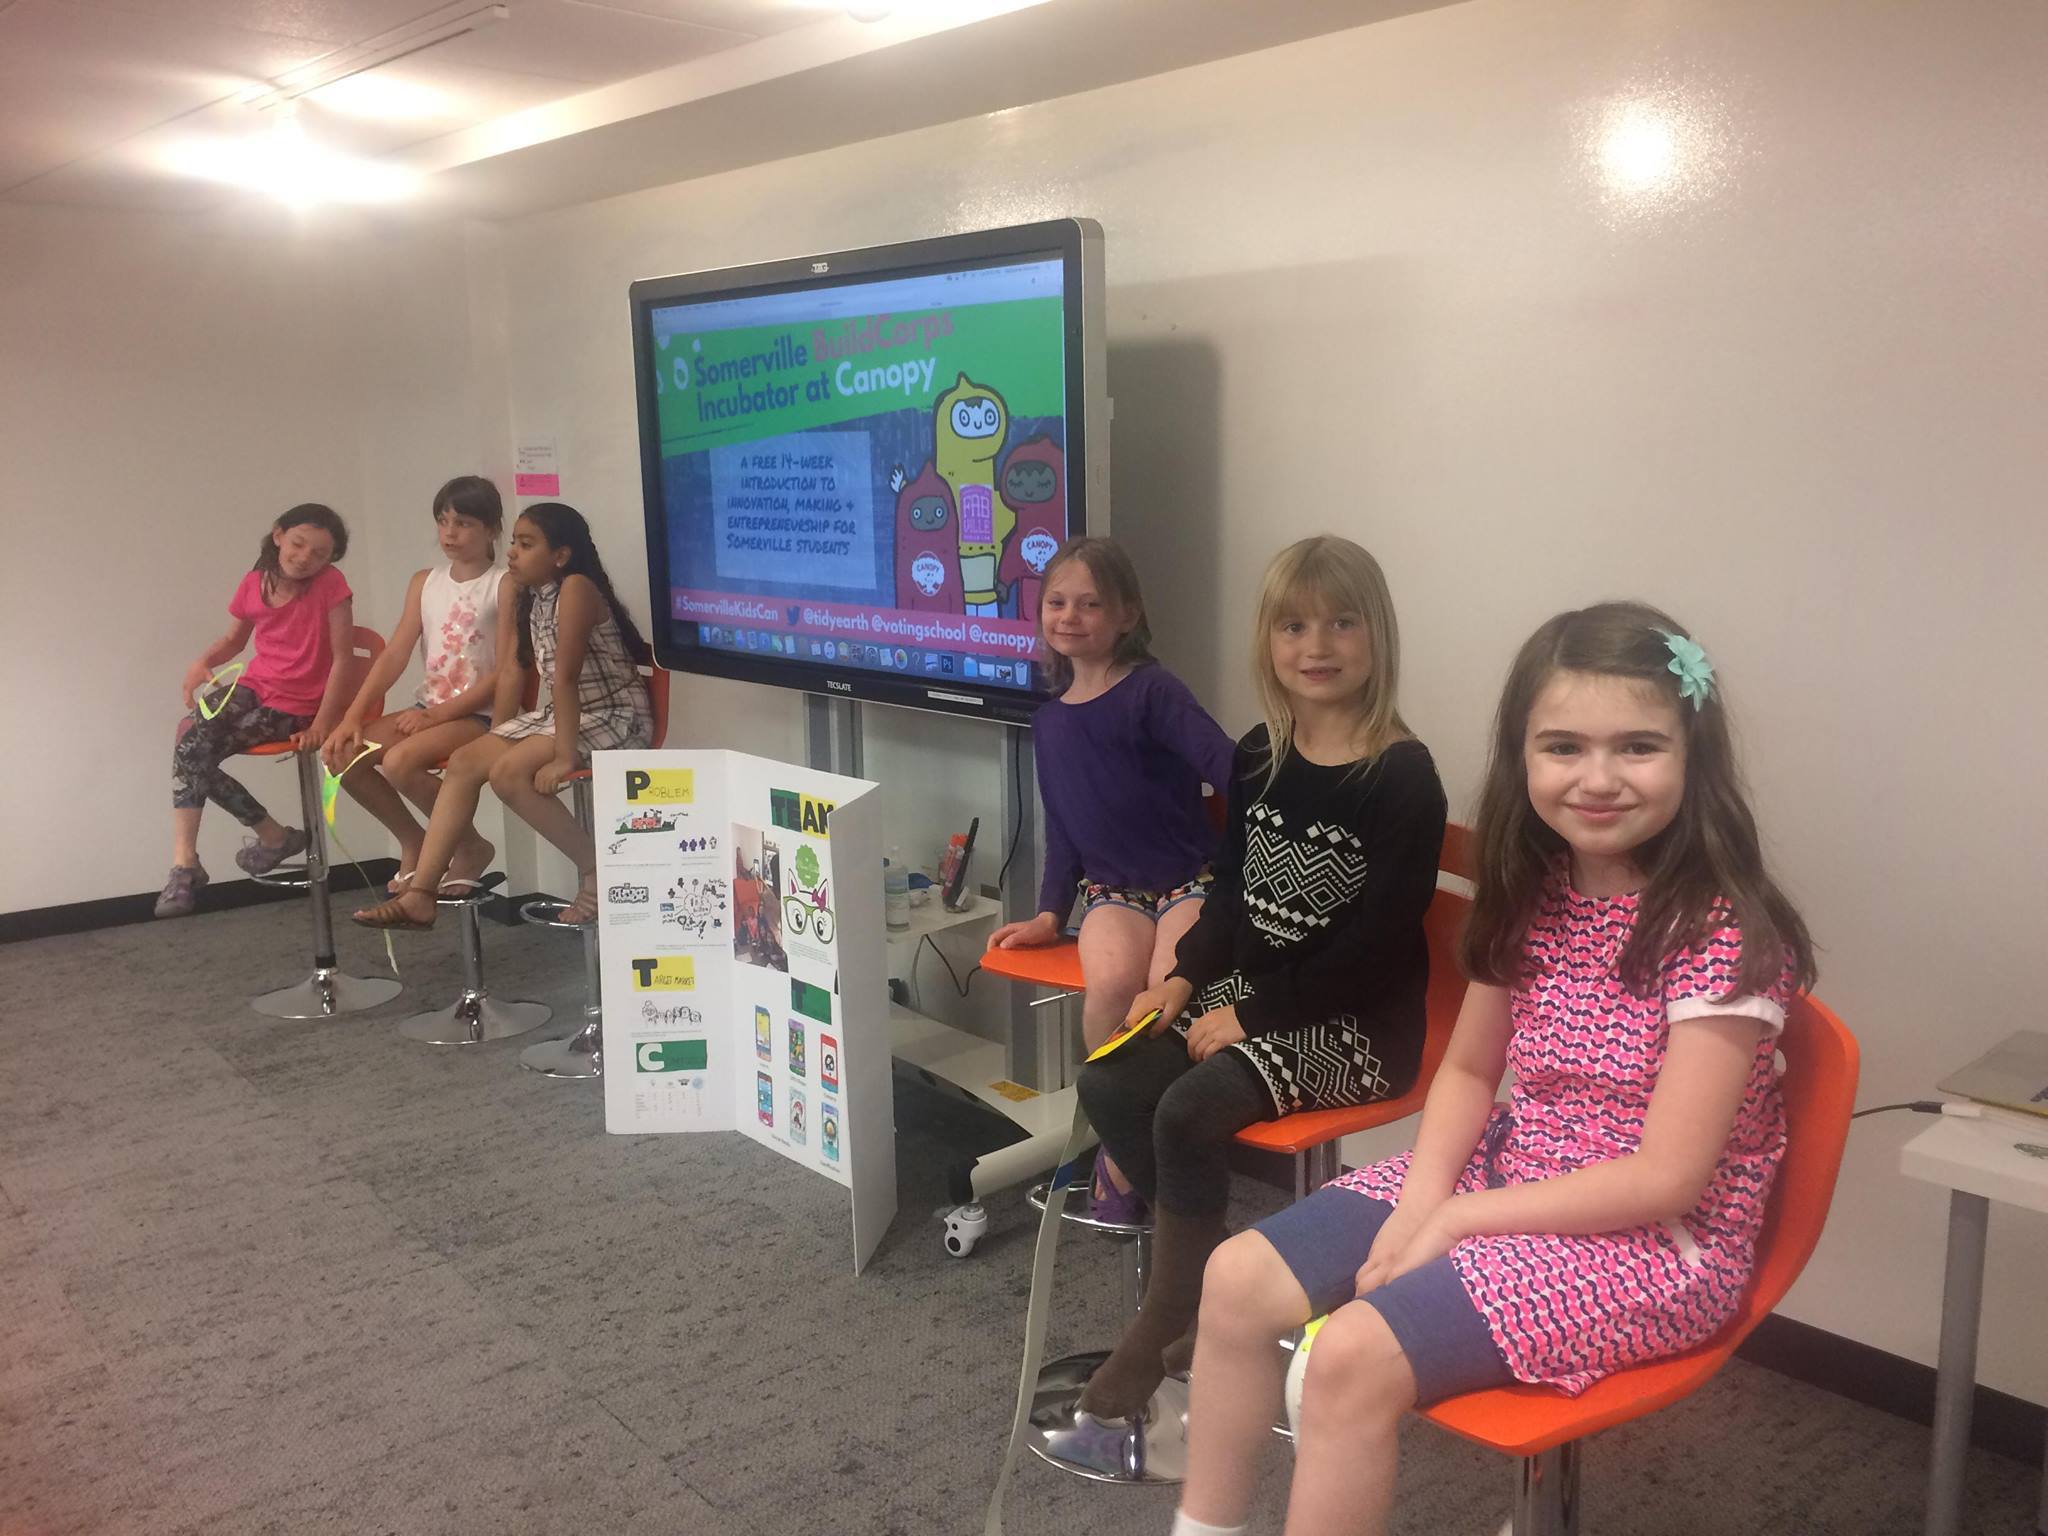
Once your students are done composing their design stories, there should be time for each team to present to the larger group for feedback and validation. If possible, it would be beneficial to also invite other stakeholders, such as students, industry and community partners, or school leaders to hear the teams' ideas and offer feedback.

If you haven't yet already, be sure to review the scoring rubric with students before they present.
Celebrate Innovative Thinking and Real-world Application
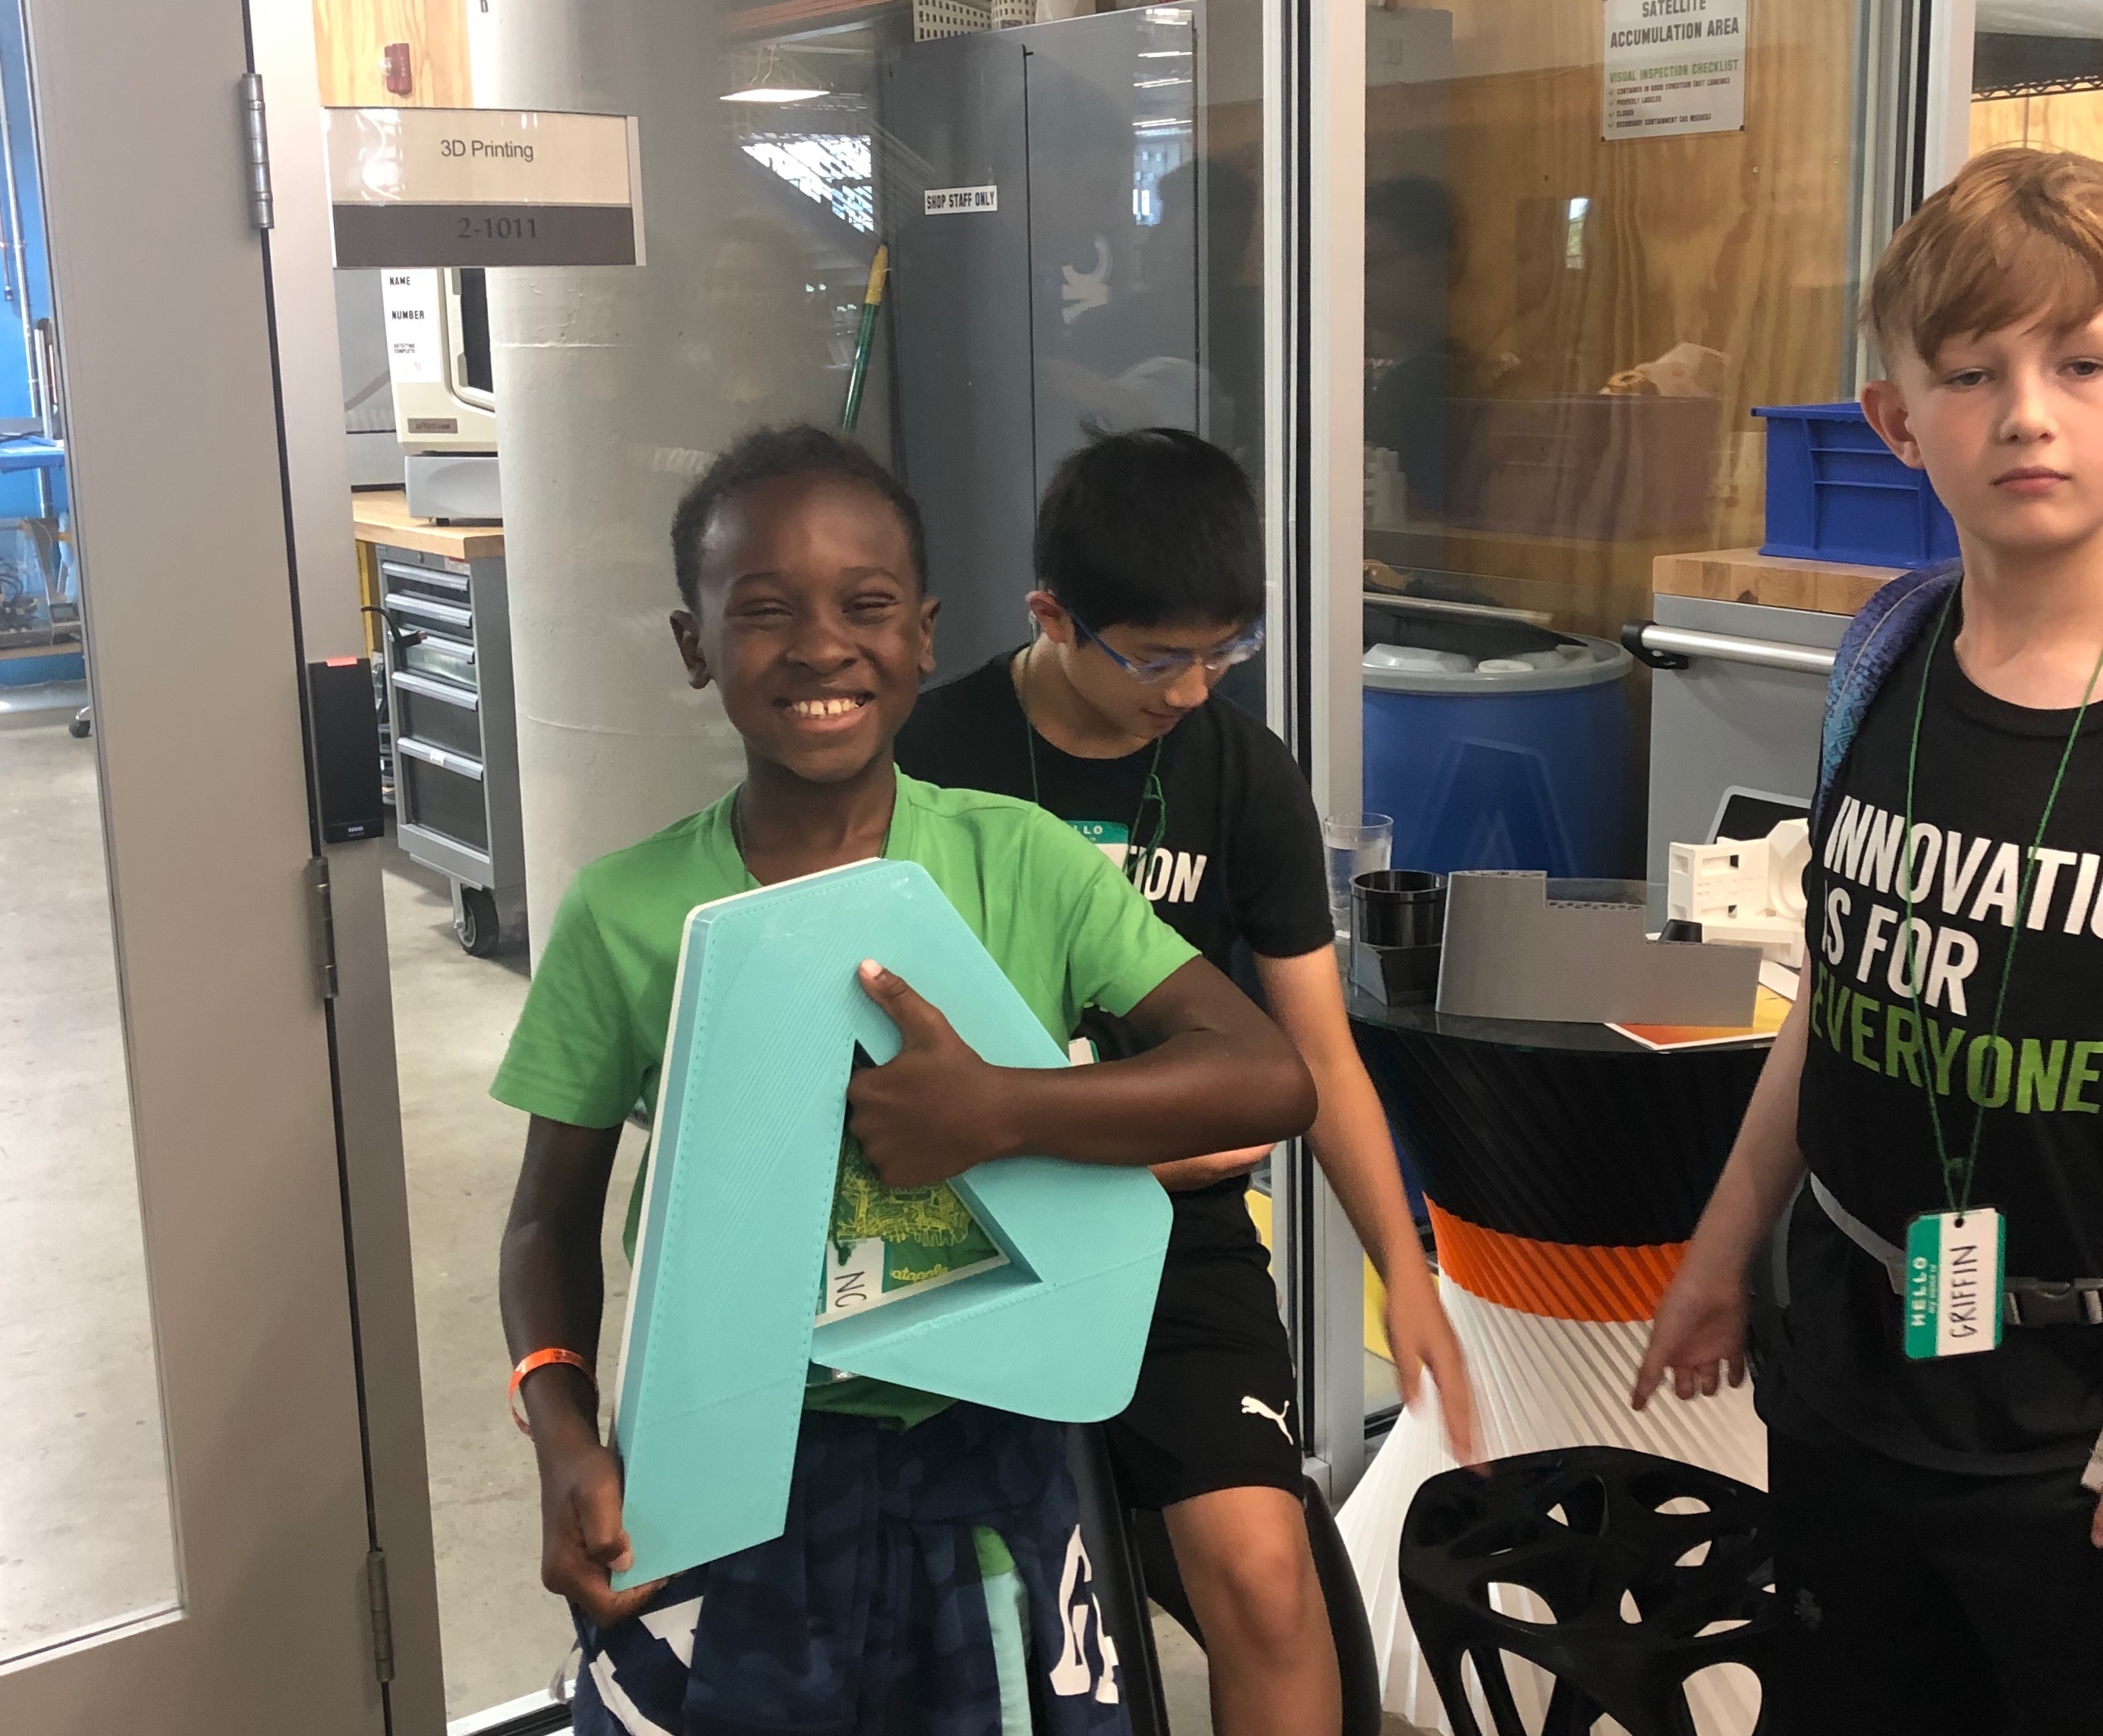
Yay! They did it! You did too. Here are some great ideas for saluting students' success.
Another way to recognize how your students have grown as a result of this design experience is to share your collective learning with others. You can even do this by adding a note to this Instructable! Teacher Notes can be added to any Instructable to show how it was used in the classroom. Educators can upload photos, lesson plans, and other resources to demonstrate their favorite ways to bring hands-on learning to their students.