Make Bitmap Image Into a Vector
by emilyshore in Workshop > CNC
7825 Views, 27 Favorites, 0 Comments
Make Bitmap Image Into a Vector


The vinyl cutter and laser cutting machines at Techshop require that your artwork is a vector image.
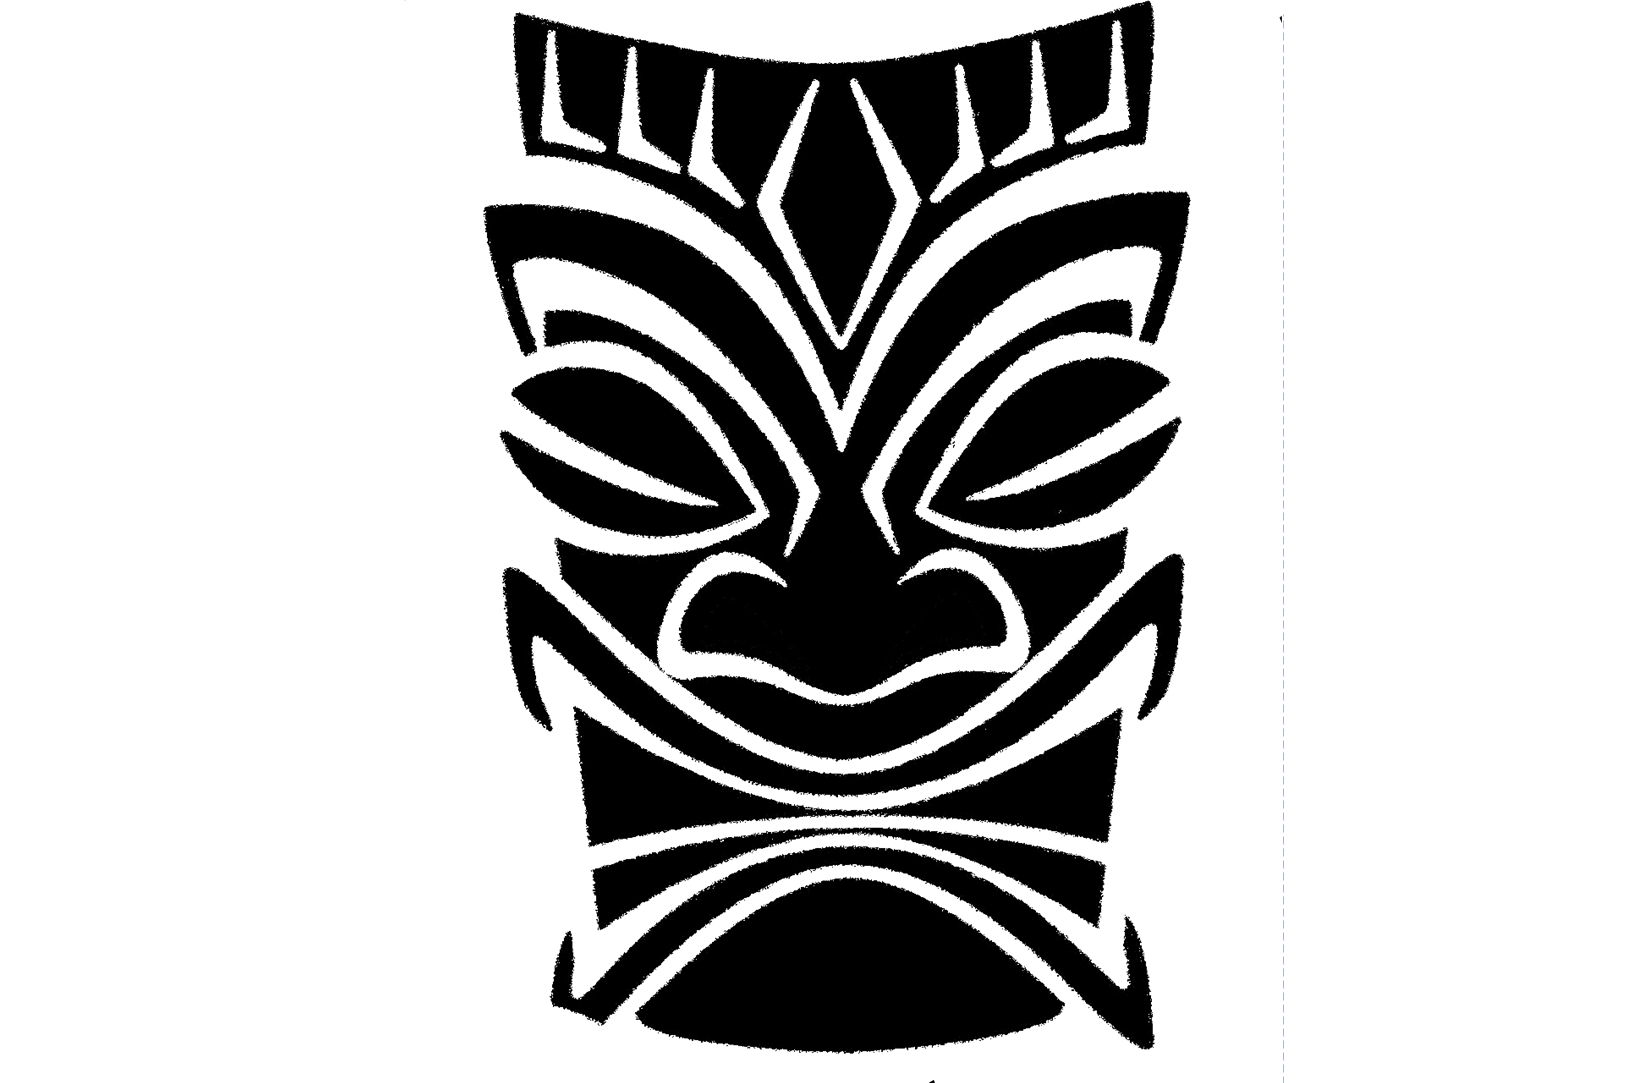
However, often what you have to base your CNC project off of is a bitmap file (also called a "raster", made of up of lots of little pixels, and commonly saved as .jpg files). For instance, you can search for an image (ex. google for "cute pet icons" or "guitar images"), drag your favorite resulting image to your desktop, and it's usually a bitmap.
I wanted to come up with a way to turn these files into vector lines that did not use Live Trace (a tool in Illustrator that makes the lines all raggedy, and often not connected which drives CNC machines crazy) or the pen tool (which requires that you diligently trace the bitmap image, and takes a learning curve in Illustrator to be good at when there are curves involved.)
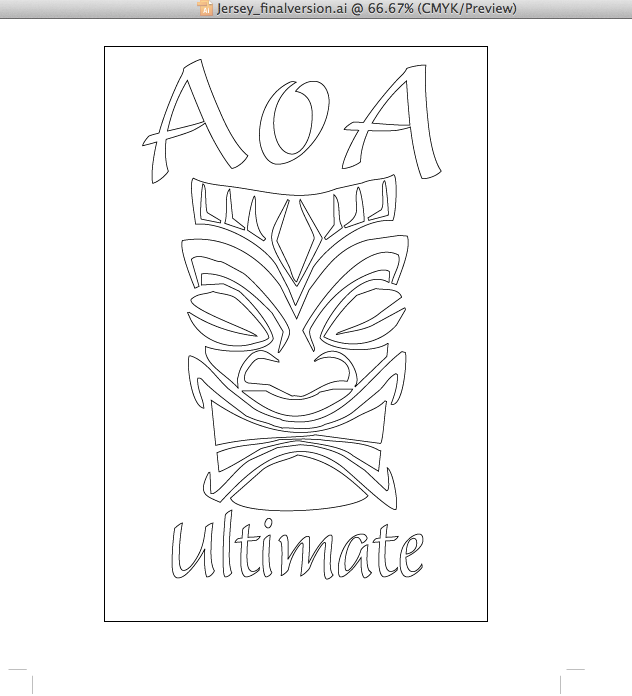
This is what I came up with...
And, I made it at Techshop SF!
What You'll Need
Adobe Photoshop & Adobe Illustrator on a computer(I used CS3)
A high contrast bitmap image.
Suggestions: Google for icons, black and white, or line drawings. Find the highest resolution possible. (The more information or pixels the better. Google will let you select for image size, so it's often best to look for larger files.) Or use a drawing of black ink on white paper. The higher the contrast, the cleaner the vectorization will be. I have an artist friend draw for me, text me the picture on my smart phone, and then work off of that. It usually works pretty well as long as the picture was taken in good light.
This Is a Video Tutorial for the Whole Thing....
Step 3: Parts of Your Bitmap Image That (maybe) Aren't Worth Vectorizing
In my example I chose not to turn the bitmap text into a vector, but instead to just redo it in Illustrator. This was because it is easier to get crisp text that way, and when I tried to do the text AND the image I had to use two different tolerances for them both to look smooth.
However, remember to "create outlines" any text you create in Illustrator. That way when you send your file to your CNC machine/driver it will work correctly even if the driver doesn't have the font you had on your computer.
Enjoy! Please share links to any projects you make with this technique!