Make an Airport in Google Earth and Fly Around
by Gravity Boy in Design > Software
19156 Views, 18 Favorites, 0 Comments
Make an Airport in Google Earth and Fly Around
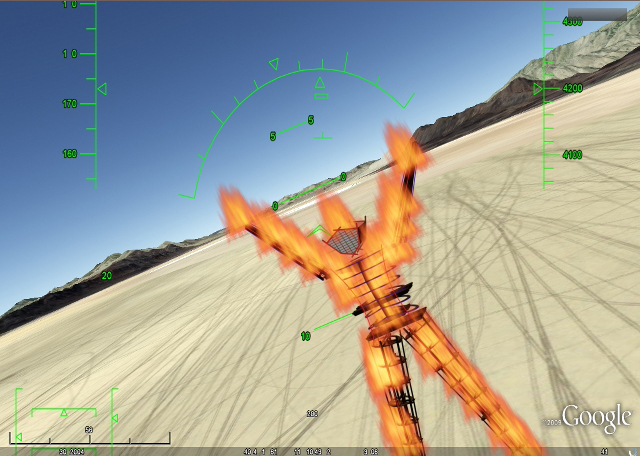
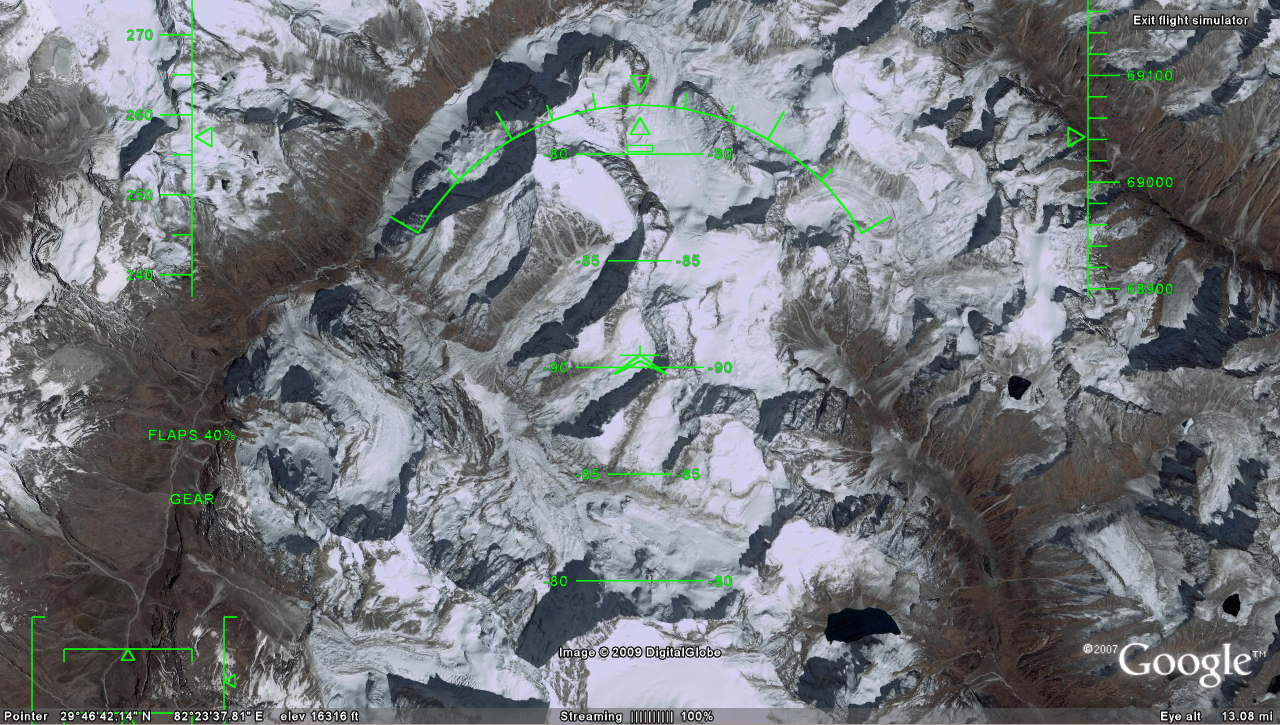
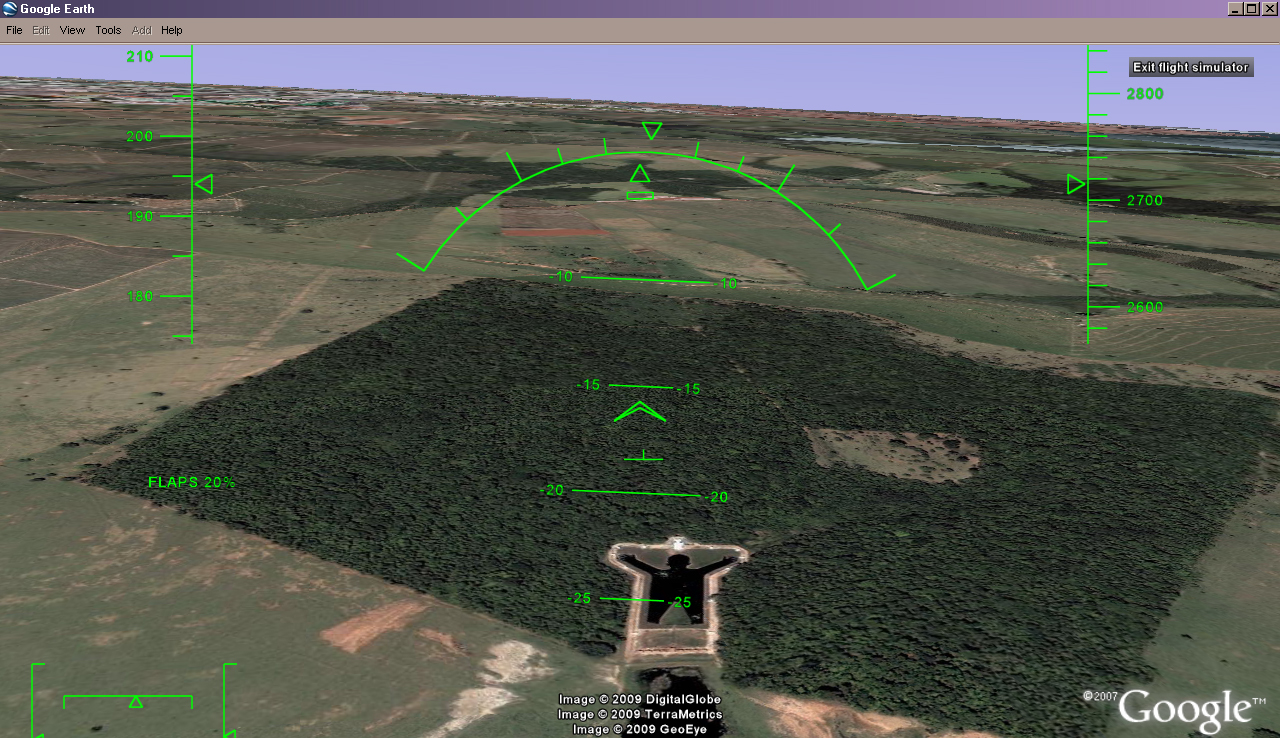
After discovering there is a hidden flight simulator in Google Earth, part of a beta test for some future online game, it was only a matter of time ( two days) before I thought about hacking the simulator on a minor scale. After doing some NOE flying and after many attempts at landing, I decided I wanted to fly around more familiar places.
This instructable will show you how you can make a new airport anywhere and takeoff from the new location. After I wrote this instructable, I decided to select the option "Current location" from the Start location in the settings panel, it kind of makes this instructable useless to anyone other than those interested in practicing takeoffs and landings in their home town.
You can also place a plane anywhere you want by going to the location first and press
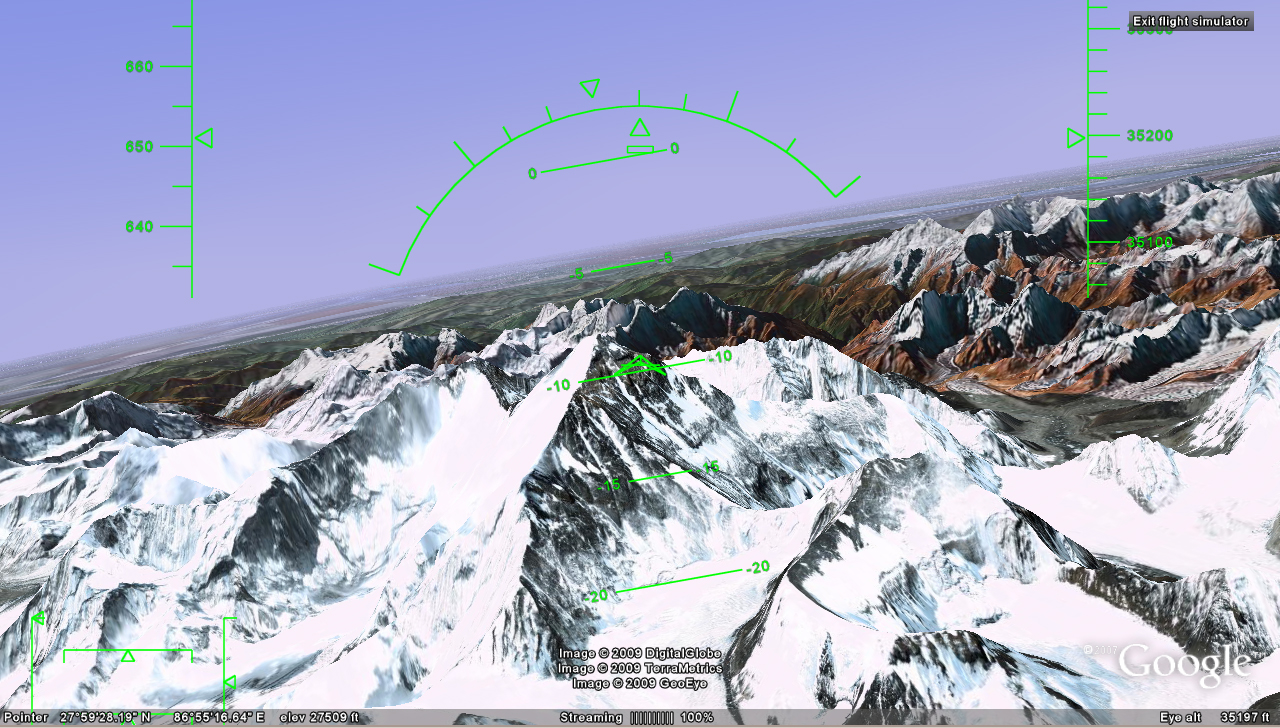
If you enter the simulator with your altitude higher than 31,500 feet or so, the plane will be in a stall, until it reaches an altitude low enough to support flight, but dropping into the atmosphere from such a high altitude is pretty cool, you can lift the nose up to see the curved horizon. The highest elevation that you can start at seems to be around 69,300.
One thing this instructable might do is to open the idea to others that we can control things we use in our lives, things that surround us, and this idea may spawn ideas in others and an understanding of the way things can be explored.
The Simulator
Discovery of the flight simulator, a not so hidden feature in Google Earth, as I was reviewing past stories in Makezine; vectored my behavior for a while. I found the instructable today written by Jare-Bear back , not really hidden yet has been hidden to this someone who has not explored all the programs options.
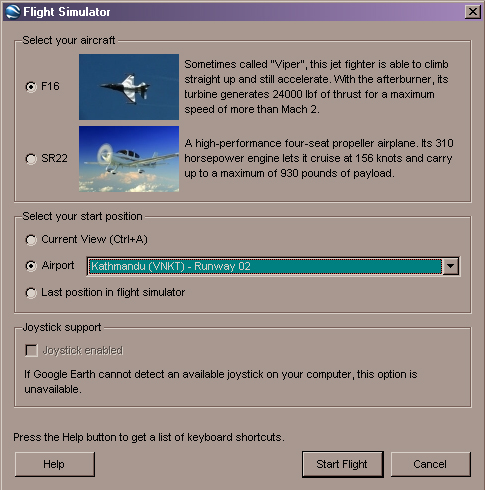
To get to the flight simulator, launch Google Earth and after the initialization press <Ctrl-alt-a>. An options window will open, where you can choose one of two aircraft and a starting location. The motion and the great realistic landscape makes this a fun simulator worth hours of squandered time.
The two choices of aircraft, being a jet fighter the F16 much faster than the SR22, takeoff speeds are understandibly different as well; so for a beginner, I would suggest the SR22 till you get the hang of the simulator. Unless of course you are like me and want to learn using the fastest.
You can put the plane anywhere on the globe by first going to the location then selecting the option of the start position to "Current View"
I have used the simulator for a short time and have been very good at limiting the wasted time... I think what day is it? I have however squandered a bit of time writing this Instructable, a choice made willingly.
For a list of keystrokes for flying in the simulator press <Ctrl-h>.
The flight simulator has a list of airports which you can fly out of, some of these are too far away from the areas I wanted to explore, trimming the plane and watching it periodically was not the way to enjoy the experience. Of course all before I realized my error of missing the radio button that solved that problem.
A Hackable File
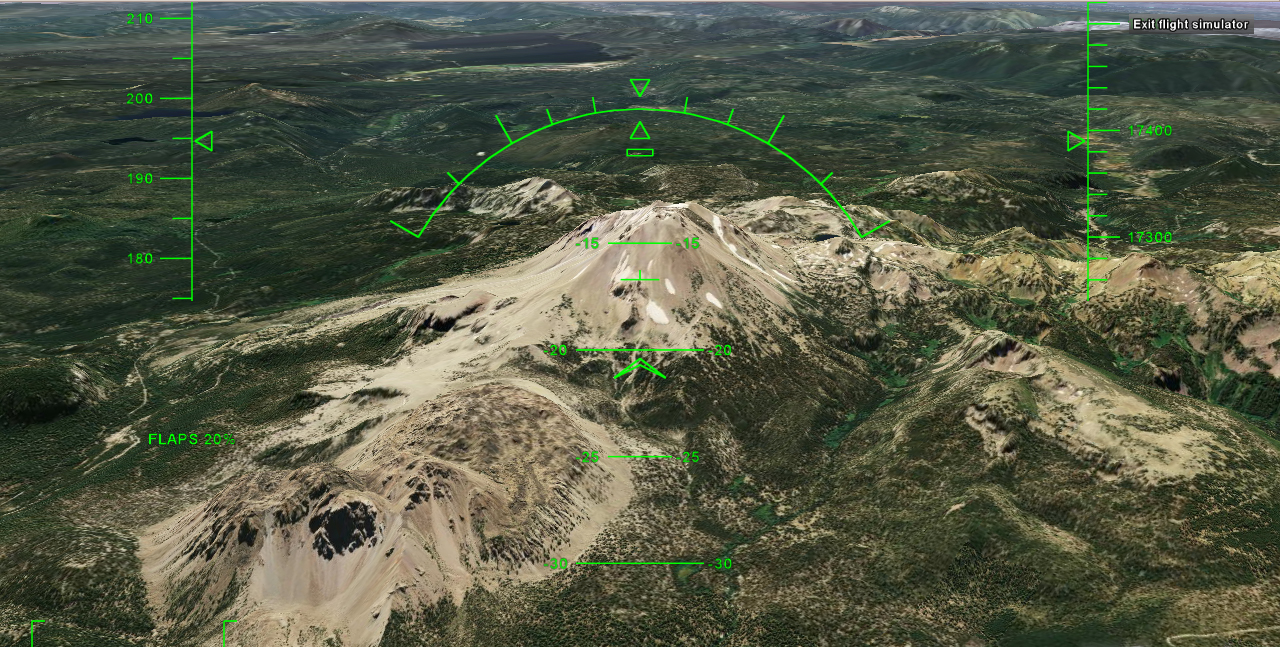
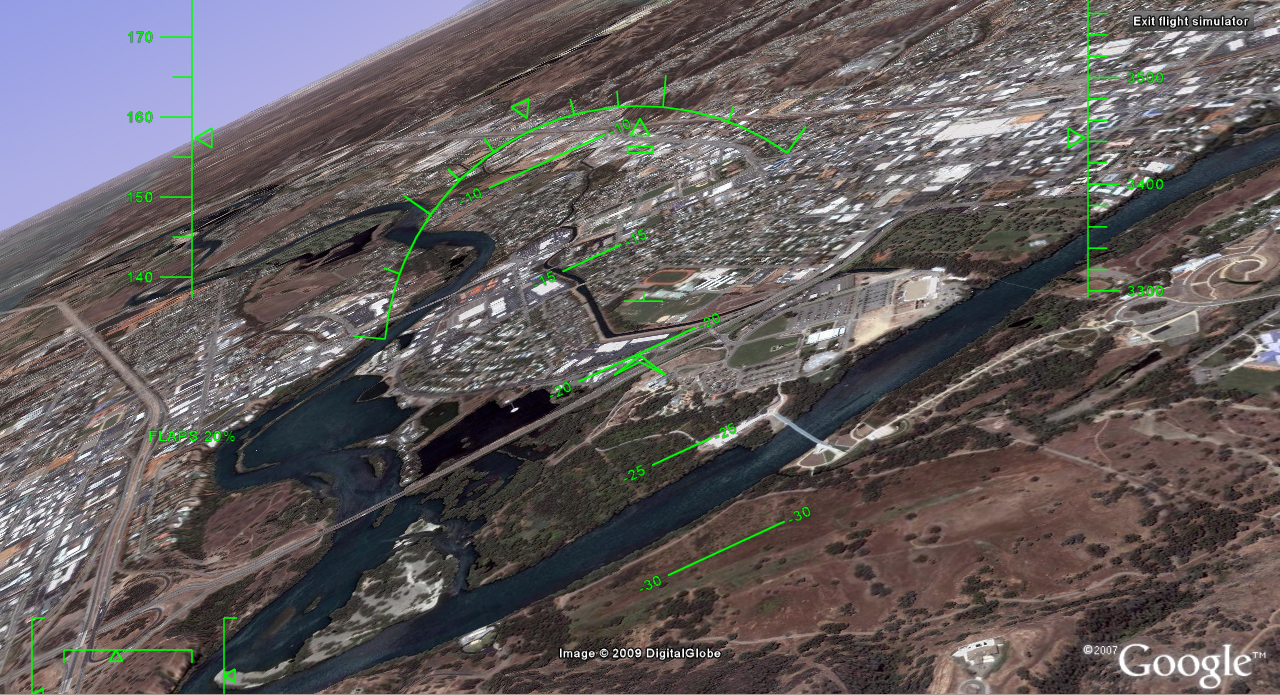
My first trip was from San Franscisco to Redding California, an old haunt. Leaving out of San Francisco Airport, being the closest; I flew straight, pushing the afterburners on the F-16 and made it to Redding in record time. Once there, I flew around, buzzed the neighborhood.
I wanted to be able to fly out of some specific airports such as Flagstaff to fly the Grand Canyon, having them in a list is ideal. It was s imparative that I had to hack the database and add my own airports to the list.
One of the files had to contain the information for the airports, if it is not binary then it will be hackable easy enough.To my surprise it was easy to find and easy to hack. The first place I looked was in the "program files" directory for Google Earth, which is located inside "C:\program files\Google\Google Earth\res"
Inside the directory are more directories for the countries each one contains the starting points for each of the countries.
Not what we are concerned with but we might want to be aware of their existence, future hack?. Find the directory called "flightsim" right after the starting location directory for the Falkland Islands; hint - alphabetical order.
Within the directory "Flightsim" are five other directories labeled "aircraft," "controller," "hud," "keyboard," and "planet," each containing ".ini" files that are for setting the parameters Google Earth uses, like joystick controller settings. Along with these five directories is a single file called "flightsim.ini" and this is the file we are going to modify.
Here is what was found in the .ini file, anything following the "%" are comments:
===========================================================
%
% Flight simulation configuration file.
%
dt = .01
% For starting simulation from current view, if putting the model in the air
% would result in a crash after less than 5 seconds, put it on the ground
% instead. Otherwise, put it in the air in approach configuration.
t_crash_threshold = 5
% For starting simulation from current view, if we're less than 10 meters above
% ground level, put us on the ground.
agl_limit = 10
% Mouse control sensitivities---the higher, the more sensitive.
mouse_sensitivity_aileron = .1
mouse_sensitivity_elevator = .1
% Default aircraft configuration and takeoff location (index in list below).
default_configuration = 'F16'
default_location = 27
% Help page relative to the base GE URL.
keyboard_shortcuts_url = 'flightsim/index.htm'
%
% Aircraft configurations. The last element in each row is for the future game
% controller configuration.
%
configurations = [
'F16' 'aircraft/f16.acf' 'planet/earth.ini' 'hud/generic.ini'
'keyboard/generic.ini' 'controller/' 'controller/generic.ini'
'SR22' 'aircraft/sr22.acf' 'planet/earth.ini' 'hud/sr22.ini'
'keyboard/sr22.ini' 'controller/' 'controller/generic.ini'
]
%
% Format: Code name runway lat lon hdg
% Strings in quotes, angles in degrees. Positive latitude = north, positive
% longitude = east.
%
takeoff_locations = [
'SABE' 'Buenos Aires' '13' -34.553889 -58.425089 124.06
'NZCH' 'Christchurch' '02' -43.497446 172.522160 40.14
'EDDF' 'Frankfurt' '07R' 50.027659 8.534797 69.57
'EDDH' 'Hamburg' '15' 53.654087 9.975462 152.68
'VNKT' 'Kathmandu' '02' 27.684106 85.353379 21.80
'HTKJ' 'Kilimanjaro' '09' -3.430112 37.058441 87.71
'EGHL' 'Lasham' '09' 51.186880 -1.043534 85.70
'EGLL' 'London Heathrow' '09L' 51.477501 -0.484721 89.64
'KLAX' 'Los Angeles' '06R' 33.946810 -118.434667 83.44
'XCGX' 'Meigs' '18' 41.862985 -87.608226 177.10
'UMMM' 'Minsk' '12' 53.869409 27.527960 125.54
'KNUQ' 'Moffet' '14R' 37.424918 -122.054876 157.73
'LFMT' 'Montpellier' '13L' 43.585941 3.956276 124.82
'UUEE' 'Moscow' '25R' 55.977960 37.441379 -104.92
'KJFK' 'New York' '13R' 40.647358 -73.814497 120.84
'KPAO' 'Palo Alto' '13' 37.463741 -122.117653 141.81
'VNPK' 'Pokhara' '04' 28.196094 83.977091 39.59
'LOWS' 'Salzburg' '16' 47.804735 12.996743 156.97
'LSZS' 'Samedan' '21' 46.541291 9.889774 -151.15
'KSFO' 'San Francisco' '28R' 37.613579 -122.357234 297.94
'ULLI' 'St Petersburg' '10R' 59.799851 30.218684 106.40
'YSSY' 'Sydney' '25' -33.937875 151.188634 -105.62
'ENVA' 'Trondheim' '27' 63.457726 10.941489 -89.69
'KTRK' 'Truckee Tahoe' '10' 39.324790 -120.152594 120.28
'LOWW' 'Vie nna' '16' 48.111801 16.581348 164.23
'NZWN' 'Wellington' '16' -41.318210 174.807468 -177.01
'LSZH' 'Zurich' '16' 47.470166 8.539790 155.01
]
VAngleMin = -60
VAngleMax = +30
===========================================================
The Hack

Open the file "C:\program files\Google\Google Earth\res\flightsim\flightsim.ini" it should open in "Notepad" on the PC but if it does not, be sure to save the modified file out as a text only file, we do not want to modify the type of file from anything but a standard text file, no special encoding.
You will find configurations for the simulator at the top of the file, the "%" symbol is a comment delimiter that makes the line following the symbol not processed by the program's parser, scroll down and you will find the list of airports that can be chosen by the flight simulator.
They are found in an array called takeoff_locations[]. This is the data that the simulator is reading during its initialization, now we need to decode what is stored in each of the array locations. There are six pieces of data for each airport location, let's look at one of the array sets and decipher the data so we can modify them correctly. The first entry in the array list is for Buenos Aires, here is what each of these pieces of data represents:
'SABE' 'Buenos Aires' '13' -34.553889 -58.425089 124.06
'SABE' = Airport code, though I don't know what the first letter represents and is not important anyway.
'Buenos Aires = The location name of the airport.
'13' = The runway number. For those who do not fly or have not had any experience with aviation, airport runway numbers are reference to the compass heading of the runway. This runway is facing 130 degrees, runway '34' would be pointing towards 340 degrees on the compass.
-34.553889 = The decimal value for the Latitude starting position. This is the tricky part because it is in decimal format and not the standard format for the coordinates you will get from Google Earth.
-58.425089 = The decimal value for the Longitude starting position.
124.06 = The heading of the plane in degrees.
One of my concerns was that the array list would be fixed by some other setting that would cause an overflow due to the length of the list items; not the case. This list is dynamic and the program allocates the space for the extra airport data in the list upon initialization, so we do not have to modify any other portion of the file or any other file in order to allow for the growing takeoff_locations array size.
There might be a limit to the number of airports added to the list but I have not hit that ceiling yet with only 7 new entries.
The image for this step shows the Latitude 38 degrees 57' 33.83" and a Longitude or 95 degrees 15' 55.74" .
While creating the image for this instructable I discovered that an easy way of getting the coordinates for a location, is to put a push pin or "Placemark" where you want to place the starting position of your airport. Then right-click on the push pin and select properties, it will bring up the properties lists and under the view tab, the latitude and longitude can be selected and copied.
Getting and Entering the Airport Data
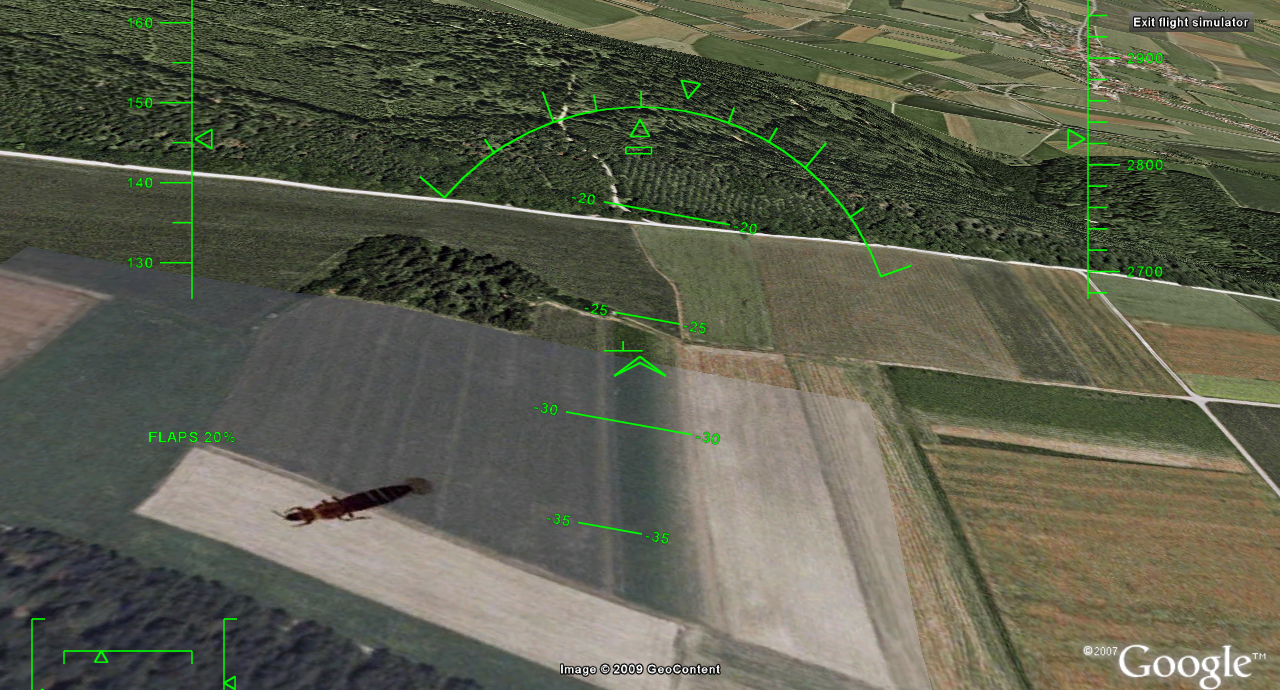
Using Google Earth (version 4.2.0198.2451 (beta)) the coordinate values are located in the lower left hand portion of the screen in the data bar, I do not have the latest version, so I could not say where the data is located. The information is presented on the screen is in the standard format for Latitude and Longitude with Degrees, Minutes, and Seconds. The problem with this is that the array list uses a decimal version of the data. Converting from Degrees, Minutes, Seconds, to decimal values is easy, and does not require any math on your part.
First select a single line of data from the takeoff_location[] array, be sure to capture all the text and punctuation, press <Ctrl-c> to copy and put the cursor at the end of the line you just copied and with nothing selected press <enter> then <Ctrl-v> to past a new line. This makes it easier to add your data using the copy as a template. Plus if you did something wrong, the simulator will just put you somewhere else; if the list is blank when you launch the simulator, you messed up on your data entry.
First we need to go to the site we are going to use to do the conversions for our coordinates to a decimal form. Go to http://www.fcc.gov/mb/audio/bickel/DDDMMSS-decimal.html. You will see a salmon colored box with the labeled "Degrees Minutes Seconds to Decimal Degrees"
Now in Google Earth put a placemark where you want to start, right-click on the push-pin and select Properties. Now copy the Latitude and Longitude and paste them into their corresponding fields in the conversion website.
Enter each of the coordinate values in their corresponding boxes for Latitude and Longitude and click on "Convert to Decimal" Then take the results and enter each of these values in the location for their respective values in your new airport location.
Your new airport entries can be appended to the bottom of the list or added between other airports but I don't like to obfuscate my changes by mixing them. Save the list and then launch Google Earth. It is important that you launch Google Earth after you modify the file because the ".ini" file is read upon program launch.
The list of airports should now contain your new site, select your airport and click "Start Flight." If your airport does not seem to work and Google Earth takes you to the far side of the globe, then you might have missed a sign (-) on your coordinate position.
The reason for this might be obvious to some; The Earth is divided into halves for each of the coordinates pairs, East and West for the Longitude and North and South for the Latitude. If your airport is in the Southern hemisphere, the decimal value for Latitude should have a (-) sign in front of the value such as -34.553889. If your Longitude is located in the West in reference to zero Longitude then the value must be signed. Add the sign and you should be placed right where you expected.
Here is an example, and the actual place I first tested my hack. I wanted to explore my old stomping grounds, and an area of this country, which is a wonderful place to live if you love the outdoors; Redding California. The huge massive international airport is located East of the city and East of Enterprise, a suburb of Redding.
The coordiantes for the runway at Redding International Airport were a Latitude of 40 degrees 30' 5.0394" and a Longitude of 122 degrees 17' 41.028". Note that the Longitude is reading is an unsigned value but Redding is clearly in the West, apparently Google Earth displays these values as absolute so there is no sign on the coordinates in Google Earth. The sign can be added as you stamp the value in the array or in the conversion calculator before calculating, changing the sign adds or subtracts 180 degrees to or from the value.
I made up an airport code that suited that massive hub of international travel, and gave the airport the label it deserves. The number on the end of the runway read "34", I entered the value of 340 to represent the value on the compass. 340 degrees did not line up the plane directly with the runway (who knows maybe because of declination) so I added some degrees to rotate the plane towards the North. 360.00 lined the plane up on the runway and I was happy.
Here is the final entry for Redding International Airport :
'RIAP' 'Redding International' '34' 40.5014 -122.294731 360.00
Save the file and launch Google Earth. Once Google Earth has initialized press <Ctrl-alt-a> to enter the flight simulator. A requester will open, select an aircraft and then select the airport from the list and press Start Flight. You will be placed on the runway heading North. <Pg-up> will increase the throttle, <Pg-down> decreases the throttle. Use <Ctrl-h> to bring up a list of the key commands for flying the aircraft.
Good Flying
Note: use the keycodes in the help if you are interested in flying the aircraft like a real one, with coordinated control inputs and making coordinated turns, i.e. rudder and stick movements. Better yet, as I will surely have to do now, get a stick; or make one.
Flying NOE (Nap of Earth) is very fun and challenging, plus if you output this to the big screen, the feeling is breathtaking. Flying through valleys and popping over mountain tops, and zooming down the opposite slope, too much fun.
I flew to Crater Lake where my family and I had spent a week last summer. The flight was nice, good weather, seems to be good flying weather everywhere in Google, a real "standard day." Even though I loved the flight and saw many places I had been, I really wanted to take off closer to the lake; how about from inside the cauldron? Sure, its flat. Here is the code for the lake airport. Note: the heading is pointed directly towards the Phantom Ship and there is enough room to reach takeoff airspeed; here is the listing for the Crater Lake Air Port
'CRAP' 'Crater Lake Air Port' 'WL' 42.930692 -122.142108 120.00 - could not help myself with the airport code, though this place is anything but.
Now if they can only make this a multi-flyer option we could fly together sometime; 'til then happy flying.
Gravity Boy - Artist, hacker, tinker, thud.
===================================================
Extra locations and notes and tips:
Want to do some canyon flying, go to the best canyon ever
'FLGS' 'Flagstaff' '21' 35.145592 -111.663578 220.00
Not responsible for radiation poisoning '
HOT!' 'Chornobyl' '30' 51.372056 30.102944 330.00
Oui
'PCDG' 'Paris Charles Degall' '02' 48.717719 2.376828 21.00
Note: there is a variable that will point to a specific airport in the list as the default airport. This is an index into the array starting at array location [0], so rather than move items around in the list, simply enter the offset to the list item. For example I set the default_location = 27 so that it points to Redding International Airport as a the default so that every time I launch the program I can start flying without selecting the airport.
TIP: If you are interested in long distance flights and want to create some beacons for flying from point to point, inside of Google Earth and outside the flight simulator, place thumb pins (placemarkers) for beacons, they can be seen about 230 miles away.
From the North end of the San Francisco bay I could make out the beacons as far as Redding and a higher altitude makes them easier to see. This is IFB for I Follow Becons flying, better than IFR = I Follow Roads! My maiden voyage to Redding was without any beacons and I flew straight to that international city.
Also, I noticed that if you add a placemark in a city center, the name of the city will show up in the simulator. The picture below is from San Fransisco bay and the beacon is in Sacromento a distance of around 74 miles.
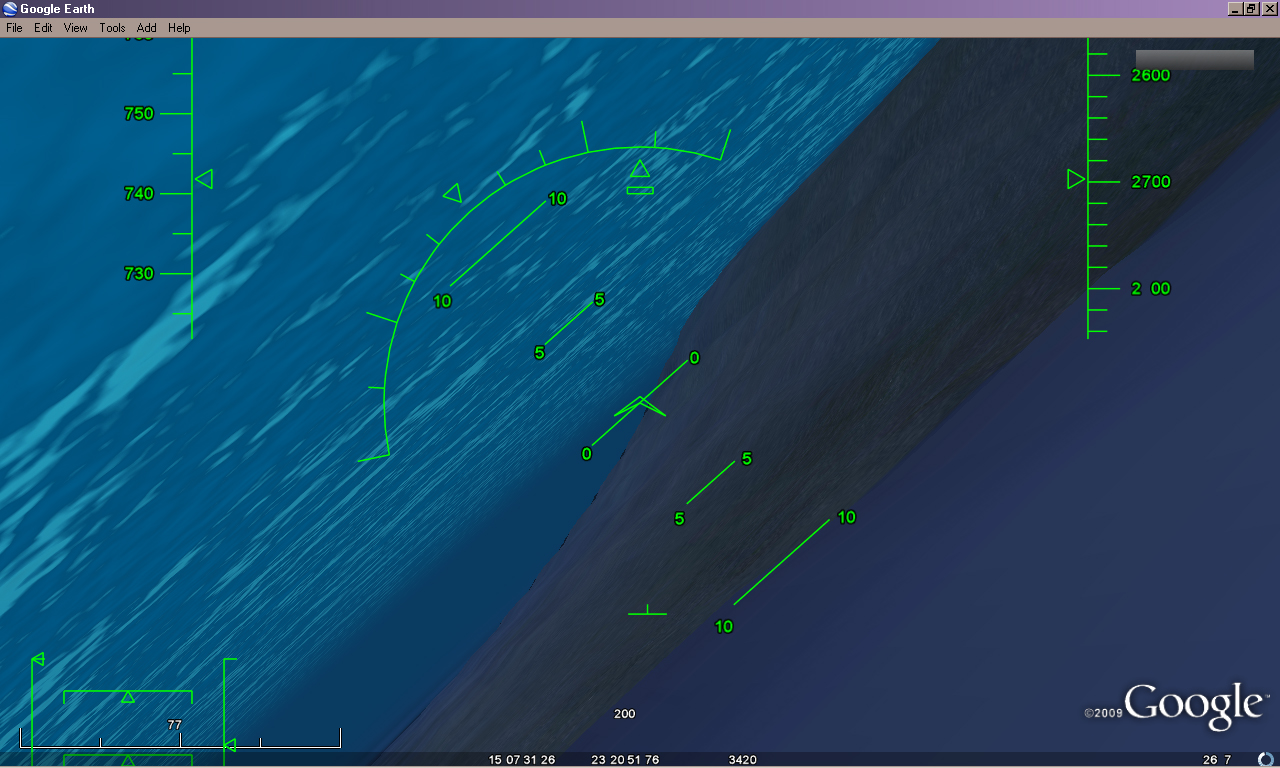
You can also place an airport under the sea using Google Earth 5.0, turn on water surface and have a fast moving submarine just like the one in Voyage to the Bottom of the Sea." and fly down the trenches with the fishes.
FINAL AND BEST TIP: If you keep your finger over the "C" key, when you bank the plane, pressing this key will center the controls and makes turning smooth and professional feeling. Without this key, I would not have been able to land so quickly.
Gravity Boy - Artist, hacker, tinker, thud.