Make an M.C. Escher Reptile Puzzle on Your CNC Router/mill
31508 Views, 87 Favorites, 0 Comments
Make an M.C. Escher Reptile Puzzle on Your CNC Router/mill
So, you've just finished your CNC router/mill build, and you need something to make. Try the hand bowl, which is extremely cool.
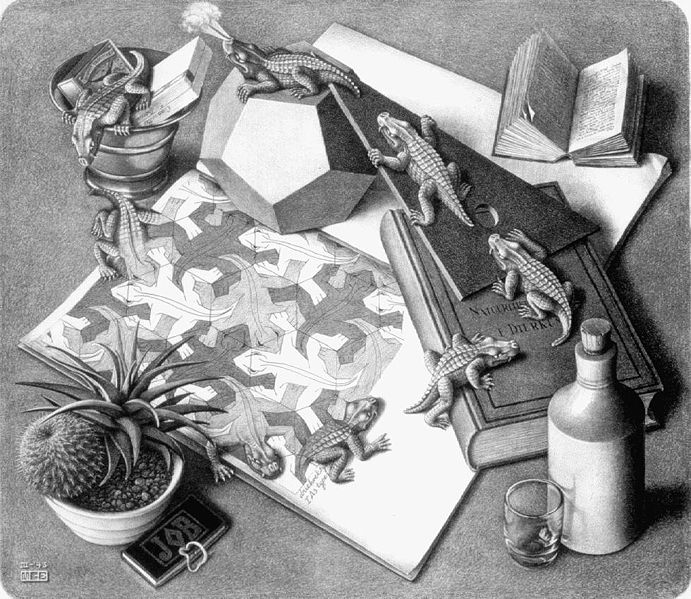
For your next project, try this one. I always had a fondness for the works of M. C. Escher, so i decided to make the reptiles out of wood.
I started with a dxf from here, but quickly found that the 1/8" diameter end mill couldn't hope to cut out the sharp internal corners, so I had to modify the drawing to allow for the tool diameter. For those of you with a laser cutter, you can just ignore this instructable all together and cut away. The laser definitely has some serious advantages here: zero material waste, perfect sharp internal corners, etc.
This instructable will show how I started with a non-CNC-able tessellation and modified it to allow for CNC-ability. It's not as simple as it seemed at first.
For this, you'll need:
- A tessellation pattern to start with (I used the M.C. Escher reptiles)
- A CNC router/mill
- A parametric 2-D (or 3-D) CAD program with the ability to place multiple identical blocks. I used the free and quite good SolidEdge 2D Free.
- Some wood. I used 5.2mm (.2") birch veneer plywood from Orchard Supply. It's $10 for 24" x 48" x 1/4". Real solid hardwood would be much better because the birch veneer tends to fray and peel.
Import Your Image Into Your CAD Program

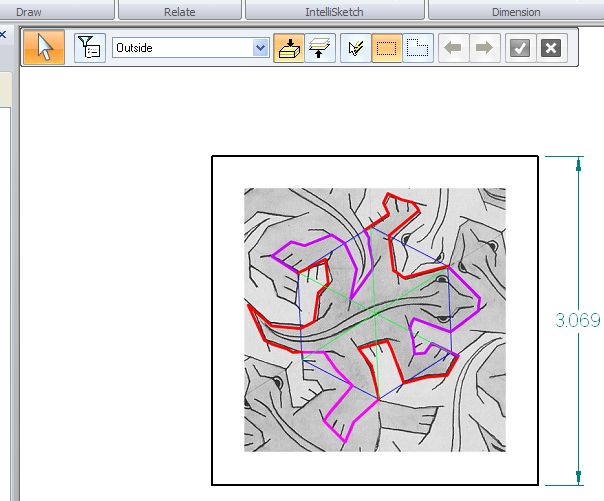
This instructable will use SolidEdge 2D as the CAD program. There are probably other/better ways to do this, but this is how i did it. Let me know if you have a better way!
Take your stating image, say a reptile, and import it into SolidEdge. I use the 2D model view for just about everything.
Insert->Image. Get it sized to the size you want to print it. In this case, about 2".
Take your stating image, say a reptile, and import it into SolidEdge. I use the 2D model view for just about everything.
Insert->Image. Get it sized to the size you want to print it. In this case, about 2".
Add Tool Radius Variable.
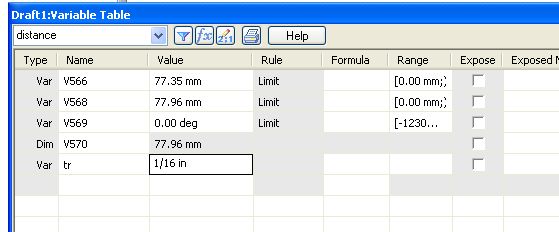
You're going to add a bunch of fillets at the tool radius. And you may want to cut at a different dimension, so add a parameter you can use.
In SolidEdge 2D: Tools->Variables: Create variable called 'tr' , set it to 1/16 inches (1/8" radius, 1/16" diameter).
In SolidEdge 2D: Tools->Variables: Create variable called 'tr' , set it to 1/16 inches (1/8" radius, 1/16" diameter).
Create a Block, Place the Tessellation Pattern.
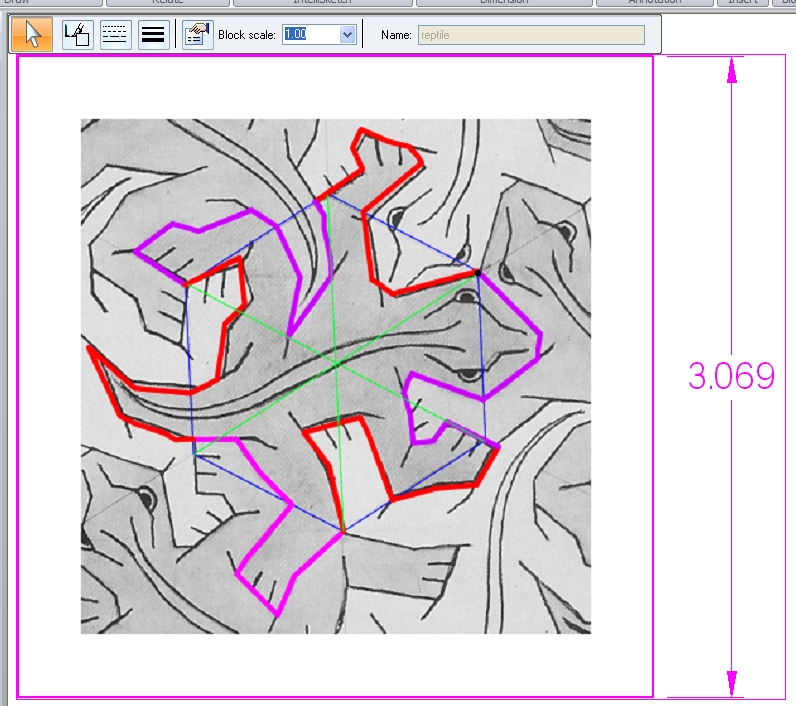
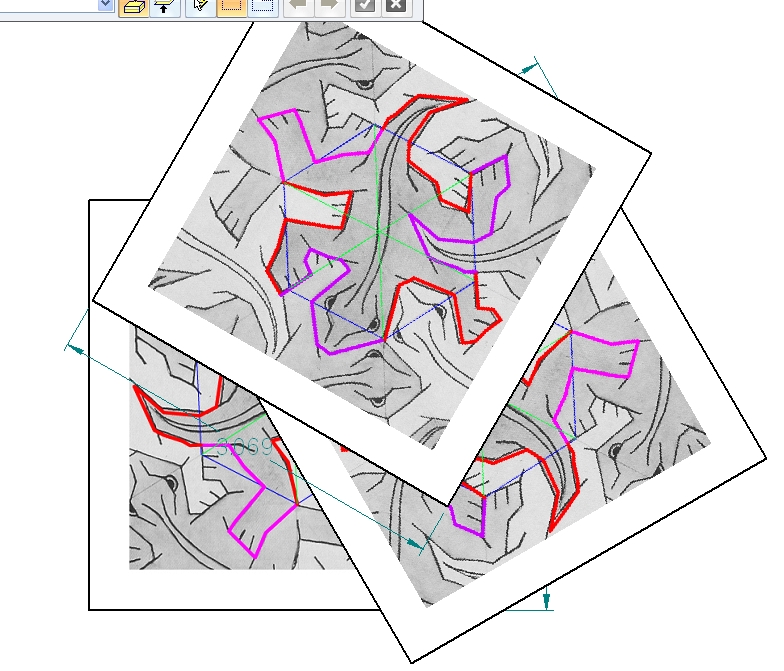
Select your reptile image and turn it into a block:
Home->Block. Click on the intersection between the 3 heads as your origin point for the block. This'll be handy shortly.
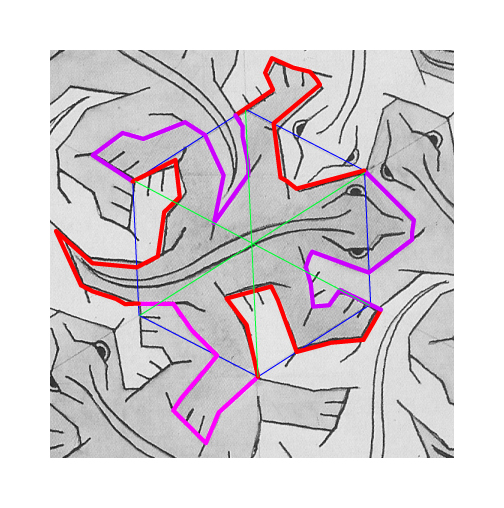
Notice in the image that the rotationally symmetric head vertex has a black dot, and is the origin.
Once you create the block, you need to place it 3 times, with rotational symmetry at 120 degree angles.
In SE 2D select your block. The go to Home->Draw->Move and select the pull-down and select the Rotate option. Make sure to enable the 'Rotate-Copy' icon in the rotate popup so you get copies. Set your step angle to 120 degrees. Click your near-eyeball origin as the center for rotation. Then click along one of the blue lines (not critical actually).
You should get a kind of jumble as shown. Not beautiful yet. That's okay.
Trace the Image.
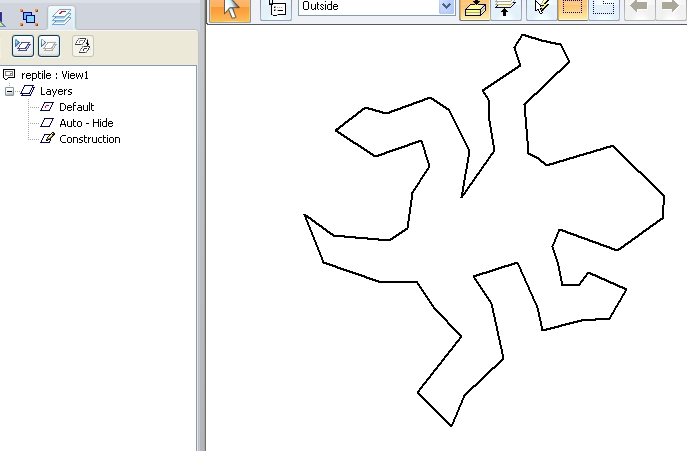
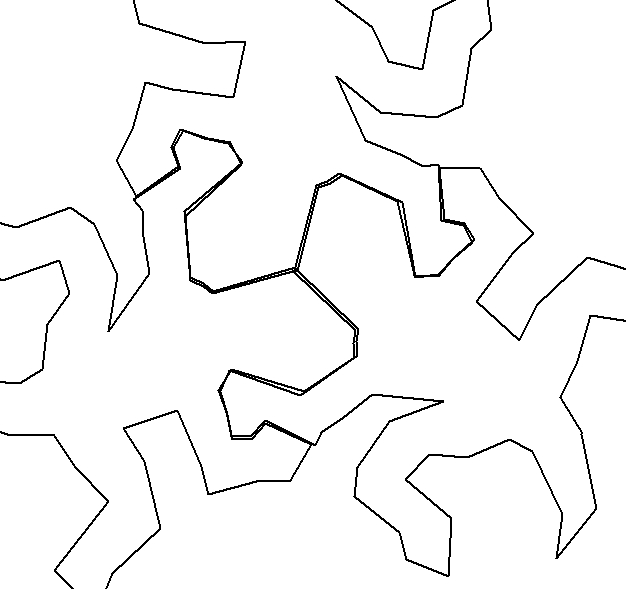
Now, enter one of your blocks and trace the reptile. These original tracing lines should all be construction lines -- these are not your real lines yet. So, stick them on a layer like, "construction". Once all your vectors are traced, delete or somehow hide the original image.
From here on out, my examples will only include the outline, and not the etching. The etching is relatively easy to get right. At this point, when you exit the block to see how the tiling works, it'll likely look terrible.
Click 'Close block' to go back and see how things are.
As you can see, there is plenty of overlap in the tiled image. No problem. We'll deal with that. The good thing is that it looks reasonably sort of okay.
Re-enter the Block. Add Tiling Triangles.
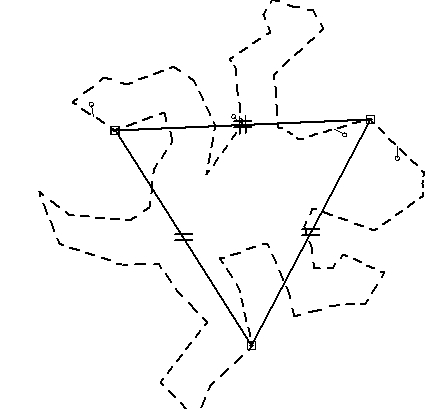
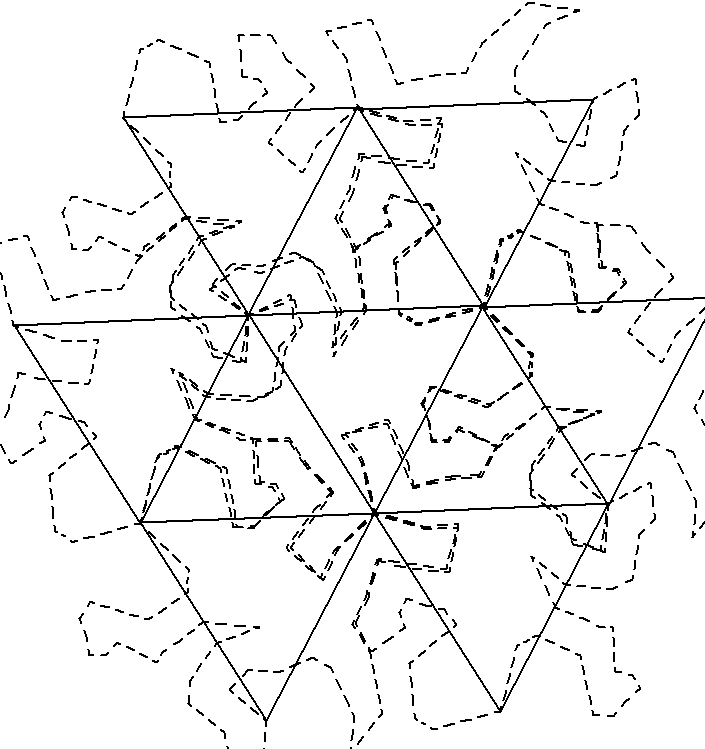
Lock all your edges in place. This will prevent constraints from moving your edges. Select all, then click the lock button. I changed all my edges to dotted pattern to visually distinguish my construction lines from my real lines.
Add an equilateral triangle. Use the constraints to make all 3 sides equal. One vertex should be on the head of the reptile. The other two should be as close as possible to the other rotationally symmetric points in the tiling.
Notice the equal constraints on the triangle.
Now, when you exit the block, you can see that the 3 triangles are lined up. Now you can place the rest of your tiles -- 2 more on each of the other 2 symmetry points:
Do the Draw->Rotate->Copy thing again at 120 degrees, but use the 2 other points (toe and knee) as the center of rotation.
The beauty here is that since you've drawn your triangle, the center of rotation will snap to exactly the right point -- the vertex of your triangle.
Now, you're ready to start the final, tesselation tracing.
Tesselation Tracing
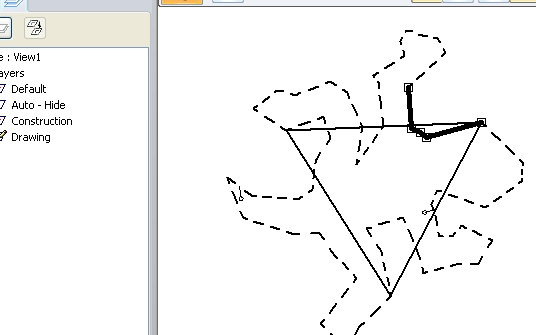
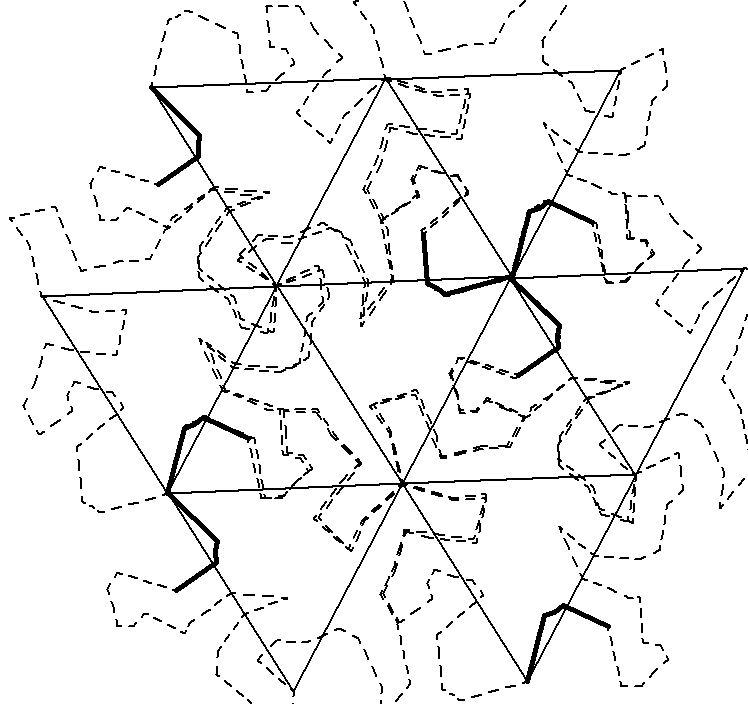
Now, you're all set to tesselate. Every edge that you draw needs to form 2 parts of your reptile, and they need to match perfectly.
Change layers to your drawing layer. Let's call it... Drawing... or something like that. Set your line weight to heavy so you can see it well, and start drawing. At each step, enter your block, edit, exit the block, view. This process will let you see your progress on the tesselation.
I found it handy to put all the geometries I constructed thus far into yet another sub-block. This helps prevent my accidentally moving the construction lines.
As you trace each line, you can see your progress. Stop when you start re-tracing your same black lines!
Done With Tesselation!
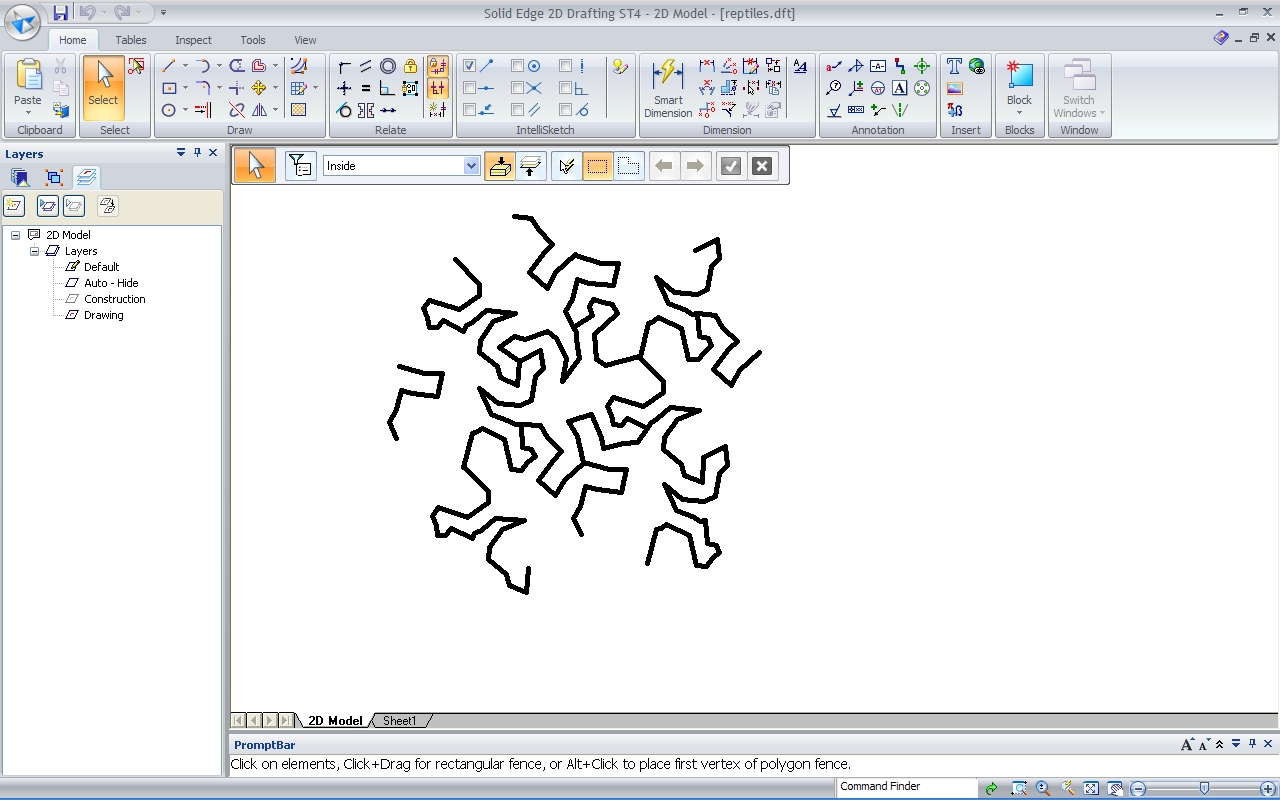
Now that you've traced everything, you should now have a PERFECT tesselation, right?
The only problem is that your router bit (remember, we're making this on a CNC router, right?), won't fit into all those tiny corners.
See the next step for how to make it fit.
The only problem is that your router bit (remember, we're making this on a CNC router, right?), won't fit into all those tiny corners.
See the next step for how to make it fit.
Fill It? Fillet
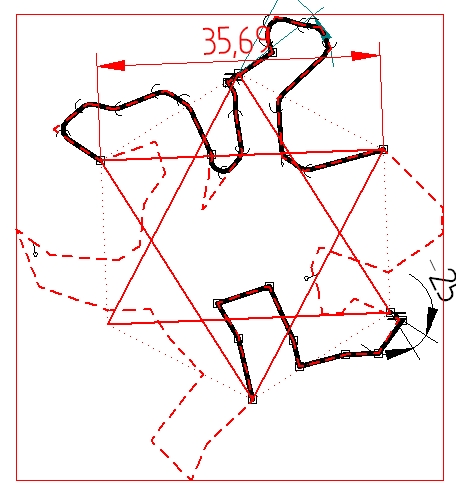
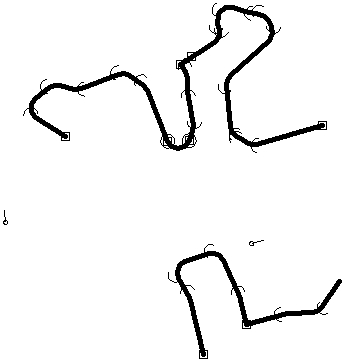
Now to fillet!
At this point, you need to fillet ALL the corners, internal and external -- except for at the 3 rotationally symmetric points -- you'll see that they don't need it.. The reason you need to fillet internal and external corners is that one guy's internal is the other guy's external. You'll see as you do it.
After each fillet or two, go back and check for accuracy. Remember that variable, 'tr' that you defined before? Now's the time to use it!
Alternatively, you can fillet at about 1.6mm, which should be good enough.
Here is an image with some of the corners filleted, and others not.
Once you're done with the tracing, you can move to the next step: flatten and crop.
There may be some edges that are so short, that you can't fillet the 2 corners at 1.6mm. In this case, you probably need to delete the edge and play with it until you get nice, 1.6mm fillets all around.
Beleive it or not, this is the entire generator:
Flatten, Crop, and Create Single Instance.
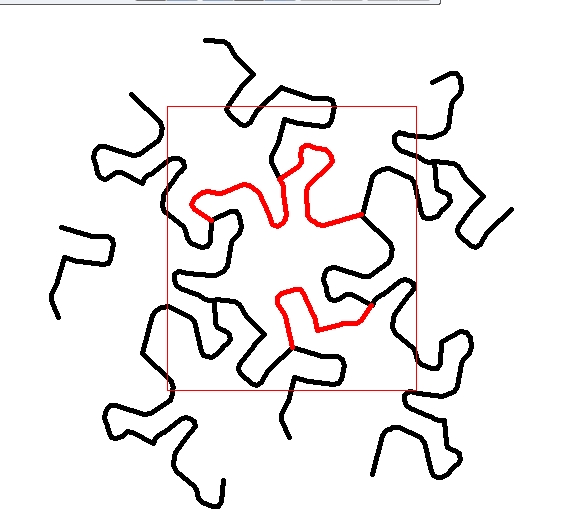
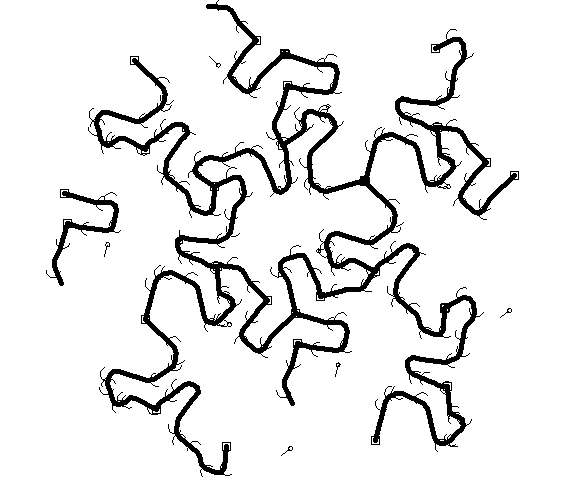
Now, when you exit out of your block, you should have something that is a huge mess like this (Currently, viewing only the real layers. If I made all construction vectors visible too, it would really be a mess. You were keeping the stuff you want on a separate layer, right?
Now, select all blocks, and flatten! Actually, in SE 2D, you need to do it 1 block at a time. Right click->unblock on each of your placed instances.
Now that you have the little guy flattened, you can edit the vectors individually. All of the edges will be placed exactly right now, so no need for the multiple instances of the generator block.
Crop Image to Leave Only the Single Reptile Instance.
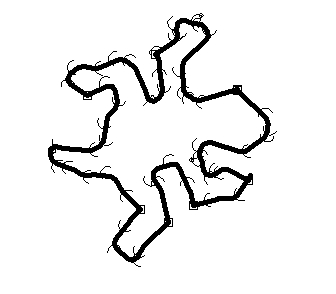
Now, just remove all the unnecessary vectors so you have a single reptile left over.
This is your final reptile. Well, the outline anyway. You can now block him back up, decorate him, and tile him around however you please.
Next up: CNC!
This is your final reptile. Well, the outline anyway. You can now block him back up, decorate him, and tile him around however you please.
Next up: CNC!
Save to Your G-code Creator.
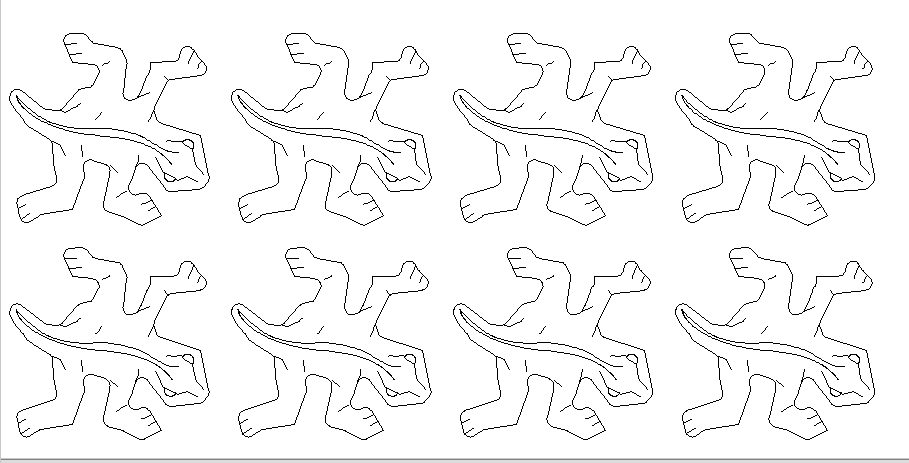
Save the file as DXF, DWG, or whatever your g-code creator can handle. I saved to a DXF.
Open in your g-code creator, and create your toolpaths.
In my case, I used the outline with a 1/8" router bit, and the engraving with a 90 degree V router bit.
I would recommend engraving the outline as well, because if you don't the patterns get kind of lost when you assemble the reptiles.
Open in your g-code creator, and create your toolpaths.
In my case, I used the outline with a 1/8" router bit, and the engraving with a 90 degree V router bit.
I would recommend engraving the outline as well, because if you don't the patterns get kind of lost when you assemble the reptiles.
Mill Away!
At this point, all you need to do is mill out the parts and play!
BTW, turn your volume DOWN to watch this first one!
BTW, turn your volume DOWN to watch this first one!