Make an Easy Homemade Phone Projector!
by 20212097 in Design > Digital Graphics
78061 Views, 73 Favorites, 0 Comments
Make an Easy Homemade Phone Projector!
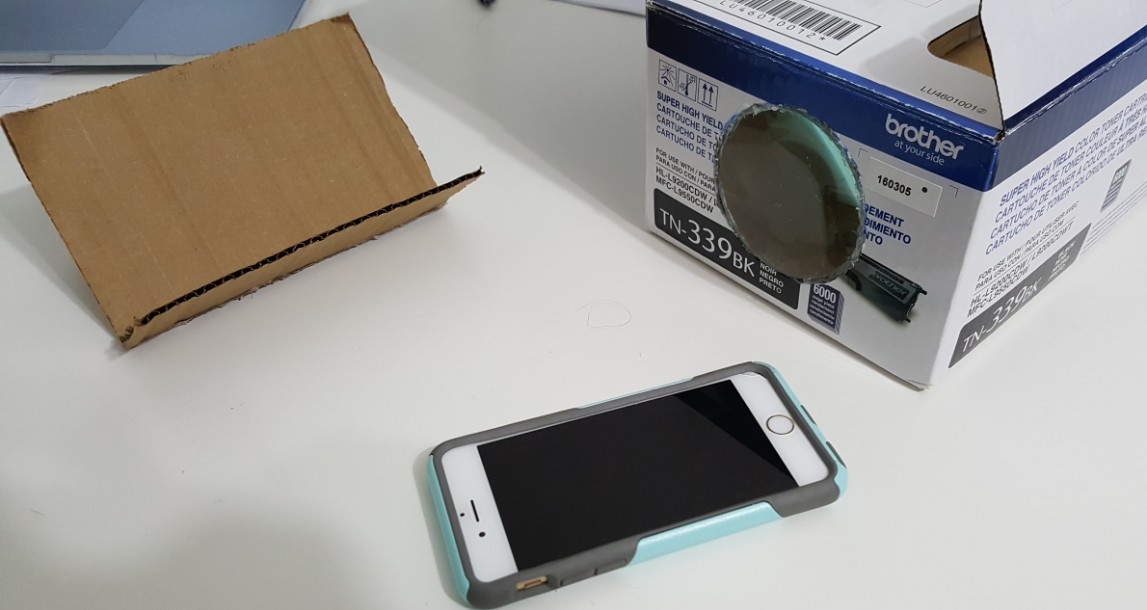
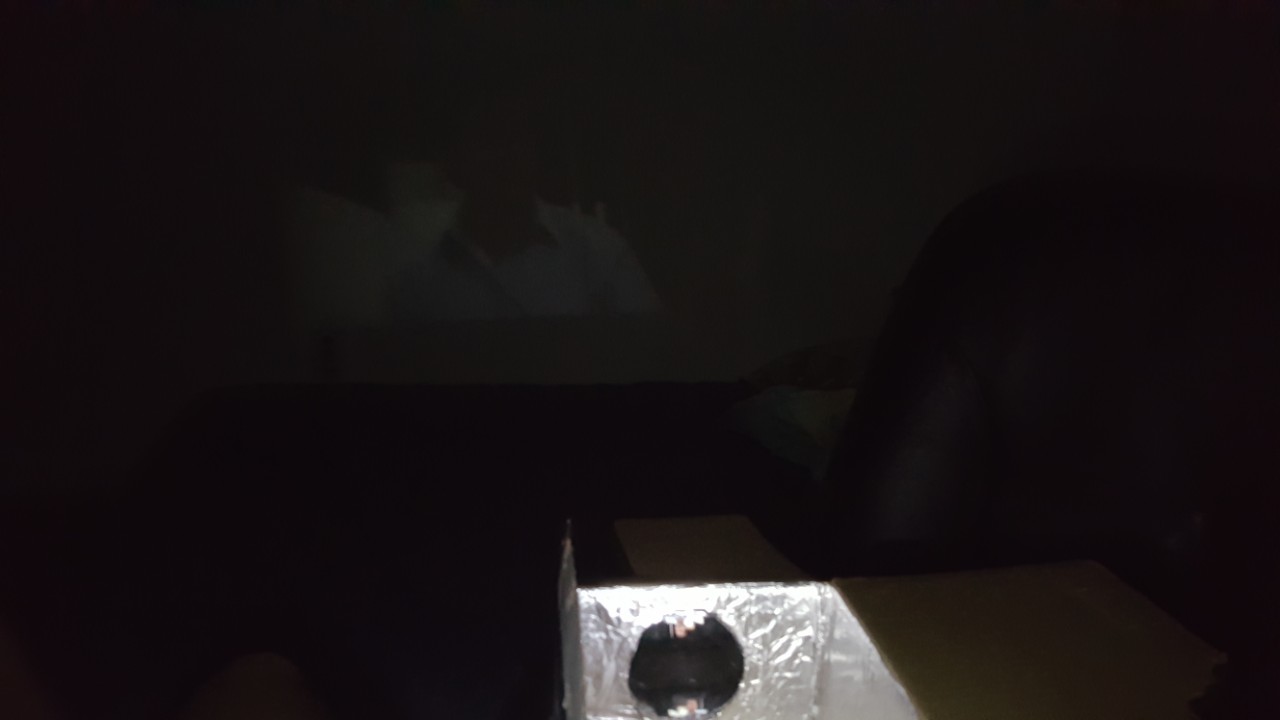
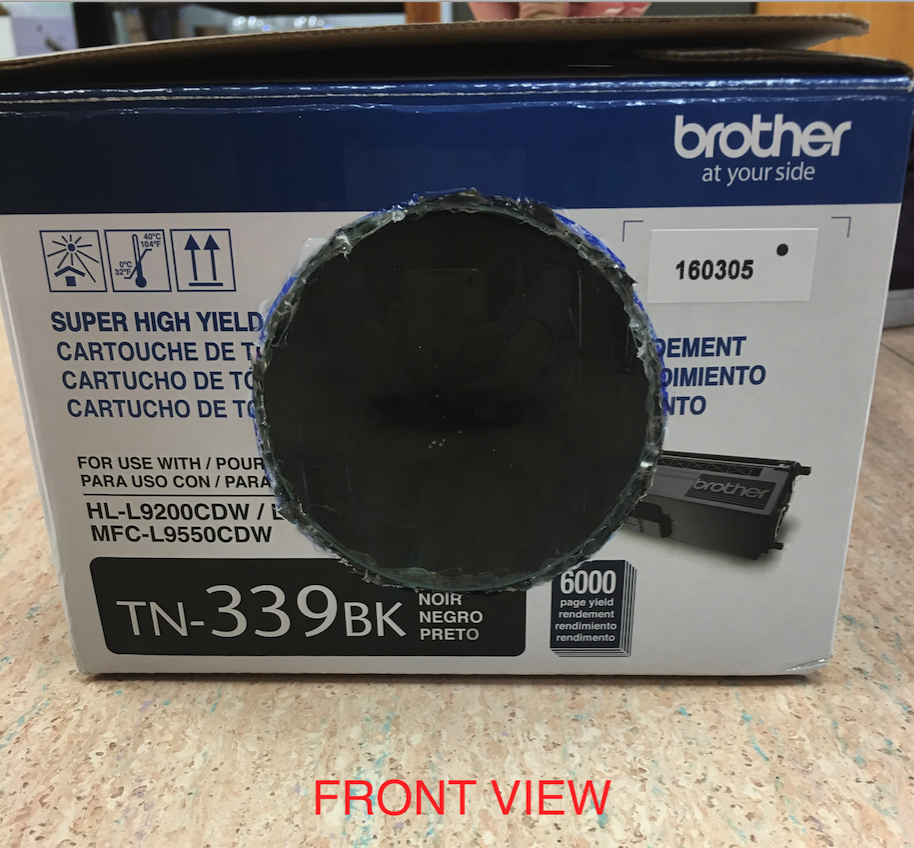
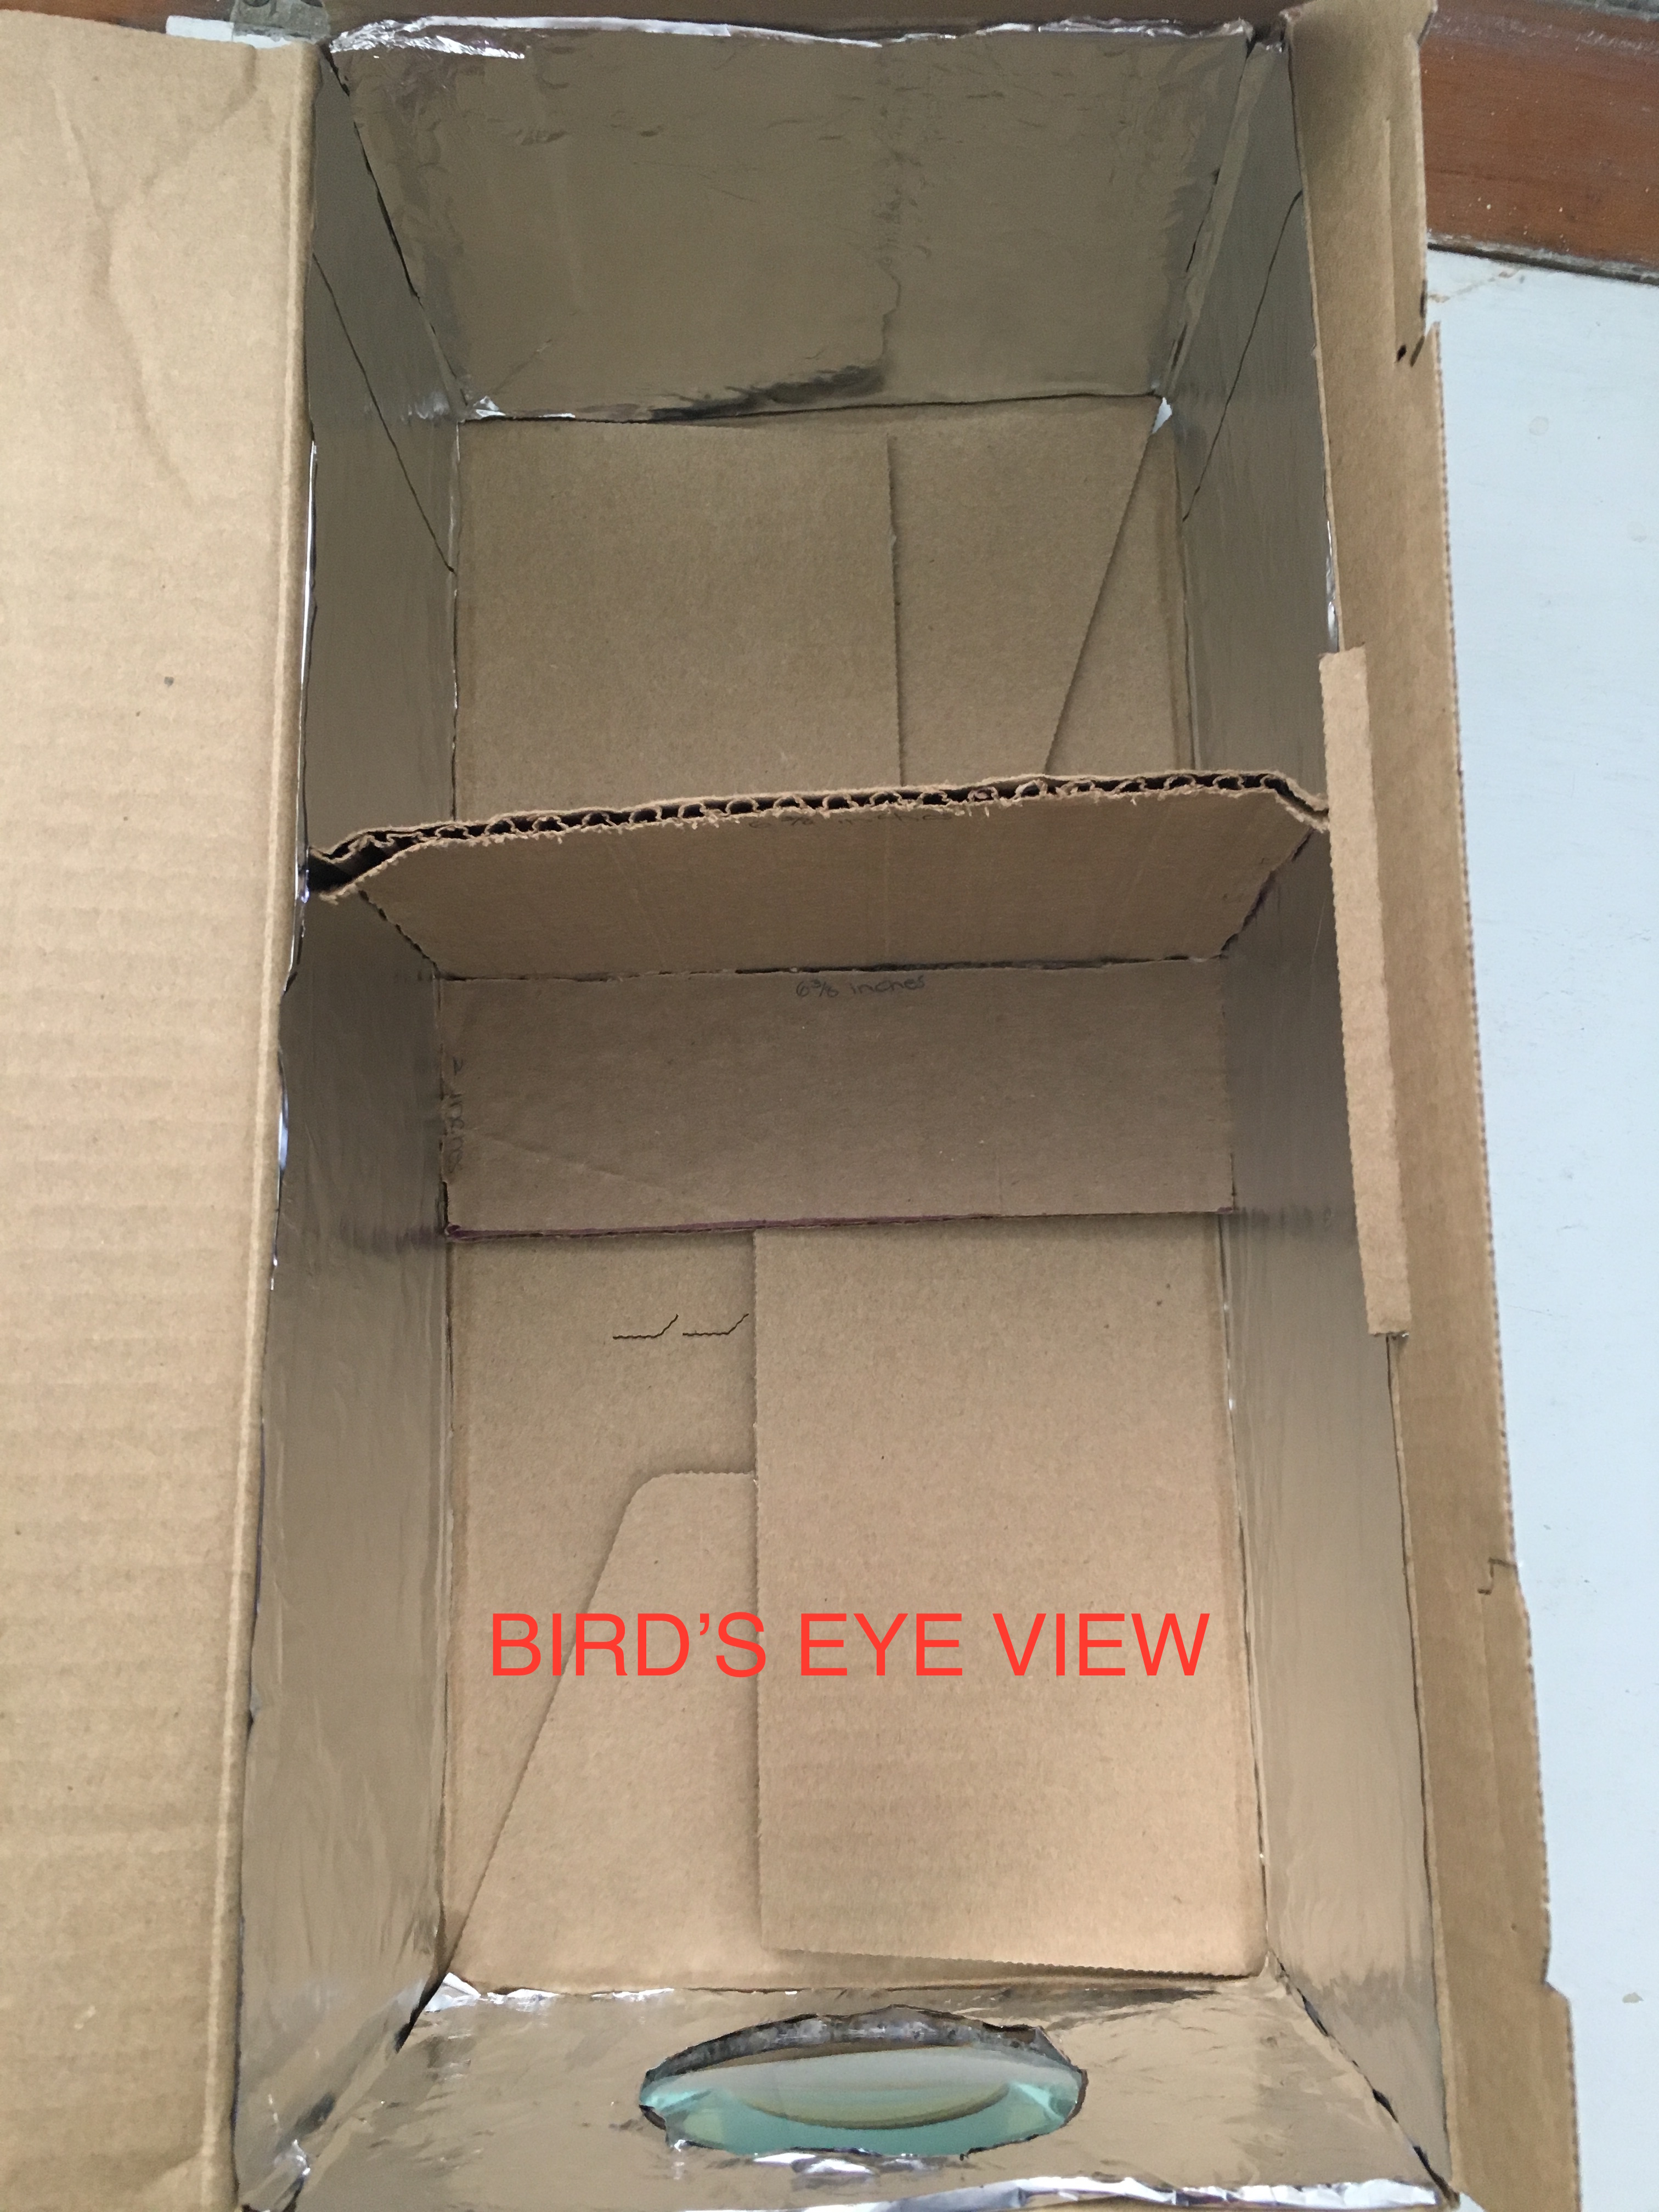
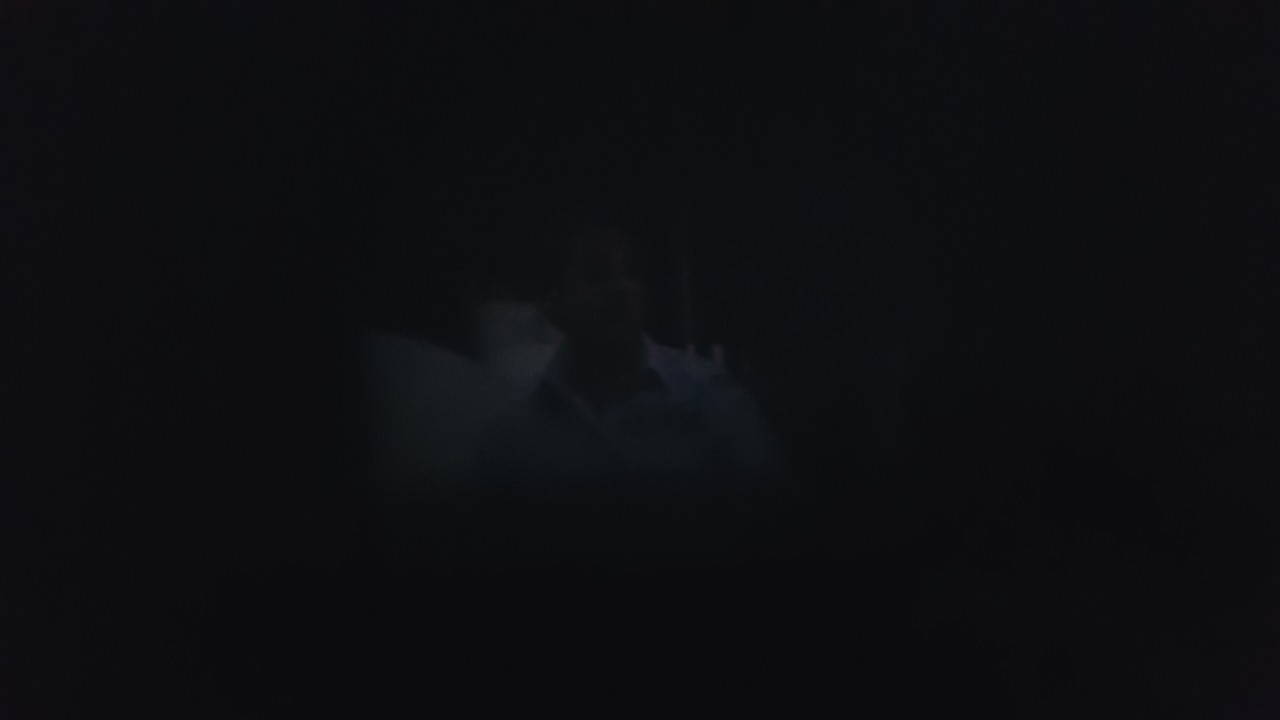
I constructed a phone projector made mainly from cardboard! This is a simple and fun project, and you can see pictures, videos, and movies anywhere and anytime with this build! (The pictures of the projection is not good quality, because the projection is not detected on the camera, but I promise you that it works!)
Gathering the Materials
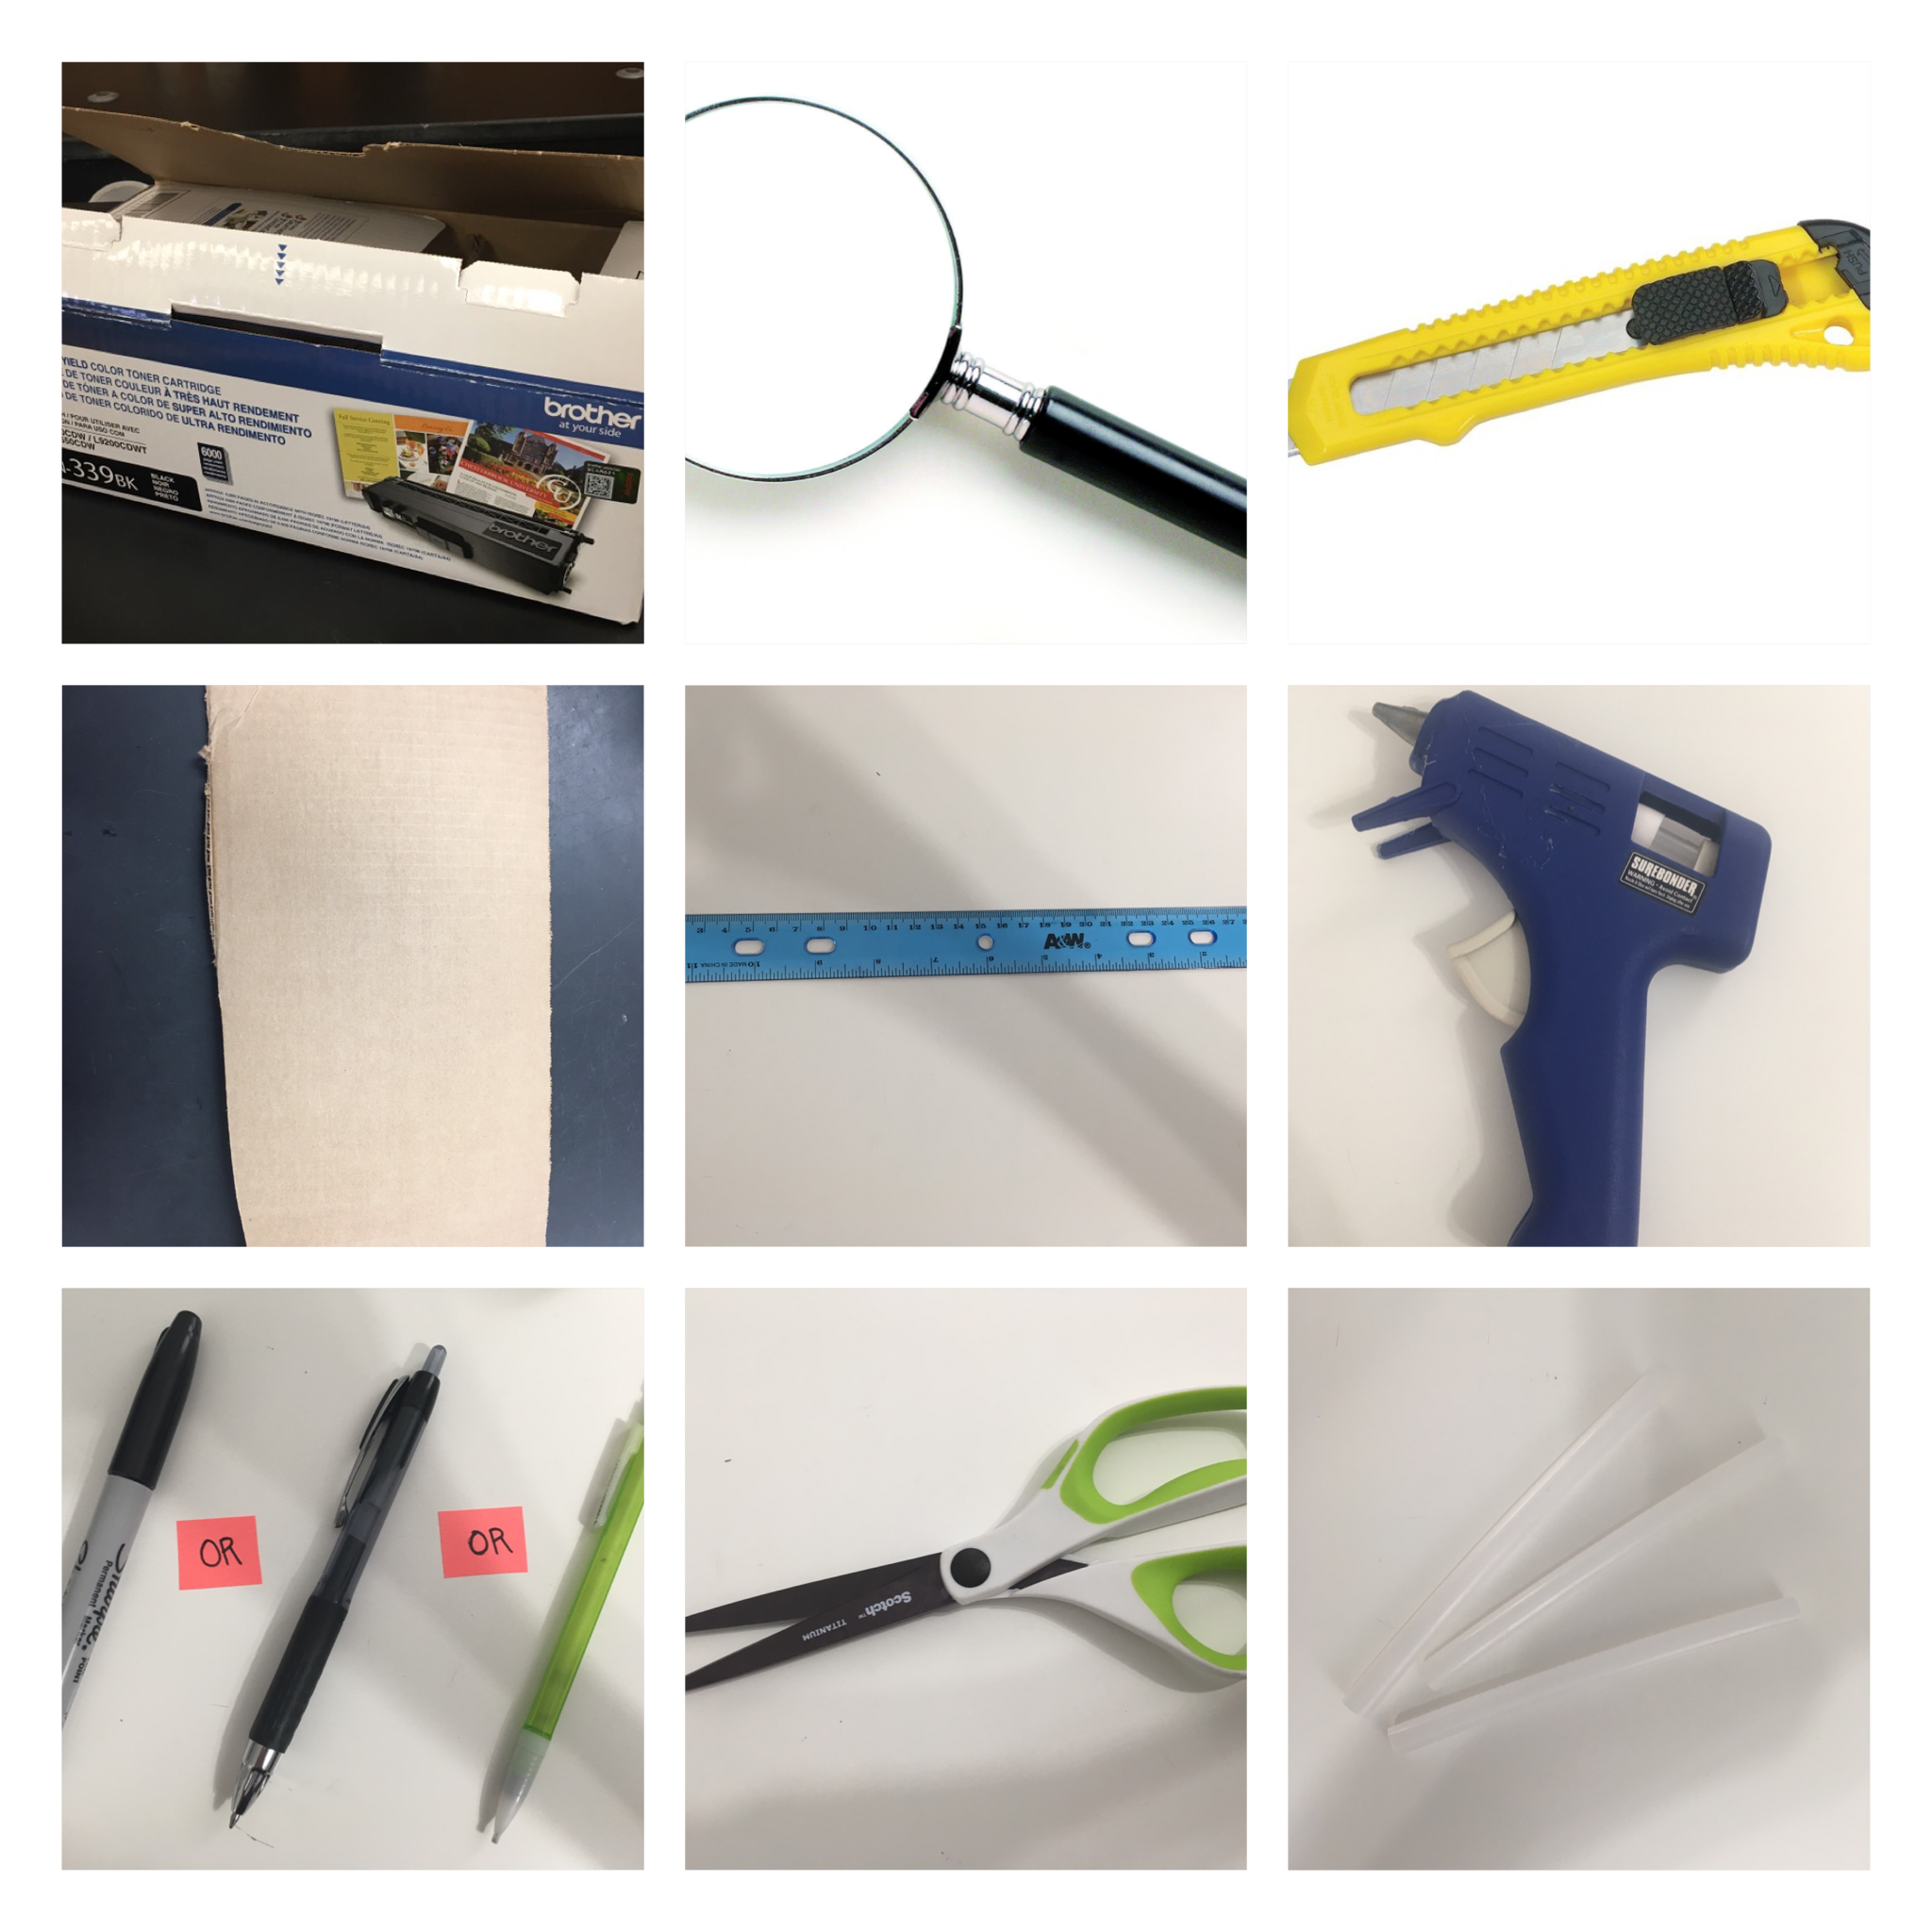
To make this cardboard projector, gather these materials:
- Rectangular box - This will be used as the body of the projector (I used a 13 1/2" by 6 3/8" by 4 3/4" box)
- Cardboard - This will be used to make the phone holder
- Marker, pen, or pencil - This will be used to make markings for the measurements
- Magnifying glass - This will be used as the projector lens (I used one with a radius of 1 1/2")
- Ruler - This will be used to make measurements
- Scissor - This will be used to cut pieces of cardboard
- Box Cutter - This will be used to make cutting the cardboard a little easier
- Hot Glue Gun - This will be used to assemble the cut cardboard pieces
- Glue Sticks - This will be used to put in the glue gun
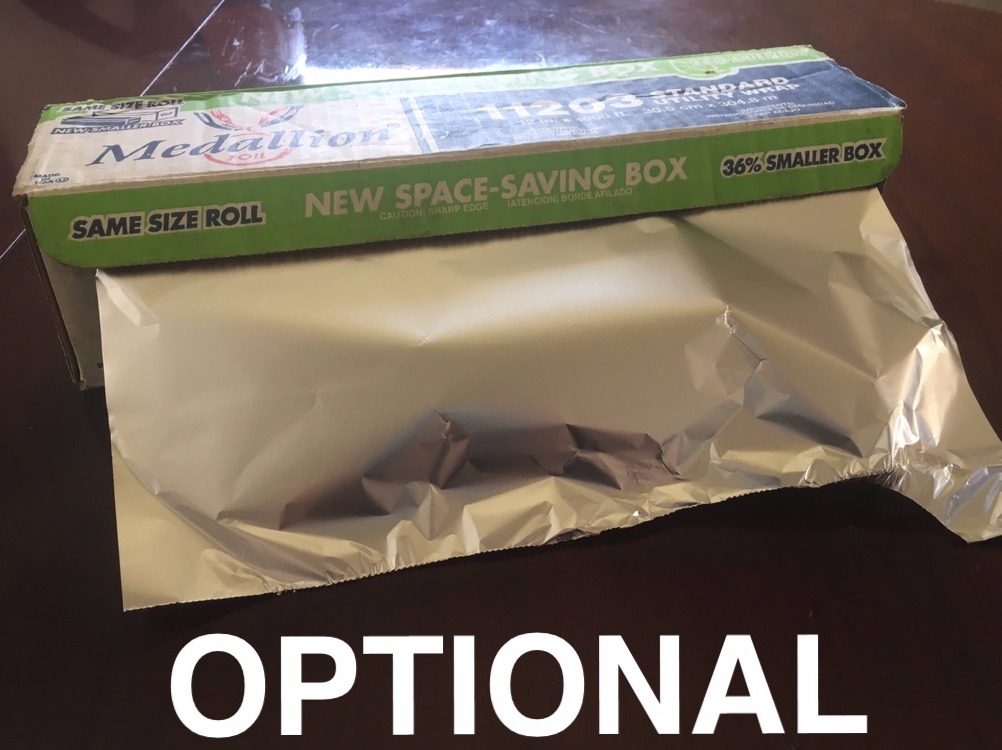
- Foil - I used foil to surrounded the insides of the box to enhance the projection quality, but this is optional
Making the Lens
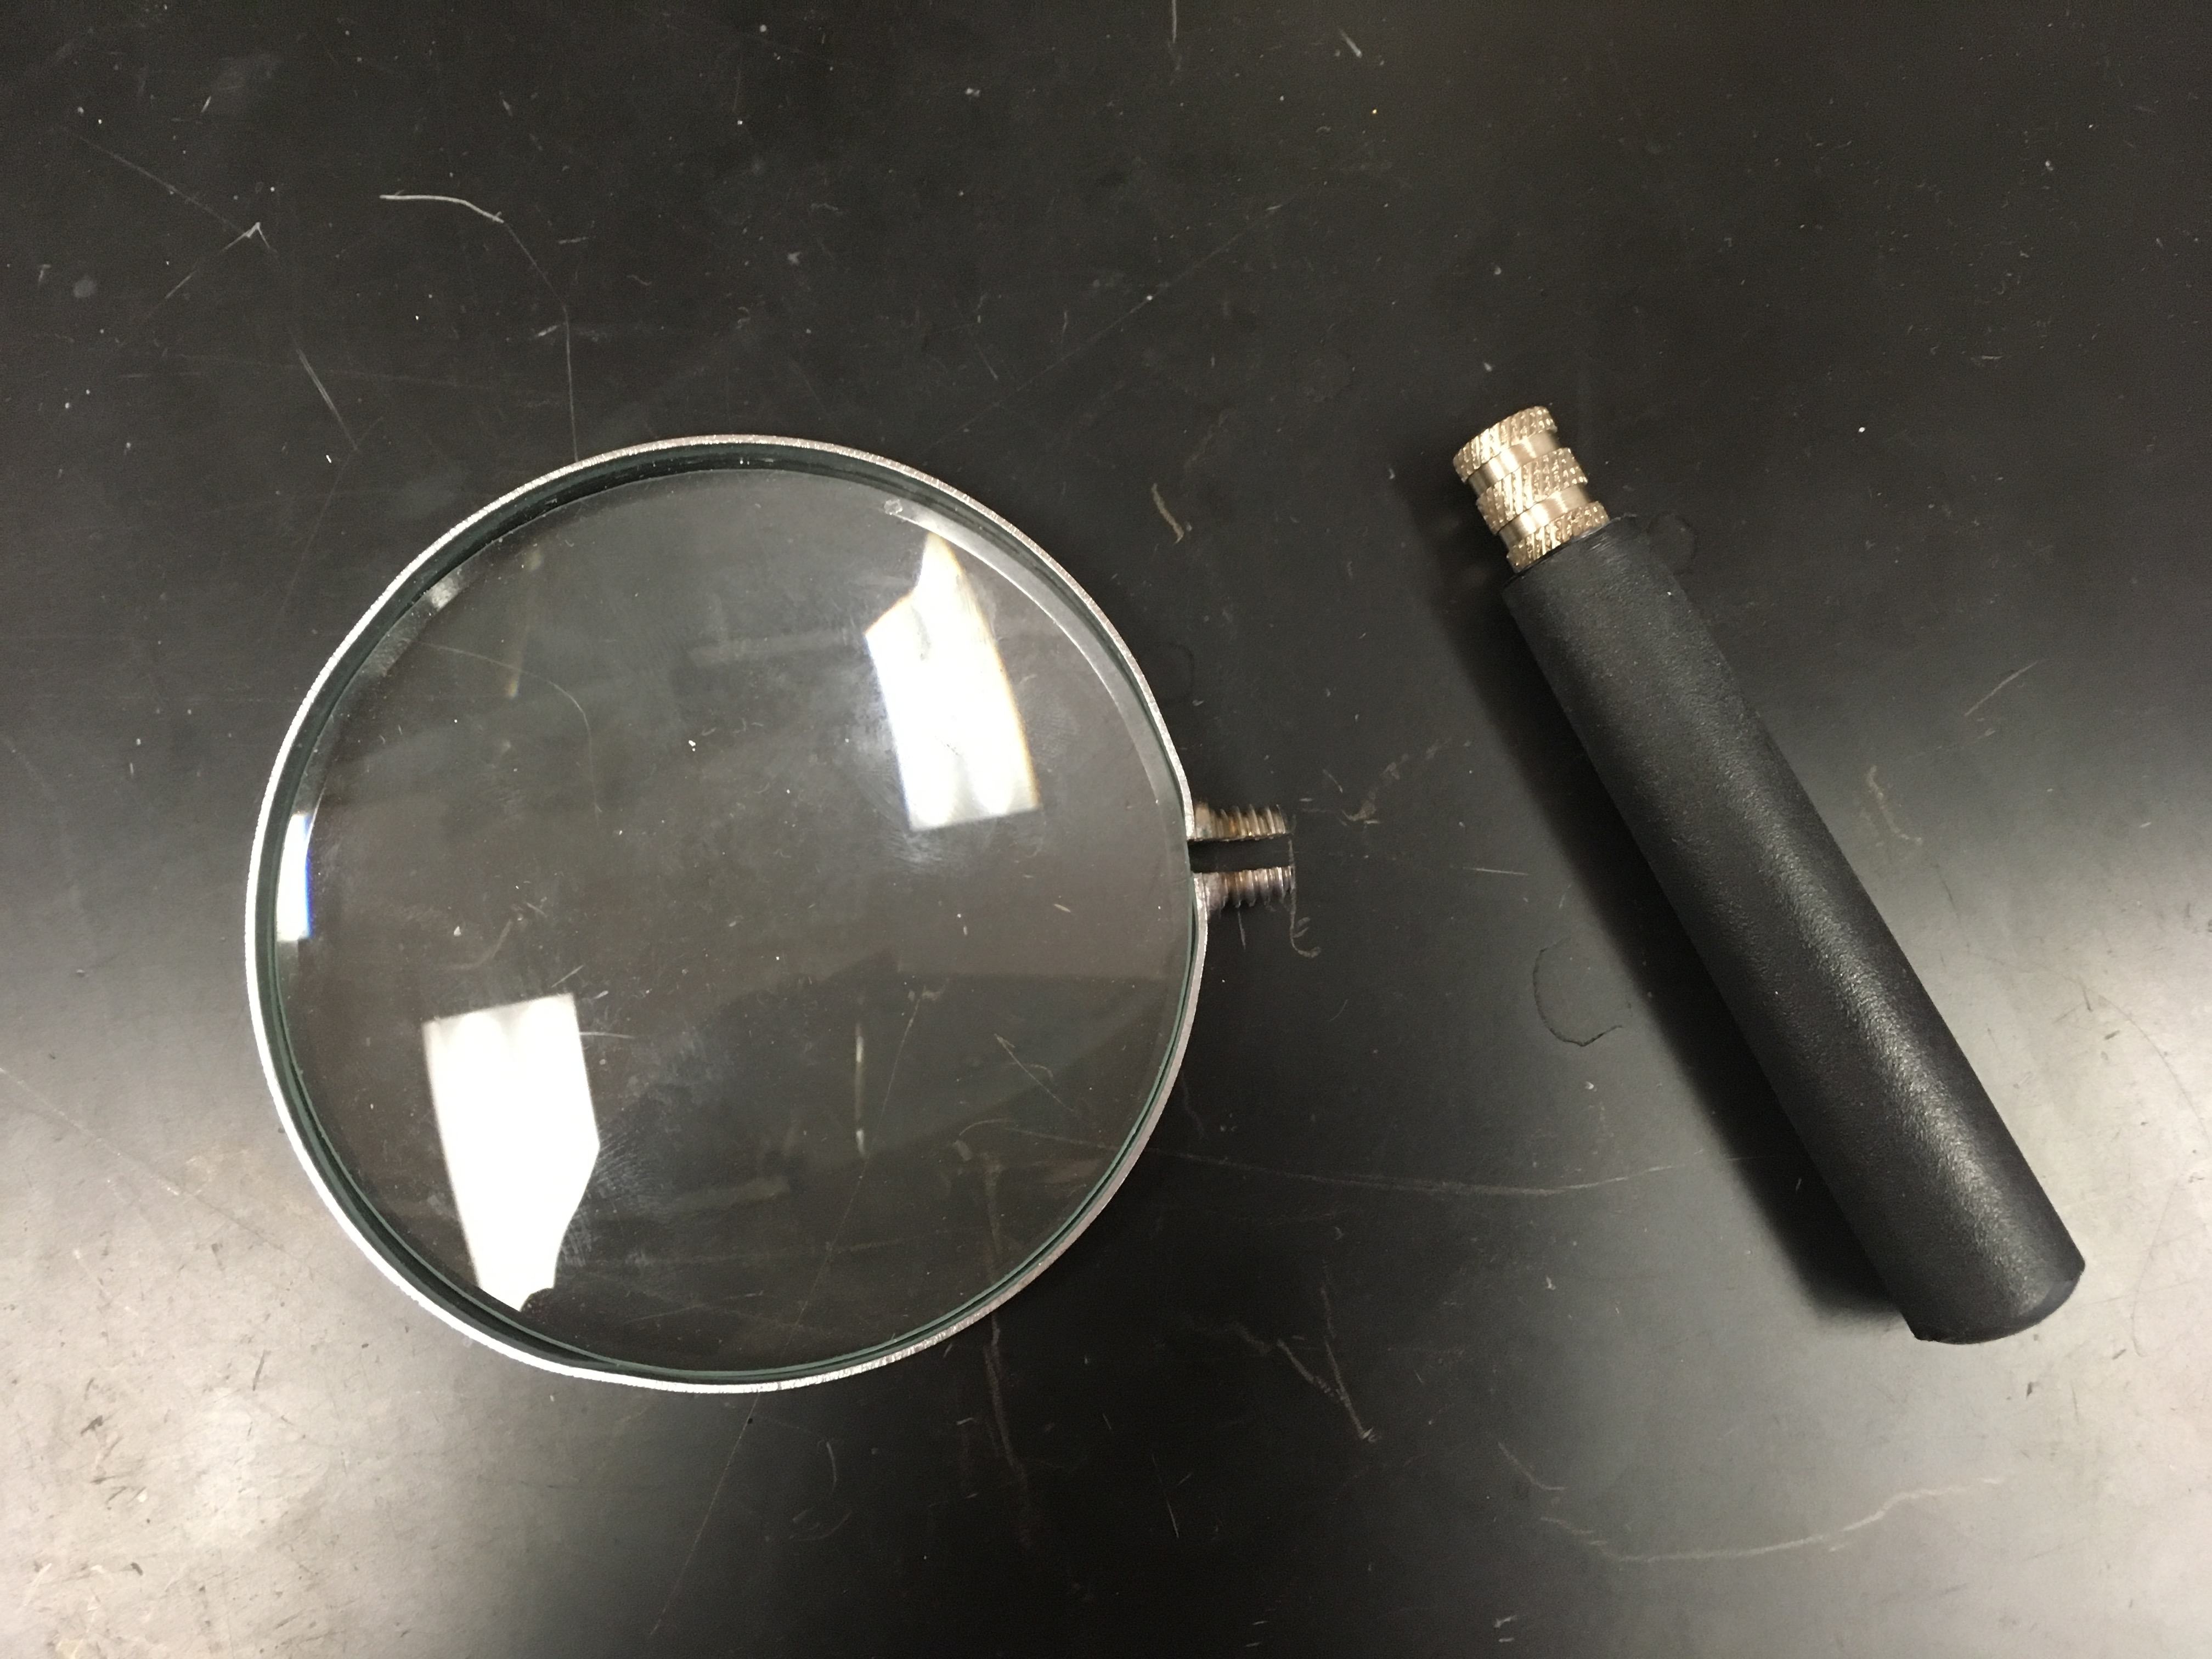
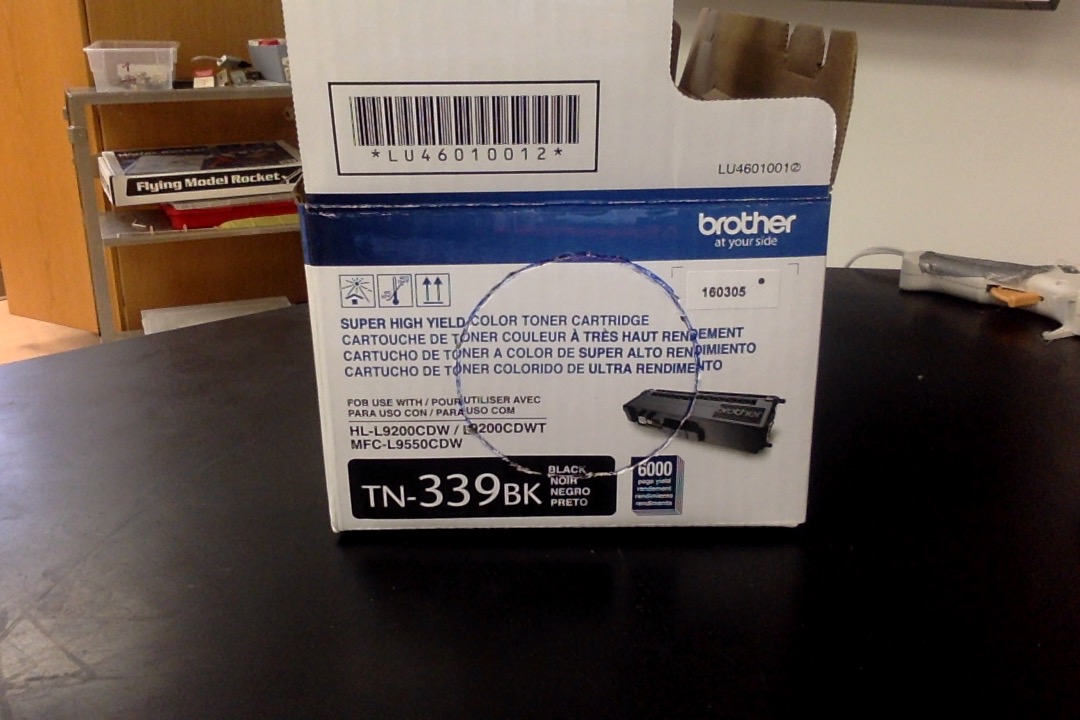
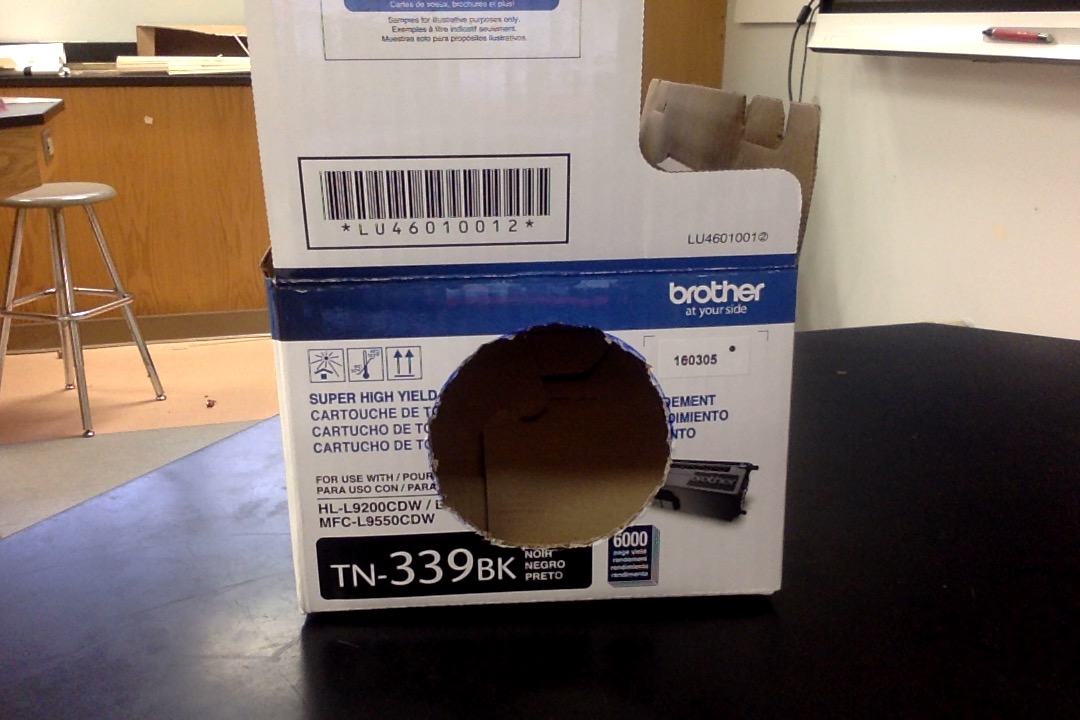
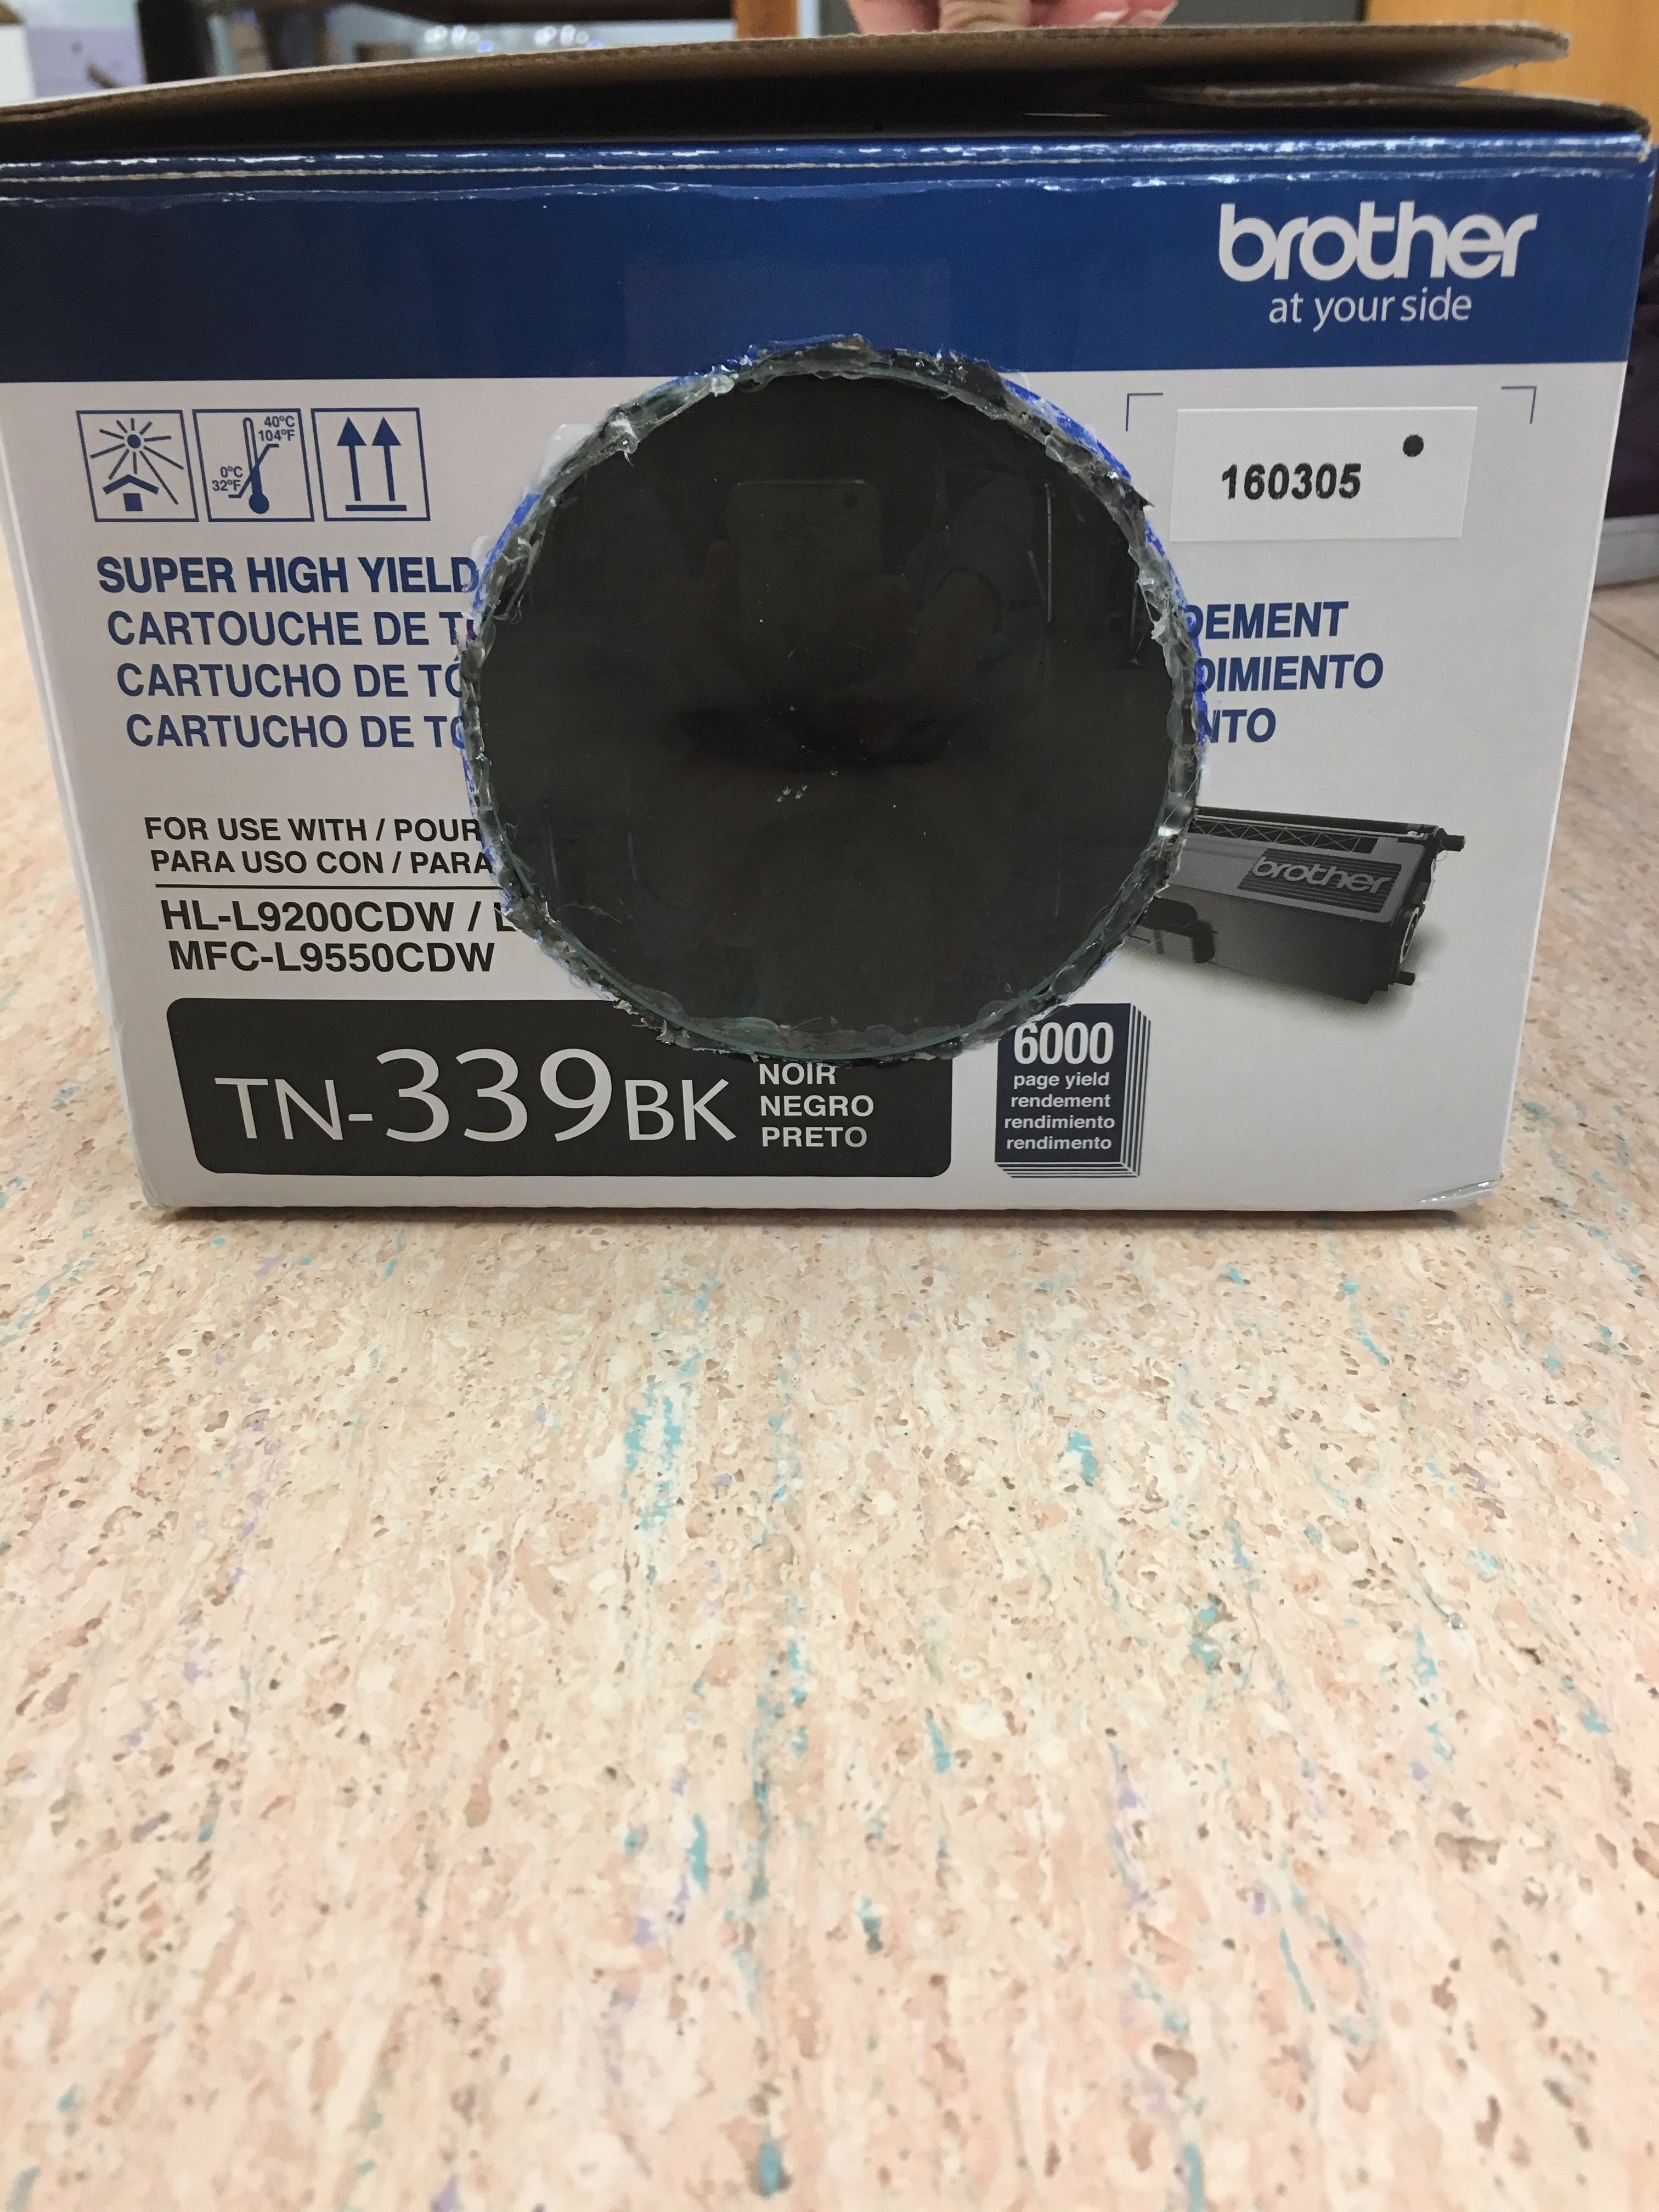
- Take your magnifying glass and take out the glass from it. (I had to unscrew mine from the base)
- Center the glass on the front of the rectangular box that you have gathered.
- Make an outline of the glass on the box.
- Using the box cutter, cut the outlined circle out. (You should have a circular hole on the front of your rectangular box)
- Put your magnifying glass into the hole that you just made. To prevent it from falling, hold it in place with your hands for now.
- Take your hot glue gun and apply the glue to where the glass and cardboard touch. (Be careful to not put glue on the lens! This can affect the projection quality)
Making the Phone Holder
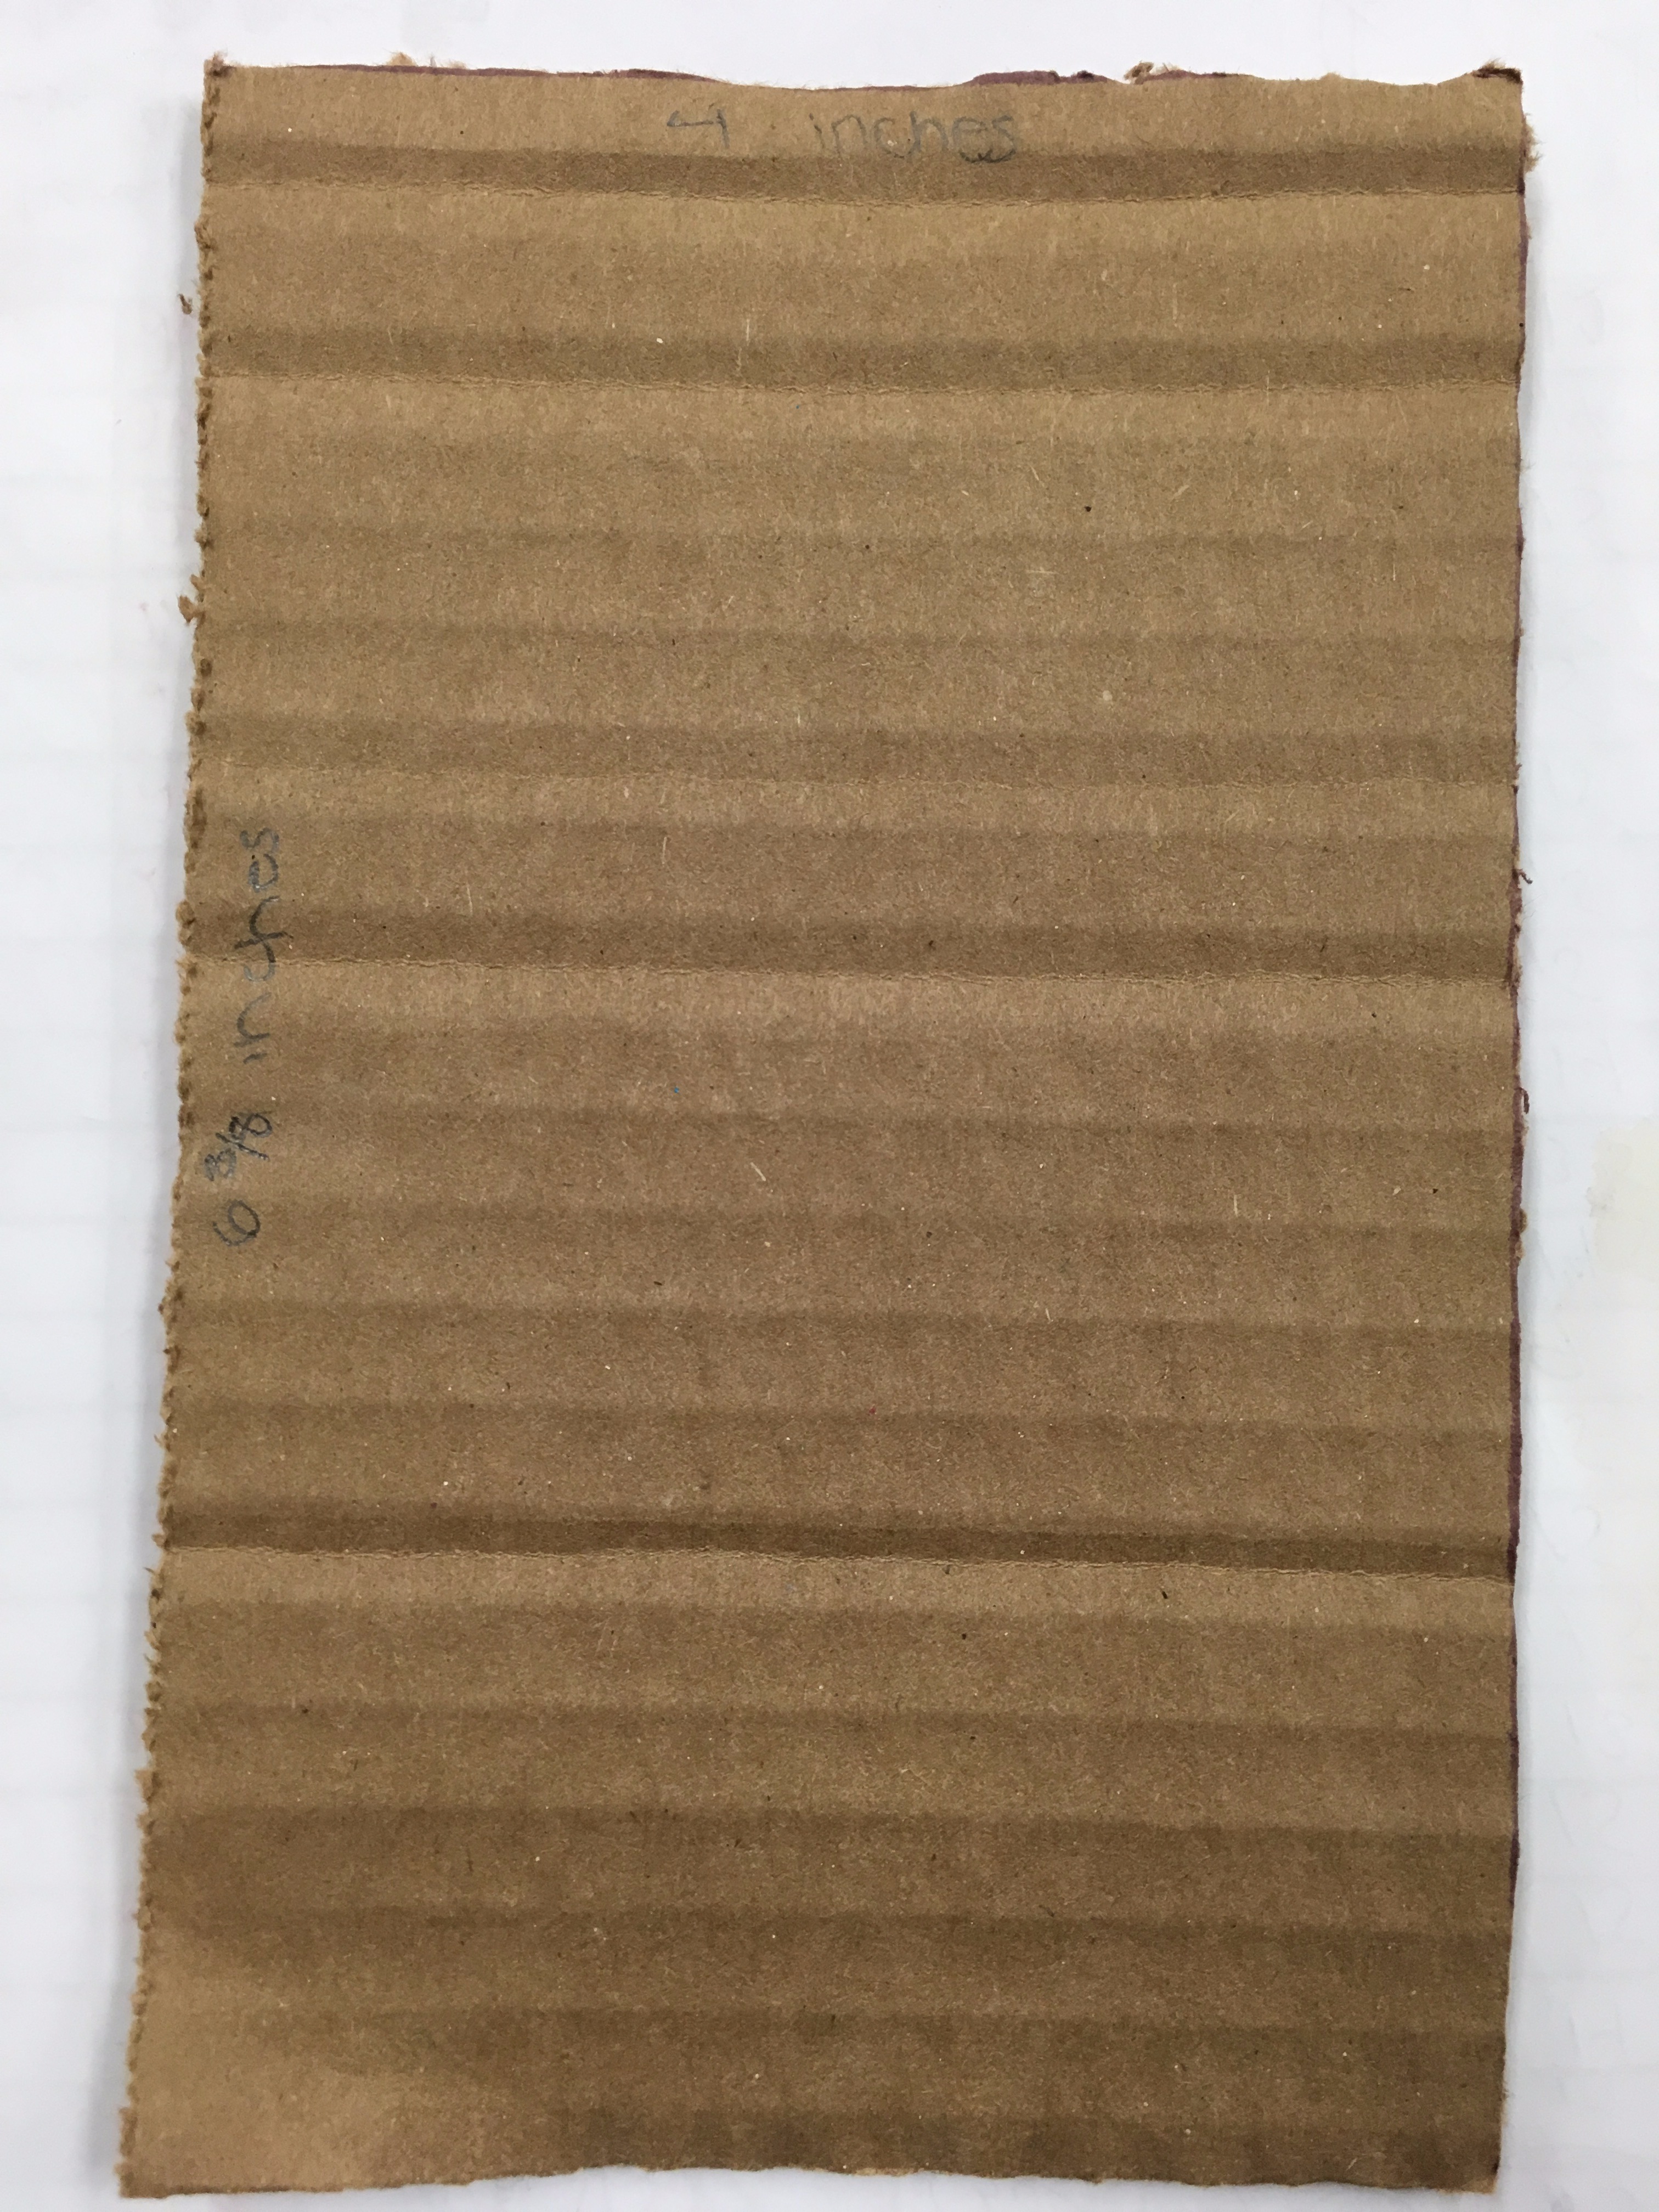
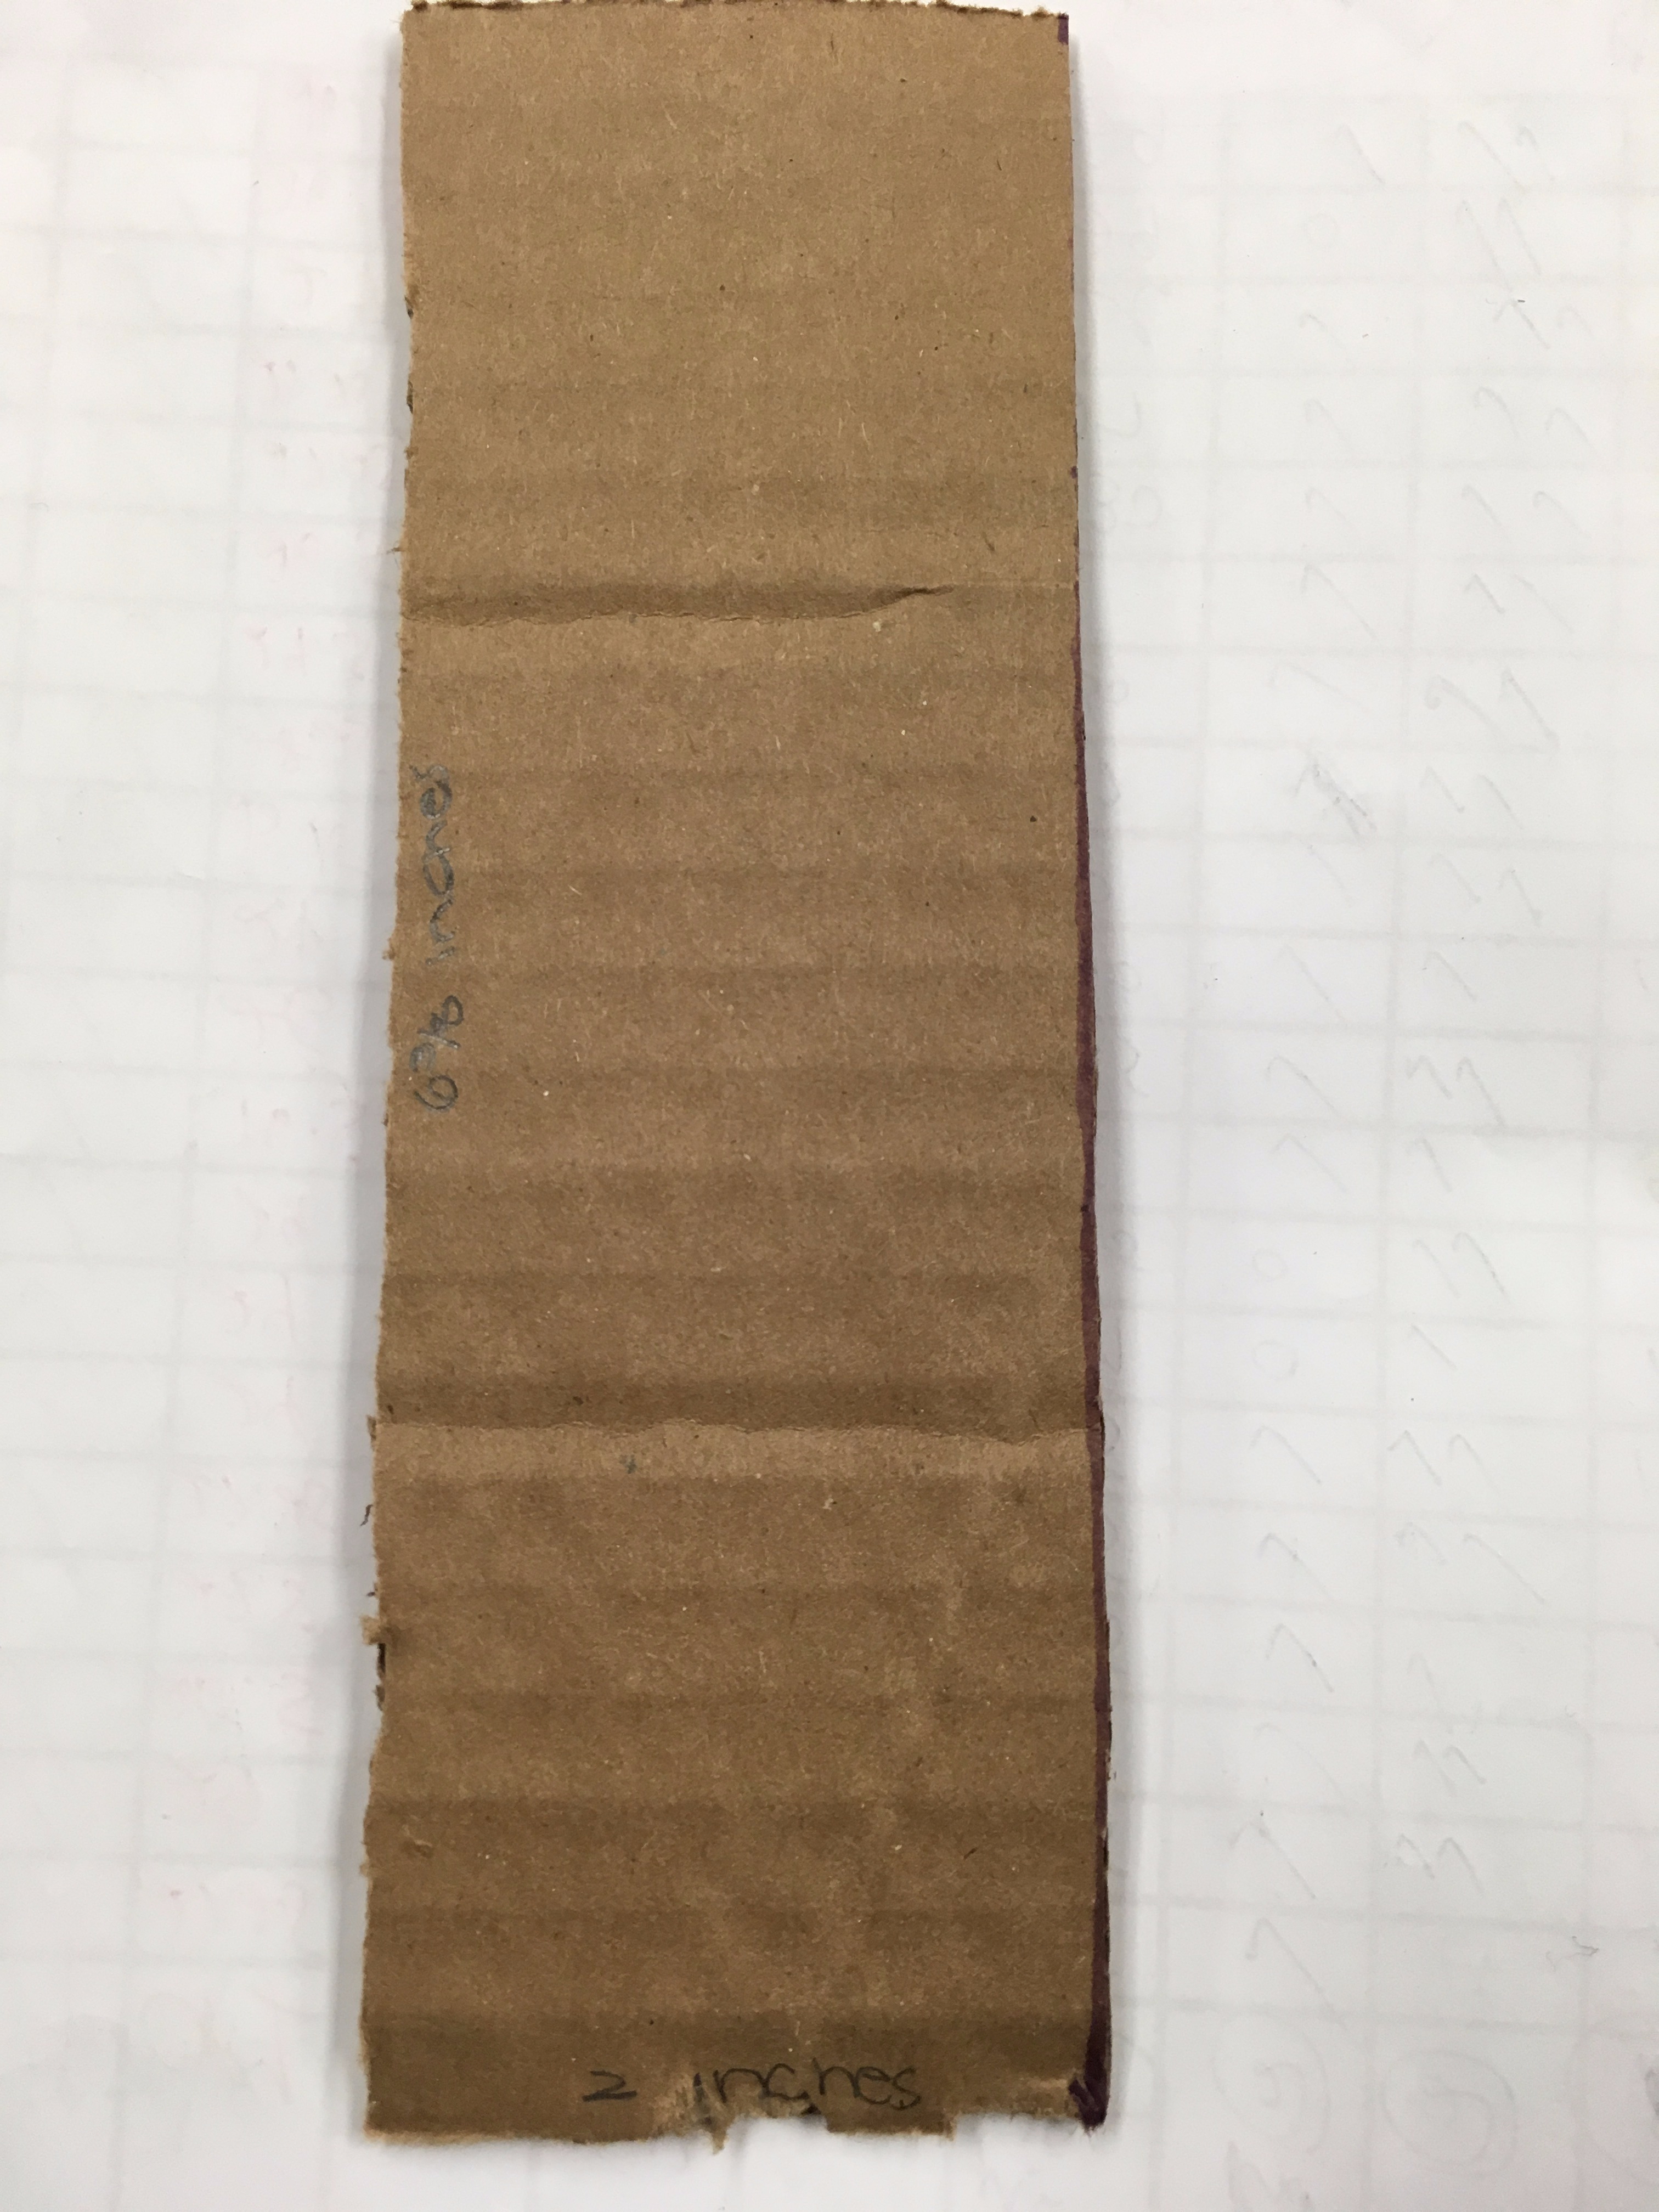
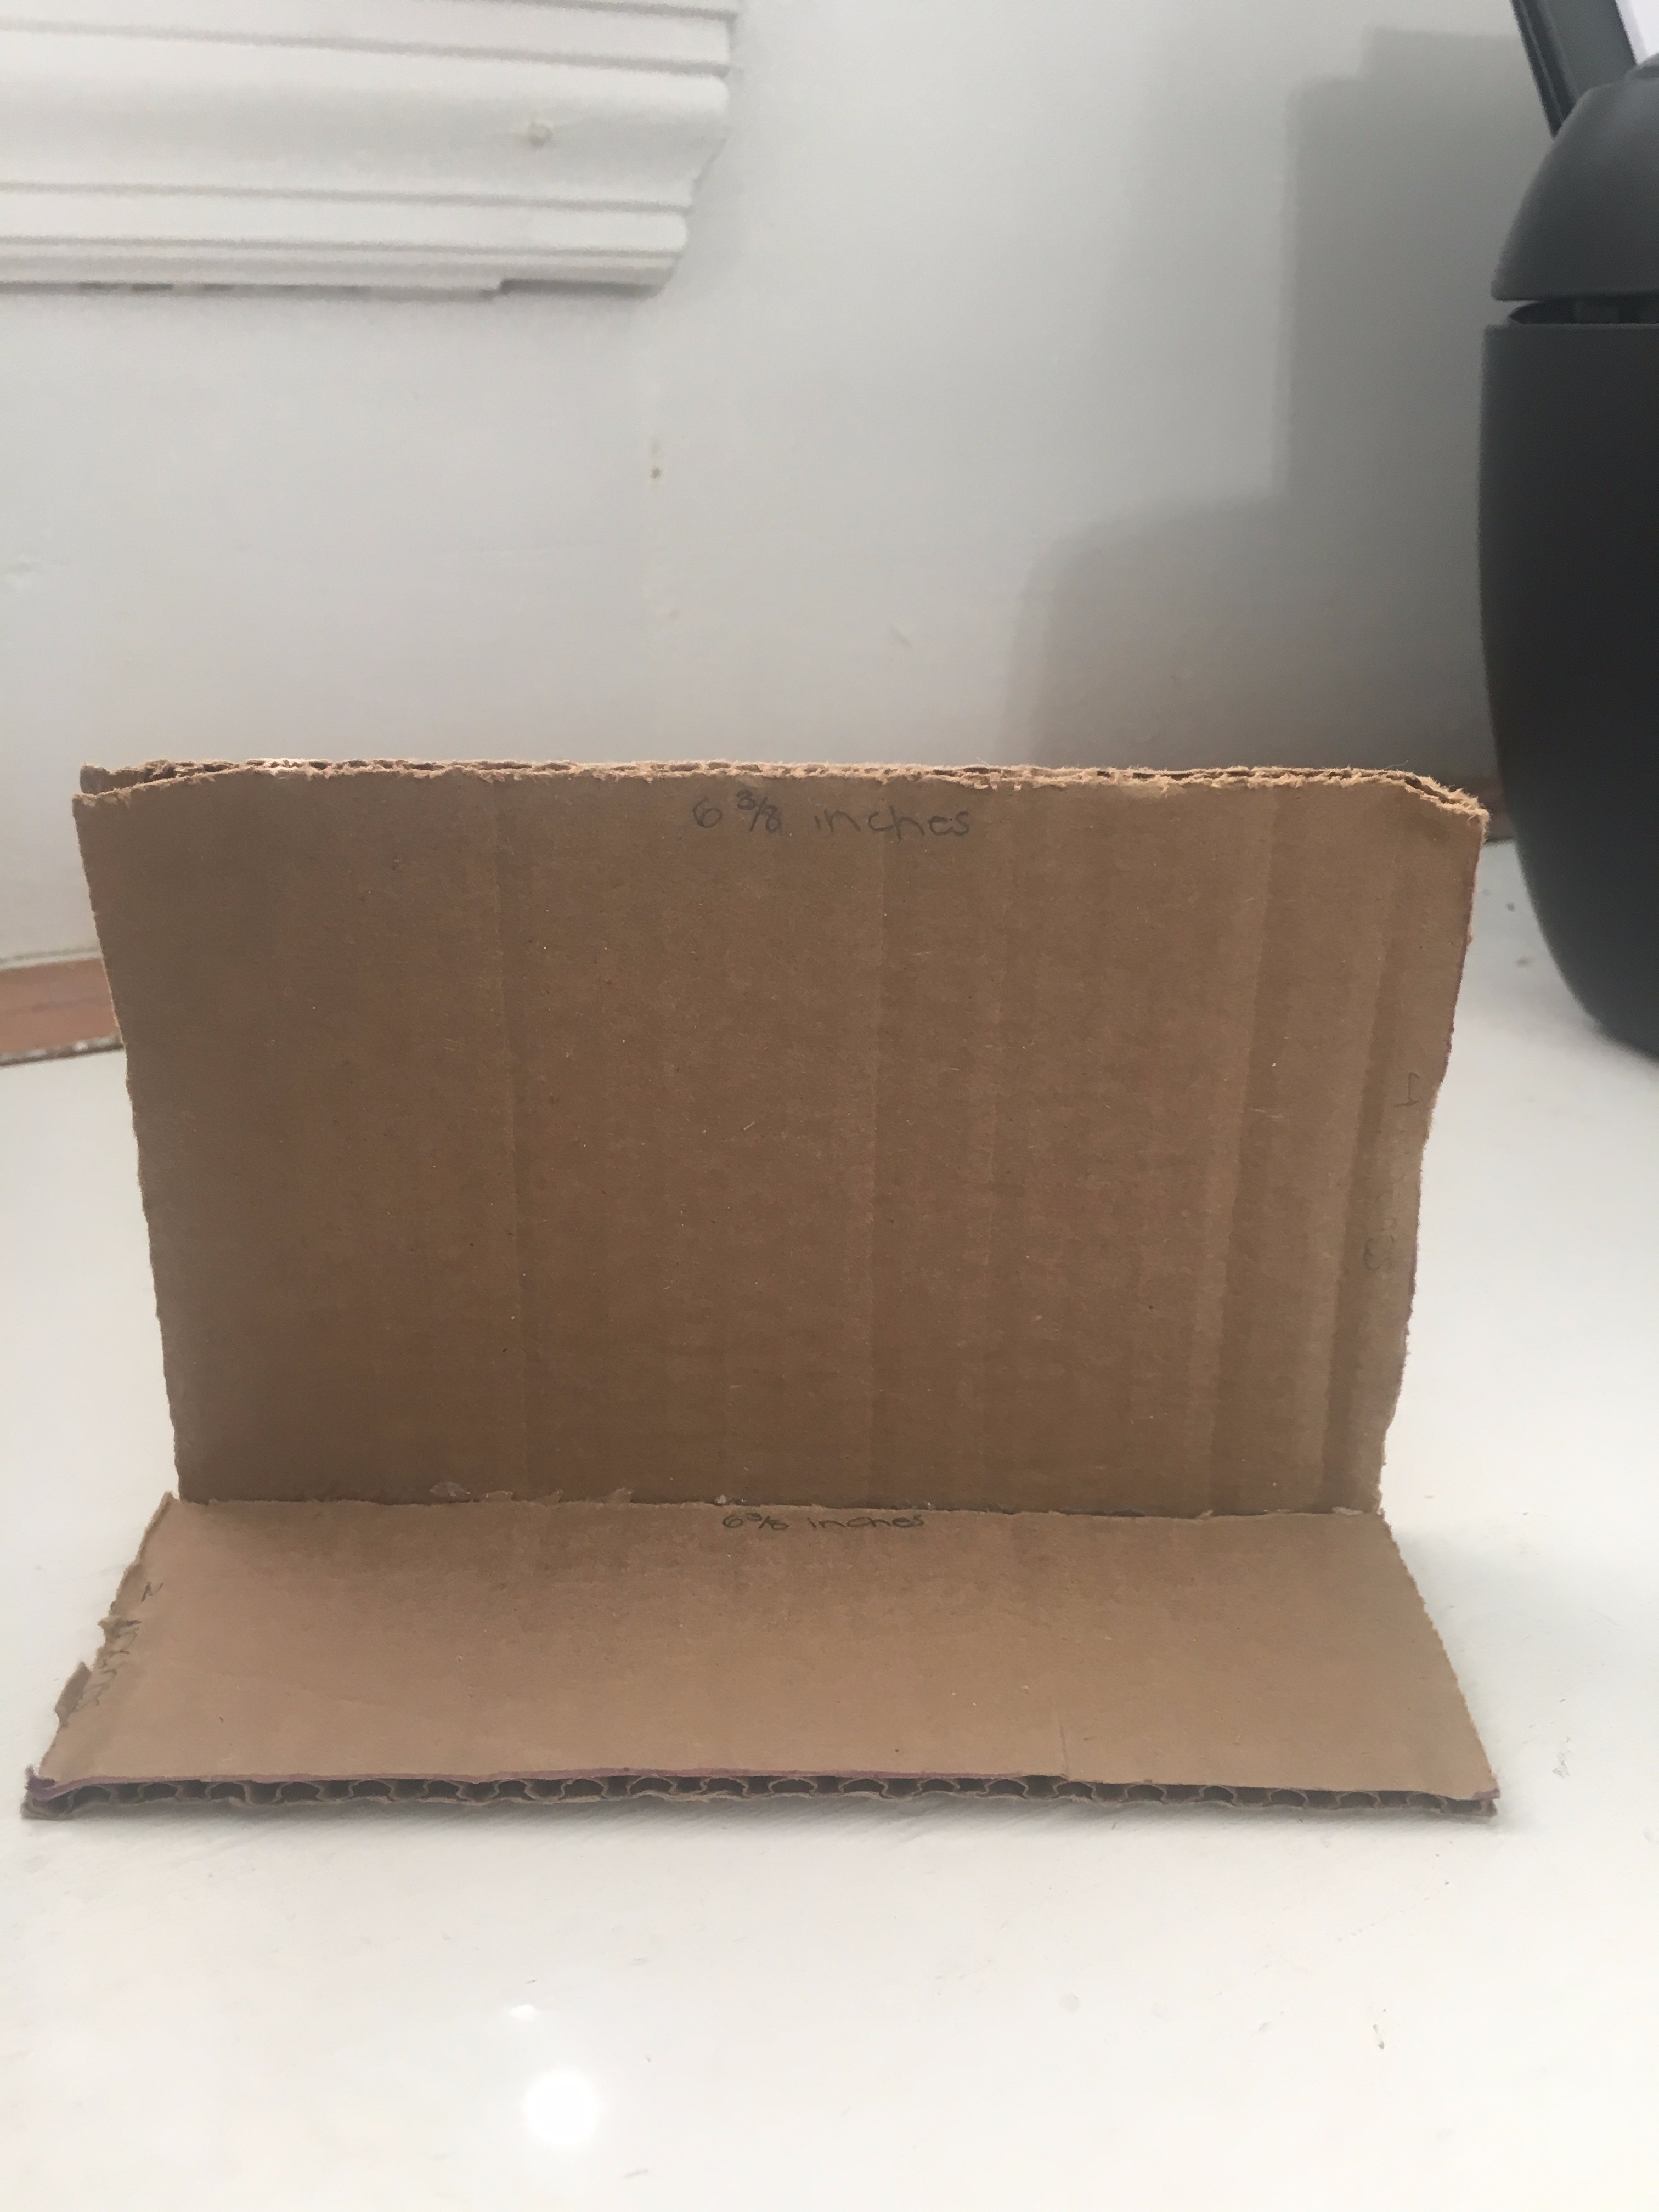
- Take your ruler and measure the width of your rectangular box. (The width of mine is 6 3/8 inches) (Make sure to write this down on a piece of paper so that you may remember the measurements when making this with the cardboard)
- This time, using the ruler, measure the height of your rectangular box. (The height of the box was 4 3/4 inches, but I chose to make the height of the phone holder 4 inches) (Make sure to write your measurement on a piece of paper so that you may remember the measurements when making this with the cardboard)
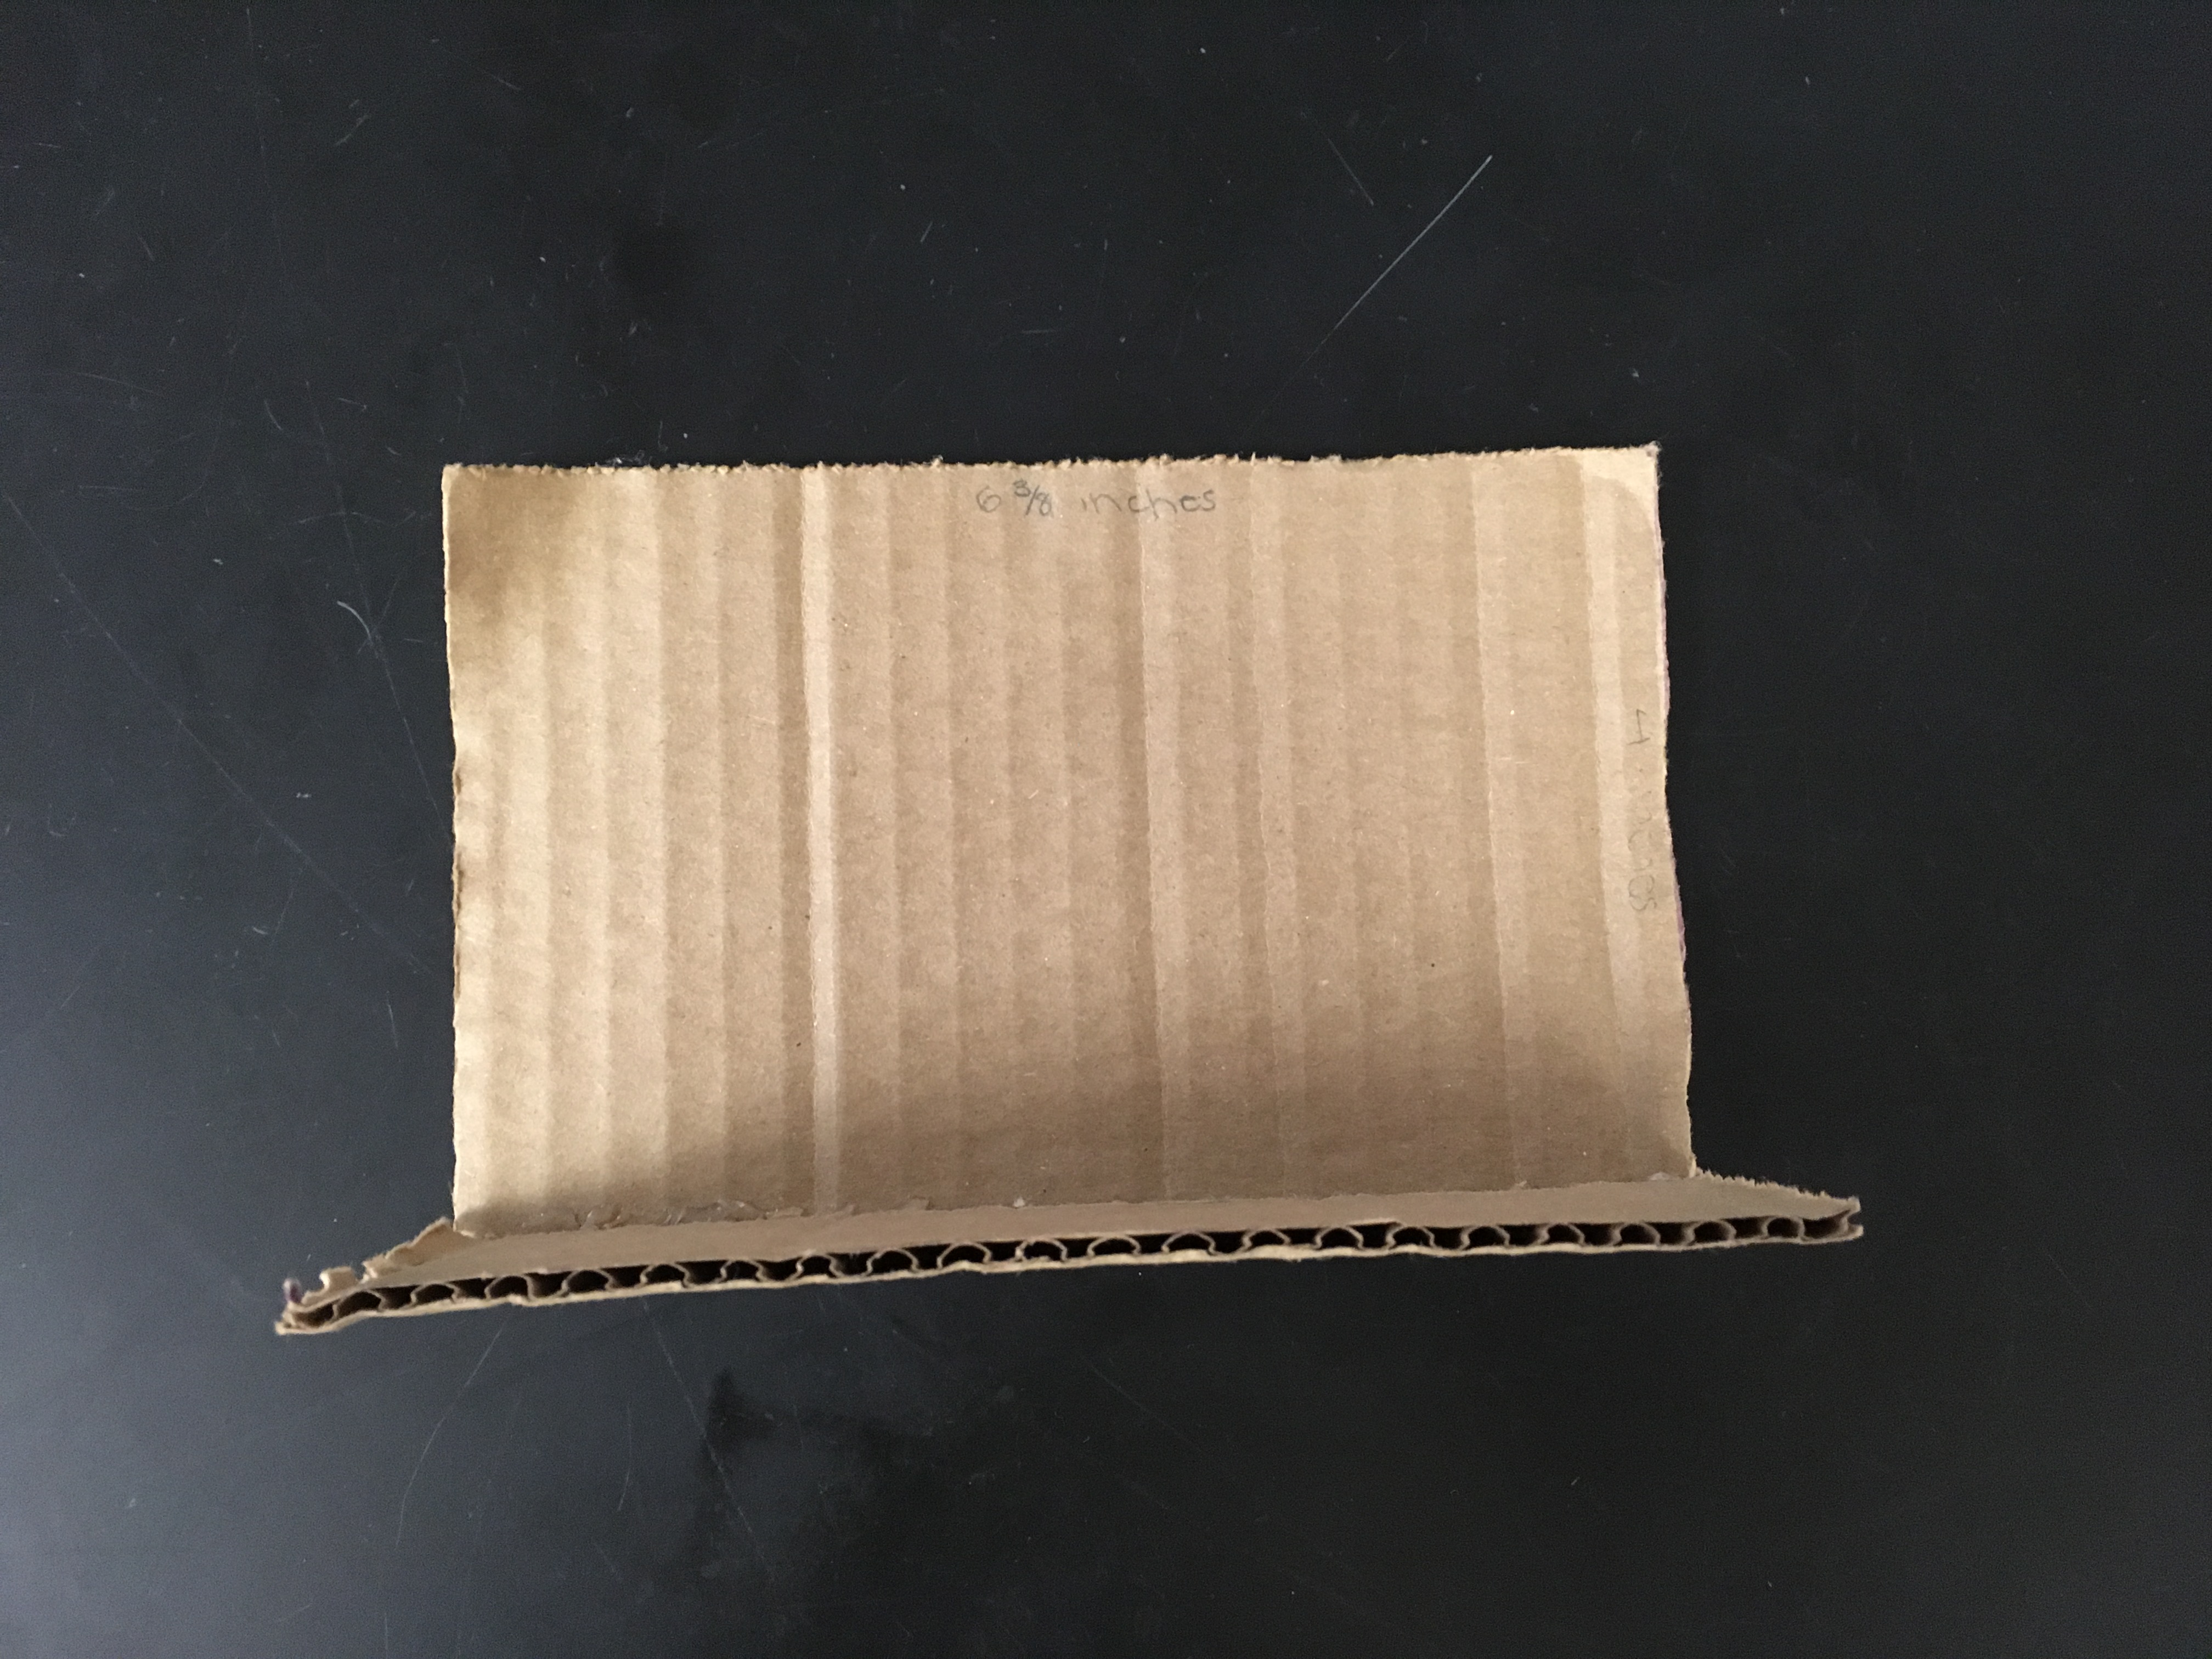
- To make the back support for the phone holder, use your height and width to make a rectangle. (I decided to shorten (My rectangle was 4 inches by 6 3/8 inches)
- To make the bottom support for the phone holder, use the measurement of the width, and for the height of the rectangle, divide the height of your back support rectangle by 2. This will be your height for the bottom support. (My rectangle was 2 inches by 6 3/8 inches)
- Cut the rectangles out by following the outline of the rectangles that you have drawn.
- Take your hot glue gun and attach the two rectangles, the longest sides touching each other.
- Make sure the two rectangles together, form a right angle when looking at it from the side.
OPTIONAL: Surrounding the Inside Walls With Foil
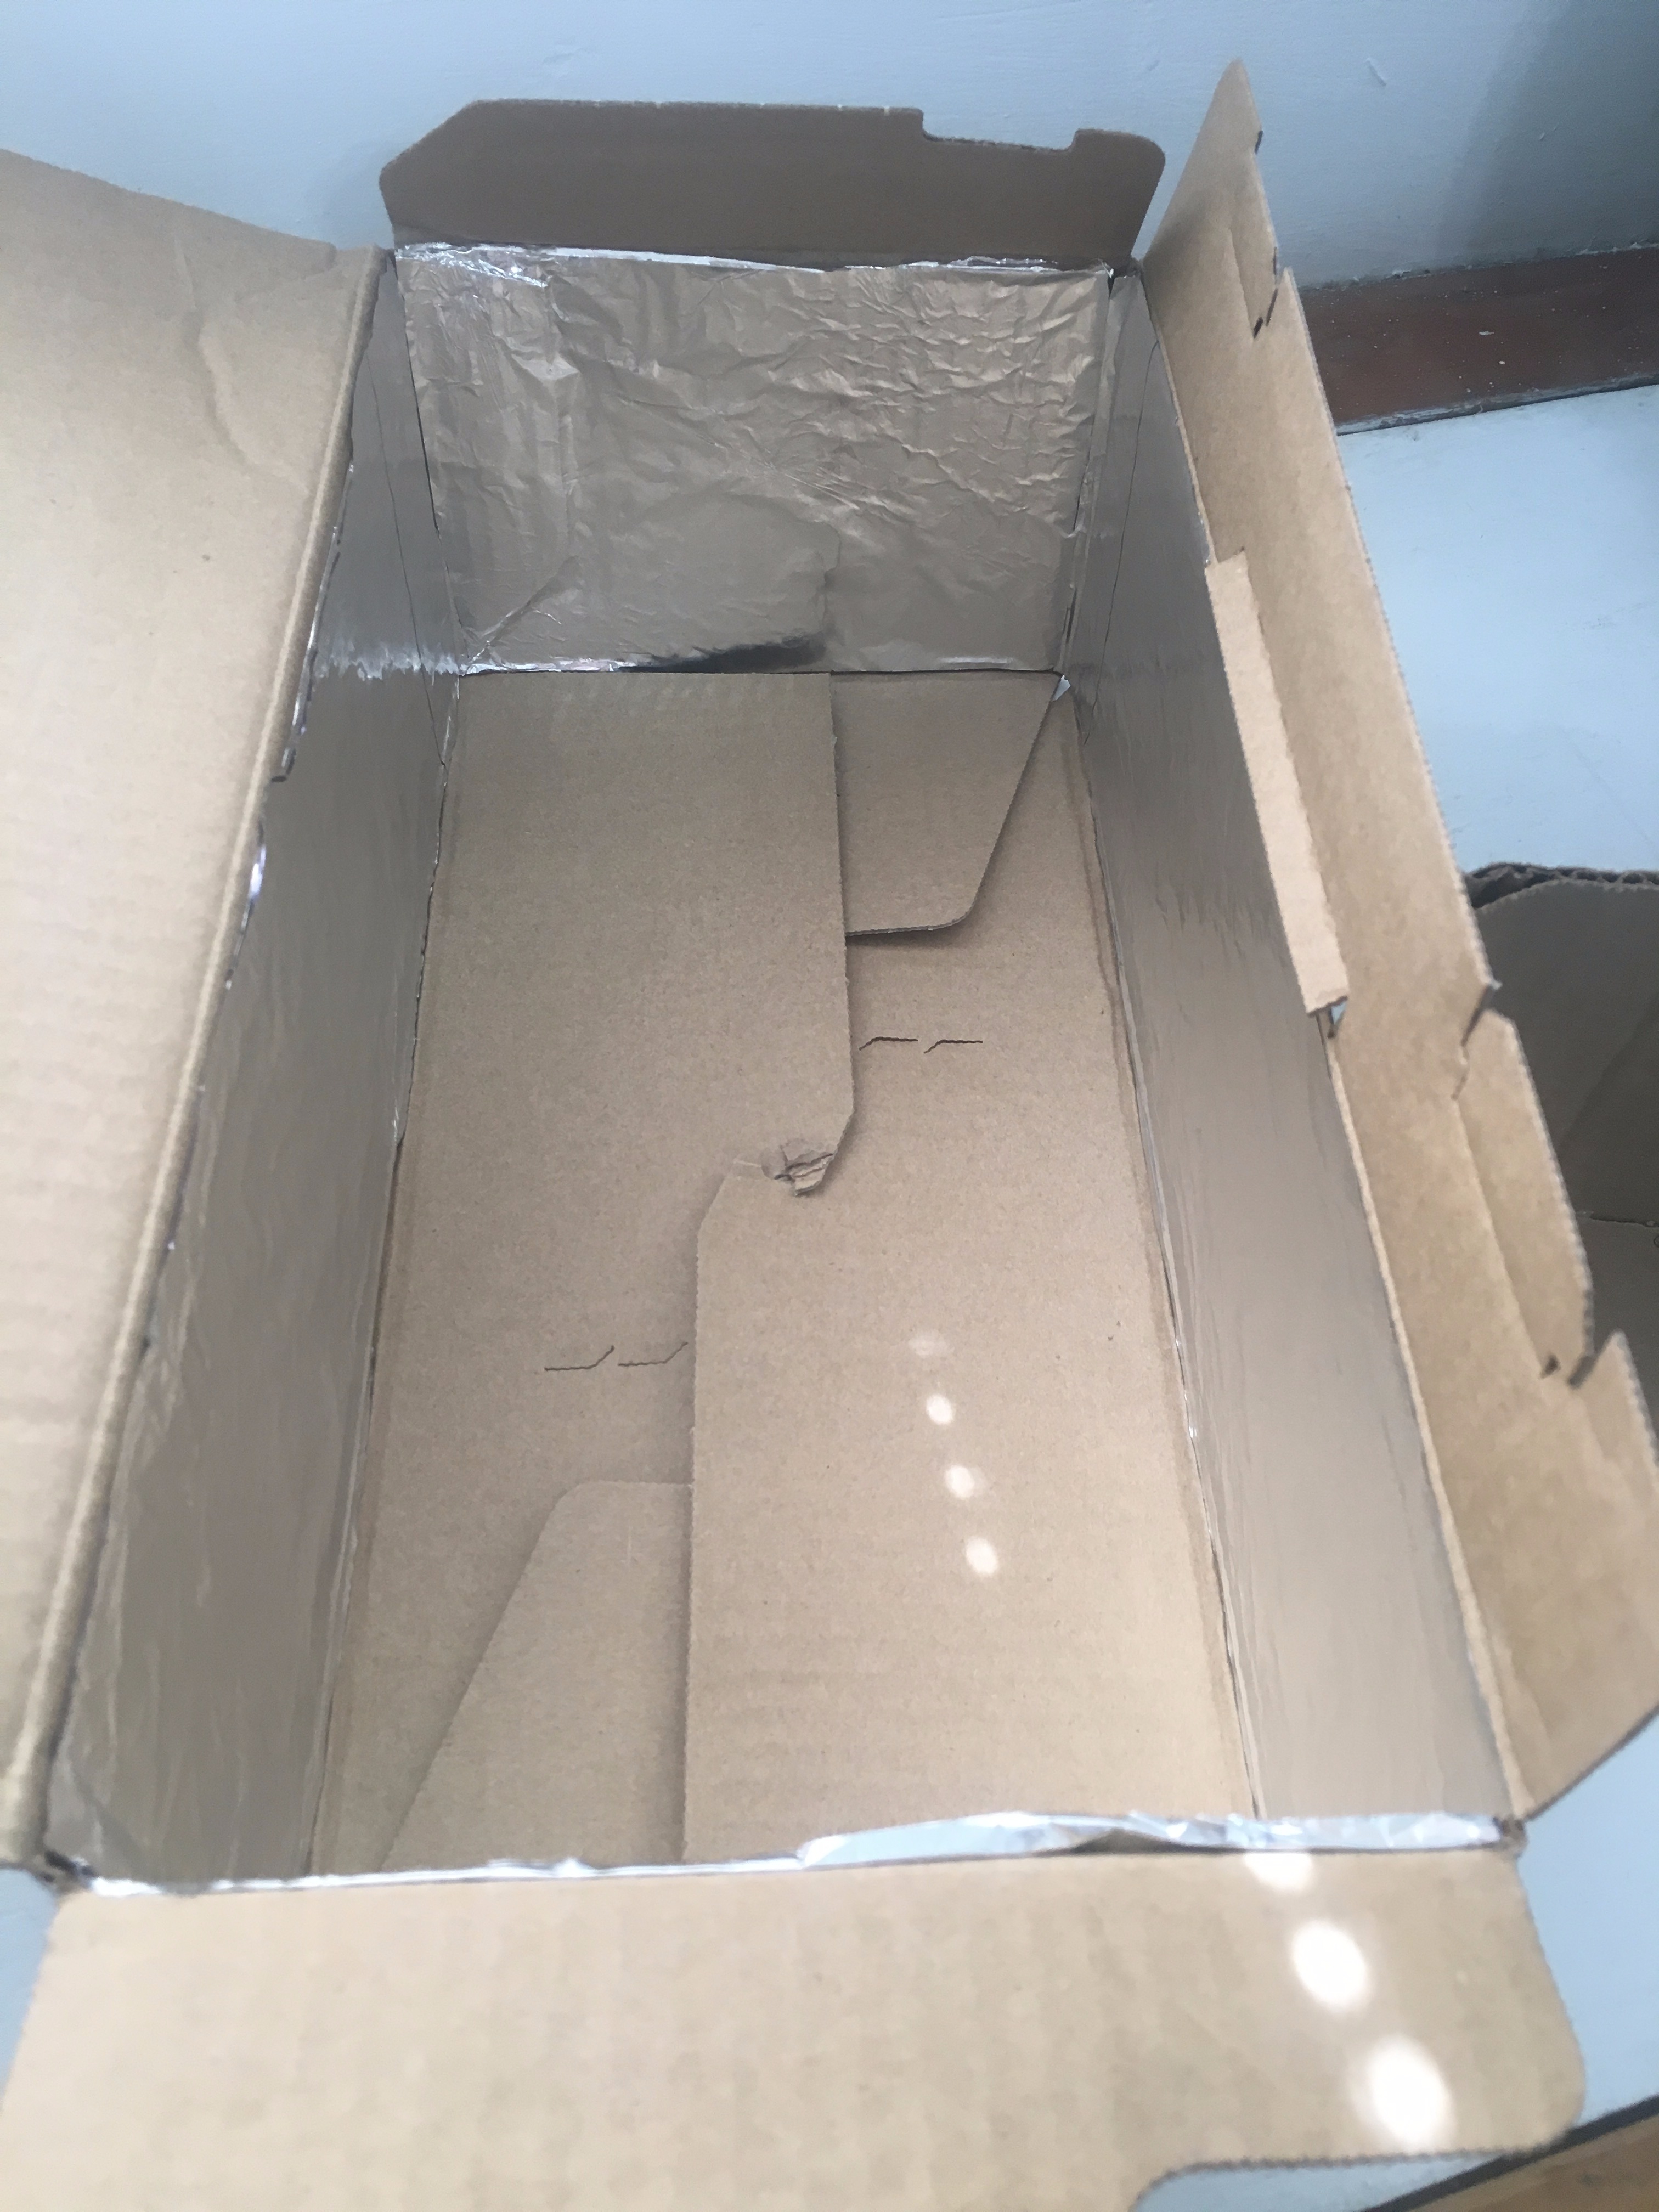
(If you chose not to do this, skip this step)
- Take your tin foil and make sure it is flat. (If not, flatten it out)
- Measure the length, width, and height of your box. (Mine was 13 1/2" by 6 3/8" by 4 3/4")
- Measure each side of the box as its own rectangle.
- Draw each rectangle with your exact measurements onto the foil
- Cut the rectangles out, according to your lines
- Glue the foil onto its respective sides. (I chose not to put foil onto the bottom)
How to Use the Projector
Now that you have completed the body of the projector, and the phone holder that goes into it, it is time to use it!
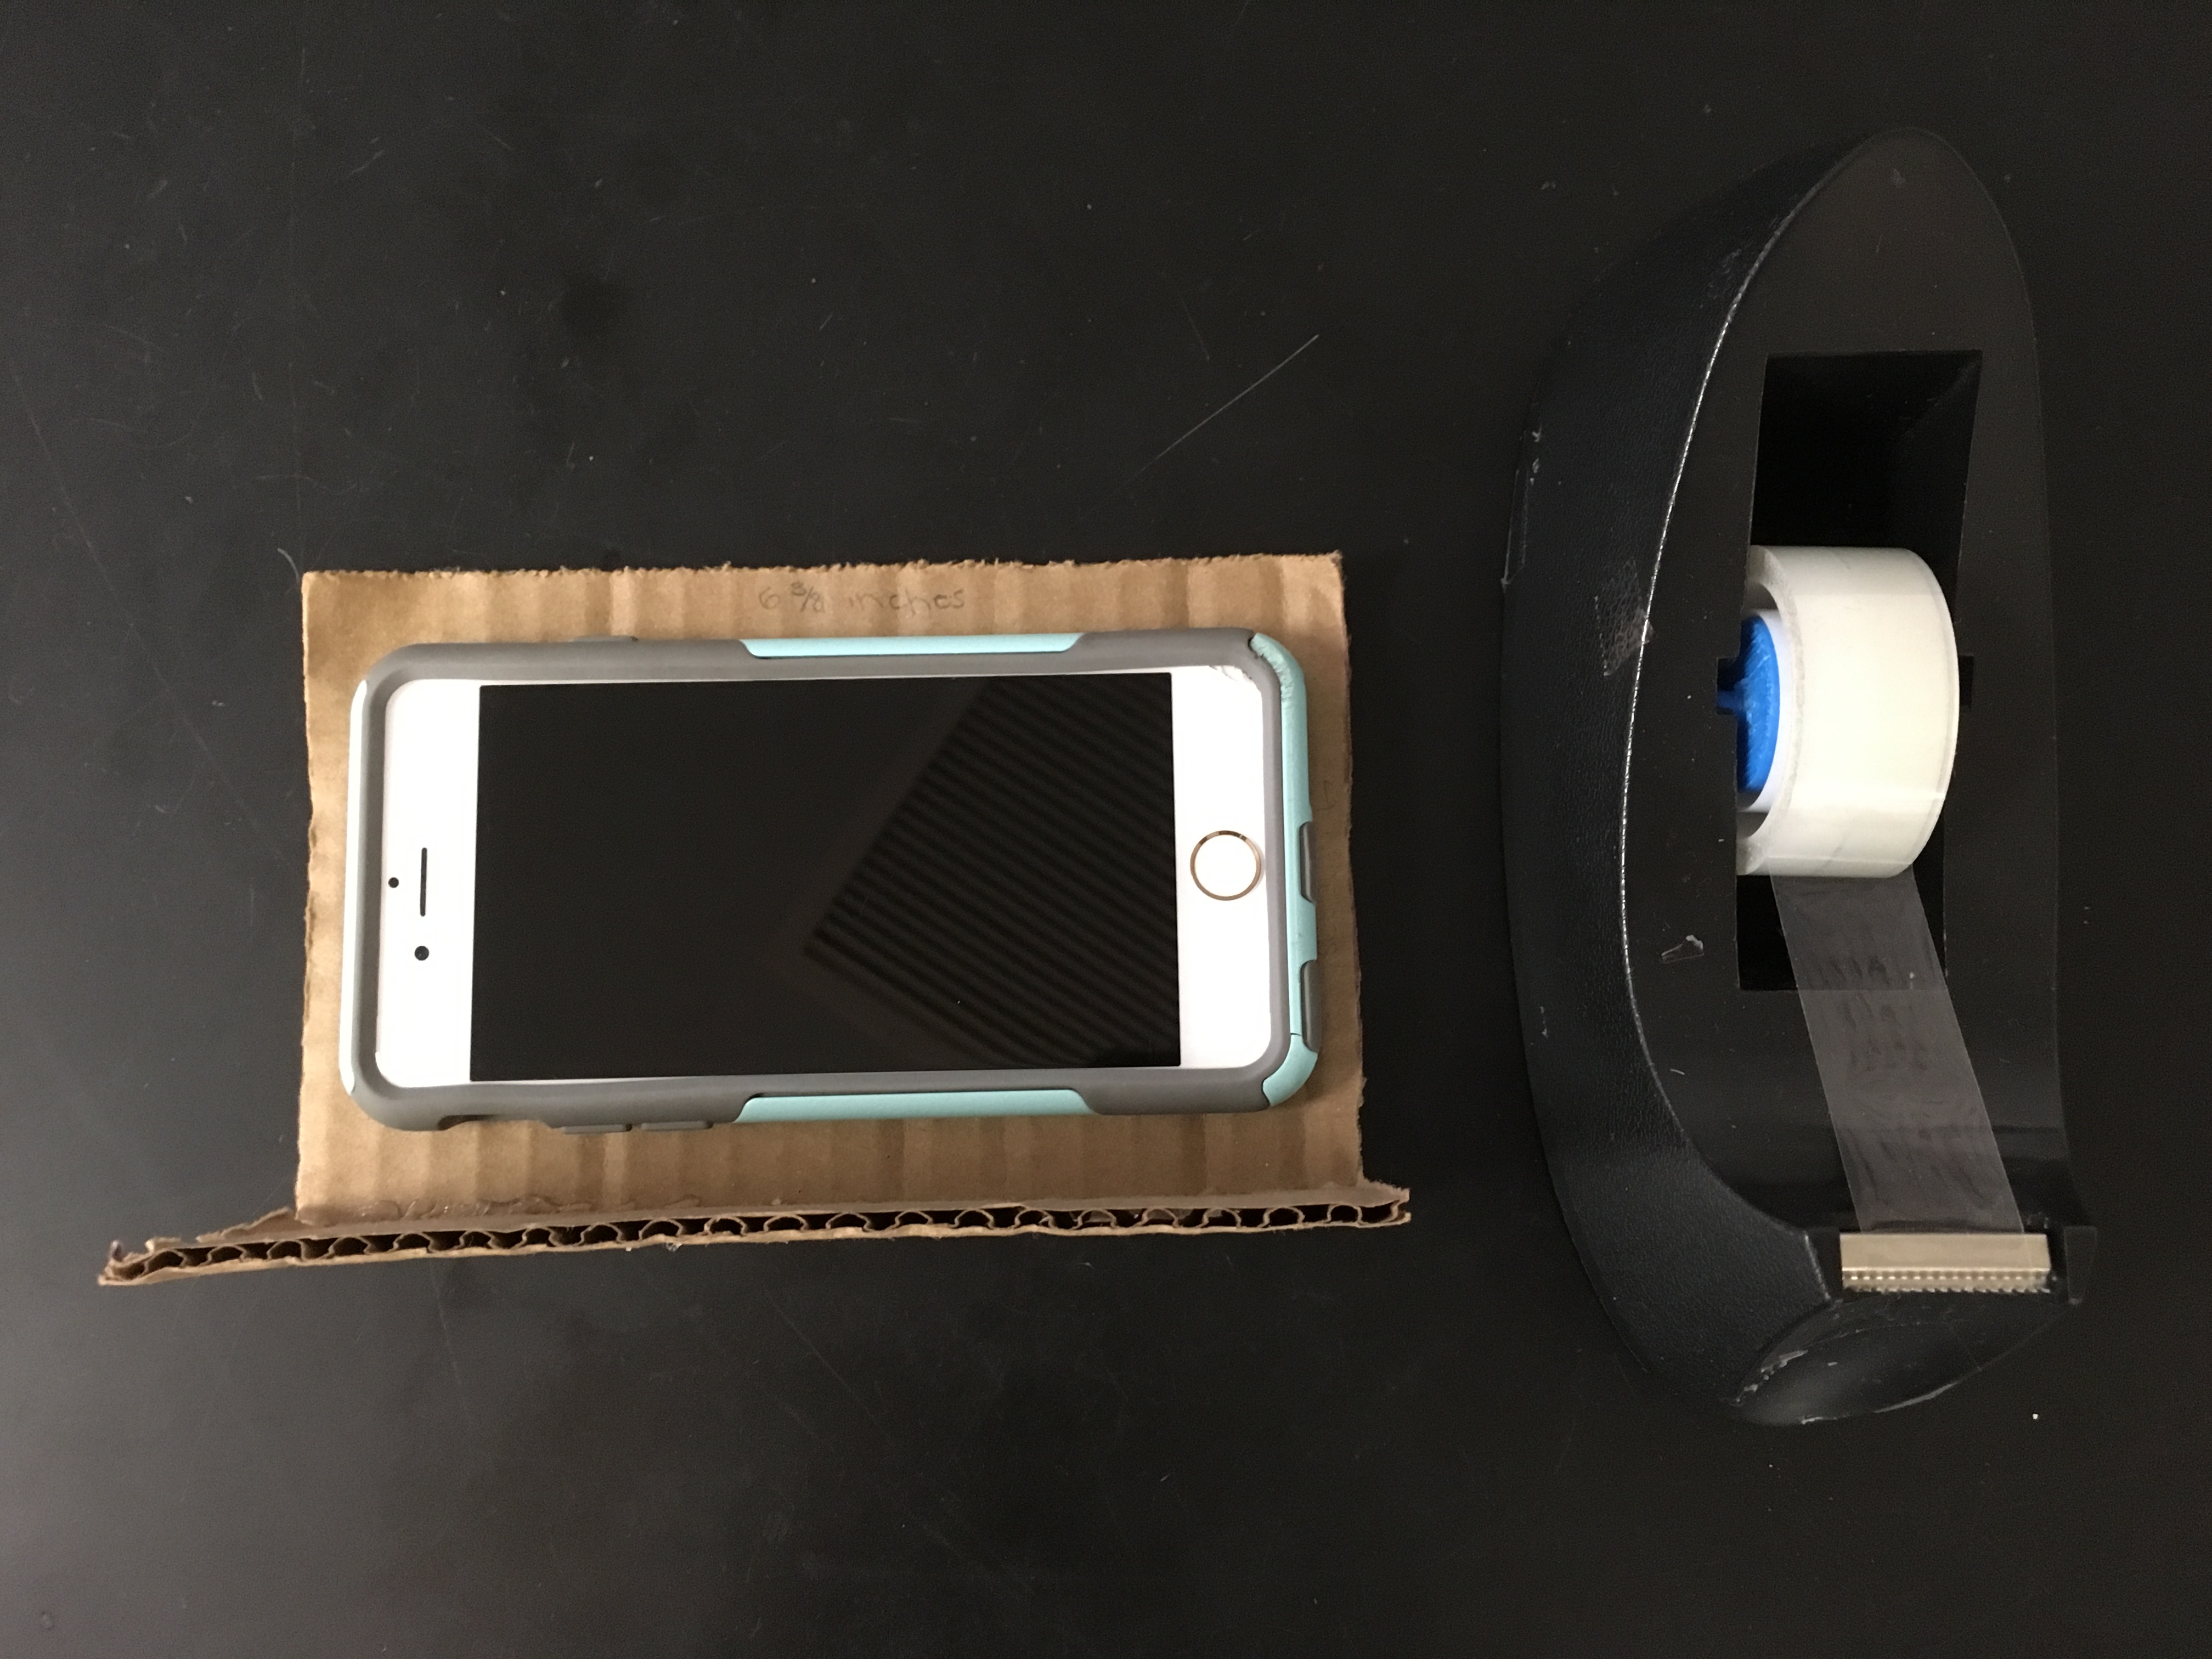
- Take your phone holder and lay it down on a flat surface
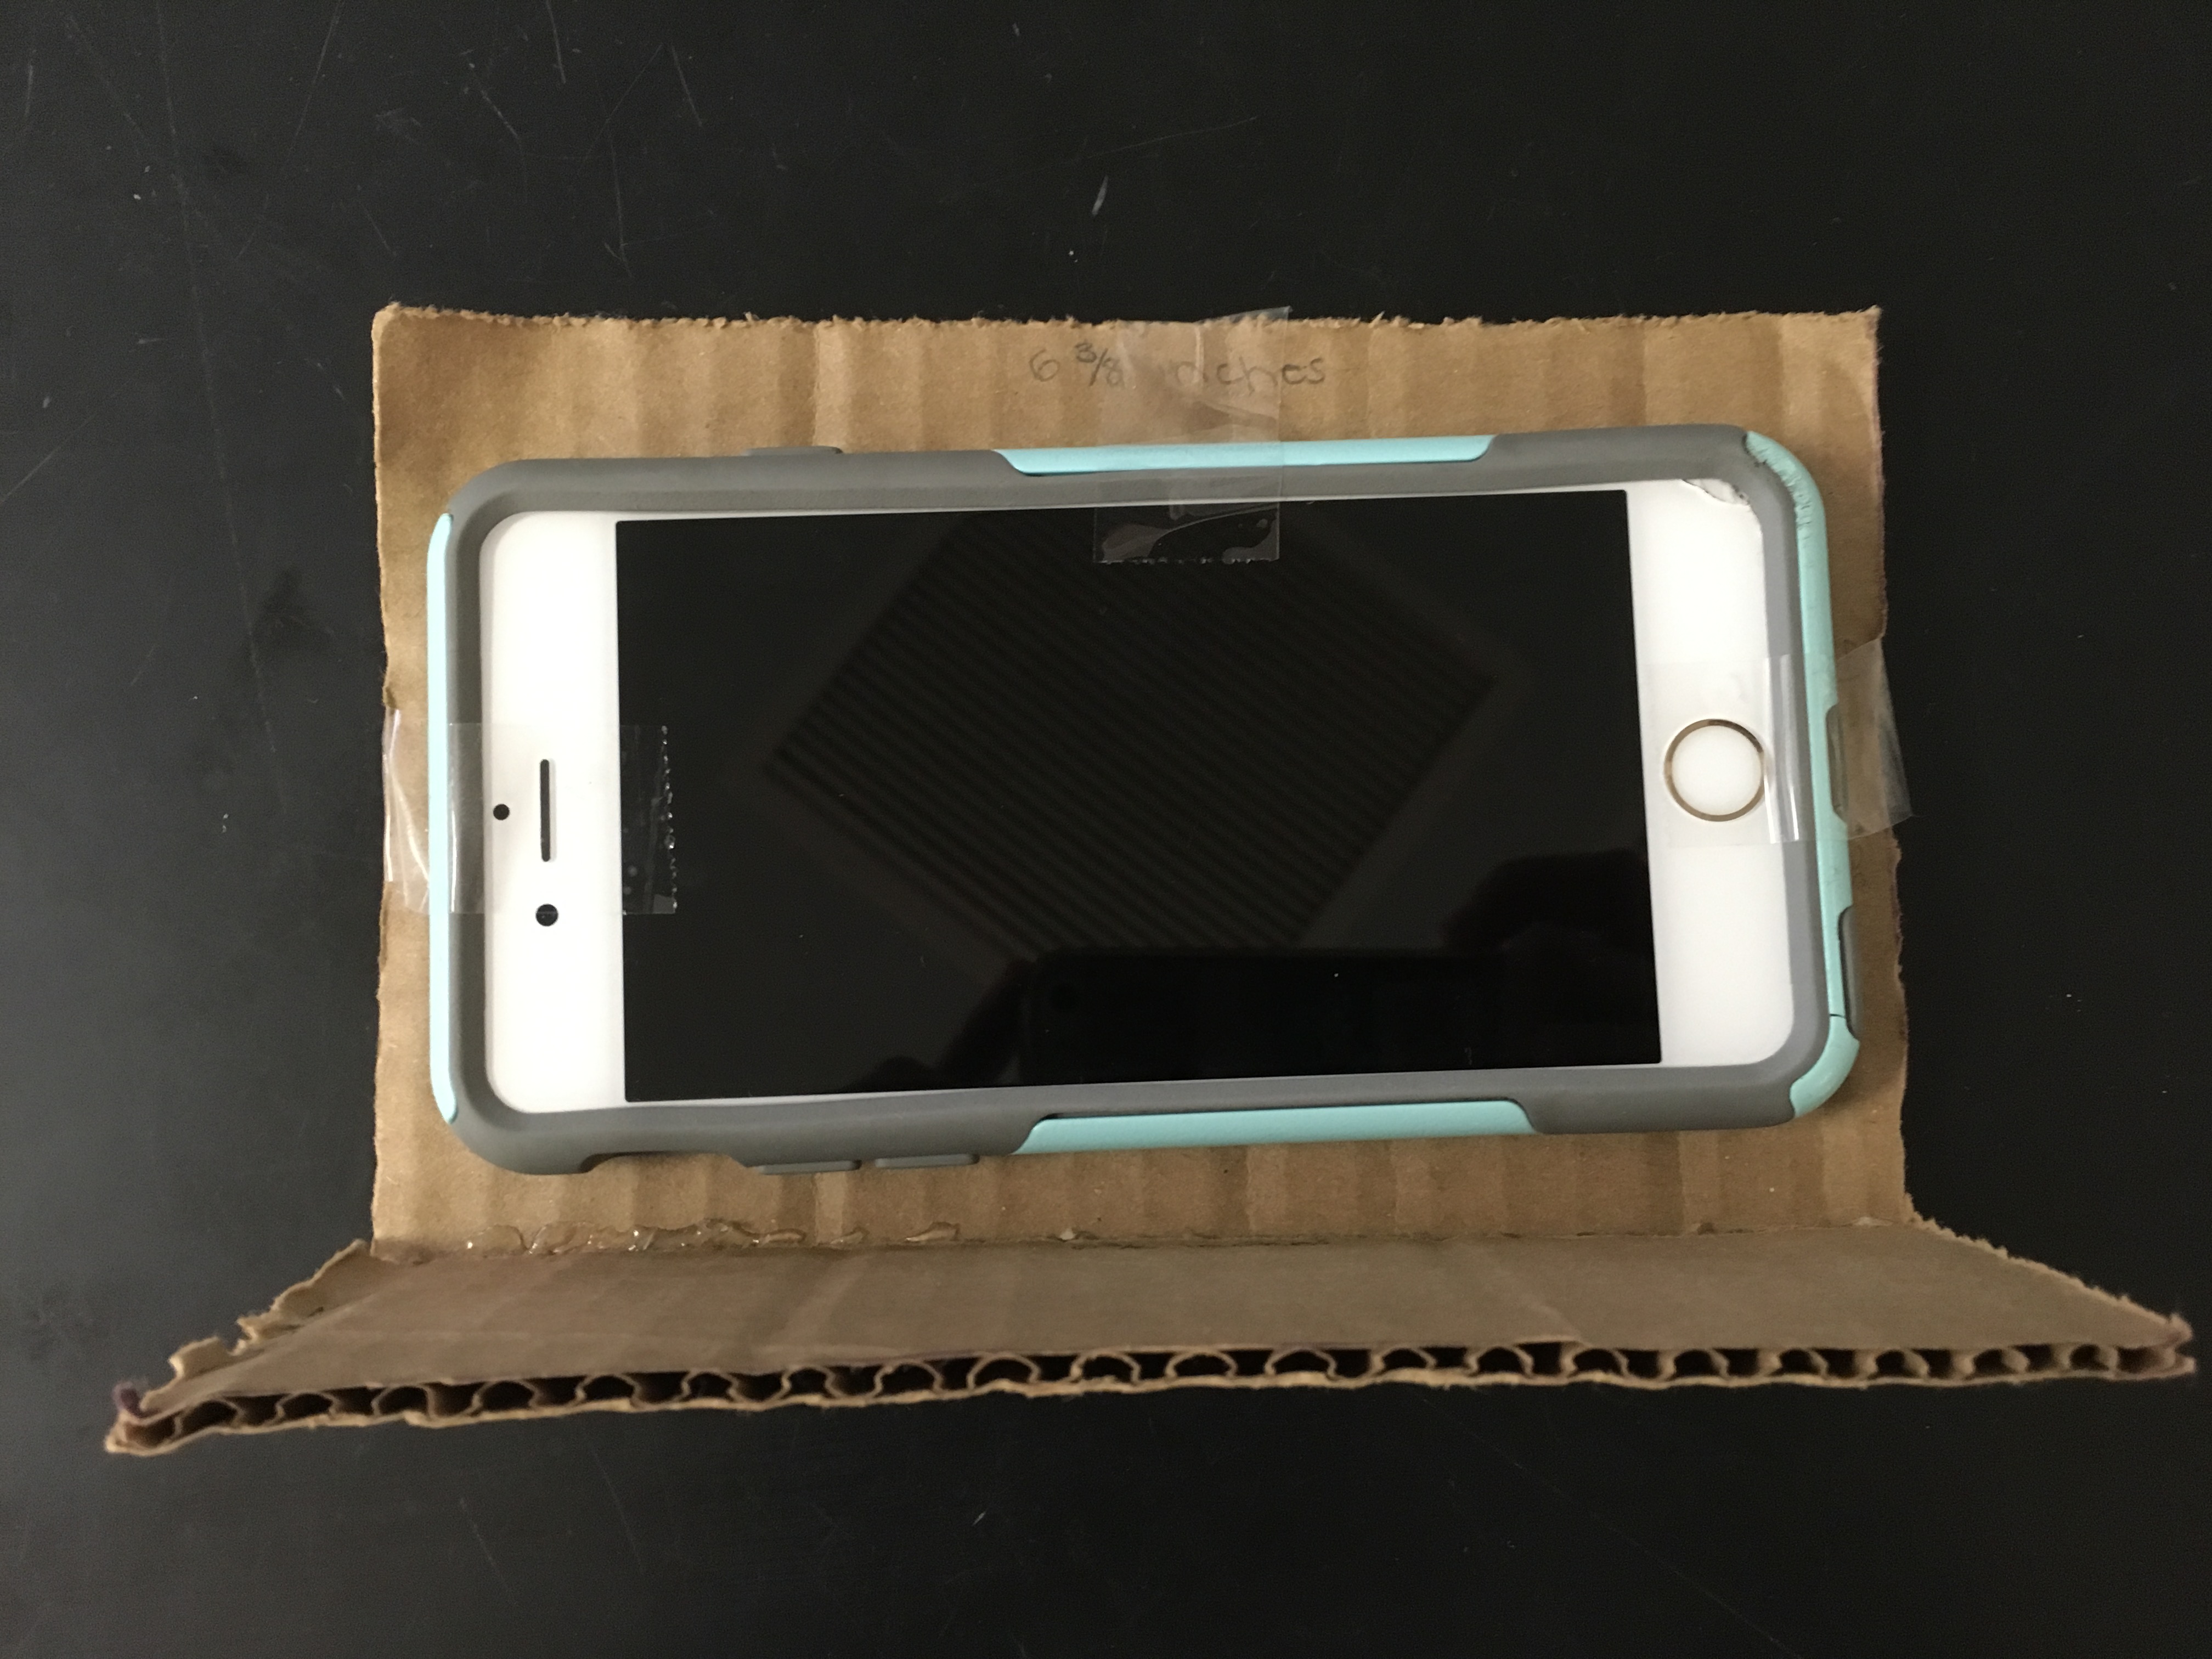
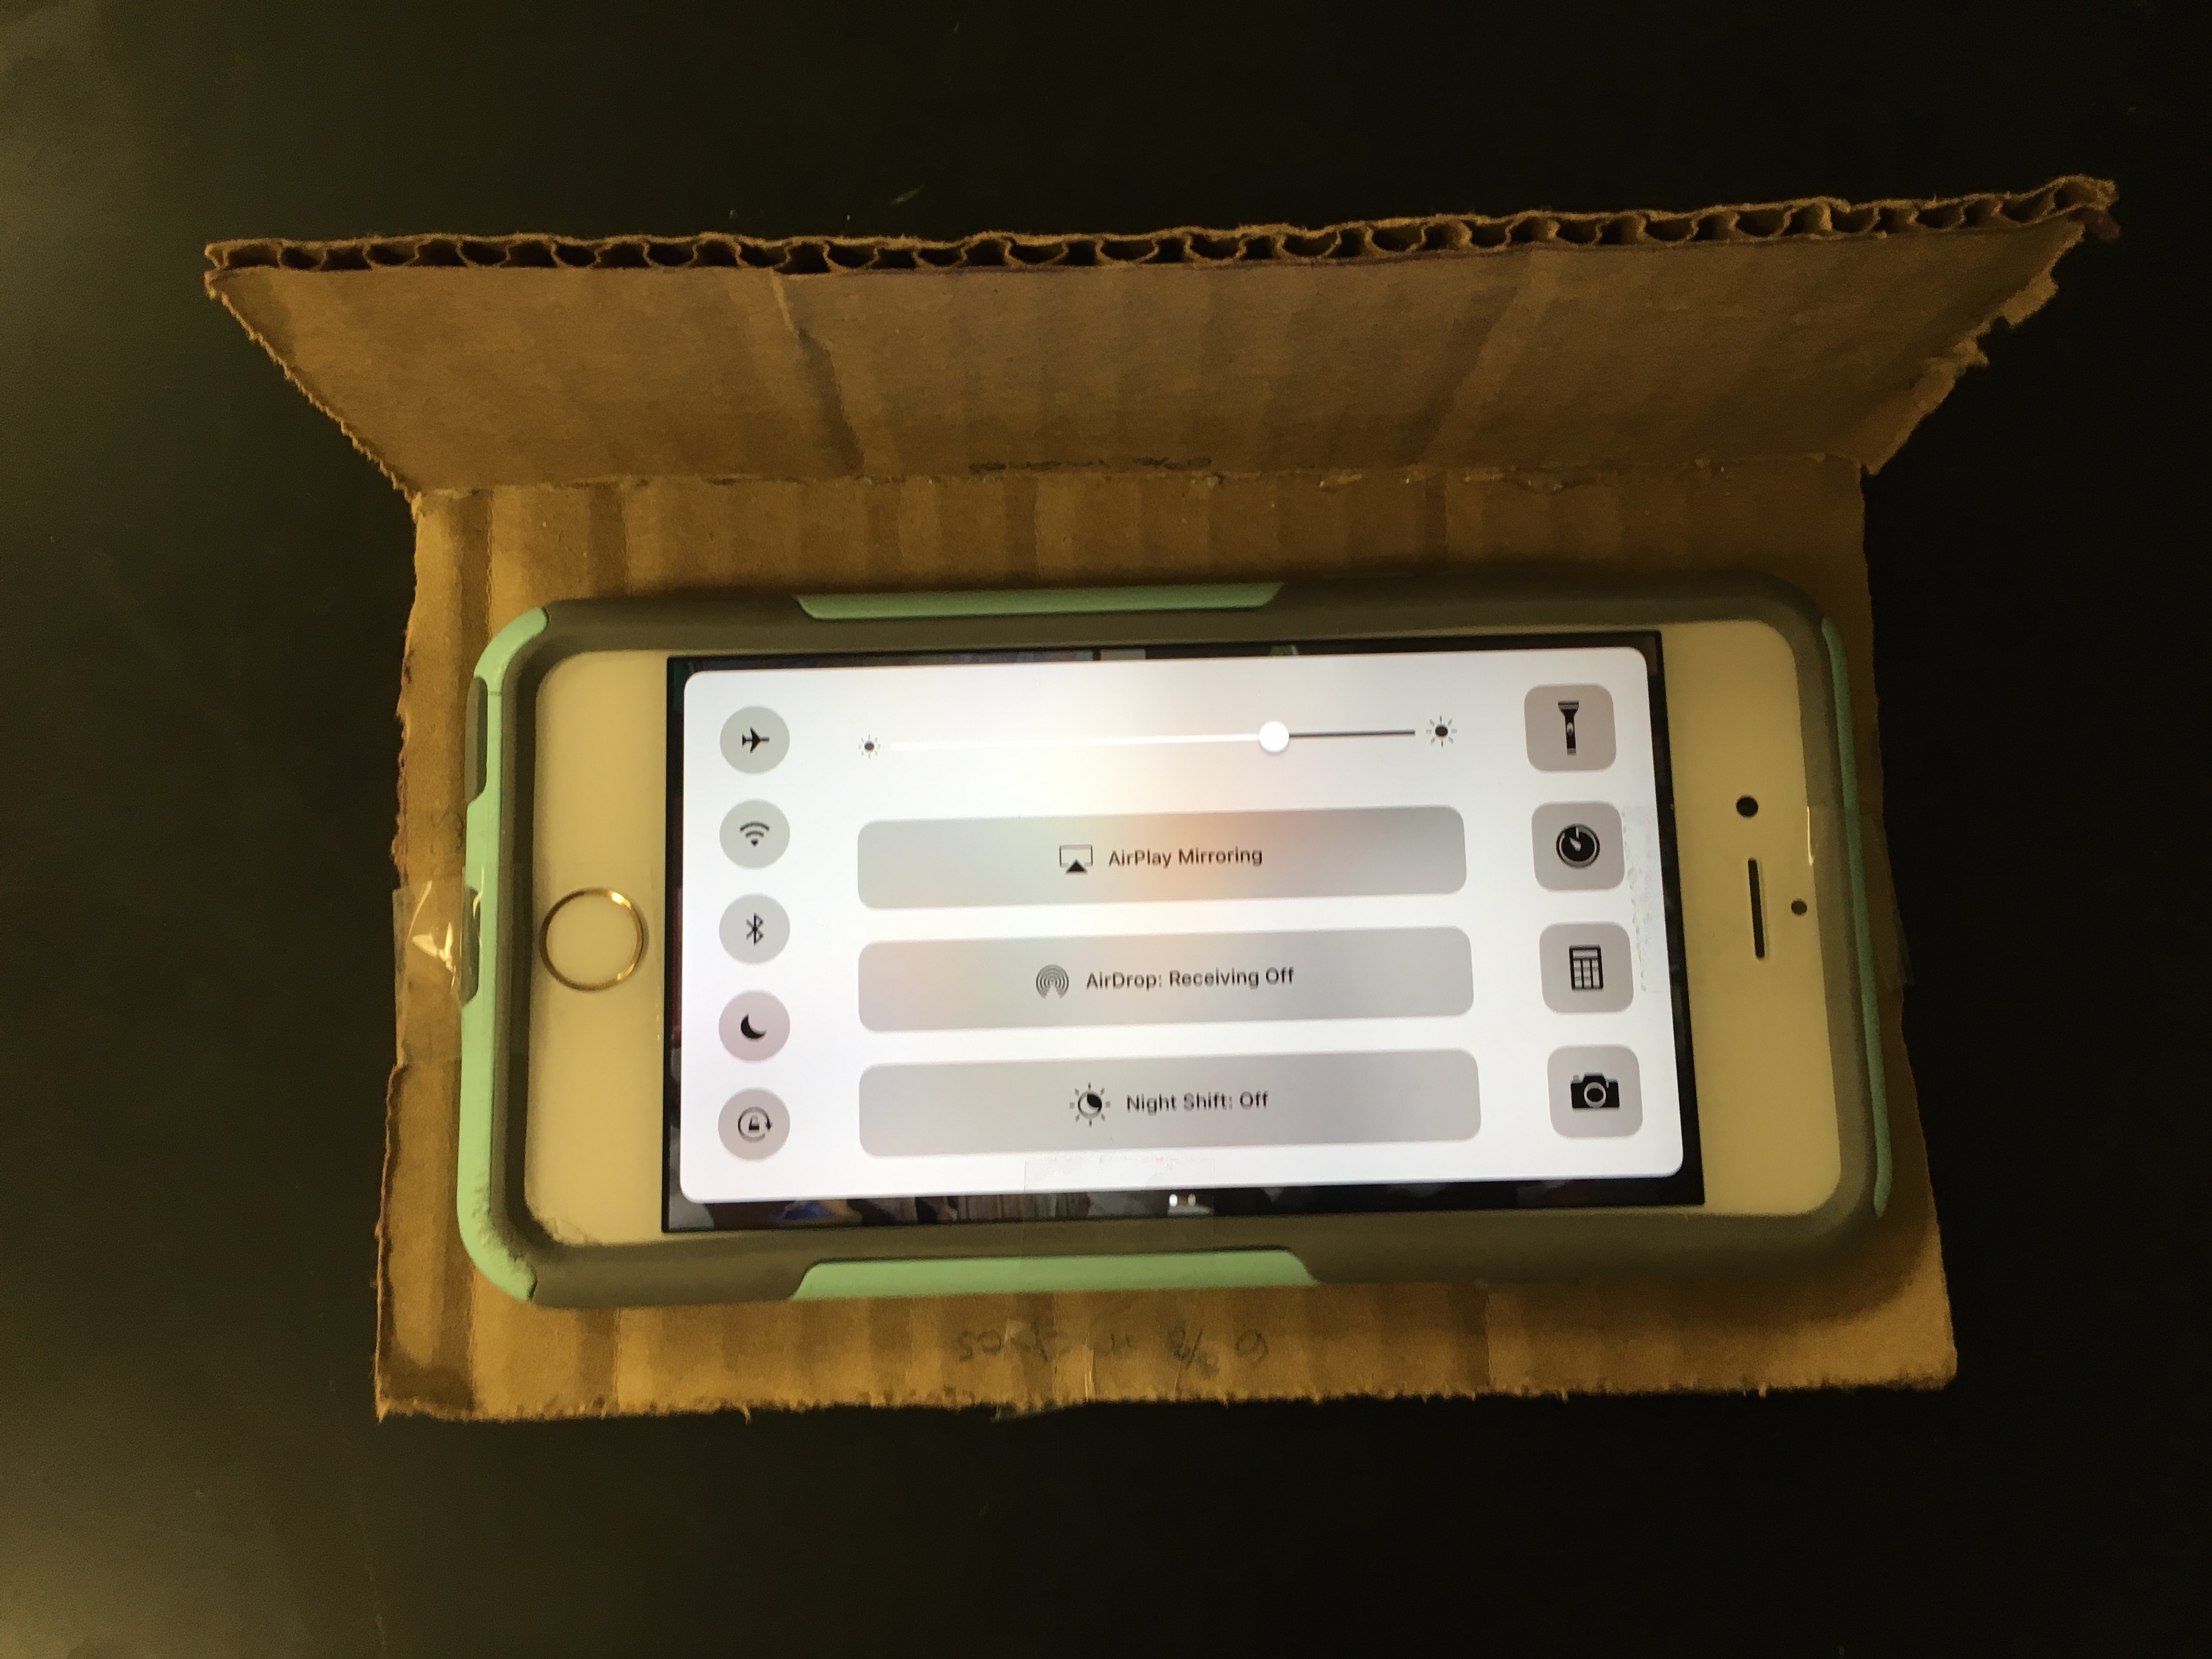
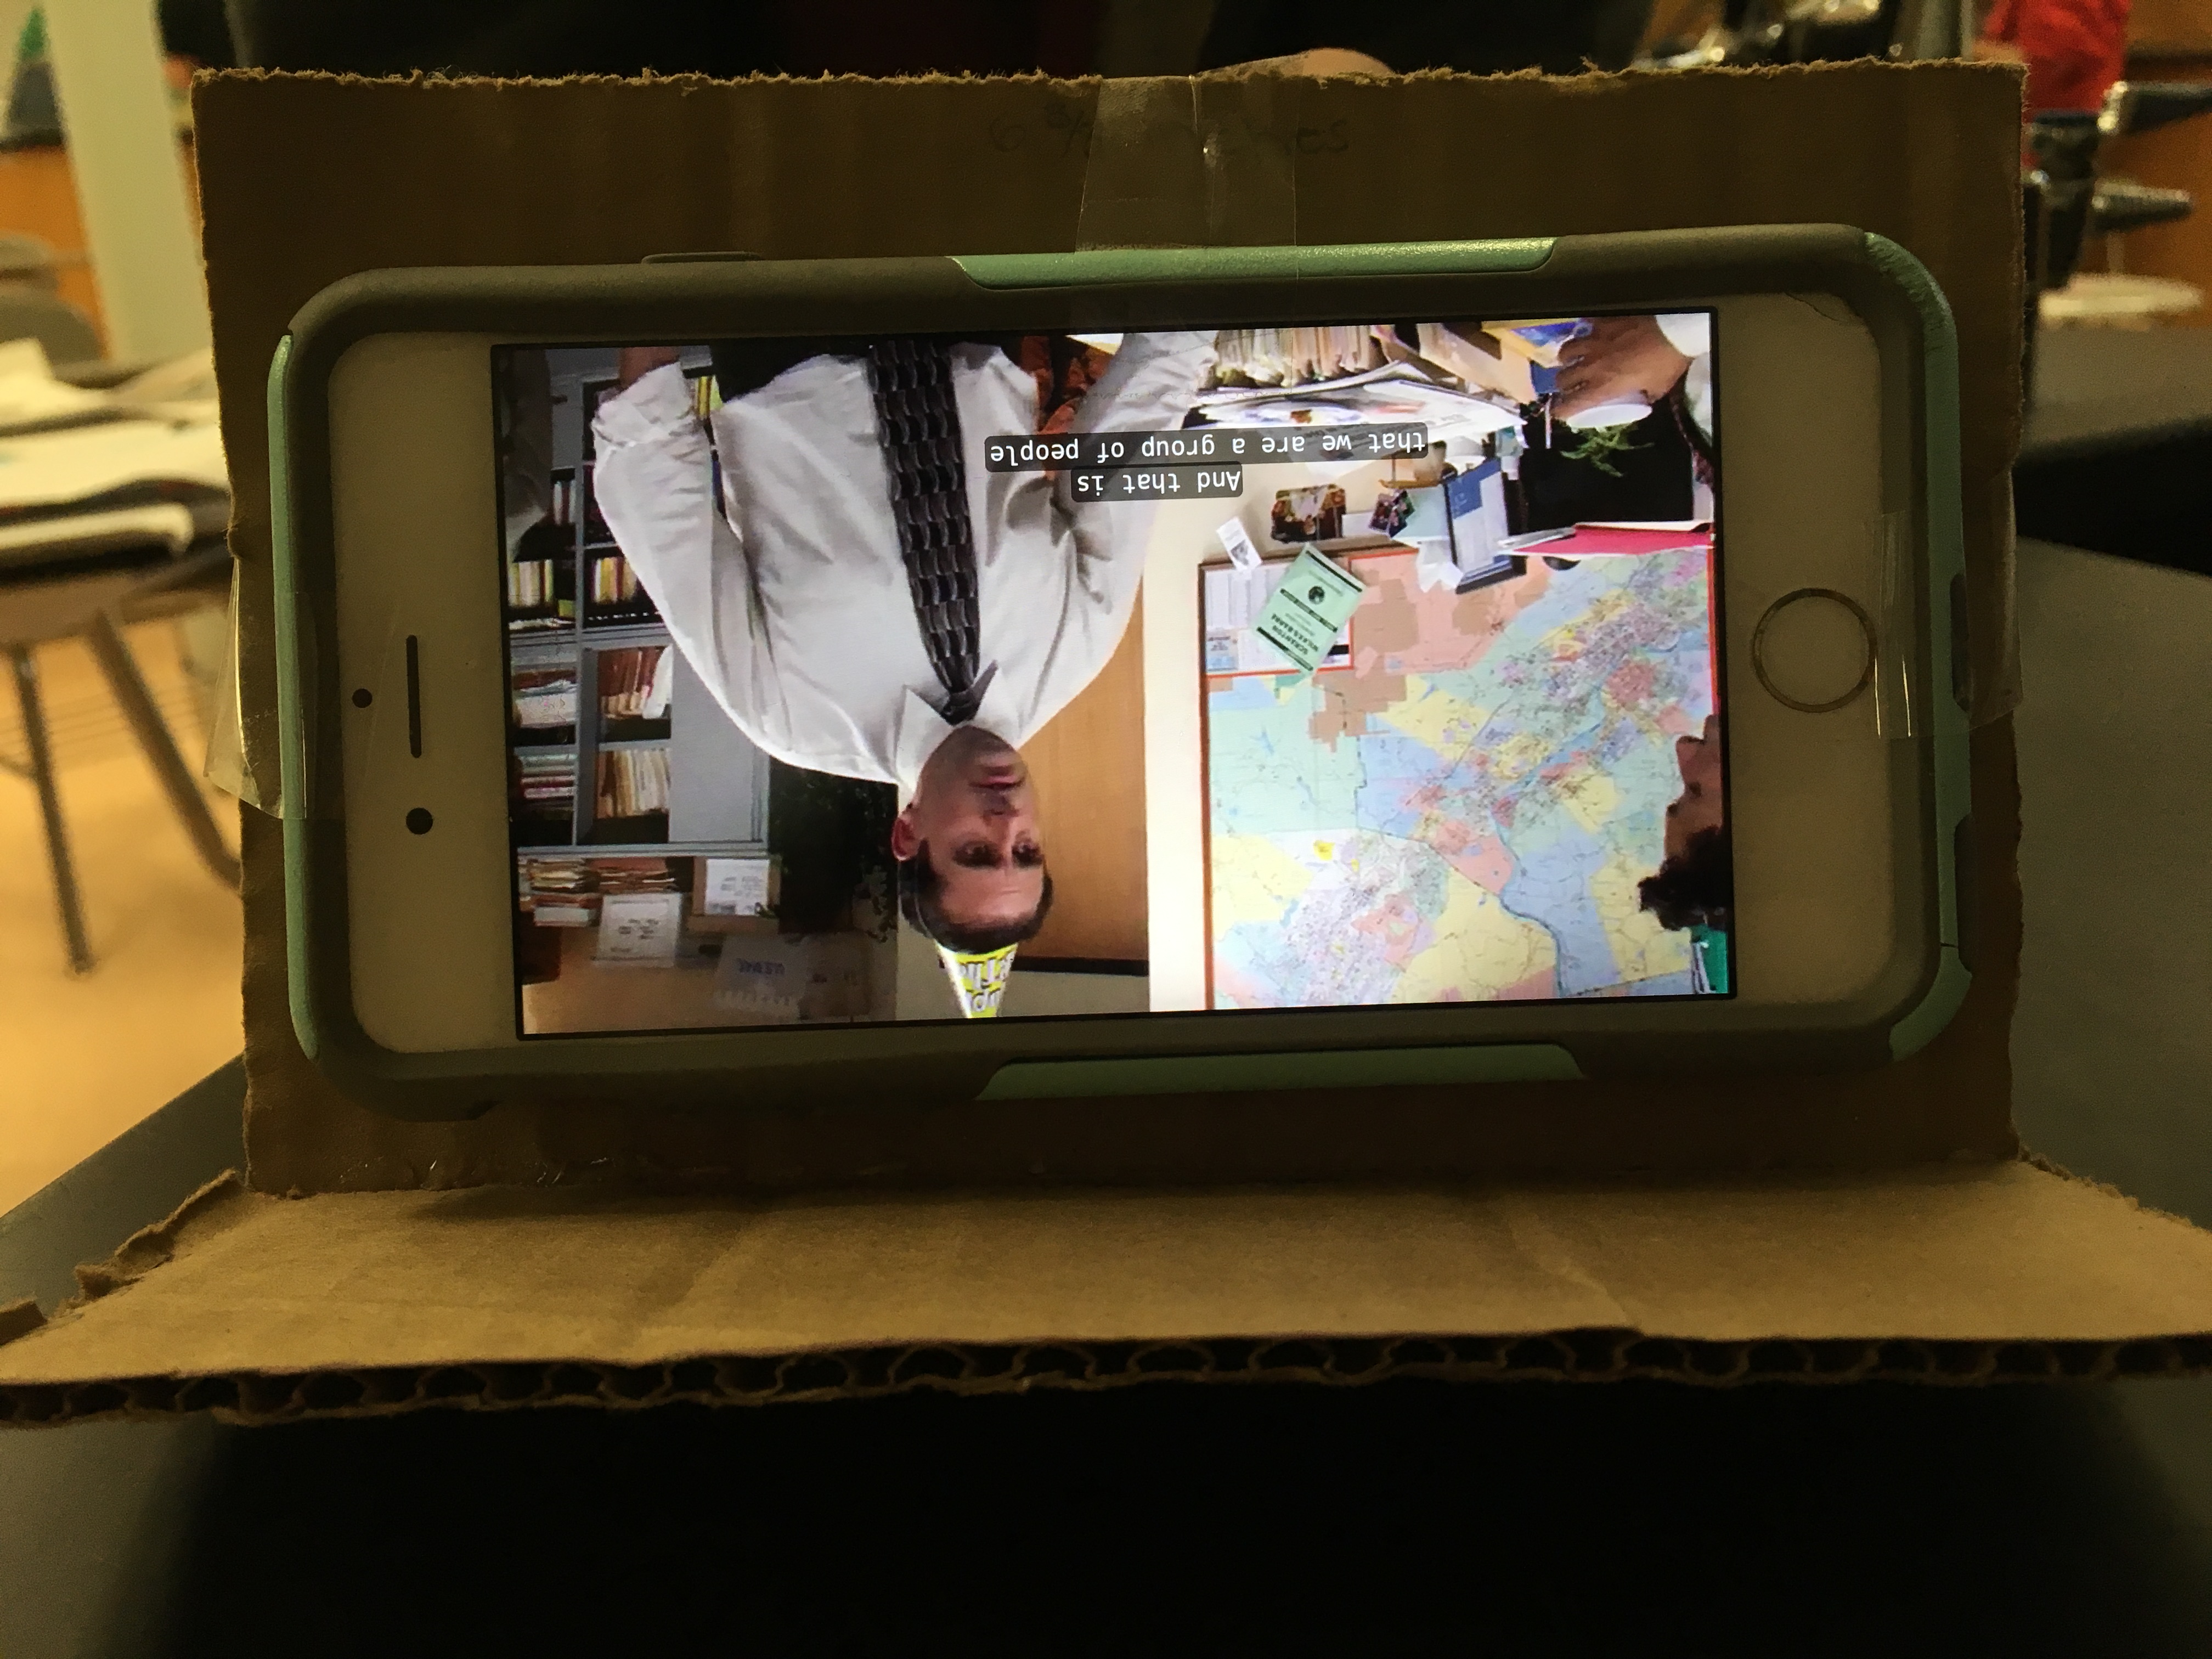
- Tape your phone down at the center of the holder. (Try to tape down the edges of the phone to the holder)
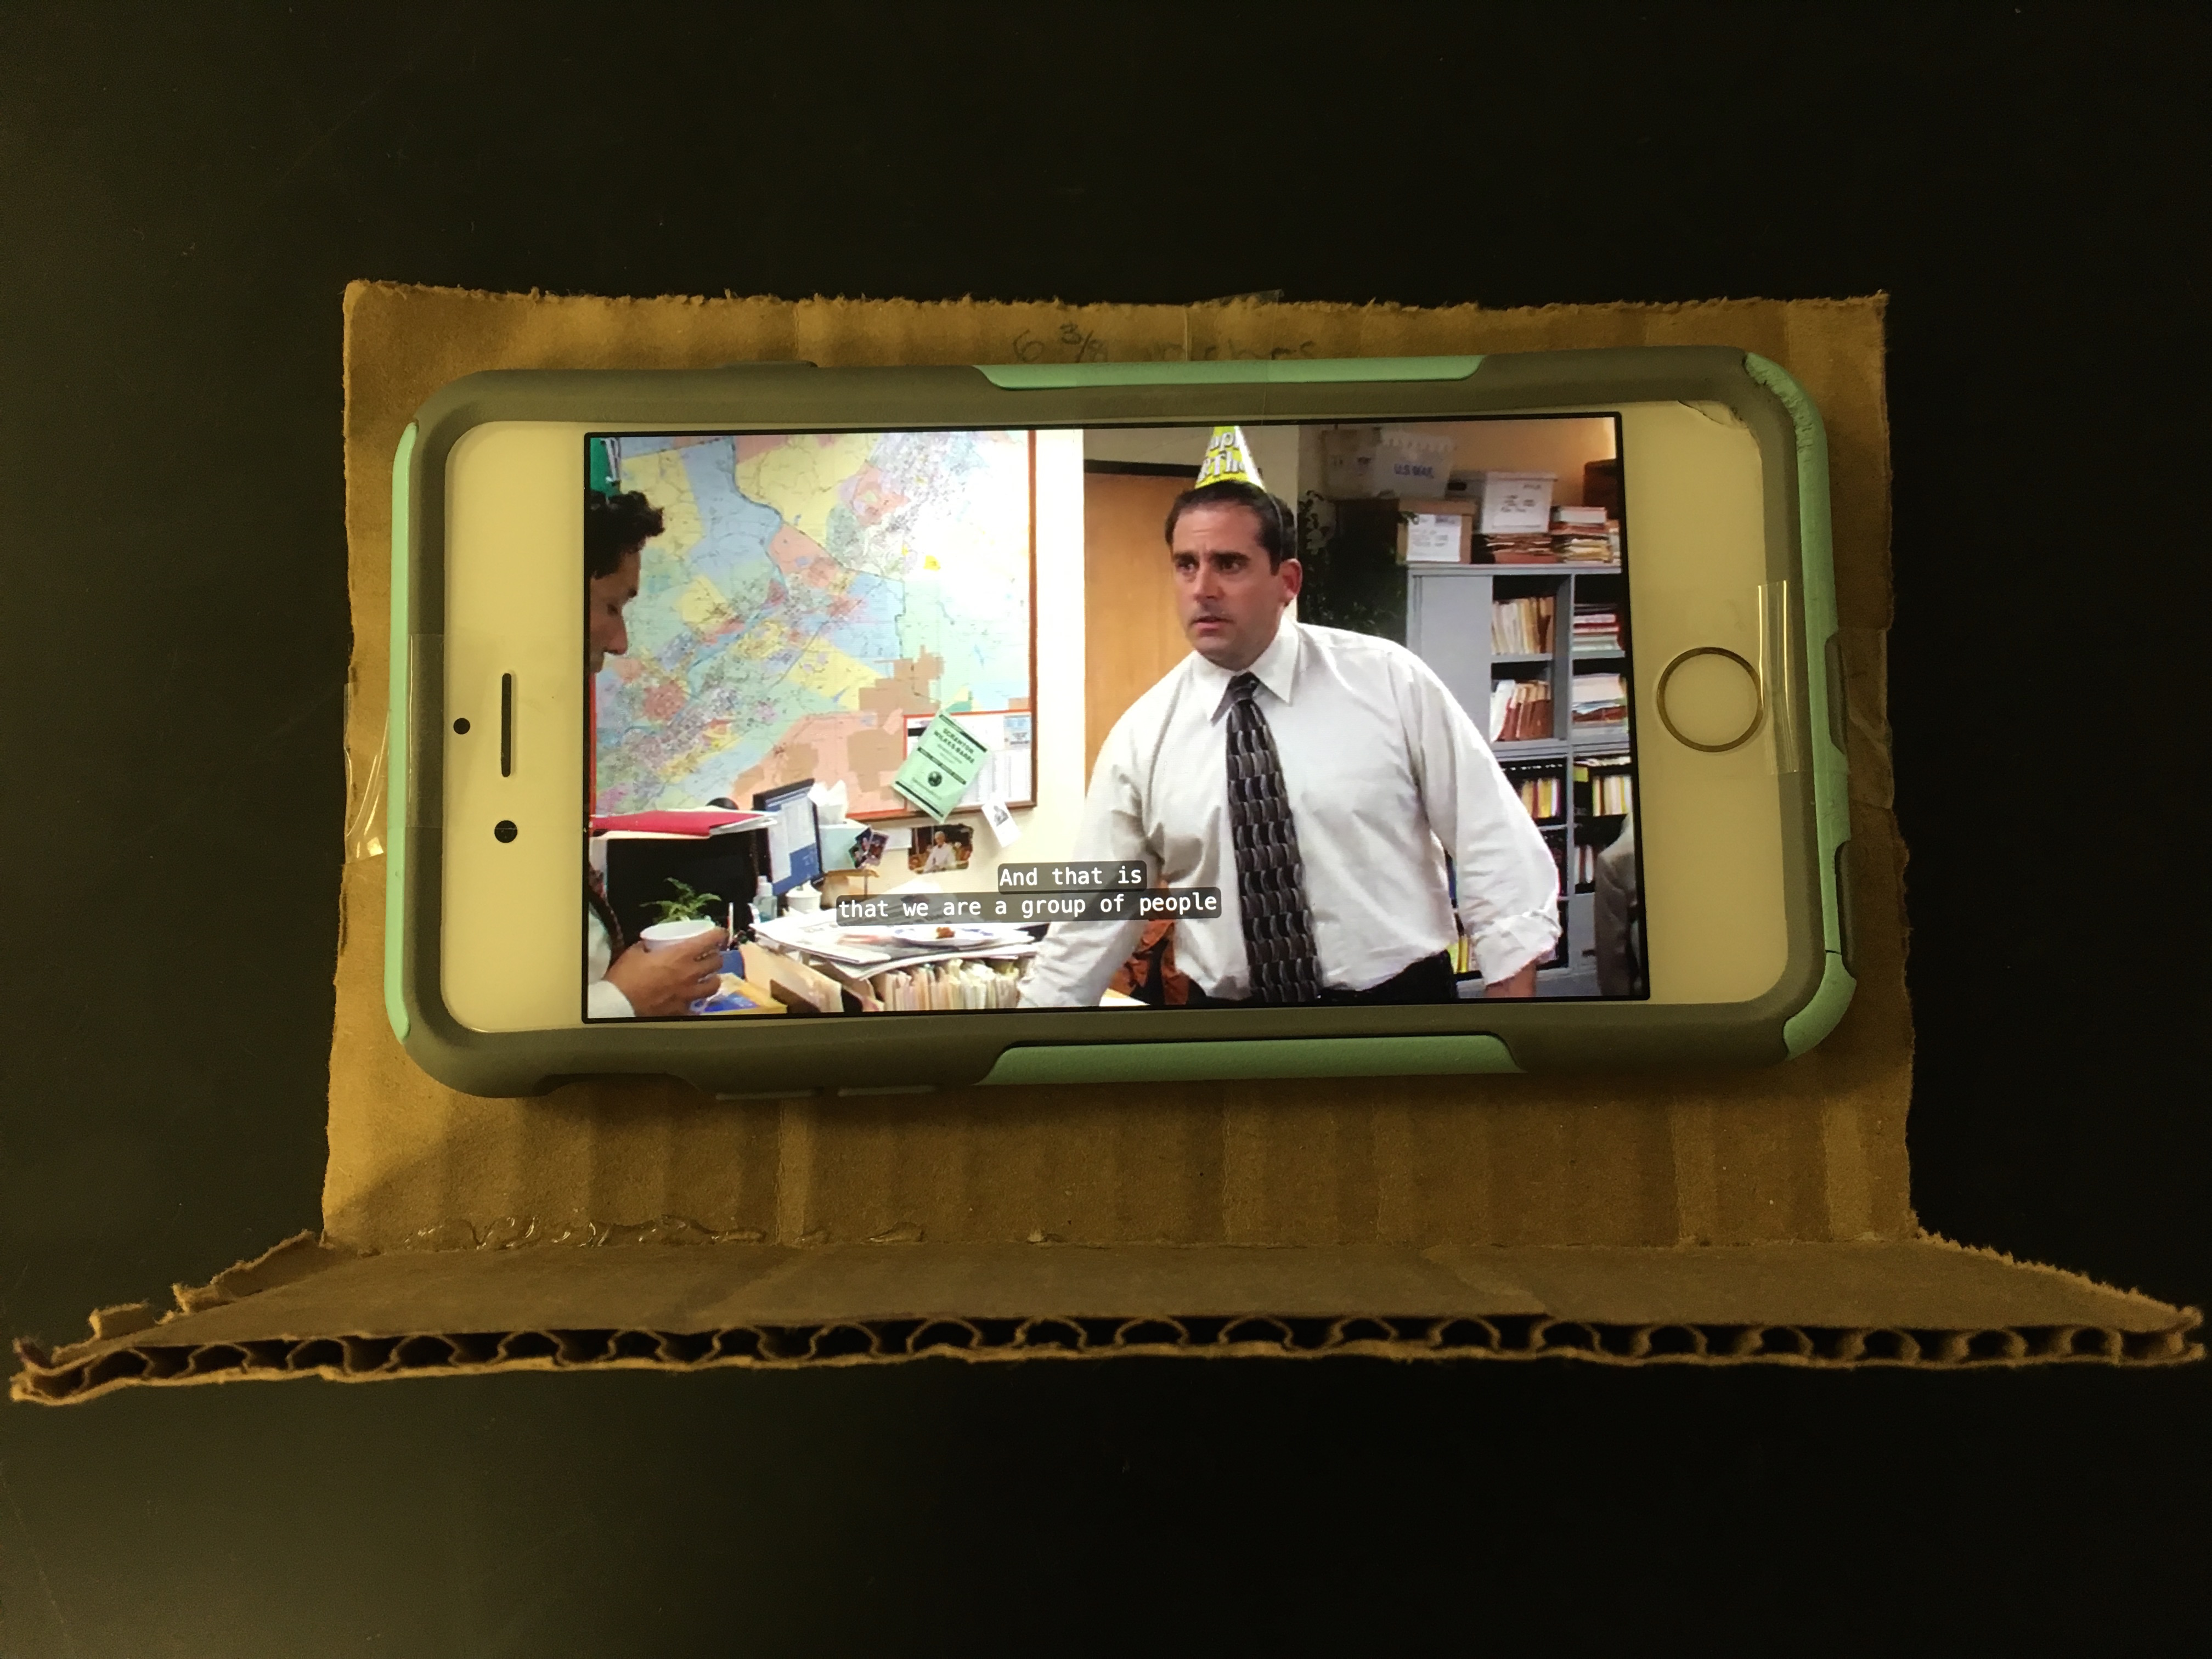
- Open the video, photo, or movie that you want to project.
- Hold the phone holder with the phone attached to it, upside down. (The photo, video, or movie should flip its view)
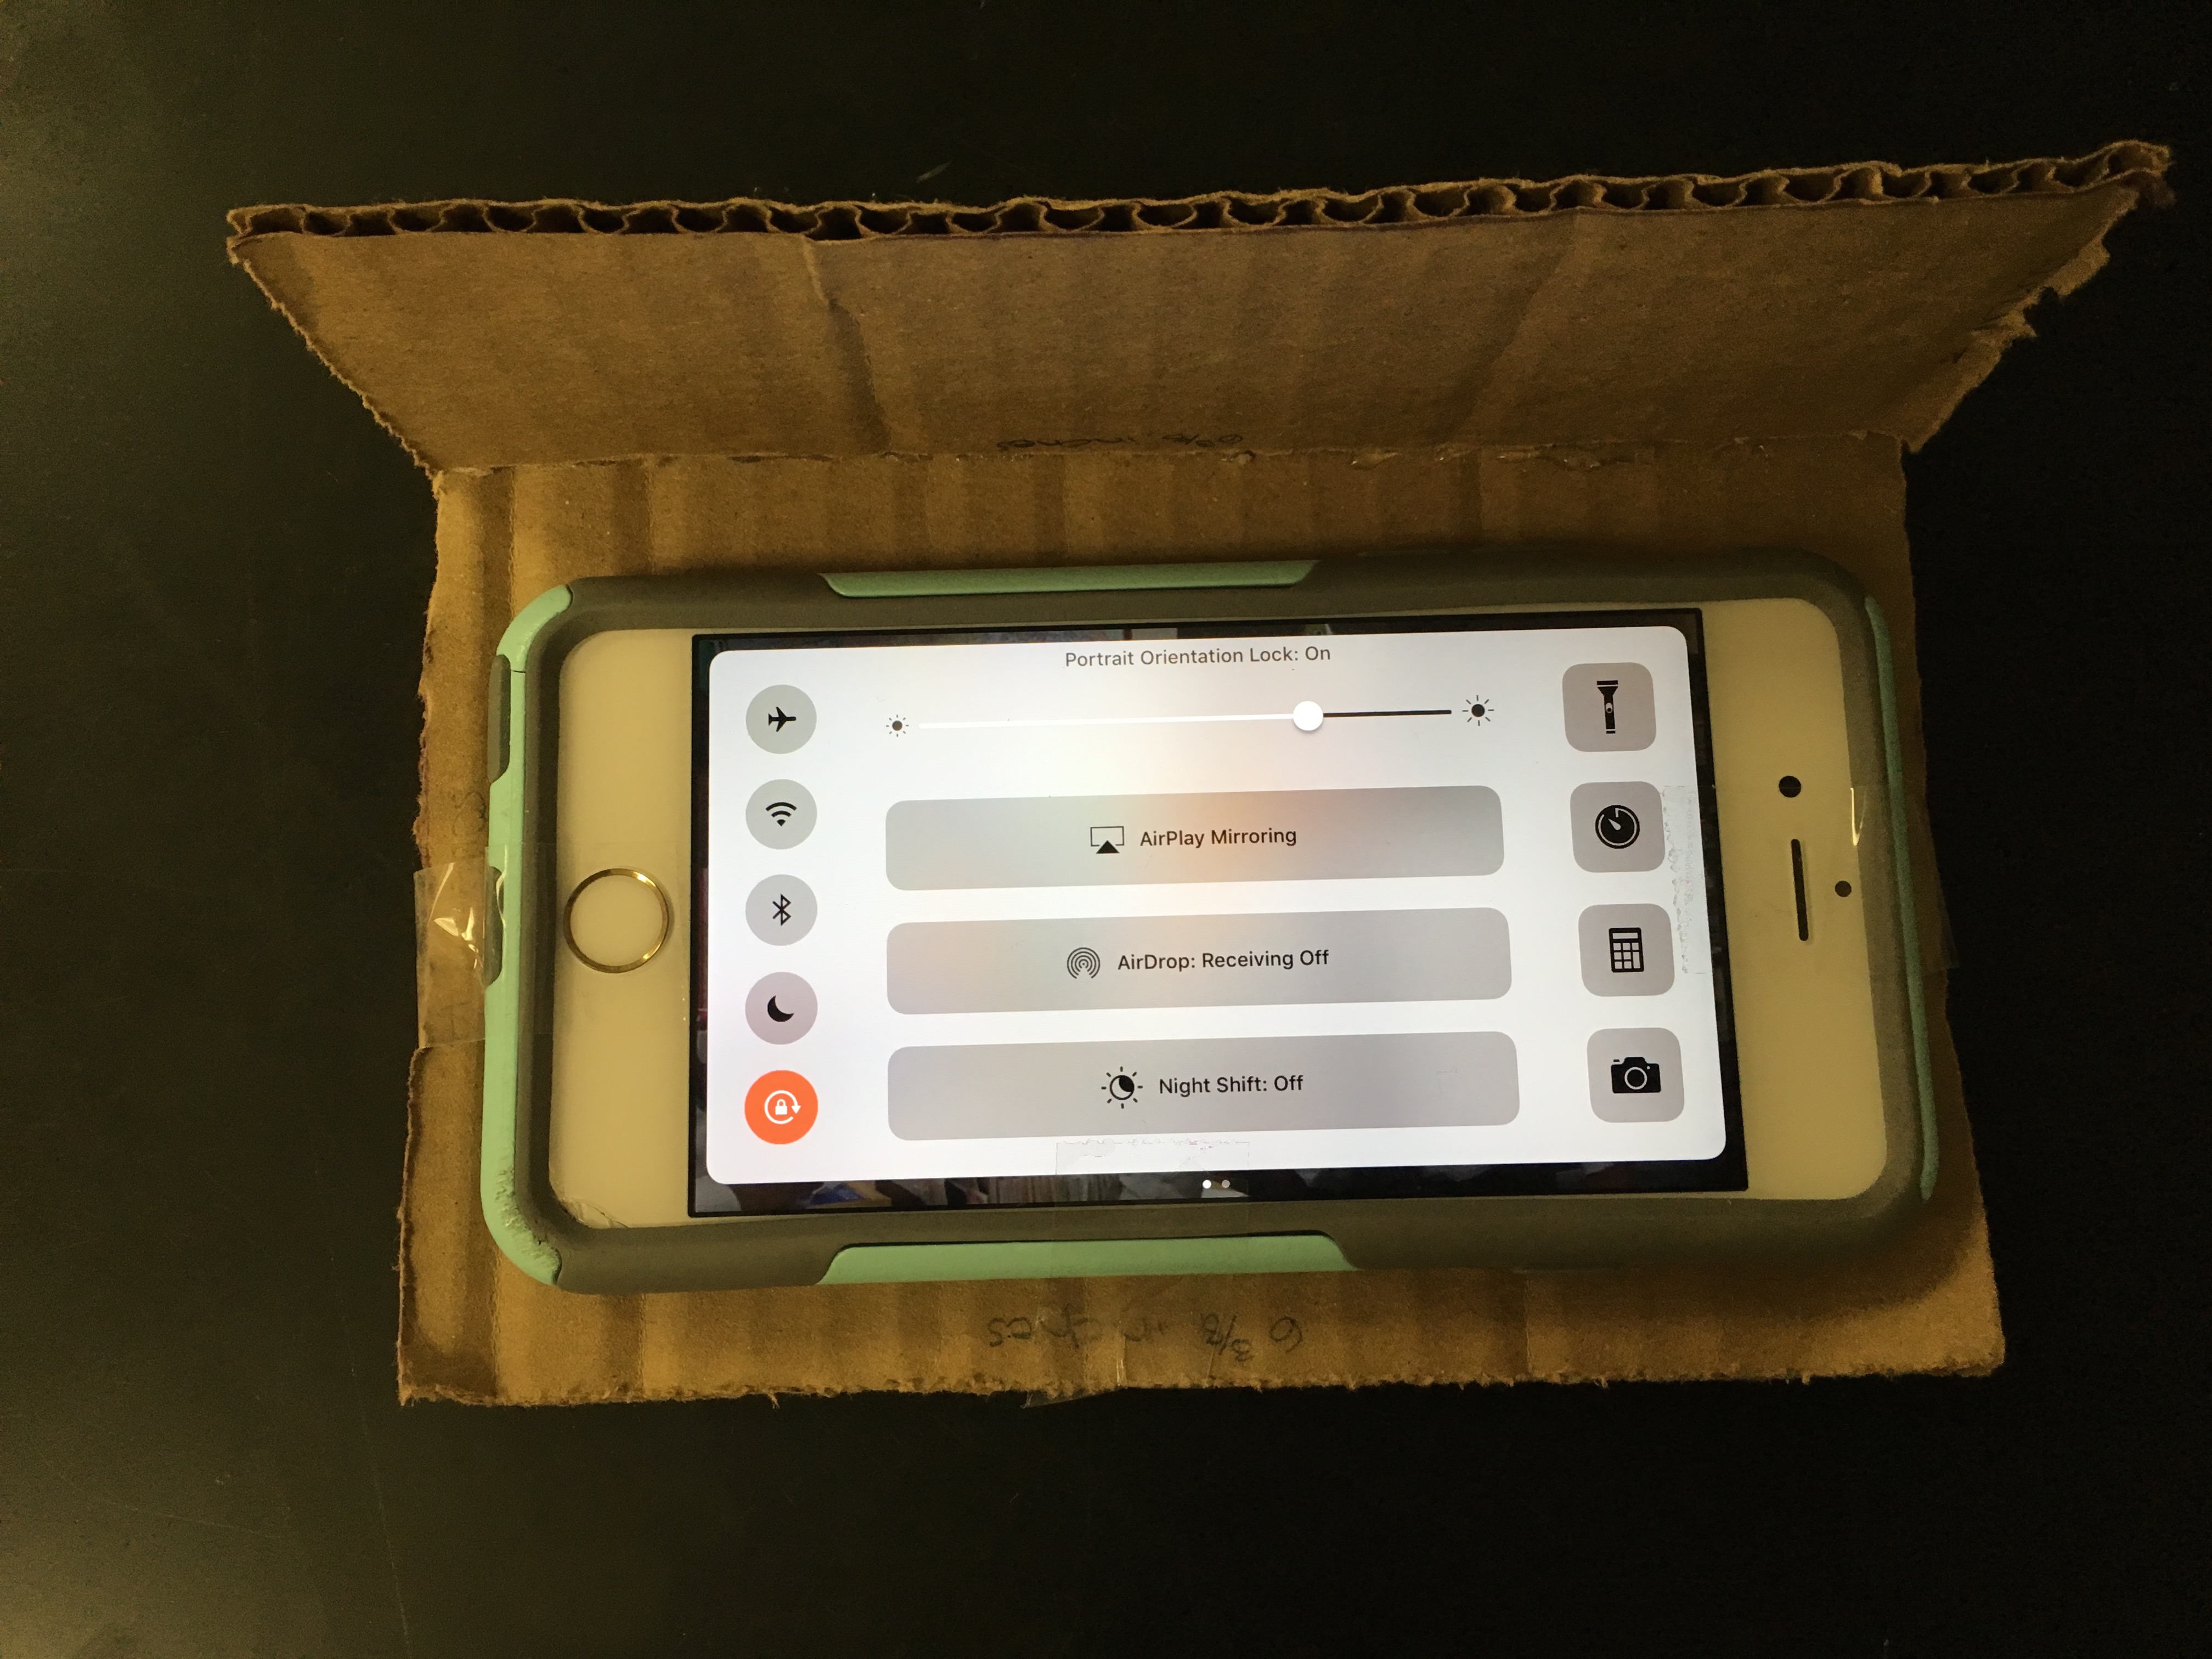
- To lock your screen, (on a IOS device) swipe up from the bottom edge of the phone and click the Portrait Orientation Lock and if it is on, it should turn red-orange.
- On that same screen, make sure your phone is at its highest setting.
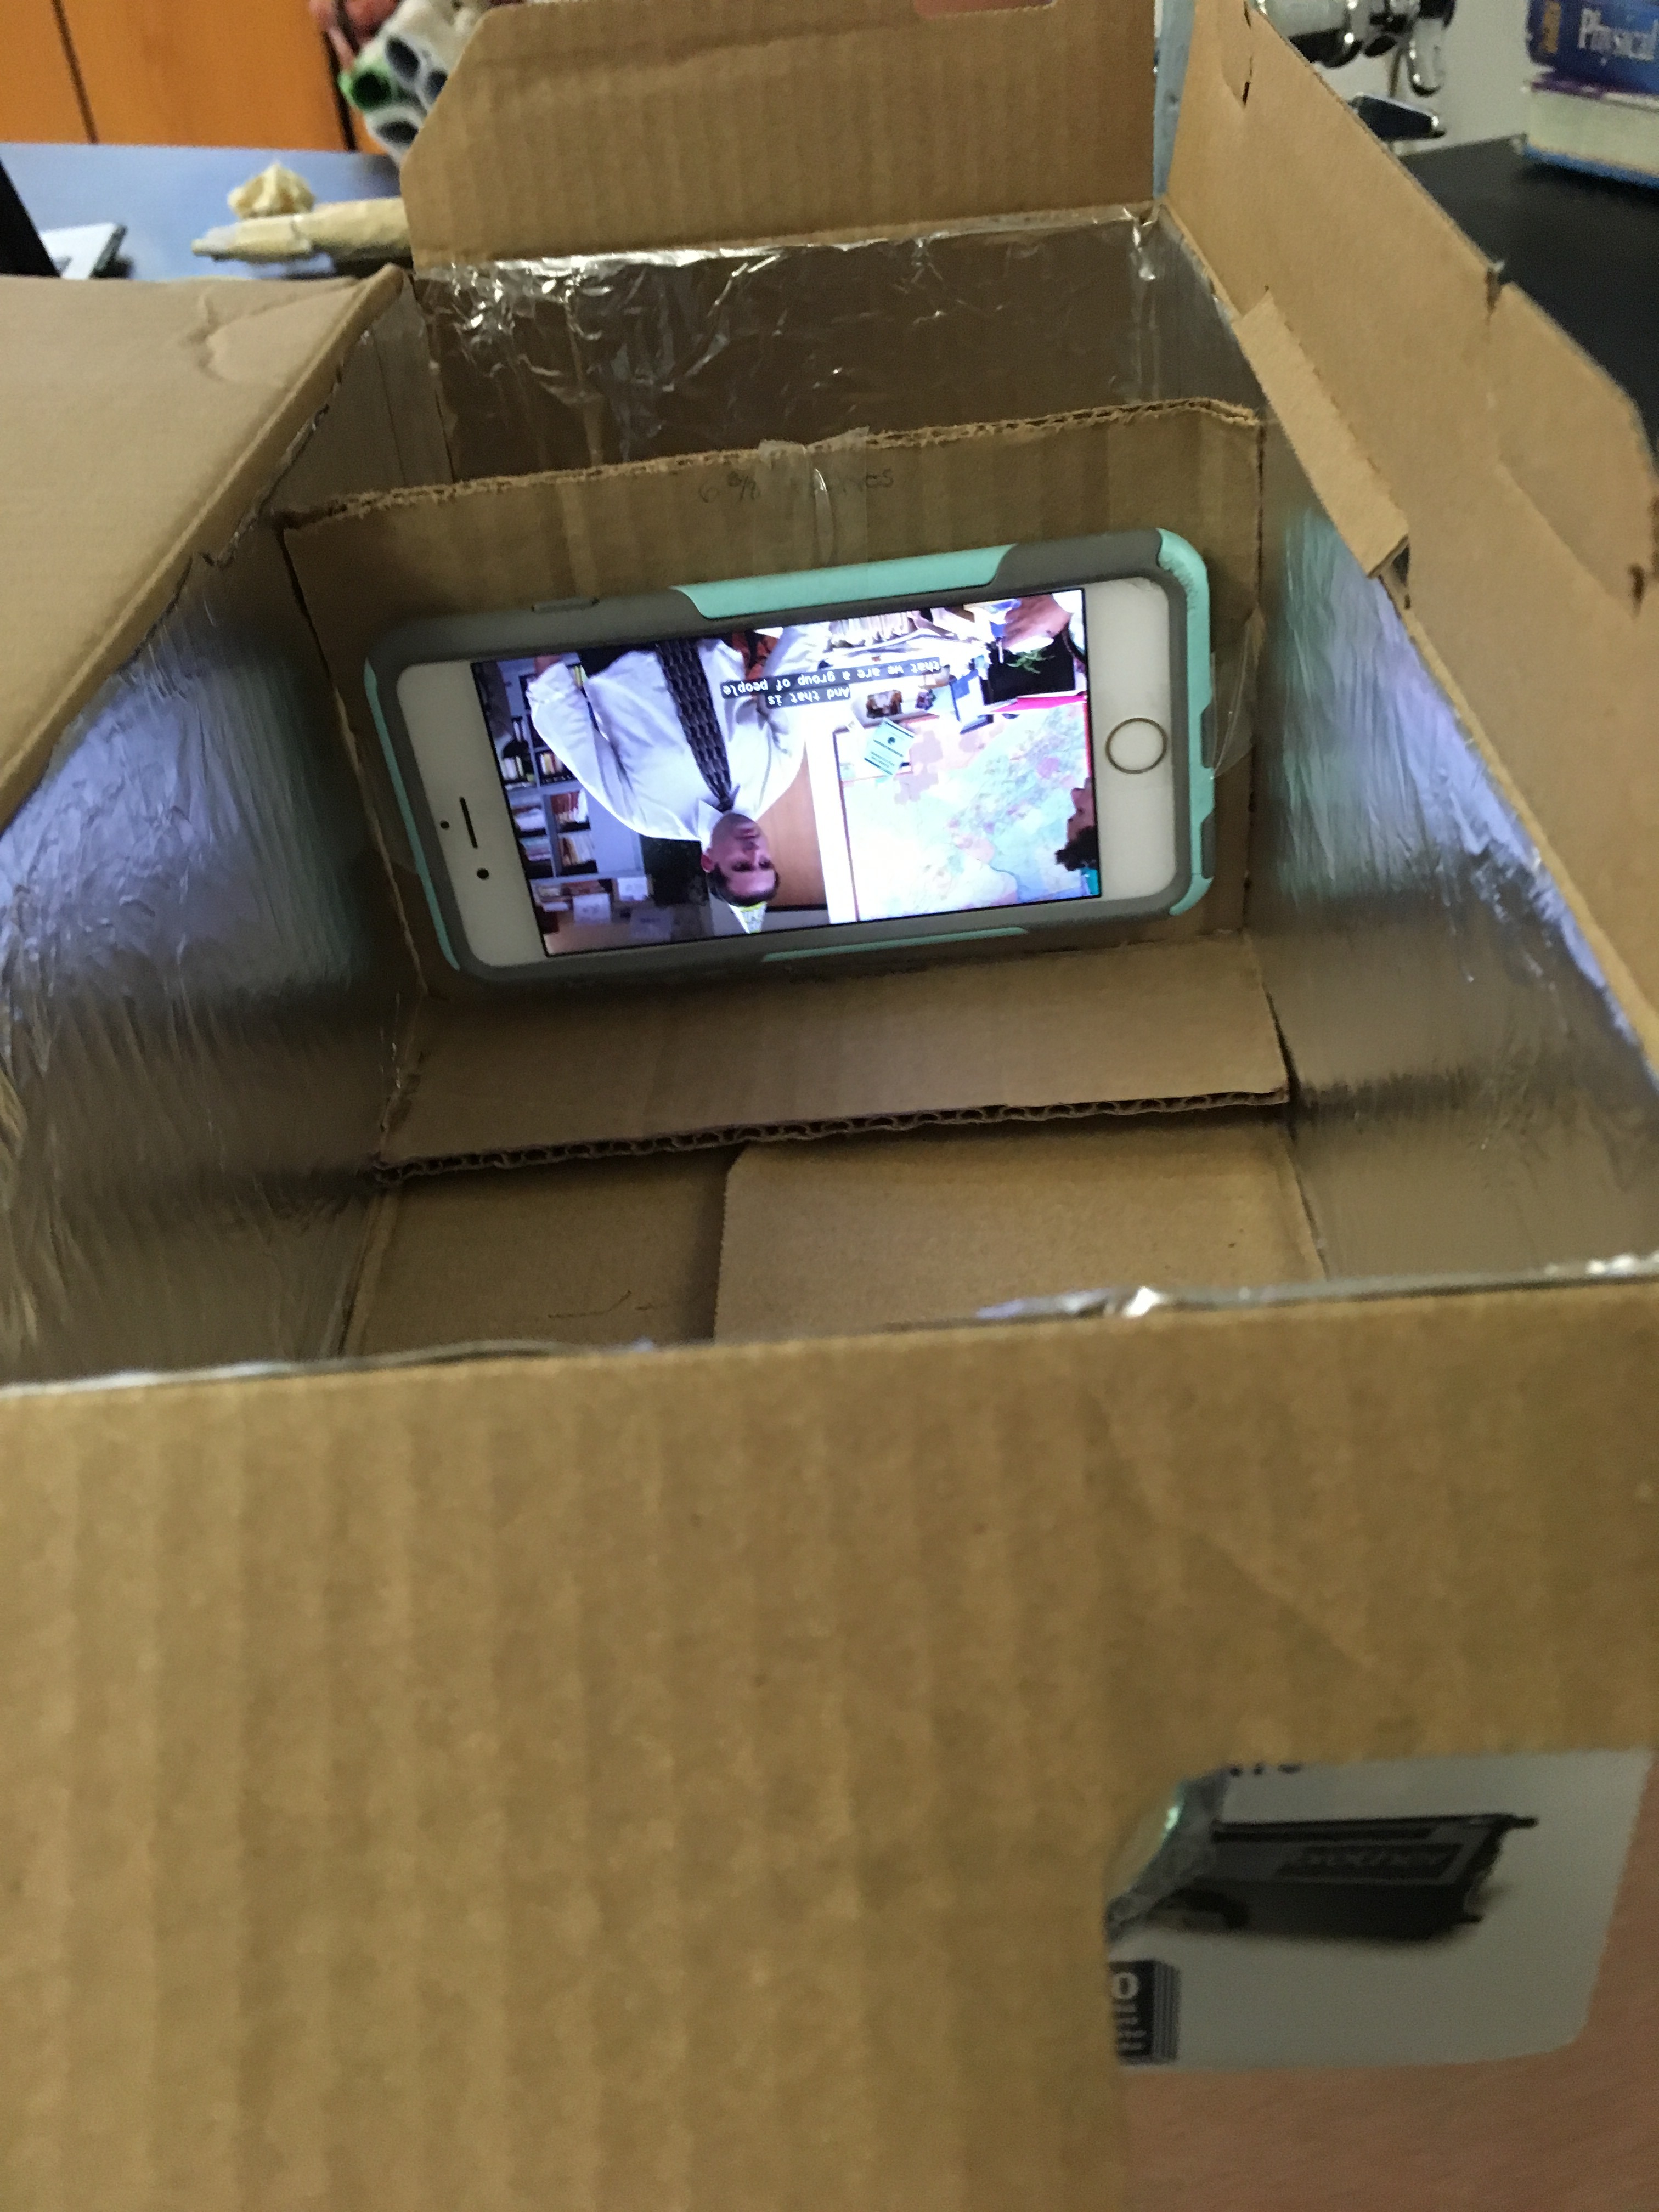
- Now, insert your phone holder into the projector body (making sure that the photo, video, or movie is still upside down)
- Enter a dark room and play your photo, video, or movie
- If the projection is blurry, focus it by moving the phone holder either backwards or forwards.
Obviously, the projector that I made is not decorated, but for your projector, you can decorate it however you would like! Just be careful to not cover the lens with any paint or marker! I hope this instructable has helped you make a homemade projector! If you found this project to be helpful, fun, and/or interesting, please vote for it in the cardboard contest, I would really appreciate it! Thank you very much!