Make an Artificial Stone and Metal Sign
by XaqFixx in Living > Decorating
10358 Views, 50 Favorites, 0 Comments
Make an Artificial Stone and Metal Sign
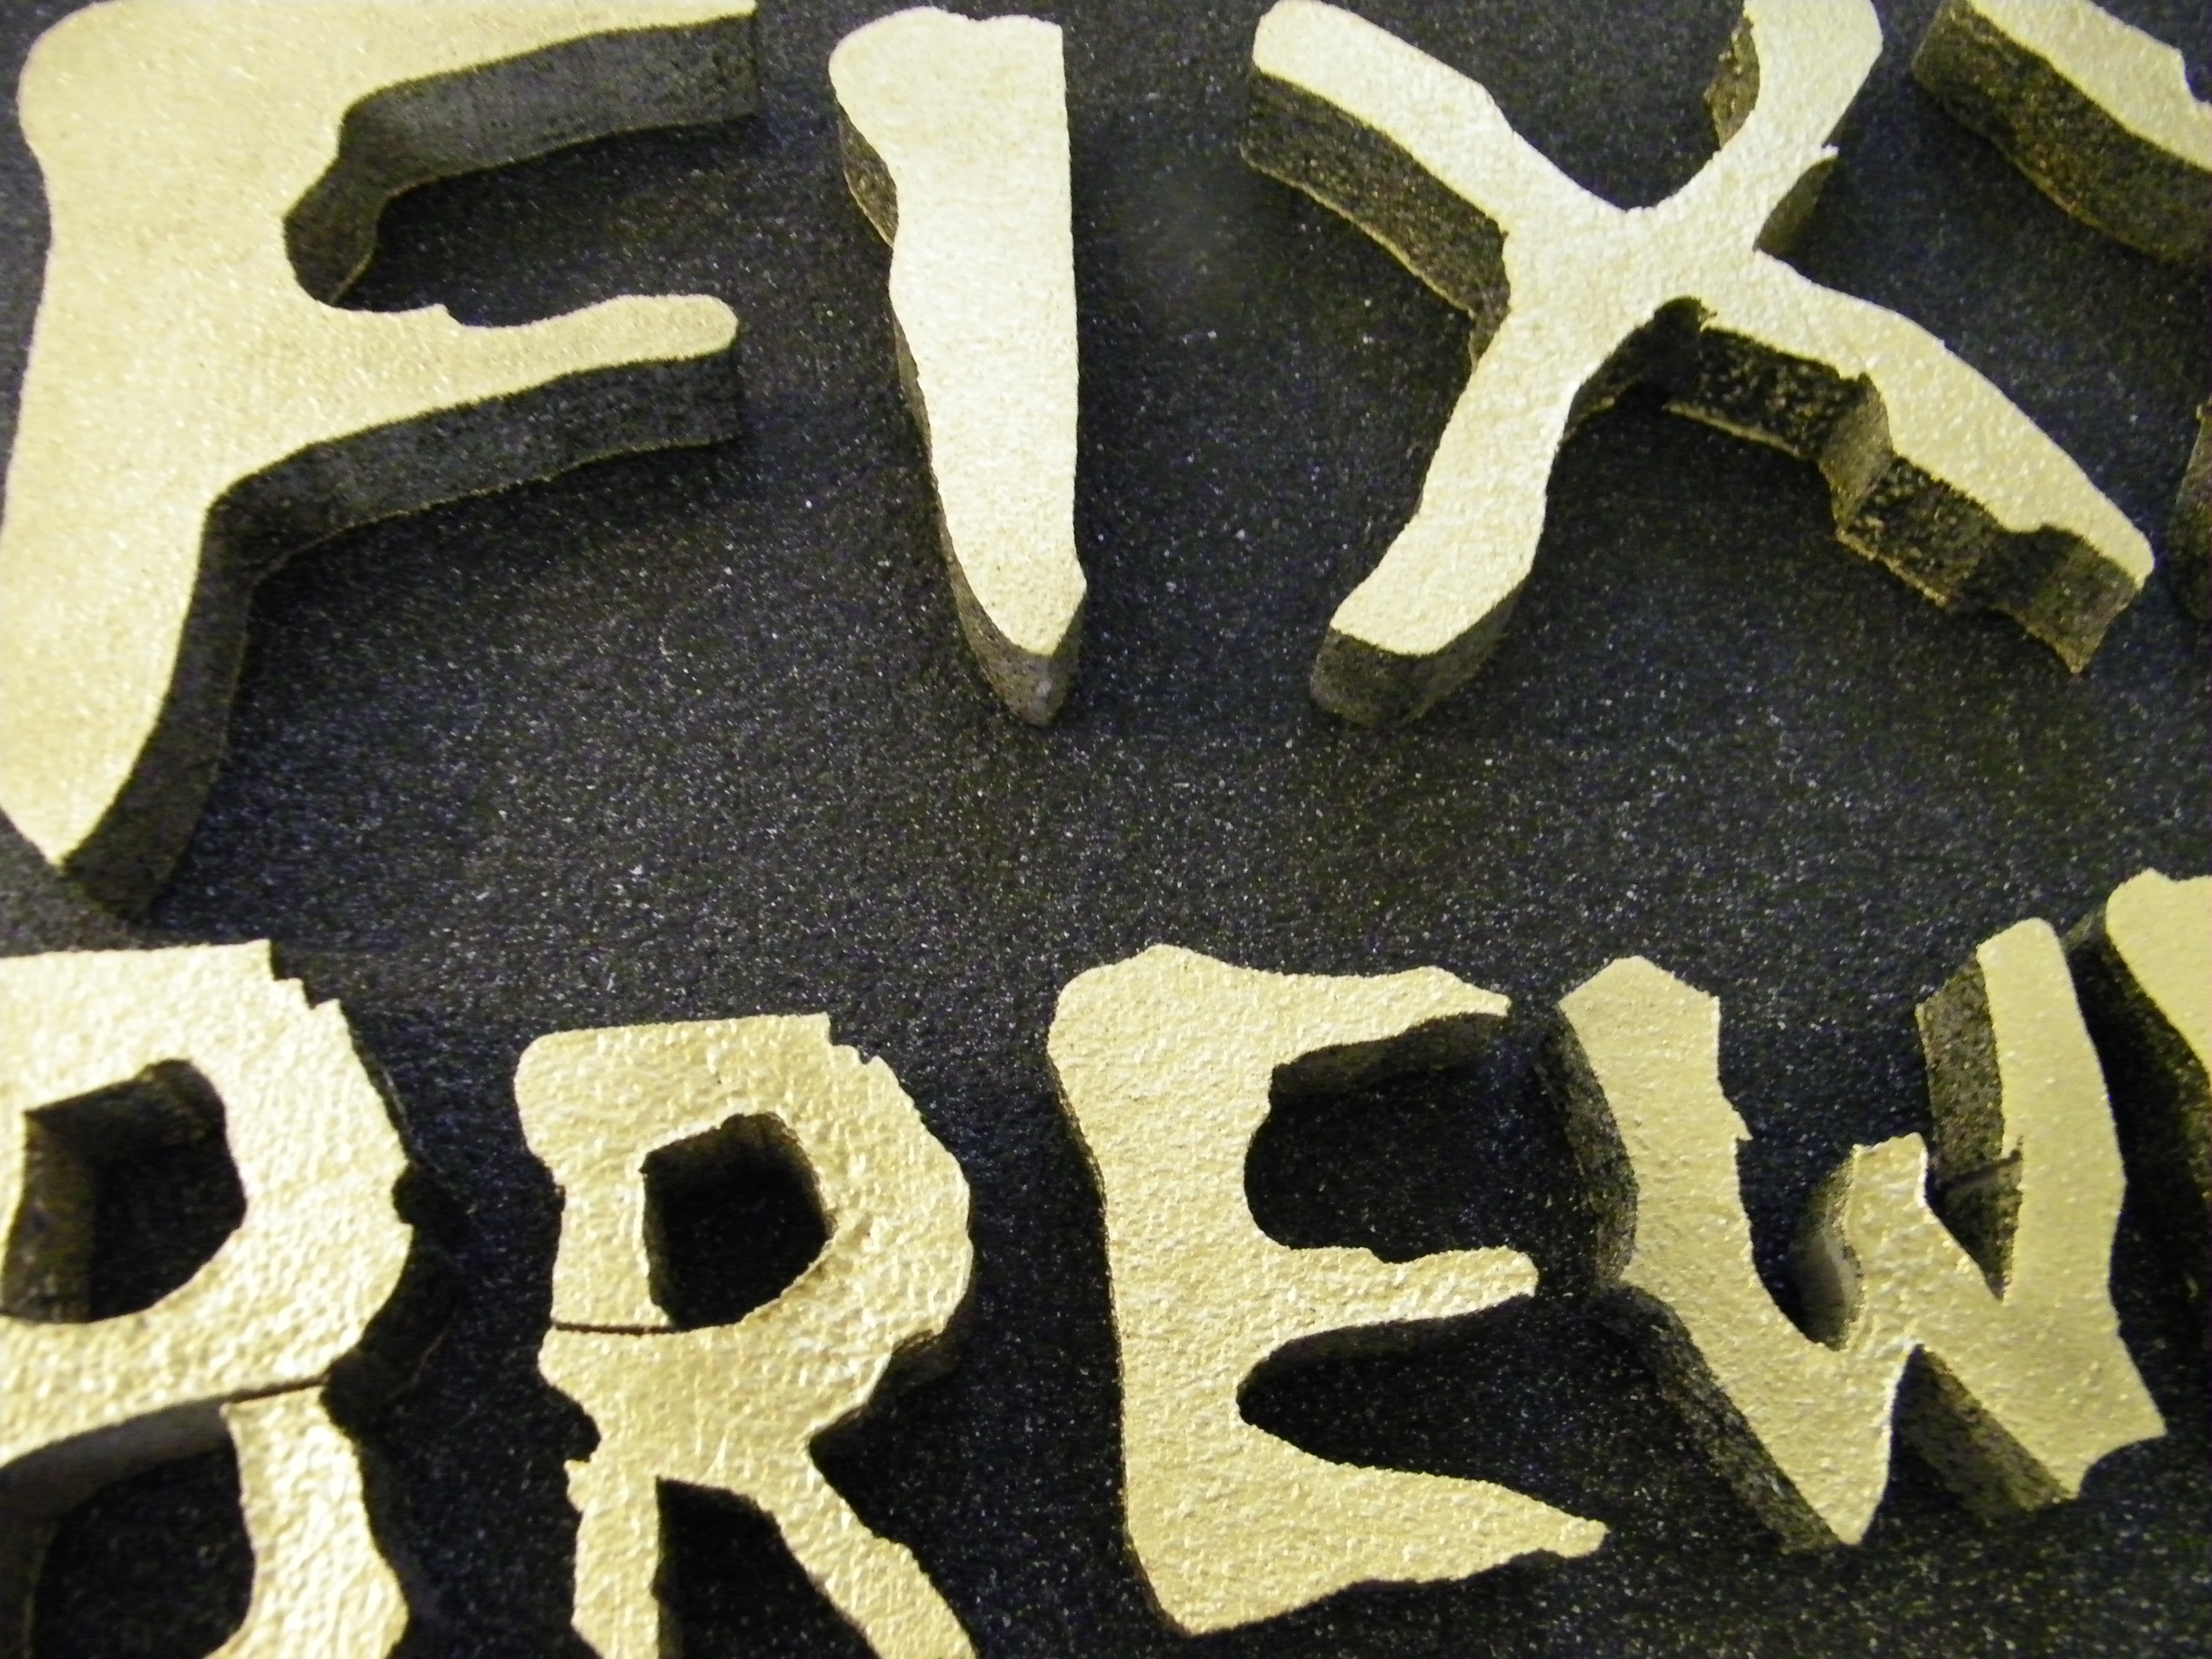
Wanted to spice up our home brewery with a sign we could take with us when we brought along a keg or two to share with friends at festivals, without spending a lot of money. I decided to work mostly with stuff we have around the house.
We created an 18" x 36" sign out of a canvas, leftover Insulation foam from another project (Kaged Kombat's Lego Minifig Costume), paint and glue. It creates a really cool effect that presents a professional quality sign for cheap. If you follow the instructions here, you should be able to make one as well.
We created an 18" x 36" sign out of a canvas, leftover Insulation foam from another project (Kaged Kombat's Lego Minifig Costume), paint and glue. It creates a really cool effect that presents a professional quality sign for cheap. If you follow the instructions here, you should be able to make one as well.
What Your Need
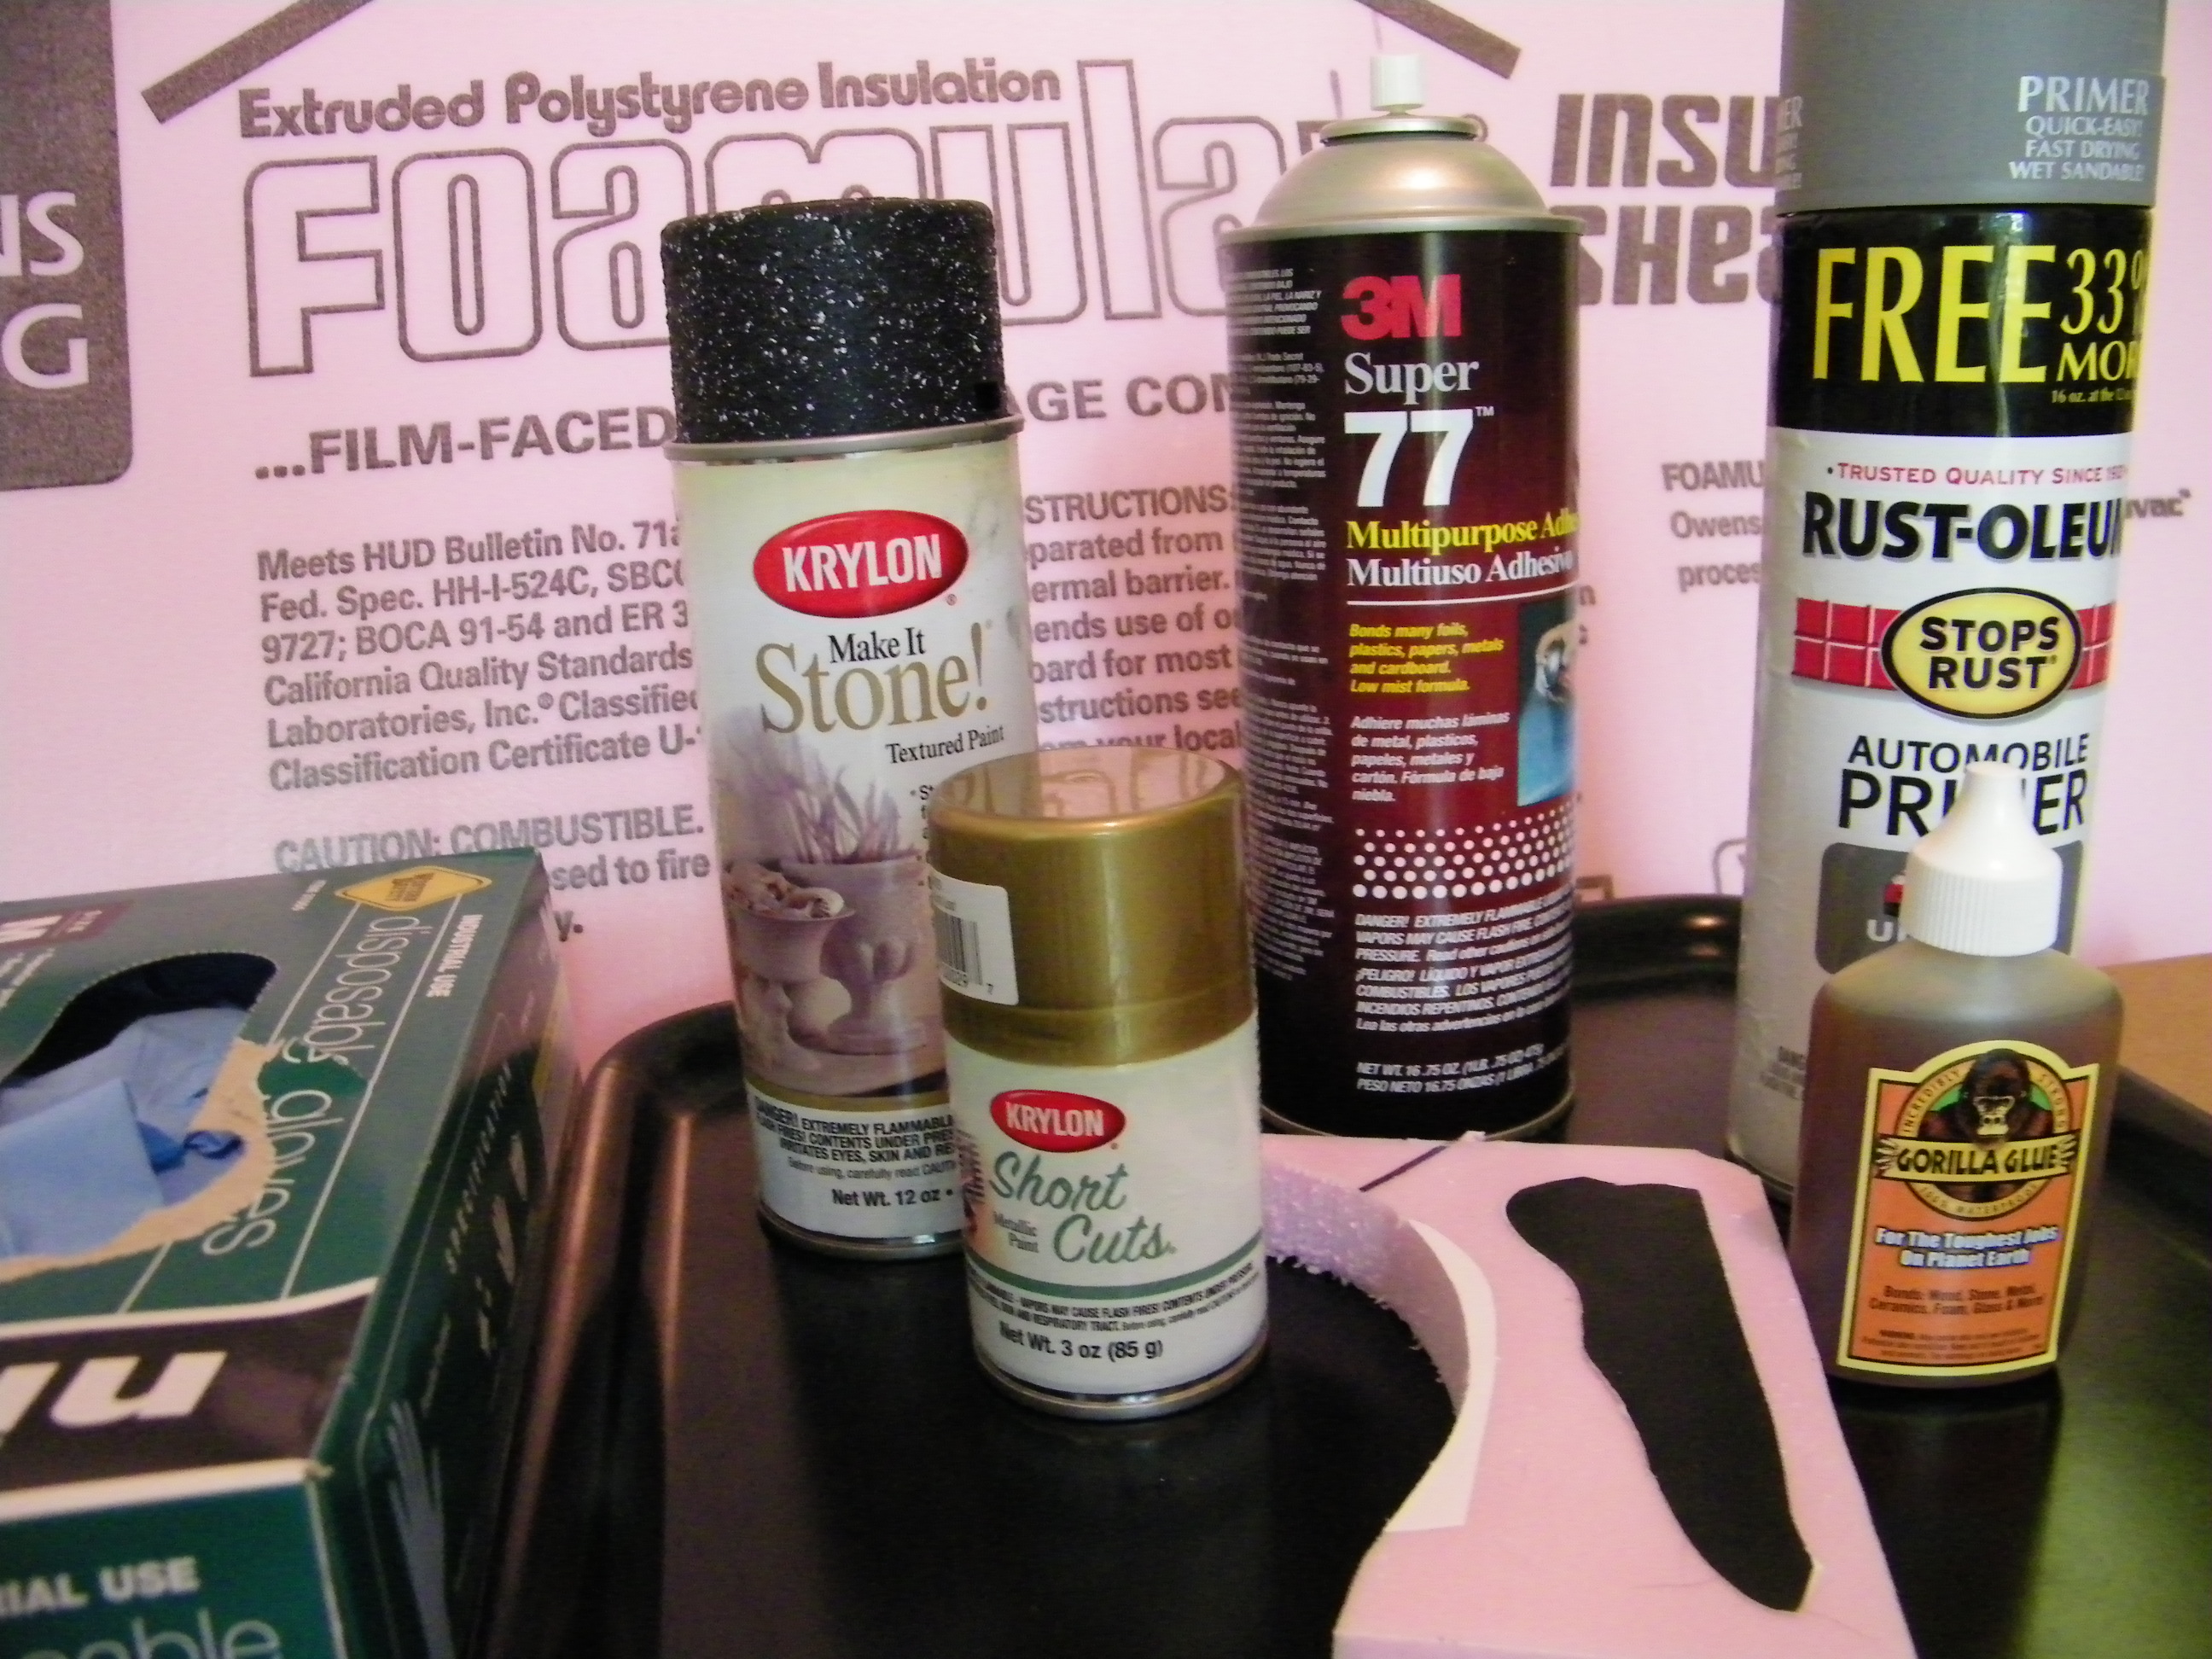
Equipment
Computer
Printer
Scroll Saw/Band Saw (or Jig Saw)
Drop Cloth
Materials
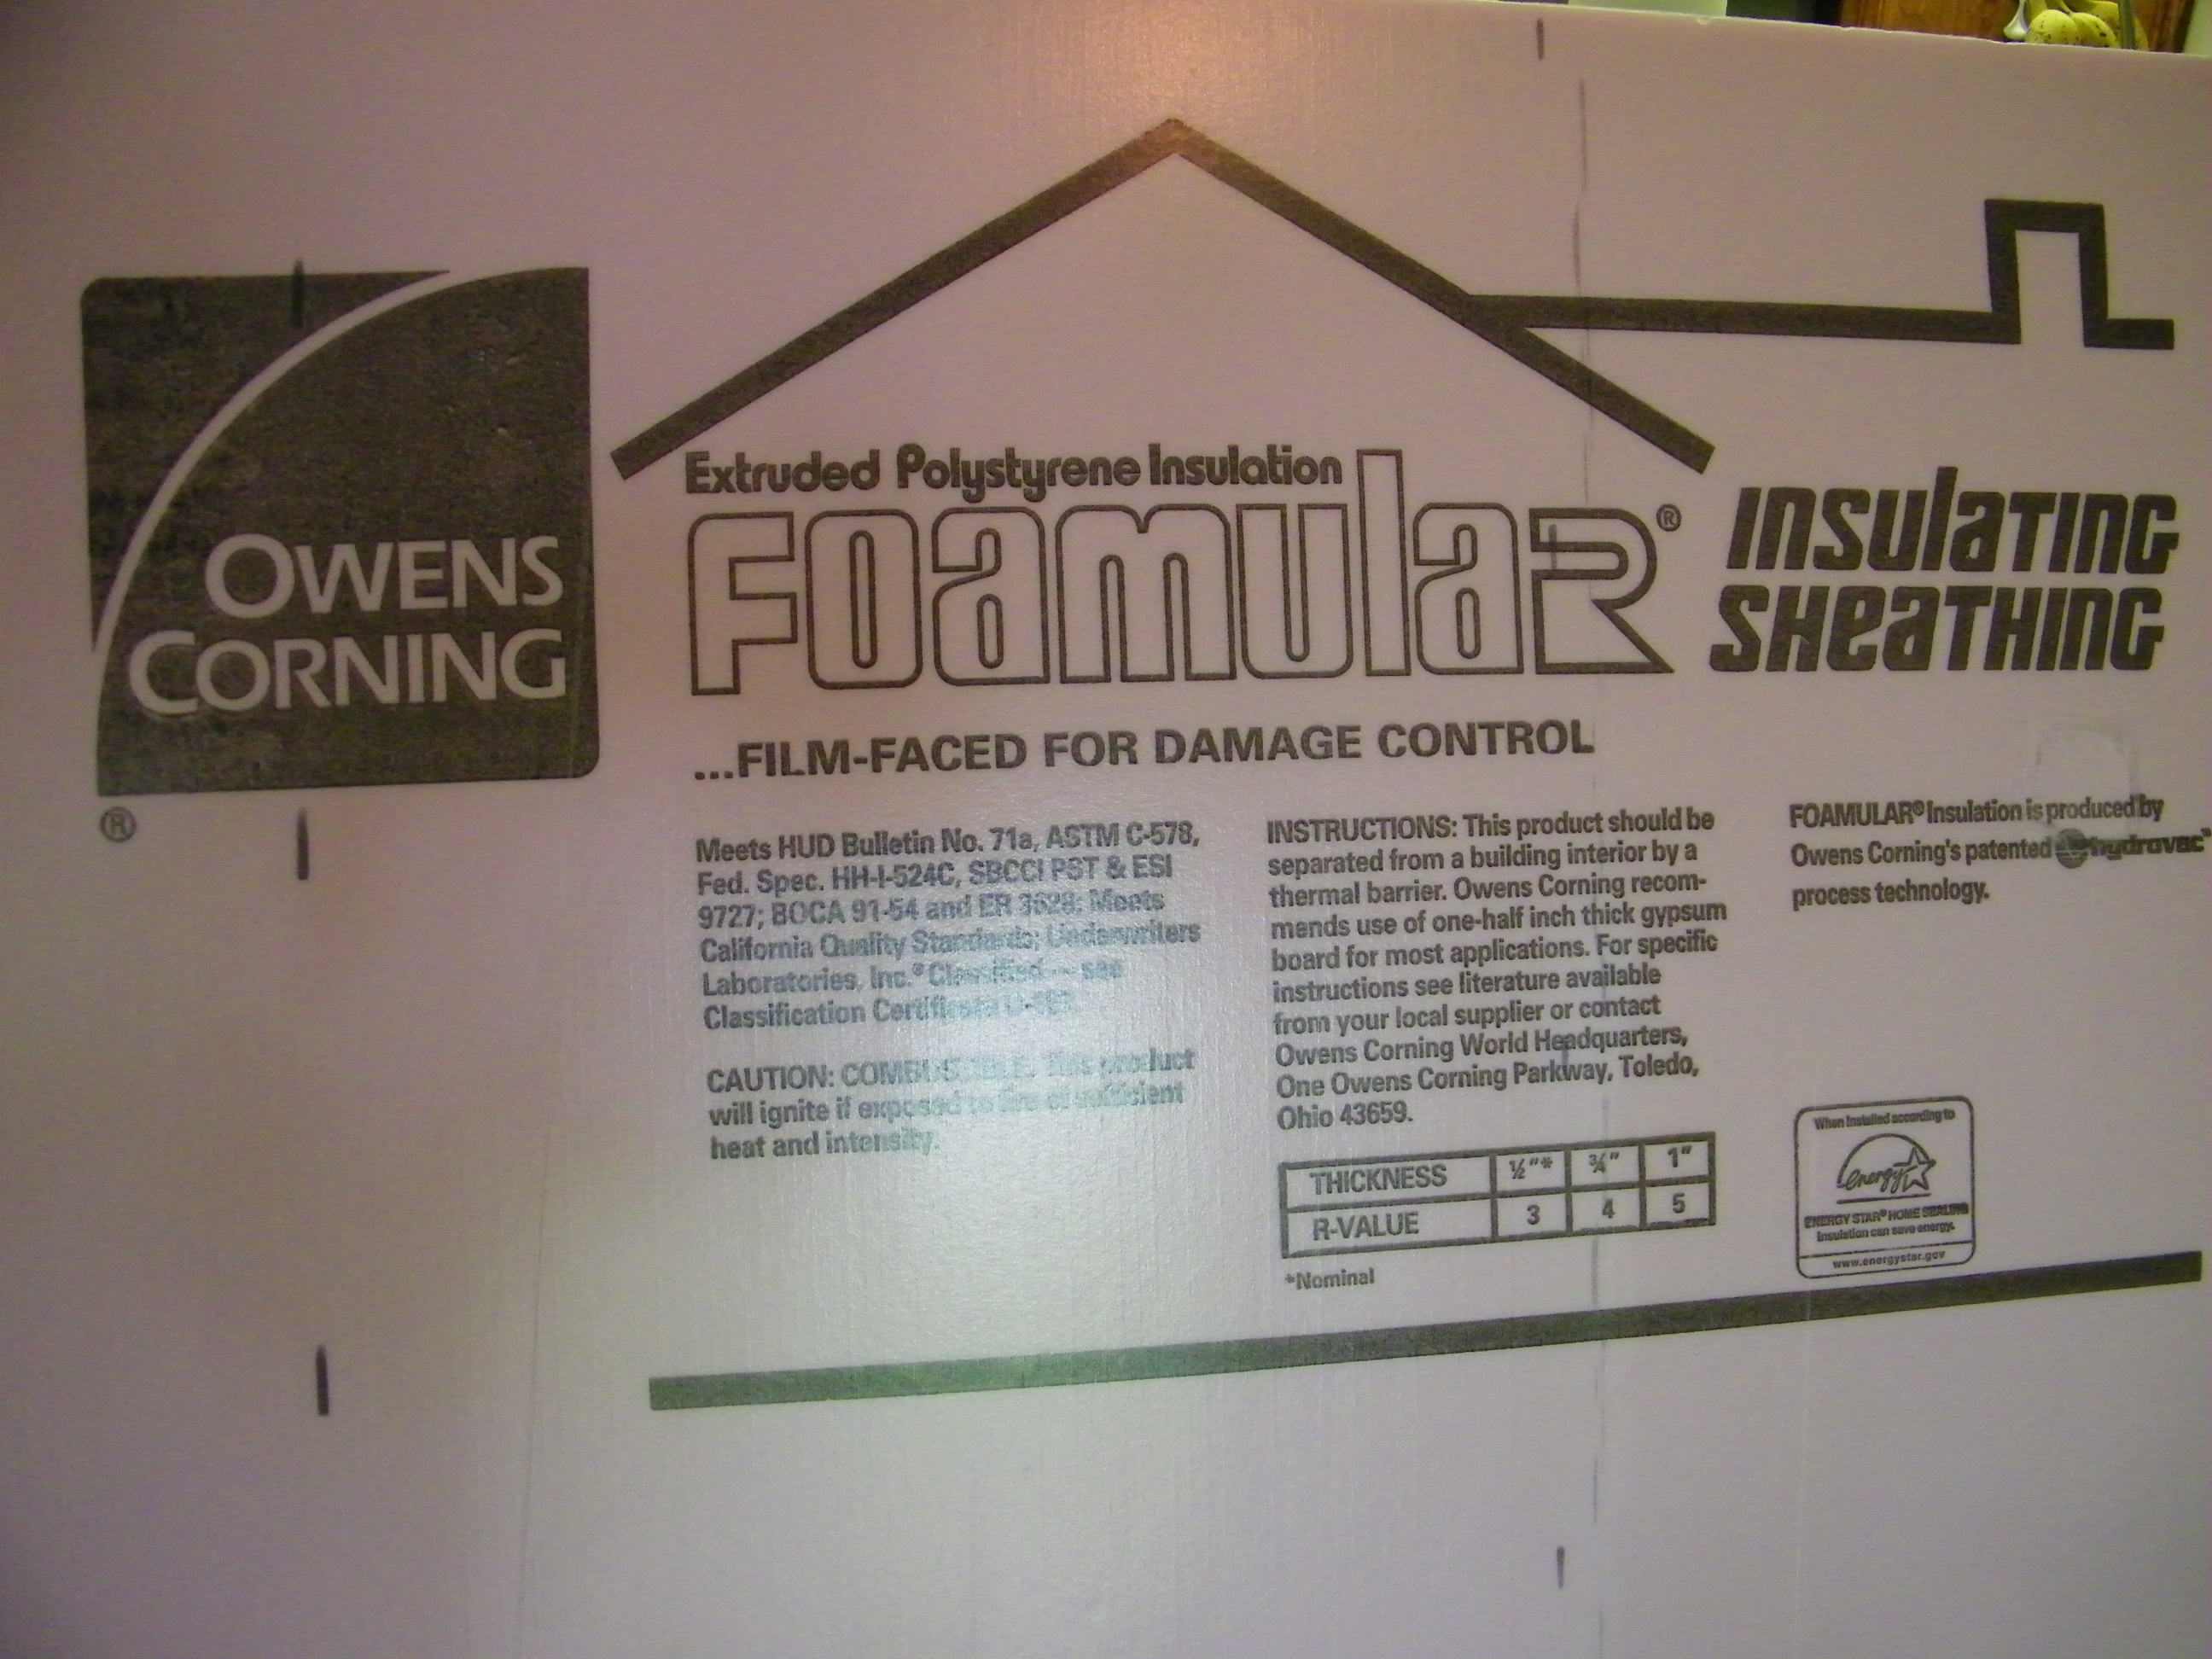
1/2" x 48" x 96" Foam Insulation Board ($12 at Home Depot)
18" x 36" Artist Canvas (2 for $6 at Michael's)
Printer Paper
Primer (Water Based, Brush on is best)
Stone Effect Spray Paint ($10, Micheal's)
Metallic Spray Paint ($3 at Michael's)
Gorilla Glue ($4 at Home Depot)
3M Super 77 Spray Adhesive ($10 at Home Depot)
Tooth pics
Disposable Gloves
Drop Cloth or Newspaper
Create a Template
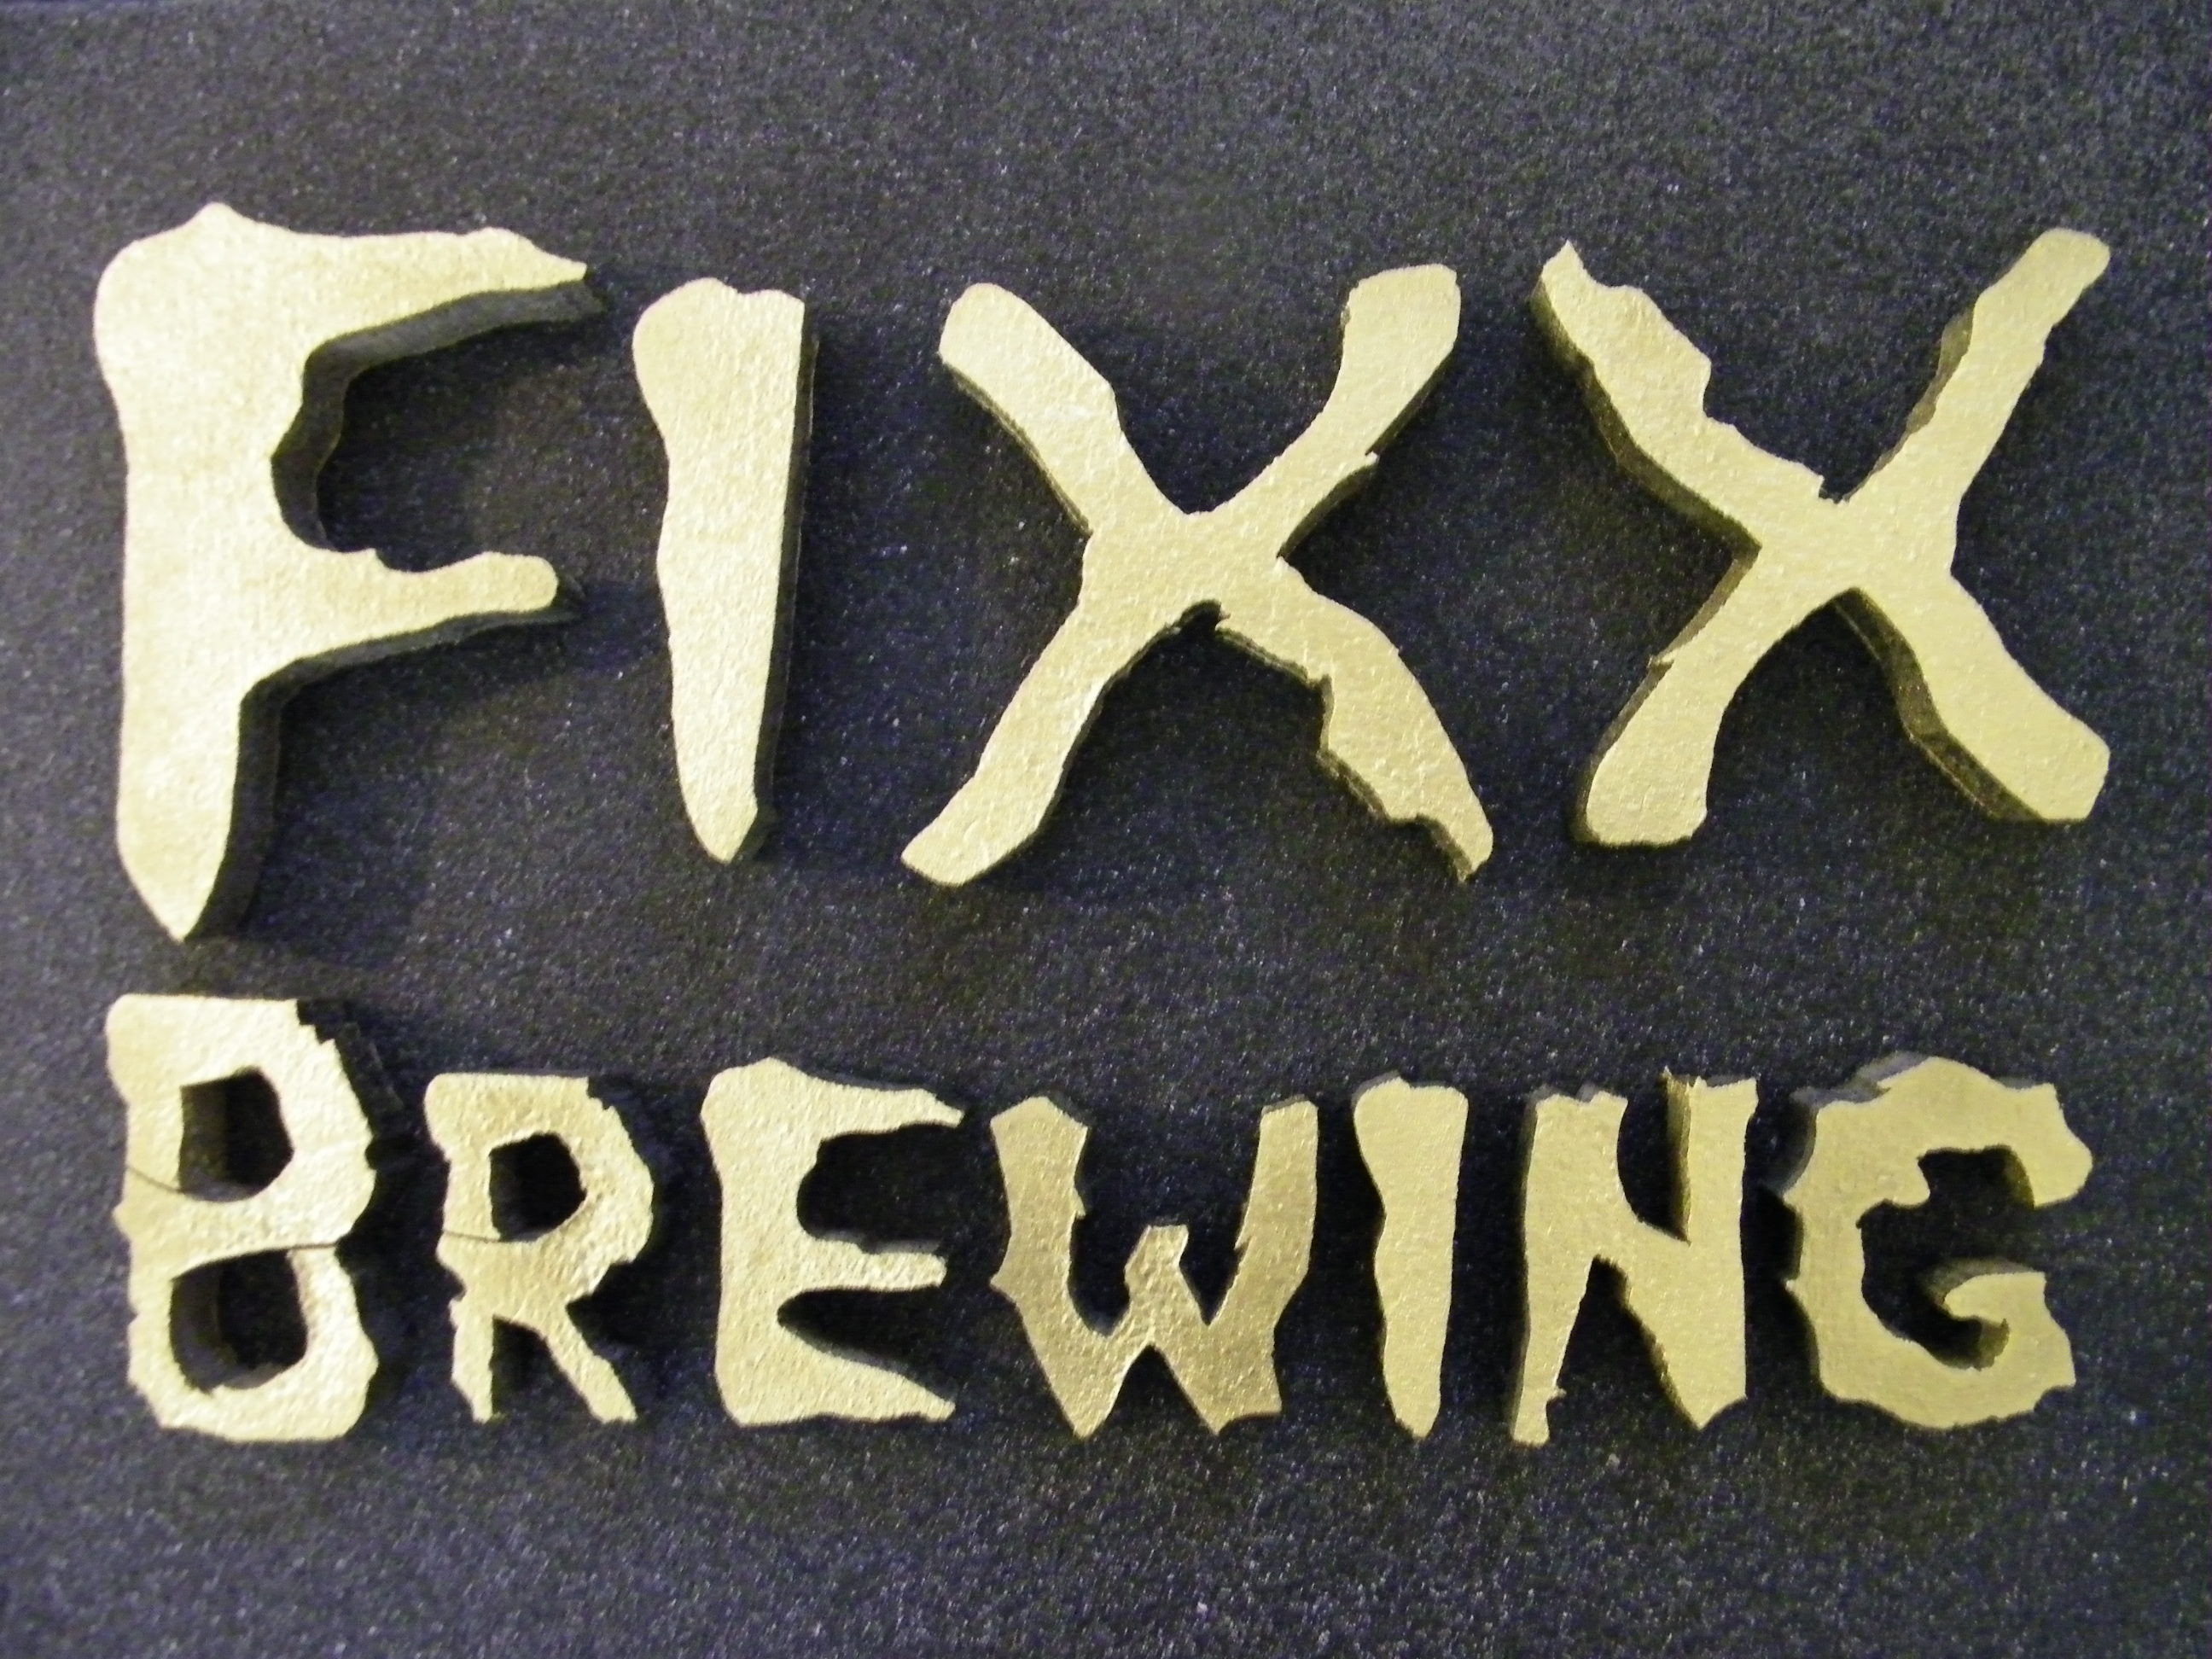
On your computer find a font you dig, scrolly fonts will be more difficult while big, chunky fonts that appear hand drawn tend to be more forgiving. Write out your text so it roughly fills out 4 sheets of 8.5"x11" Sheets printed landscape. This template will become your stencil.
Position Printouts on your canvas to verify fit. (See second image) You want ti fill out the space and get the fit right before you cut and paint your foam letters.
Cut loose blocks around your letters and blocks of foam slightly larger than the corresponding letters.
Part 4 - Go Outside, put on gloves, and spread out your dropcloth (I am serious here, this stuff is seriously sticky) and spray the back of the printed computer paper with 3M Super 77 and attach to the film coated side of the insulation foam. Keep the foam away from your line of spray to avoid getting unwanted sticky parts. Once your stick it on, is should dry in about 5 minutes.
Part 5 - Cut out your letters on a scroll saw (or band saw), a Jig Saw would work too, but not as well. If power tools aren't your thing a hacksaw or little pumpkin saw will also work but be exceptionally slow. Watch out for fingers - you want to carve foam, not flesh.
Follow along the edge of your letters, for letters with fully enclosed holes (B, R, P, Q, etc) you will have to make a small cut through part of the letter. (For a good letter carving tutorial, check out CreativeMan's "Make Signs out of Cardboard! " Ible)
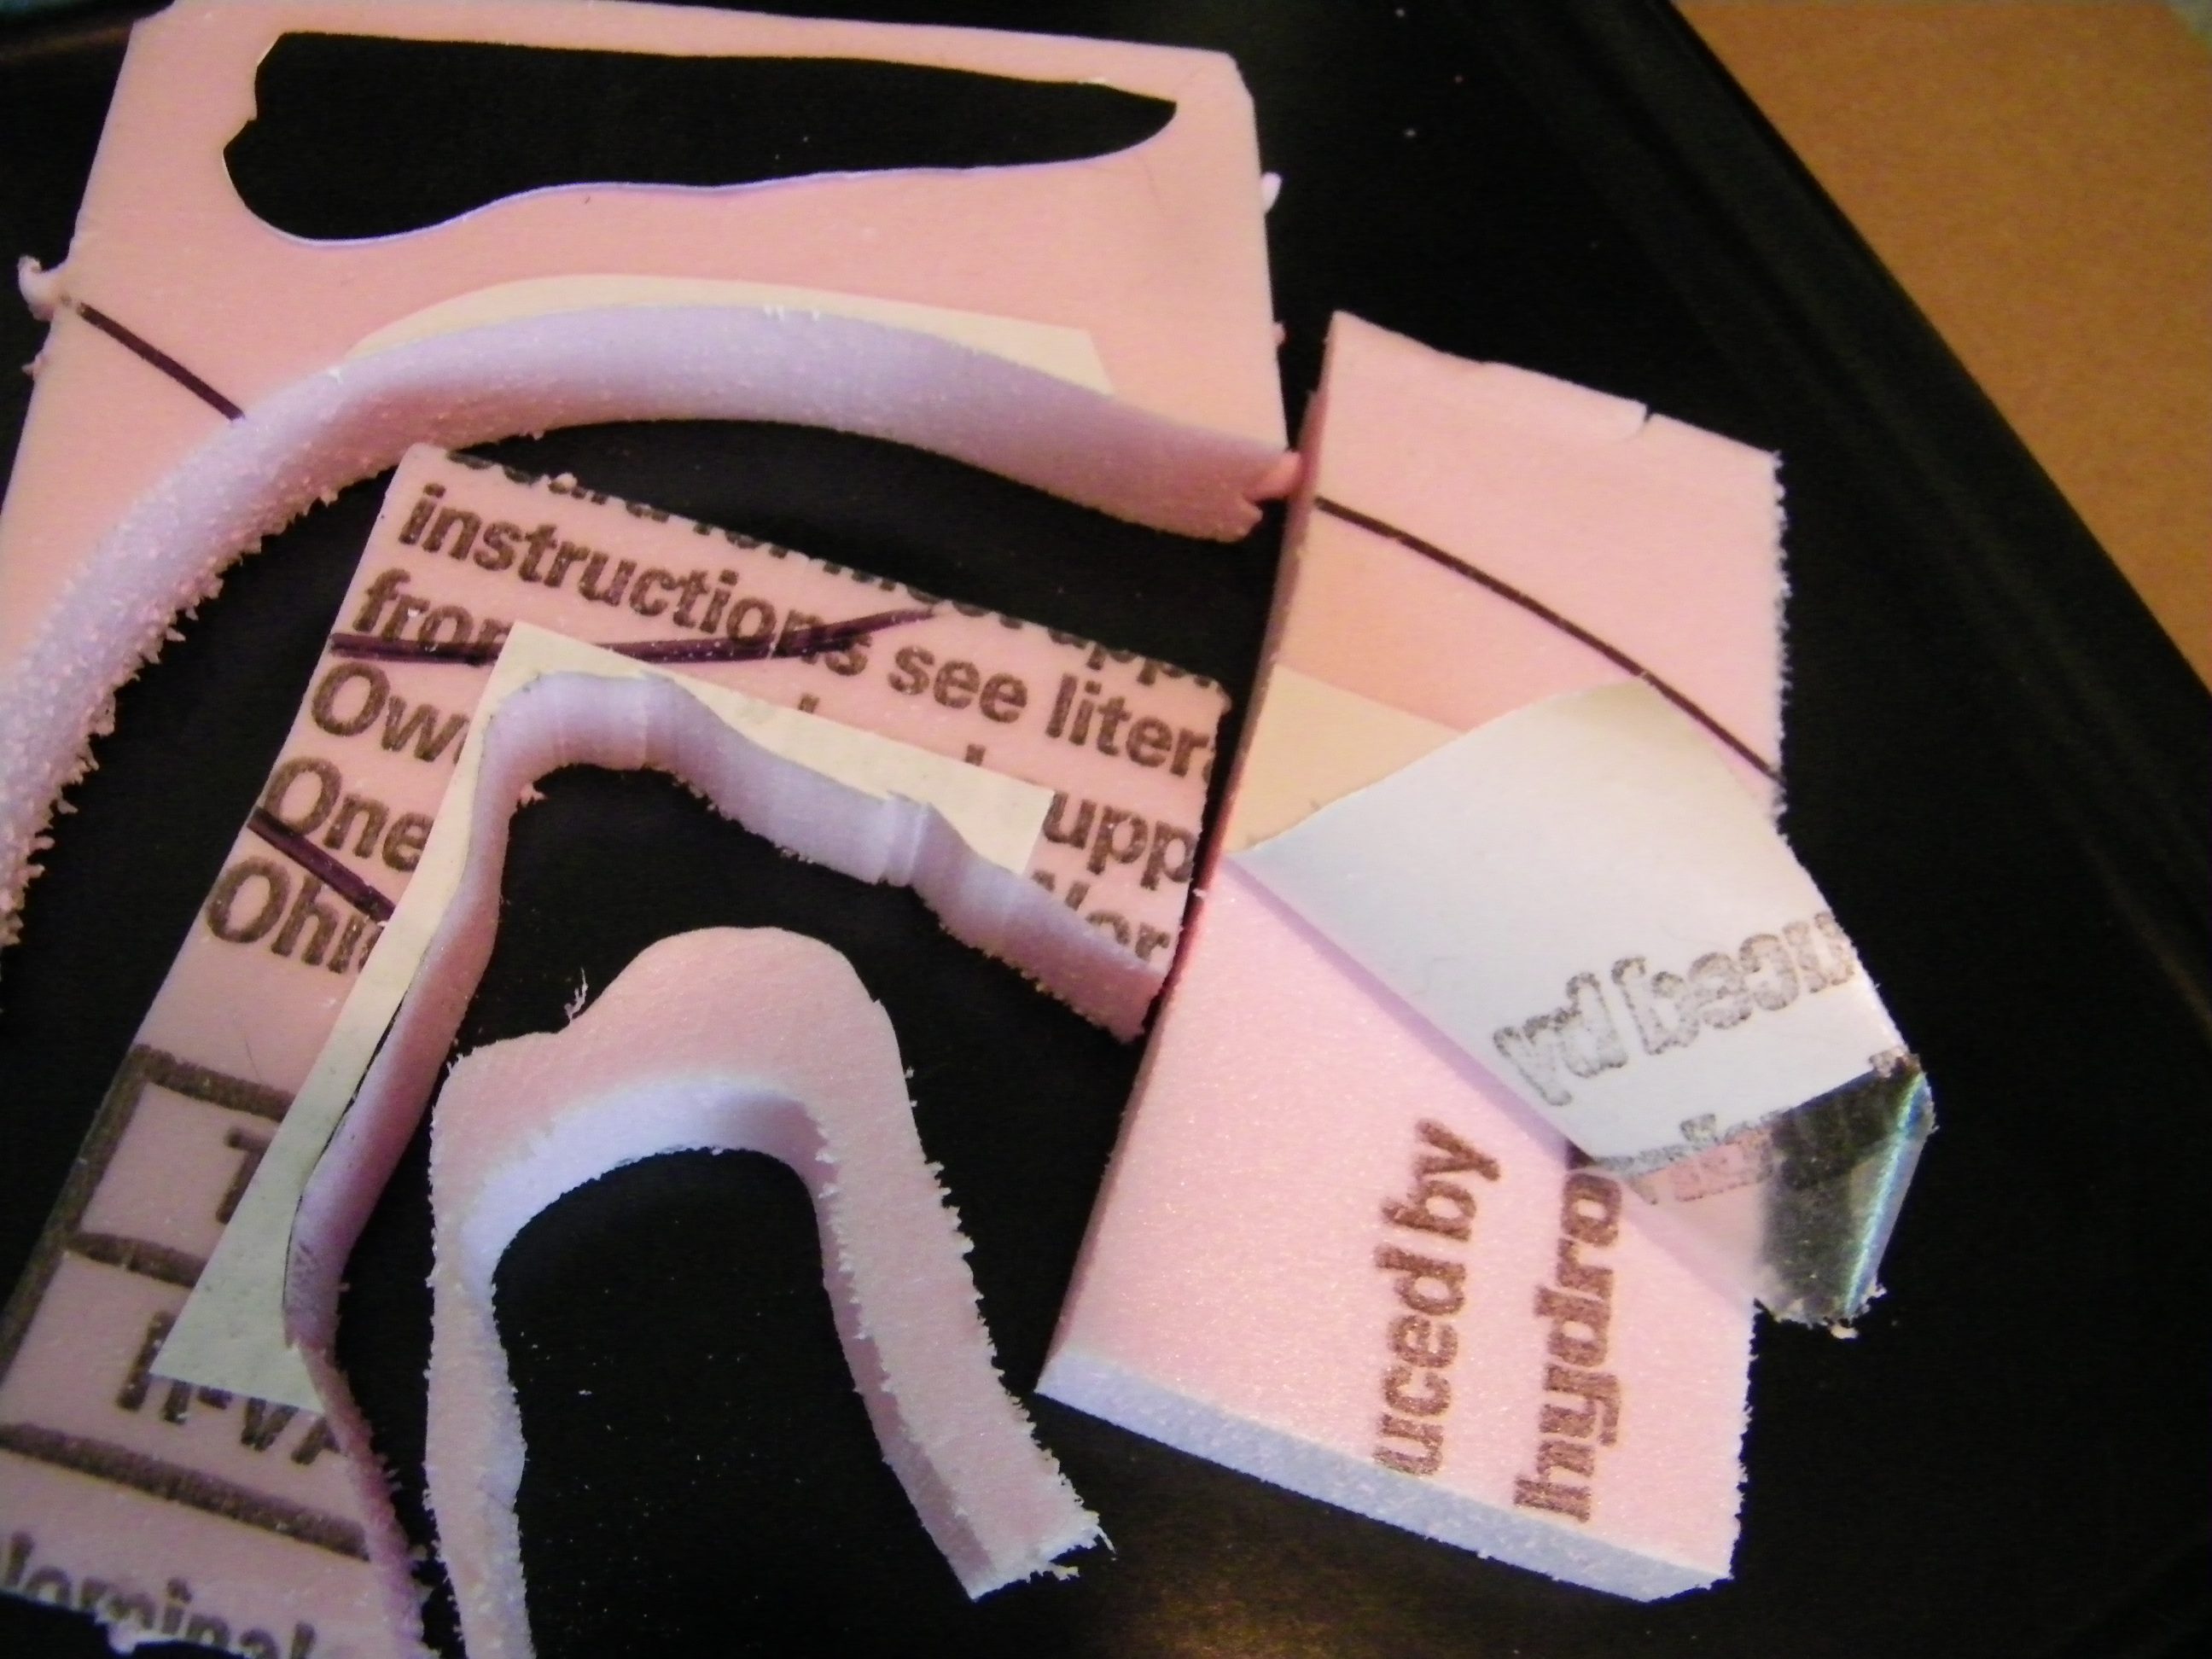
Part 6 - After cutting out your letters separate the stencil from the foam. The plastic film should peel away easily along with your stencil.
Preparing to Cut


Go Outside, put on gloves, and spread out your dropcloth (I am serious here, this stuff is seriously sticky) and spray the back of the printed computer paper with 3M Super 77 and attach to the film coated side of the insulation foam.
Keep the foam away from your line of spray to avoid getting unwanted sticky parts.
Once your stick it on, is should dry in about 5 minutes. Rub it on after applying, smoothing out any bubbles so you have a super smooth surface.
Reminder: Make sure you are attaching your stencil to the film coated (shiny plastic) side of the insulation foam board AND that you have sprayed the backside of the paper, you do not want backwards letters that you cannot remove.
A Cut Above

Cut out your letters on a scroll saw (or band saw), a Jig Saw would work too, but not as well. If power tools aren't your thing a hacksaw or little pumpkin saw will also work but be exceptionally slow. Watch out for fingers - you want to carve foam, not flesh.
Follow along the edge of your letters, for letters with fully enclosed holes (B, R, P, Q, etc) you will have to make a small cut through part of the letter. (For a good letter carving tutorial, check out CreativeMan's "Make Signs out of Cardboard! " Ible)
After cutting out your letters separate the stencil from the foam. The plastic film should peel away easily along with your stencil.
Get Your Paint On

Prepare to Paint
Spread out your drop cloth
Stick a Tooth Pick in a thick part of each letter, this will makes painting all the odd angles easier
Put gloves on
Test your primer on a piece of scrap foam! Some spray paints and primers will dissolve foam.
Prime your canvas, being sure to get the outer edges as well
Prime your letters, picking them up by the tooth picks to get the sides and edges, you do not need to paint the back.
Apply 2 thin coats of primer and allow to dry according to package instructions
Be sure to switch the tooth pick position between coats, to ensure proper coverage.
Apply 2 coats of the "Make It Stone" (or other textured paint) to both the letters and the canvas and letters, moving tooth picks between coats again.
Allow to dry and take you canvas inside.
Apply a coat of the metallic paint to just the front surface of your letters, leaving the edges painted like stone. This will maximize the contrast.
Let dry over night.
Stuck on You
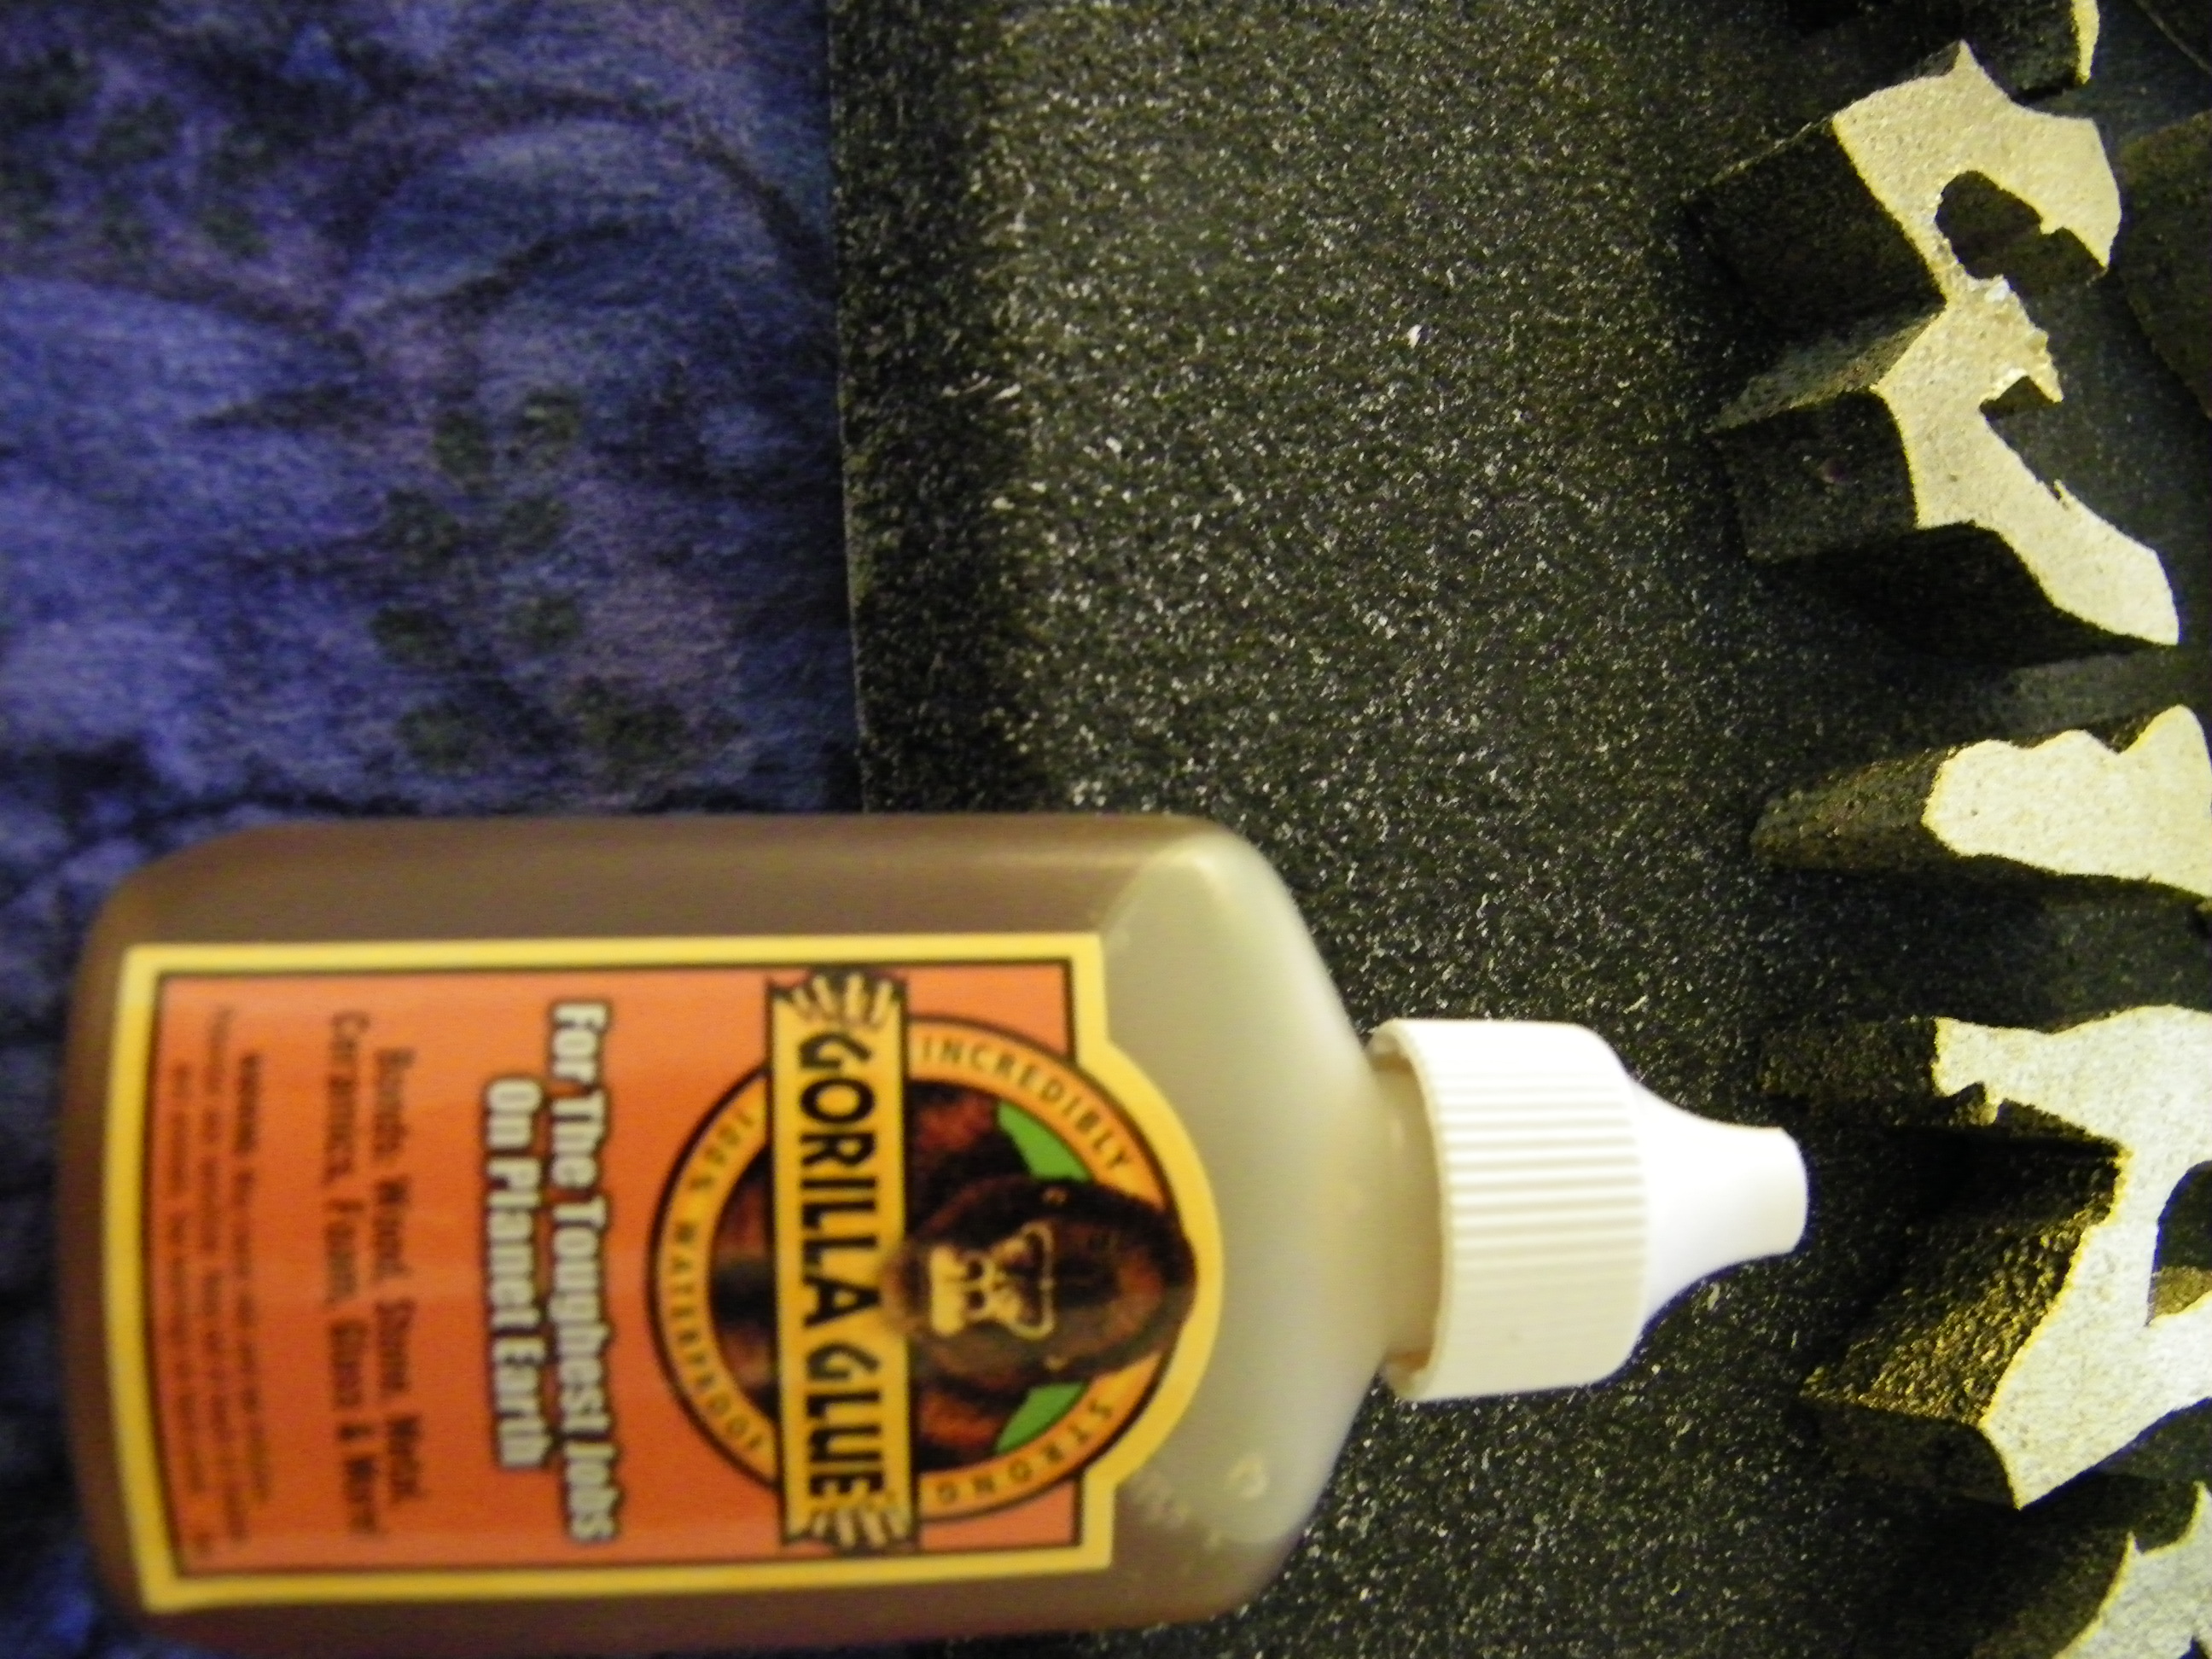
Position your letters where you want them when you are finished.
Gorilla Glue foams up as it dries, and the foam it dries white. The foaming ensures that the letters stay put, but if you use to much you will see the mess.
When applying the glue put a tiny bead down the middle of the letter's body and spread to a thin layer all across the back.
Coat and attach one letter at a time, working from the outside in to keep the letters spaced properly.
Place several magazines or phone books on top of your piece as it dries and let it sit over night.
Sign, Sign Everywhere a Sign

If you are planning on only using your sign indoors it is ready to go. If you plan on taking this outside you will want to coat the whole thing in a spray sealant.
If you are really hardcore, you can use your cut letters (without the canvas) and a vacuum former and make a plastic version of your sign, or even make a mold to pour a plaster or concrete one! Check out this instructable on how to go the extra mile.
If you are really hardcore, you can use your cut letters (without the canvas) and a vacuum former and make a plastic version of your sign, or even make a mold to pour a plaster or concrete one! Check out this instructable on how to go the extra mile.