Make a Whistle With Tinkercad
by Neotekna in Workshop > 3D Printing
31022 Views, 18 Favorites, 0 Comments
Make a Whistle With Tinkercad
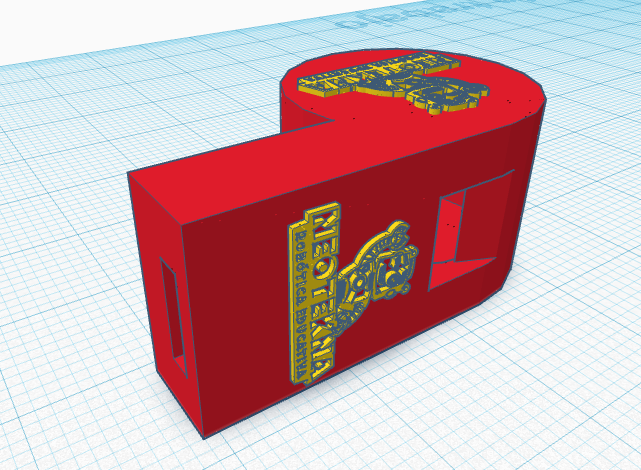
Create your own whistle with this tutorial in less than 1 hour (of which approximately 20 minutes is in 3D printing) and for less than 1$.
This whistle can become a perfect and inexpensive toy for children, who can play with them imagining their favorite professions, referee a football match in schoolyard ... But it can also be useful to both adults and children hiking in the mountains, in the case where we get lost.
At the end of these 32 simple steps and adding a small chickpea (or any object similar to a ball) at the time of 3D printing, we will have our custom whistle :).
You can view and take the original design from Neotekna Tinkercad Account.
You will need:
- A computer and internet connection.
- A Tinkercad account.
- A 3D printer.
- A small ball.
Create a Cylinder
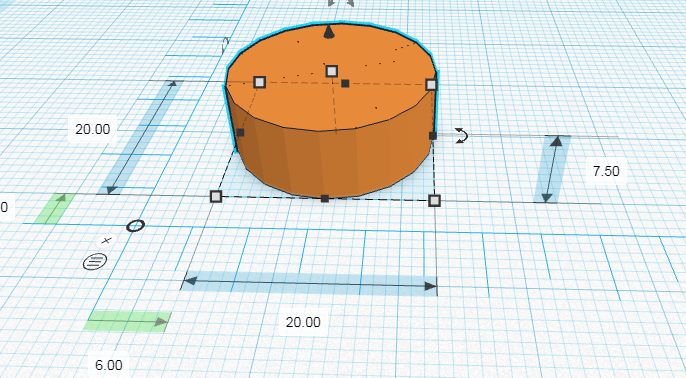
Create a cylinder of 20 mm diameter x 7.5 mm height.
Create a Hollow Cylinder
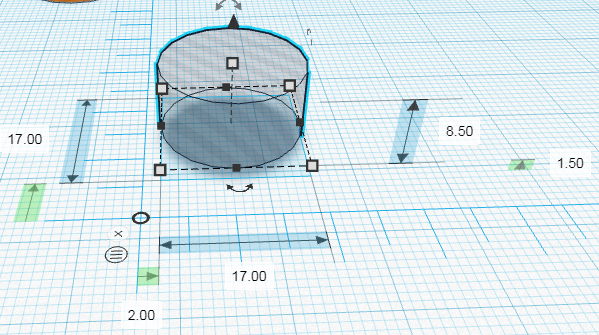
Create a hollow cylinder of 17 mm diameter x 8.5 mm height. Height does not matter, but the diameter will give you a 3 mm wall. It is important to lift 1.5 mm from the workplane.
Align and Group It
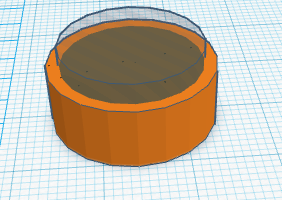
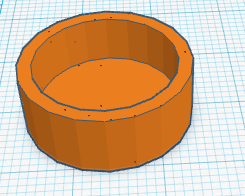
Align both cylinders on the X axis and on the Y axis. Not on the Z axis. Group it.
Create a Cube
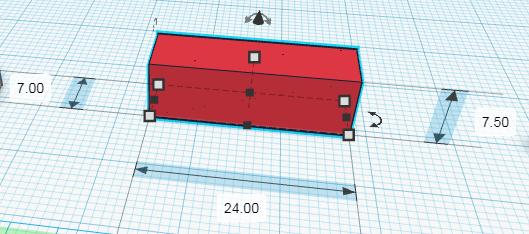
Make a "cube" (actually it is a prism) of 24 x 7 x 7.5 mm.
Align Cube and Cylinder
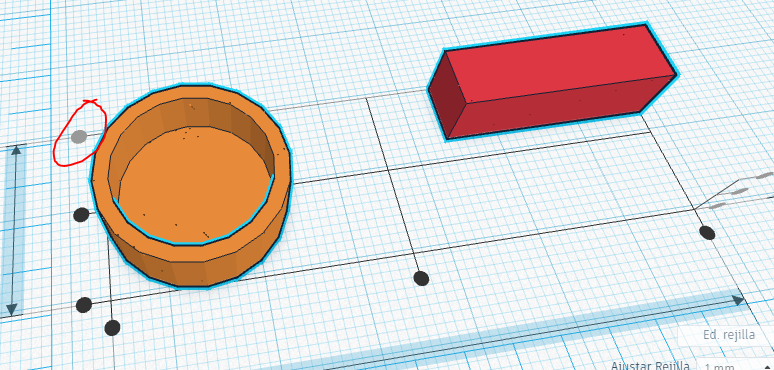
Align the cube with the cylinder, on the Y axis.
Put the Prism Tangent to the Cylinder
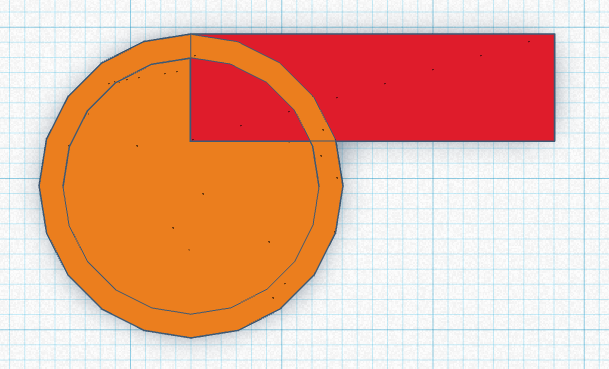
Move the prism with the arrows on the keyboard and put tangent to the cylinder.
Ungroup Cylinder
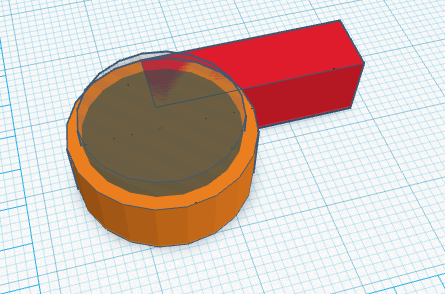
Group All
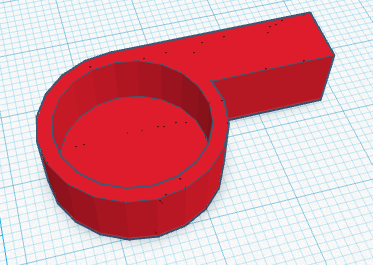
Group cylinder, hollow cylinder and prism.
Create a Hollow "cube"
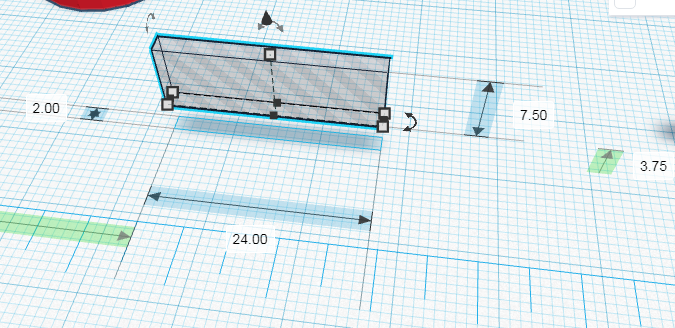
Create a hollow cube of dimensions 24 x 7.5 x 2 mm. Raise it 3.75mm from the workplane.
Place the Hollow Prism
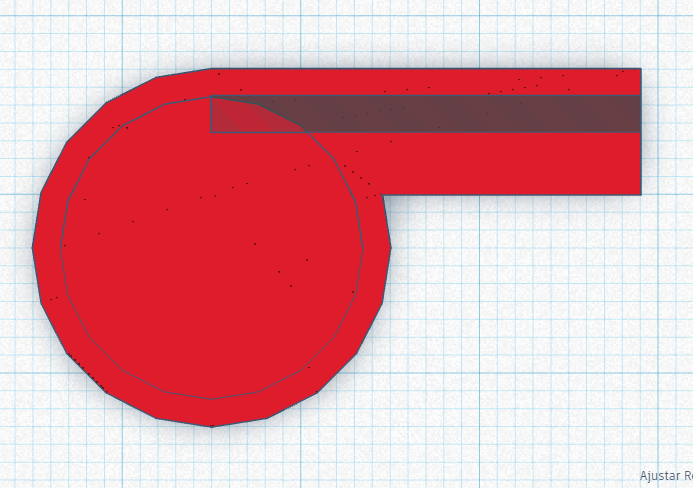
Align hollow prism tangent with whistle. It may be necessary to adjust grid to 0.1mm.
Duplicate Hollow Prism
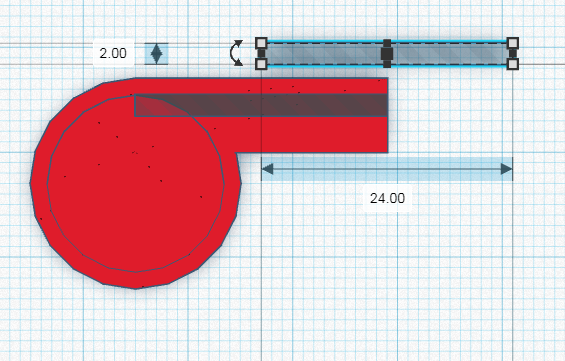
Duplicate hollow prism and reserve it for next steps.
Group Whistle Body
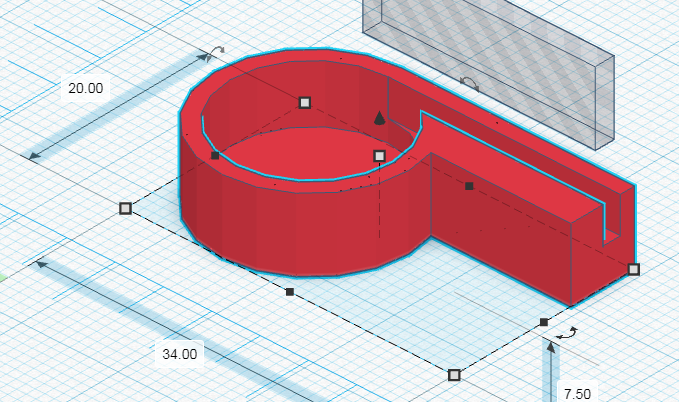
Group whistle to make the inner hole.
Rotate Hollow Prism
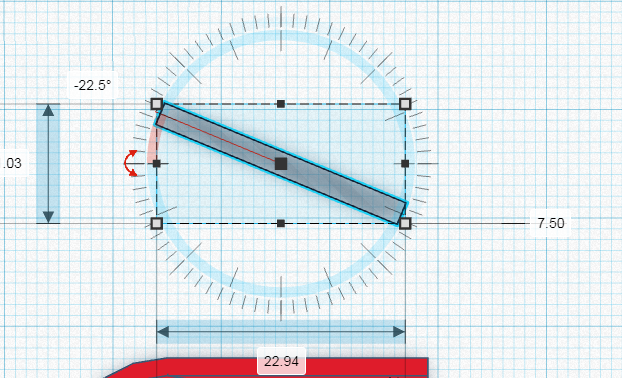
Rotate -22.5º the hollow prism you have doubled before.
Place the Rotated Hollow Prism
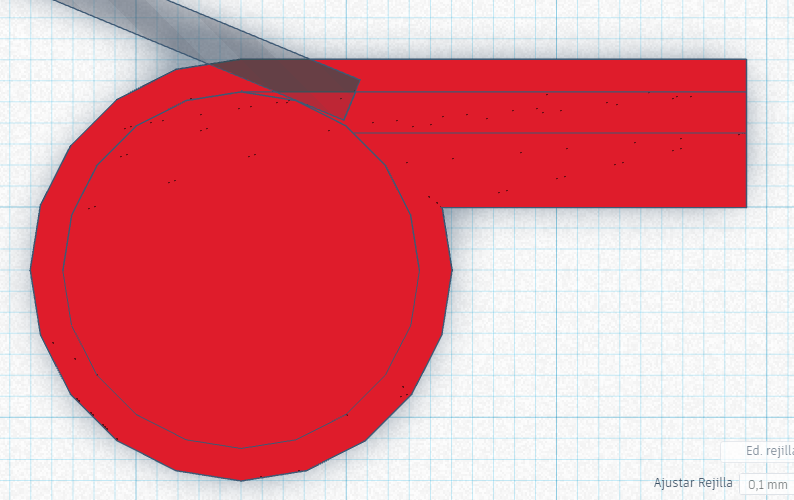
Put that hollow prism tangent to the hollow interior of the whistle. It may be necessary to adjust the grid to 0.1mm.
Create Anothes Hollow Prism
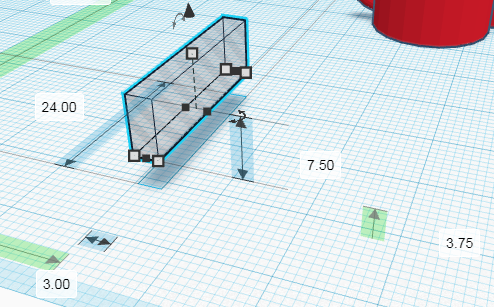
Create a hollow prism of 24 x 3 x 7.5 mm, raised 3.75mm from the workplane.
Place the New Prism
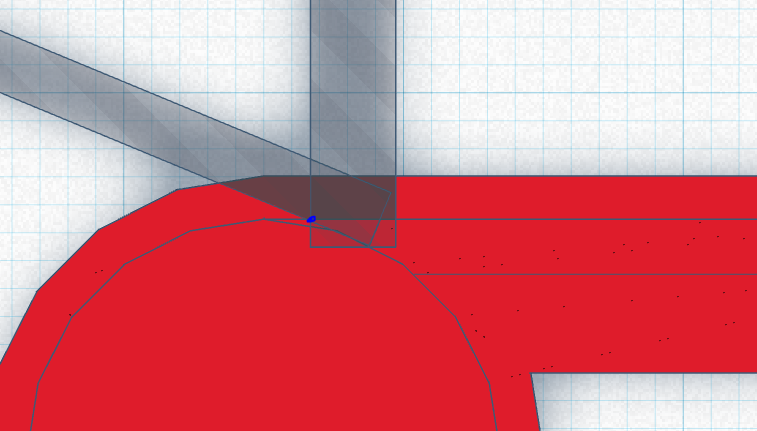
Match this thicker prism in the following way, in that blue point.
Group All
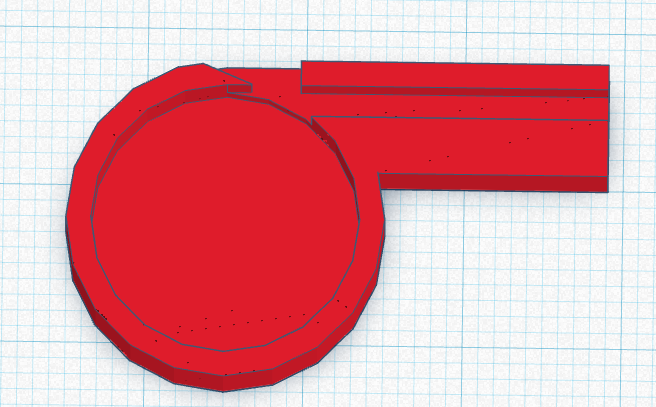
Group all and you have one half of the whistle.
Duplicate It
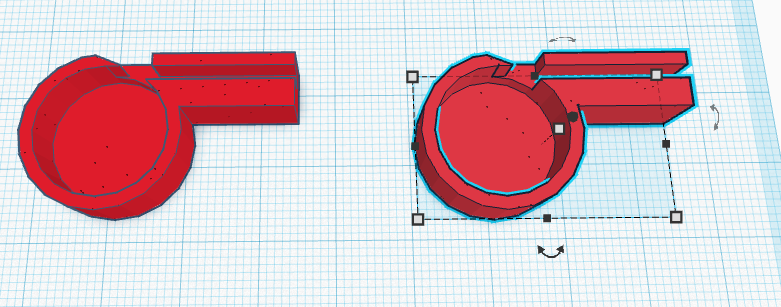
Duplicate it to get the other half of the whistle.
Invert a Half
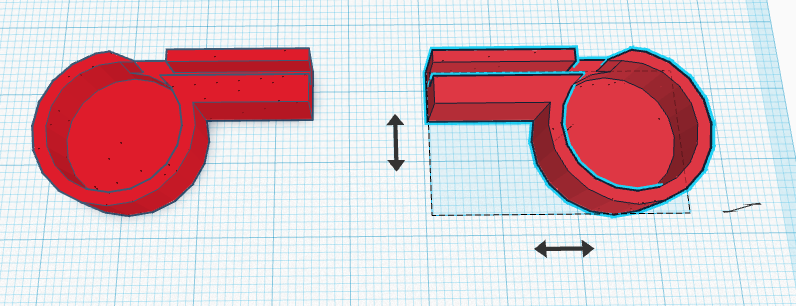
Turn 180º the Inverted Half
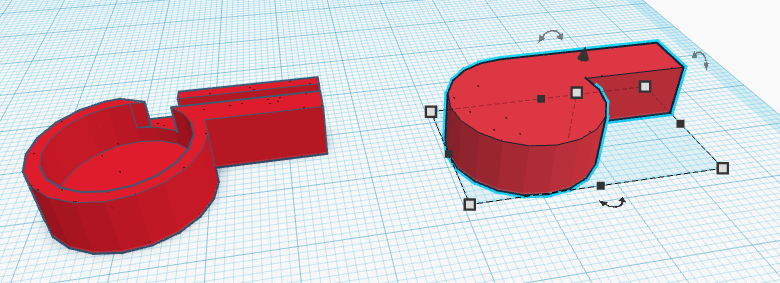
Align the Two Halves to the Center
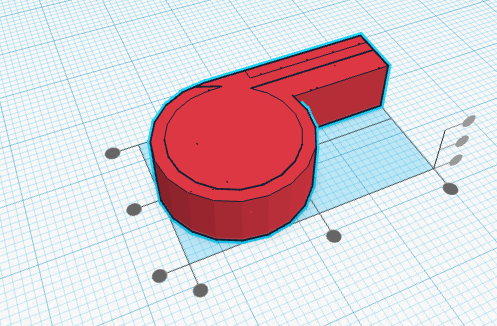
Raise the Upper Half
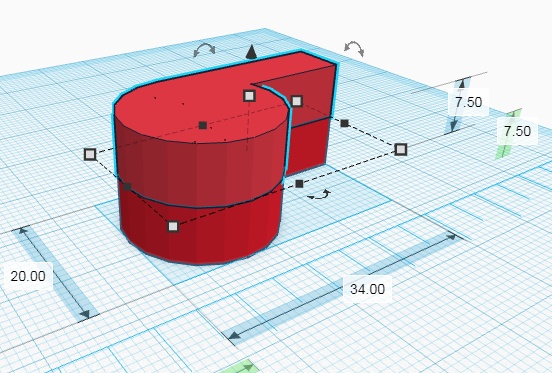
Mount one half on the other by raising it 7.5 mm.
Group It
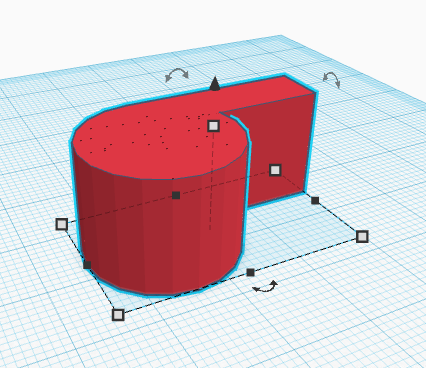
Create a Toroid
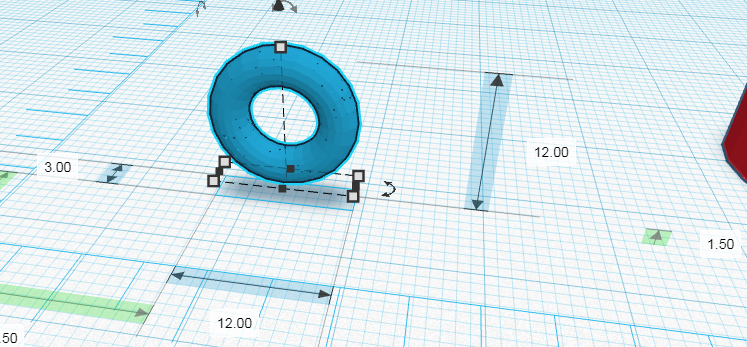
Create a 12 x 12 x 3 mm toroid raised 1.5 mm from the workplane.
Align Toroid and Whistle
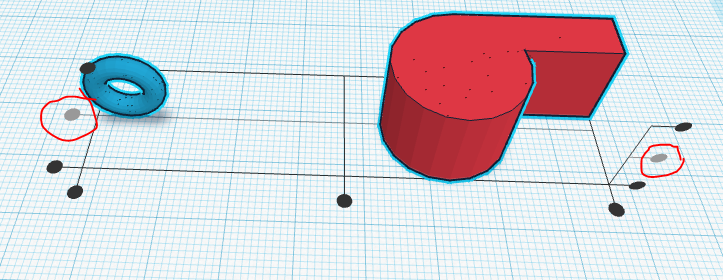
Align the toroid with the whistle on the Y axis and on the Z axis. Not on the X axis.
Duplicate the Whistle
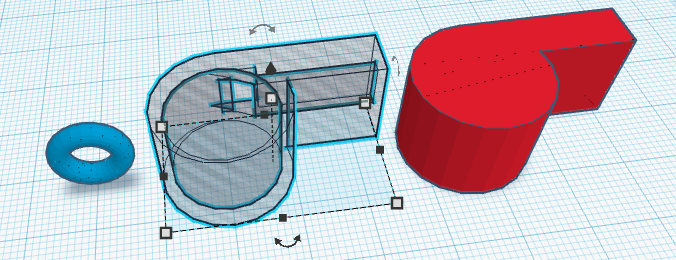
Duplicate the whistle and make it hollow.
Cut the Toroid
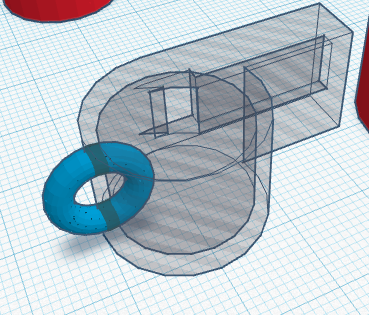
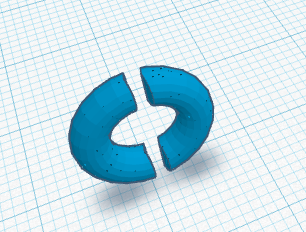
Put approximately half of the toroid in the hollow whistle and group it.
Remove One Half of the Toroid
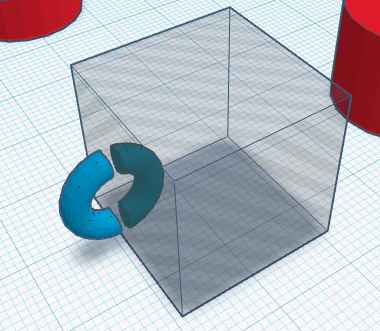
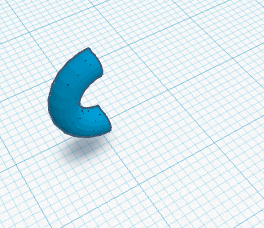
Remove half of the toroid you do not want with a hollow cube.
Place Toroid in Whistle
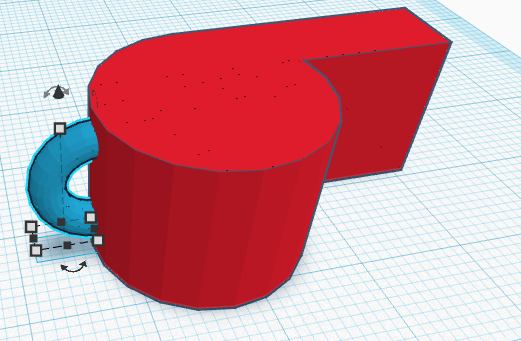
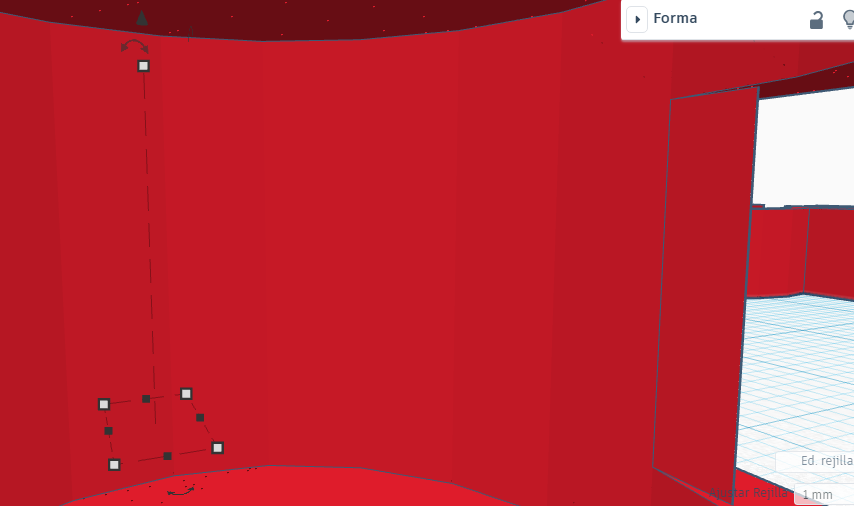
Place that half of the toroid to the body of the whistle. Check that nothing protrudes from the toroid inside.
Group It
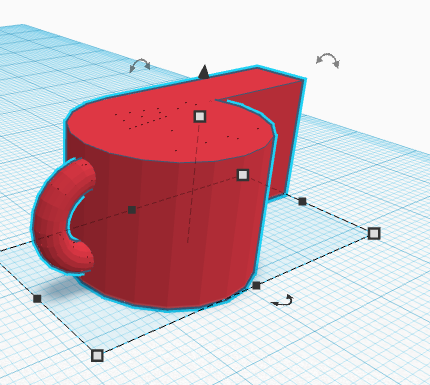
Customize It
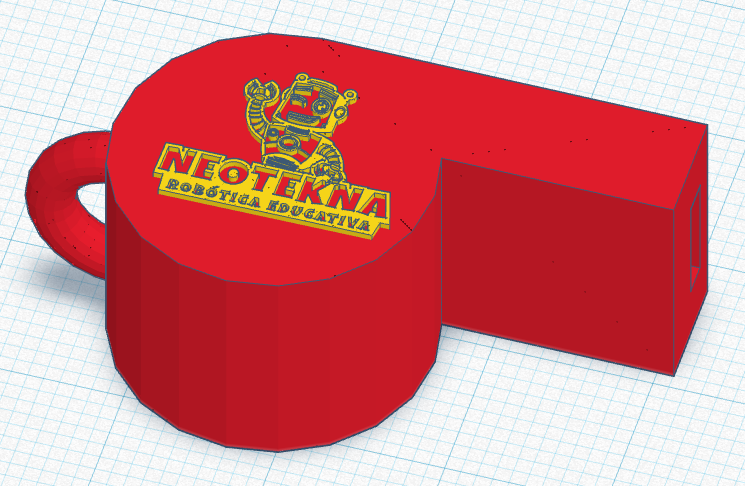
To finish you can put a name or whatever you want to the whistle.
Add a Small Ball Inside
To facilitate the printing of the whistle it is better to add a small ball inside when it is being printed instead of printing it (it would be quite complicated). If you do not have a small ball or you can not think you can get in, before buying anything try a small chickpea, it works well.