Make a Twitter Bot App: Tweet at a Press of a Button - Arduino 101 BLE
by TechMartian in Circuits > Arduino
3048 Views, 13 Favorites, 0 Comments
Make a Twitter Bot App: Tweet at a Press of a Button - Arduino 101 BLE
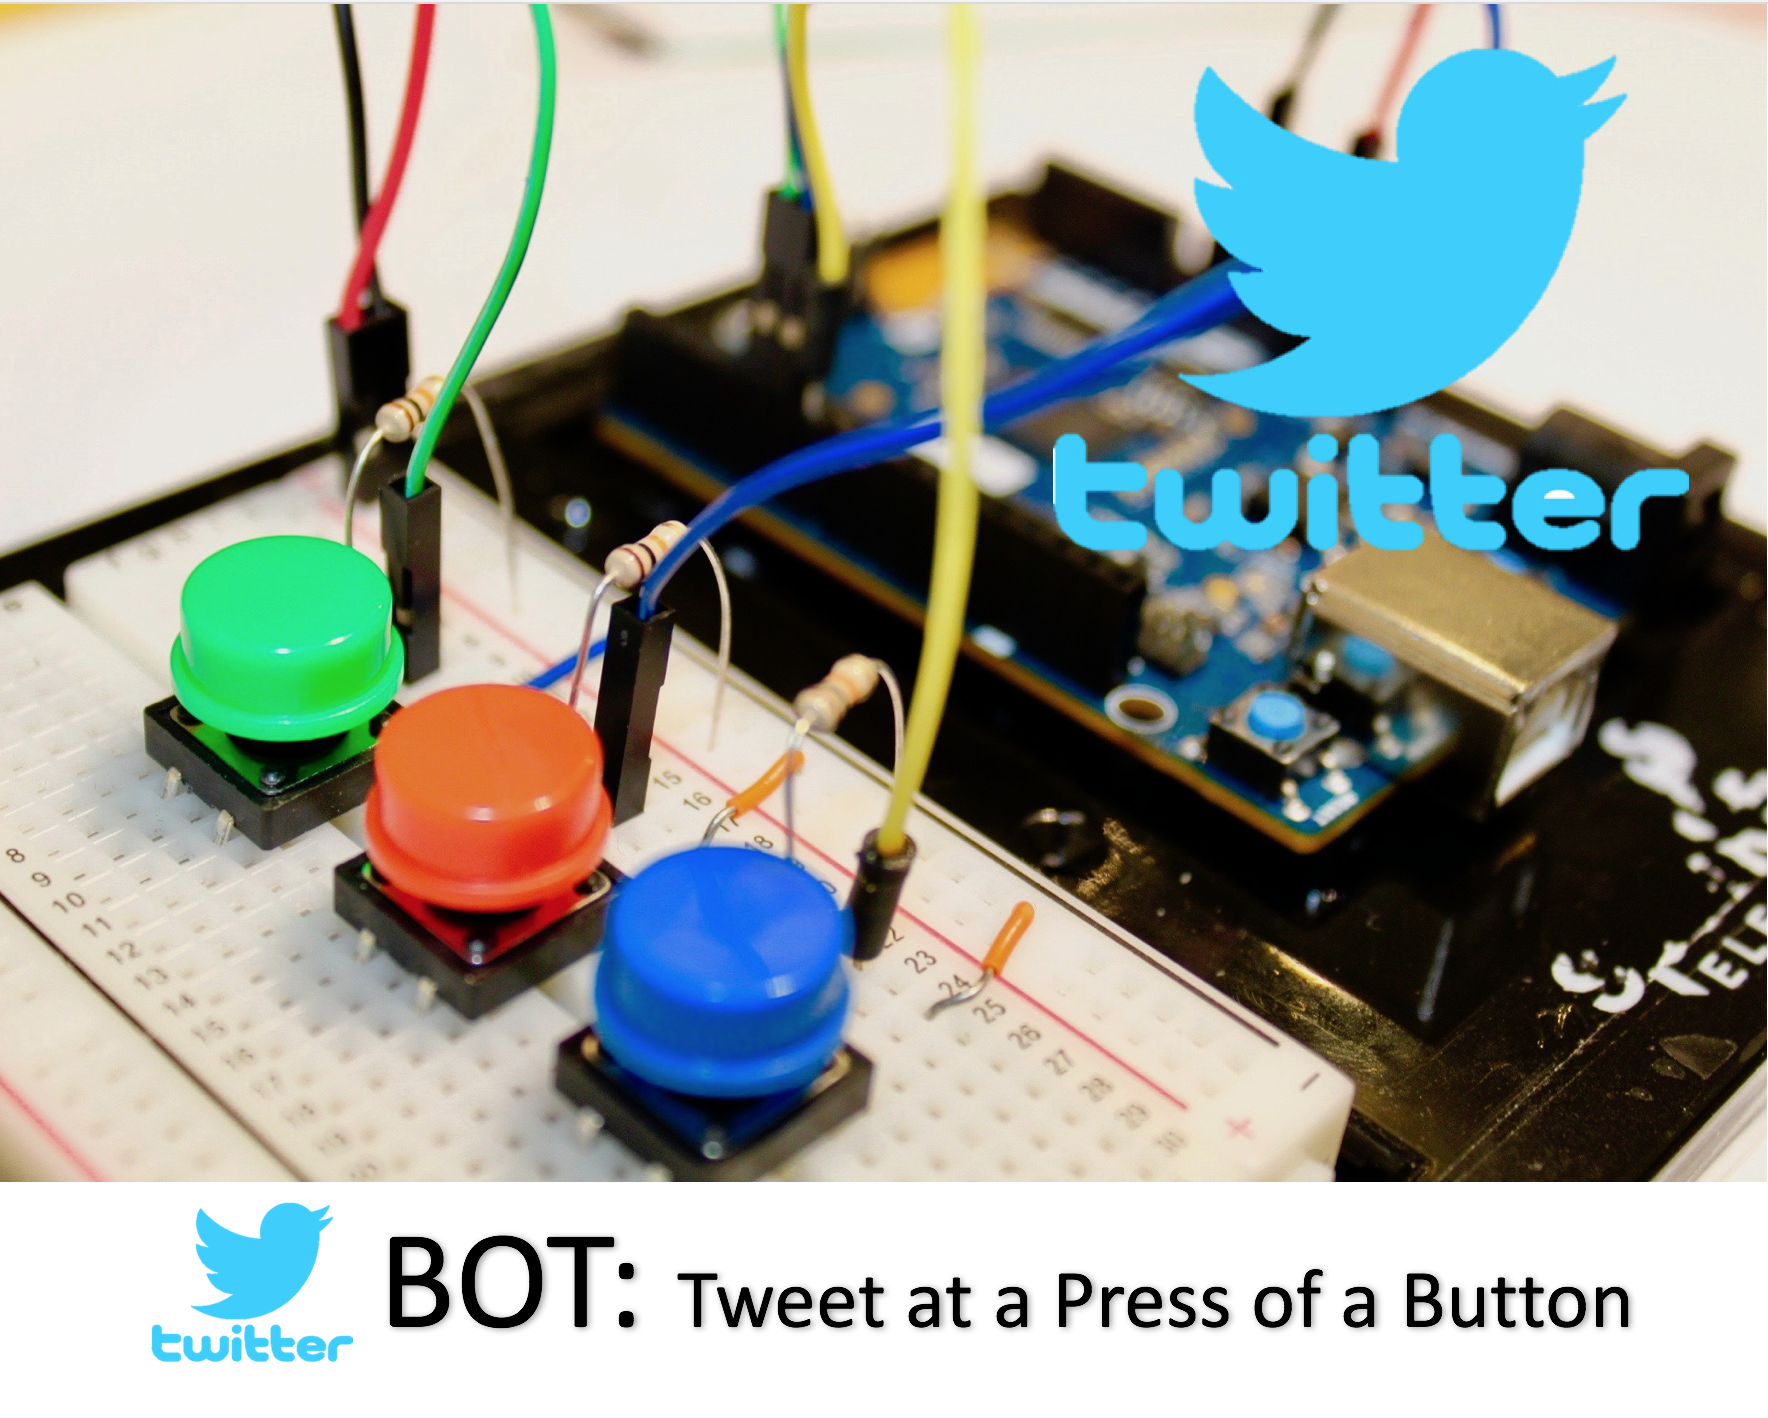
This is a Twitter bot which post tweets at a press of a button. It uses the Bluetooth Low Energy connection of the Arduino 101 to connect to a phone and consequently the twitter app and the internet.
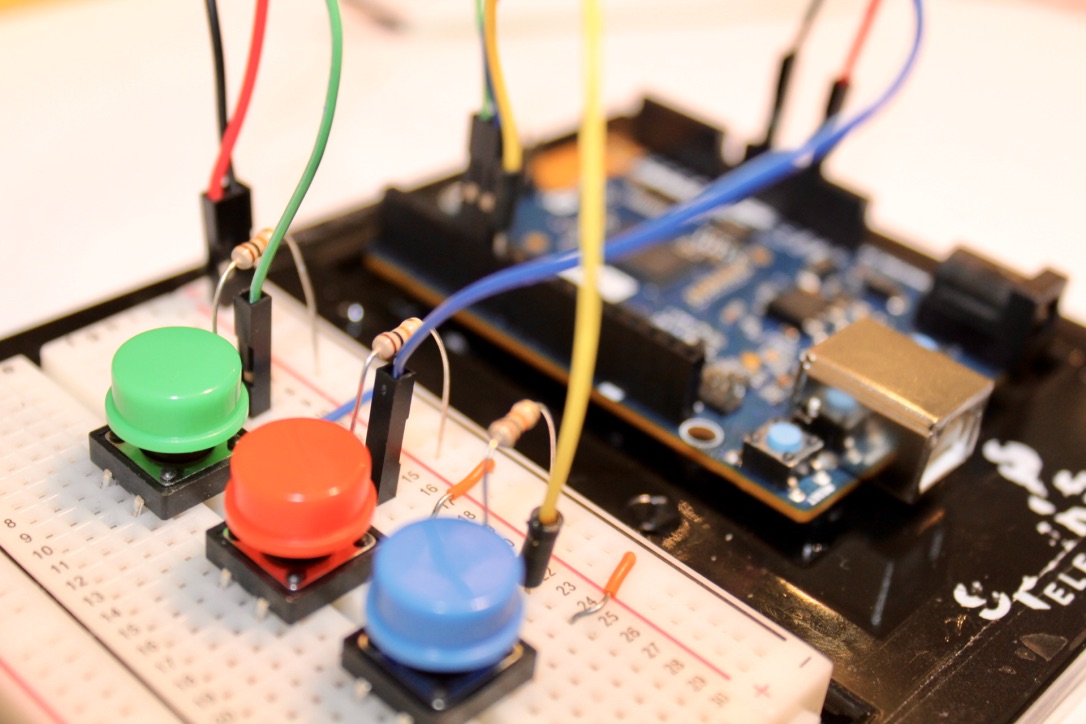
You can program as many buttons as you want, I chose three. Each button outputs a different tweet. For example the red one tweets a heart "<3". The blue one tweets "Good Night :)!". And the green one tweets "Good morning!"
BoM
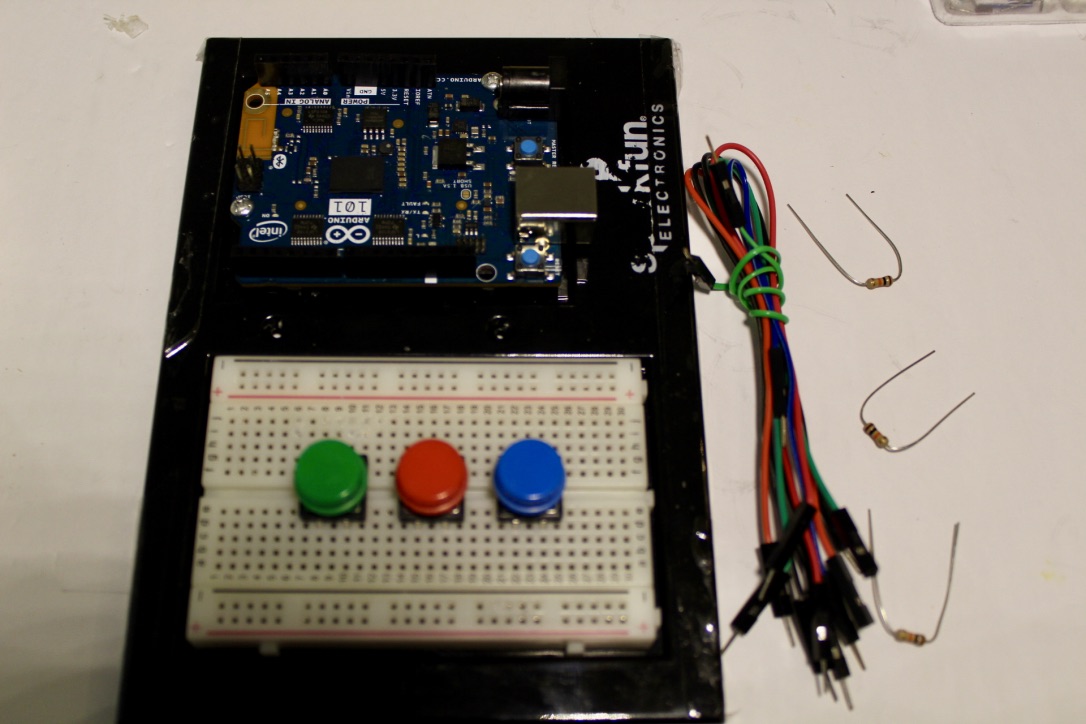
* Push Button Switches
* Arduino 101
* 10kΩ Resistor
* Breadboard Wires
* Jumper Wires
* Phone with BLE (Bluetooth 4.1) support
Connect All GND
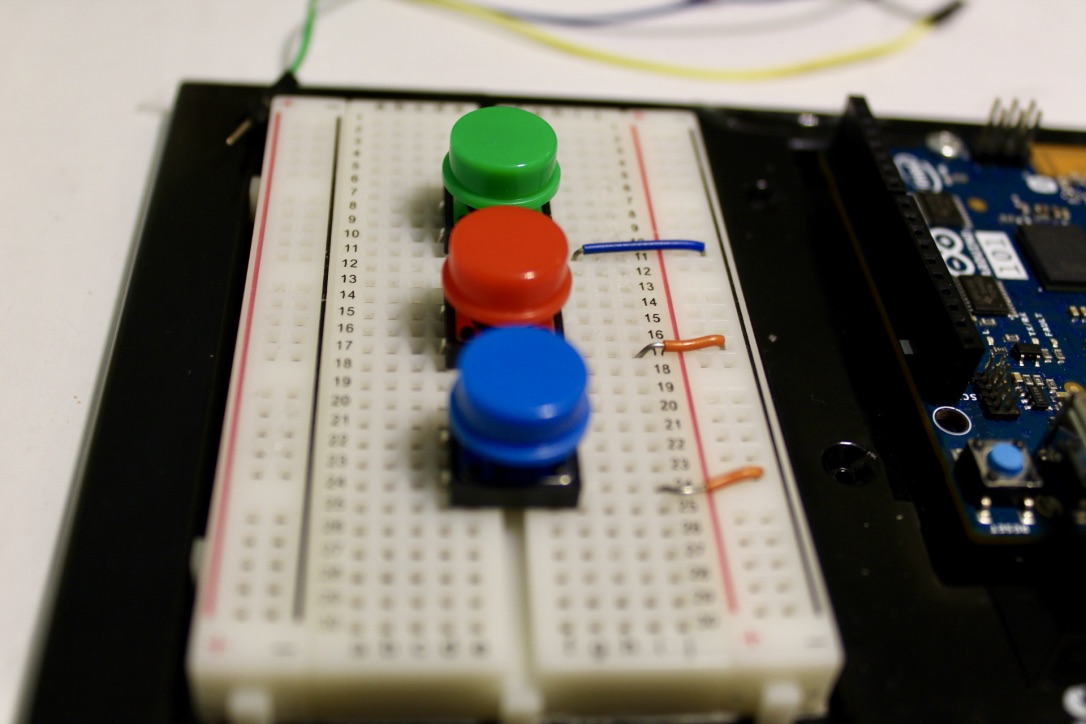
Connect one of the pins of each of the switches to the common ground rail on the breadboard.
Connect All VCC
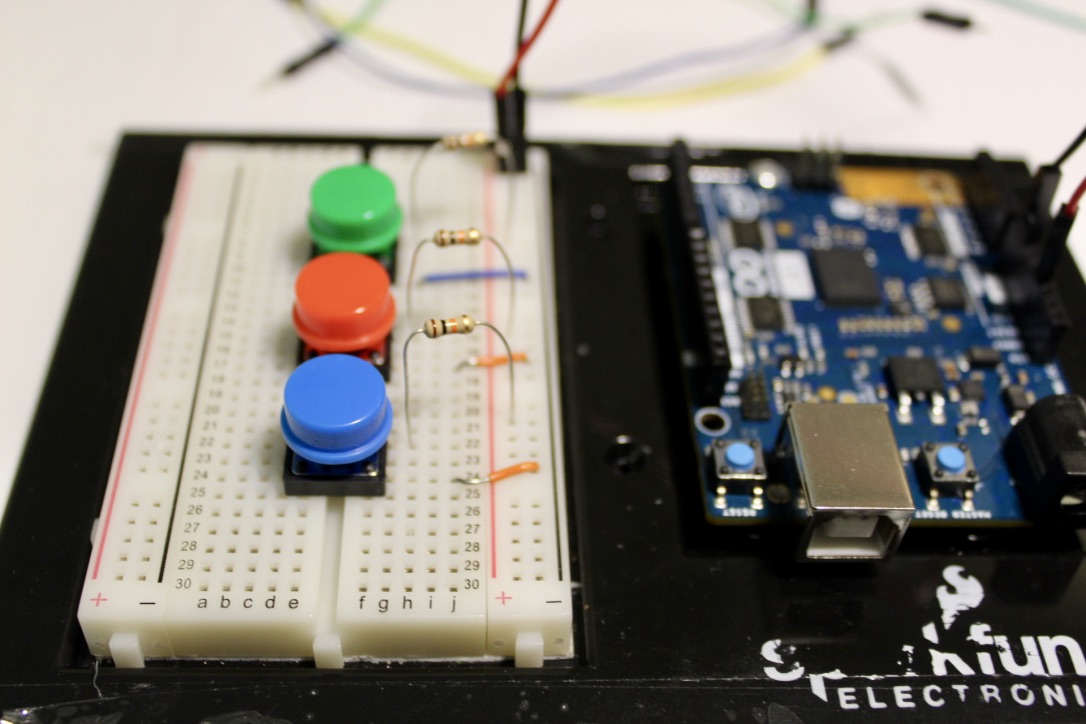
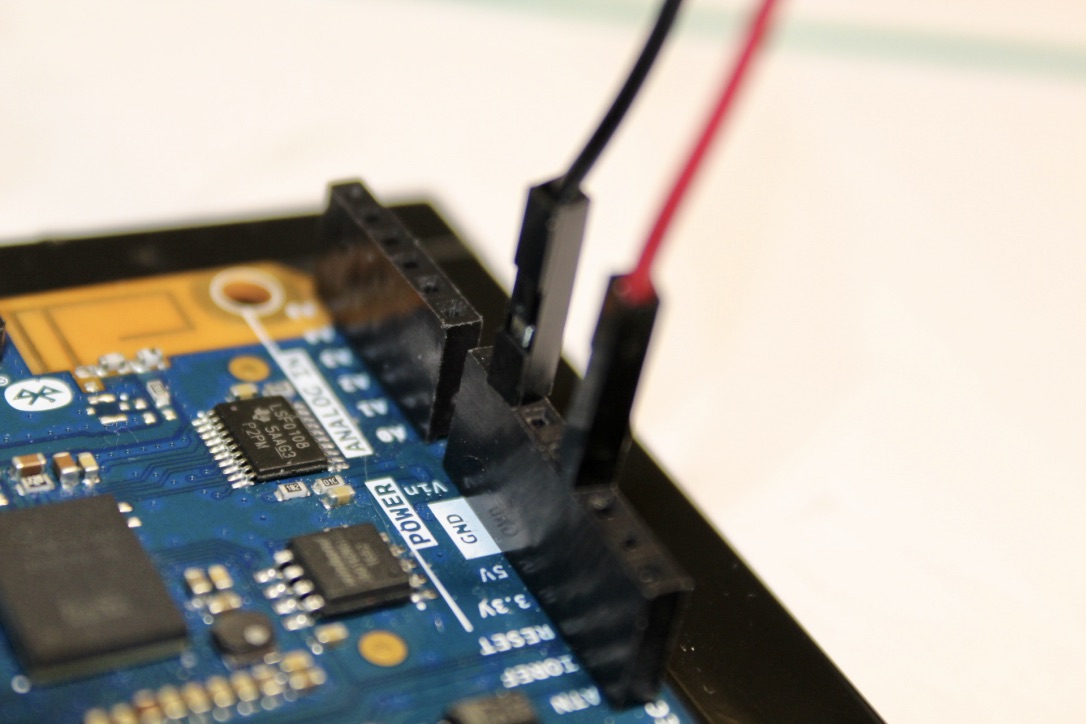
Connect the remaining open pin (aka signal pin) of each of the switches to a 10kΩ resistor in series to the VCC (red) power rail on the breadboard.
Connect the common breadboard ground rail to the GND pin on the Arduino
Connect the common VCC power rail on the breadboard to the 3.3V pin on the Arduino.
Connect the Signal Pins
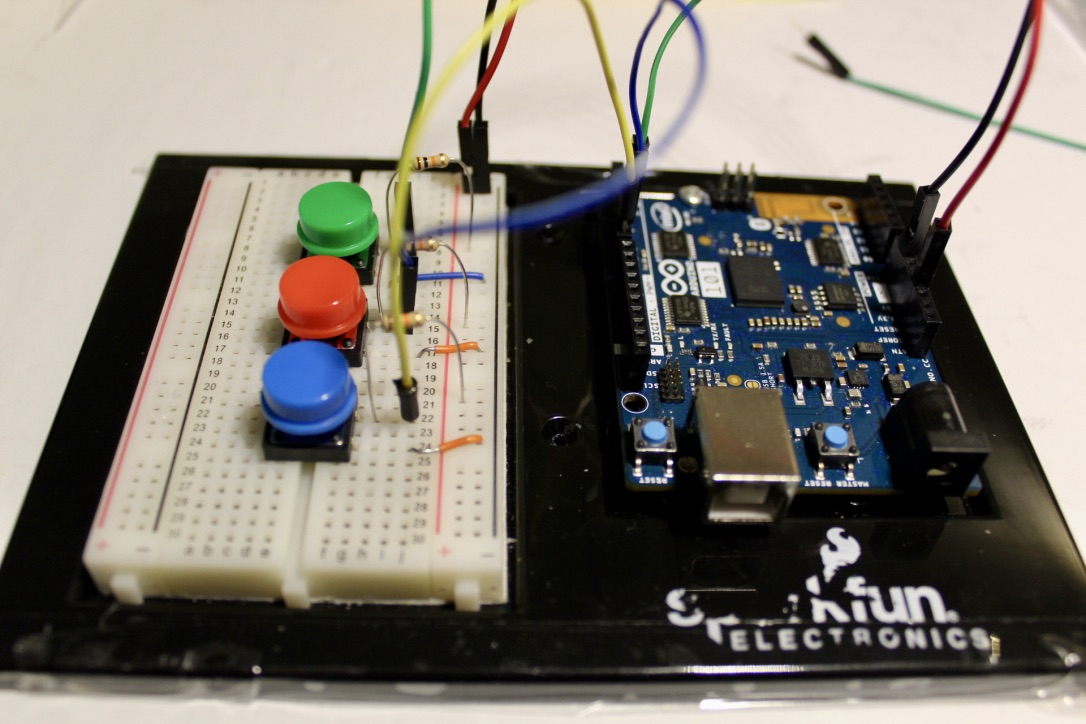
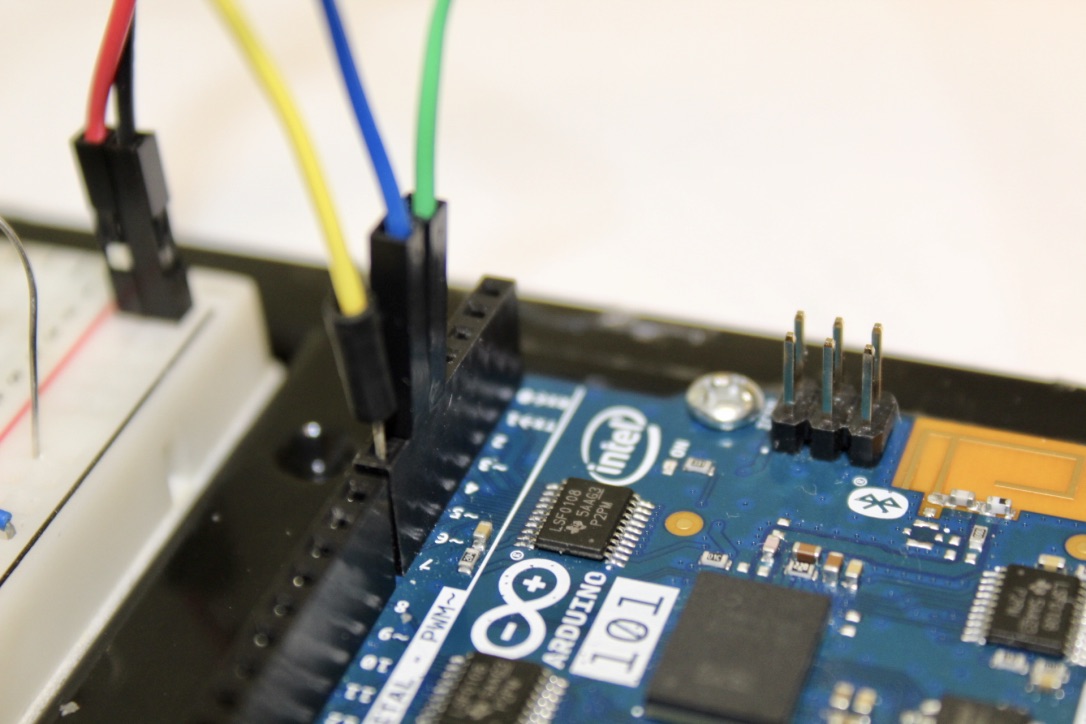
Connect each of the signal pins of the switches to pins 5, 6, and 7 on the Arduino.
Code
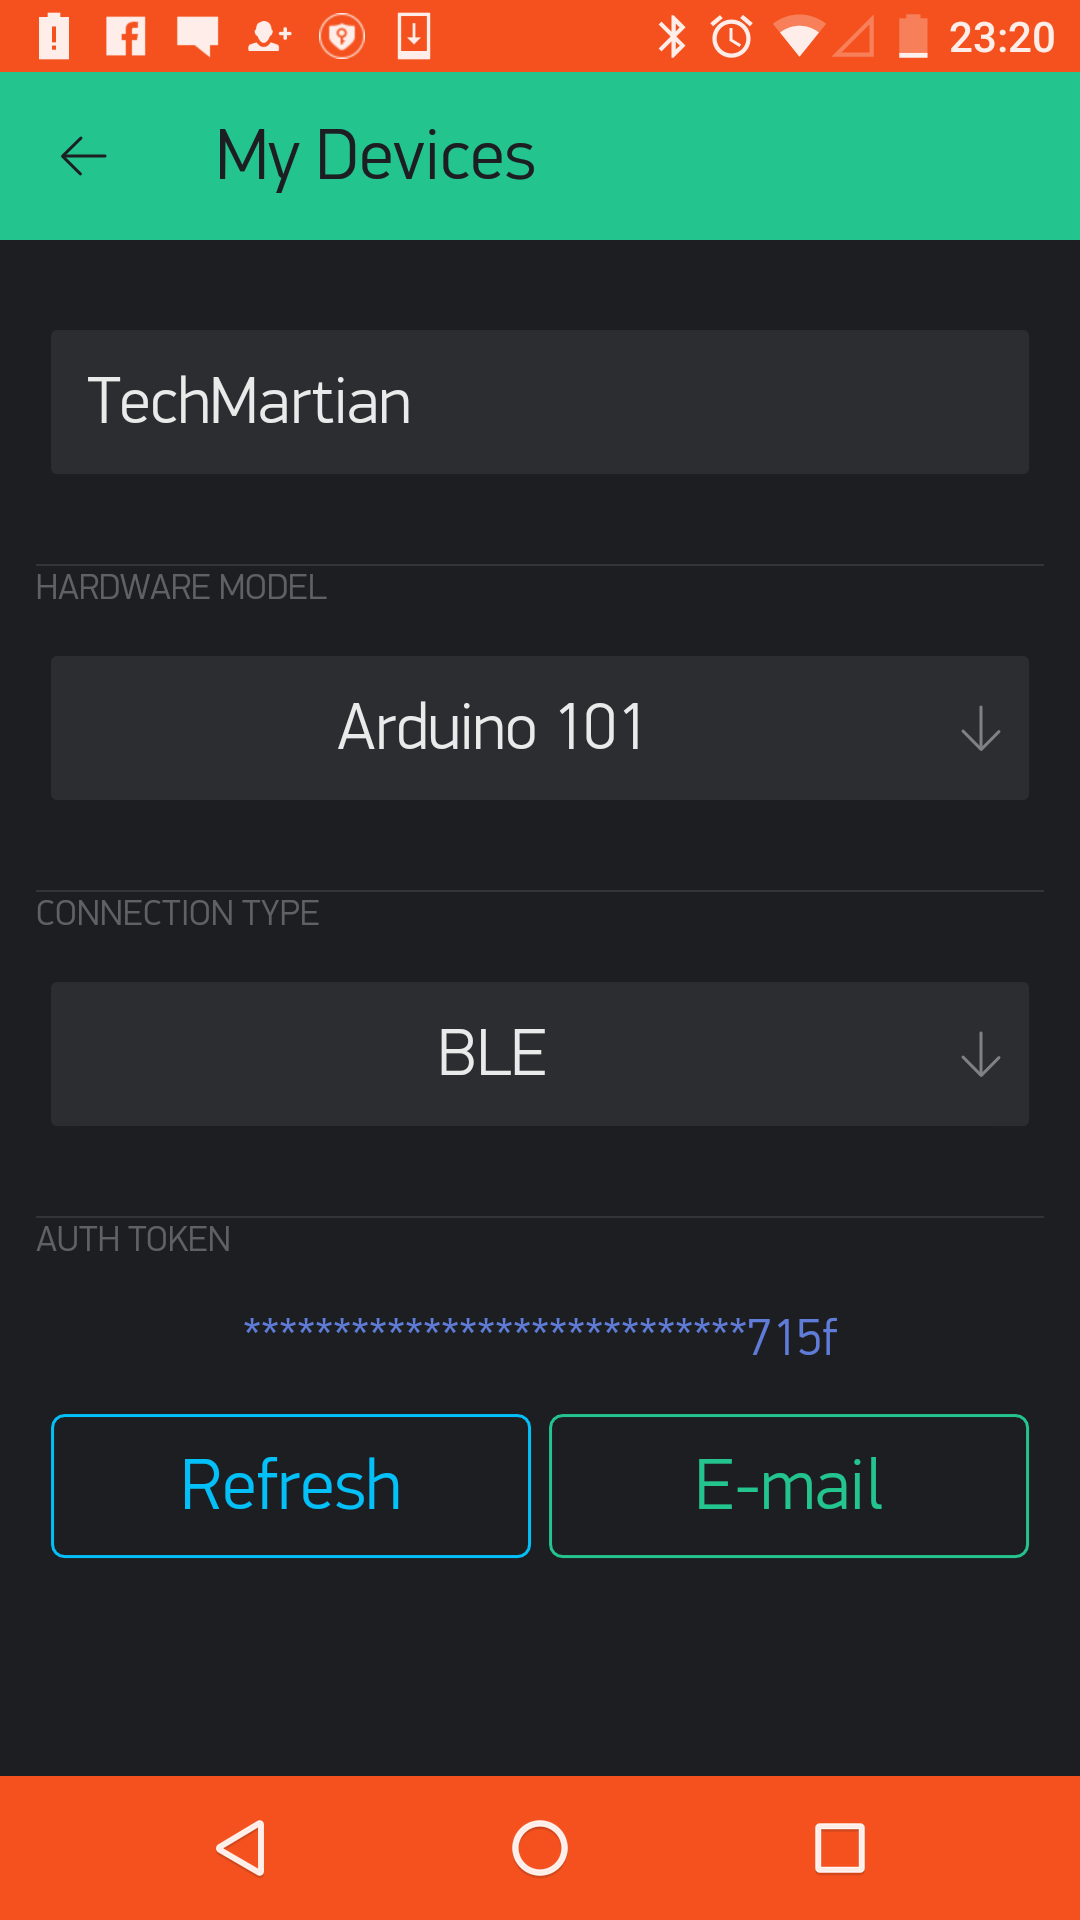
Code and upload the following code to the Arduino. Change your auth token to the one you get from the Blank App.
#define BLYNK_PRINT Serial
#include <BlynkSimpleCurieBLE.h>

#include <CurieBLE.h>
// You should get Auth Token in the Blynk App.
// Go to the Project Settings (nut icon).
char auth[] = "c3f9335ebd0f4e48b82bbc5a8bb30d32";
BLEPeripheral blePeripheral;
BlynkTimer timer;
void tweetUptime()
{
  long uptime = millis() / 60000L;
  Serial.println("Tweeting every 10 minutes ;)");
// Actually send the message.
// Note:
// We allow 1 tweet per 15 seconds for now.
// Twitter doesn't allow identical subsequent messages.
Blynk.tweet(String("Running for ") + uptime + " minutes.");
}void tweetOnButtonPress()
{
// Invert state, since button is "Active LOW"
int isButtonPressed = !digitalRead(2);
if (isButtonPressed) {
Serial.println("Button is pressed."); Blynk.tweet("Yaaay... button is pressed! :)\n #arduino #IoT #blynk @blynk_app");
}
}void setup()
{
// Debug console
Serial.begin(9600);delay(1000);
  blePeripheral.setLocalName("Blynk");
  blePeripheral.setDeviceName("Blynk");
  blePeripheral.setAppearance(384);
Blynk.begin(blePeripheral, auth);
blePeripheral.begin();
Serial.println("Waiting for connections..."); // Tweet immediately on startup
Blynk.tweet("My Arduino project is tweeting using @blynk_app and it’s awesome!\n #arduino #IoT #blynk");// Setup a function to be called every 10 minutes timer.setInterval(10L * 60000L, tweetUptime);
  // Setup twitter button on pin 2
  pinMode(2, INPUT_PULLUP);
  // Attach pin 2 interrupt to our handler
  attachInterrupt(digitalPinToInterrupt(2), tweetOnButtonPress, CHANGE);
}
void loop()
{
  blePeripheral.poll();
  Blynk.run();
  timer.run();
}
Make the App
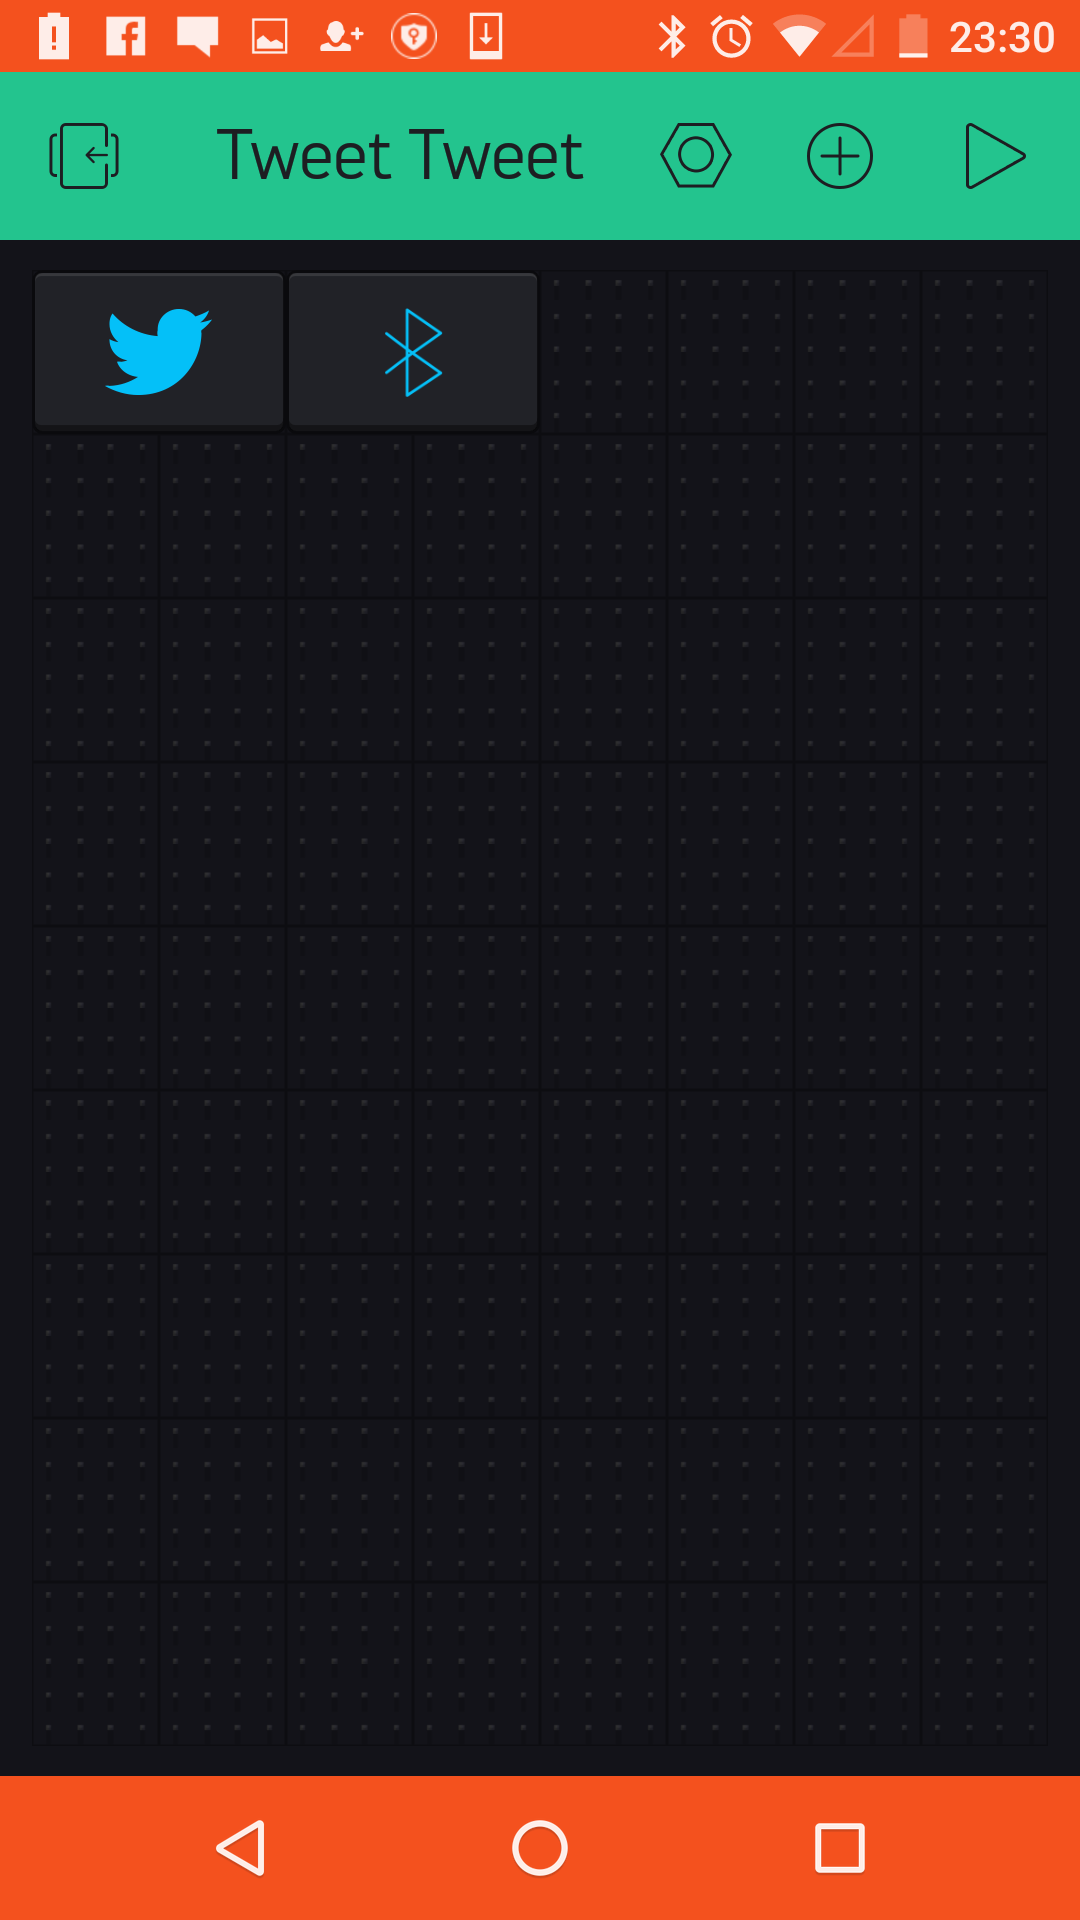
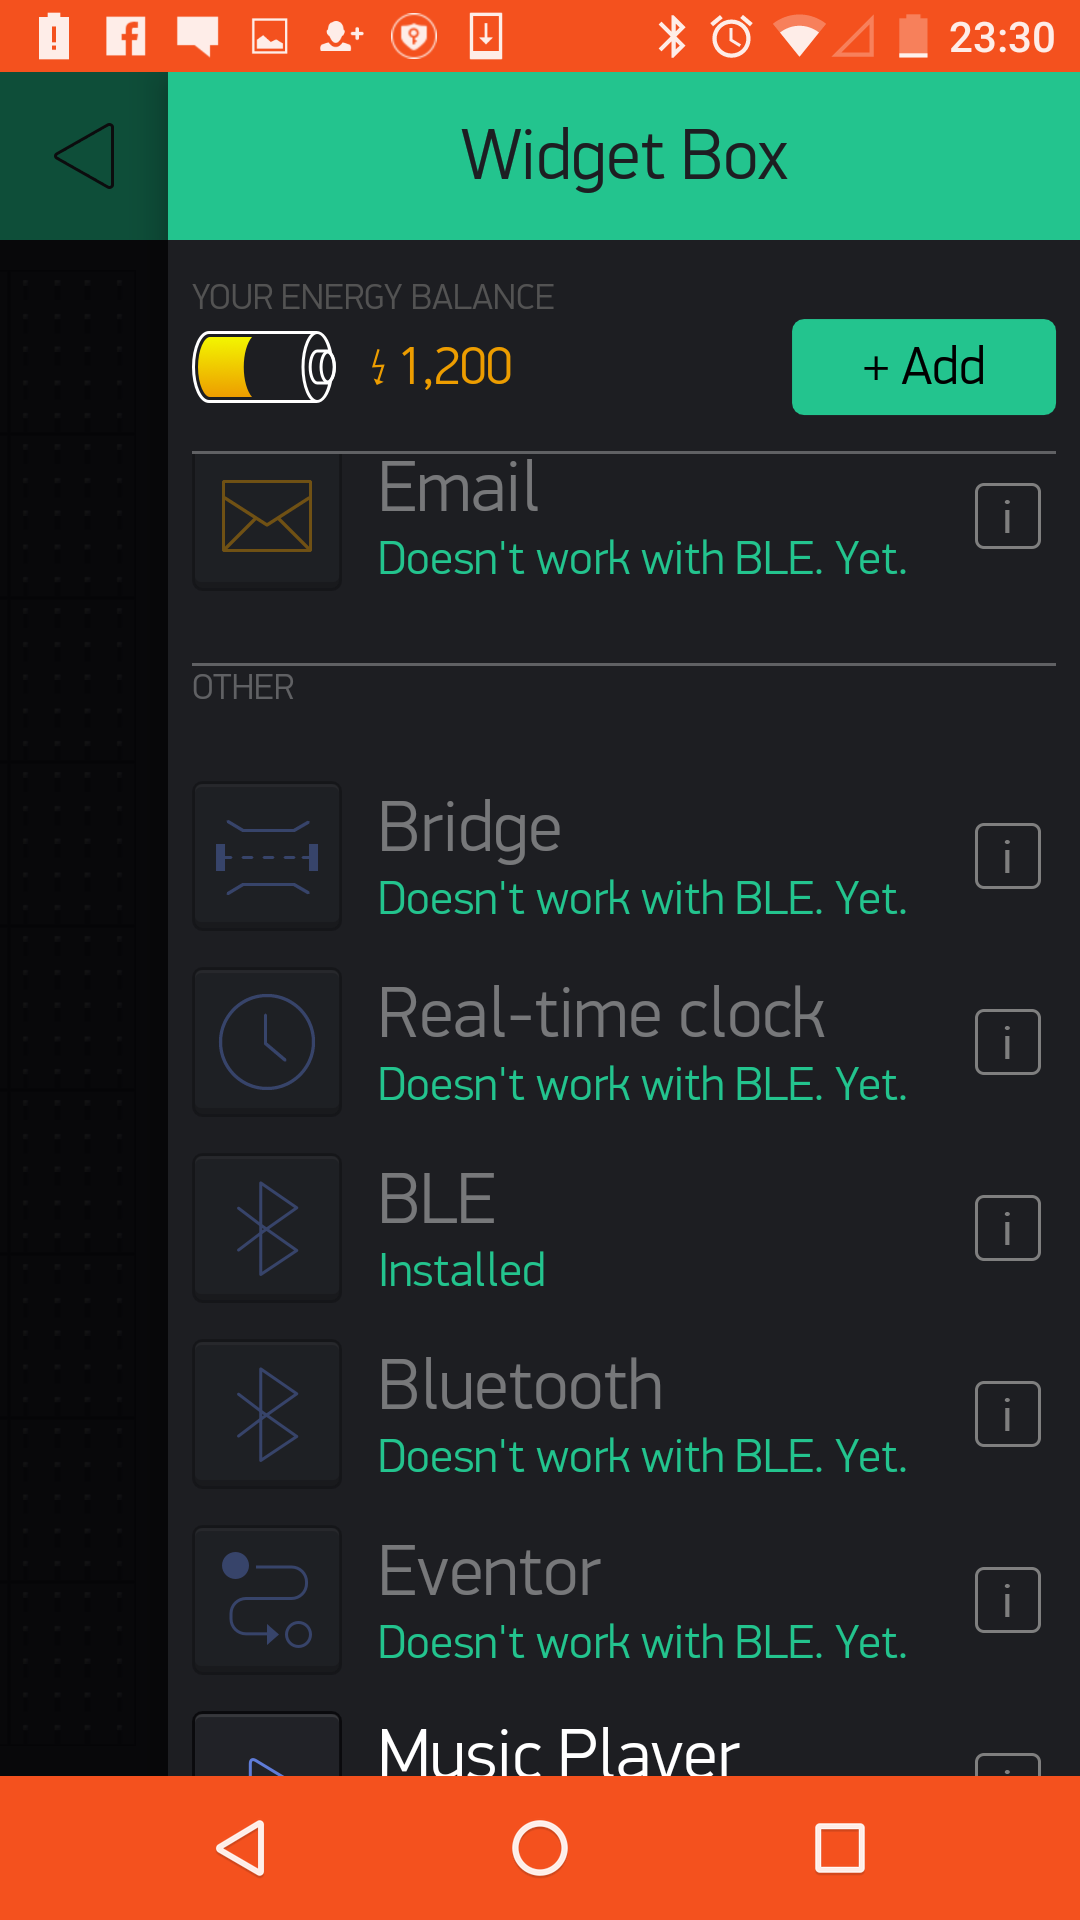
Download the Blynk App onto your phone.
Create a new project and add the following widgets inside the app:
- BLE
Pair the Bluetooth
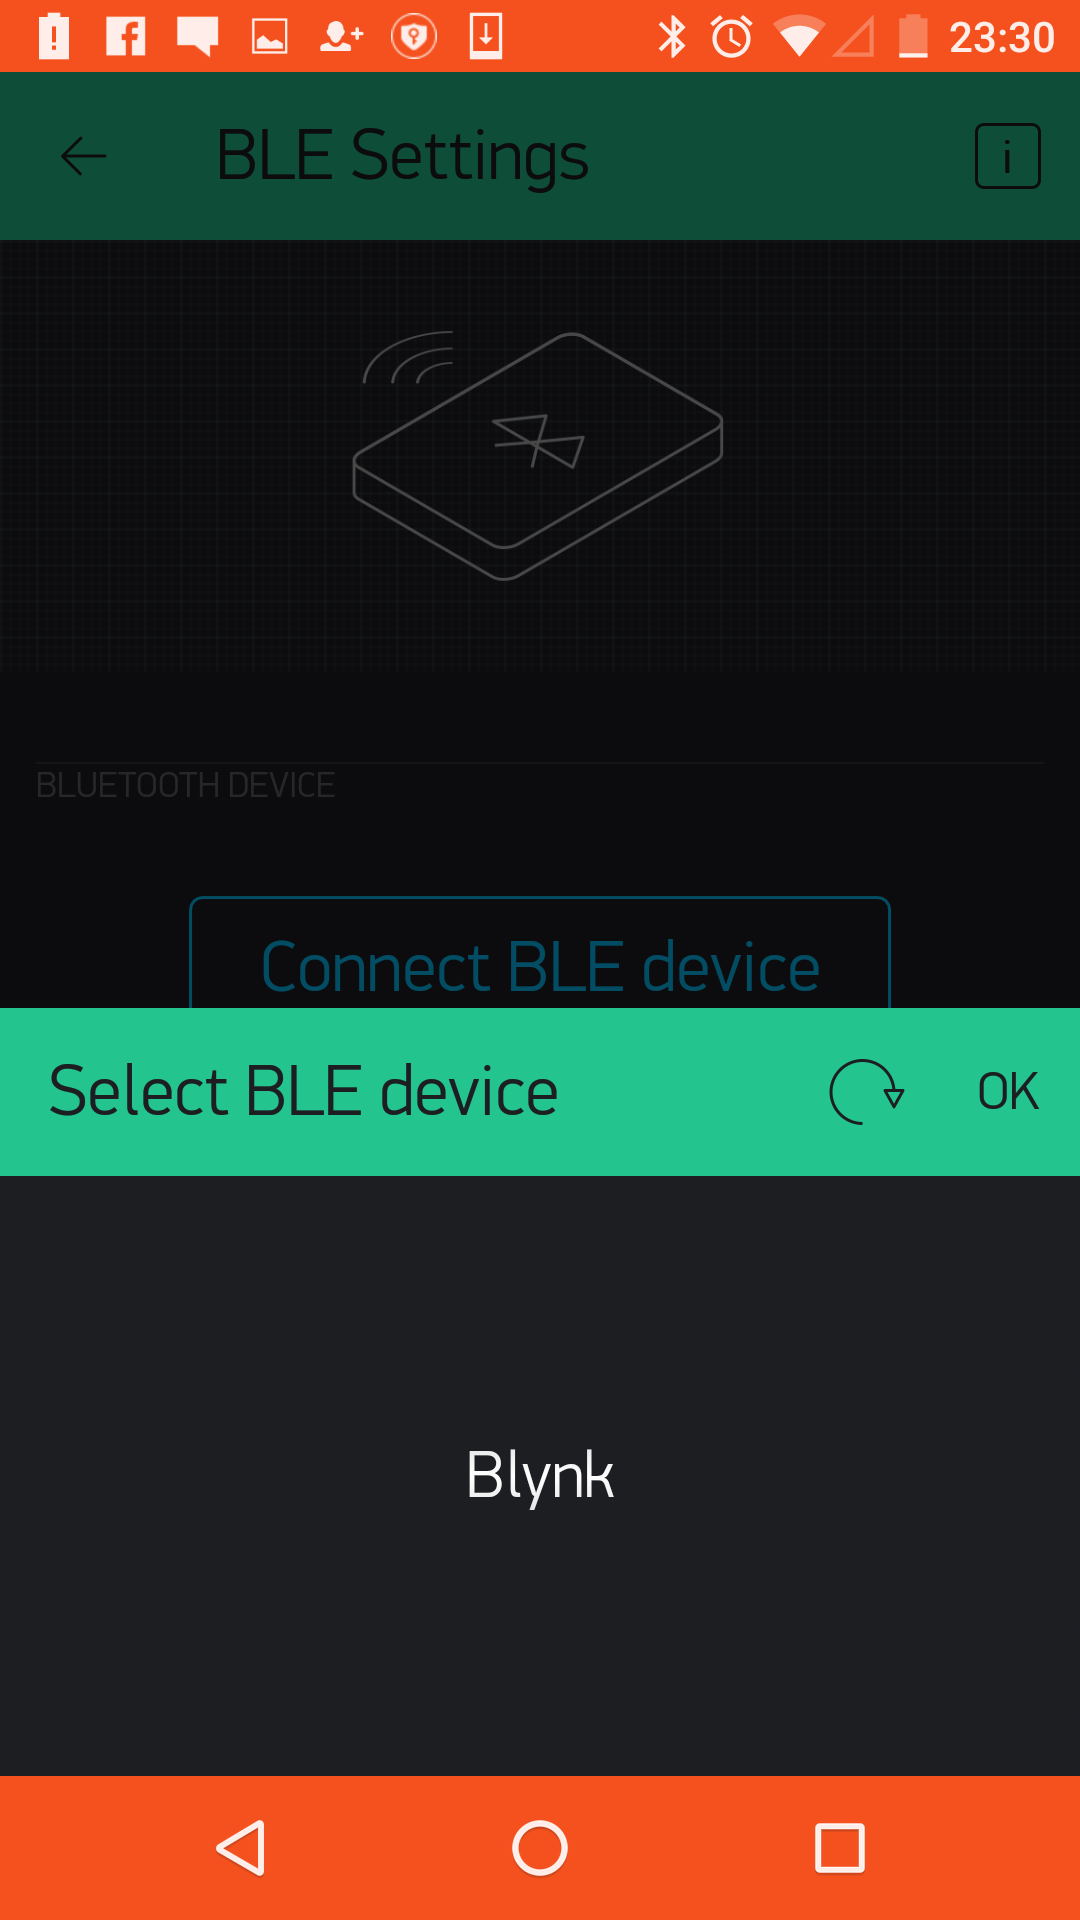
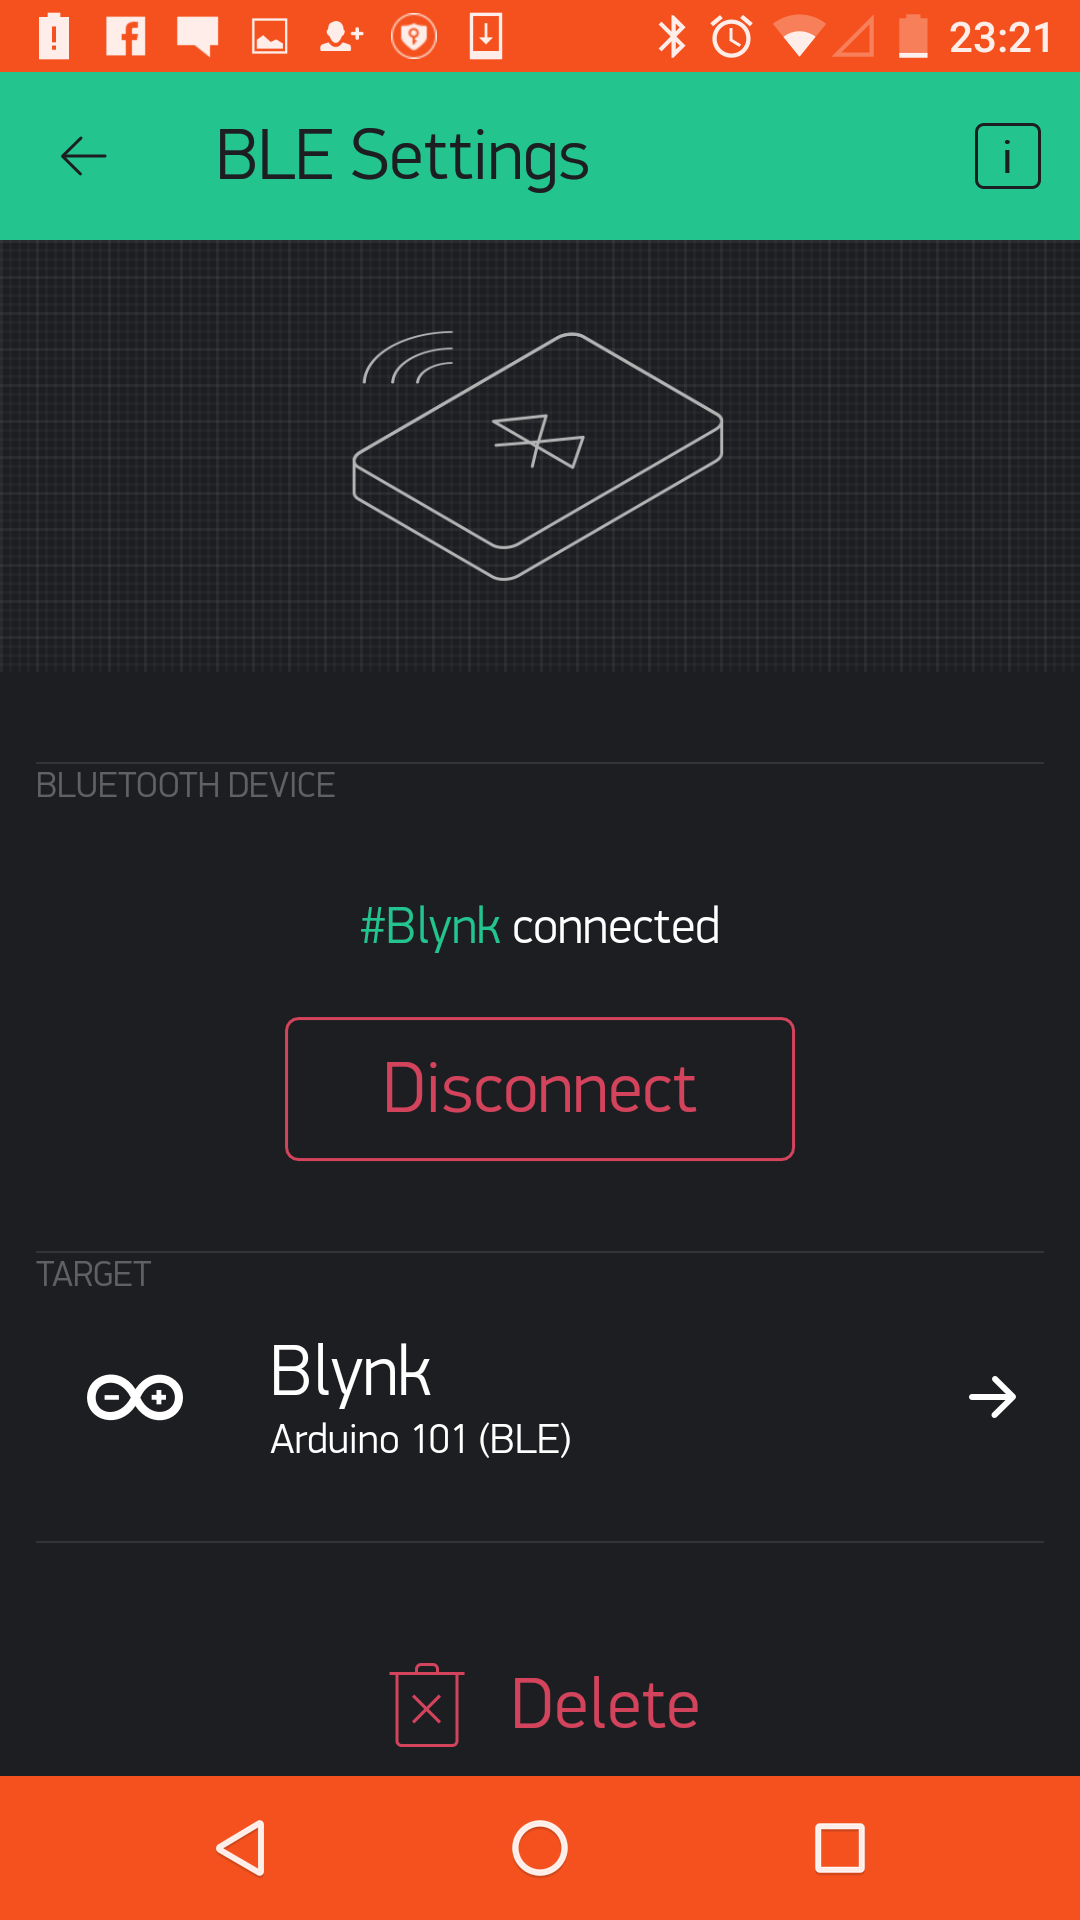
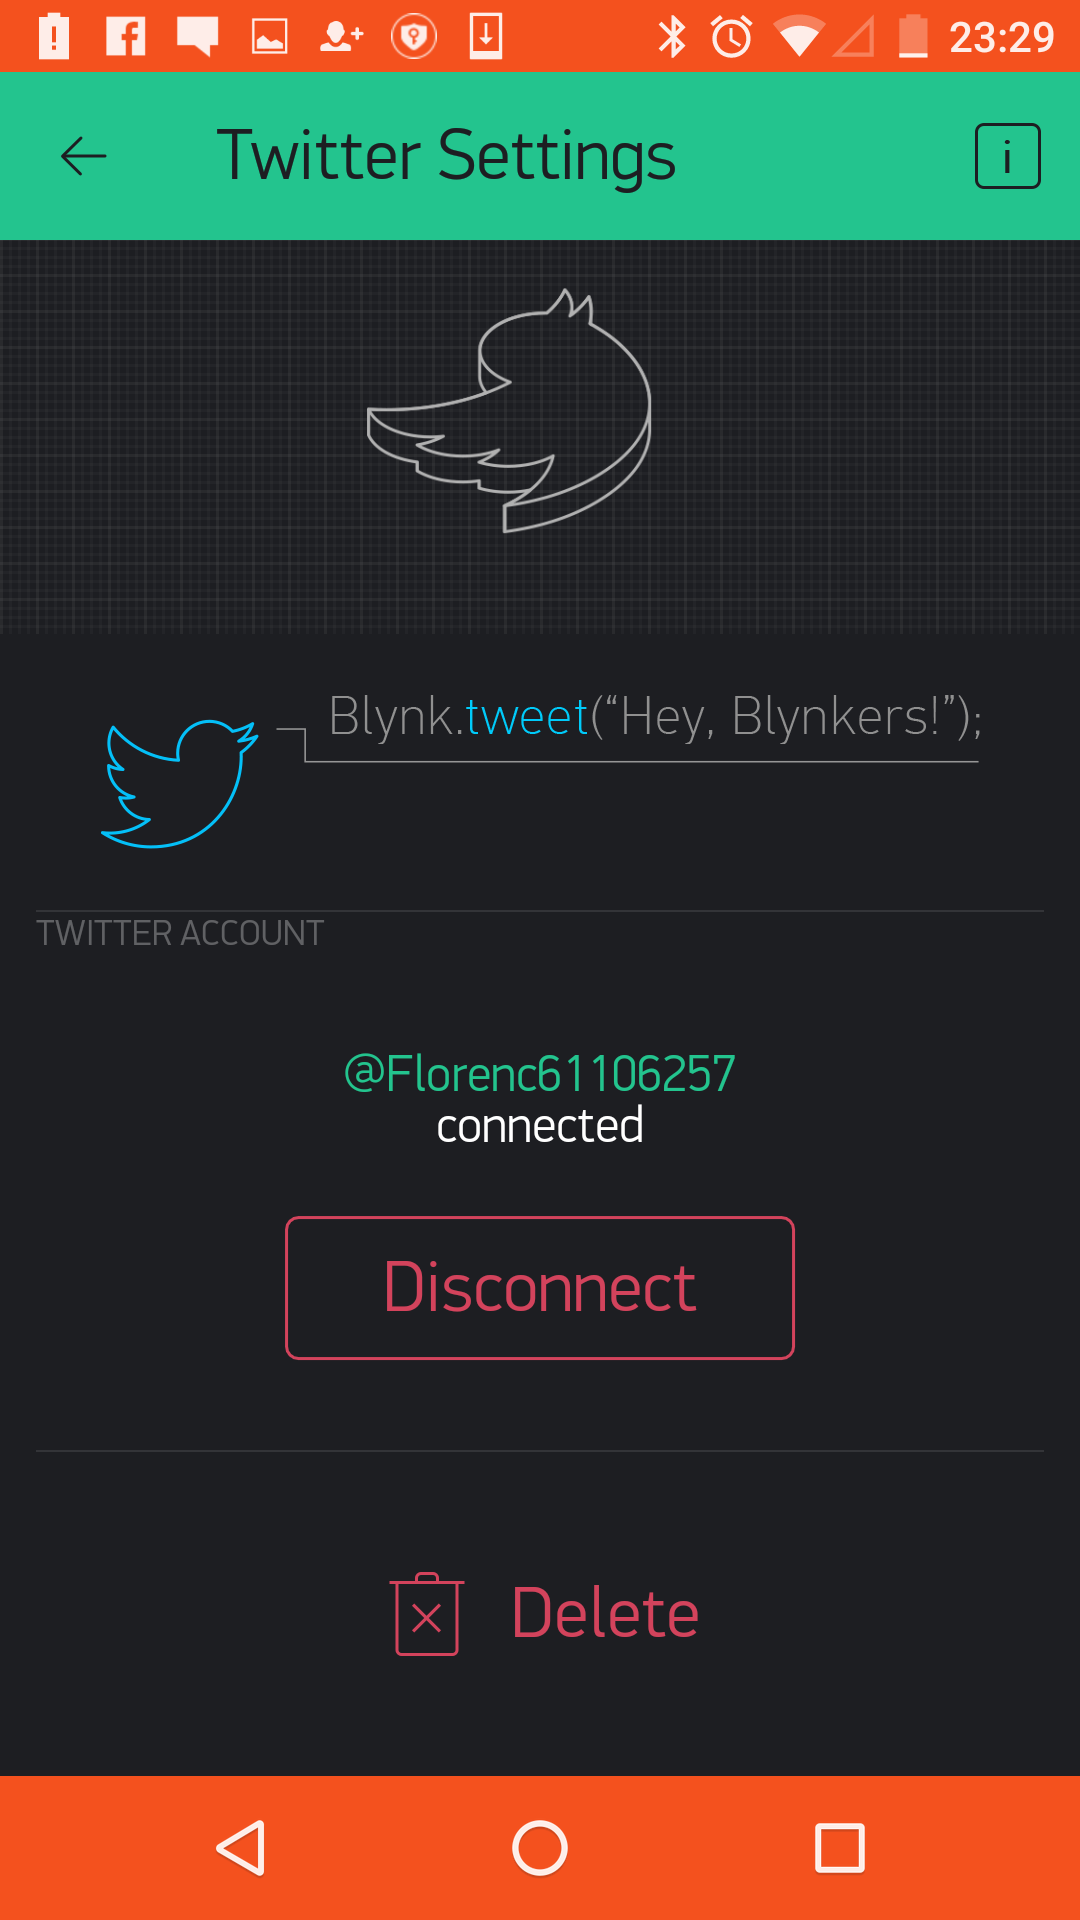
Click on the bluetooth widget on your app which is the name you specify in the code, I called it TechMartian. Select the name of your device. Click on the twitter widget and connect your twitter account to the app you created.
Run and Enjoy!
Run the app by pressing the Play button (the small triangle in the upper right hand corner).
Press the buttons and watch it tweet for your automatically!