Make a TumblyBOT: Flipping Spinning Tumbling Robot
by CallMeSwal in Circuits > Robots
3843 Views, 47 Favorites, 0 Comments
Make a TumblyBOT: Flipping Spinning Tumbling Robot


Most small robots are two motors and a castor wheel.
I wanted to design a robot with a unique drive.
Presenting the TumblyBOT. The TumblyBOT moves around in a cool way that is interesting to watch.
Controlled by a phone's movement, you can make your TumblyBOT roll, spin, and dare I say tumble around town.
Hat tip to Jaybuilder for explaining how to use LinkIt ONE BT module.
Parts List
Parts
- Breadboard
- Two Small DC Motors (I'm using GM8 Gear Motor)
- Two Motor Controllers (I'm using VEX Motor Controllers)
- Wire
- Microcontroller(I'm using LinkIt ONE, but arduino works just fine)
- Bluetooth Module(I'm using LinkIt One BT Module. I have wiring diagrams for other modules as well)
- 9V Battery and Battery Pack
- Two 5-40 .375 Inch Bolt(To secure LinkIt ONE to robot)
Tools
- Solder Iron and Solder
- Glue Gun
- Access to 3D Printer
- Sandpaper(Optional)
Print Out Components


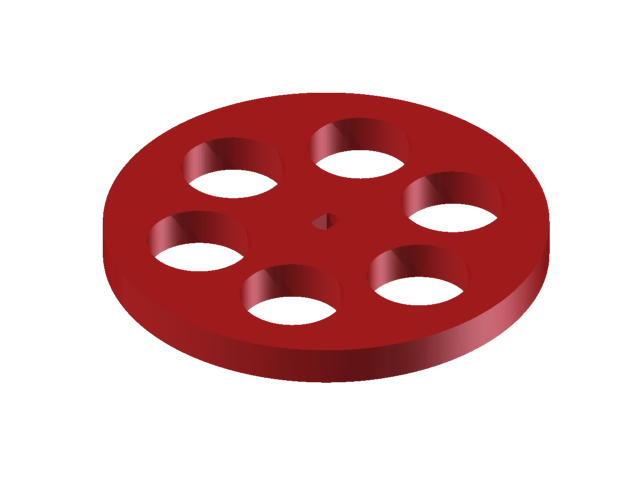
Print out one base plate and two wheels.
I have attached the IPT files in case you want to make any edits.
Sand out rough edges afterwards.
Connect Wheel to Motor


Insert both motors into a wheel.
A friction fit should be fine, but feel free to add hot glue.
Connect Motors to Base Plate


Glue motors into appropriate spots on the base plate.
Insert Battery(ies)


There is a square gap that can hold both a LinkIt ONE battery and a 9V battery.
I'm using a LinkIt ONE Battery to power the LinkIt ONE and a 9V battery to power the motors.
Attach Microcontroller to Base Plate

Screw microcontroller into the appropriate holes on the base plate.
Attach Breadboard in Place


Wire the motors to the motor controllers.
Next, remove the adhesive cover of the breadboard and stick it on the motors.
Then, stuff both the motor controllers beneath the breadboard.
Attach Bluetooth Module


I'm using a LinkIt ONE Bluetooth Module that can connect directly to the LinkIt ONE.
If you're using a regular bluetooth module just insert it into the breadboard.
Wire It Up


Wire your bot up.
I have one diagram for LinkIt ONE and one diagram for Arduino.
In the Arduino diagram, the arduino and motors are both powered by a 9V battery.
In the LinkIt ONE diagram, the LinkIt ONE is powered by it's own separate battery.
Upload Code
Upload the matching code to your microcontroller.
If you send f, b, l, r and s over serial to the microcontroller, it'll turn accordingly.
Test Robot
![Screenshot_2015-11-17-22-52-07[1].png](/proxy/?url=https://content.instructables.com/FW8/GU17/IH3R6BSZ/FW8GU17IH3R6BSZ.png&filename=Screenshot_2015-11-17-22-52-07[1].png)
Before we proceed, let's test out the robot to ensure the wiring and such is correct.
This app lets you send data from your phone to your TumblyBOT, via Bluetooth serial port.
Run the app and connect your robot to the phone.
Select command line mode and \n as the succeeding character.
Entering f, b, l, r, and s should make the robot move accordingly.
Install Protocoder

Protocoder is a coding environment that let's you easily make android apps.
Download and install the APK on your phone.
Install App
Open protocoder and make a new project.
Copy code from this file into your project.
Downloads
Drive Your TumblyBOT!
![Screenshot_2015-11-18-01-54-40[1].png](/proxy/?url=https://content.instructables.com/FTK/8XTO/IH3R6BSV/FTK8XTOIH3R6BSV.png&filename=Screenshot_2015-11-18-01-54-40[1].png)
You are ready to drive your TumblyBOT.
Turn your robot on and then run your app.
Tilting your phone up and down will make your robot tumble back and forth.
Rotating your phone will turn your robot.
There is also a text box that let's you send direct commands(f, b, l, r, s).
Future
I originally wanted the TumblyBOT to be an alarm clock. Unfortunately, I couldn't find a speaker loud enough. So I was thinking of somehow connecting a phone speaker to the robot.
I also want to make the robot more durable. It should be able to withstand people stepping on it.
If you have any ideas or suggestions, feel to free to post below.