Make a Toy Banjo on Tinkercad
by inventorpro1 in Living > Toys & Games
946 Views, 2 Favorites, 0 Comments
Make a Toy Banjo on Tinkercad
Hello! In this instructable, I will be making a toy banjo on Tinkercad. It was a very fun project, because I am new to Tinkercad. Make sure to vote for me in the Toys Contest !
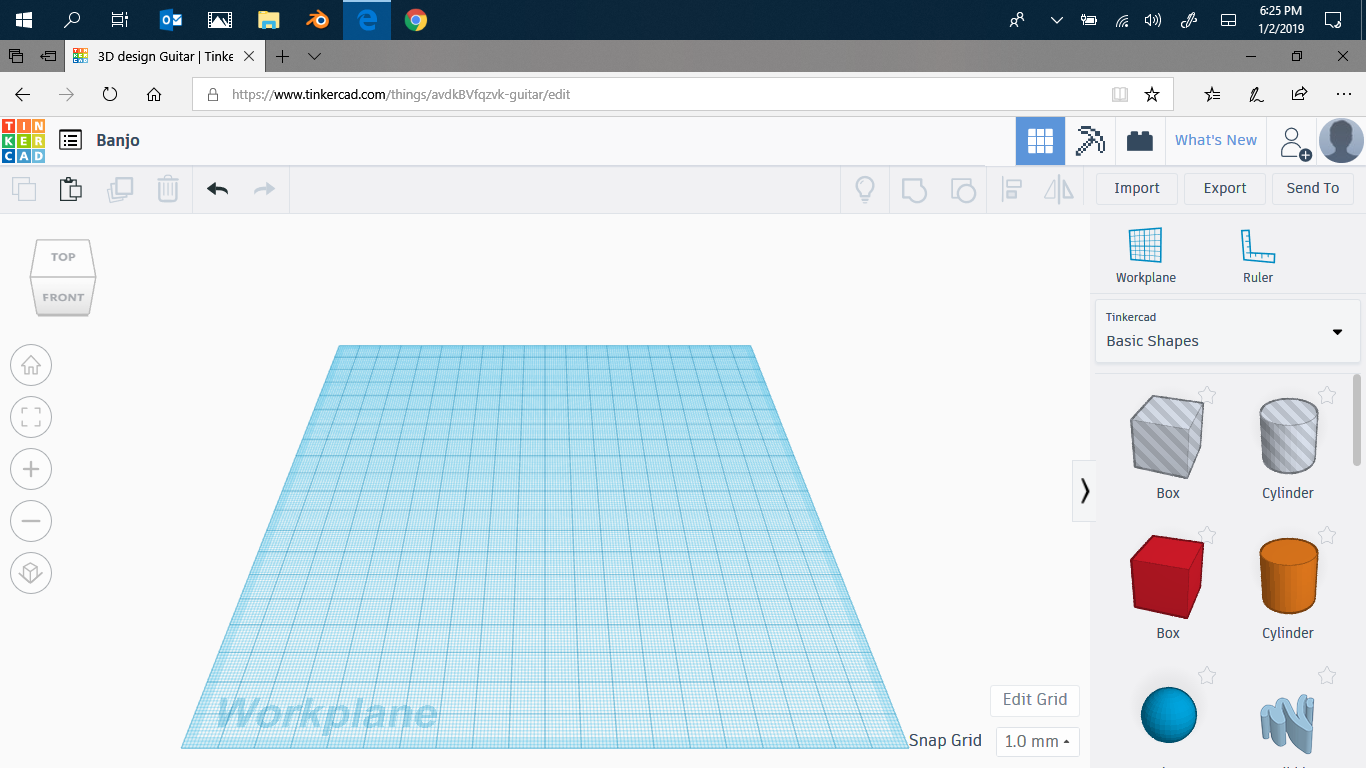
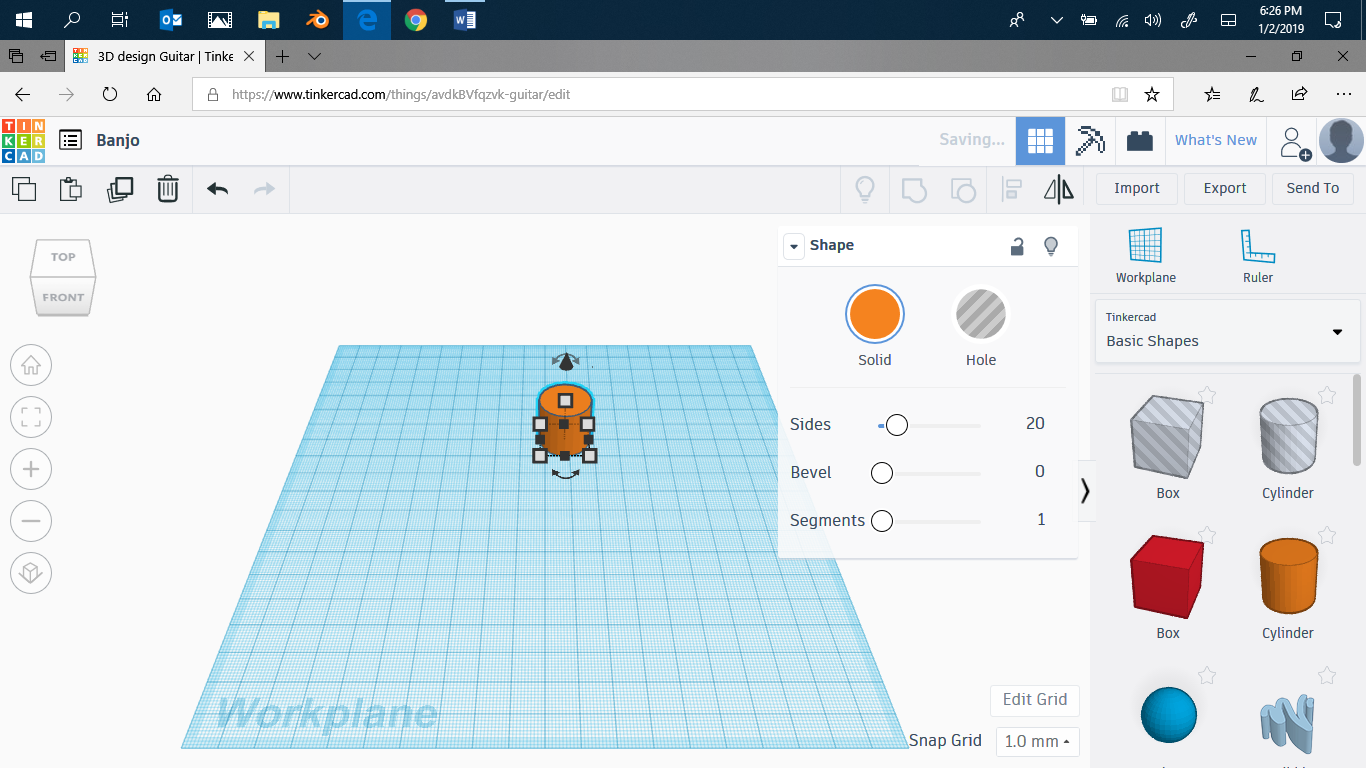
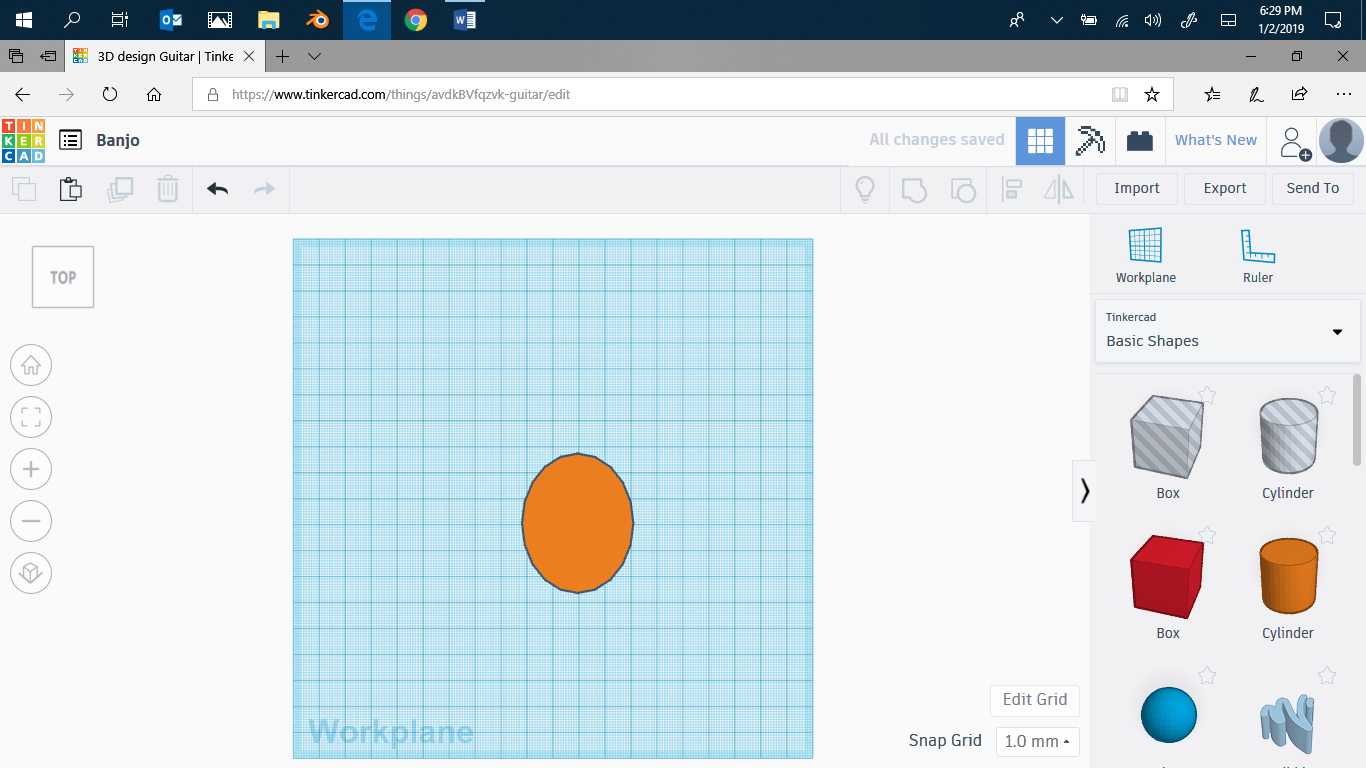
You should have: patience, Tinkercad and coffee. First, open Tinkercad. Then put on a cylinder.
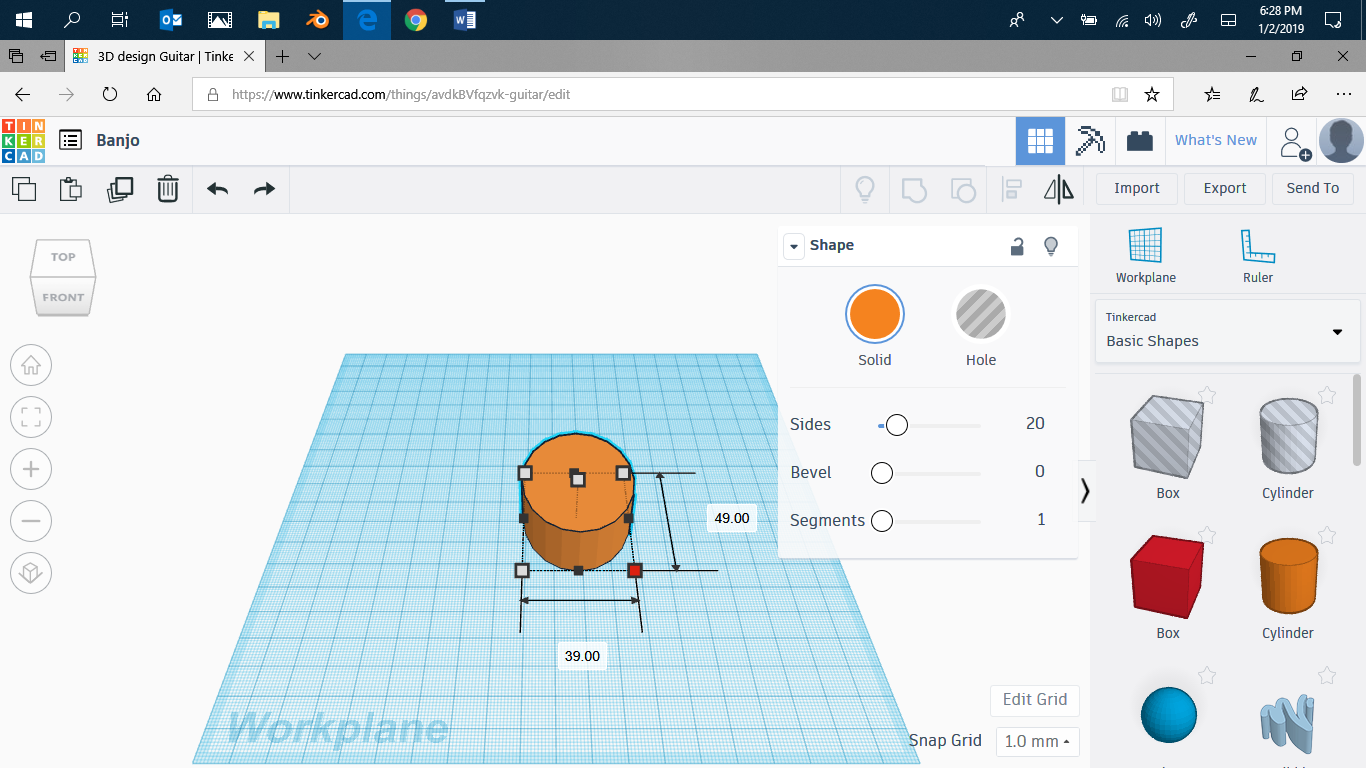
Enlarge it just a bit. I did 39 wide by 49 long.
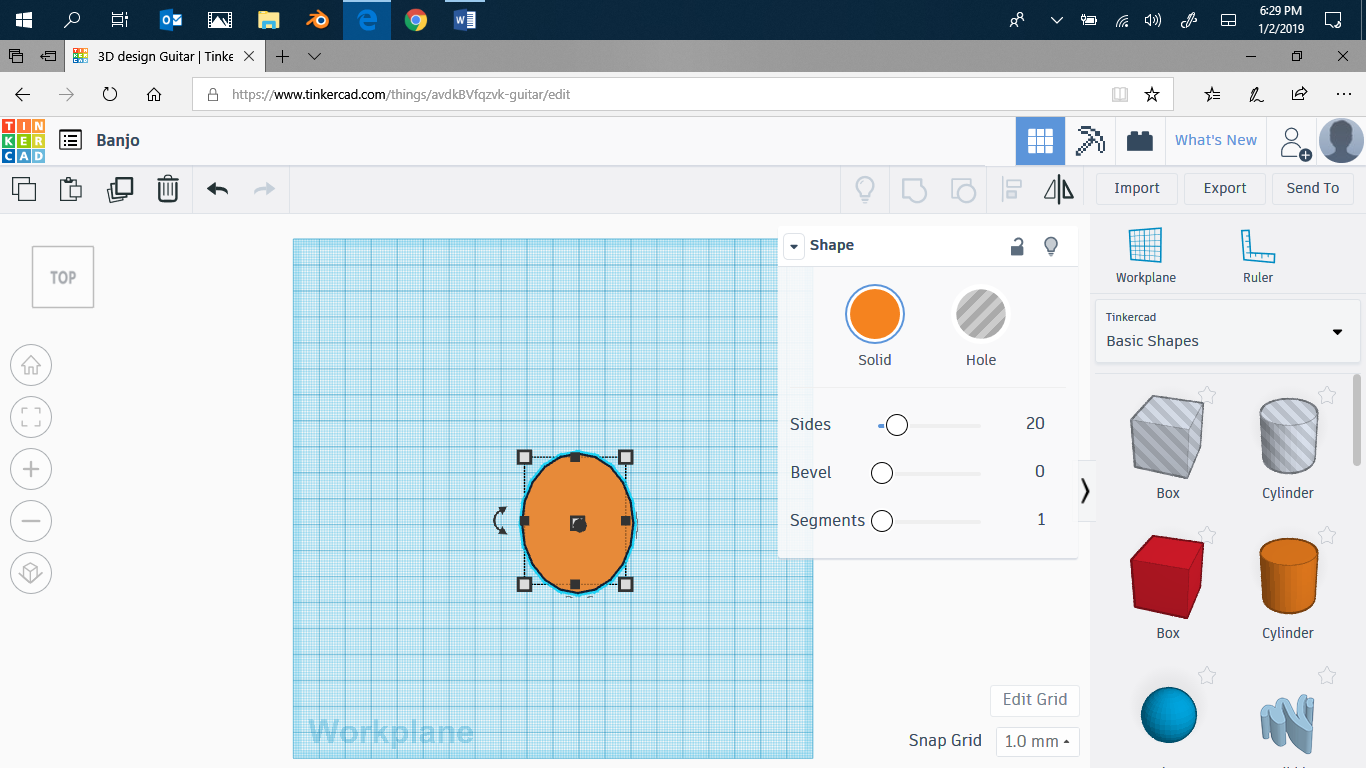
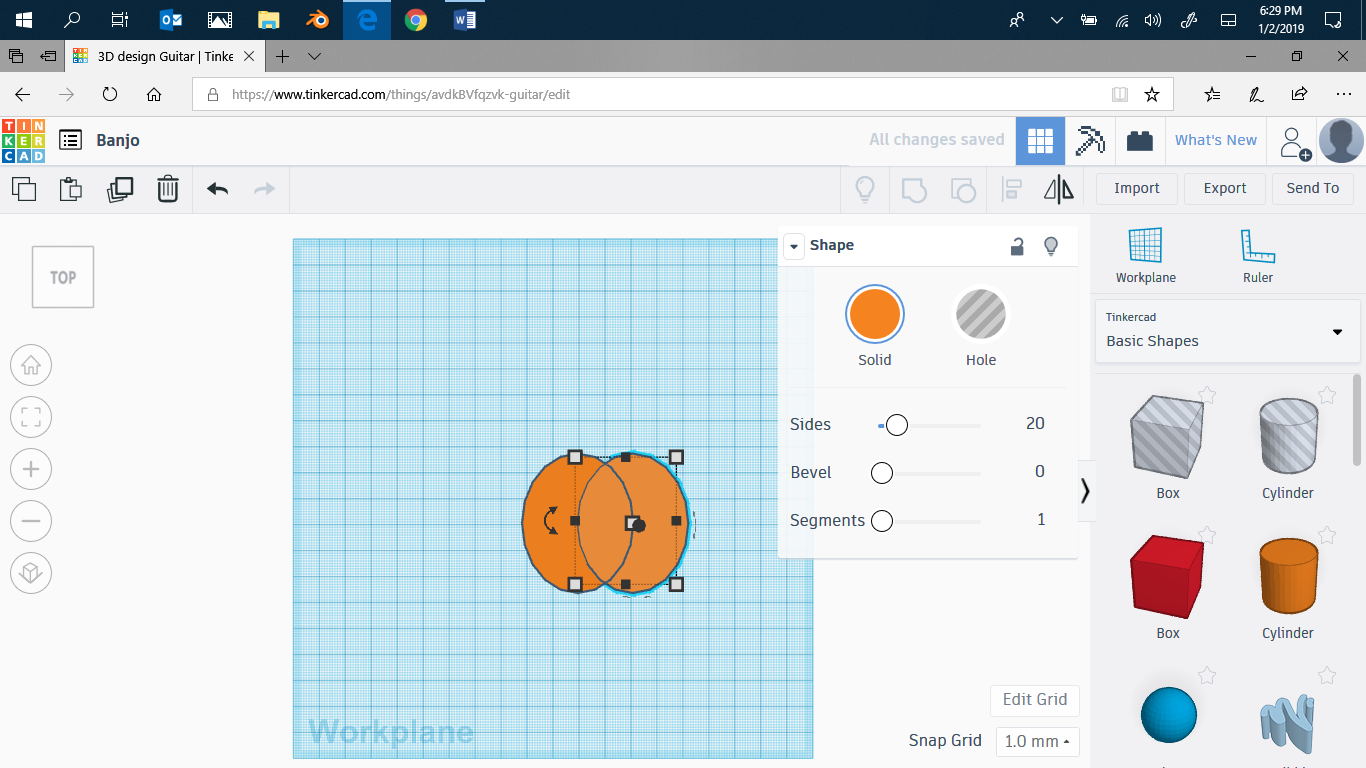
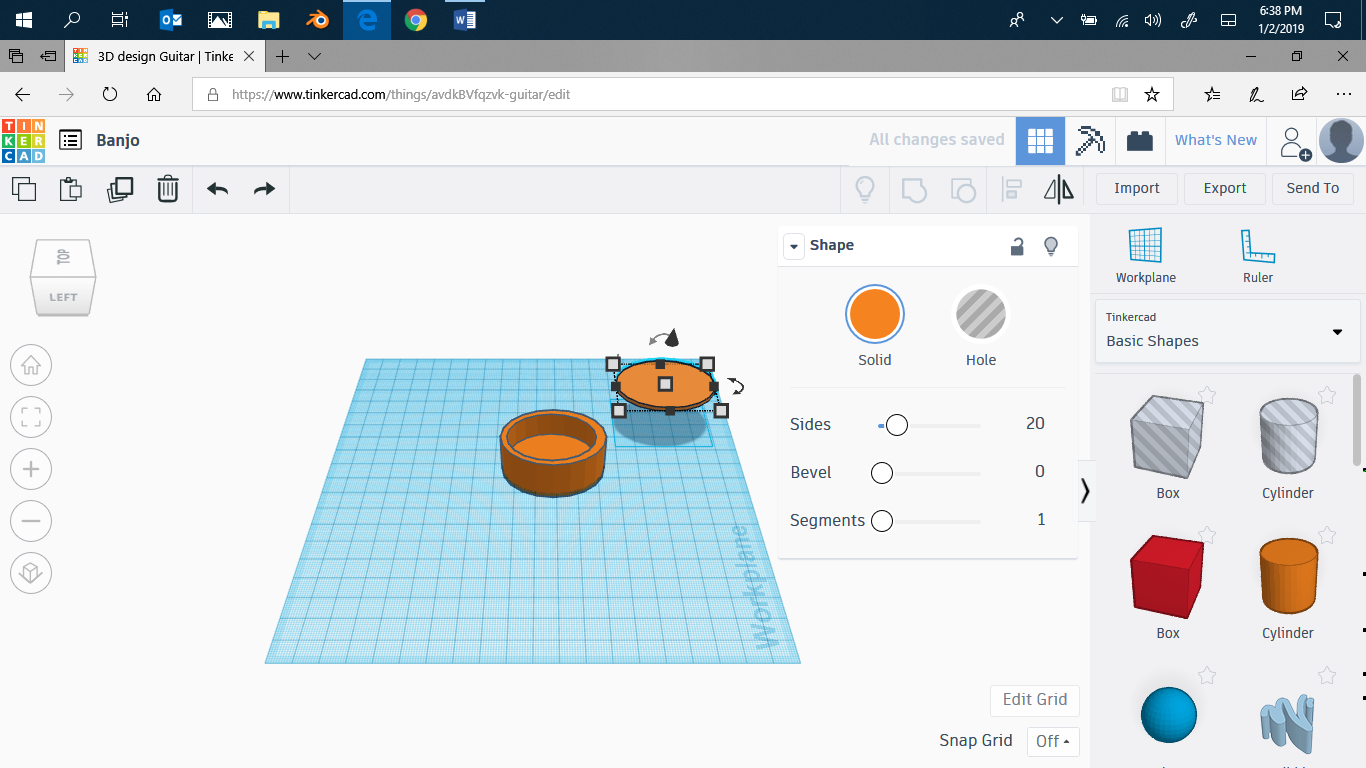
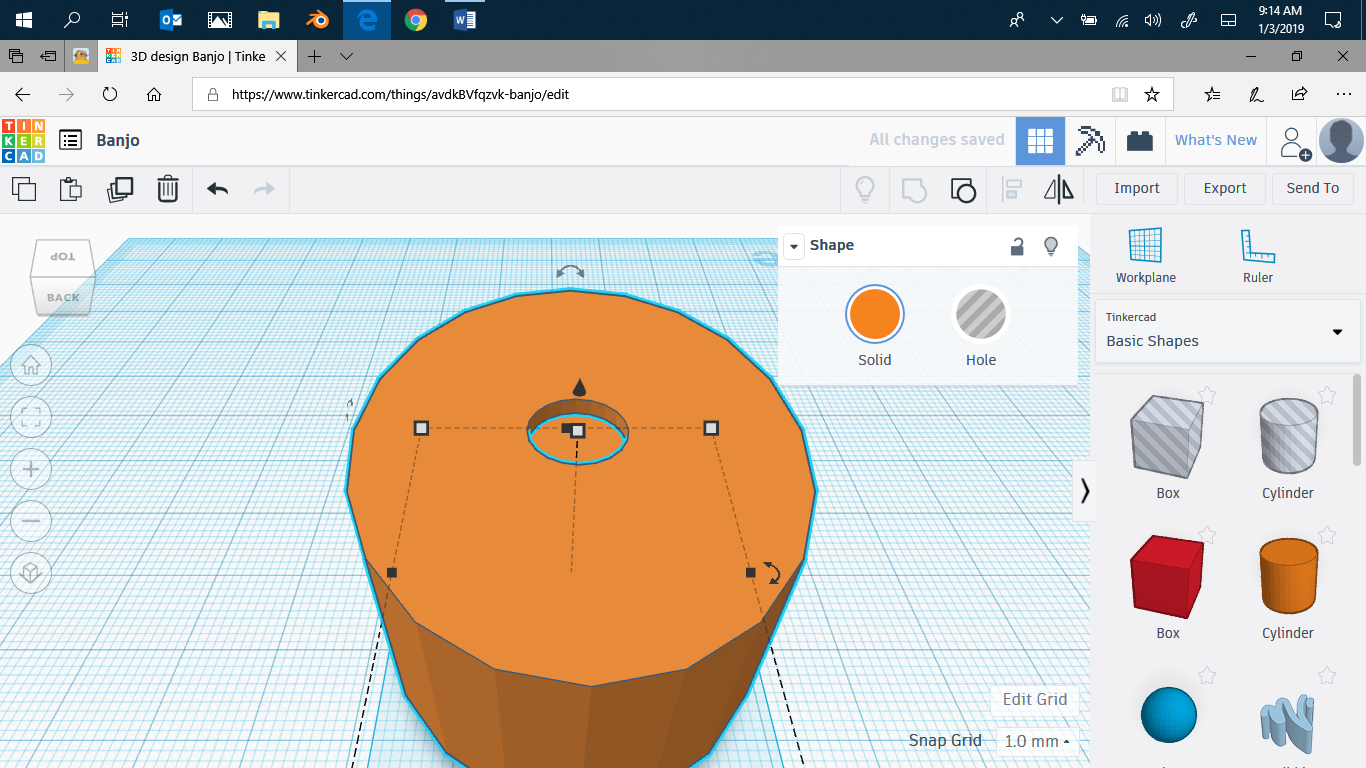
Switch to top view. Select your shape, then ctrl+c to copy, ctrl+v to paste. You should have two cylinders.


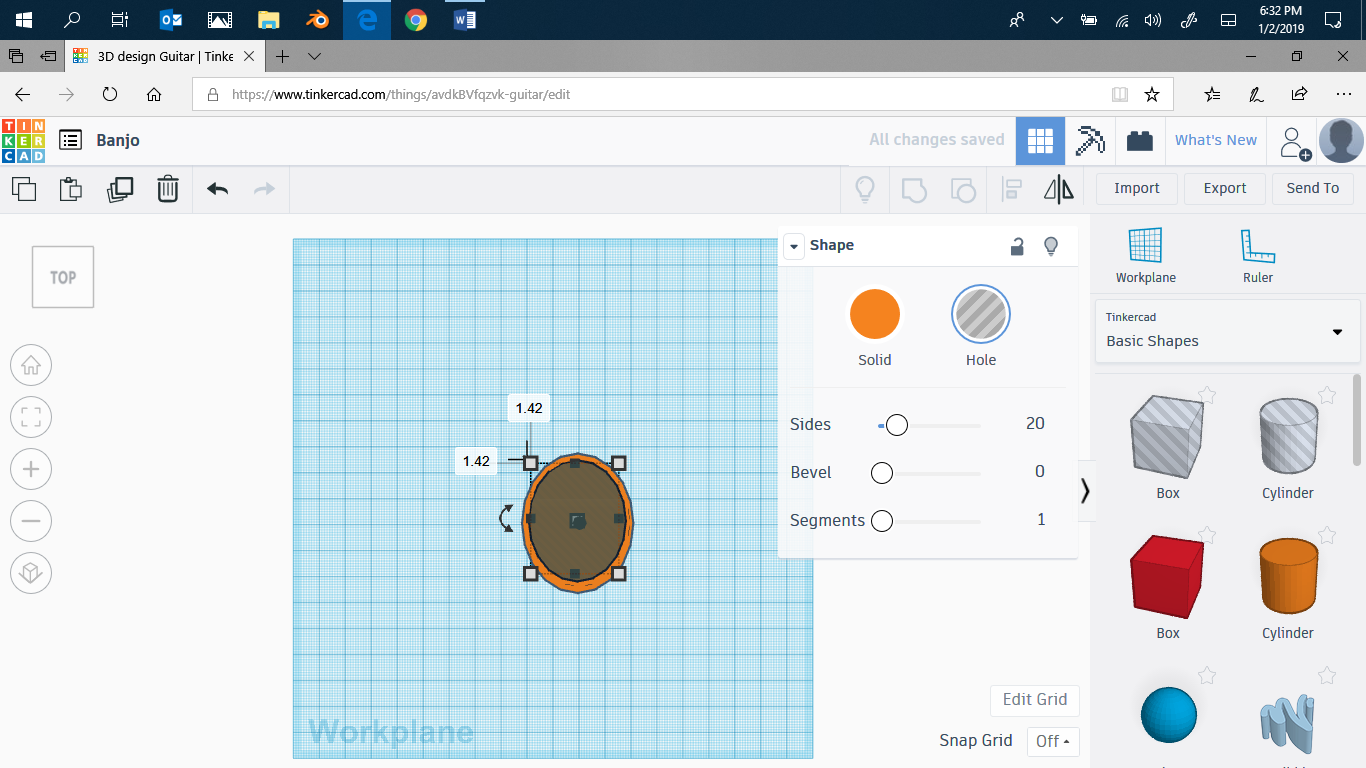
Turn the second one into a hole, then center it over the original. Make it smaller, and also shorter. Then center it again.
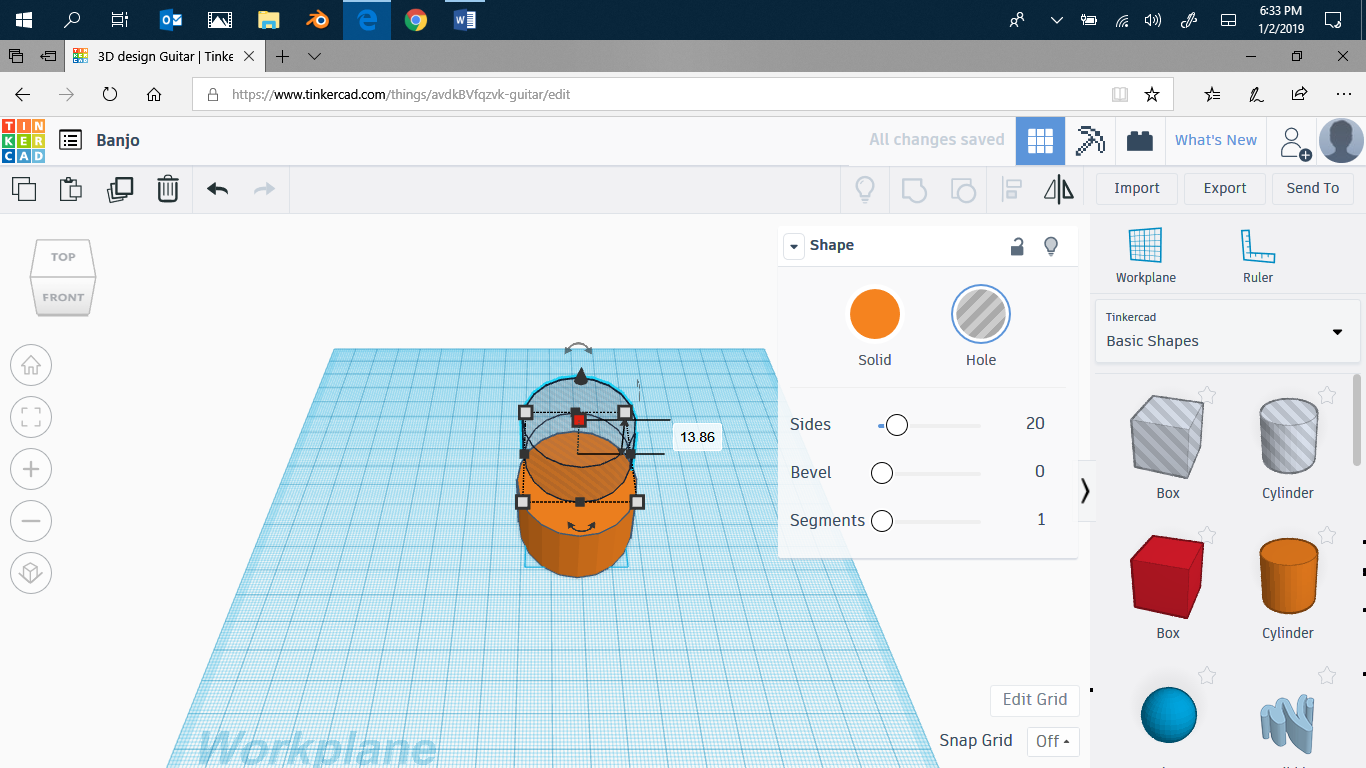
Switch to an angled view, then lower the hole until it's just above the surface of the original cylinder. Then shift +left mouse click to select the hole and the cylinder. Click the group button to merge them.
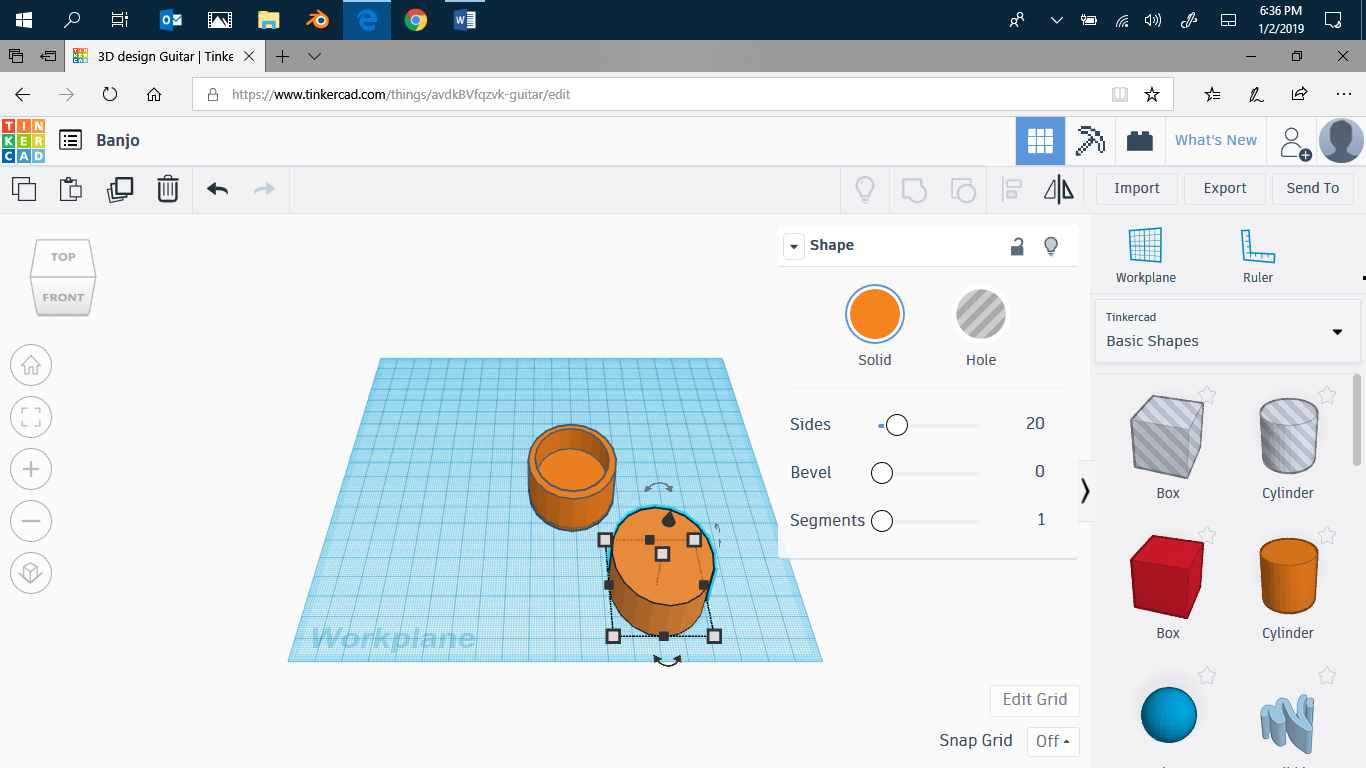
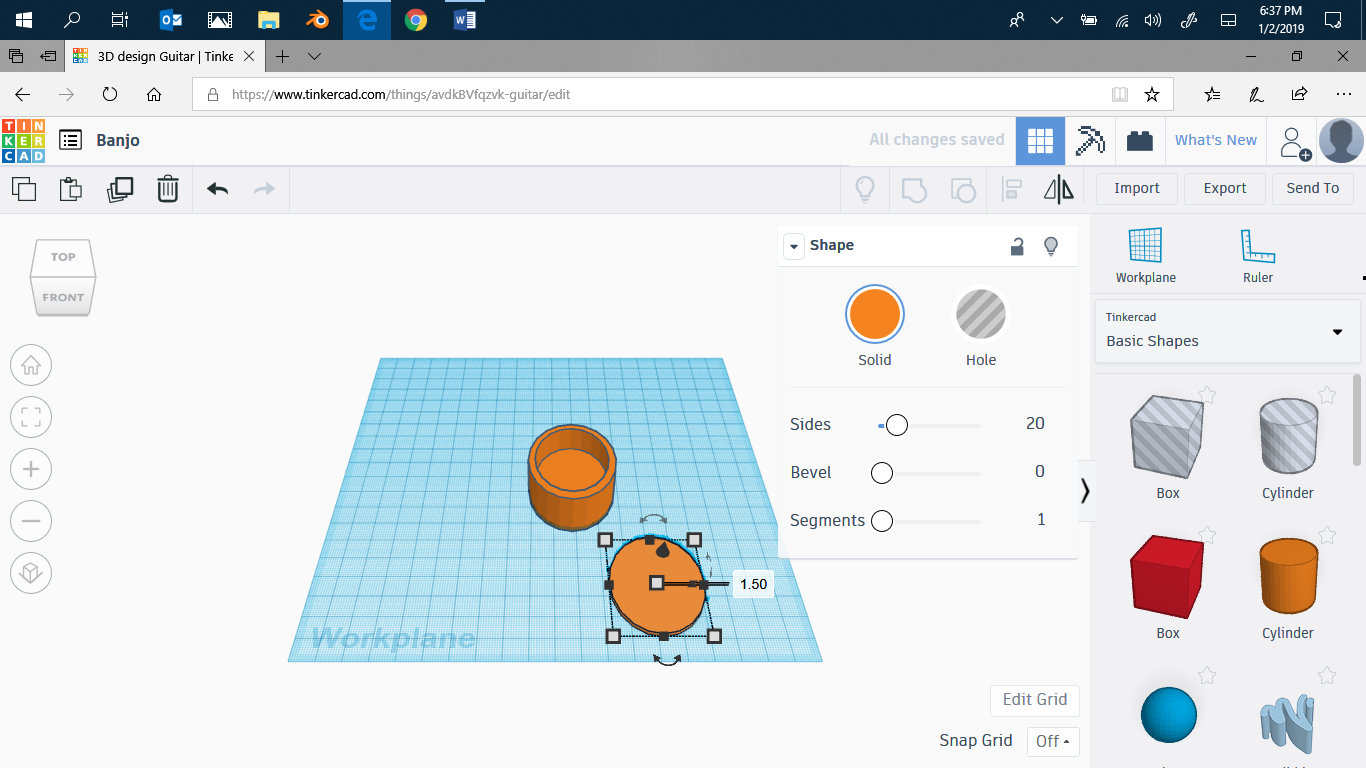
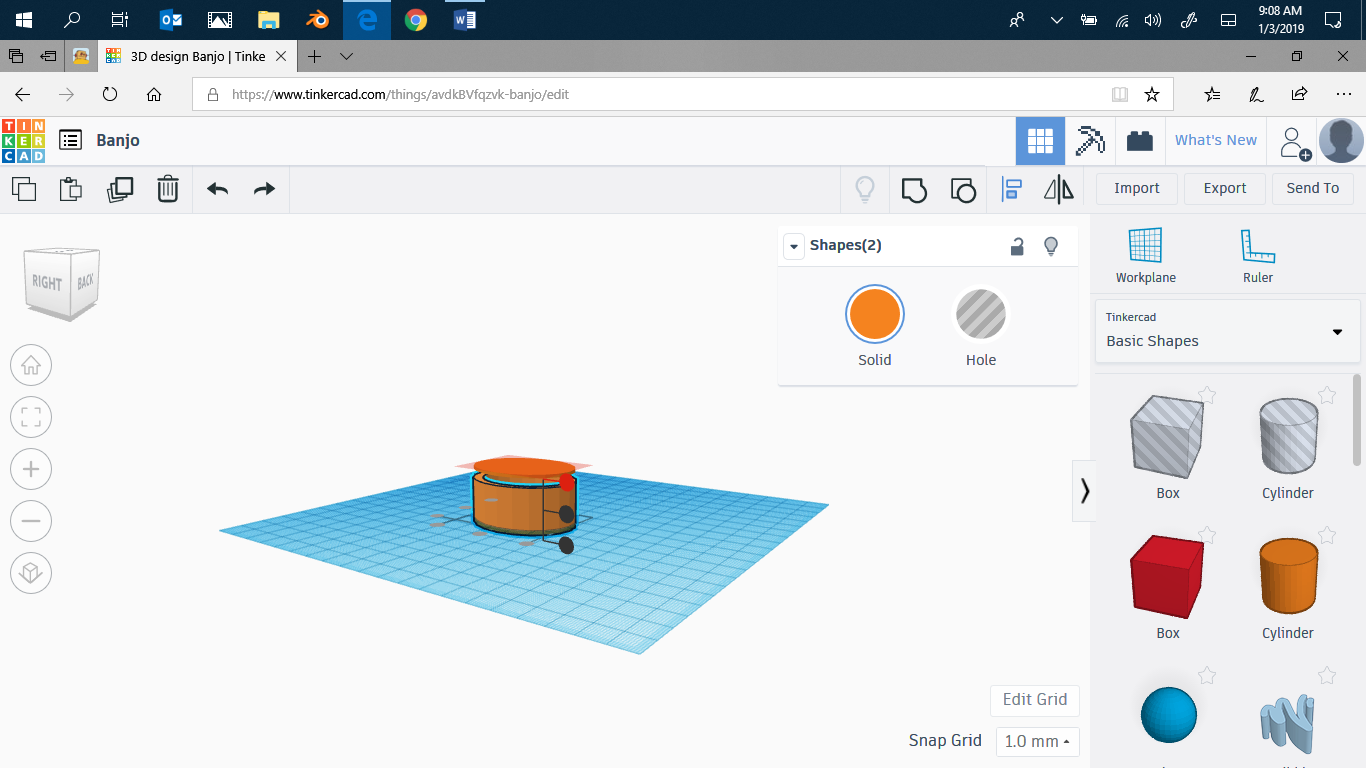
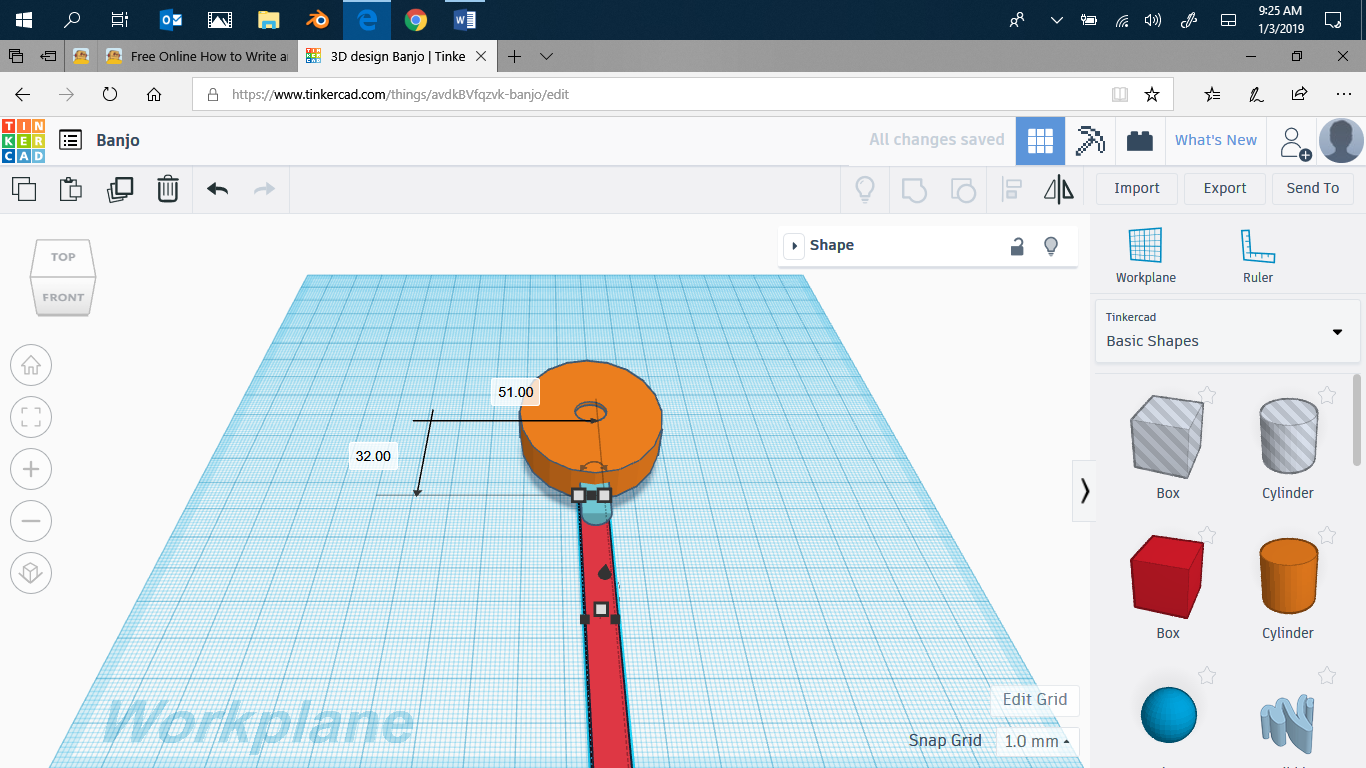
Put on another cylinder. Widen it to the same dimensions as the original cylinder. Make it shorter. I did mine to 1.50.
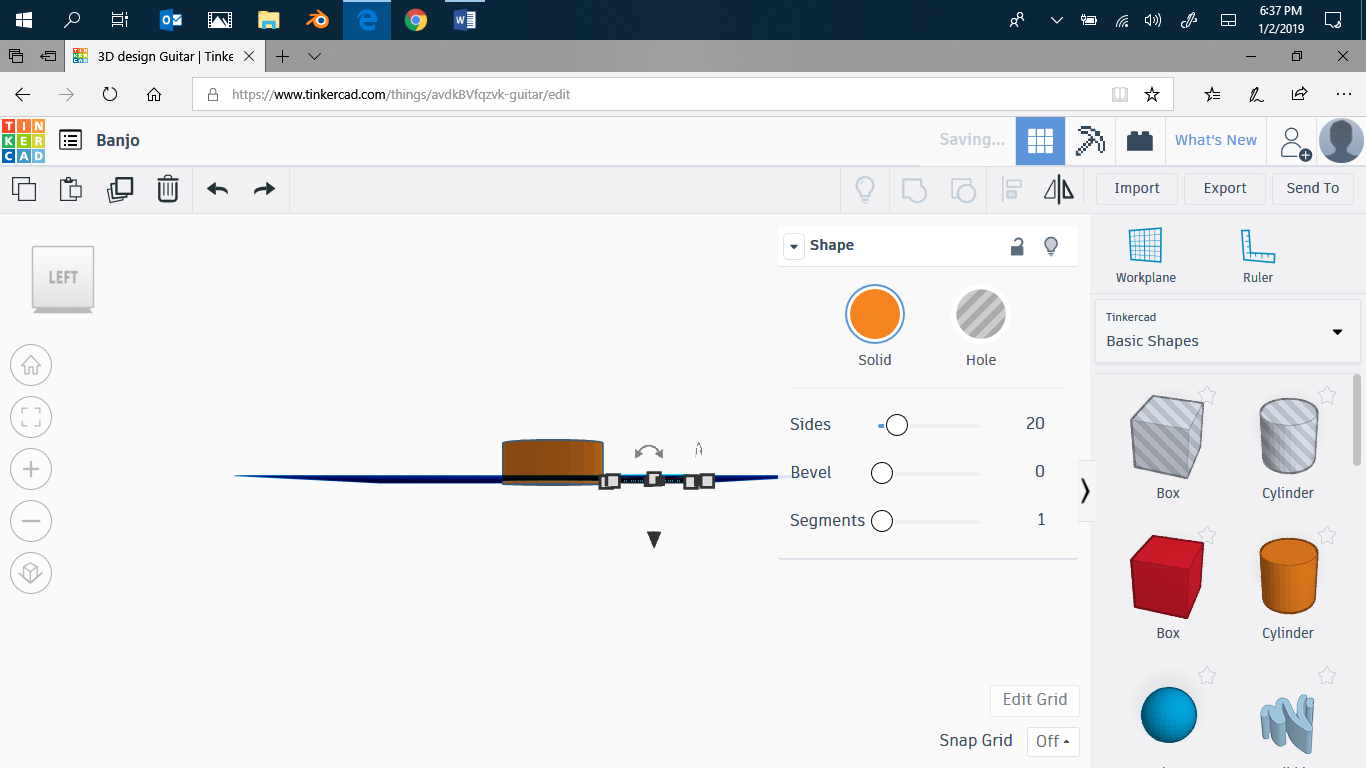
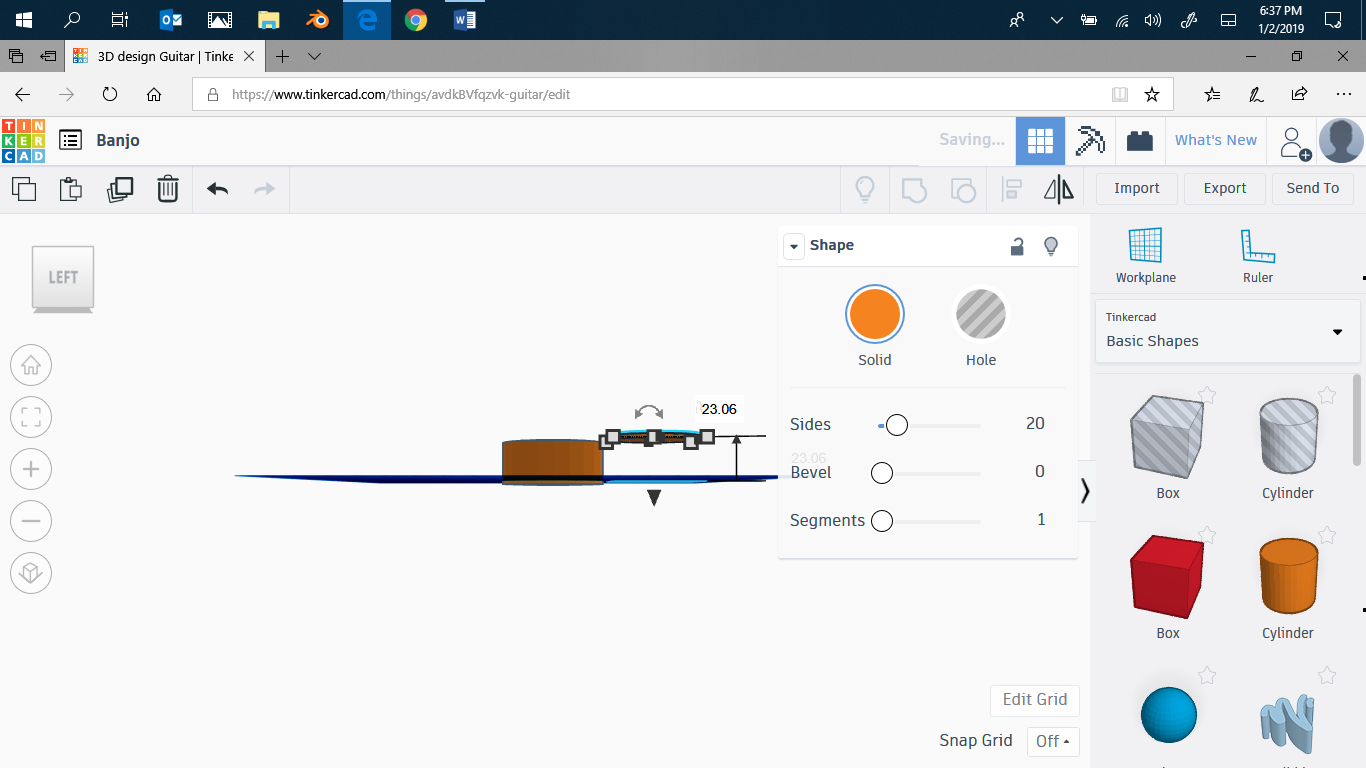
Go to a side view. Lift the new cylinder until it's level with the old one. Switch to angled view.
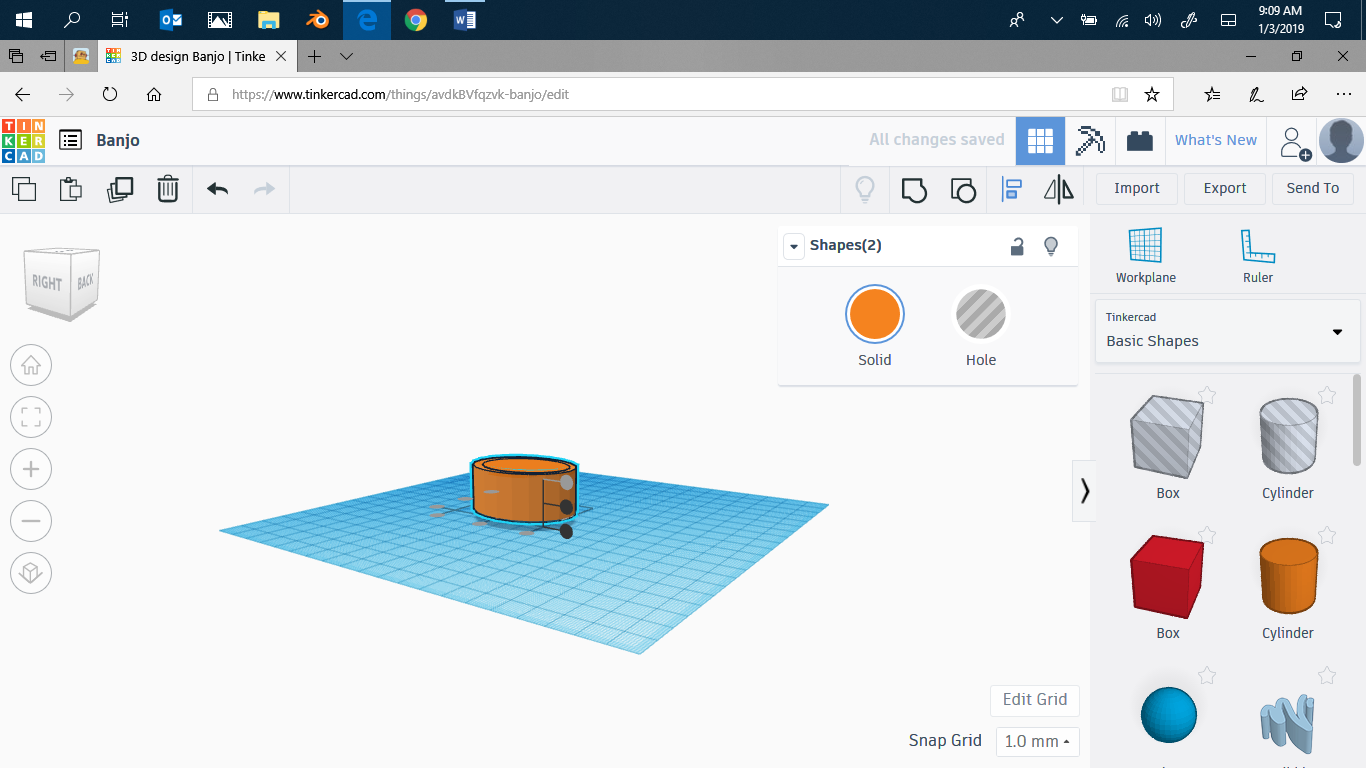
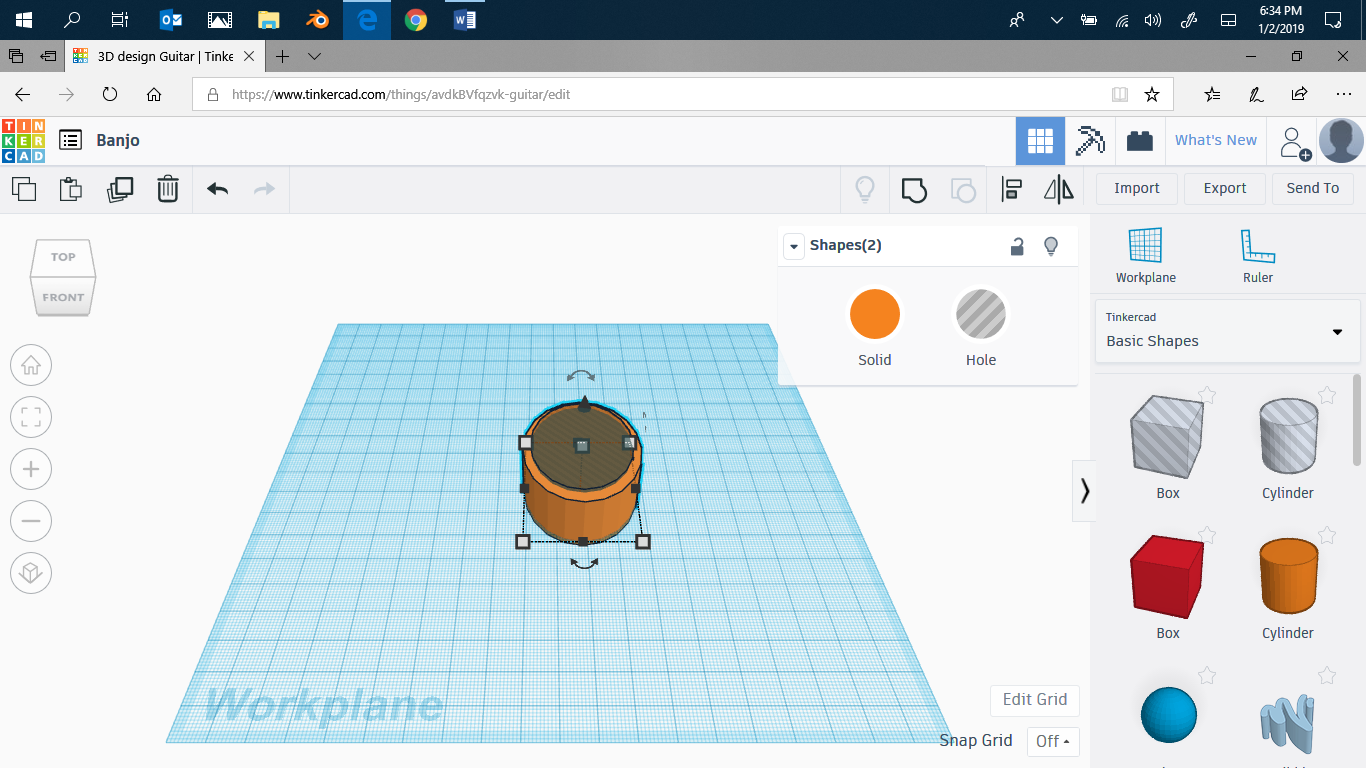
Now move the thin cylinder over to the big one, and place it based on you're judgments right on the top. Go into top view and just make sure it's aligned, then go back to angled view.Then click on the big cylinder while pressing shift, and then click on the thin cylinder. After you've selected both, click the align button. Click on the top button of the ones pointing up, and the result should look like the finale picture.


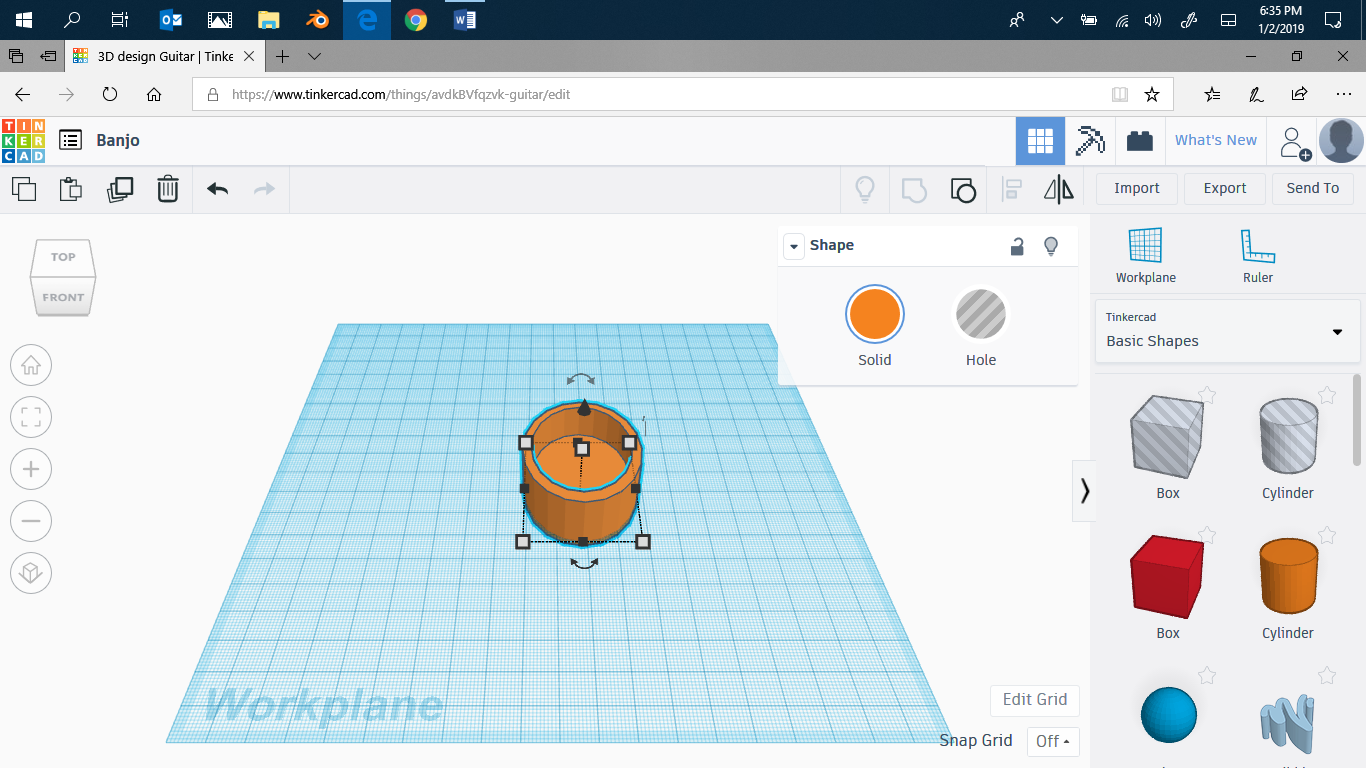
Make a new cylinder. Then make it smaller to you're preferences. The make it shorter, about 1-1.5 high.


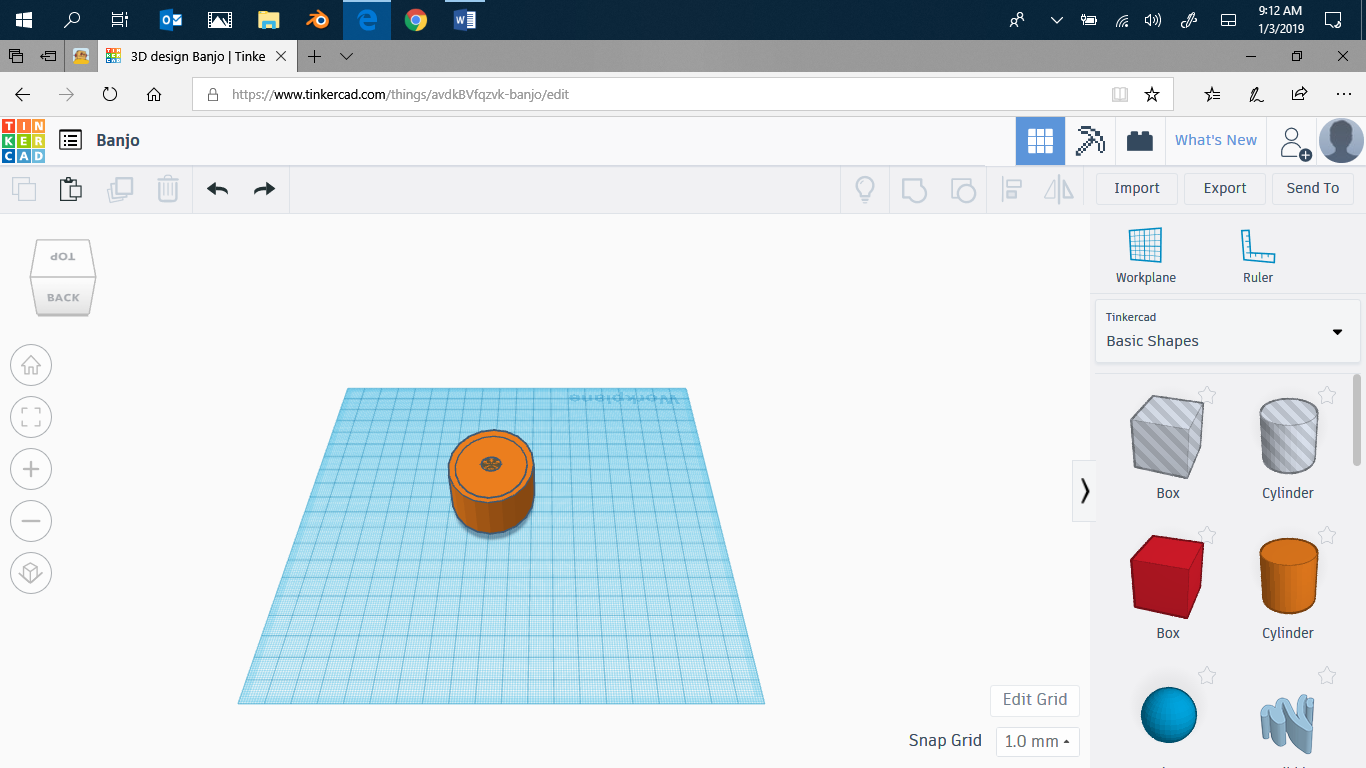
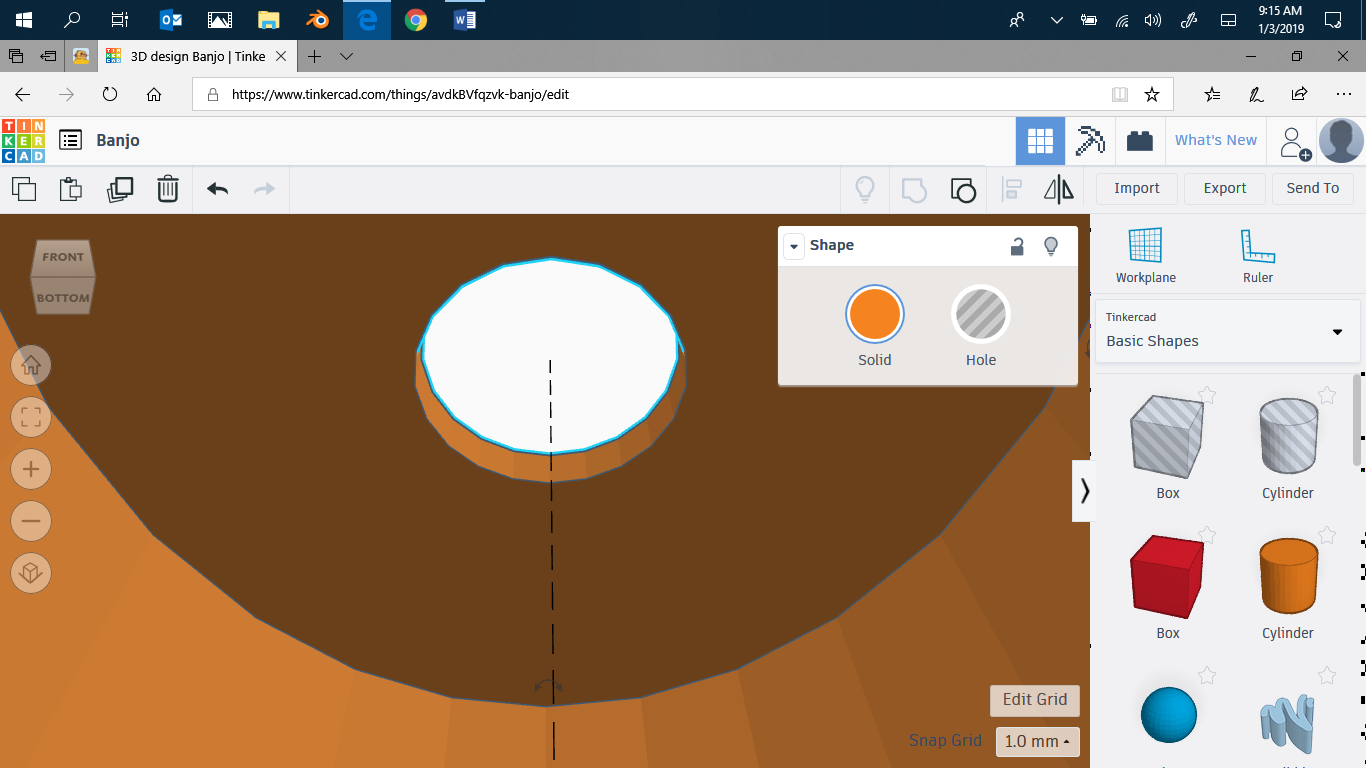
Move the little cylinder until level with the big.Now go to top down view. Move the little cylinder until it's centered on the big. Angled view. Make it into a hole, and make sure it's flush with the top of the big one. Now shift click the big one, and the little one, and group them. It will look like it's only part of the way through, but if you zoom up, it's all the way through.
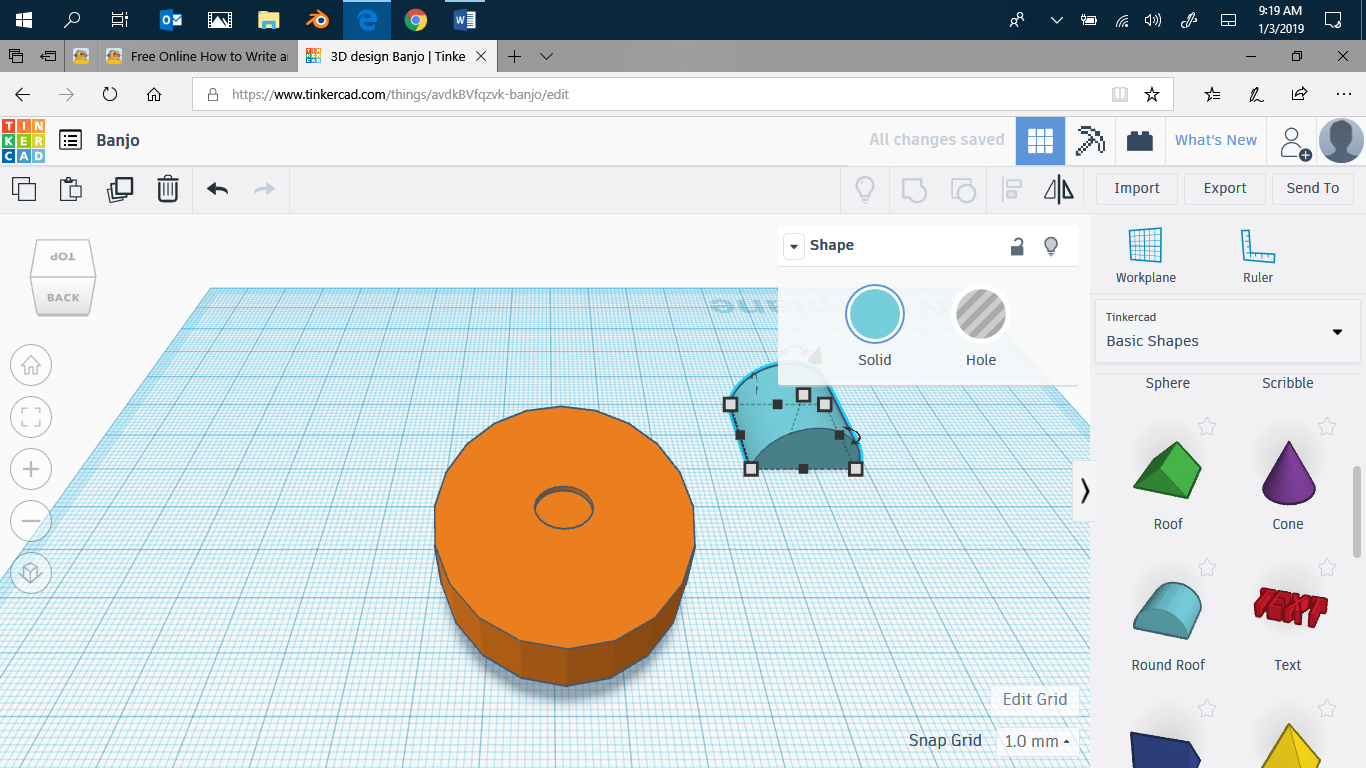
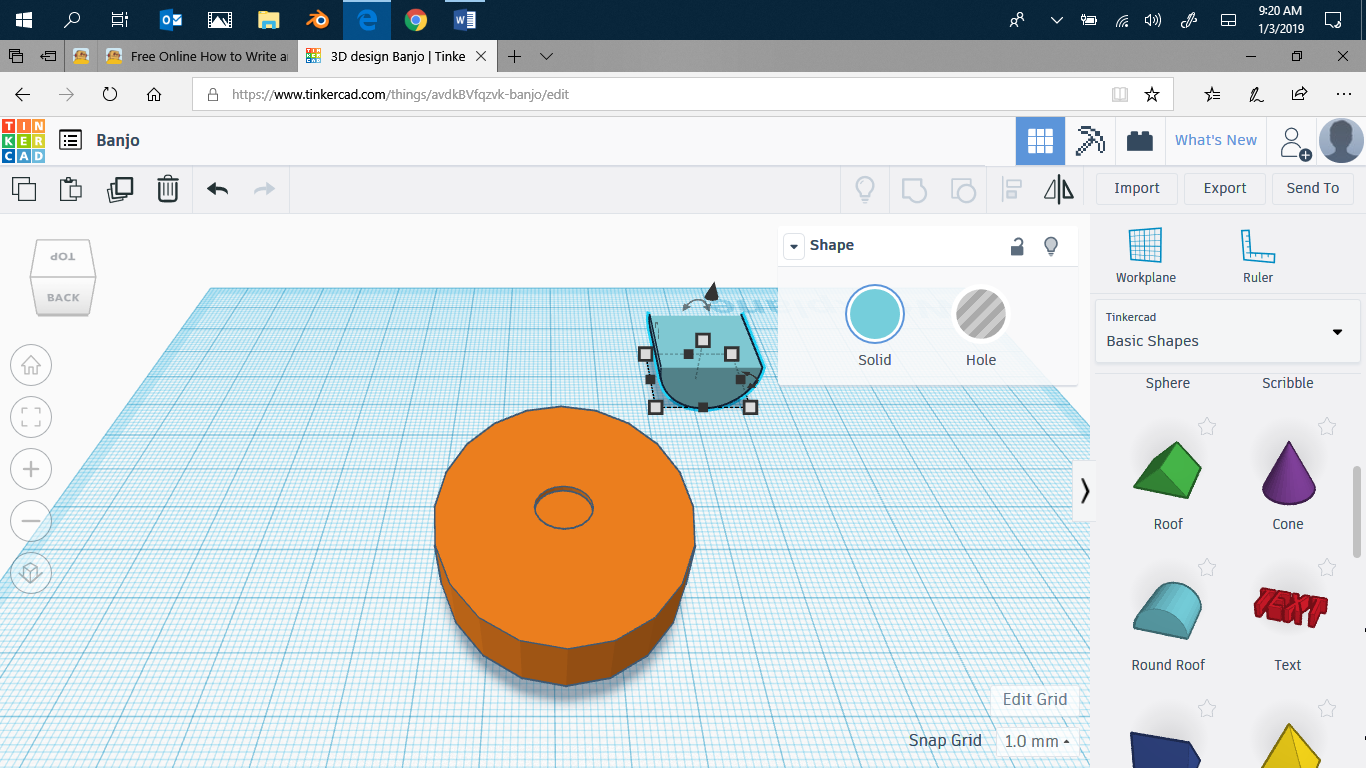
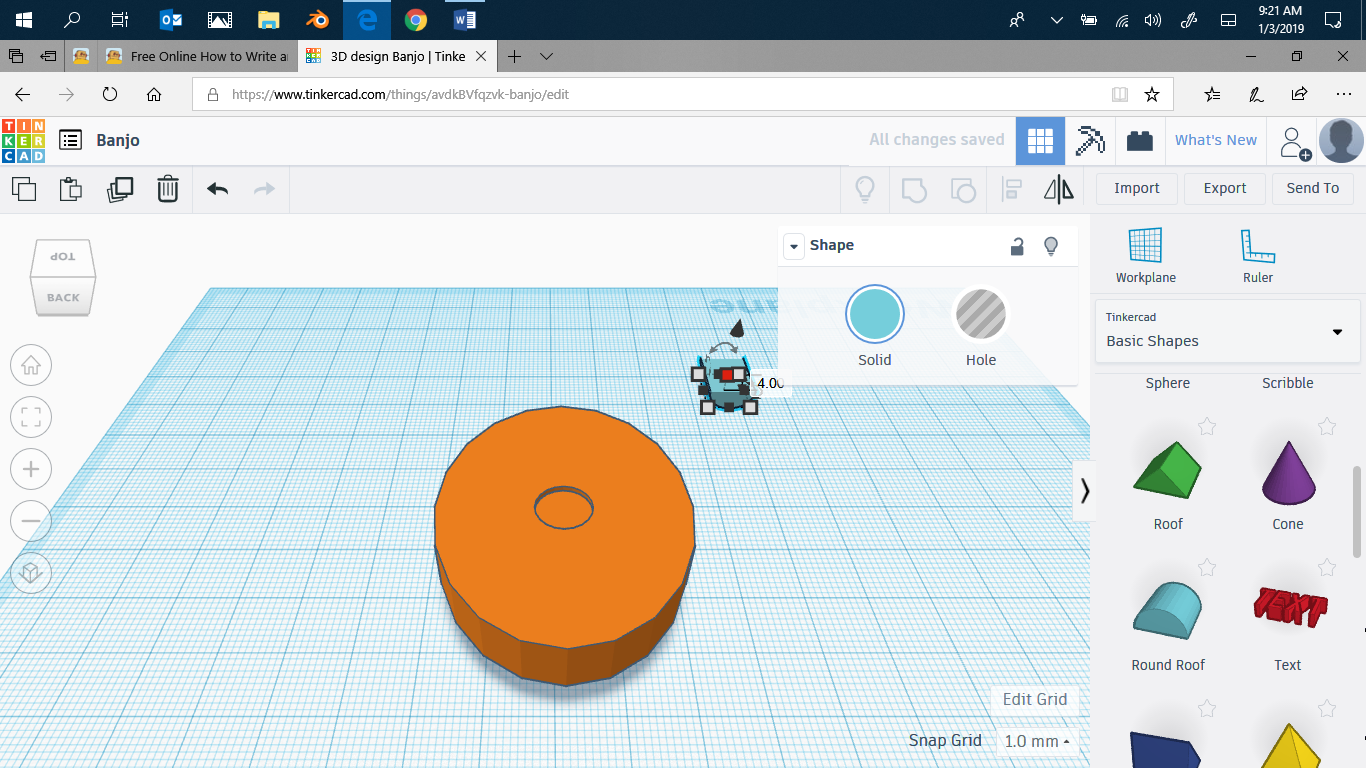
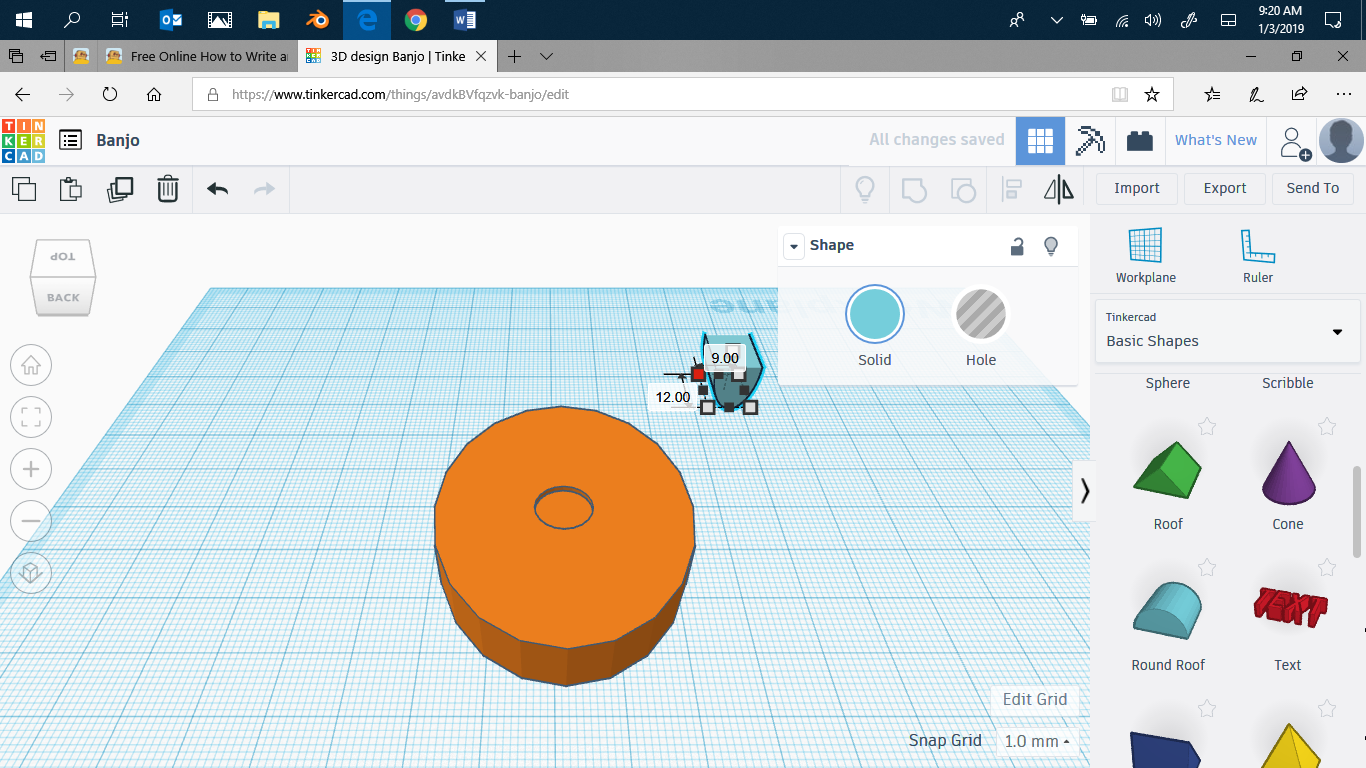
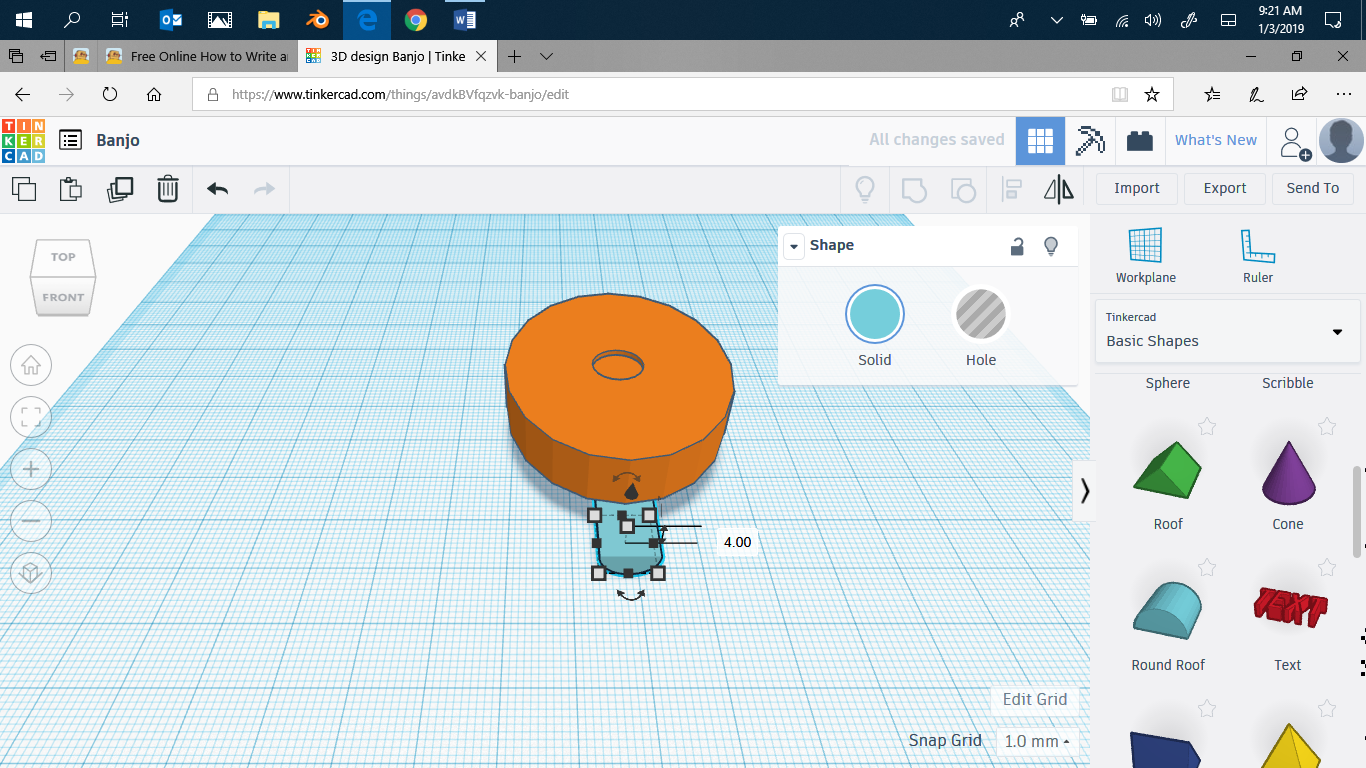
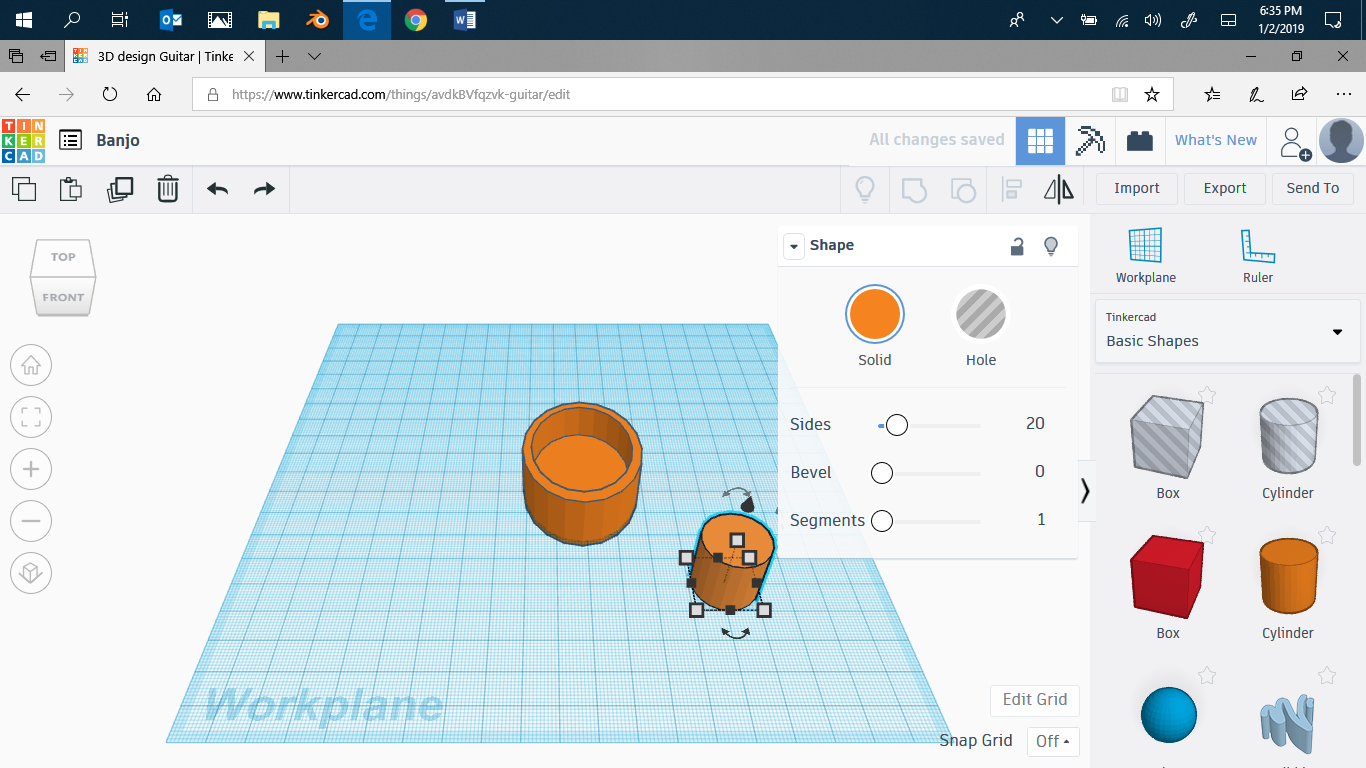
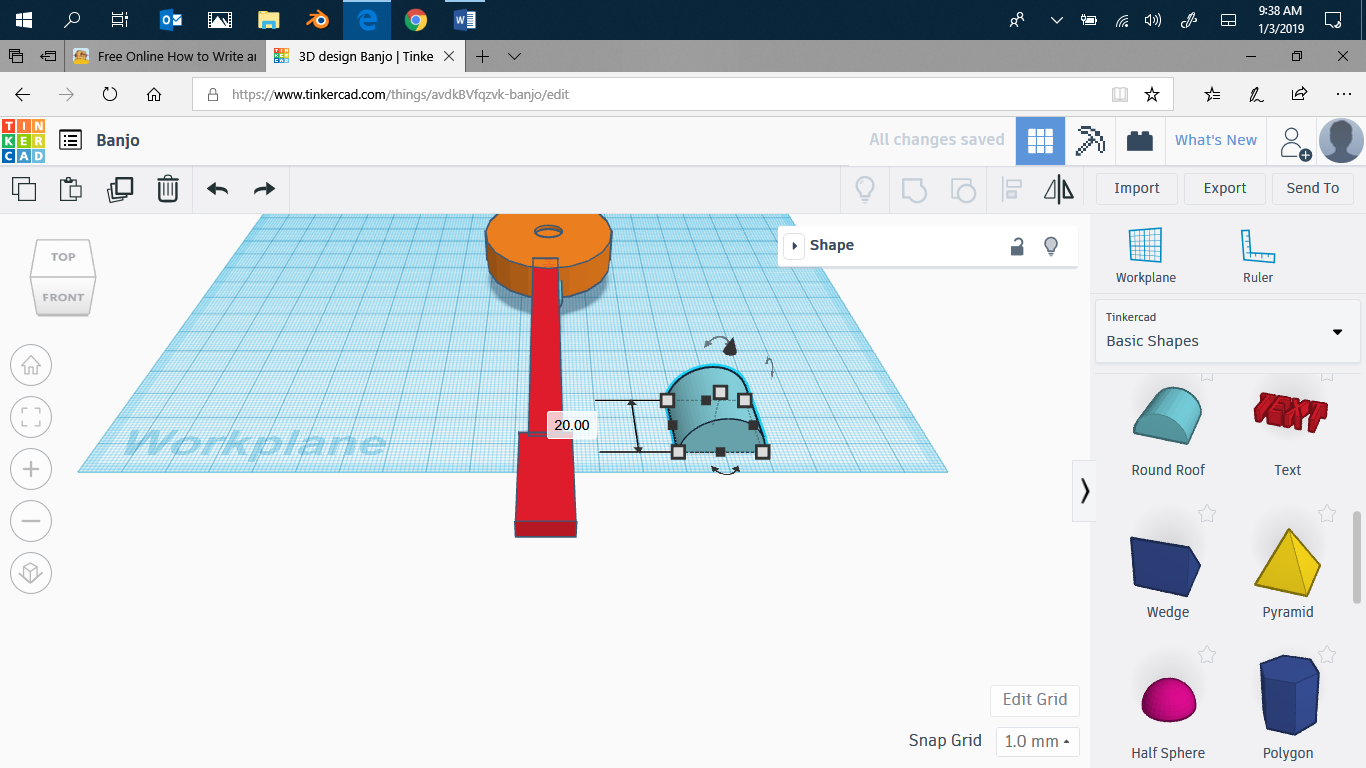
Now make a half cylinder. Make it smaller, again to you're preferences, then move it till it's partly in the body of the banjo. Then move it up till it's about 1.2-2 away from the top.
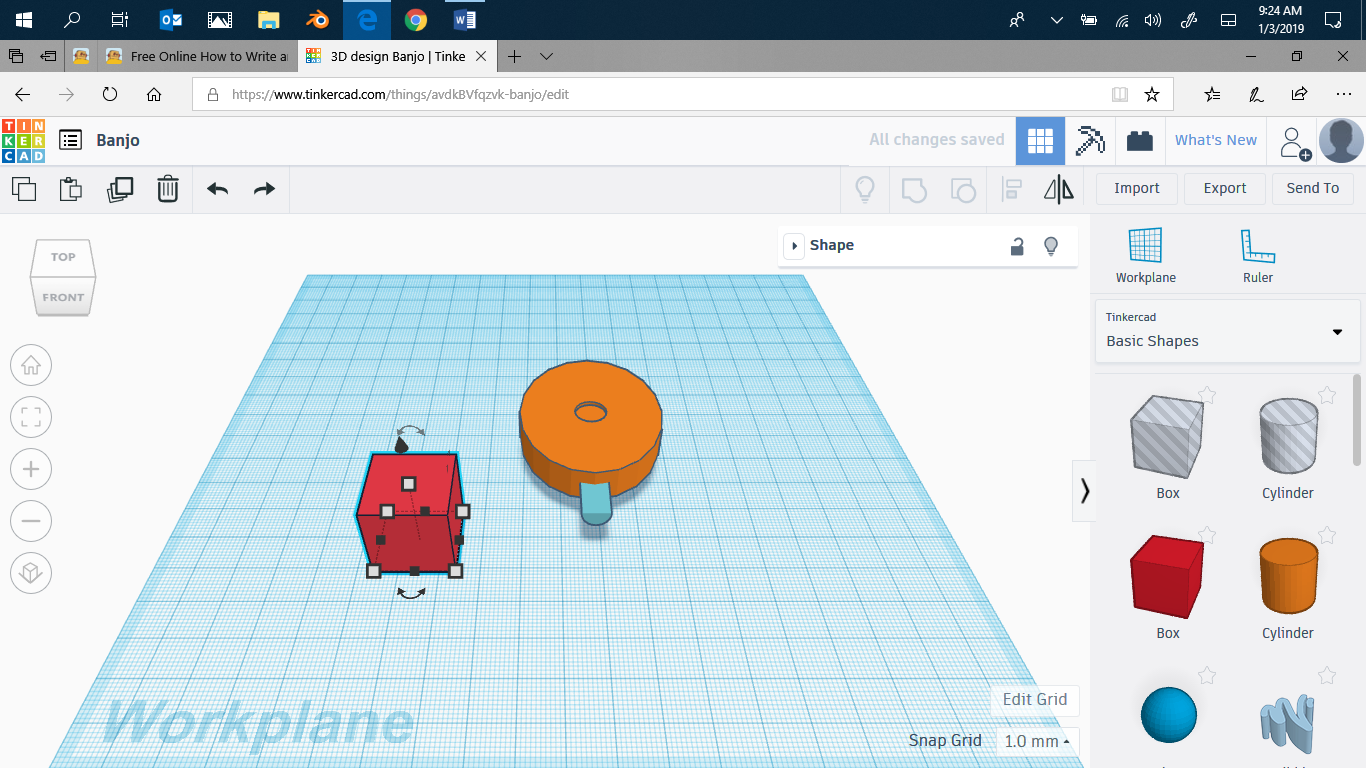
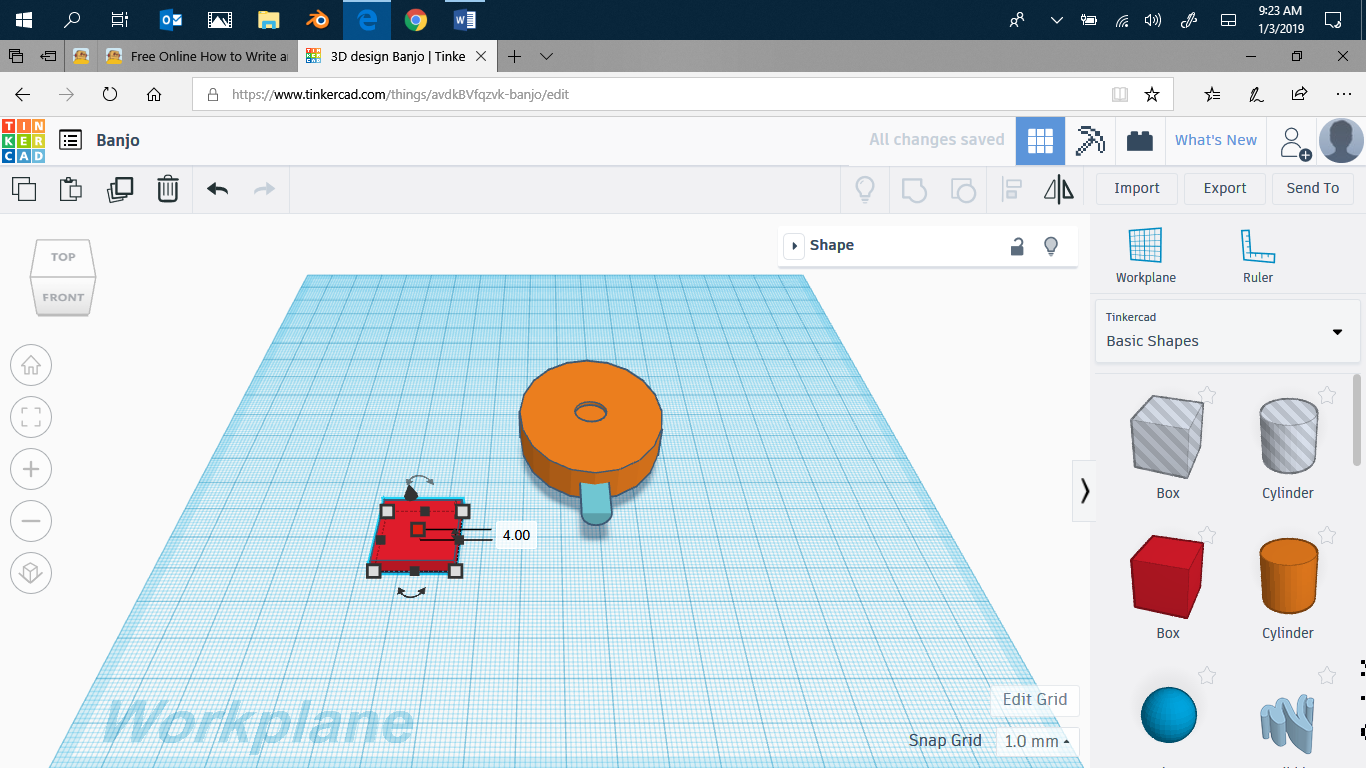
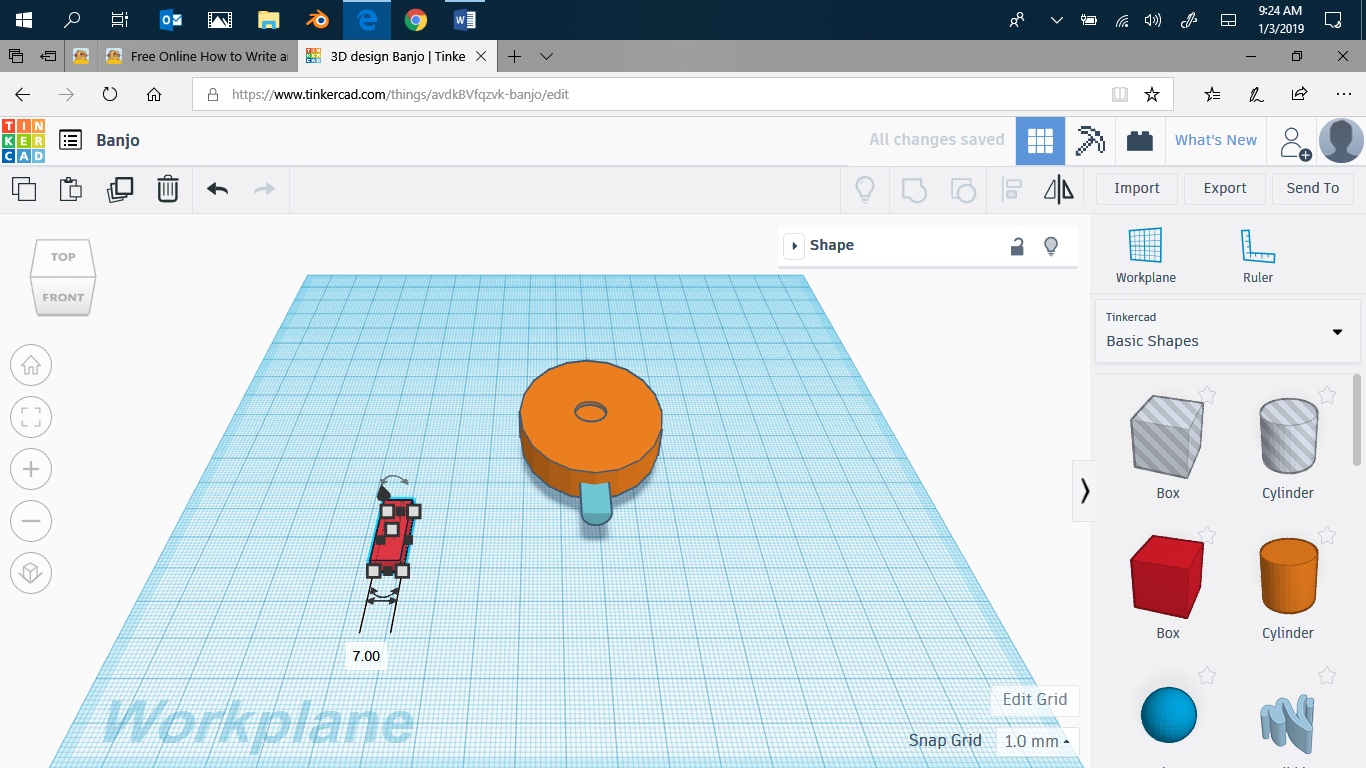
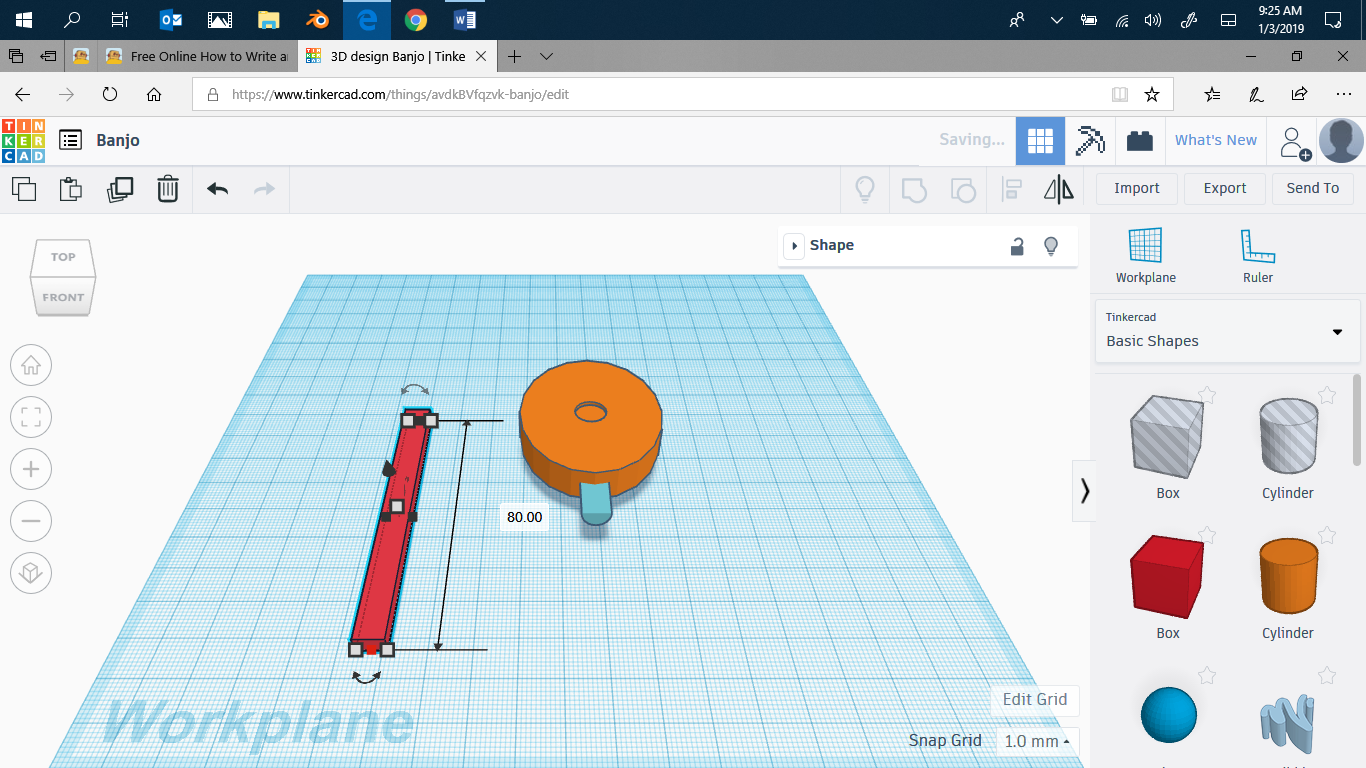
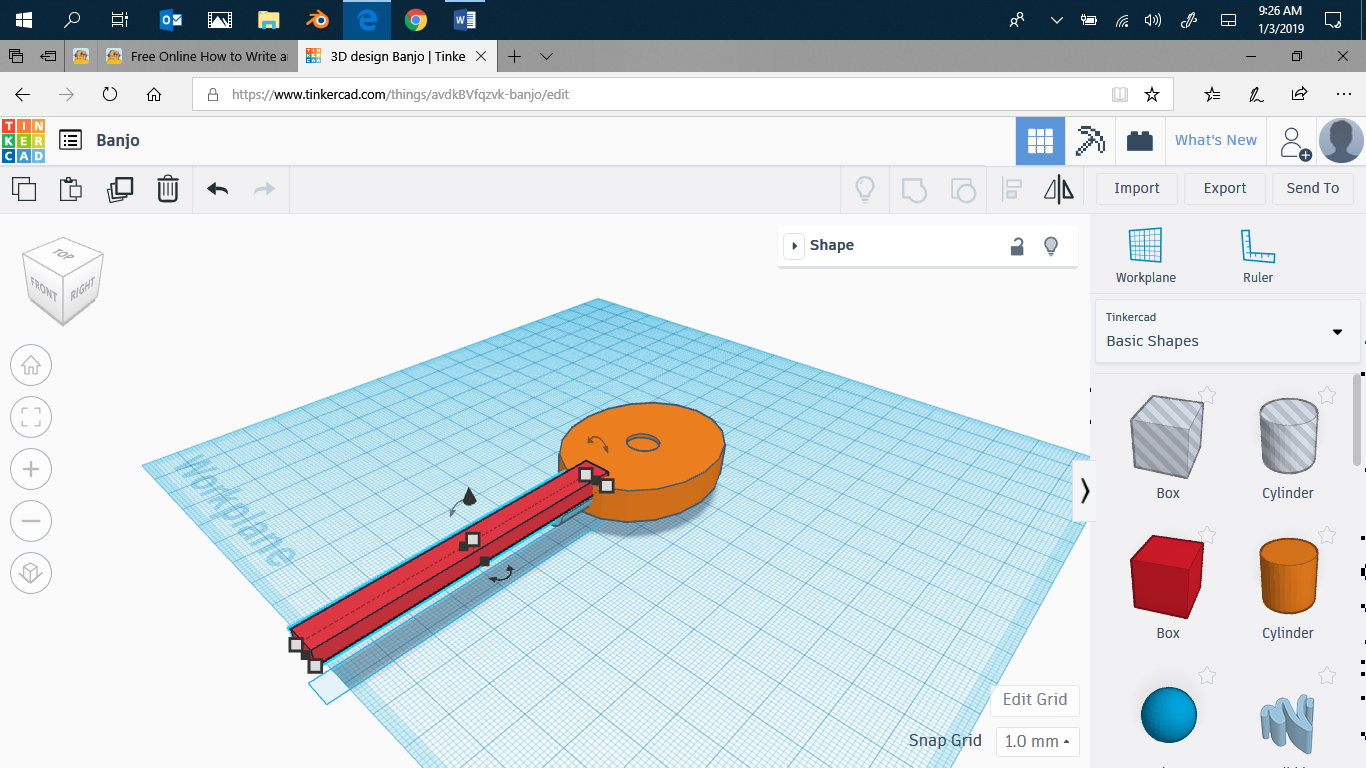
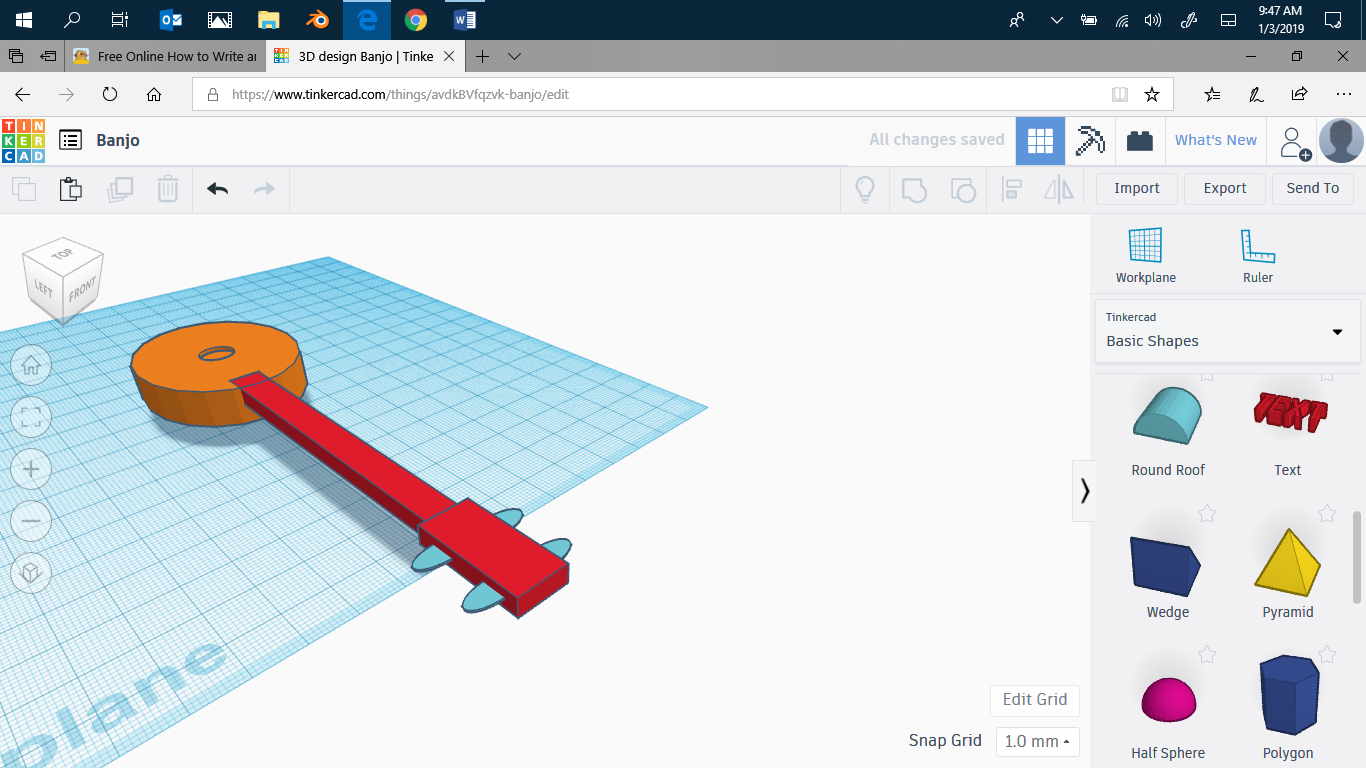
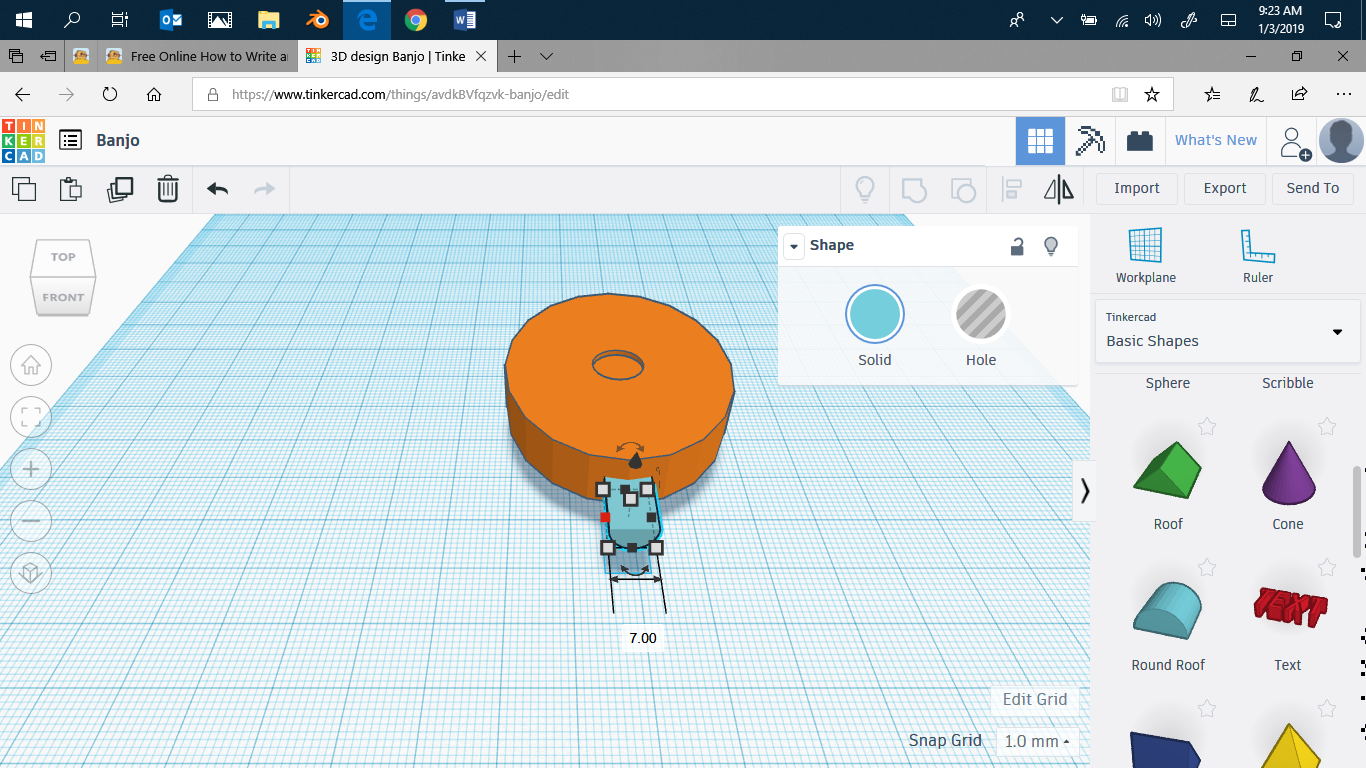
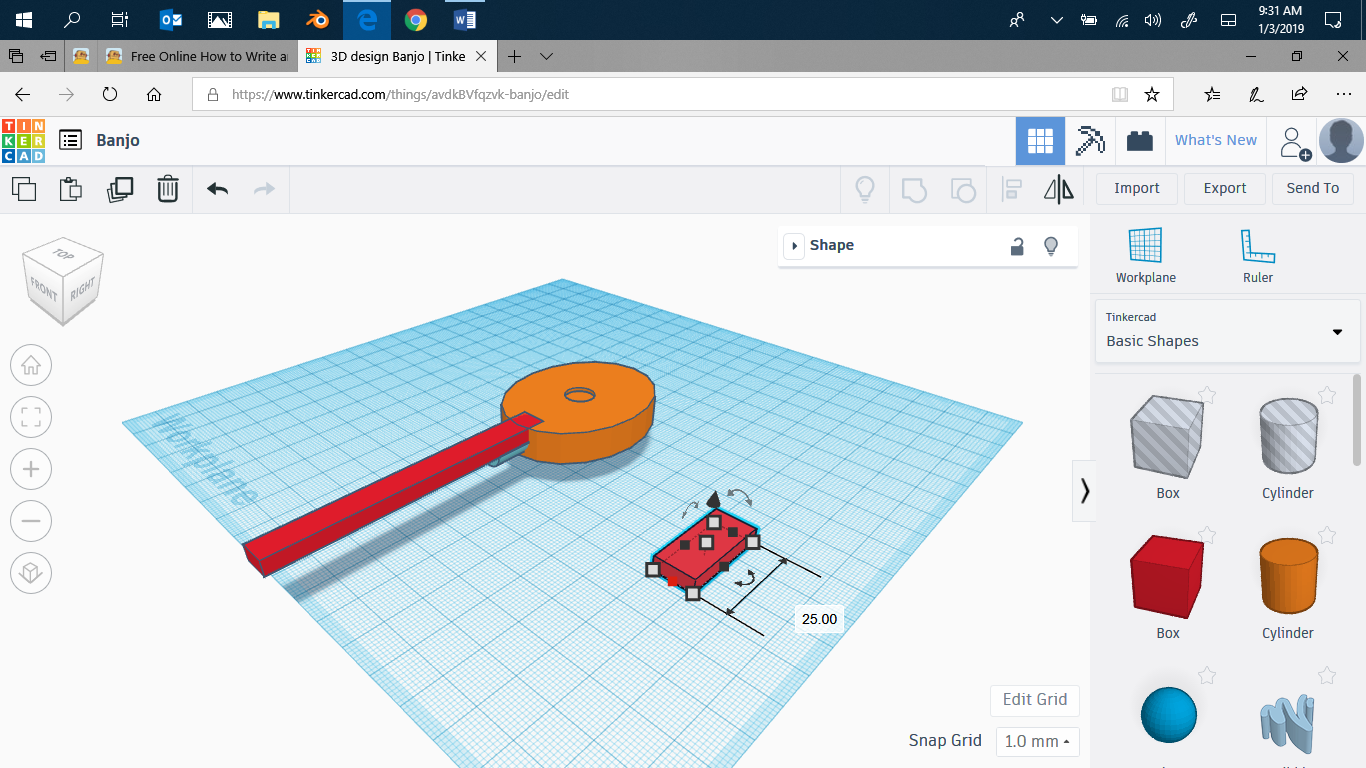
Make a square, then flatten it. Make it less wide, then make it longer. Again, till you think it looks good on the banjo. Bring it to the banjo, and center it underneath the half cylinder. Lift it up, until it's flush with the top of the banjo. move it slightly forwards, and there you have the neck and the body.
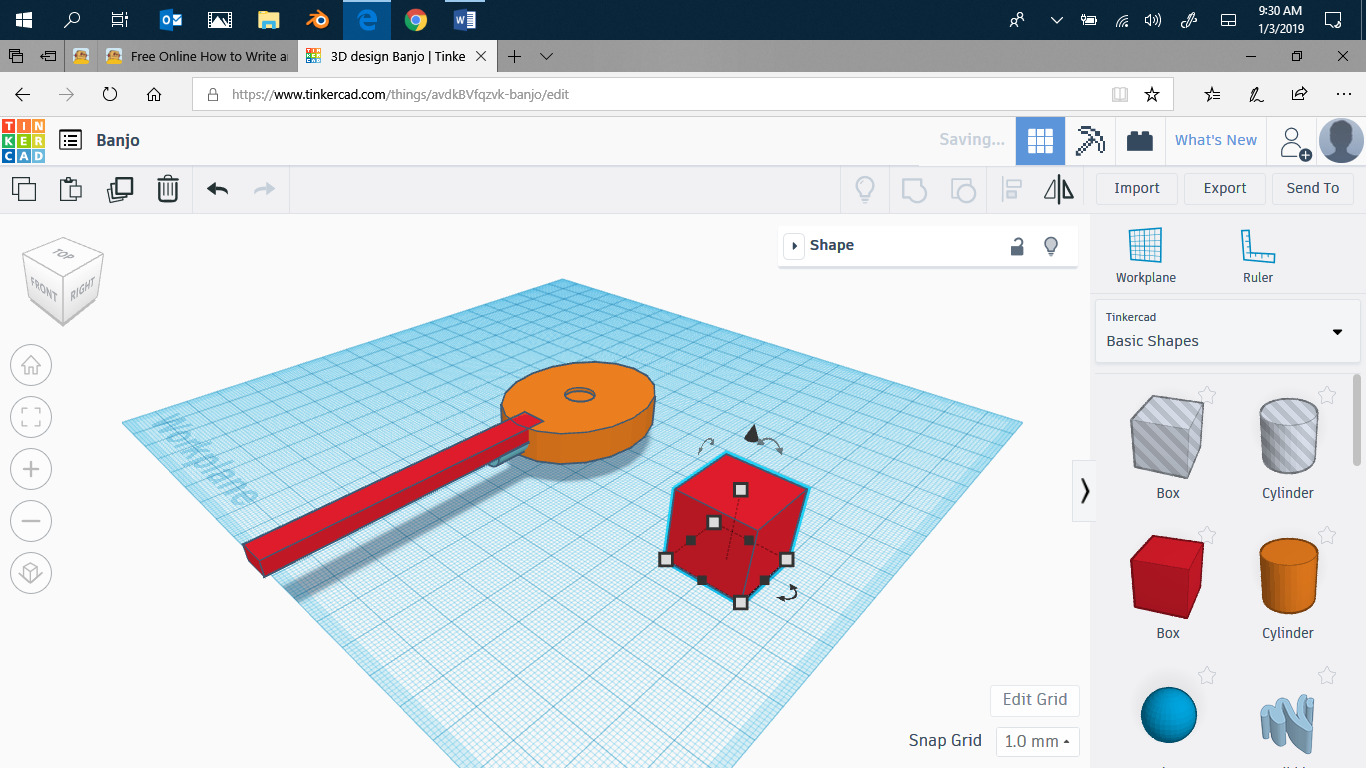
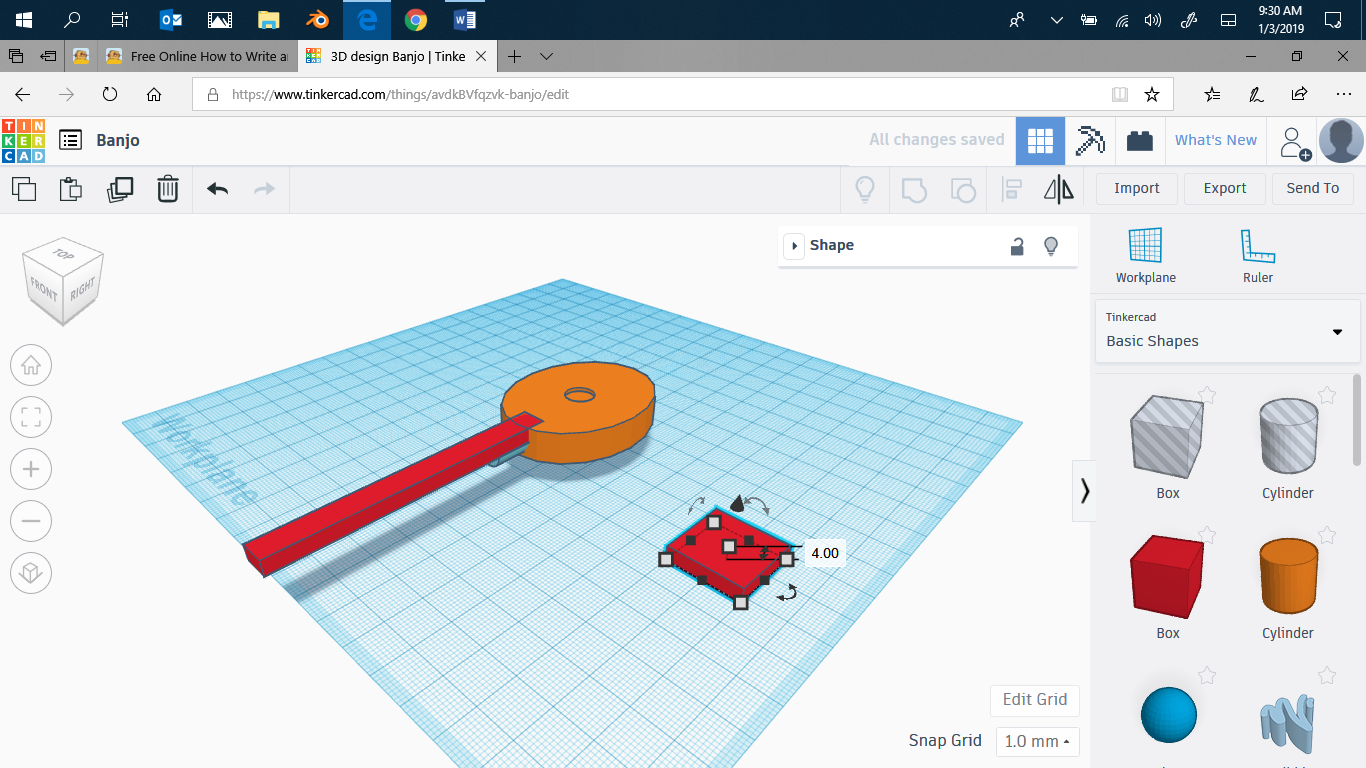

The headstock. Take a cube and flatten it to the same flatness as the neck. Make it less wide, maybe slightly wider then the neck.
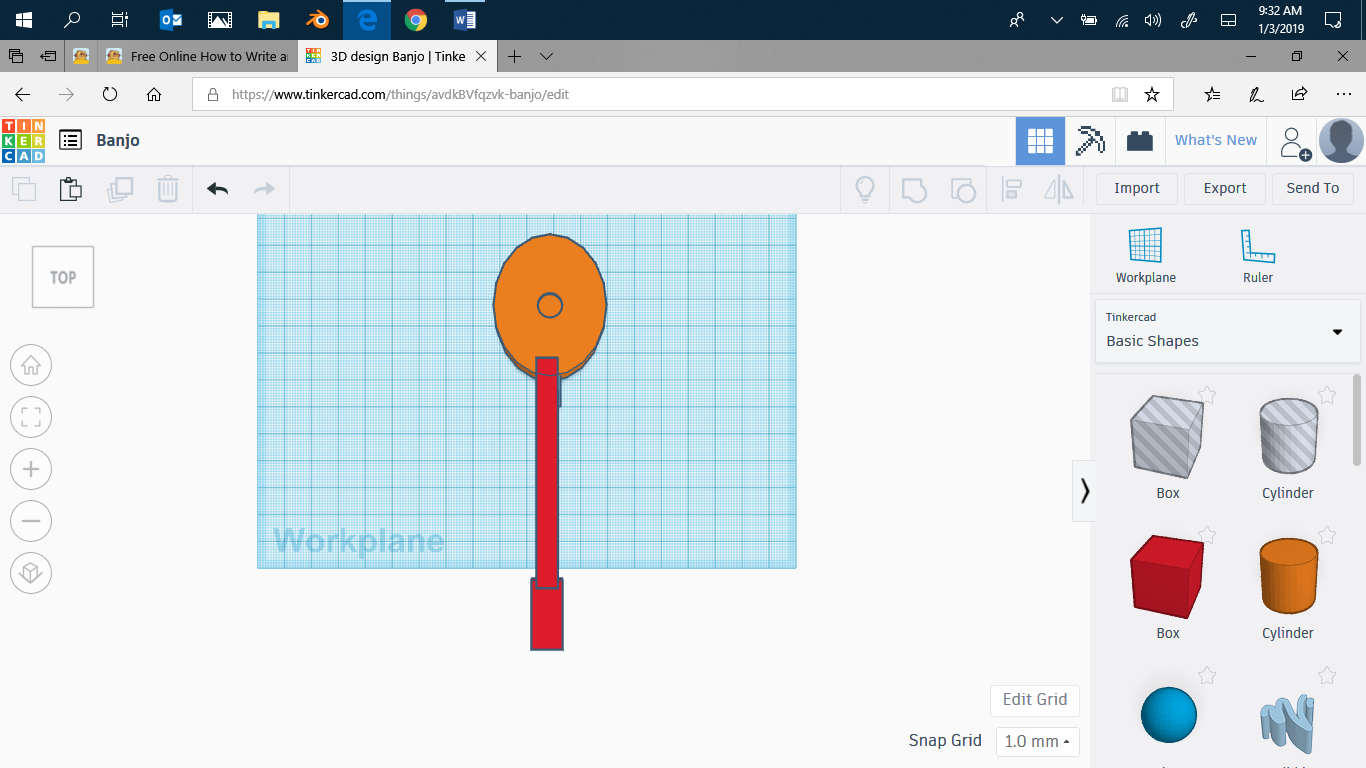
move it until it's level with the neck, then center it.
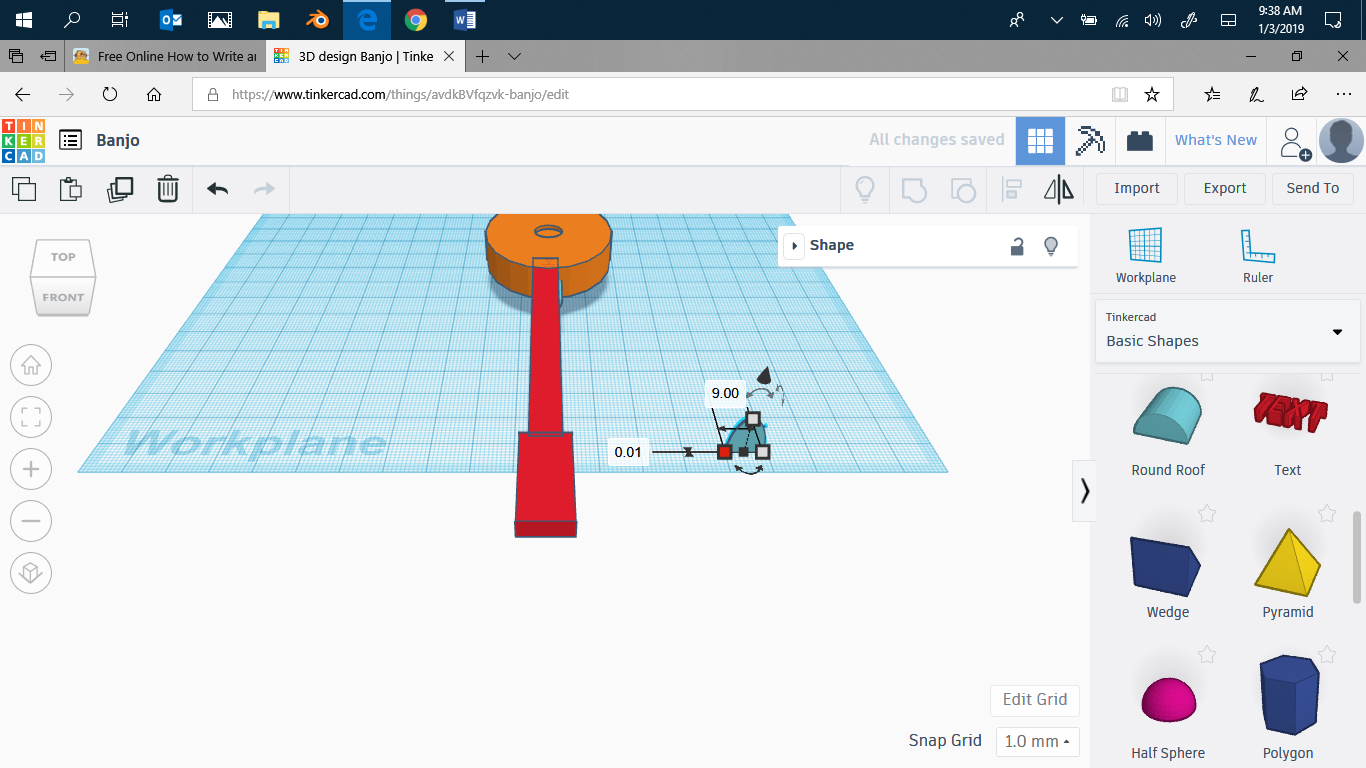

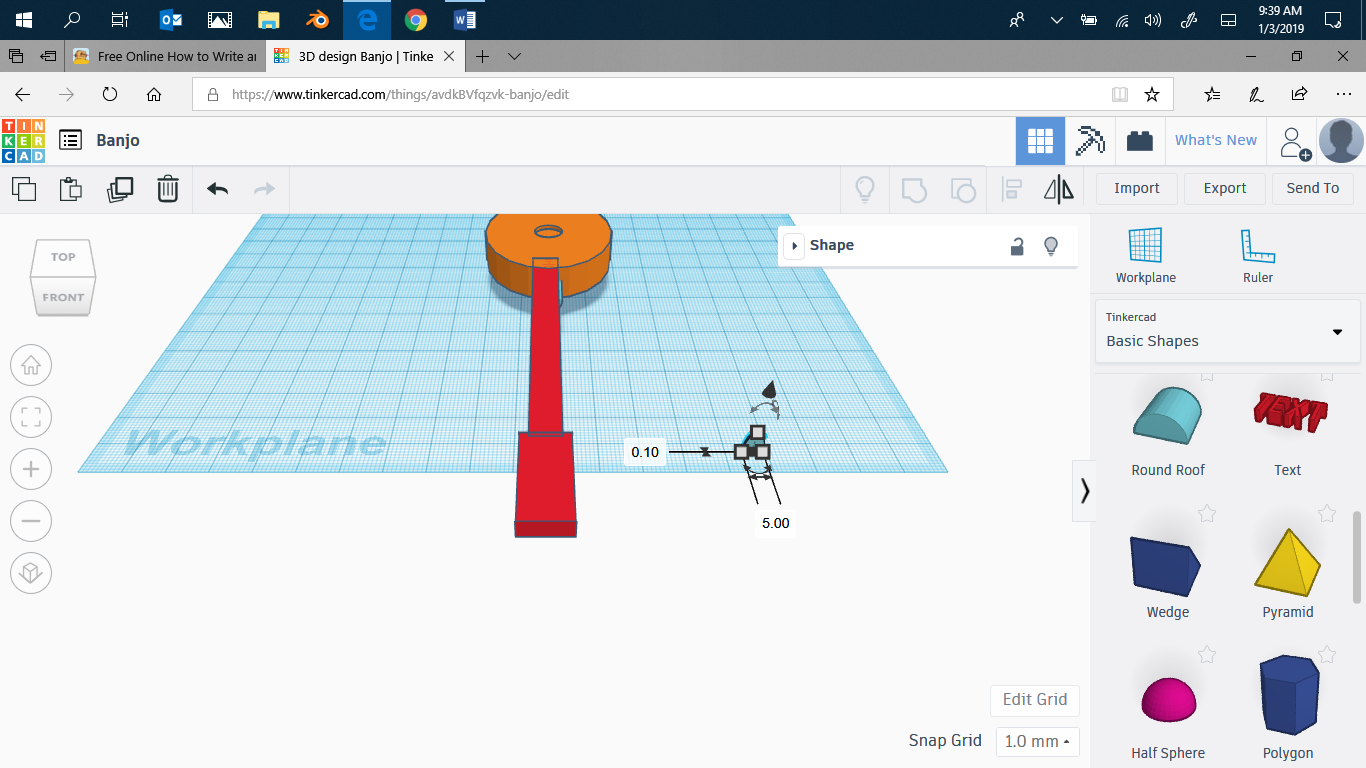
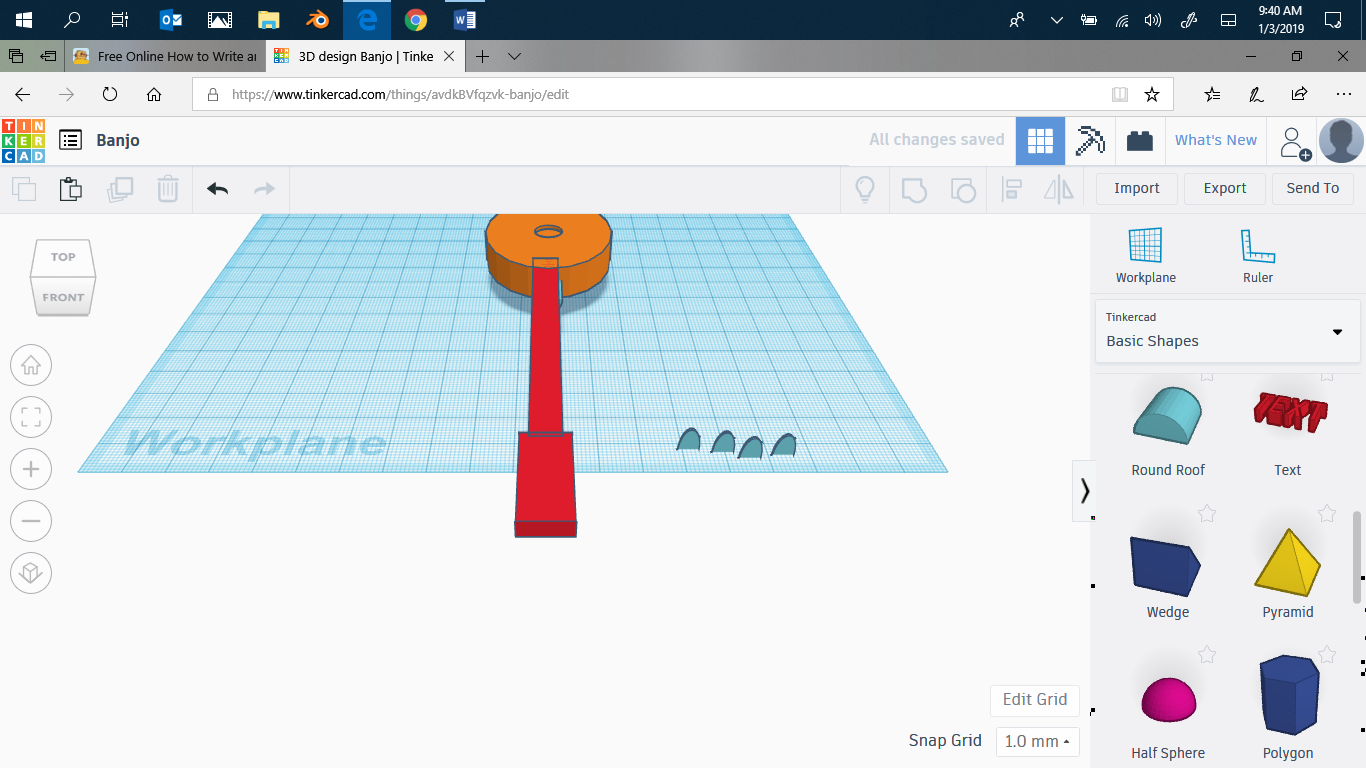
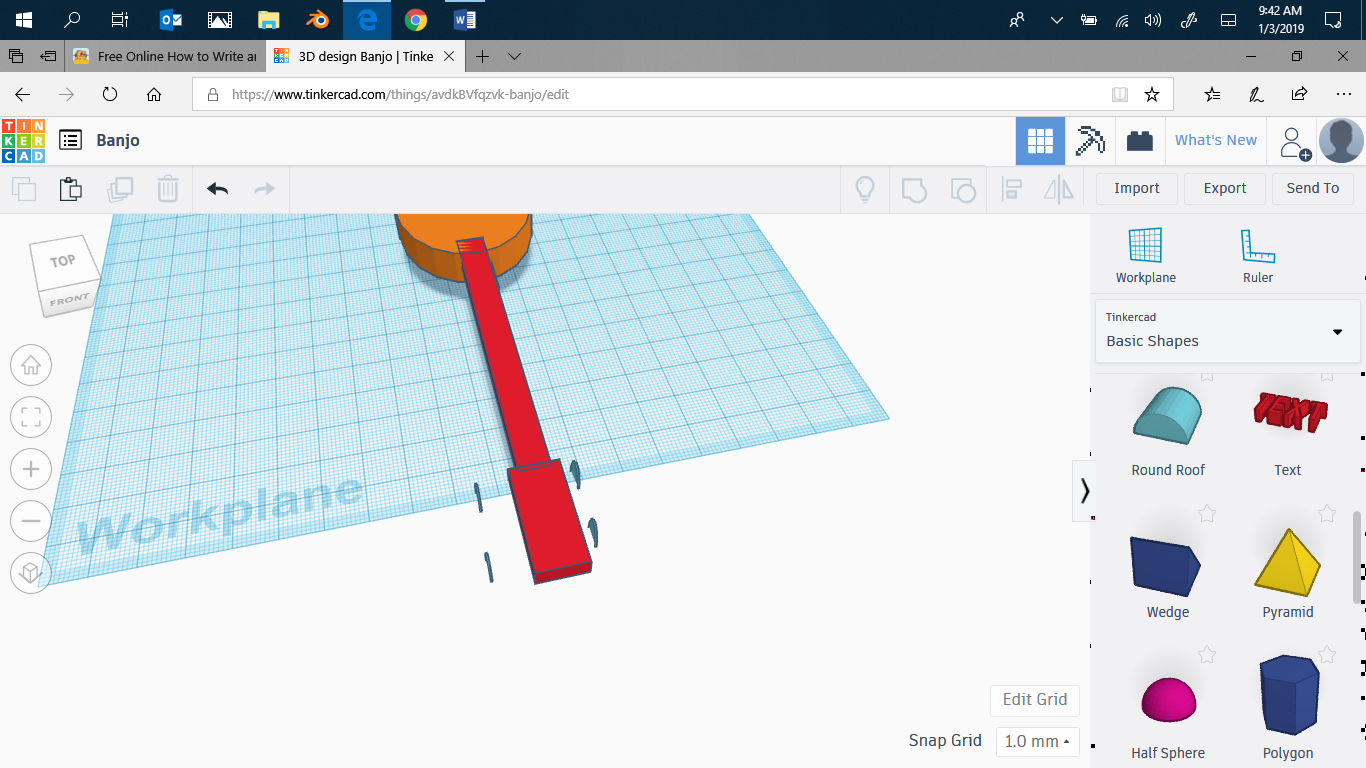
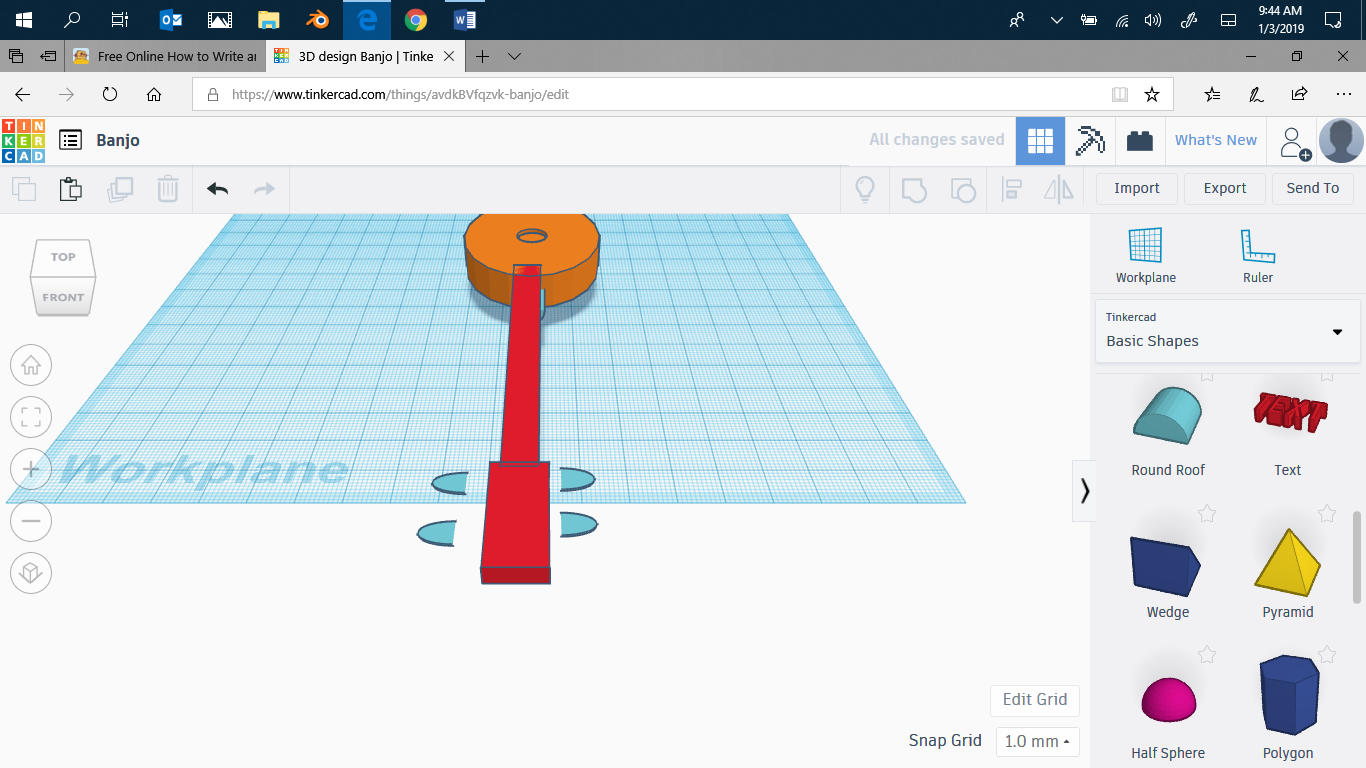

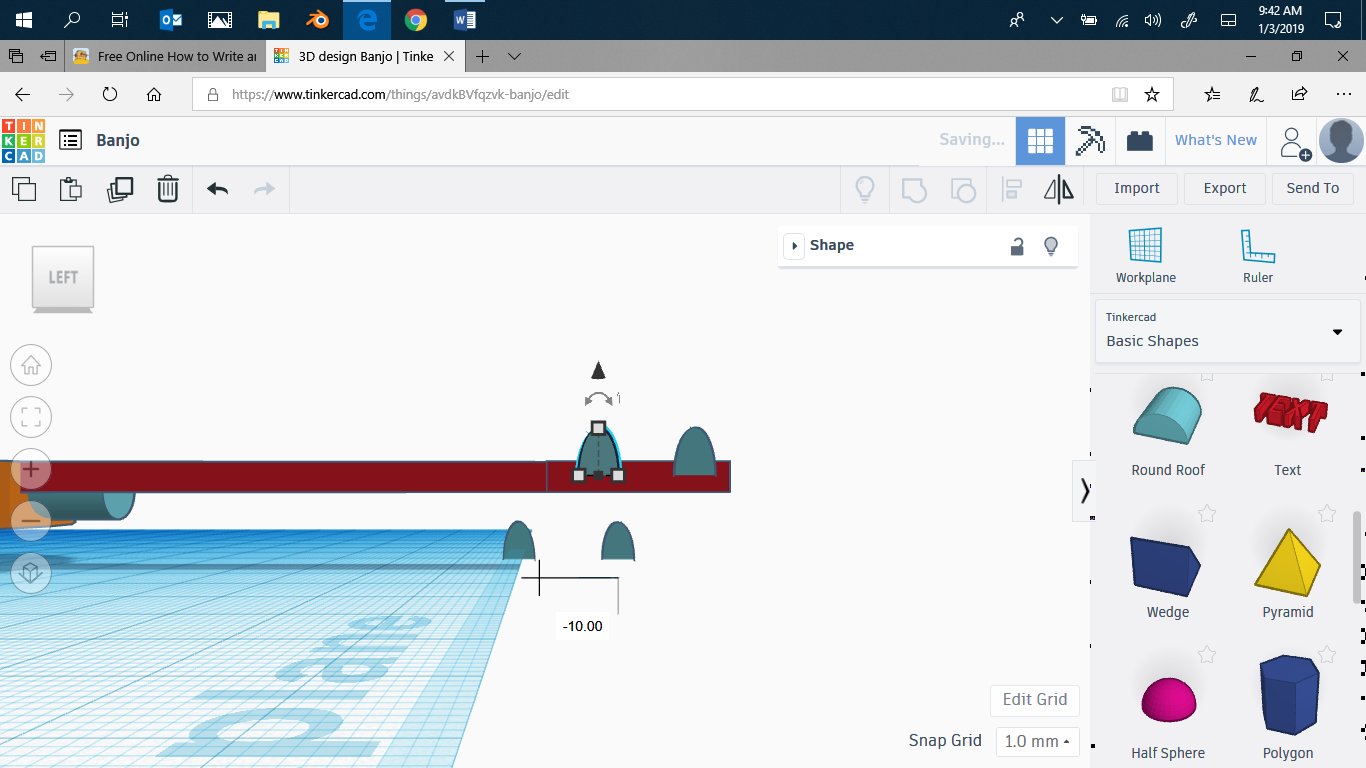
Now, take a half cylinder, and shorten it. Make it 0.10 thick, and make it smaller. Then Duplicate it four times. Move it until its sort-of lined up with the head. Flip it so that the pointy side is away from the head on each side. Move them so that they touch the head. Align them, and BOOOM! you have a toy banjo! If you have questions, comments..... and please vote for me in the toys contest. As they say in videos, like and subscribe.