Make a Tiling Image in Photoshop
by darth2o in Circuits > Lasers
118897 Views, 11 Favorites, 0 Comments
Make a Tiling Image in Photoshop
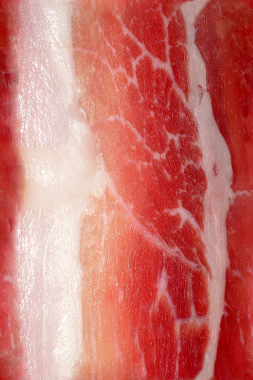
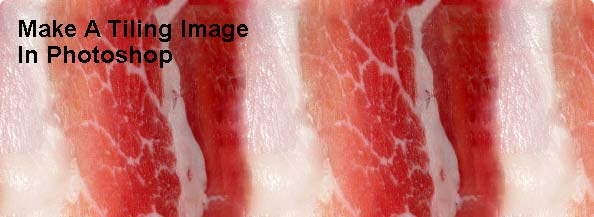
Learn how to make an image that can repeat in all directions in Photoshop 7.0 or later. Tiling images are great for desktops.
Get a Good Picture
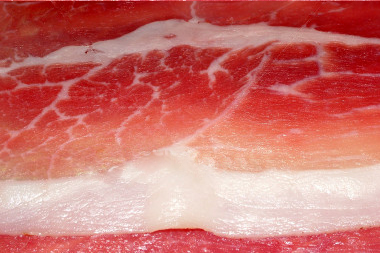
The picture you use should make sense when tiled (for example, tiles). A good example of a bad tiling image is one of a street sign, since you only need one. I used a nice picture of Bacon. You can find a good picture on Google, or you can just use my bacon.
Open the Picture
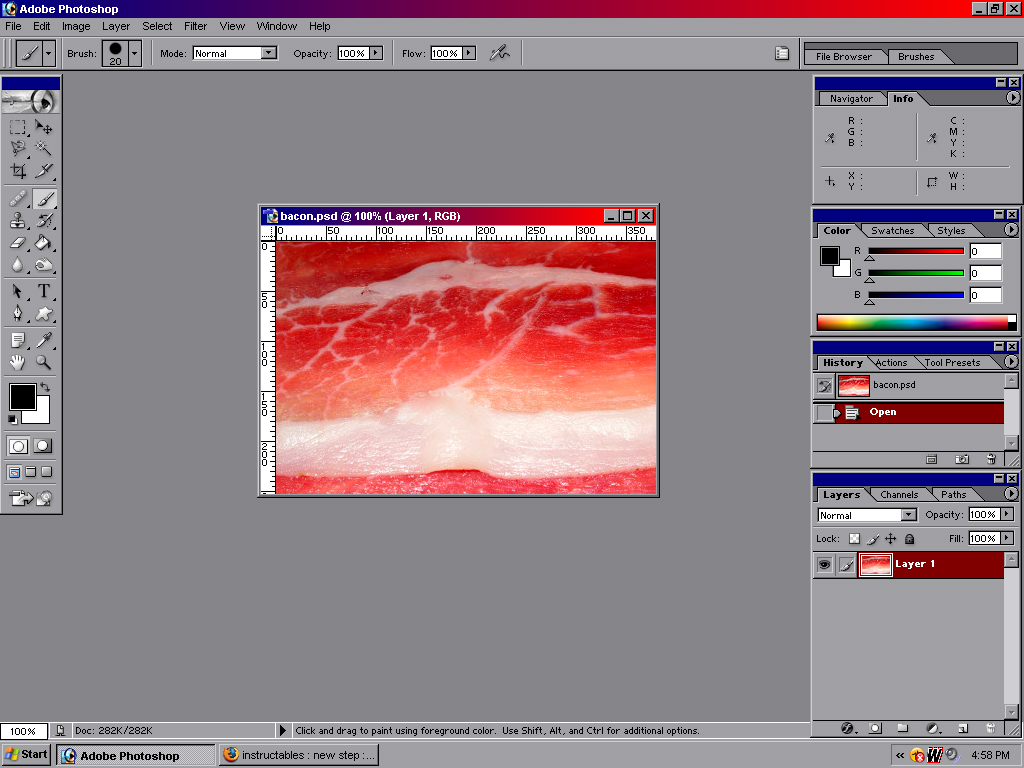
Open the picture in Photoshop, or GIMP. I will be using Photoshop 7.0. If using the bacon picture, for inspiration, go make bacon. After making the bacon, stare at it for a while, and eat it before it gets cold.
Offsetting the Image
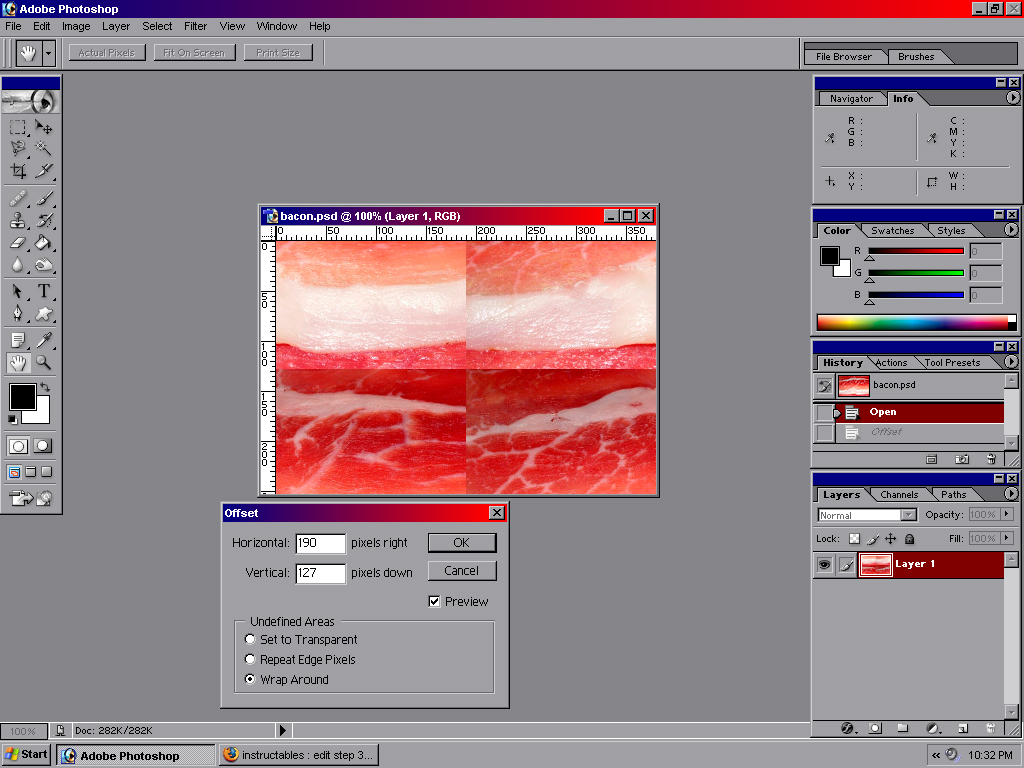
Since the offset filter doesn't have a "half-image offset" button, we have to find out what half of the pixels of the image are. There are two ways.
1. Go to the "Image" drop-down, and click "Canvas Size". From there, make both of the drop-downs show "percent", and then change the percent to 50. Then, change the drop-downs back to "pixels" and remember the numbers.
2. Go to the "Image" drop-down, and click "Canvas Size". Calculate half of the canvas sizes, and remember the numbers.
Our bacon image is to be offset 190 x 127 pixels.
To offset, go to "Filter", "Other", "Offset..."
Make sure you select "Wrap Around"
P.S. Sometimes, if you have been working on the picture beforehand, make sure to crop the image, and select to delete the cropped out part. This gets rid of any unwanted offsetting.
Fix Borders
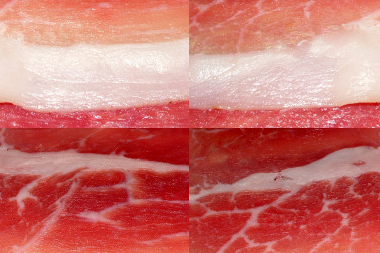
Now that the picture is offset, when I say "borders", I mean the middle of the picture, where it doesn't look right.
There are many ways to fix the borders, but using all of the techniques will have the desired effect.
-Use the Clone Stamp Tool (S)
The Clone Stamp Tool will be used to copy the parts of the picture that are totally different. In the bacon picture, I used it to make the skinny white part be connected through the border.
-Use the Healing Brush Tool (J)
The Healing Brush Tool will help to fix all of the slight discolorations between the "borders" of the picture. In the bacon picture, I used it to make the colors of the red parts be flawless looking.
Afterwards
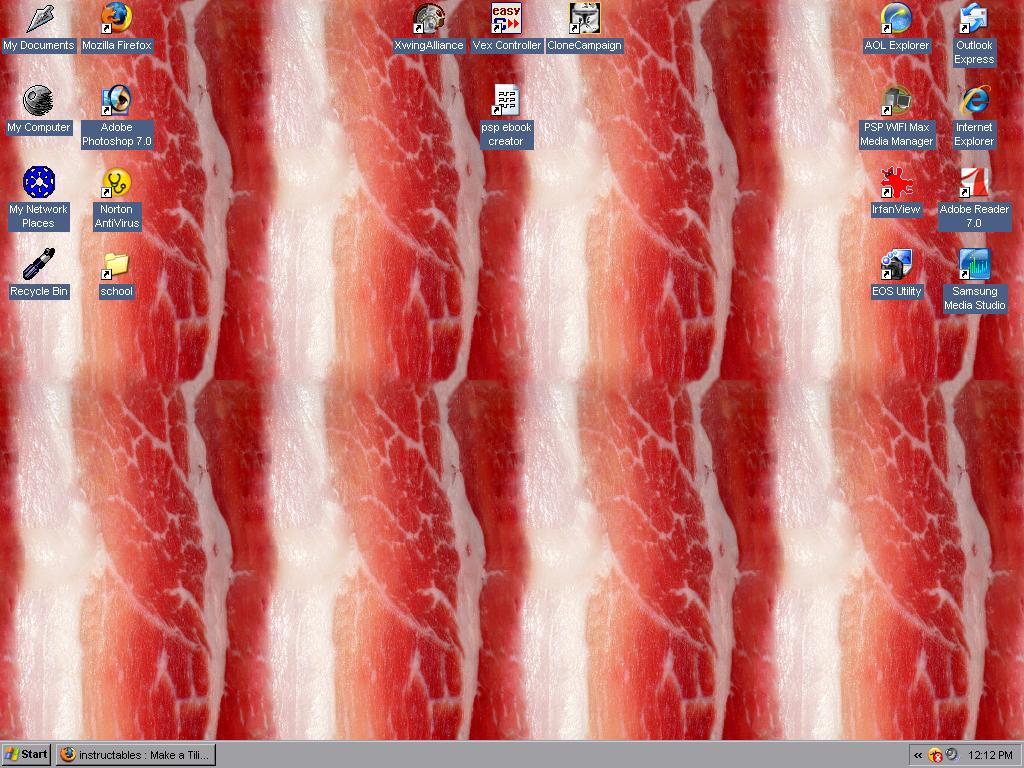

I then rotated it by 90 degrees, so it would look nicer on my monitor.
Save Your File
Right-click your desktop, select "Properties", go to display, and then "Browse". Select the file, and then select "Tile". Of course, then "Apply"
Save Your File
Right-click your desktop, select "Properties", go to display, and then "Browse". Select the file, and then select "Tile". Of course, then "Apply"