Make a Simple Mask Out of Foam
by makeorbreakshop in Craft > Costumes & Cosplay
19119 Views, 55 Favorites, 0 Comments
Make a Simple Mask Out of Foam

Looking for an easy (and cheap) way to make a mask for a costume? PVA foam and a heat gun can help you get there!
Tools
- Rigid Table Saw
- Dewalt 12in Planer
- Porter Cable 6in Jointer
- Bosch Miter Saw
- Dewalt Chisel Set
- Swiss
Create Your Mask Paper Pattern
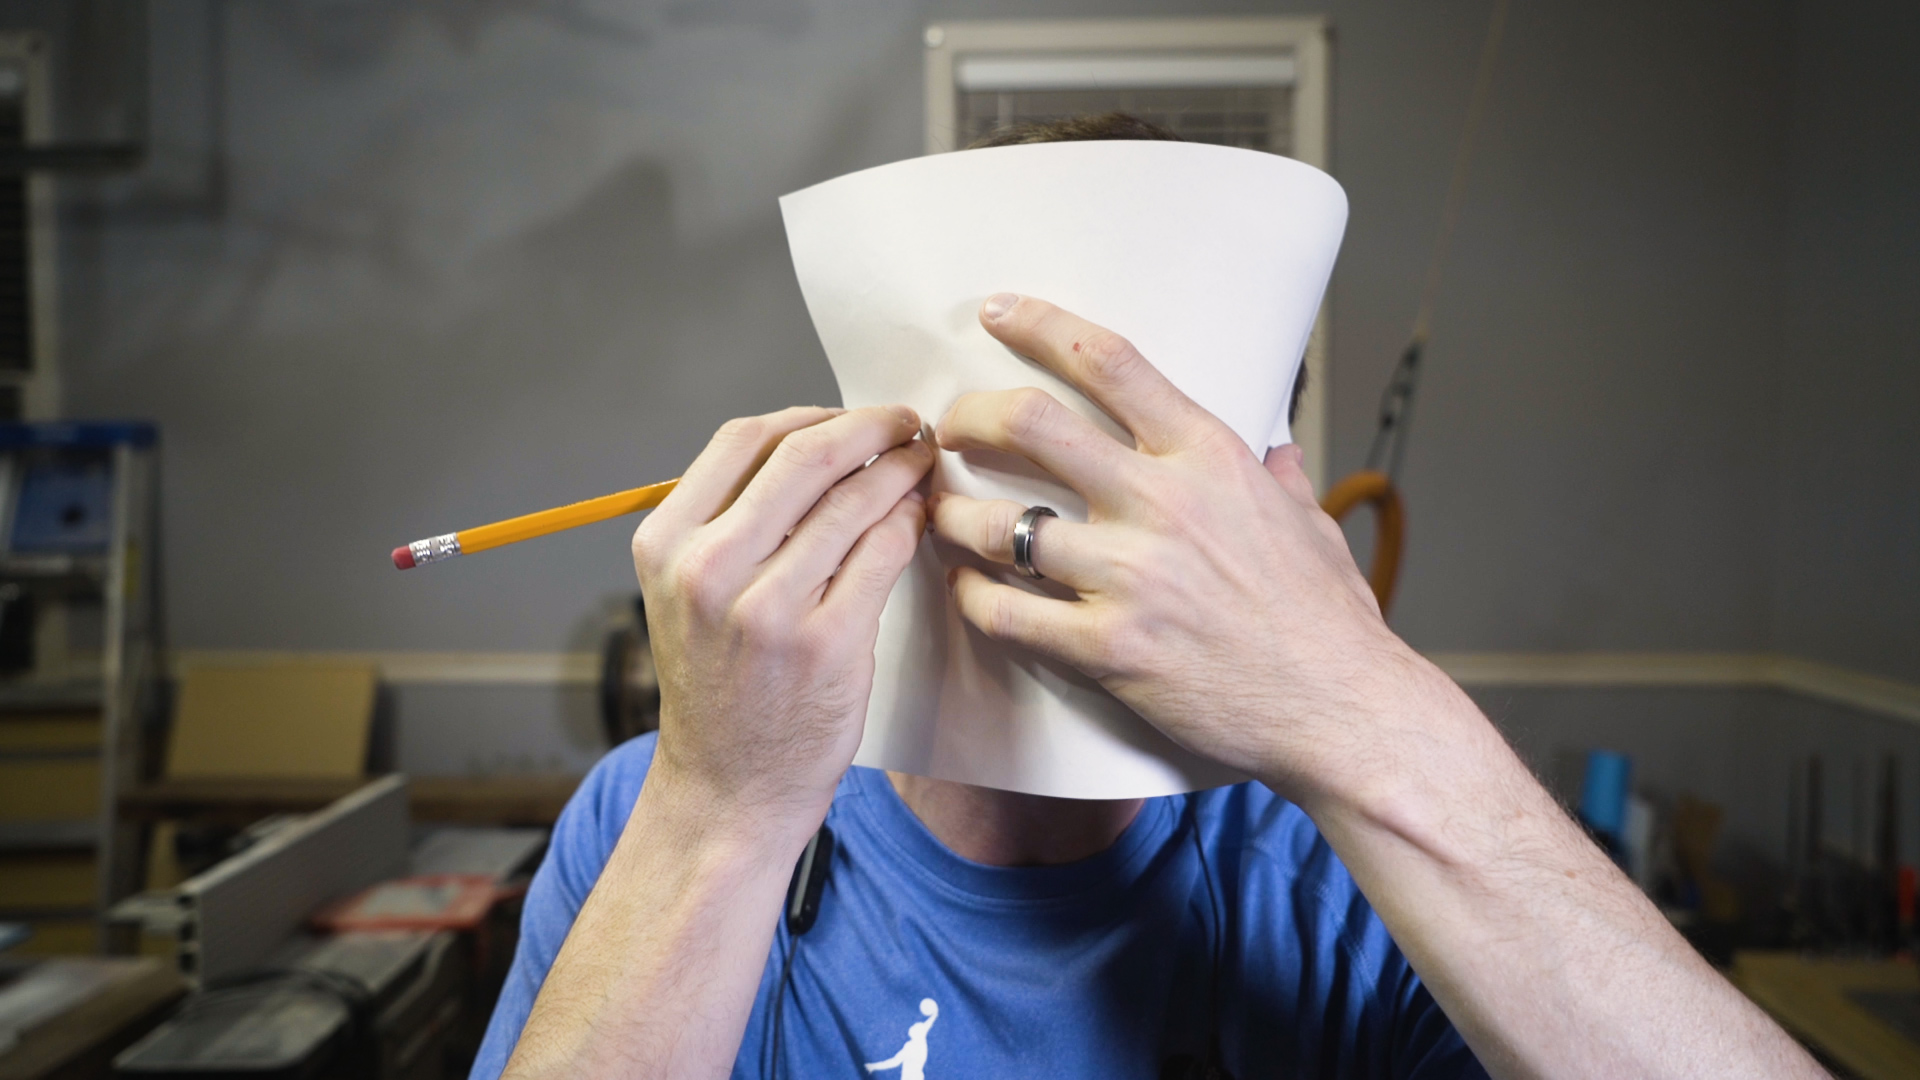
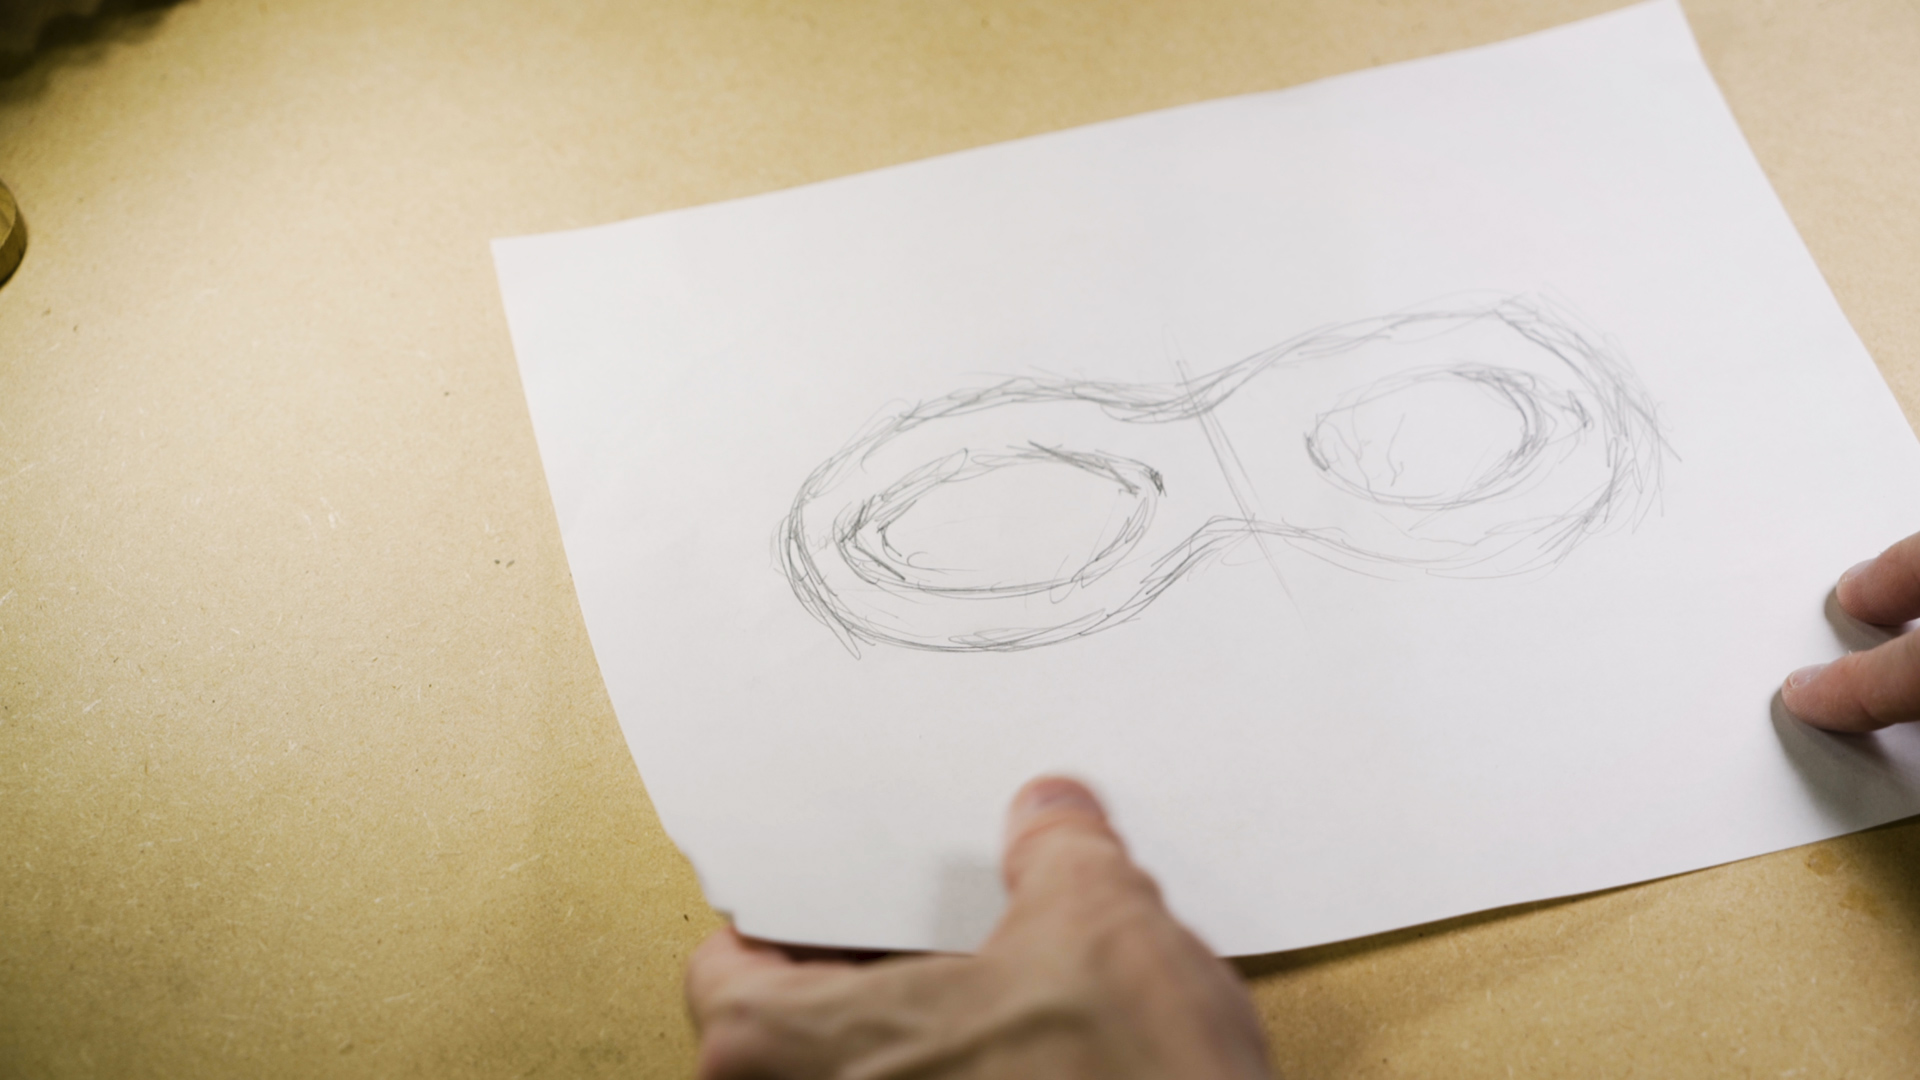
To get the size right, I started out with a (super) rough paper form. I held a sheet of paper against my face to mark the edges of my eyes and roughly where I wanted the mask to extend.
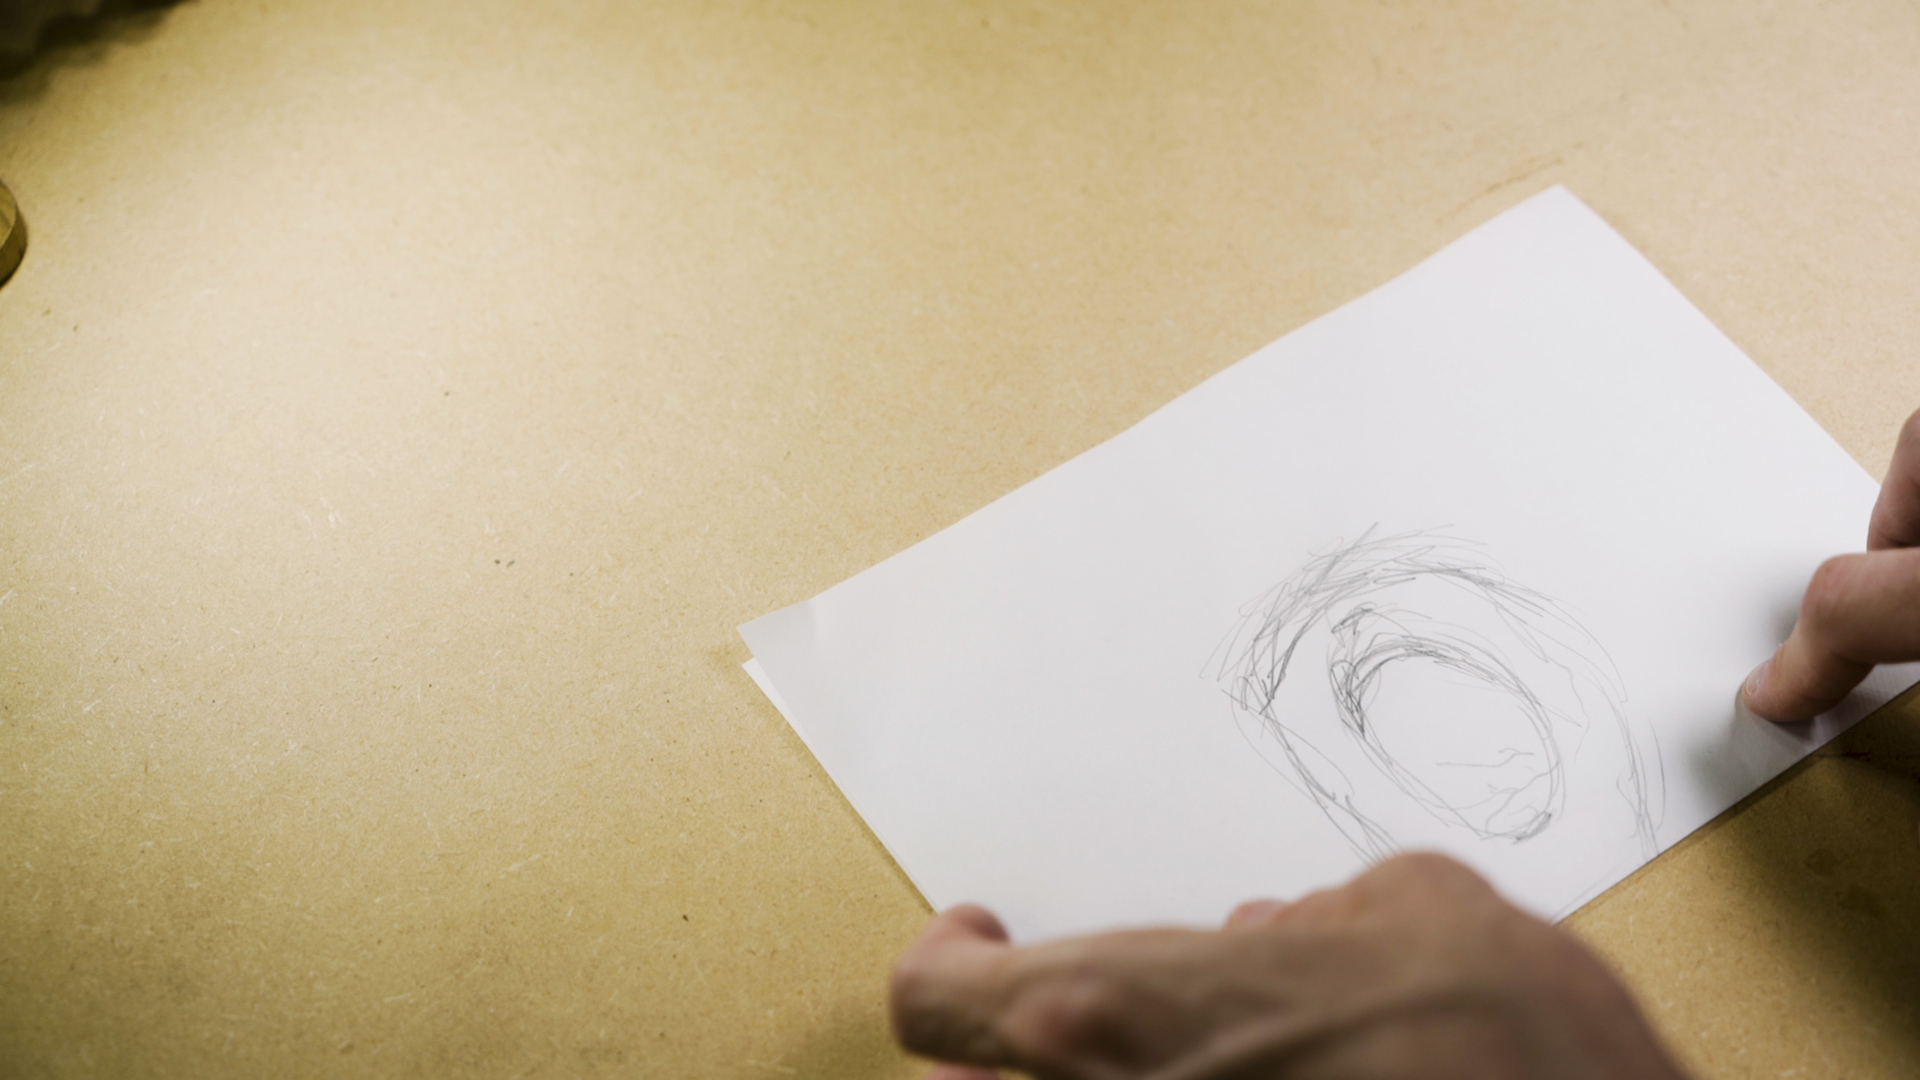
I then filled in the outline with the rough mask shape. Before I cut it out, I folded the paper along a center line so that it would be symmetric once cut out.
Cut Out a Paper Pattern
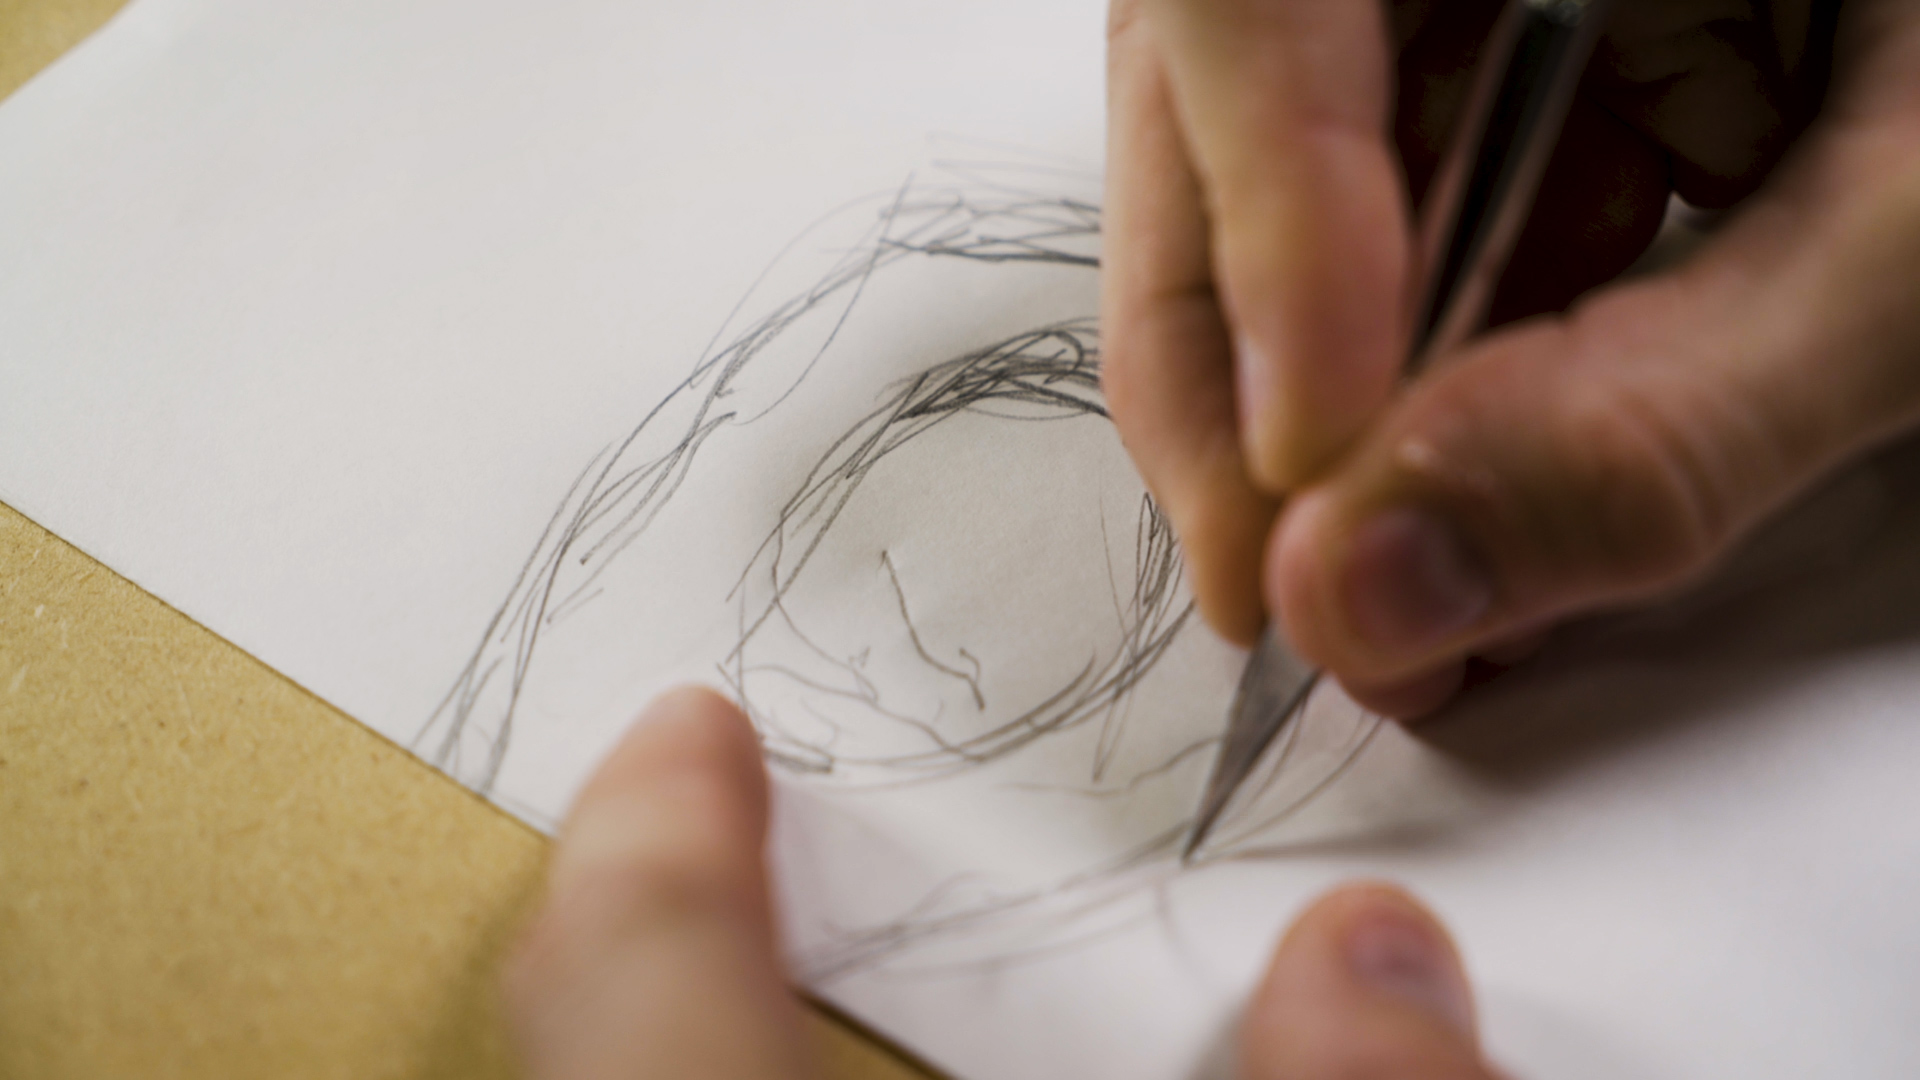
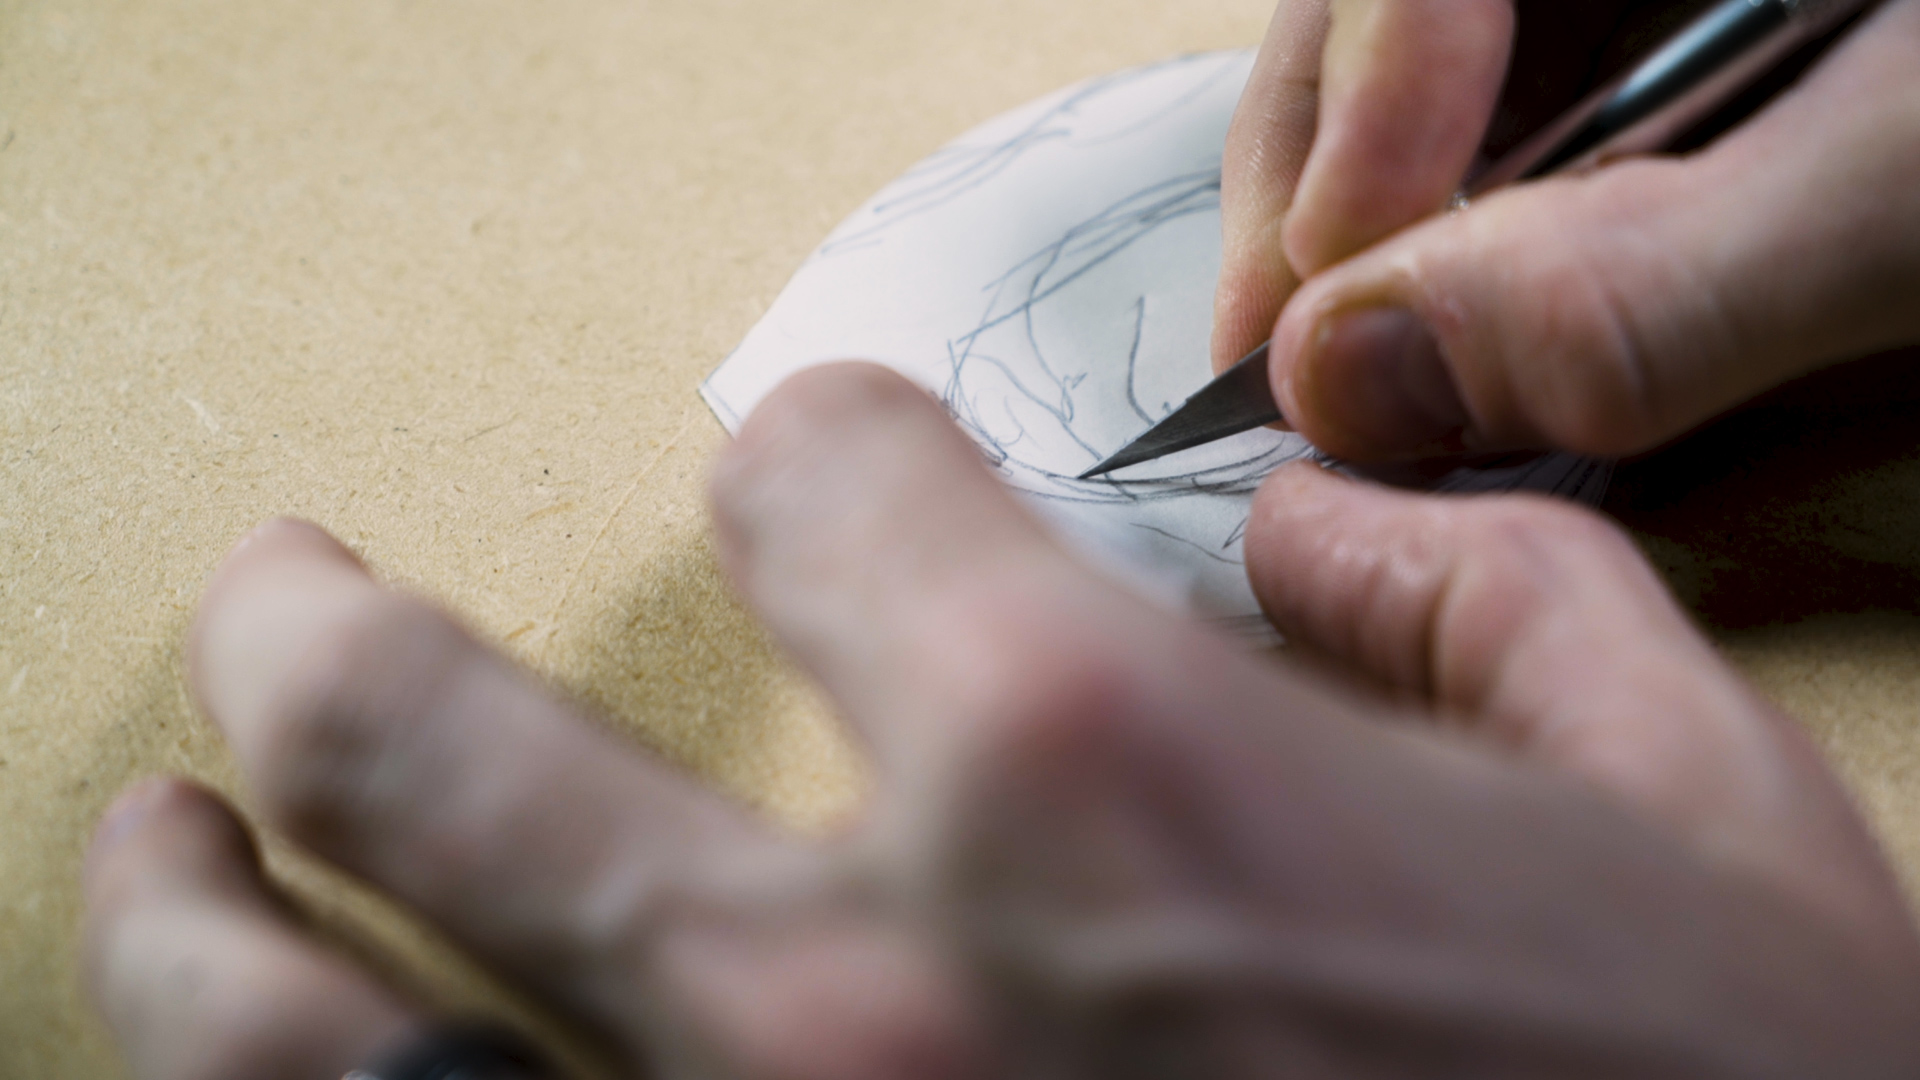
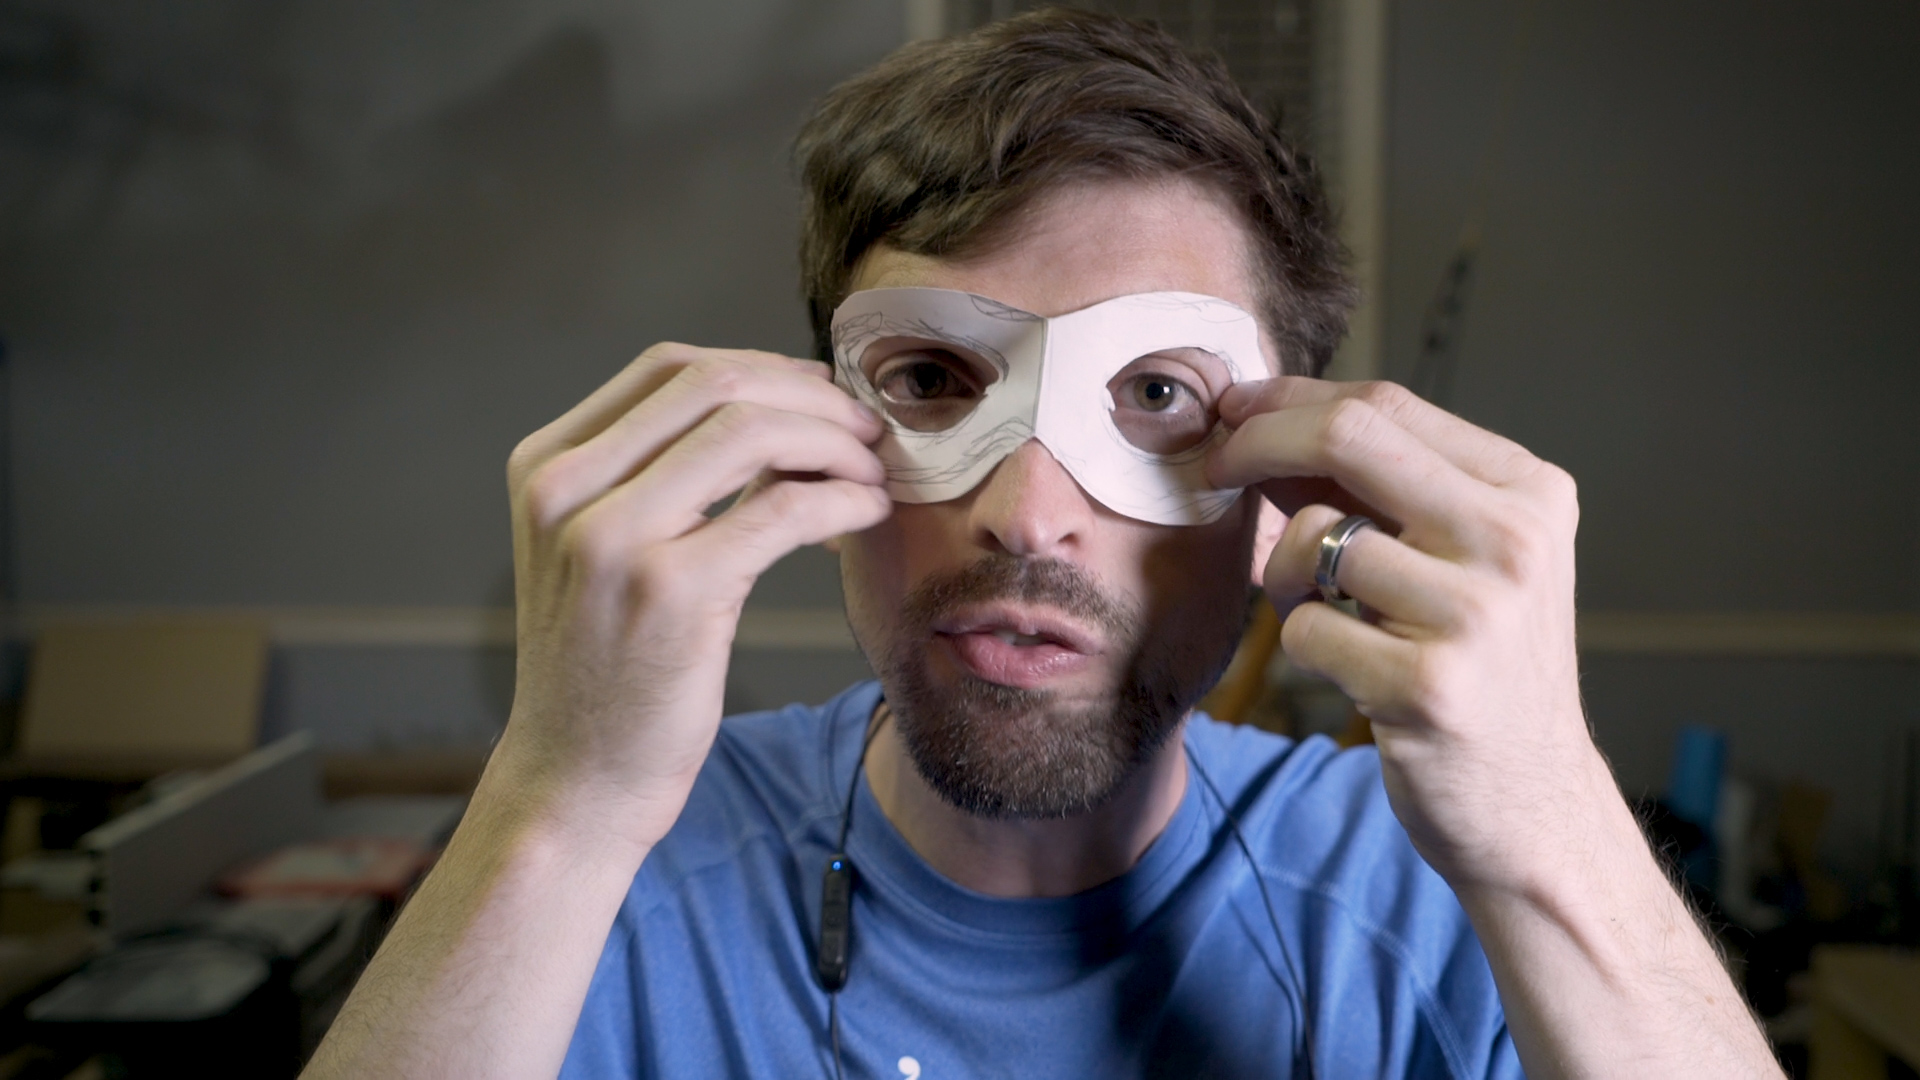
I then used a thin utility knife to cut out the paper mask and test fit it to my face. At this point its a lot easier to make adjustments to the overall design before you start working with foam. Paper is cheap!
Cut Out the Mask Pattern in Foam
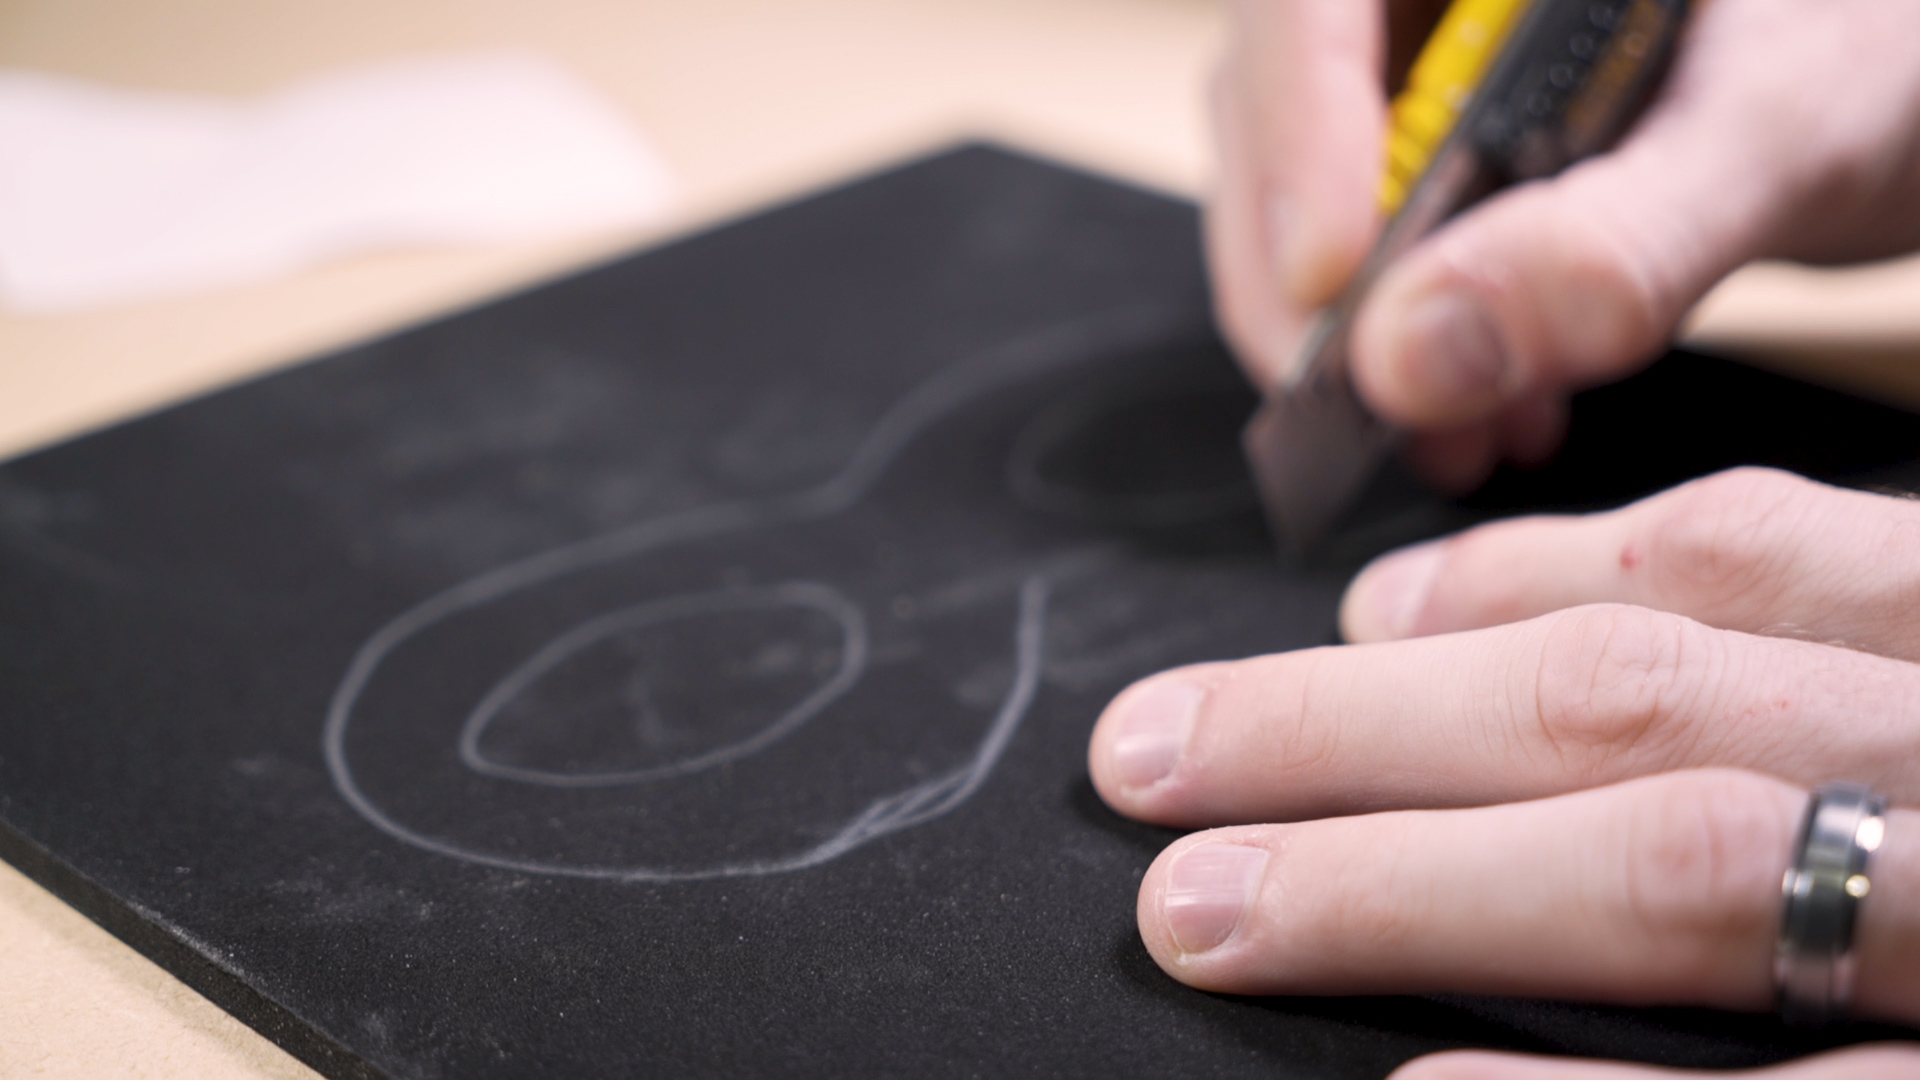
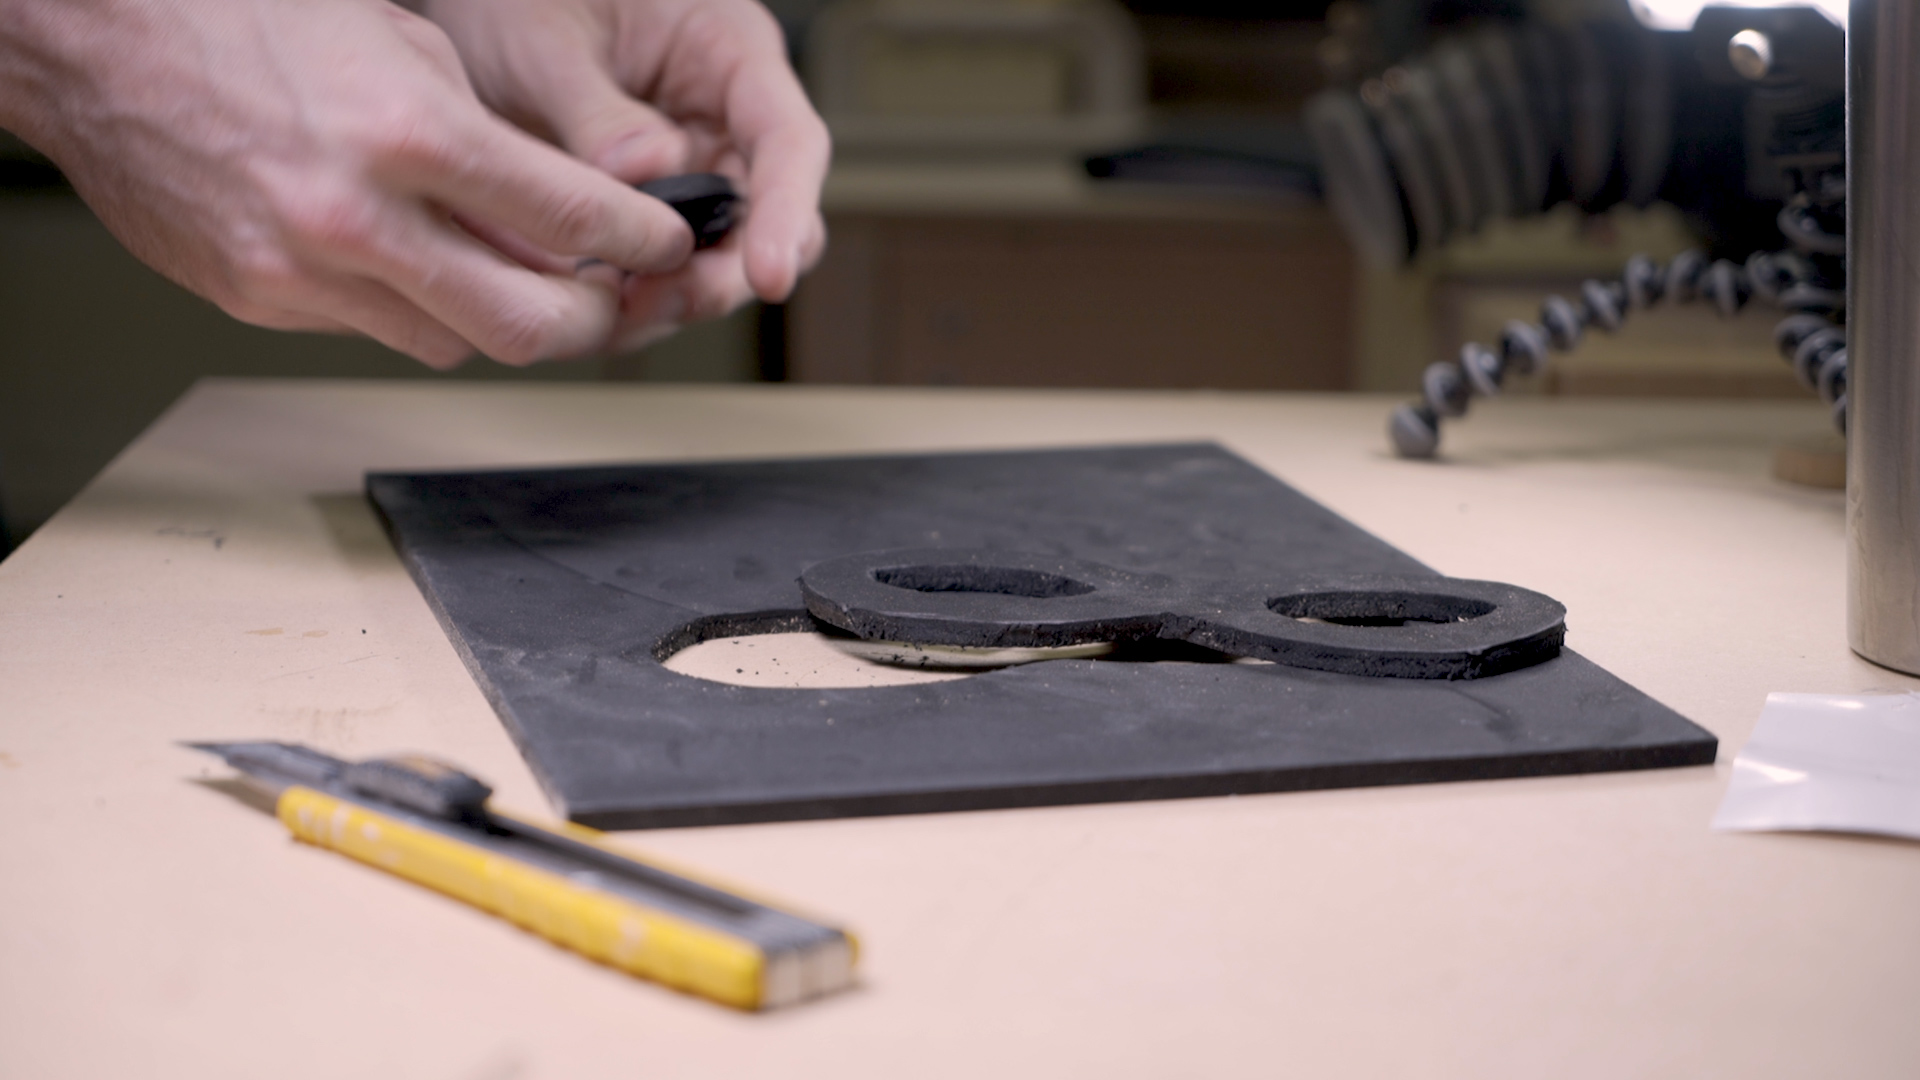
I used a 6mm foam sheet to cut out the mask. There are a bunch of different sizes and thicknesses you can get, but I found 6mm worked best for this situation.
The foam was cut out with a box knife, I took one light pass to establish the cut line and then came back with a deeper cut to separate it.
Clean Up the Cut Lines
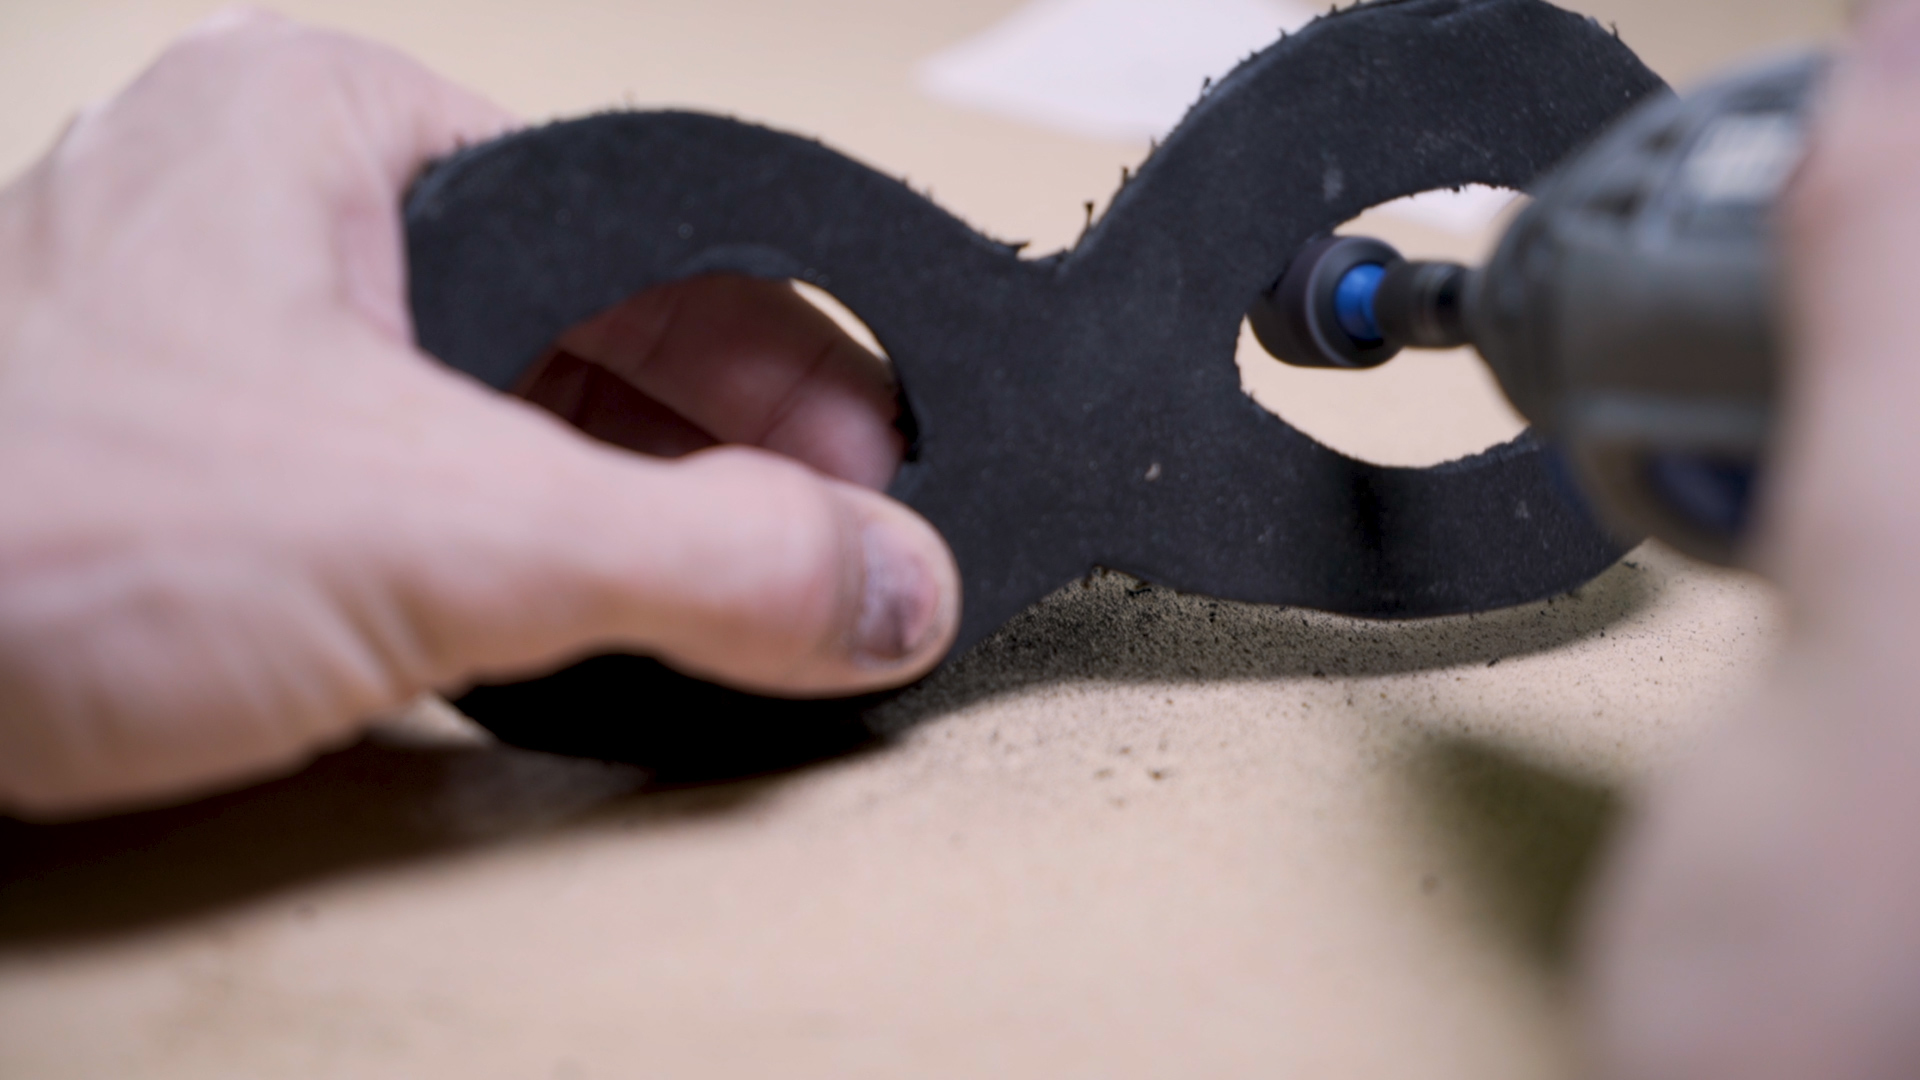
Even though the foam was pretty easy to cut it did wind up leaving some jagged edges. I used a Dremel with a sanding tool attached to clean up all the edges. You can also use the Dremel to add texture and round over the edges. Its pretty easy to work with!
Form the Mask to Your Face With a Heat Gun
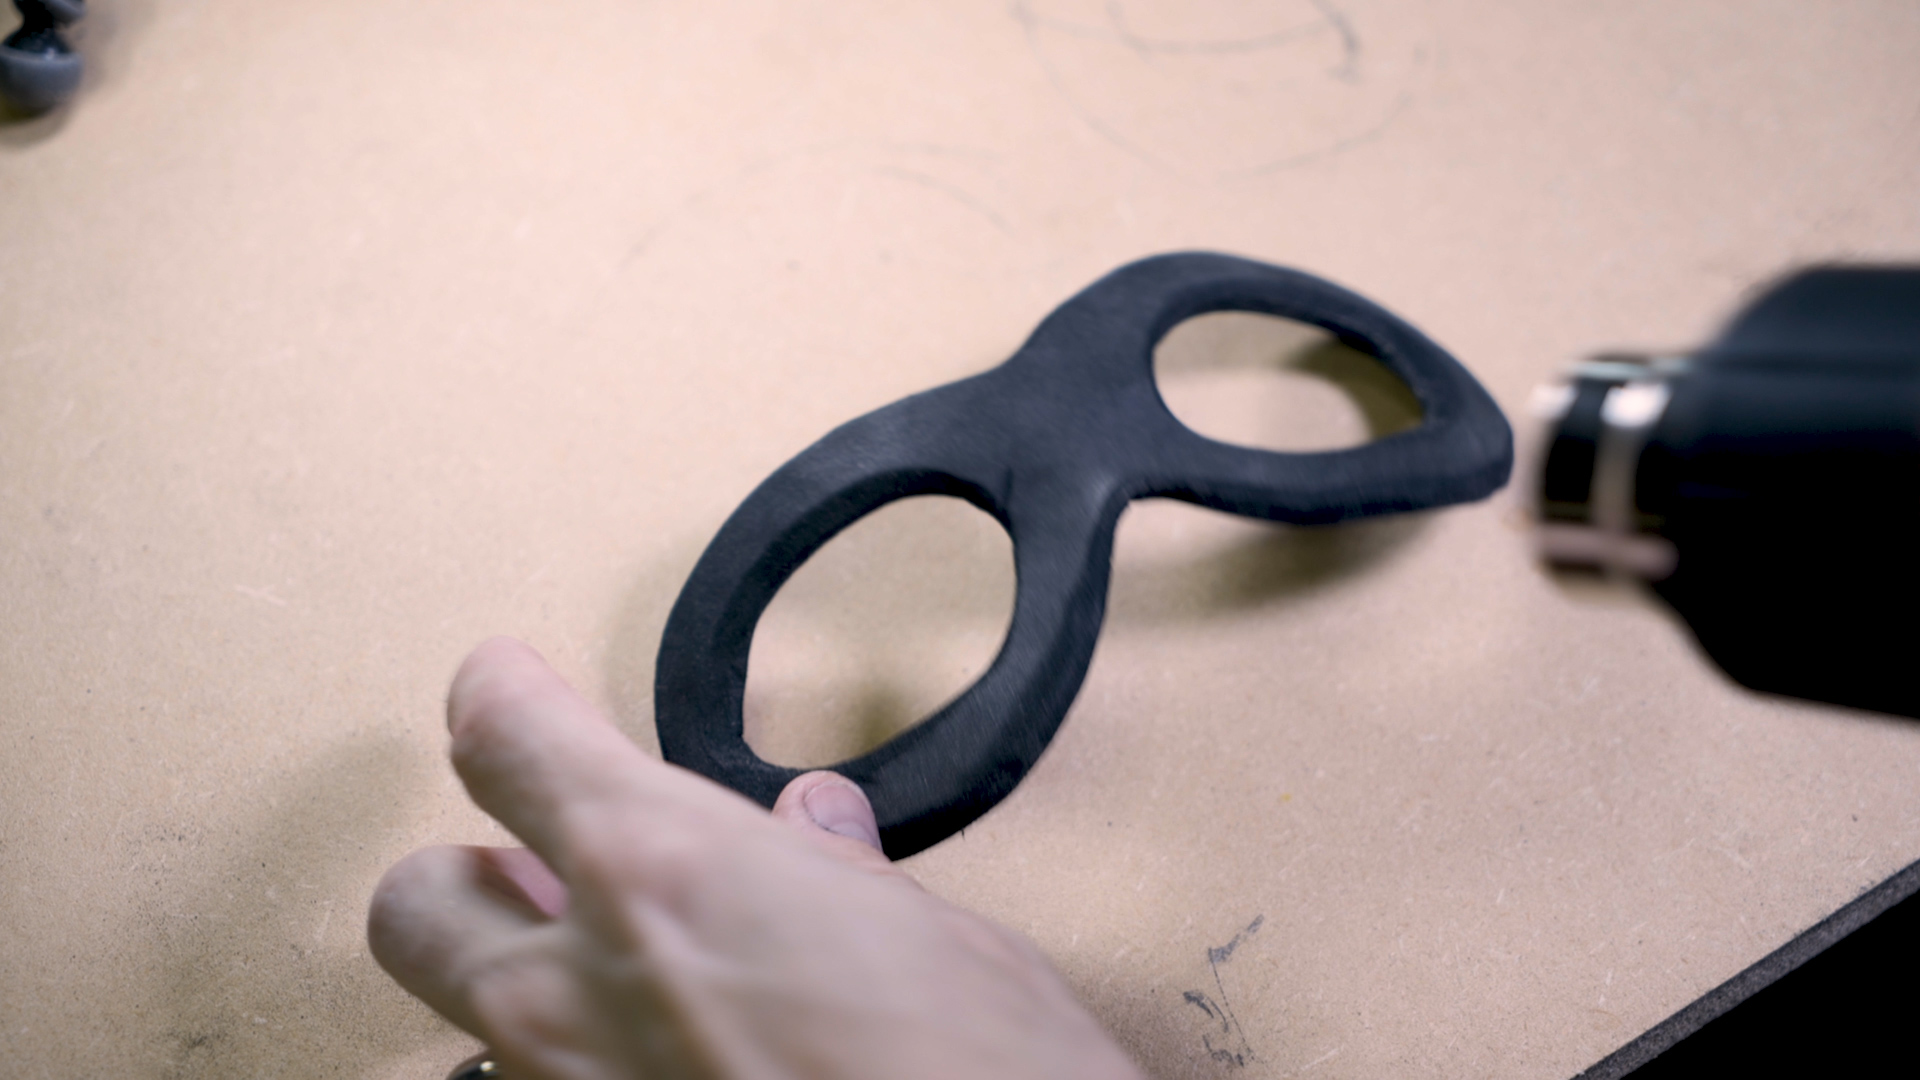
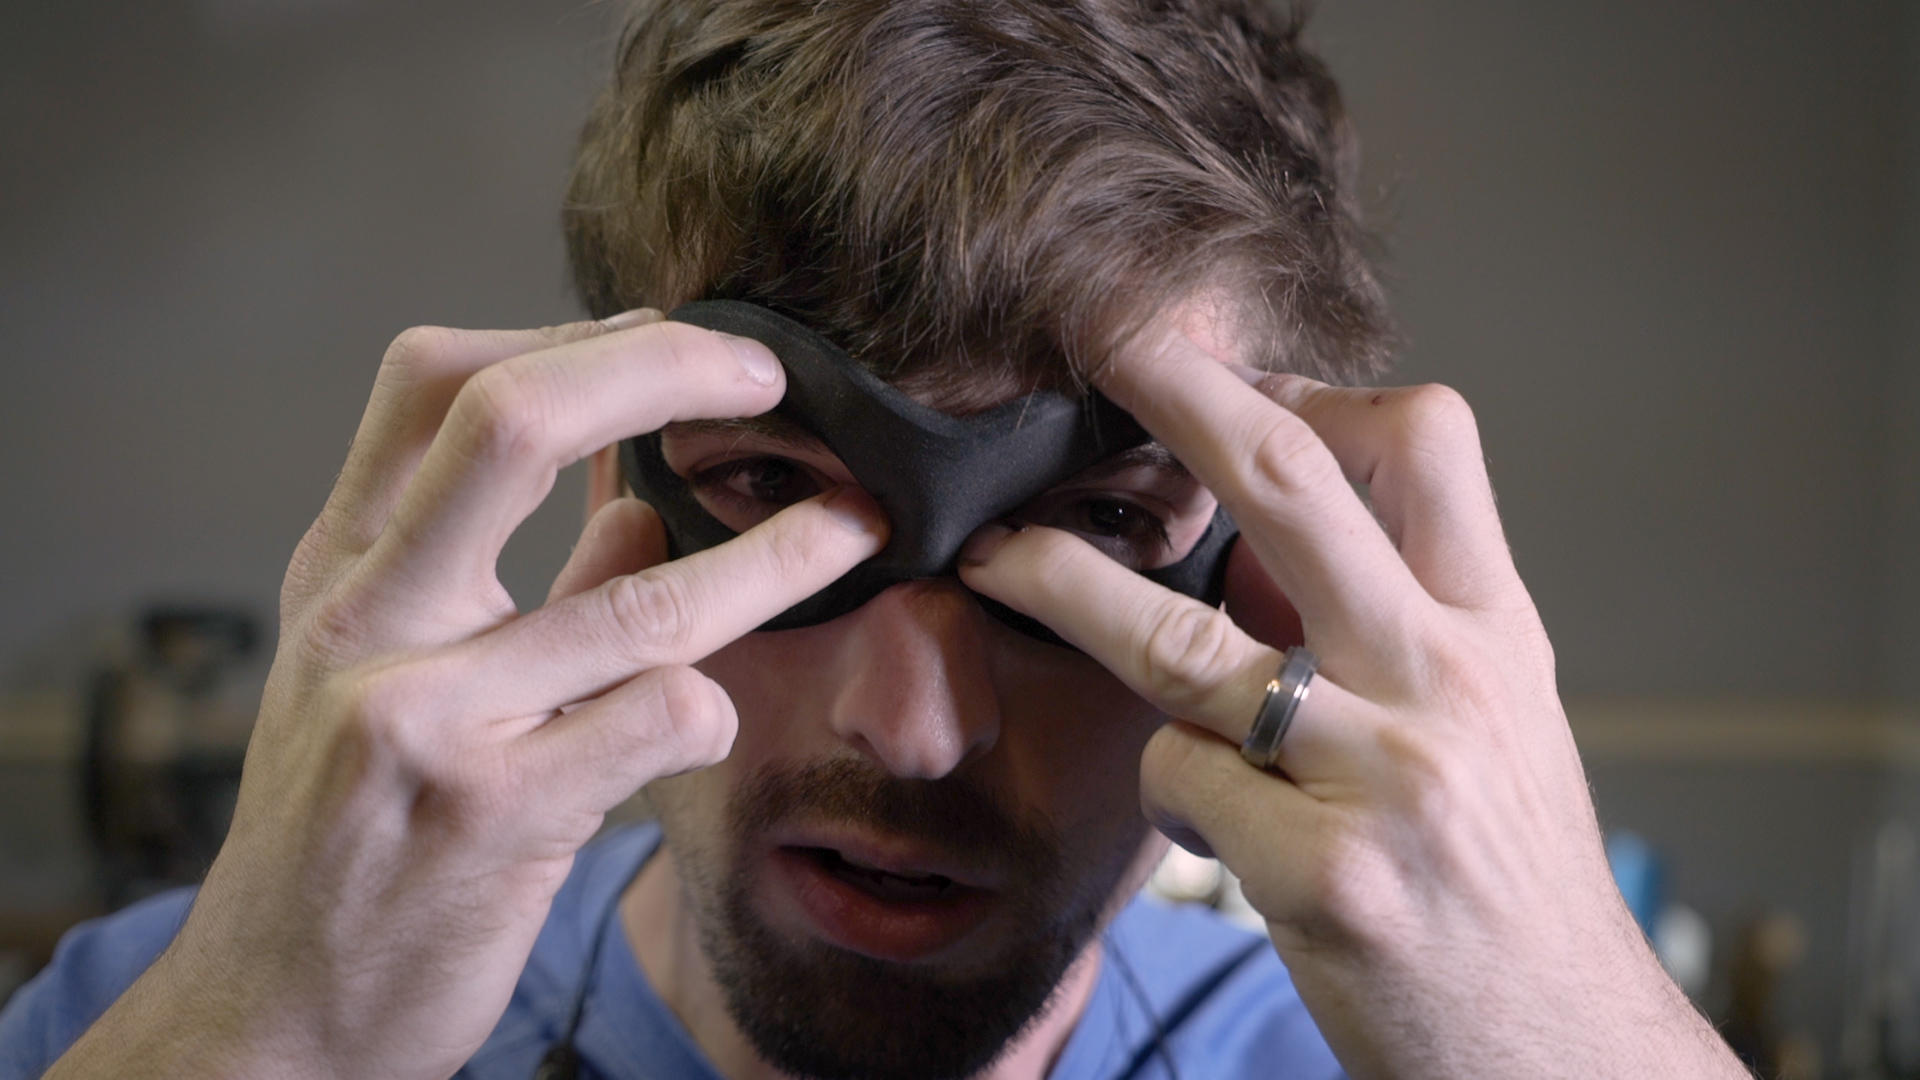
This is why PVA foam a blast to work with.
I used a heat gun to warm up the foam and then pressed it against my face. I repeated this process a few times as the mask got closer and closer to its final shape.
Be careful of fingerprints once the foam is heated up. There were a few spots where I pushed in too hard. You could clean these, but I wound up leaving them.
Strengthen the Mask With Plastidip
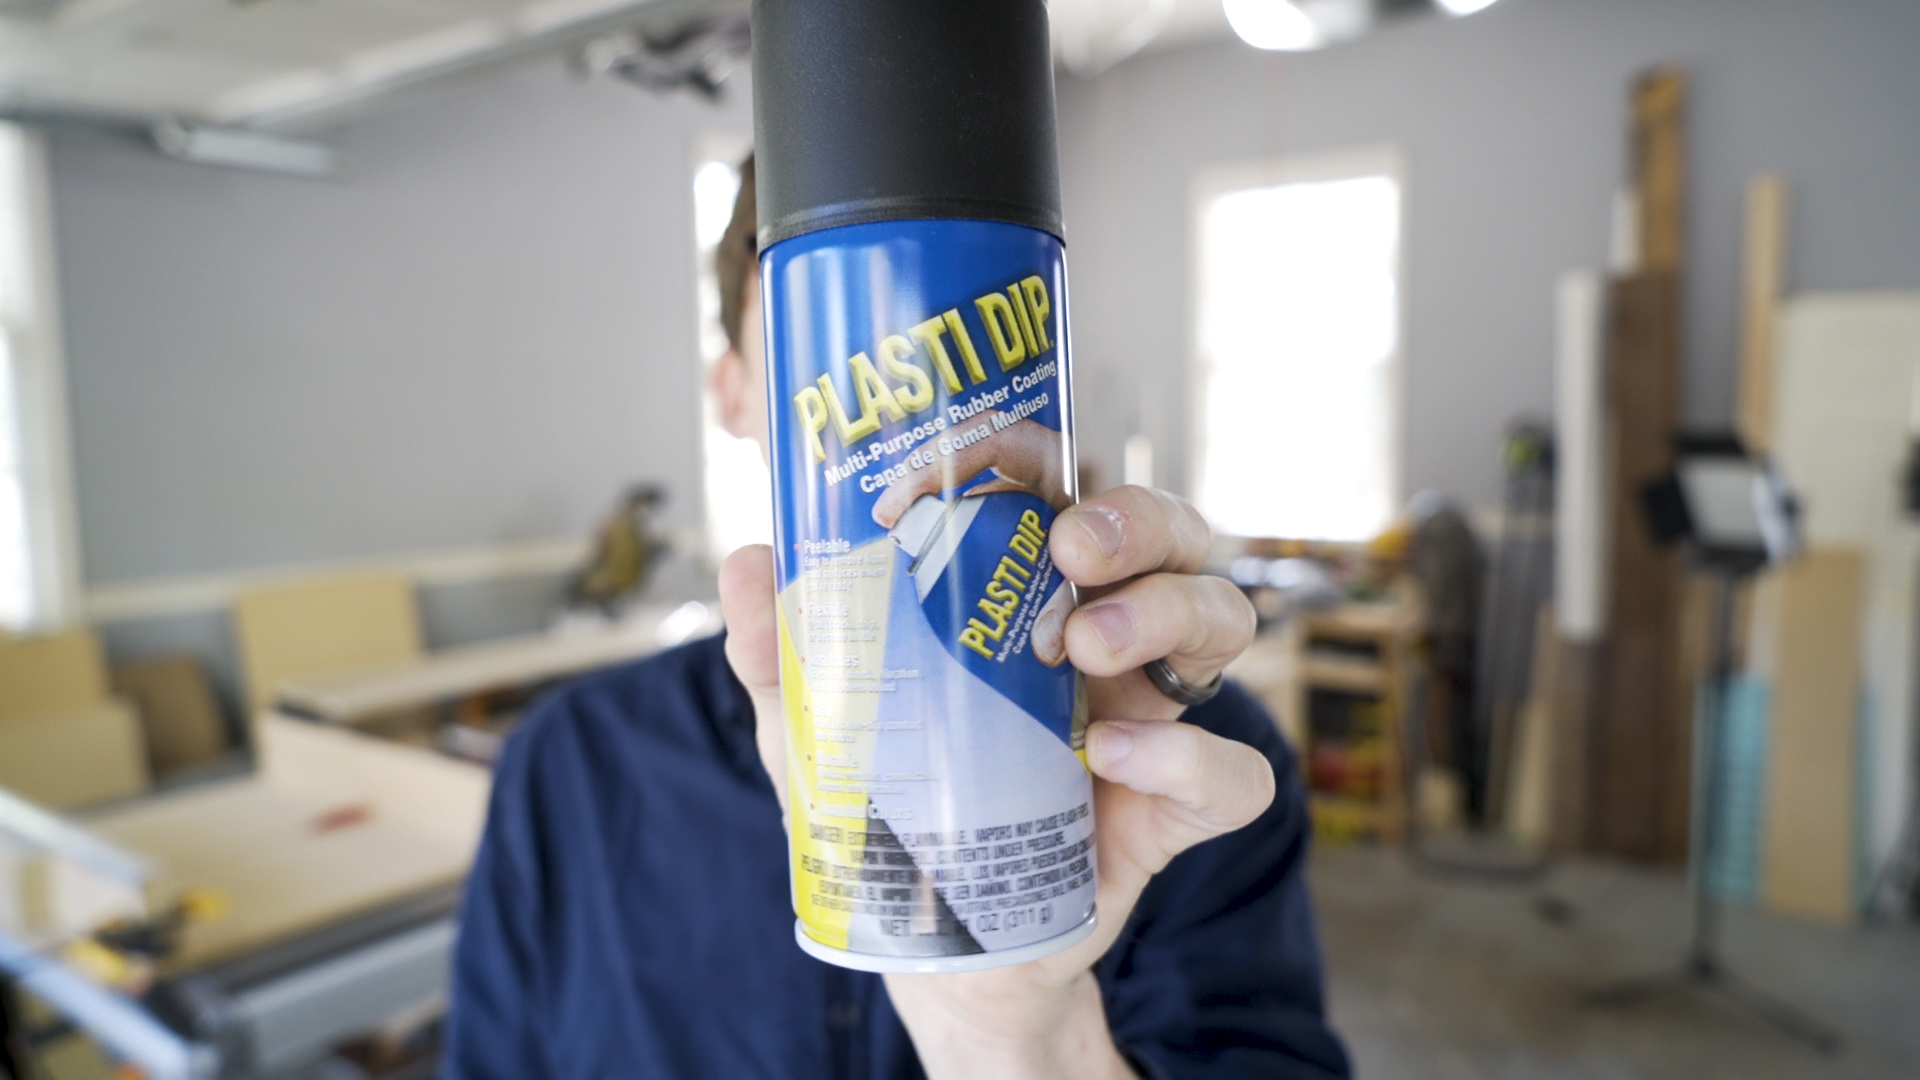
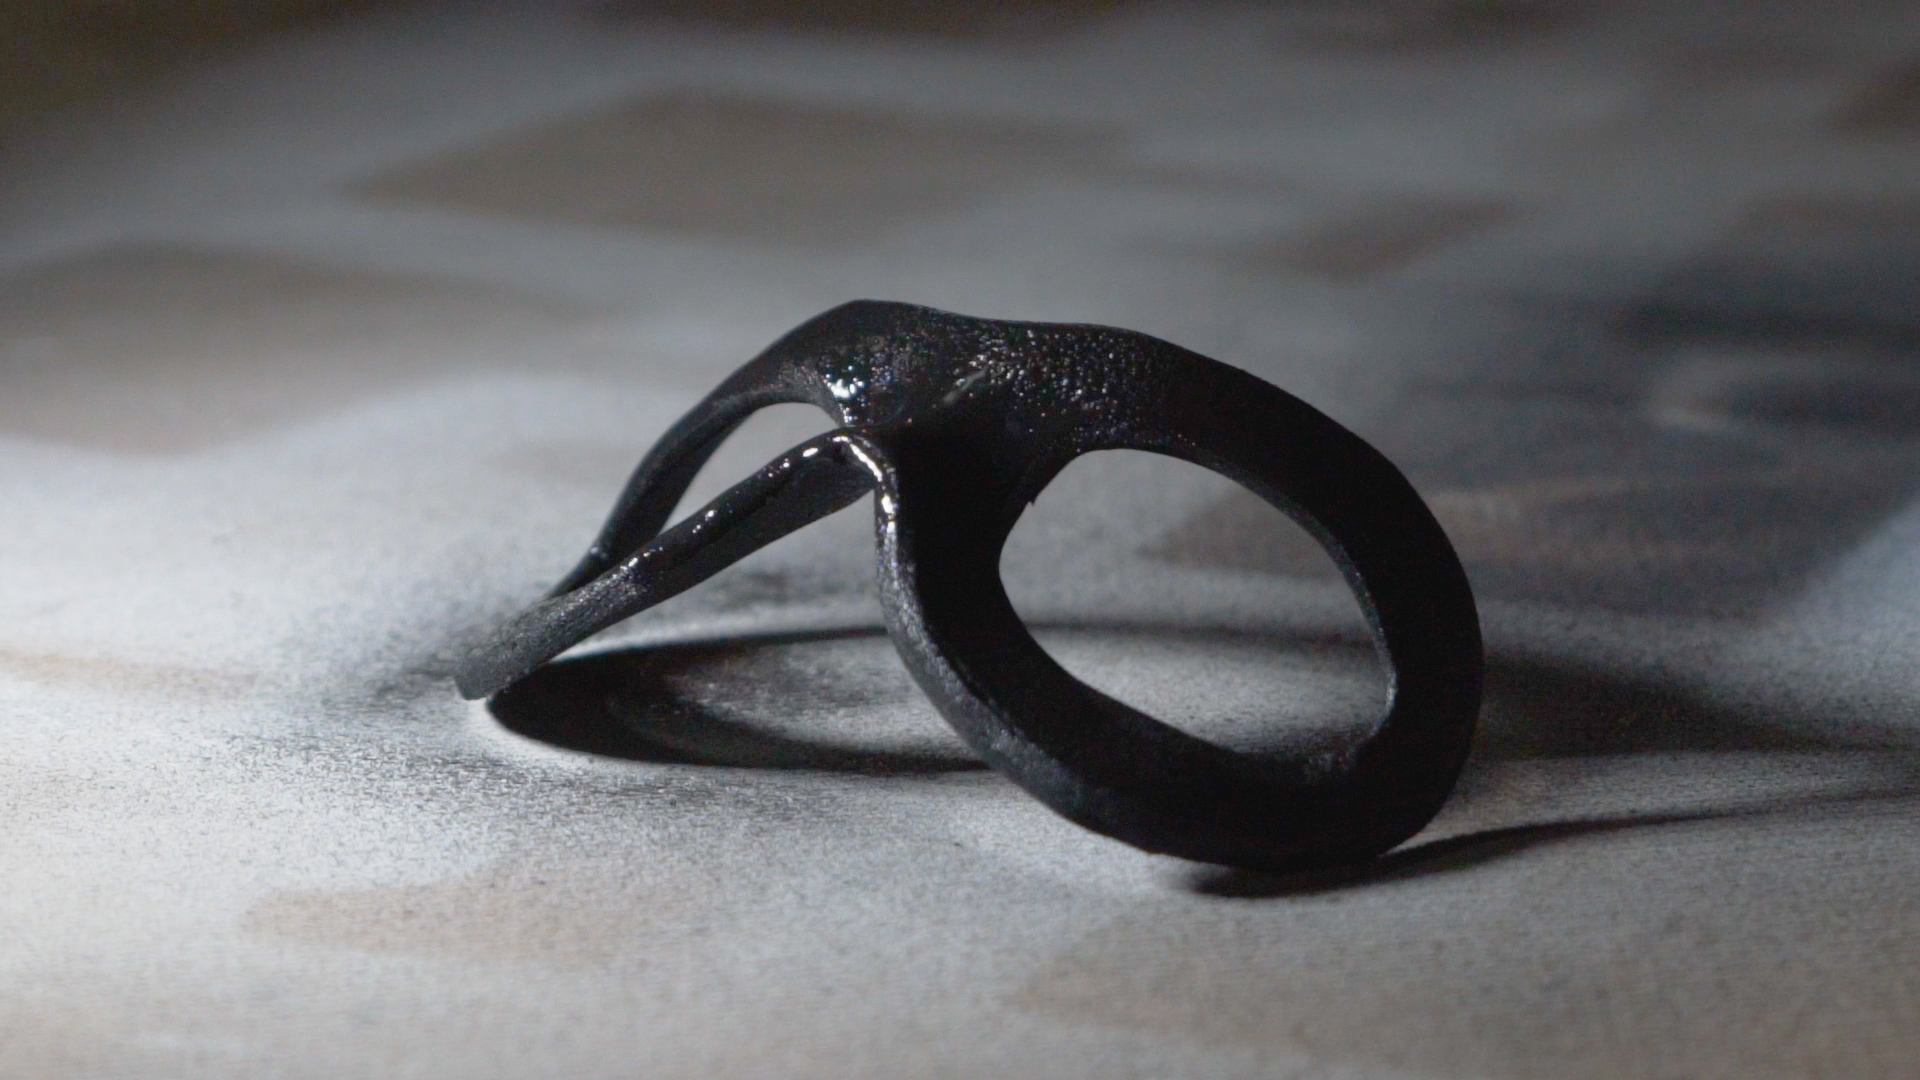
While the foam is relatively strong, it still is very playable. I used Plastidip to add strength to the mask and lock in the final shape. Before applying Plastidip make sure that you have used a heat gun over the entire surface, this helps to seal in the foam and create a smoother surface.
Plastdip is used to apply a rubberized texture to tools. You are applying several coats of thing spray rubber to the mask. I used six total coats with drying time in between.
...and Your Done!
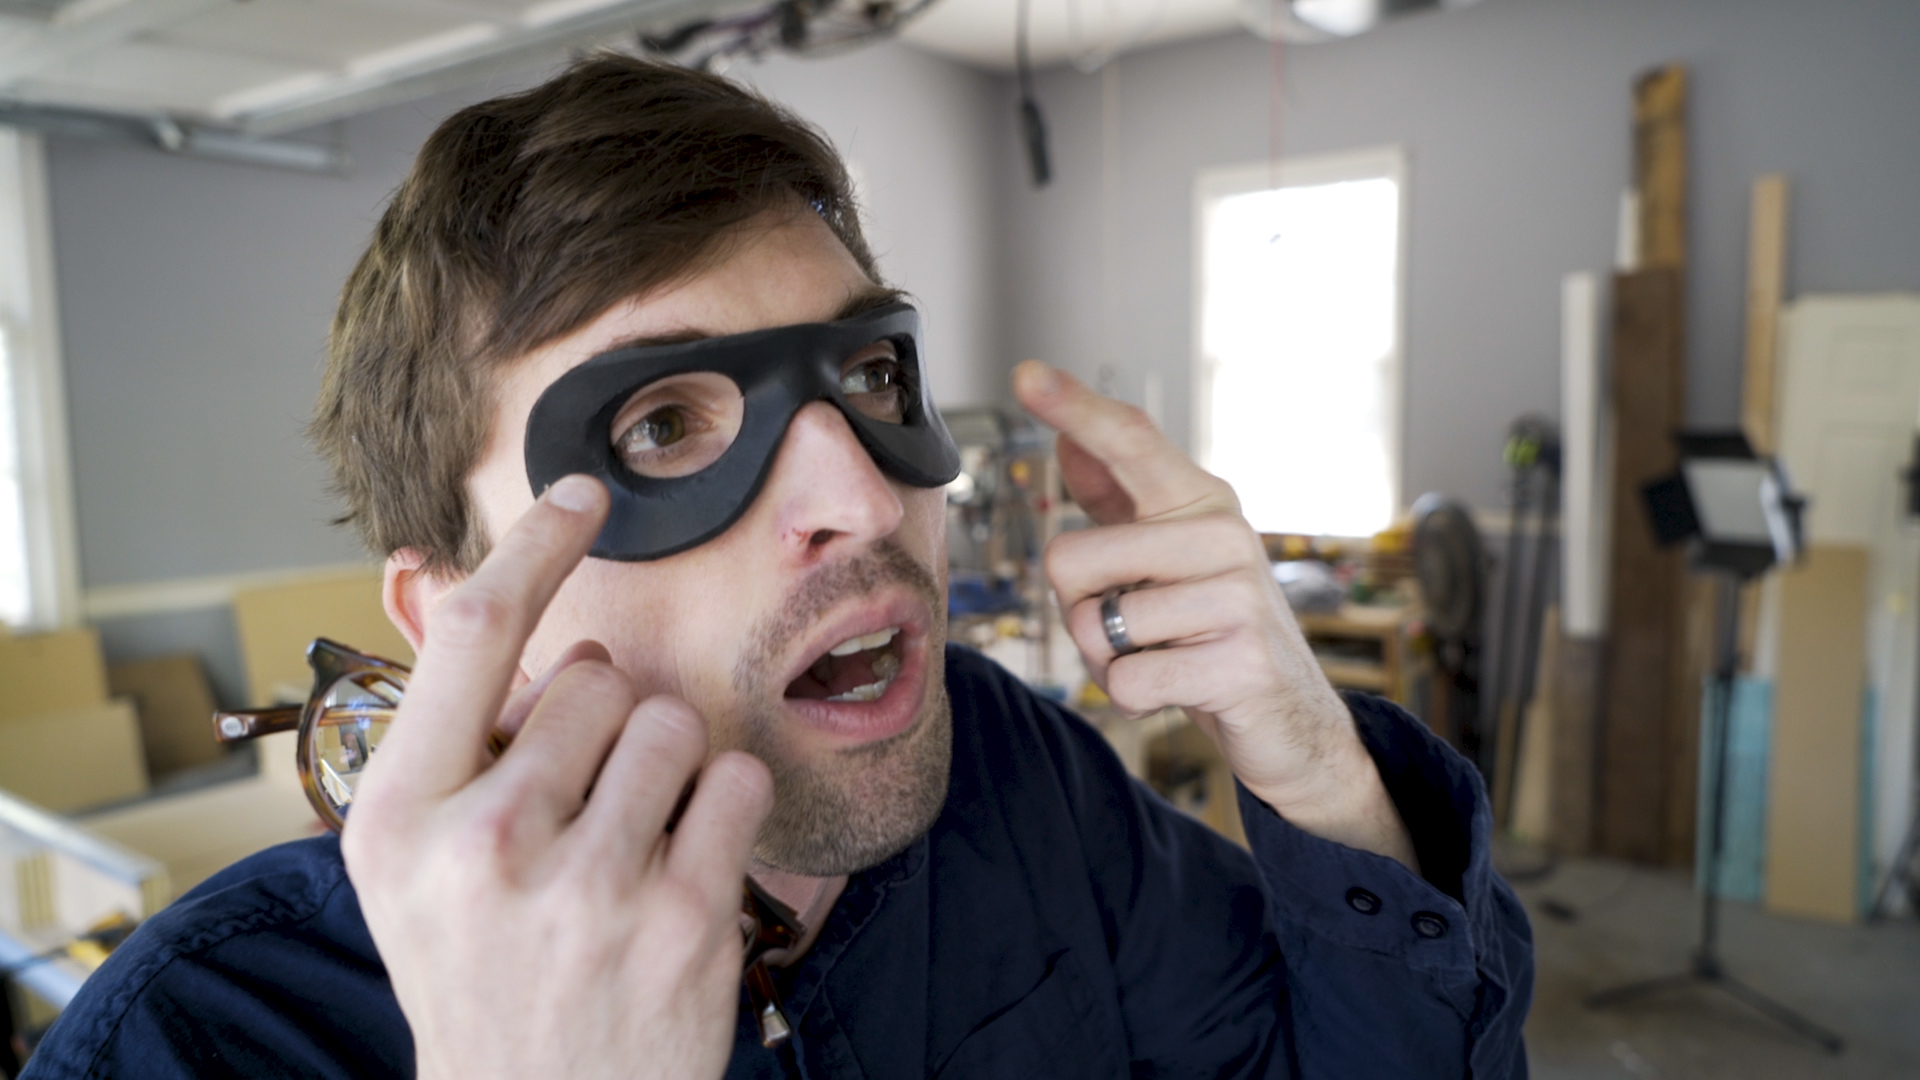
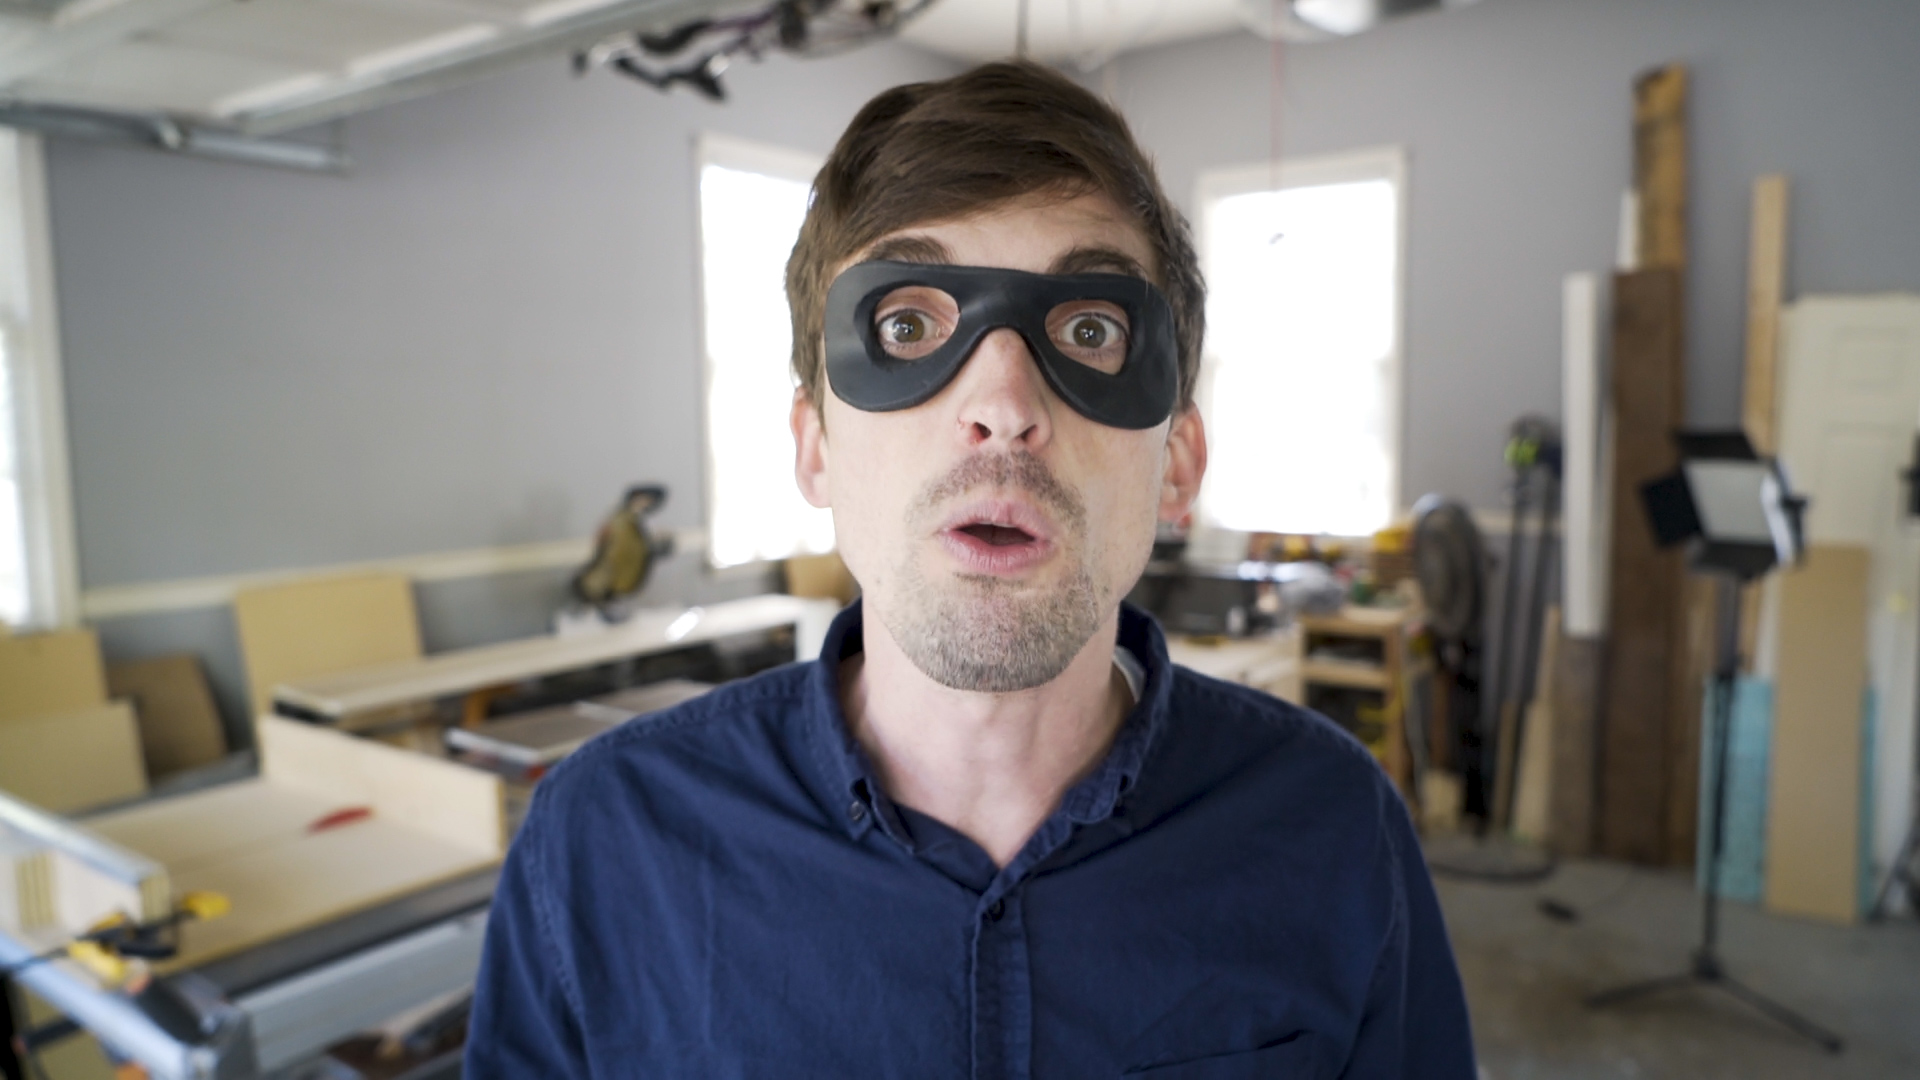
Since the foam was already black I could skip the painting portion. At this point you could paint the mask with a primer and then any color spray paint you'd like. You could also get crazy and add weathering and texture...but that's an Instructable for another day!
------------------------------
You can also check the Make or Break Shop out at:
Instagram (Ongoing process shots of current builds)
Website (Lots of fun stuff you can't find anywhere else)
Make or Break Show (Weekly podcast featuring the stories of other makers!)