Make a Scanner Mask for 110 And/Or APS Film [Updated]
by Nano_Burger in Circuits > Cameras
95195 Views, 67 Favorites, 0 Comments
Make a Scanner Mask for 110 And/Or APS Film [Updated]
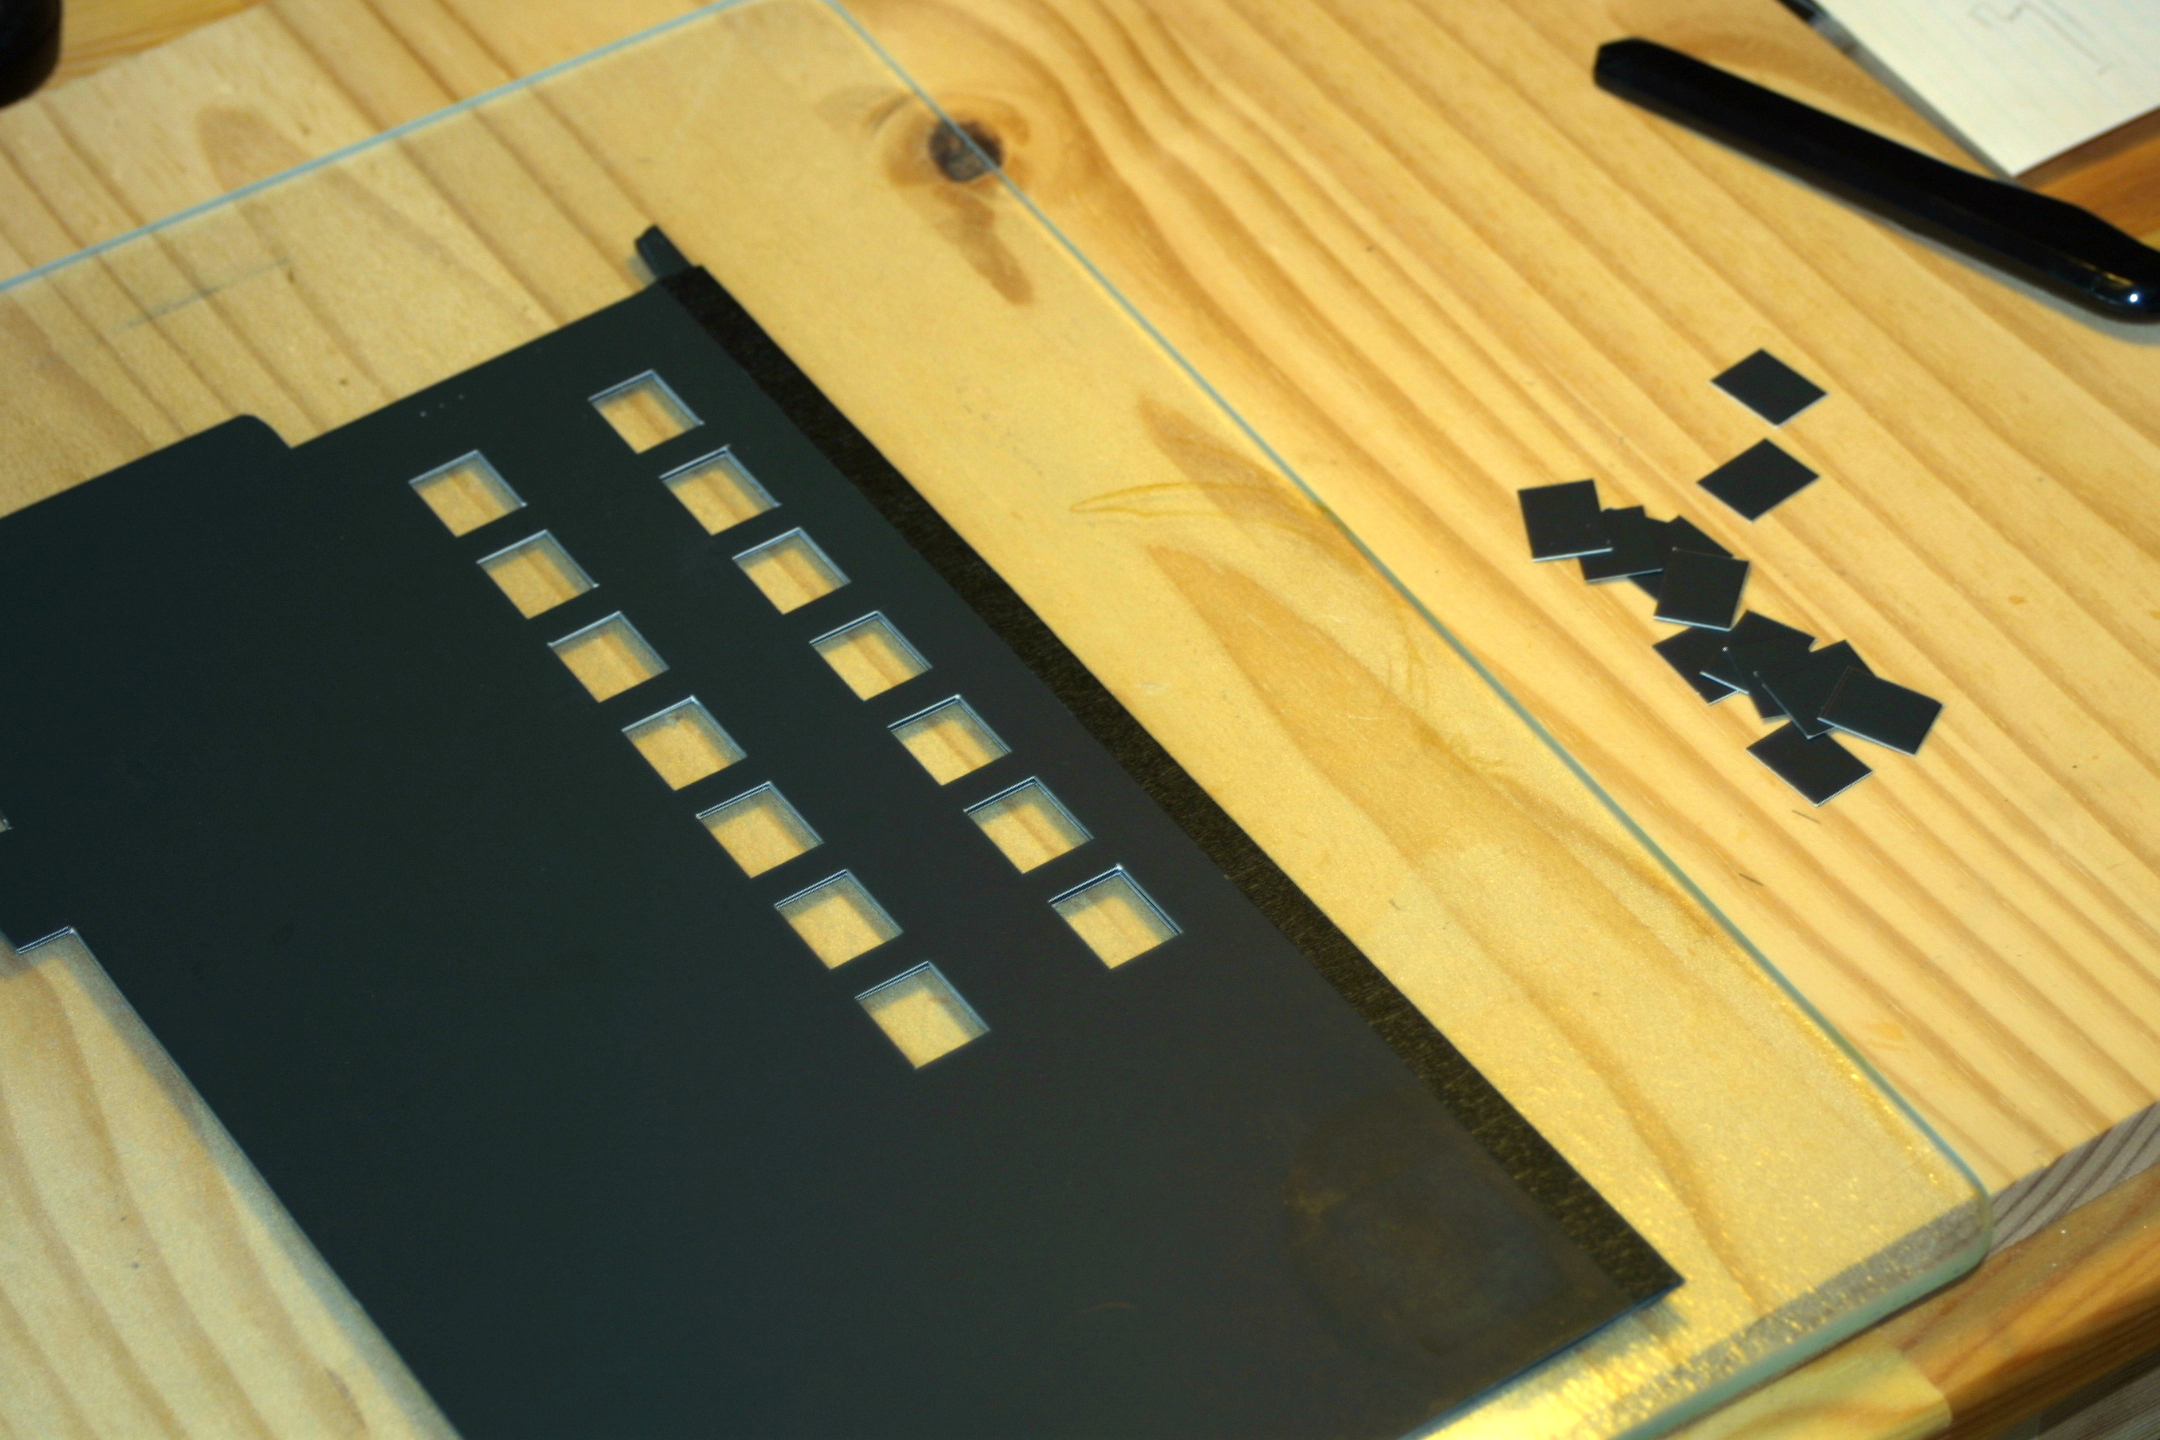
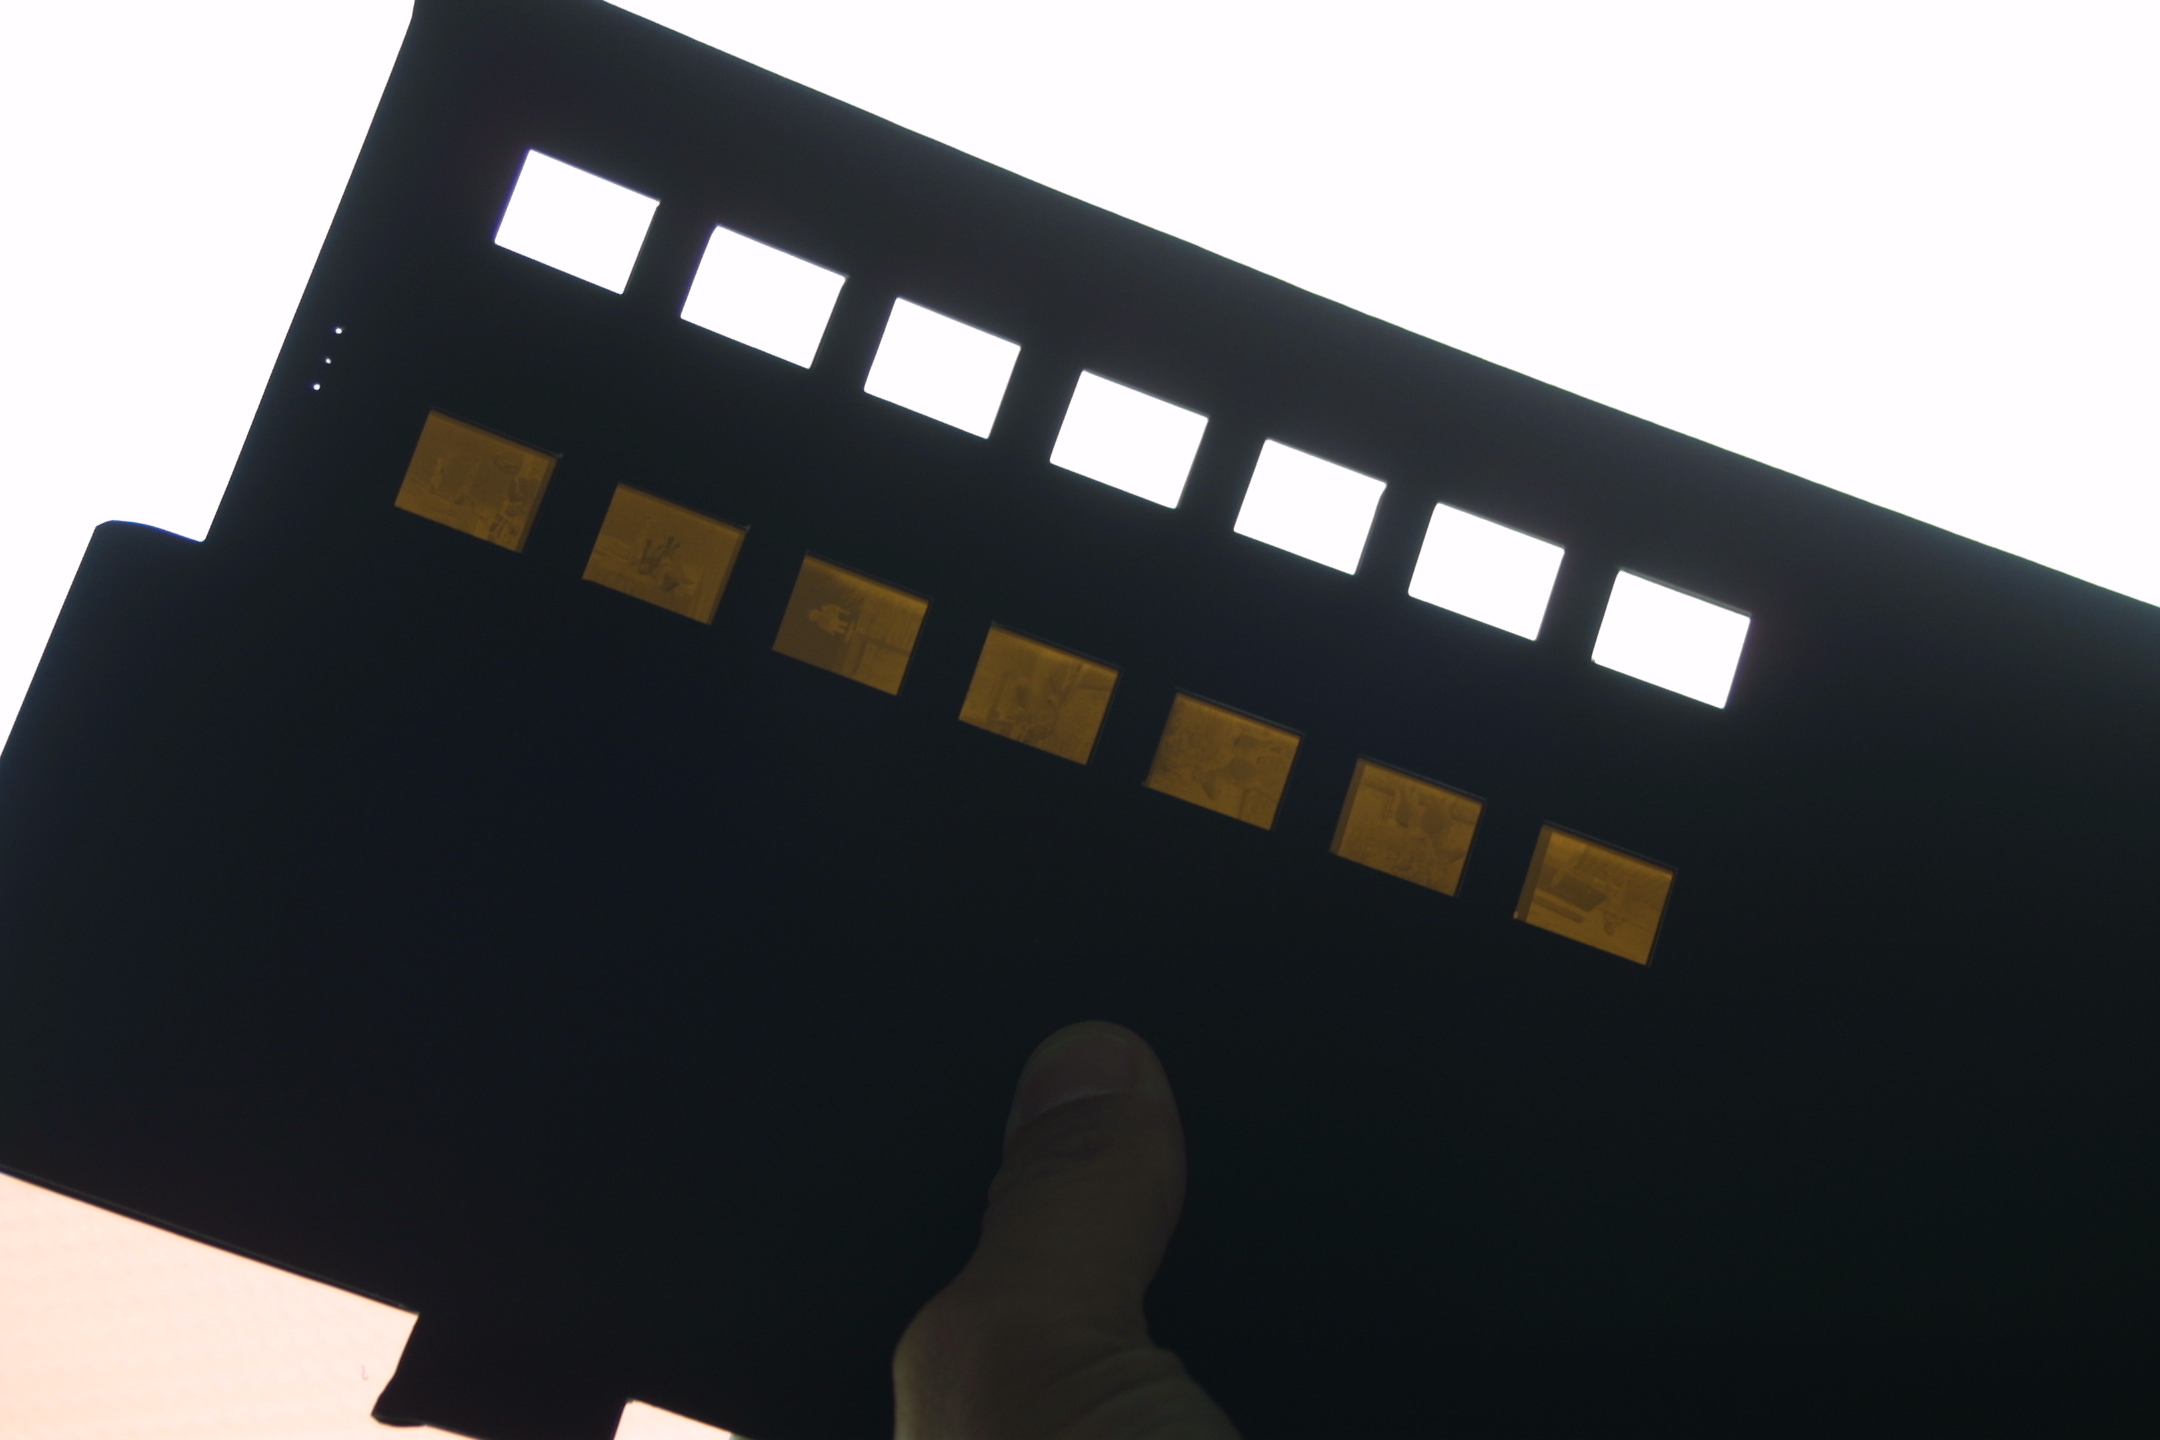
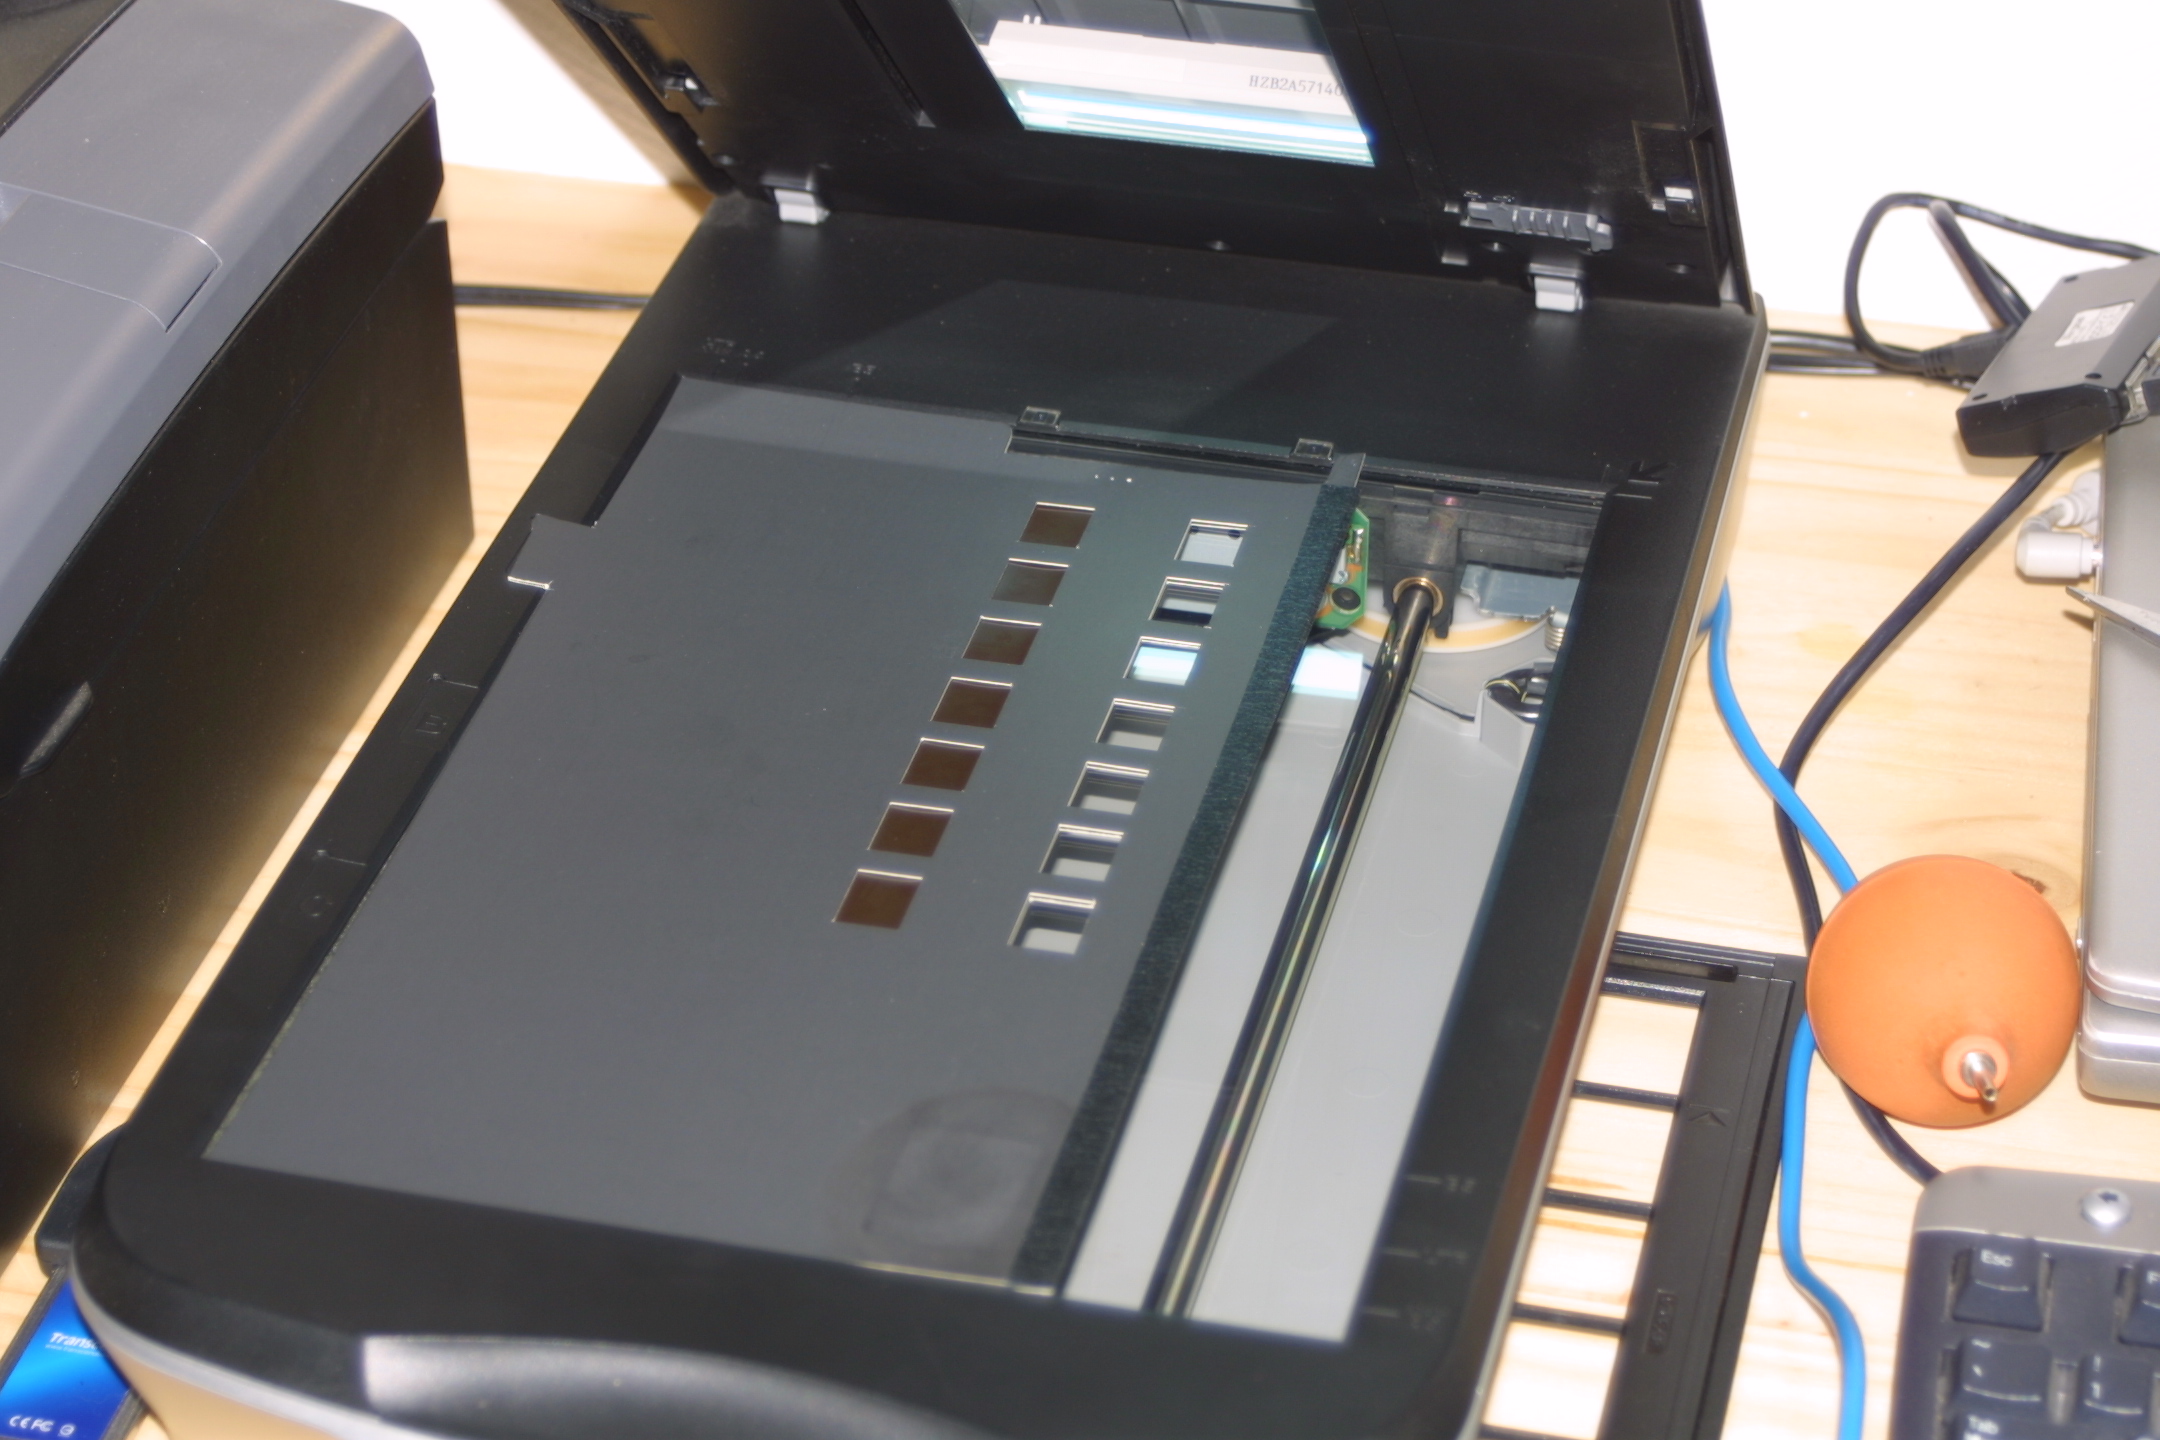
2012 is the year of the 110 film revival!
Hey, Broadway revives enough crap to choke Godzilla....why not this unobtrusive film format?!?!?
New and exciting 110 emulsions are flooding the market! But the big question is, "How do I get my Pocket Instamatic photos on this new-fangled Inter-web thing?"
I'm glad you asked! You can use the age old, "tape the film strip to the glass scanner bed" method and scan away, but these scans tend to wash out due to the light leaking around the image. With a negative that small, you will want to squeeze as much quality out of them as possible. There are also many companies that will scan them for a hefty mark up, but here we'll try for world class scans on a budget.
In this Instructable, we'll build a 110 film format mask for an Epson Perfection 4490. The same concept will work for just about any flatbed film scanner.
Why do you want to do this??
The mask serves several purposes:
1. The mask puts the film at the scanners optimal focus. Scanners are designed to have a little space between the film and glass plate. That is why the OEM masks are built that way.
2. The space between the negative and the glass bed reduces the chance for newton rings as the film is not touching the glass.
3. The mask flattens the negative to give a focused scan across the negative (especially important with old negatives that tend to "cup").
4. The mask optically isolates the image so the auto exposure just has the image area to deal with and not extremes of light and dark. Again, that is why the OEM masks are built that way.
[Update] I used this same technique for APS film. See the last step.
Stuff You Will Need
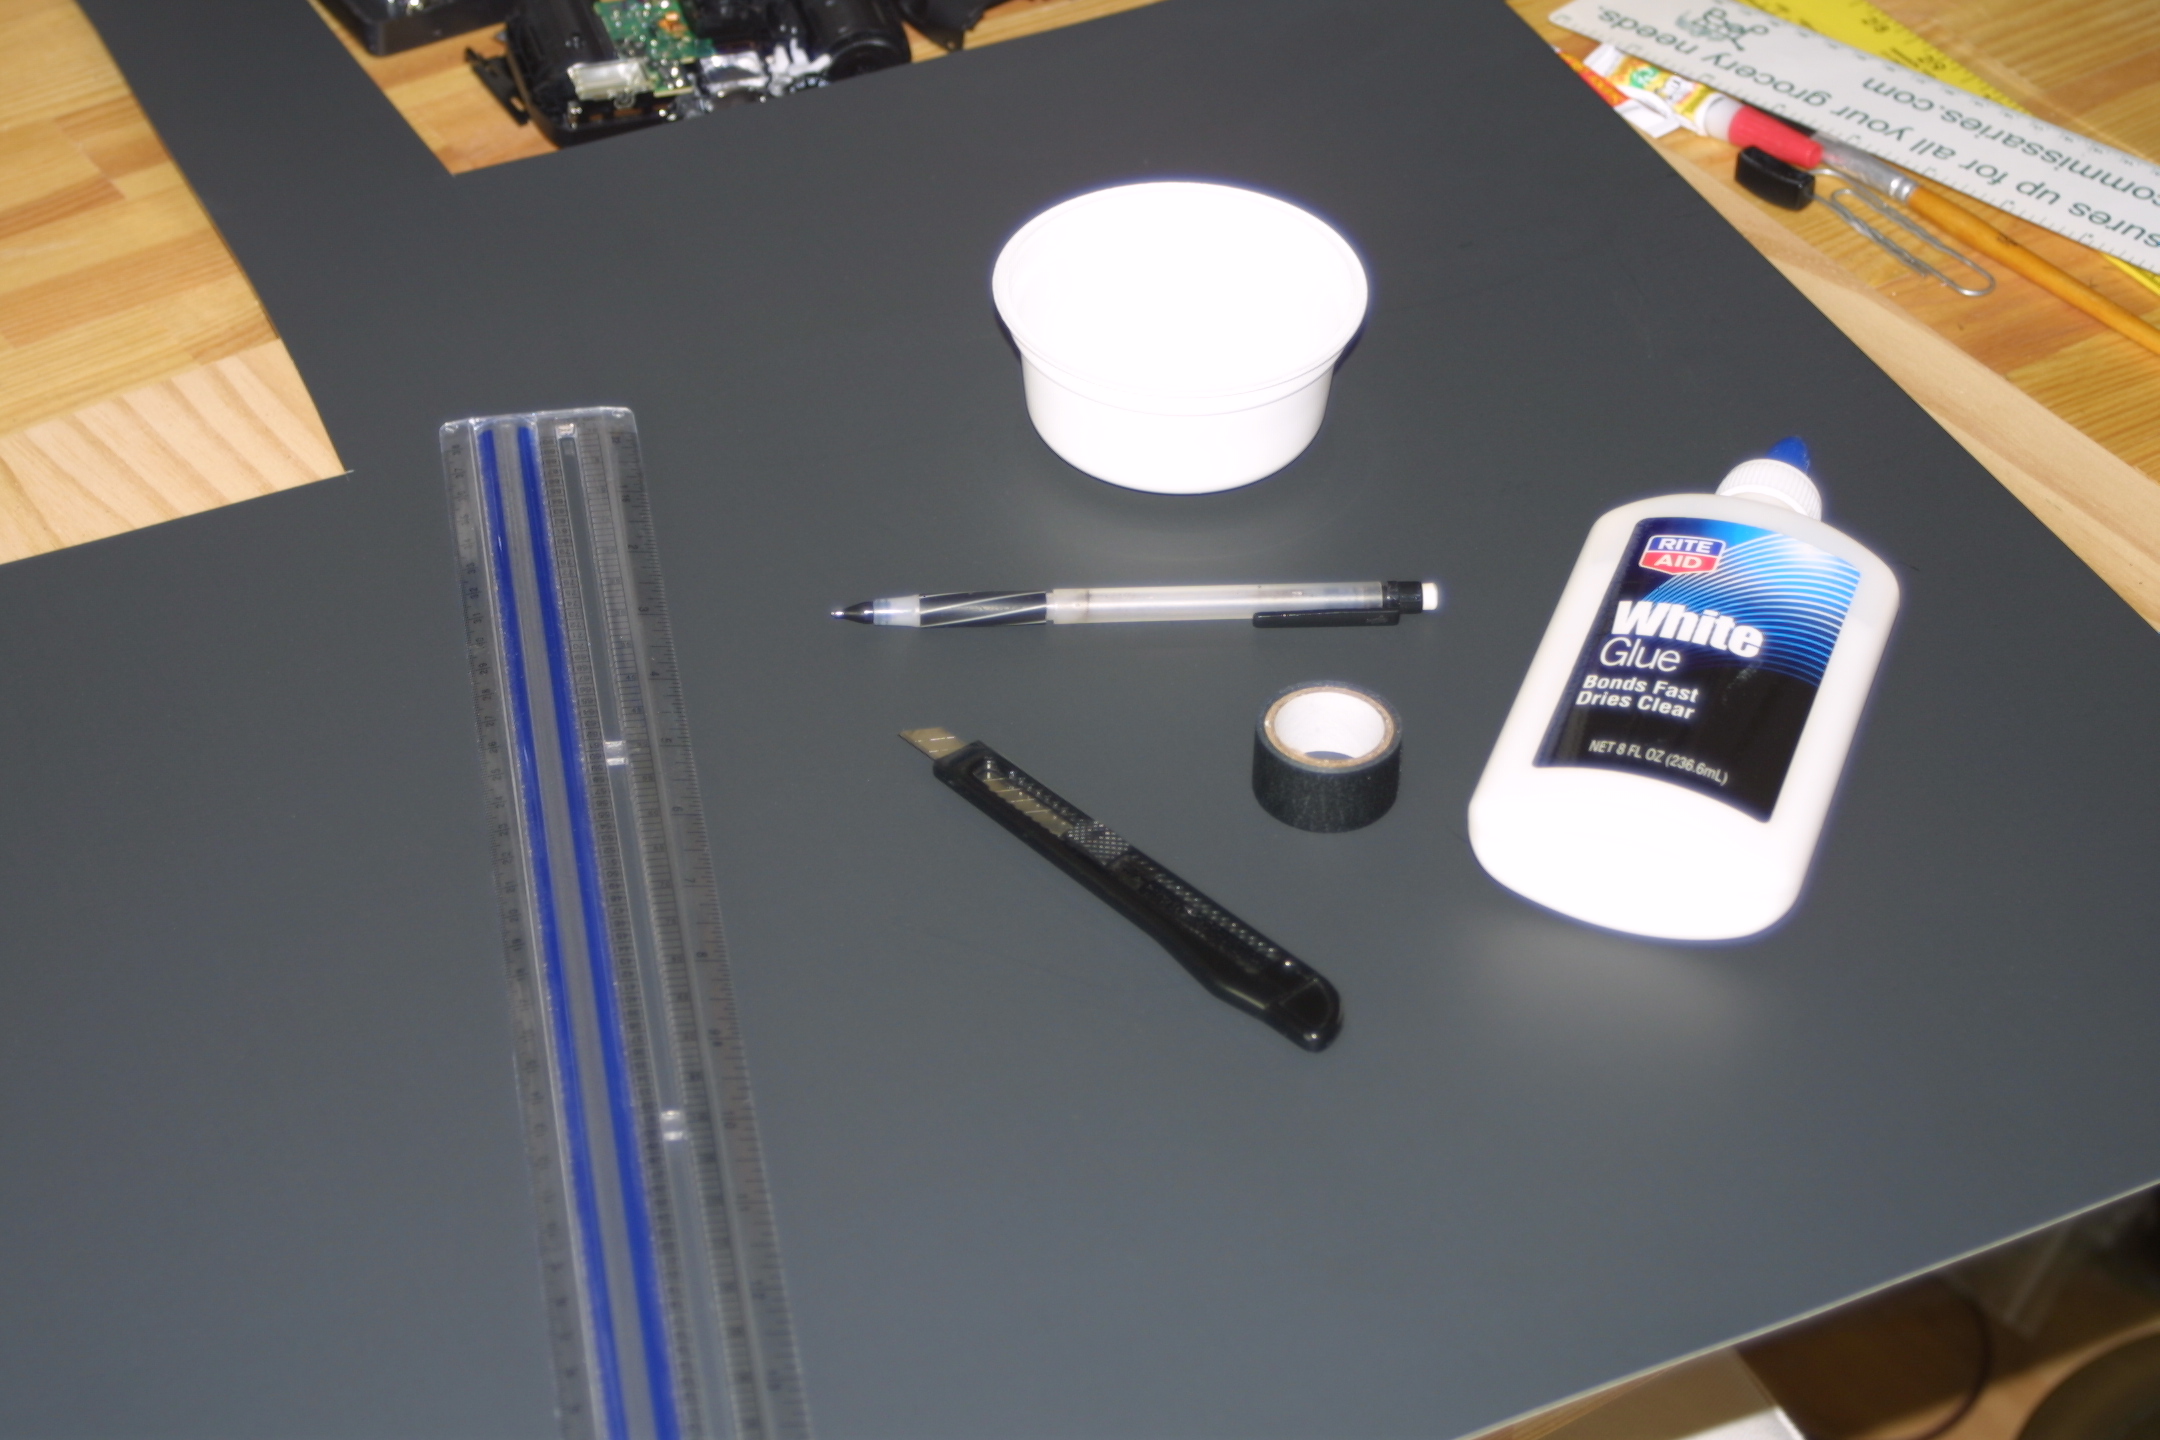
1. Black poster board.
2. Razor knife or exacto knife.
3. Scissors.
4. Stiff ruler (metal is great).
5. Black gaffers tape.
6. White glue.
7. White plastic yogurt container.
8. An original negative holder that came with your scanner.
9. About an hour or so of time.
Cut Out the Basic Shape
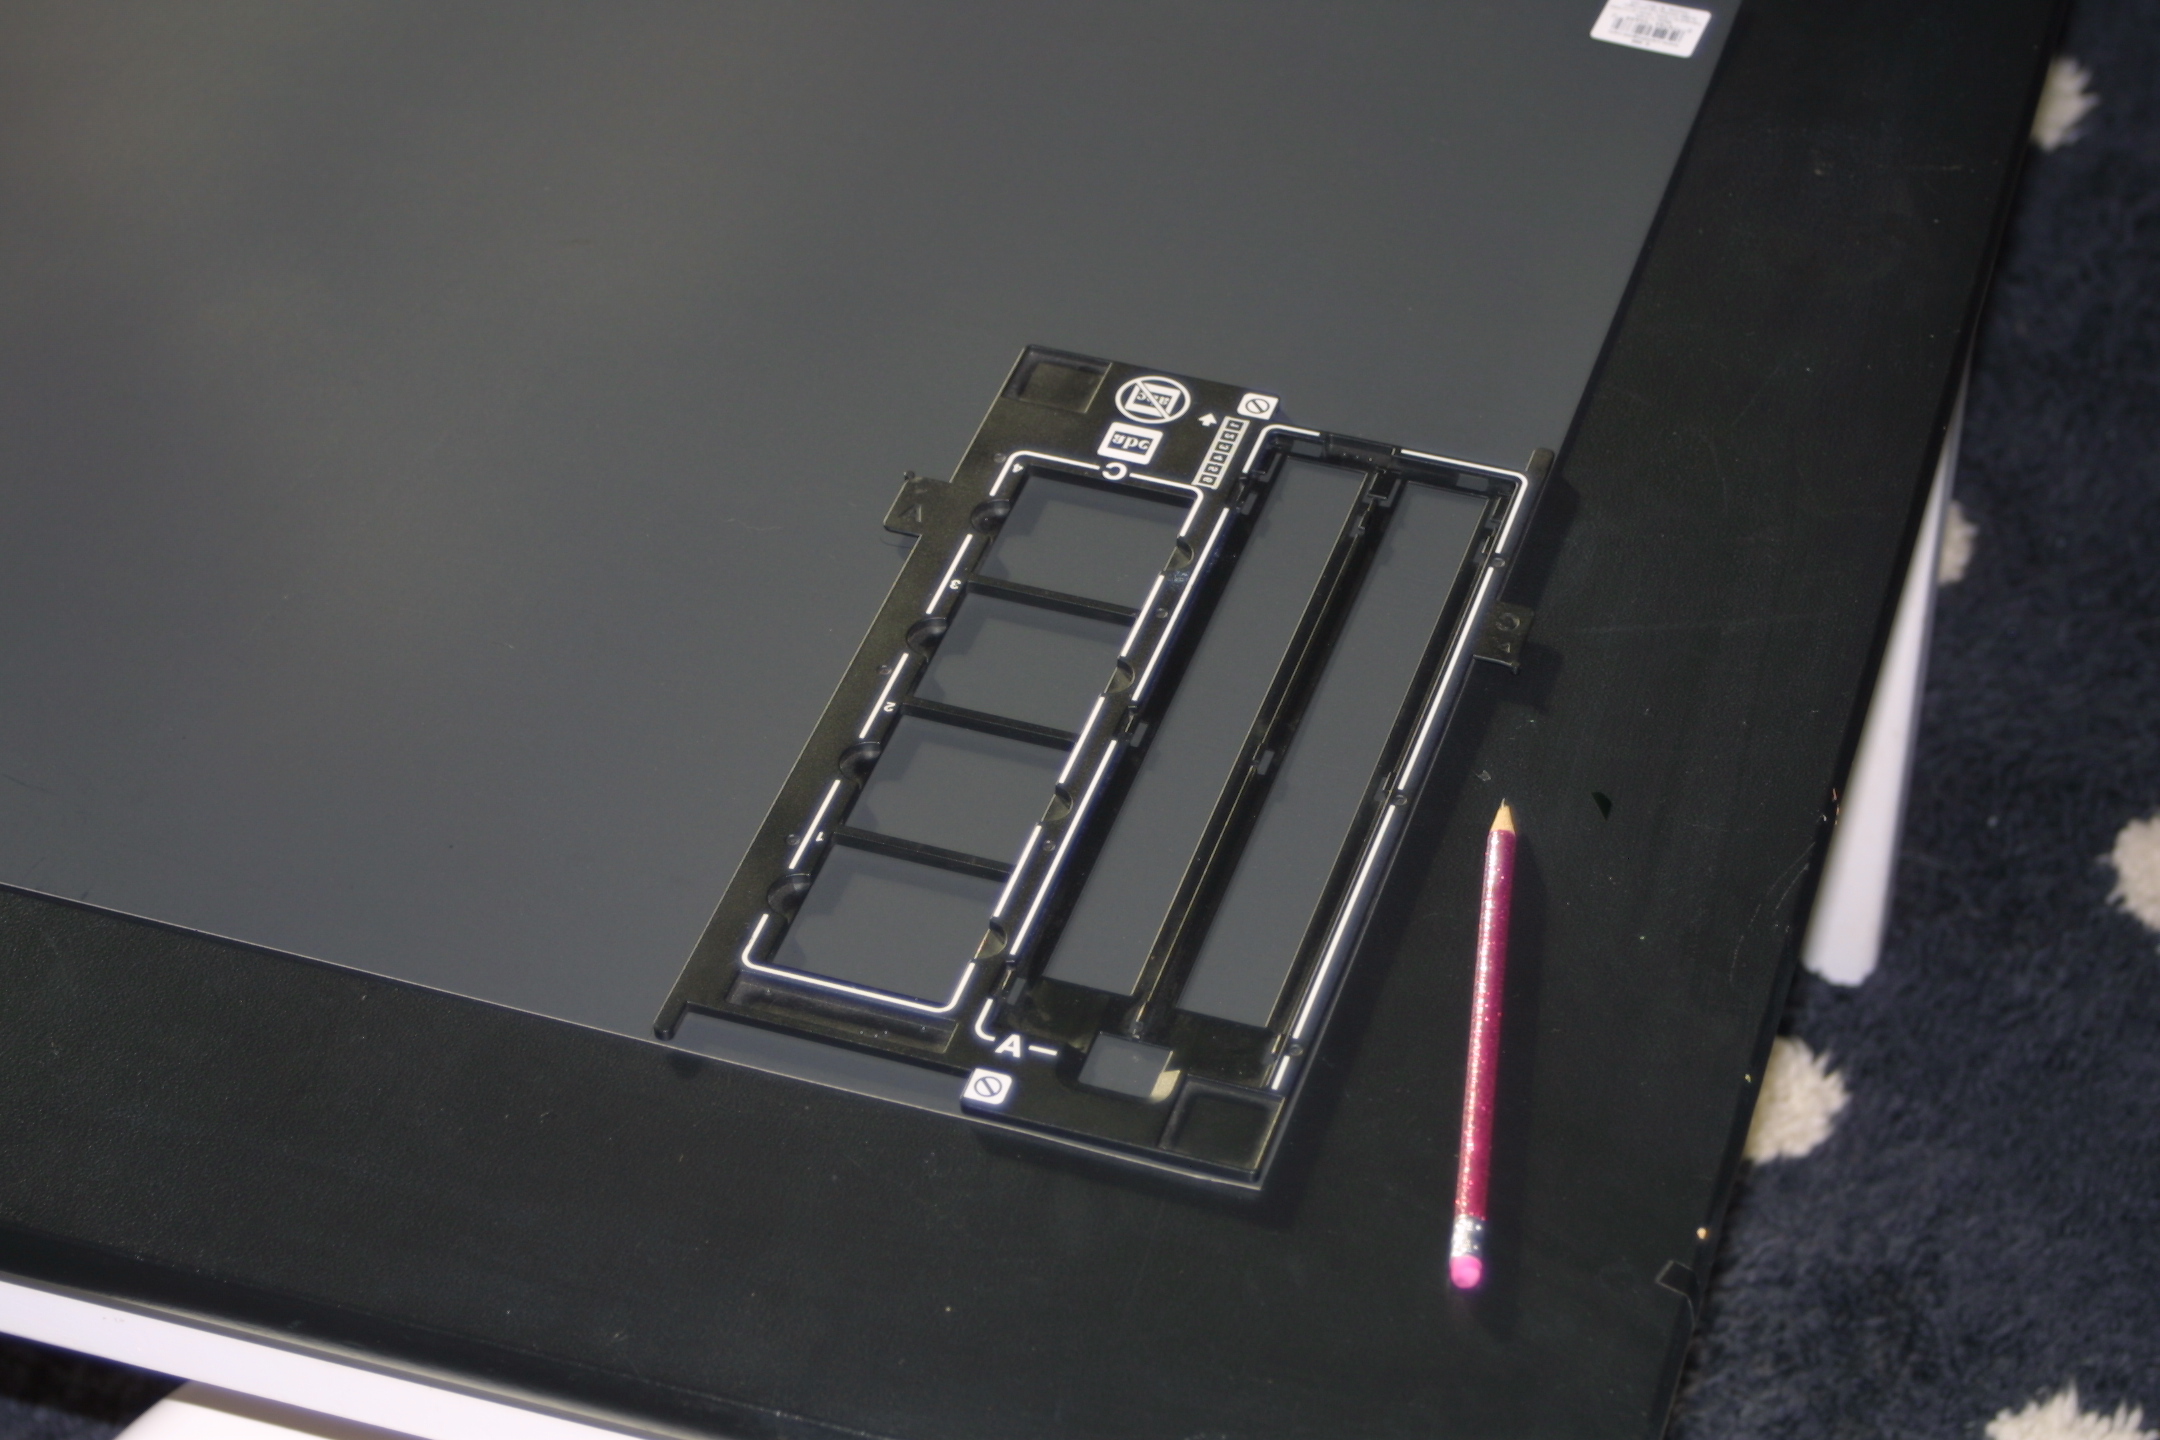
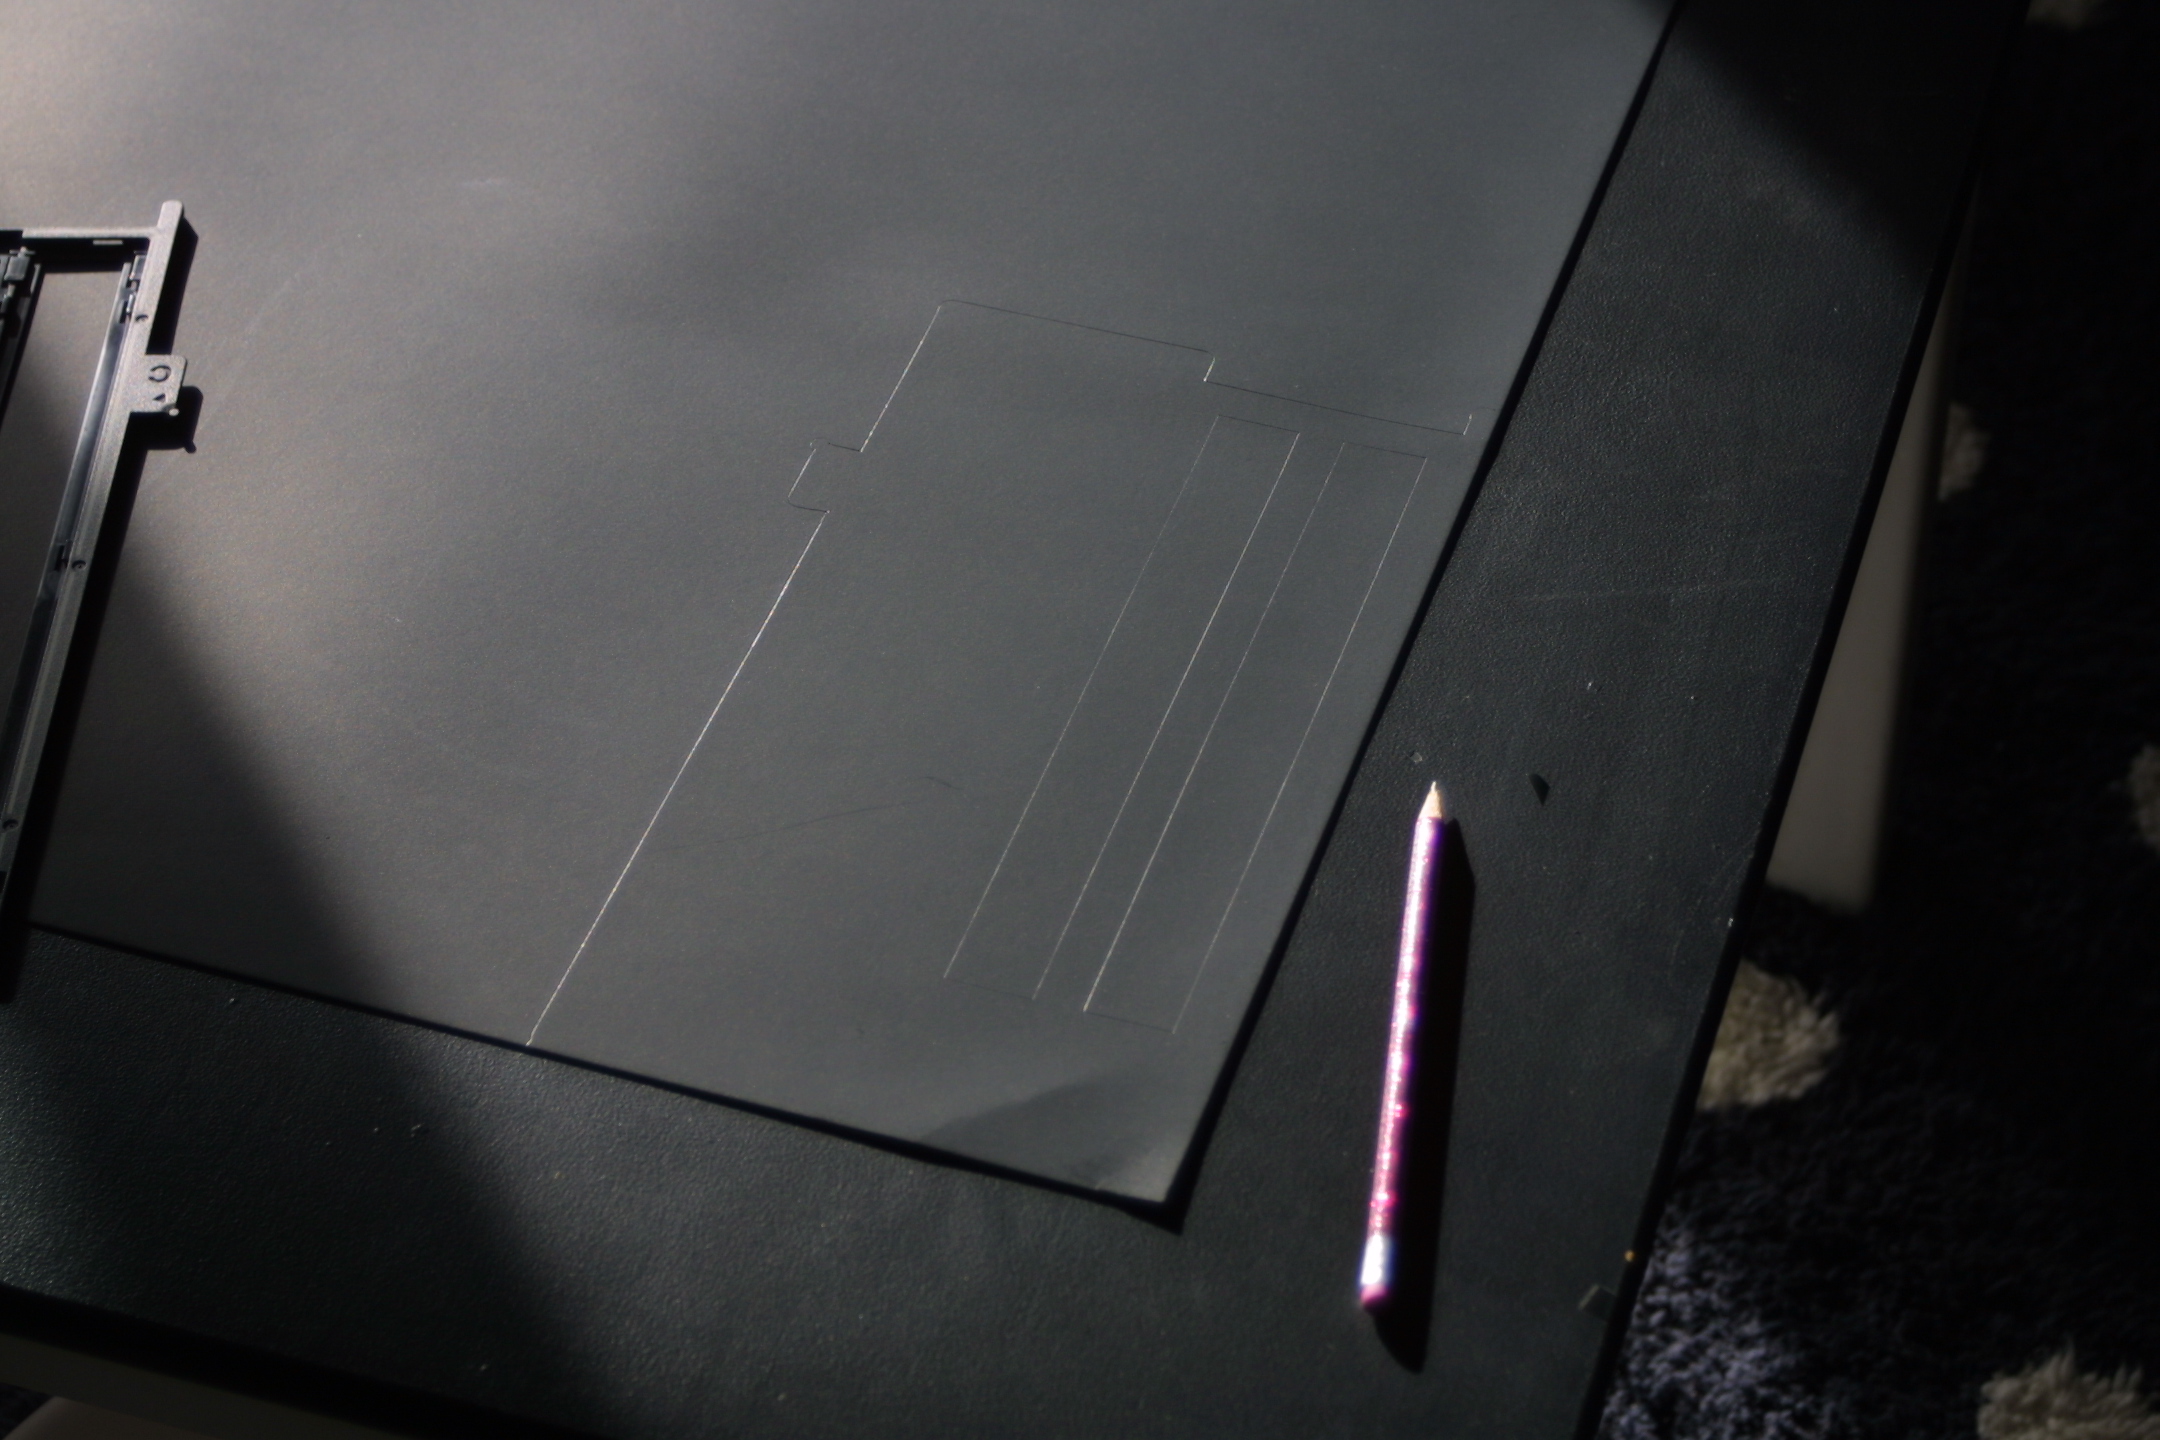
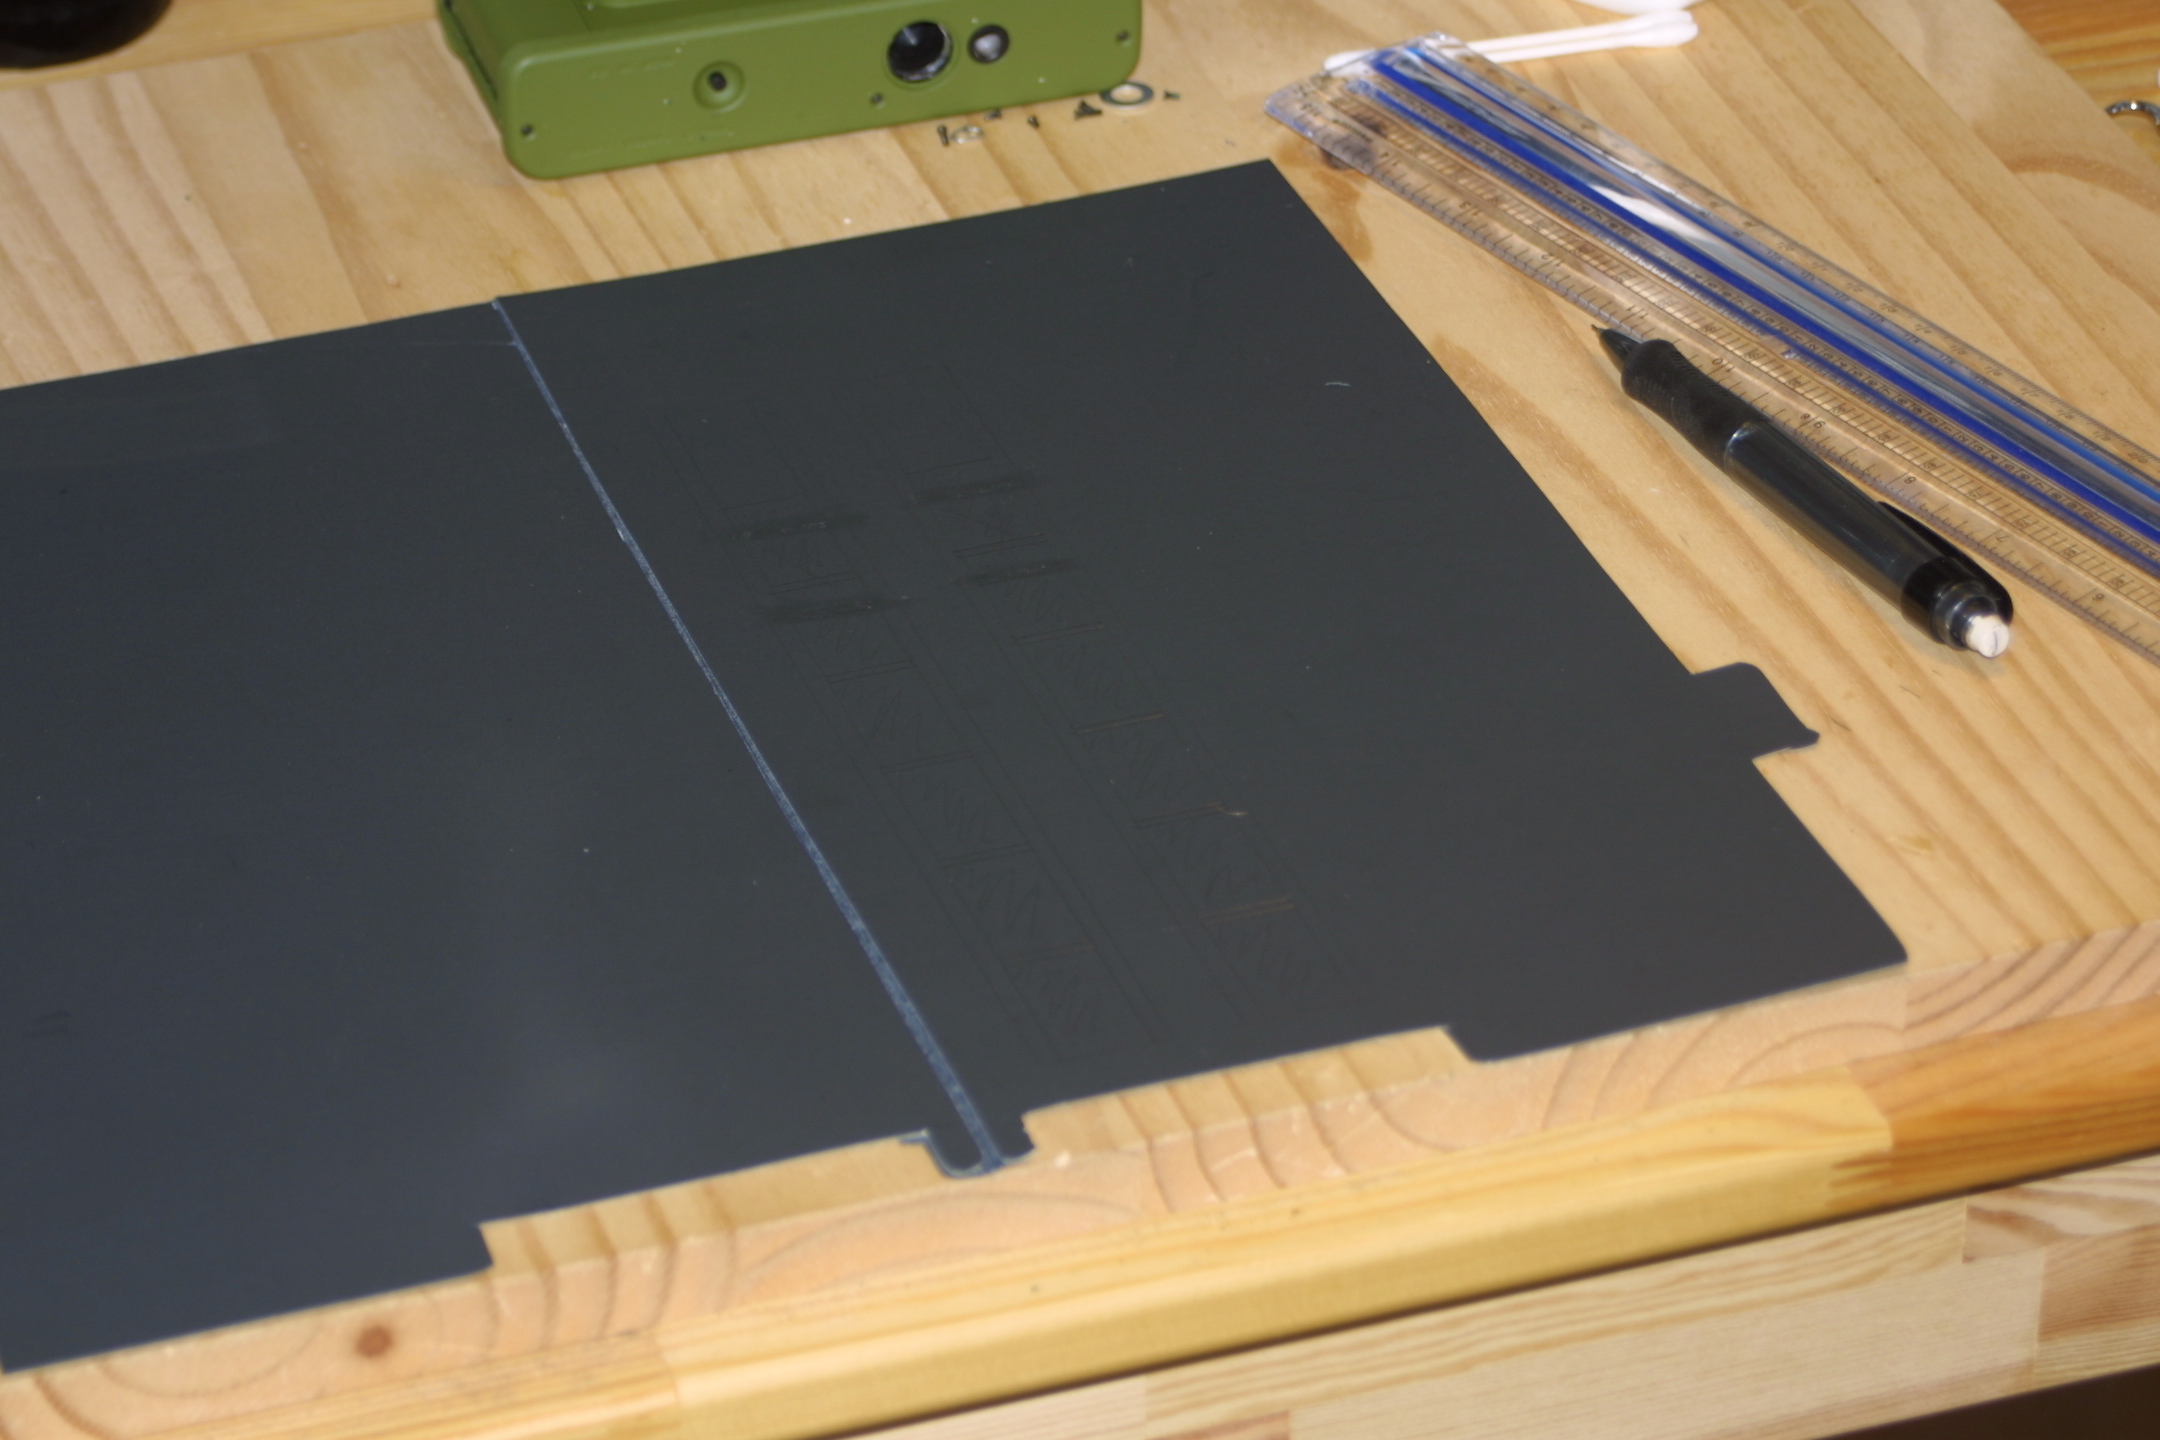
1. Lay your OEM negative holder on the black poster board and trace around the outside with a pencil. Make sure you include all the tabs and indents for the 35mm side. Since our film holder will be one sided, you don't have to worry about the tab and indents that are for the slide side. Trace the channels for the 35mm film as well just so you have an idea where the 110 film channel will have to be.
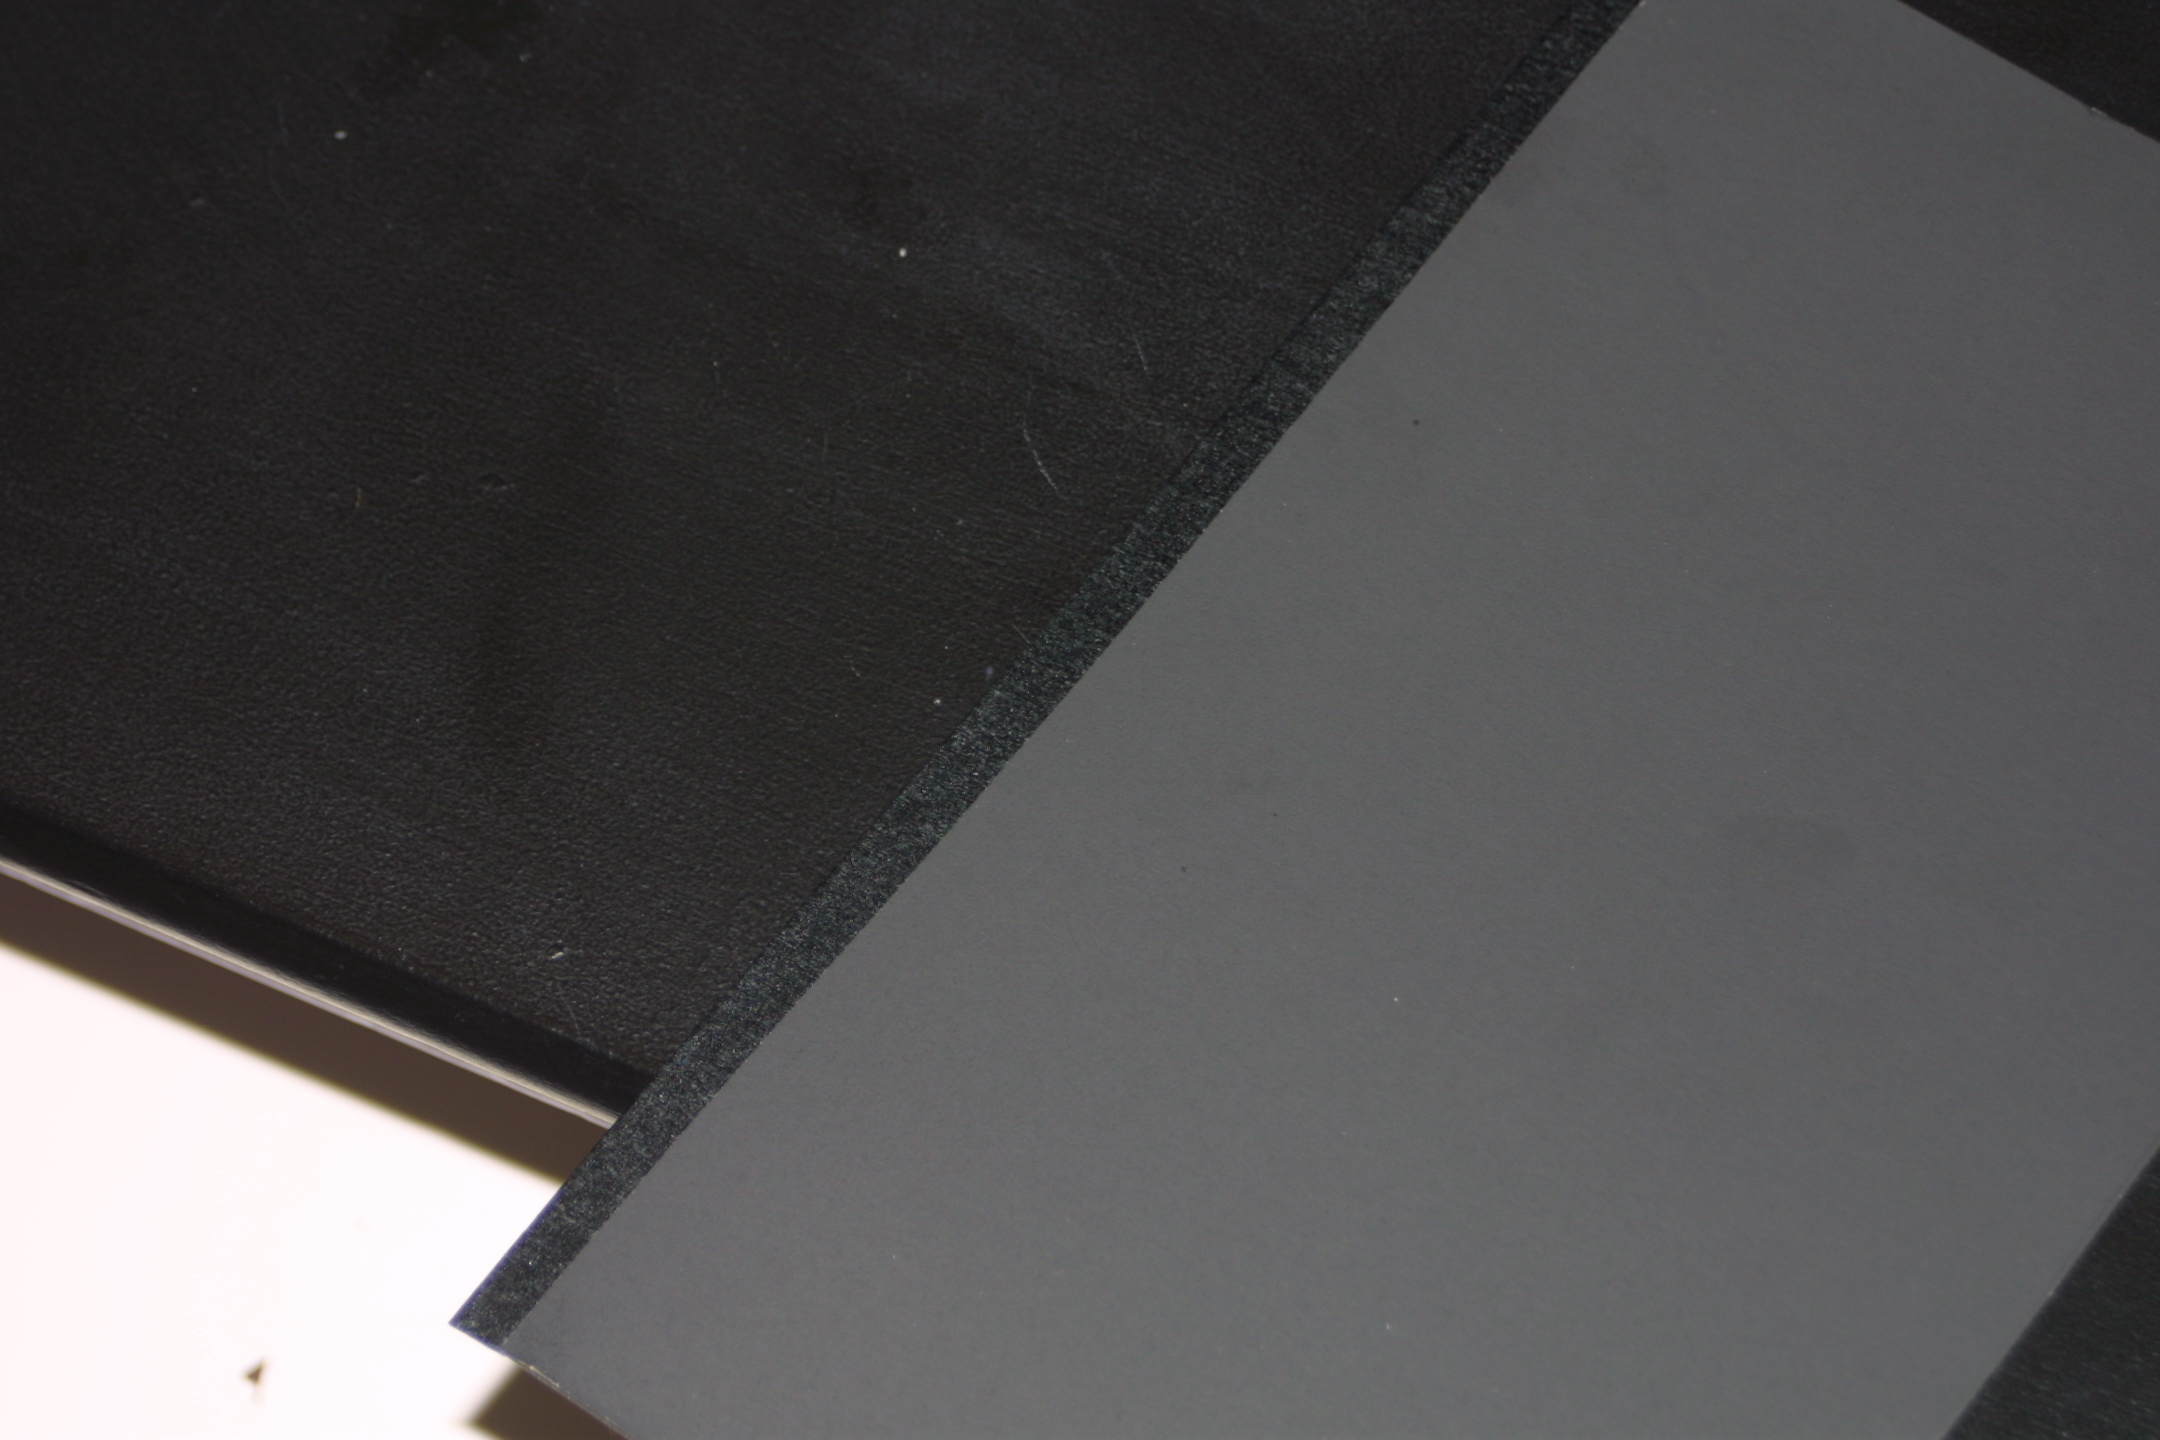
2. Cut out the traced design on the board staying just inside the lines you traced. Don't cut out the 35mm channels.
3. Once it is all cut out, repeat the process using the OEM holder or your new poster board blank as a template.
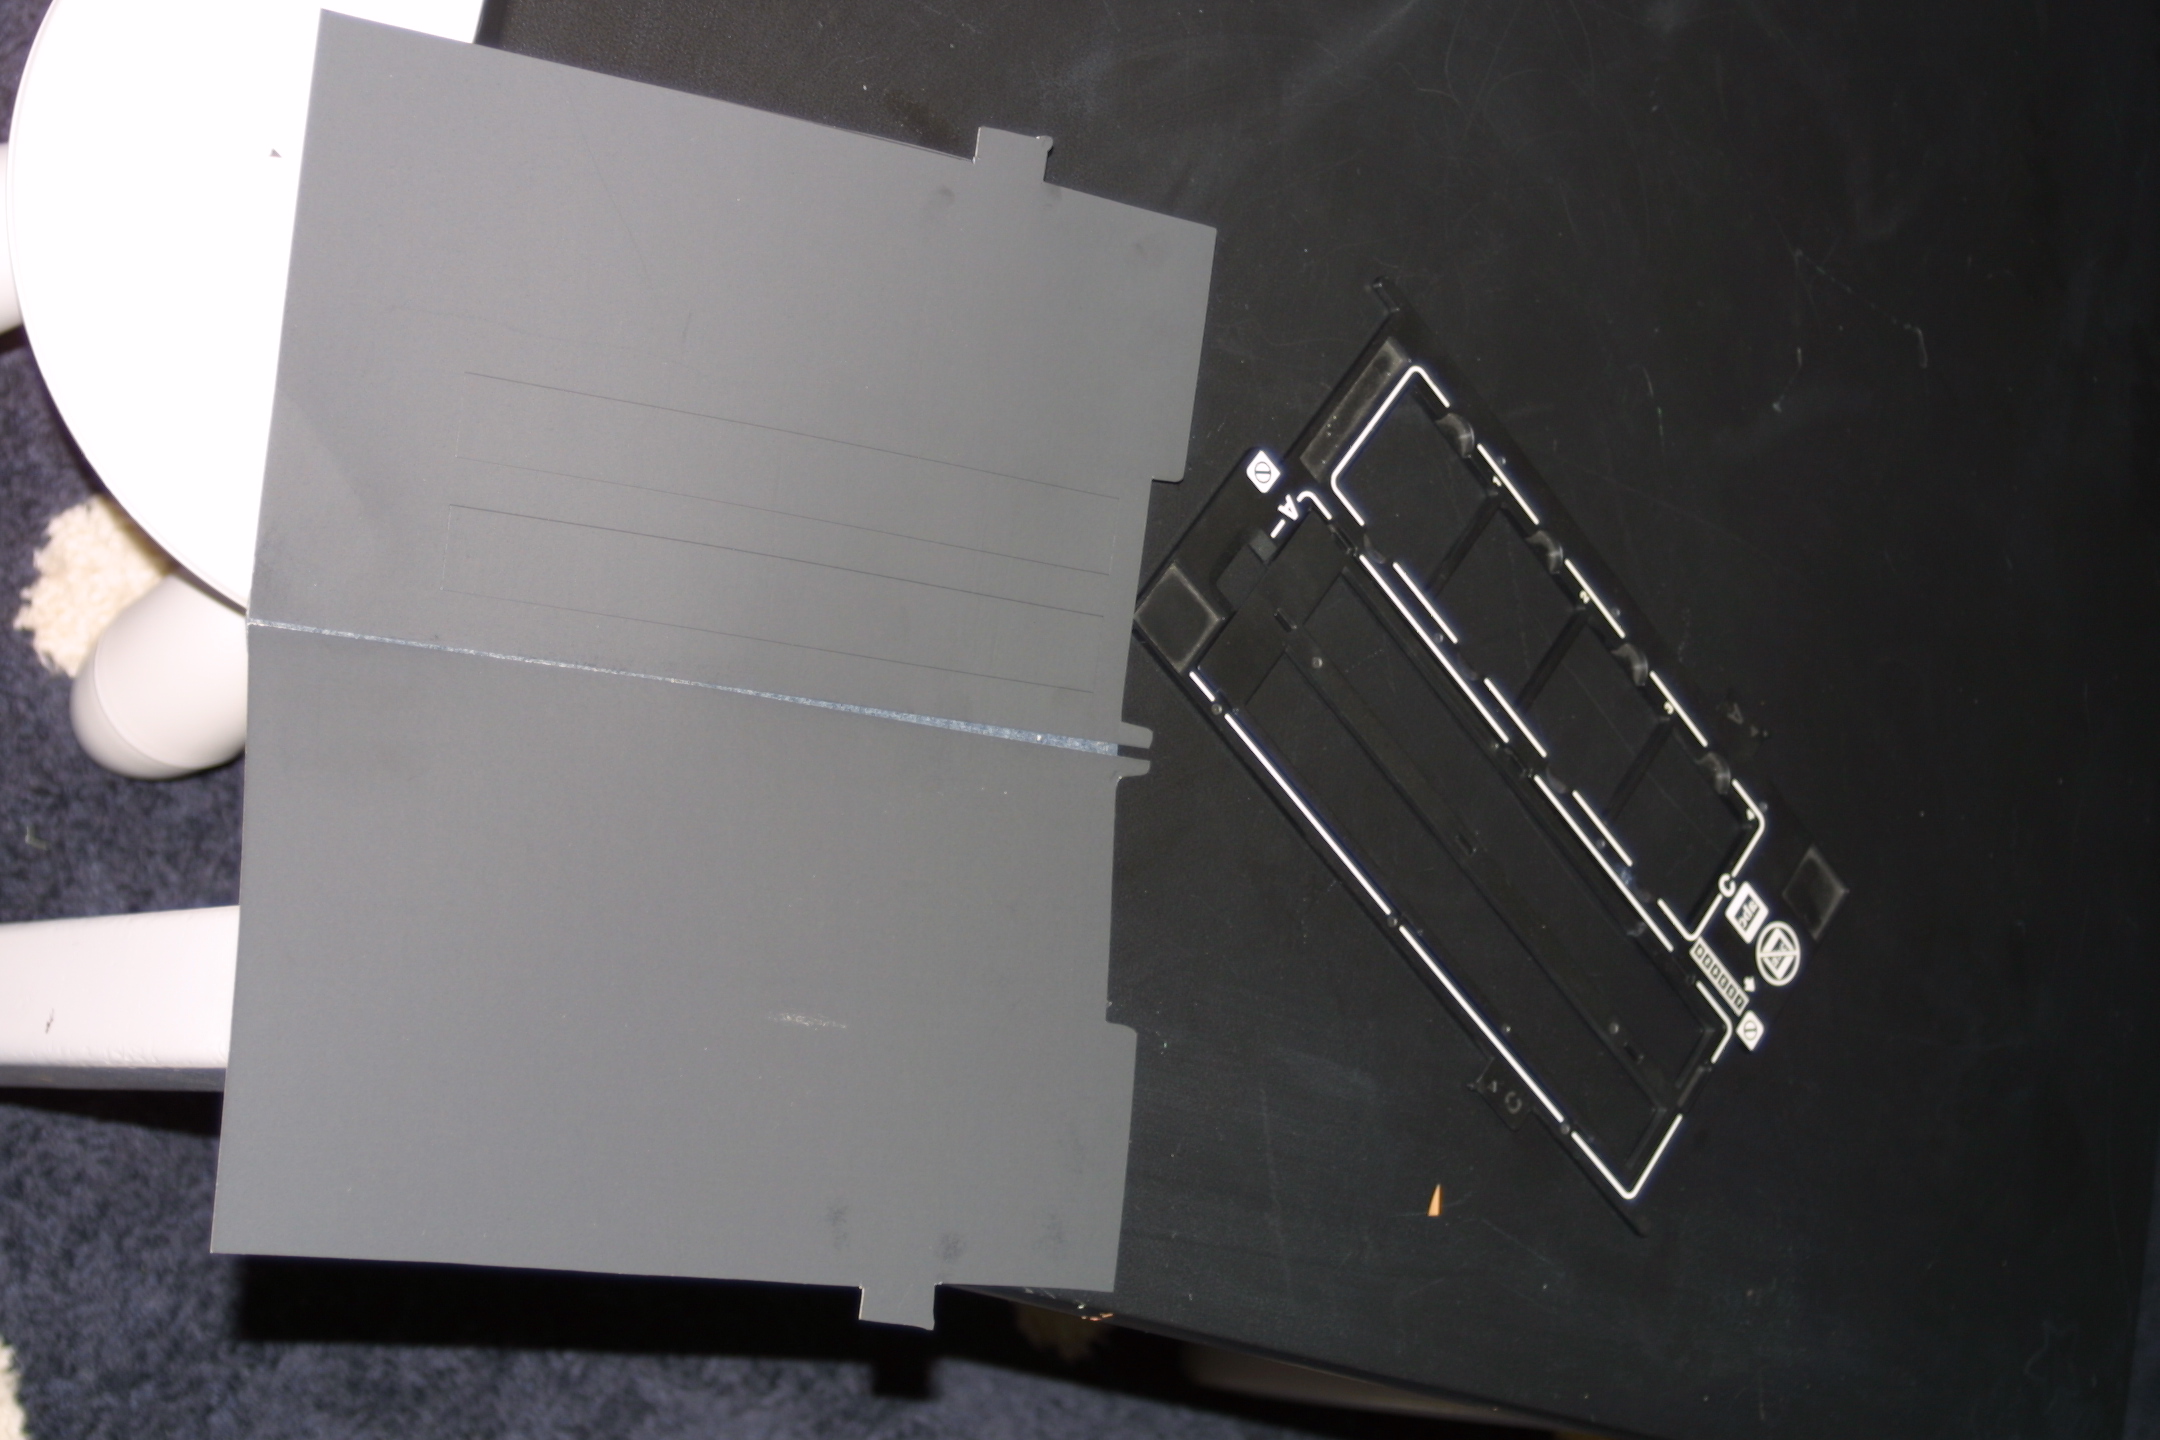
4. Now put the two blanks together so they can open like a book and put a tape hinge down its spine.
Make Your Mask Look Like the Original
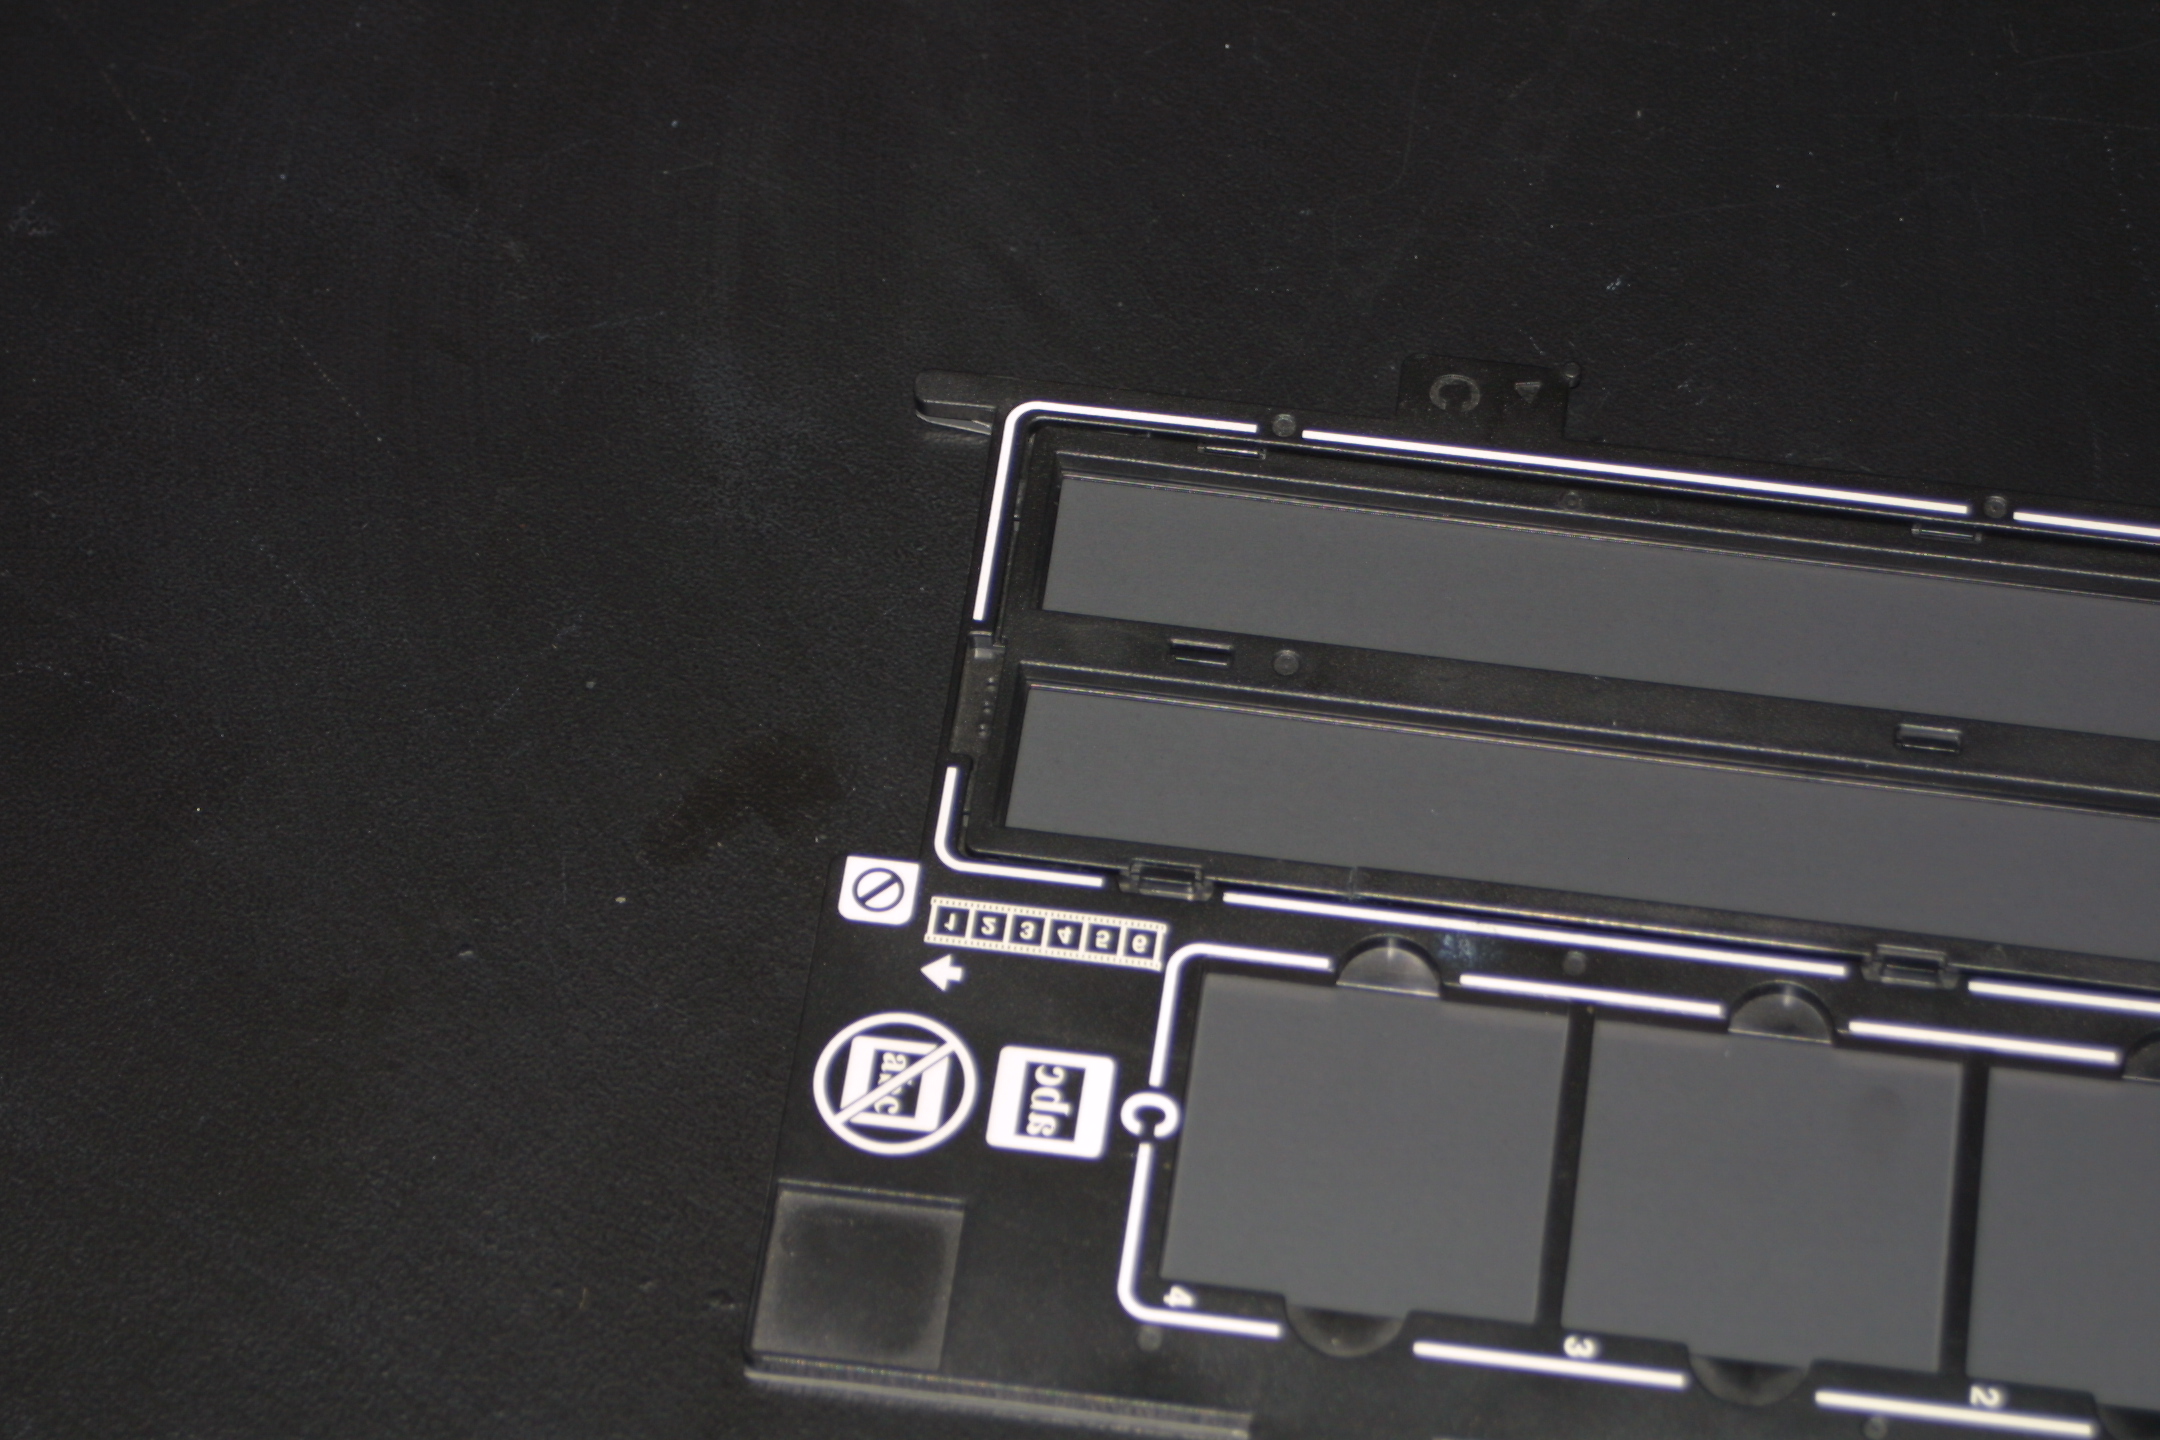
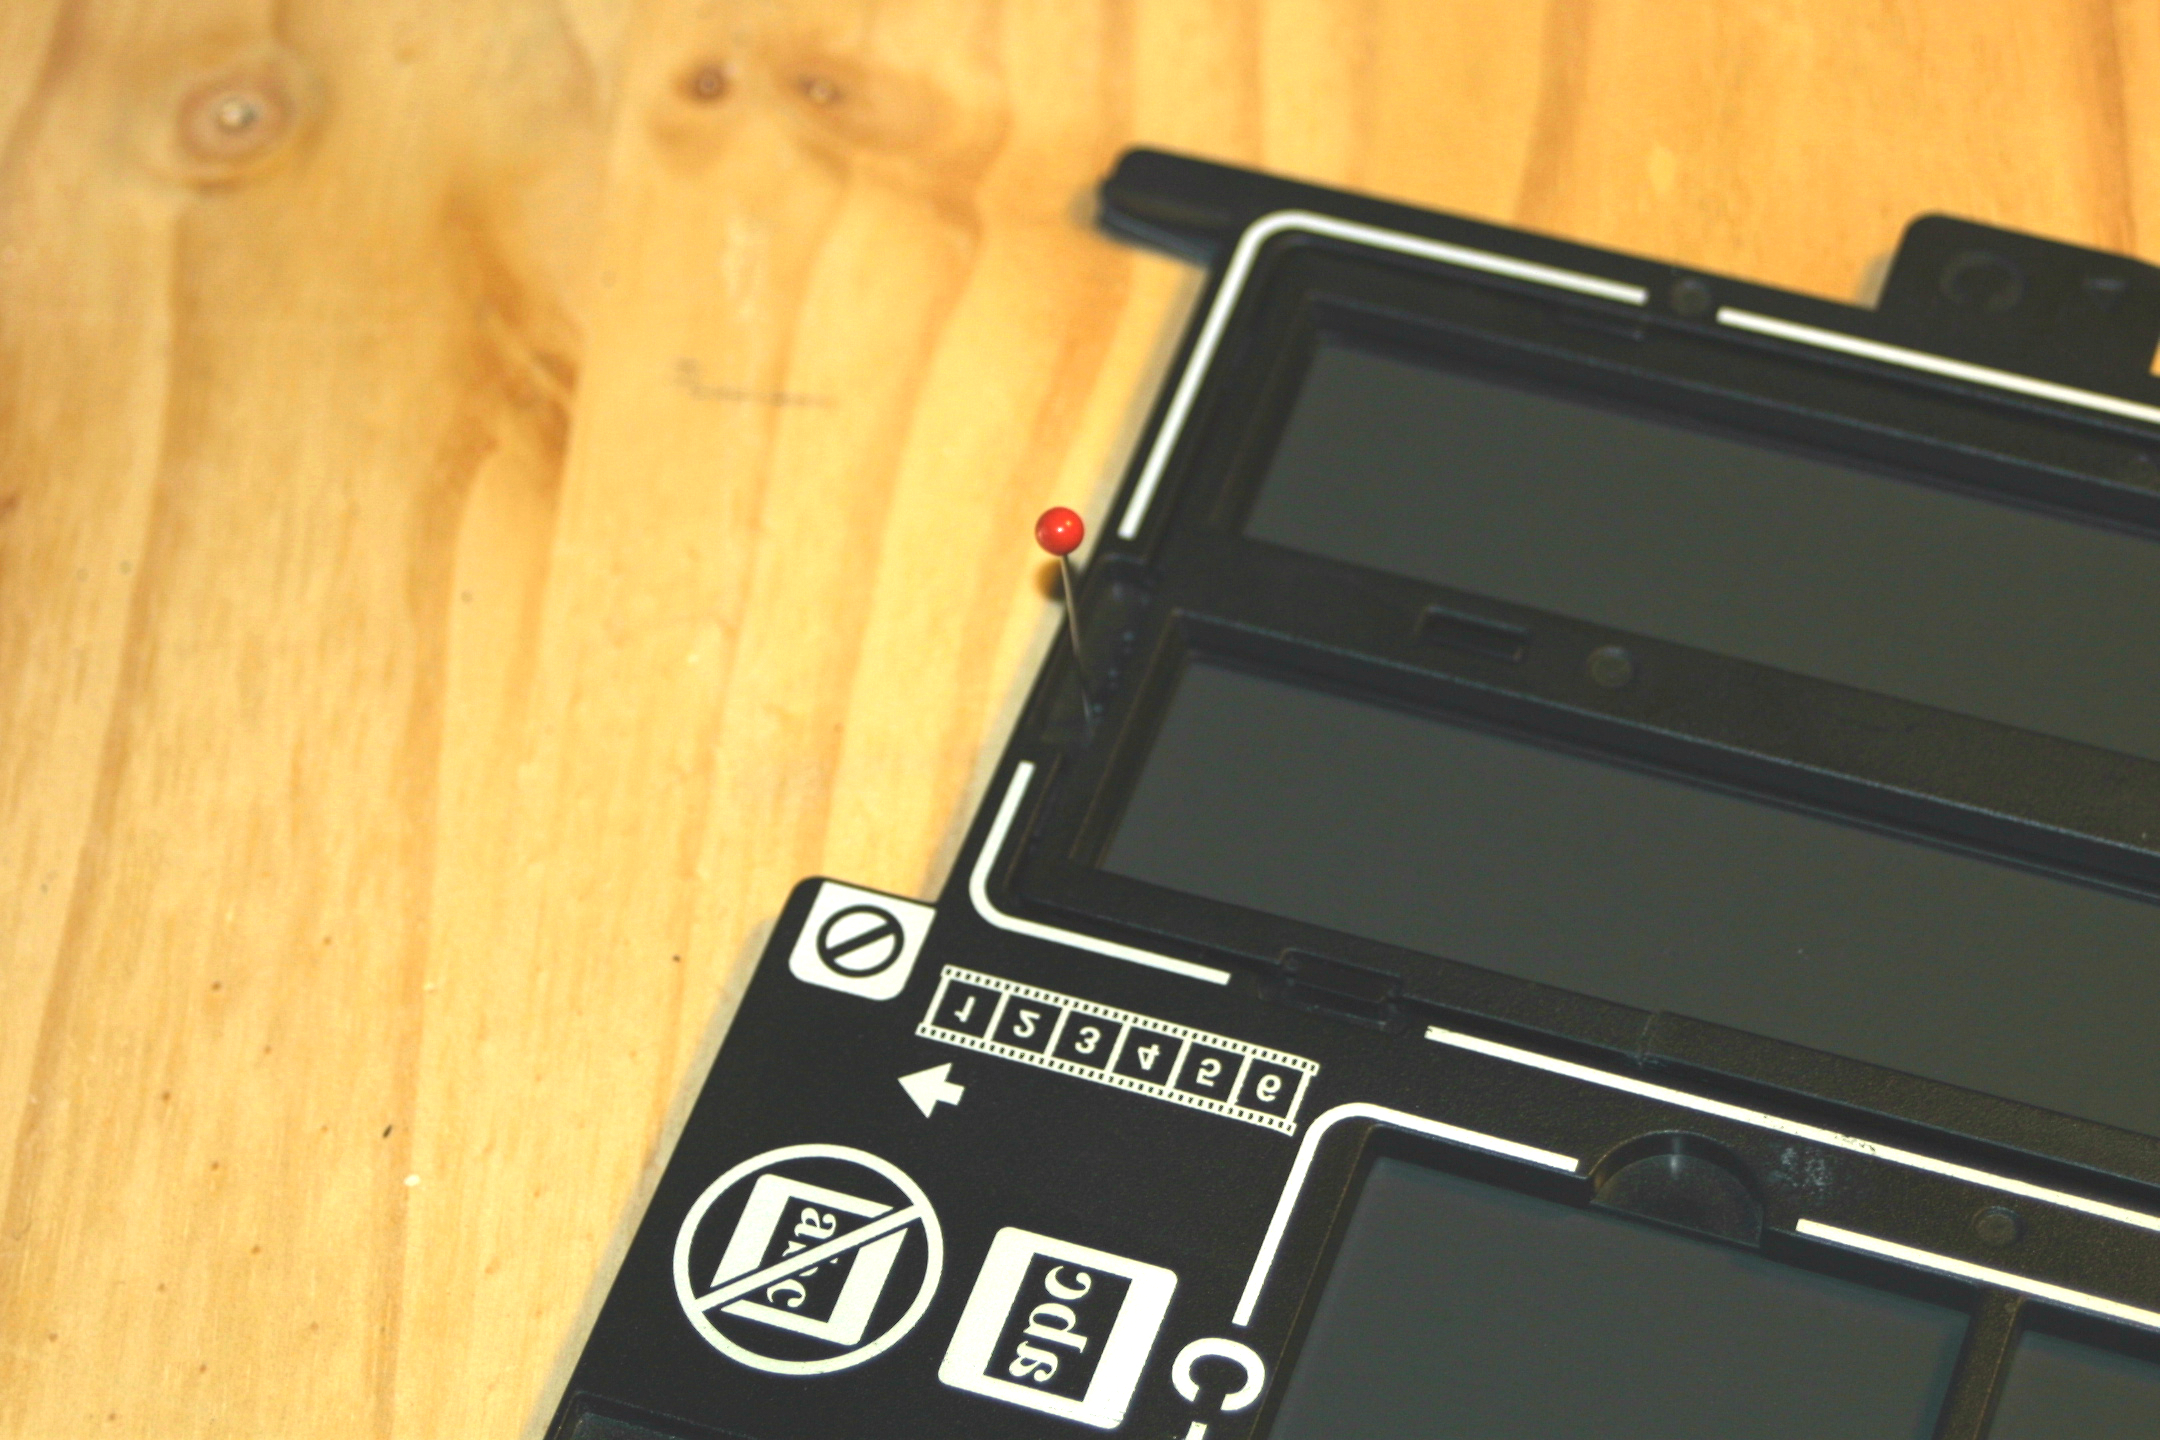
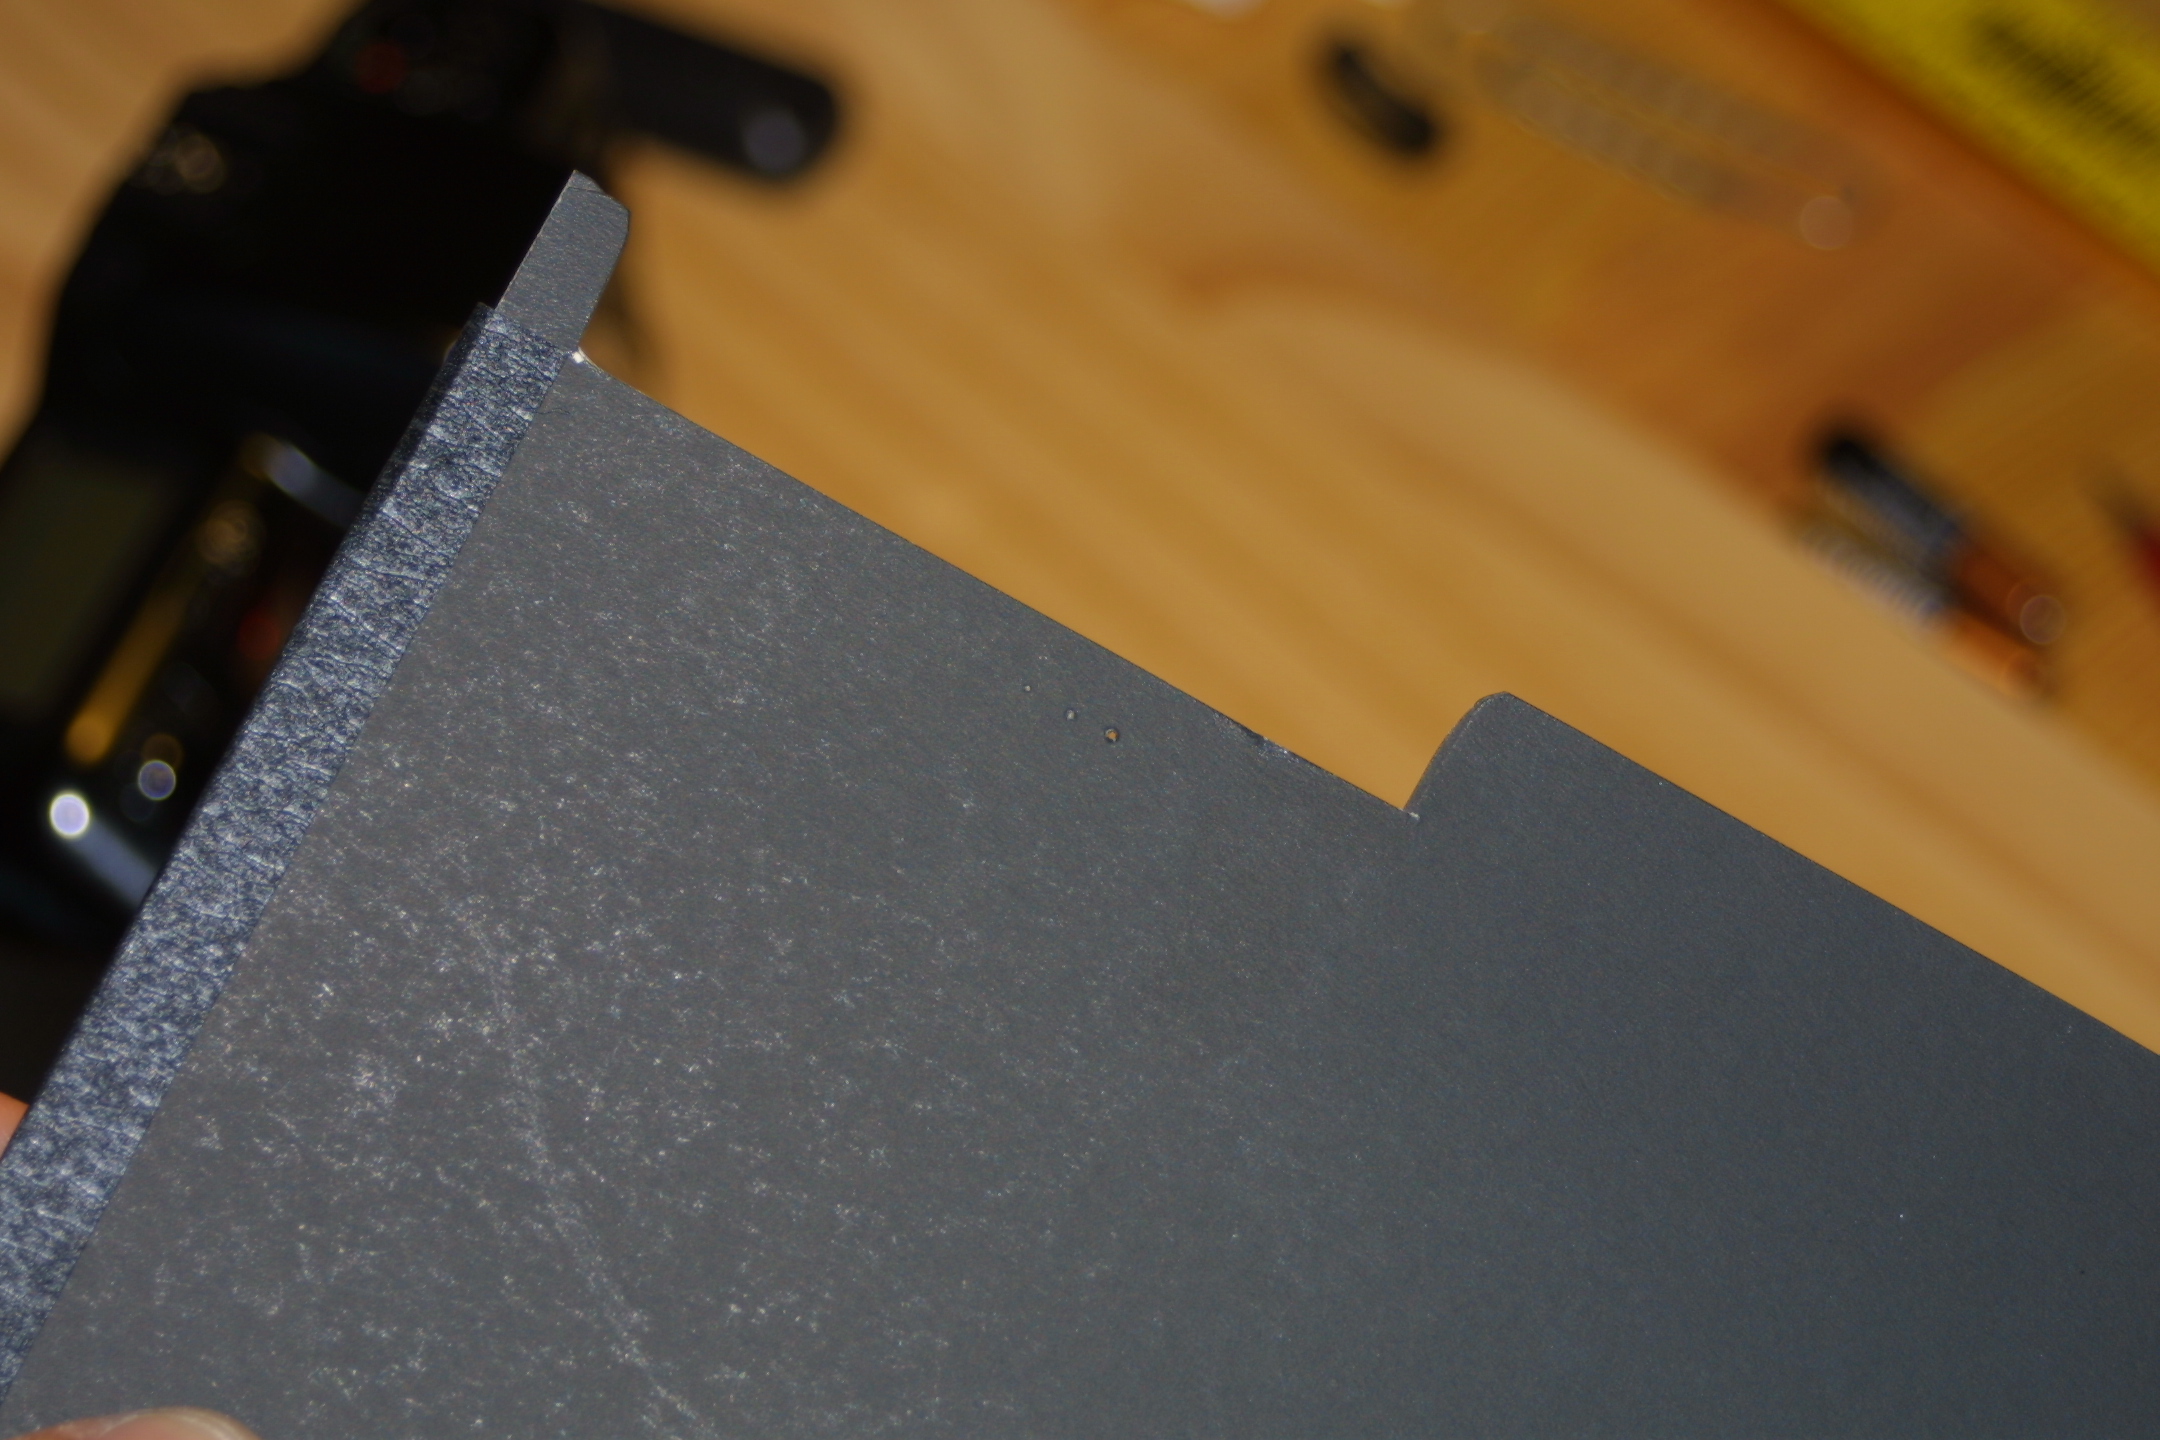
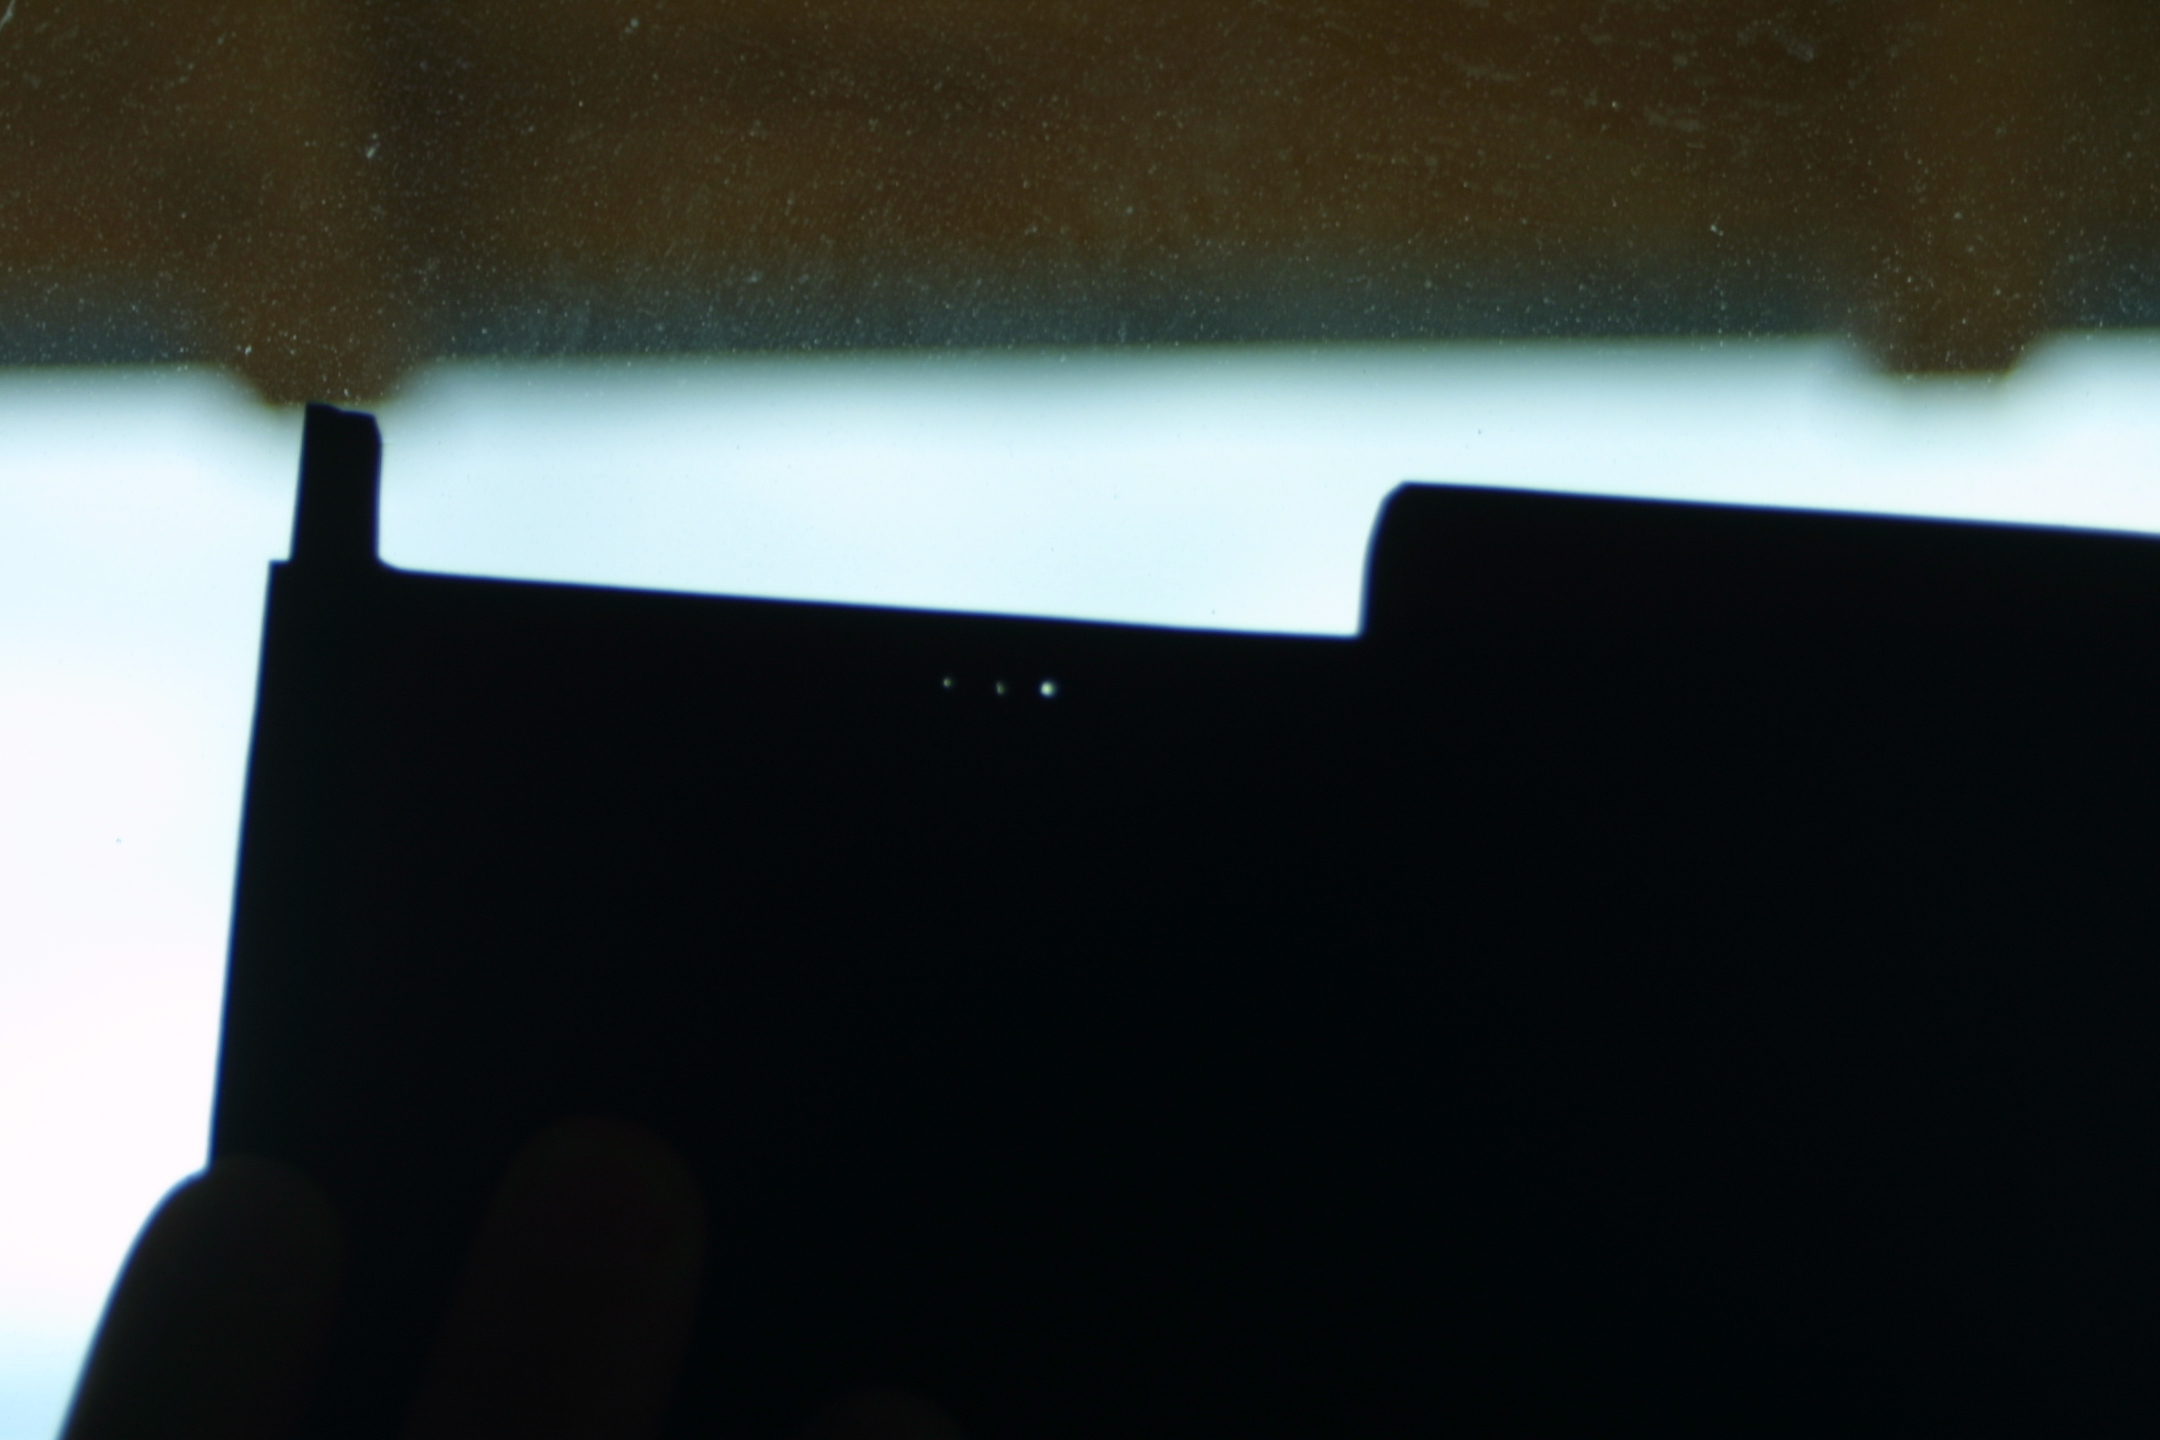
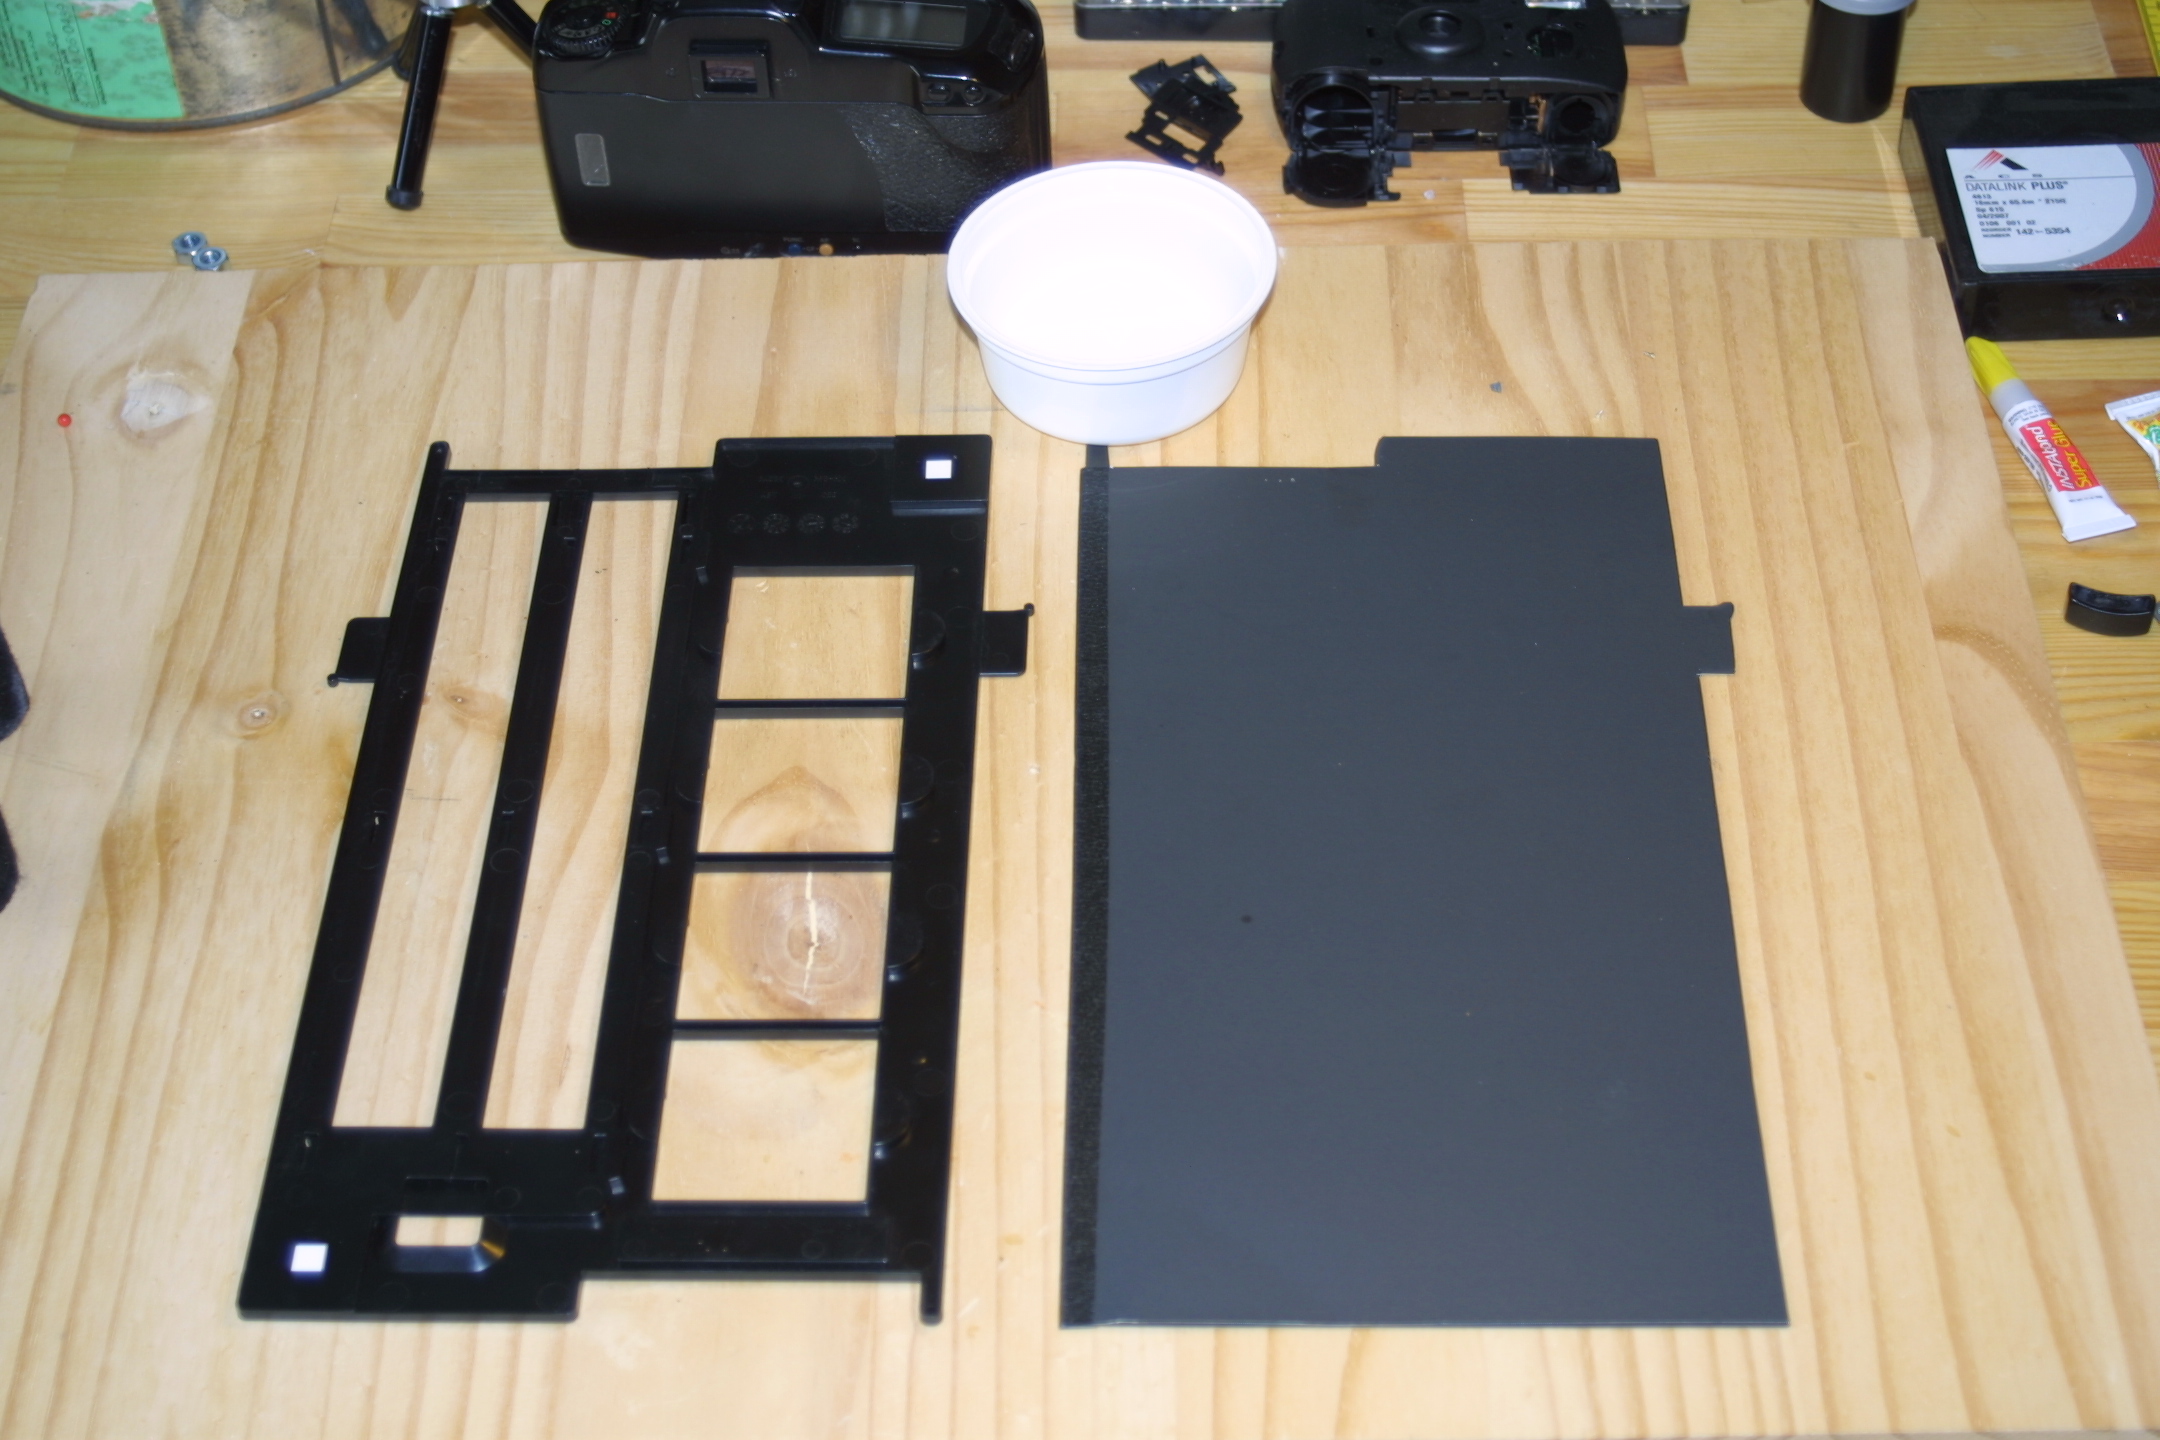
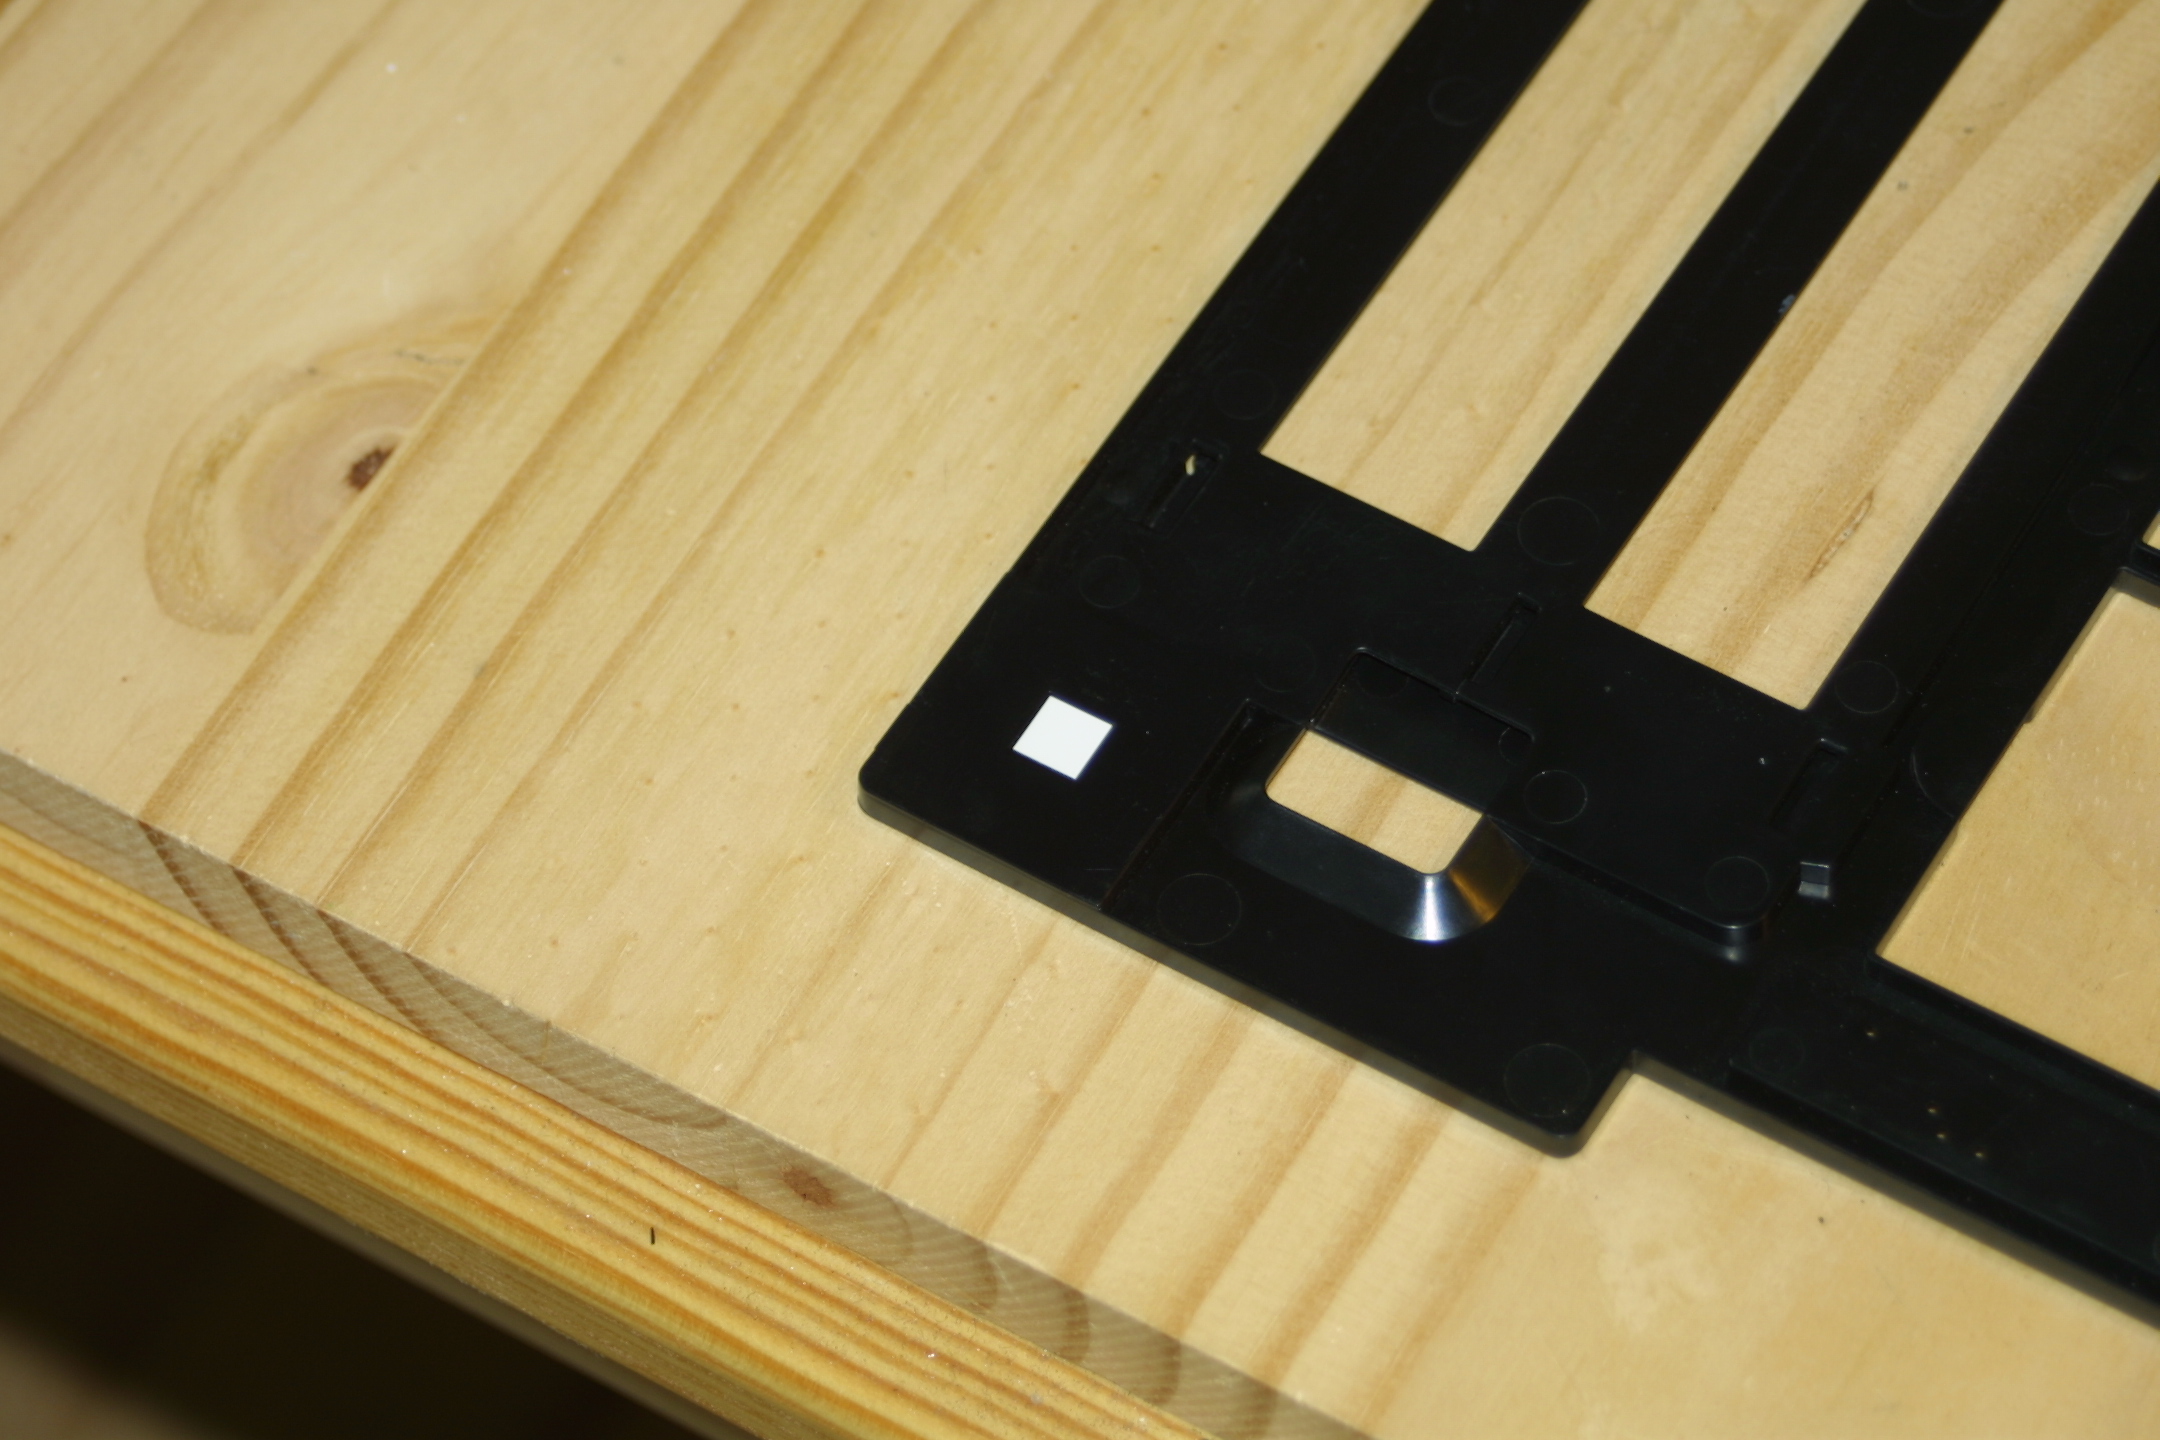
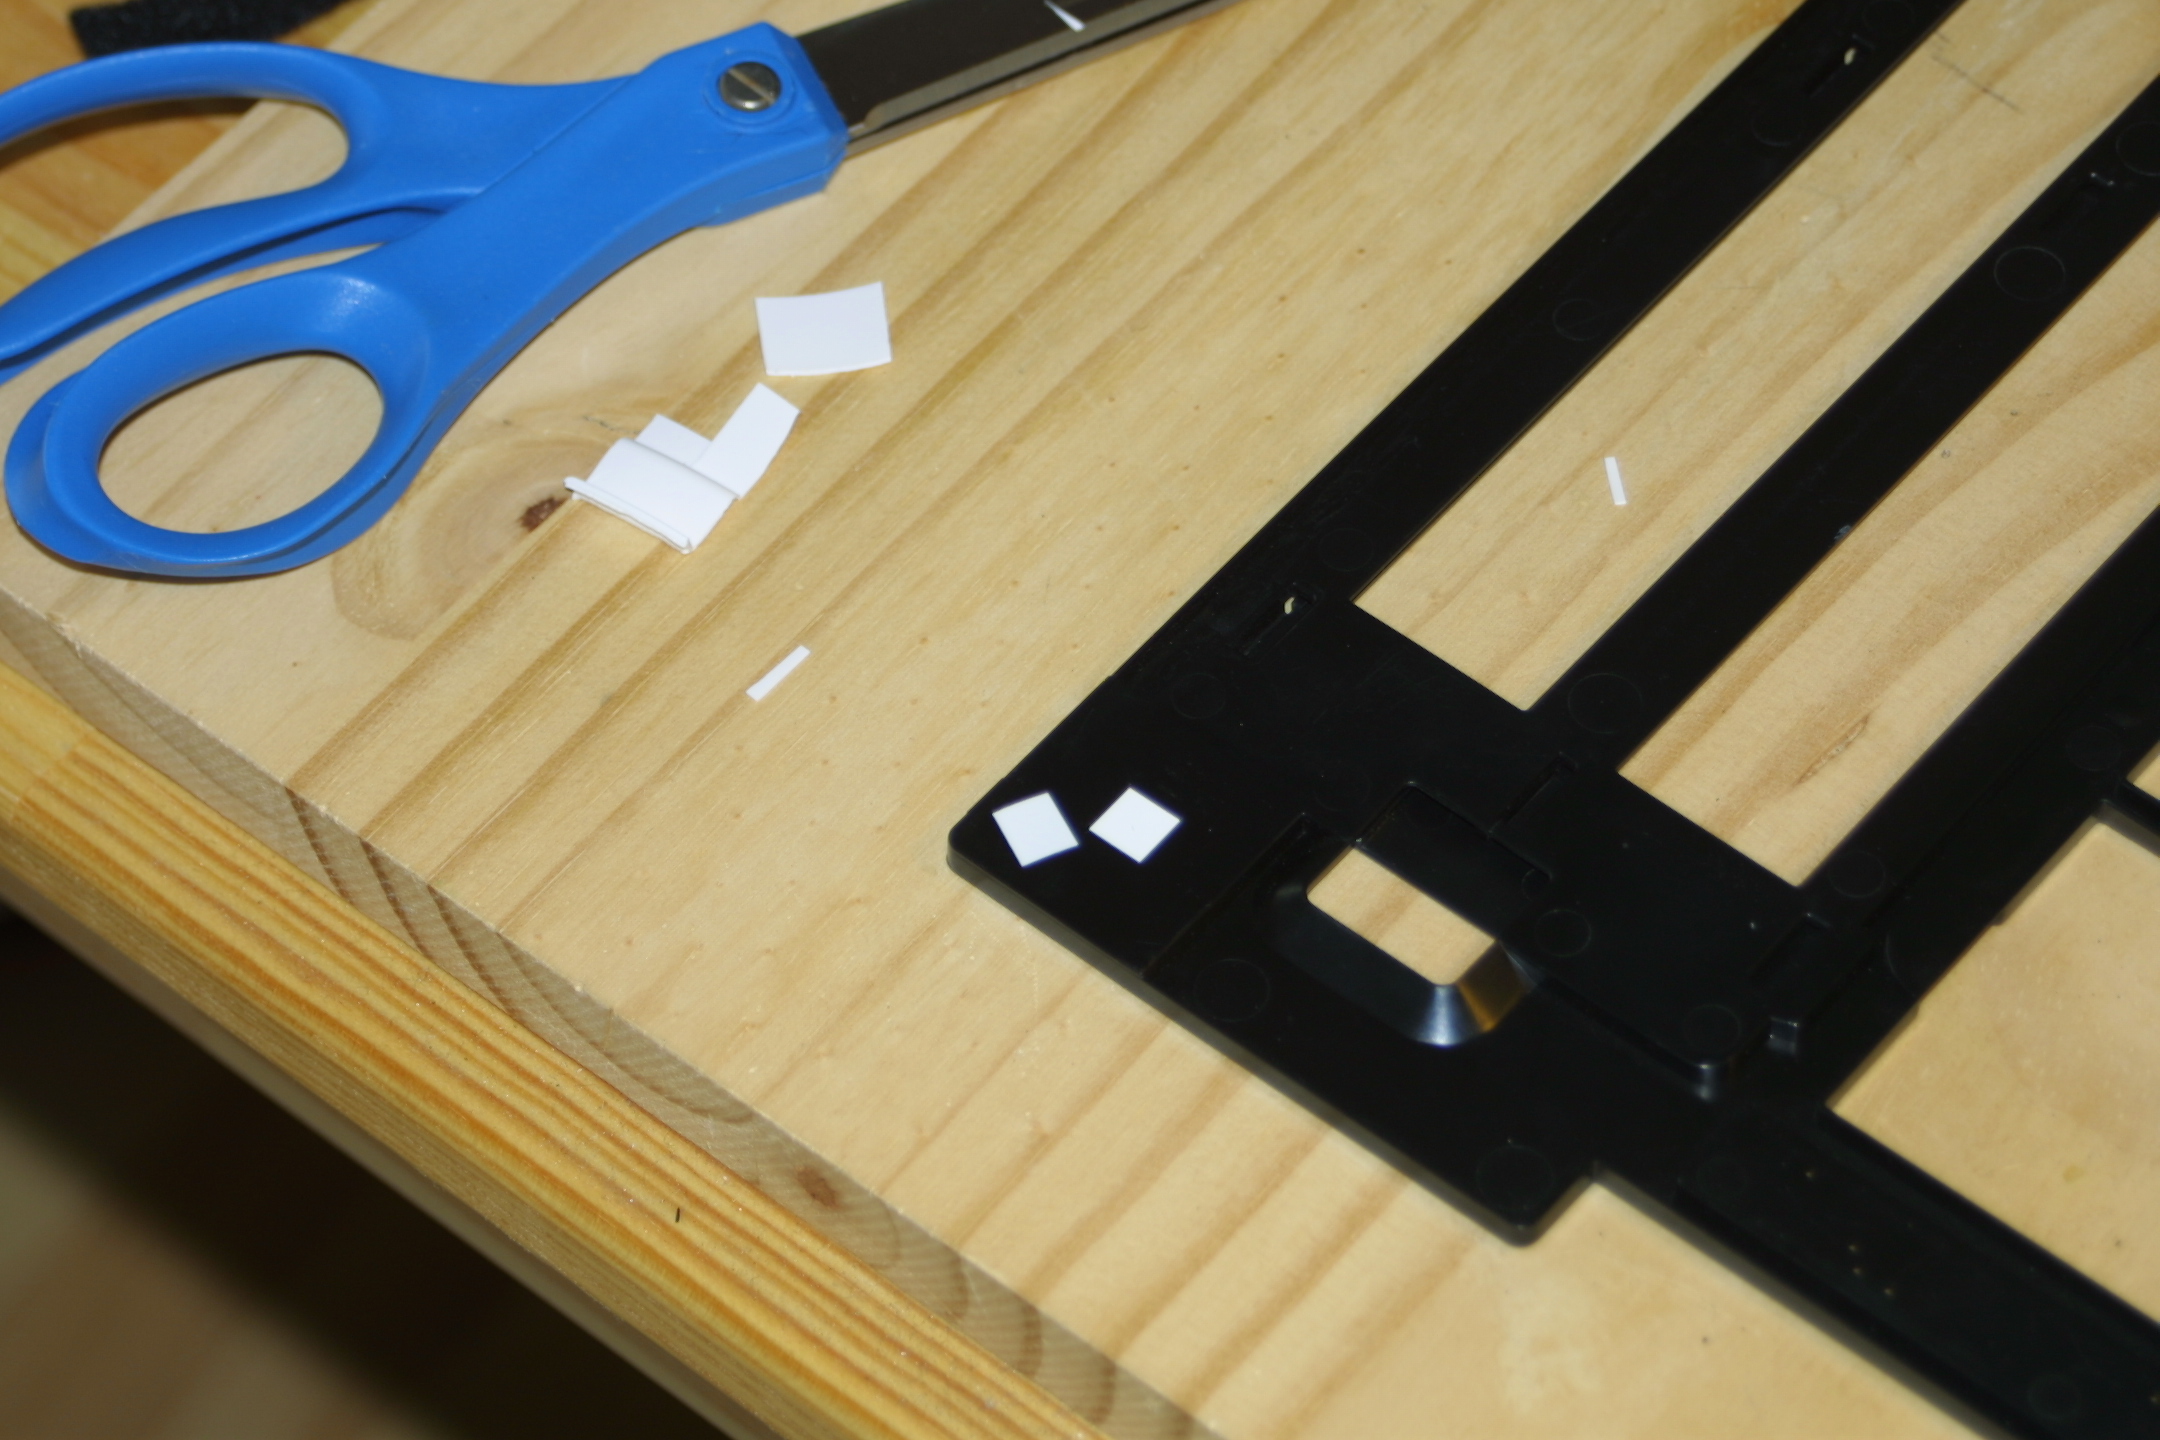
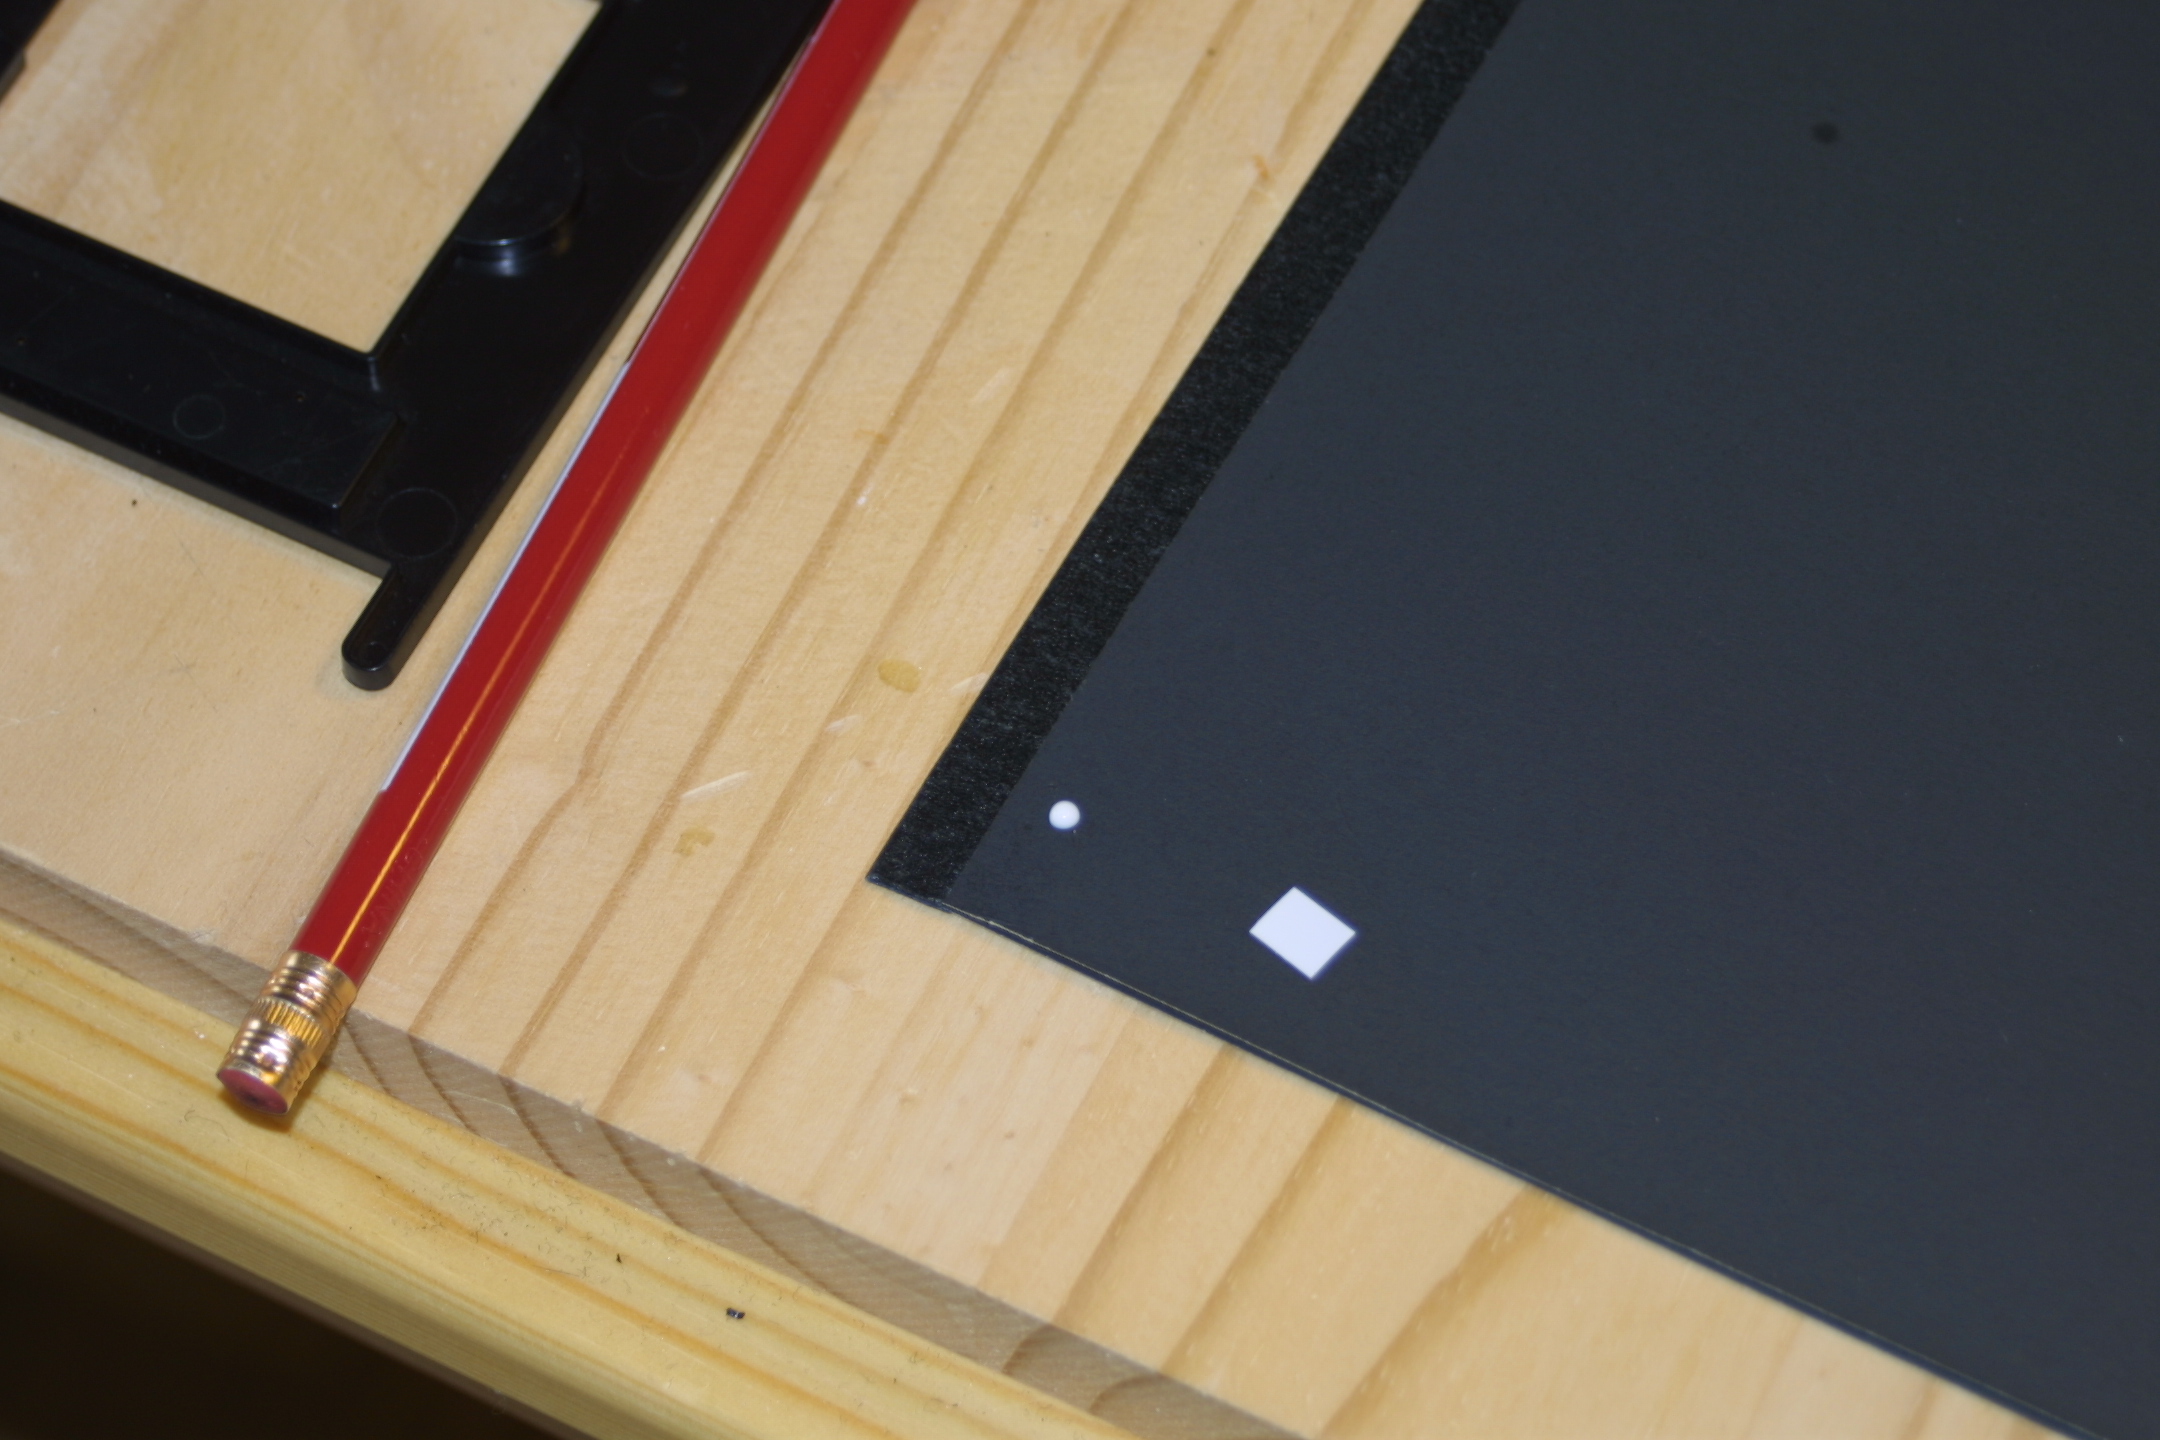
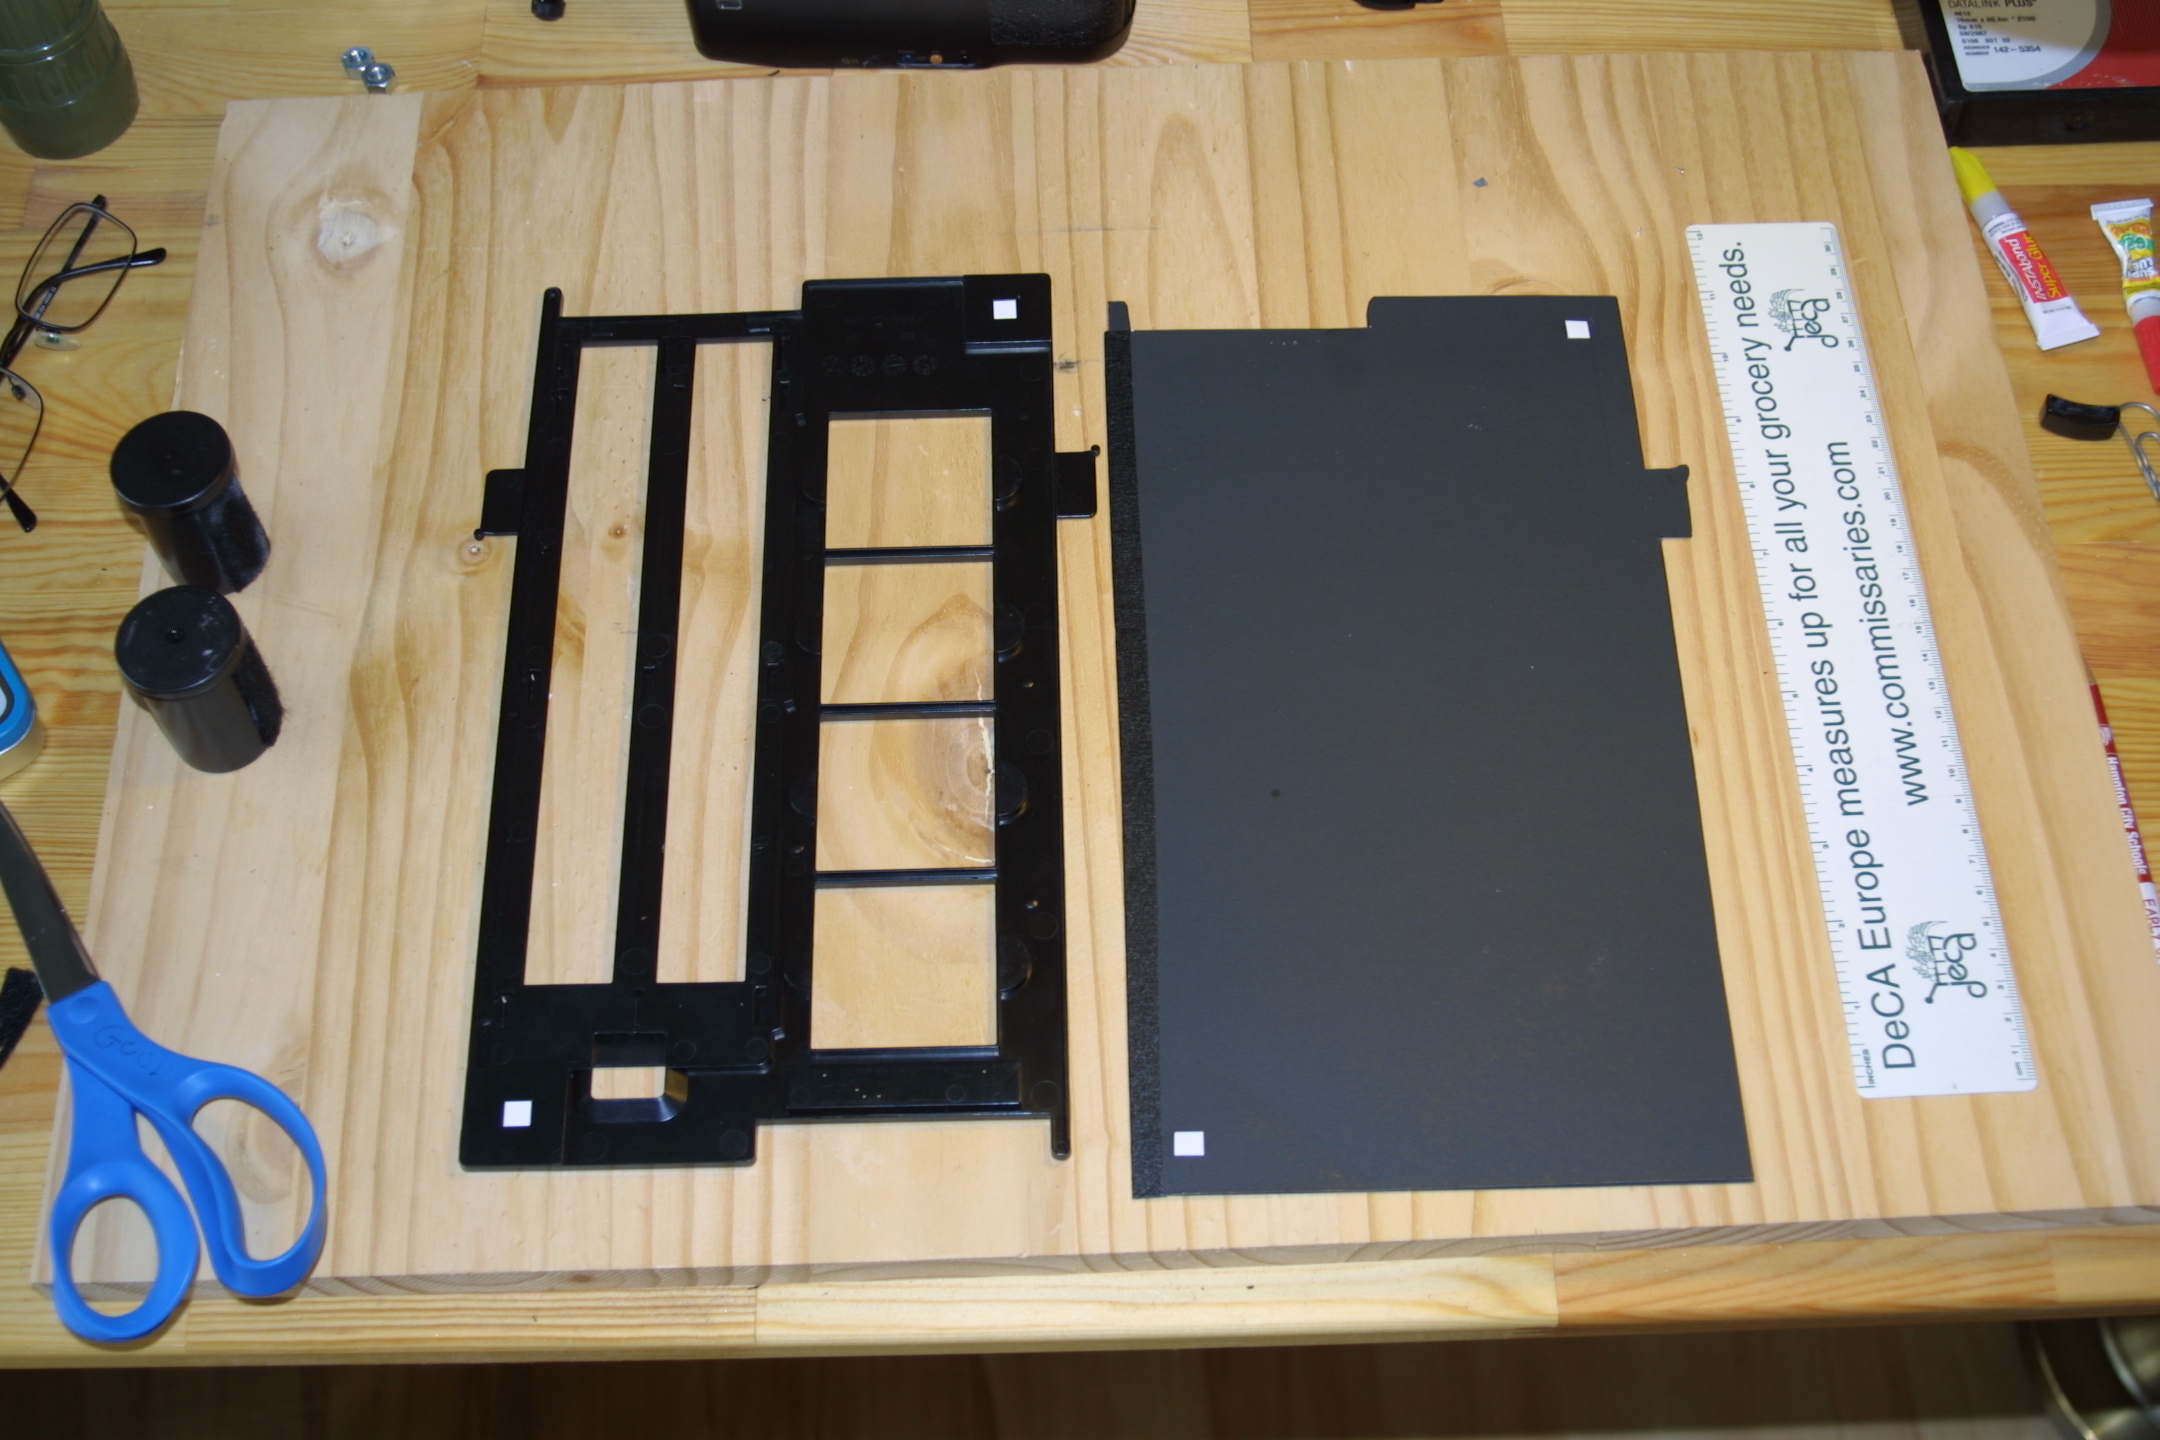
1. Locate the registration holes on the OEM film holder. In this case it is three small holes at the beginning of the film channel.
2. Lay the OEM film holder on your cardboard holder and make sure you have the exact registration.
3. Take a pin and plunge it through the holes and through the cardboard film holder (both layers).
4. You want to make the holes the same size as the ones on the OEM holder. You can wiggle the pin to enlarge the holes if you need to. Check your work by holding the film holder up to the light and see if you can see the light streaming through the holes.
5. The next feature that the OEM film holder has to help the scanner recognize where the film is consists of two white tabs on the side that touches the scanner glass. Locate those tabs and orient your cardboard film holder in the same position.
6. Cut out two small squares of white plastic from a yogurt container.
7. Glue the tabs onto the cardboard with school glue. They should be square and about one cm from the corner of the film holder.
8. Let the glue cure (dry) before moving on to the next step.
Cut Out the Image Area
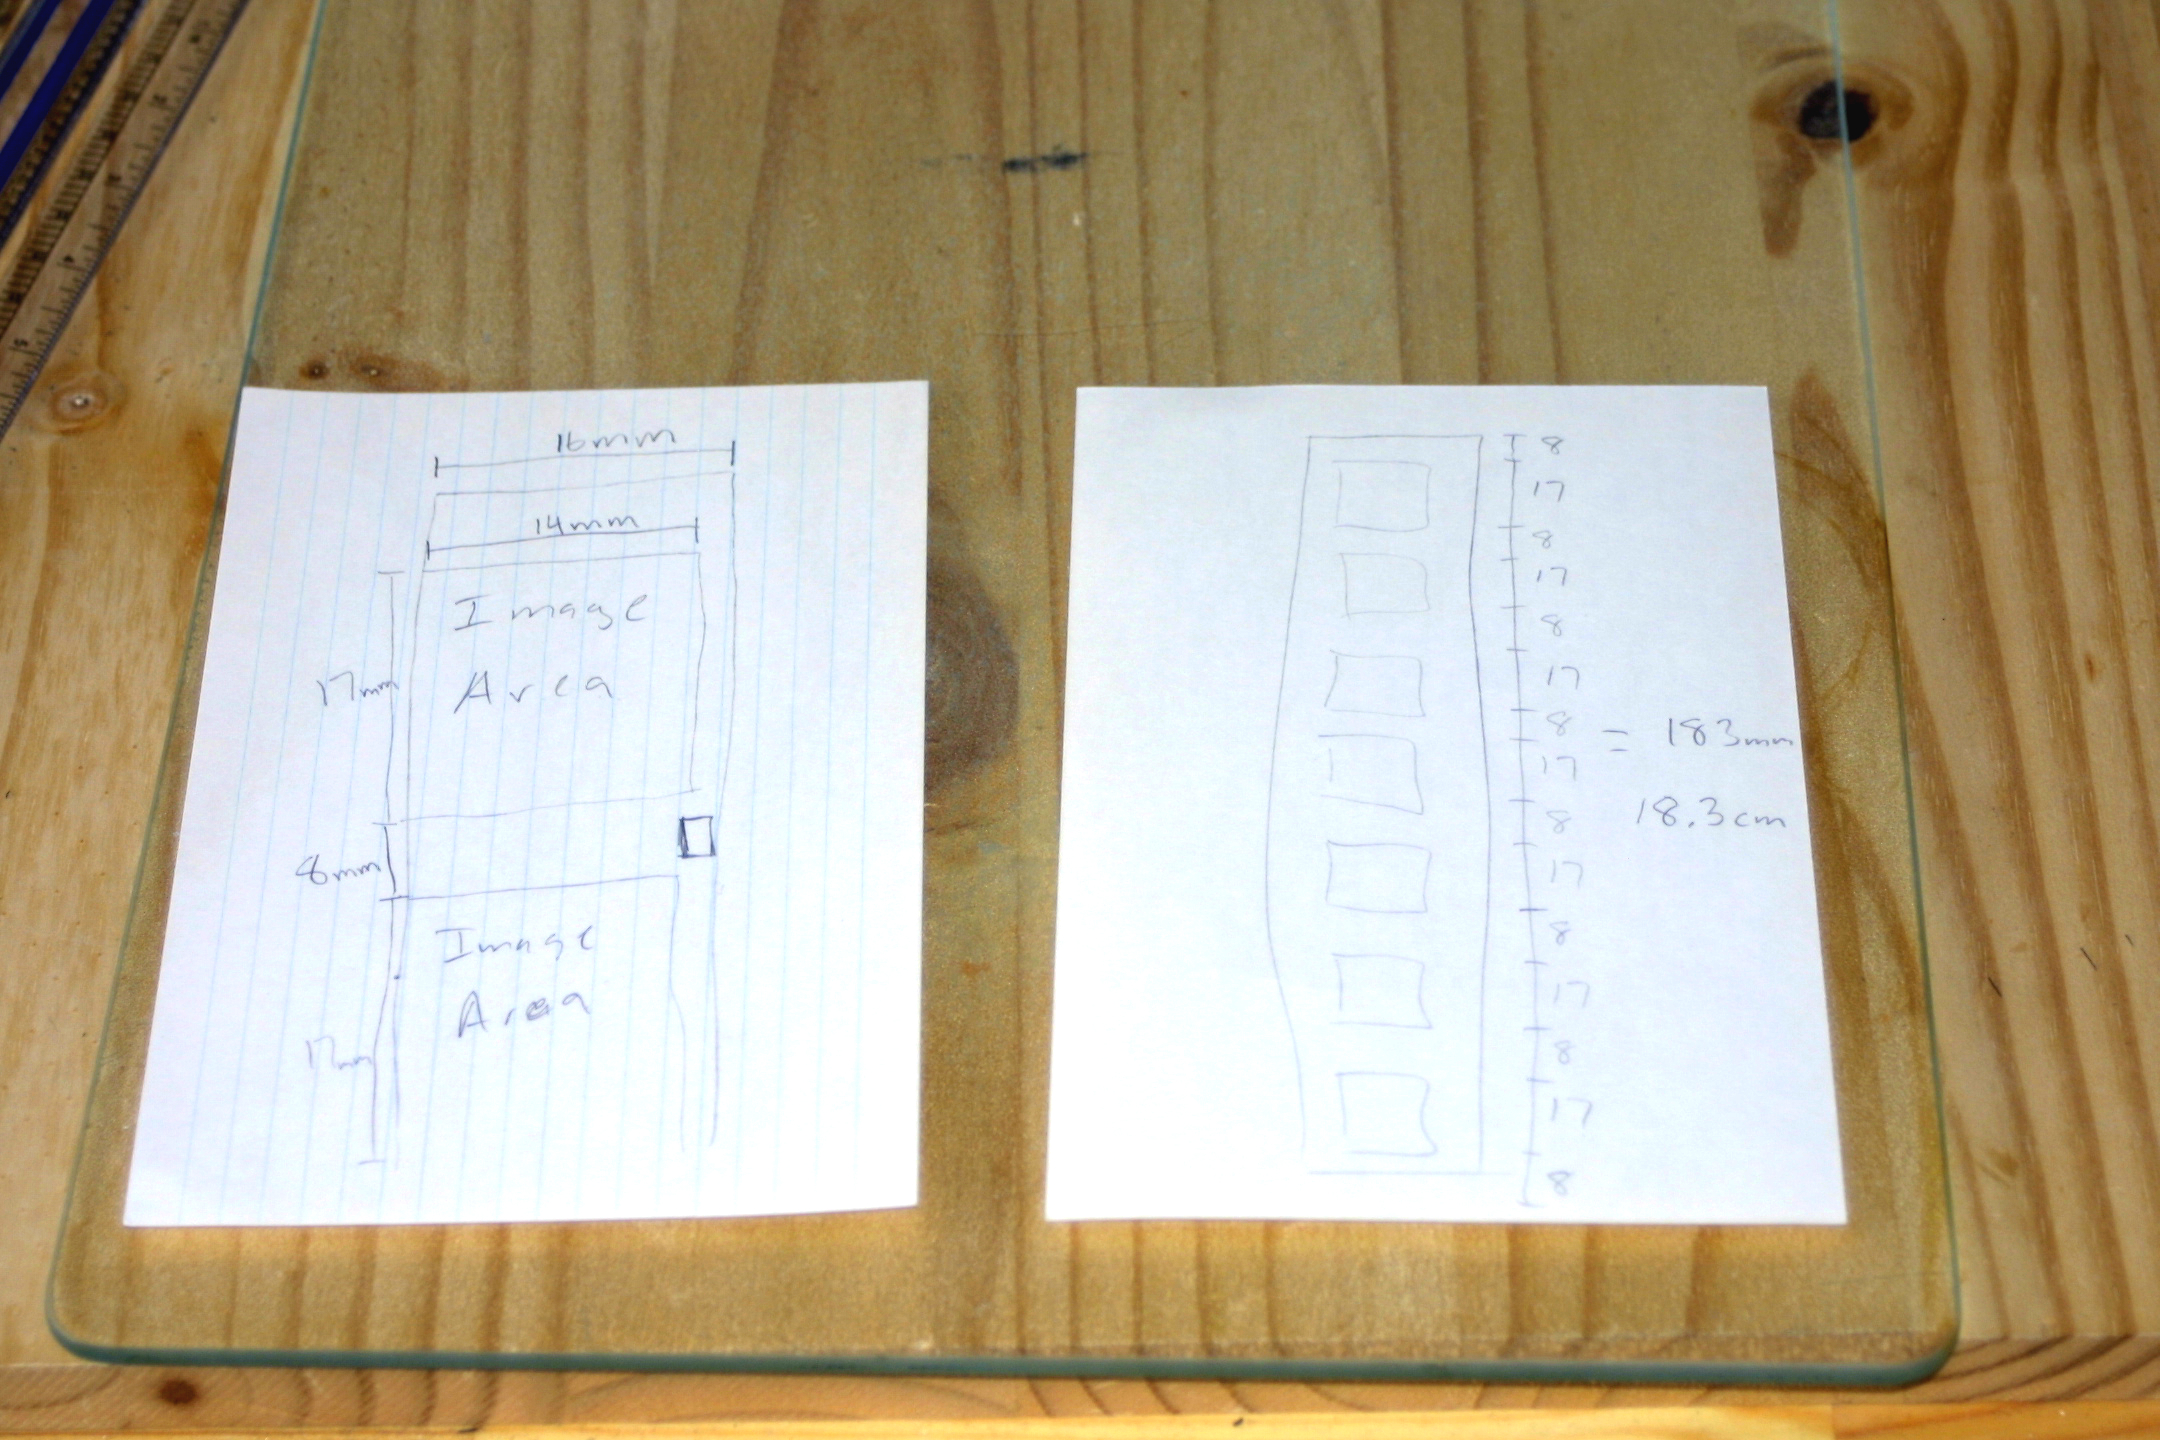
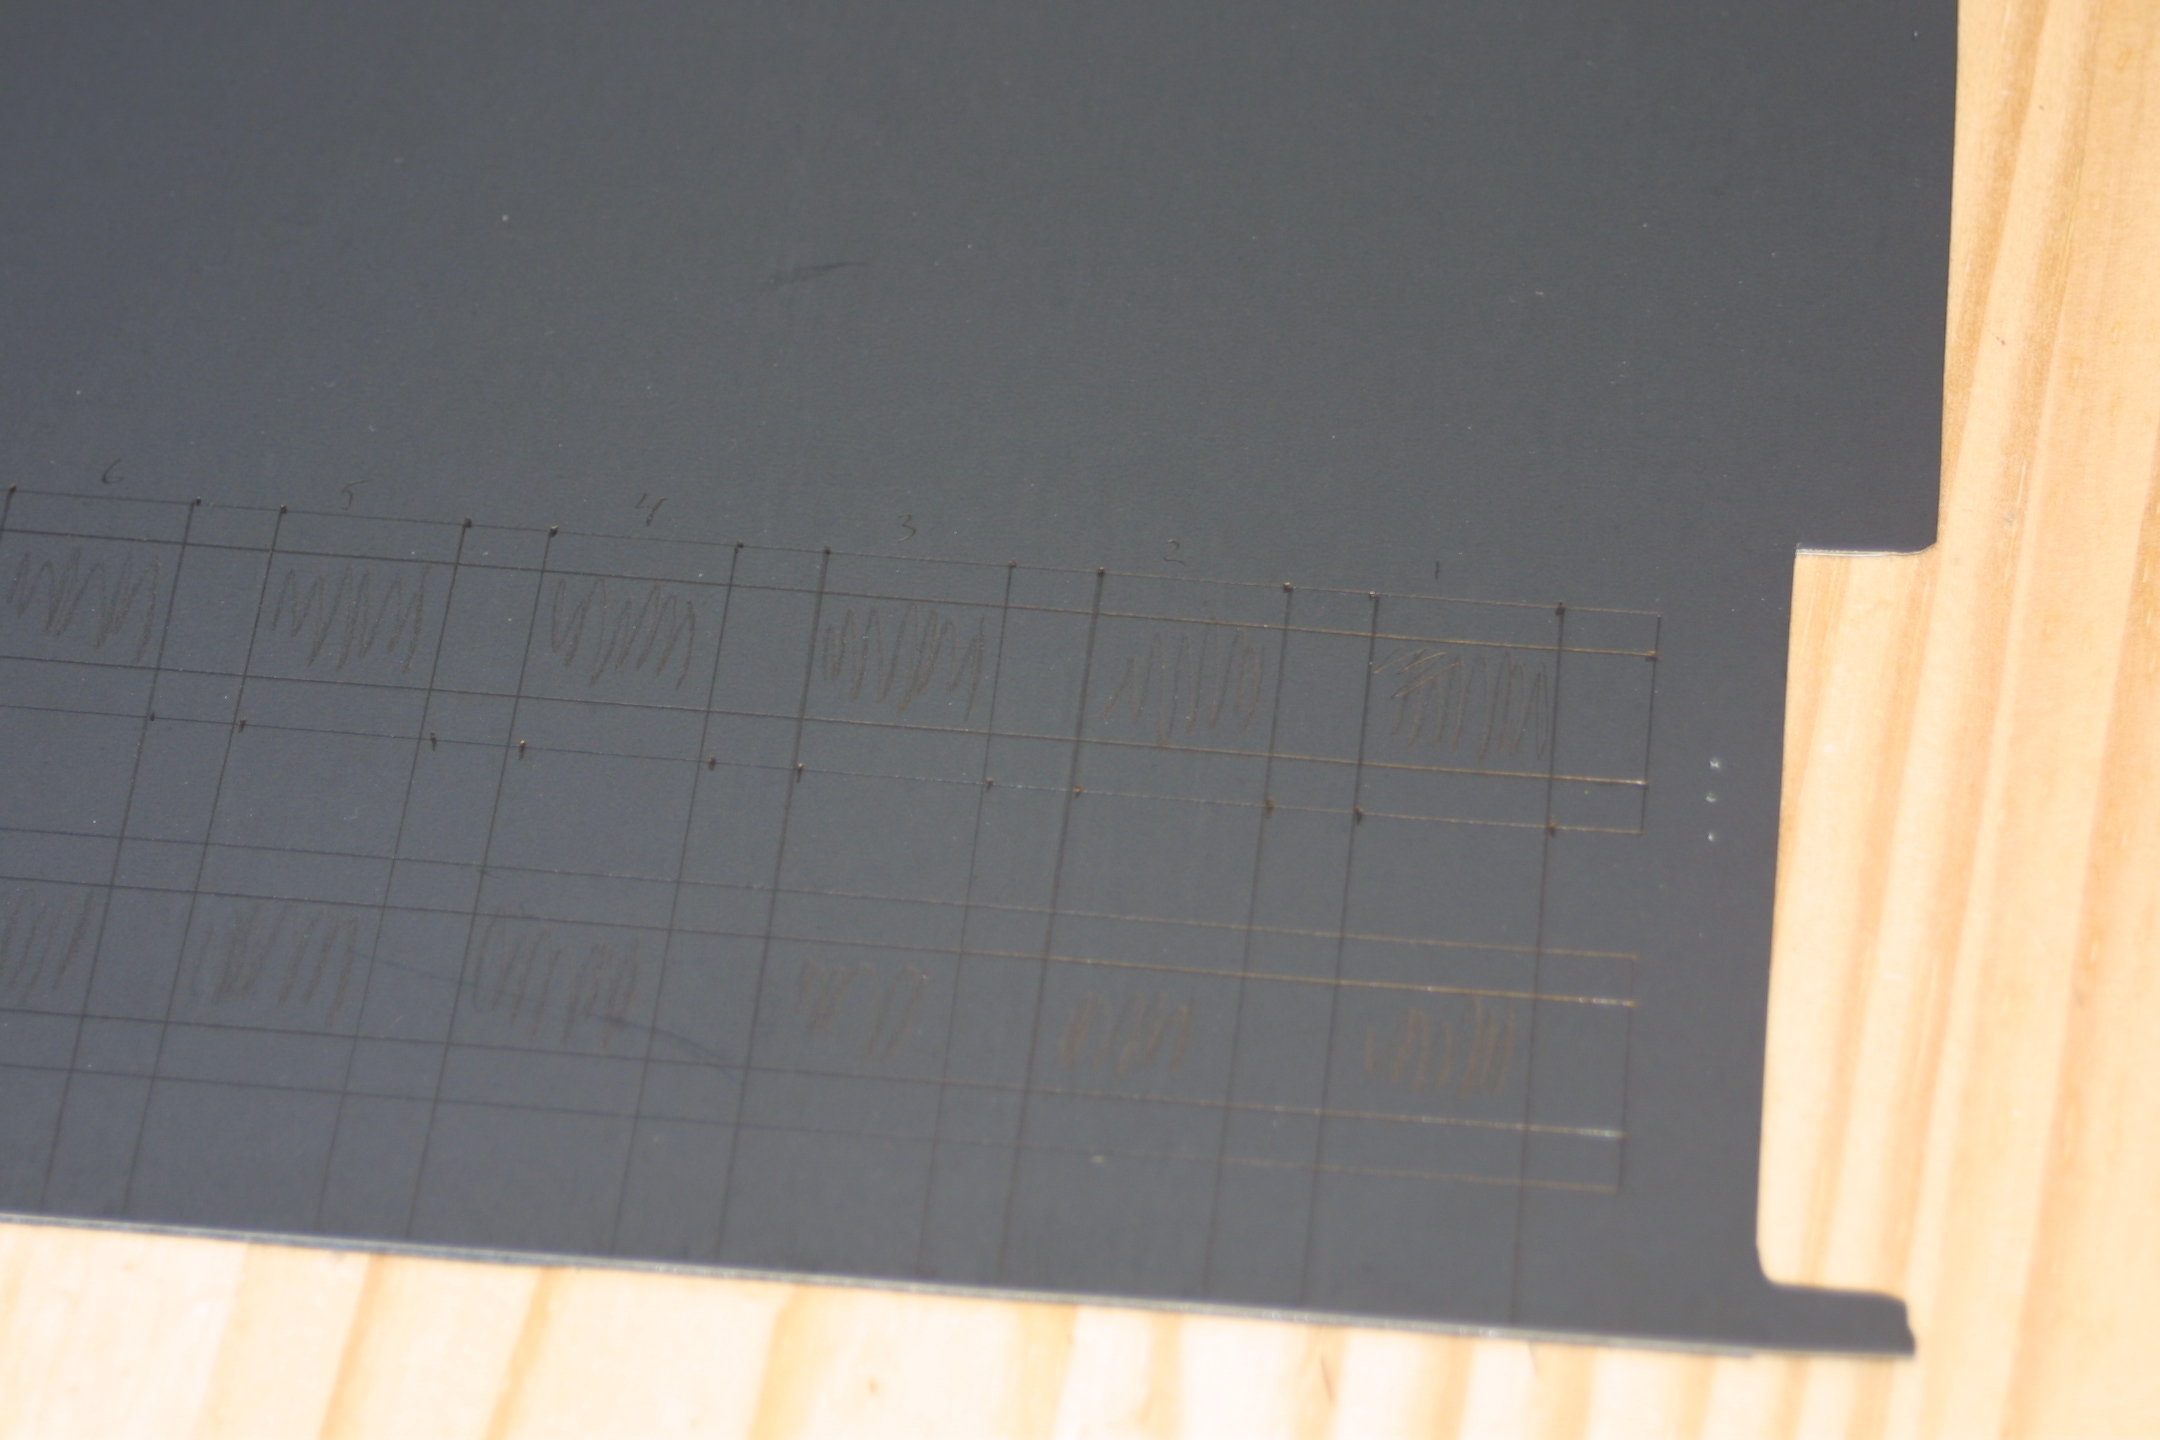
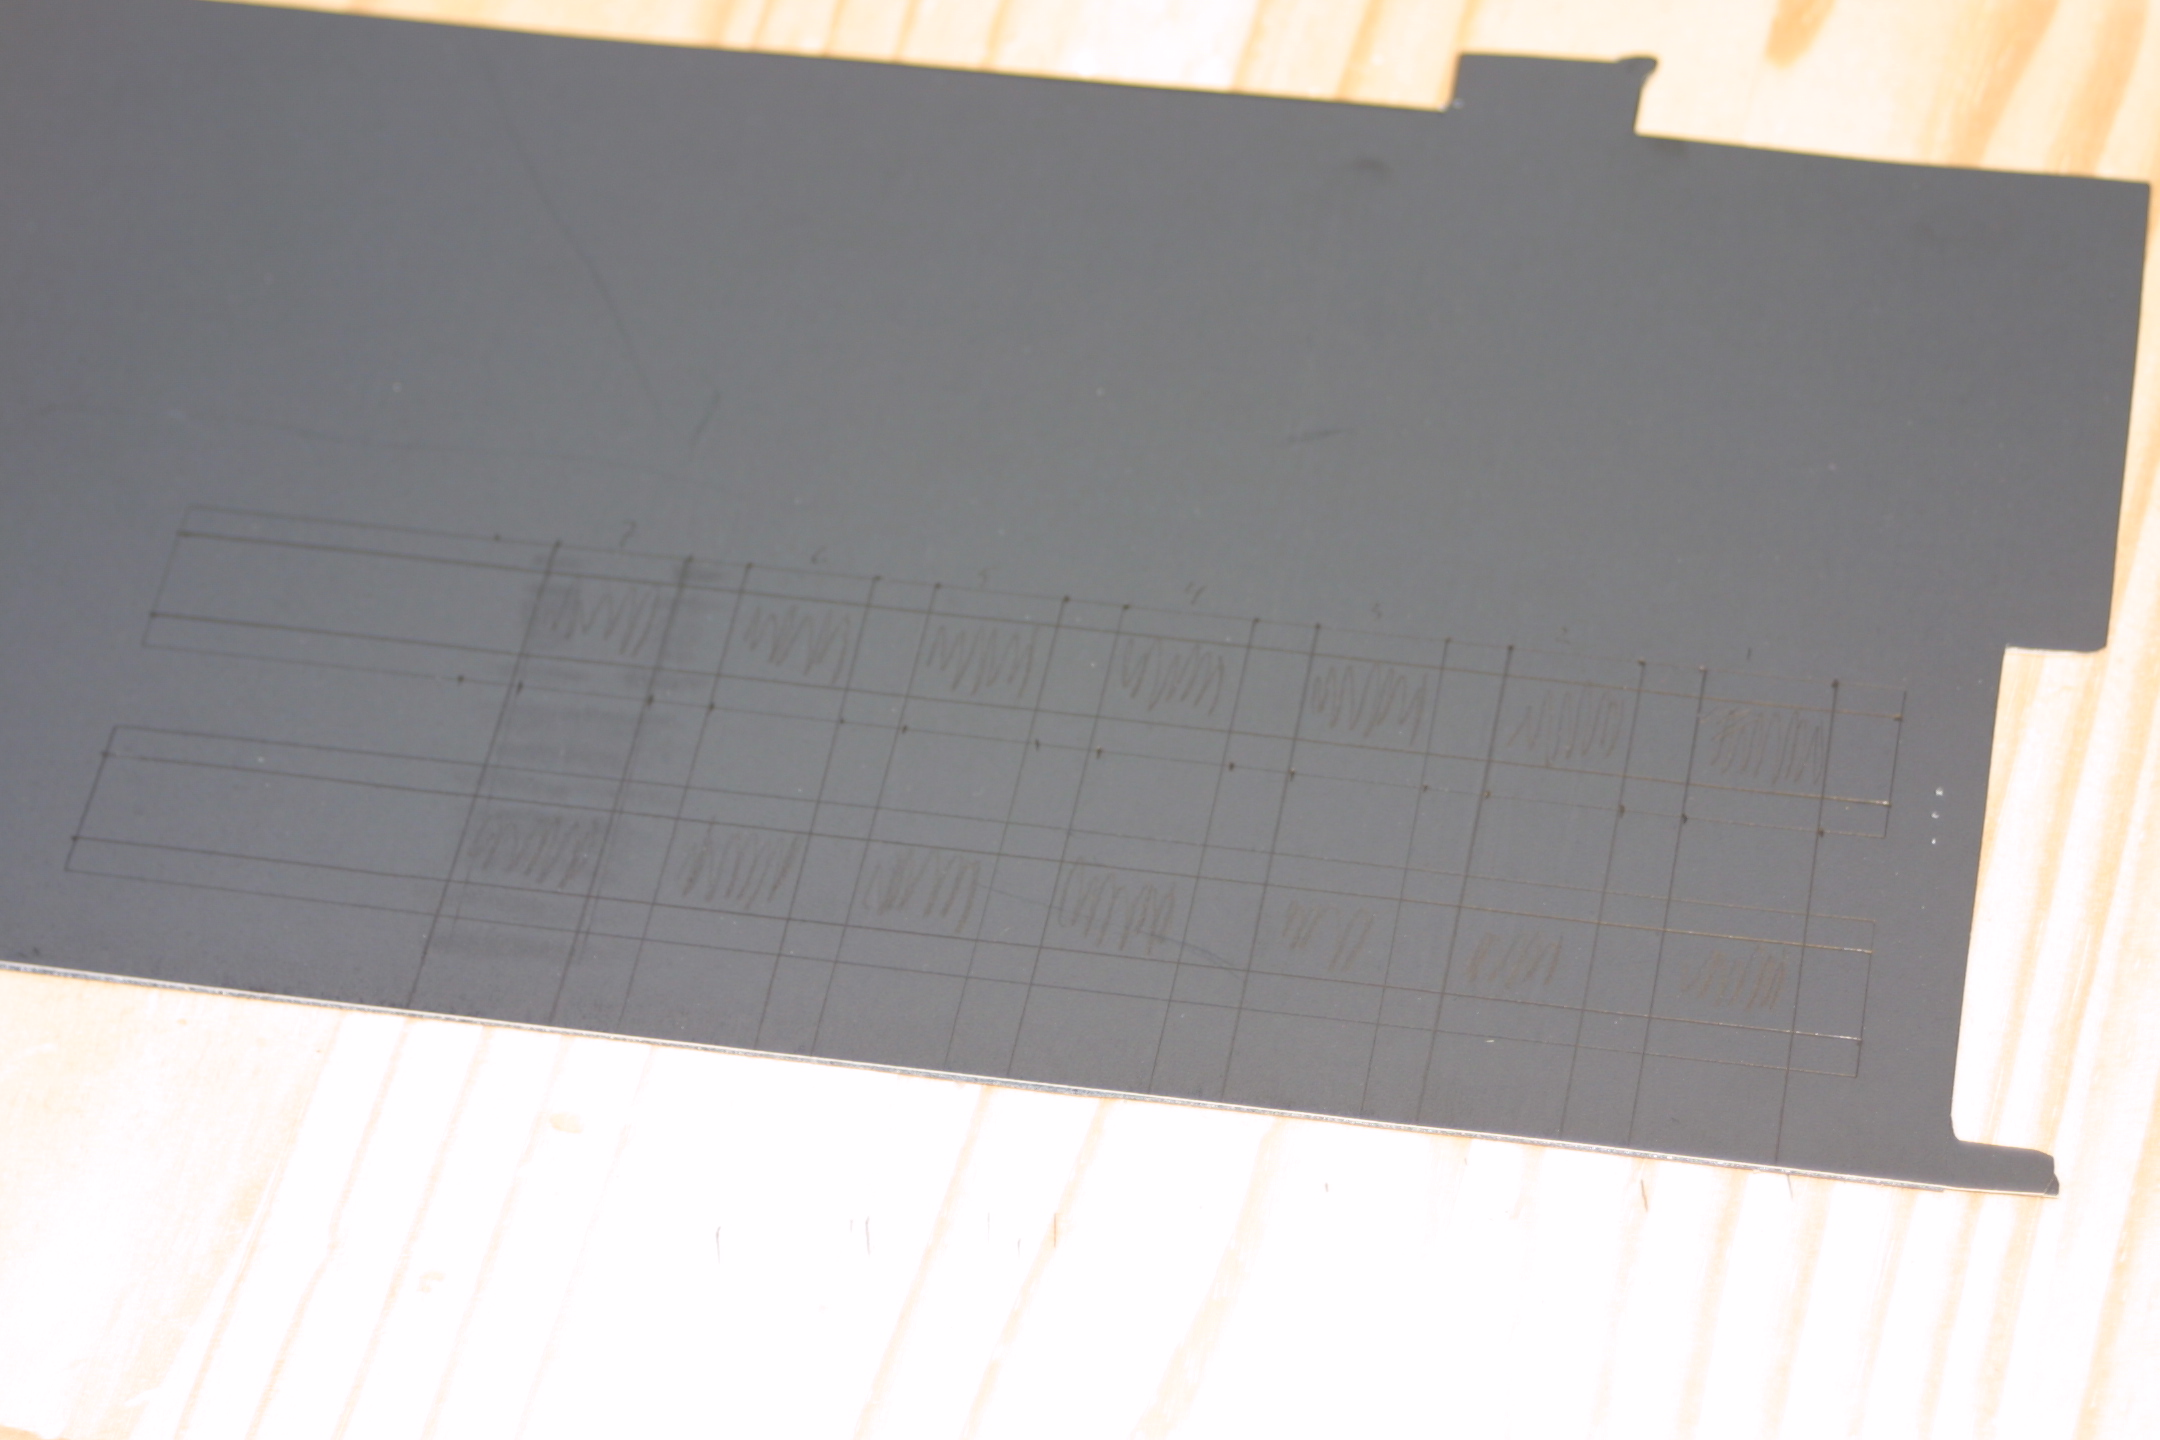
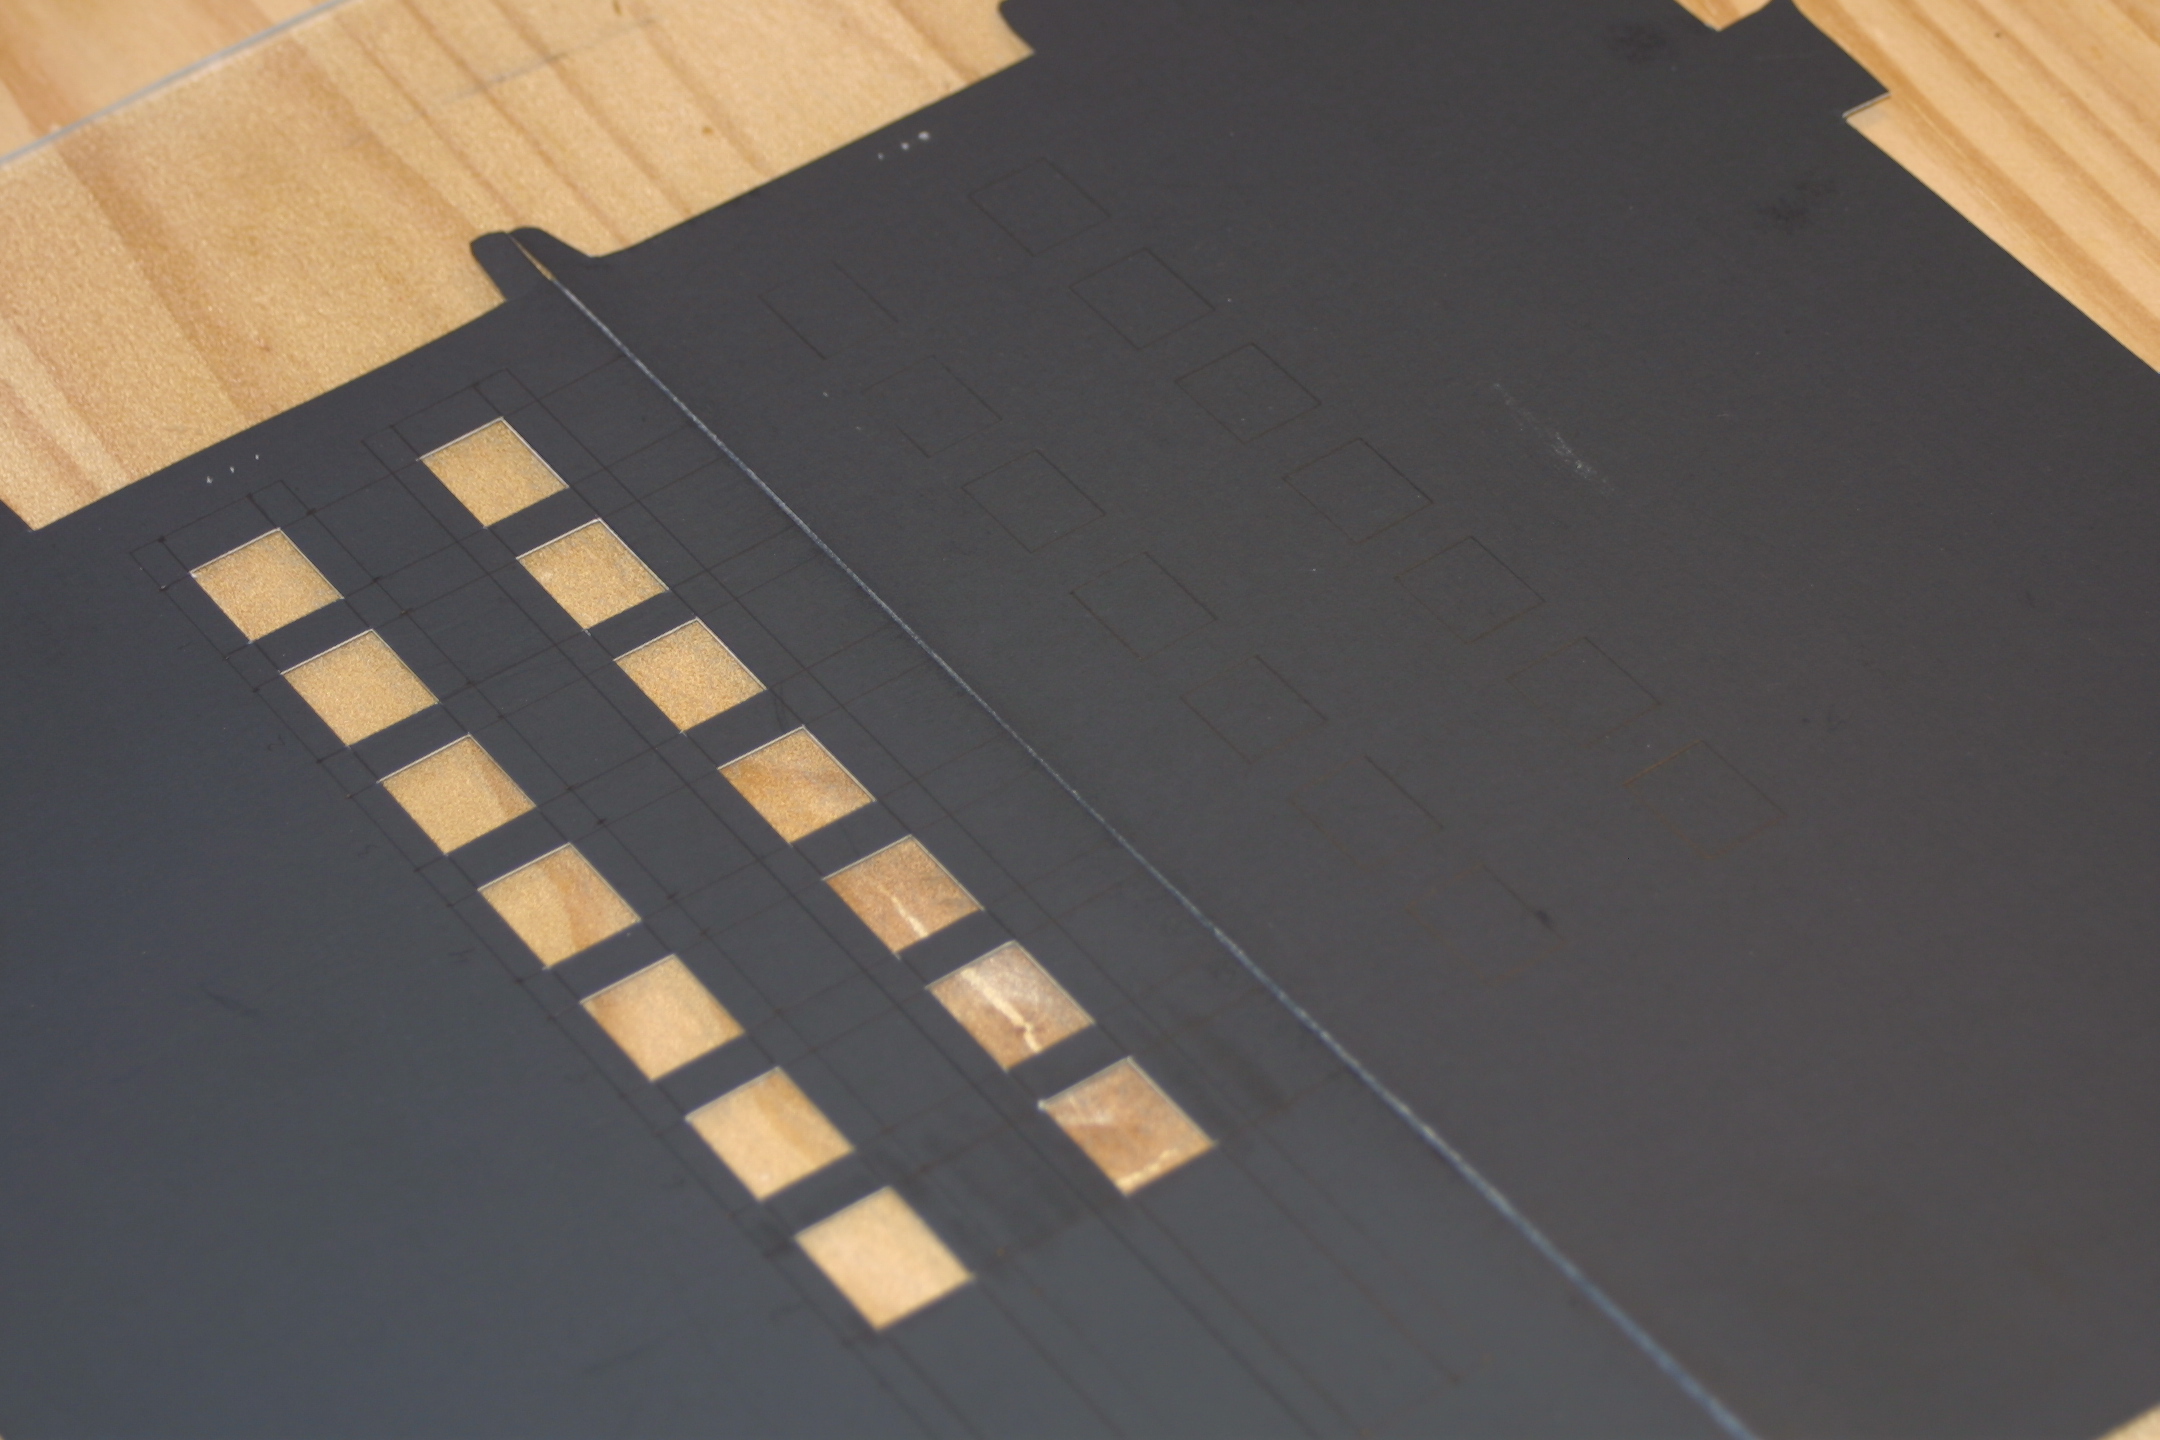
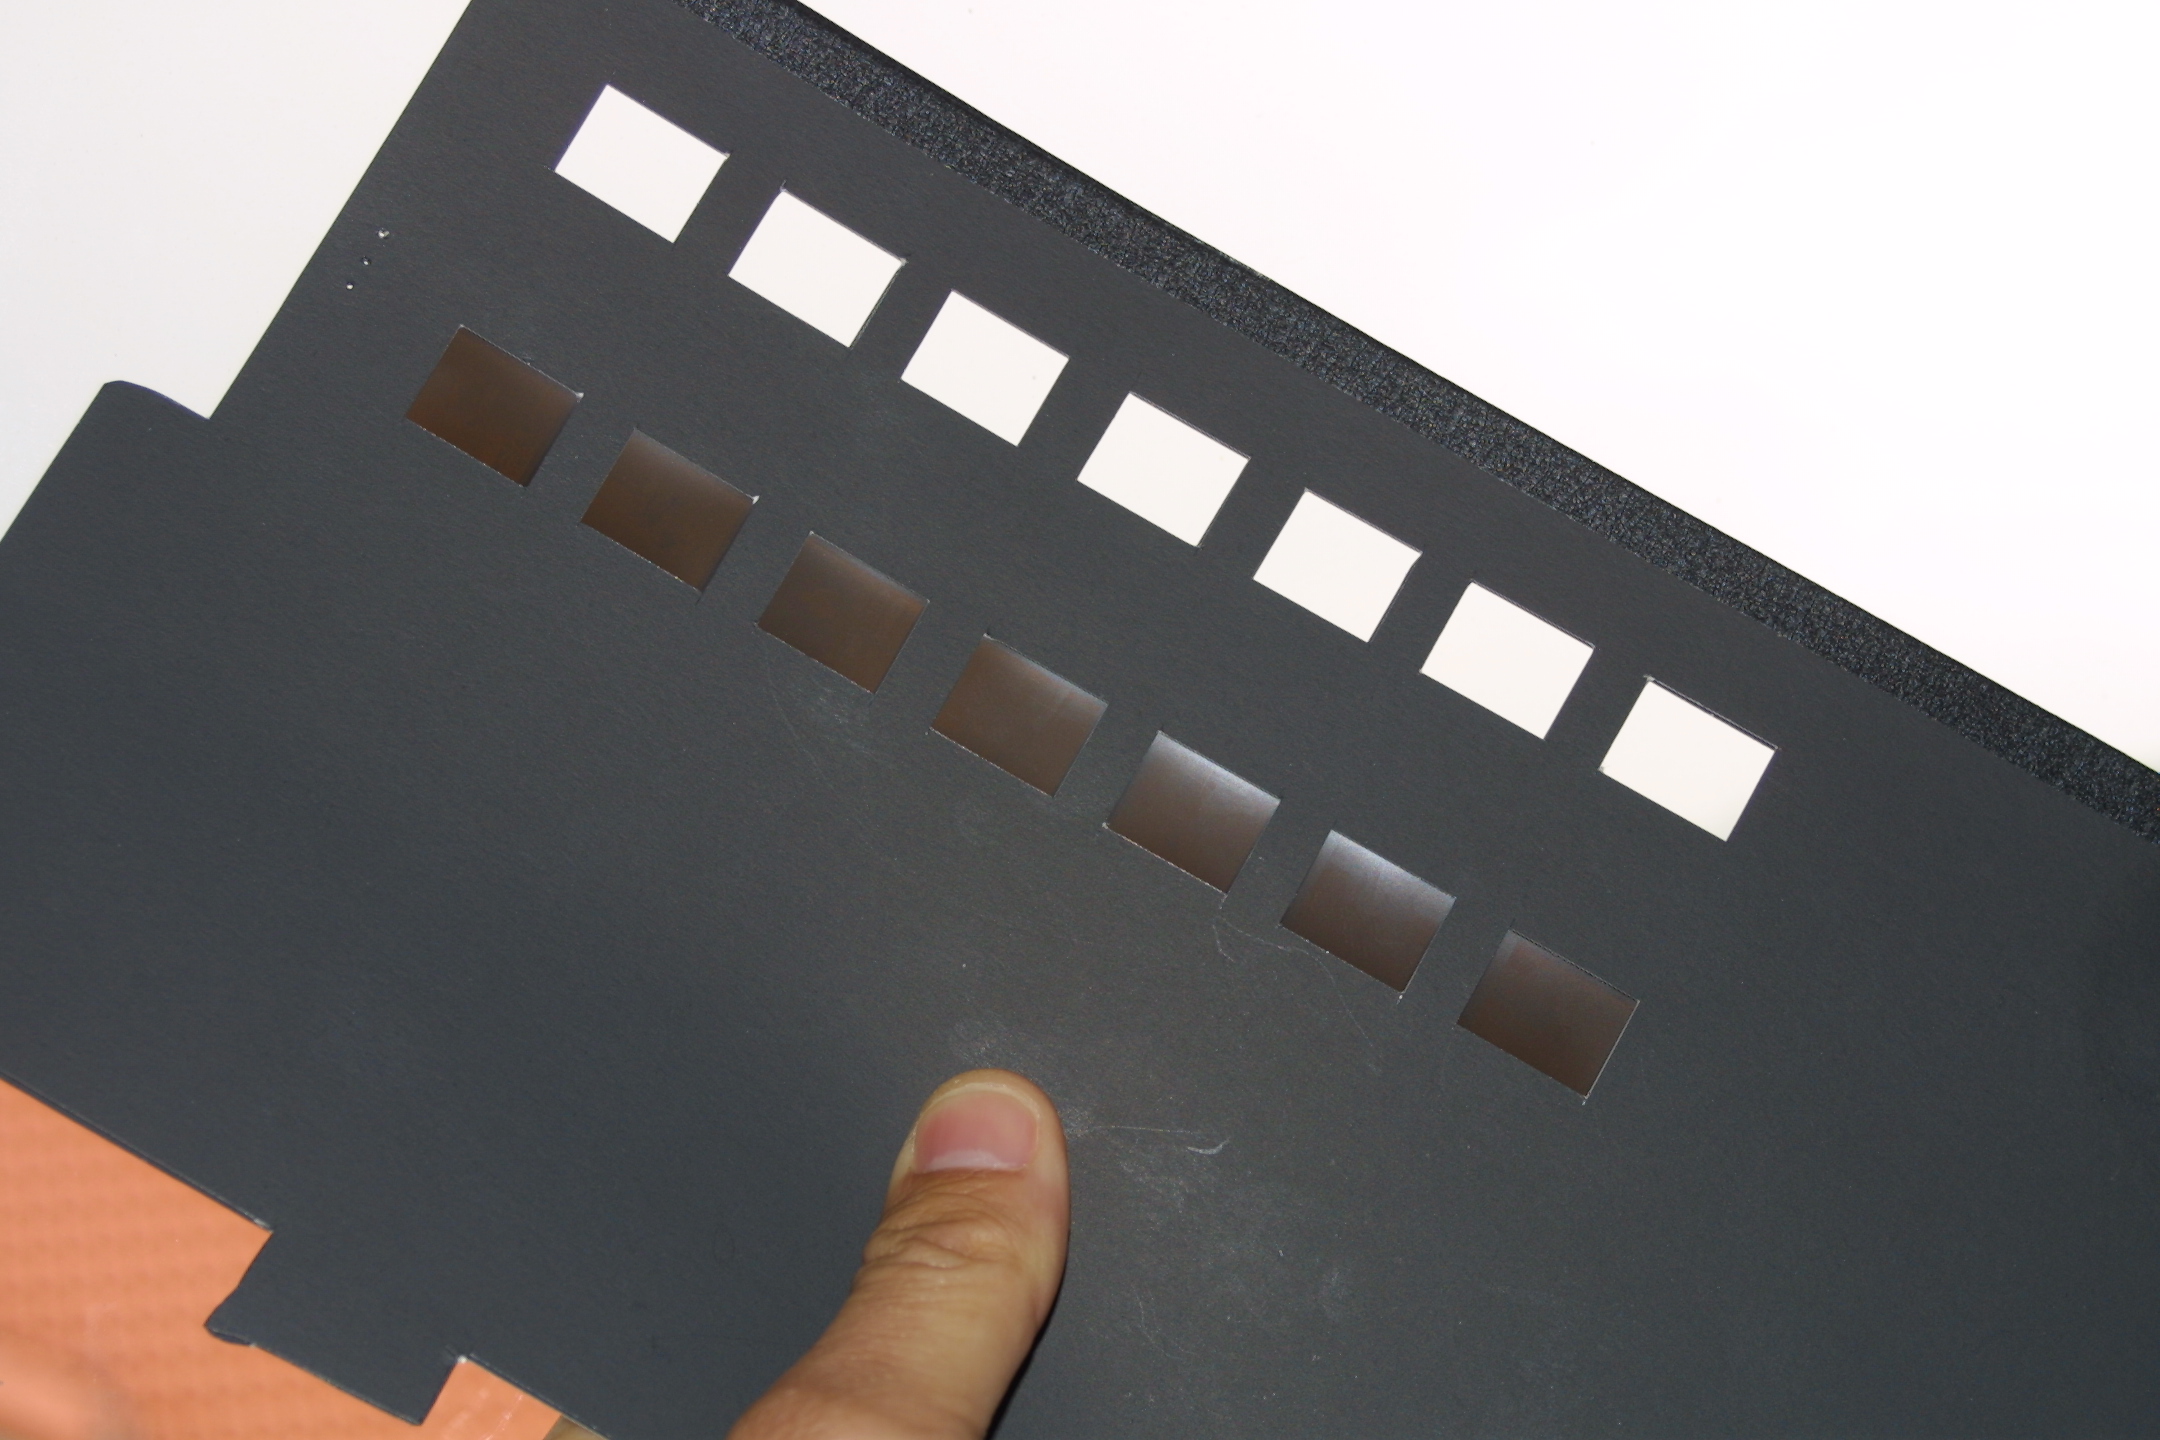
1. Choose how many frames you want to scan at a time. I chose two rows of seven exposures because I store the negatives in 35mm plastic negative savers and that is how many I can fit given the normal (5, 35mm frames) length of the channel. If you want to maximize how many you scan, you can easily do 2 strips of 9 exposures. A more logical way would probably use factors of 24. Like 8 or 6 exposures so your strips are all the same length (110 film has a standard 24 exposures). If you have the film developed by a lab, go with how they cut up the negatives.
2. Looking at a 110 negative strip, I measured the image area as being 14mm wide and 17mm long with 5mm between frames. with my scheme, I'll need 18.3 cm of the film channel.
3. Measure out your image scheme on the black cardboard that touches the glass. Try to be as accurate as possible. Draw your lines in pencil in case you make a mistake.
4. Once you are satisfied with the schematic, put your cardboard on a cutting surface and use your ruler to cut out the image area. I used a glass cutting board to get the sharpest edges. Once you have done all 4 sides of the image area, the chads should drop out. If you have a few hanging chads, recut with the razor knife. If you just pull them off, you will have cardboard fibers intruding into your image area (they are very noticeable in a scan).
Repeat Cuts on Cover
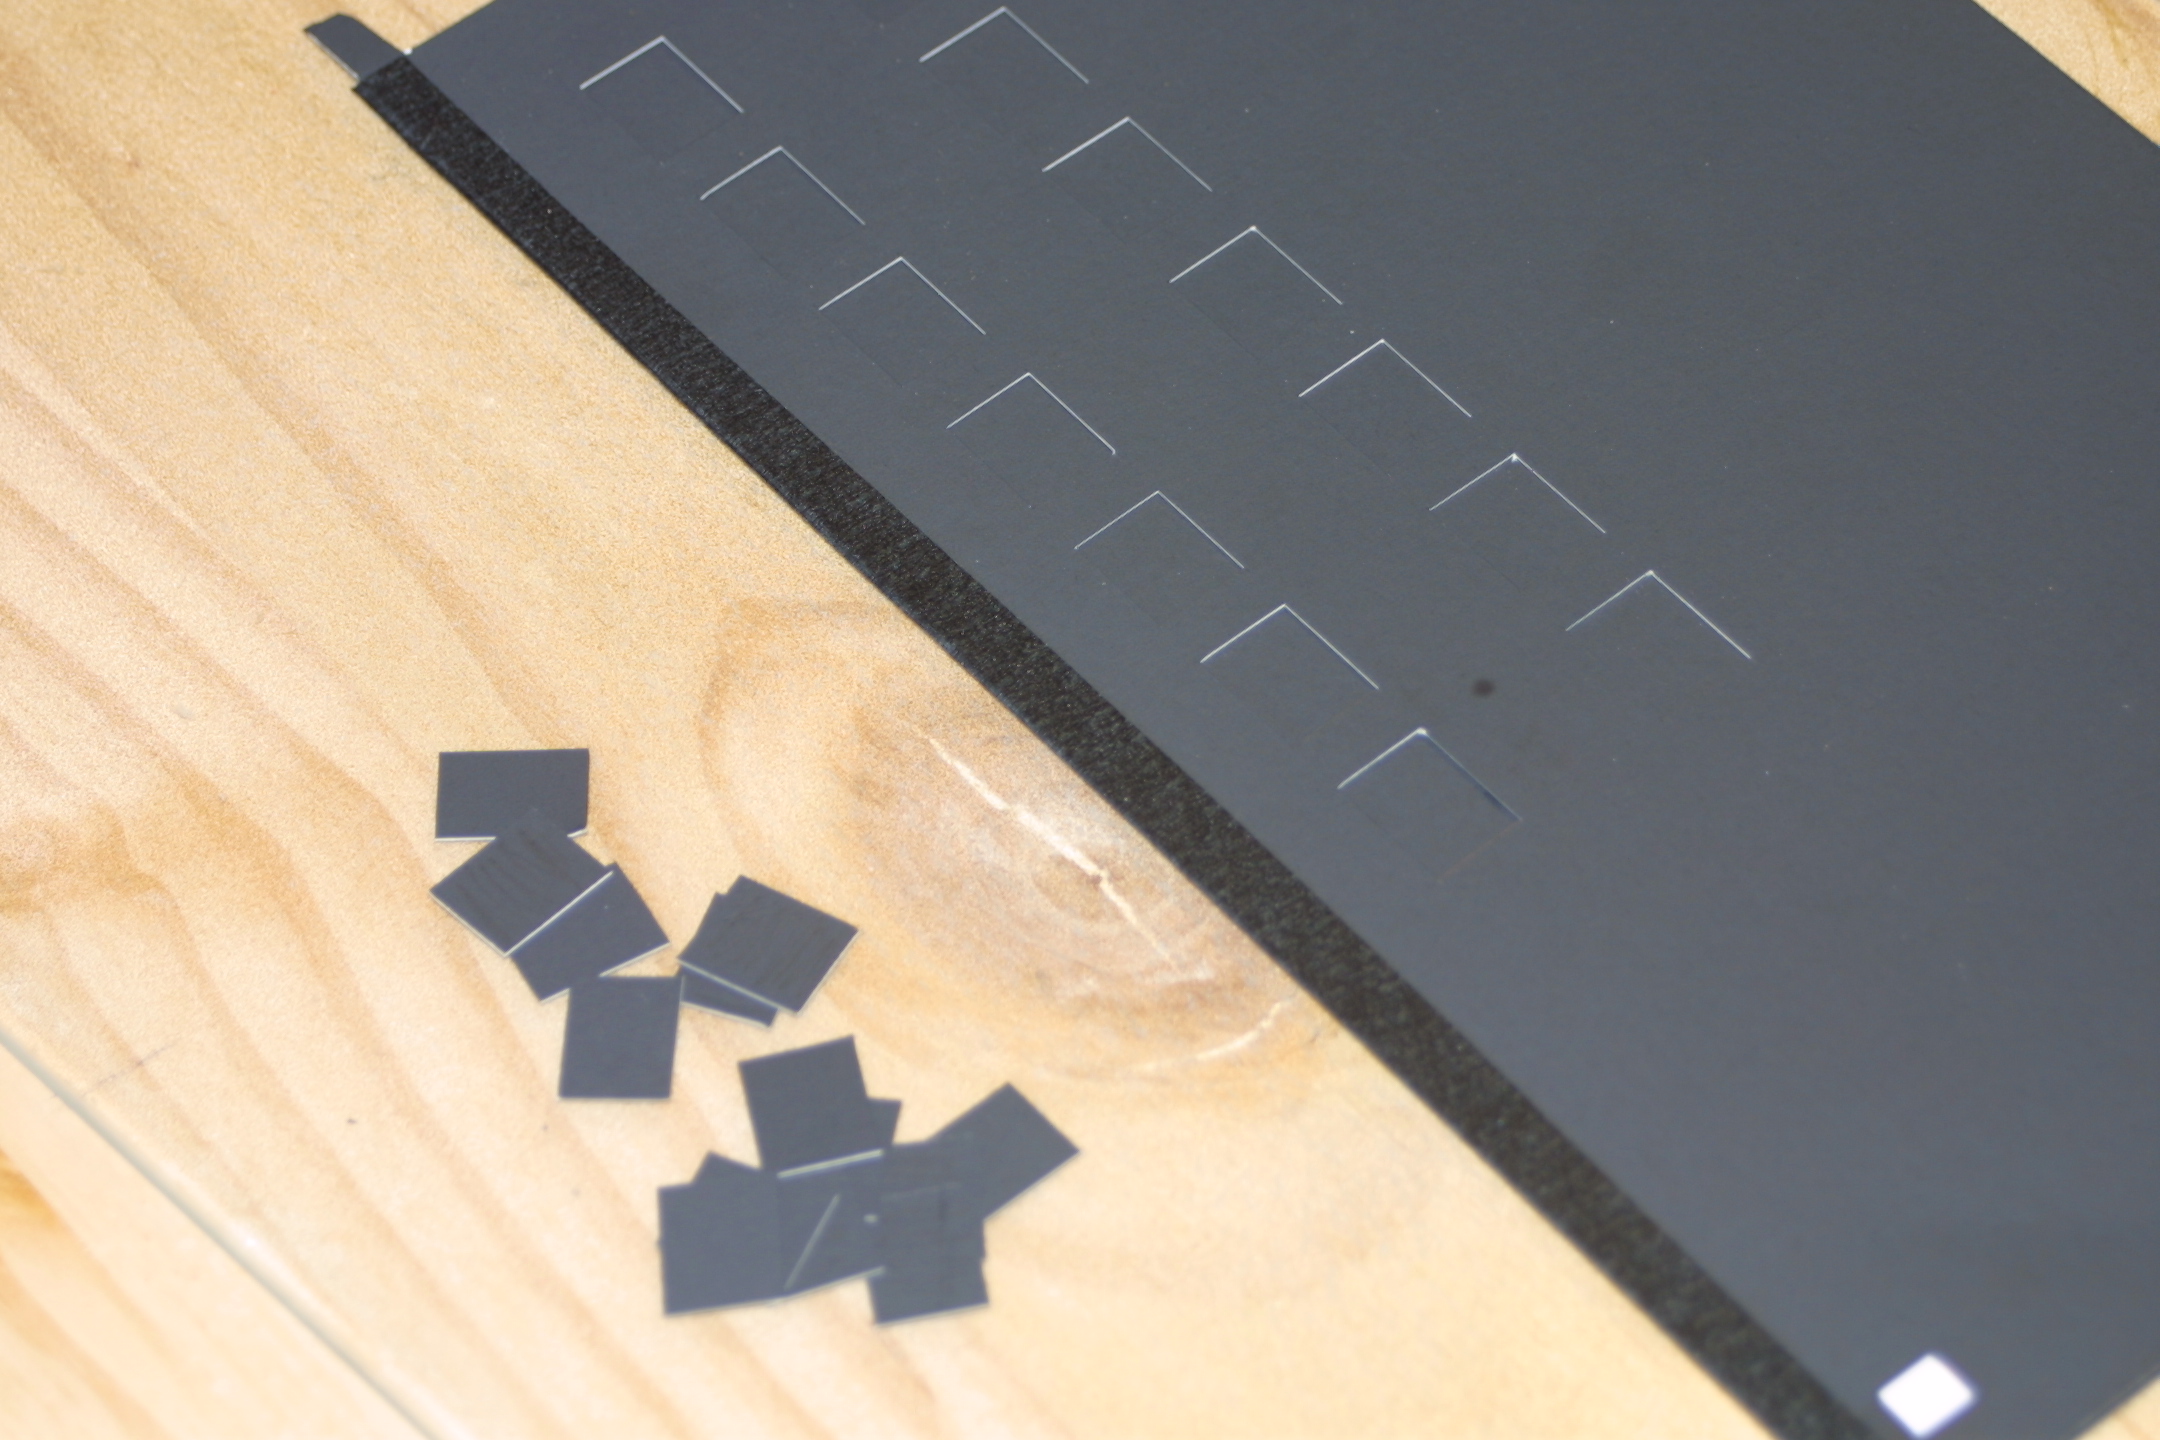

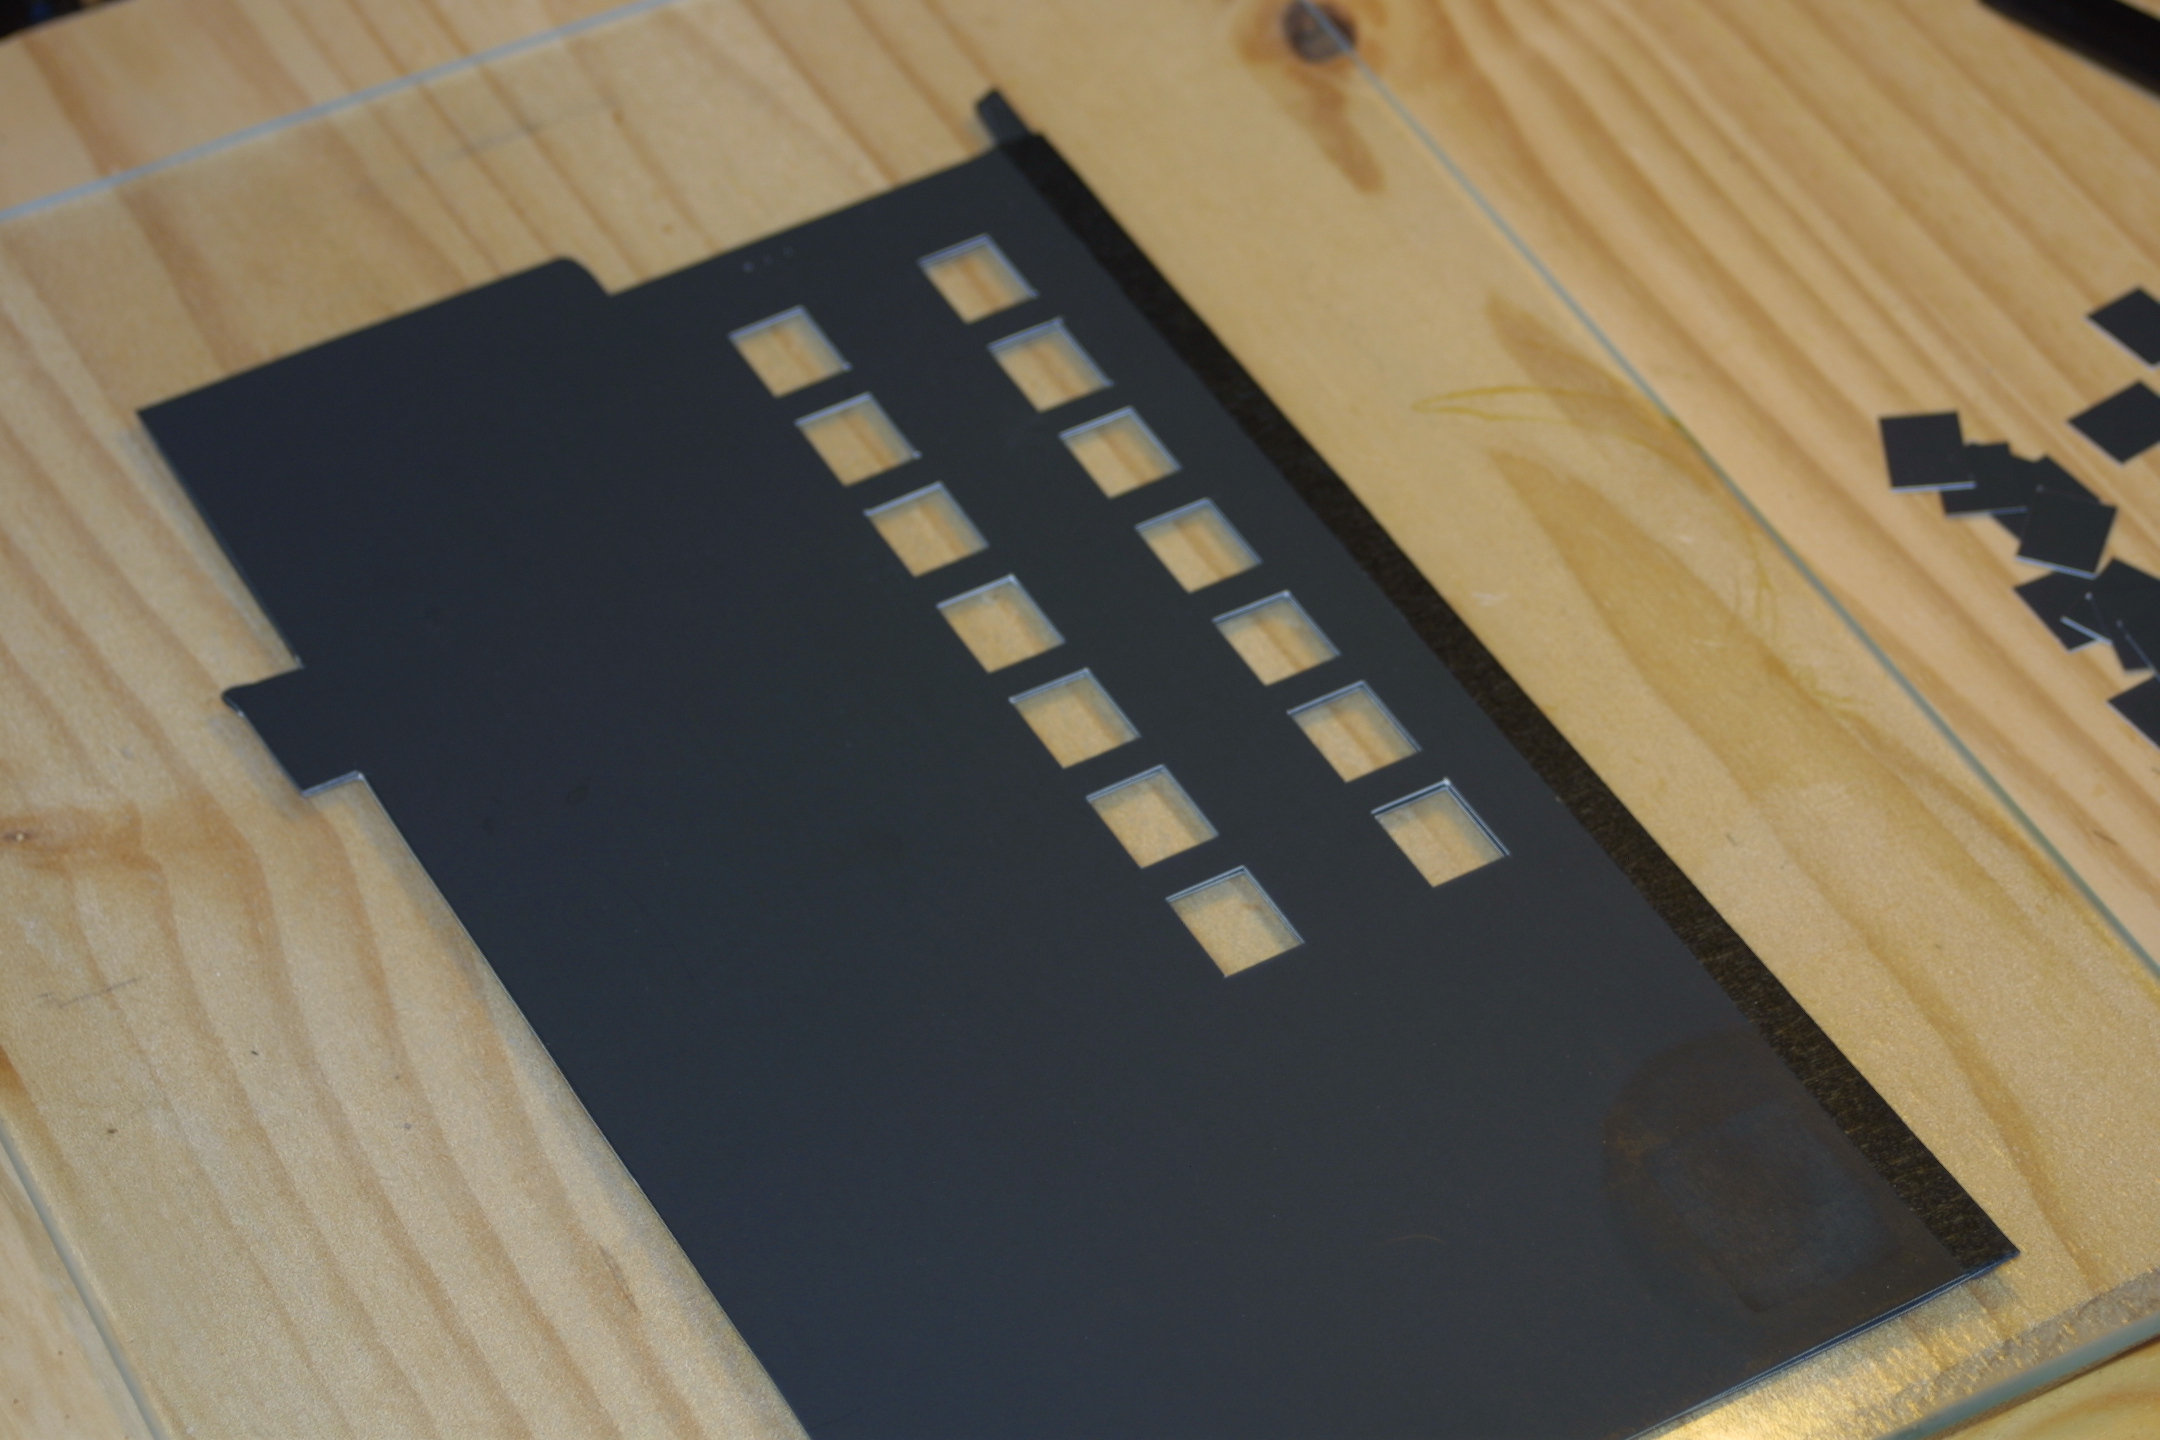

1. Once you have all the image areas cut out on the scanner bed side, close the book. Take a pencil and trace the openings onto the other piece of cardboard.
2. Use the same procedure to cut out the image area openings. Make sure you stay slightly outside the lines for these cuts.
3. Close the book again and check to make sure the image area holes line up.
Now you are pretty much done!
Scan Your 110 Film!
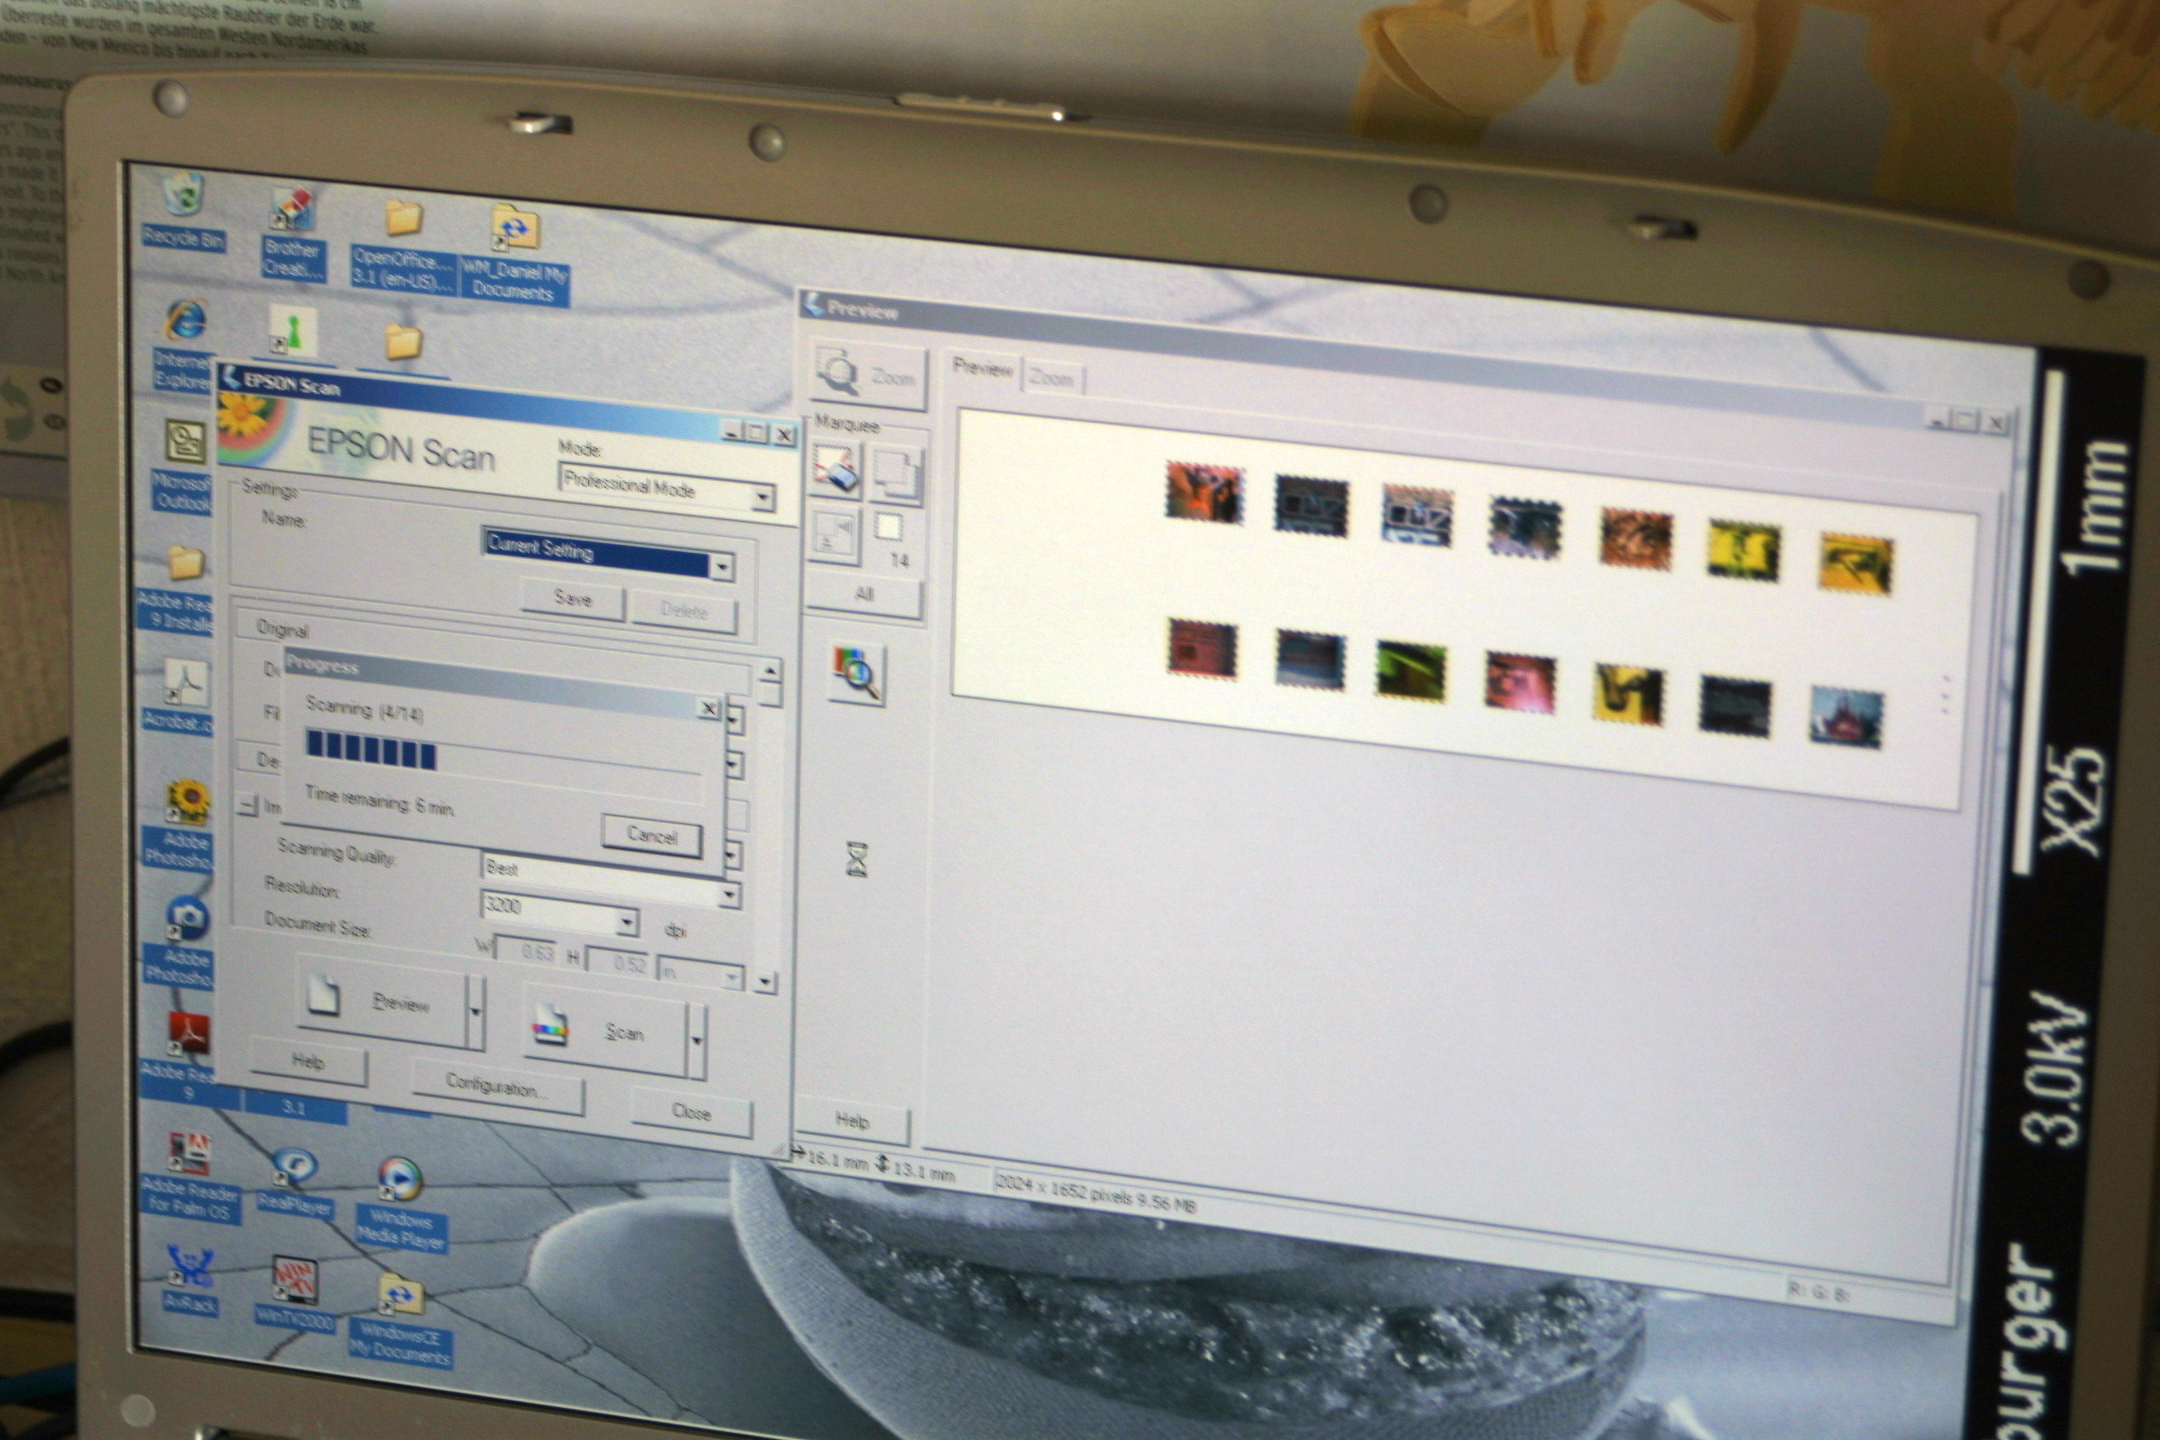


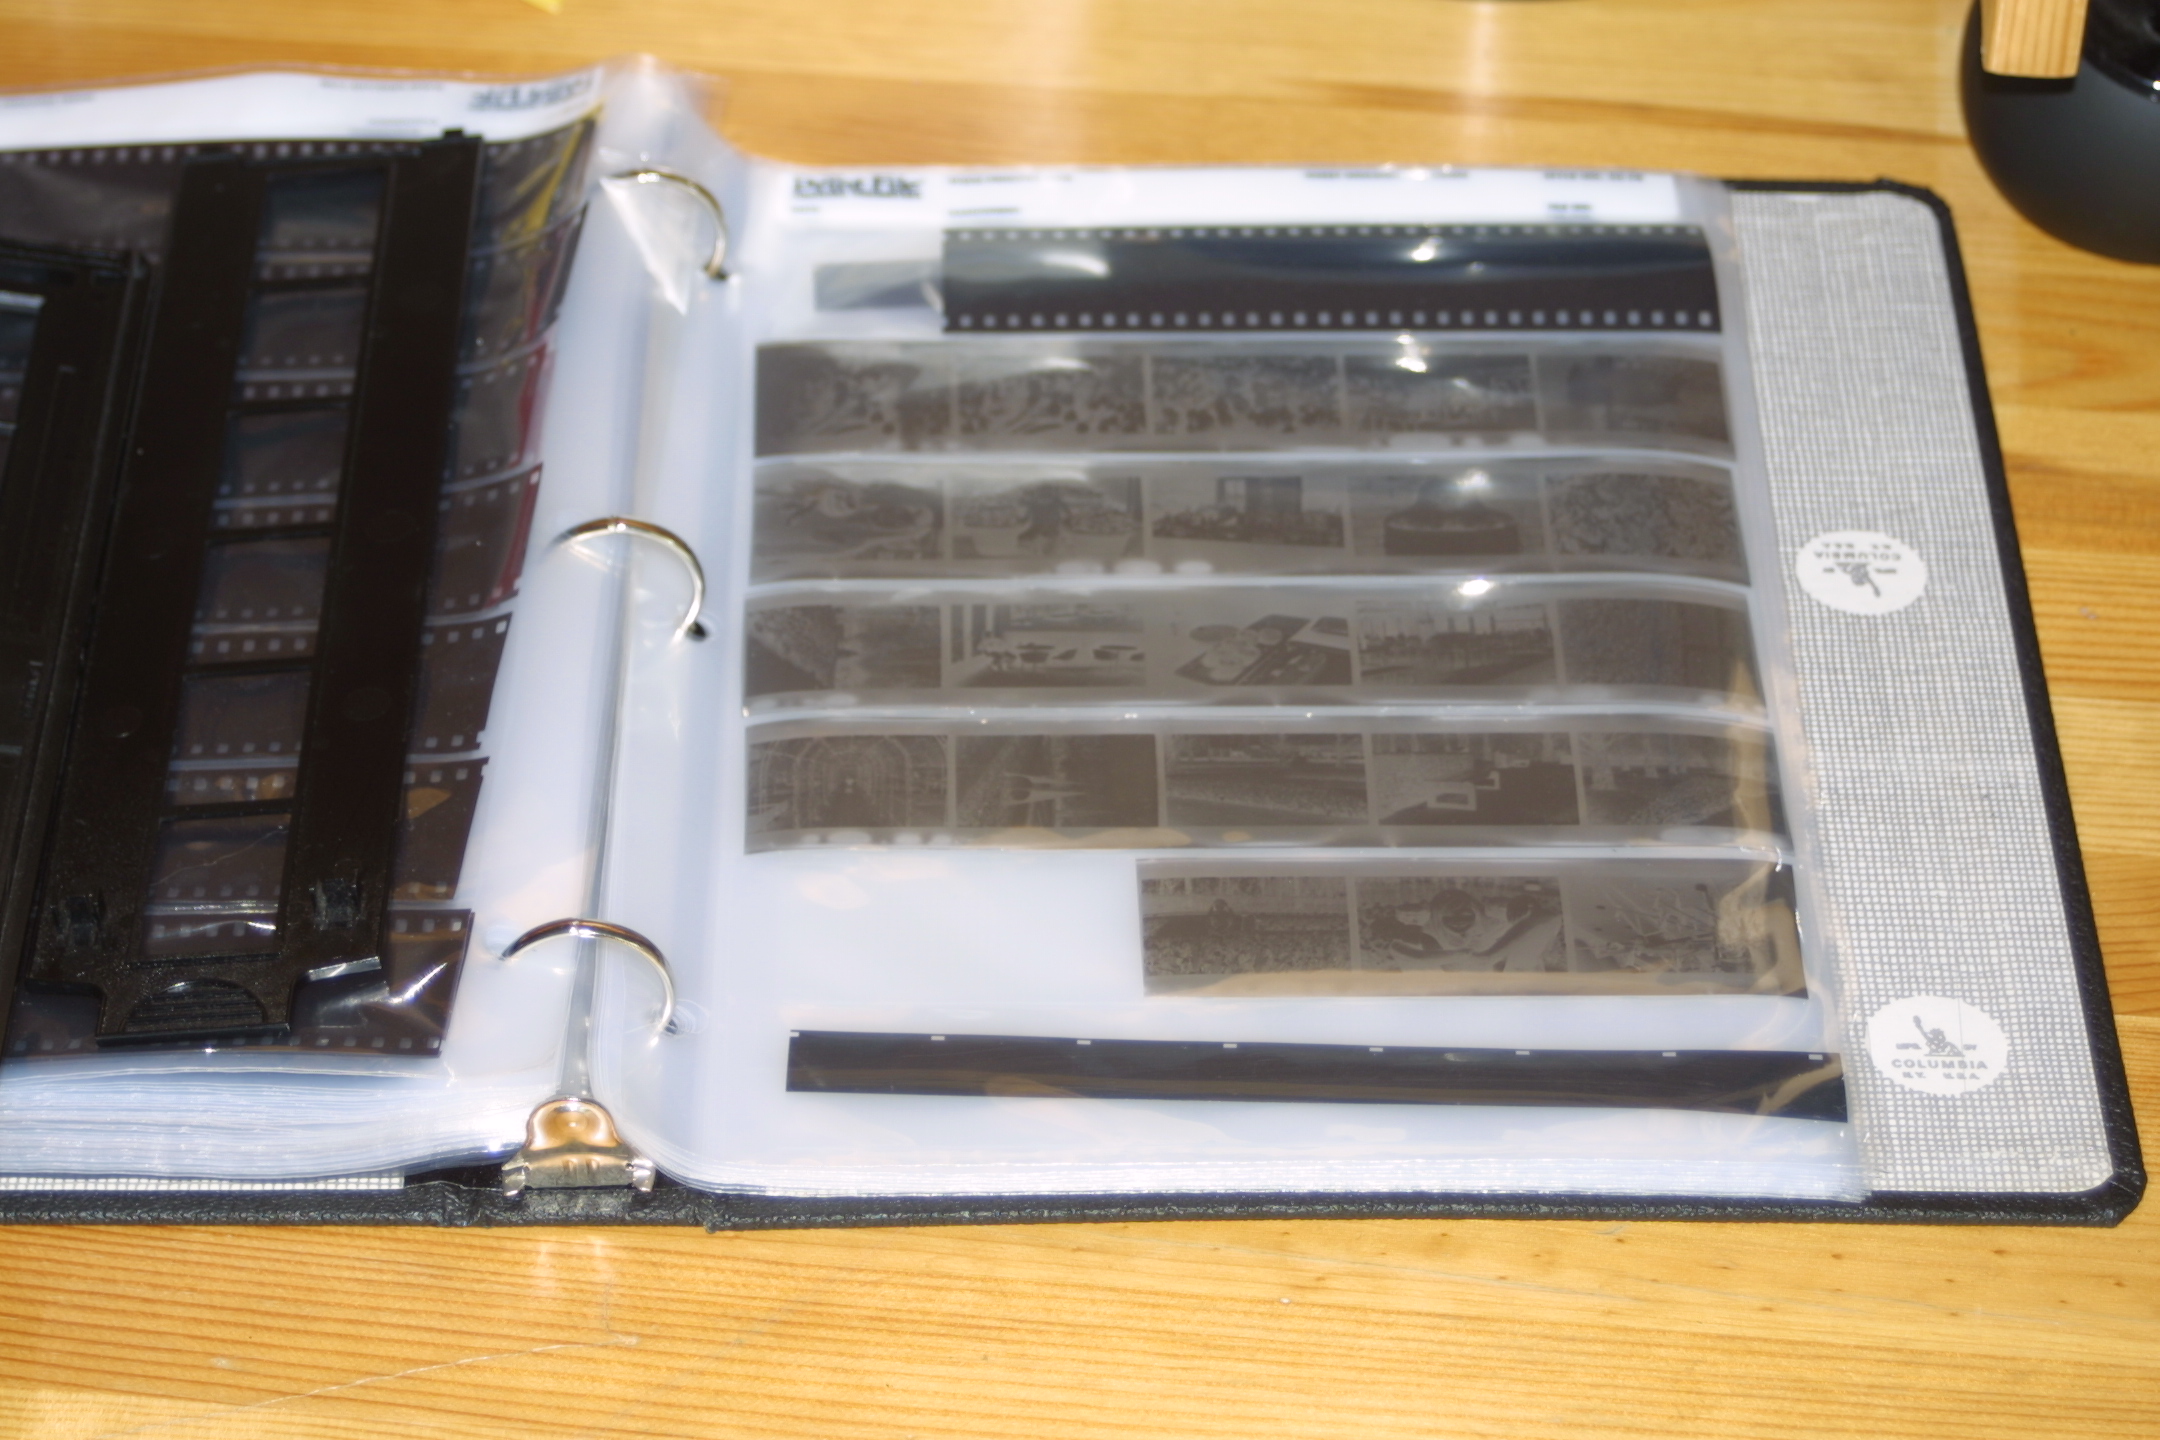
1. Load your film. The emulsion side should face up towards the scanner light and the shiney side should be facing the scanner glass. If the film is curly, this may take some time. If you are really having problems, use some low tack tape to assist in holding the strip in place.
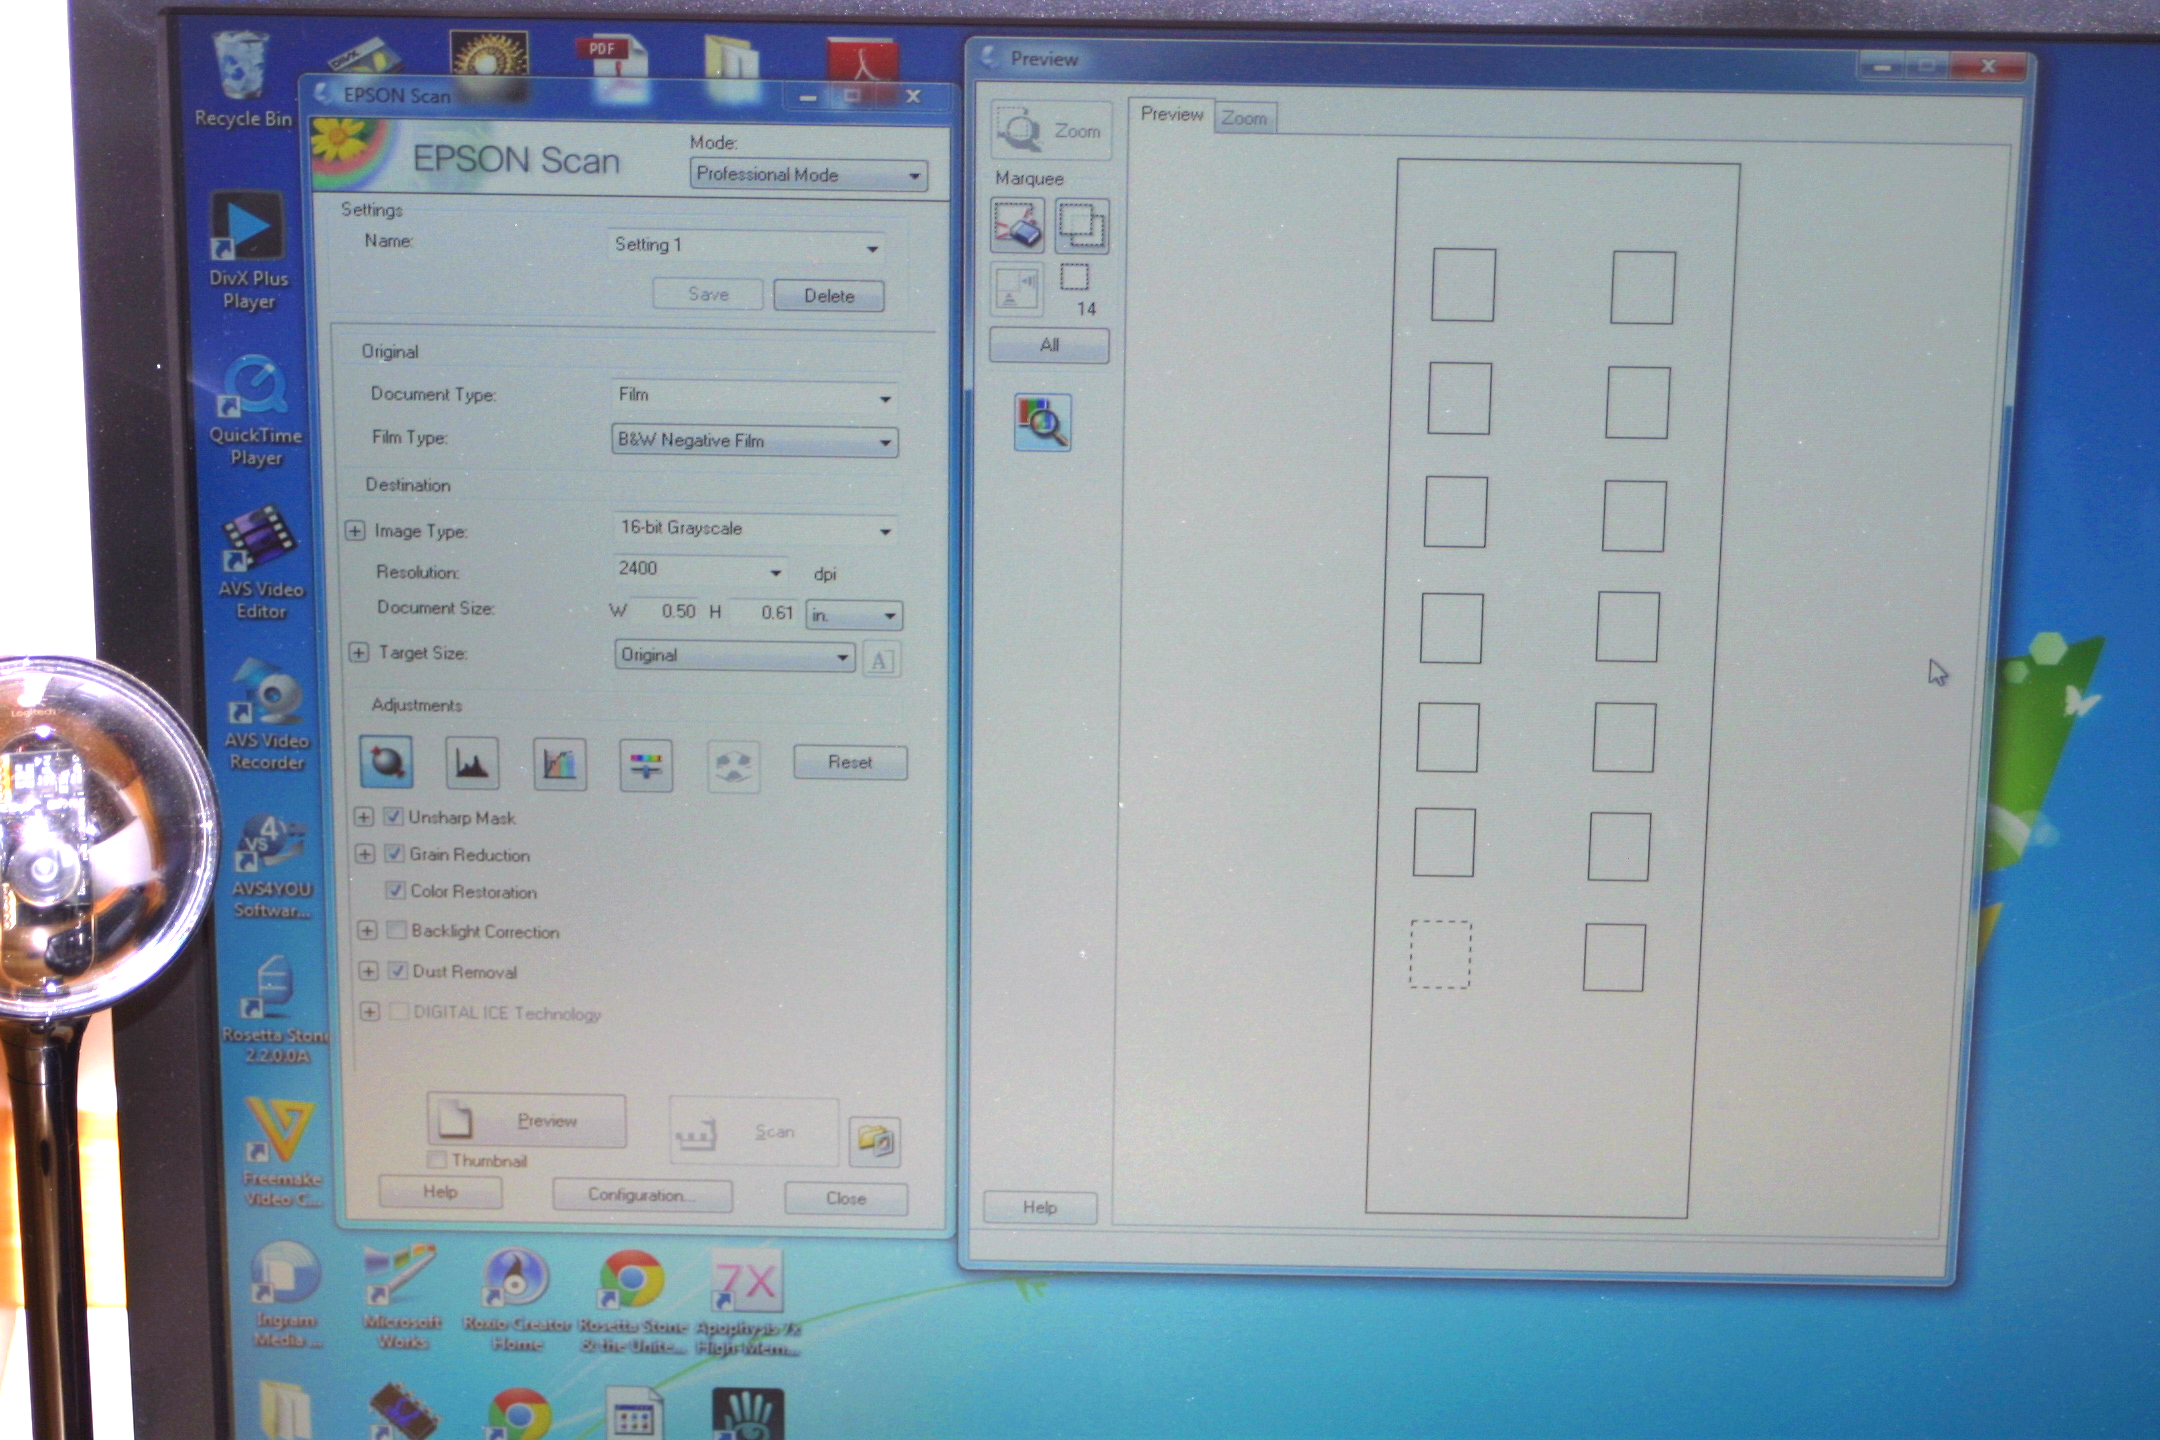
2. Start the Epson scan software and turn on the "professional" mode.
3. Uncheck the thumbnail box beneath the preview button.
4. Click the preview button.
5. Once the scanner has prescanned, draw a box around one of your exposures. Once you are satisfied, click the copy button and drag a box onto the next exposure. Do this until all your 110 images have the box around them.
6. Add or subtract whatever features you think you will use most often with 110 film (grain reduction is a good one). Save these settings using the "save settings" button. This way, you will not have to redraw the boxes around the exposures every time you scan 110 film.
7. Set the scan destination and hit the scan button.
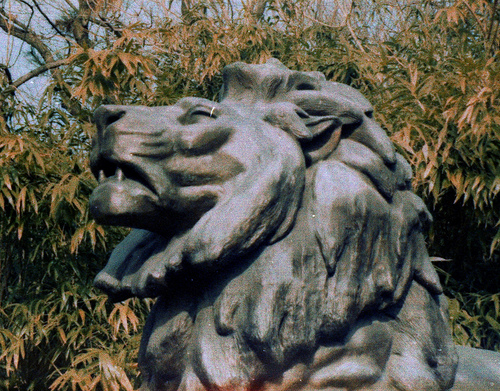
8. Once the frames have been scanned, you will have to rotate them to the proper orientation.
Now that you have a 110 film mask, you can use the same technique to build a mask for 126 film, 127 film or any other oddball formats you might have on hand from that big box of negatives you found in your mother's attic.
Enjoy your 110 scanning experience!
Do the Same Thing for APS Film!
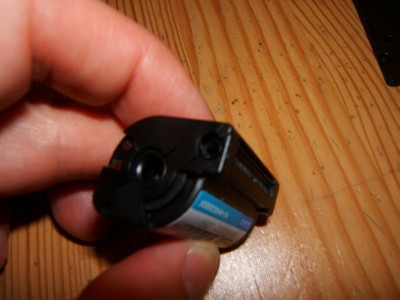
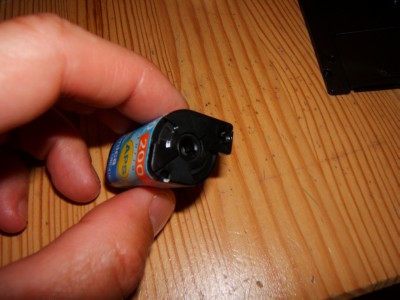
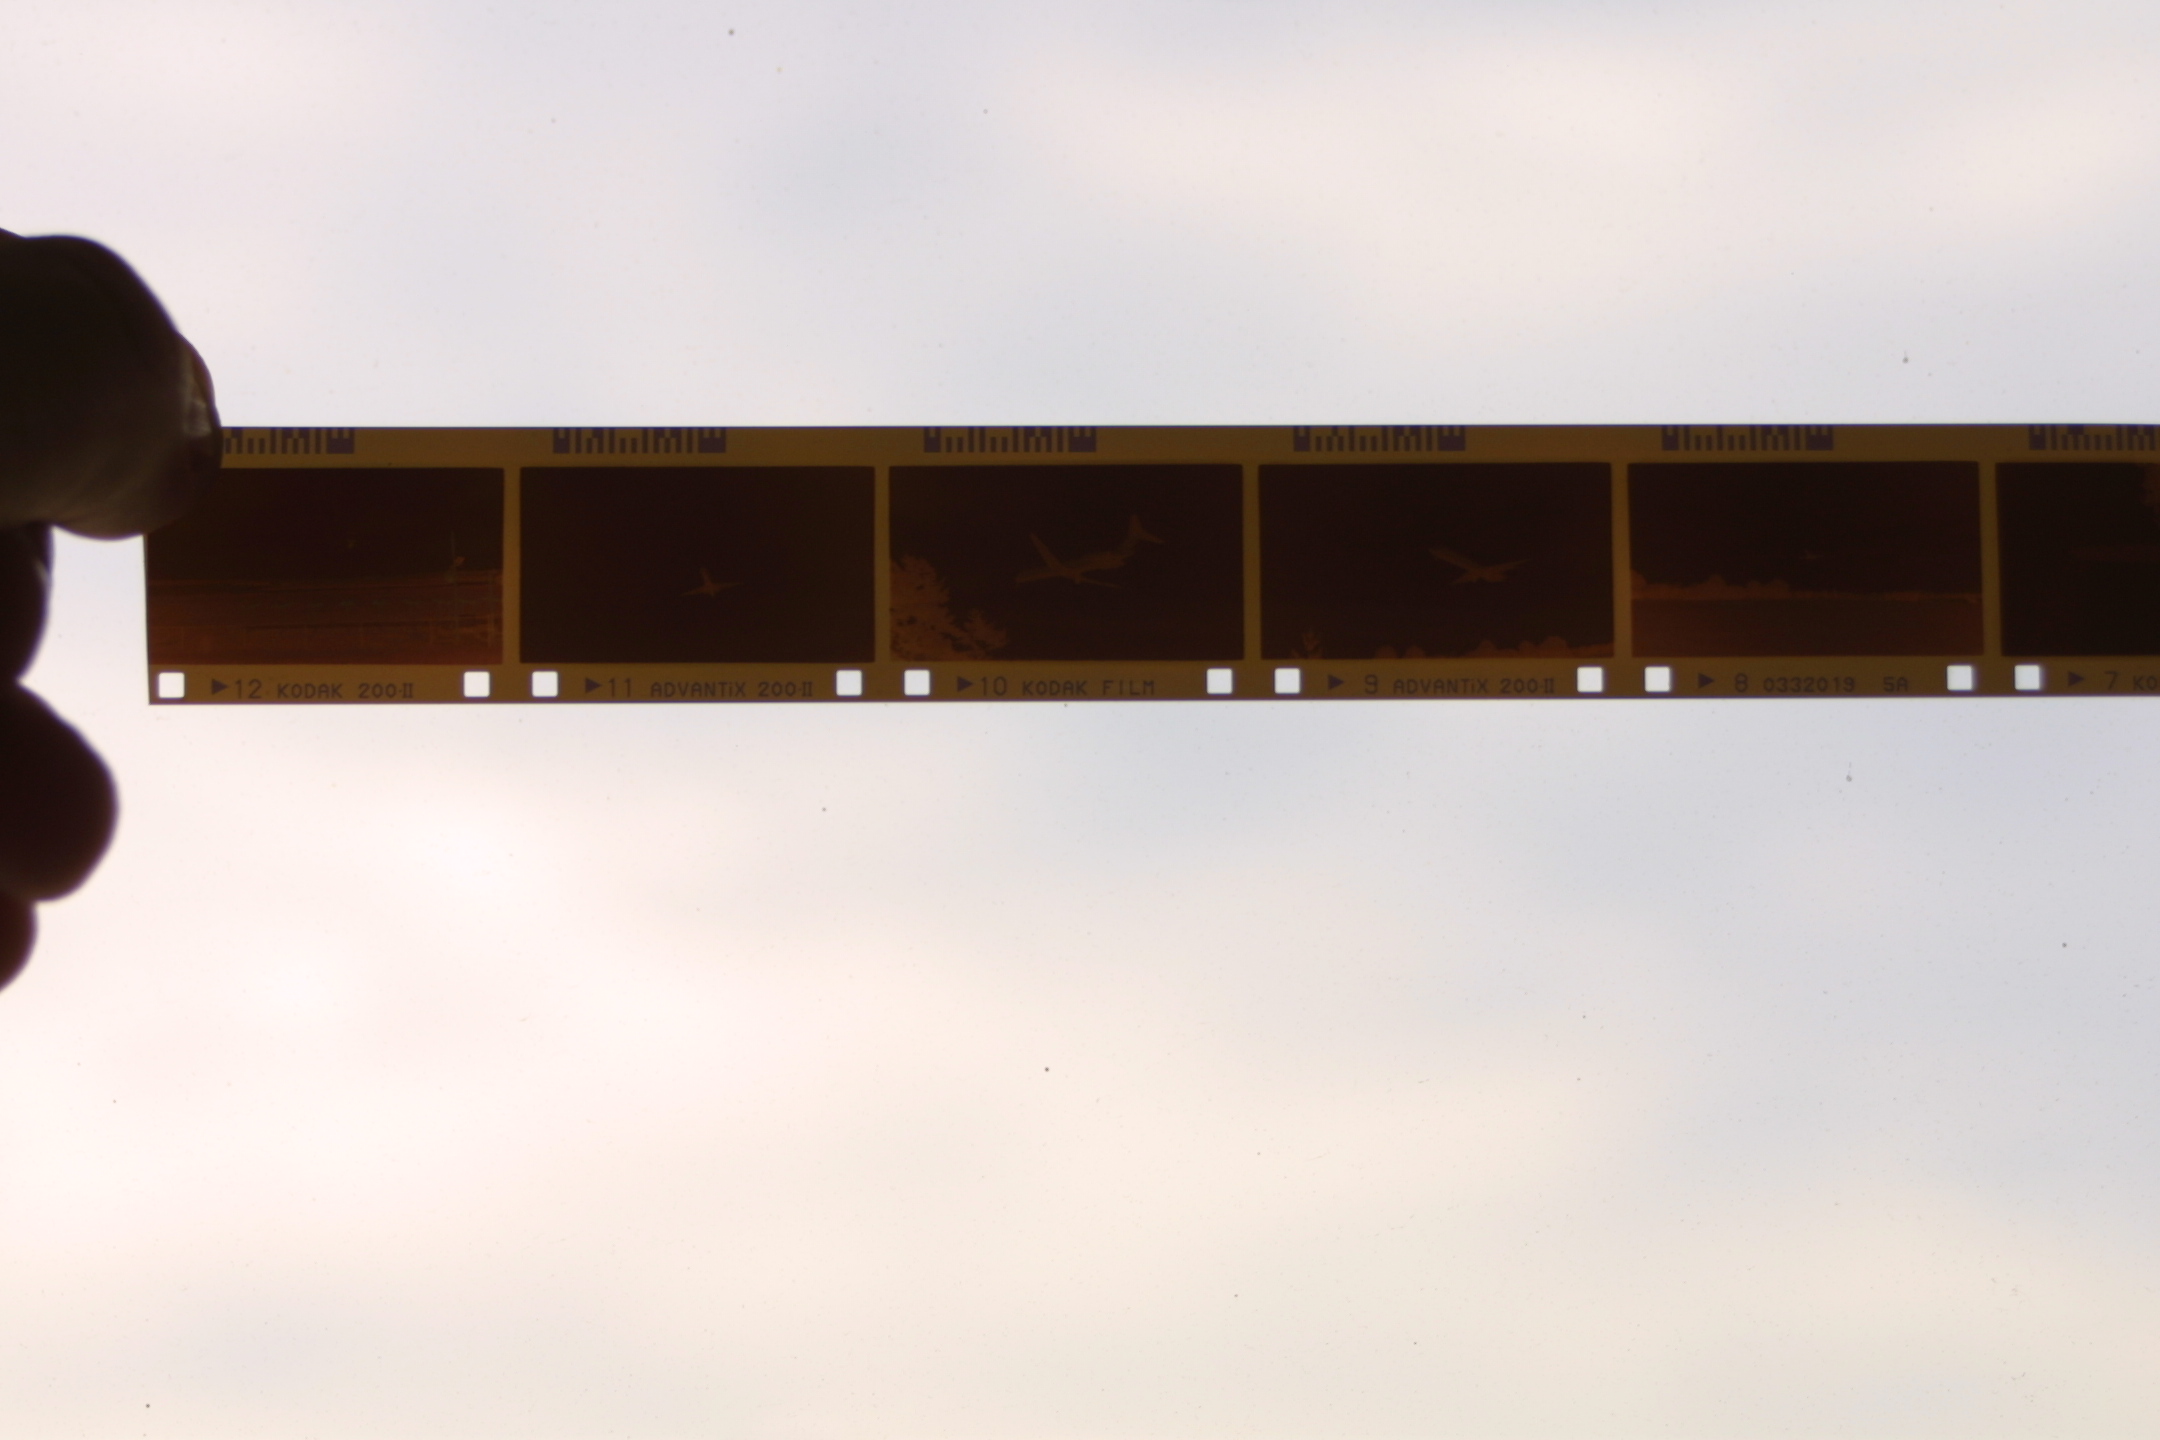
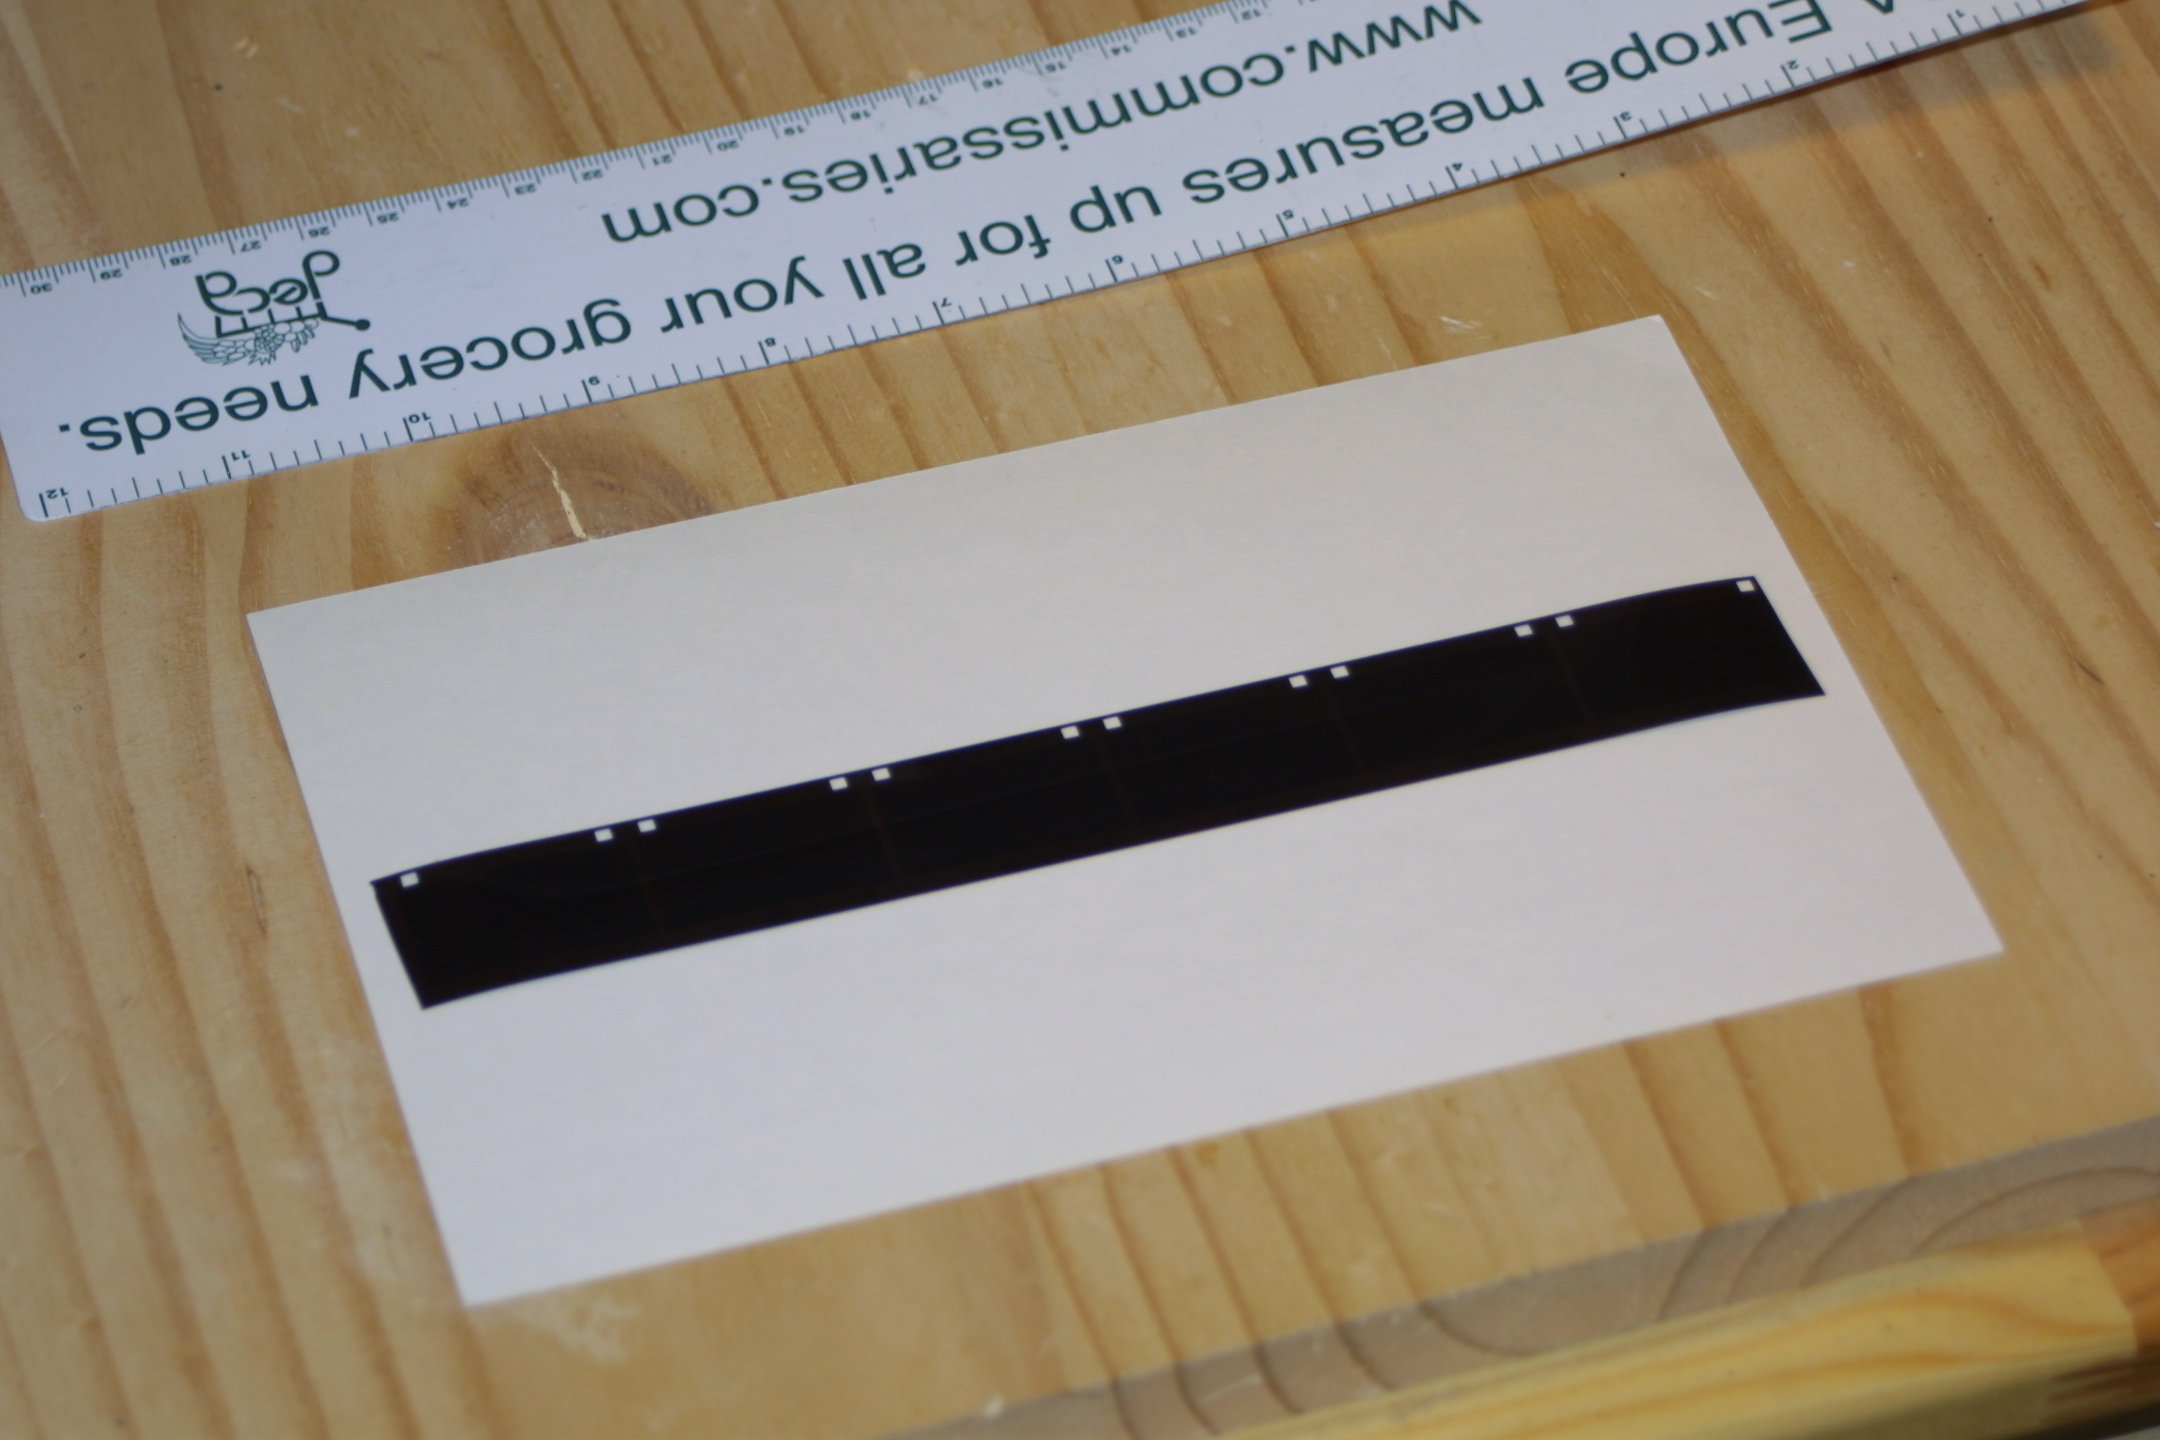
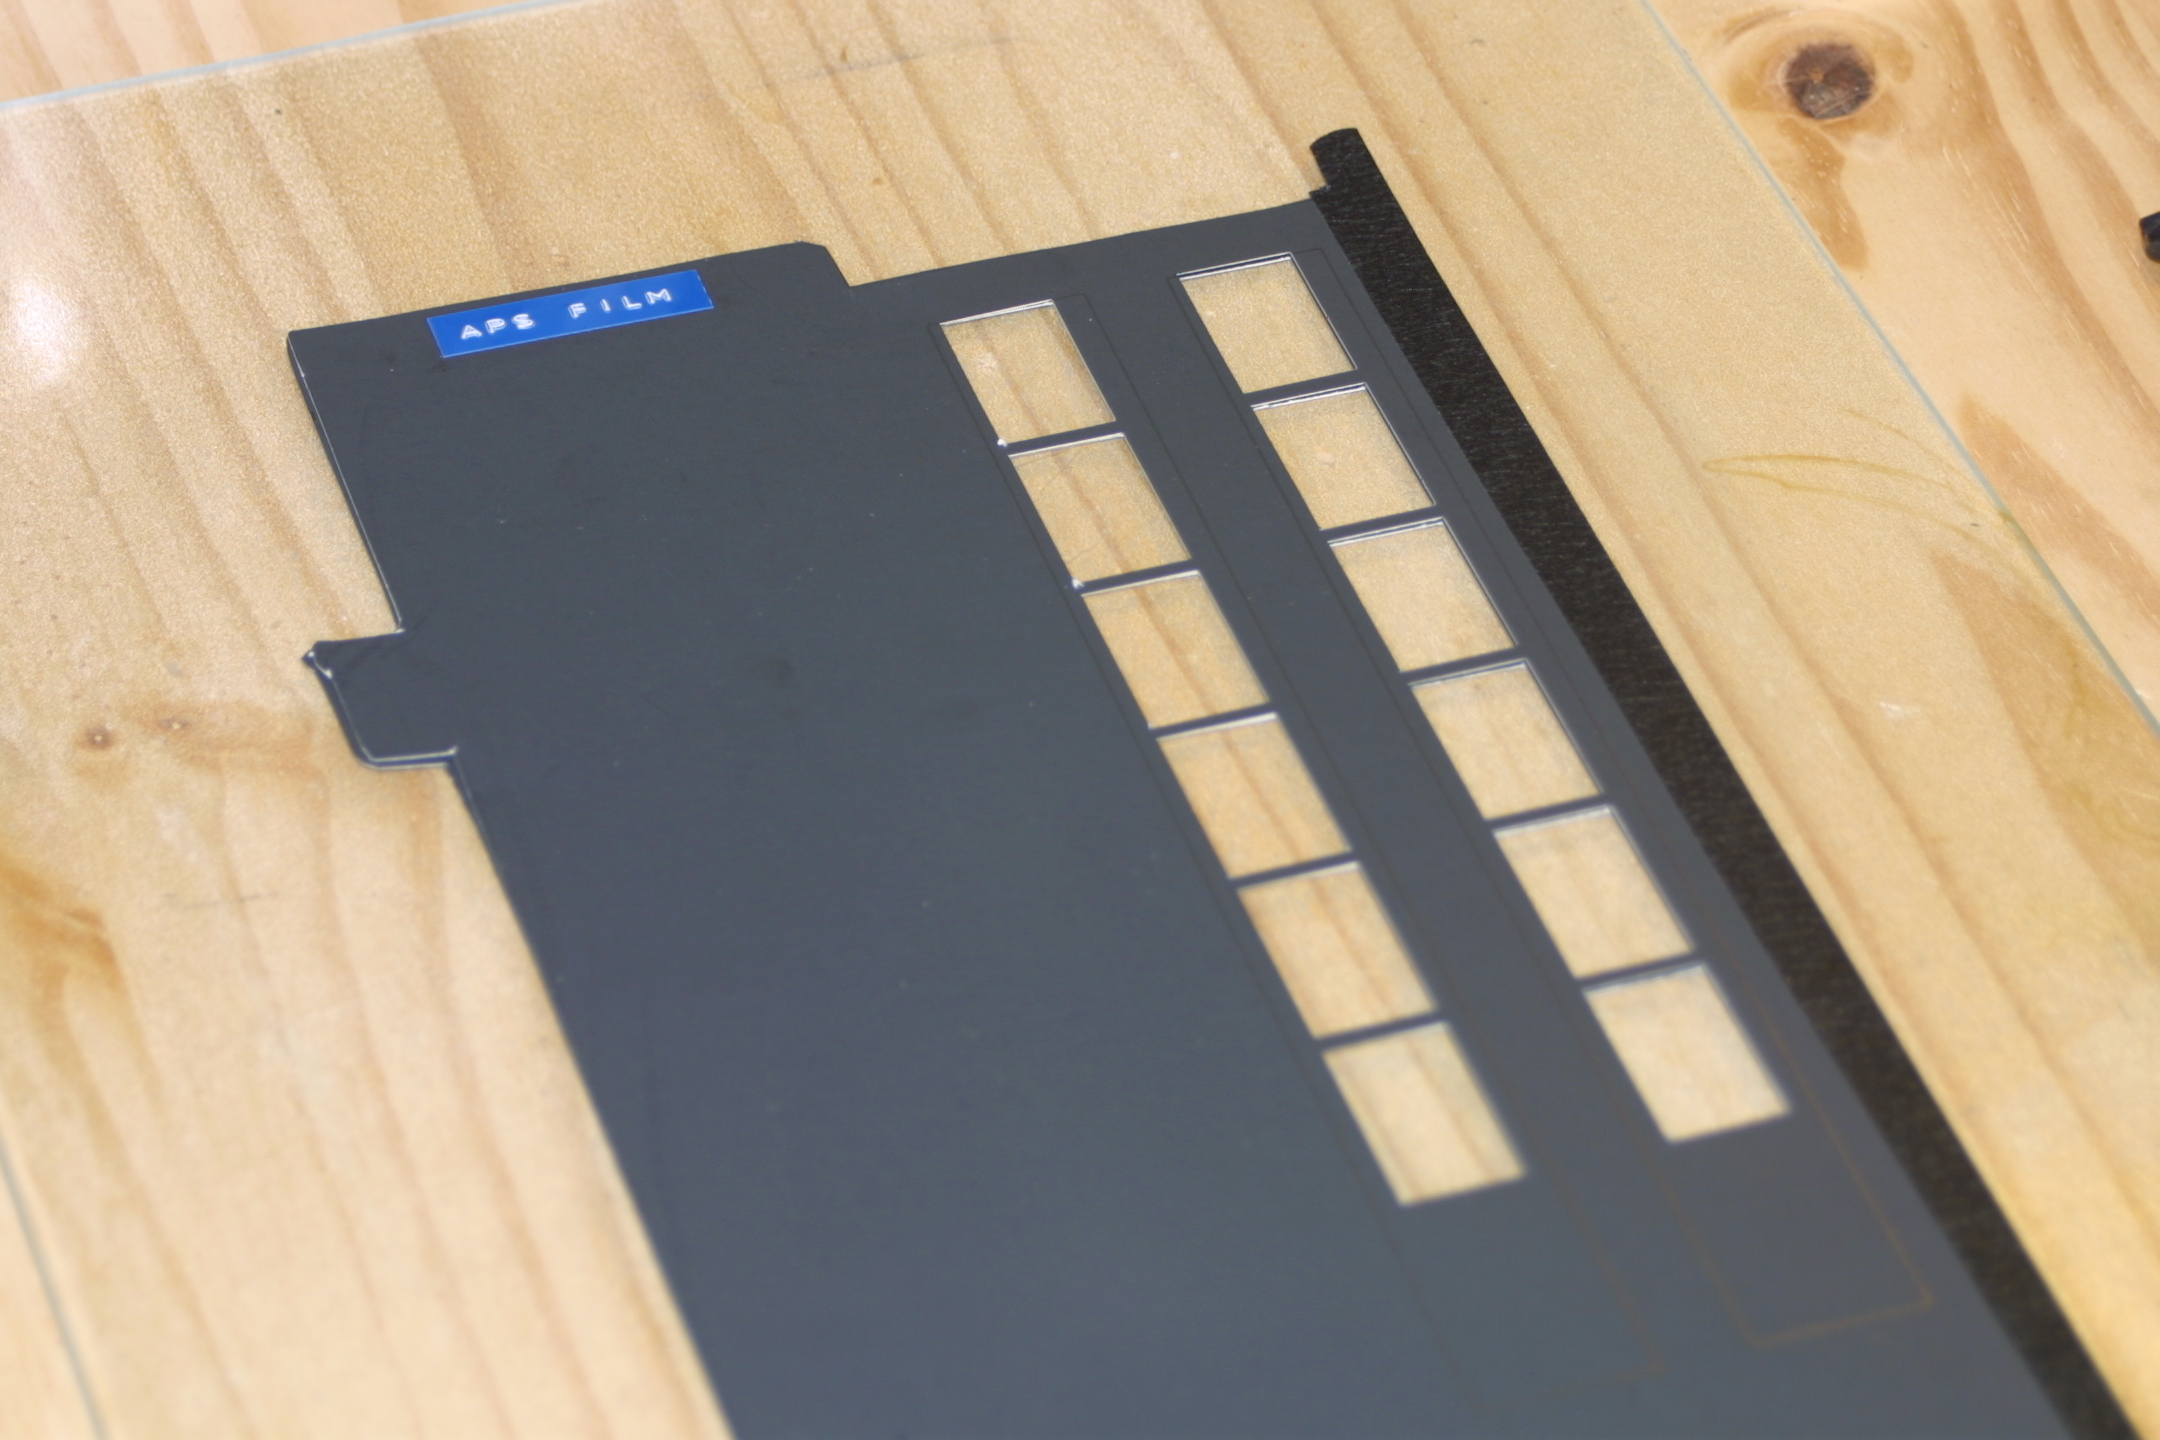
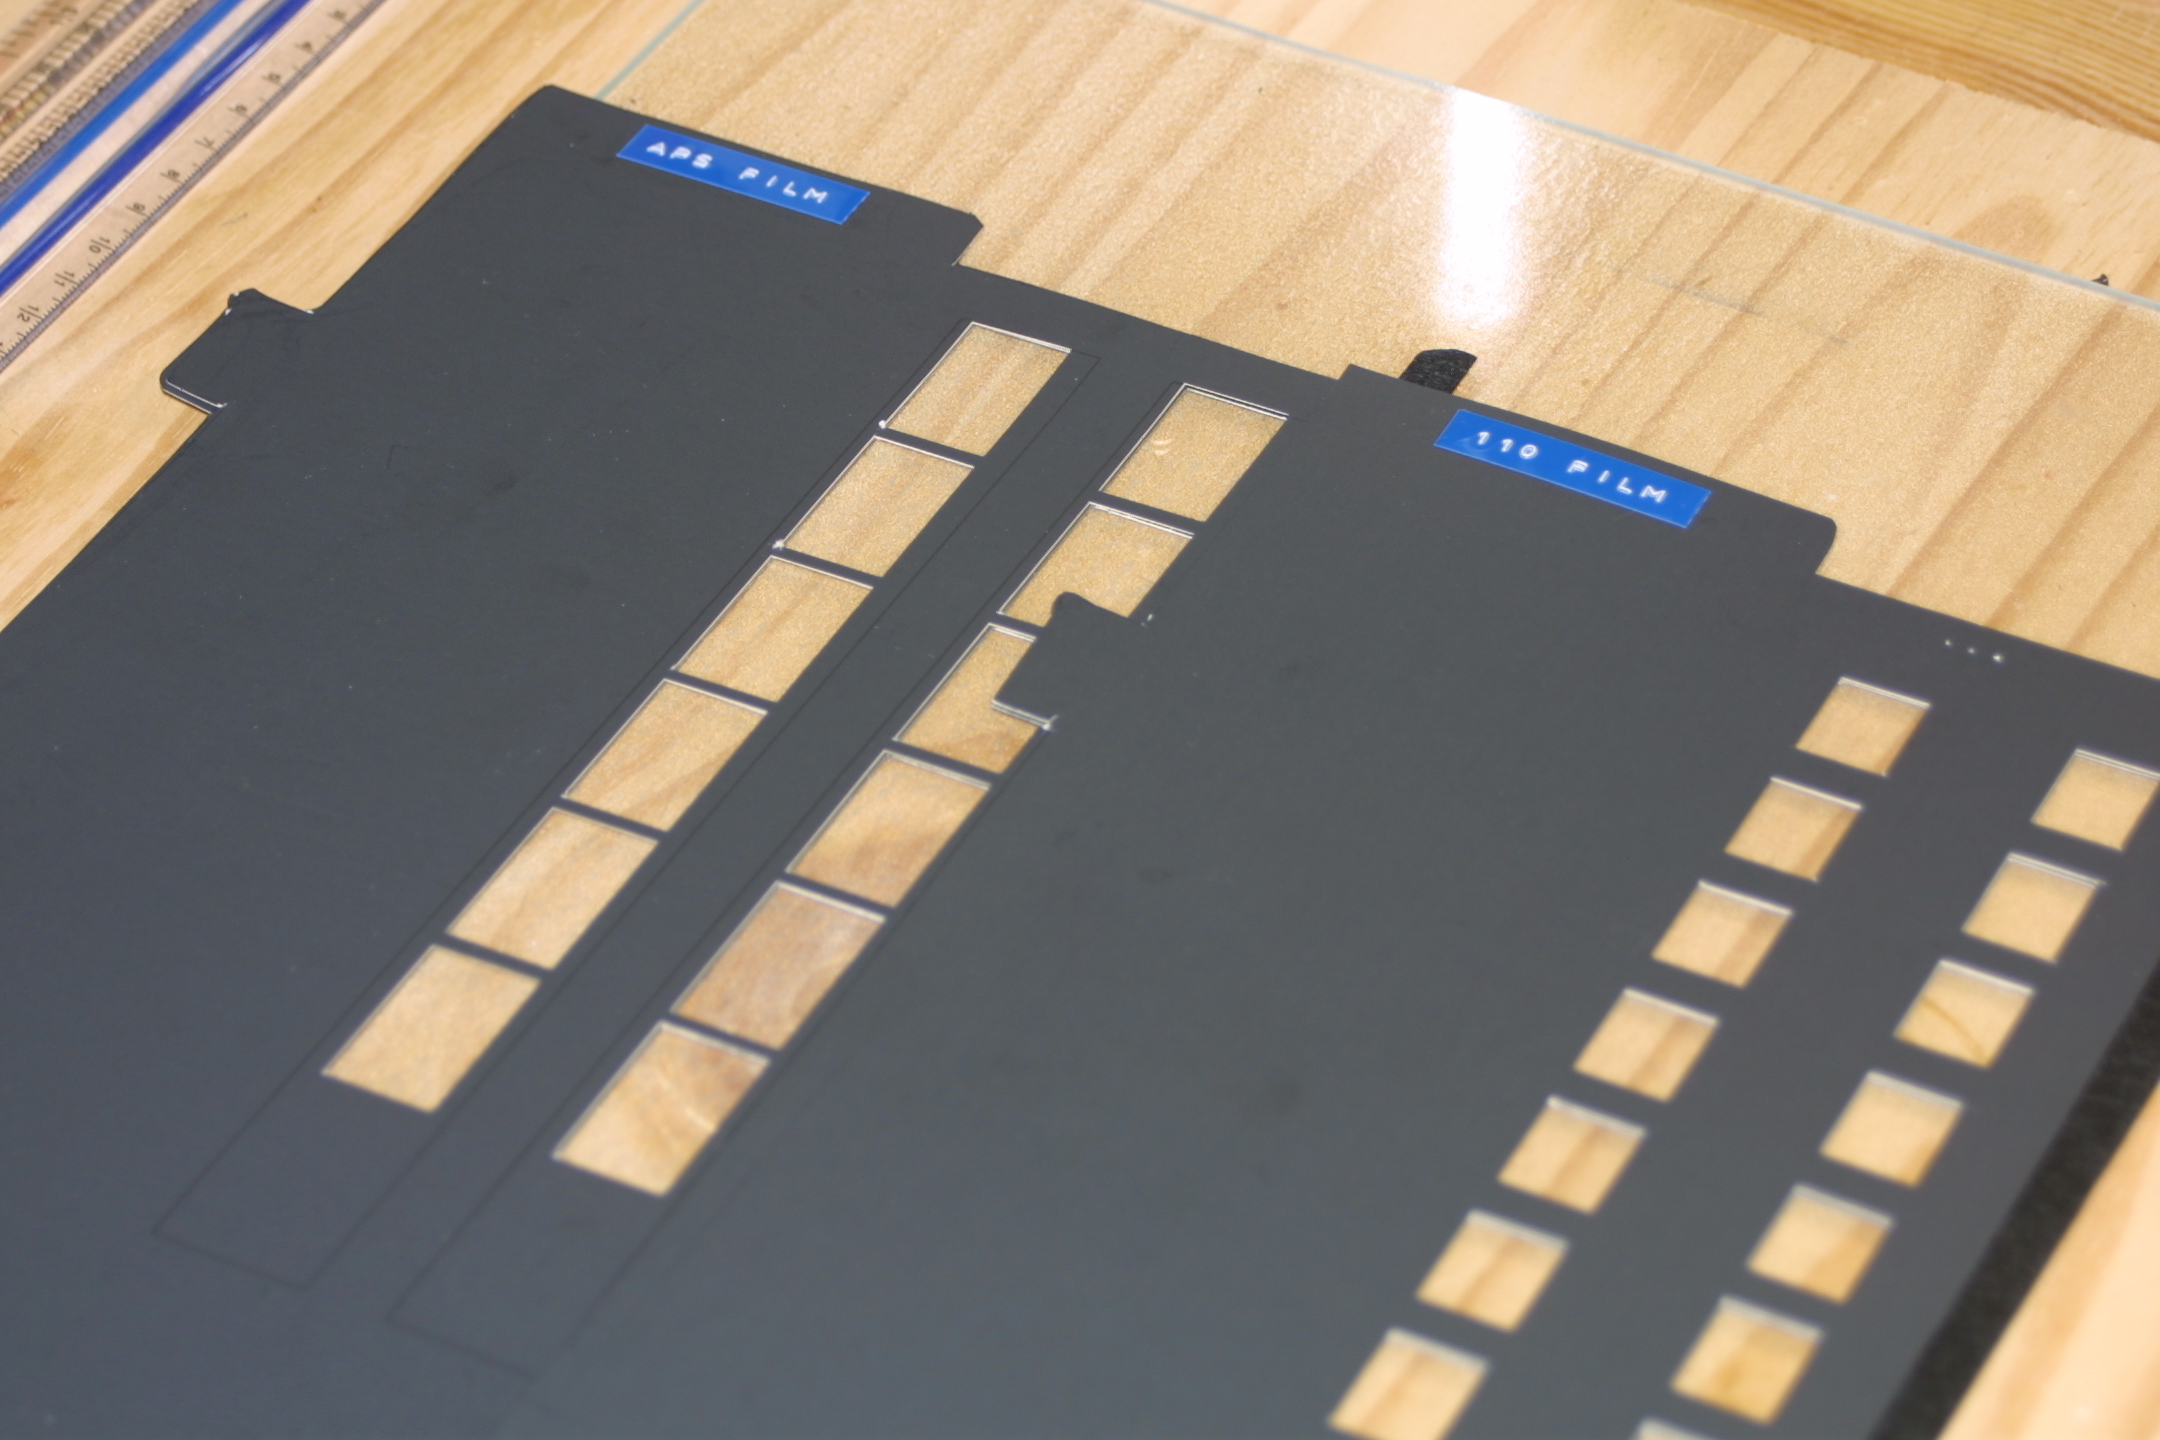
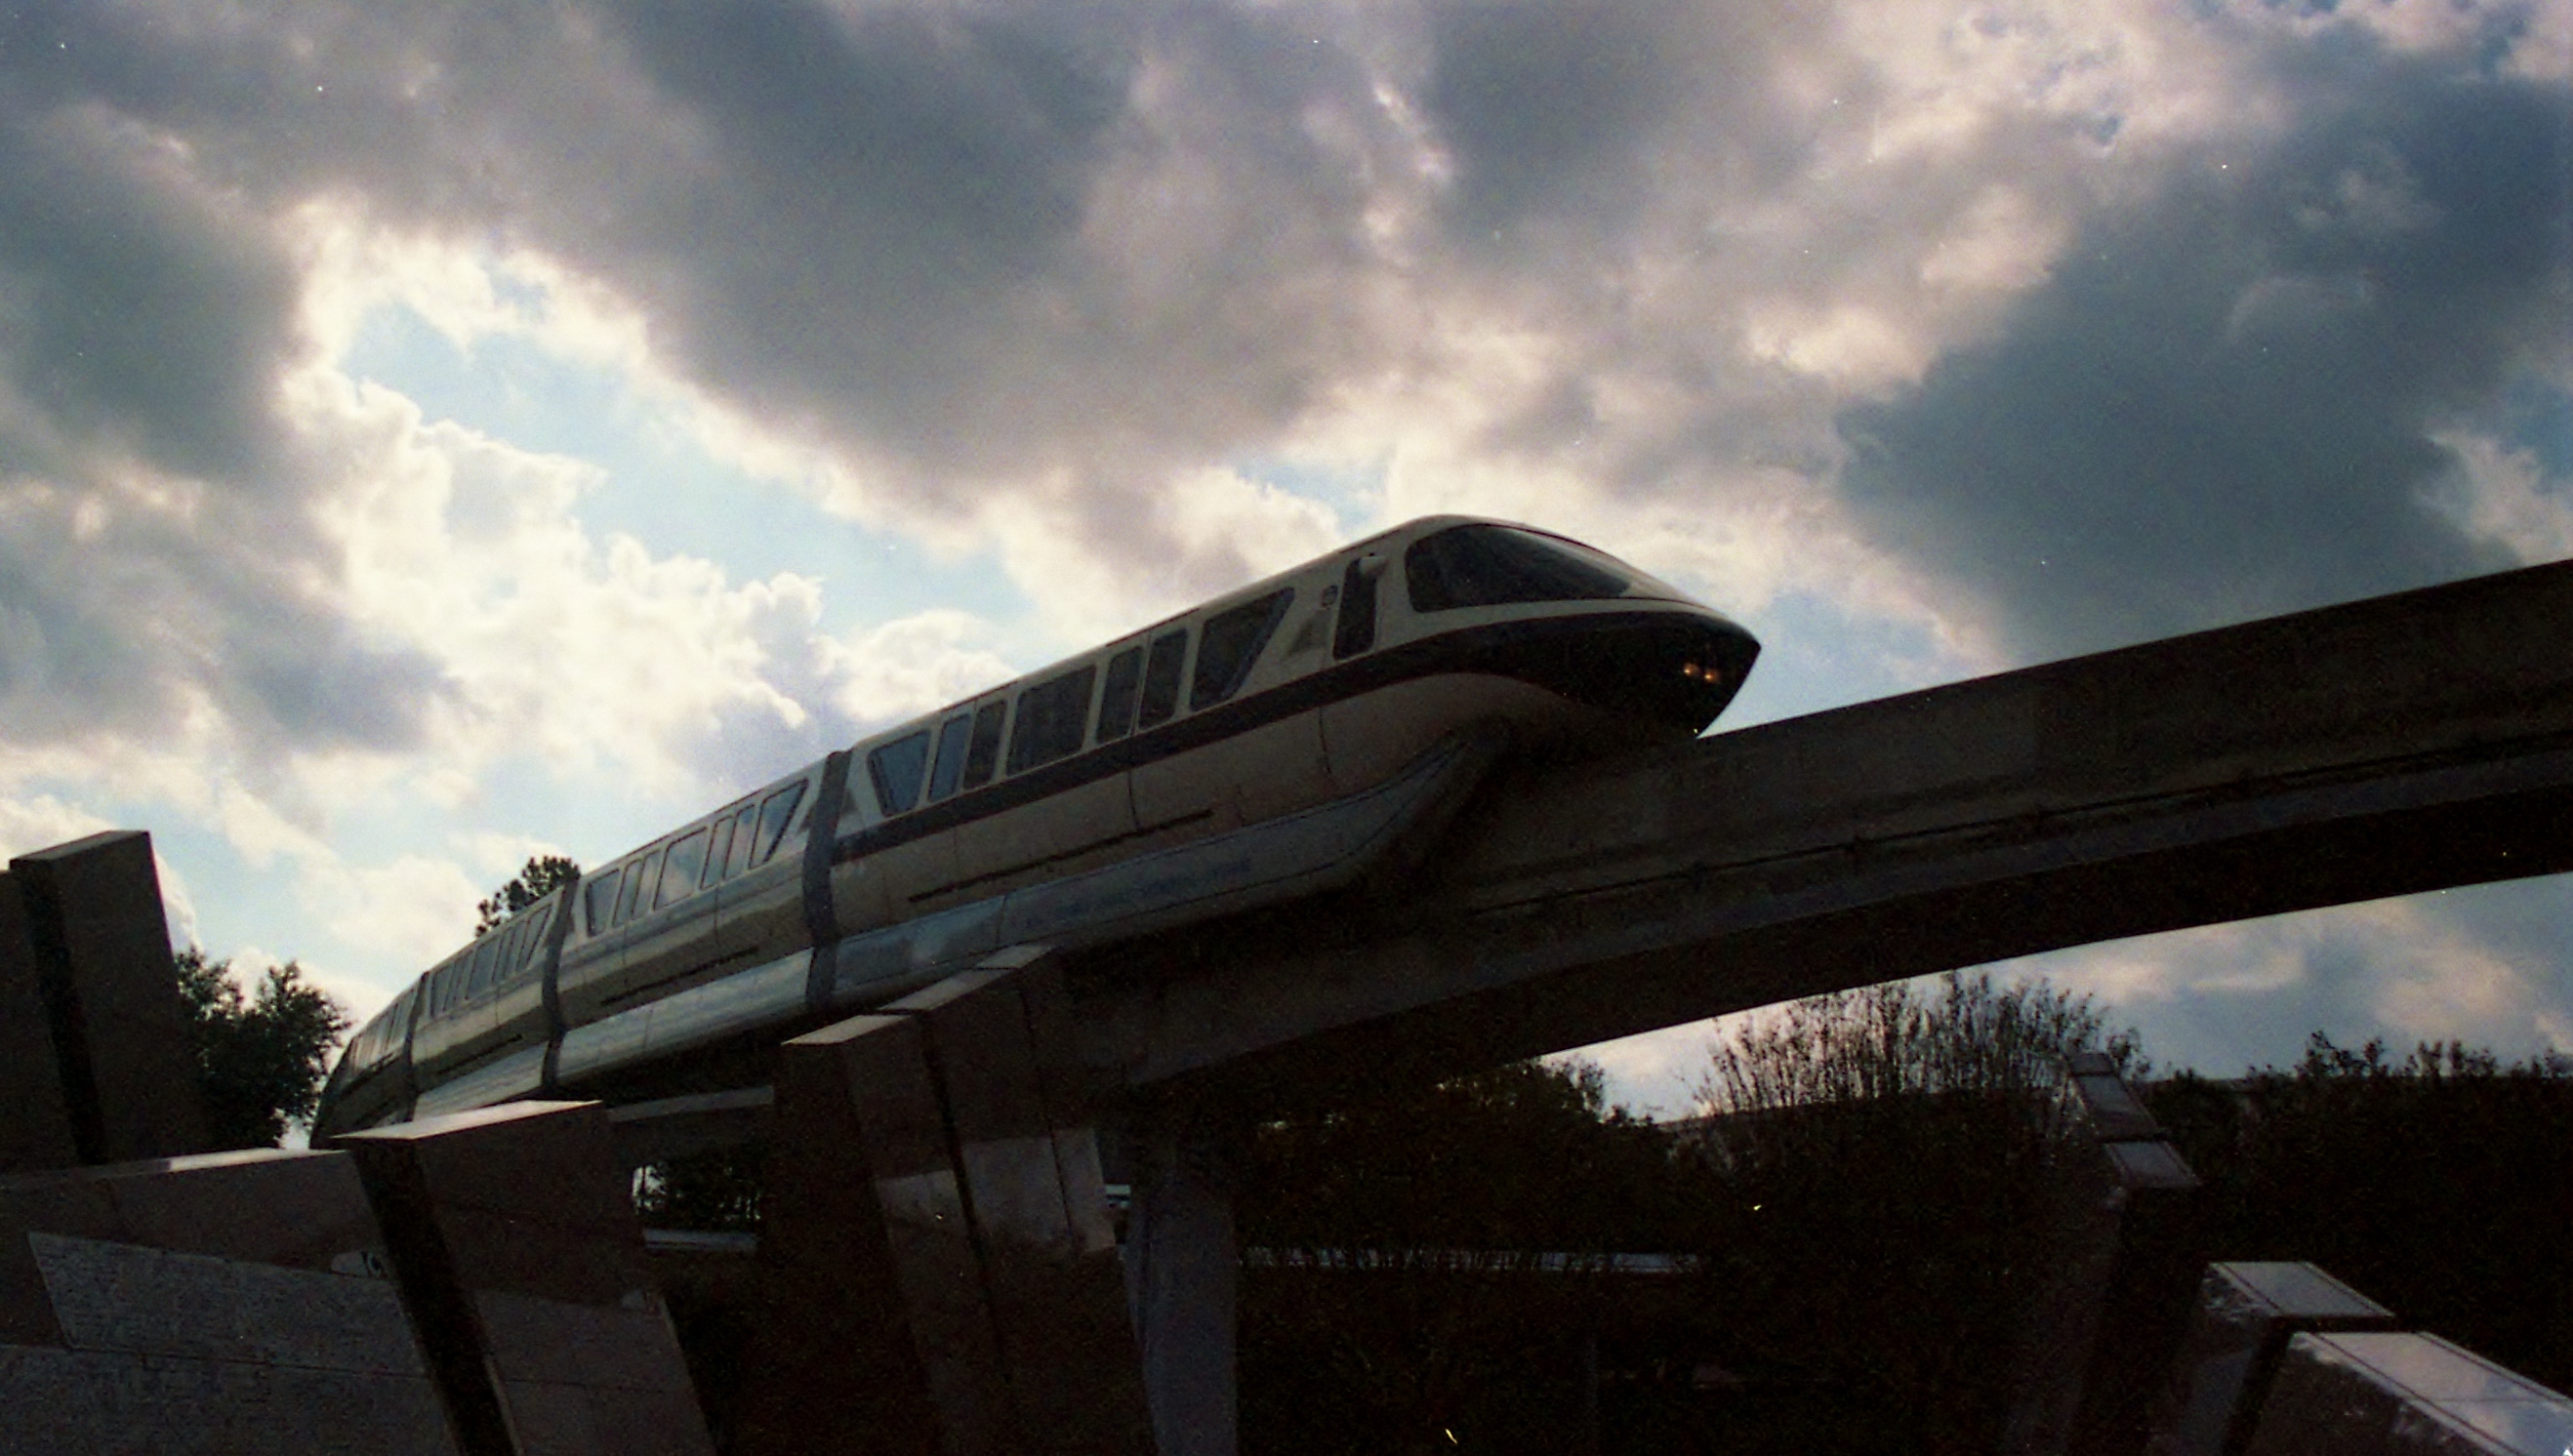

However you feel about APS film, the lack of support for the format is palpable. Only a few scanners had adapters to handle the film and they are now overpriced if available at all.
If you remember, the APS format was sealed in the case so you could not get your greasy, amateur fingerprints all over them and then blame the photo-finisher for your lousy prints. Consequently the scanning mechanisms had to be complex mechanical wonders that would open the case, extrude the film, scan the film, rewind the film back in the case and finally set the correct pictograph state on the cartridge.
I've long since bypassed the cartridge-only logic and extracted the film from the cartridge and placed into negative holders designed for 35mm film.
How to extract the film from the APS cartridge:
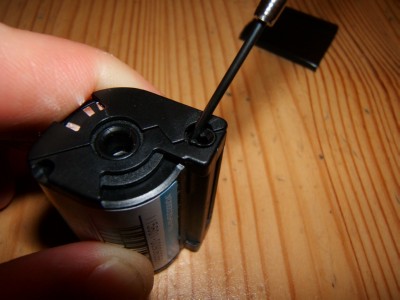
1. Locate the cartridge door. It is a small door that opens to allow the film out. It replaced the black velvet light seals on the 35mm cartridge.
2. Look on the side of the cartridge that has the bar code (the opposite of the side that has the pictographs). There you will see a small hole that has a detent plastic piece. Use a tool and press the detent and rotate the door open.
3. Use another tool, like a flat tipped screwdriver to engage the main drive hub in the center of the cartridge and rotate the core clockwise until you see the film leader come out of the film door.
4. Now pull the film out all the way. Cut into 6 exposure strips to fit in the 35mm, 5 frame negative savers.
Make your mask:
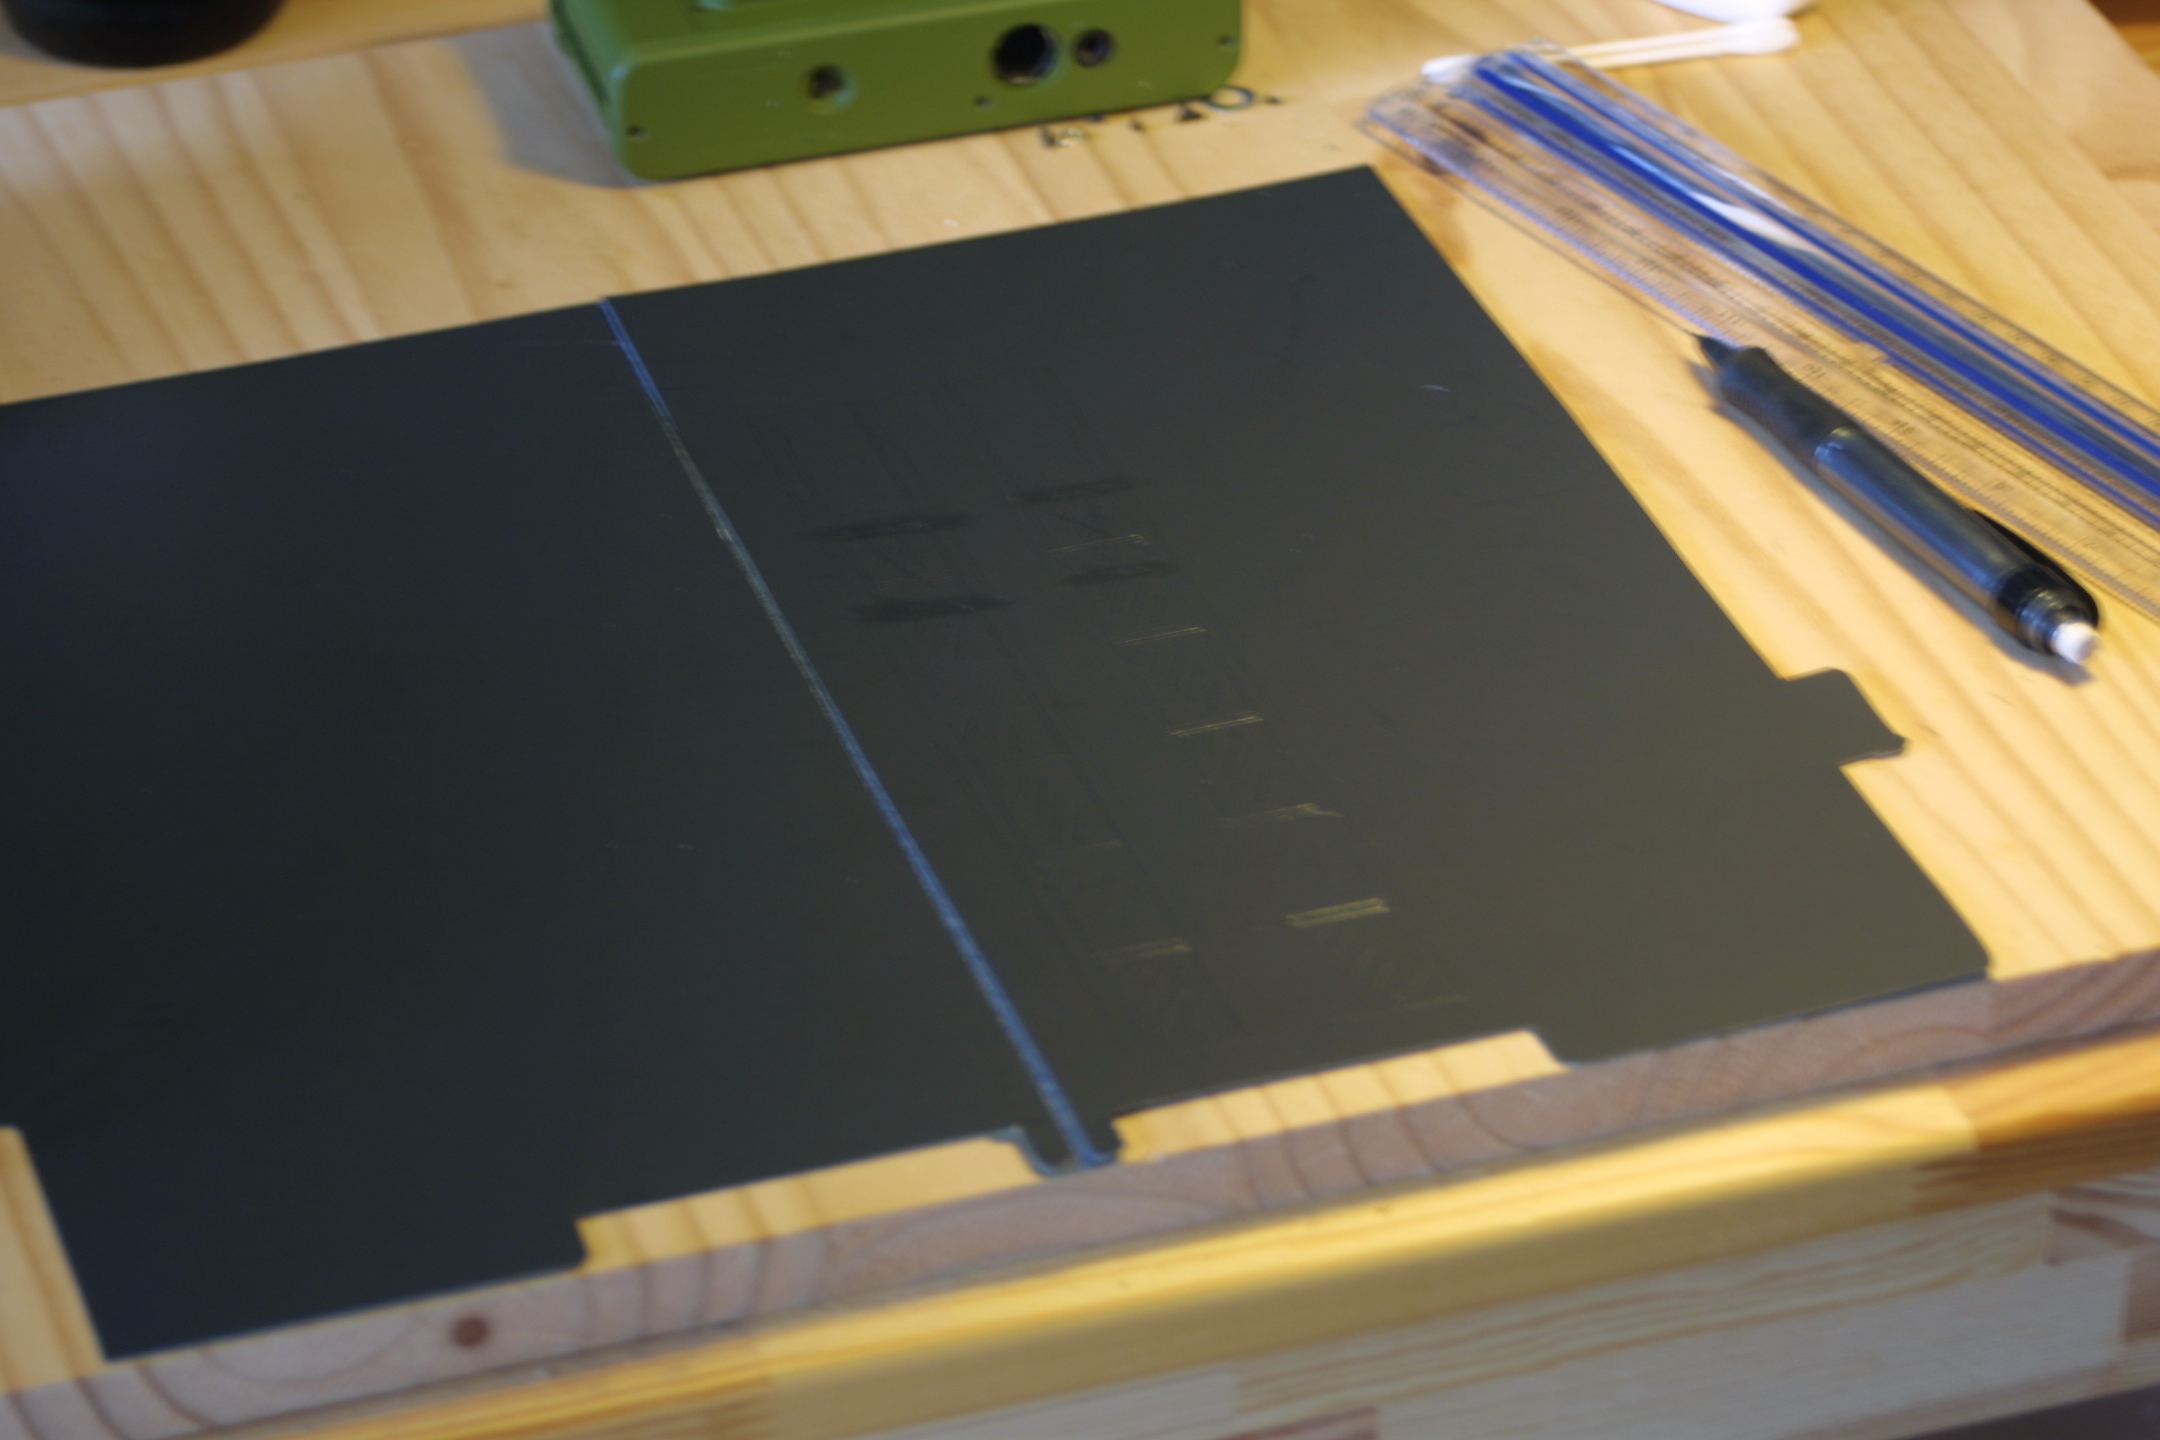
1. Follow the same procedure as the 110 film mask.
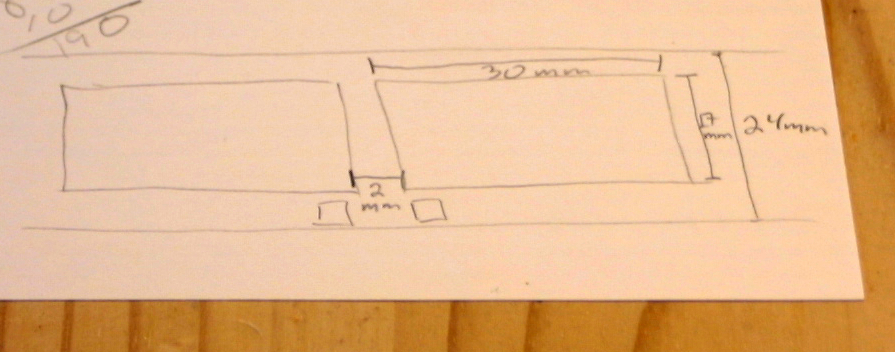
2. My measurements of the APS film are: Film width 24mm, image area width = 17mm, image area length = 30mm, space between frames = 2mm.
Note; In the APS world you can choose your aspect ratio in the camera. Its a nice gimmick, but the film only records the largest H aspect ratio. The others are simply crops of this image done by the photofinisher. Your choice is recorded on the transparent magnetic coating on the film itself so there is no way to know what aspect ratio you chose unless you can tell from the composition of the photo or you have a really good memory.
Enjoy scanning your APS negatives!