Make S-O-S Signal Using ATOM Matrix ESP32
by RonFrtek in Circuits > Arduino
88 Views, 2 Favorites, 0 Comments
Make S-O-S Signal Using ATOM Matrix ESP32
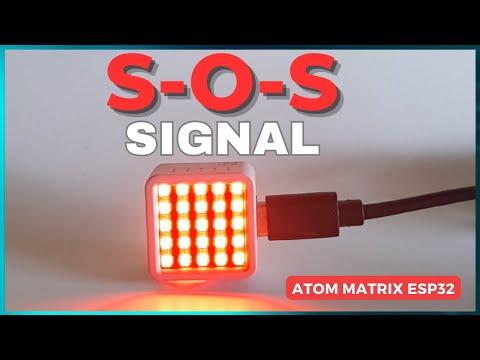
In this Tutorial we are going to make an S-O-S signal using ATOM Matrix ESP32.
What You Will Need
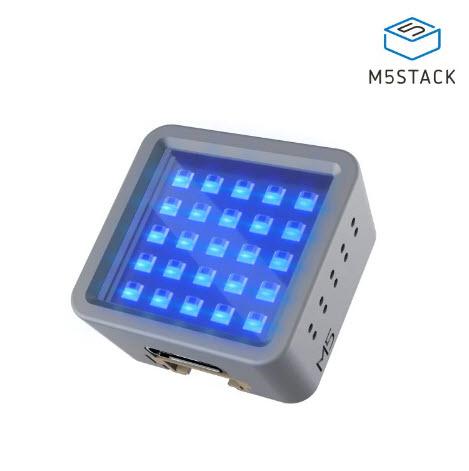
- ATOM Matrix ESP32 More info
- Visuino program: Download Visuino
Start Visuino, and Select the Atom Matrix Board Type
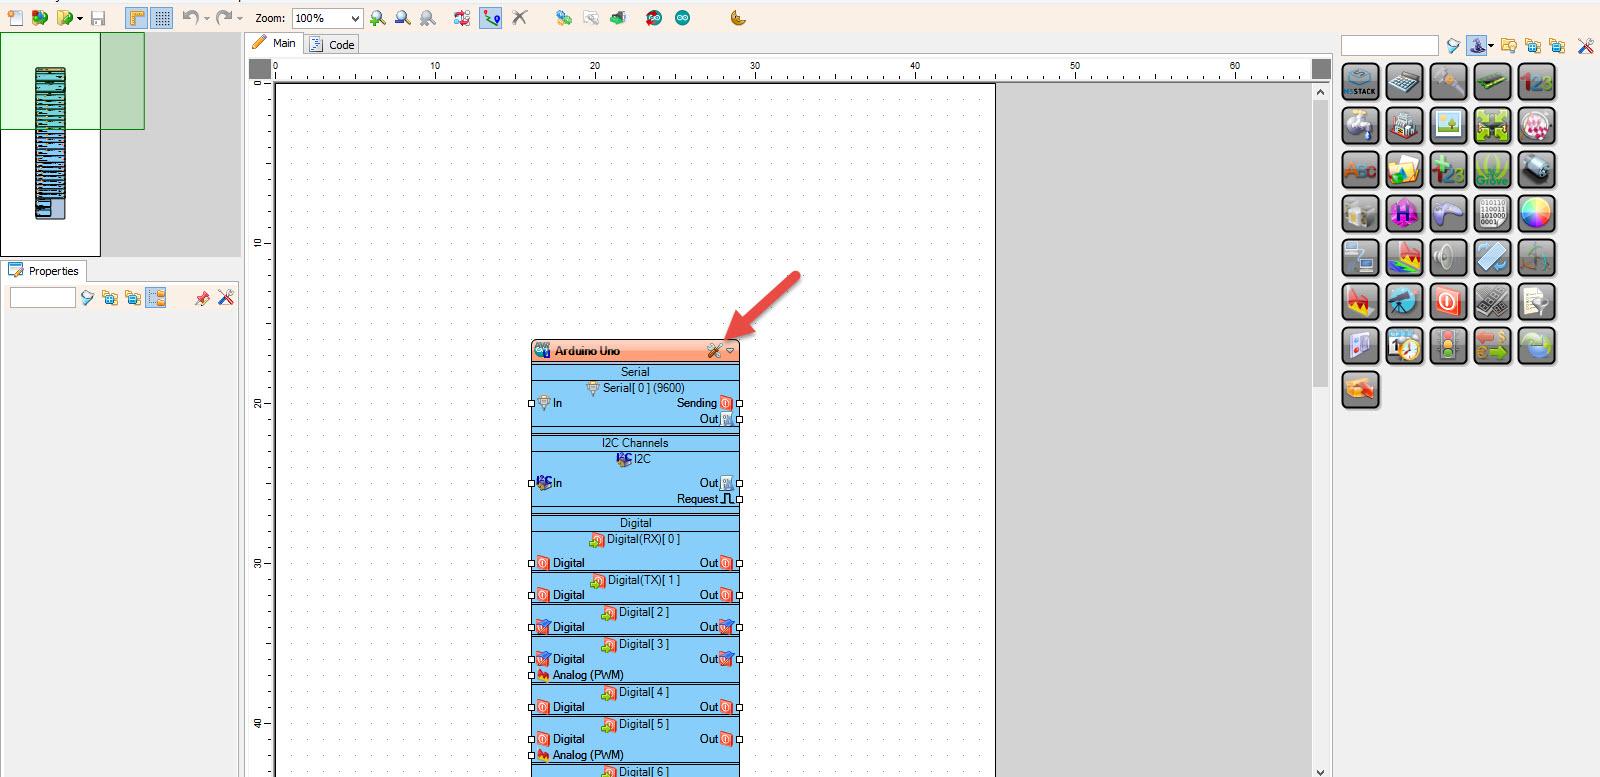
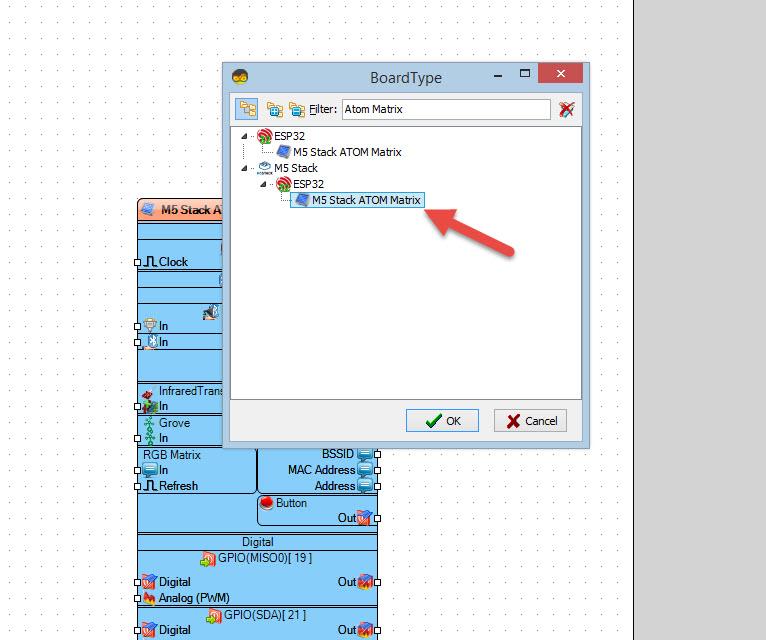
Start Visuino as shown in the first picture Click on the "Tools" button on the Arduino component (Picture 1) in Visuino When the dialog appears, select "Atom Matrix" as shown on Picture 2
In Visuino Add Components
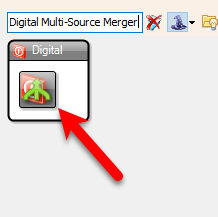
- Add 2X "Digital Multi-Source Merger" component
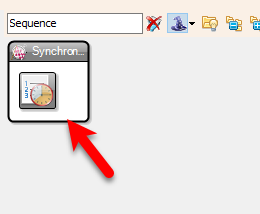
- Add "Sequence" component
In Visuino Set Components
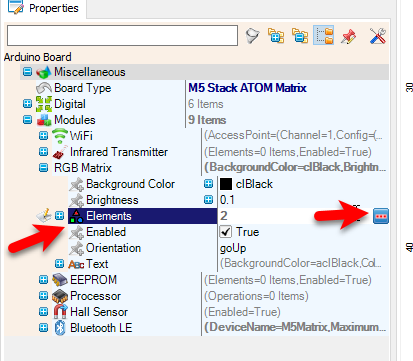
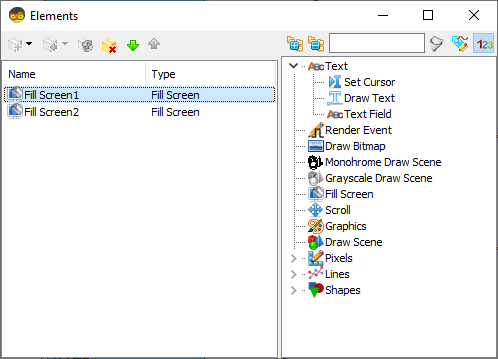
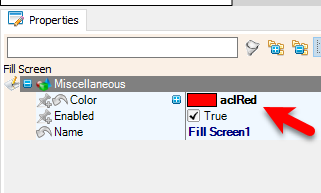
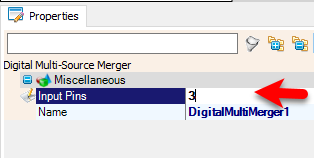
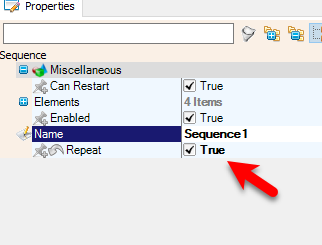
- Select "M5 Stack ATOM Matrix" board and in the properties window expand "Modules">"RGB Matrix">"Elements" and click on the 3 dots button
- In the "Elements" window drag "Fill Screen" to the left side and in the properties window set "Color" to aclRed
- In the "Elements" window drag another "Fill Screen" to the left side
- Close the "Elements" window
- Select "DigitalMultiMerger1" and in the properties wind set "Input Pins" to 3
- Select "DigitalMultiMerger2" and in the properties wind set "Input Pins" to 3
- Select "Sequence1" and in the properties window set "Repeat" to True
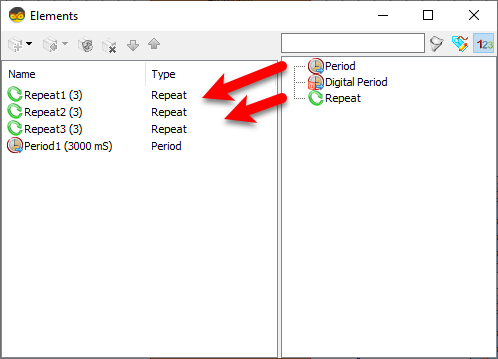
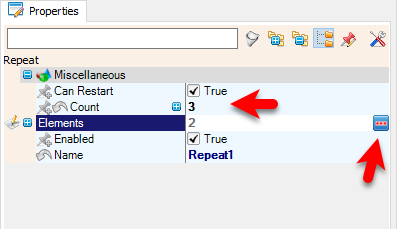
- Double click on the "Sequence1" and in the "Elements" window drag "Repeat" to the left side and in the Properties window set "Count" to 3 and select "Elements" and click on the 3 dots button
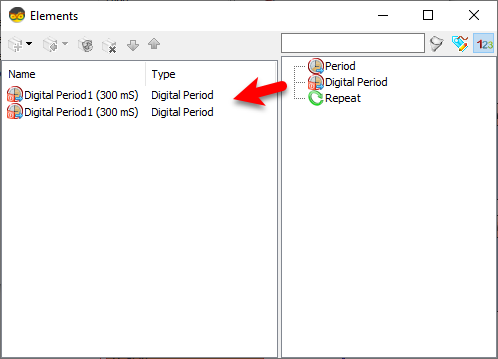
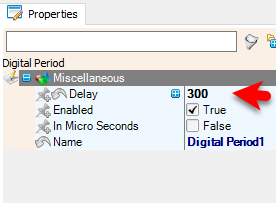
- In the New "Elements" window drag "Digital Period" to the Left side and in the properties window set "Delay" to 300
- Drag another "Digital Period" to the Left side and in the properties window set "Delay" to 300
- Close the "Elements" window
- in the "Elements" window drag another "Repeat" to the left side and in the Properties window set "Count" to 3 and select "Elements" and click on the 3 dots button
- In the New "Elements" window drag "Digital Period"
- Drag another "Digital Period" to the Left side and in the properties window set "Delay" to 300
- Close the "Elements" window
- in the "Elements" window drag another "Repeat" to the left side and in the Properties window set "Count" to 3 and select "Elements" and click on the 3 dots button
- In the New "Elements" window drag "Digital Period" to the Left side and in the properties window set "Delay" to 300
- Drag another "Digital Period" to the Left side and in the properties window set "Delay" to 300
- Close the "Elements" window
- in the "Elements" window drag another "Period" to the left side and in the Properties window set "Delay" to 3000
- Close the "Elements" window
In Visuino Connect Components
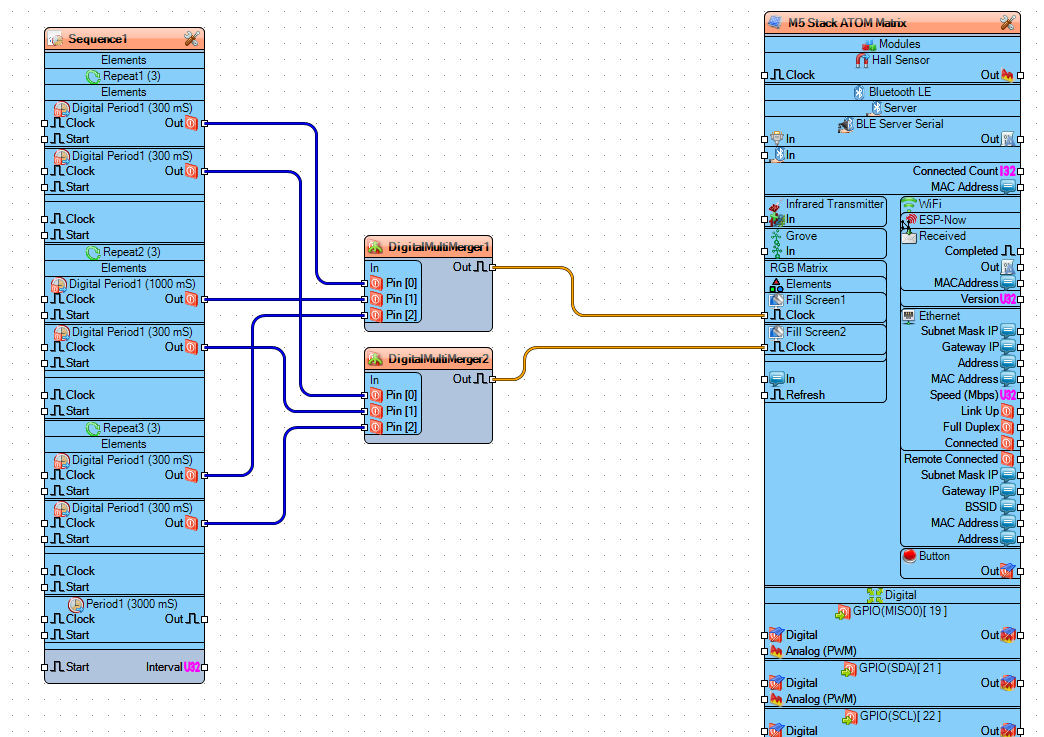
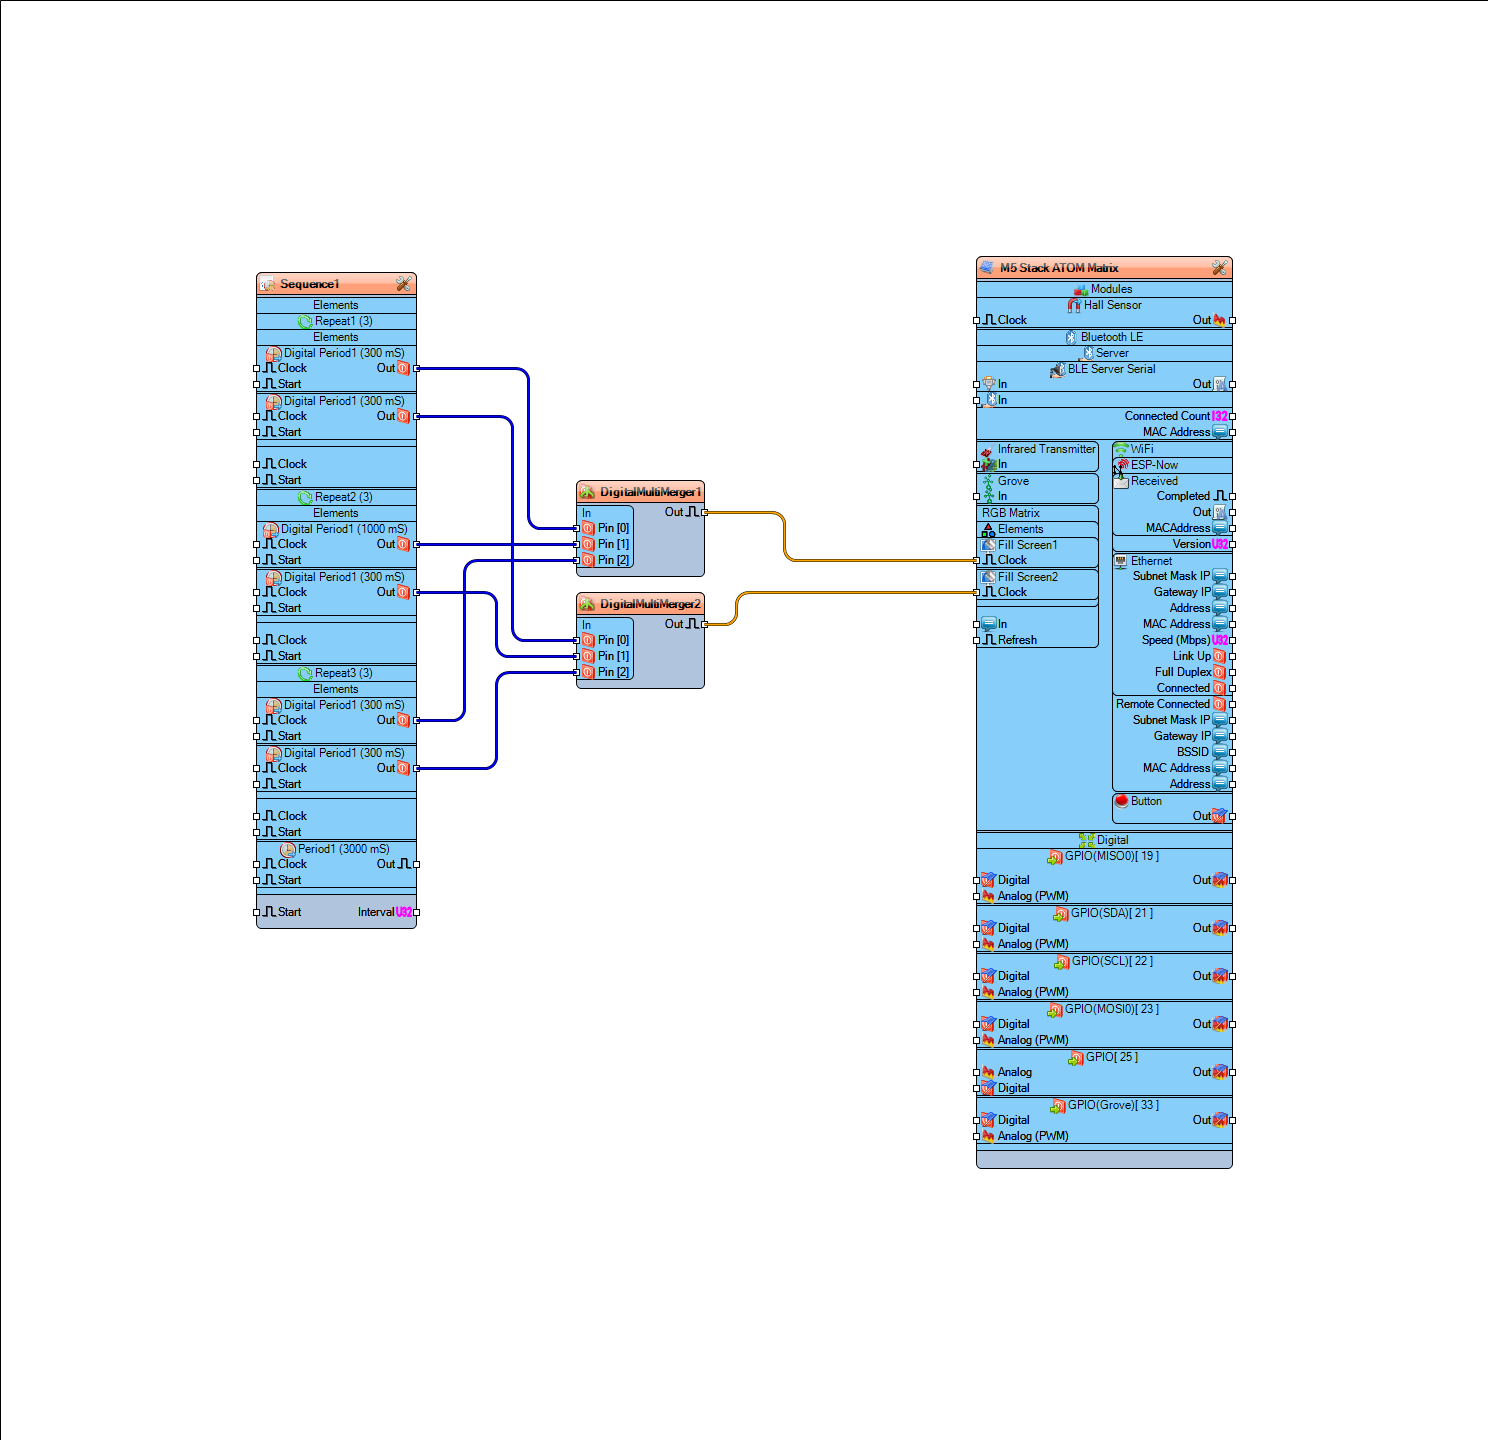
- Connect "Sequence1" > "Repeat1" > "Digital Period1" pin [Out] to "DigitalMultiMerger1" pin [0]
- Connect "Sequence1" > "Repeat1" > "Digital Period2" pin [Out] to "DigitalMultiMerger2" pin [0]
- Connect "Sequence1" > "Repeat2" > "Digital Period1" pin [Out] to "DigitalMultiMerger1" pin [1]
- Connect "Sequence1" > "Repeat2" > "Digital Period2" pin [Out] to "DigitalMultiMerger2" pin [1]
- Connect "Sequence1" > "Repeat3" > "Digital Period1" pin [Out] to "DigitalMultiMerger1" pin [2]
- Connect "Sequence1" > "Repeat3" > "Digital Period2" pin [Out] to "DigitalMultiMerger2" pin [2]
- Connect "DigitalMultiMerger1" pin[Out] to "M5 Stack ATOM Matrix" > "Fill Screen1" pin [Clock]
- Connect "DigitalMultiMerger2" pin[Out] to "M5 Stack ATOM Matrix" > "Fill Screen2" pin [Clock]
Generate, Compile, and Upload the Arduino Code

In Visuino, at the bottom click on the "Build" Tab, make sure the correct port is selected, then click on the "Compile/Build and Upload" button.
Play
If you power the ATOM Matrix module The Display will start to show the S-O-S signals.
Congratulations! You have completed your project with Visuino. Also attached is the Visuino project, that I created for this tutorial, you can download it and open it in Visuino: https://www.visuino.eu