Make a Radar Using Ultrasonic Sensor Using Arduino
by theSTEMpedia in Circuits > Sensors
6775 Views, 27 Favorites, 0 Comments
Make a Radar Using Ultrasonic Sensor Using Arduino
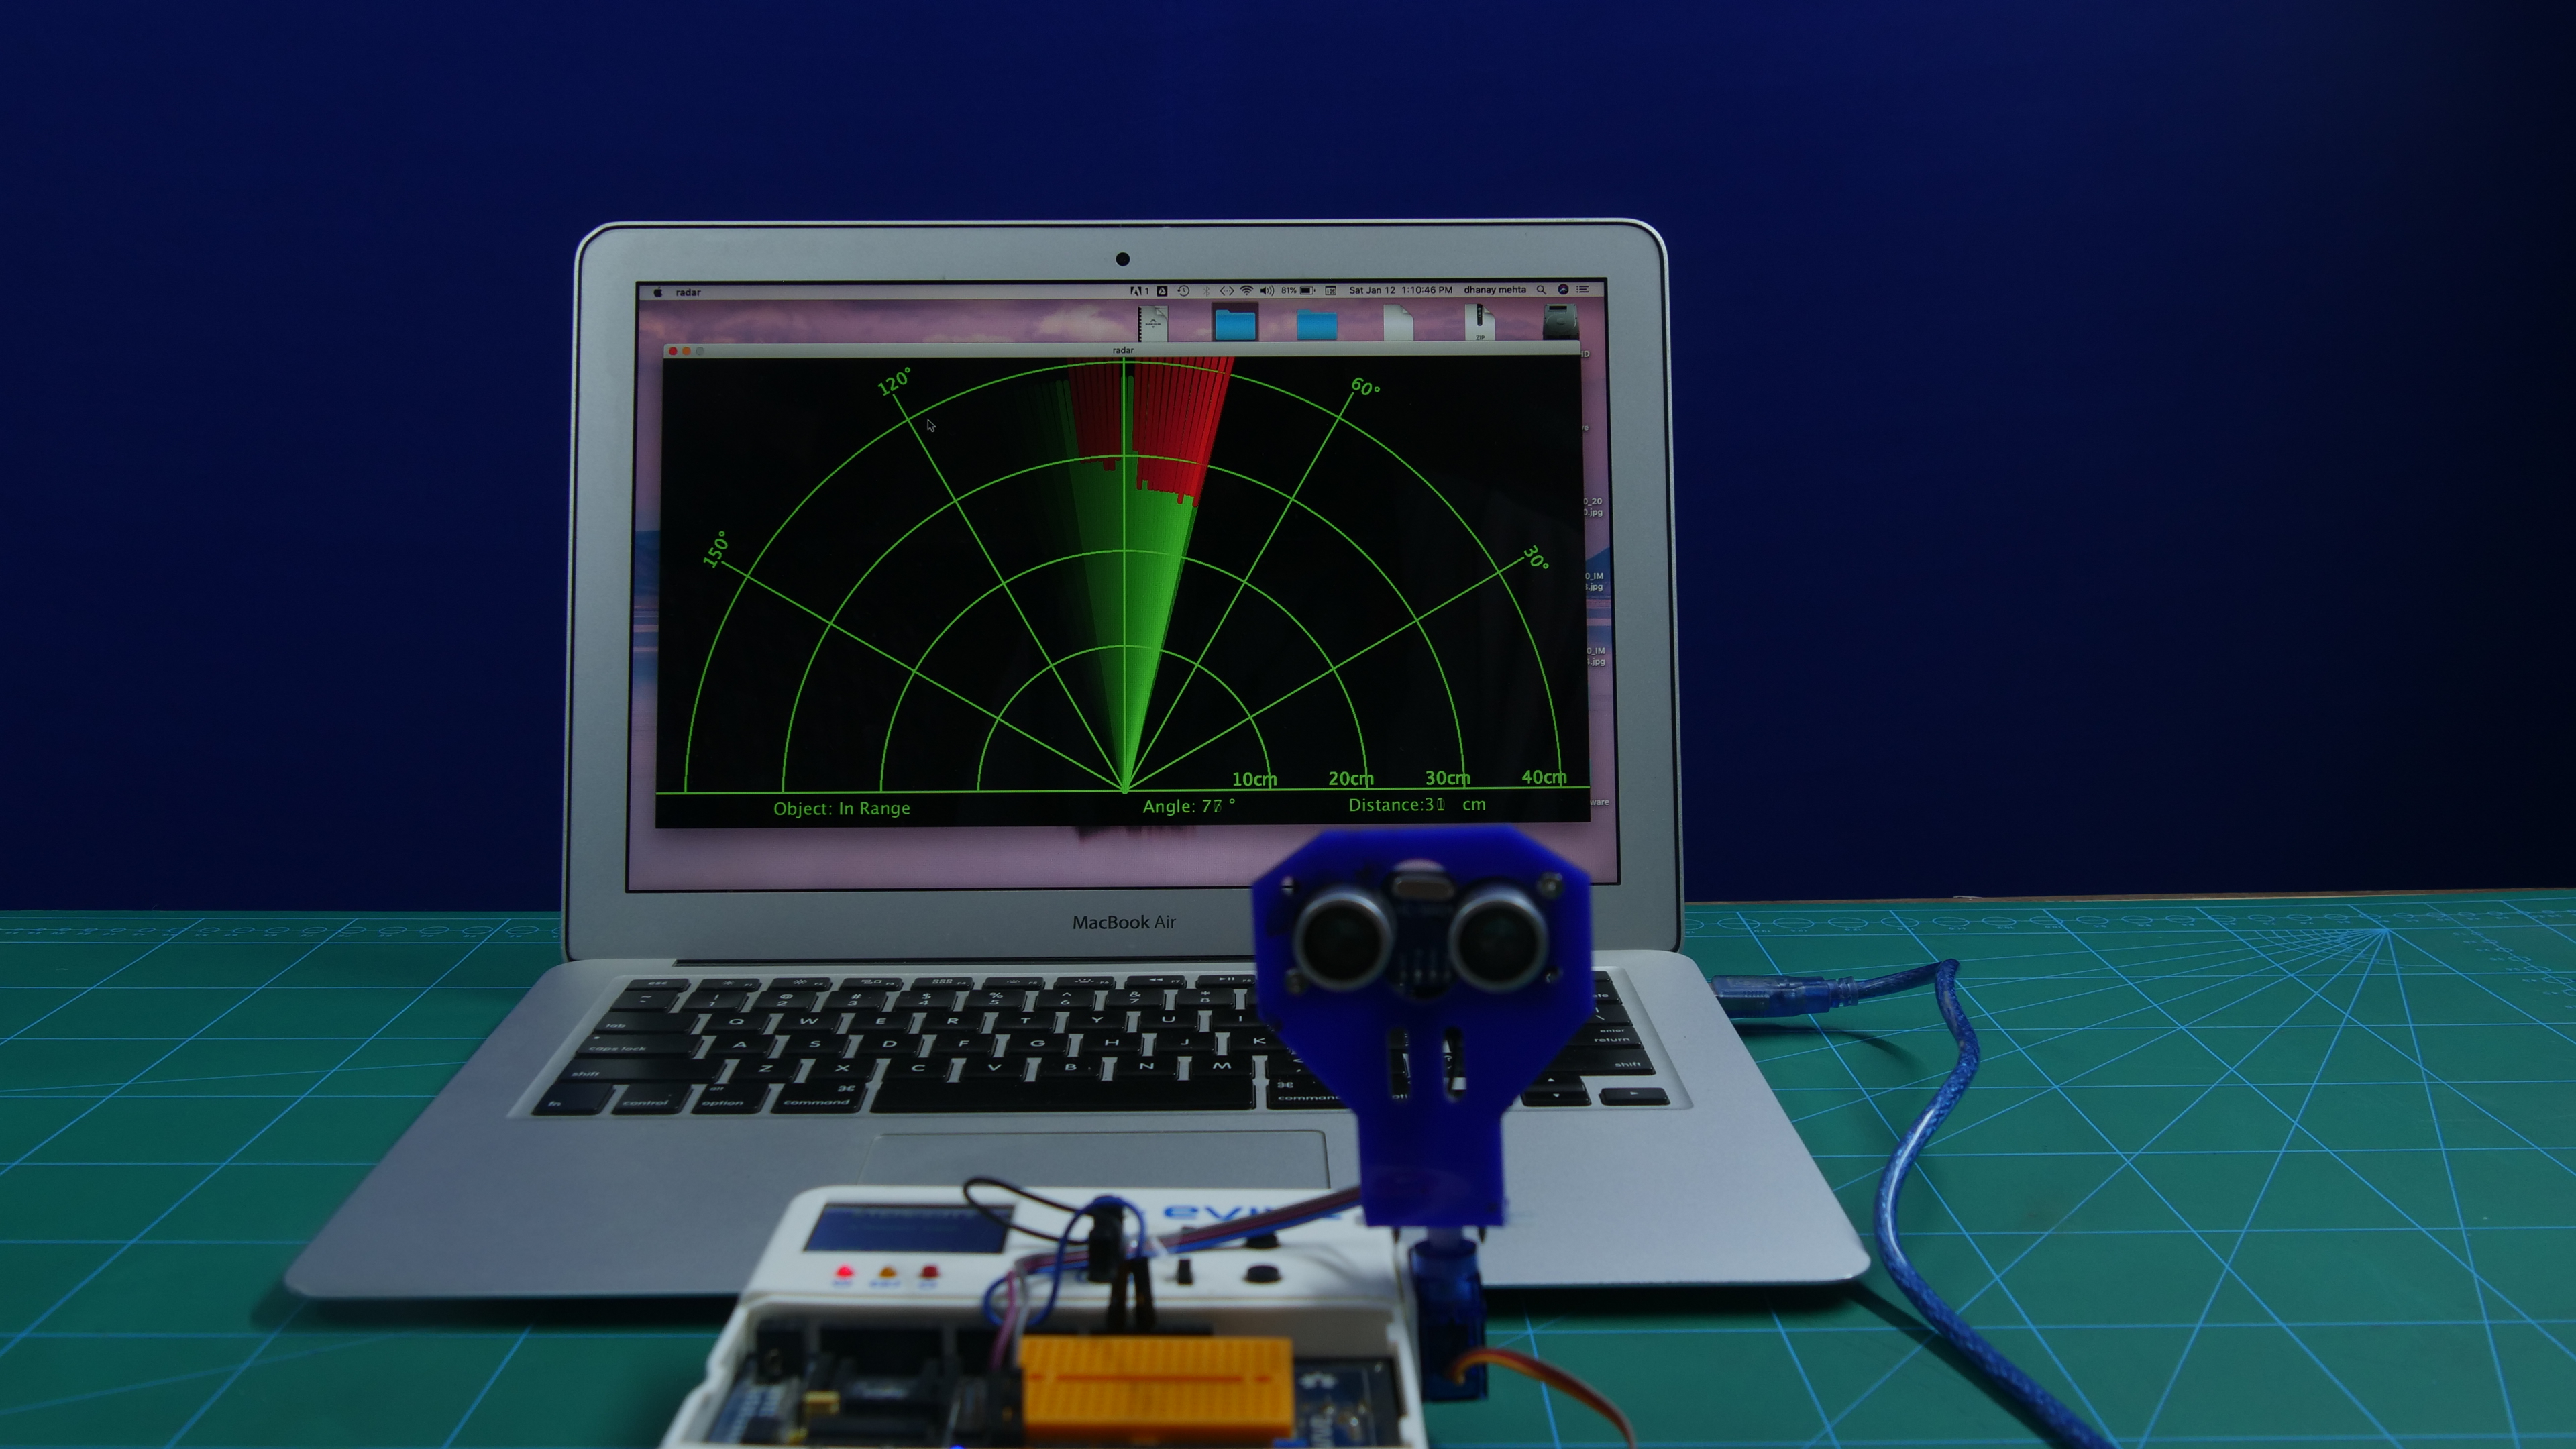
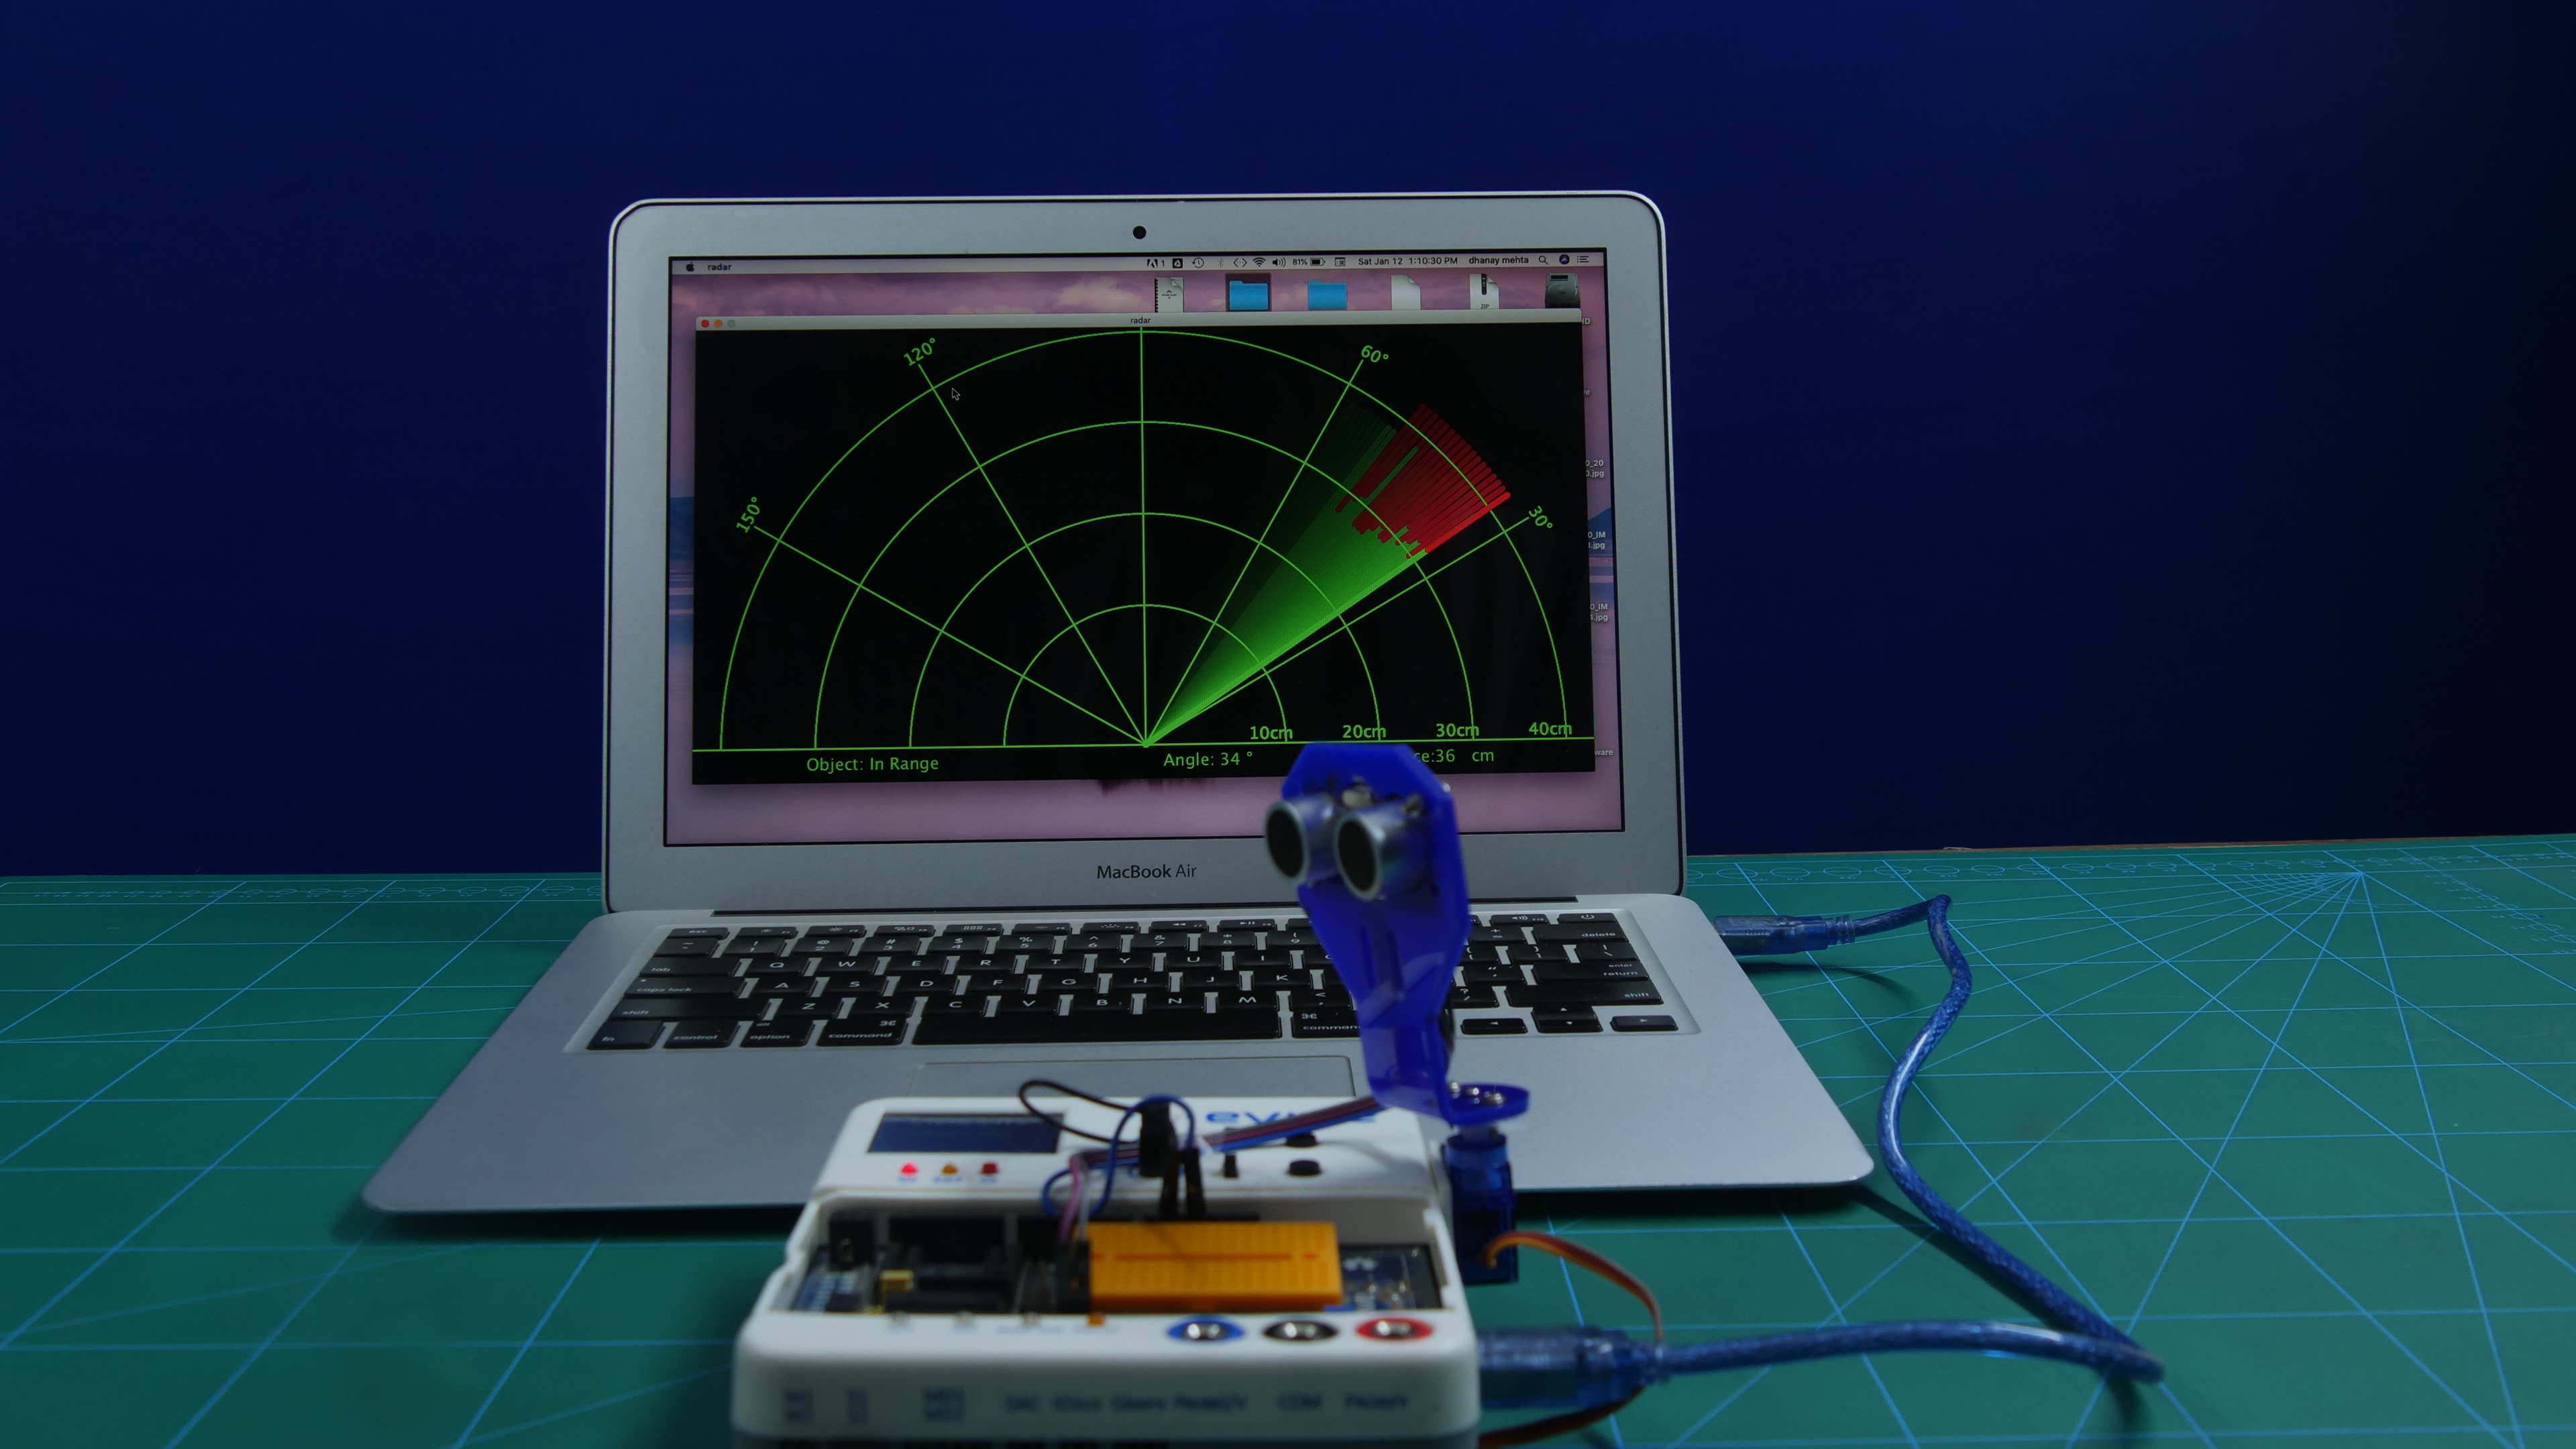
Radars. Enemies. Action. The perfect mix for action movies. Radars, apart from being cool, are pretty useful in real life as well; e.g. when you want to stay up late at night to play your favourite video game but stay undercover, or when you want to keep your prized Lindor truffle safe from the prying hands of your siblings. The most amazing thing about them? You can make one for yourself! All you need are an ultrasonic sensor, evive, a few other easily available components, and some DIYing and you’re good to go!
So, are you ready? Let’s begin in 3, 2, 1… now!
Things You'll Need:
Hardware
- evive
- Ultrasonic Sensor
- Ultrasonic Sensor Holder
- Servo Motor and its experiments
Software
- Arduino IDE
- Processing
Attaching the Sensor
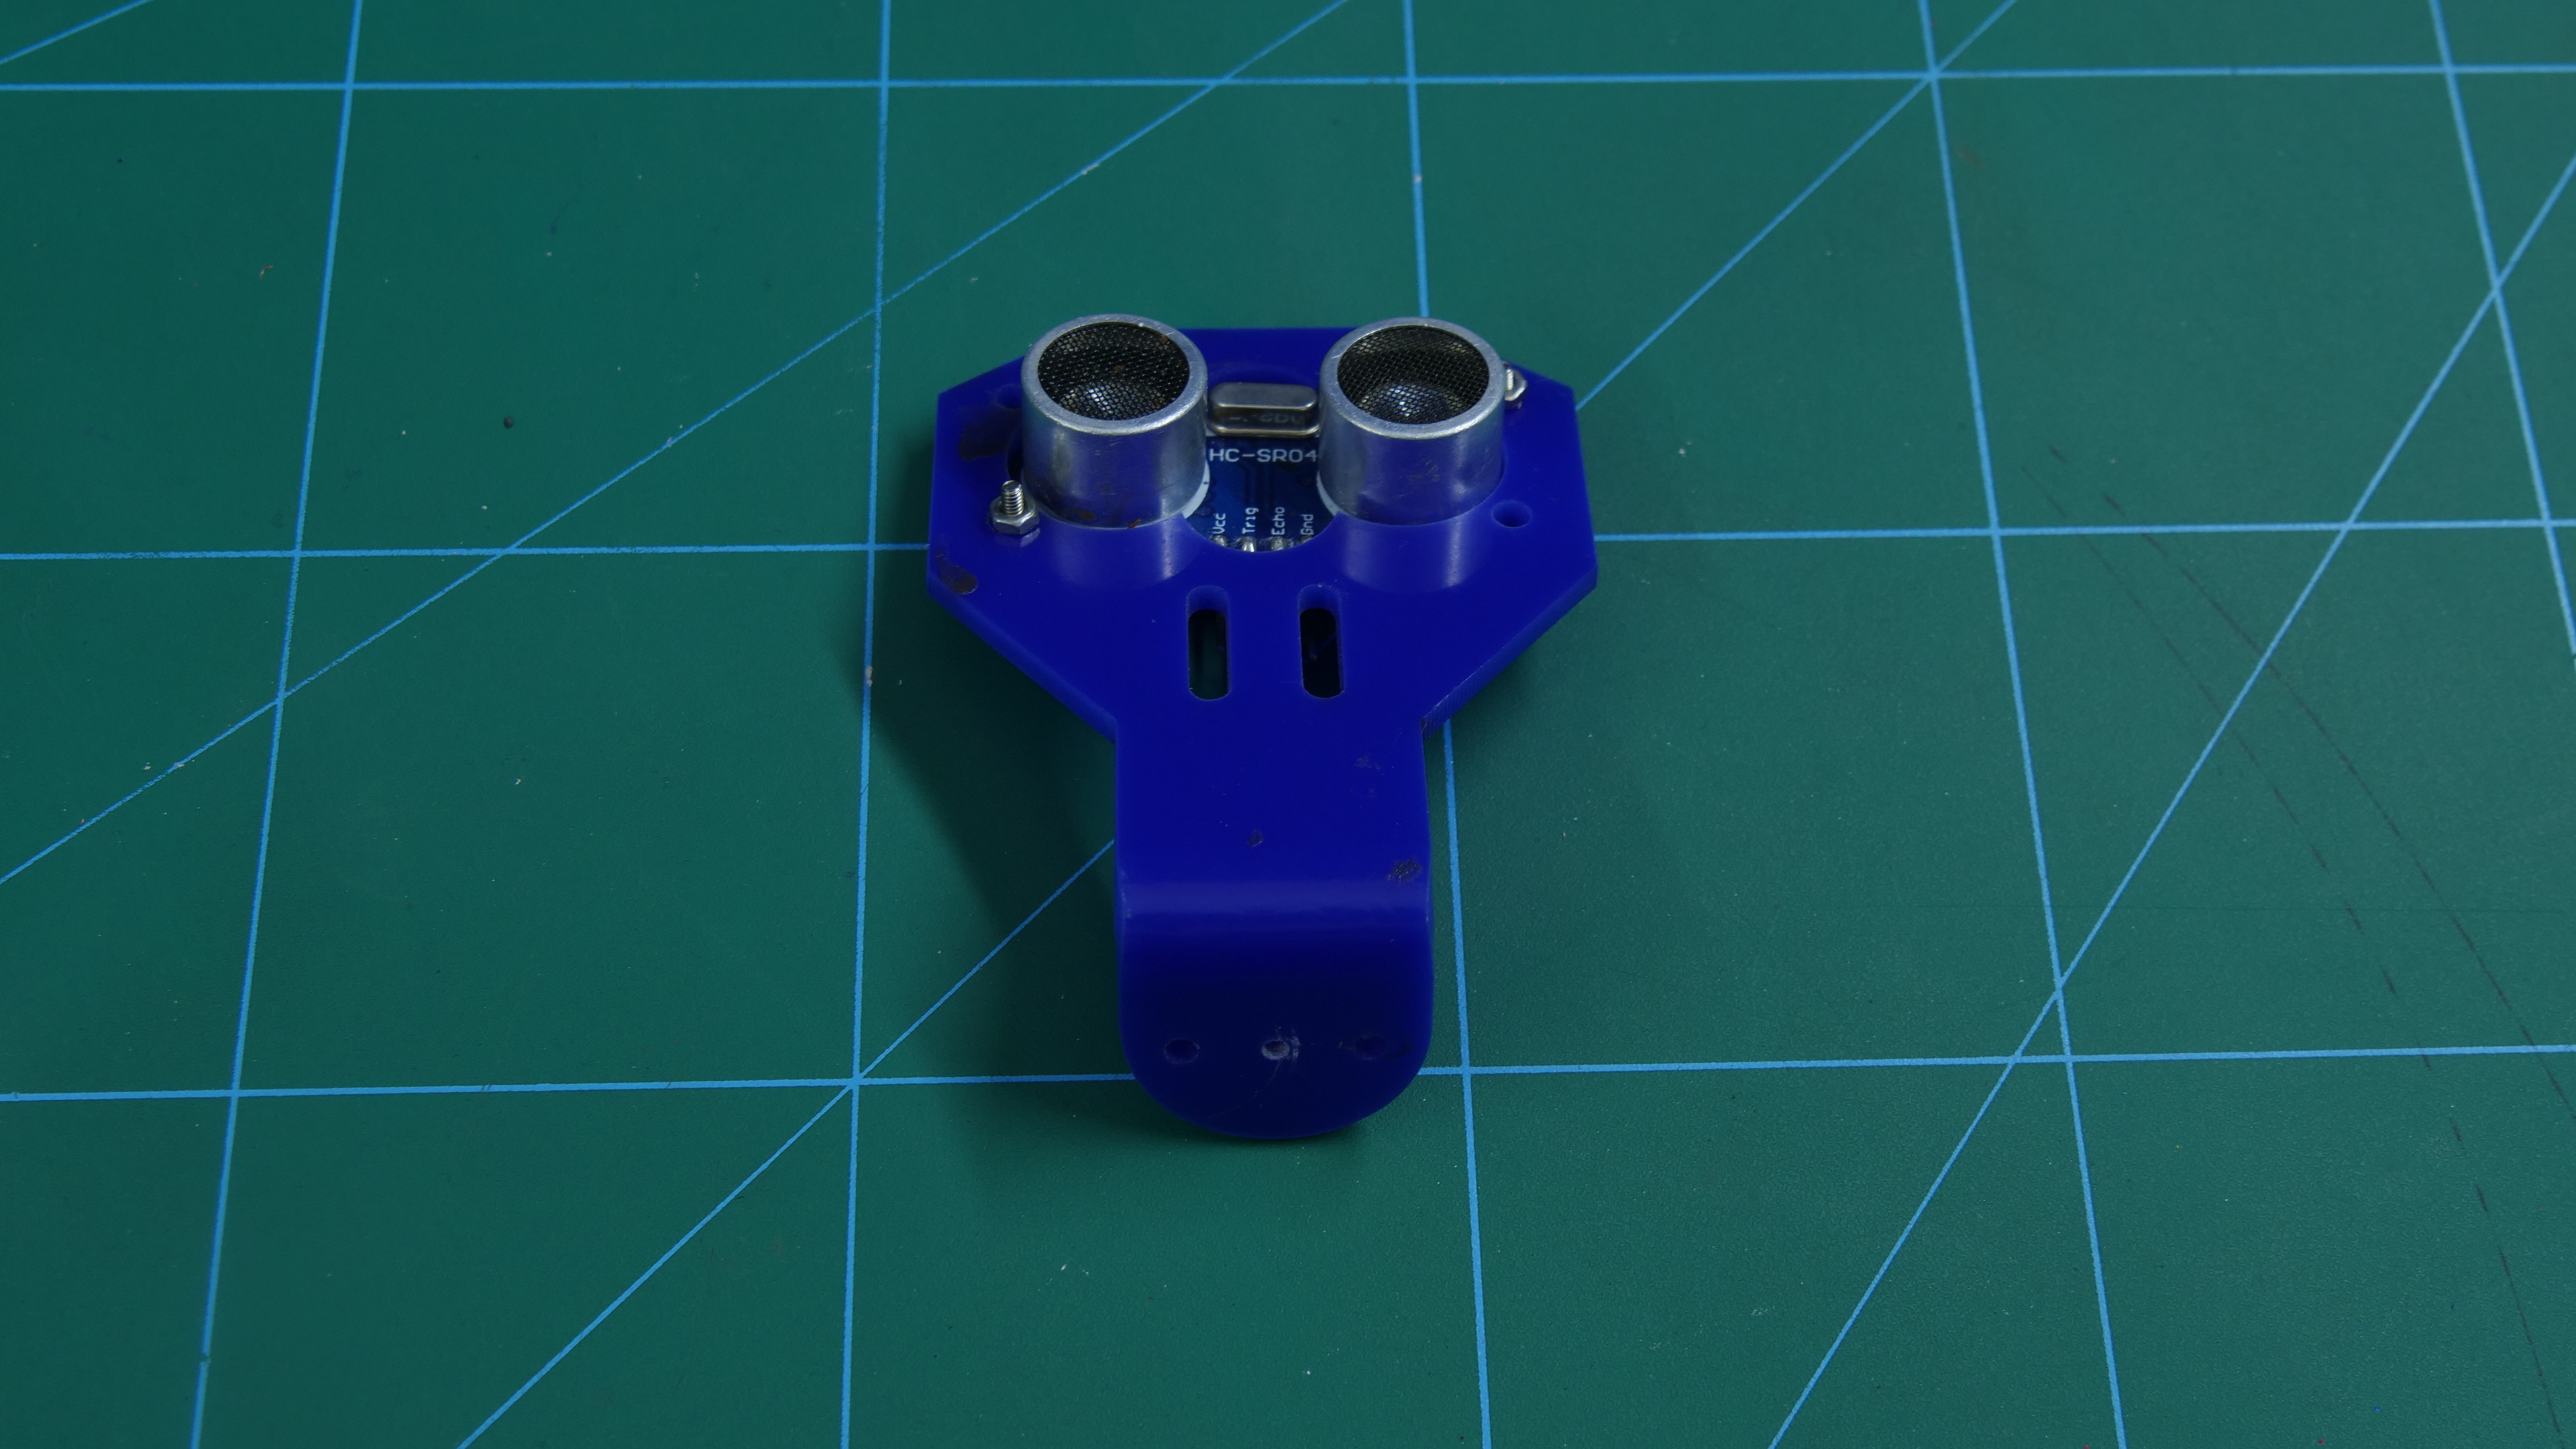
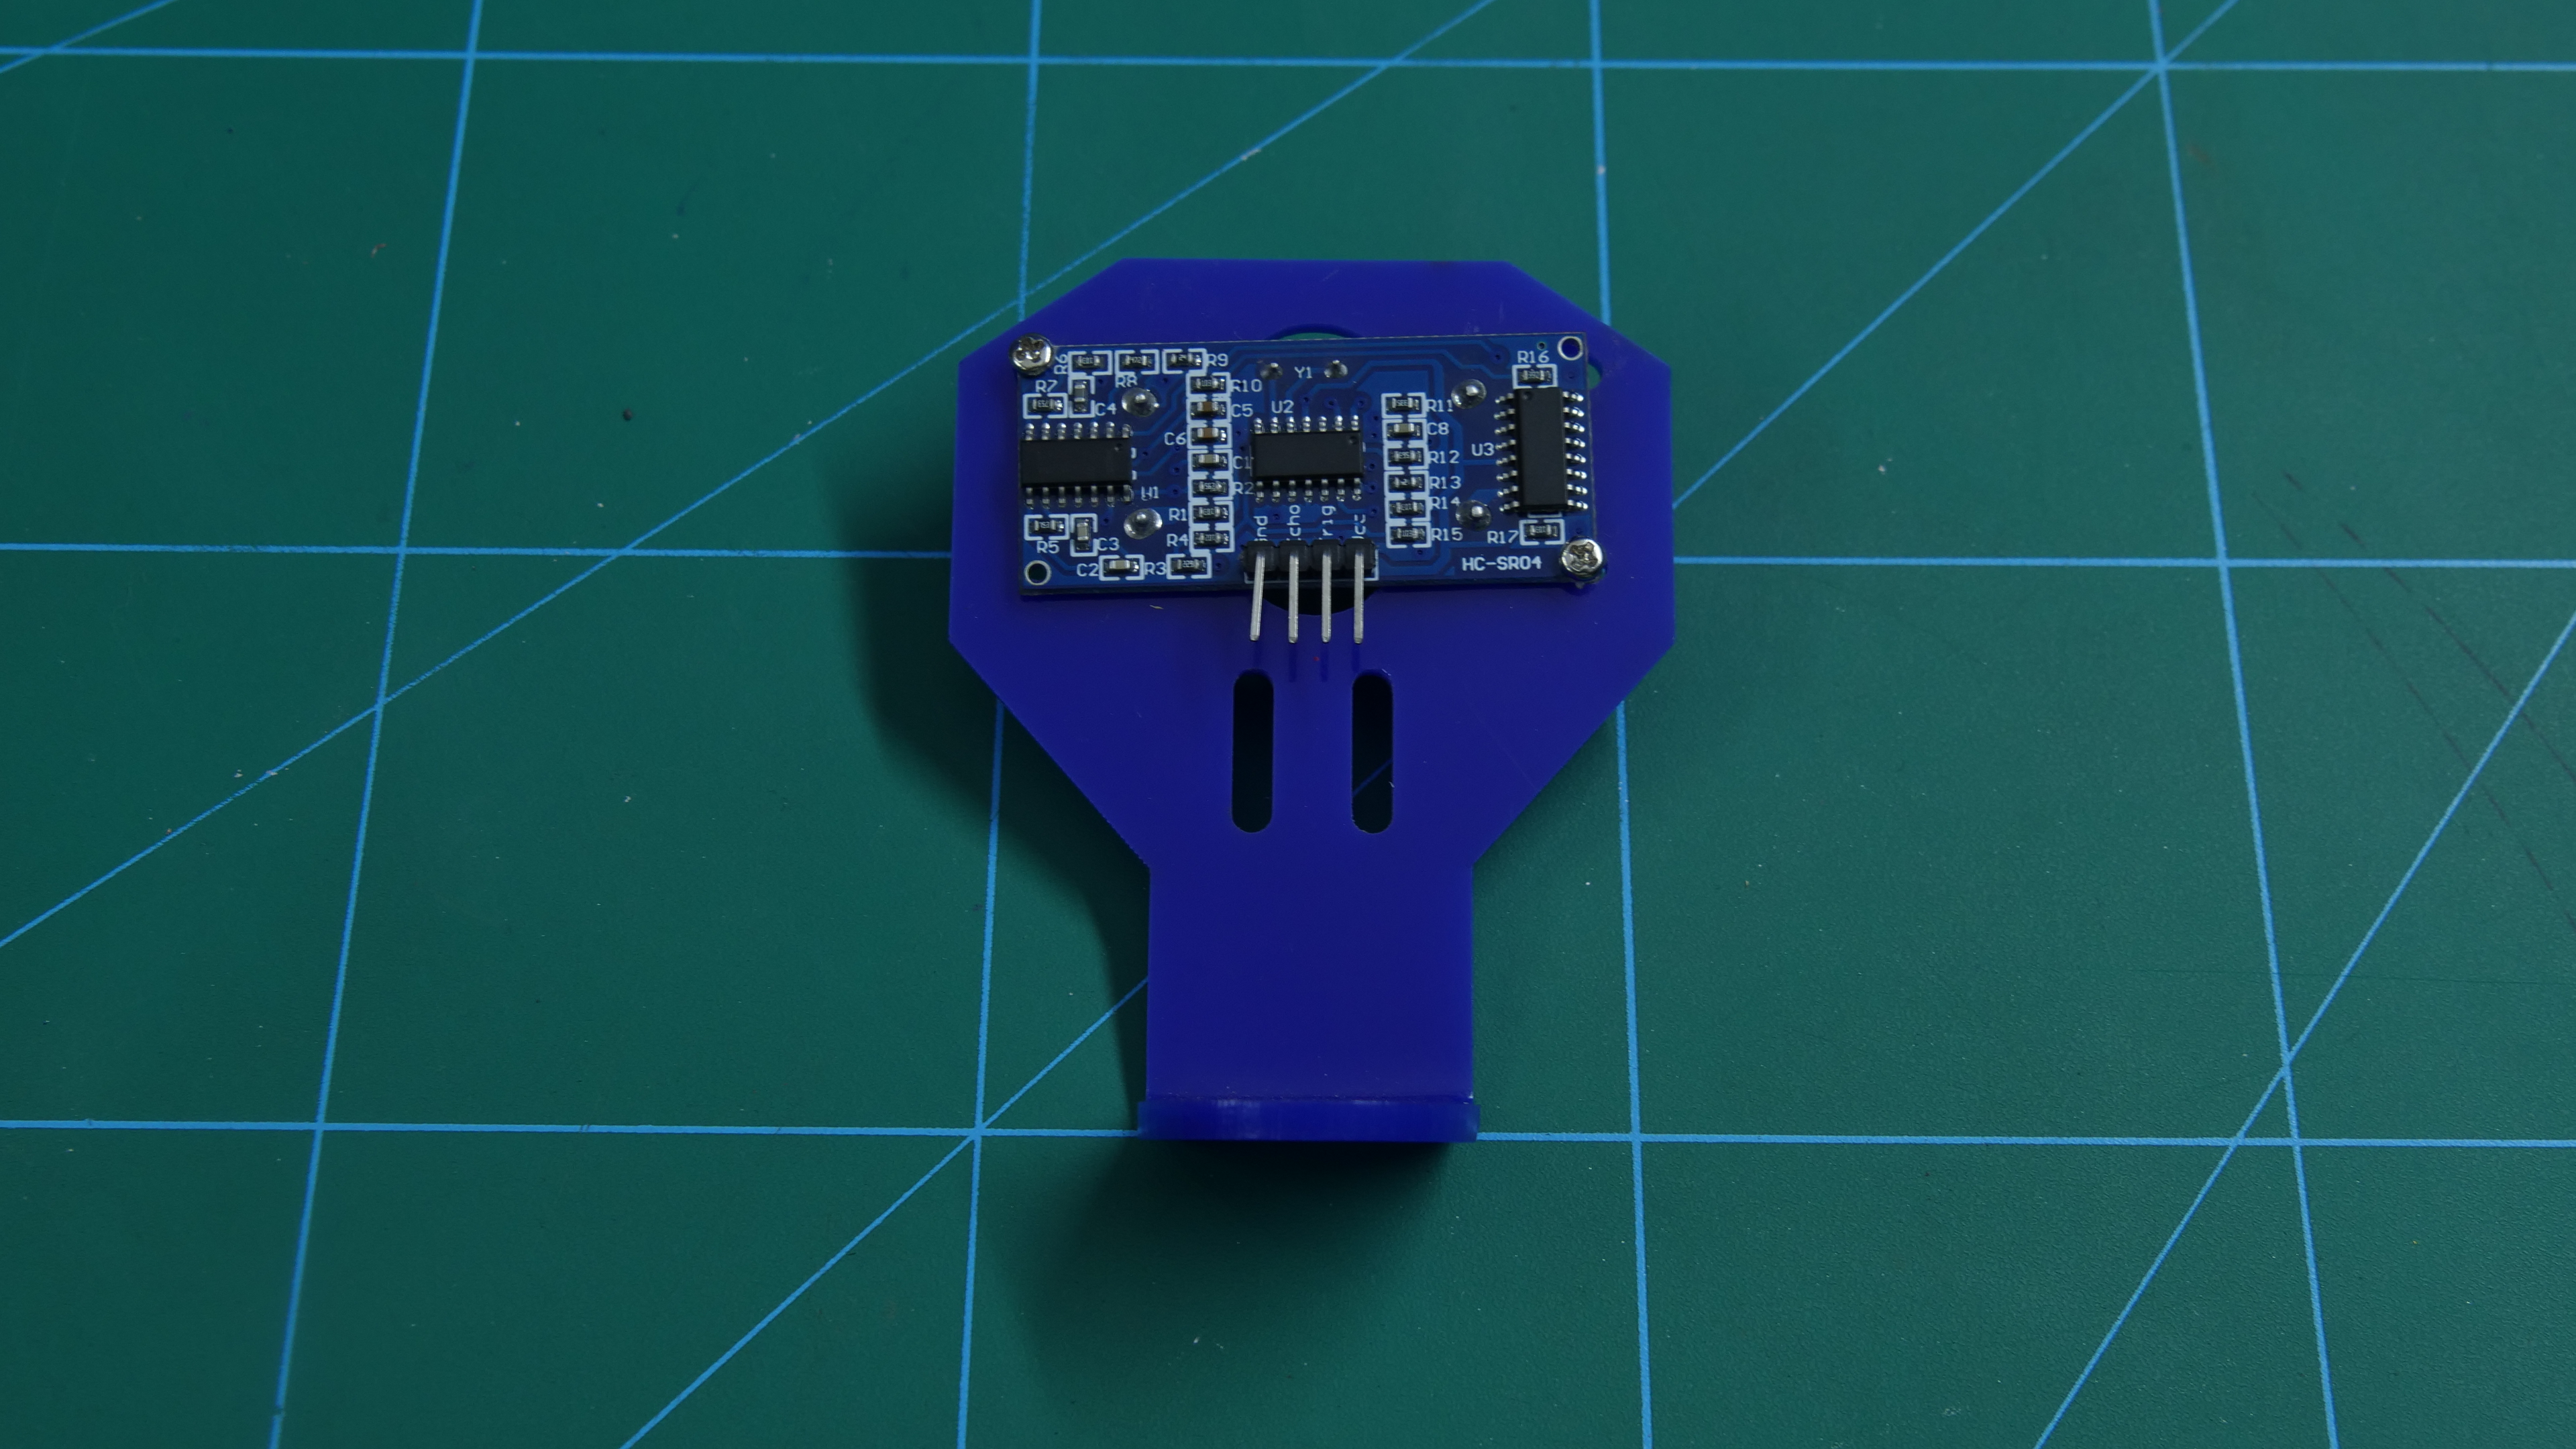
We need to attach the Ultrasonic Sensor to its holder.
Fix it using.
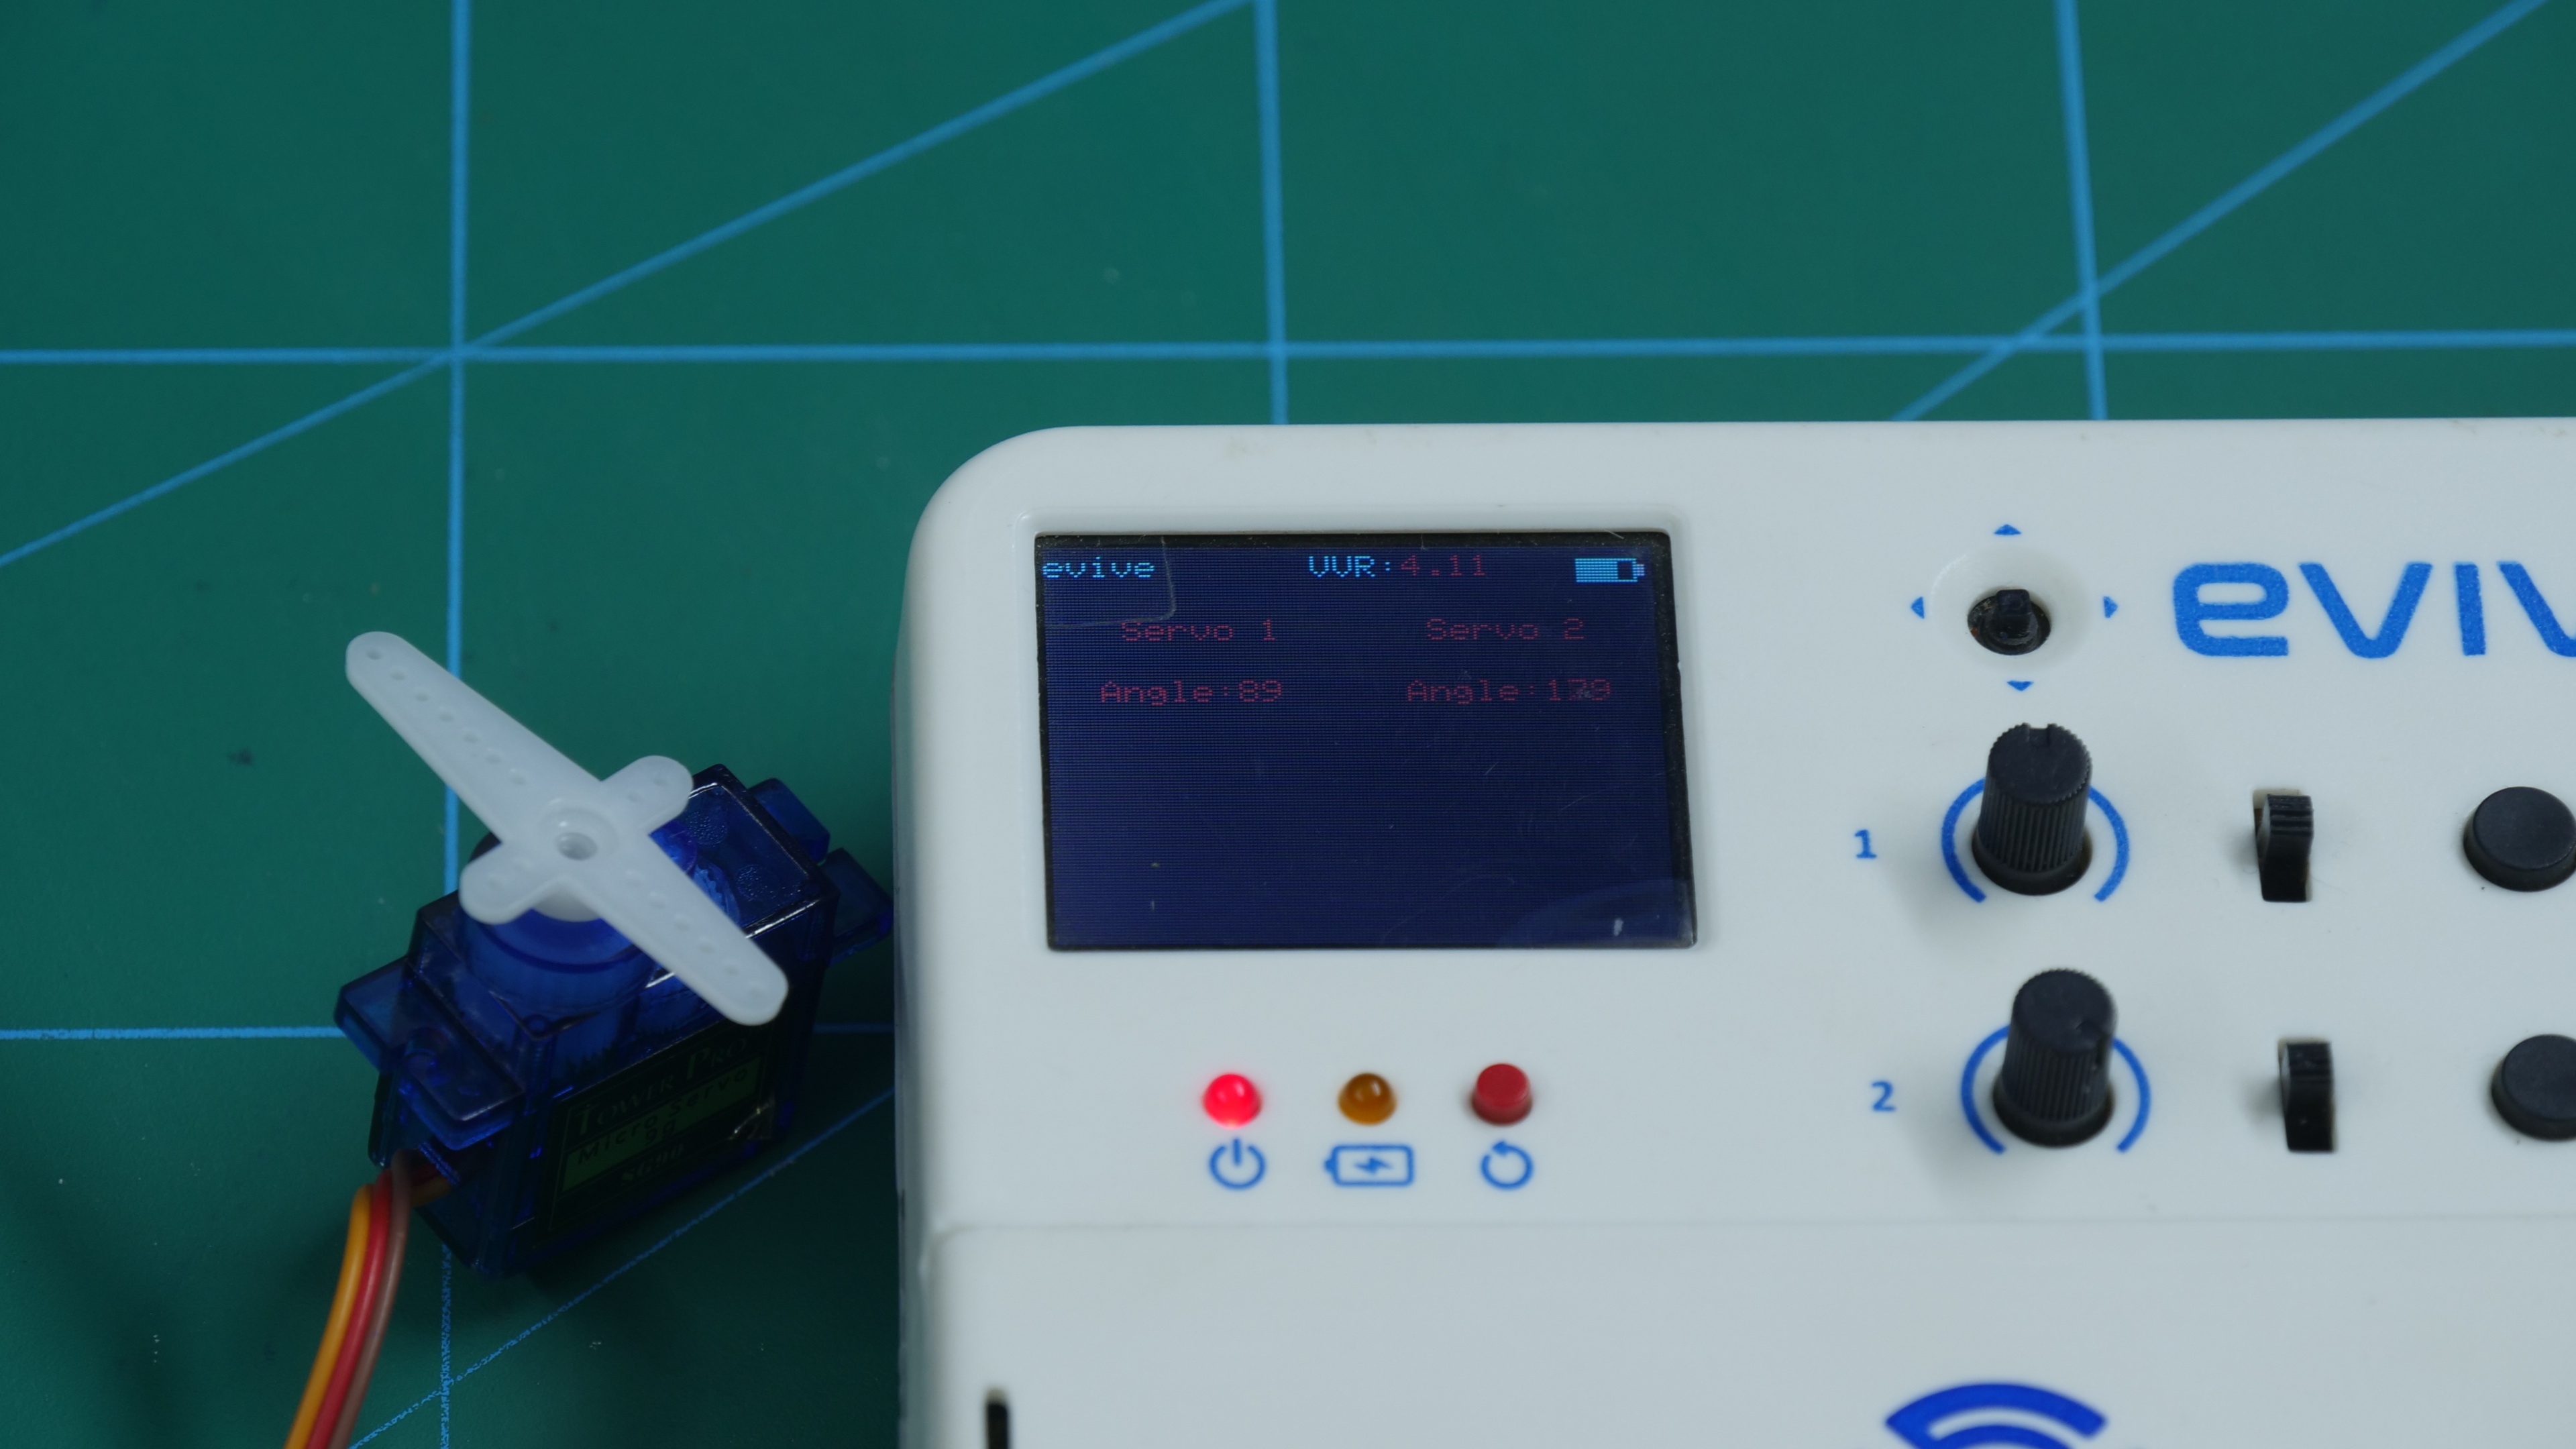
Now take the servo and connect it to any servo channel and set the angle at 90 degrees.
Completing the Assembly
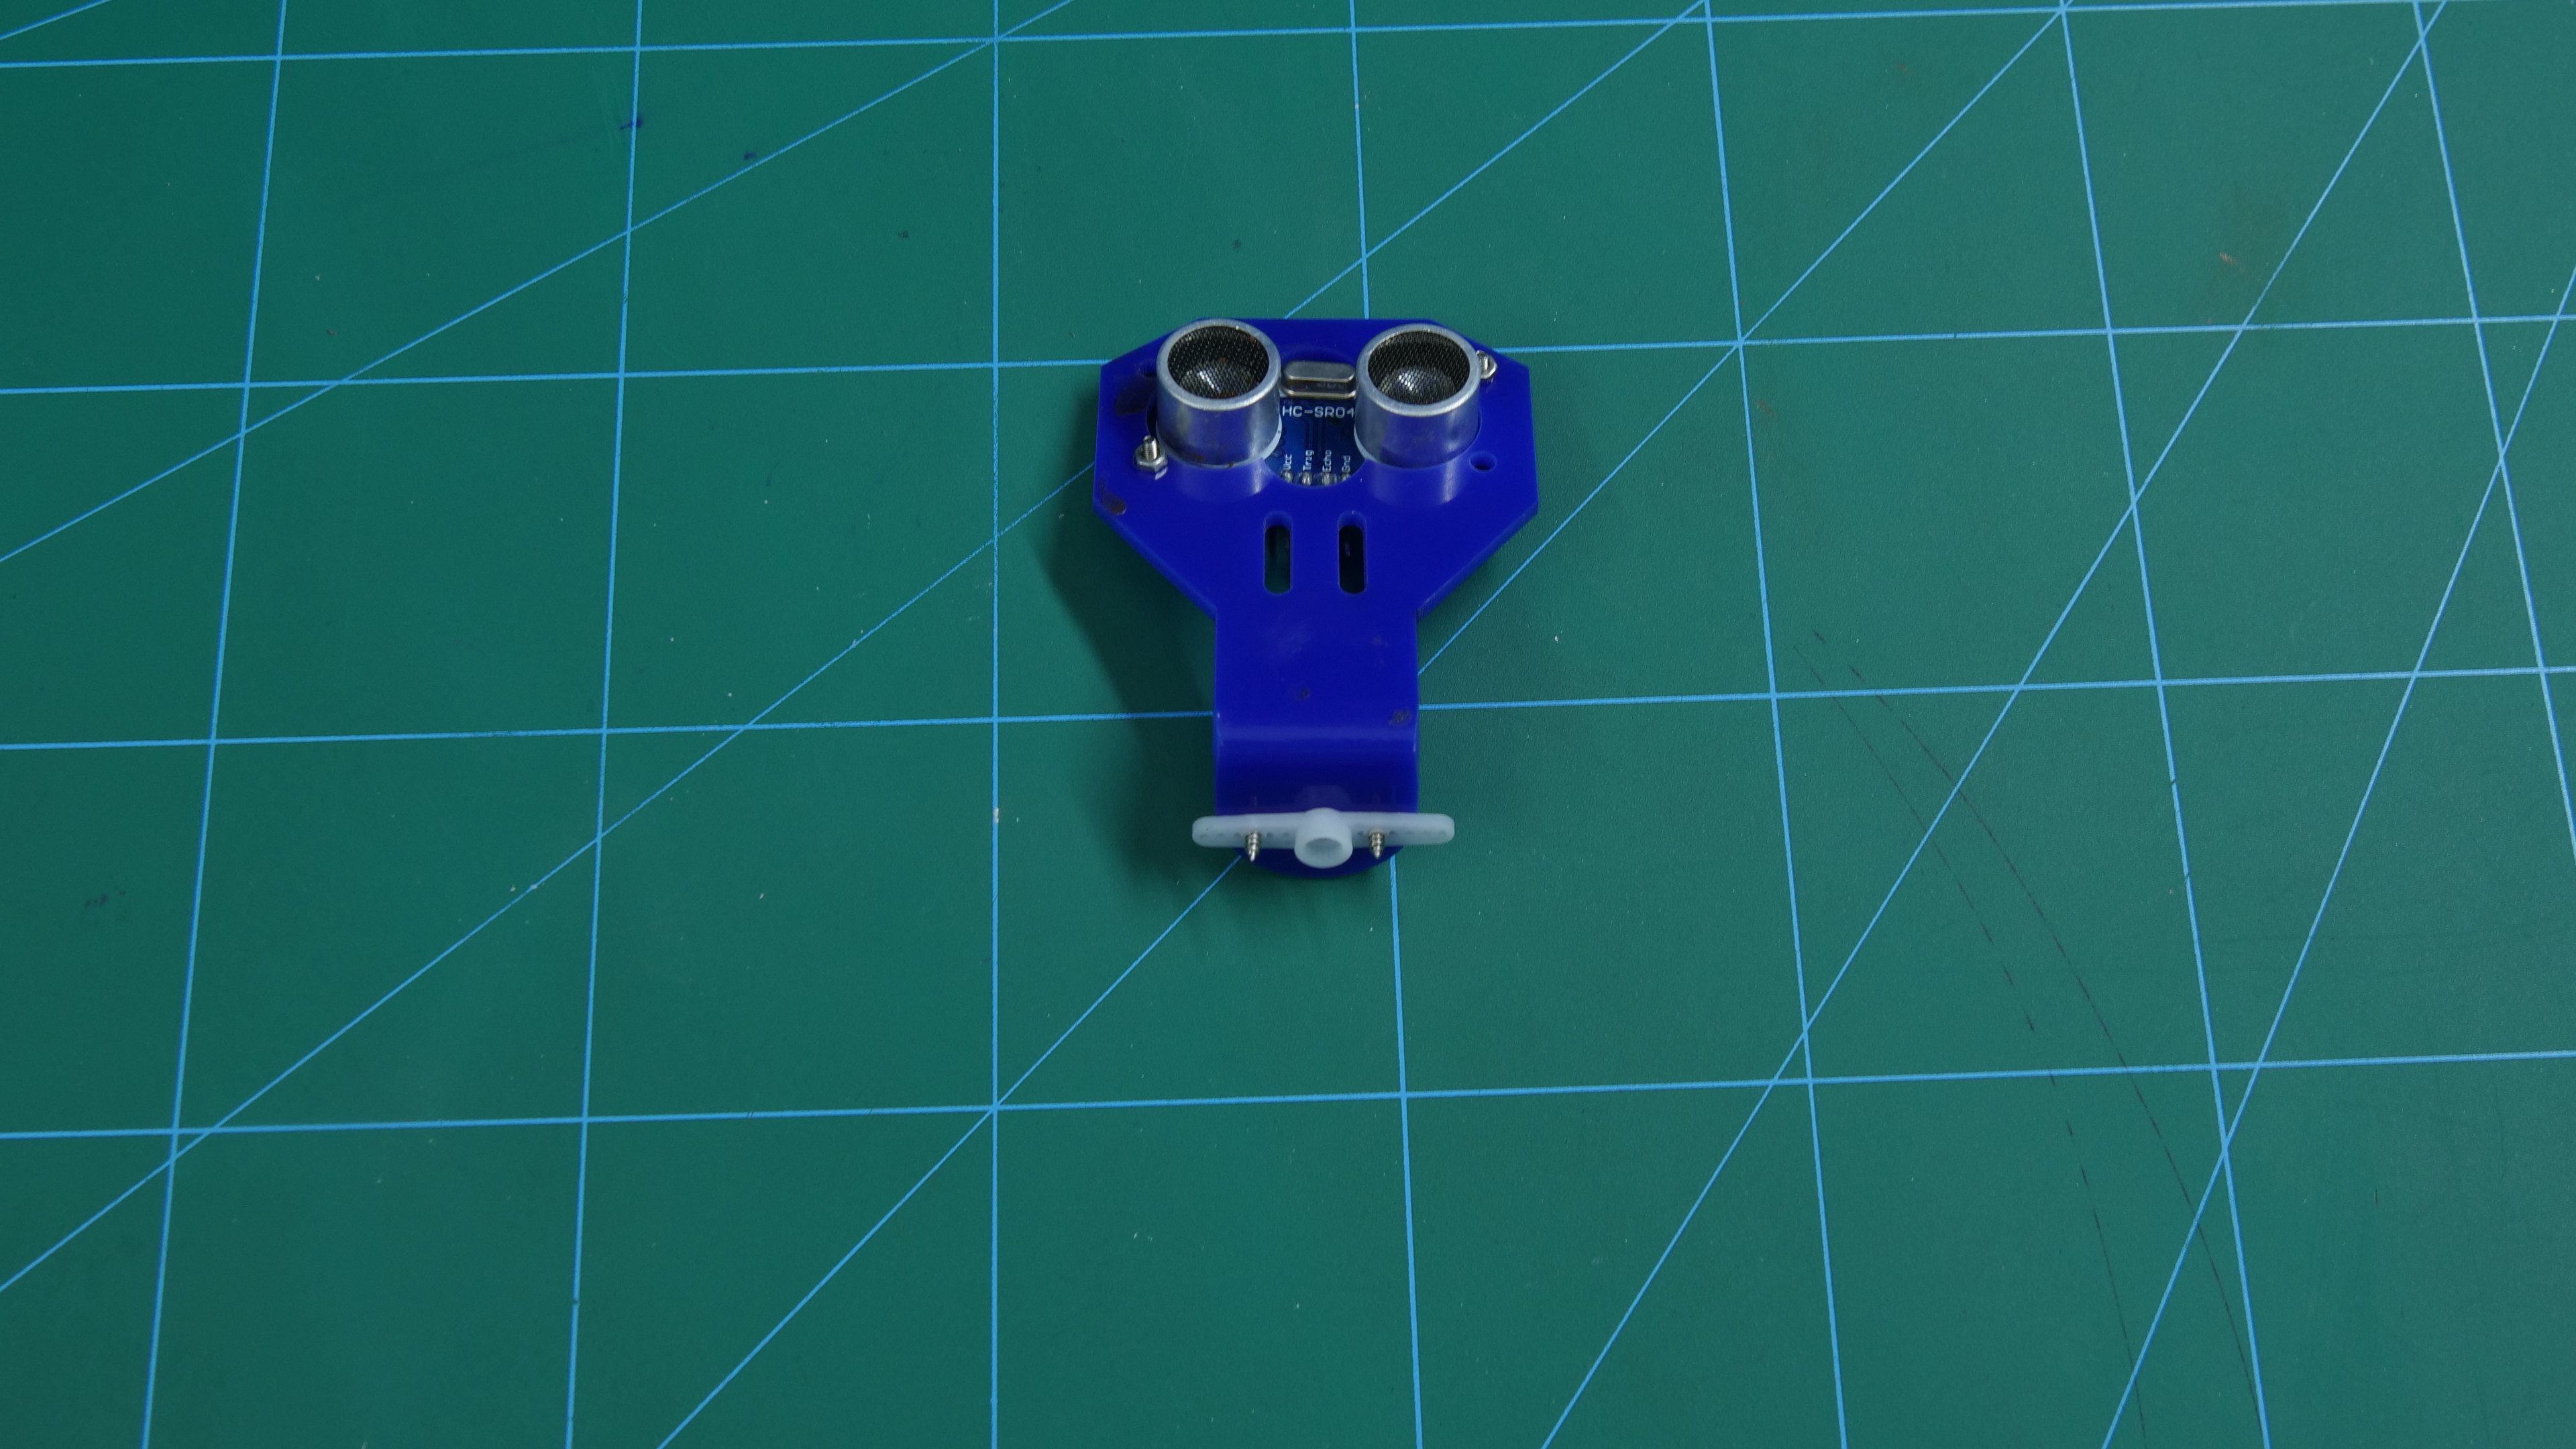
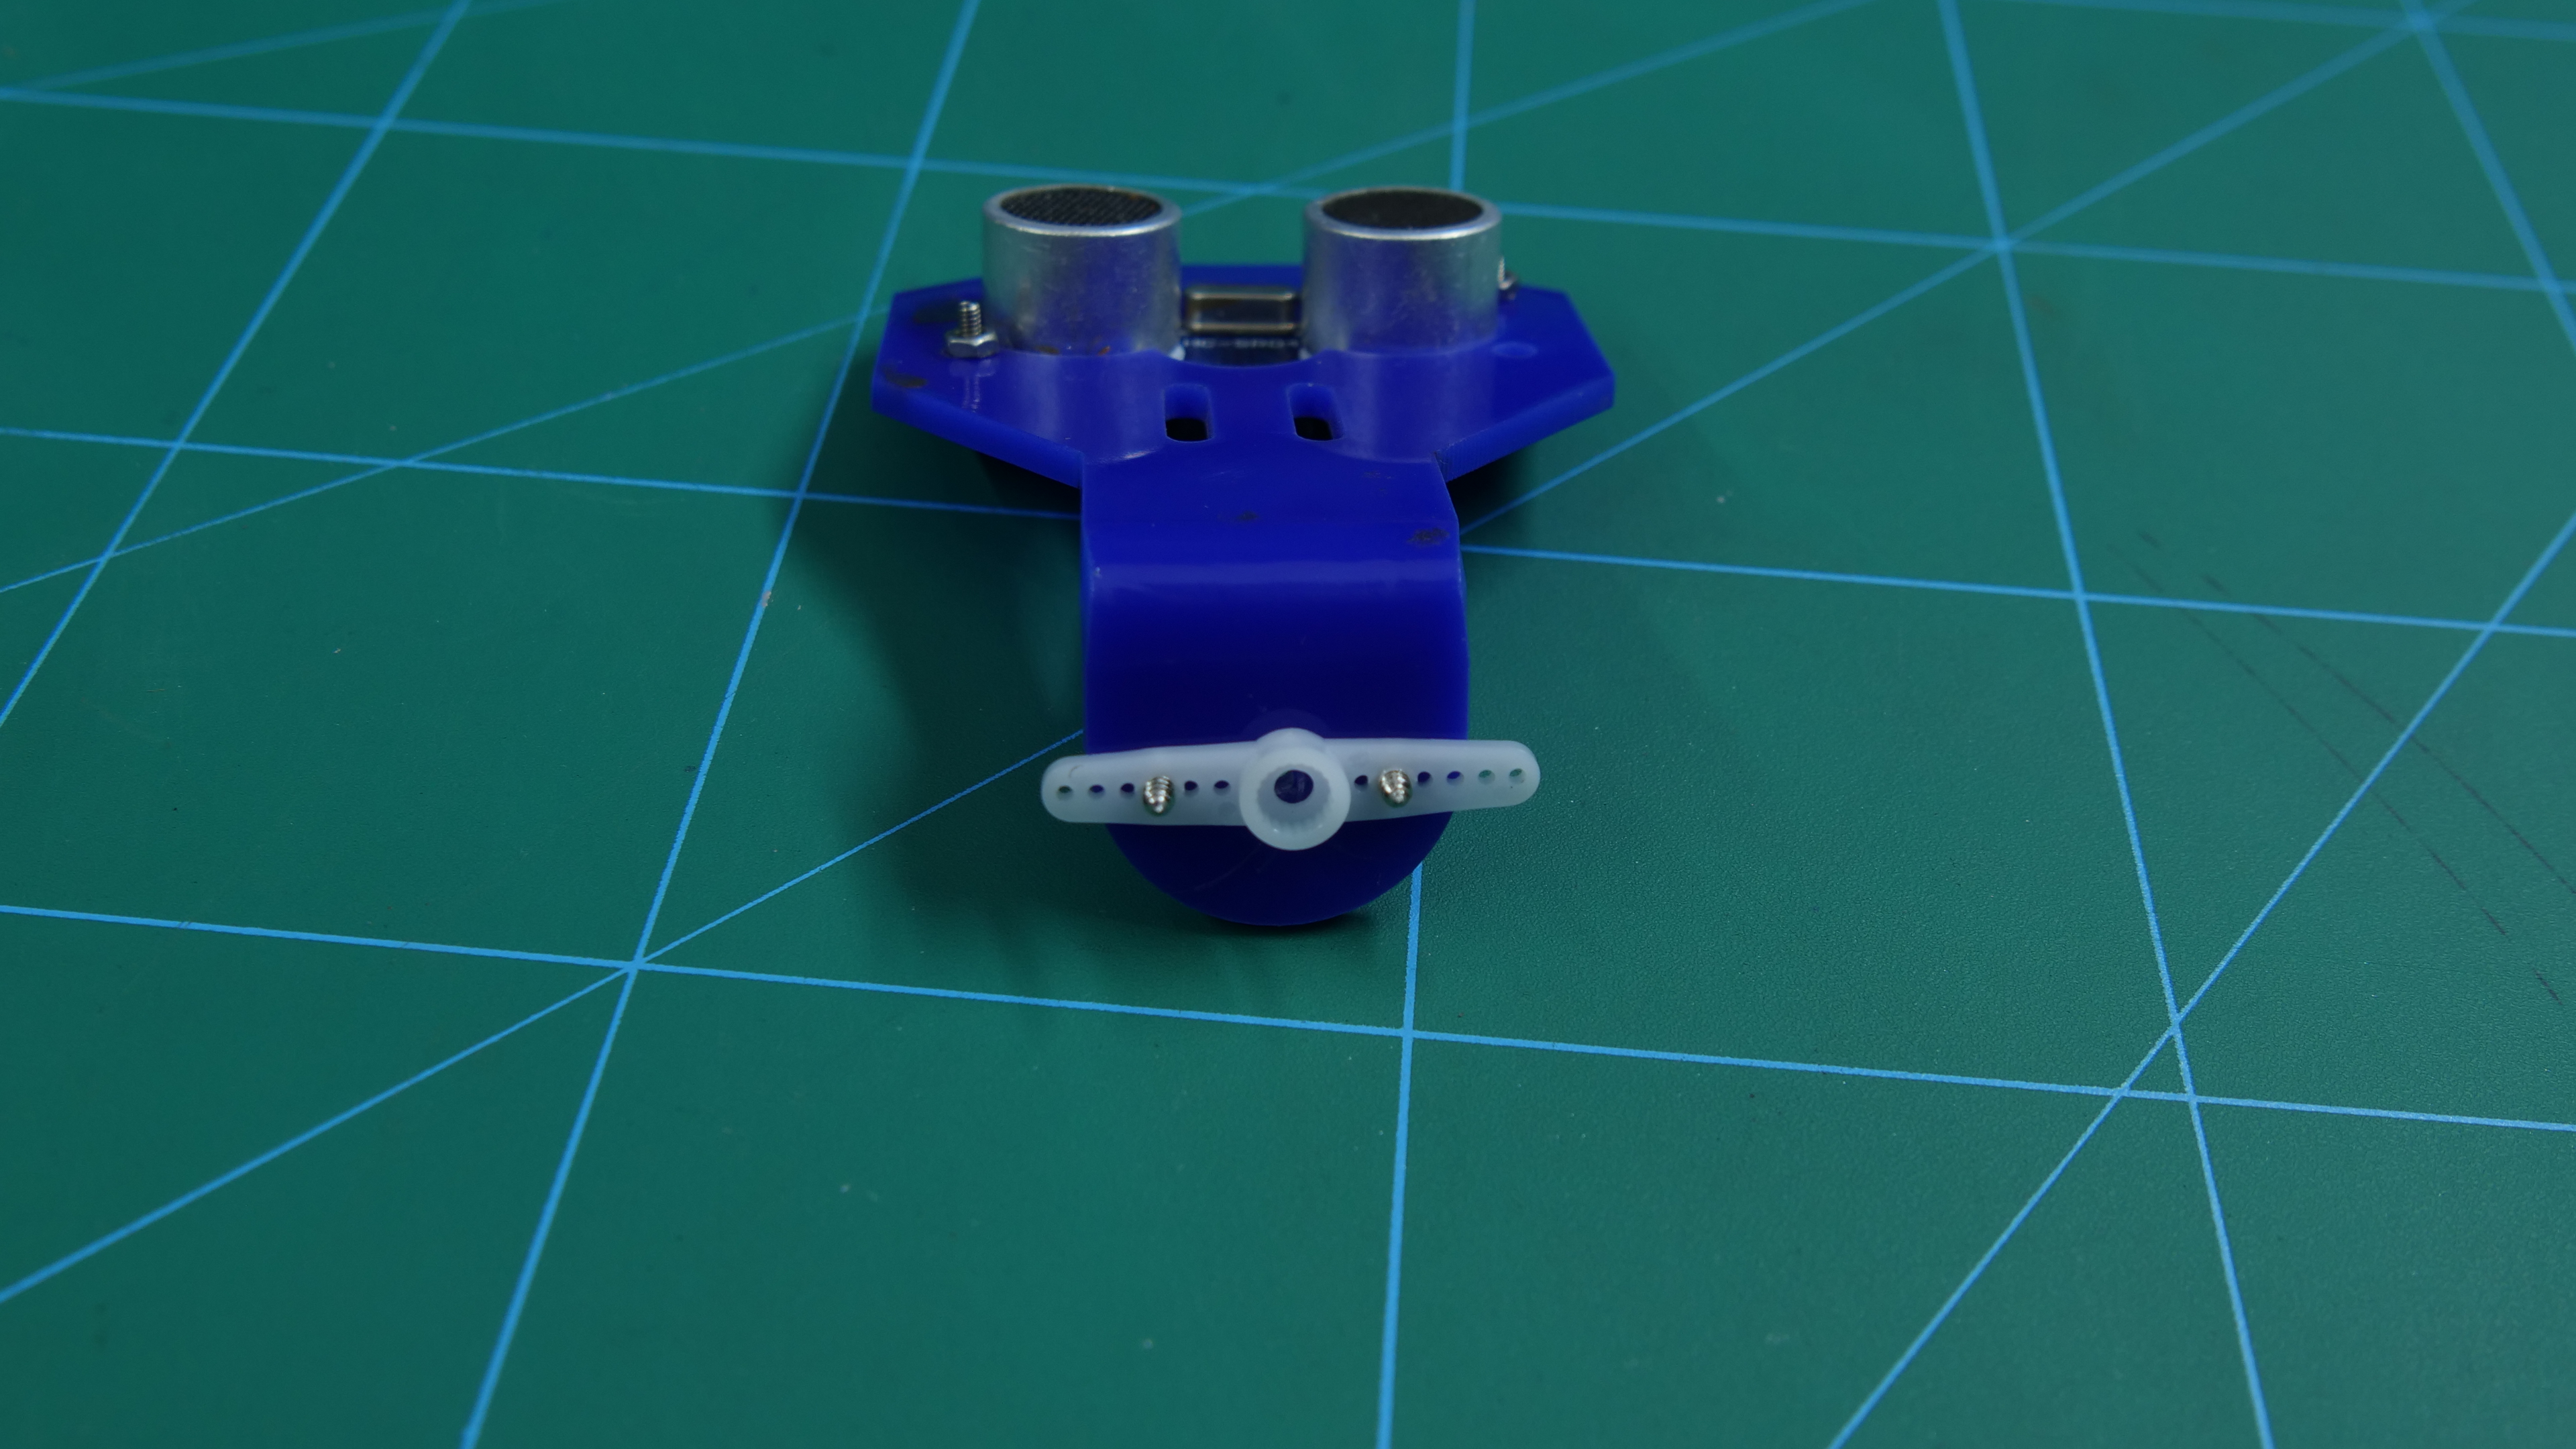
Take the servo horn and attach it at the base of the Ultrasonic Holder.
Fix it using the self-threading screw.
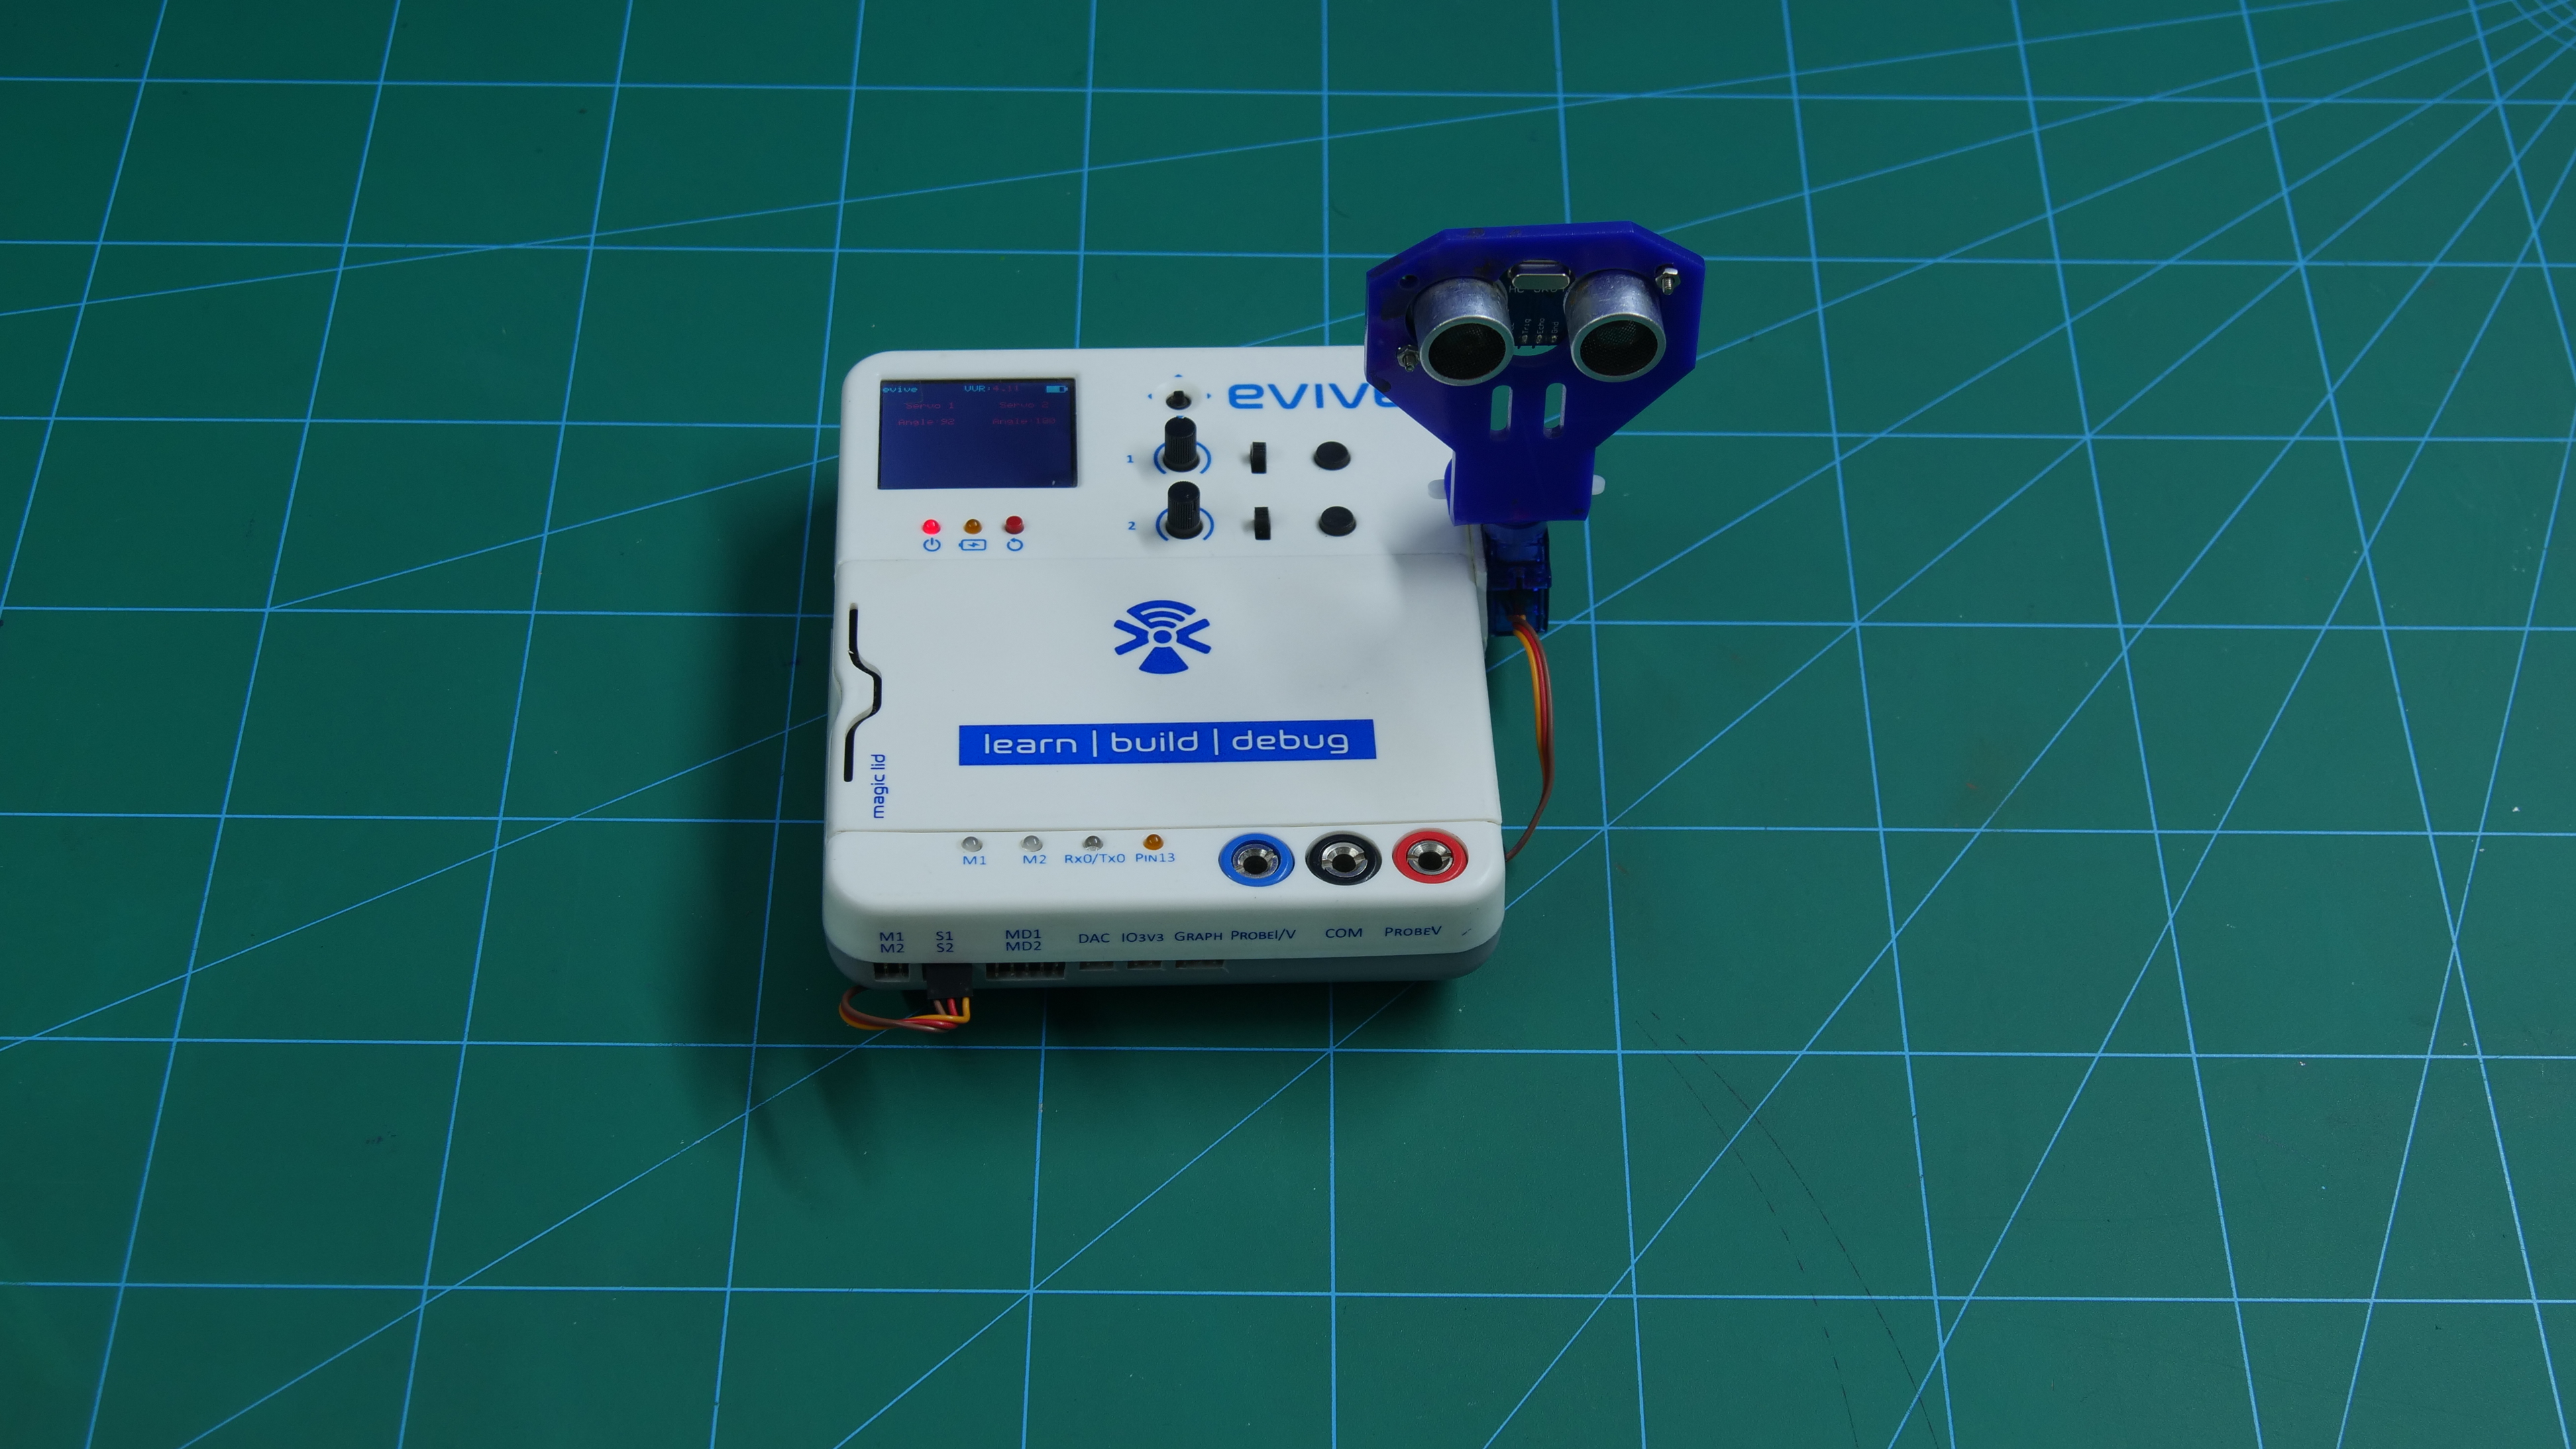
Now fix this servo horn on top of the servo head, attached to evive.
Thus, your assembly is complete.
Circuitry
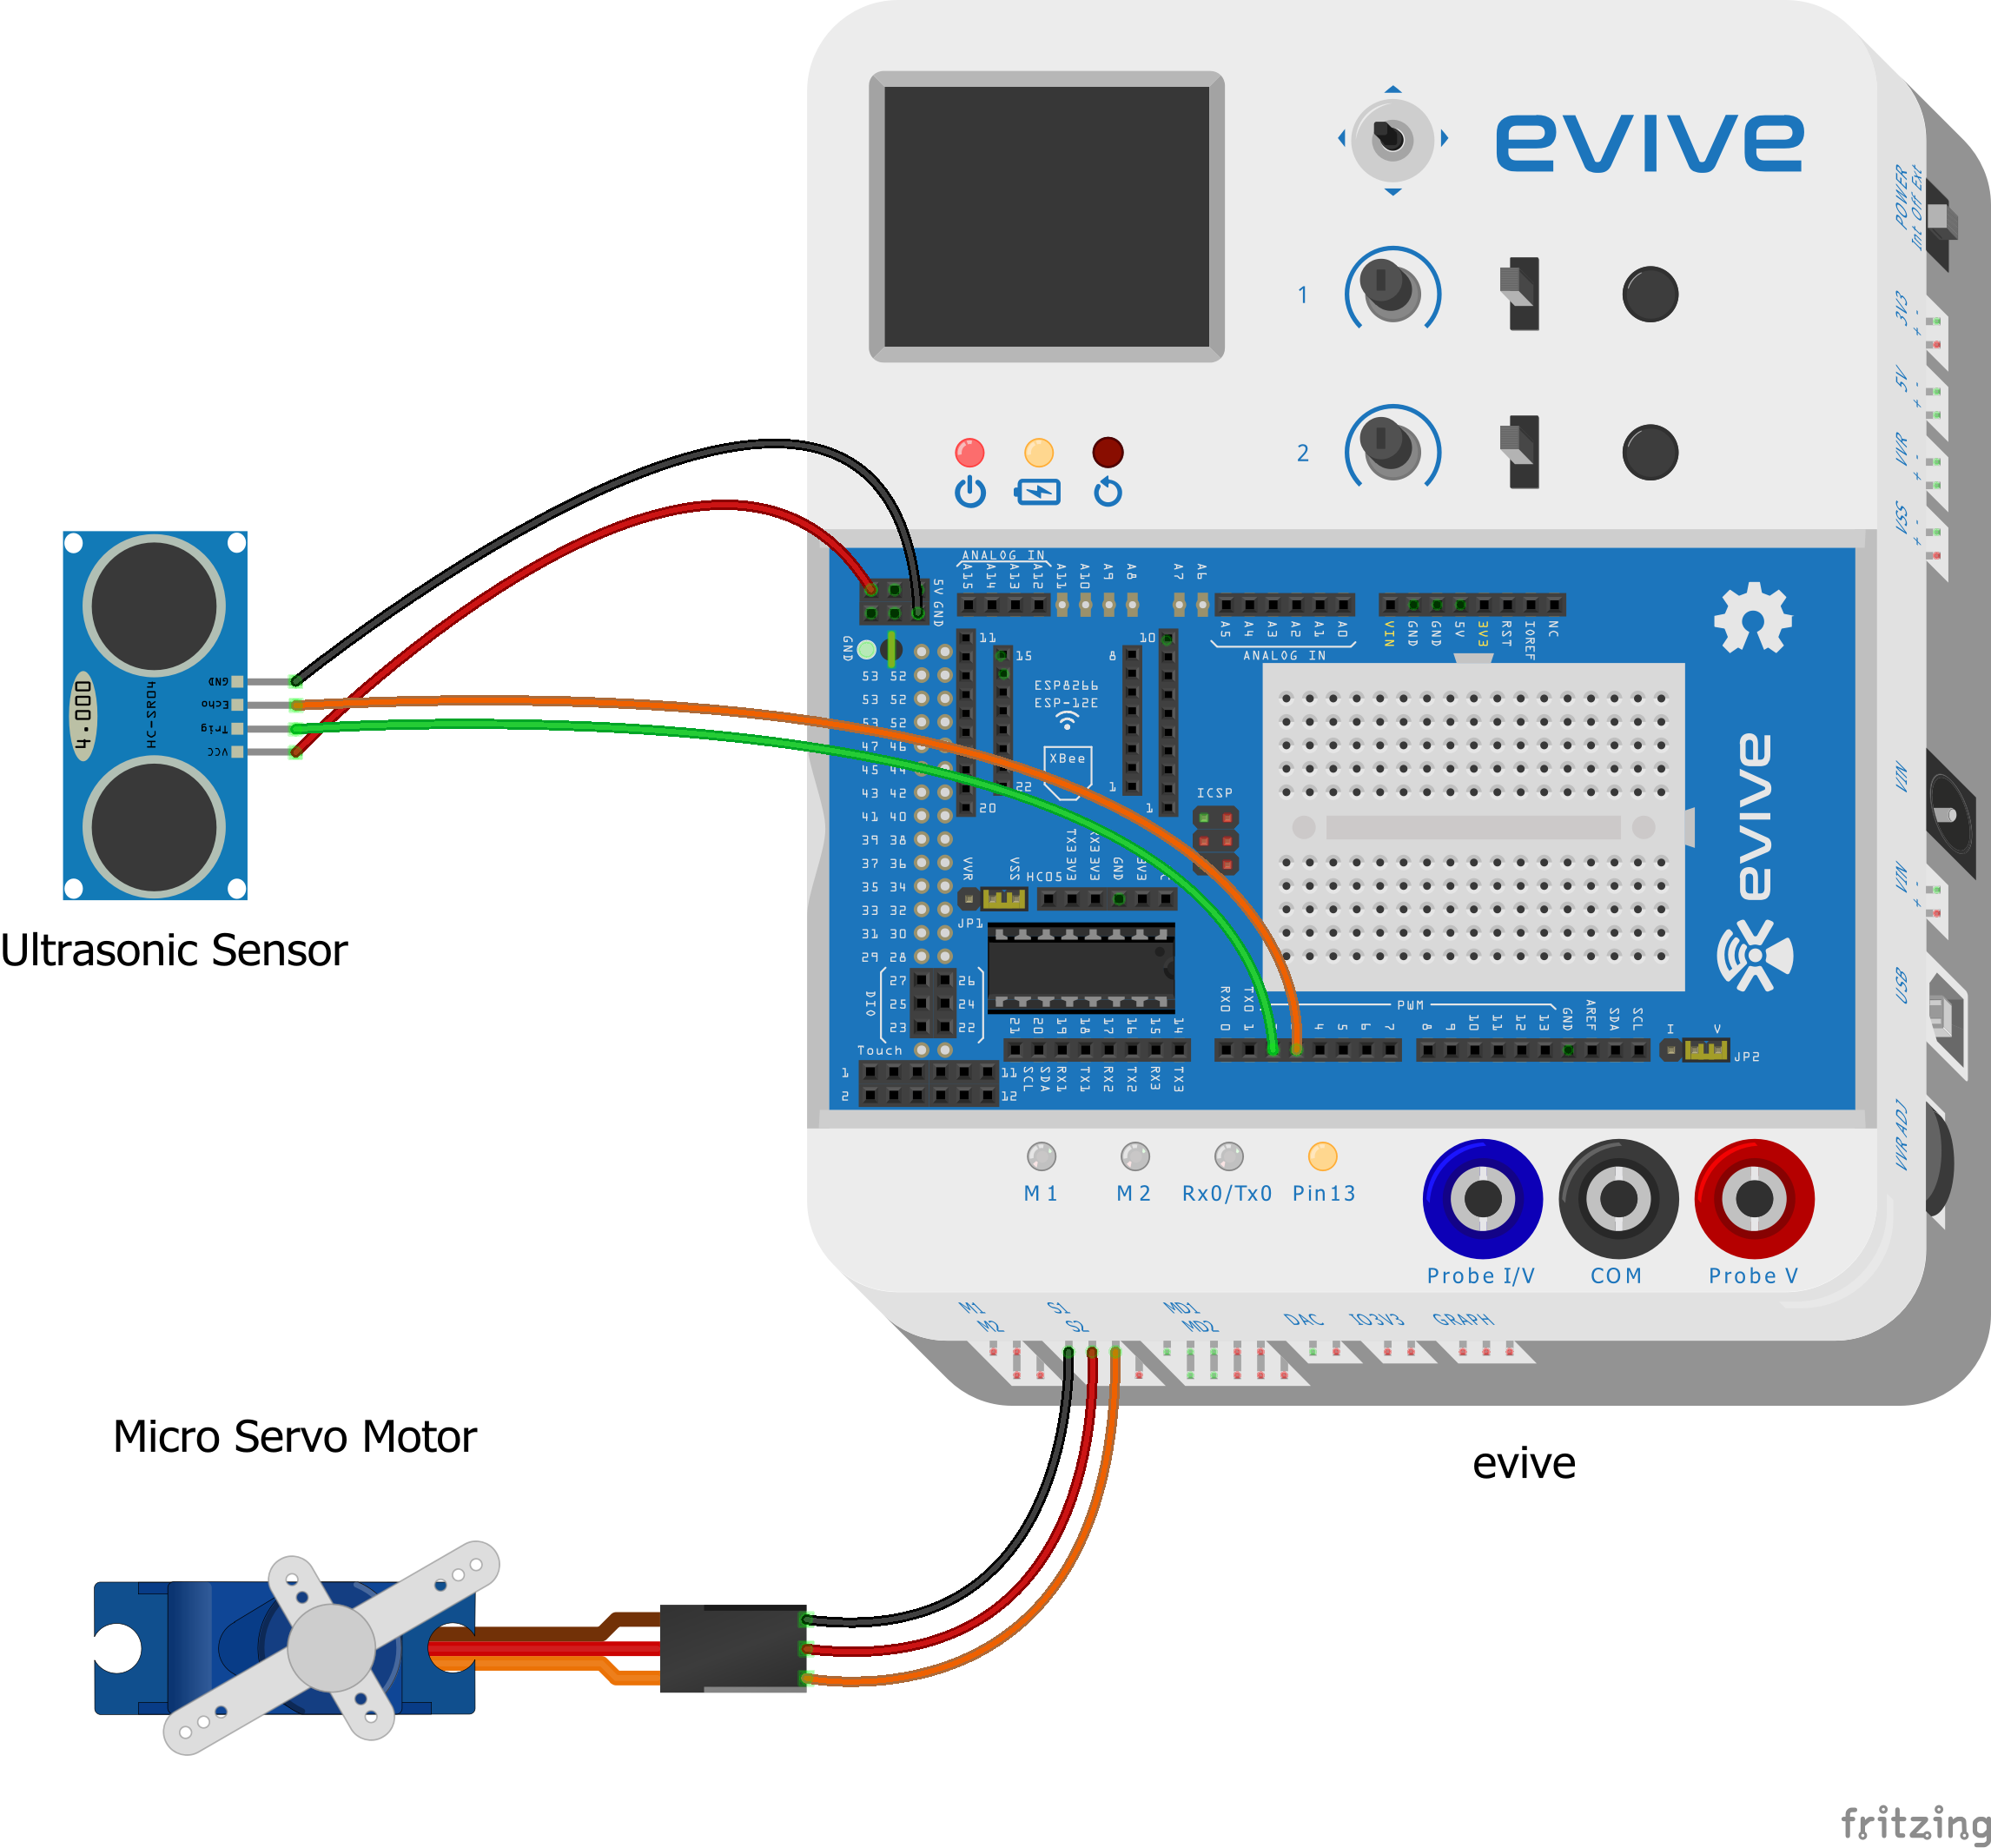
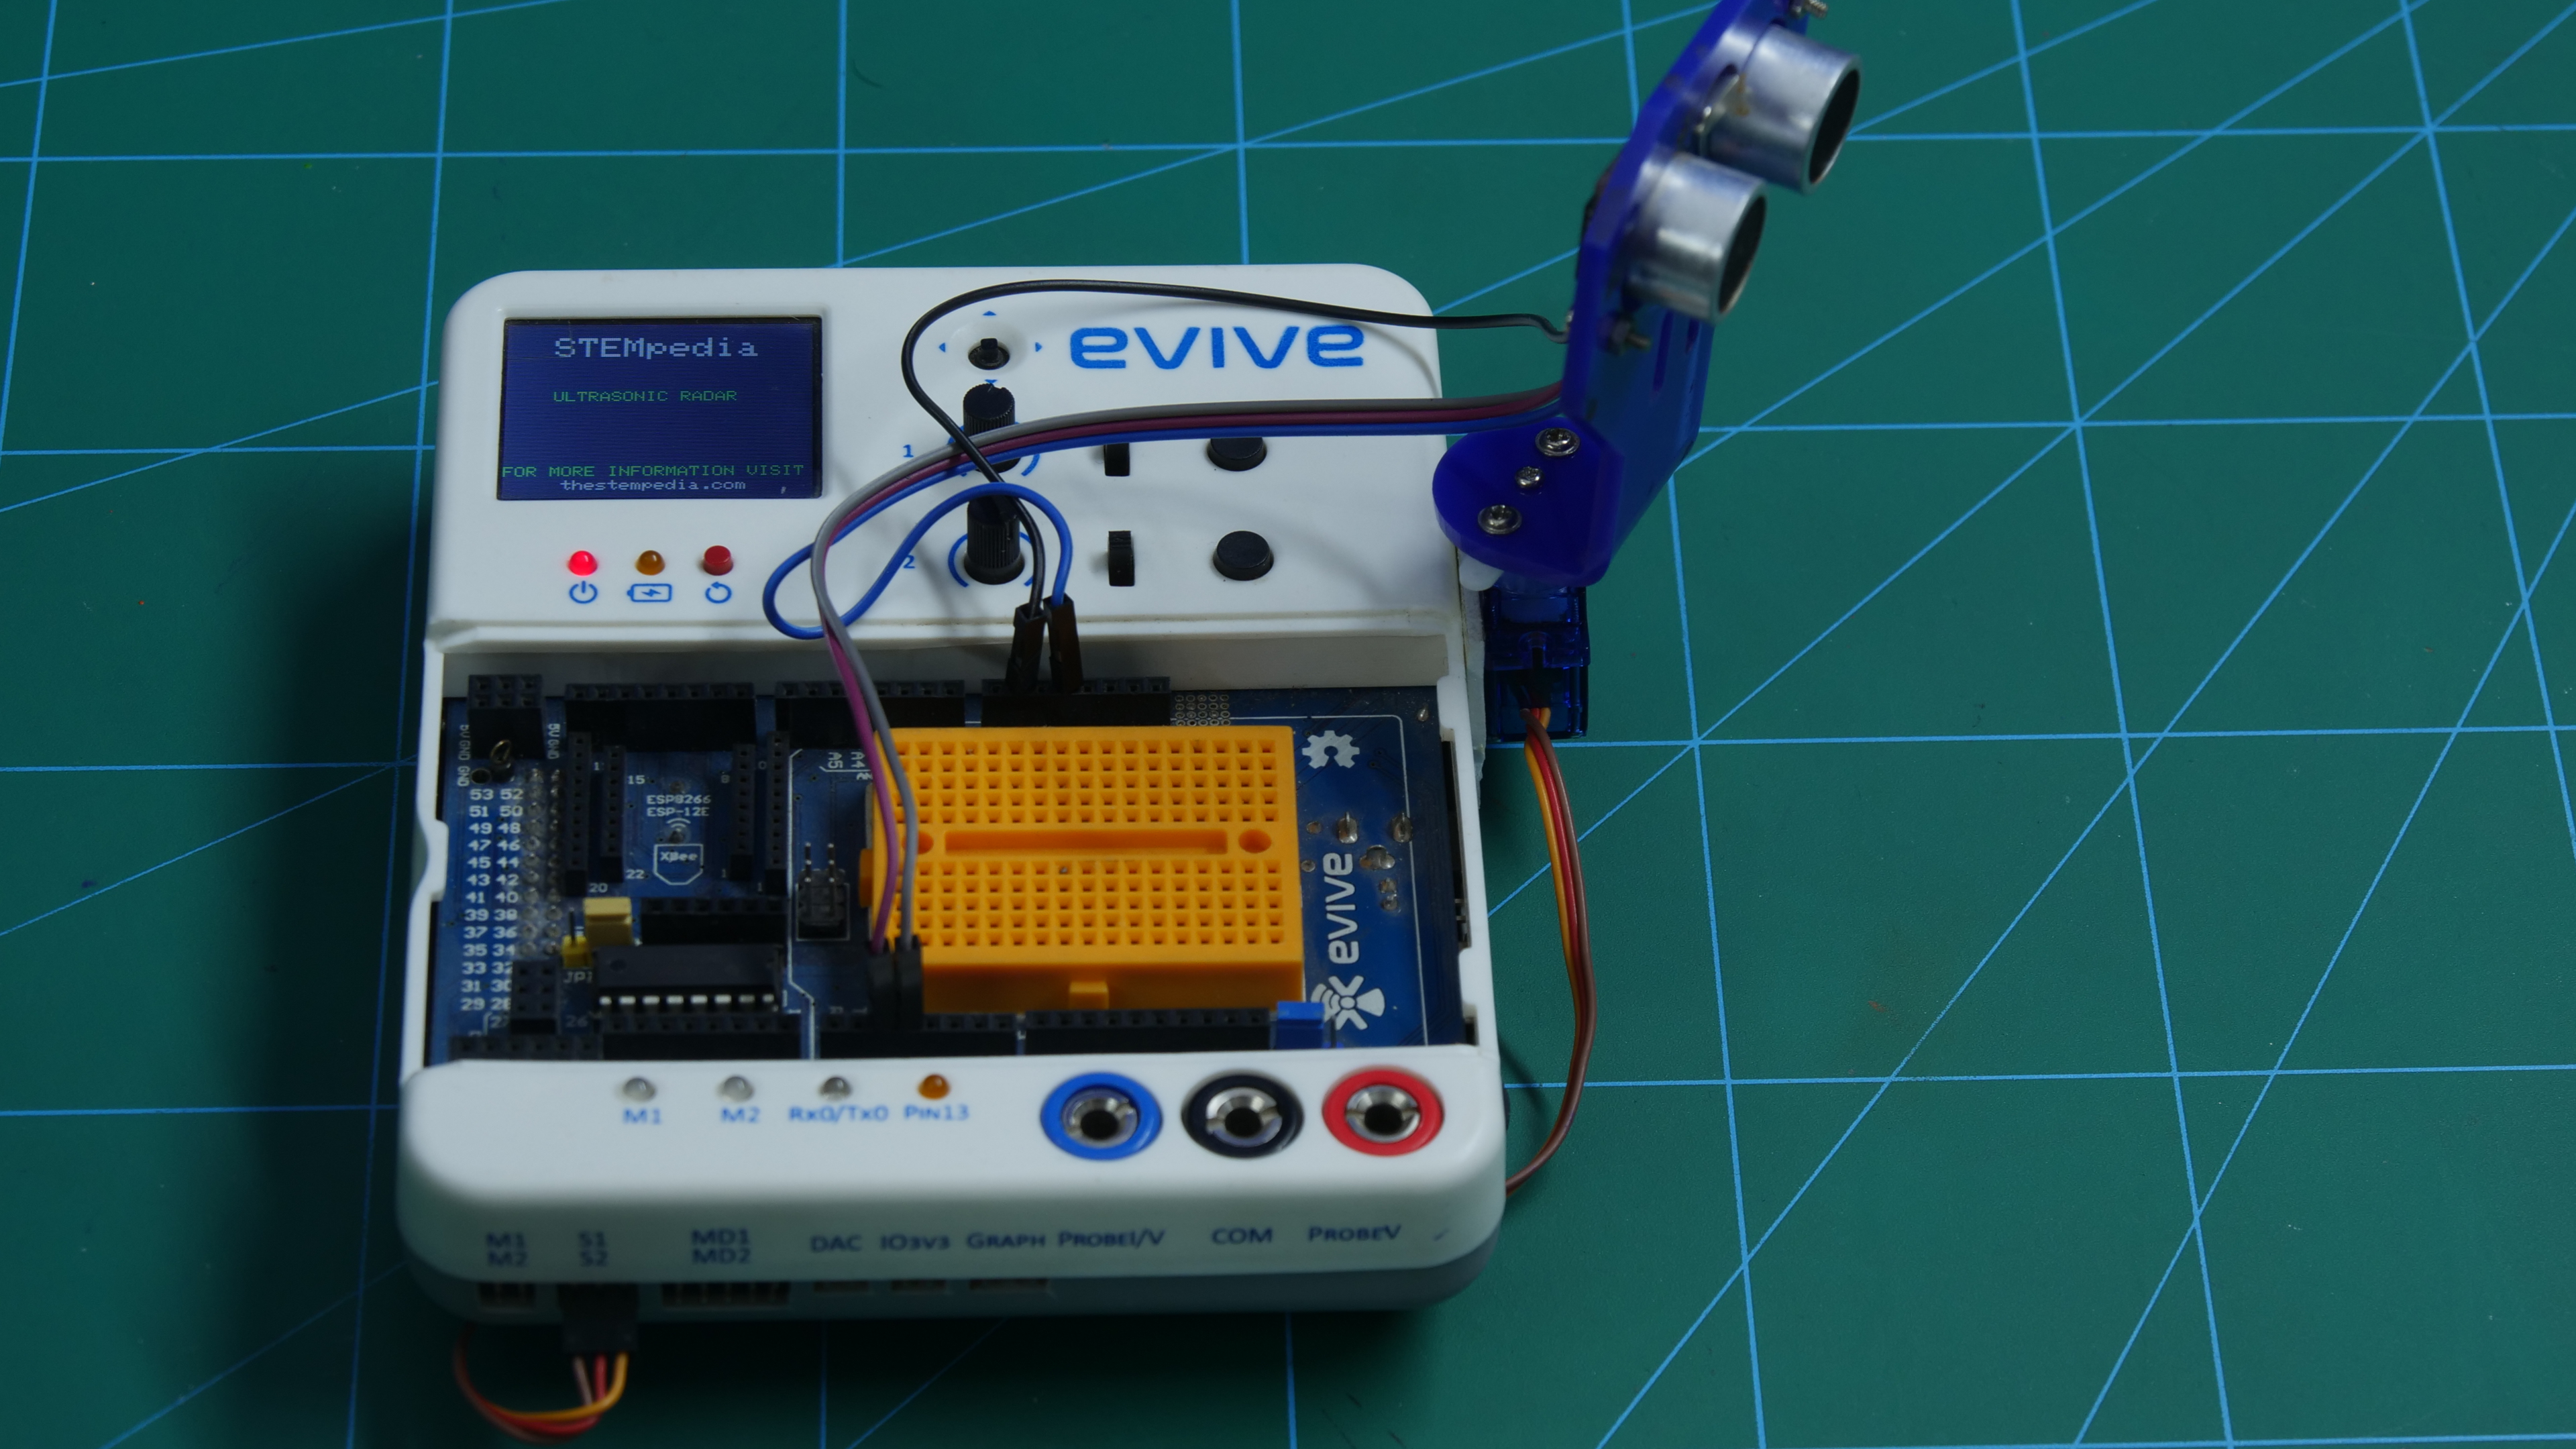
Connect the servo and the Ultrasonic Sensor as shown in the figure.
Code
Once done with the connections, you need to upload the following Arduino Code to evive.
As you also know that we need to plot the graph on your desktop screen, upload the following Processing code on evive.
Working
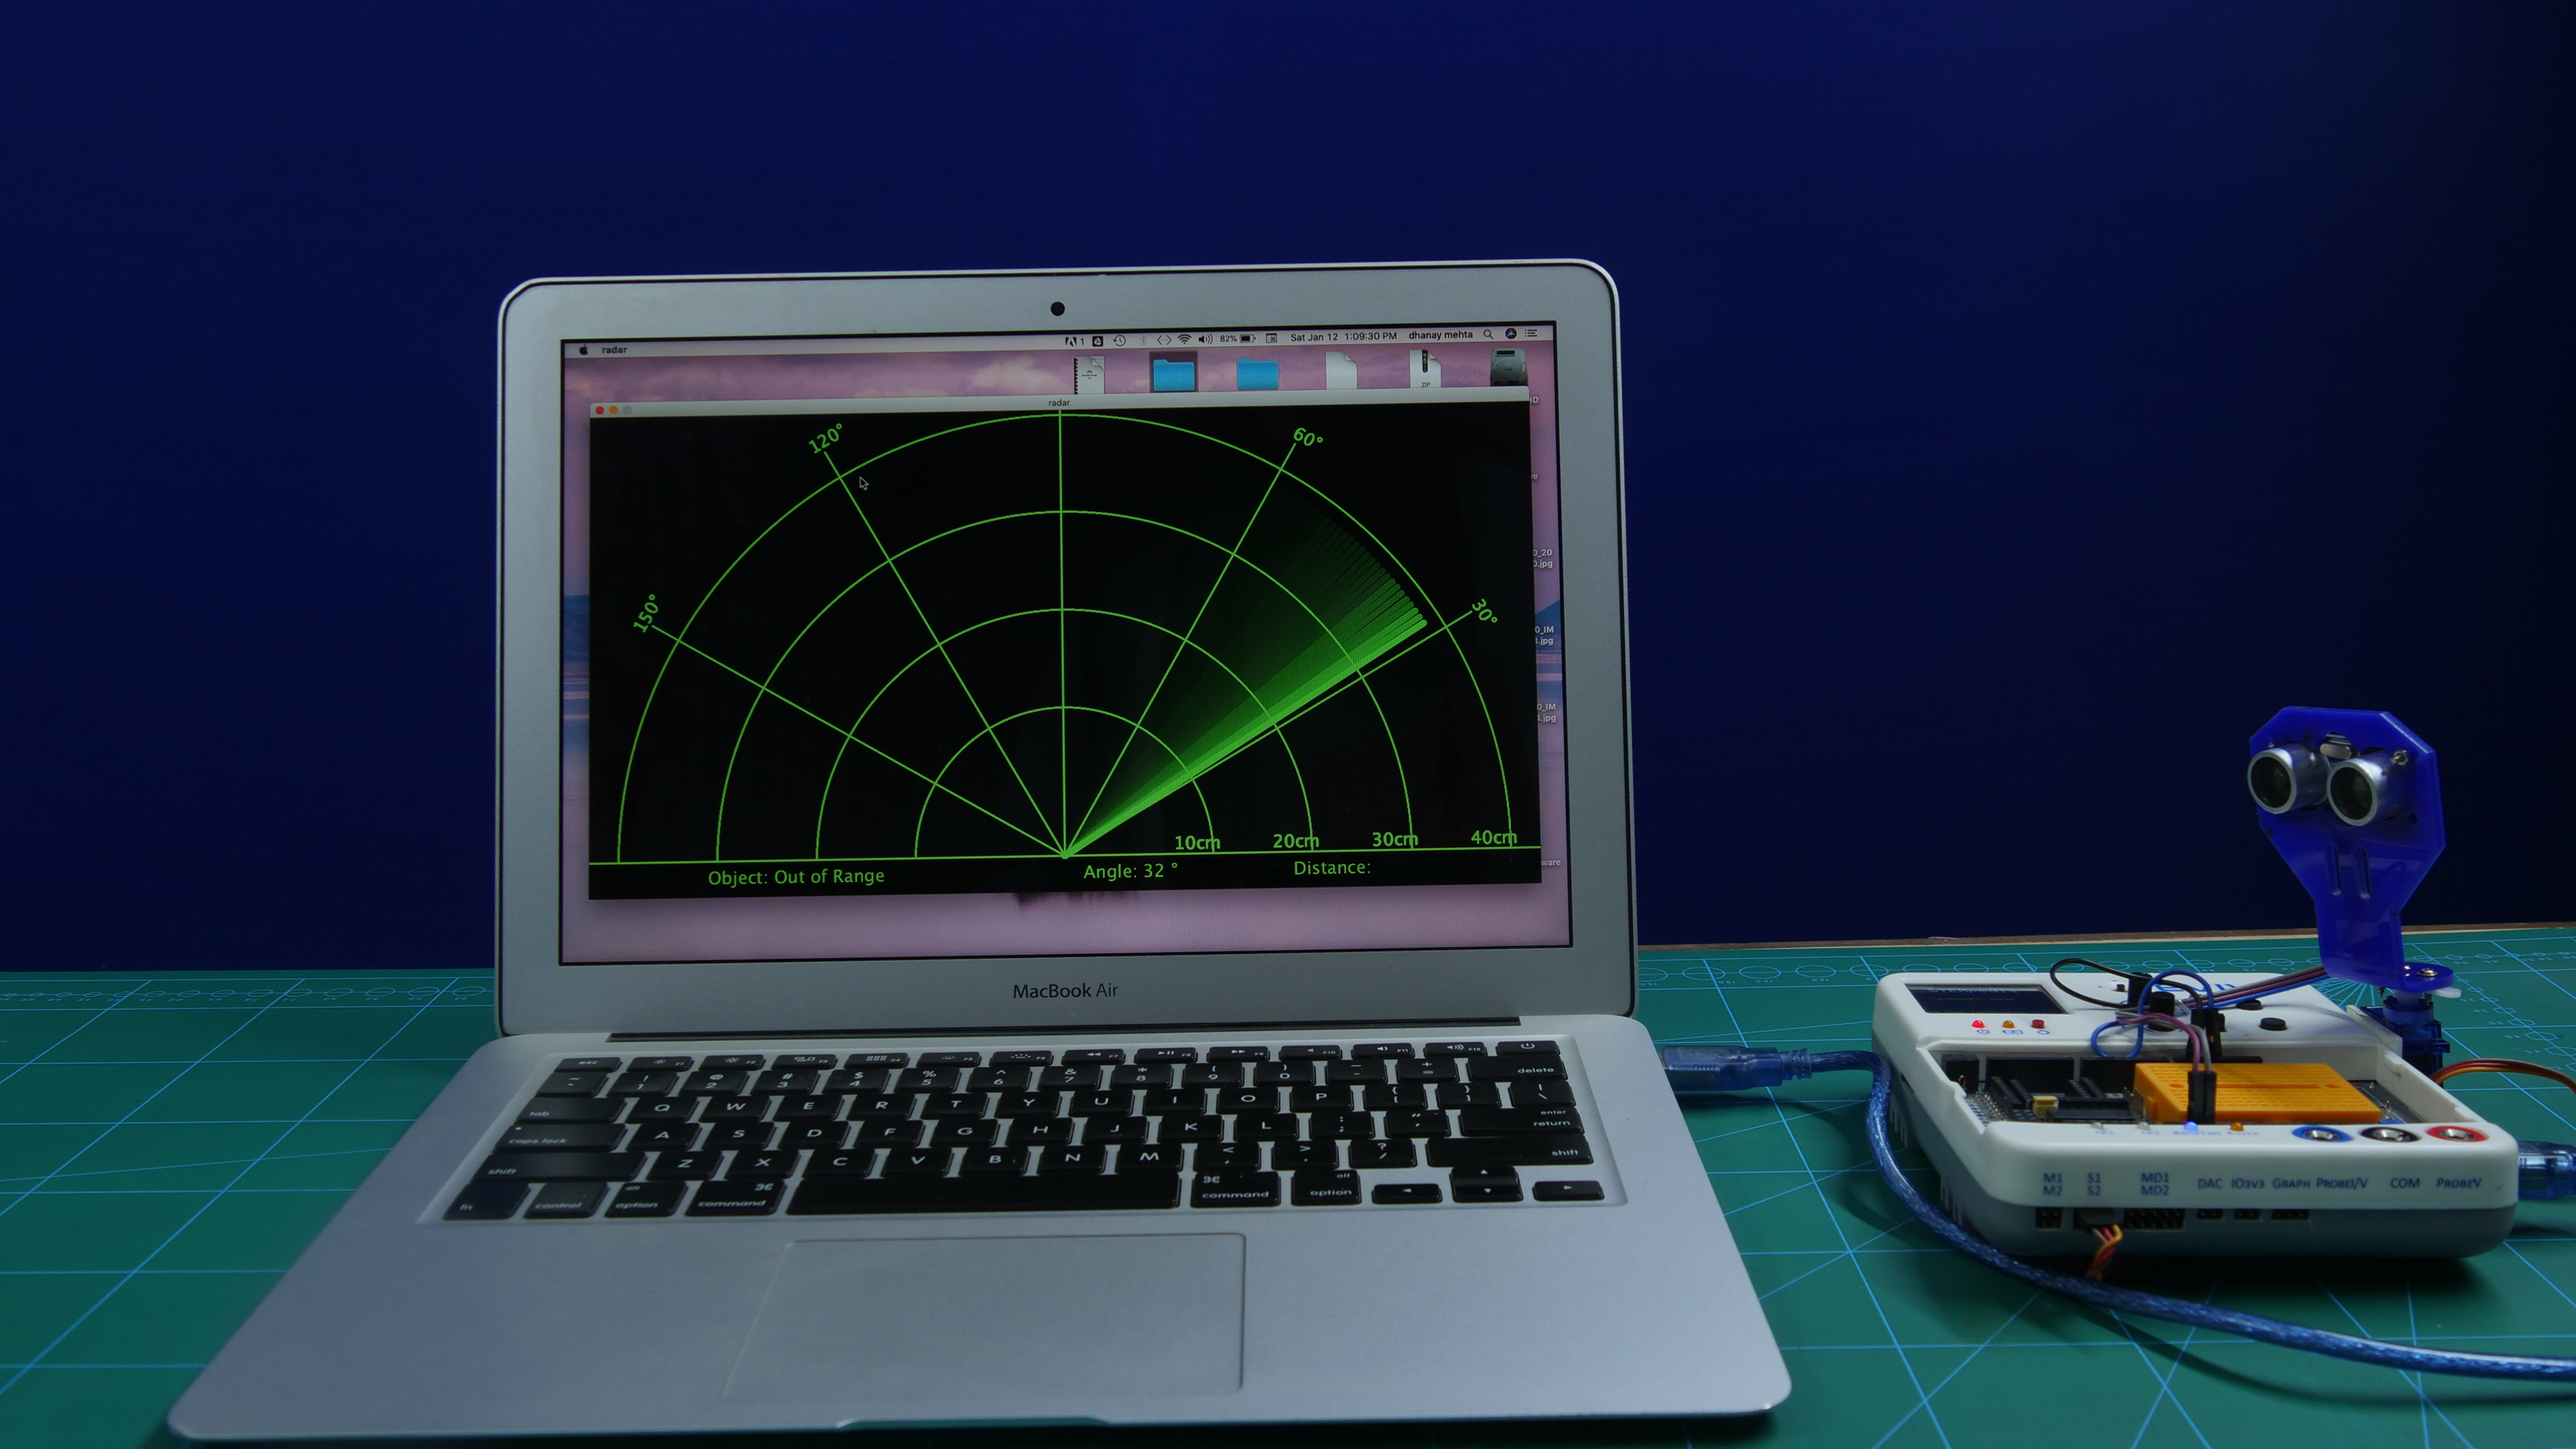
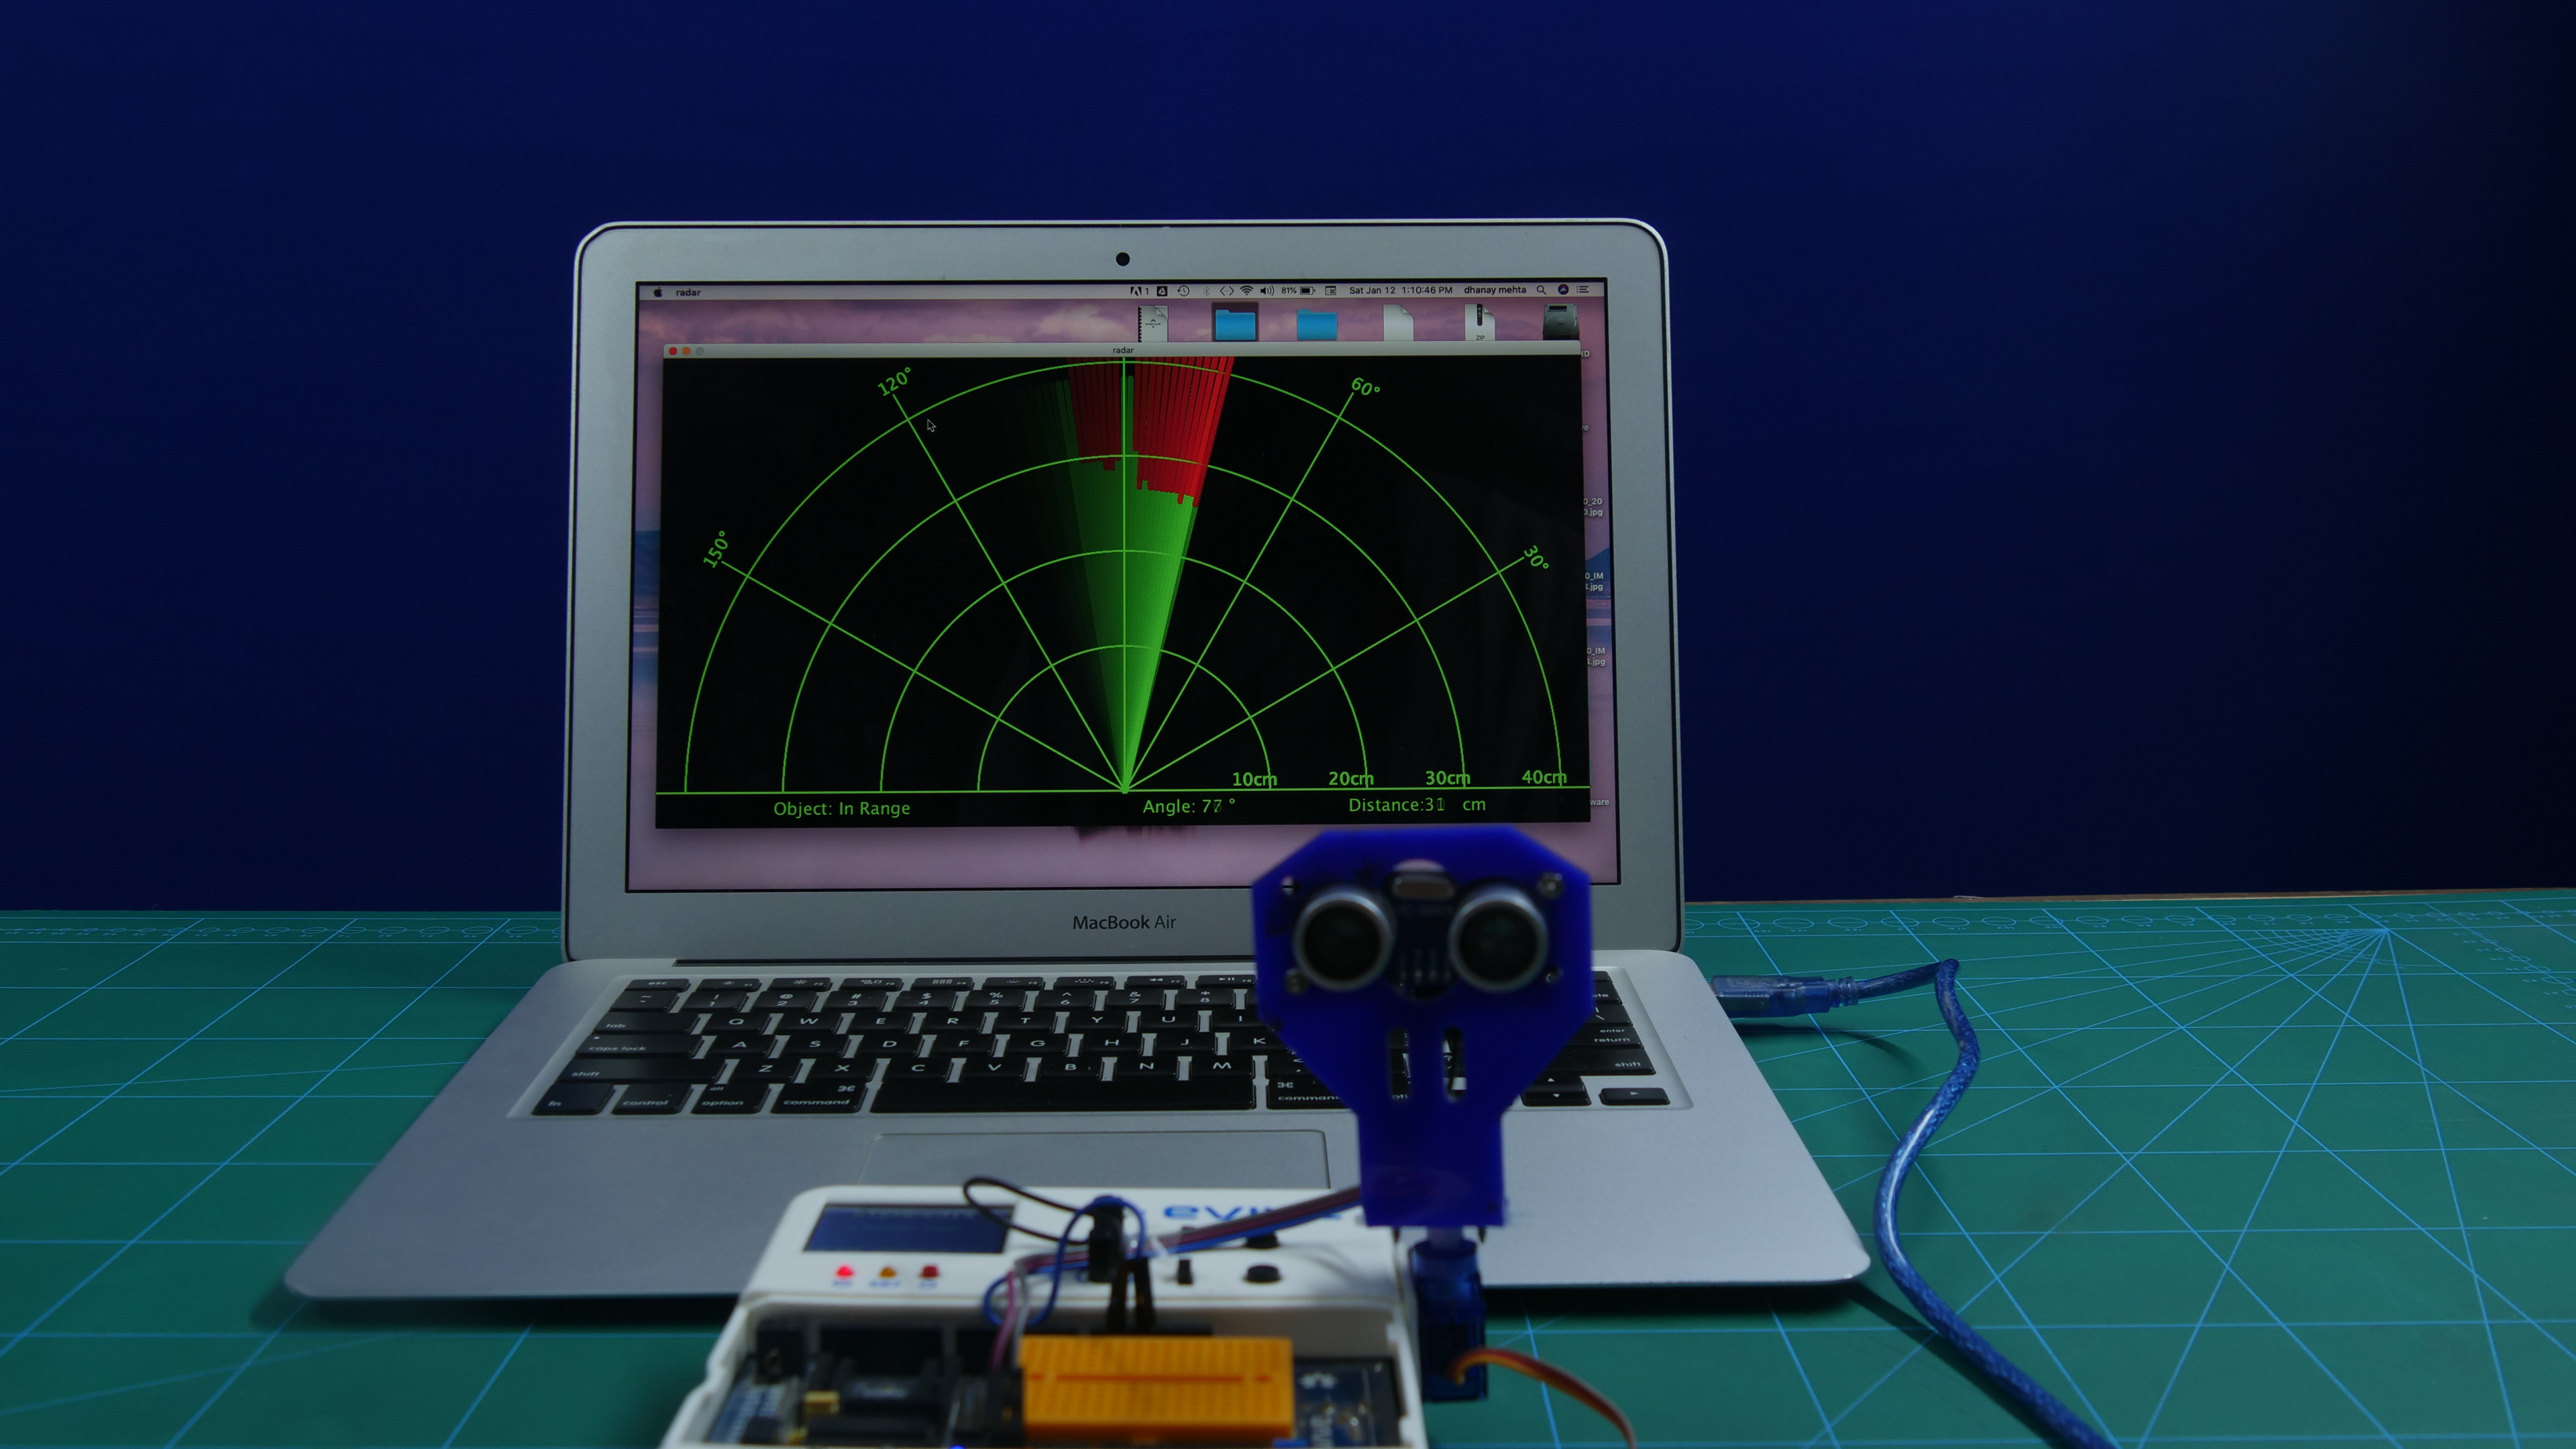
A graph is plotted on the screen.
As the ultrasonic sensor moves, you will be seeing the green line moving. Thus, covering every angle.
If something is kept in the range of the ultrasonic sensor, you may notice the green line turning to red, showing you the sign of the obstacle. Also, you can find the angle and distance at which the object is there from the radar.
Arduino sends the data via serial monitor, and processing take these values and plot the graph.
Conclusion
With this, your ultrasonic radar is all set to become your eyes!