Make a Portable Game System -In Photoshop!
by Lowney in Design > Digital Graphics
11470 Views, 22 Favorites, 0 Comments
Make a Portable Game System -In Photoshop!
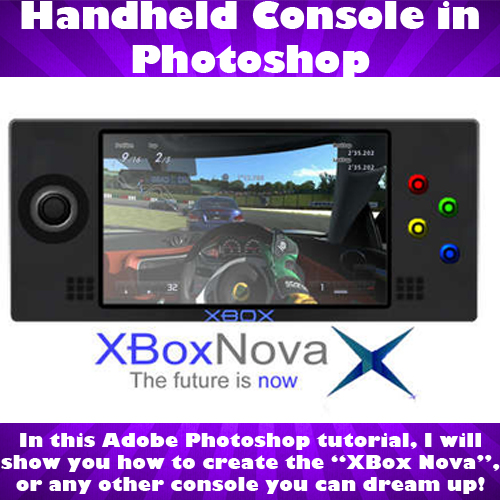
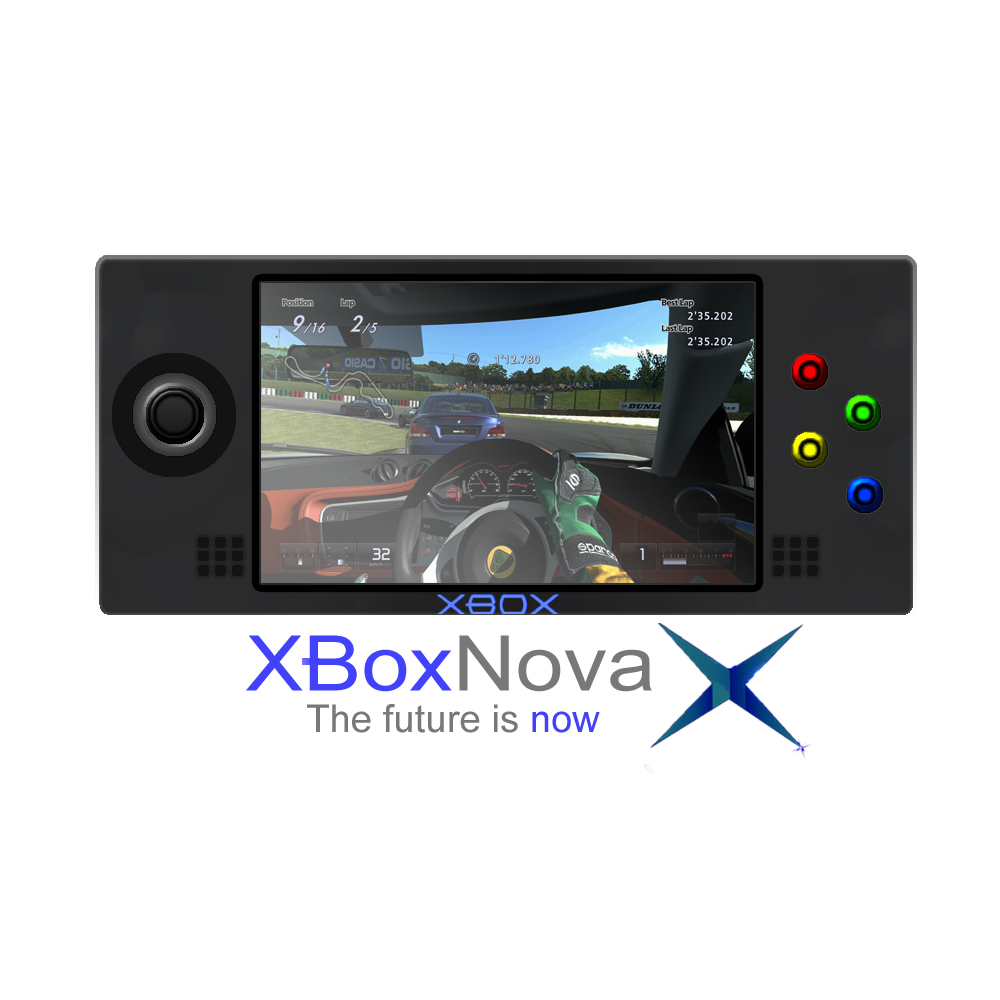
This is my first instructable that visits the powerful and extraordinary world of photoshop, I hope you like it!
I was surprised that there was nothing like this on instructables until now, so I thought I would show you all my project I made myself using photoshop CS4. It can also be made in most other versions too.
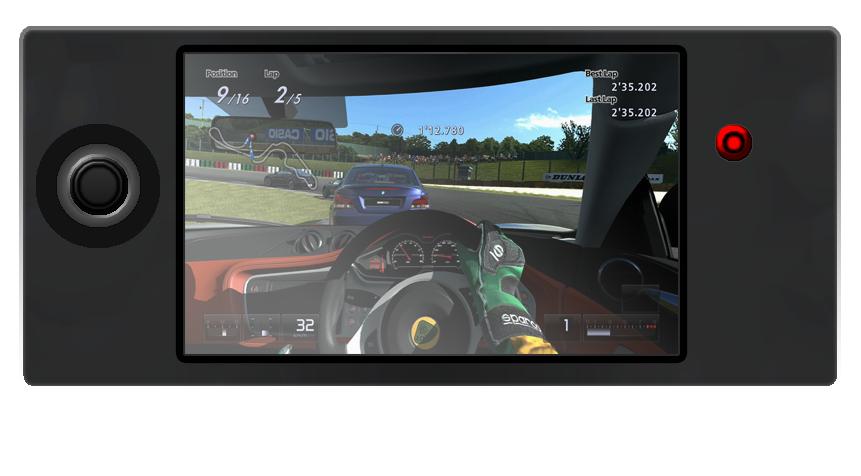
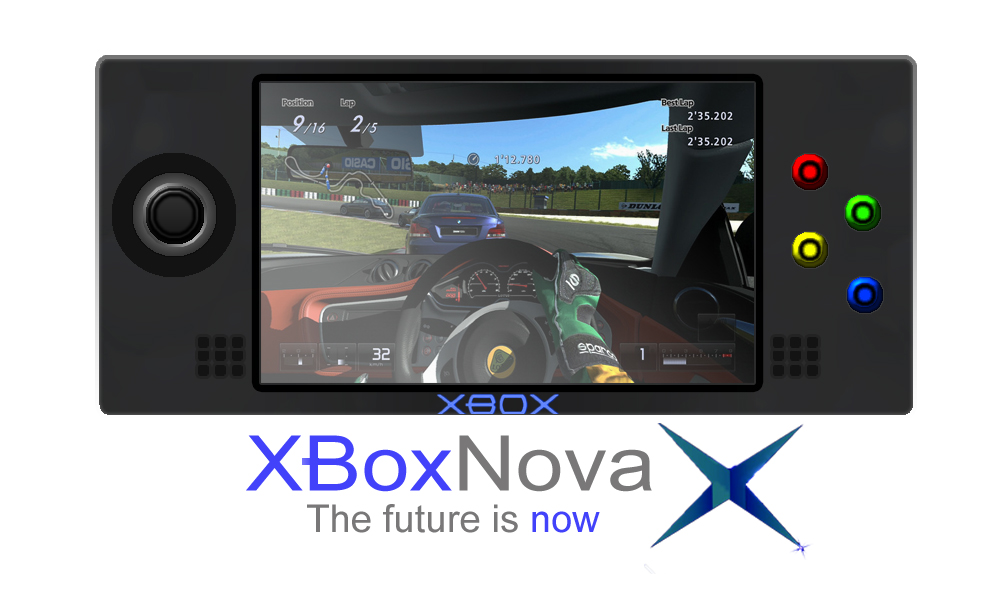
"So what is this about?" I hear you ask. Well, ever wondered what the PSP or DS would look like if you had been in charge? Well now you can find out, with this simple tutorial. The same principal can be applied to making computers, phones, mp3 players and static consoles. This instructable shows you how to draw a portable XboxNova (my design) in photoshop -completely from scratch! That means a 100% original piece of modern design! The only things on mine that are not original are the screenshot and the 2 XBox logos (the text on the console, just below the screen, and the blue X)
So without further ado, let's get started!
Decisions, Decisions...
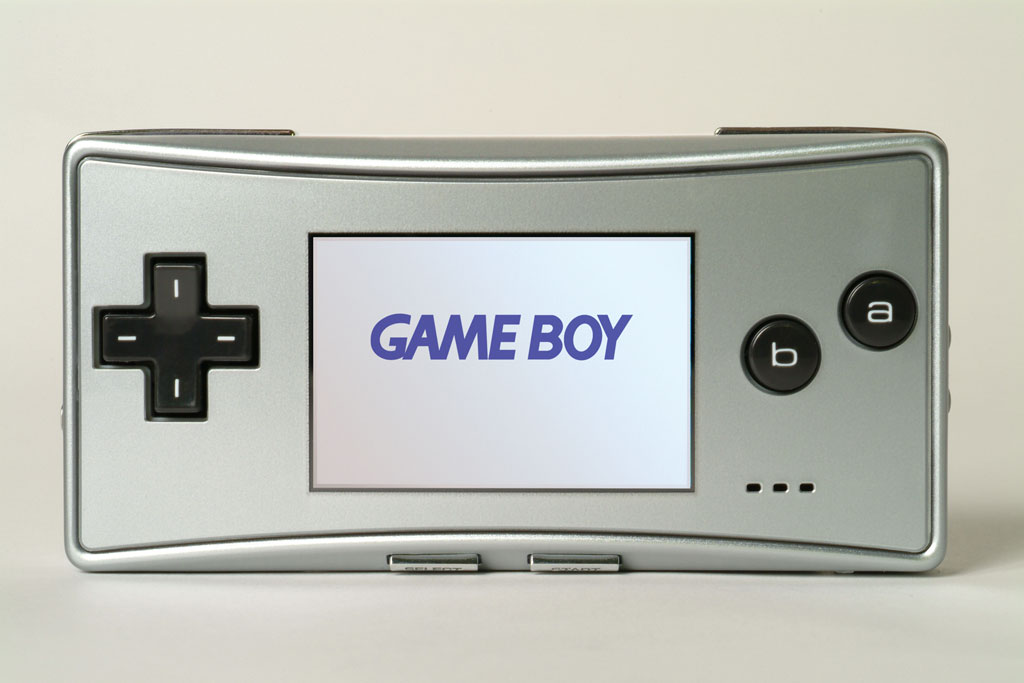
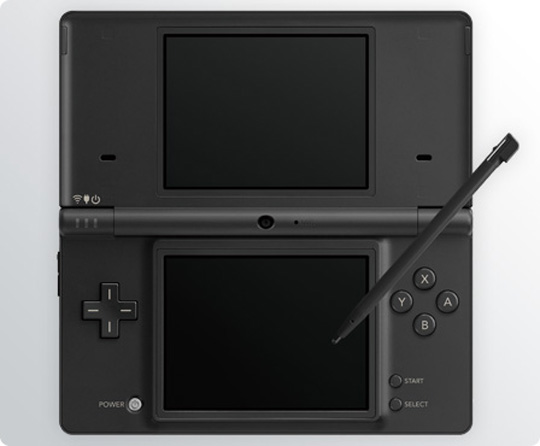
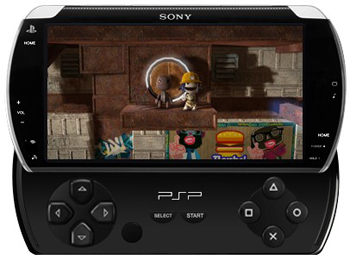
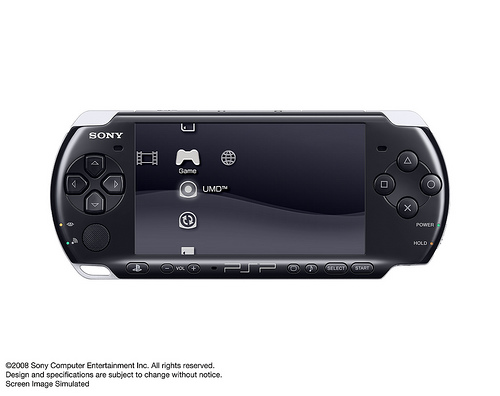
Well first off, what console do you want to make? Have a clear idea in your head when making a console or other gadget. If you want to make my console, then leave this step out, otherwise have a good think.
Think about:
-Button layout
-Brand (optional)
-Screen (s) size
-Colours
-General layout
-Flip console (DS), Sliding (PSP Go) or Static (gameboy colour)? Static is by far the easiest
TIPS!
1)Hold shift when you re-size things, it retains their perspective (won't get the squashed or stretched effect)
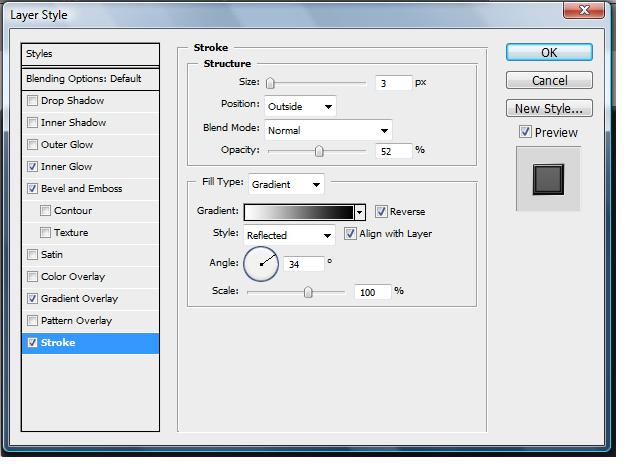
2)The effects I use in this are the blending options. To do this, click the subject layer, and double click to the right of the layer name. Alternatively, right click the layer and click "blending options"
3) When resizing/rotating a picture or object, hit enter and it will be un-pixelated. Alternatively, you could convert it into a smart object
A basic grasp of photoshop is required.
Here is some inspiration for you:
Starting Off
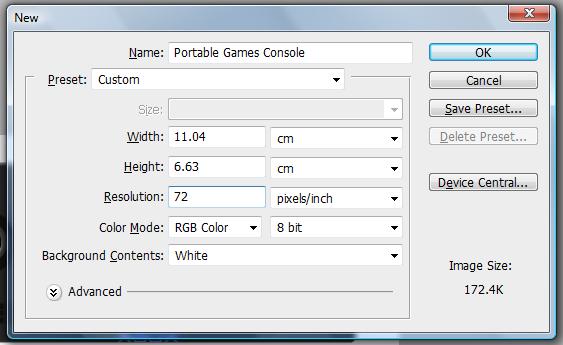
Create a new file with these settings:
The Body

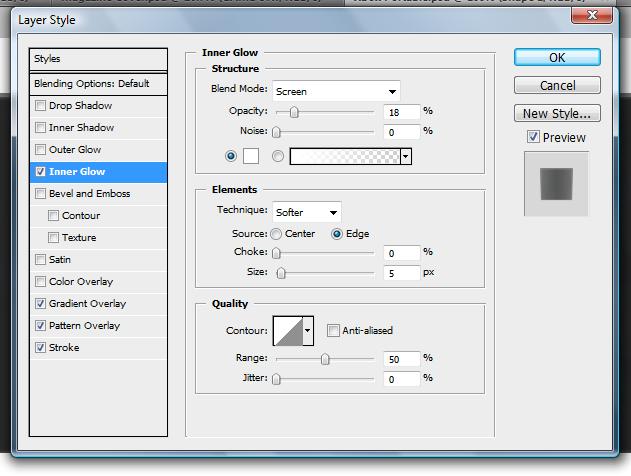
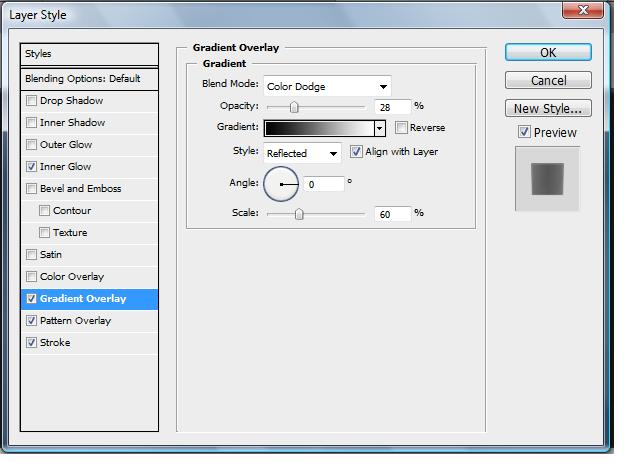
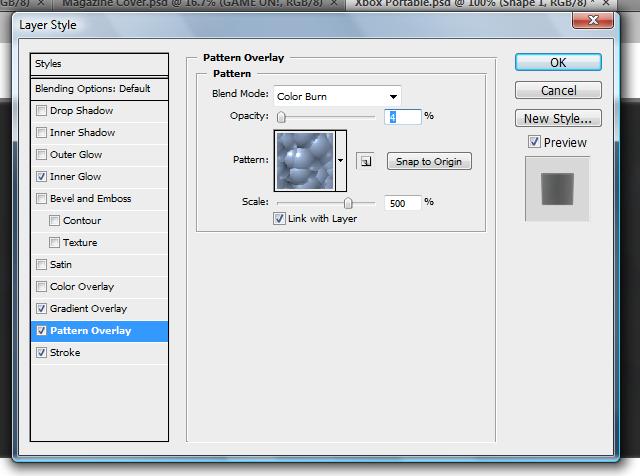
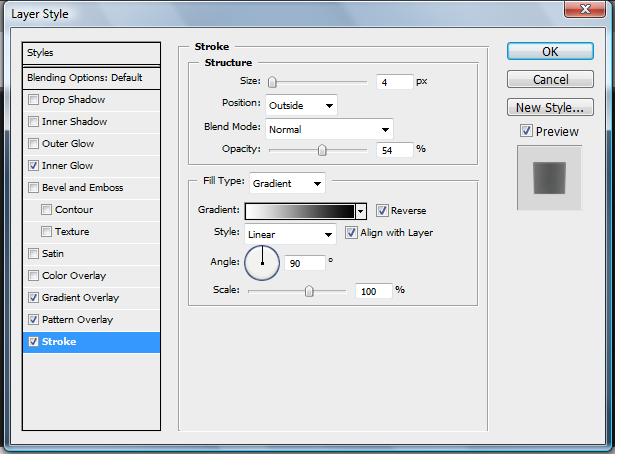

This is a pretty key element, as you would expect!
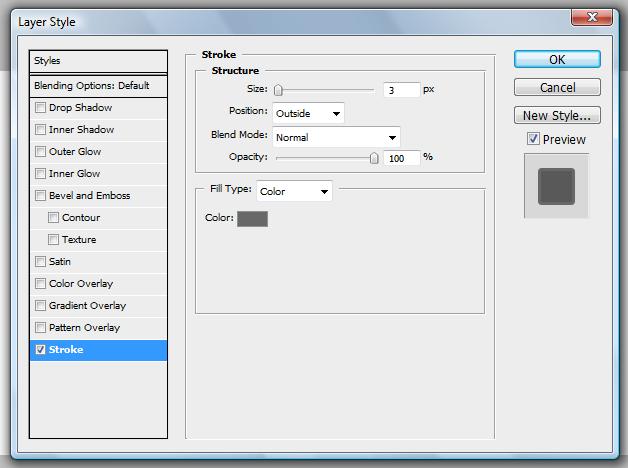
I went for a nice simple block, it looks plain at first, but apply the following effects and already it looks pretty nice!
I went for a nice simple block, it looks plain at first, but apply the following effects and already it looks pretty nice!
Screen
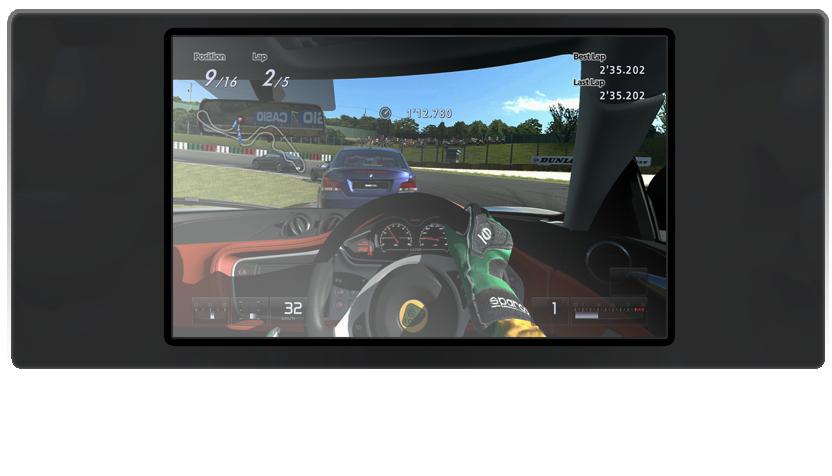
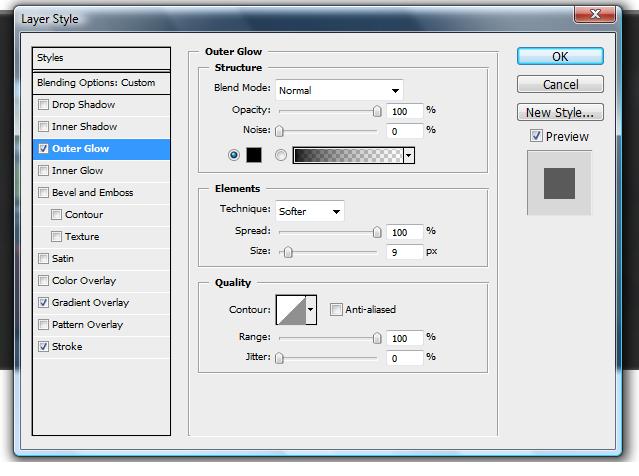
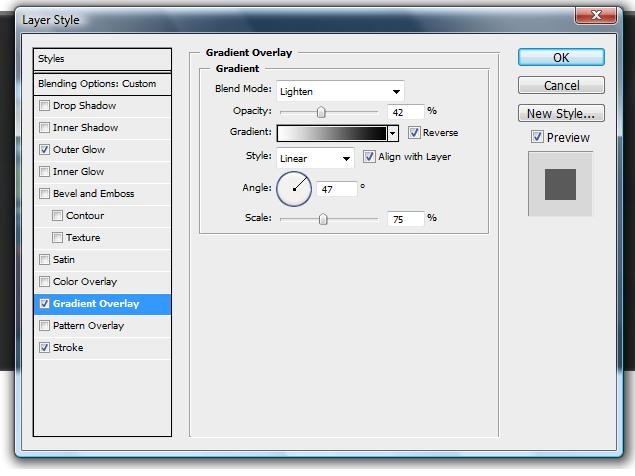
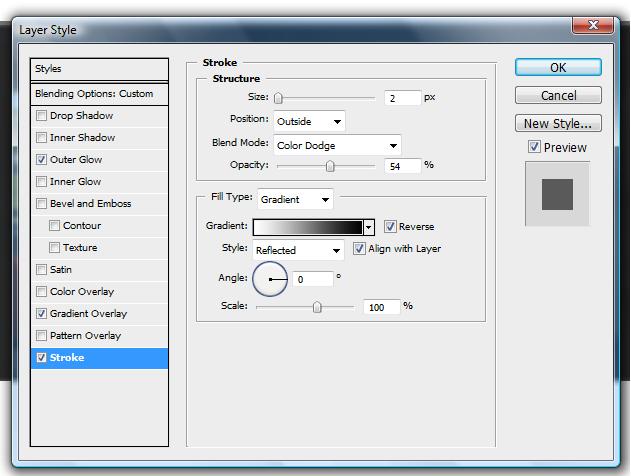
The first element we will construct. Since it is the centre for every portable console, it makes sense to make this first. Use the grid mode so you can make the screen dead centre to make it look nice and clean.
The screenshot is not essential, a gradient looks fine. However, I thought that this Playstation 3 screenshot looked great, so I used that.
Get the image here.
You don't need the gradient overlay, but it gives it a more reflective look, like it's actually a screen.
If you're doing a touch screen console, you can finish here! Just make the screen almost the same size as the body.
Joystick
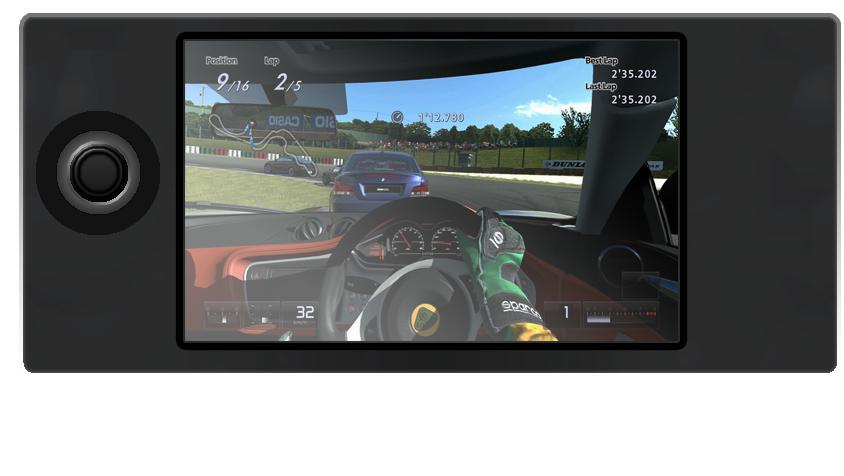
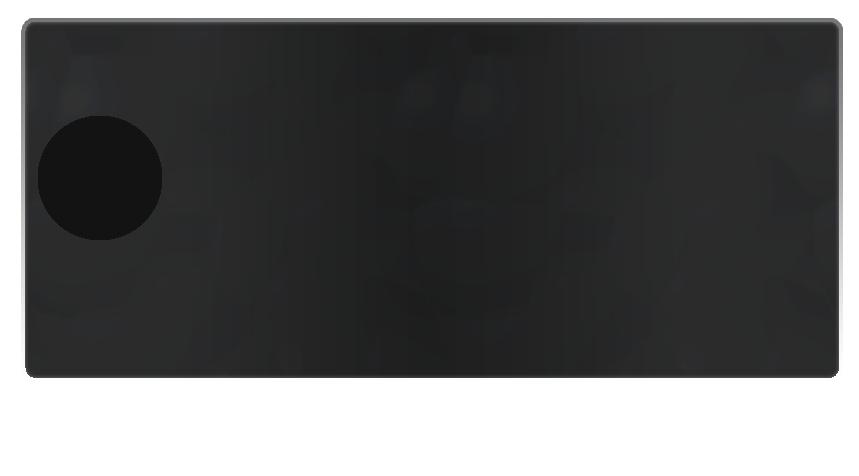
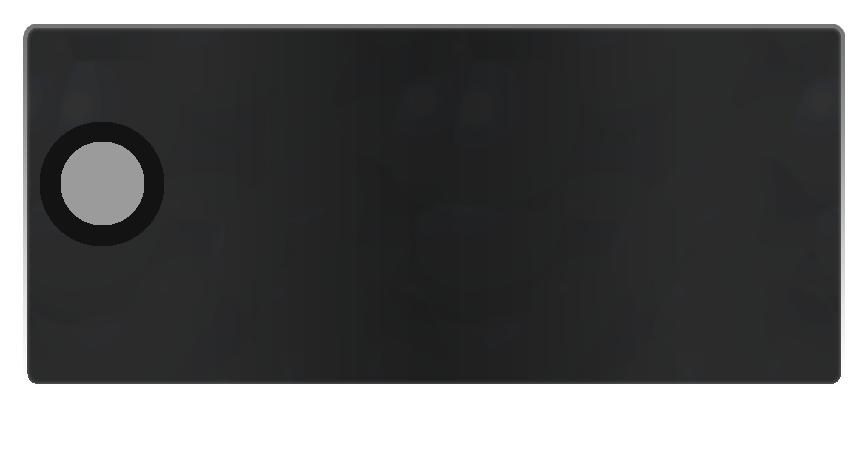
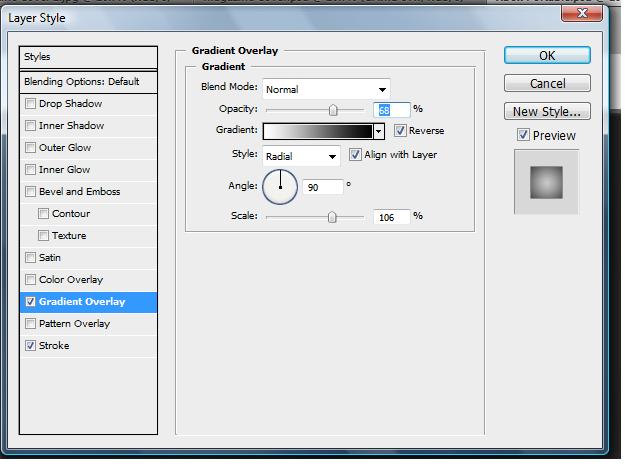
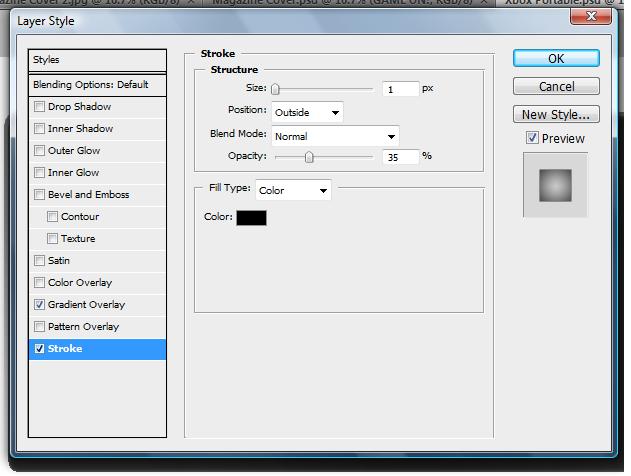
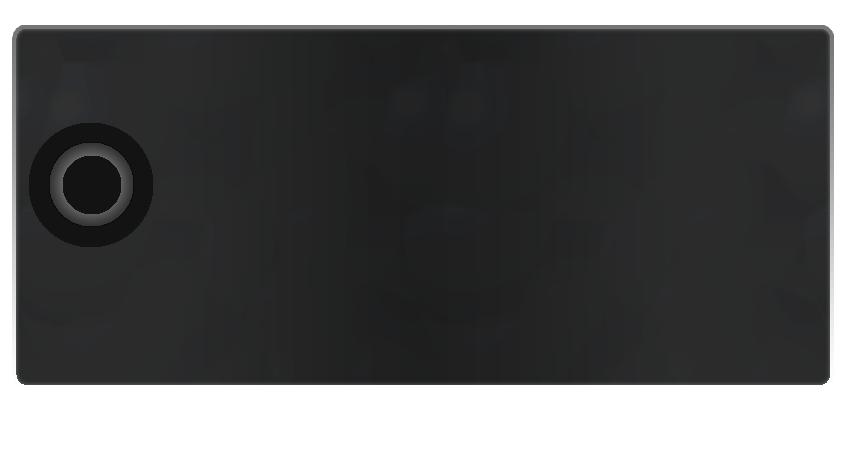
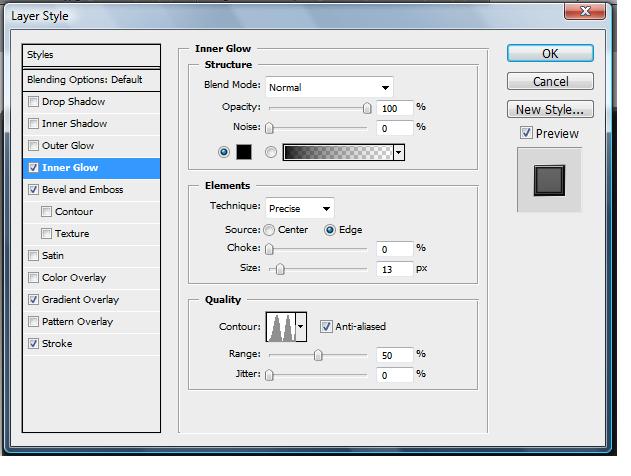
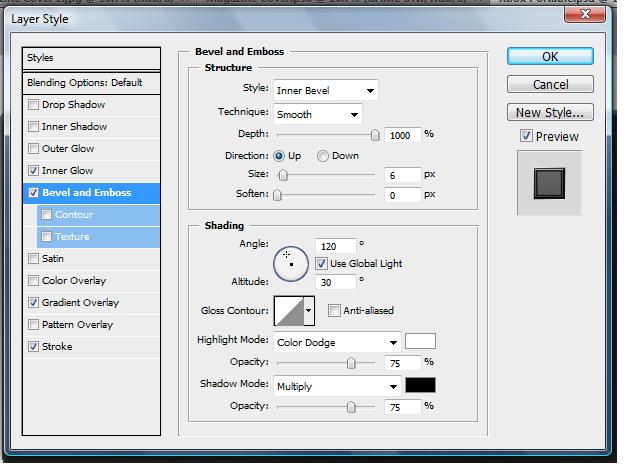
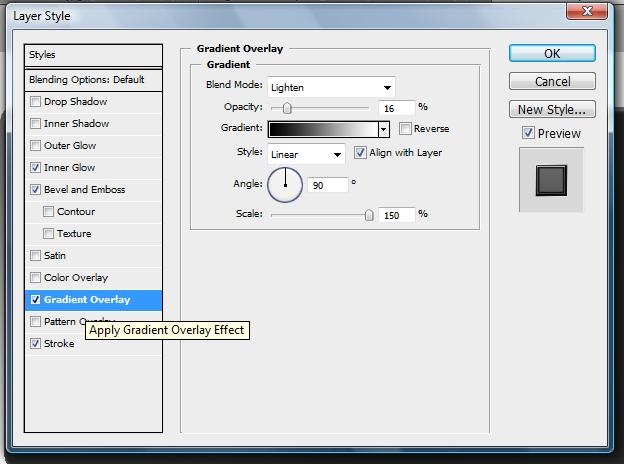
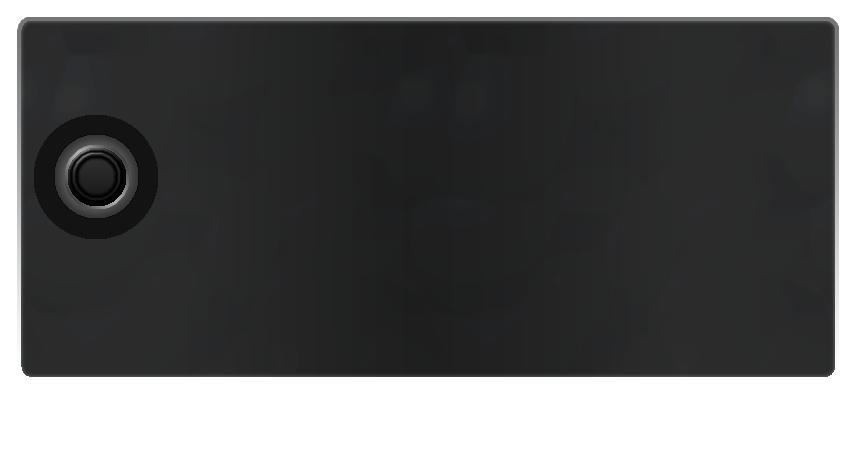
For those who are more advanced with photoshop, you could make a D-Pad. However, joysticks are becoming more popular in reality, and are far easier to draw. Just apply the following and you're done.
1) Draw this circle, use any dark grey or black (or whatever your colour scheme is!)
2) Draw, and then add the following effects
3) Now for the actual joystick! Draw the circle and add the effects
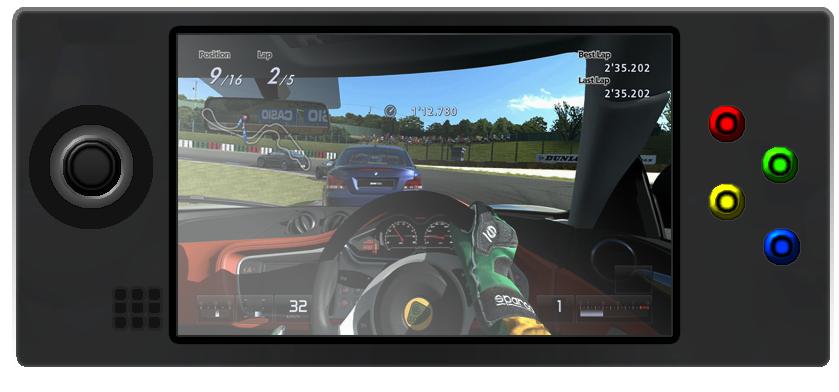
4) You should have something like this!
Buttons
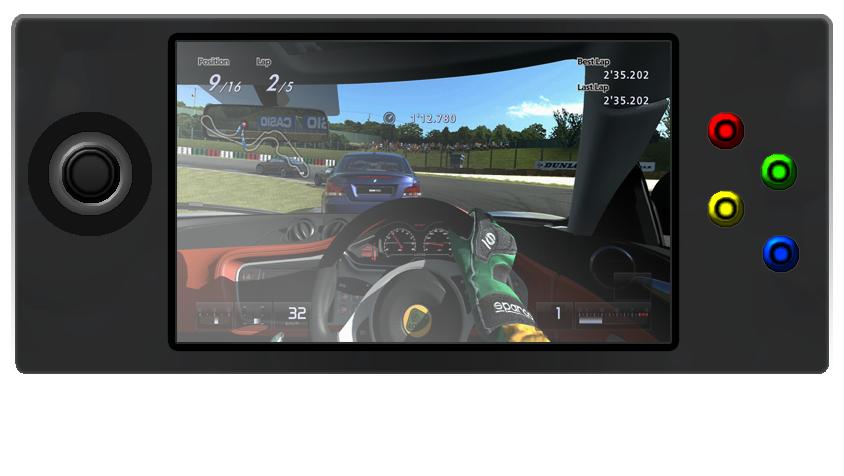
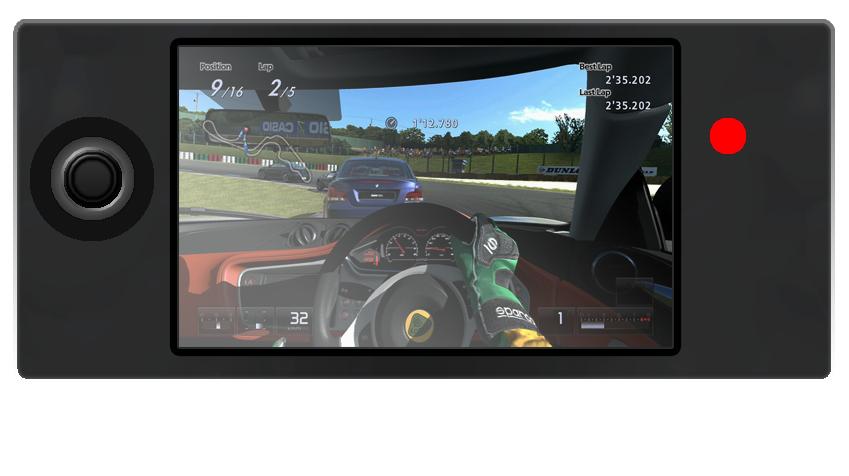
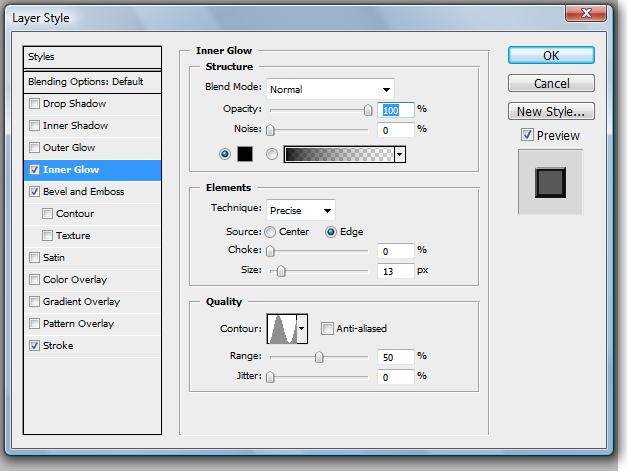
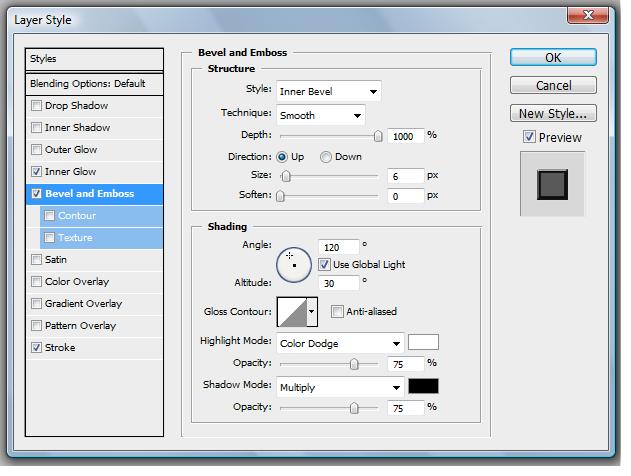
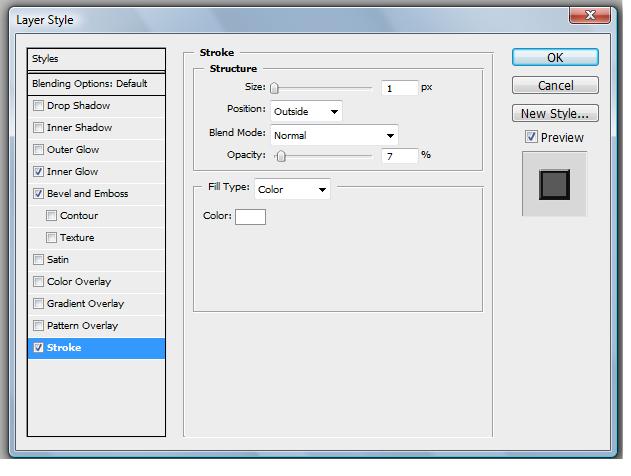

Since I am making the "XboxNova" I went for the Xbox button colours: blue, green, yellow and red. If you want yours in different or more generic colours, then make the base colour for them white, instead of the colours I use. It's simple enough.
Once you make 1, duplicate it as many times as you want. Bring up the grid mode to get the positions right!
If you want, you can finish up here.
Once you make 1, duplicate it as many times as you want. Bring up the grid mode to get the positions right!
If you want, you can finish up here.
Speakers


This is one of the easiest steps.
NOTE: The instructions on how to make the speaker notch is not in the console, and is of slightly different colour to my final one. Make yours straight onto the body however. If you don't like the colour, you can easily change it.
Simply make:
1)1 speaker notch
2) then duplicate it twice (1 row of 3).
3) Now merge those 3 layers together, and duplicate them twice again (1 3x3 grid)
4) Now merge these, to have 1 speaker.
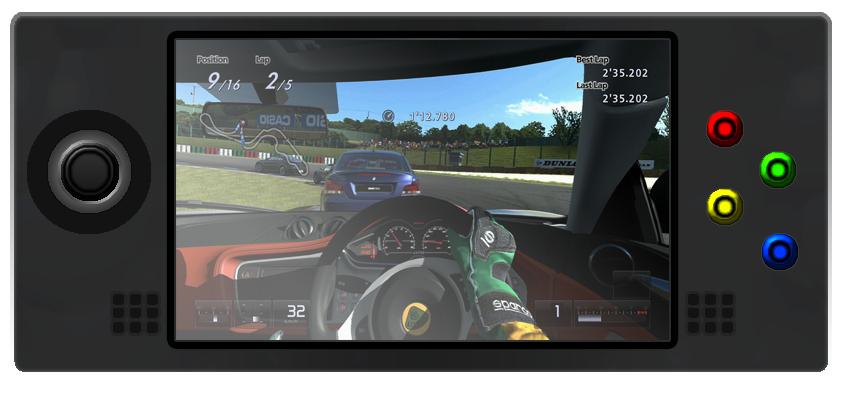
You could leave at this and have a mono sound system, like Nintendo's iconic Gameboy series. Or you could have 2. This is very hard to get the spacings right, so get the grid view open to get each speaker the same distance from the screen, like in my games console. Duplicate the 3x3 grid and position accordingly.
Finishing Off!
Time to brand the console!
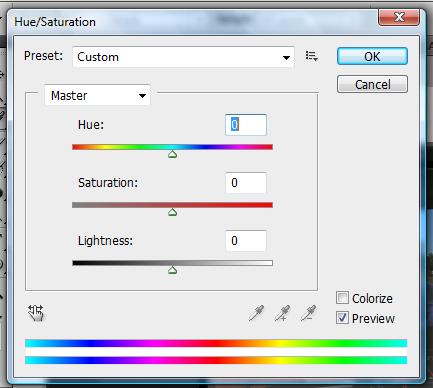
I went for Xbox, as they don't make handhelds. Simply type the text you want, or get the logo off Google Images. I got the "XBox" text off Google, and messed with the hue/saturation bars to make it blue. Then I simply typed "XBoxNova, The Future Is Now". Be careful to use the same shade of blue, use the colour picker tool.
Here are my sources:
Xbox Text and Logo can be found here
I have a picture of the hue/saturation bars. Just slide them to change the colour of the Xbox logos. Use the Magic Wand tool, or quick selection tool to cut them out. I have a picture of my style below.
Final Thoughts

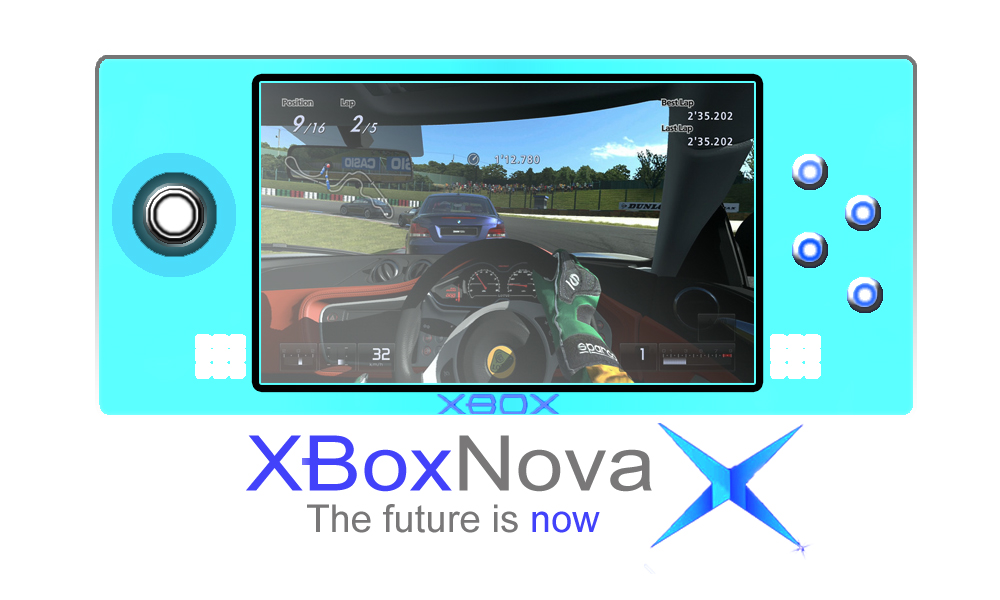
So now you've made your own portable games console! Have a pat on the back!
But did you make it differently? Did you add any extra cool features? Then reply below and have YOUR'S featured in this instructable!
-Lowney
But did you make it differently? Did you add any extra cool features? Then reply below and have YOUR'S featured in this instructable!
-Lowney