Make a Pizza Portrait
 - Copie.JPG)
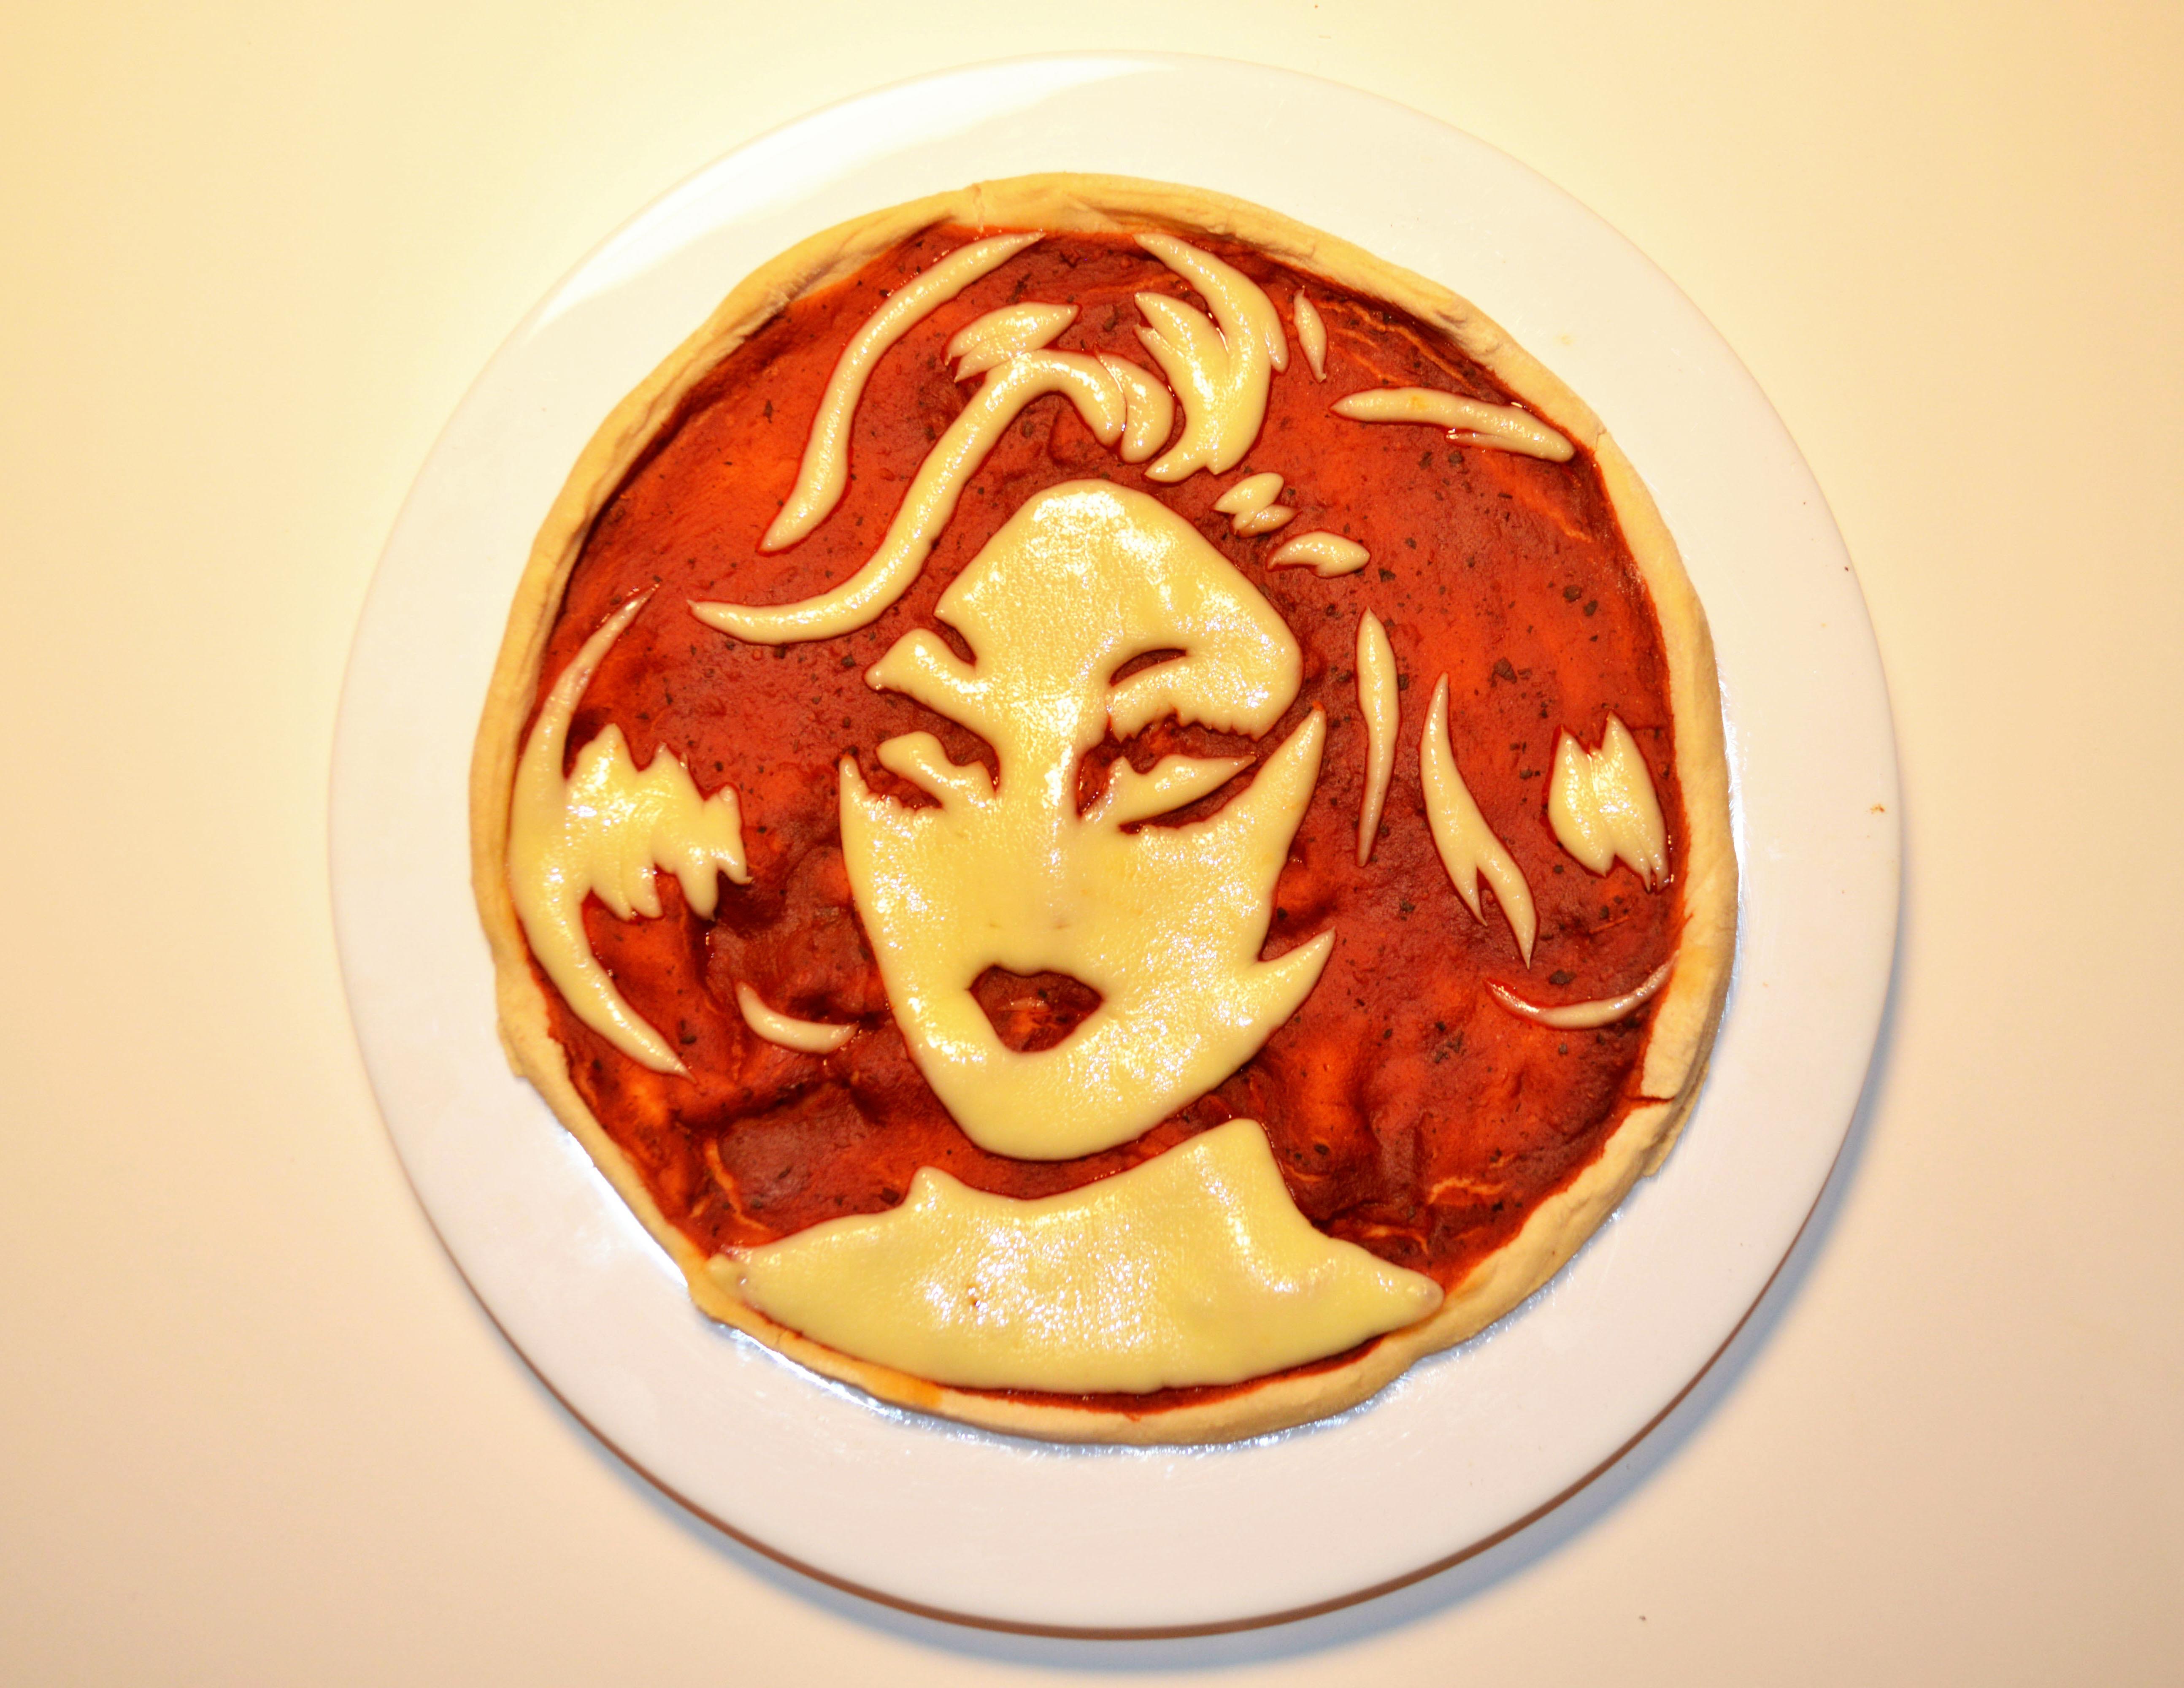
Hi! This tutorial will show you how make Pizza Portraits ! :)
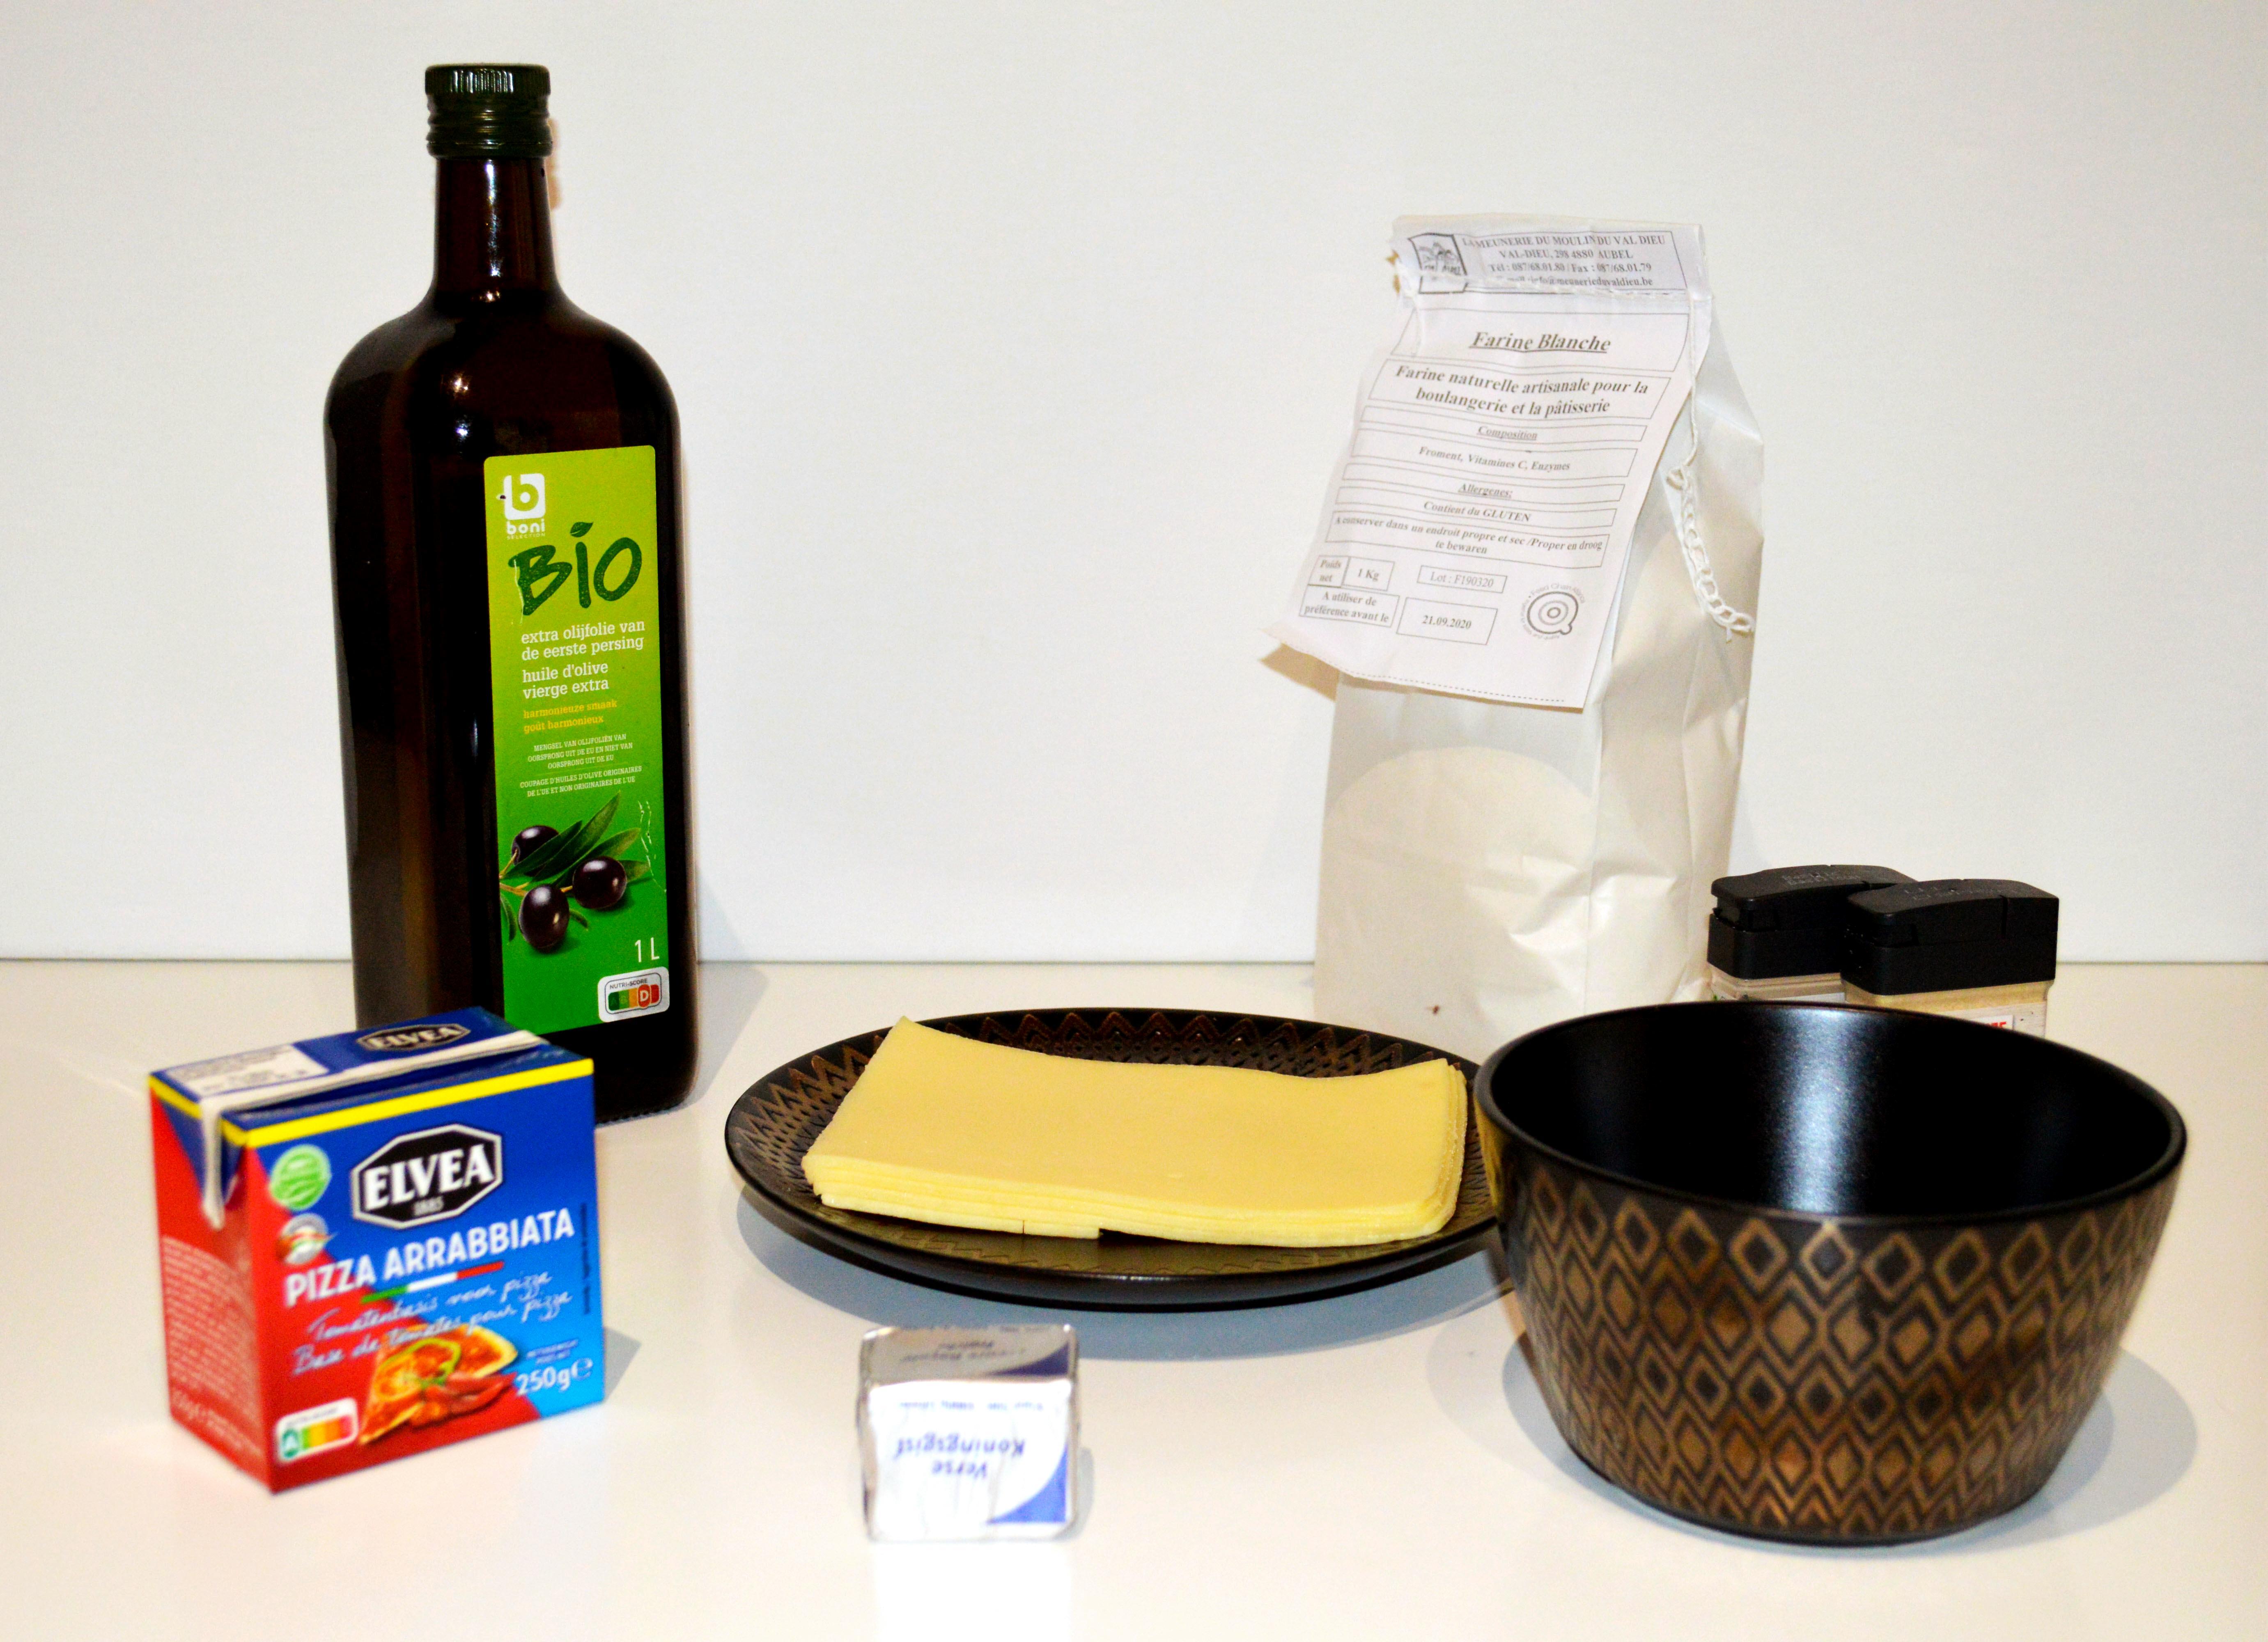
Supplies
-2 cups of wheat flour (250g)
-3 Tablespoons olive oil
-1/2 Teaspoon of sugar
-1/2 Cube of fresh yeast
-1 Cup warm water
-Sliced gouda cheese
-Shredded cheese
-Tomato sauce
-Salt
Easy Pizza Dough


Let's make a simple pizza base for the portrait !
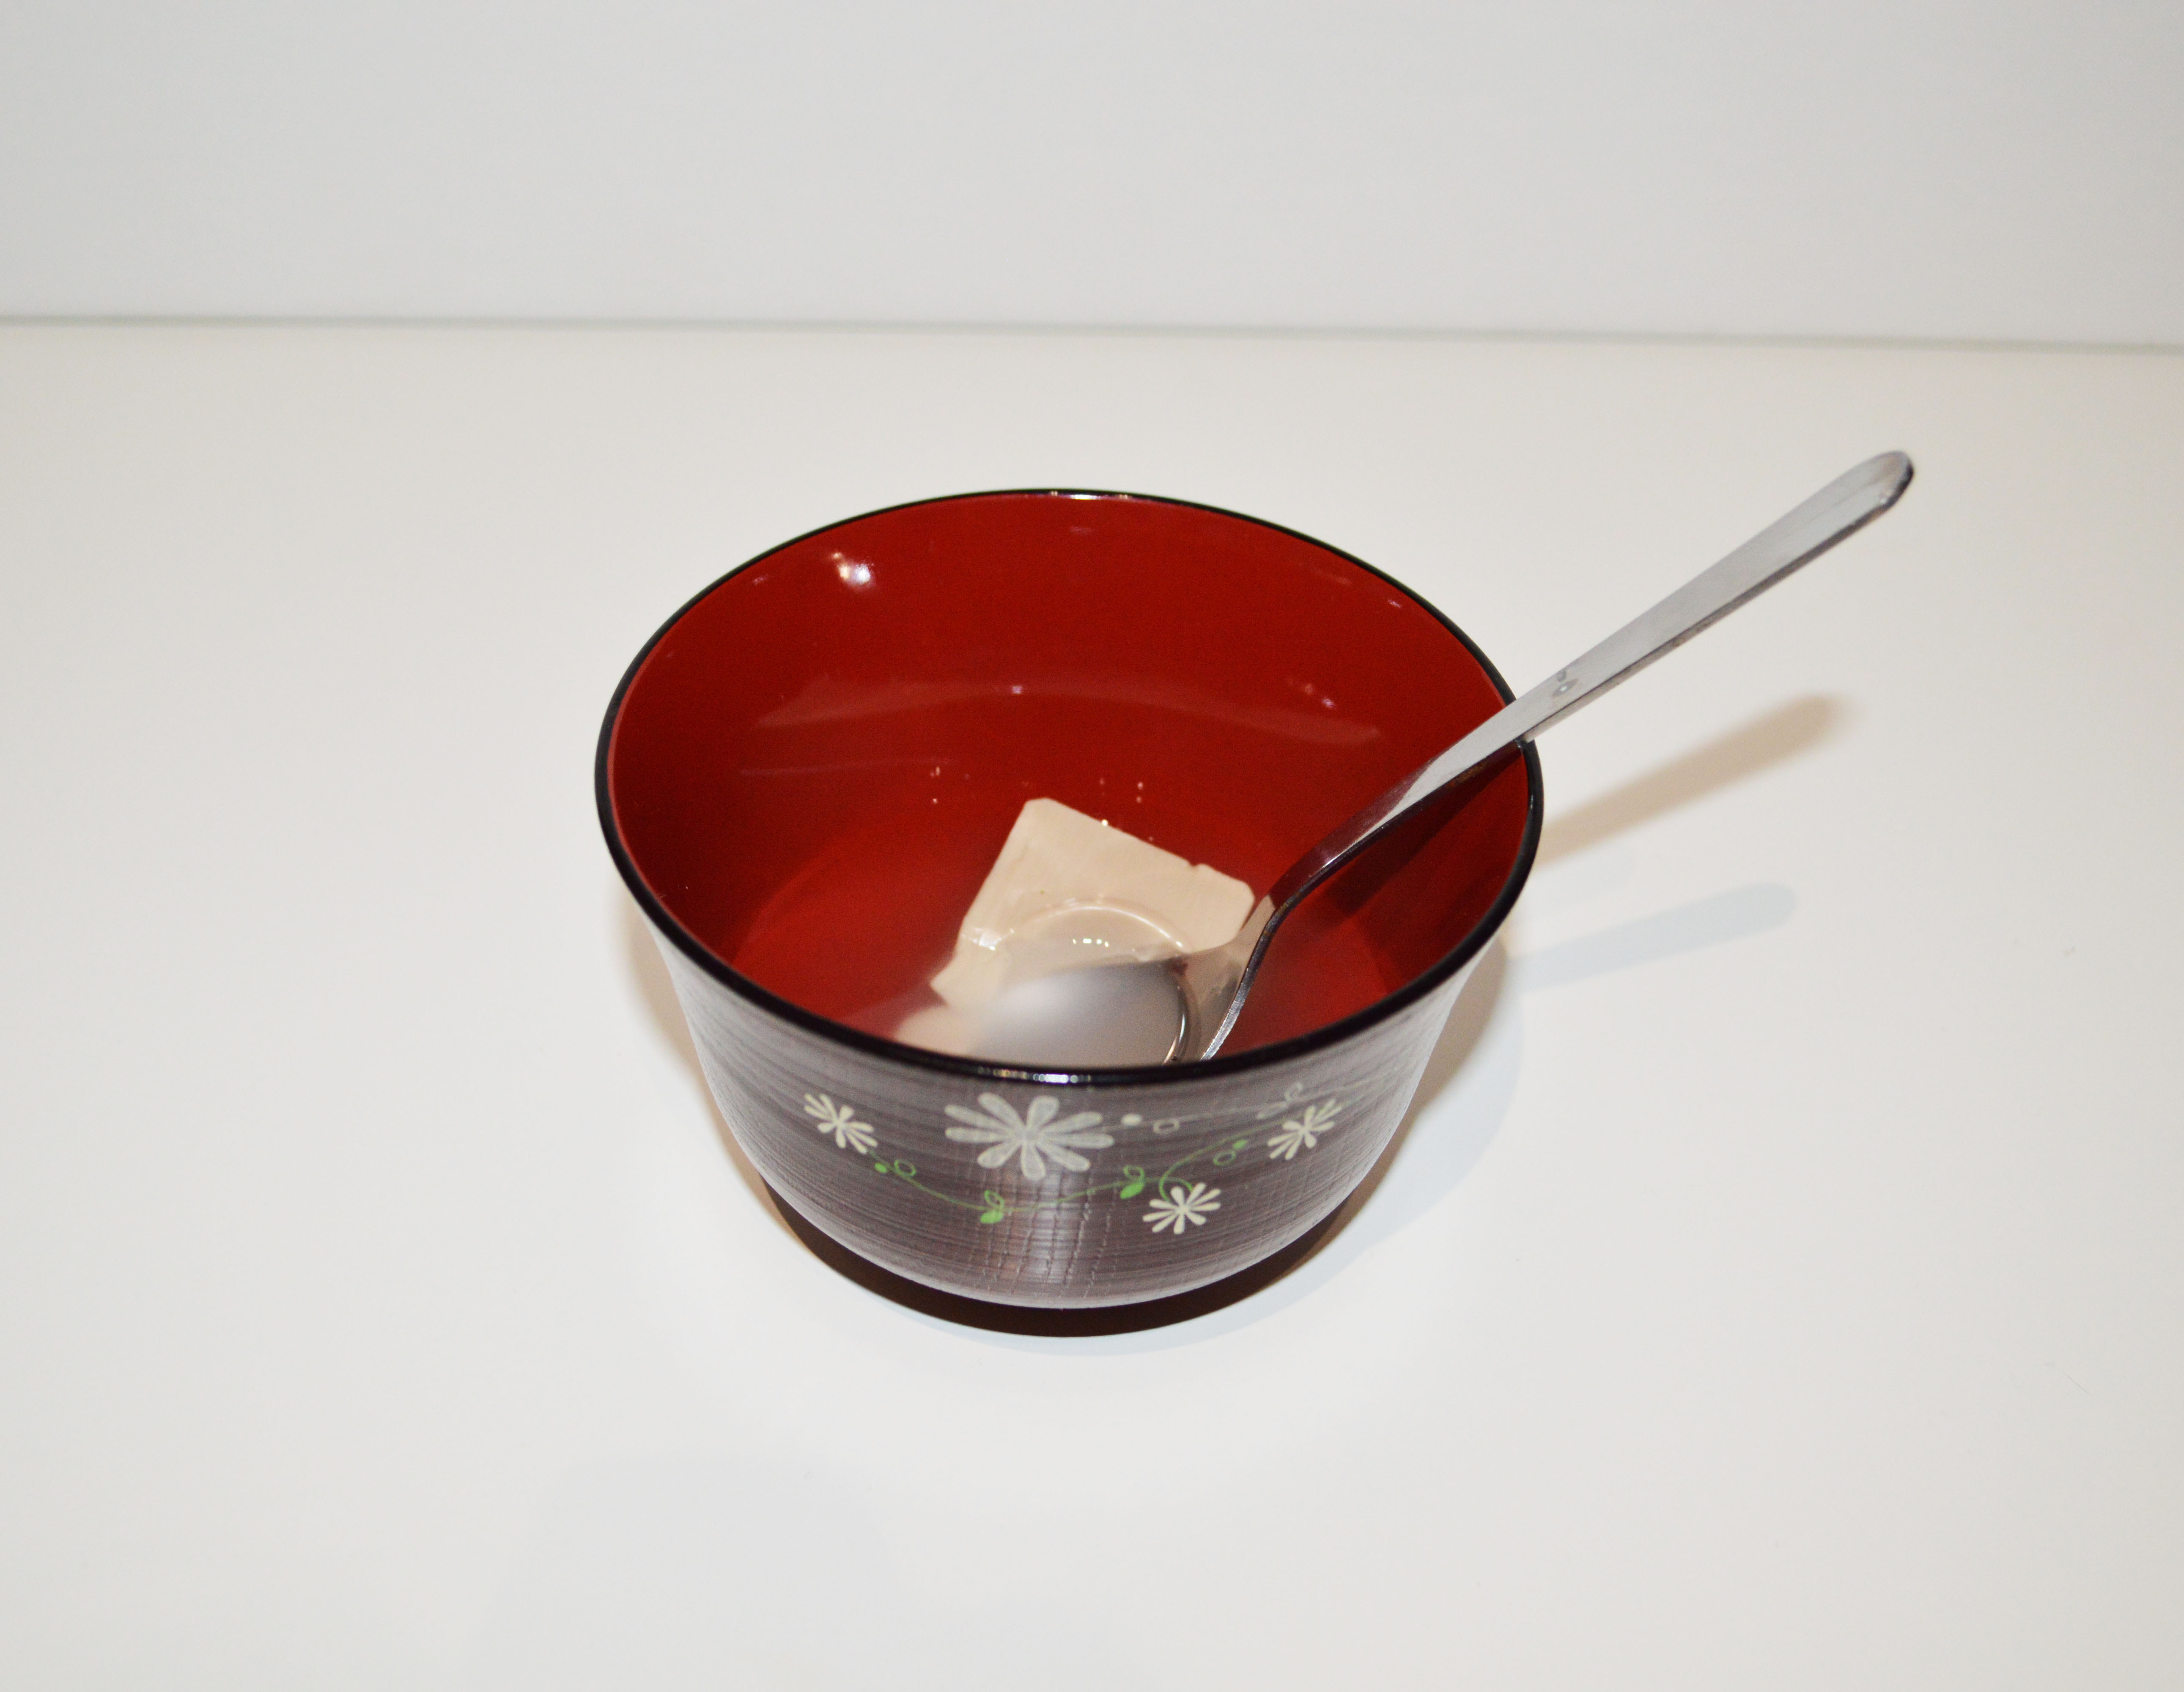
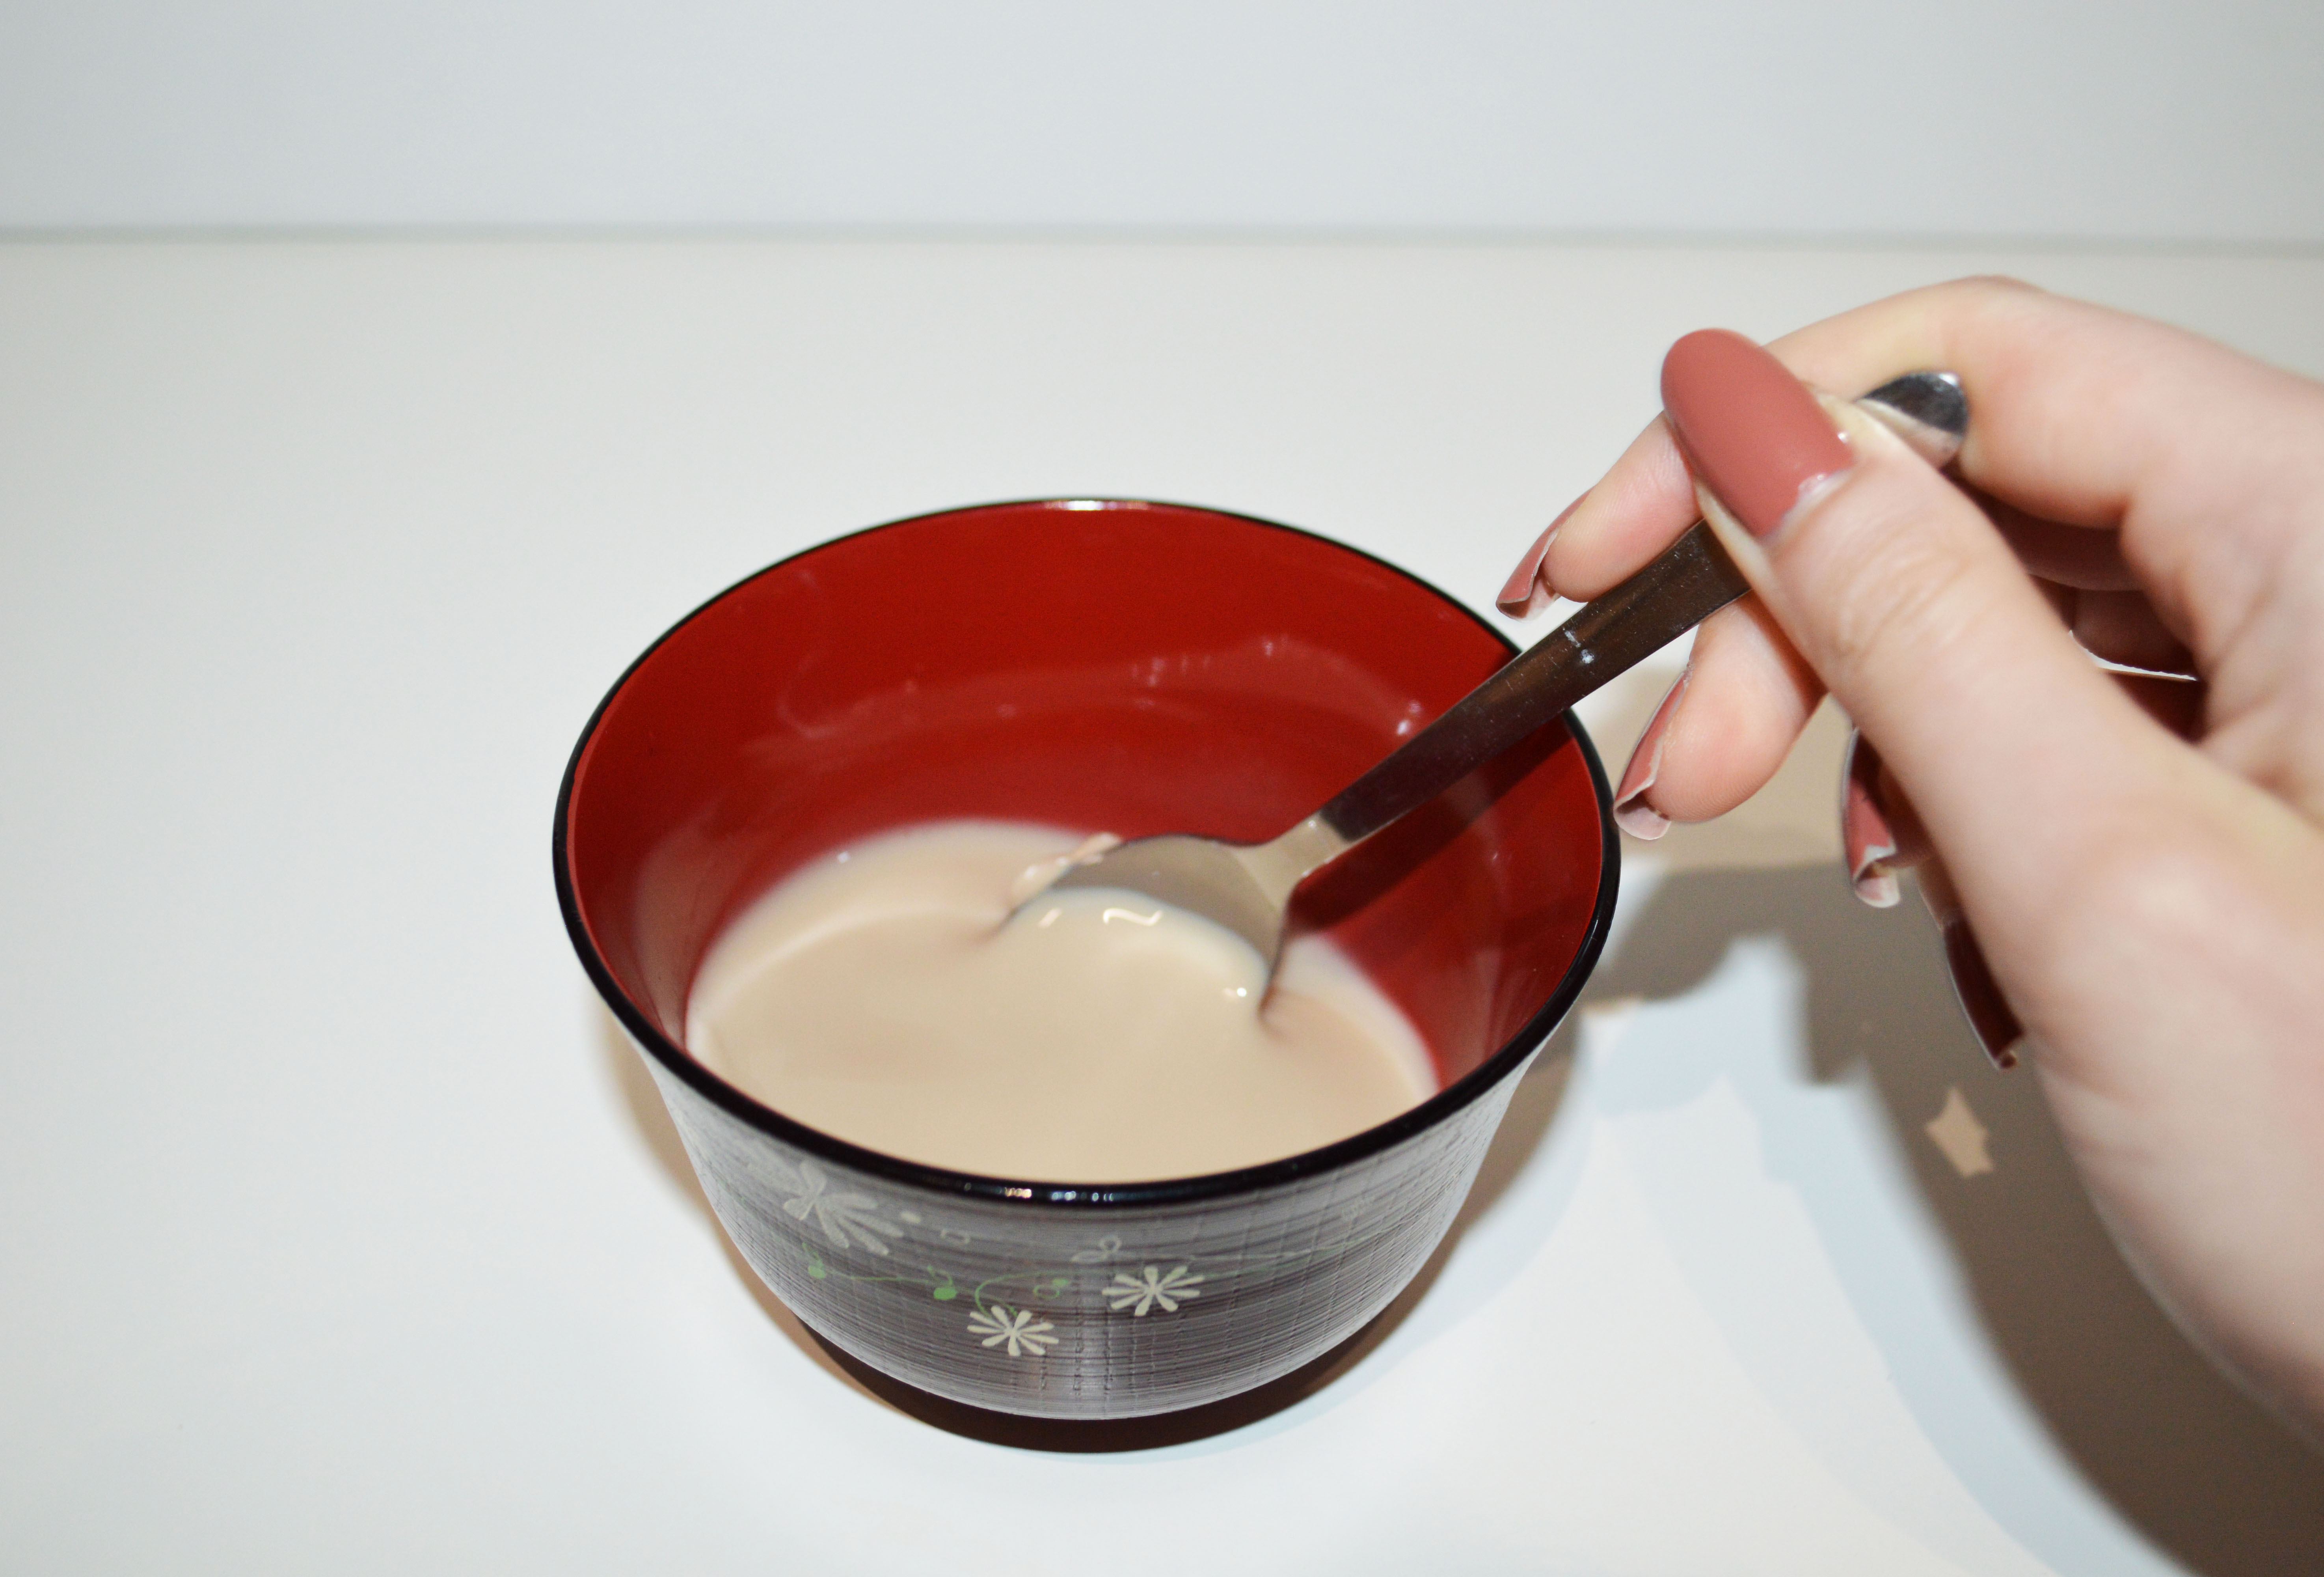
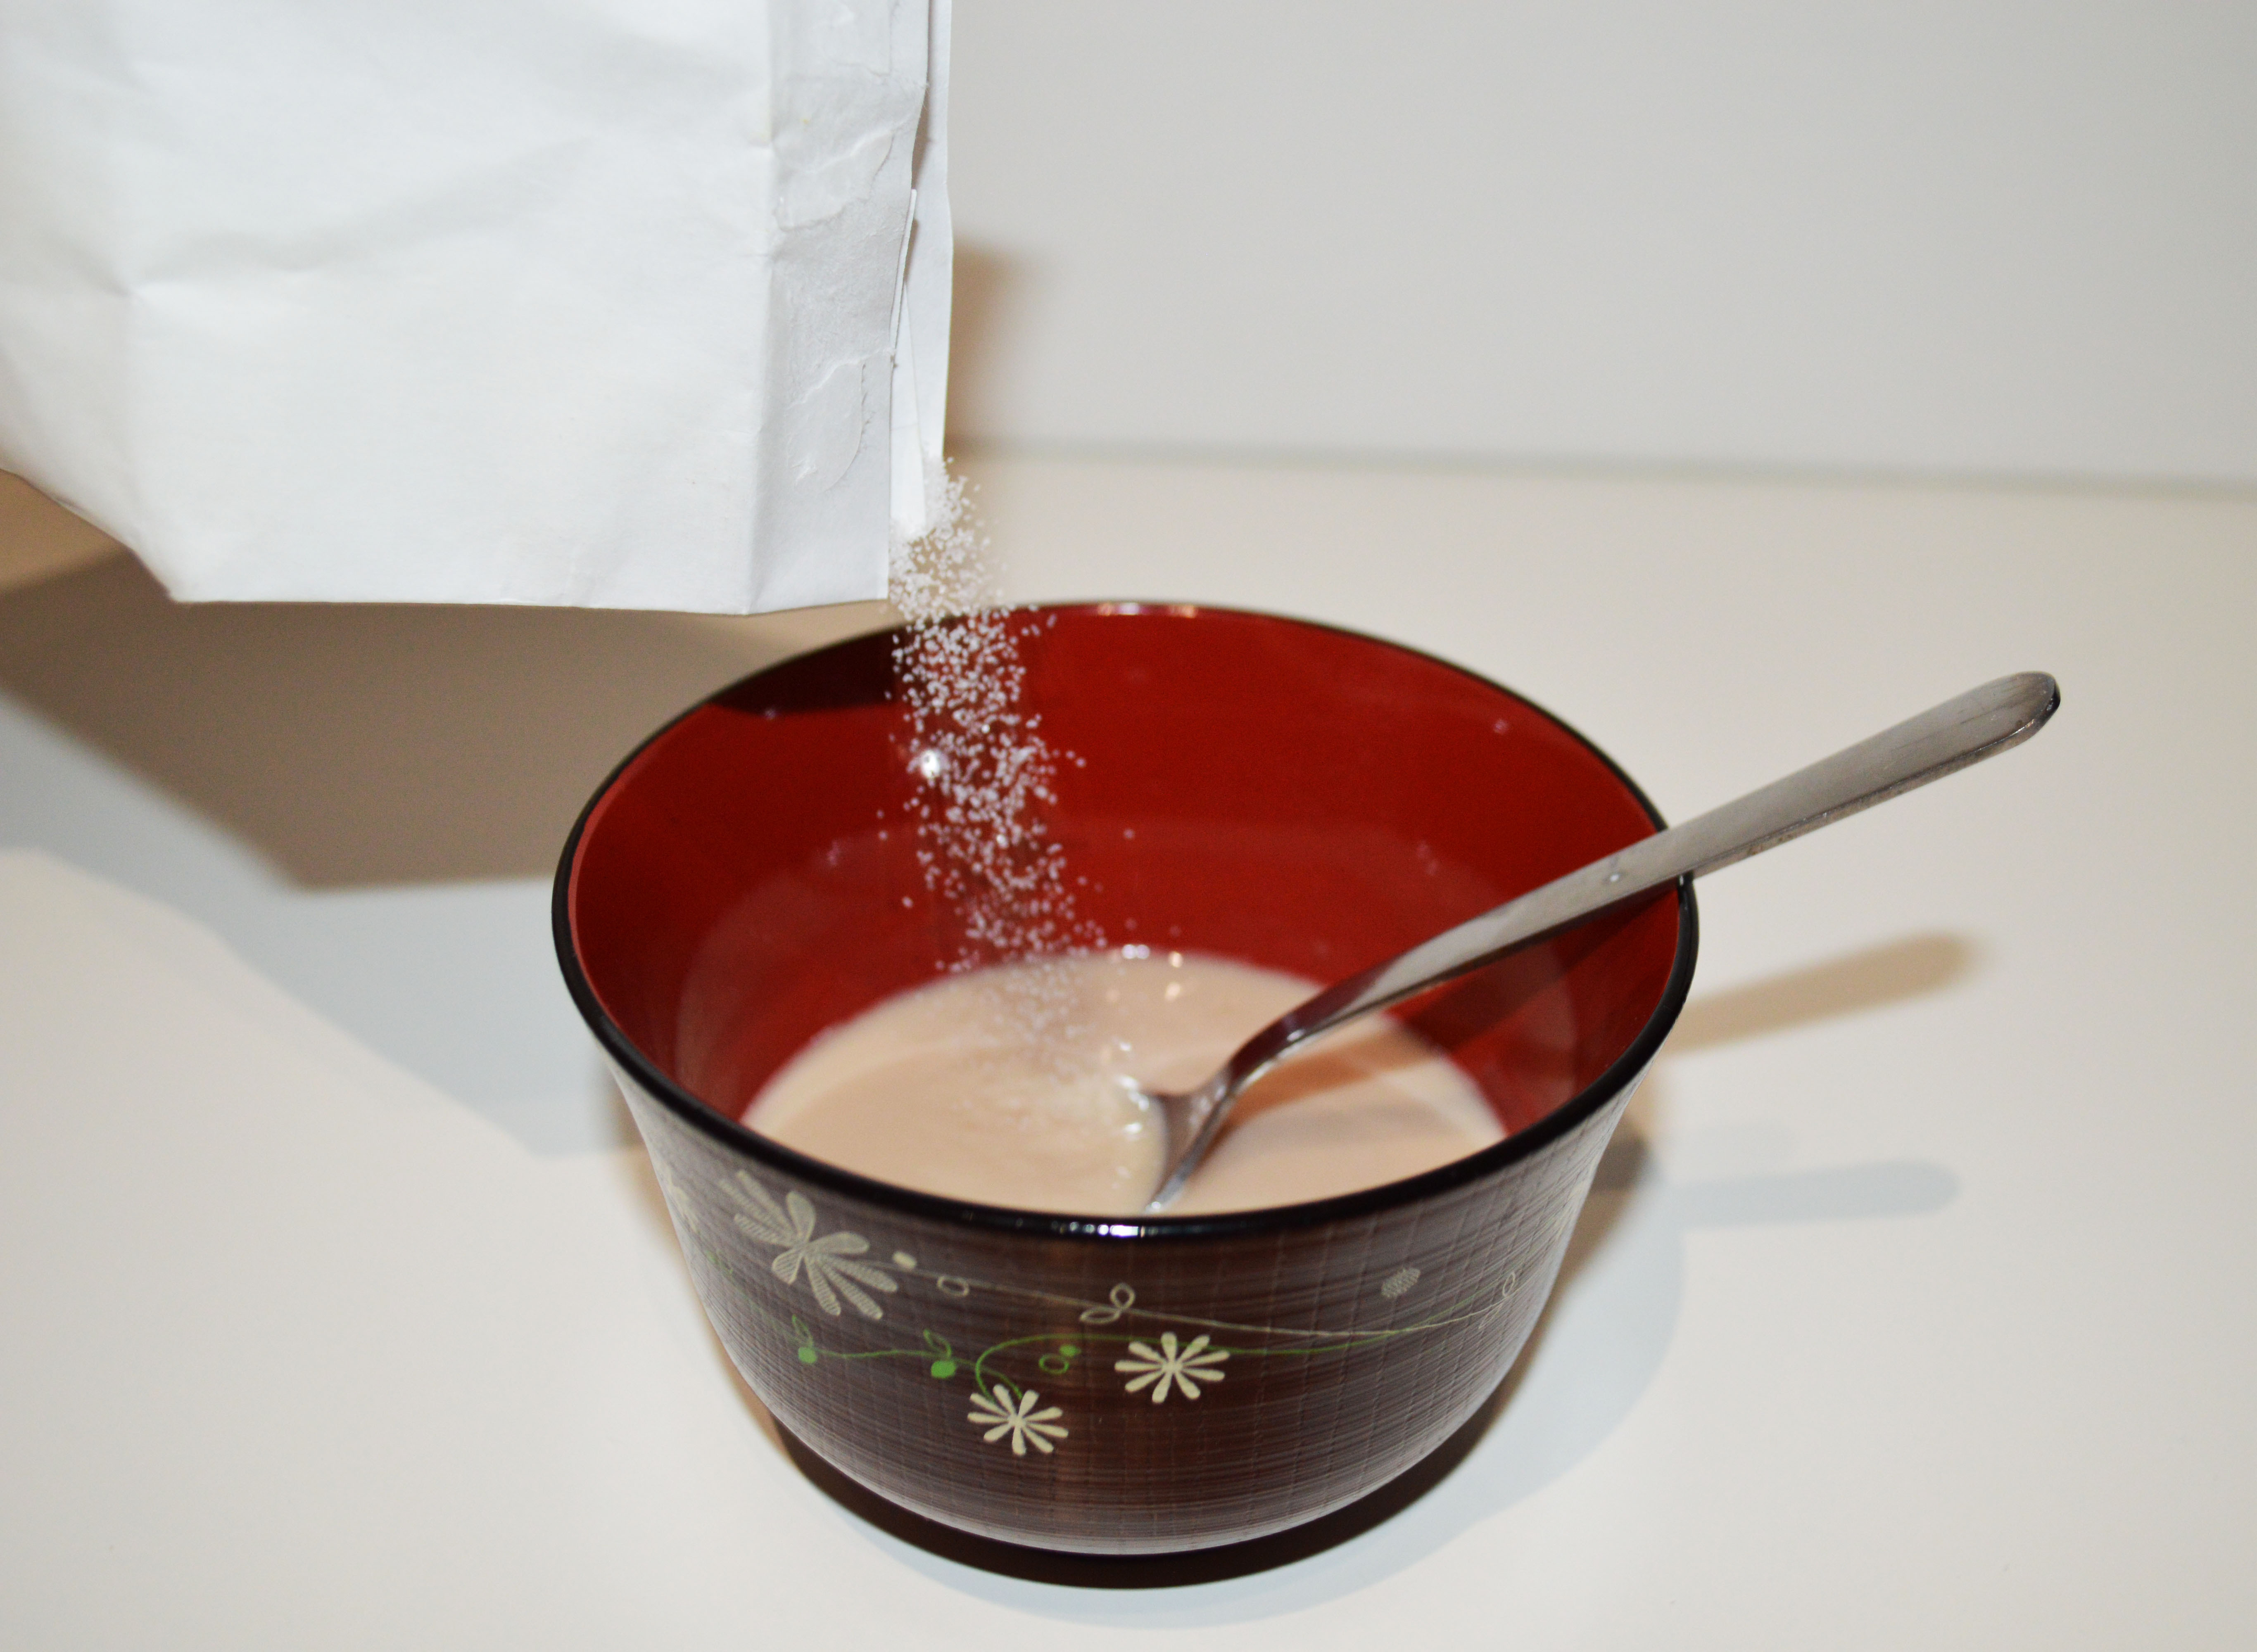
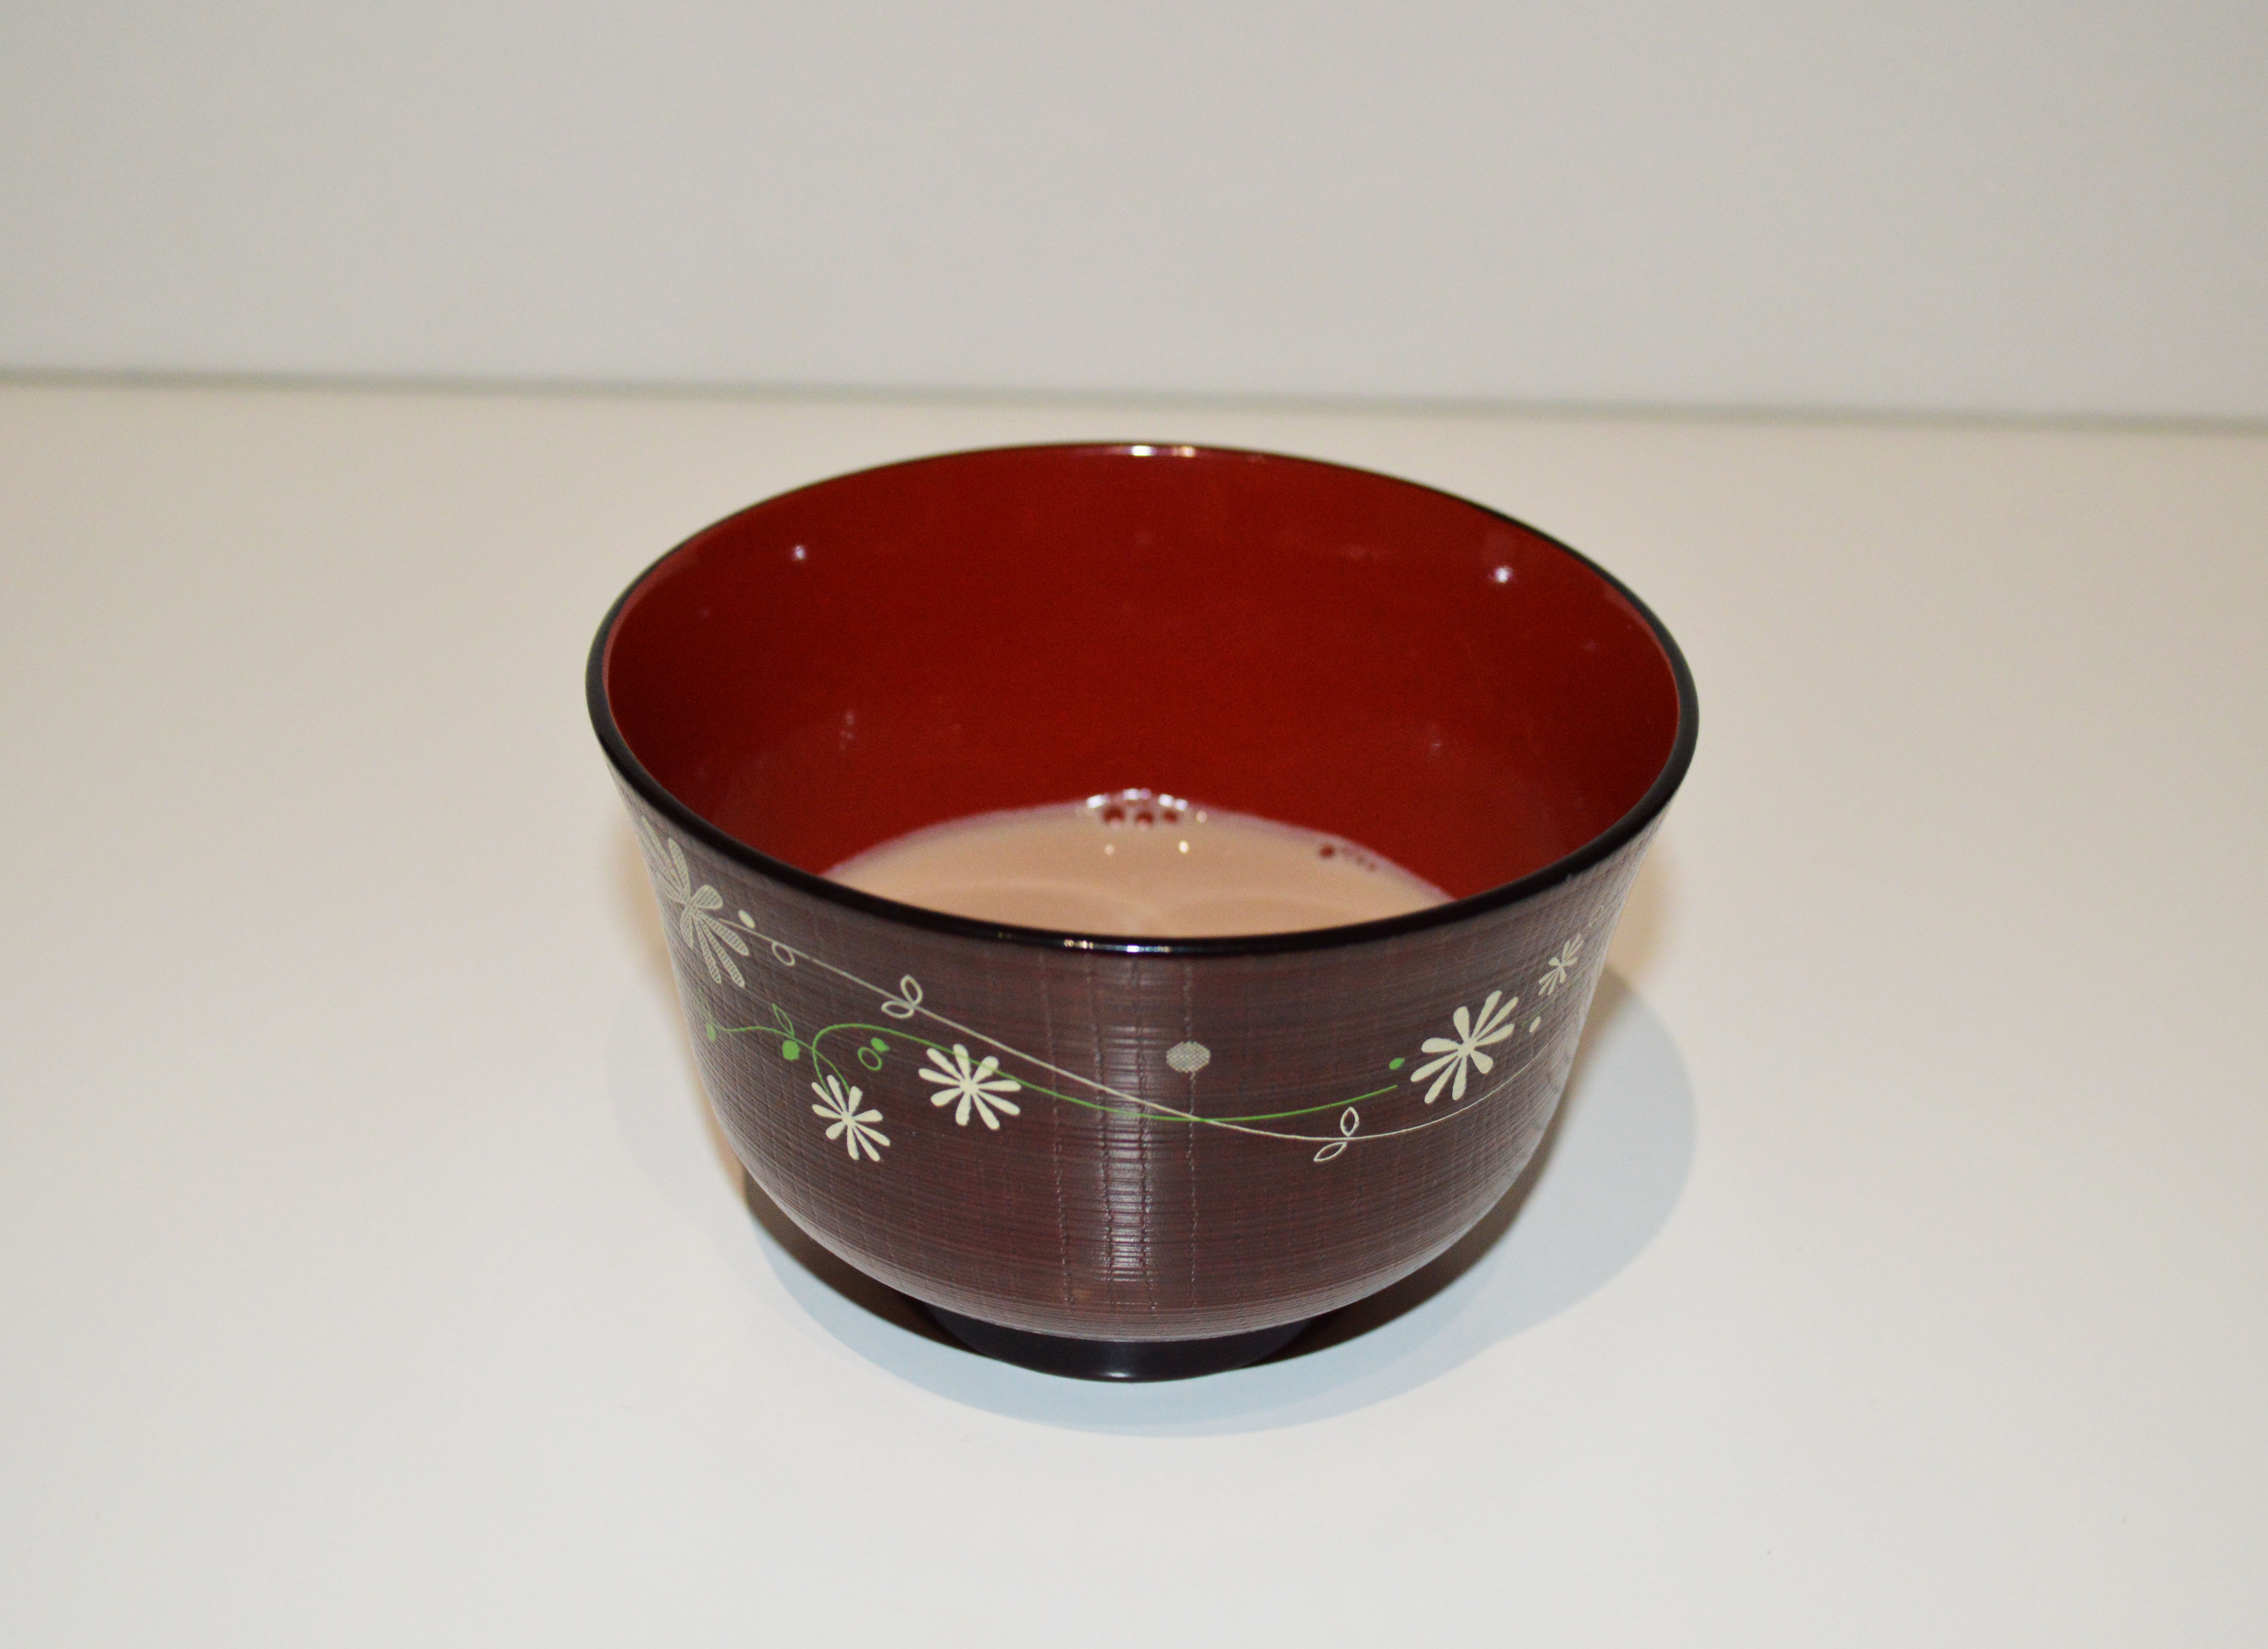
Mix the yeast with 4 tablespoons of warm water and add 1/2 teaspoon of sugar. Let the yeast proof for 30 min (the yeast will start bubbling).
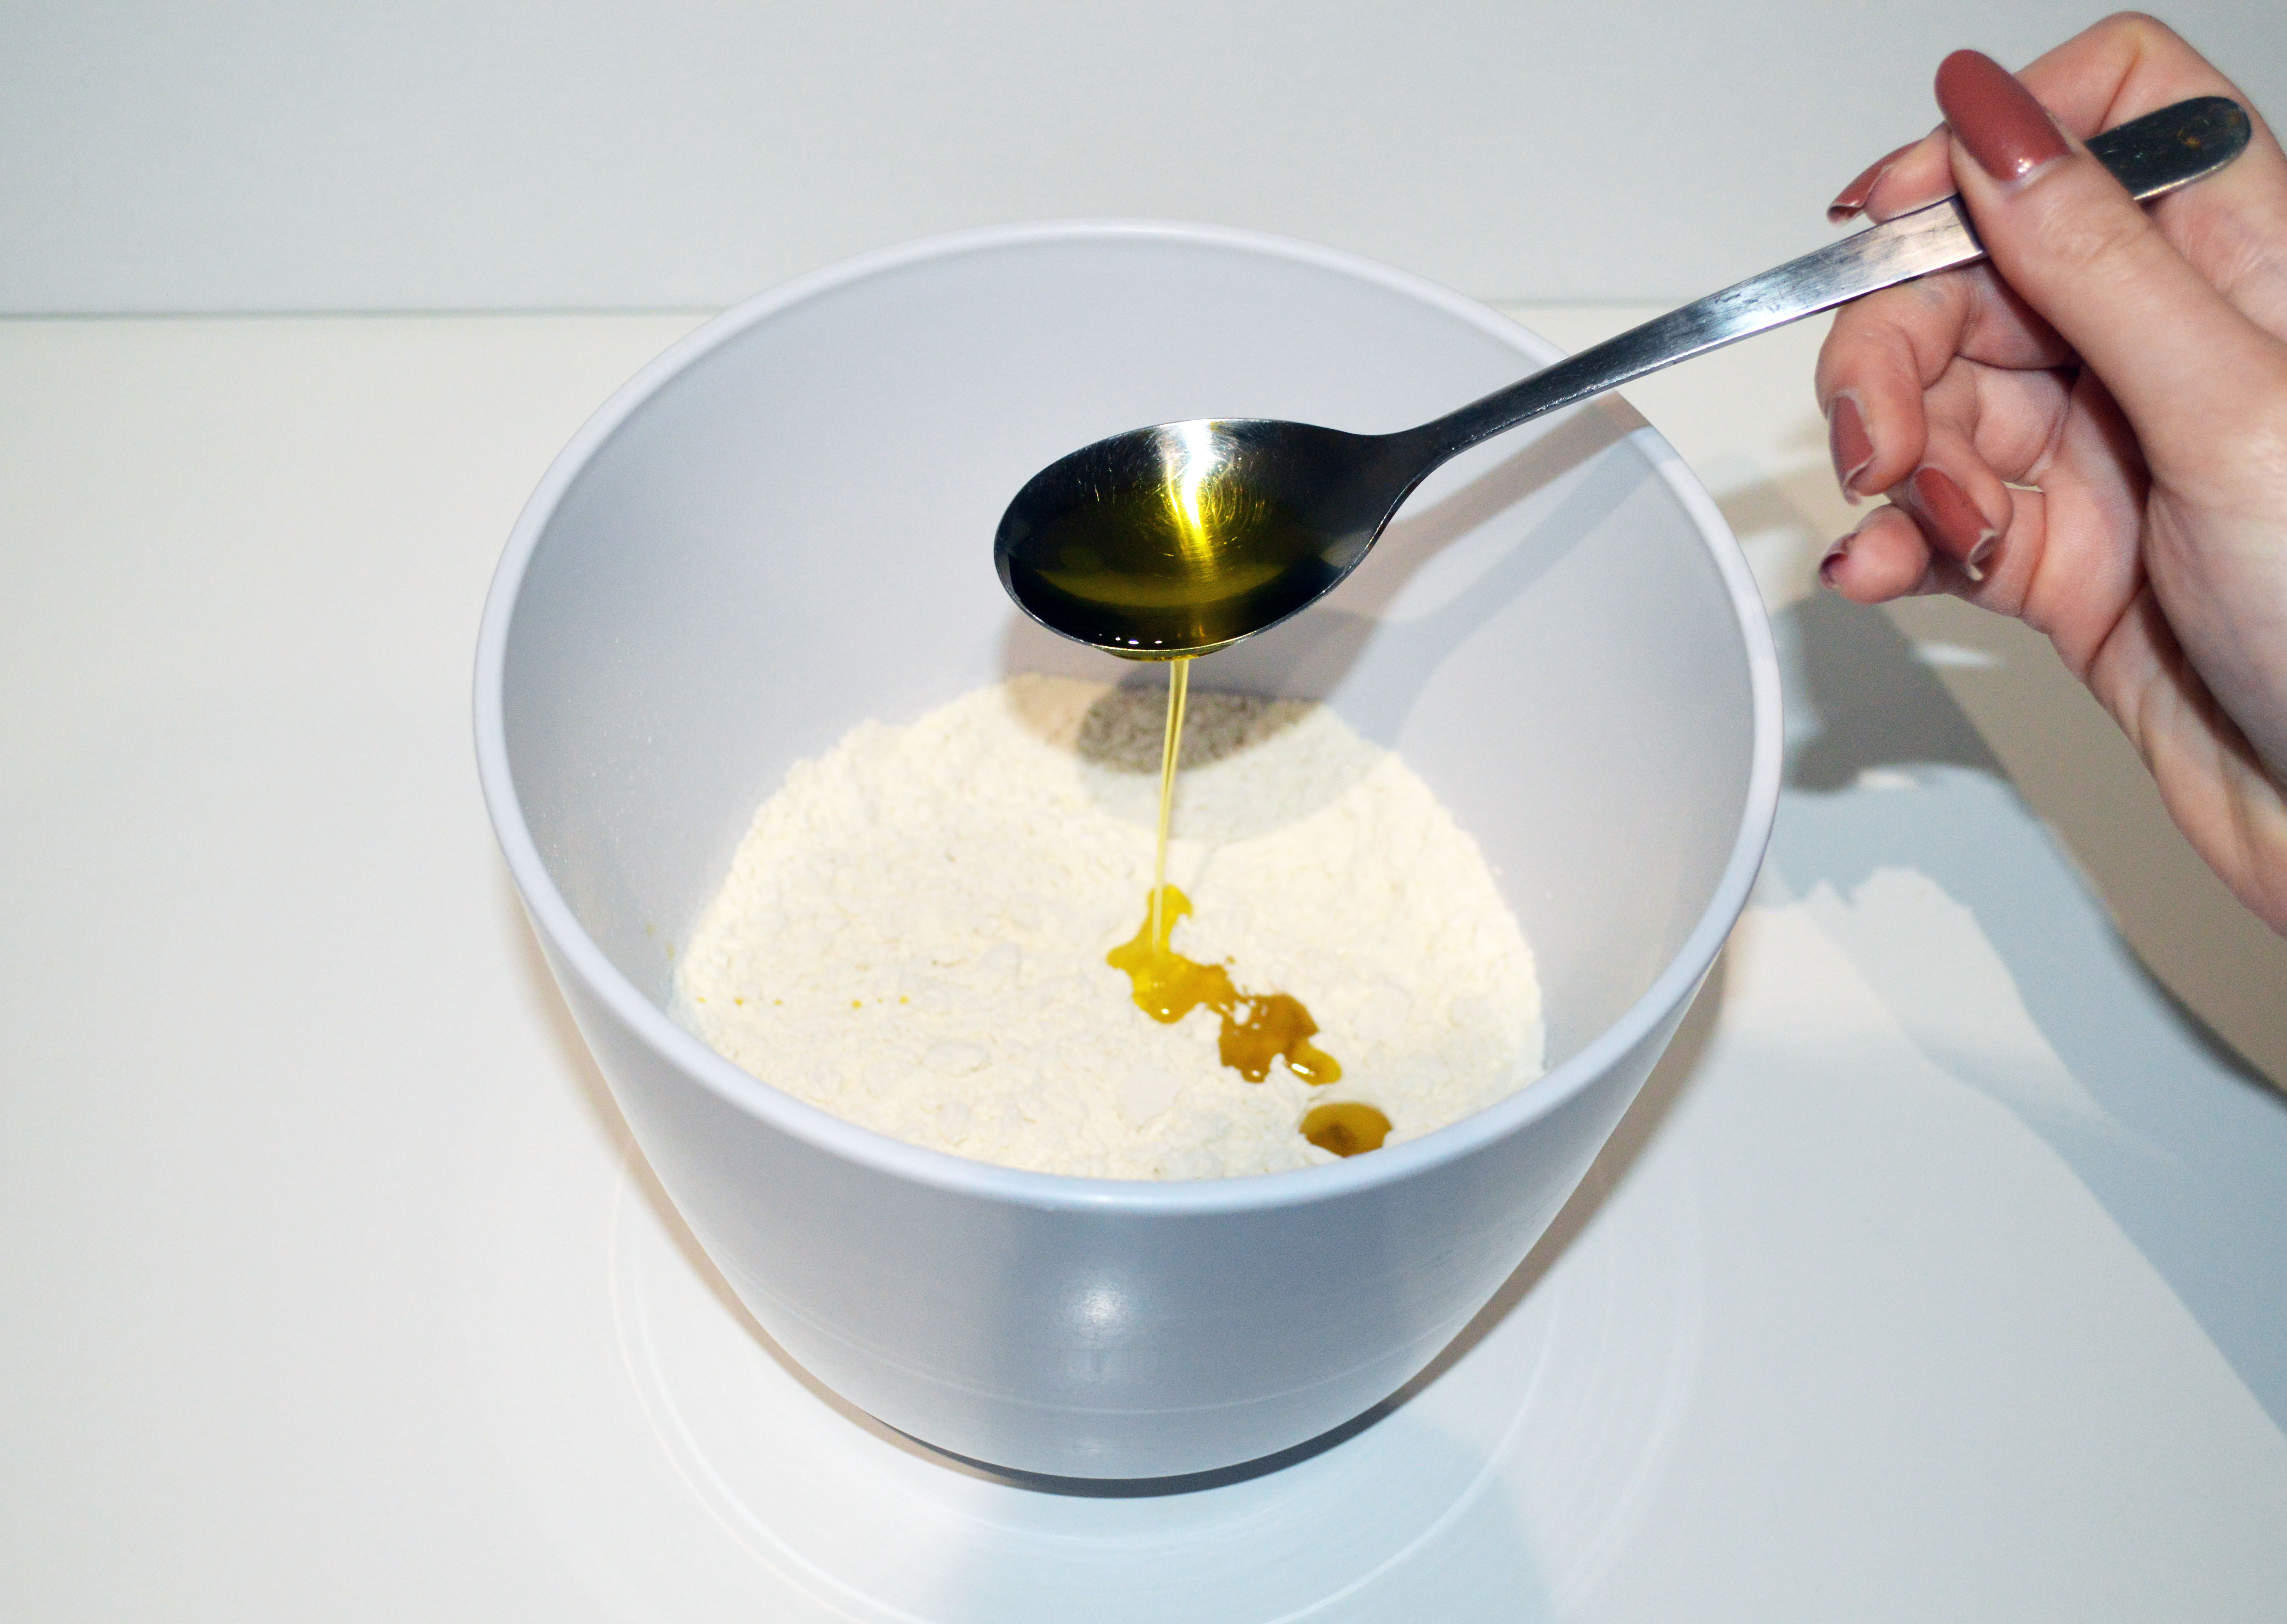
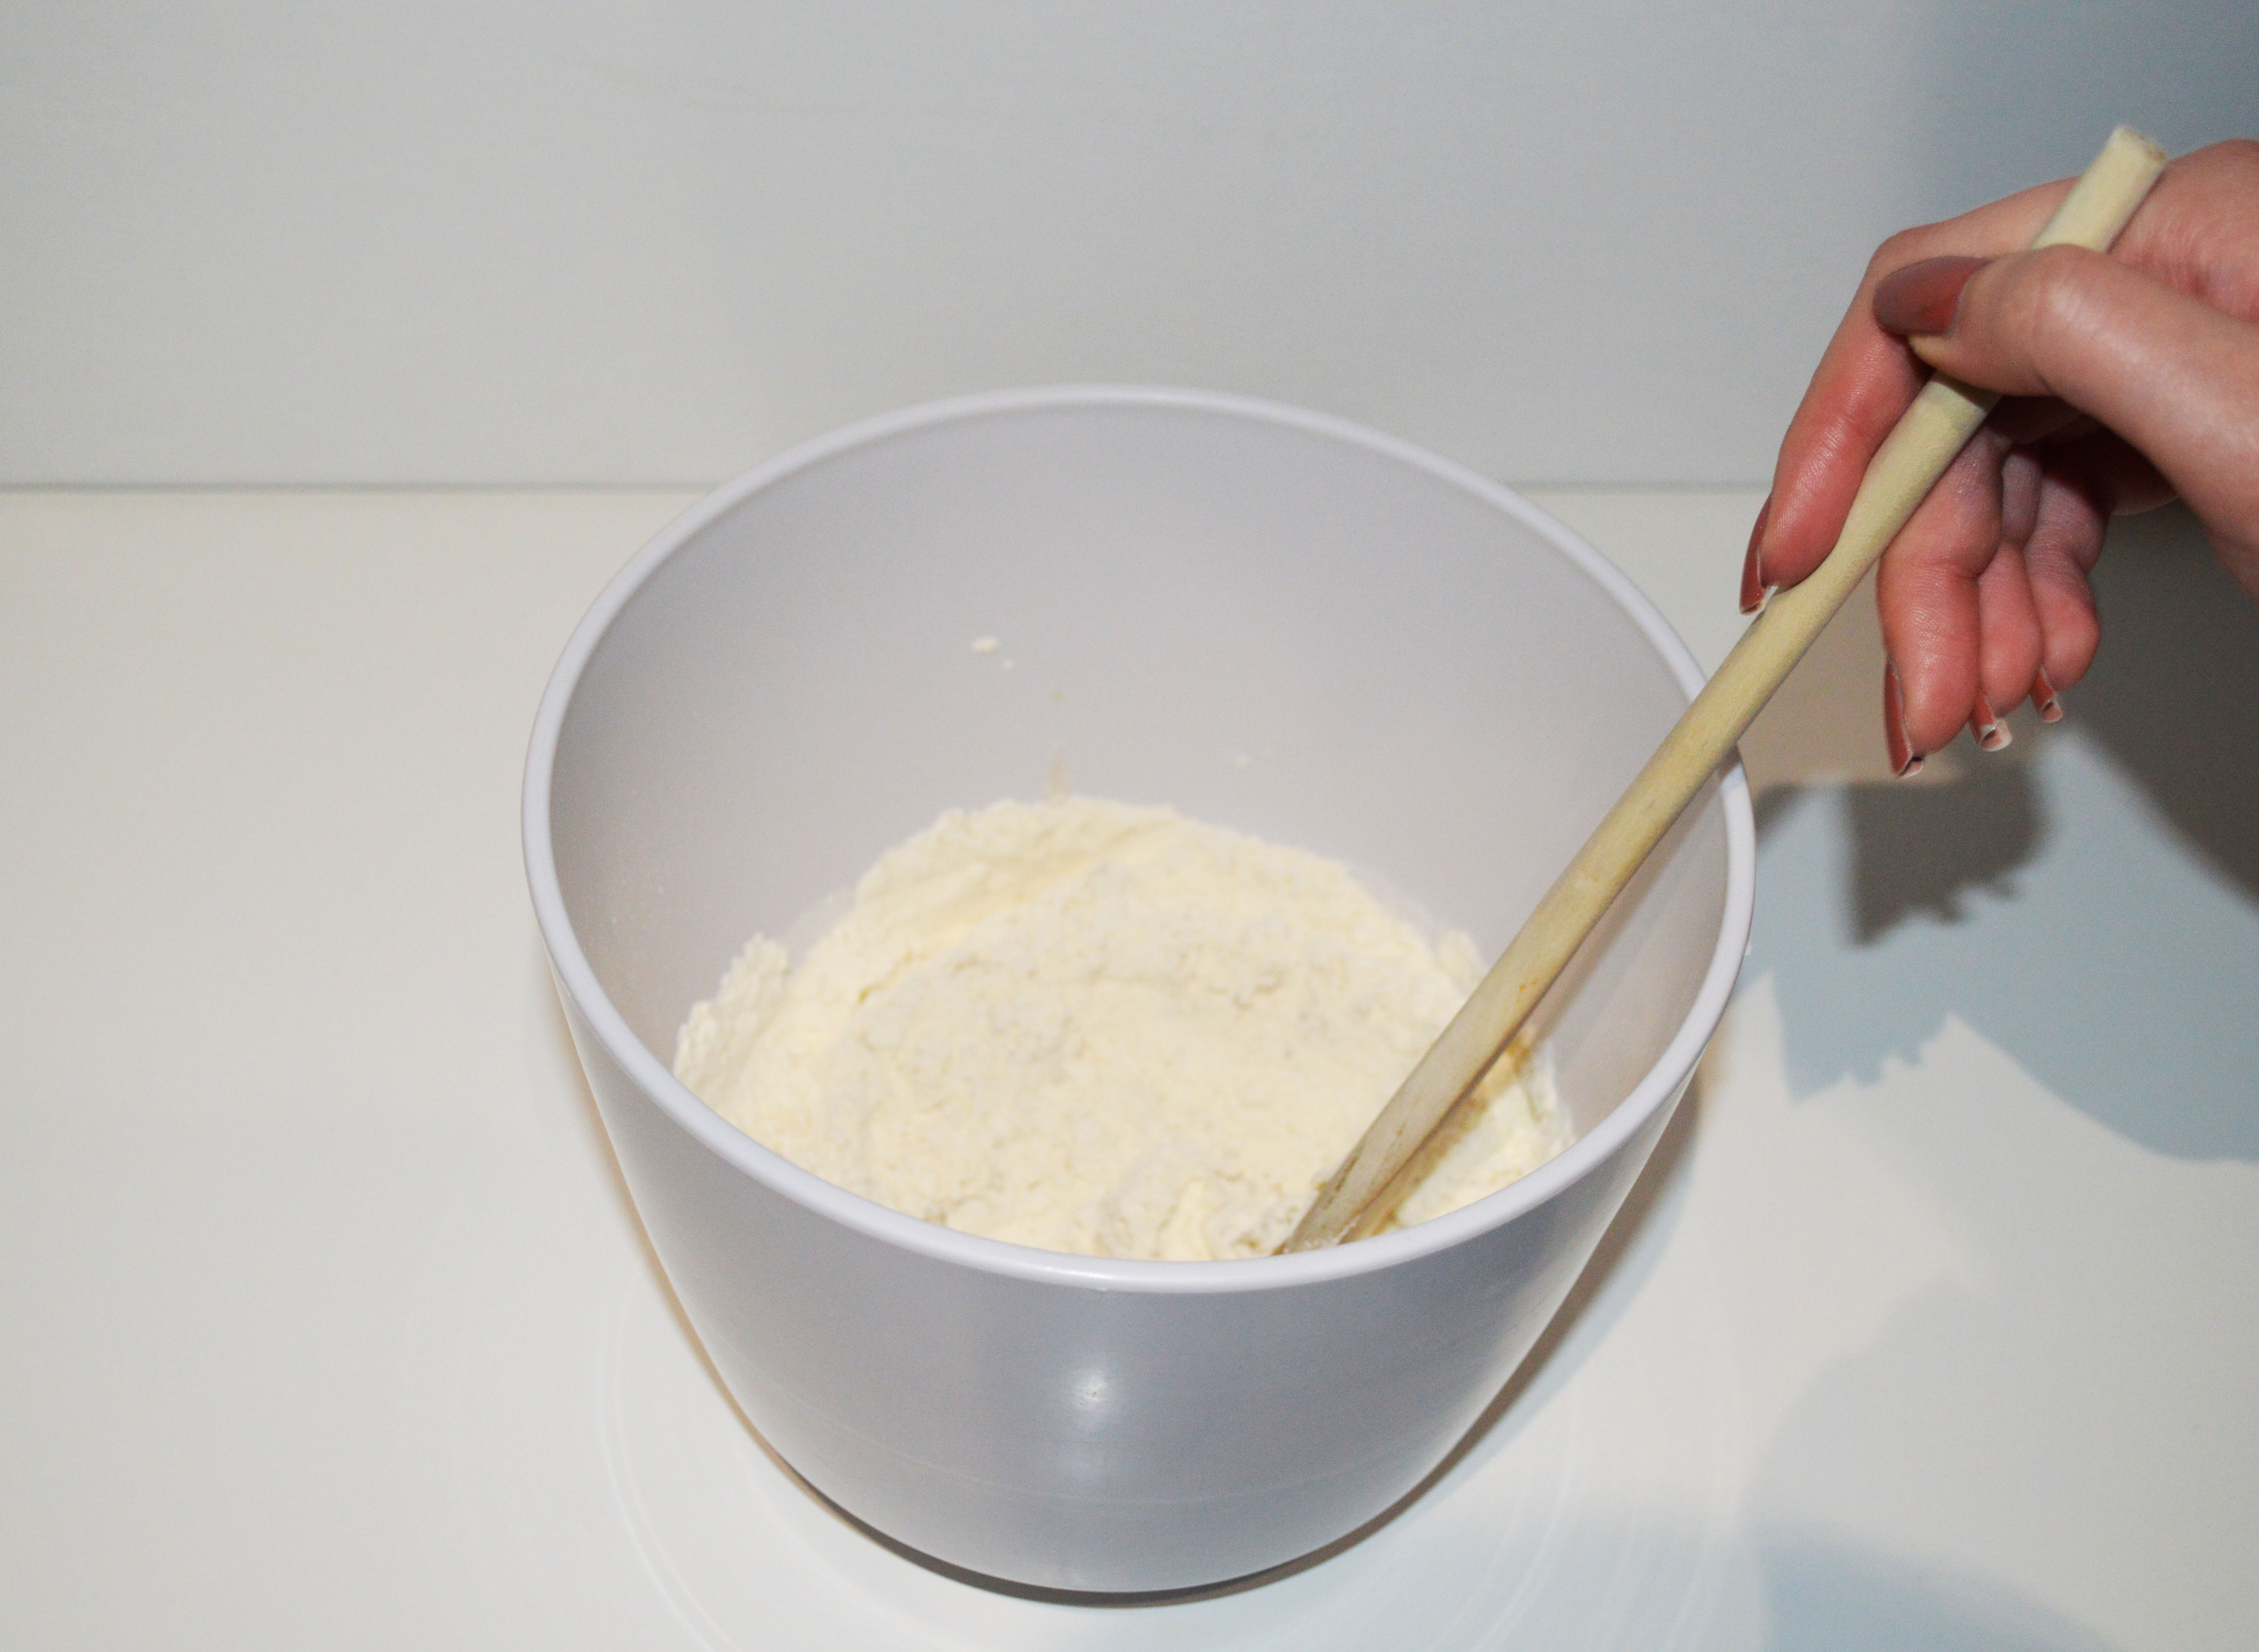
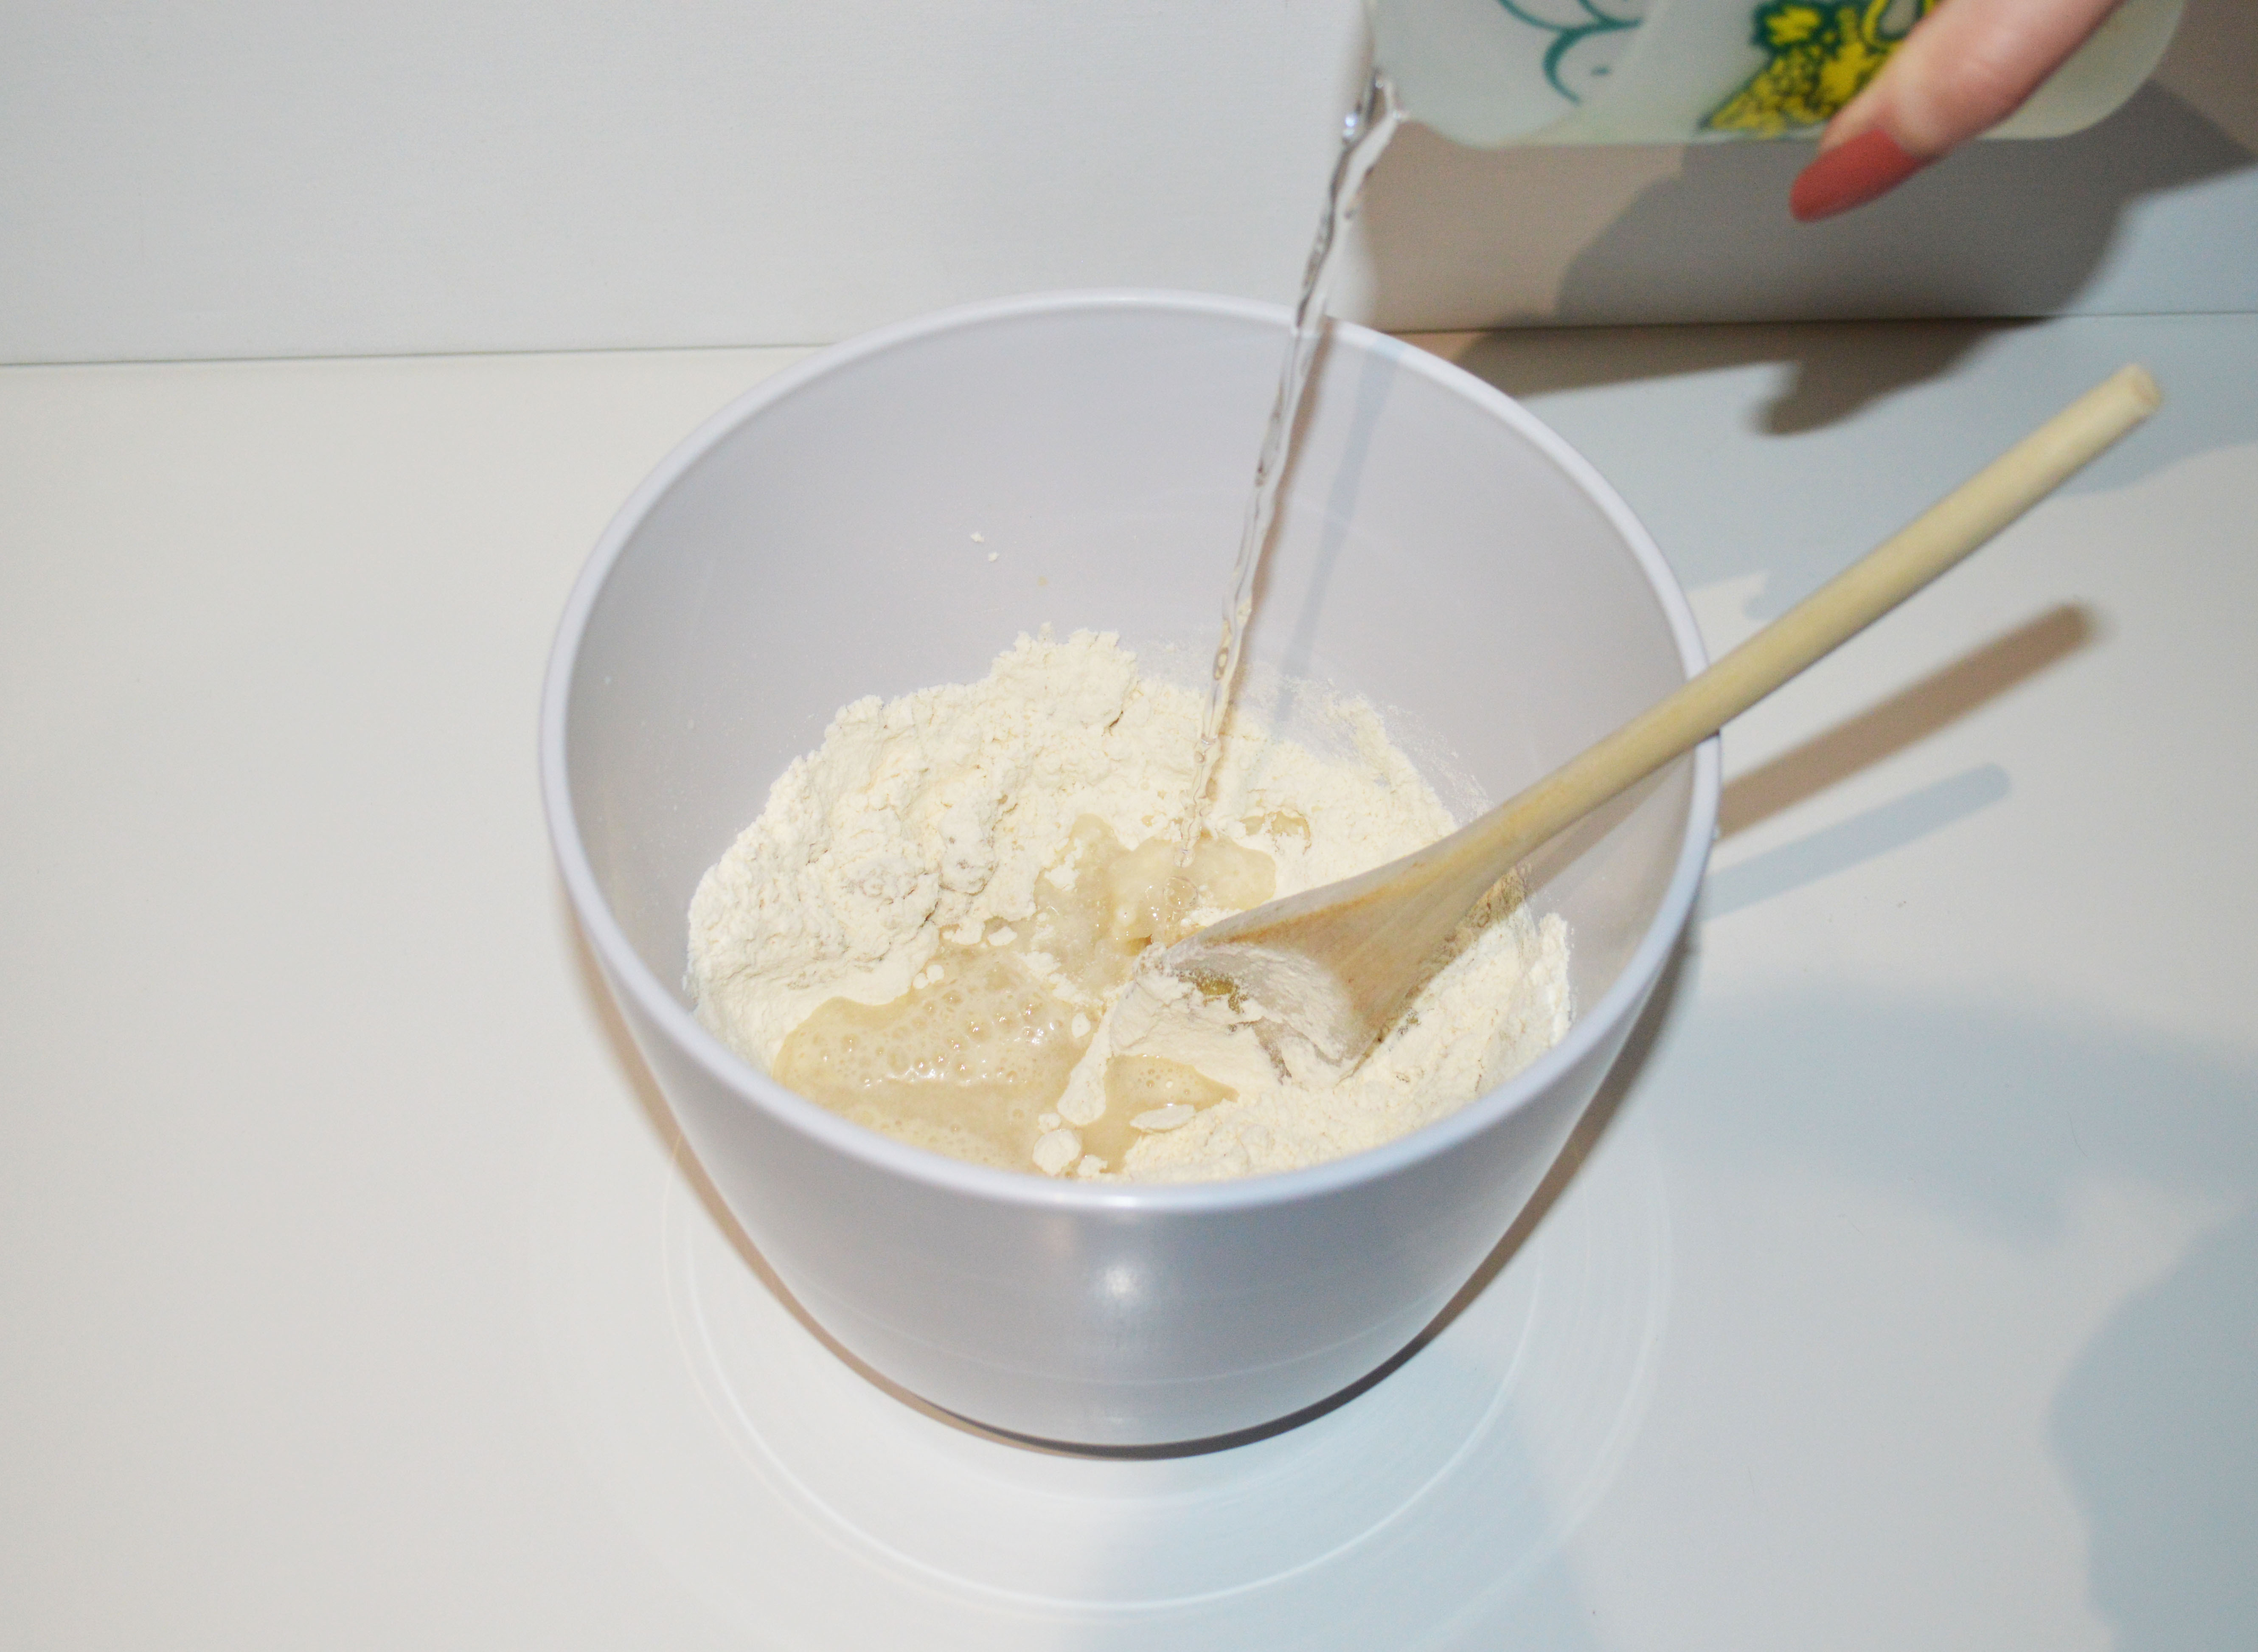
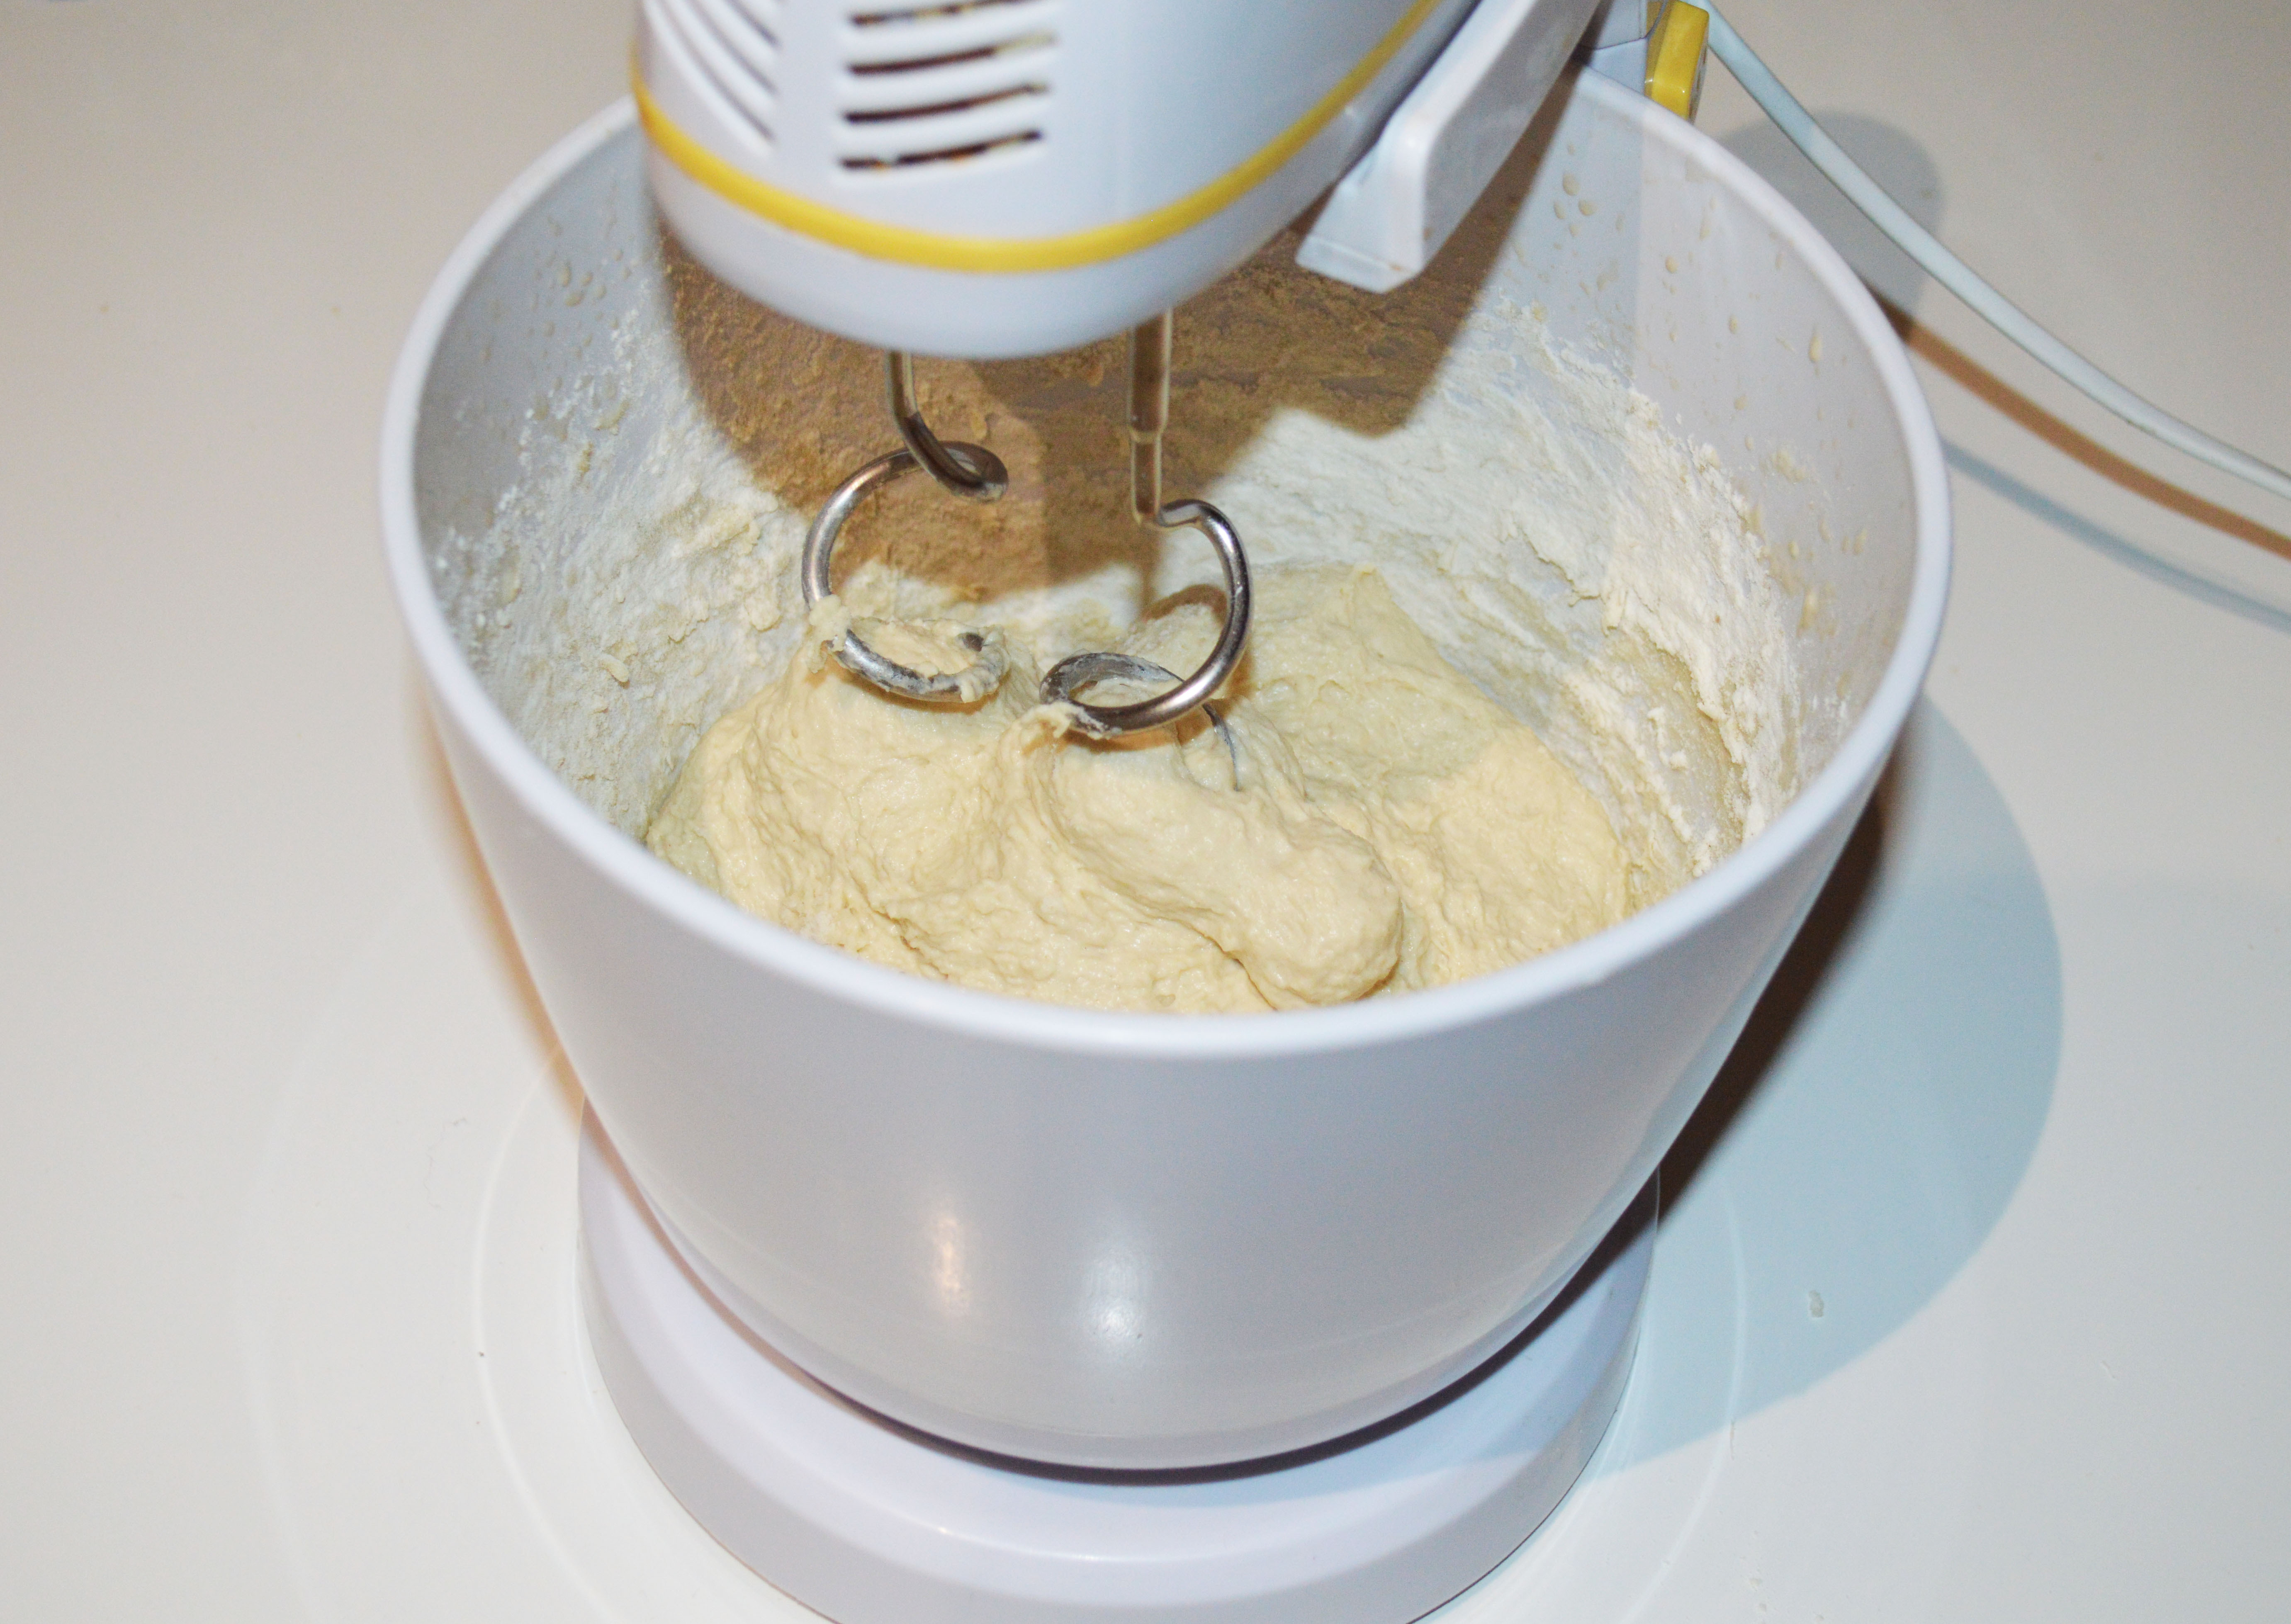
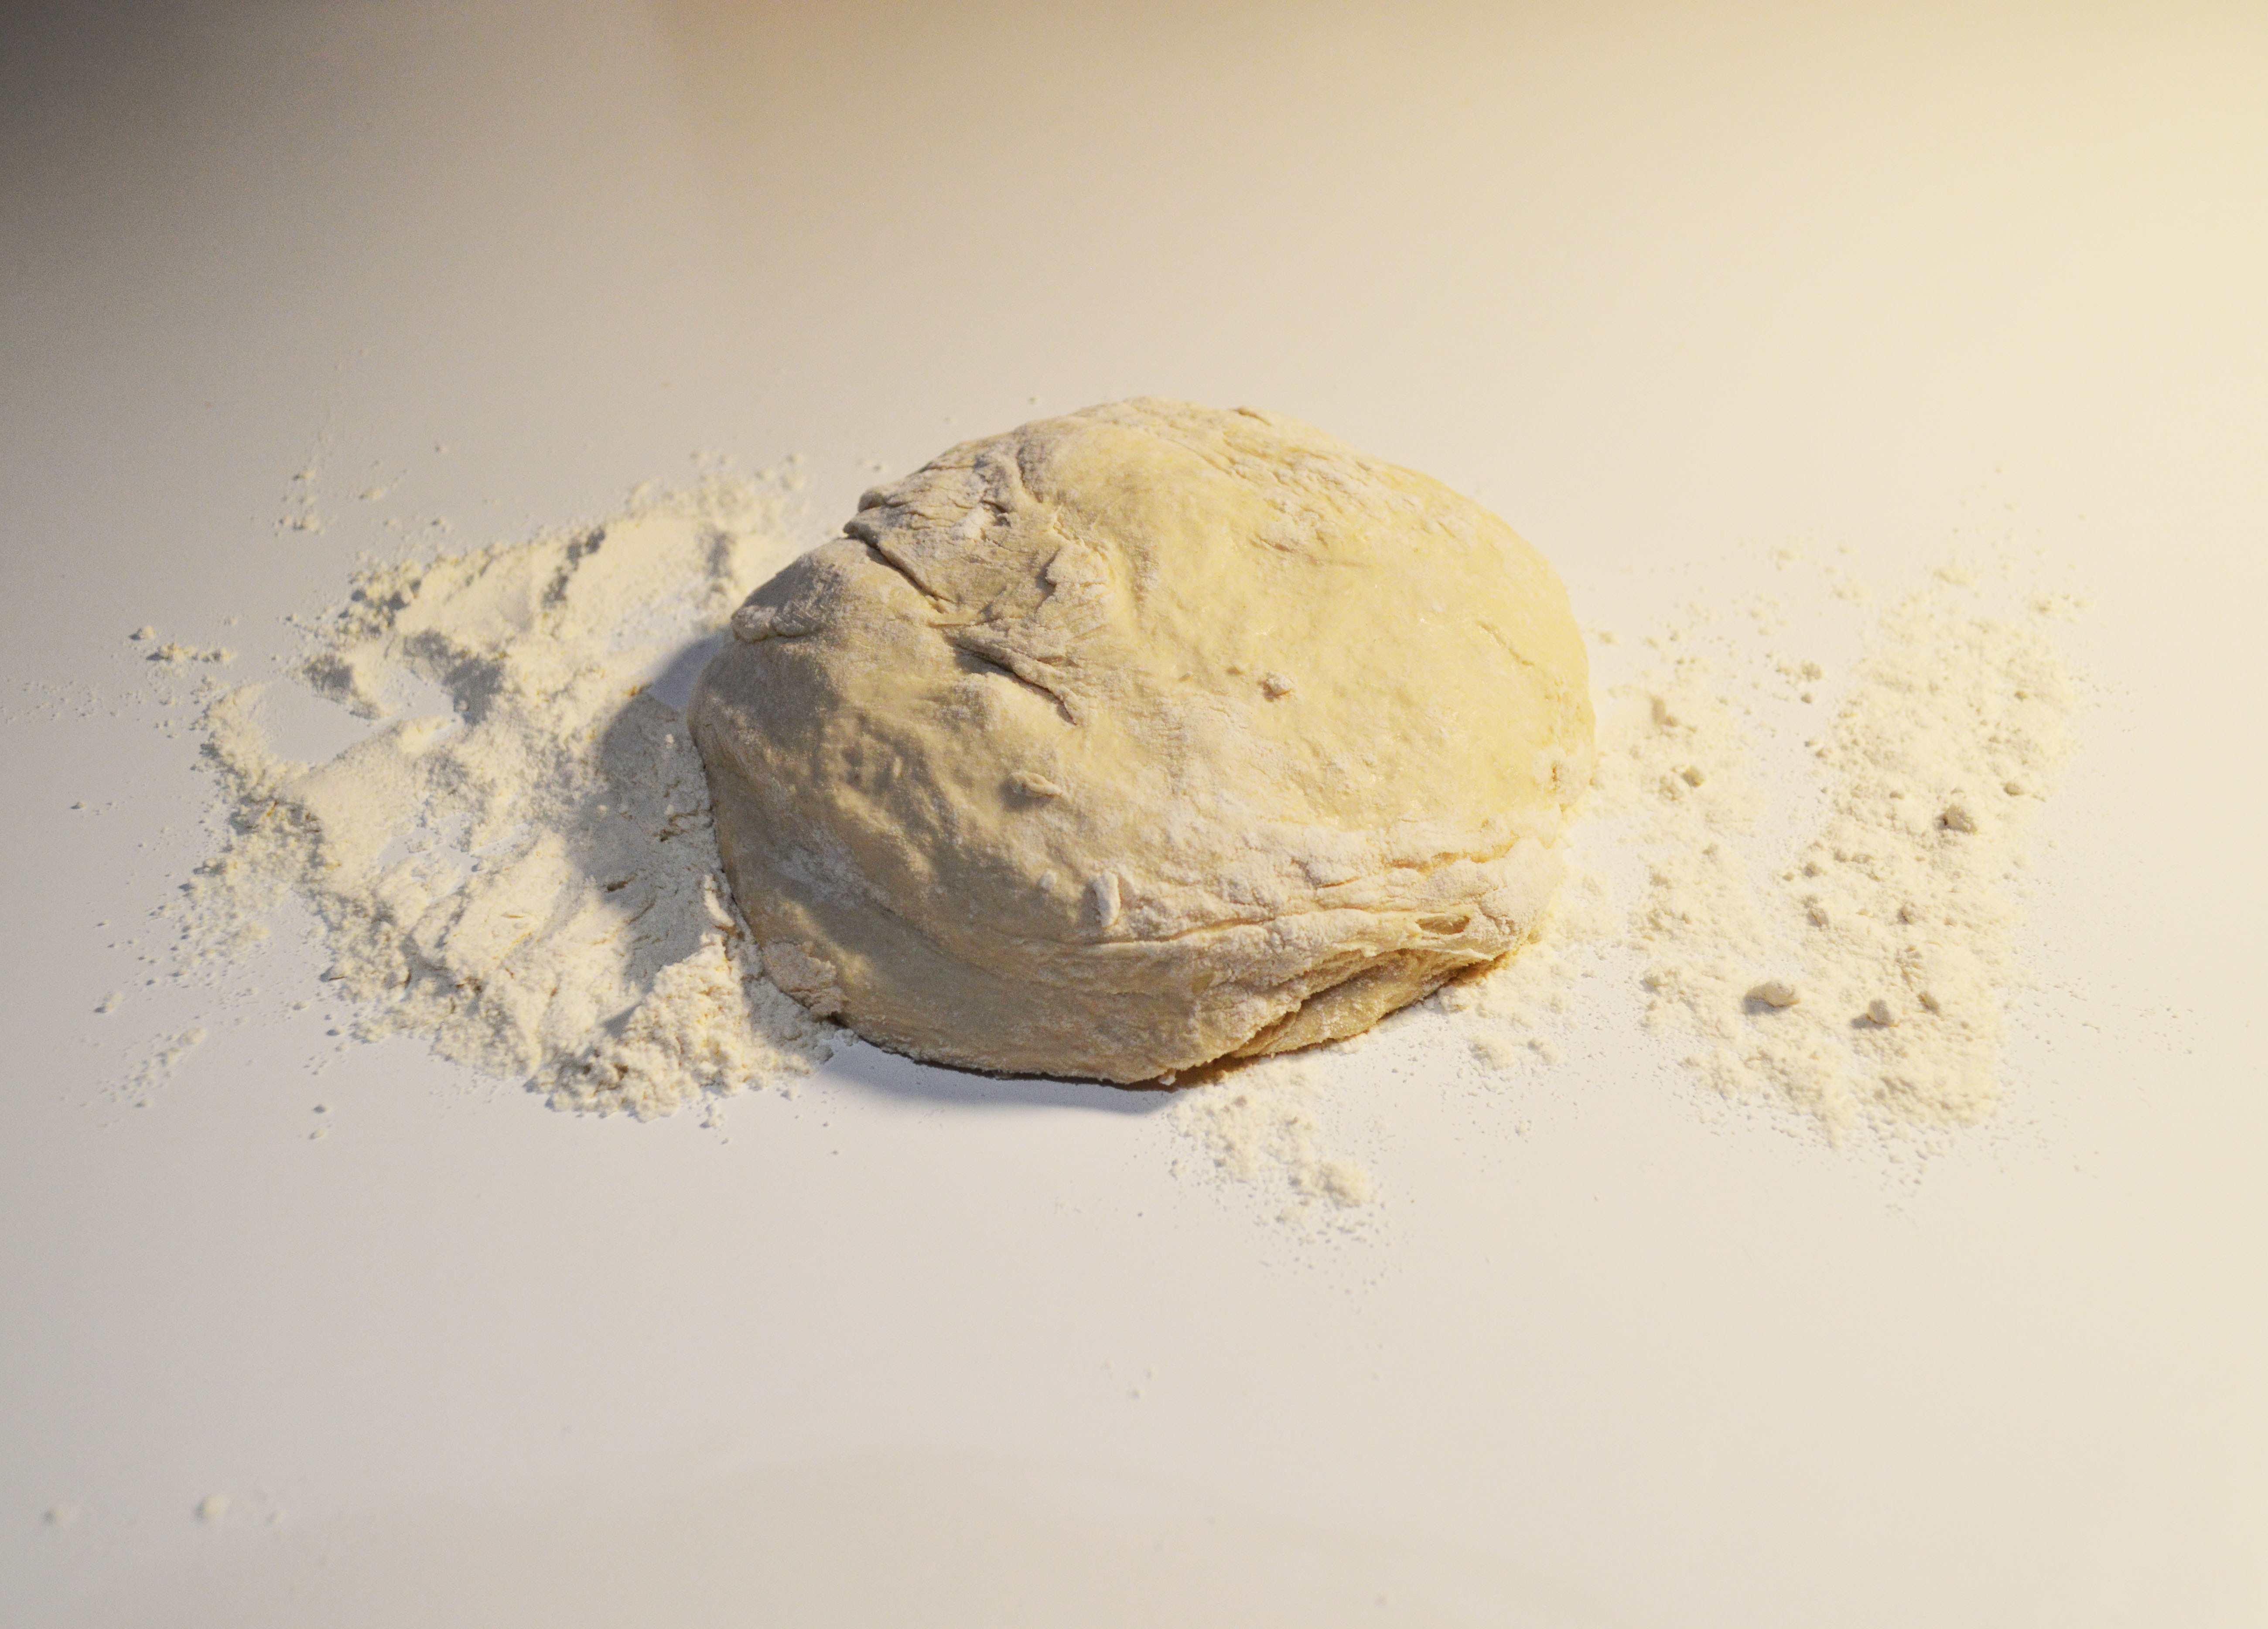
Using a wooden spoon, mix 3 tablespoons of olive oil with 2 cups of flour in a large bowl. Add a pinch of salt and a cup of warm water, stir until it forms a sticky ball. Add the yeast to the mixture and knead the dough.You can knead the dough with a stand mixer (using the dough hook attachment). Add a little bit of flour if the dough is too sticky.
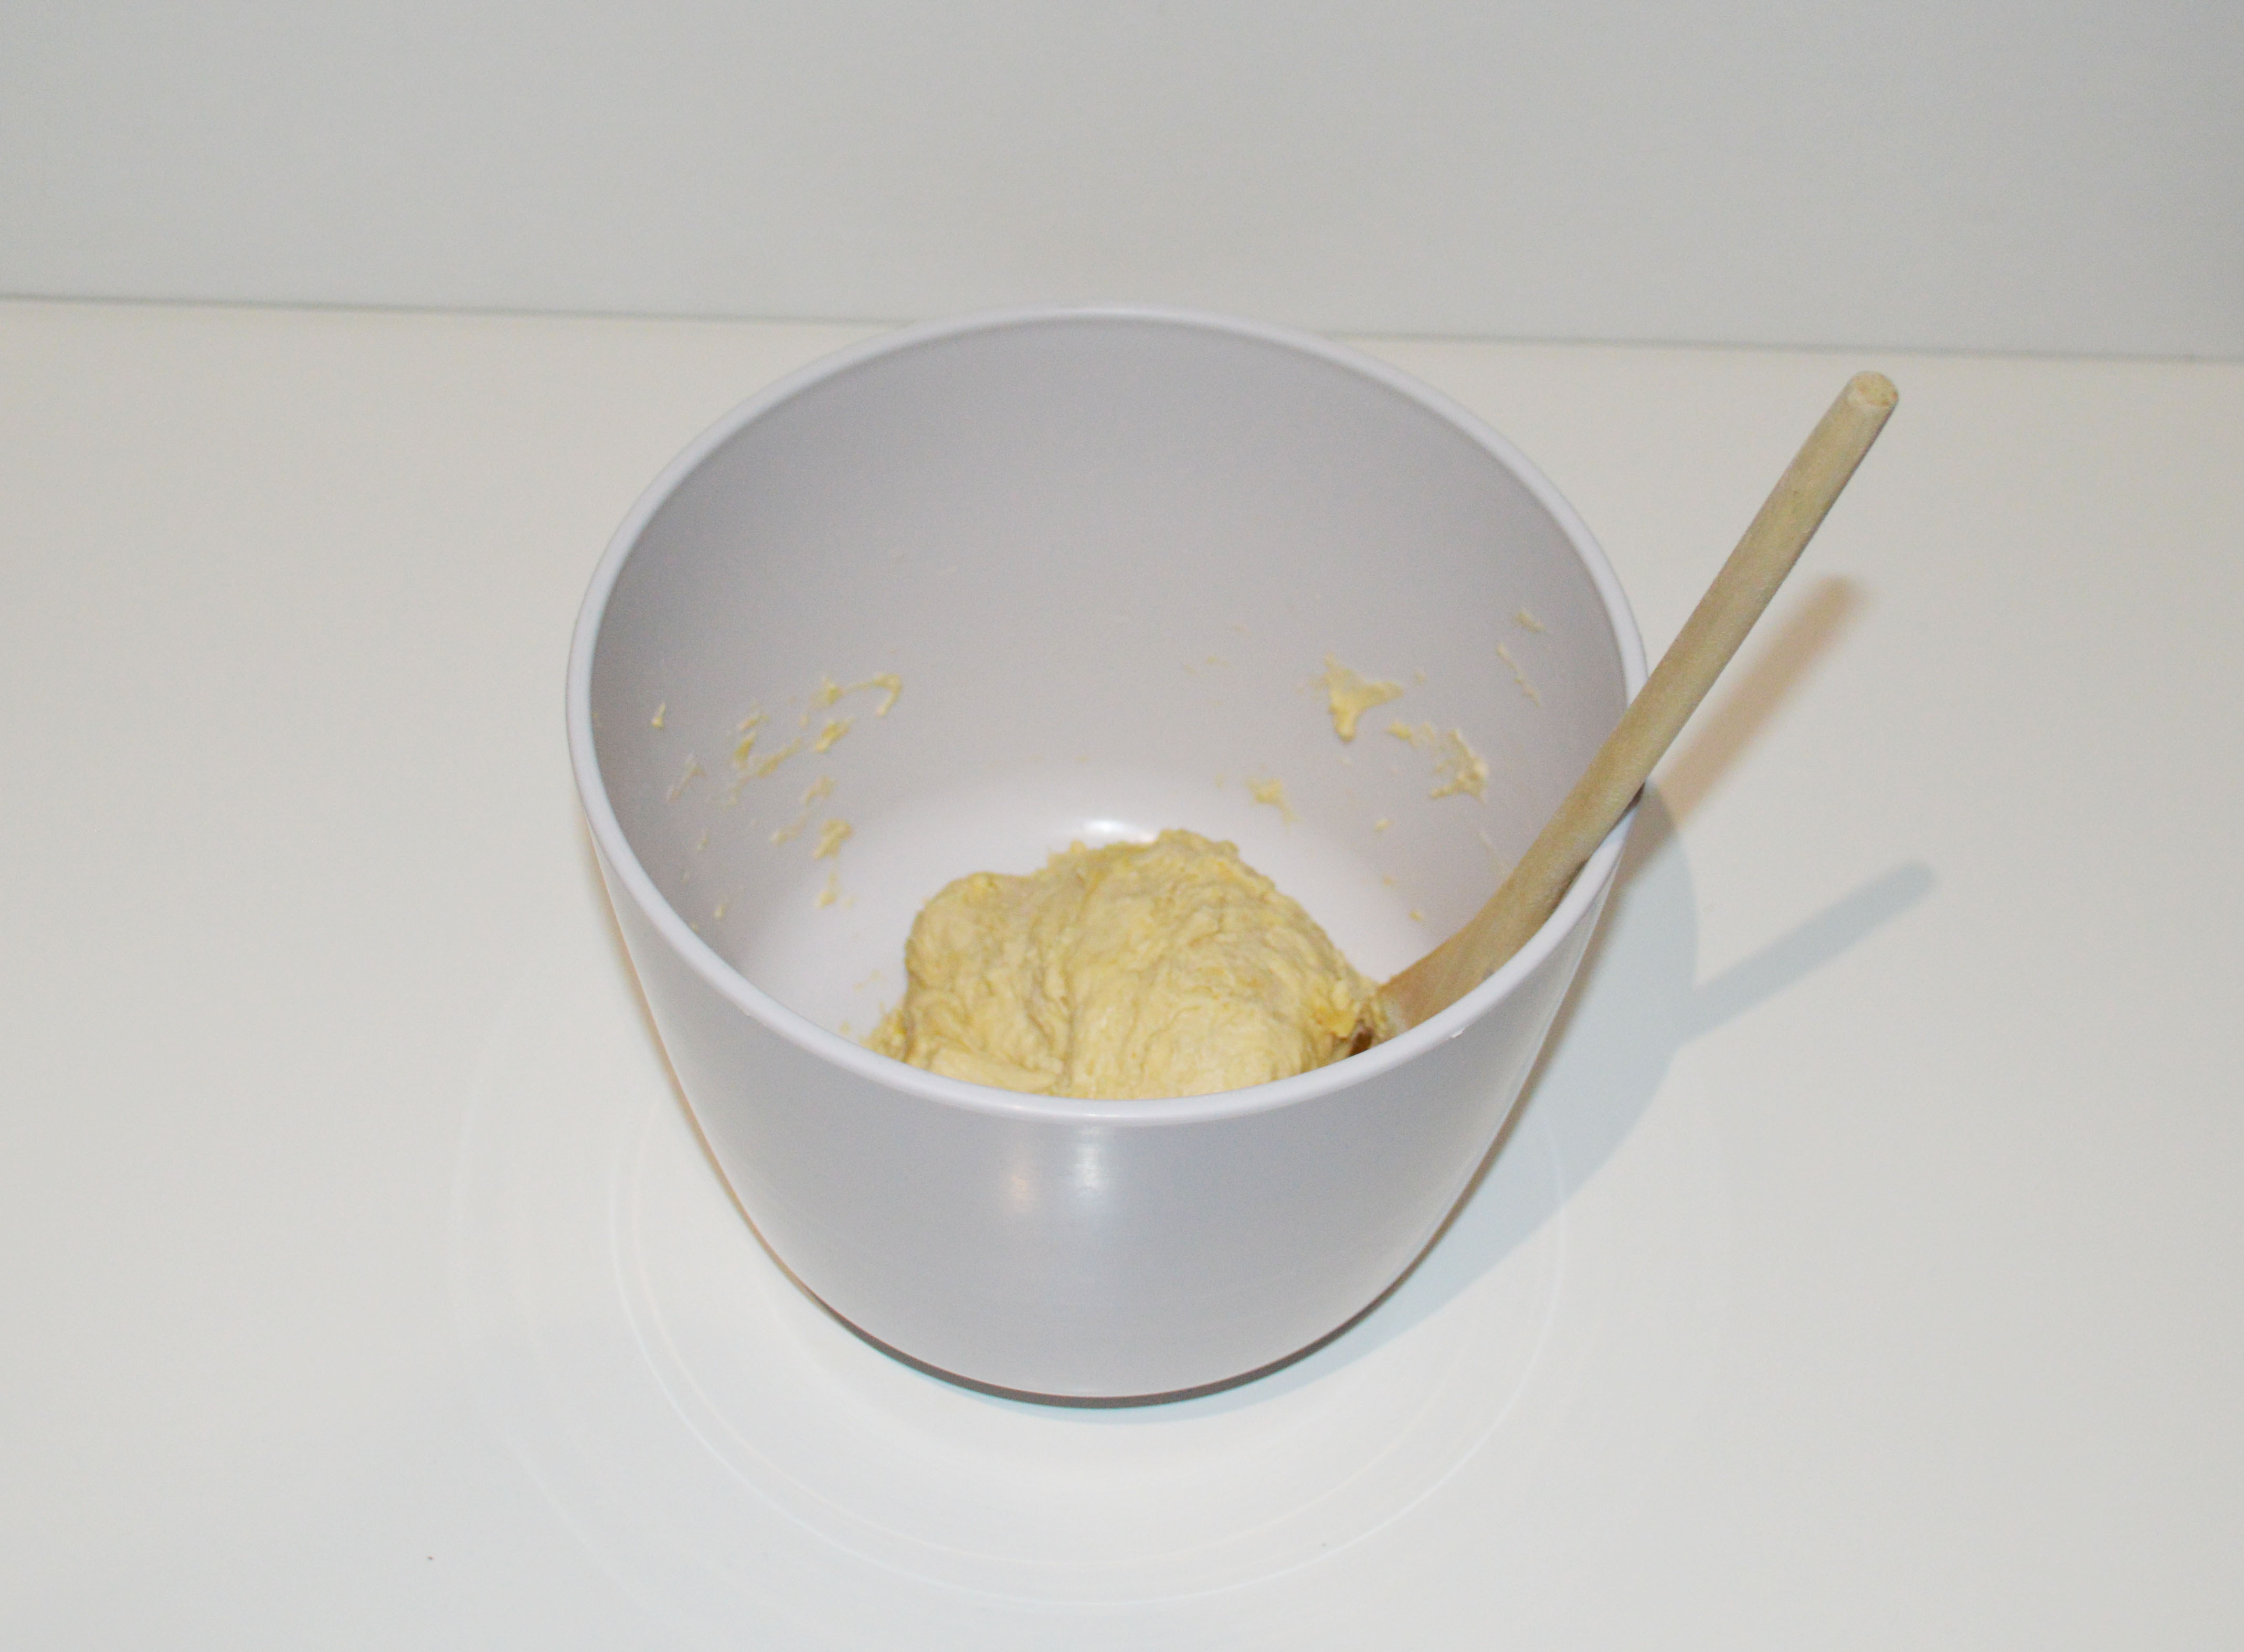
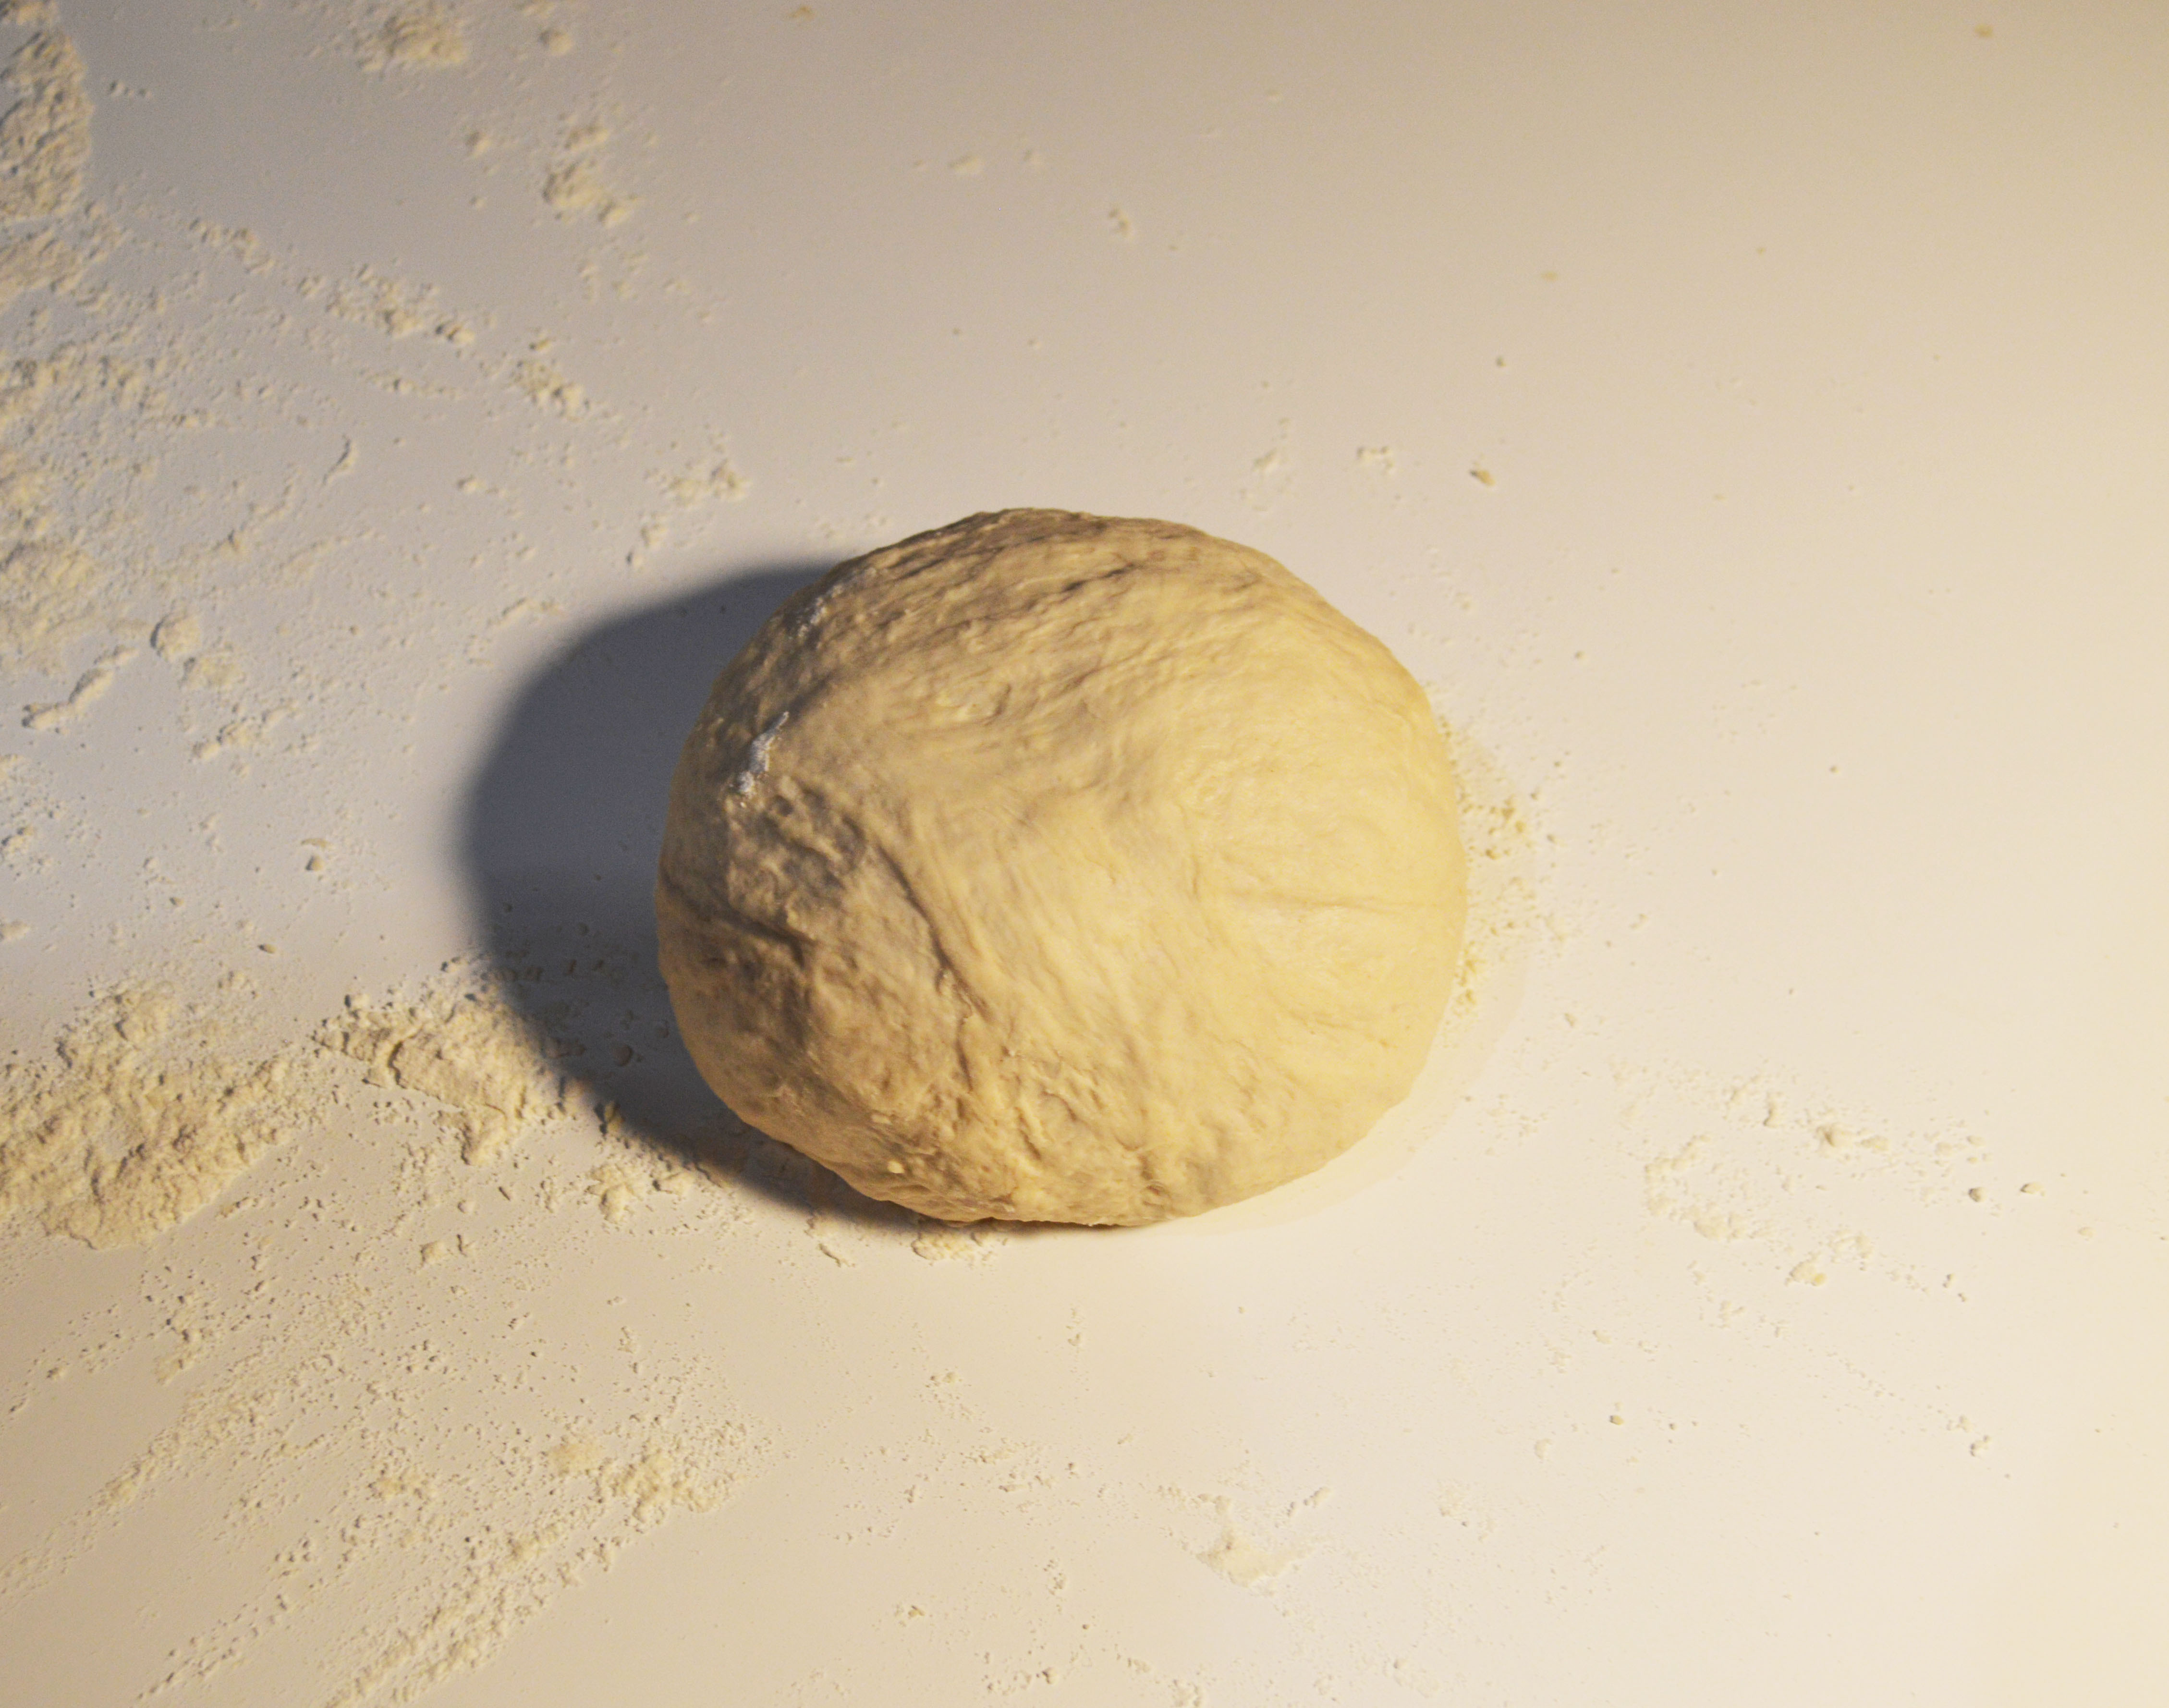
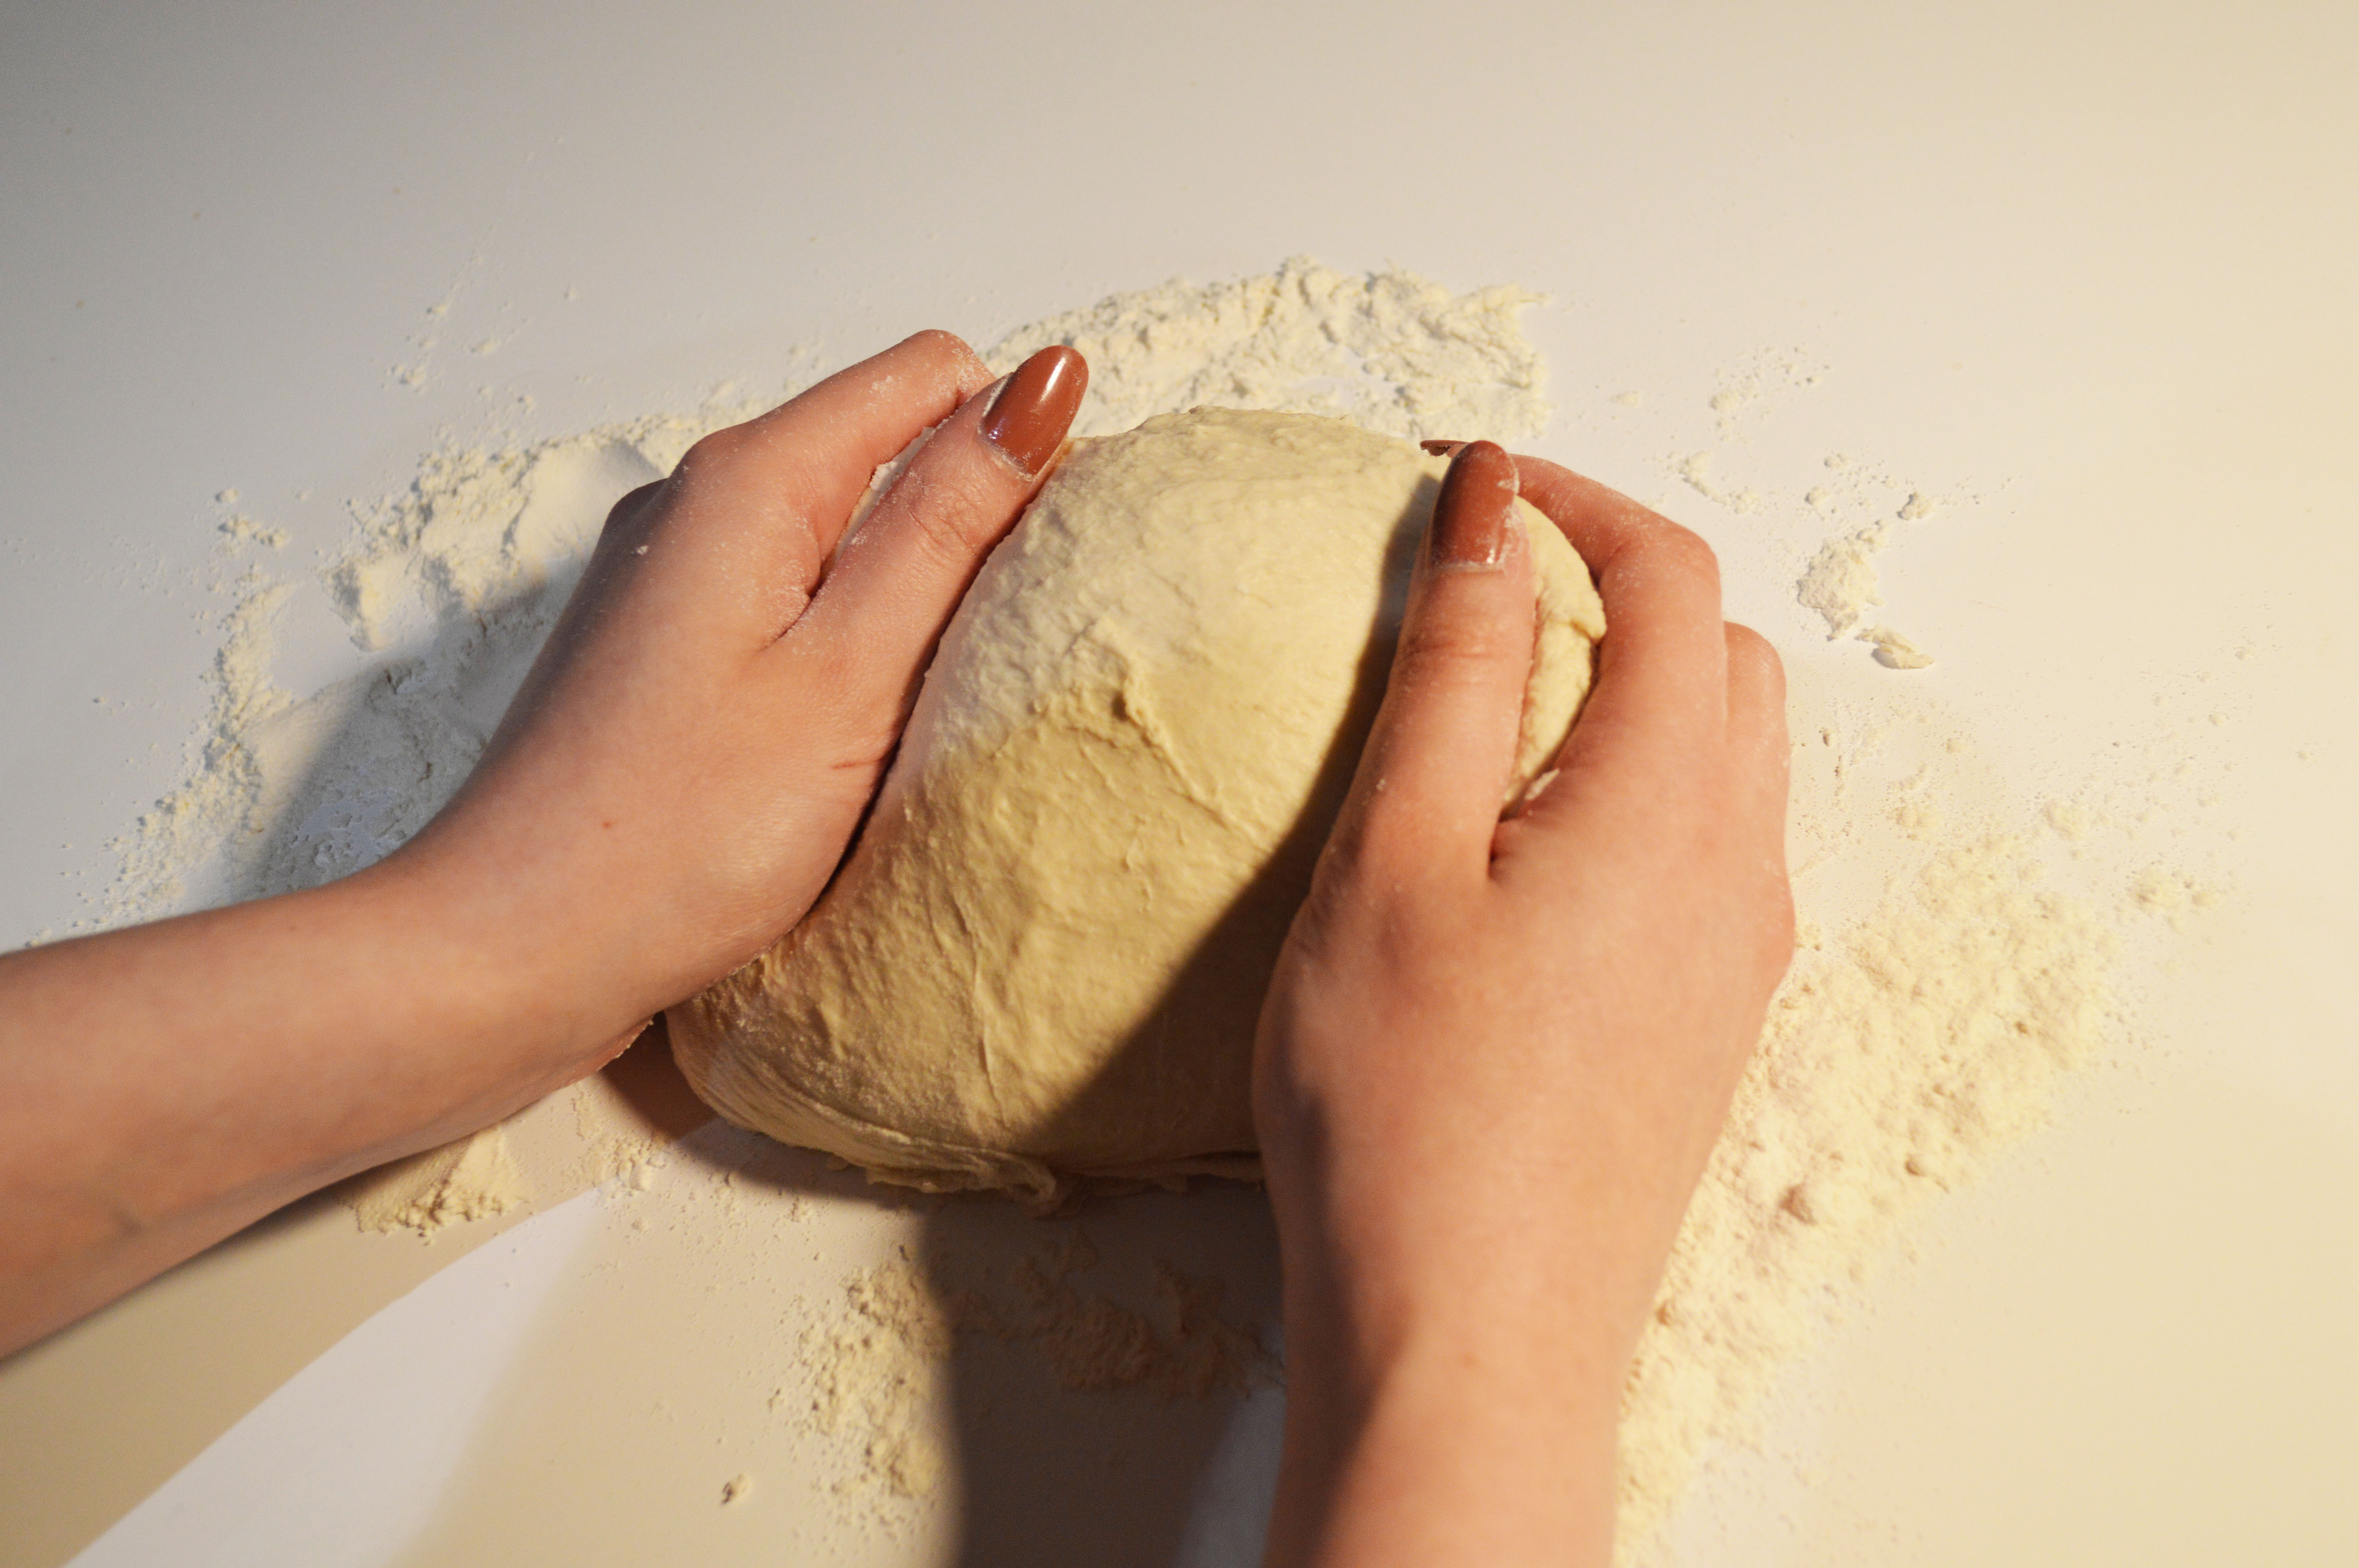
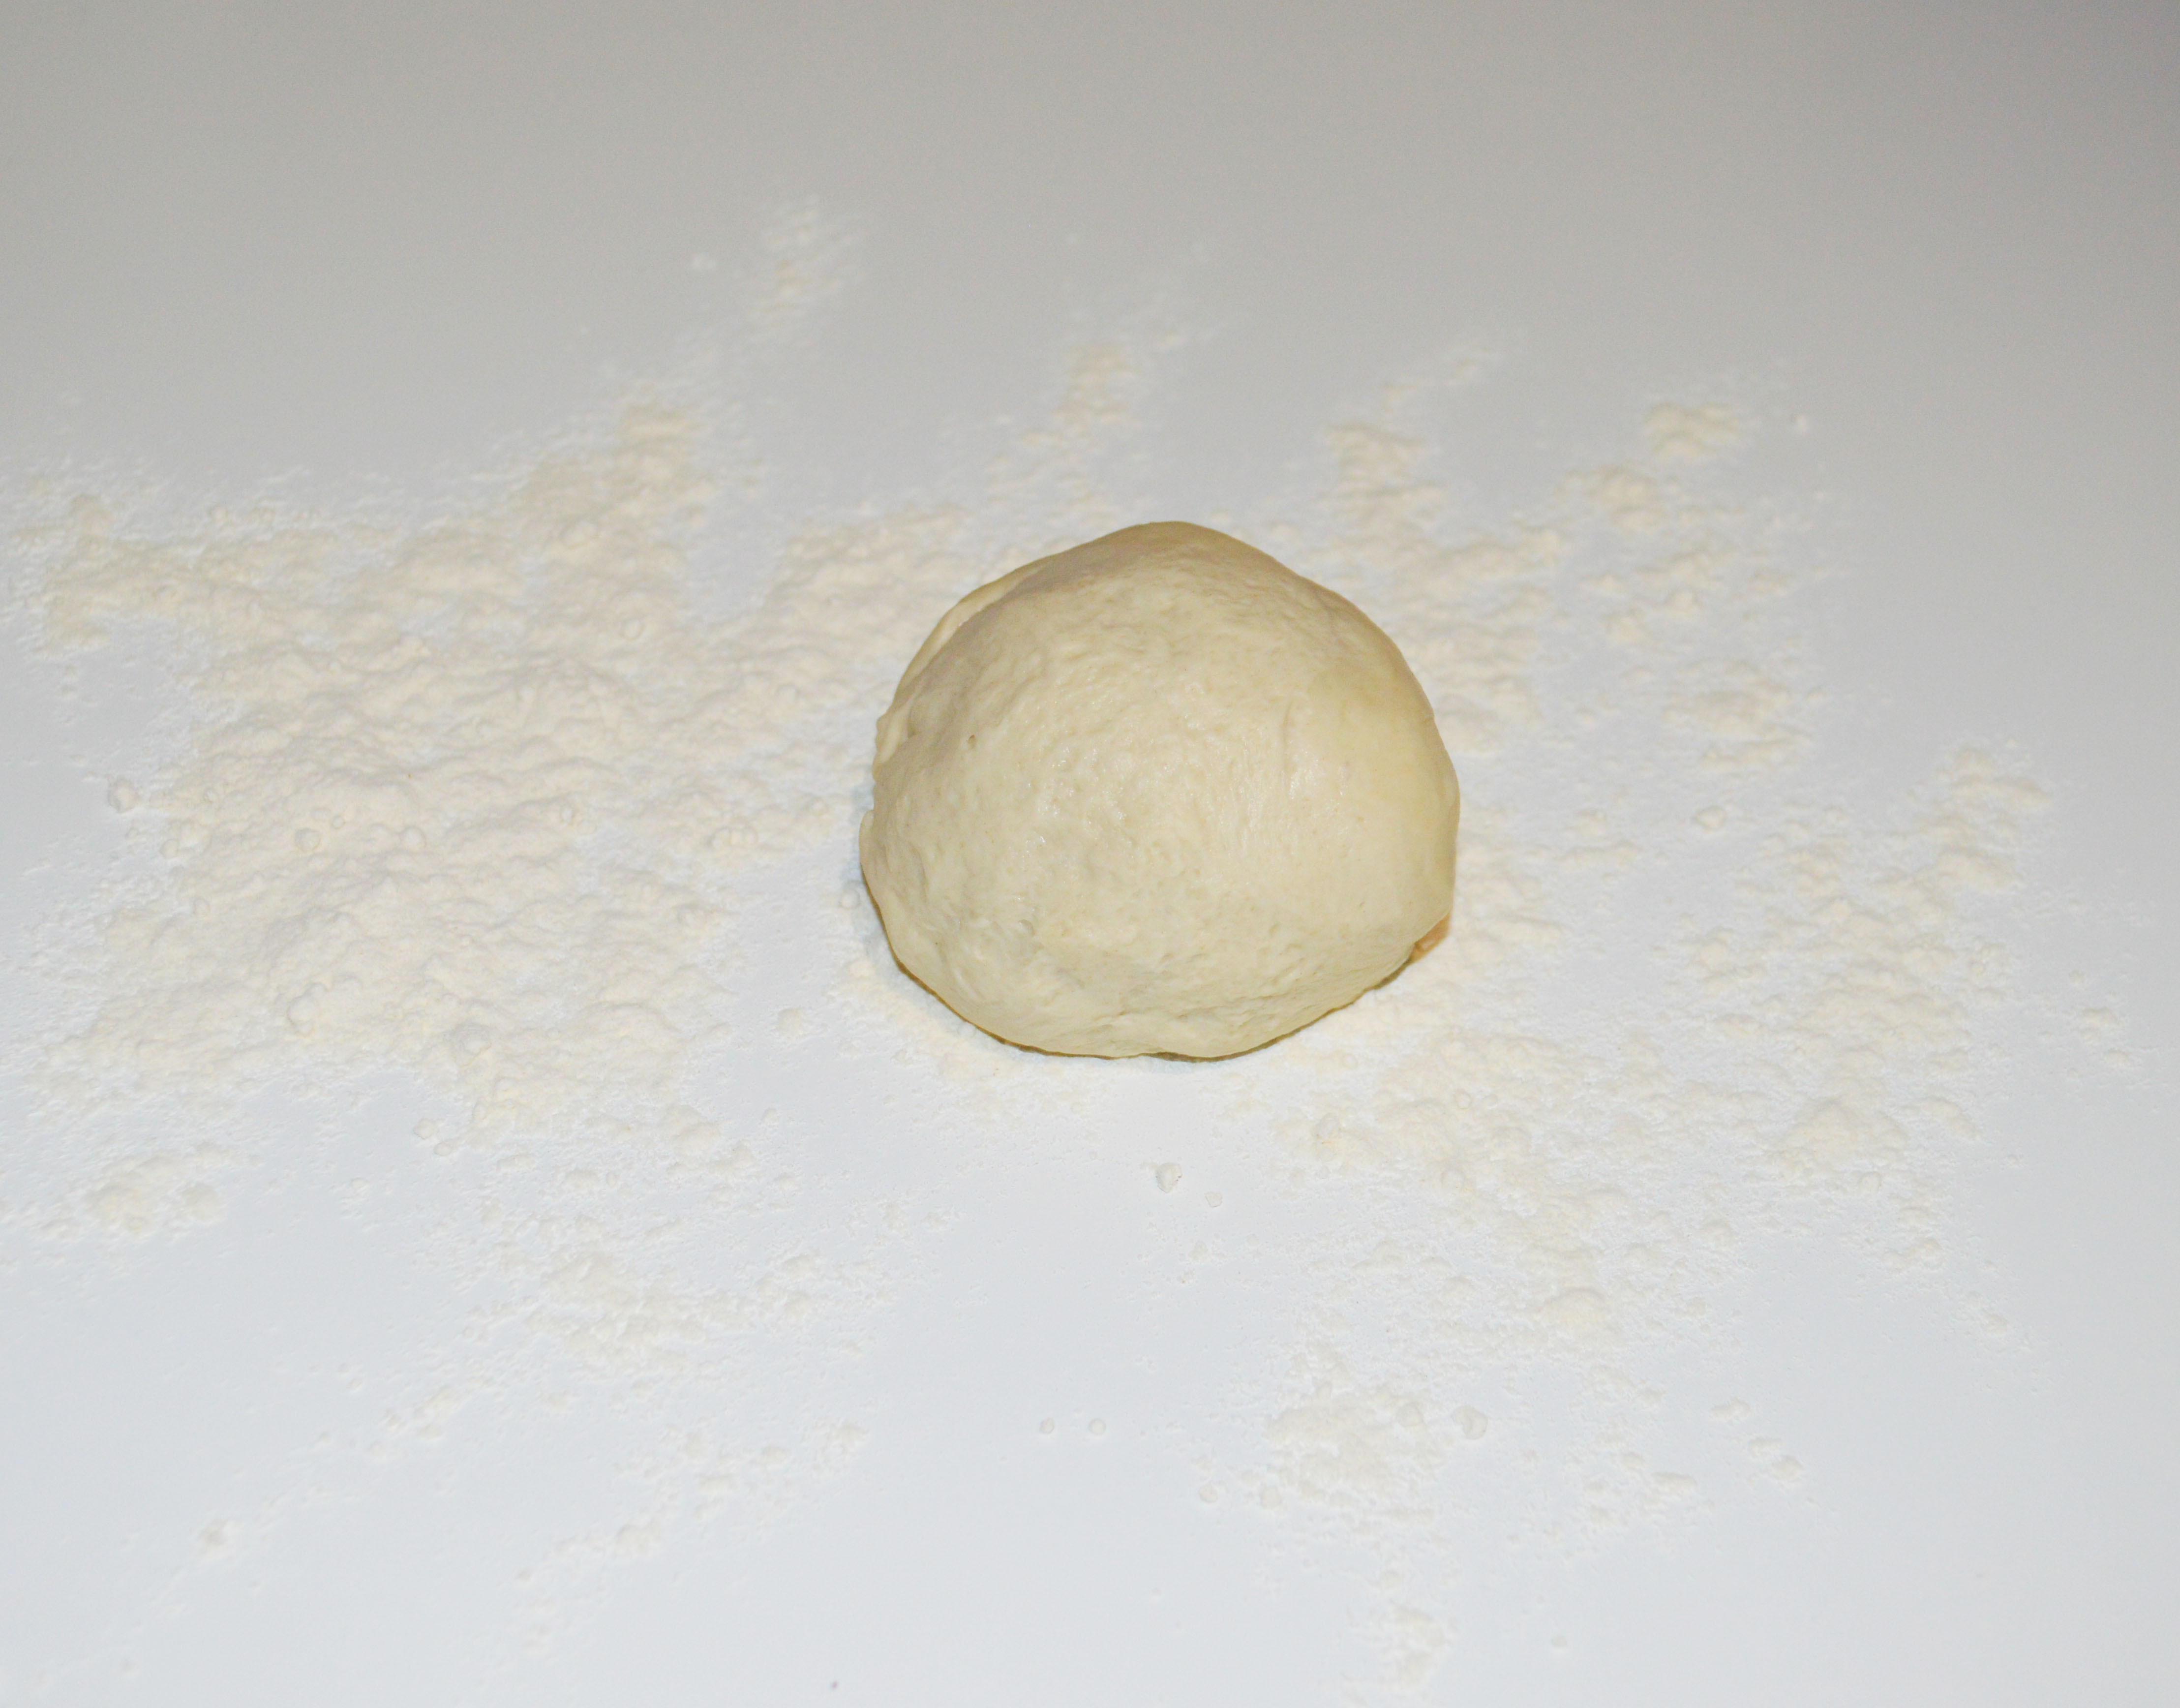
Next, form a ball of pizza dough with your hands and place it on a floured surface. Knead the dough until smooth.
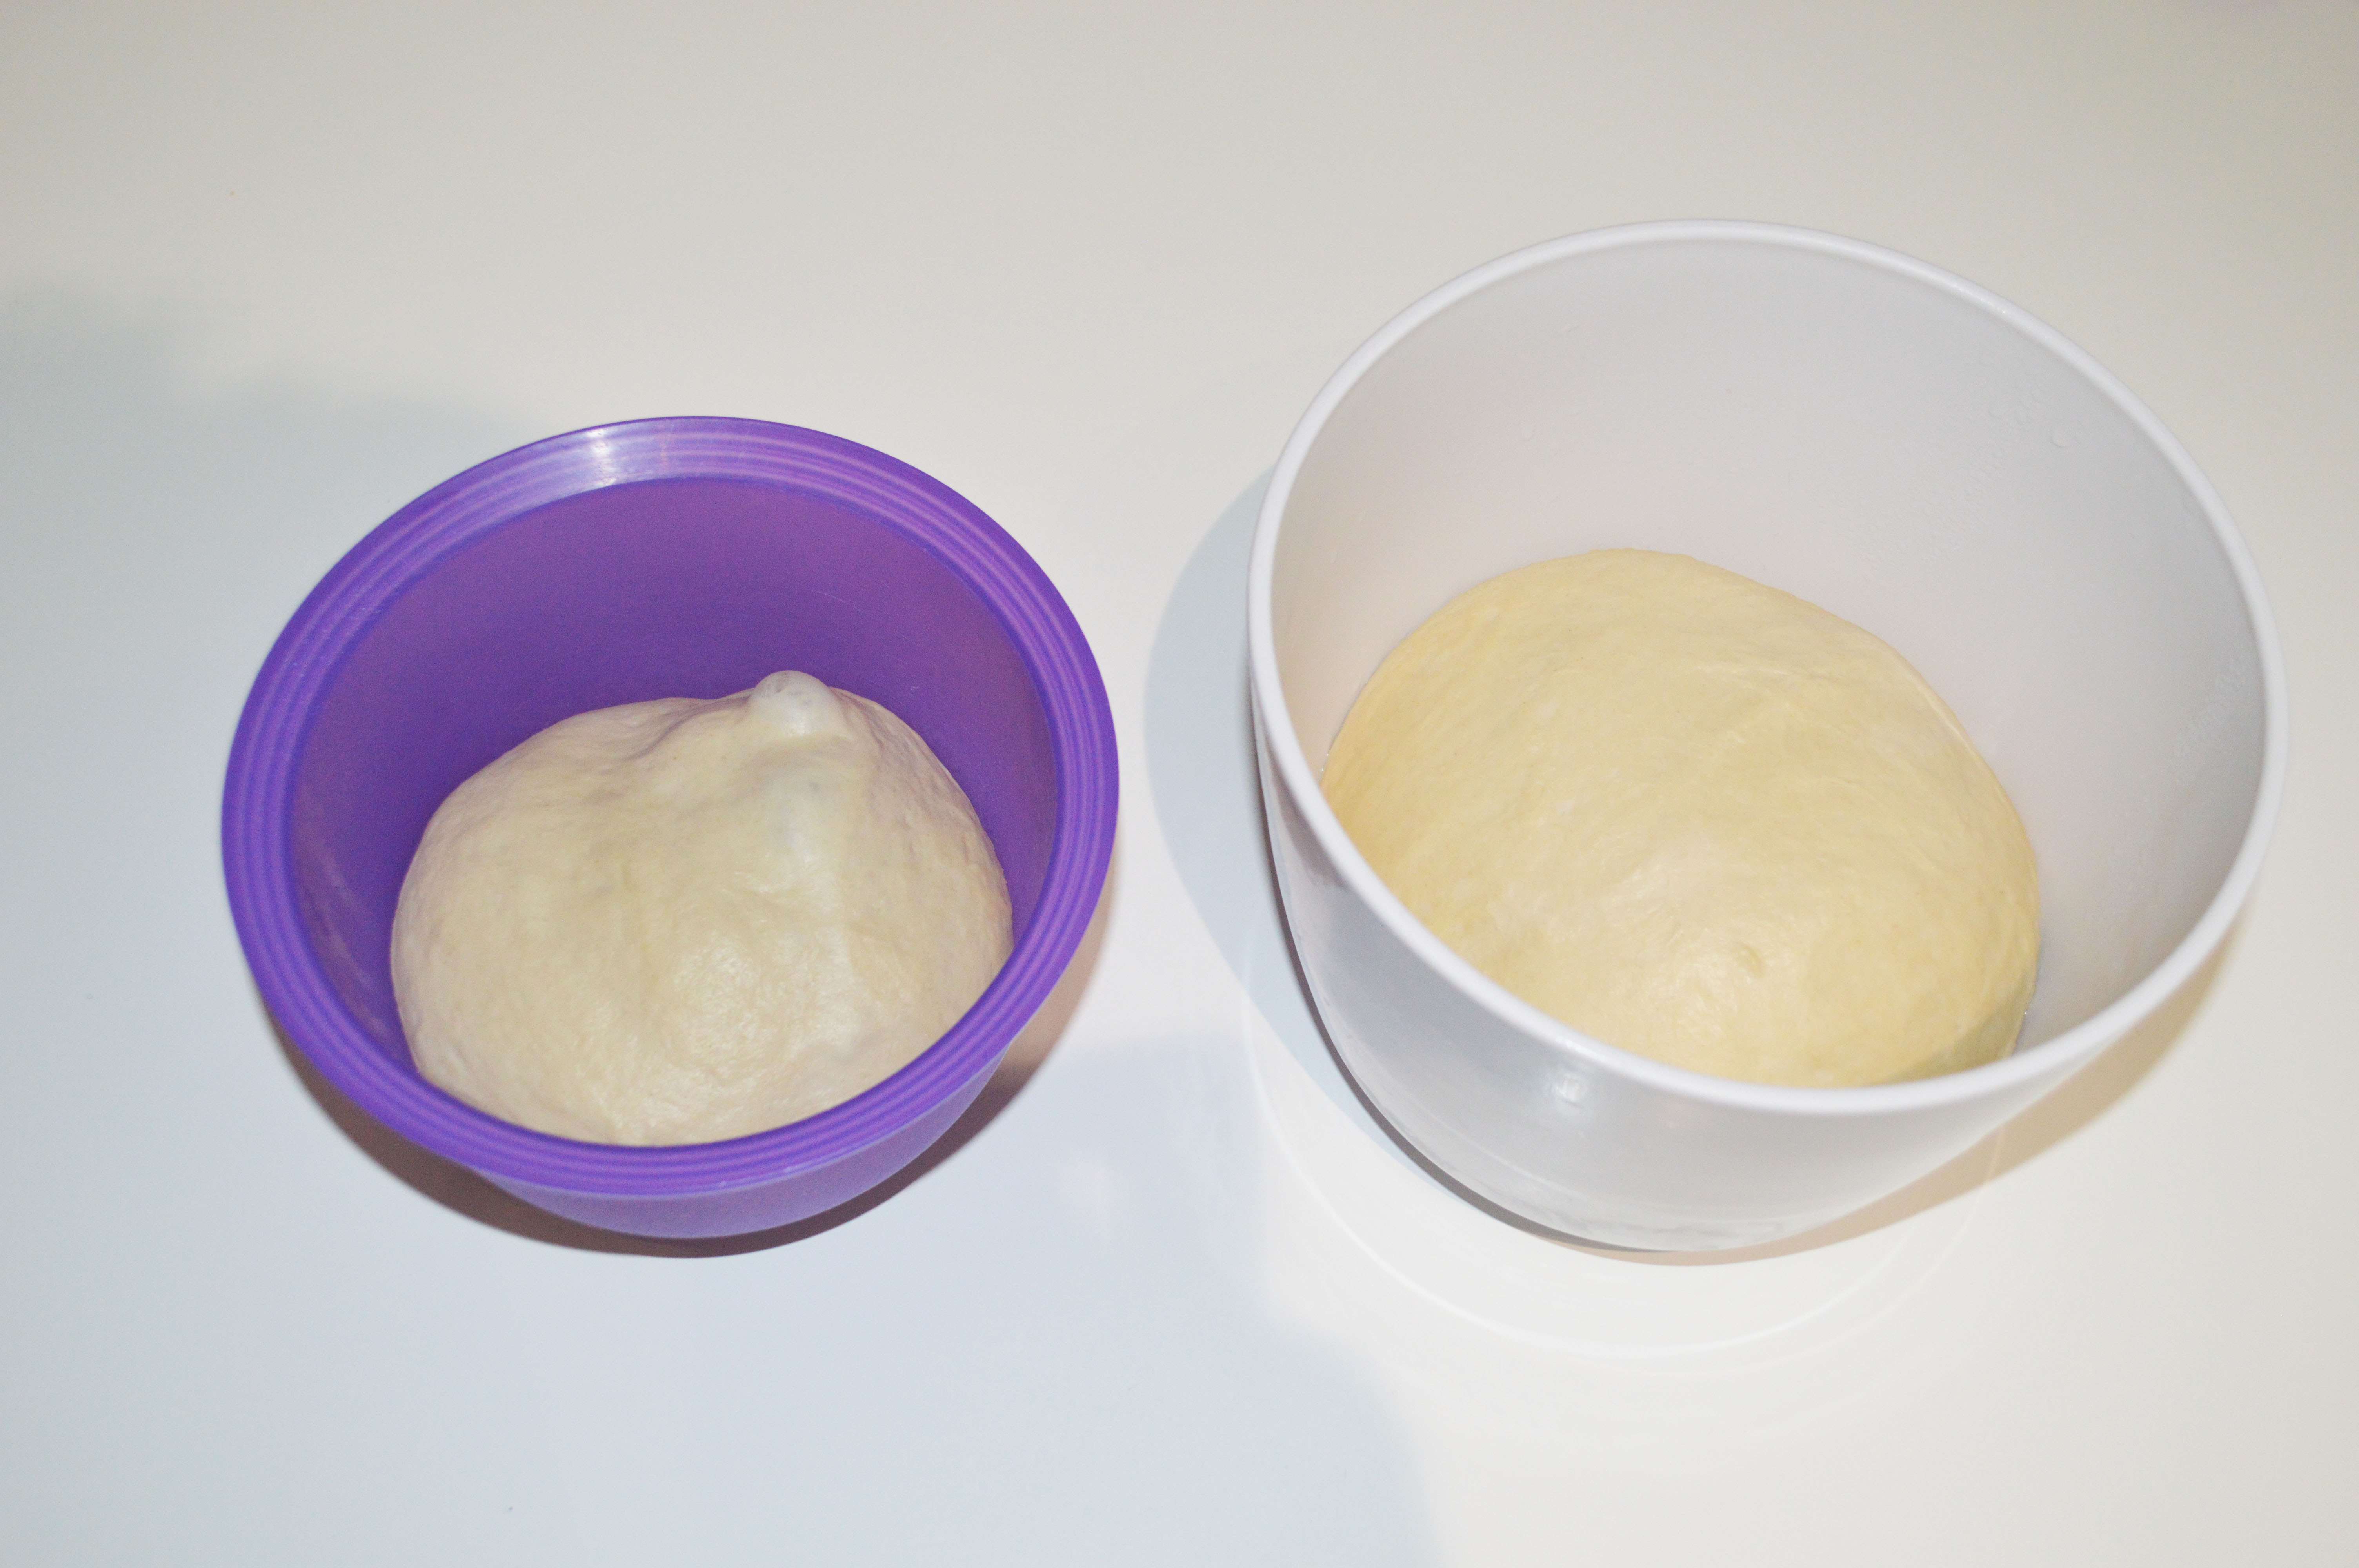
Split the dough into two balls and place them in separate bowls. You will need to let the dough rise for at least 30 min. I covered the bowls with cellophane and let the dough rise overnight in the fridge.
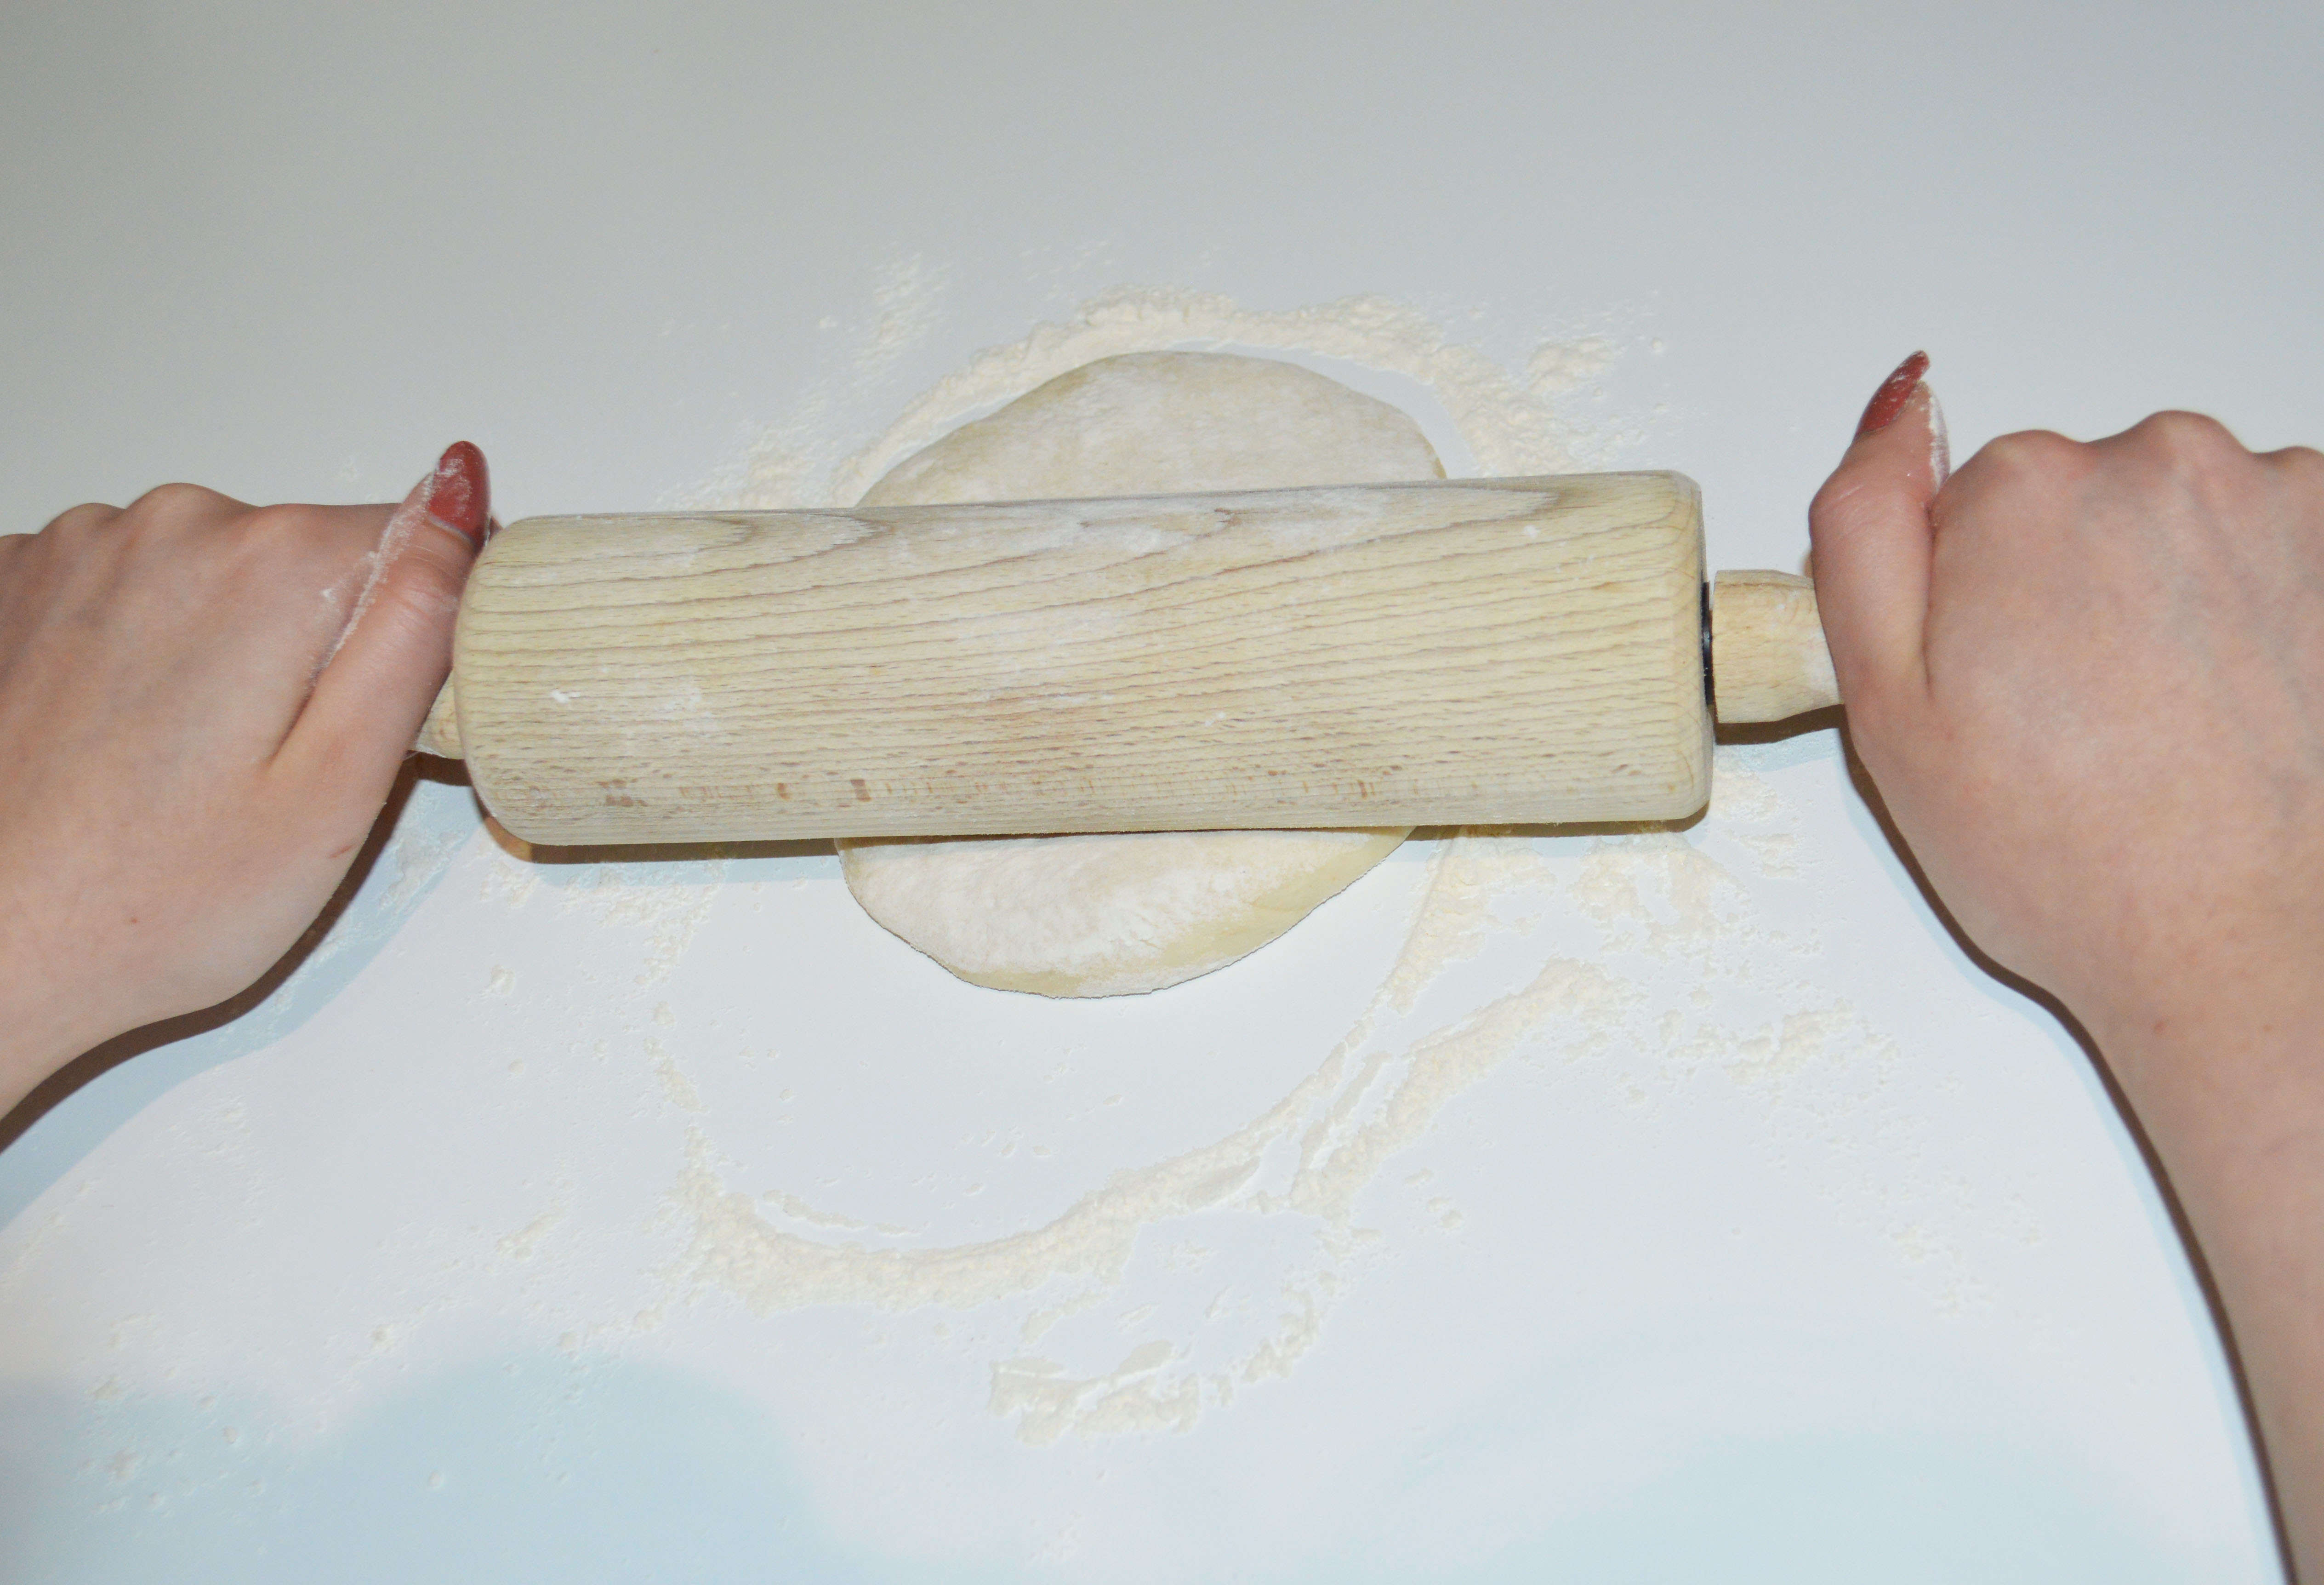
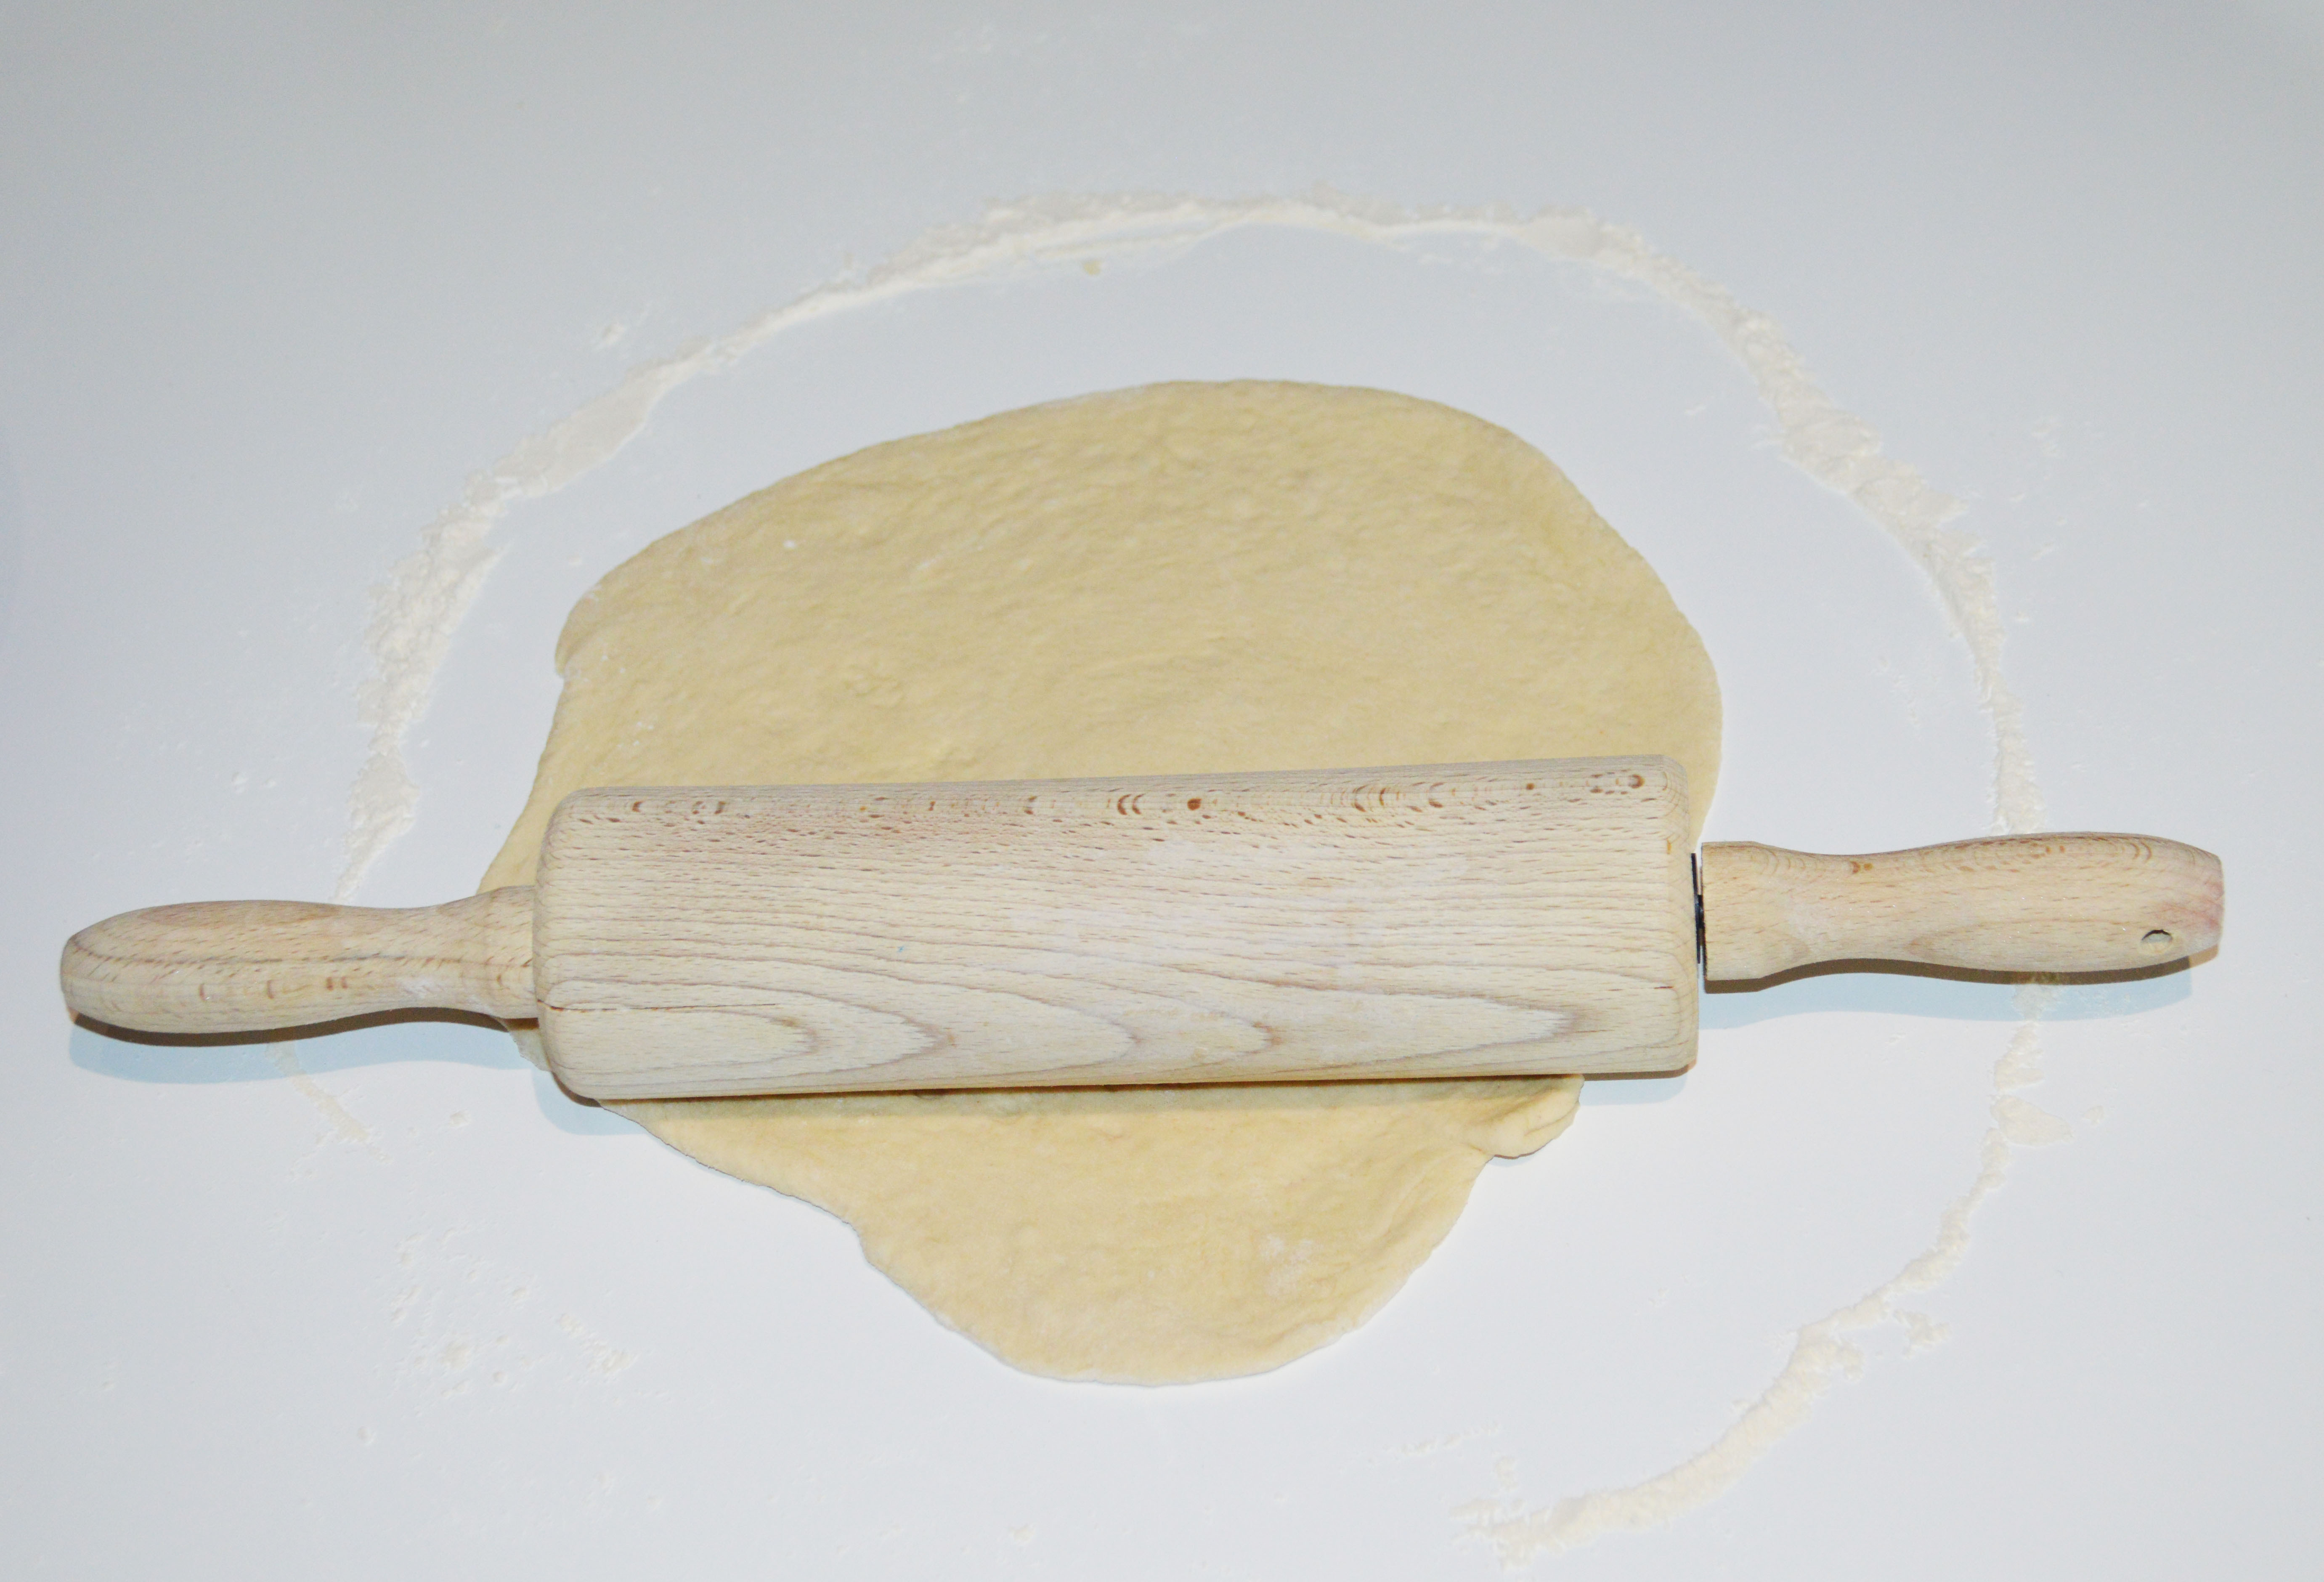
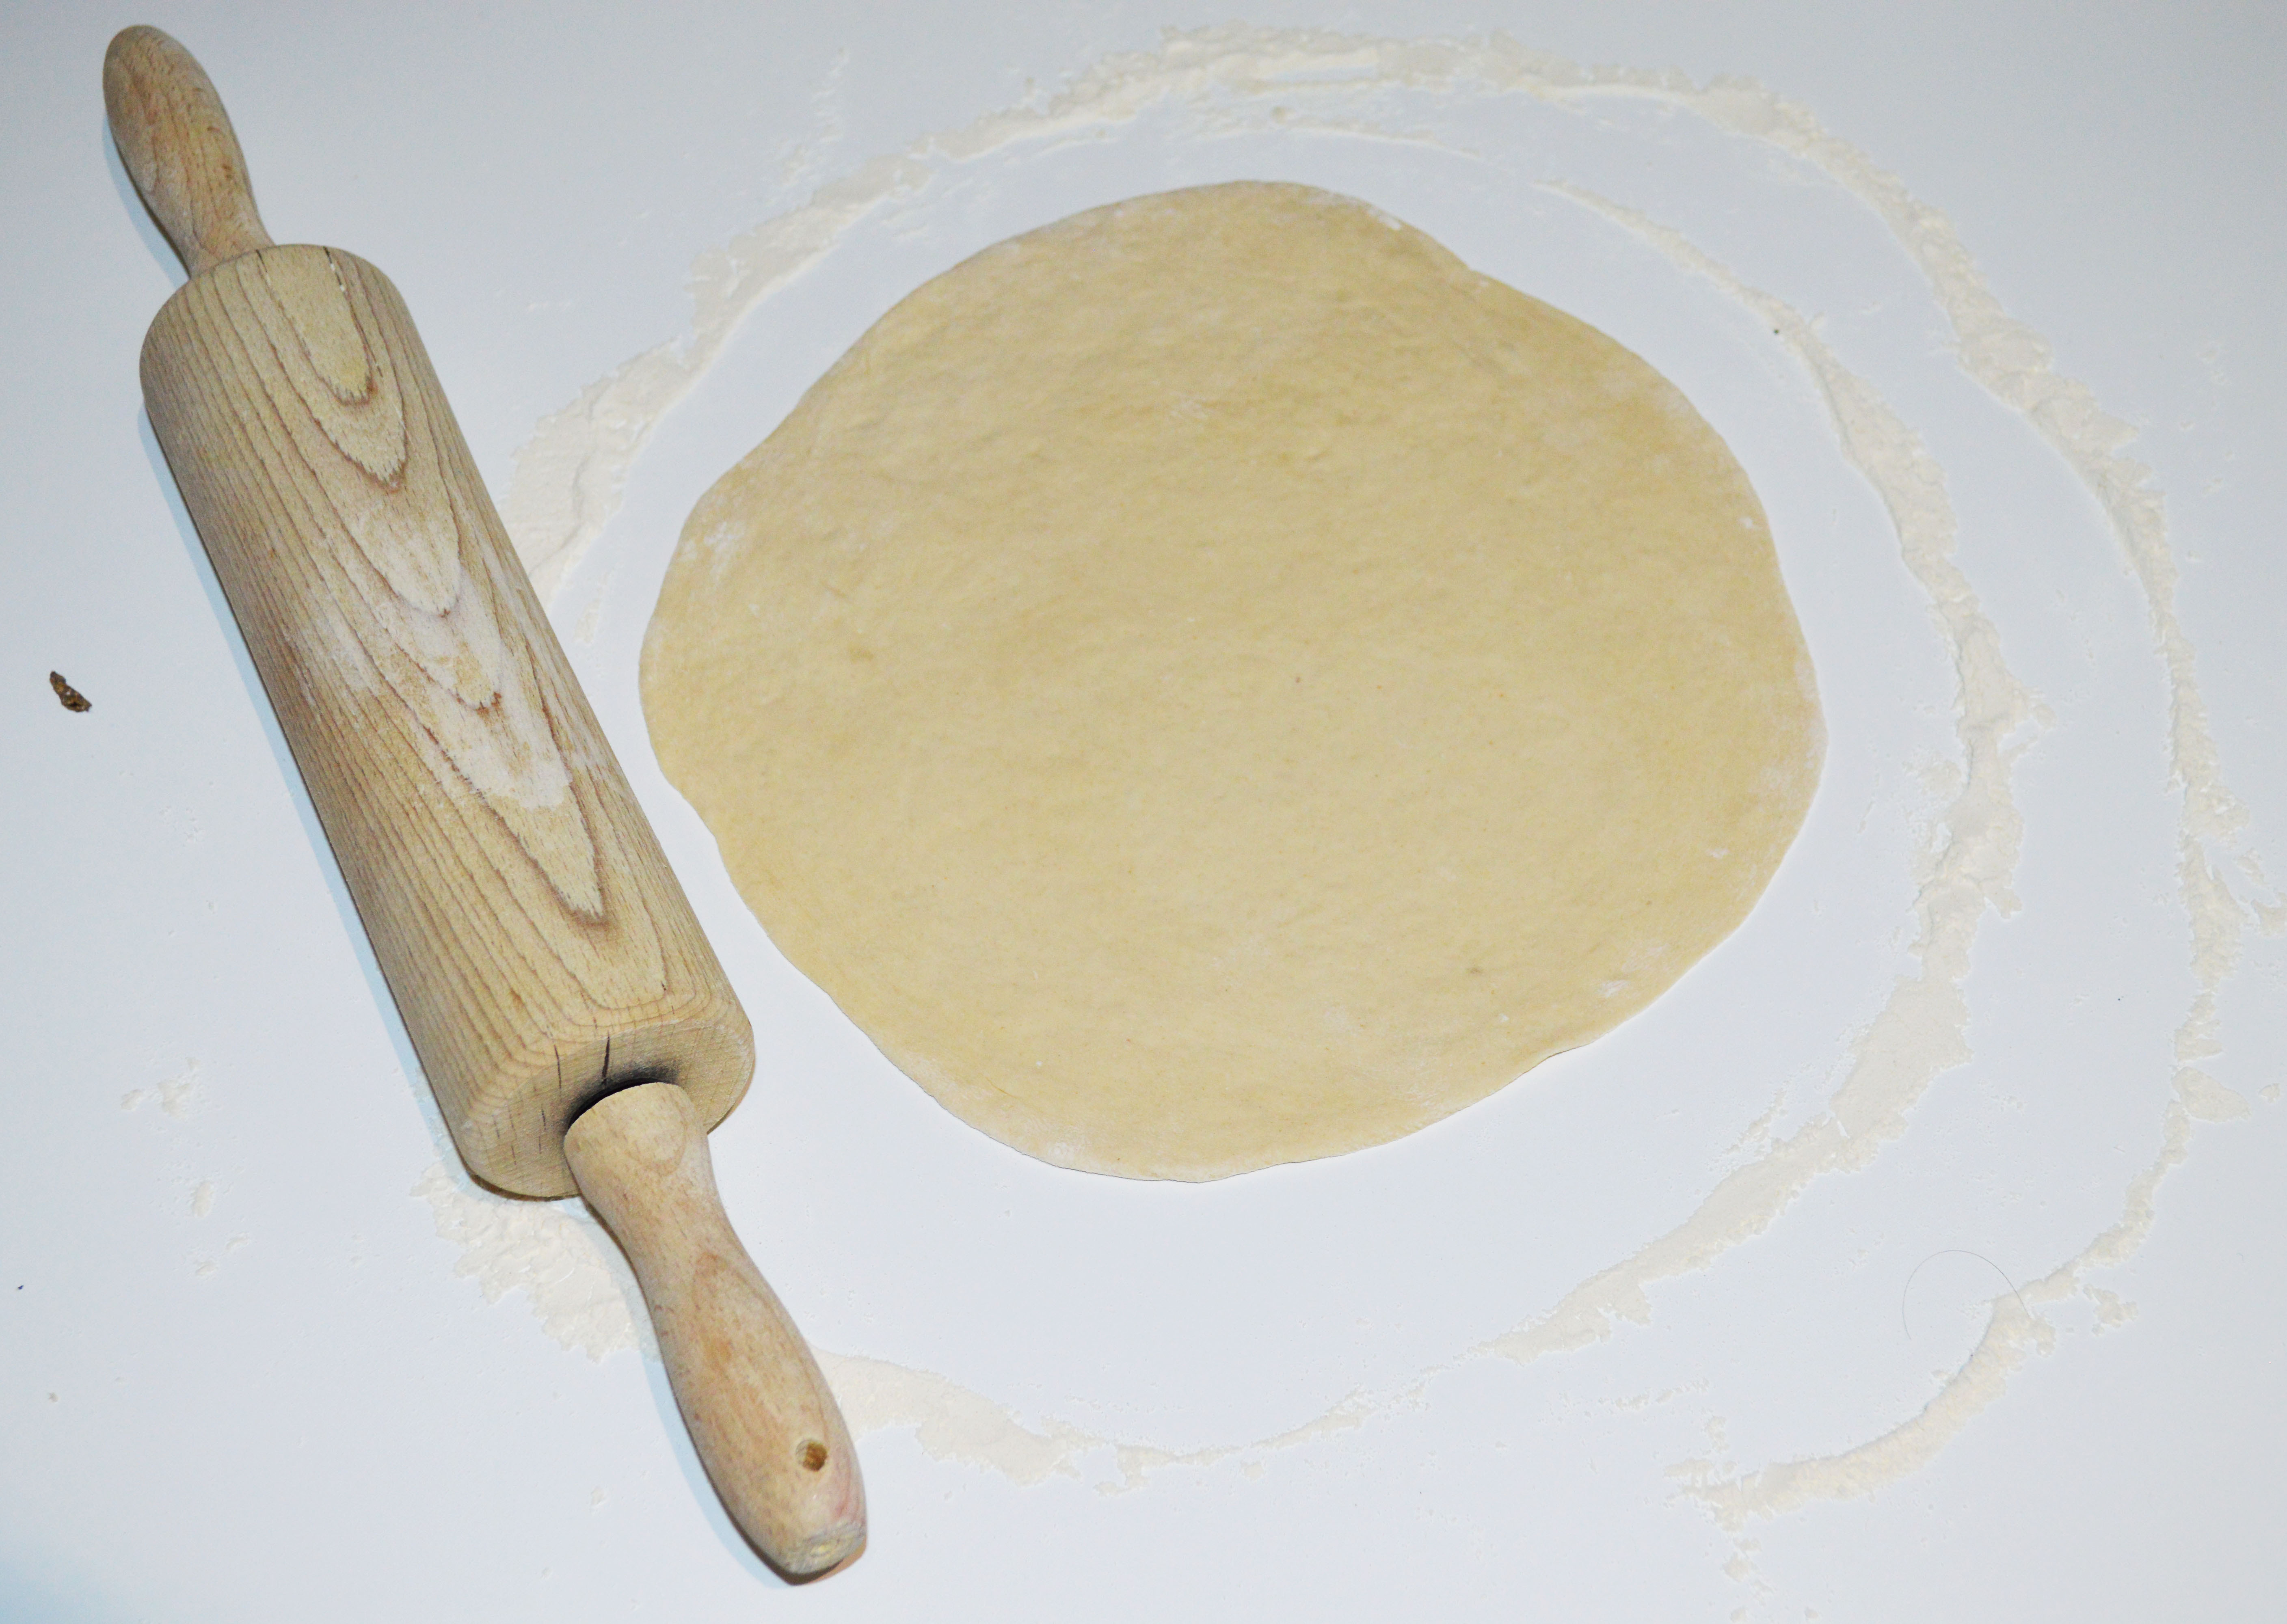
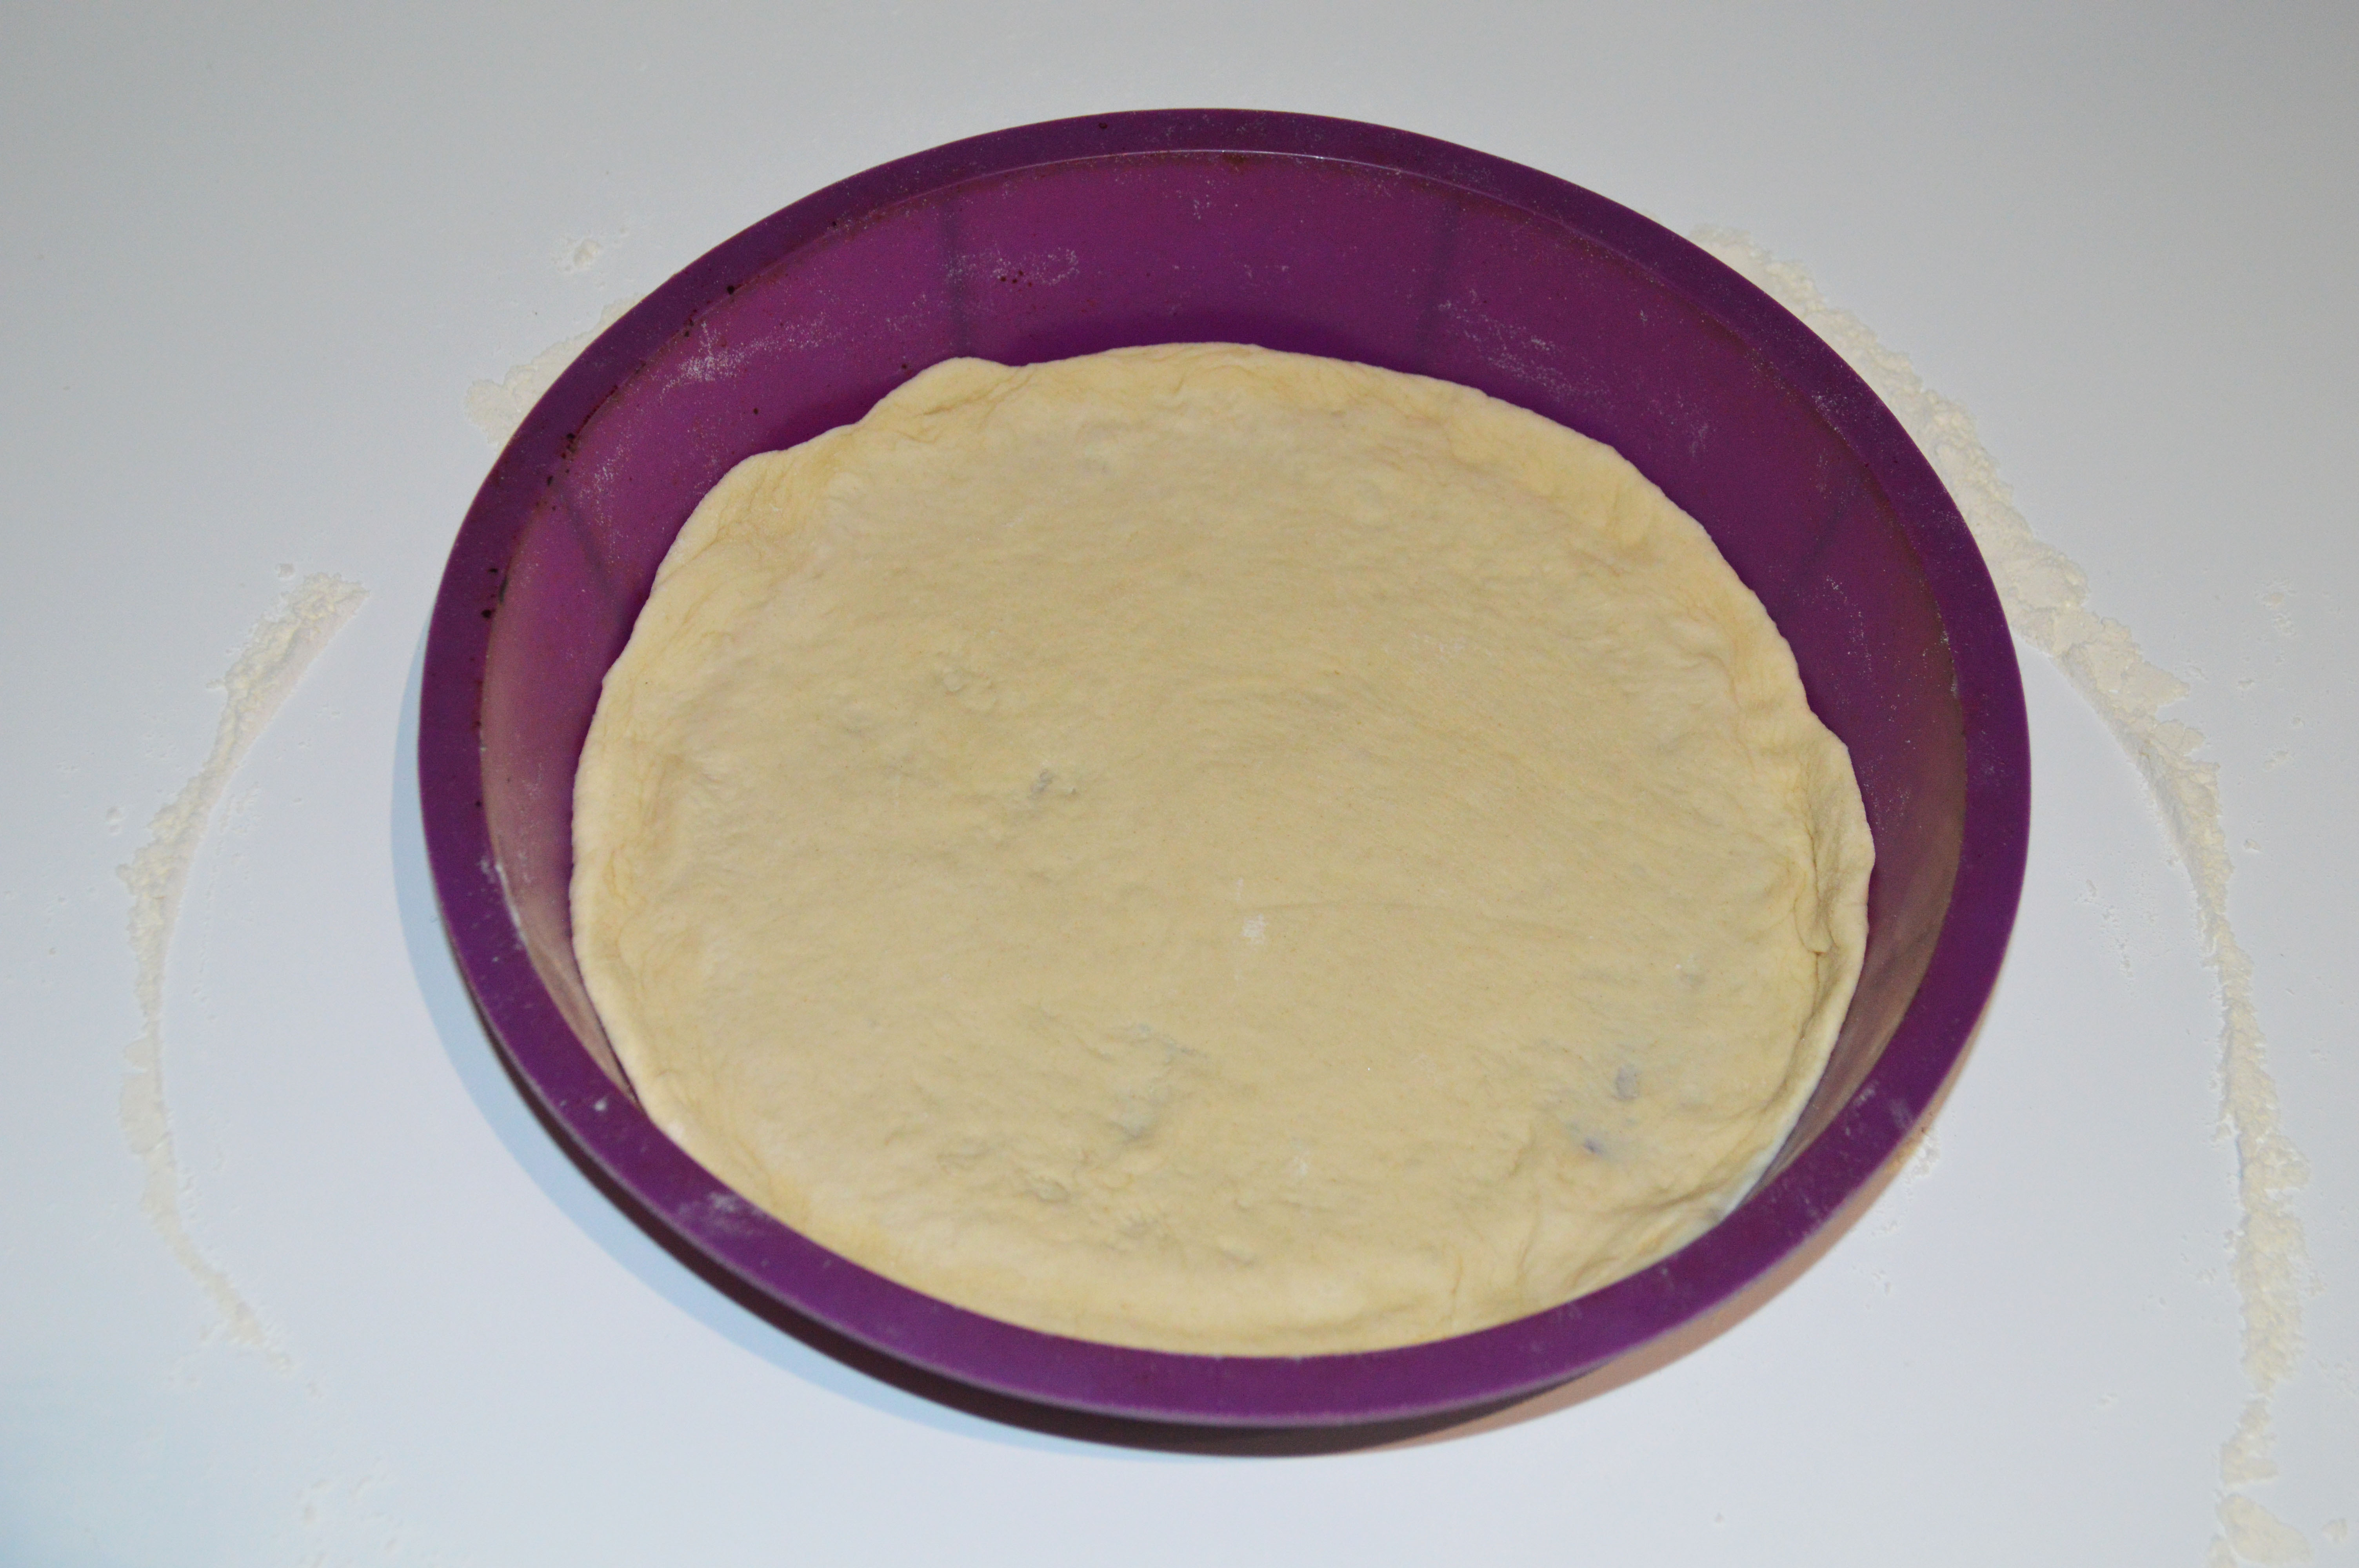
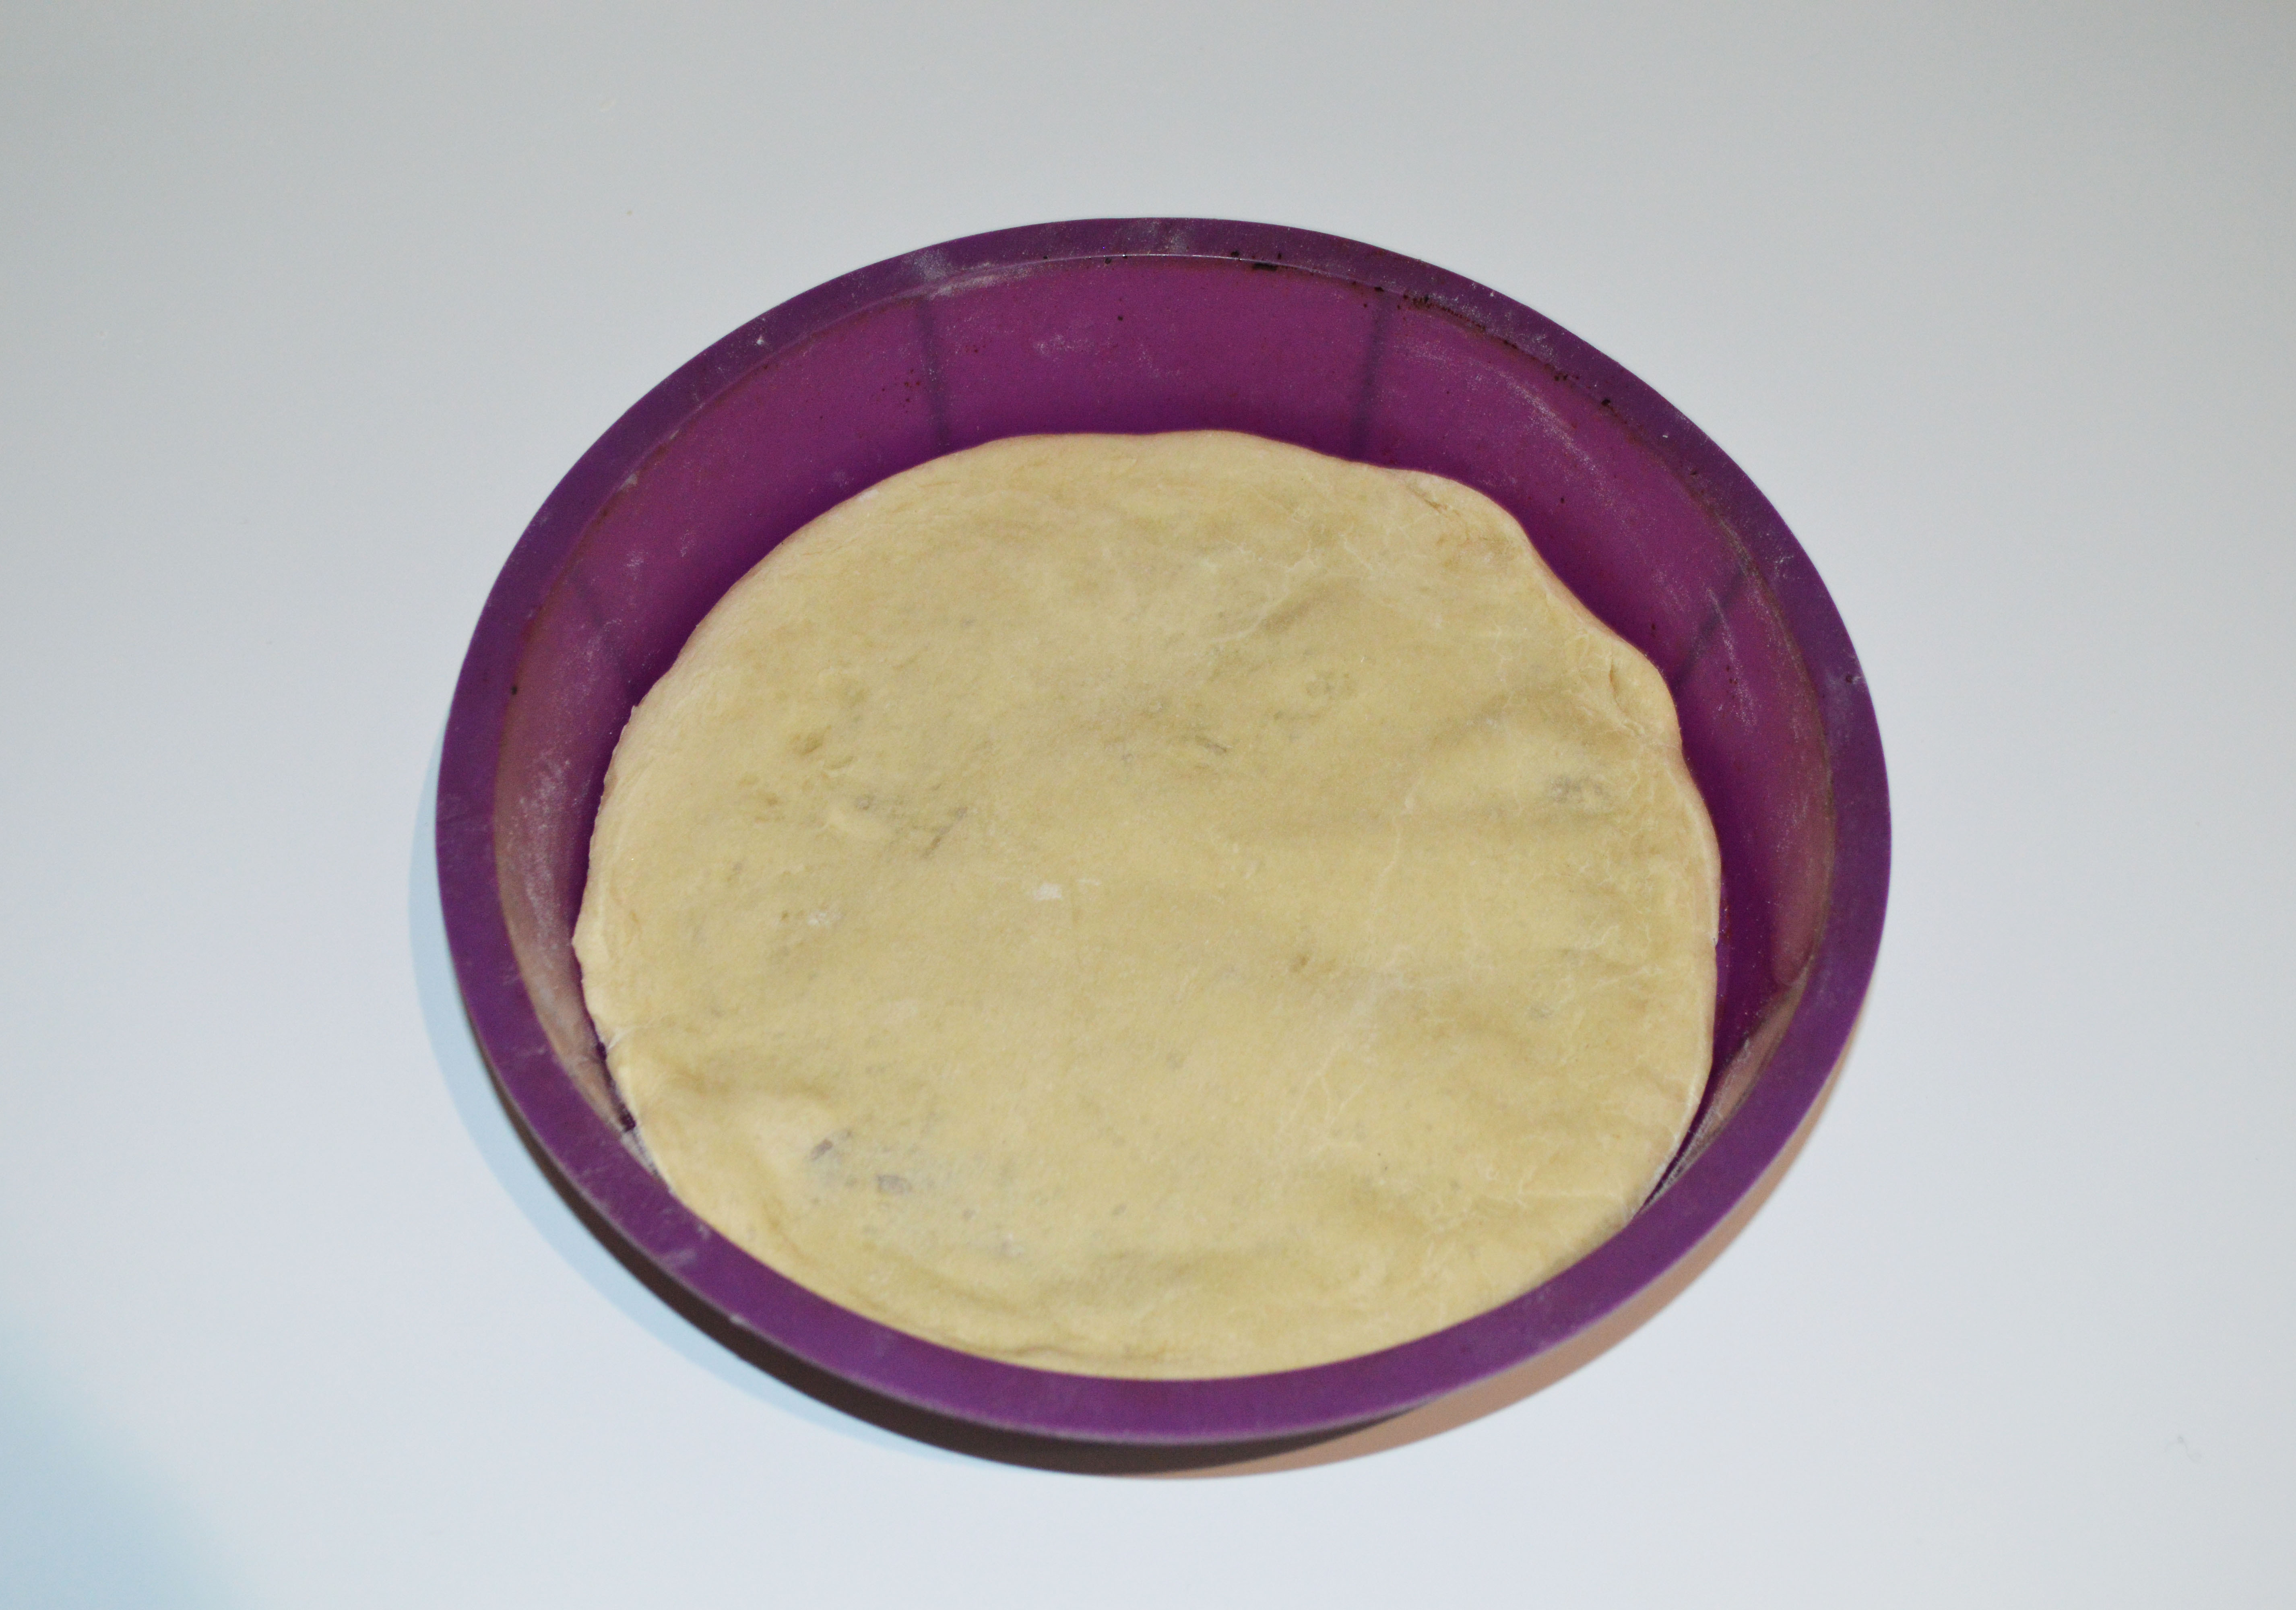
Use a rolling pin to roll out the dough and form a round shape. I like to put my dough into a silicone cake mold to make sure it stays the right size.
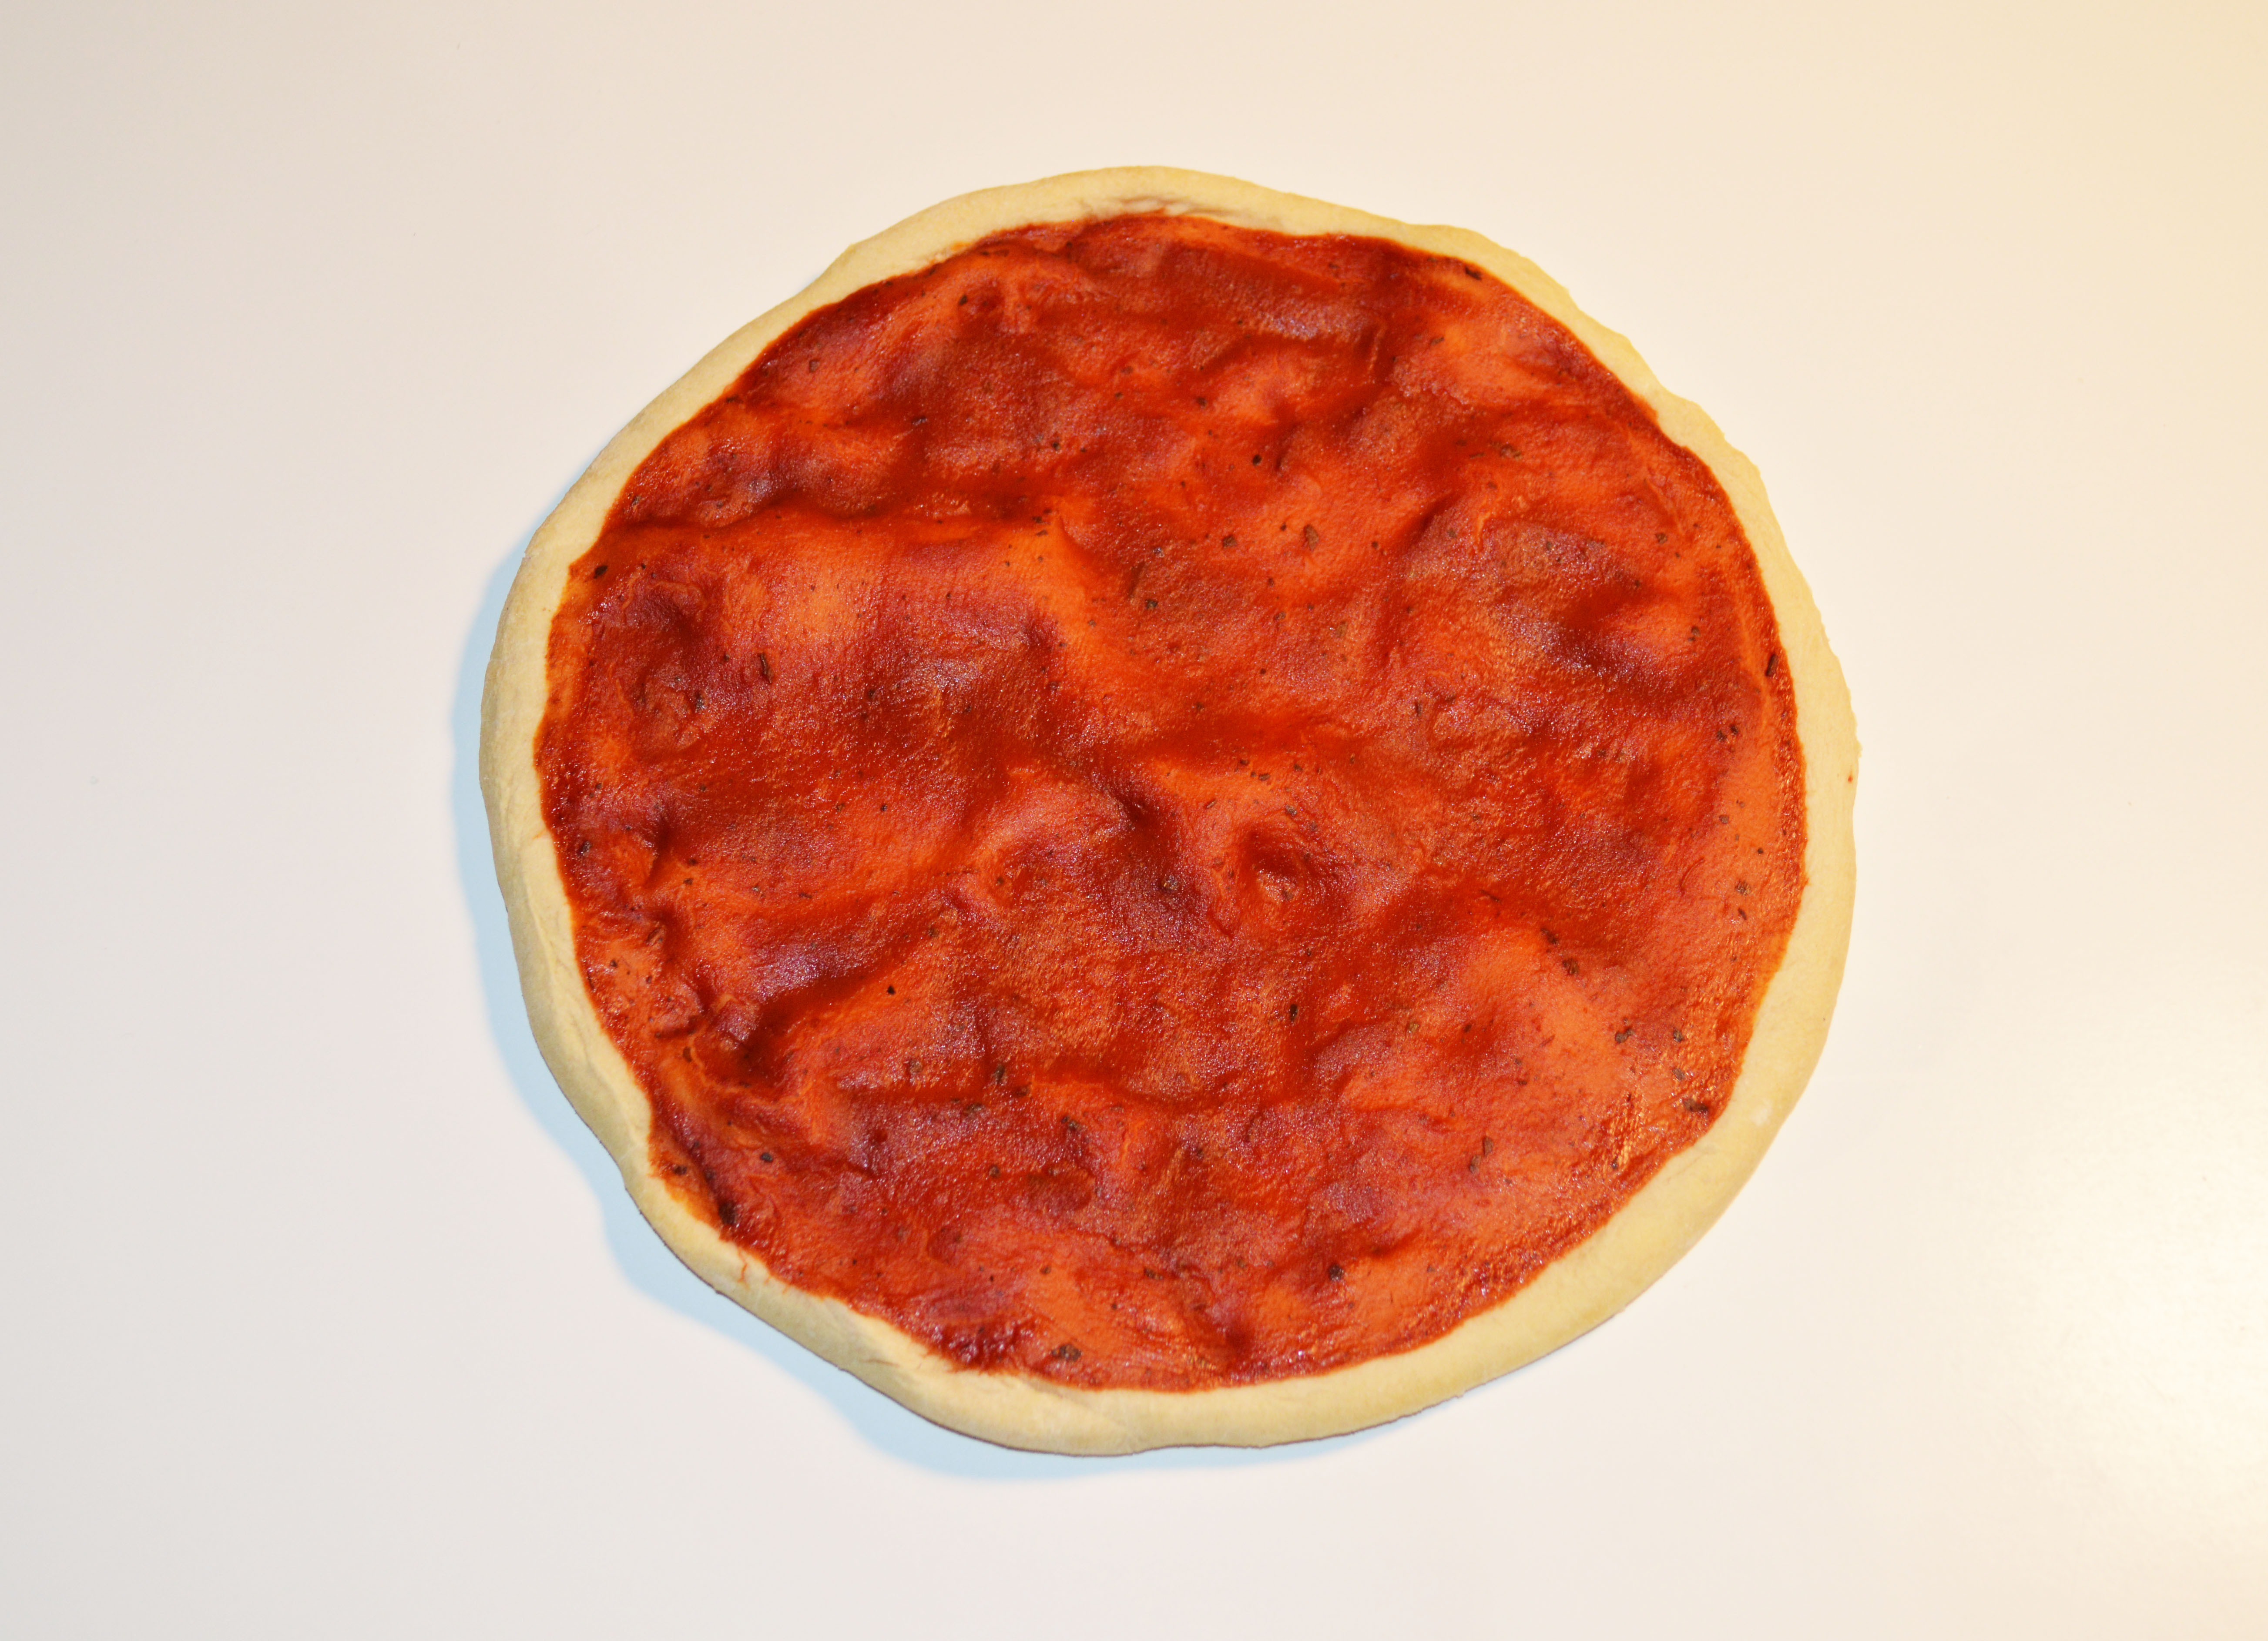
Preheat the oven to 220°C (428 °F) and prebake the dough for 7 minutes on the lower rack of your oven.
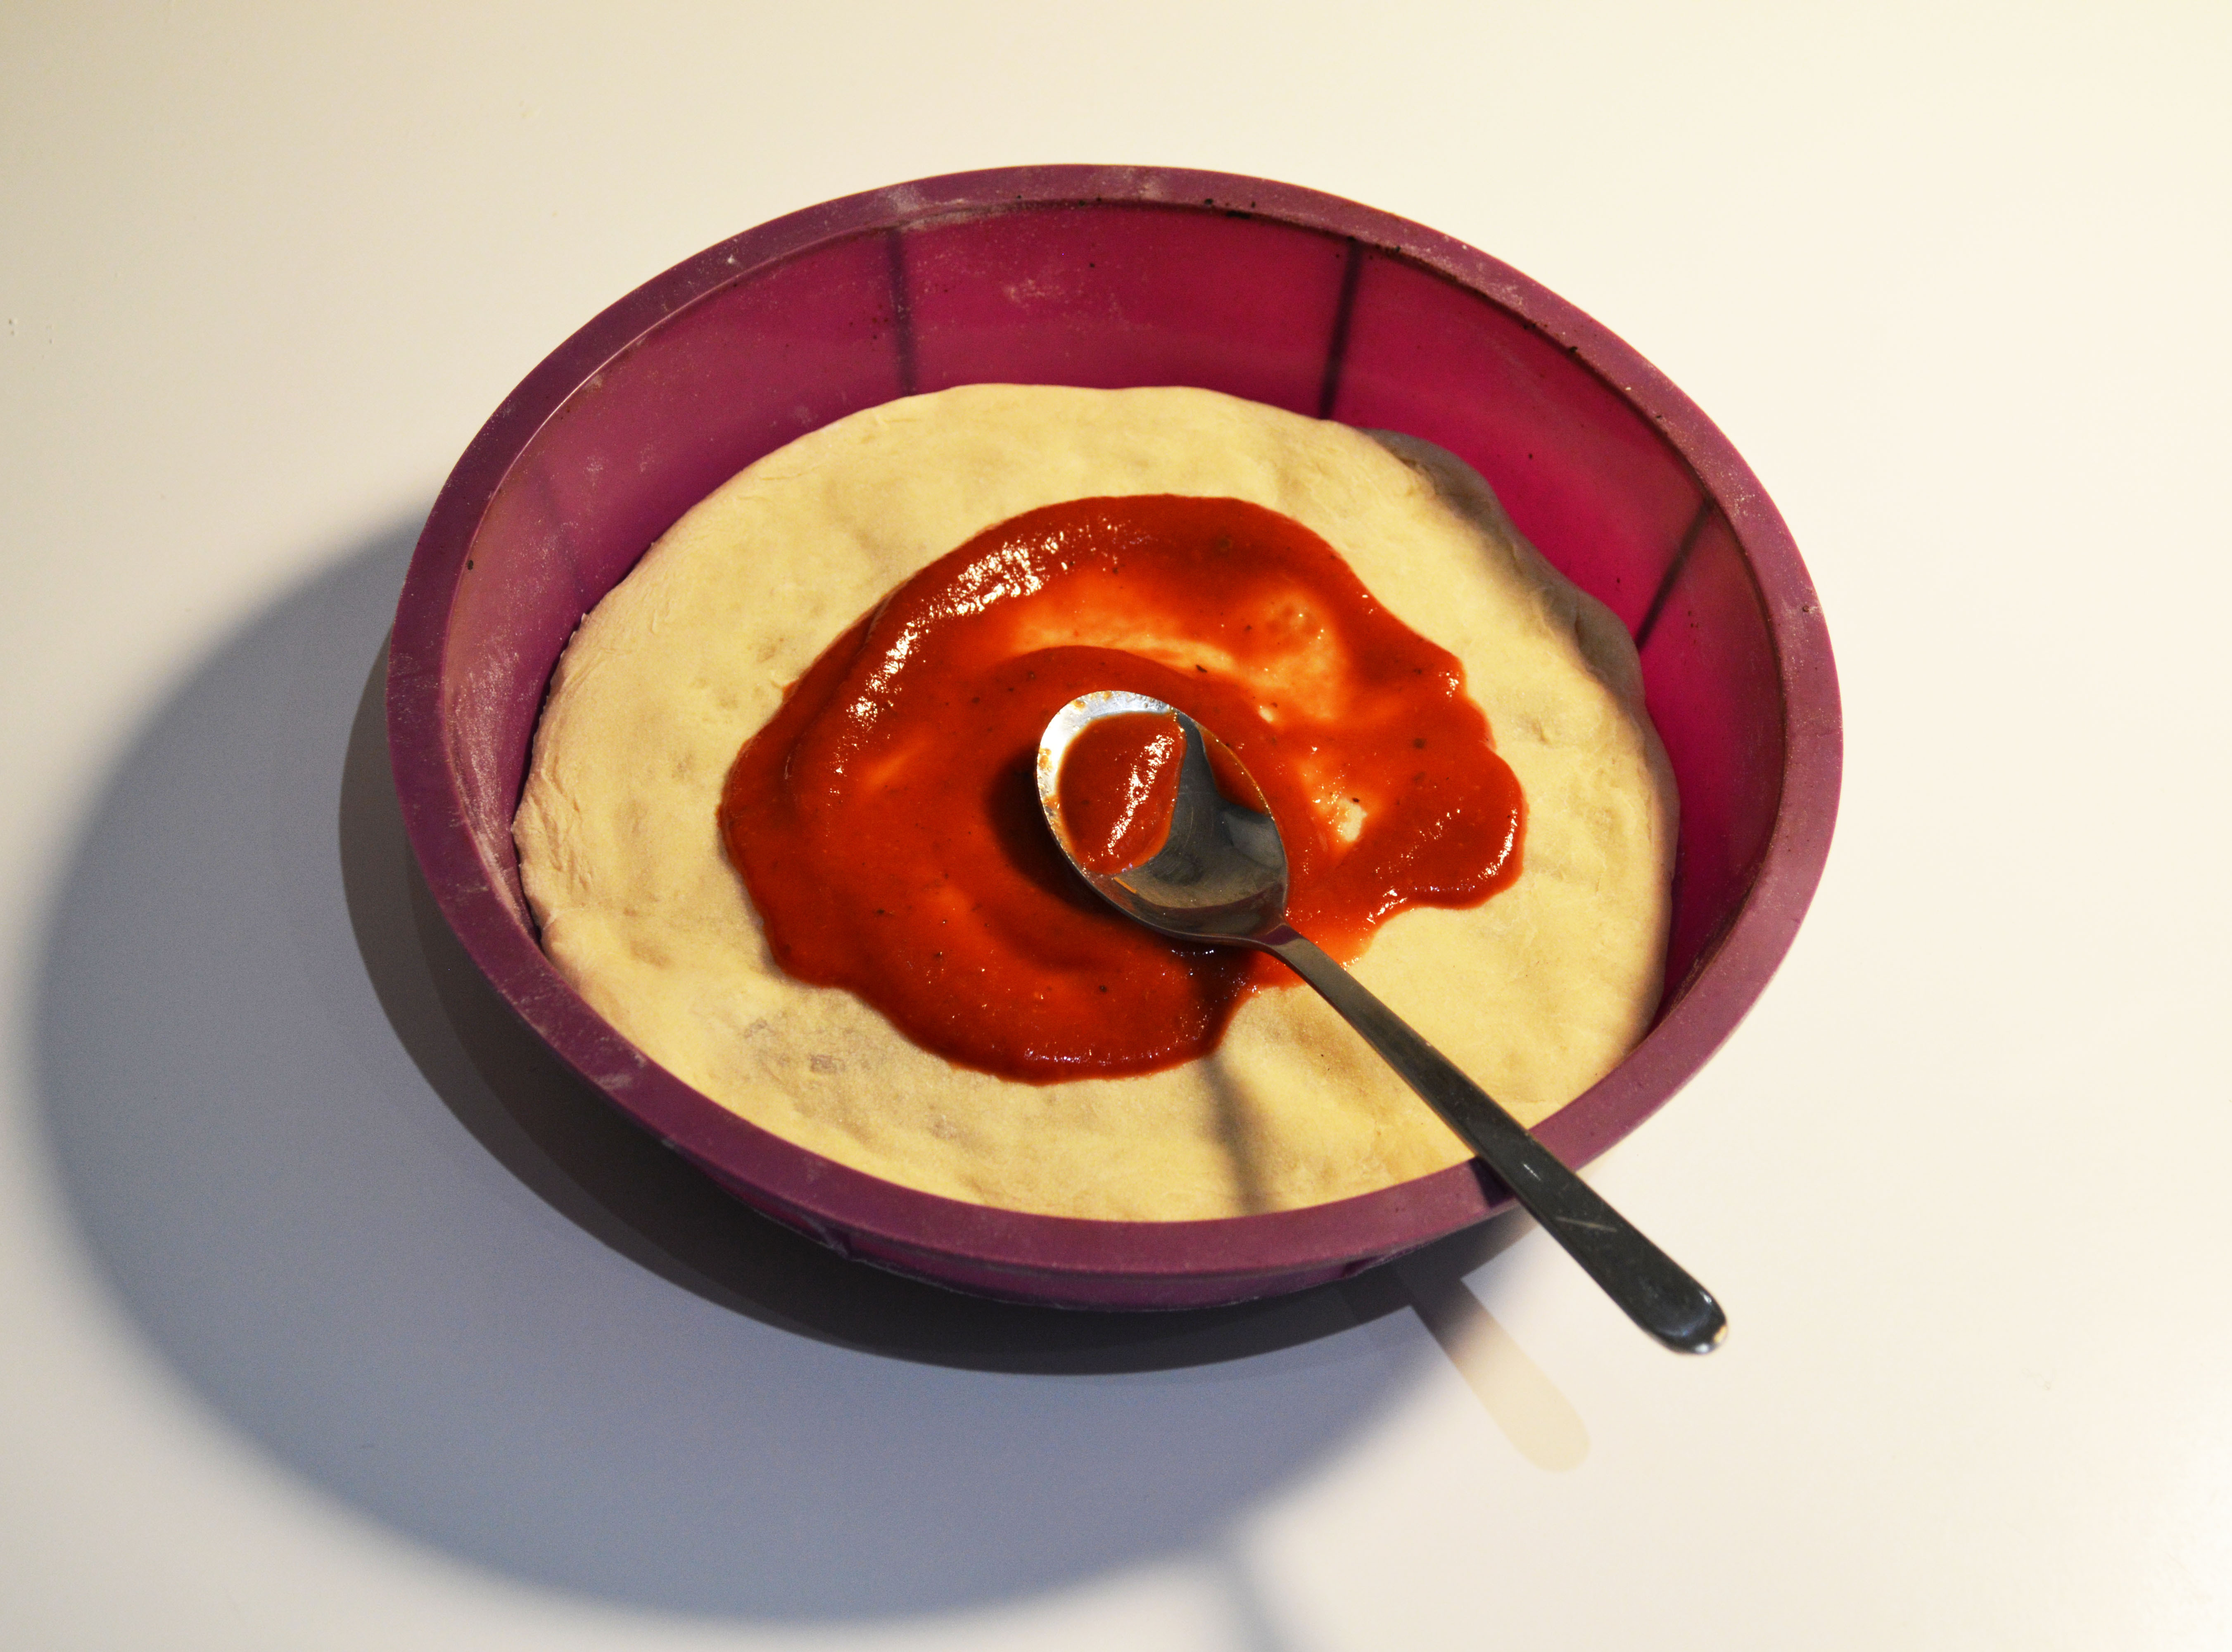
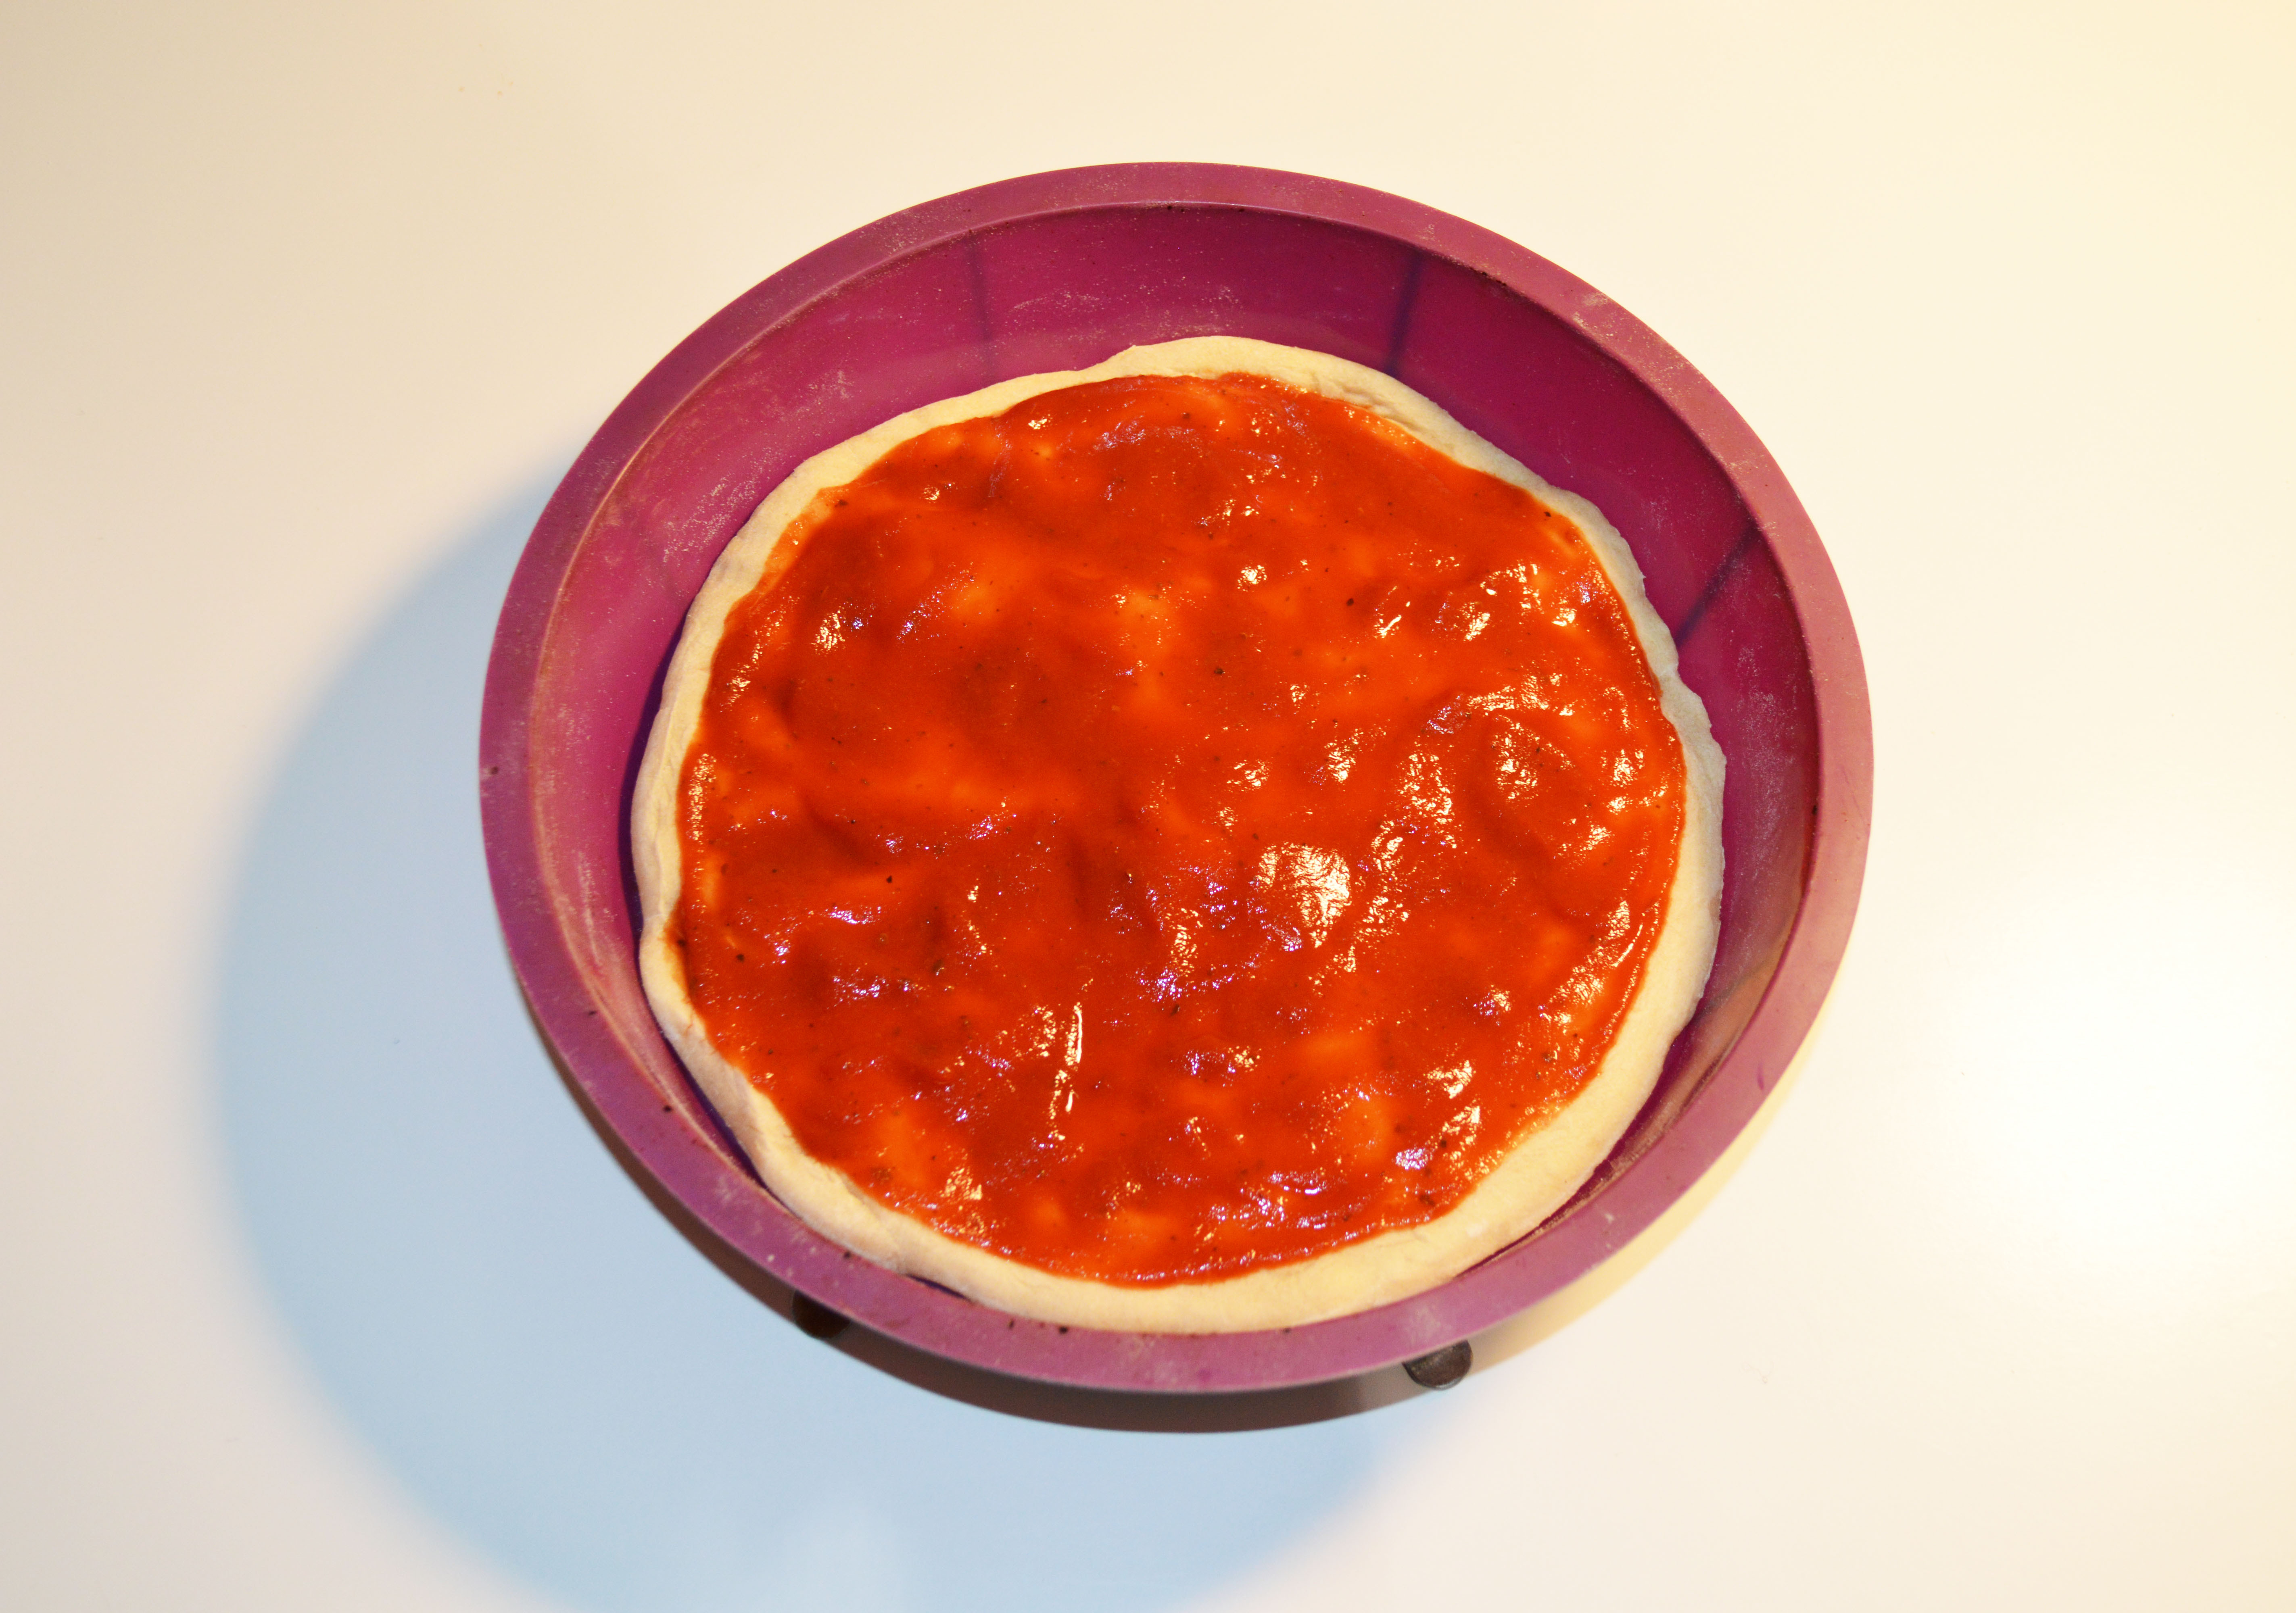
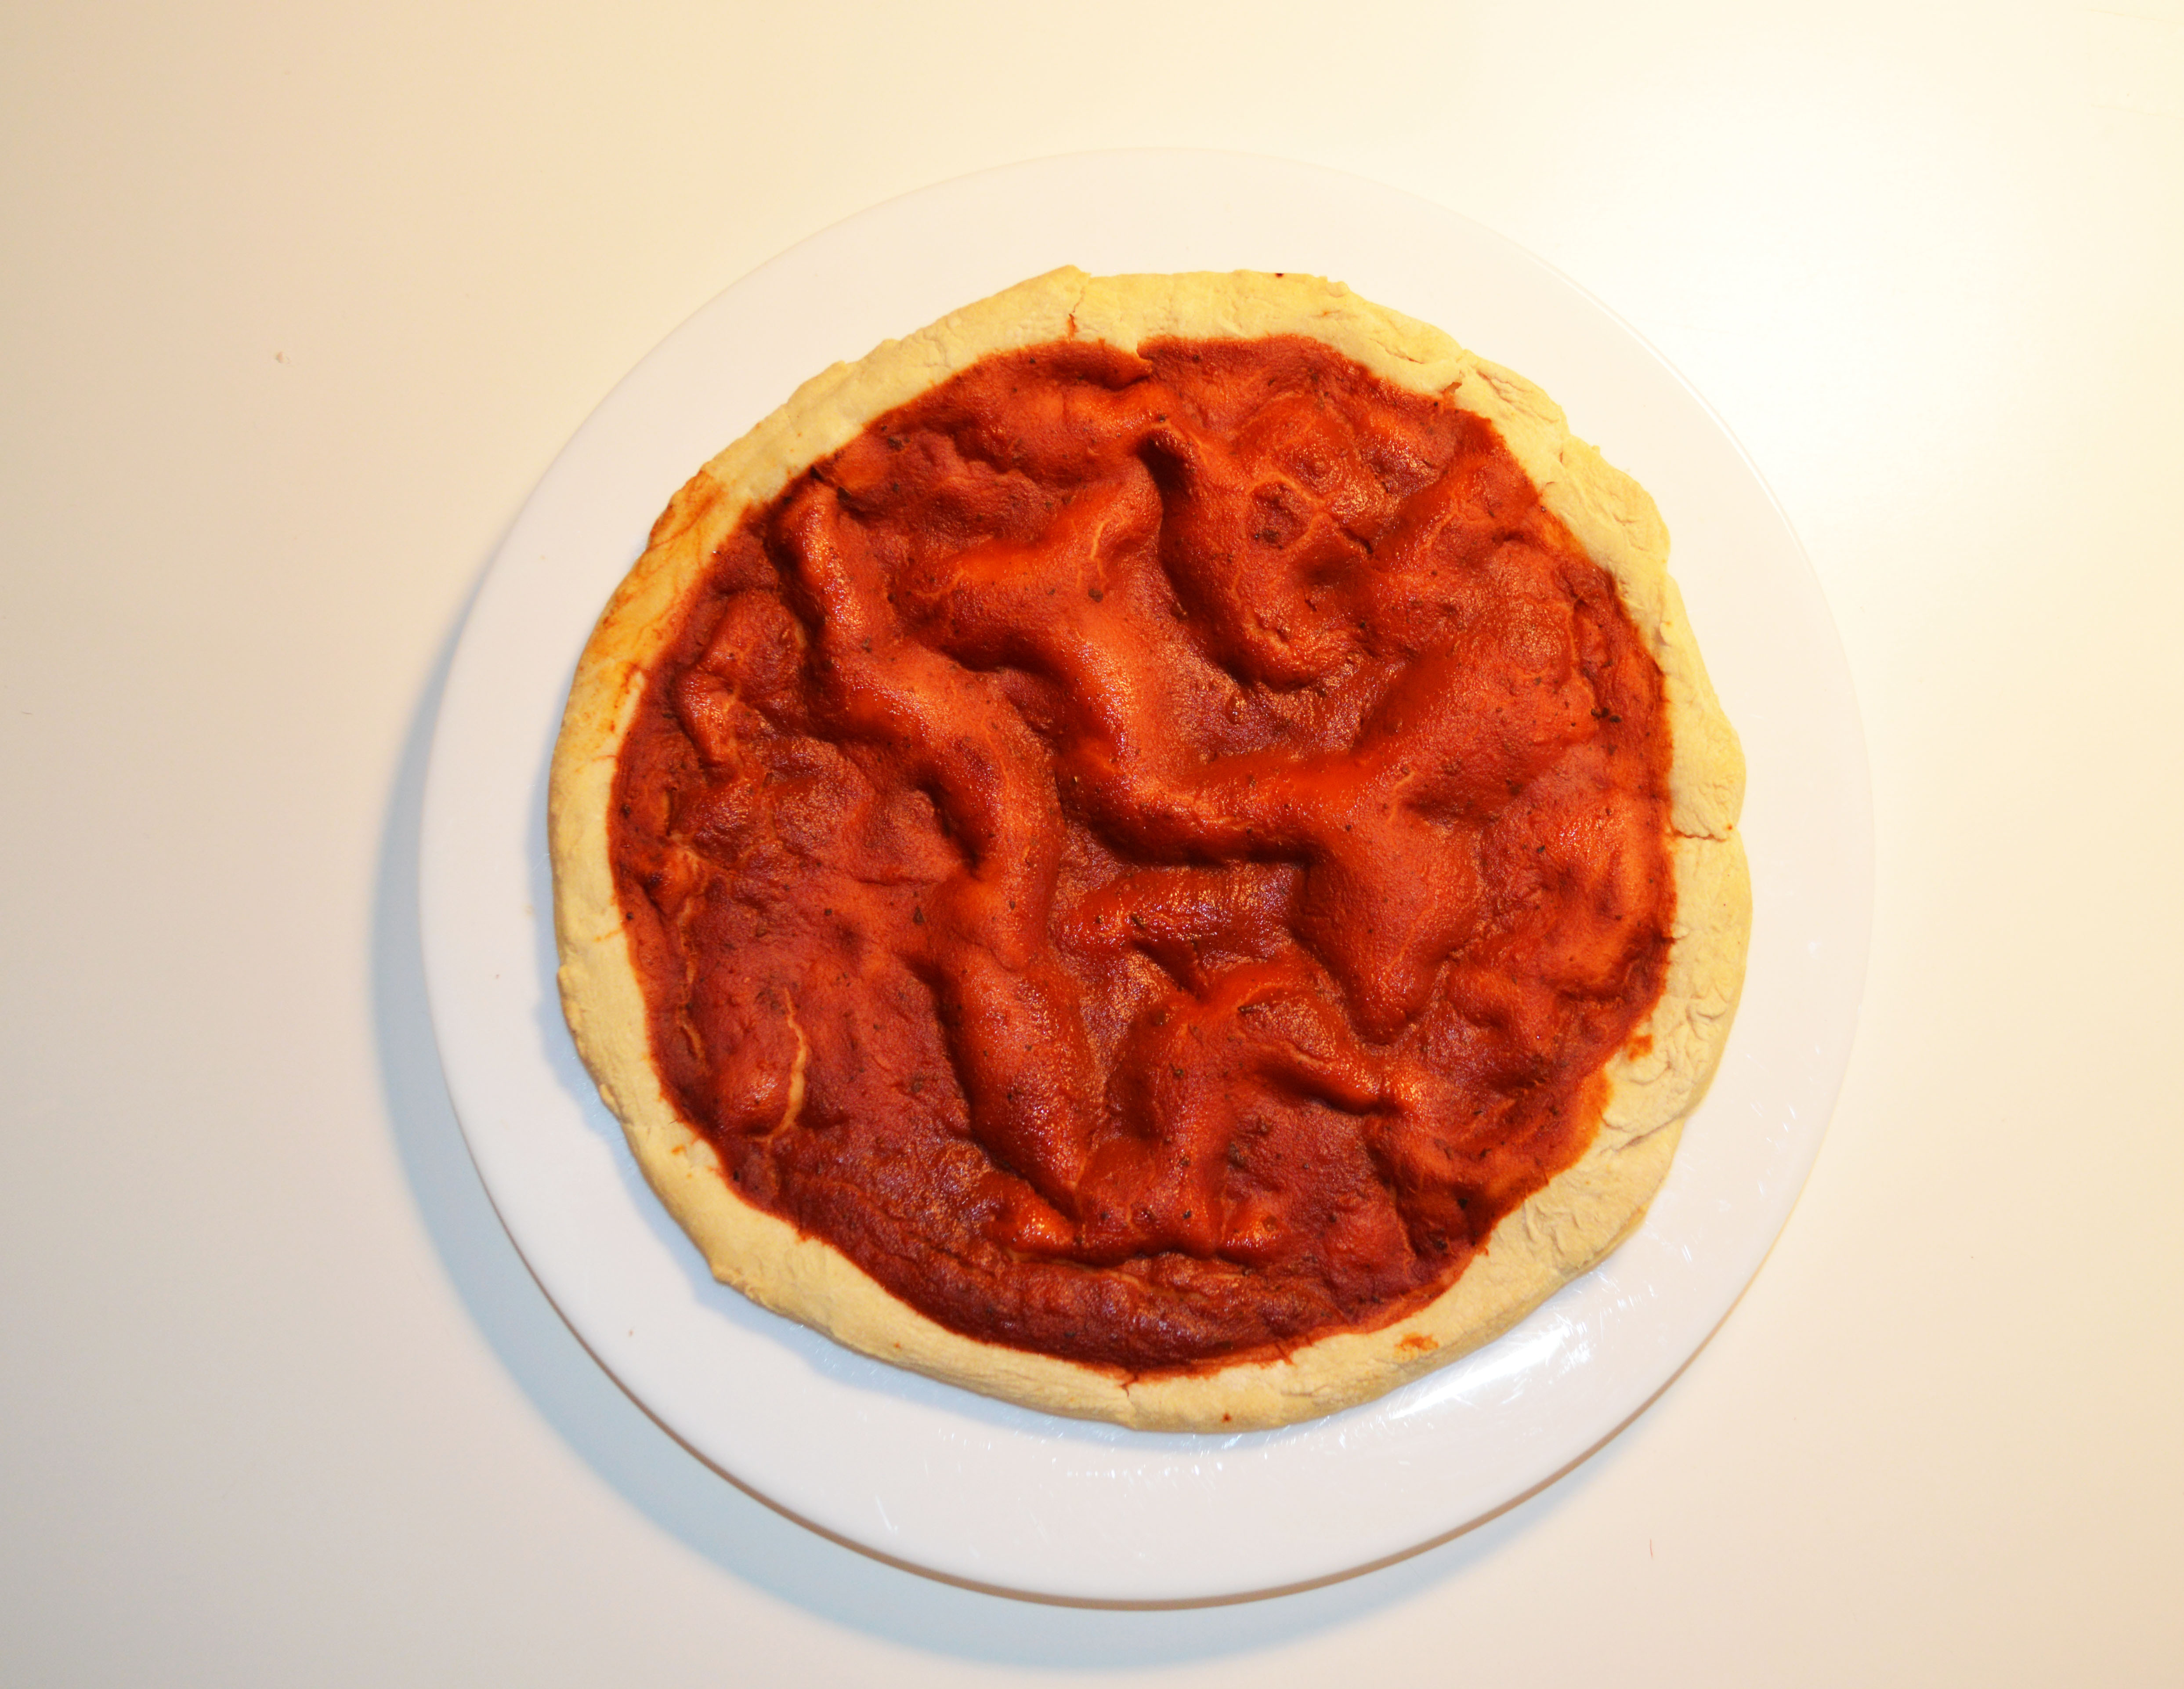
Slather tomato sauce on the pre-baked pizza dough and bake it again for 5 minutes !
With this recipe, you can make 4 small pizzas. :)
Design a Pizza Portrait (Pop Art Effect With Photoshop)
In this step, let's use Photoshop to create a Pop Art effect.
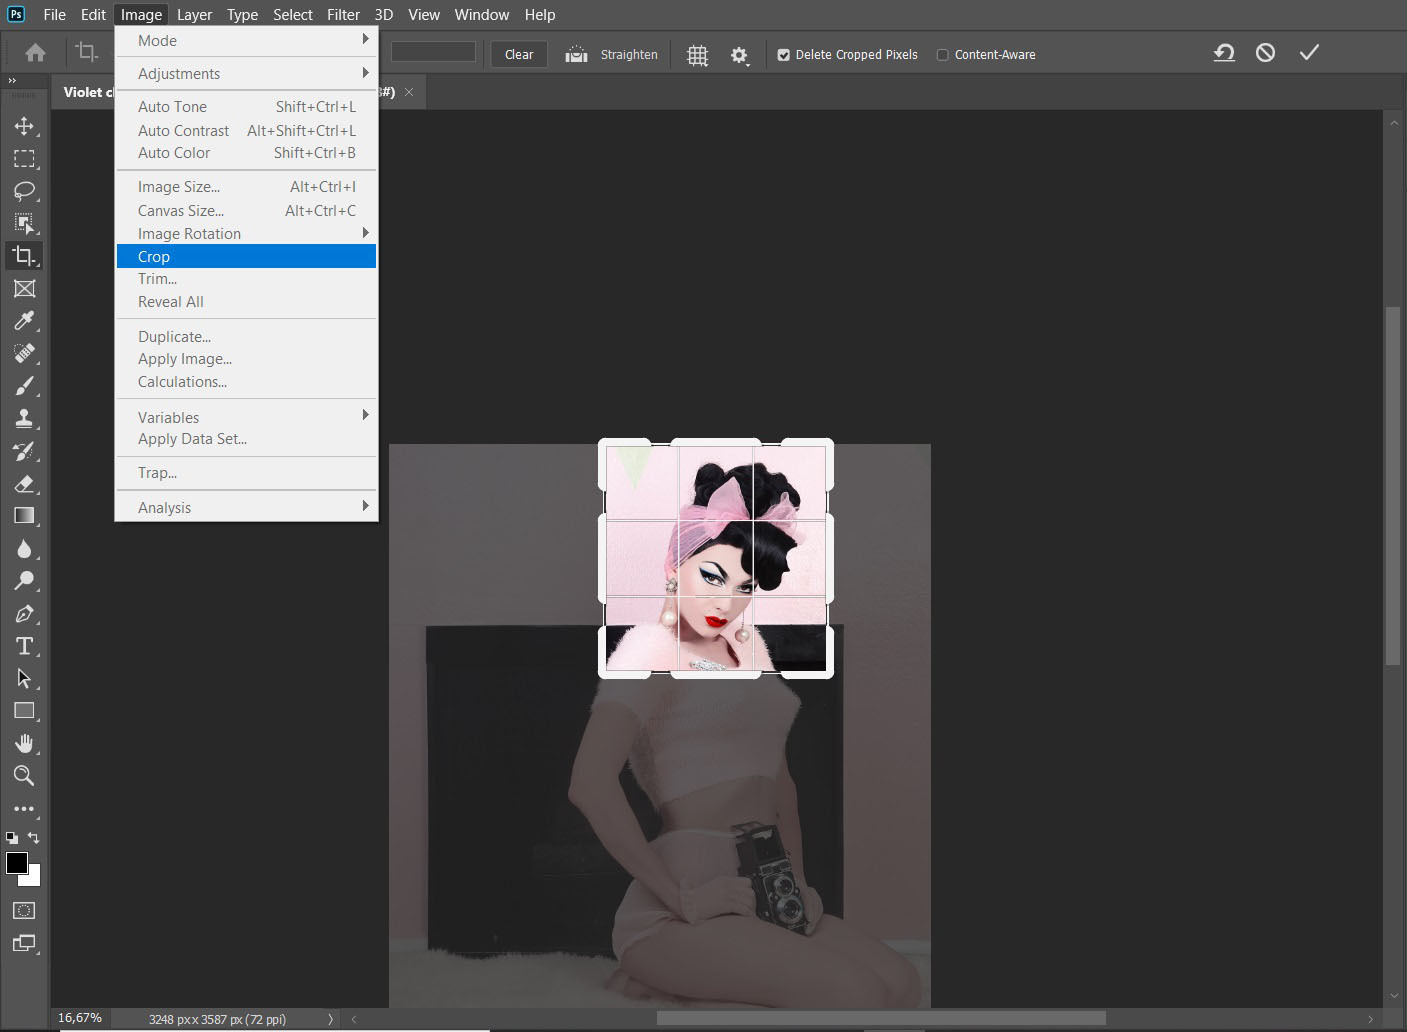
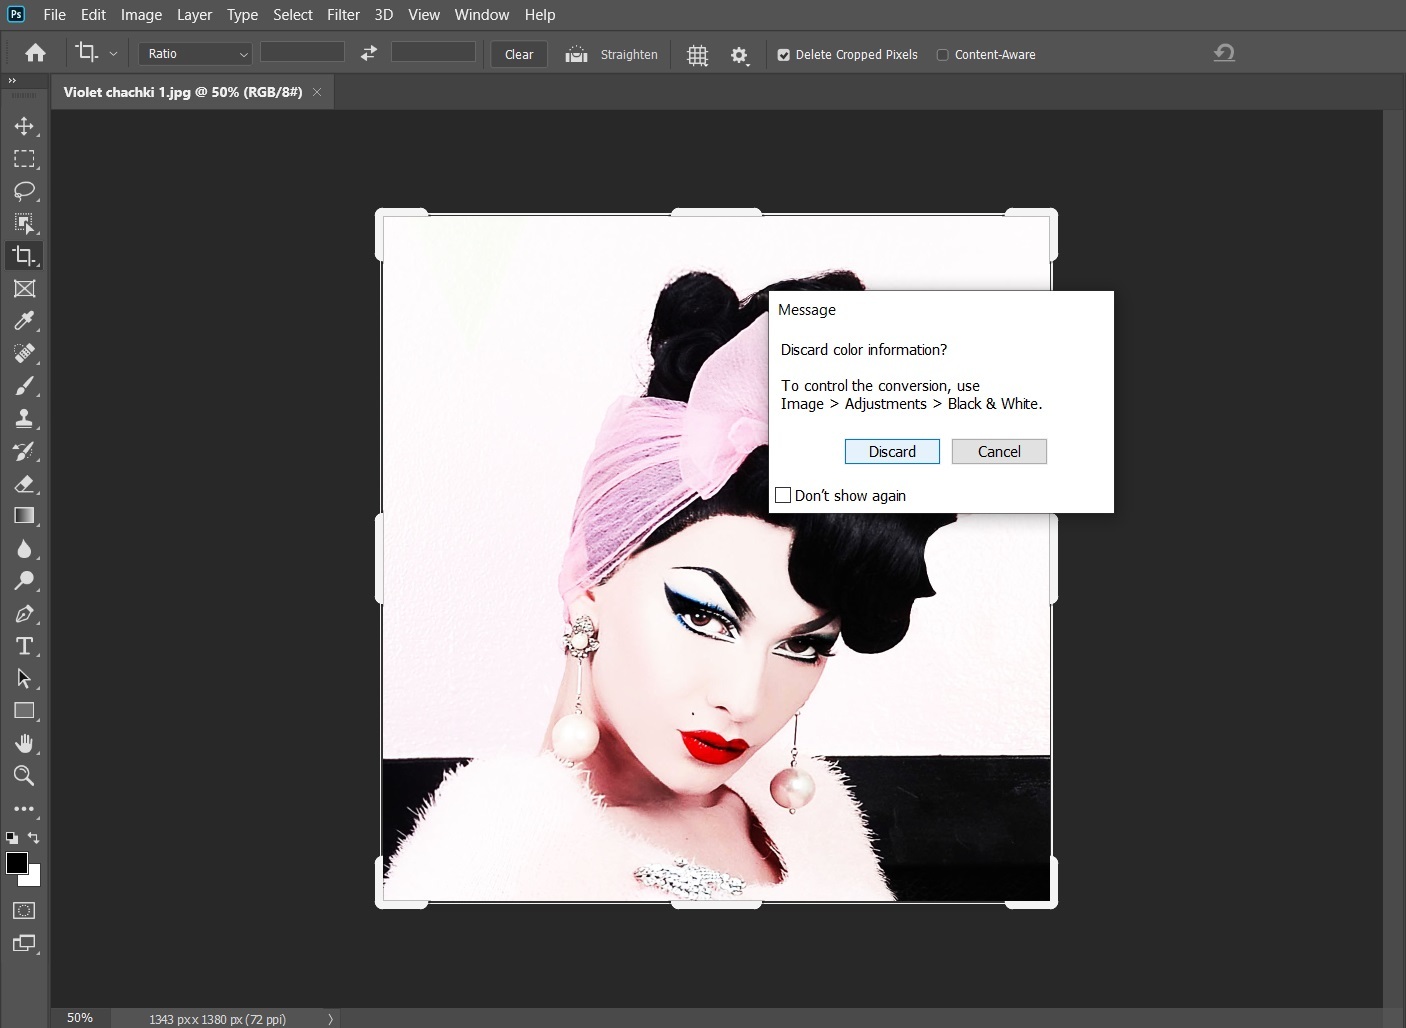
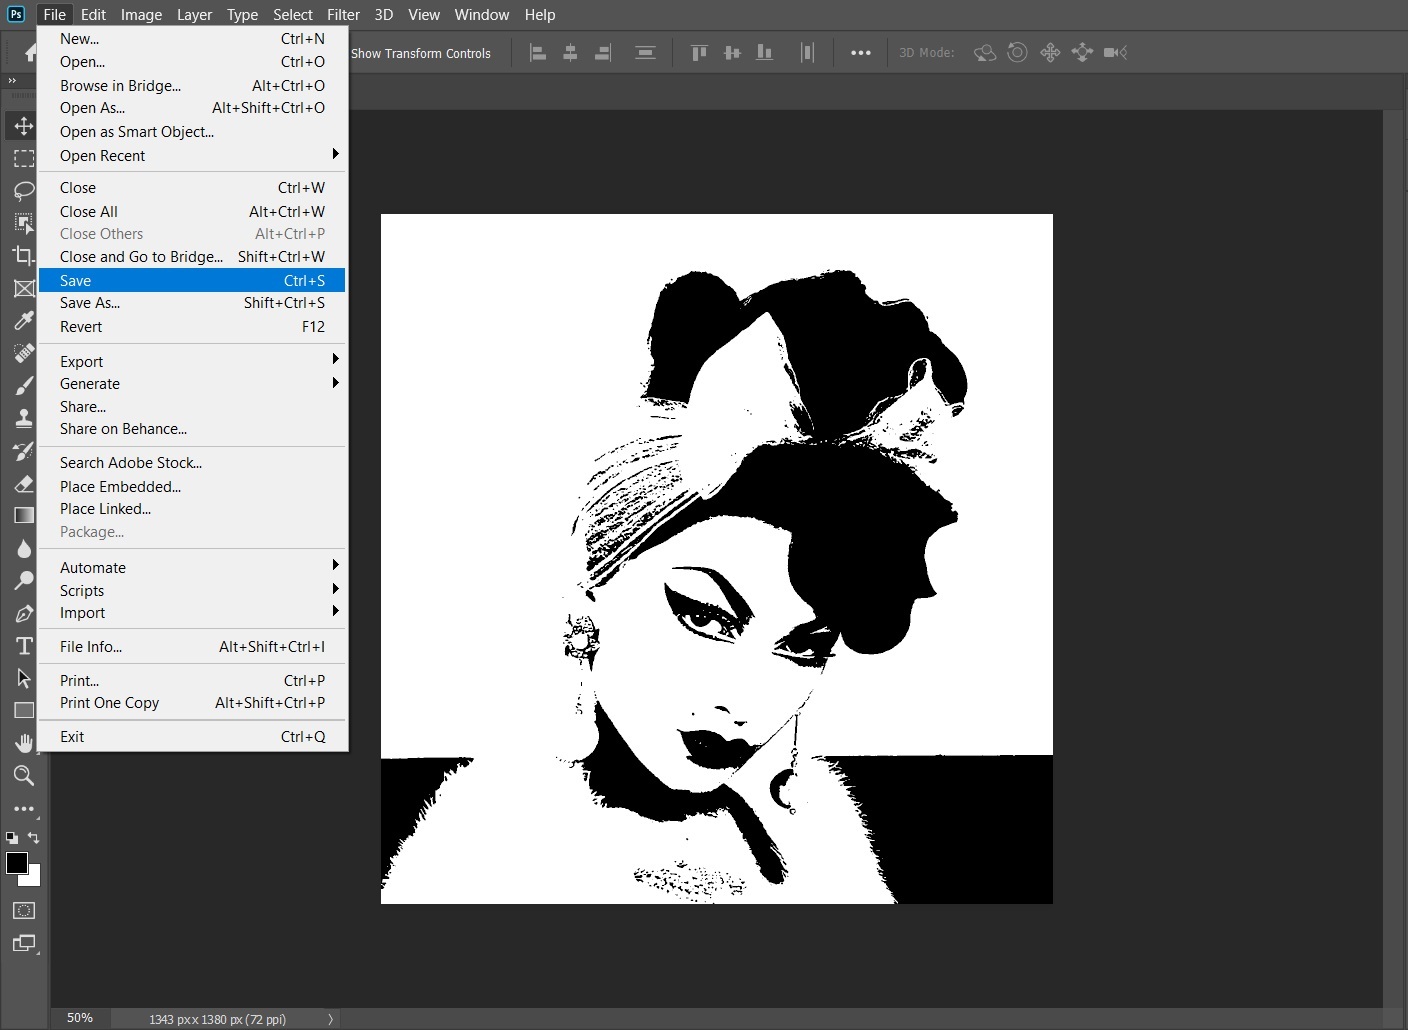
First, open the picture and select the crop tool from the toolbar. Click on "Image" and crop the picture.
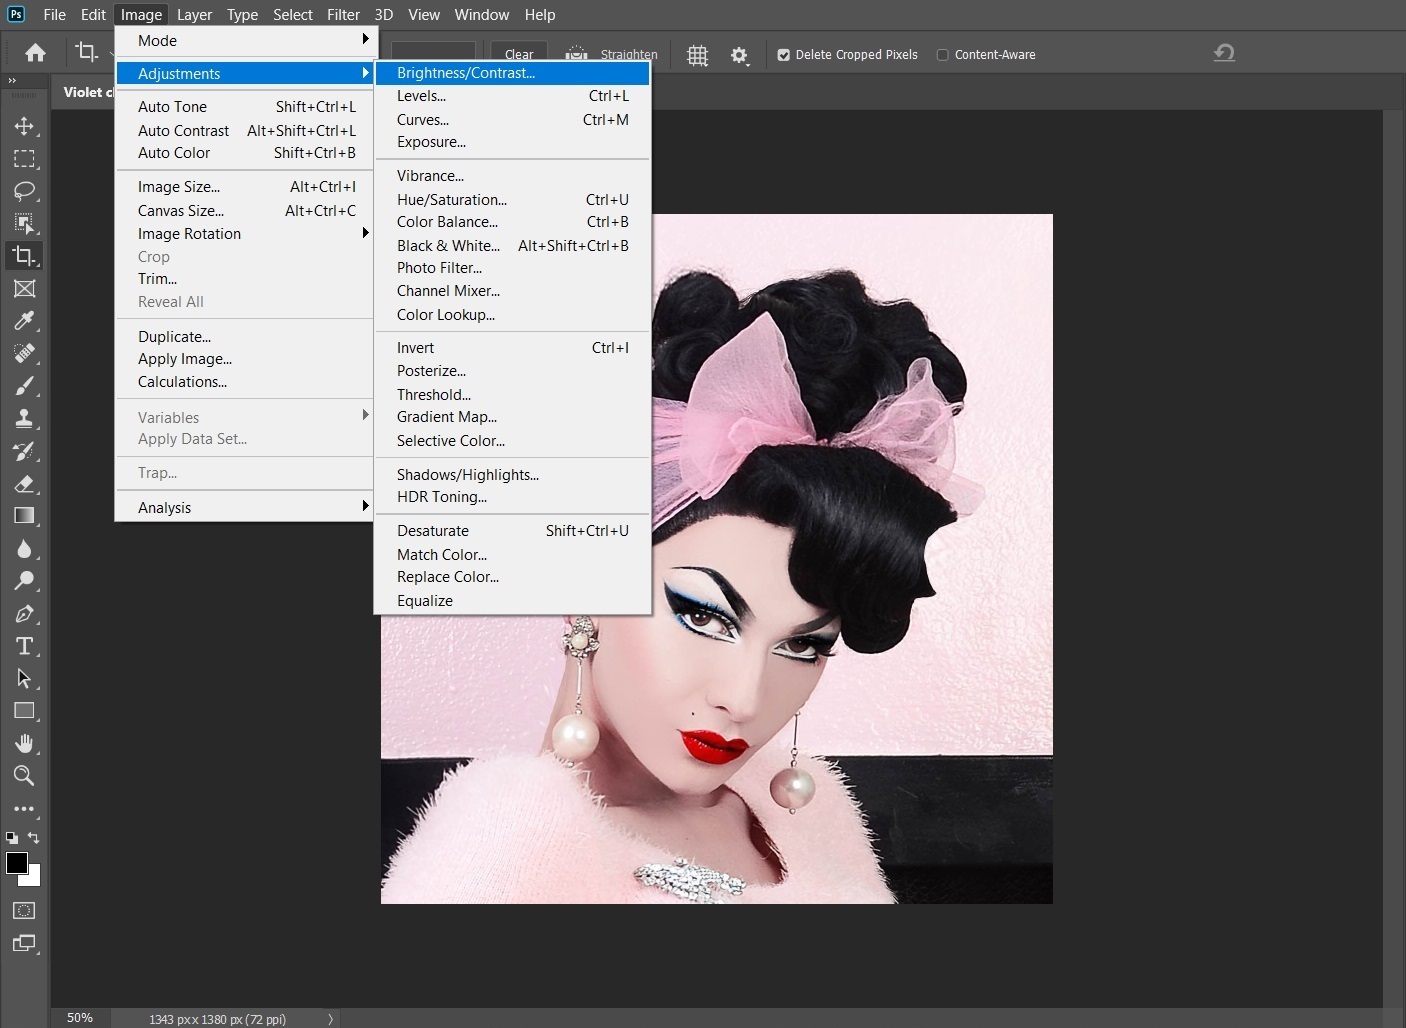
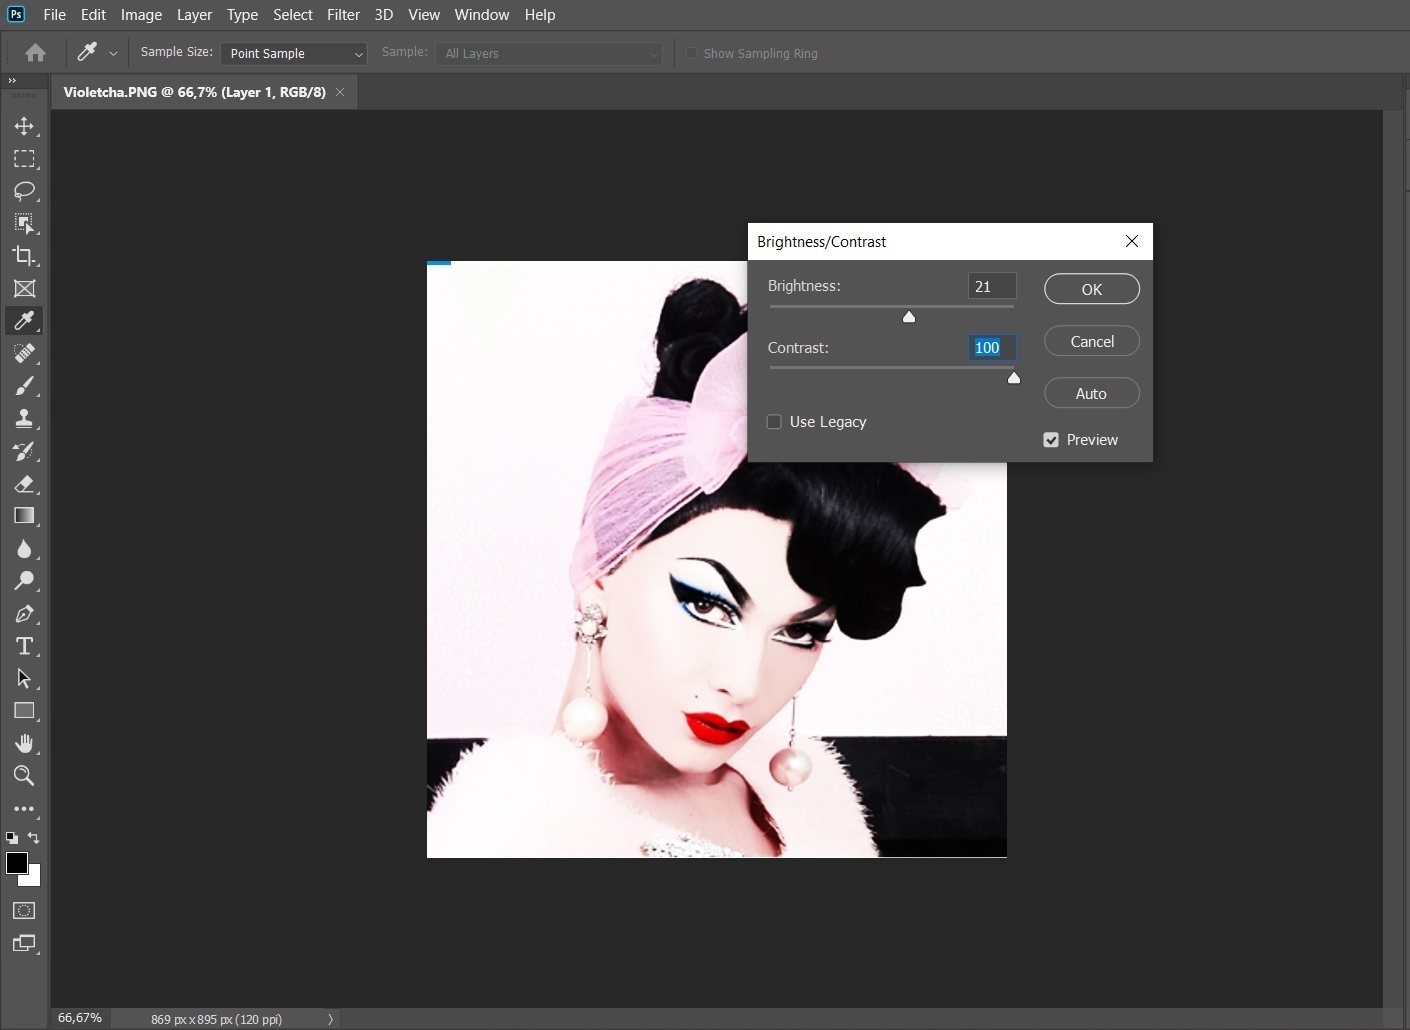
Next, you will need to adjust the contrast of the picture. Go to the menu bar at the top and click on Image > Adjustments > Brightness/Contrast. Add more brightness and set contrast to 100. Rename and save the high contrast picture.
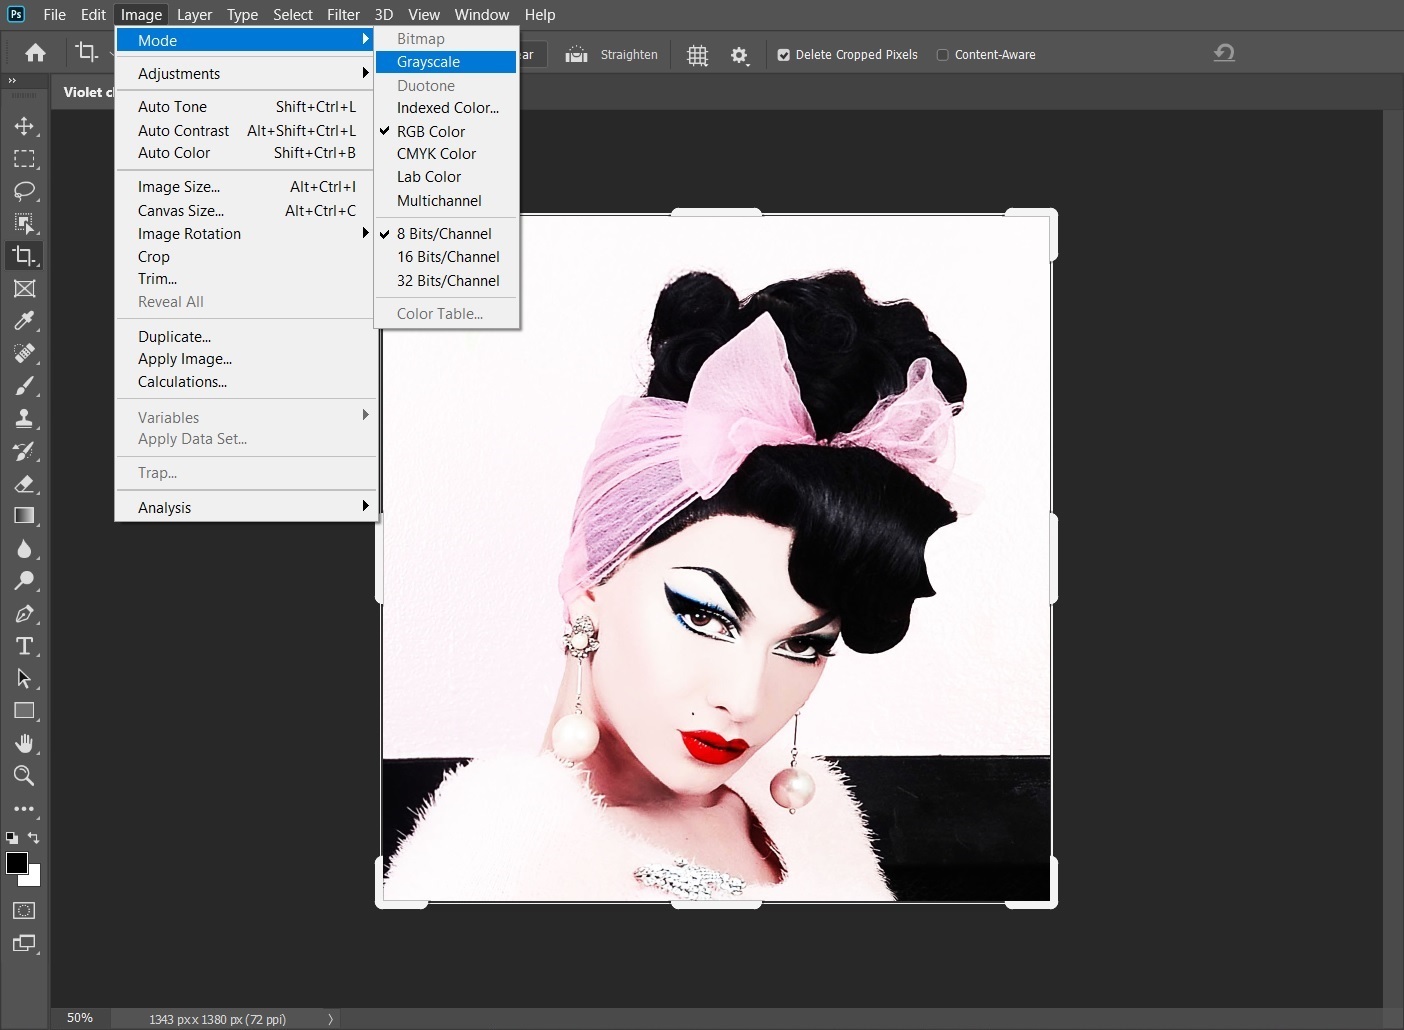
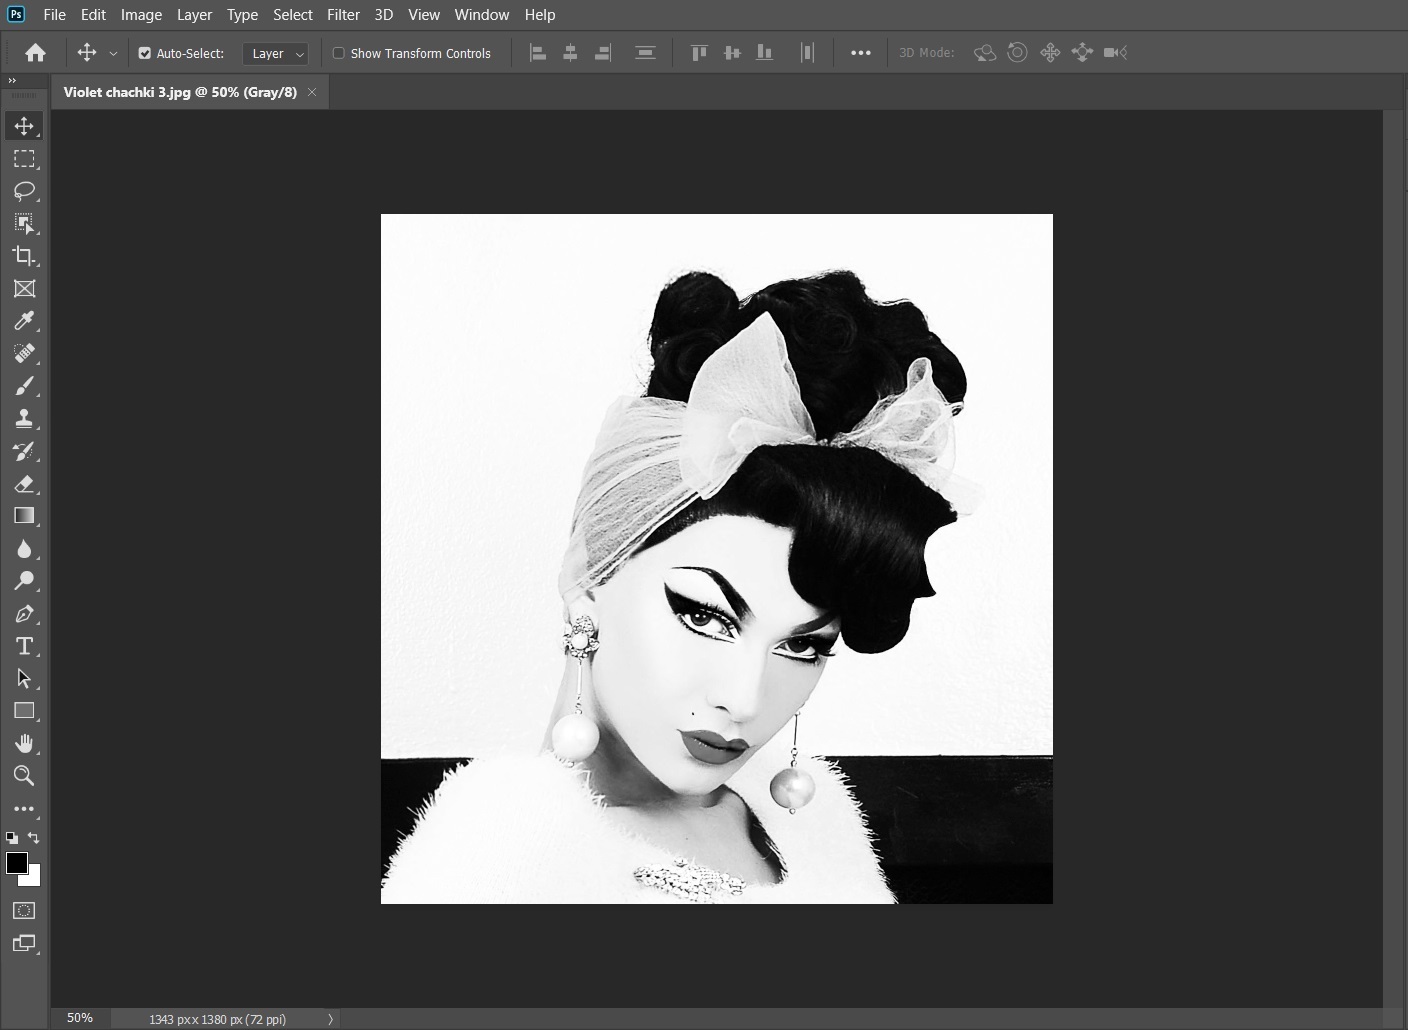
In the menu bar, select "Mode" and click "Grayscale", then "discard information" in order to turn the picture black & white.
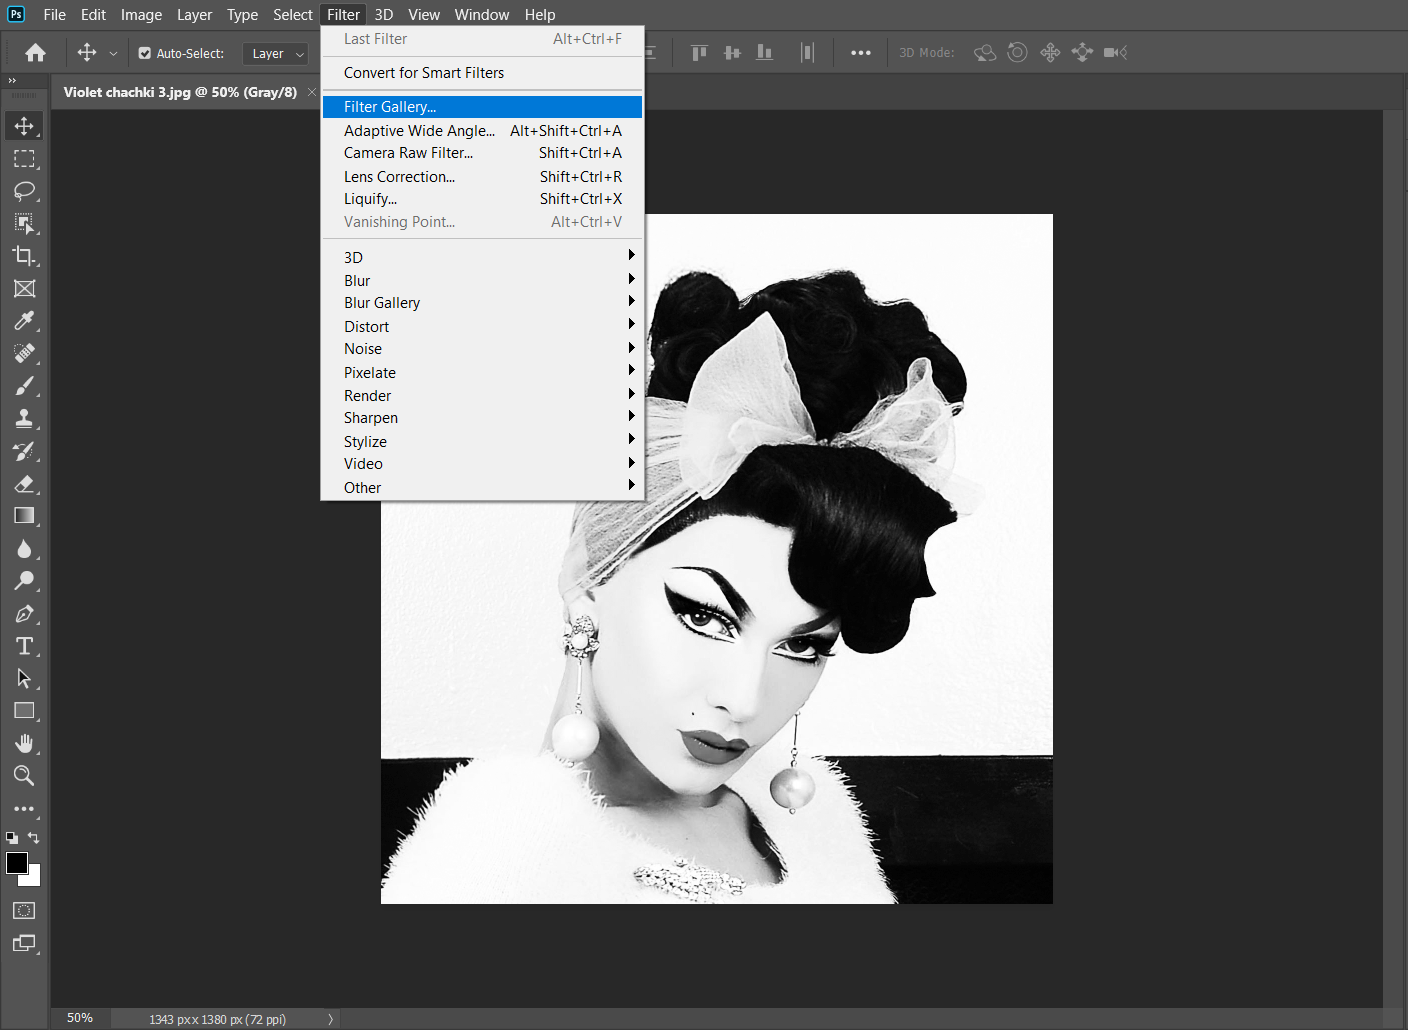
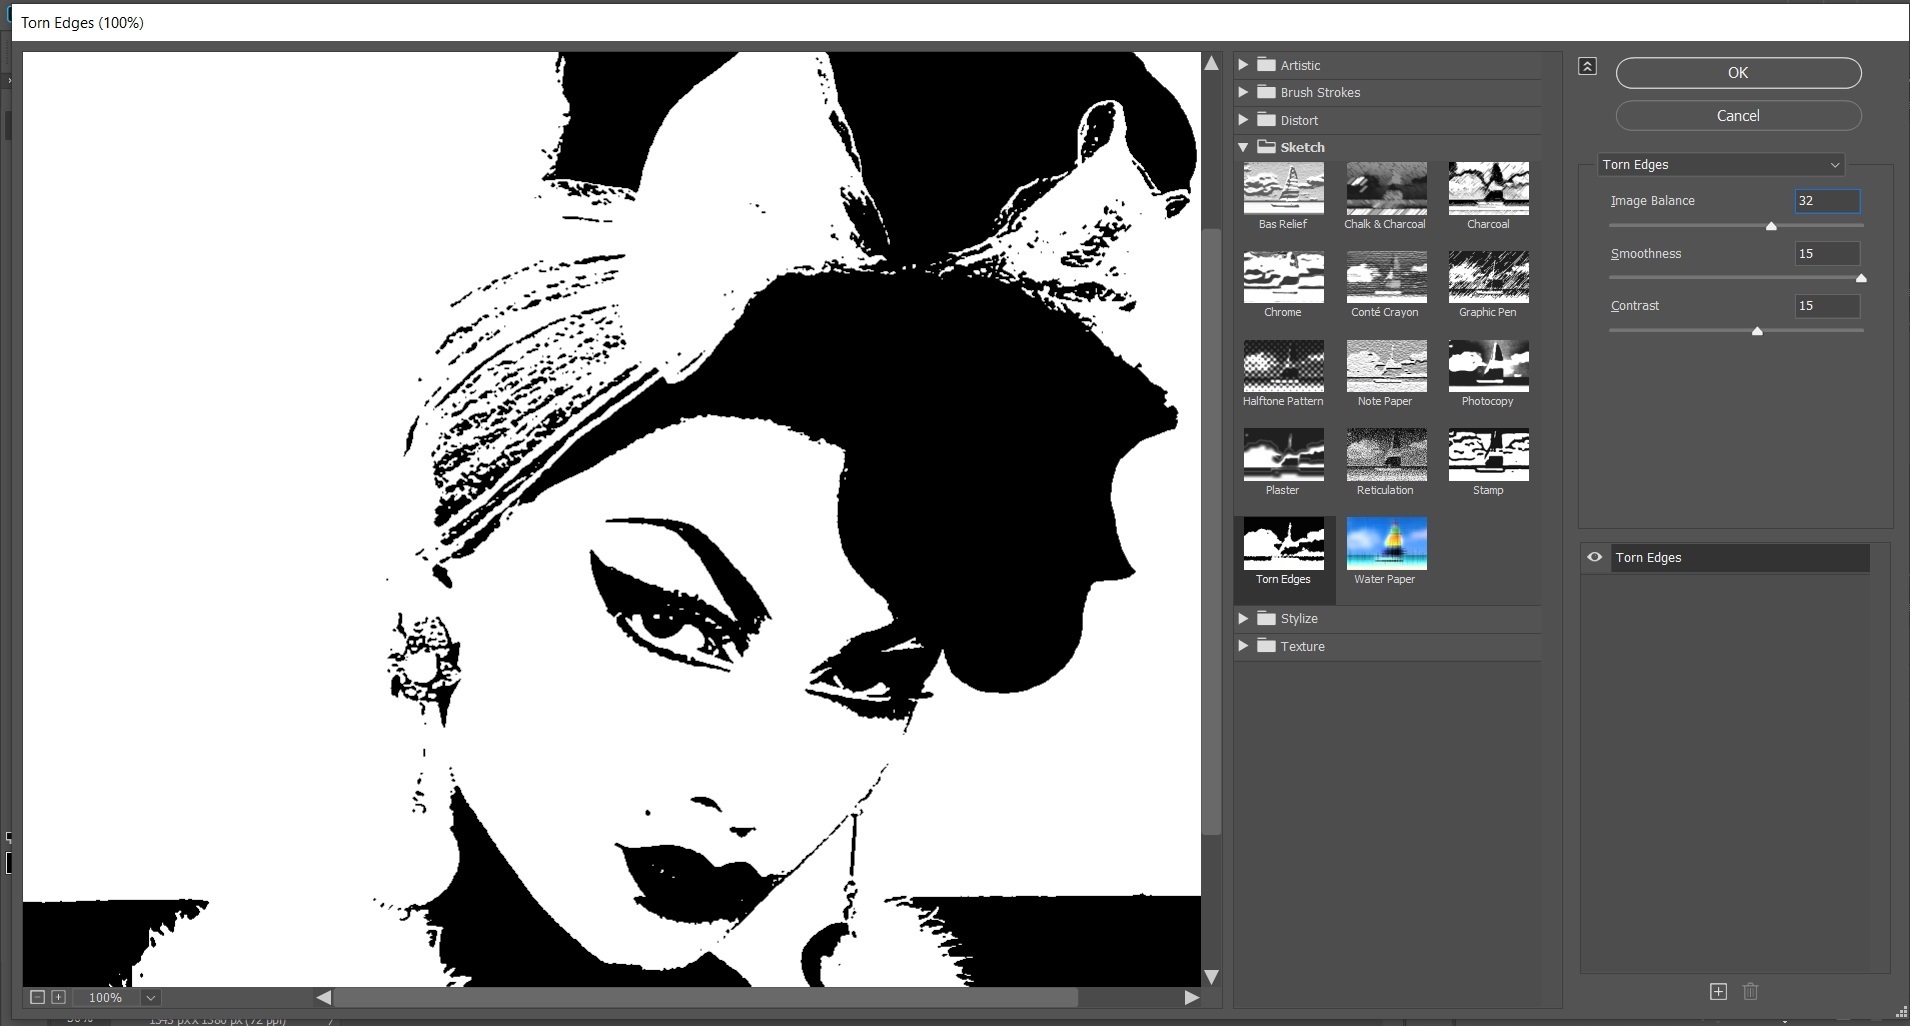
For the Pop Art effect, select "Filter" and "filter gallery" in the top menu bar. Pick the "Tom Edges" filter and set smoothness to 15. Rename and save the picture and you're done! :)
If you're in a rush you can skip the next step and use the black and white picture to make a paper stencil for your pizza.
Design a Pizza Portrait (Make a Stencil With Illustrator)
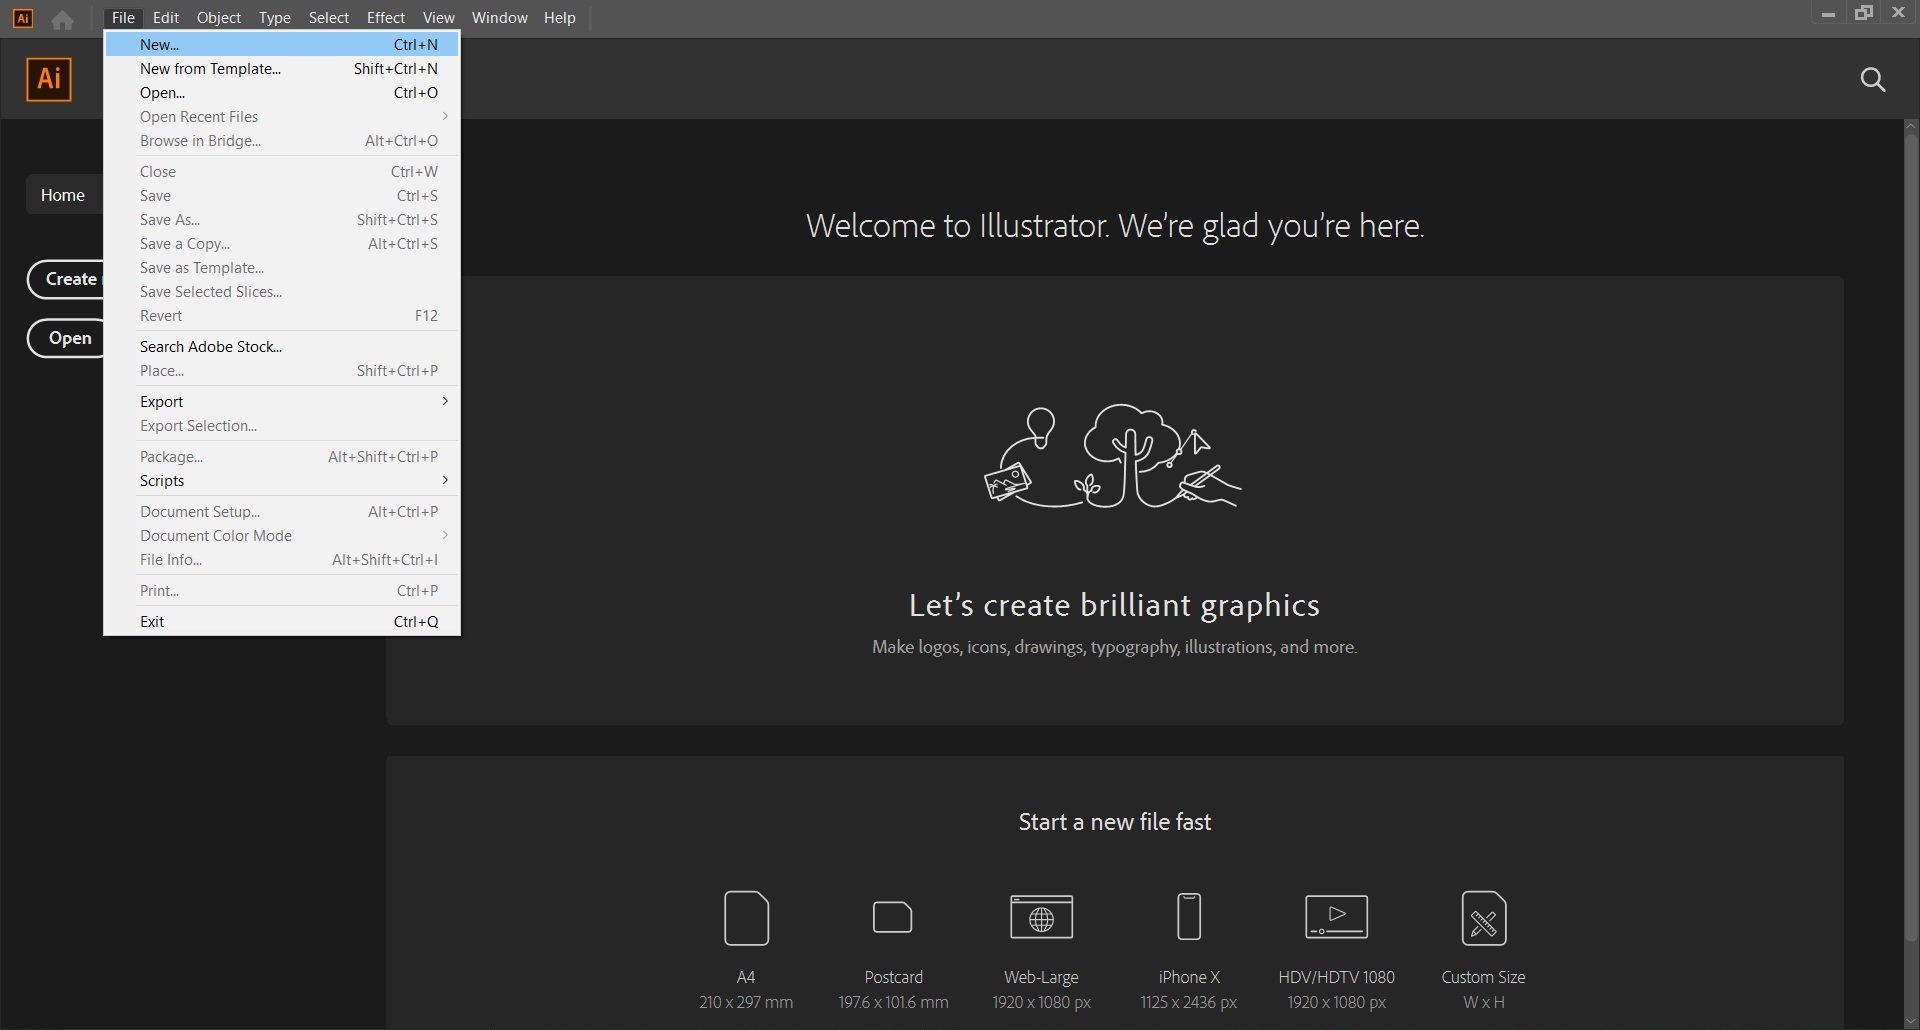
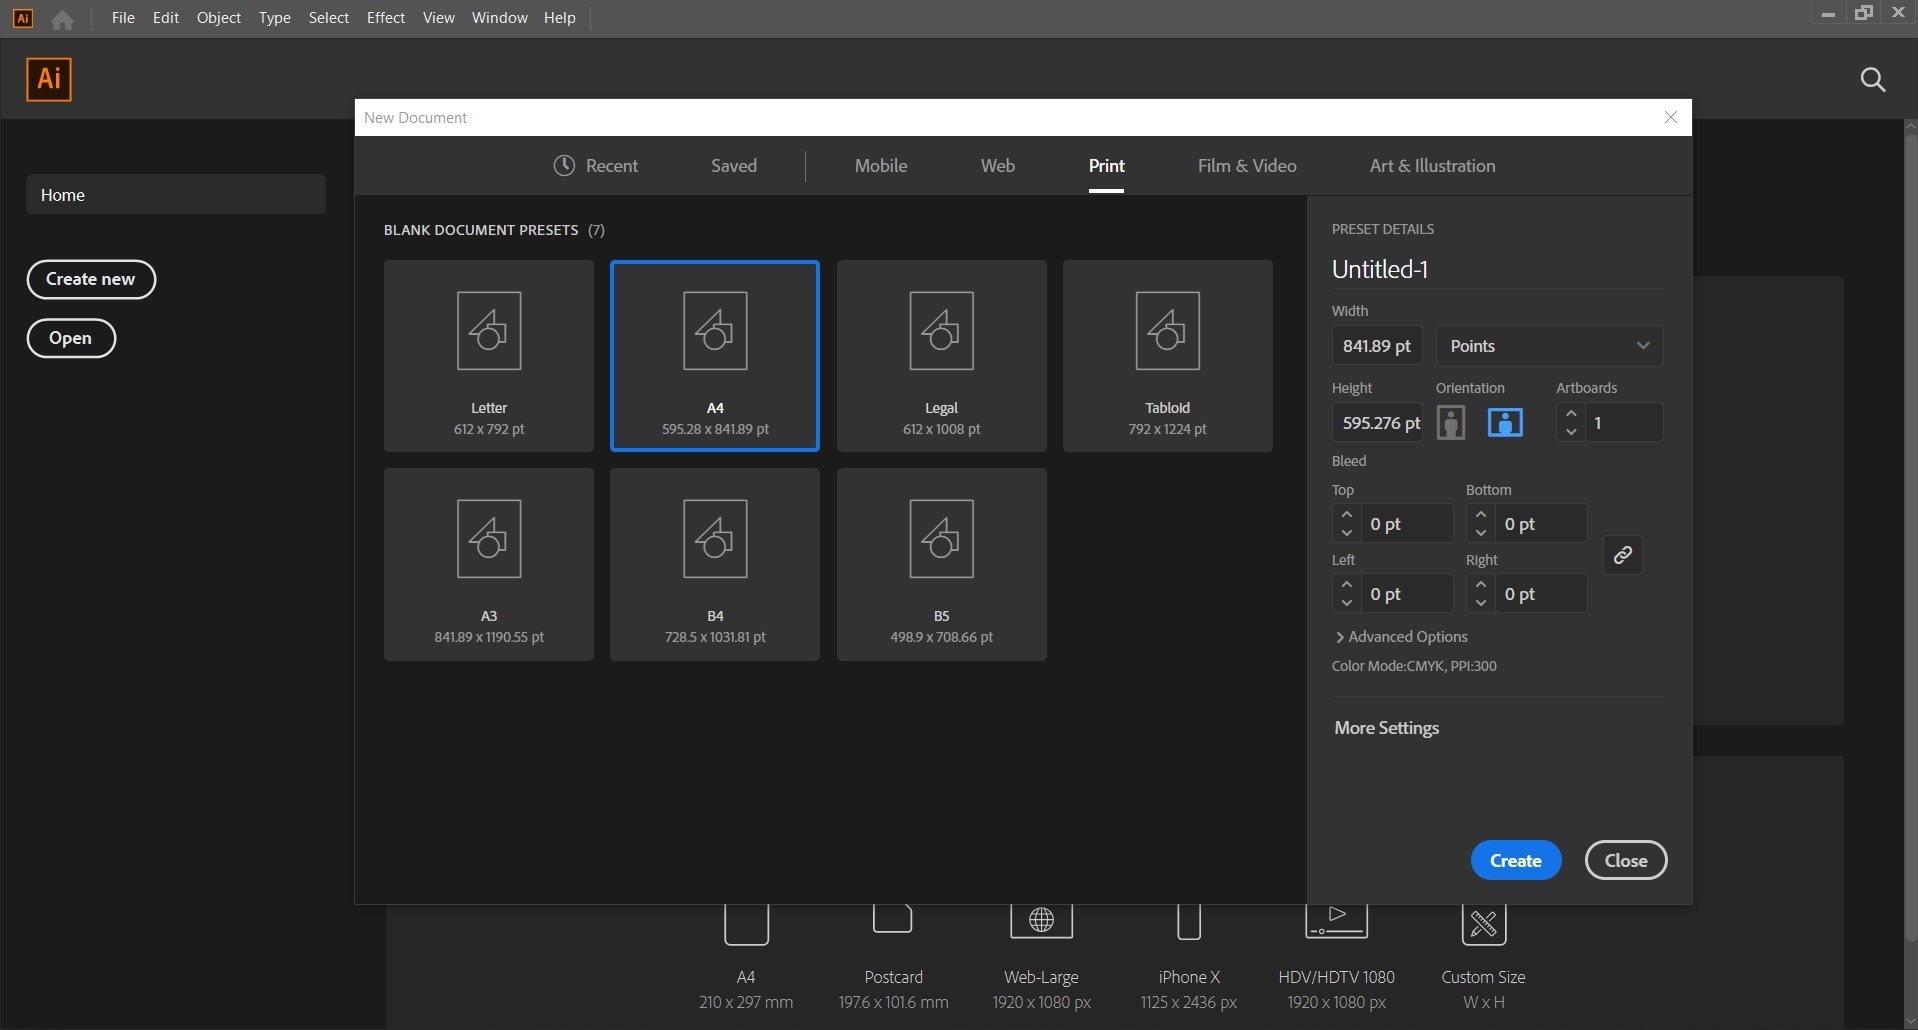

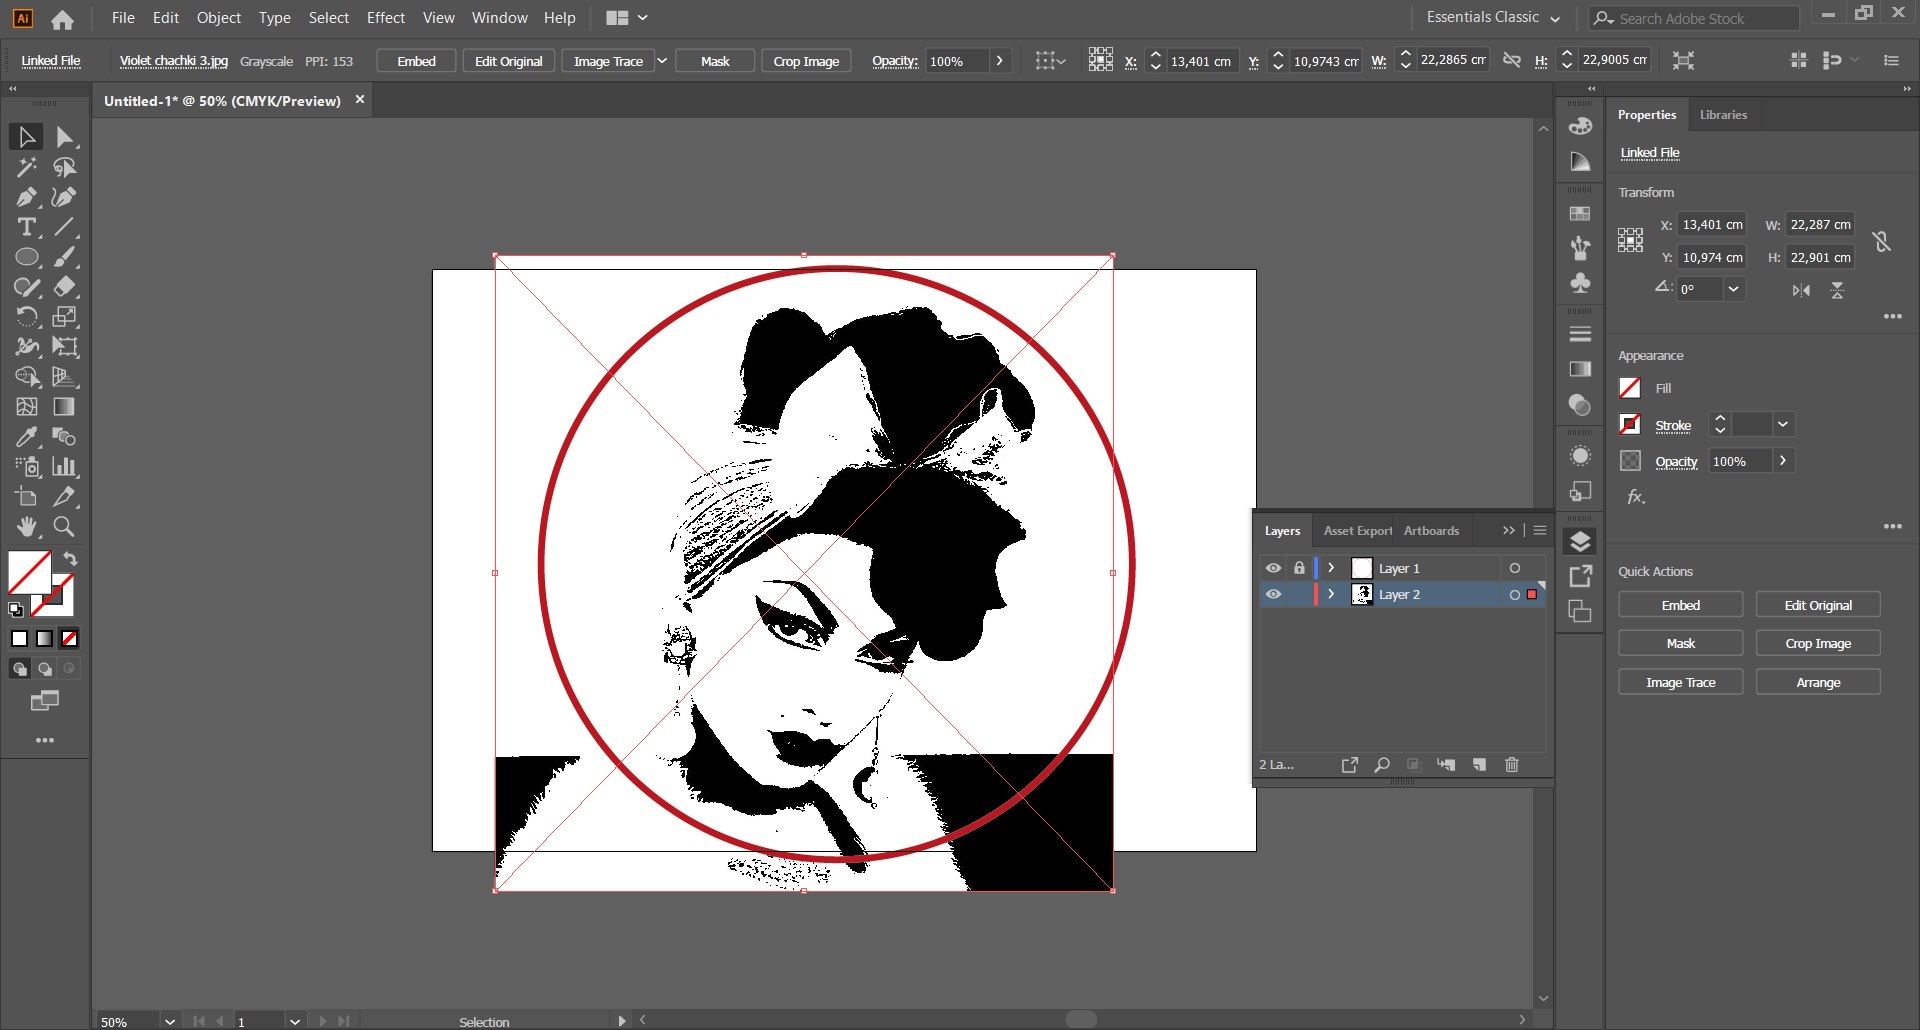


You will need to creat a new A4 file with Illustrator (orientation => landscape).
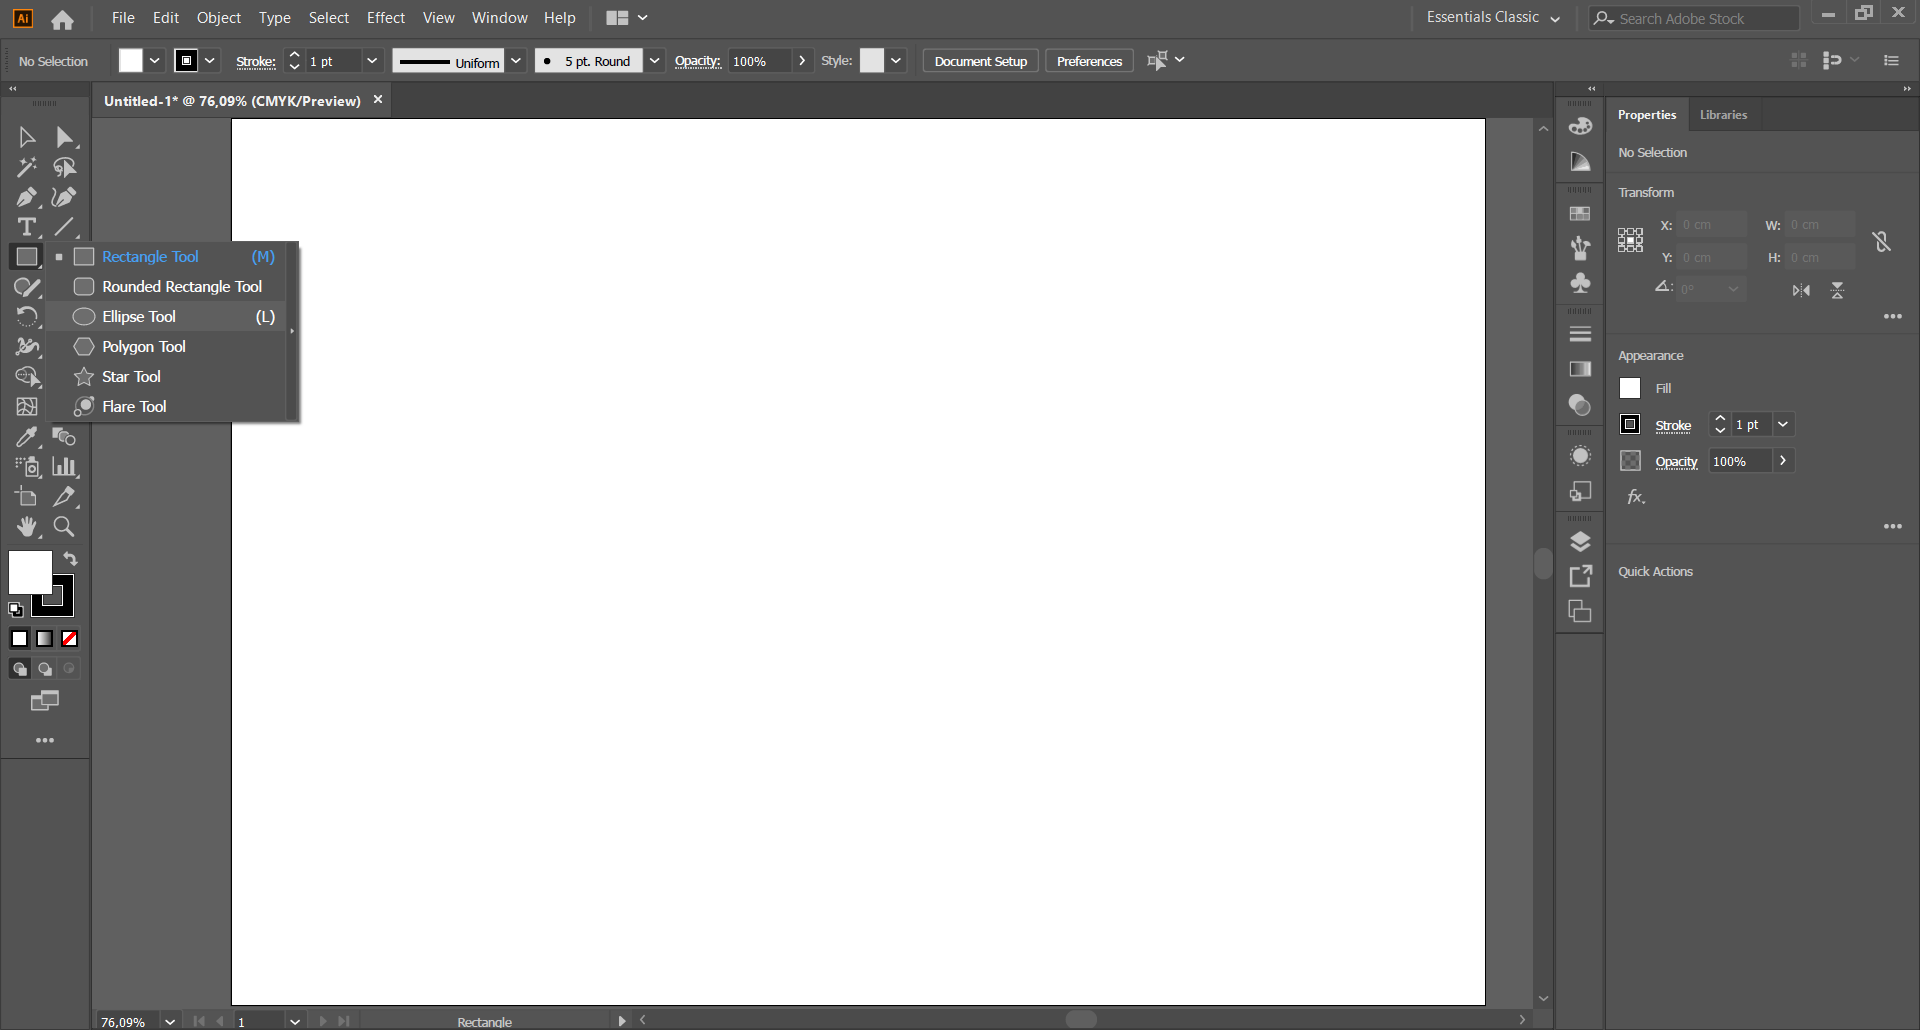
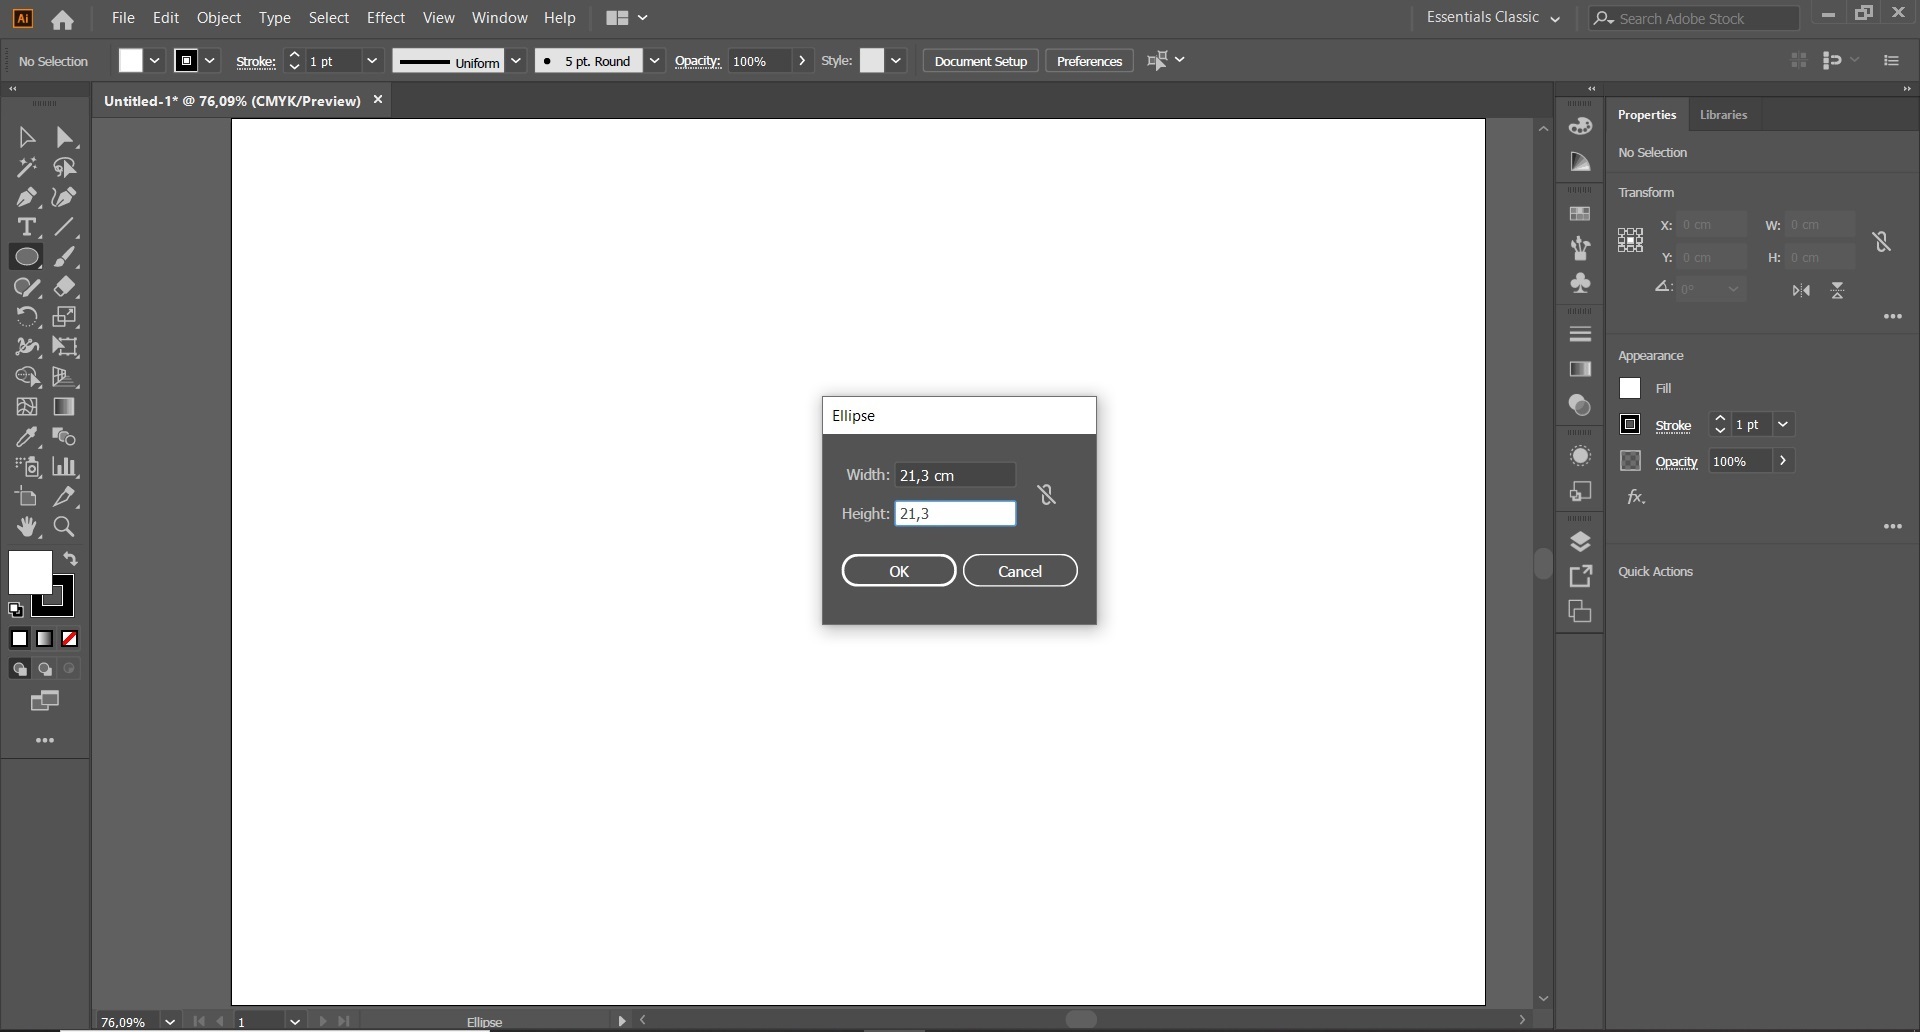
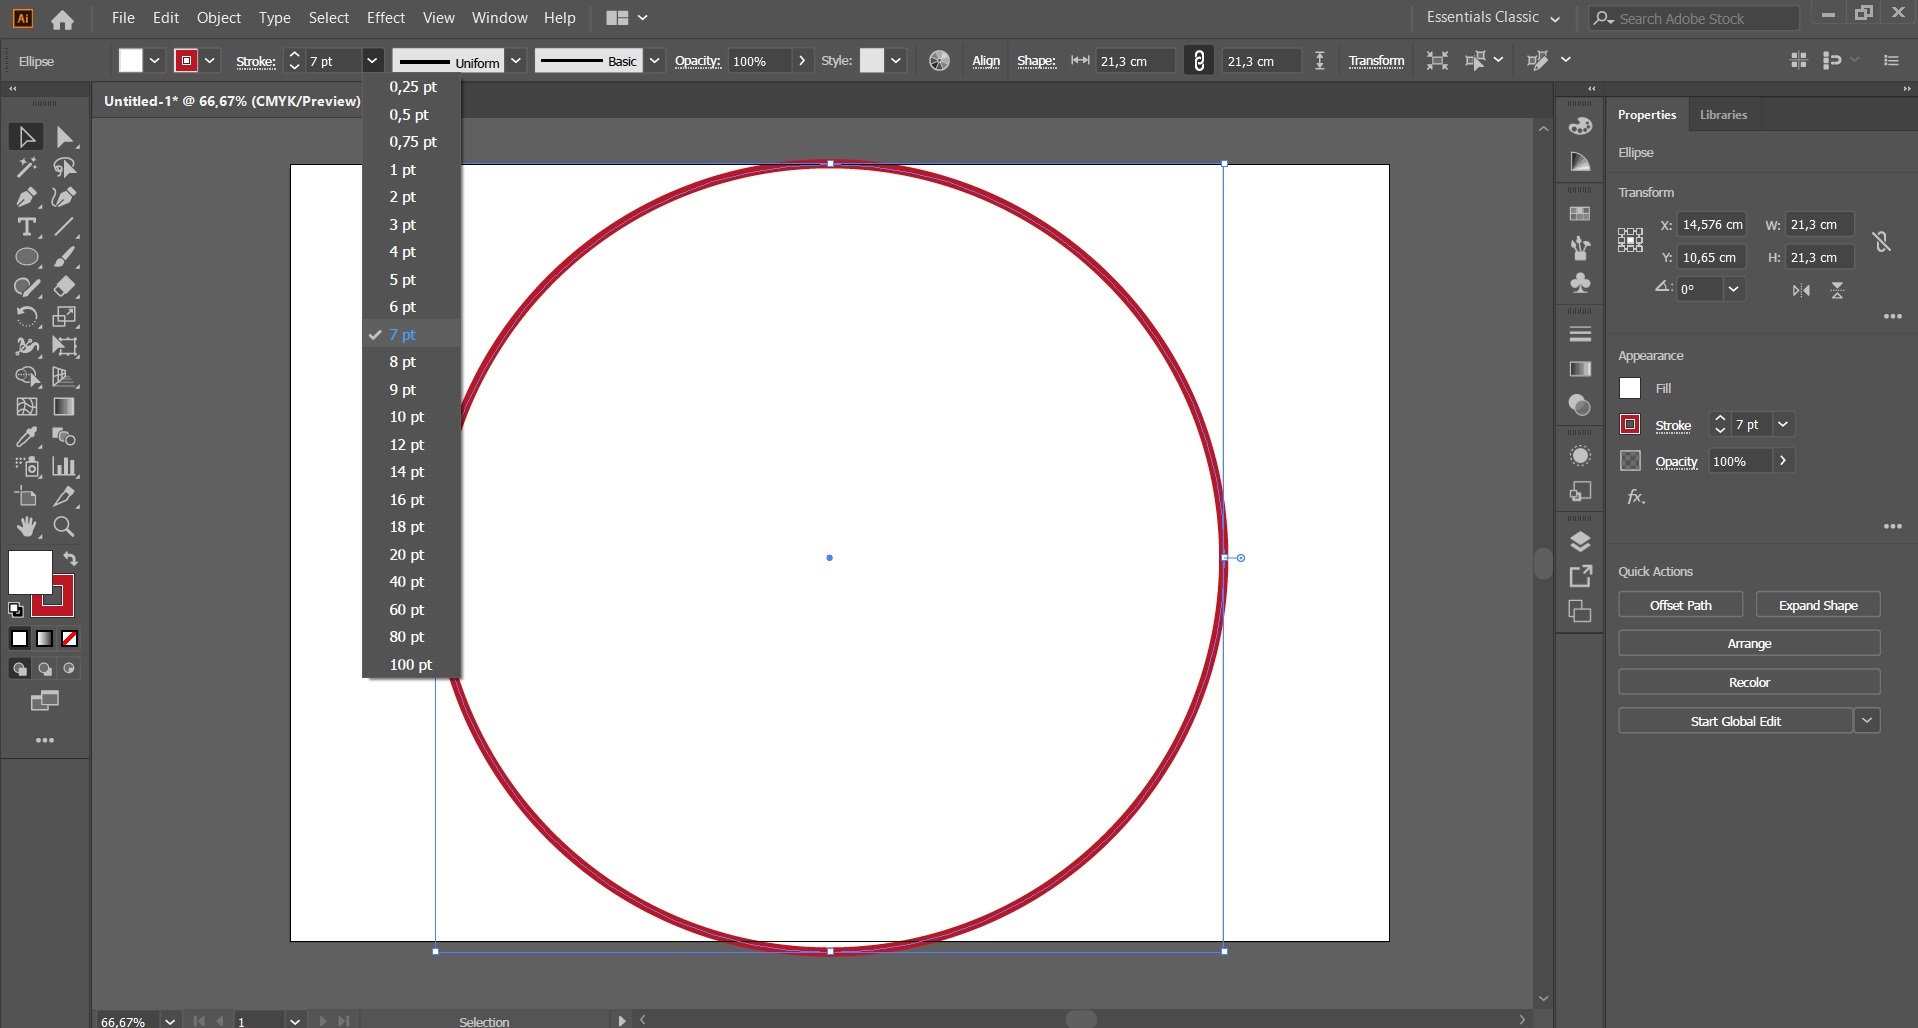
Select the ellipse tool in the tool bar. Pick a red color and adjust the size of the ellipse. (My pizza is 21.3 cm wide so the width and height of the ellipse is 21.3 cm.) Set the strokes width to 7 pt.
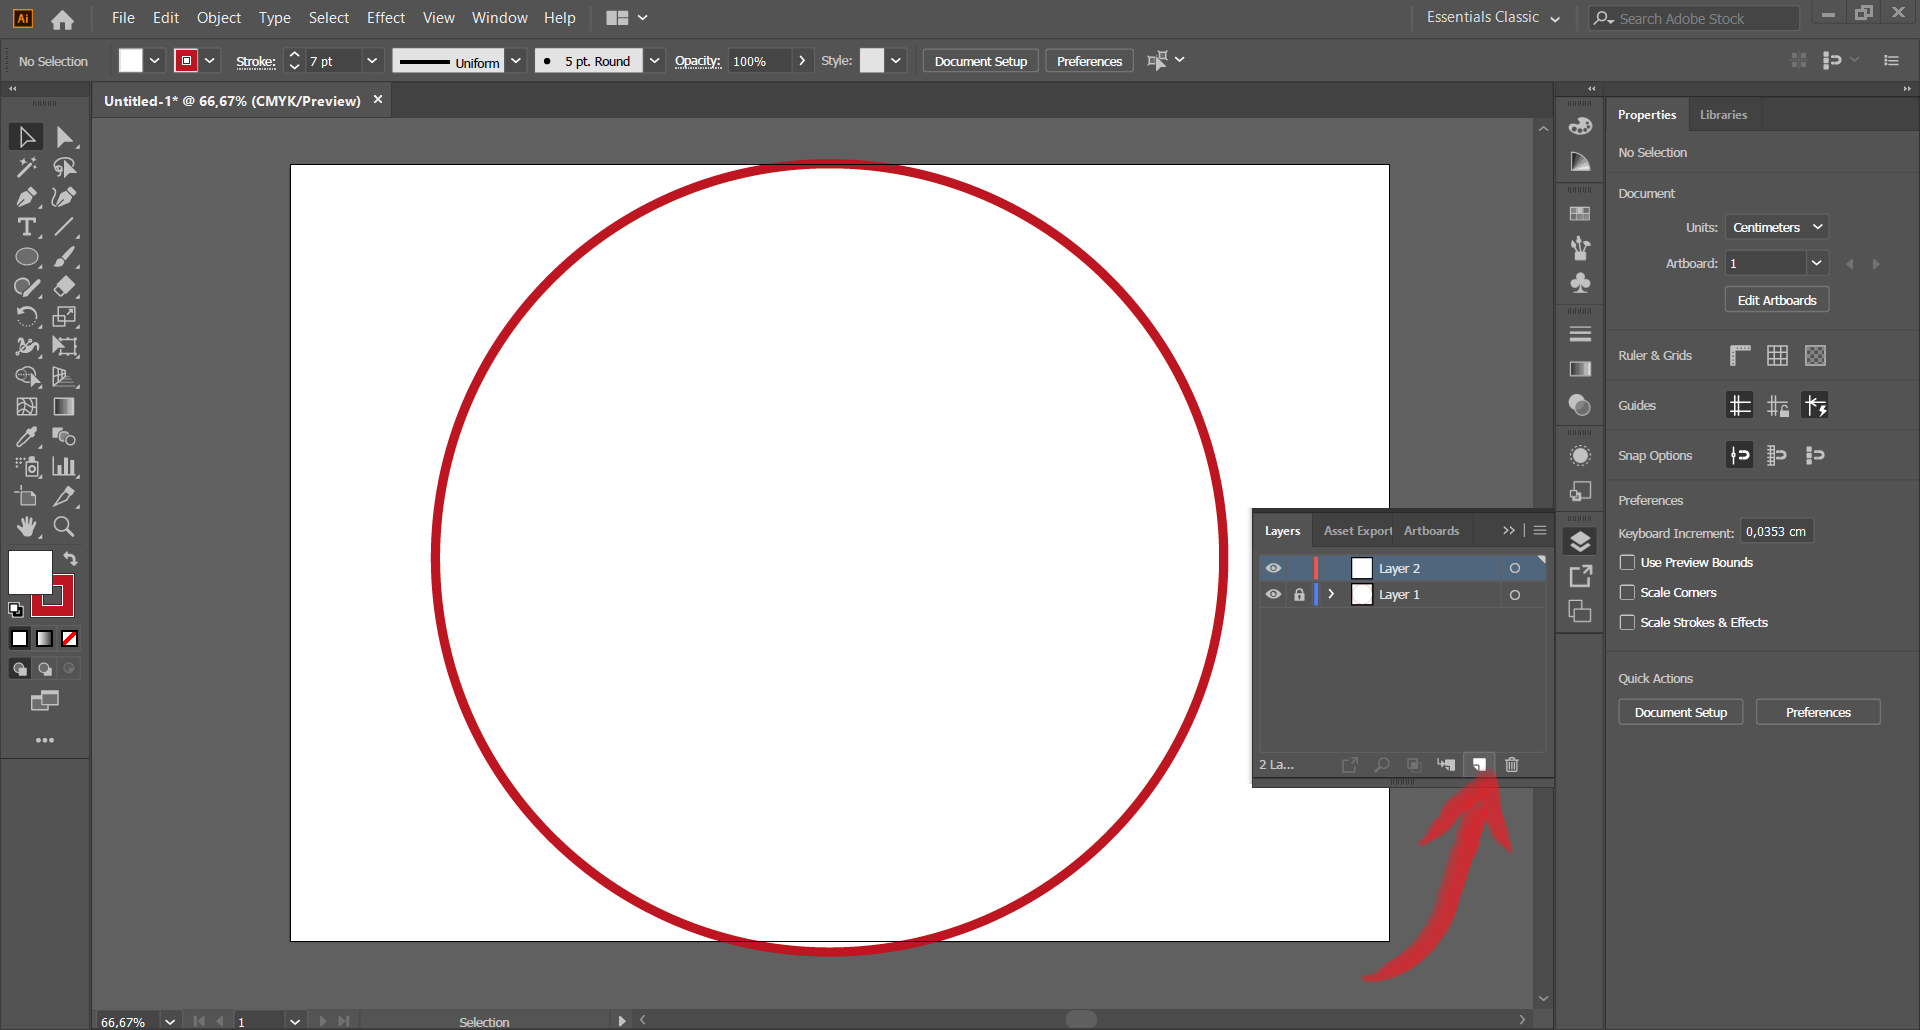
Go to the layer panel and create a 2nd layer. Paste the Pop Art picture you've made in the previous step in this layer. Use the layer panel to lock this layer.
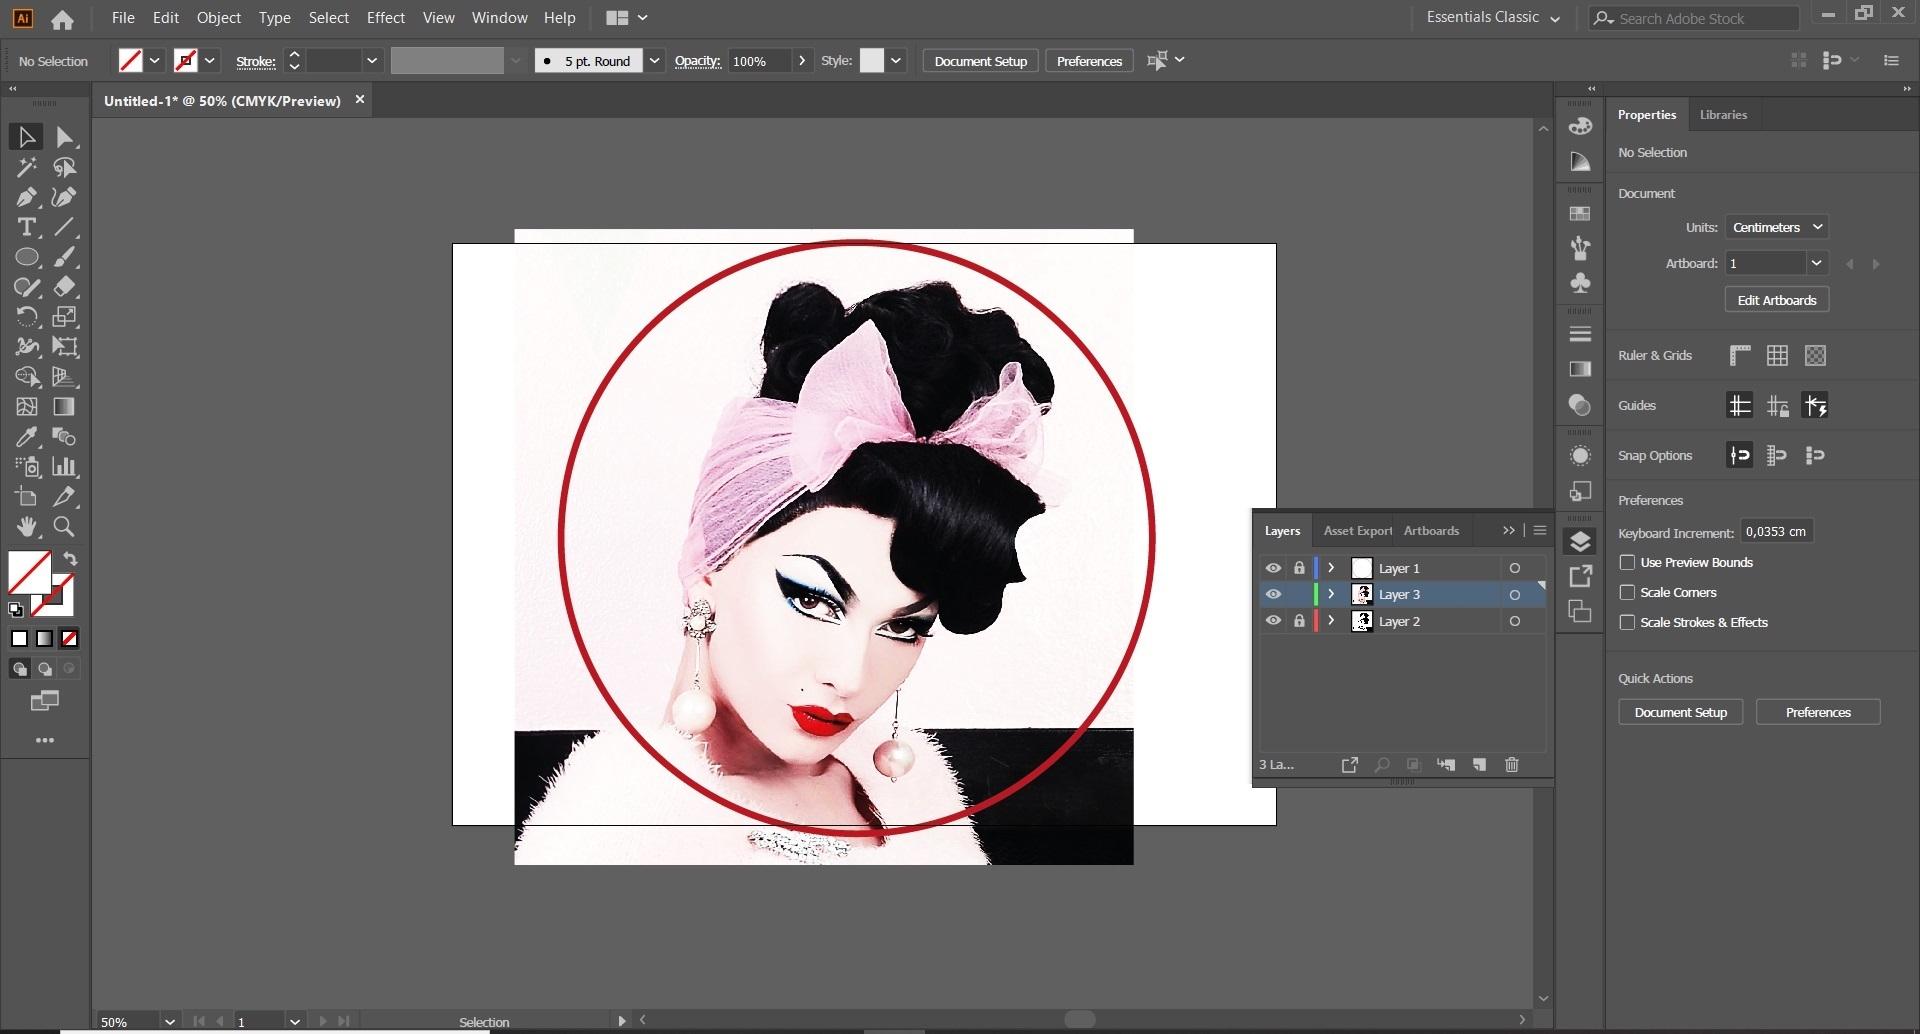
Create a third layer and add the "High contrast" picture you've made. Lock this layer.
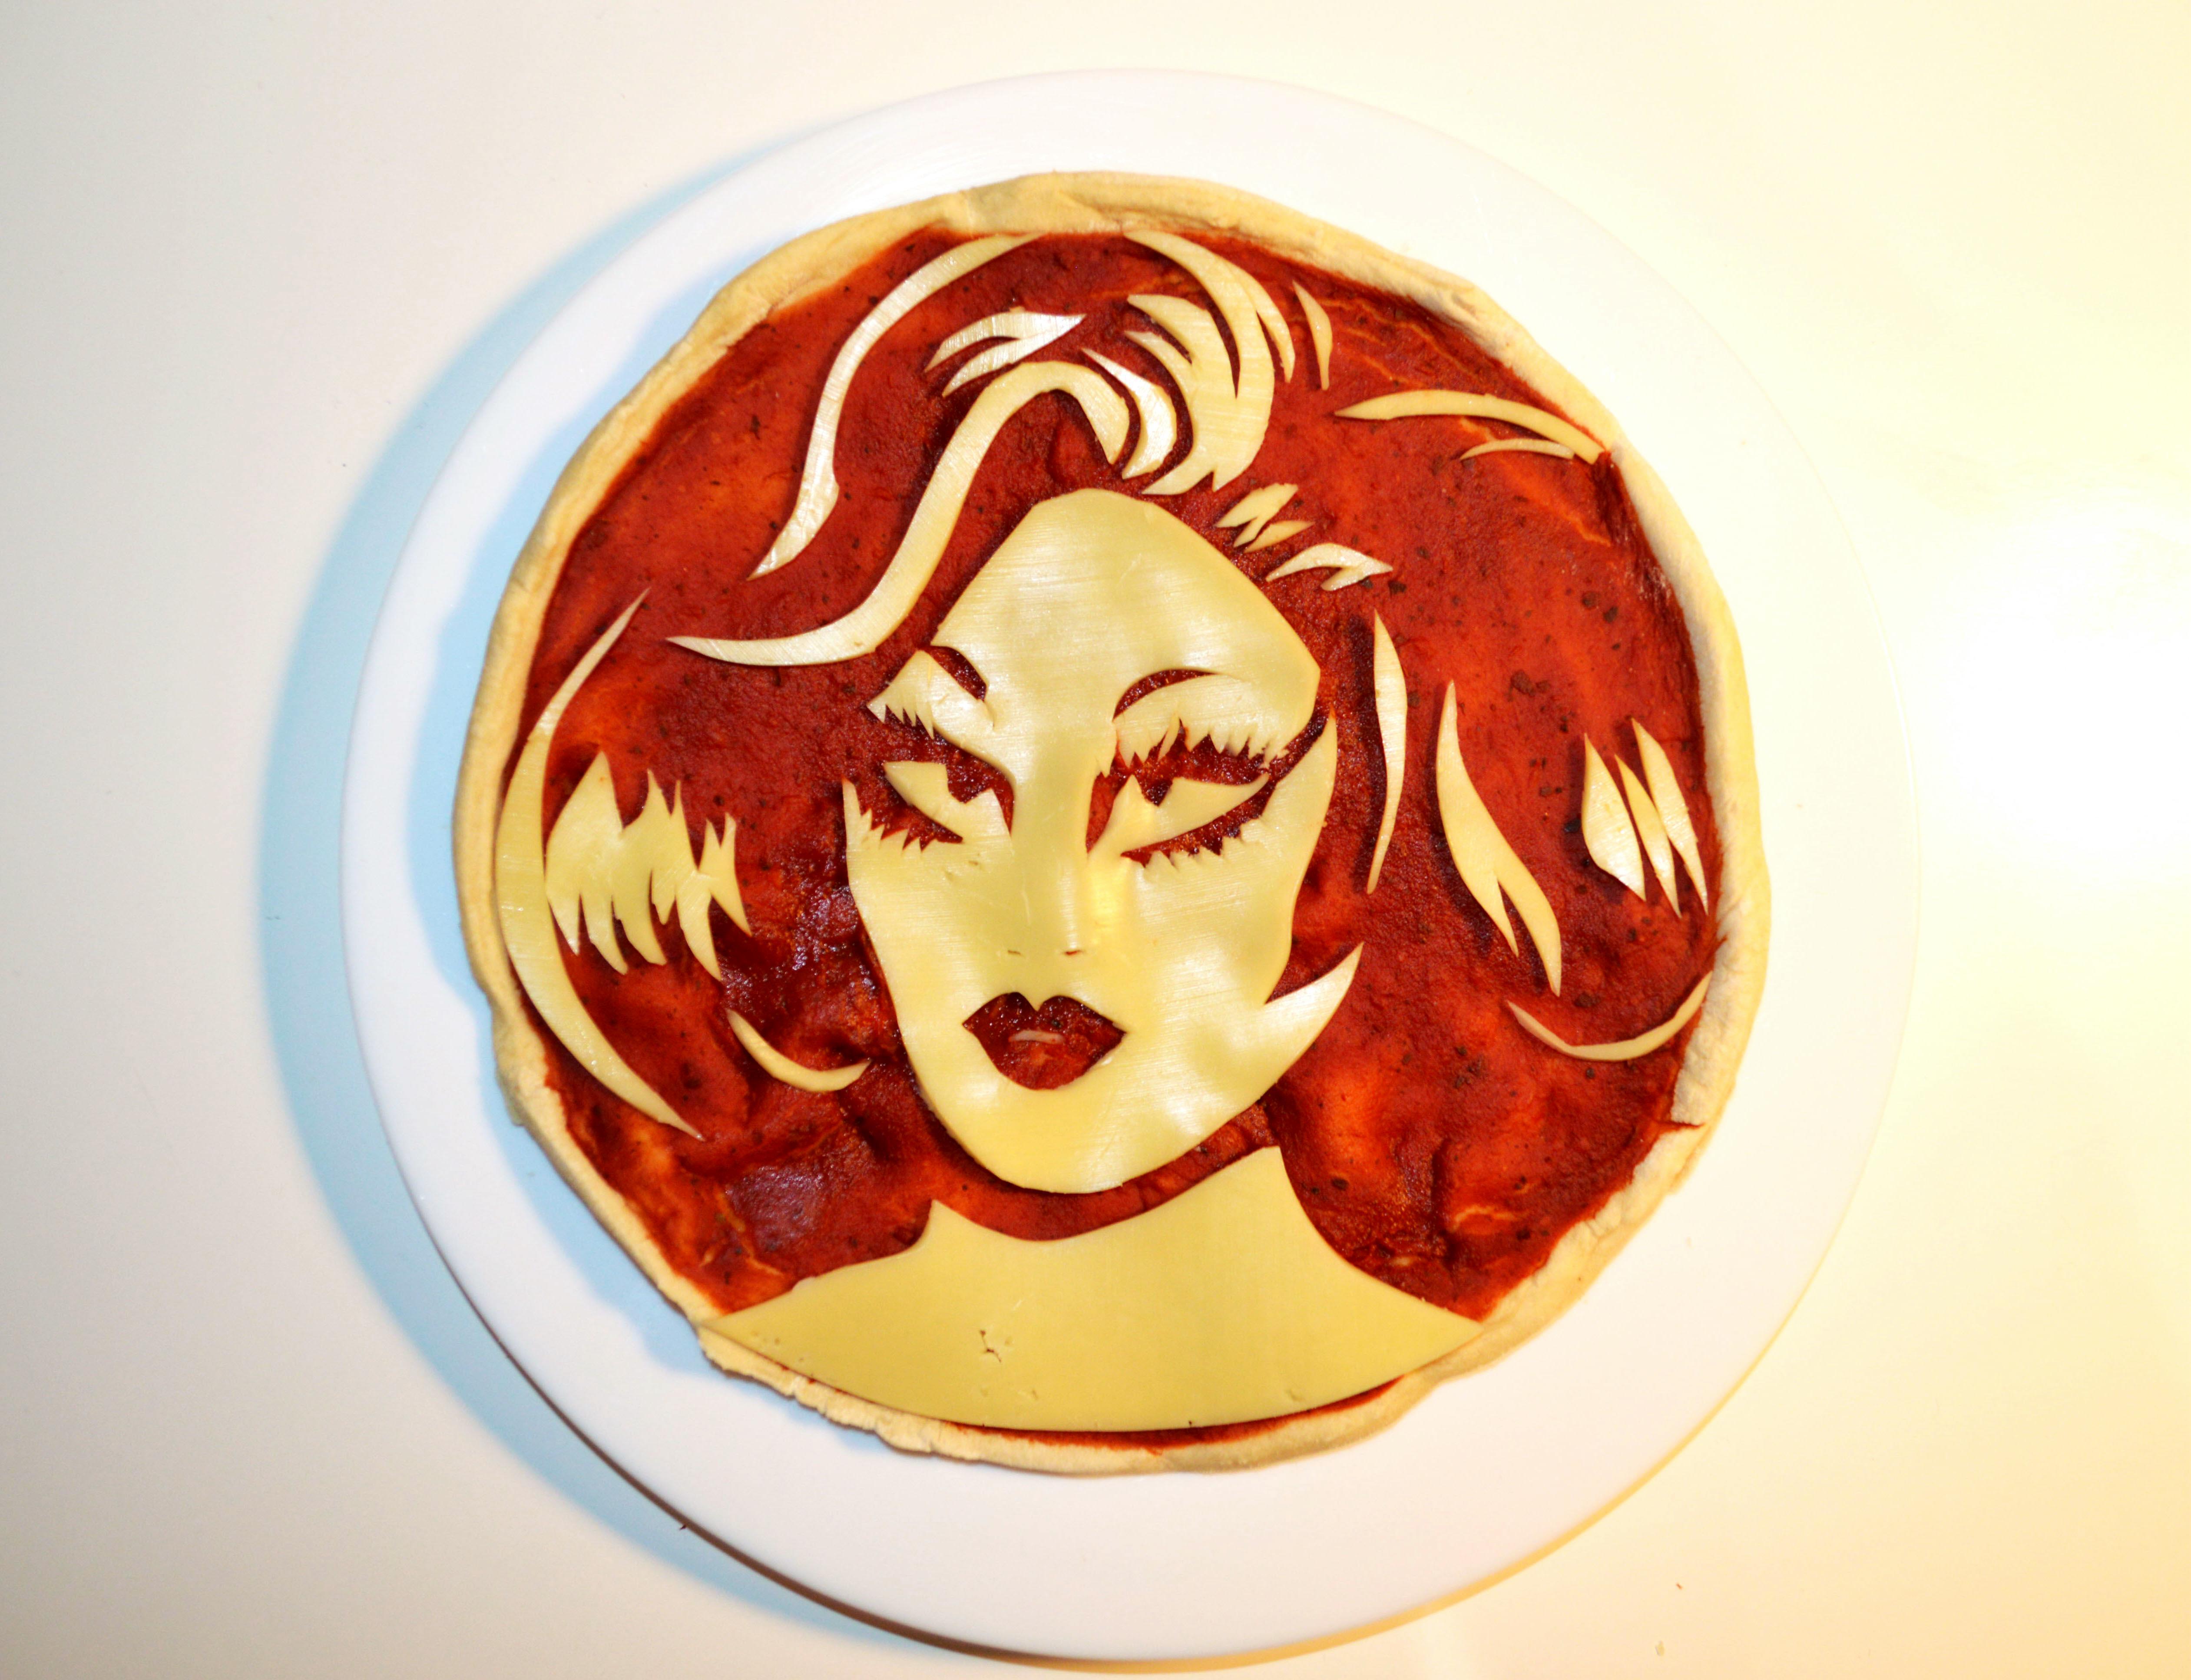
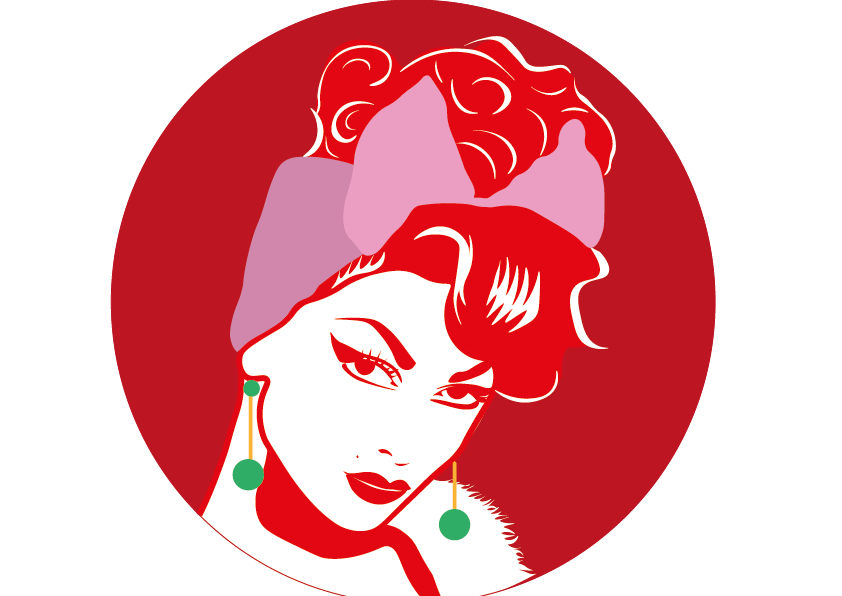
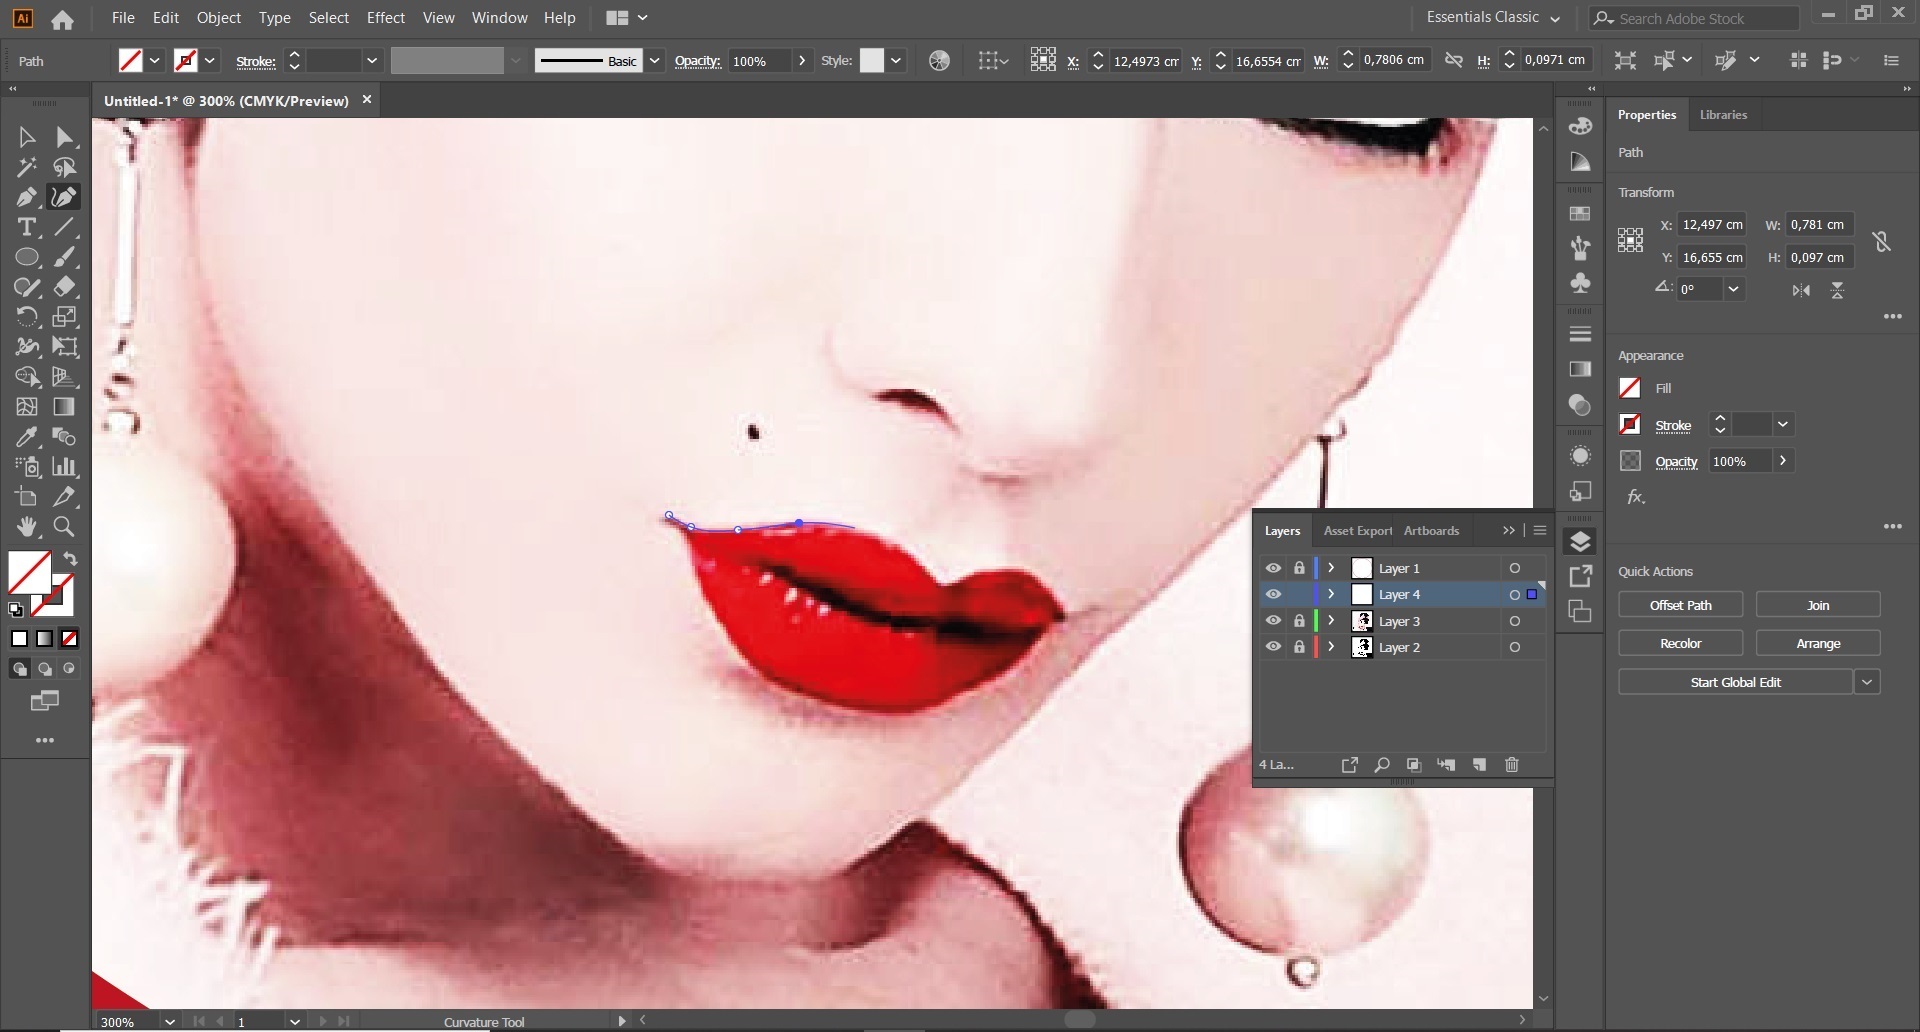
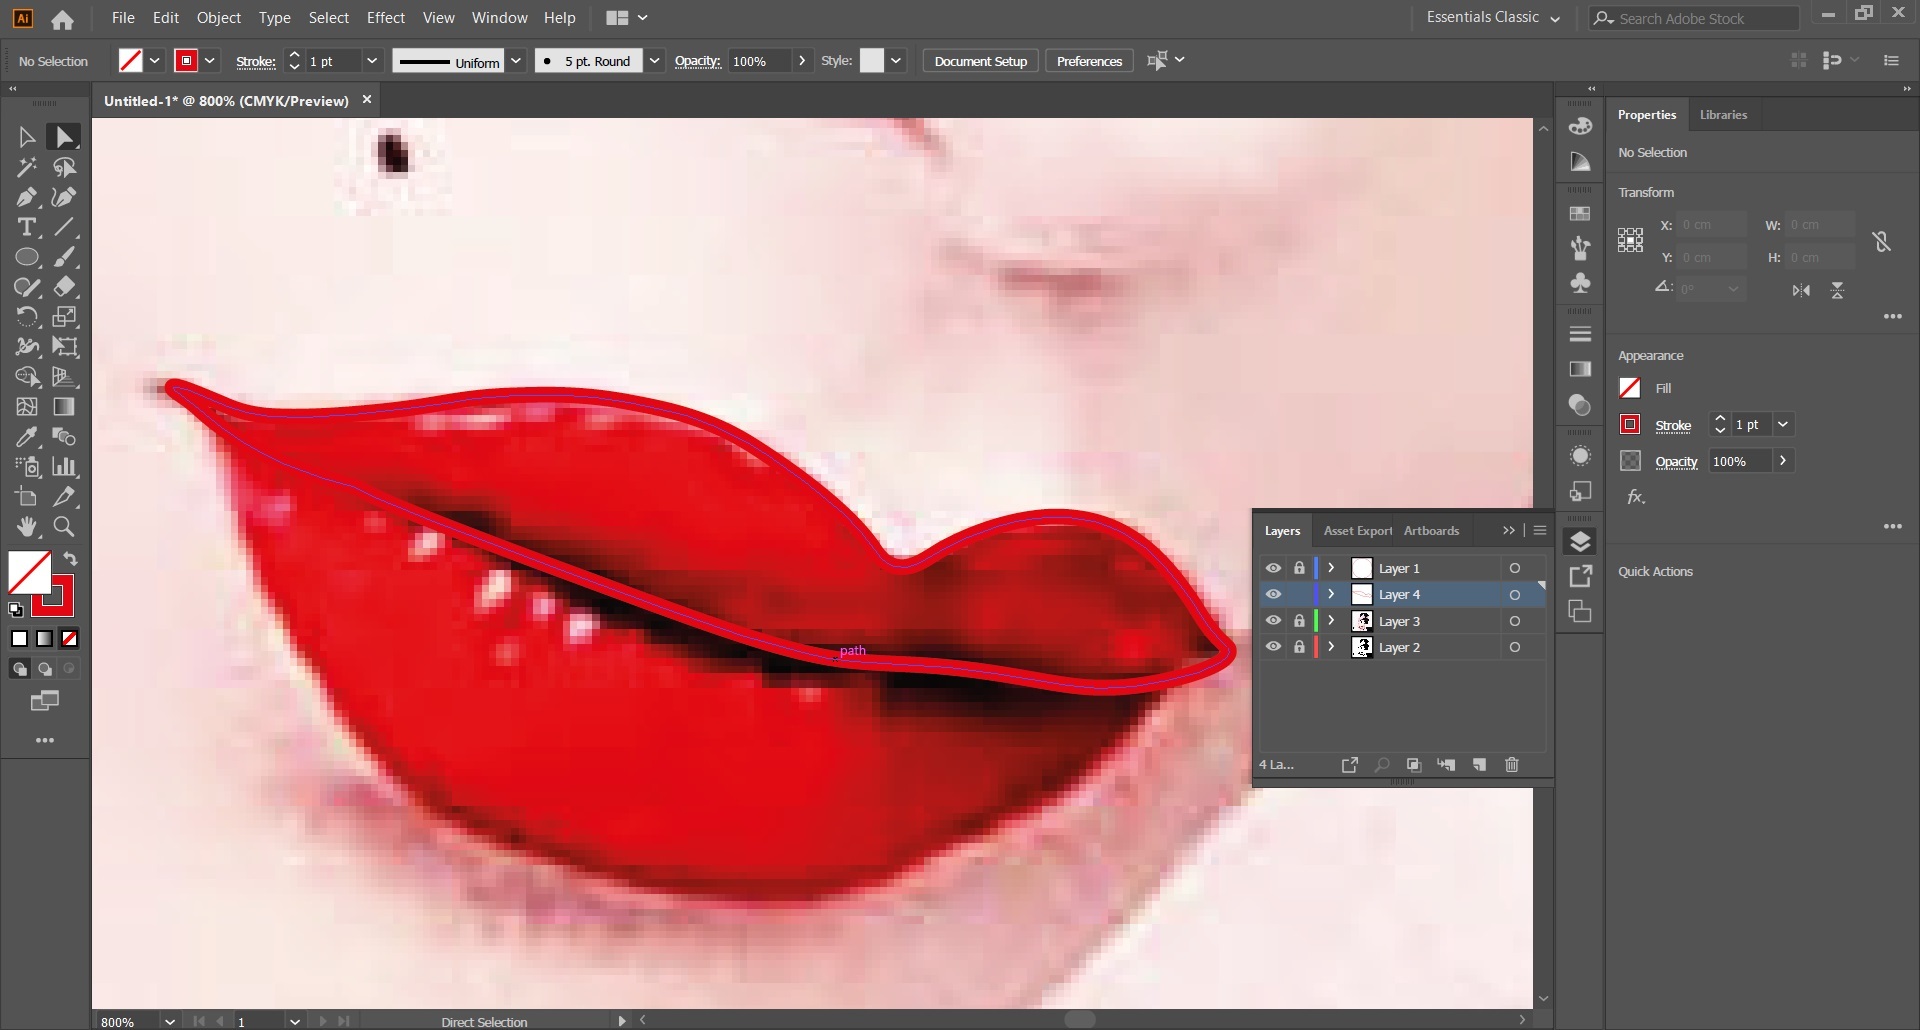
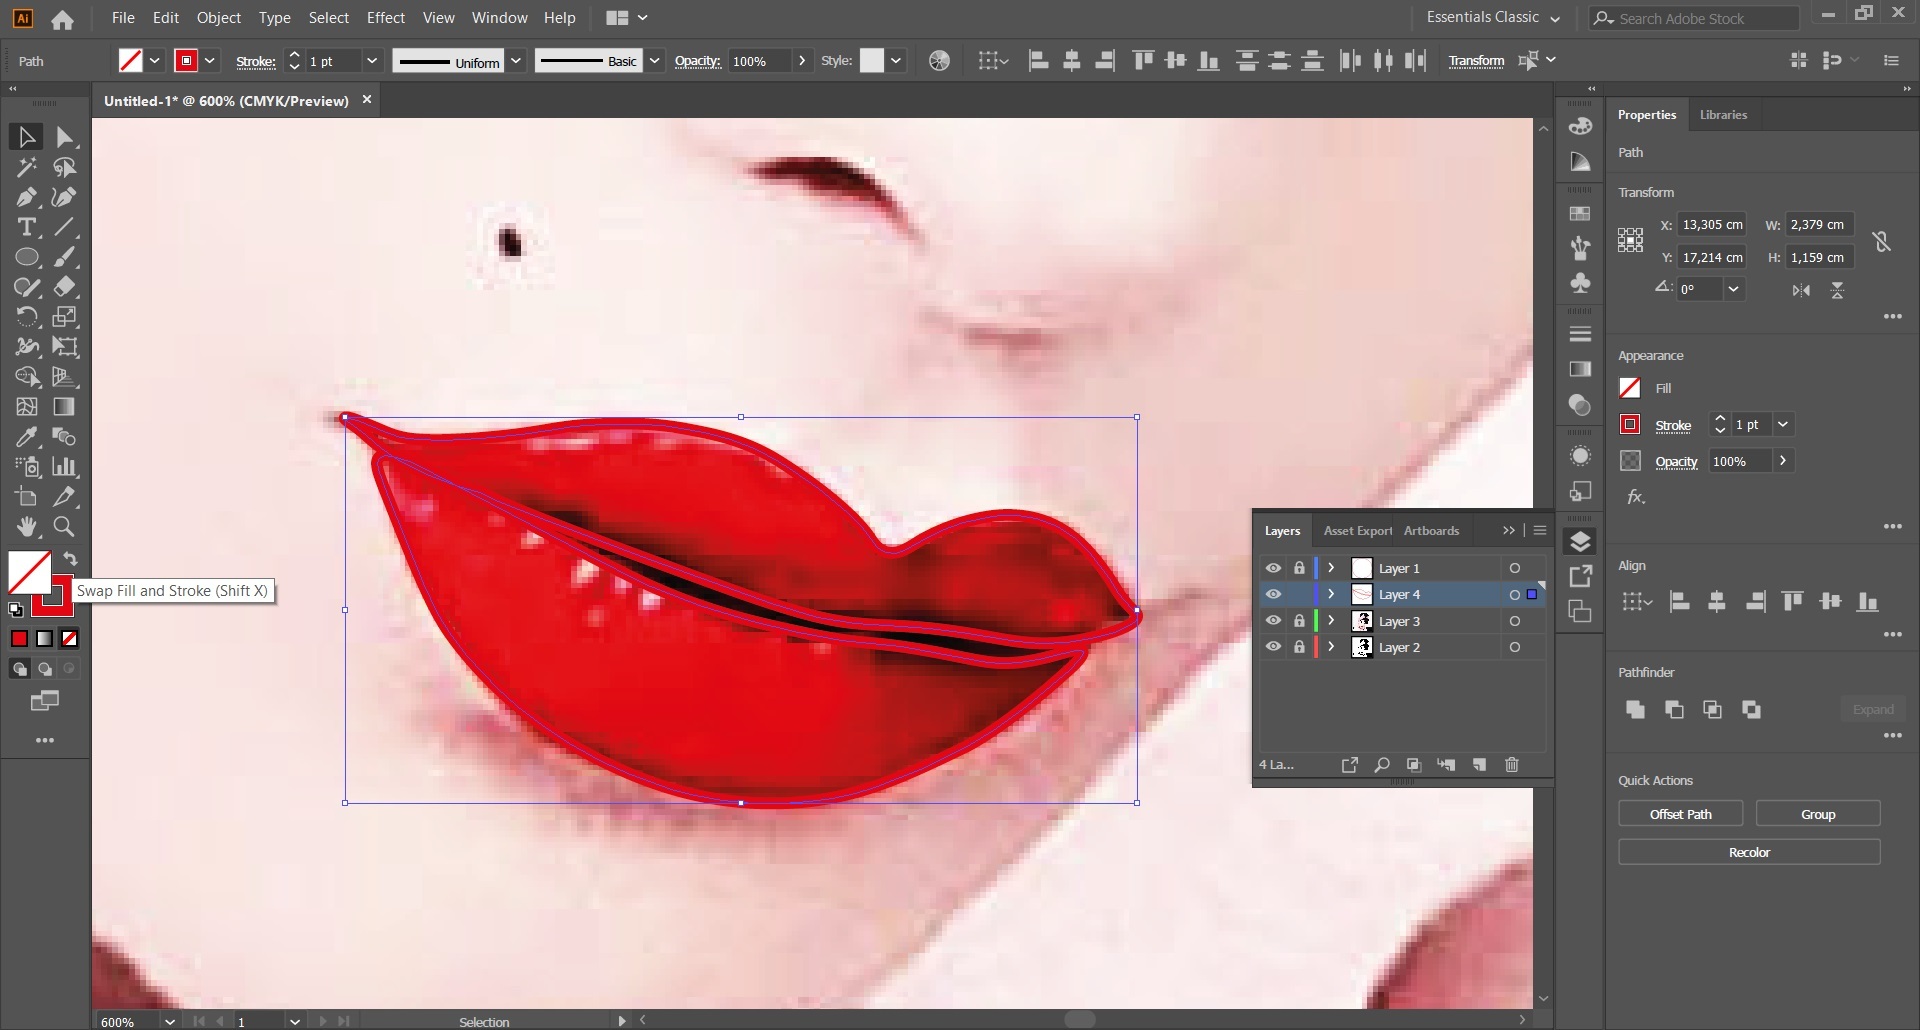
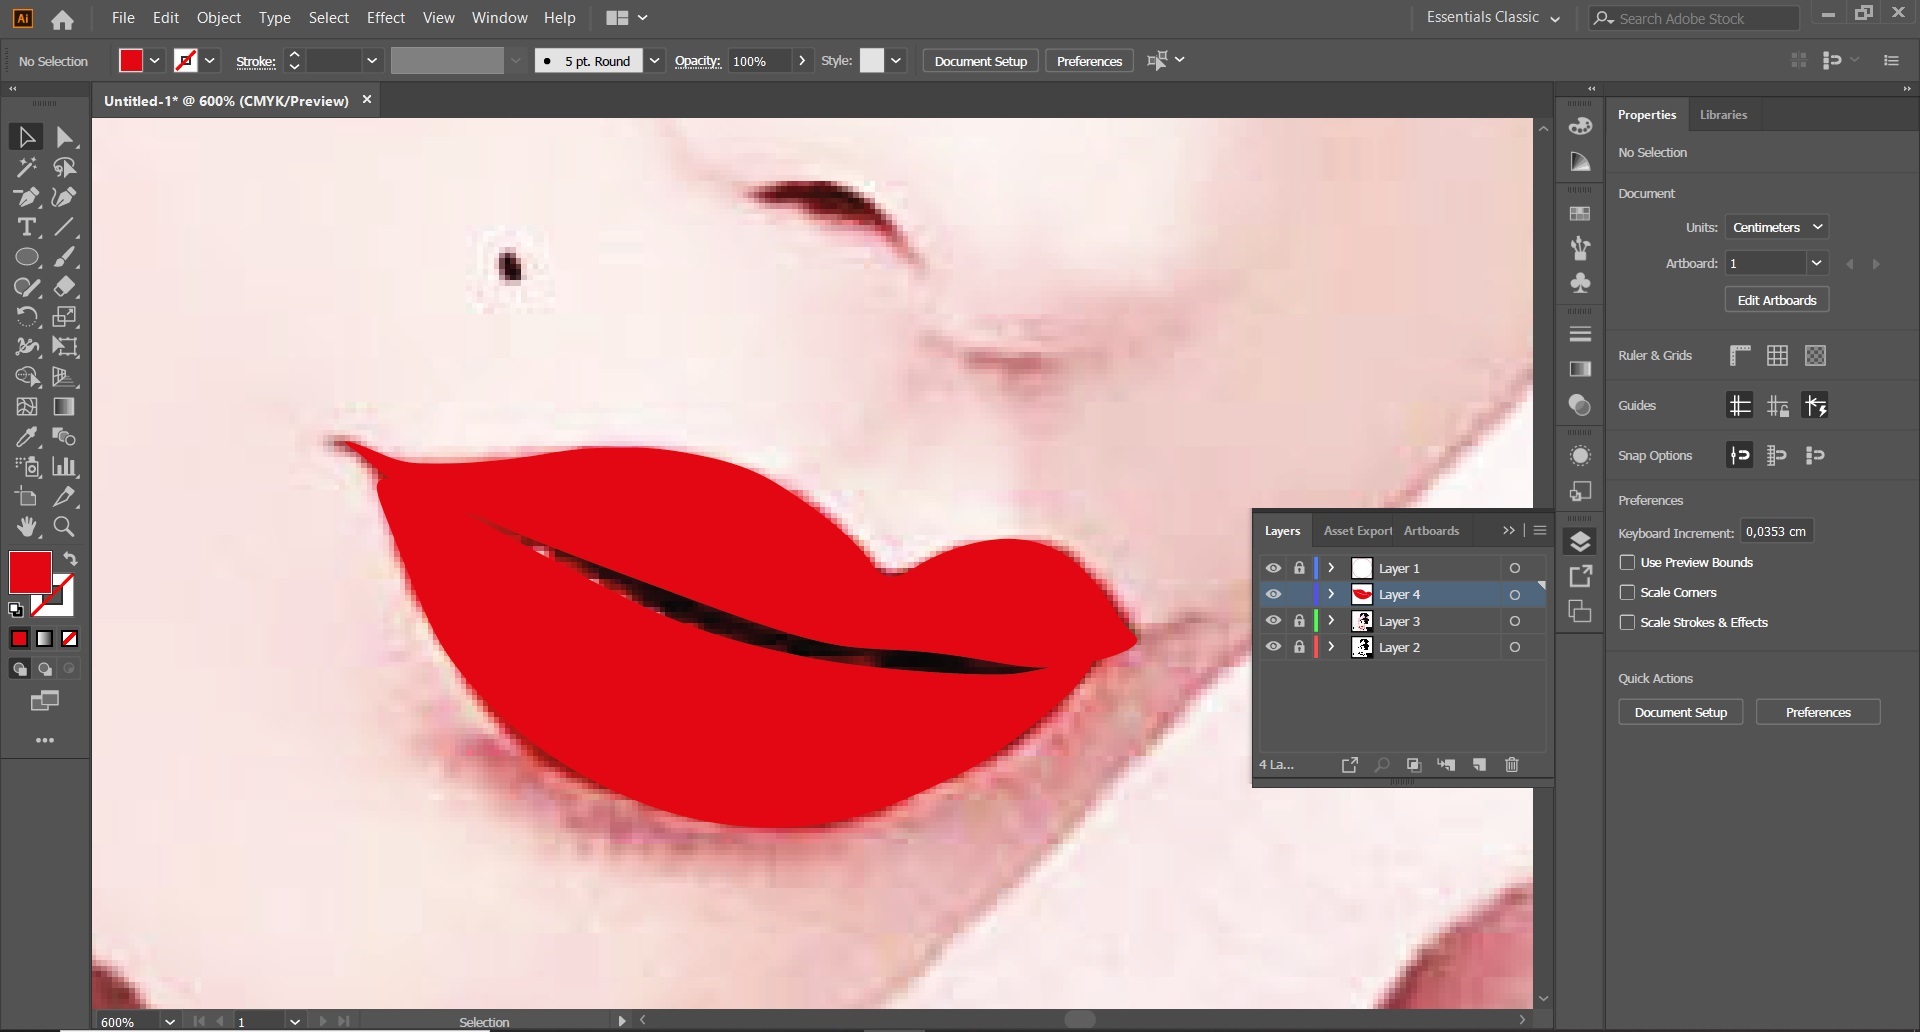
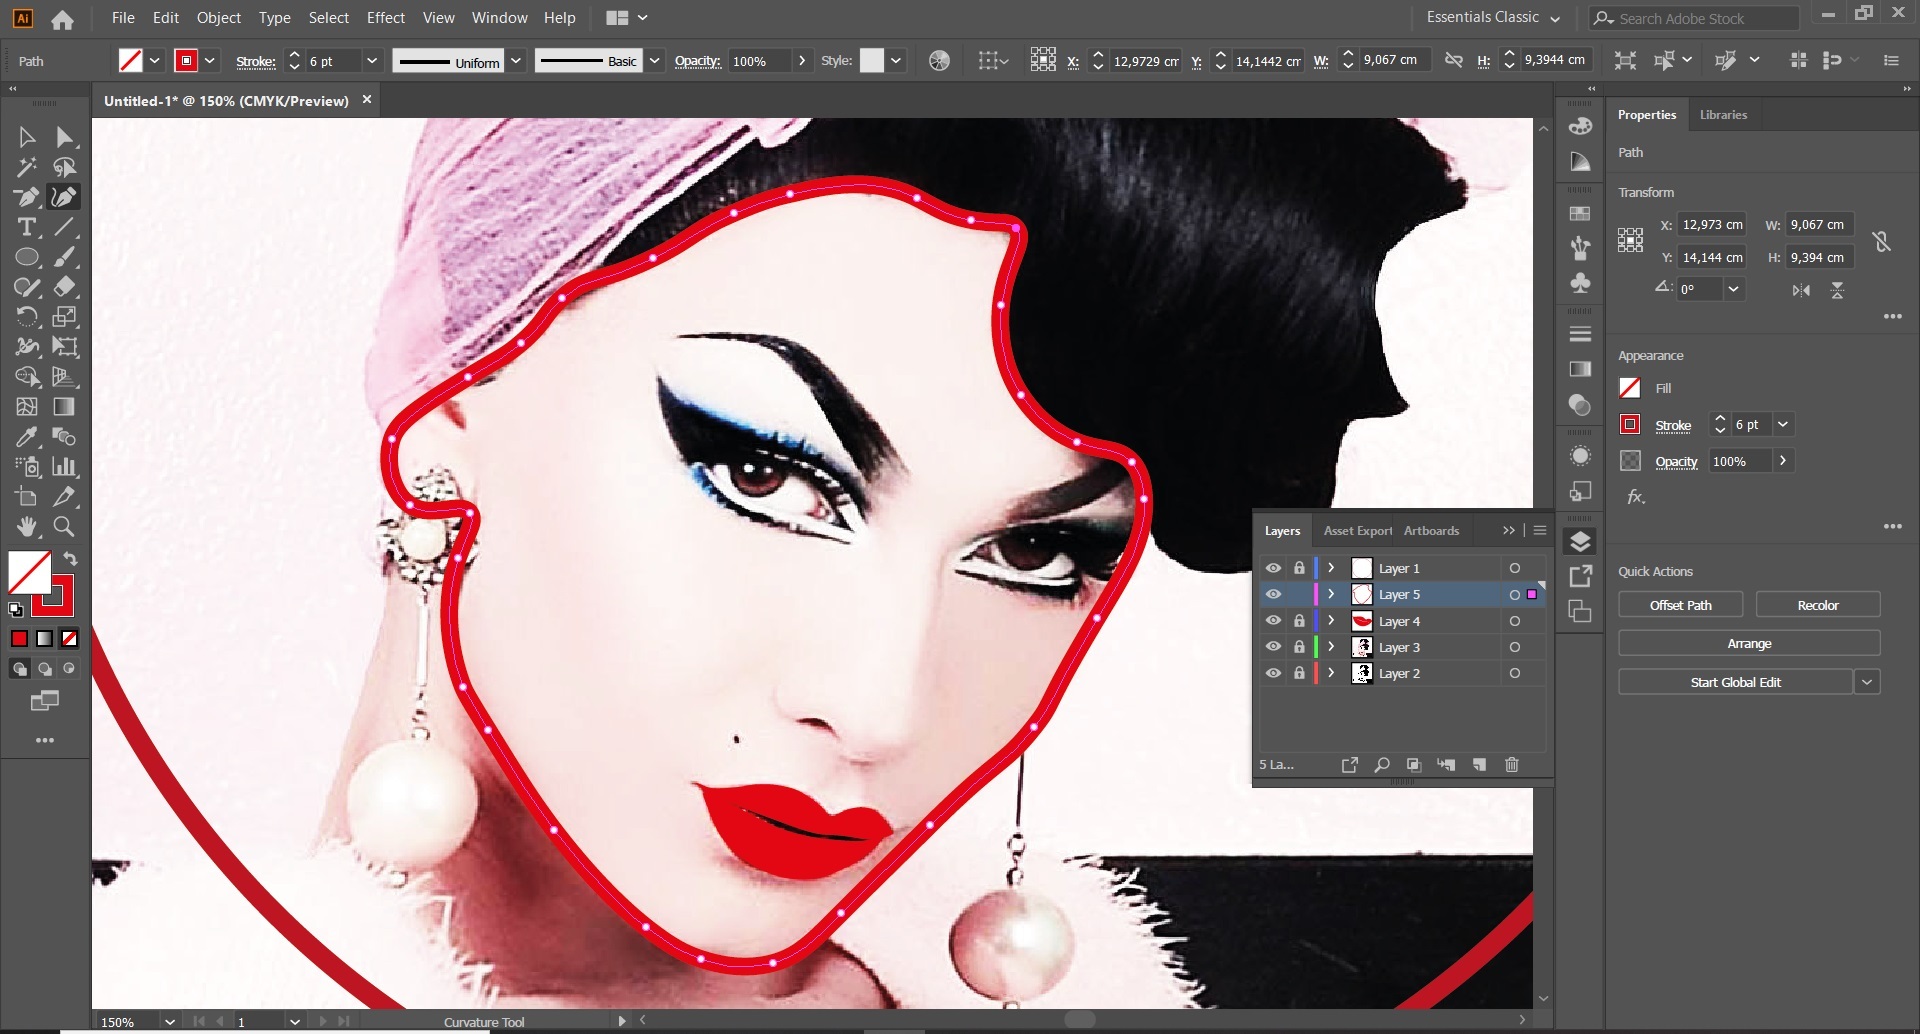
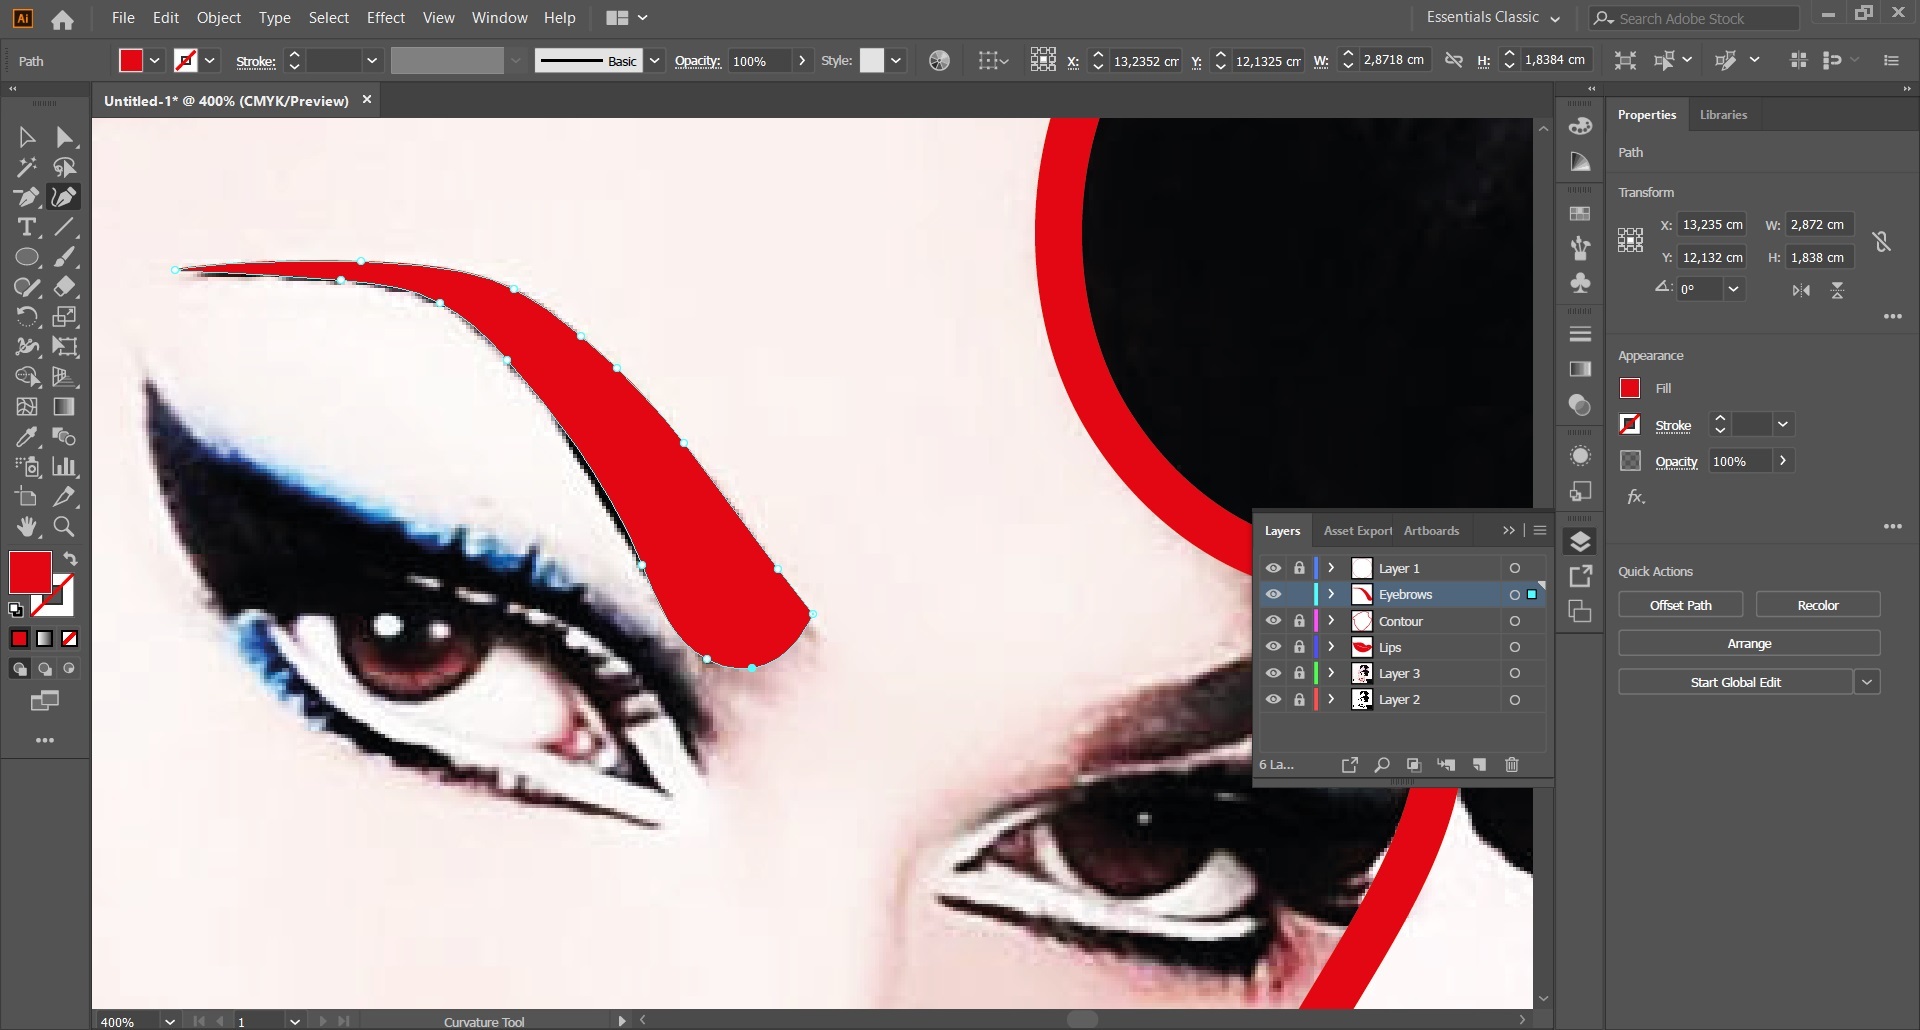
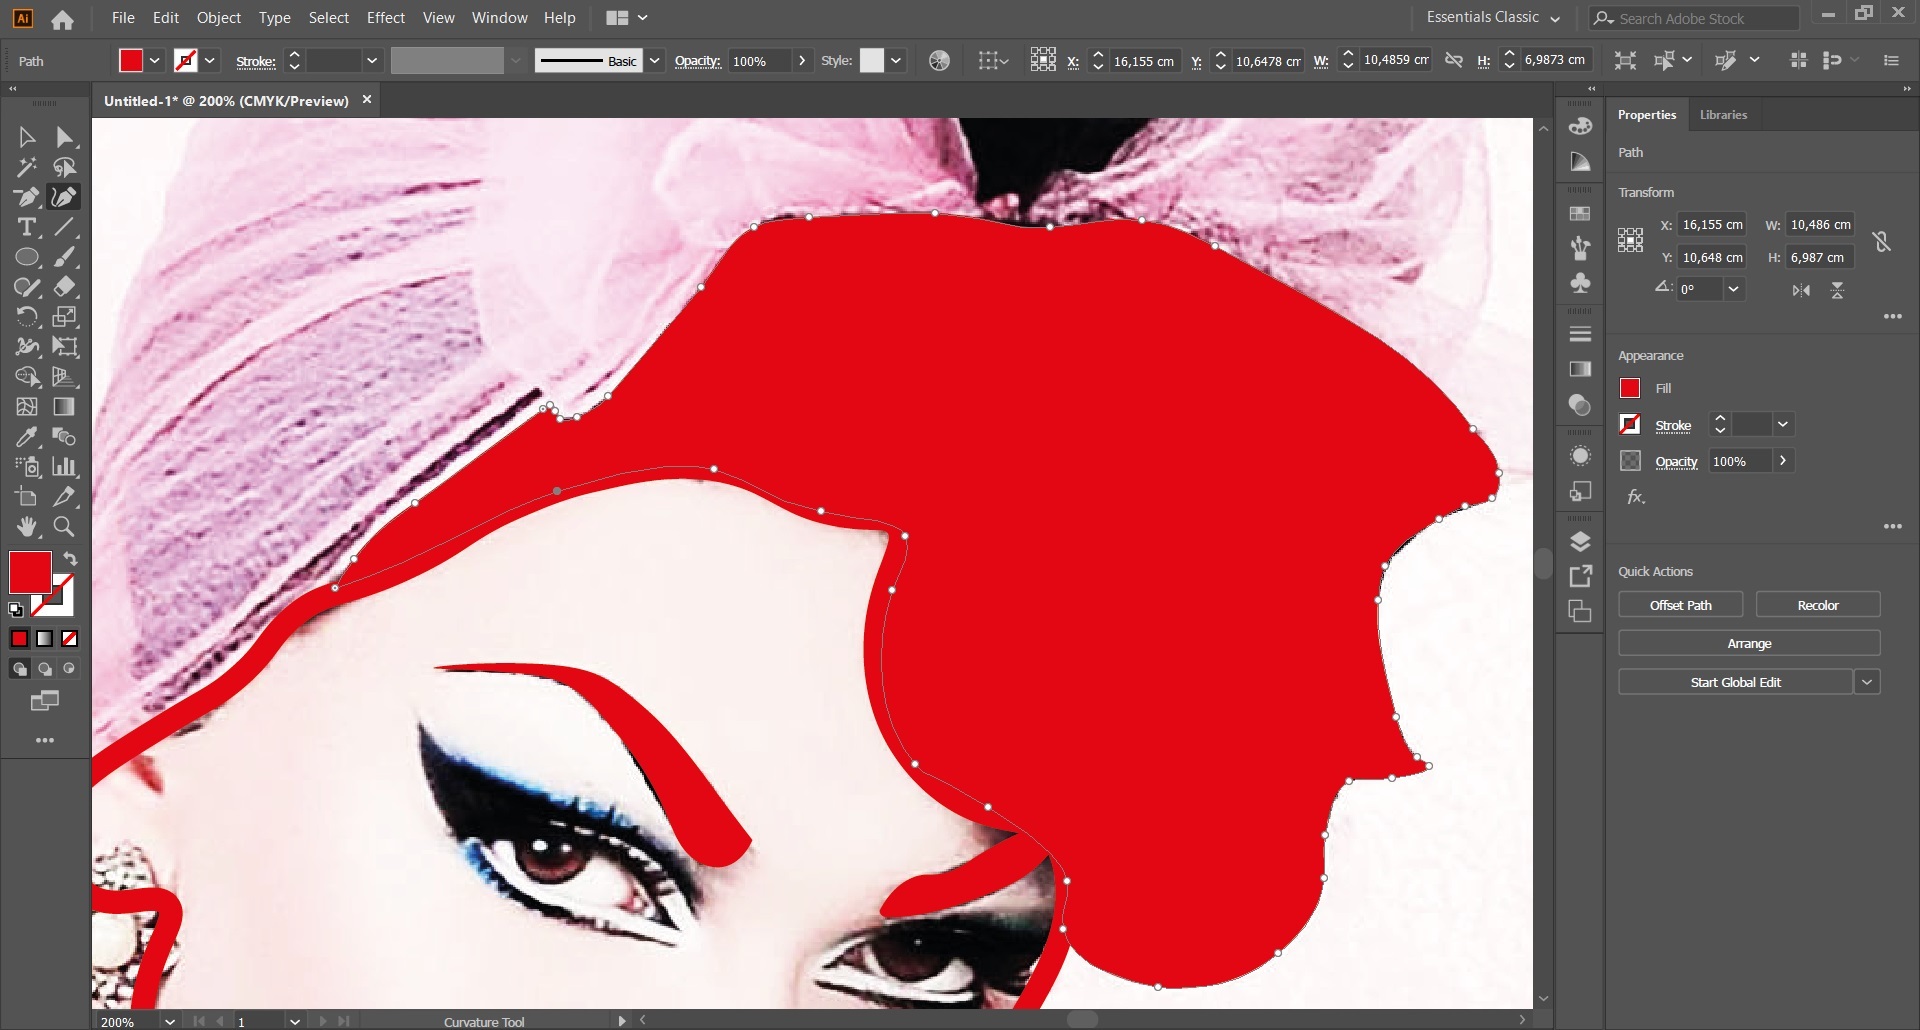
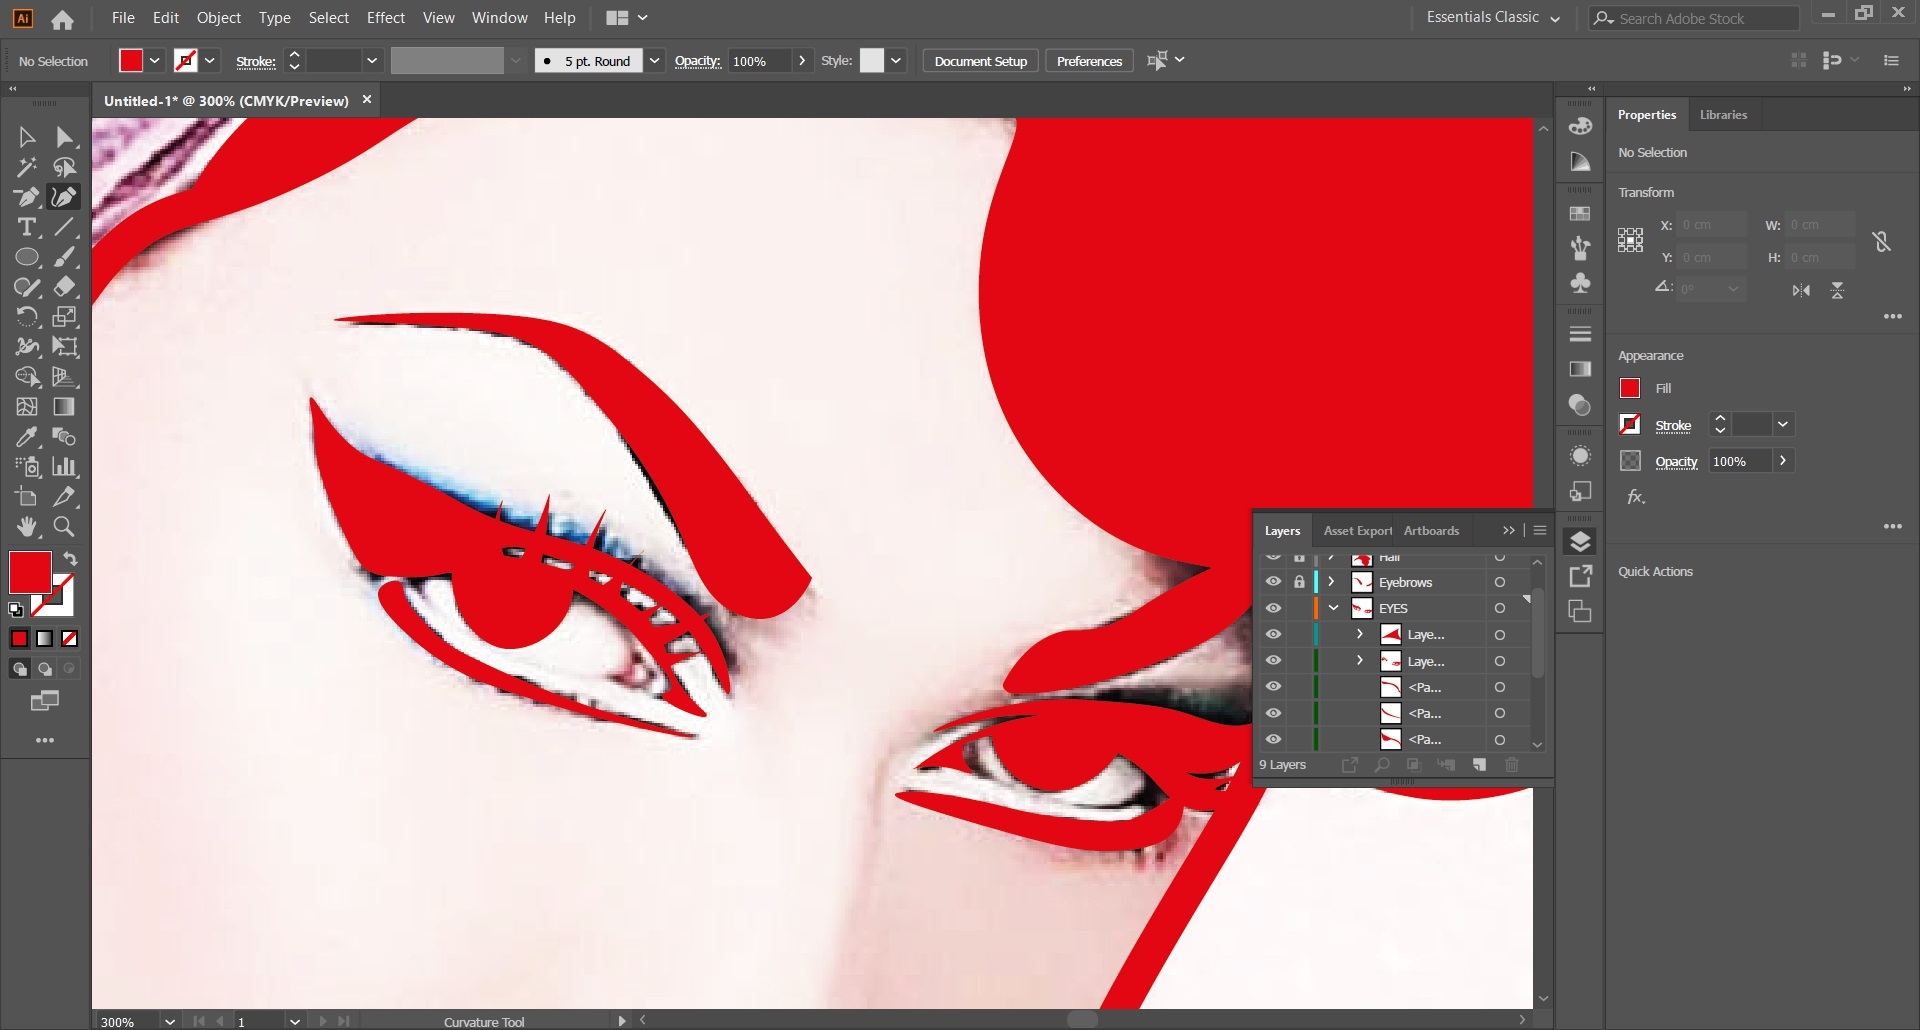
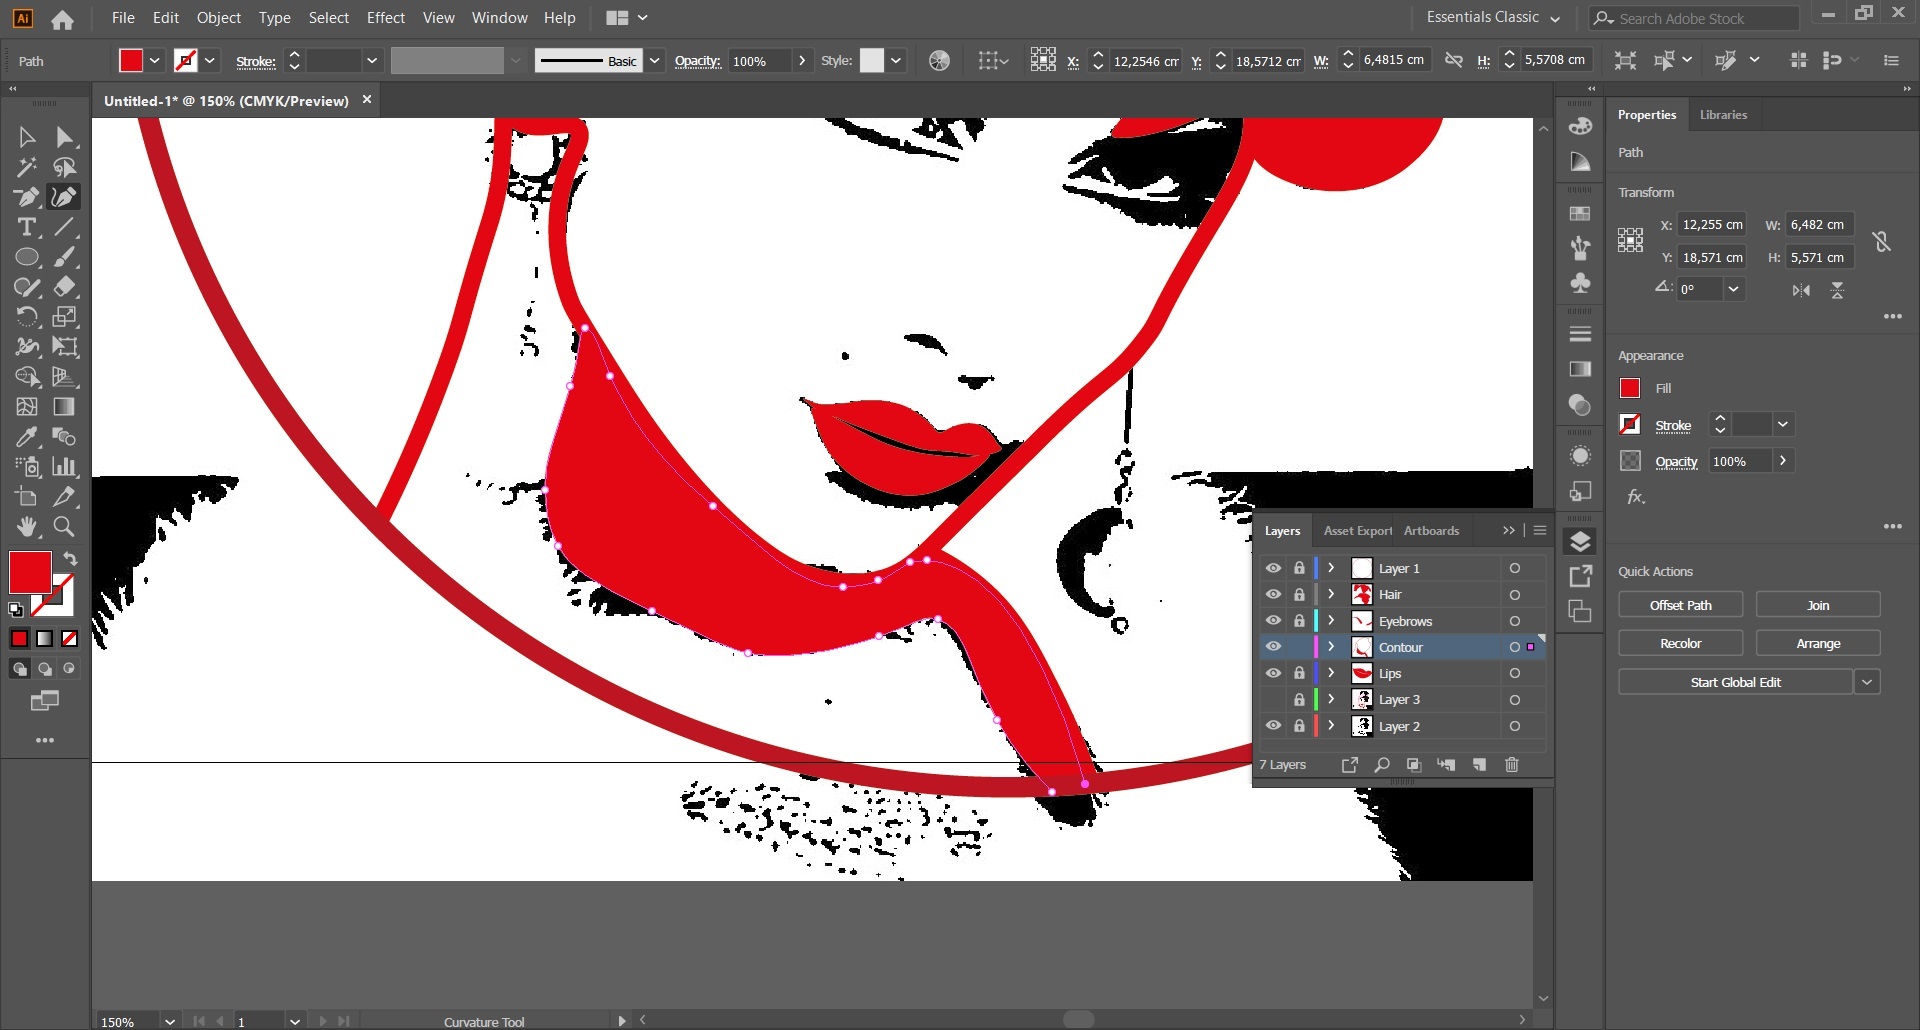
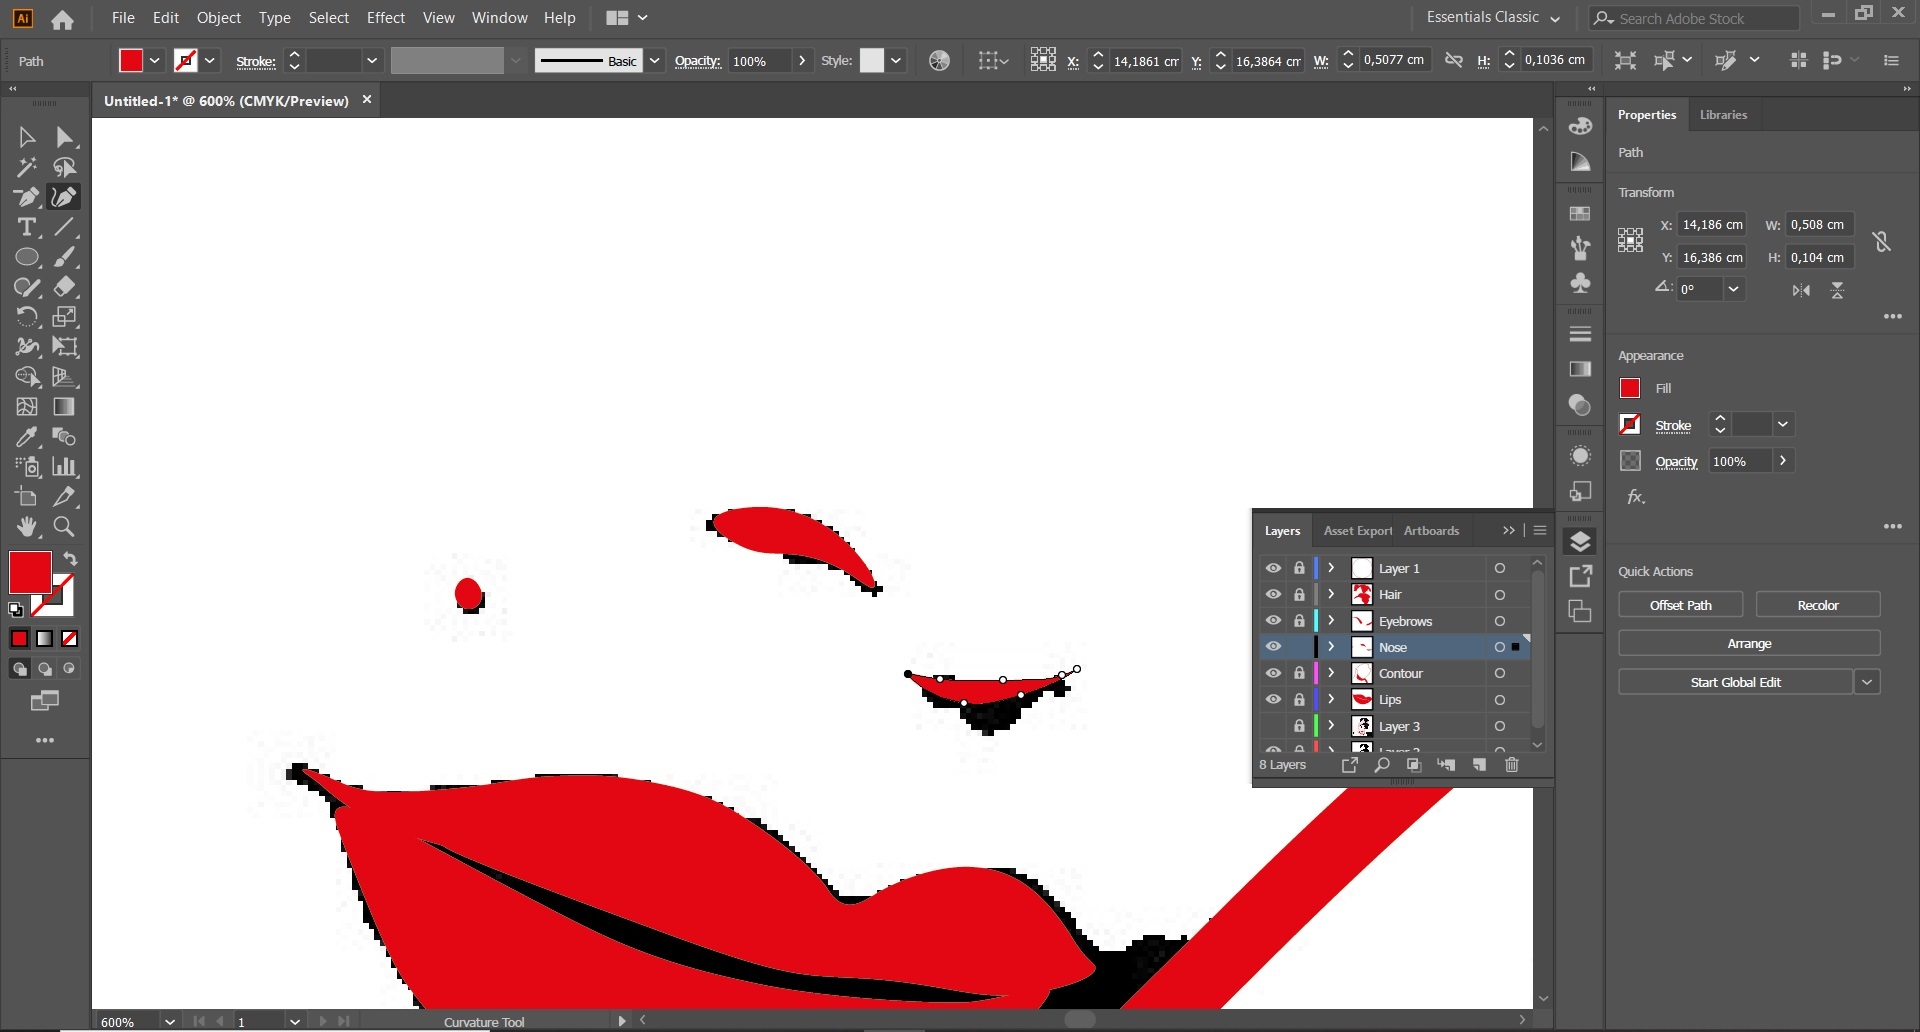
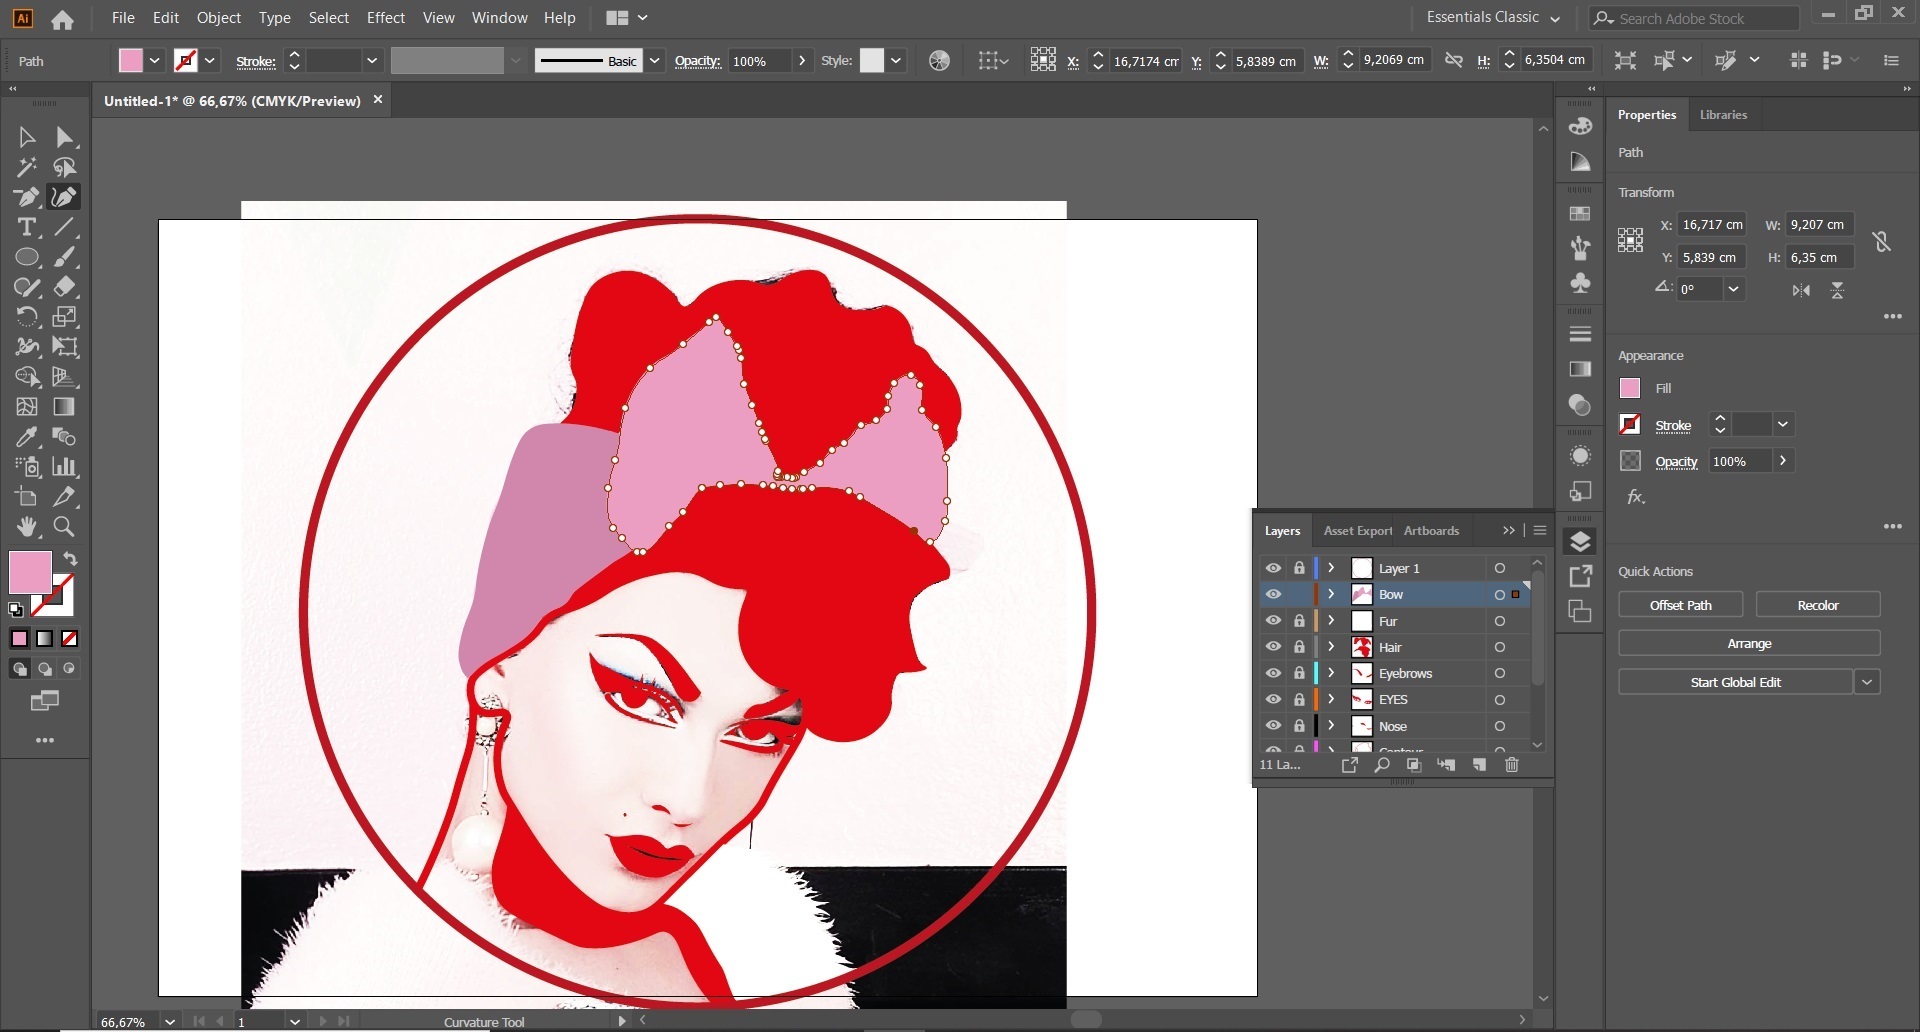
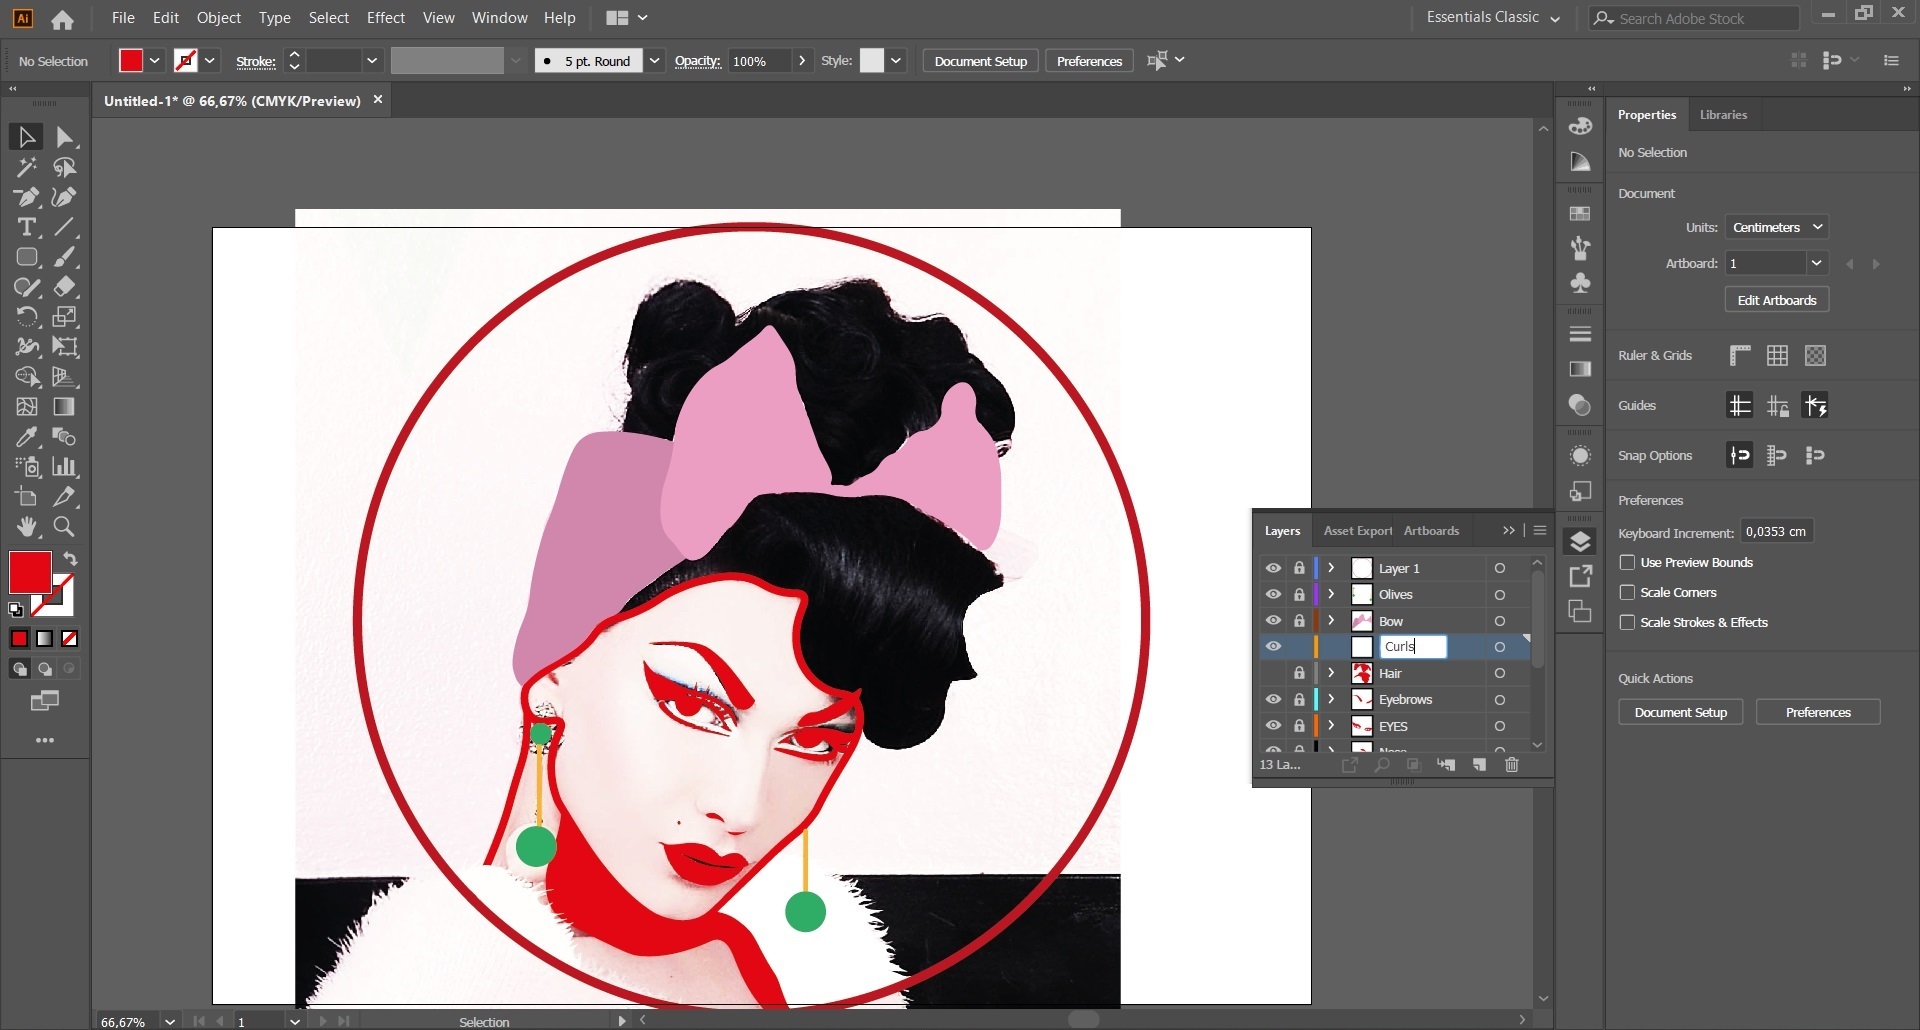
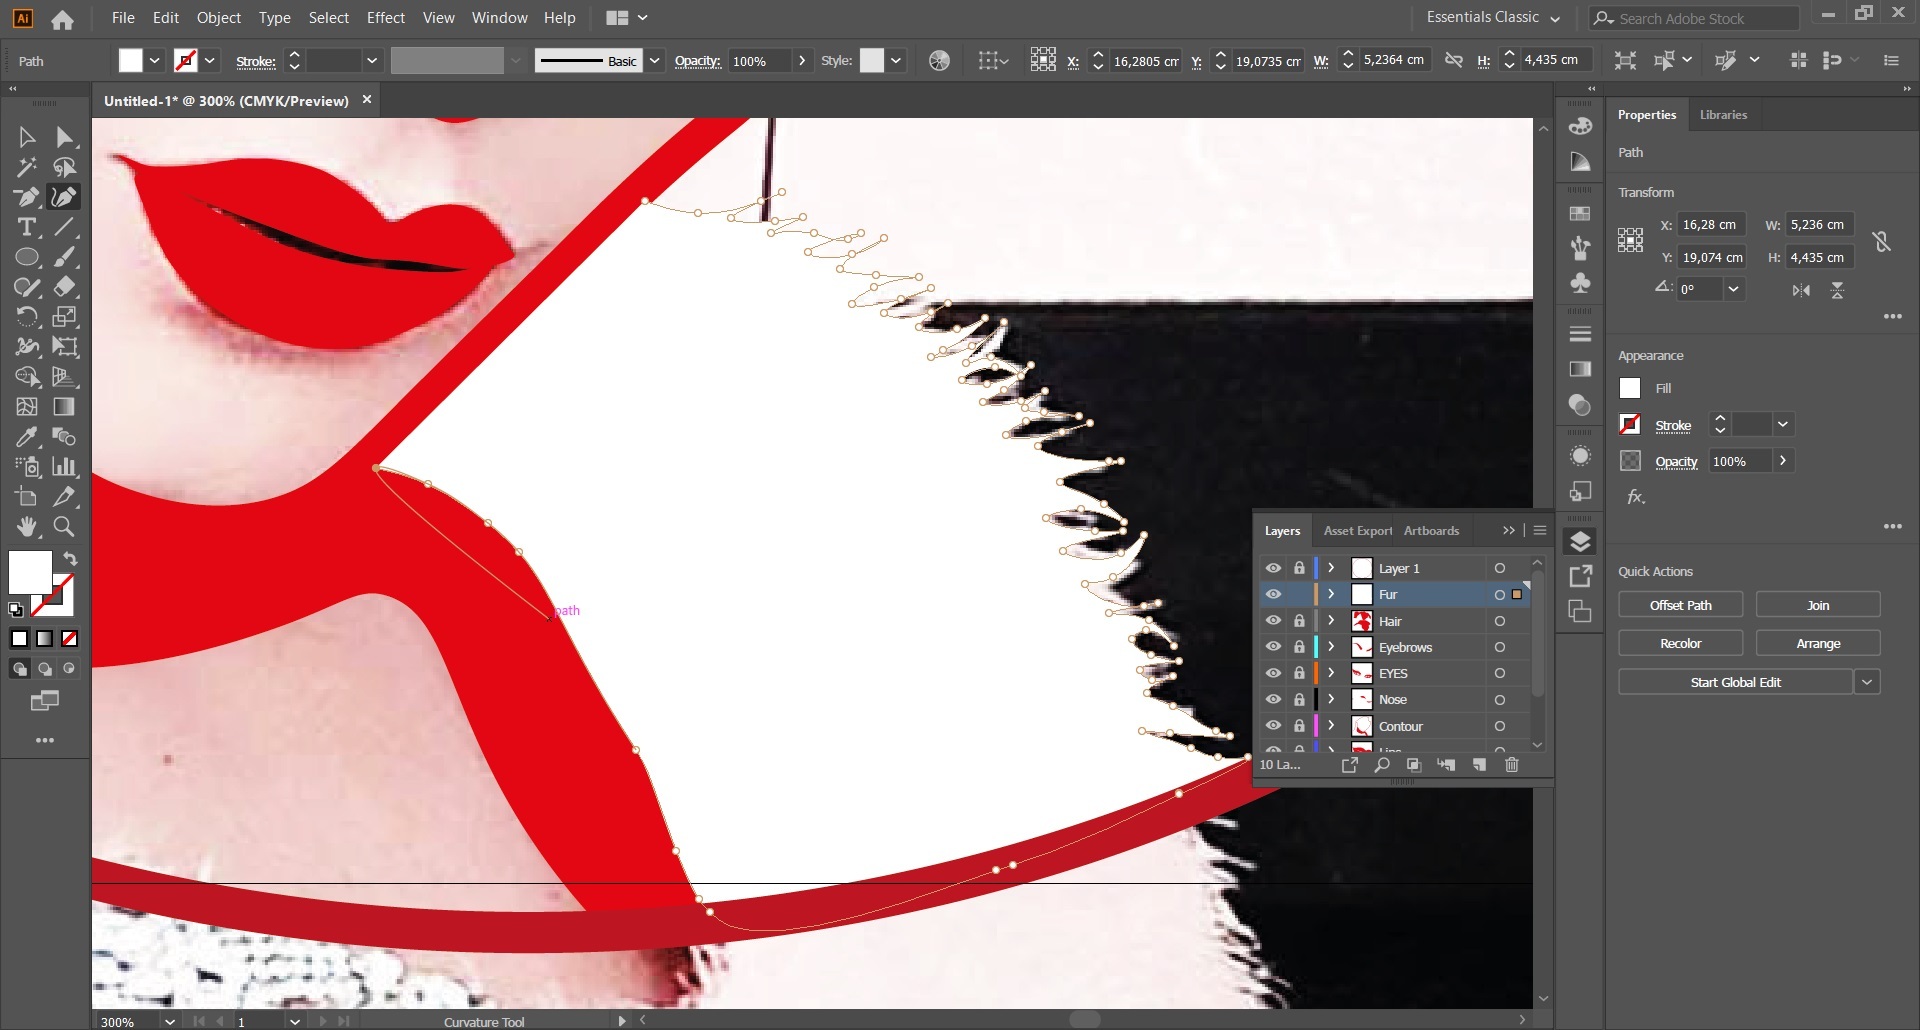
Make a fourth layer, select the curvature tool in the tool bar to trace the lips. Fill the lips shapes in red. Make another layer to trace the outline of the face with the curvature tool. Create a layer for the hair, the eyes, the eyebrows, the skin and the bow. Create red shapes with the curvature tool in all the black areas of the Pop Art picture. (Everything in white is meant to be cheese, and the red parts tomato sauce.)
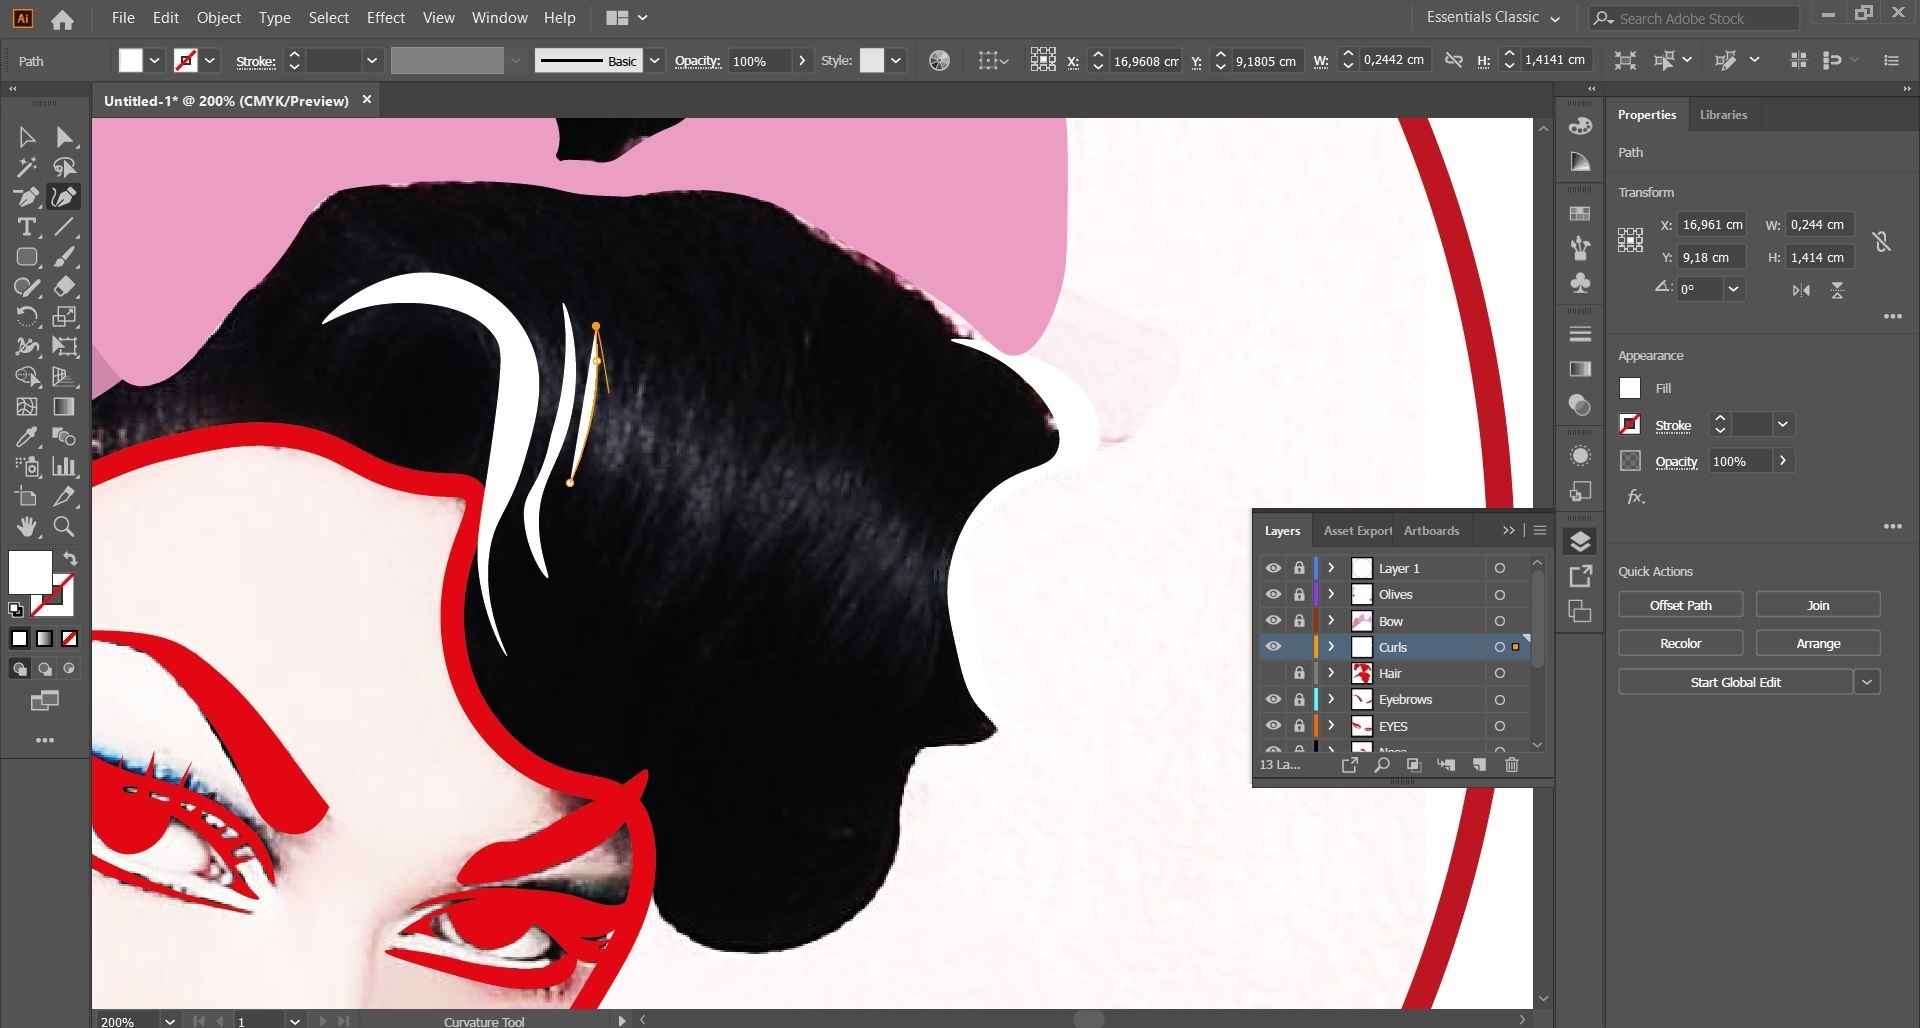
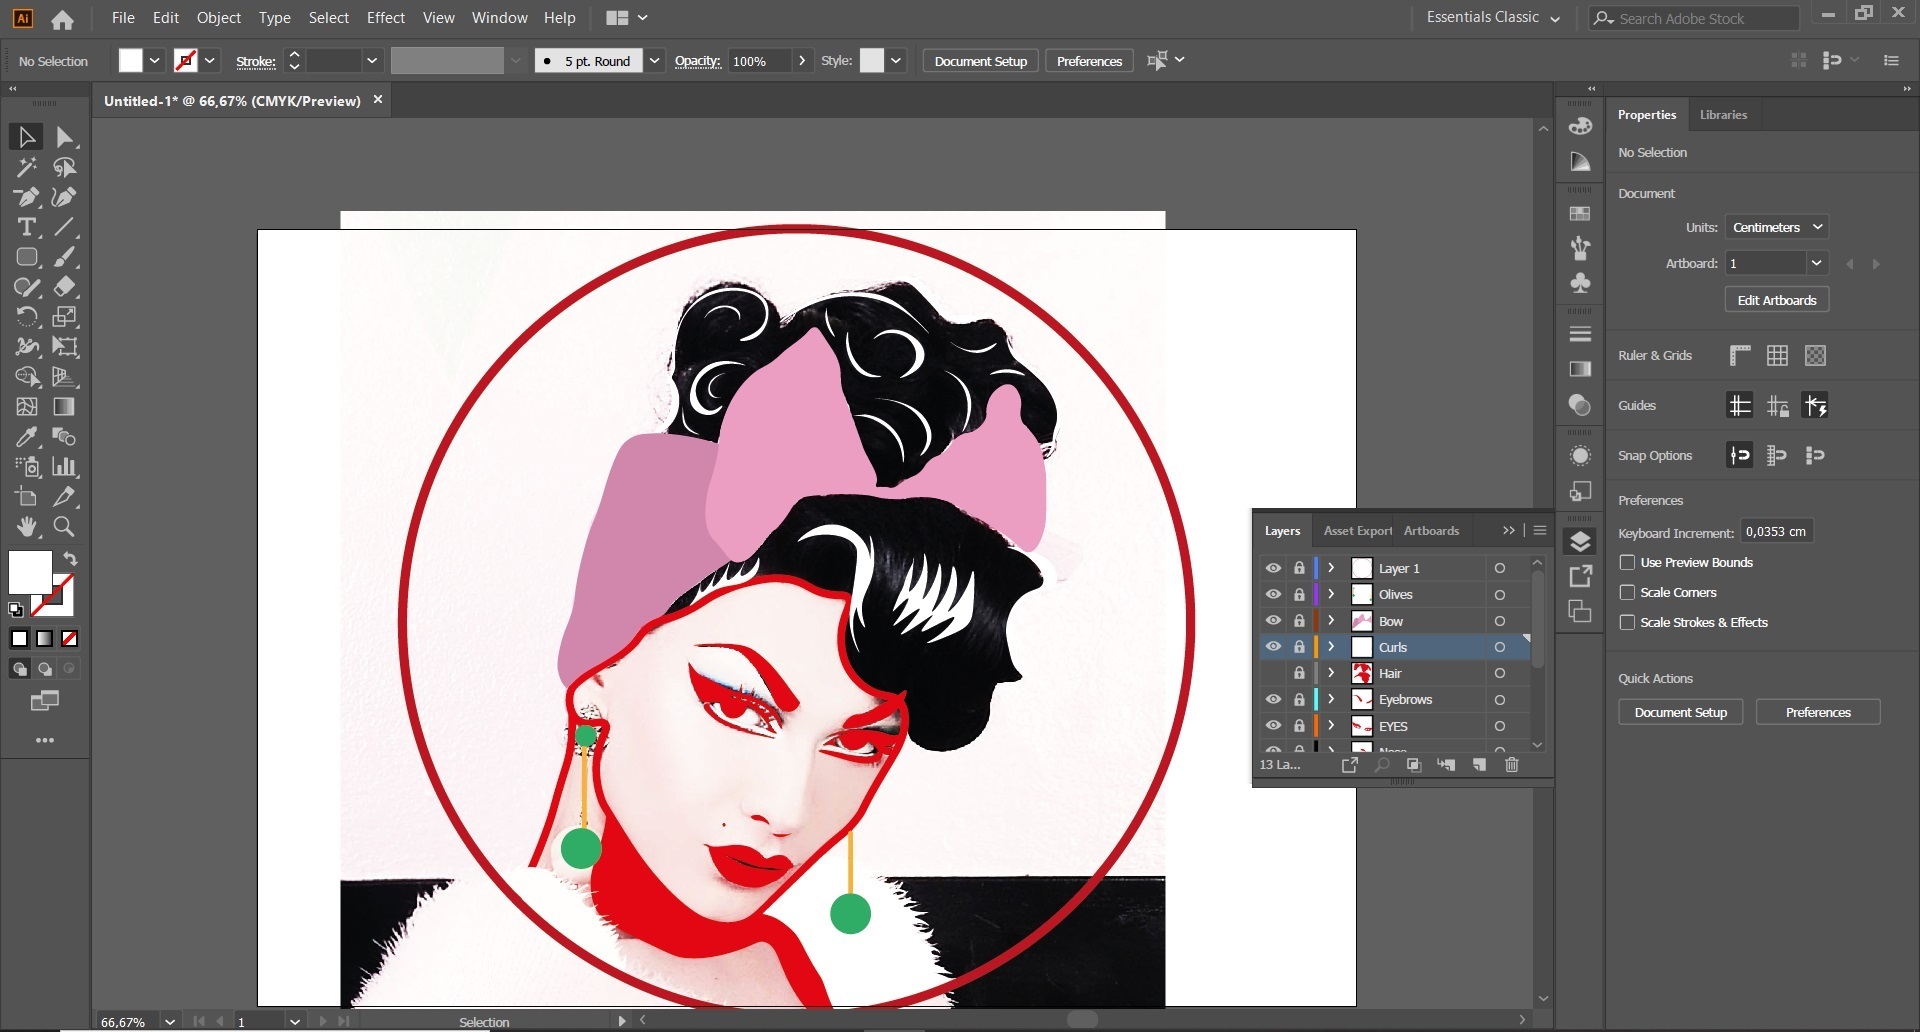
Create a layer for the hair curls, and trace white swirls using the curvature tool.
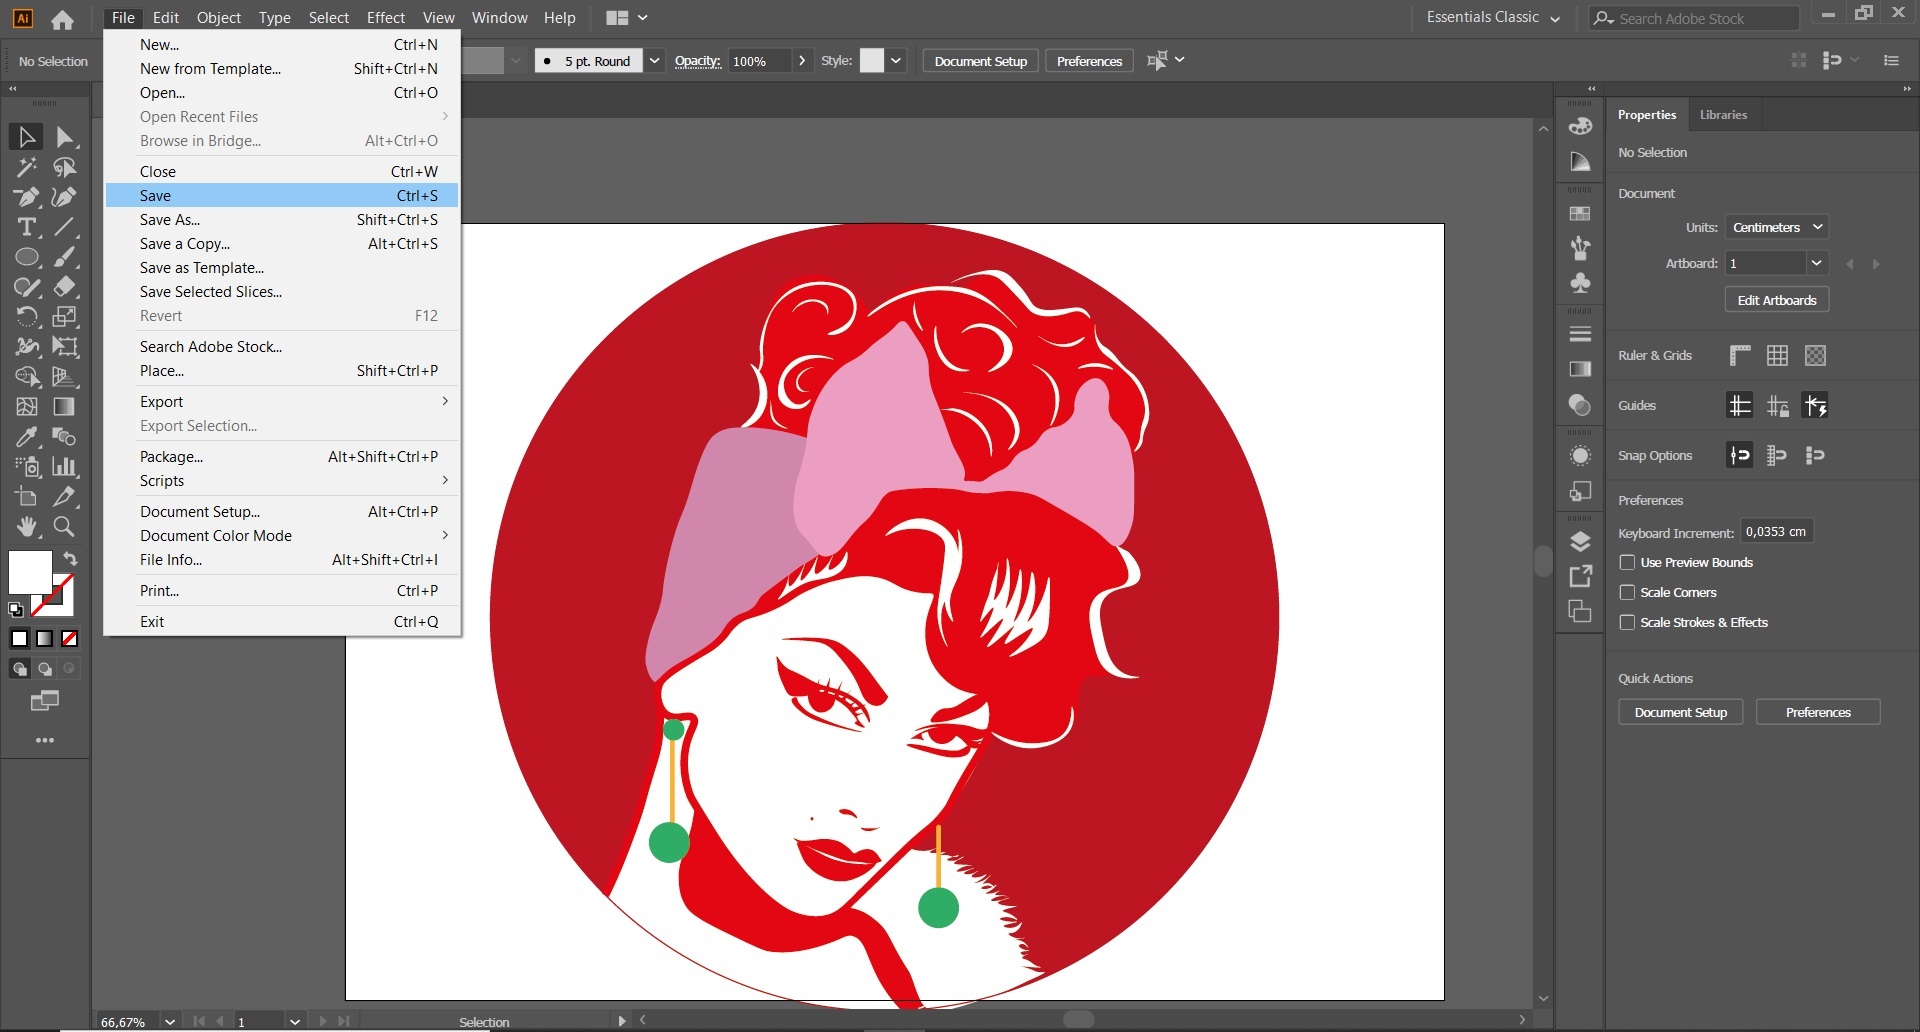
Once you're done drawing, fill the ellipse in the first layer in red.
Save your drawing as a pdf file and print it !
Create a Paper Stencil for Your Pizza
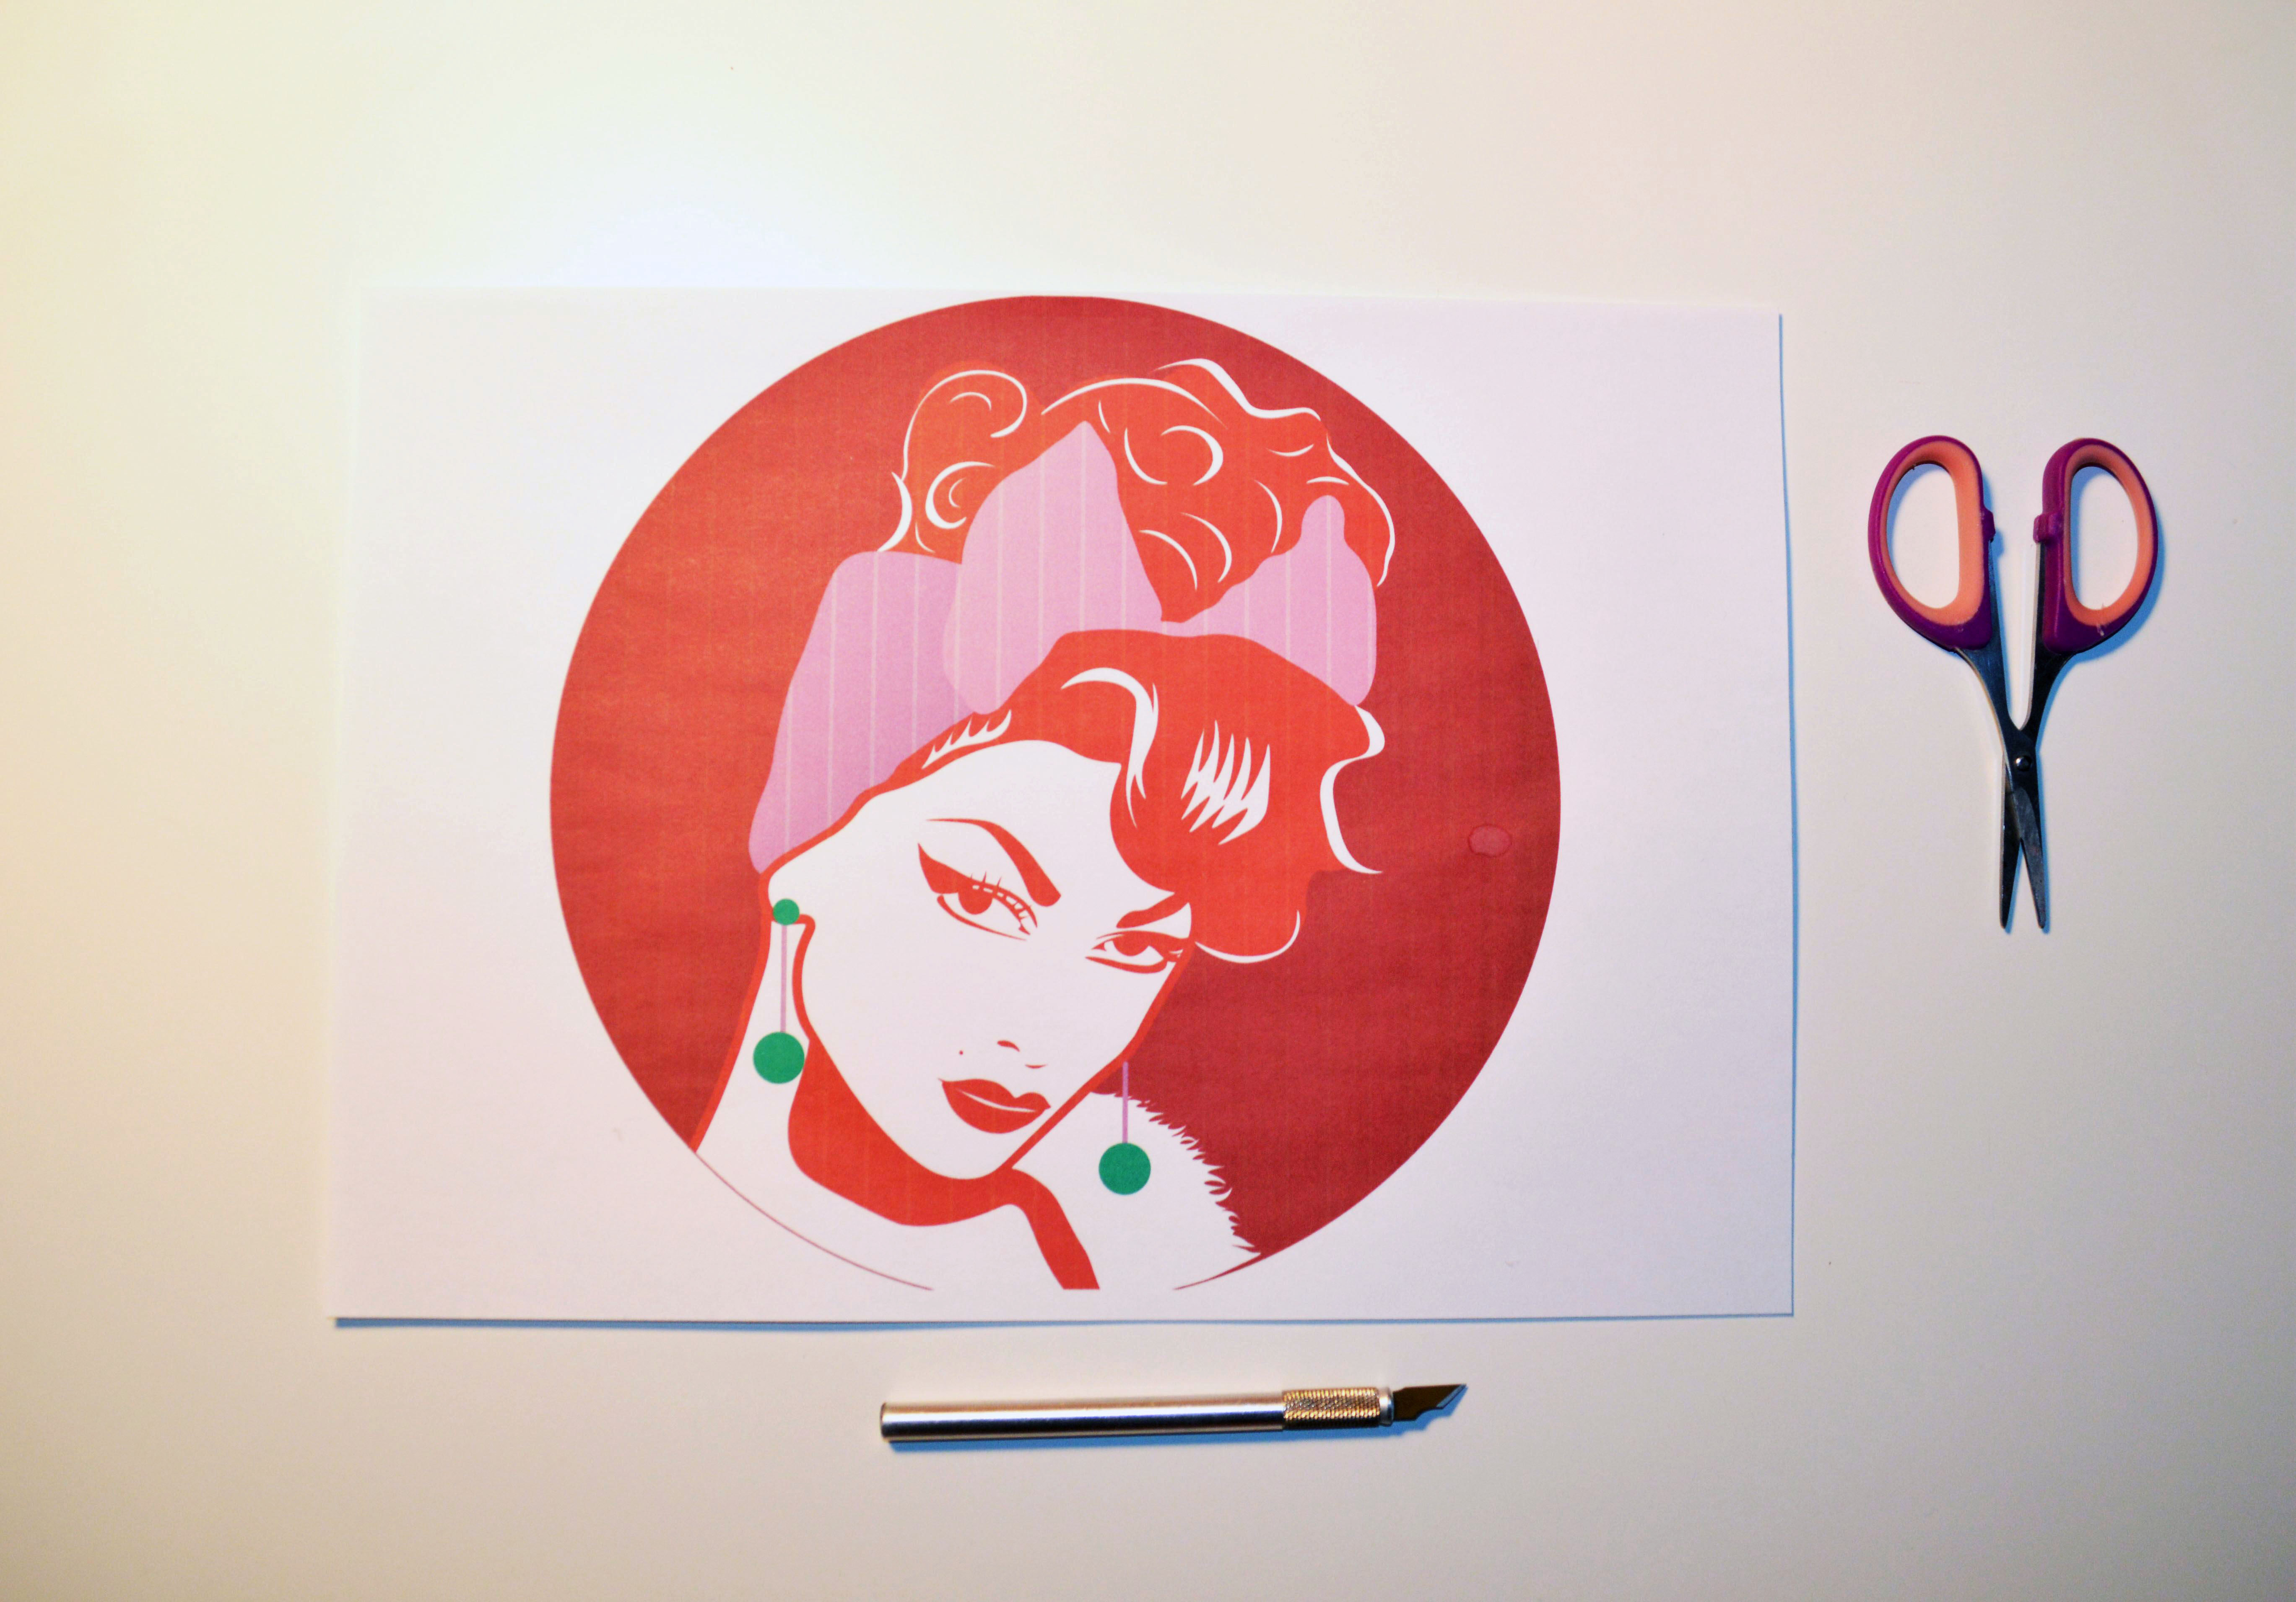
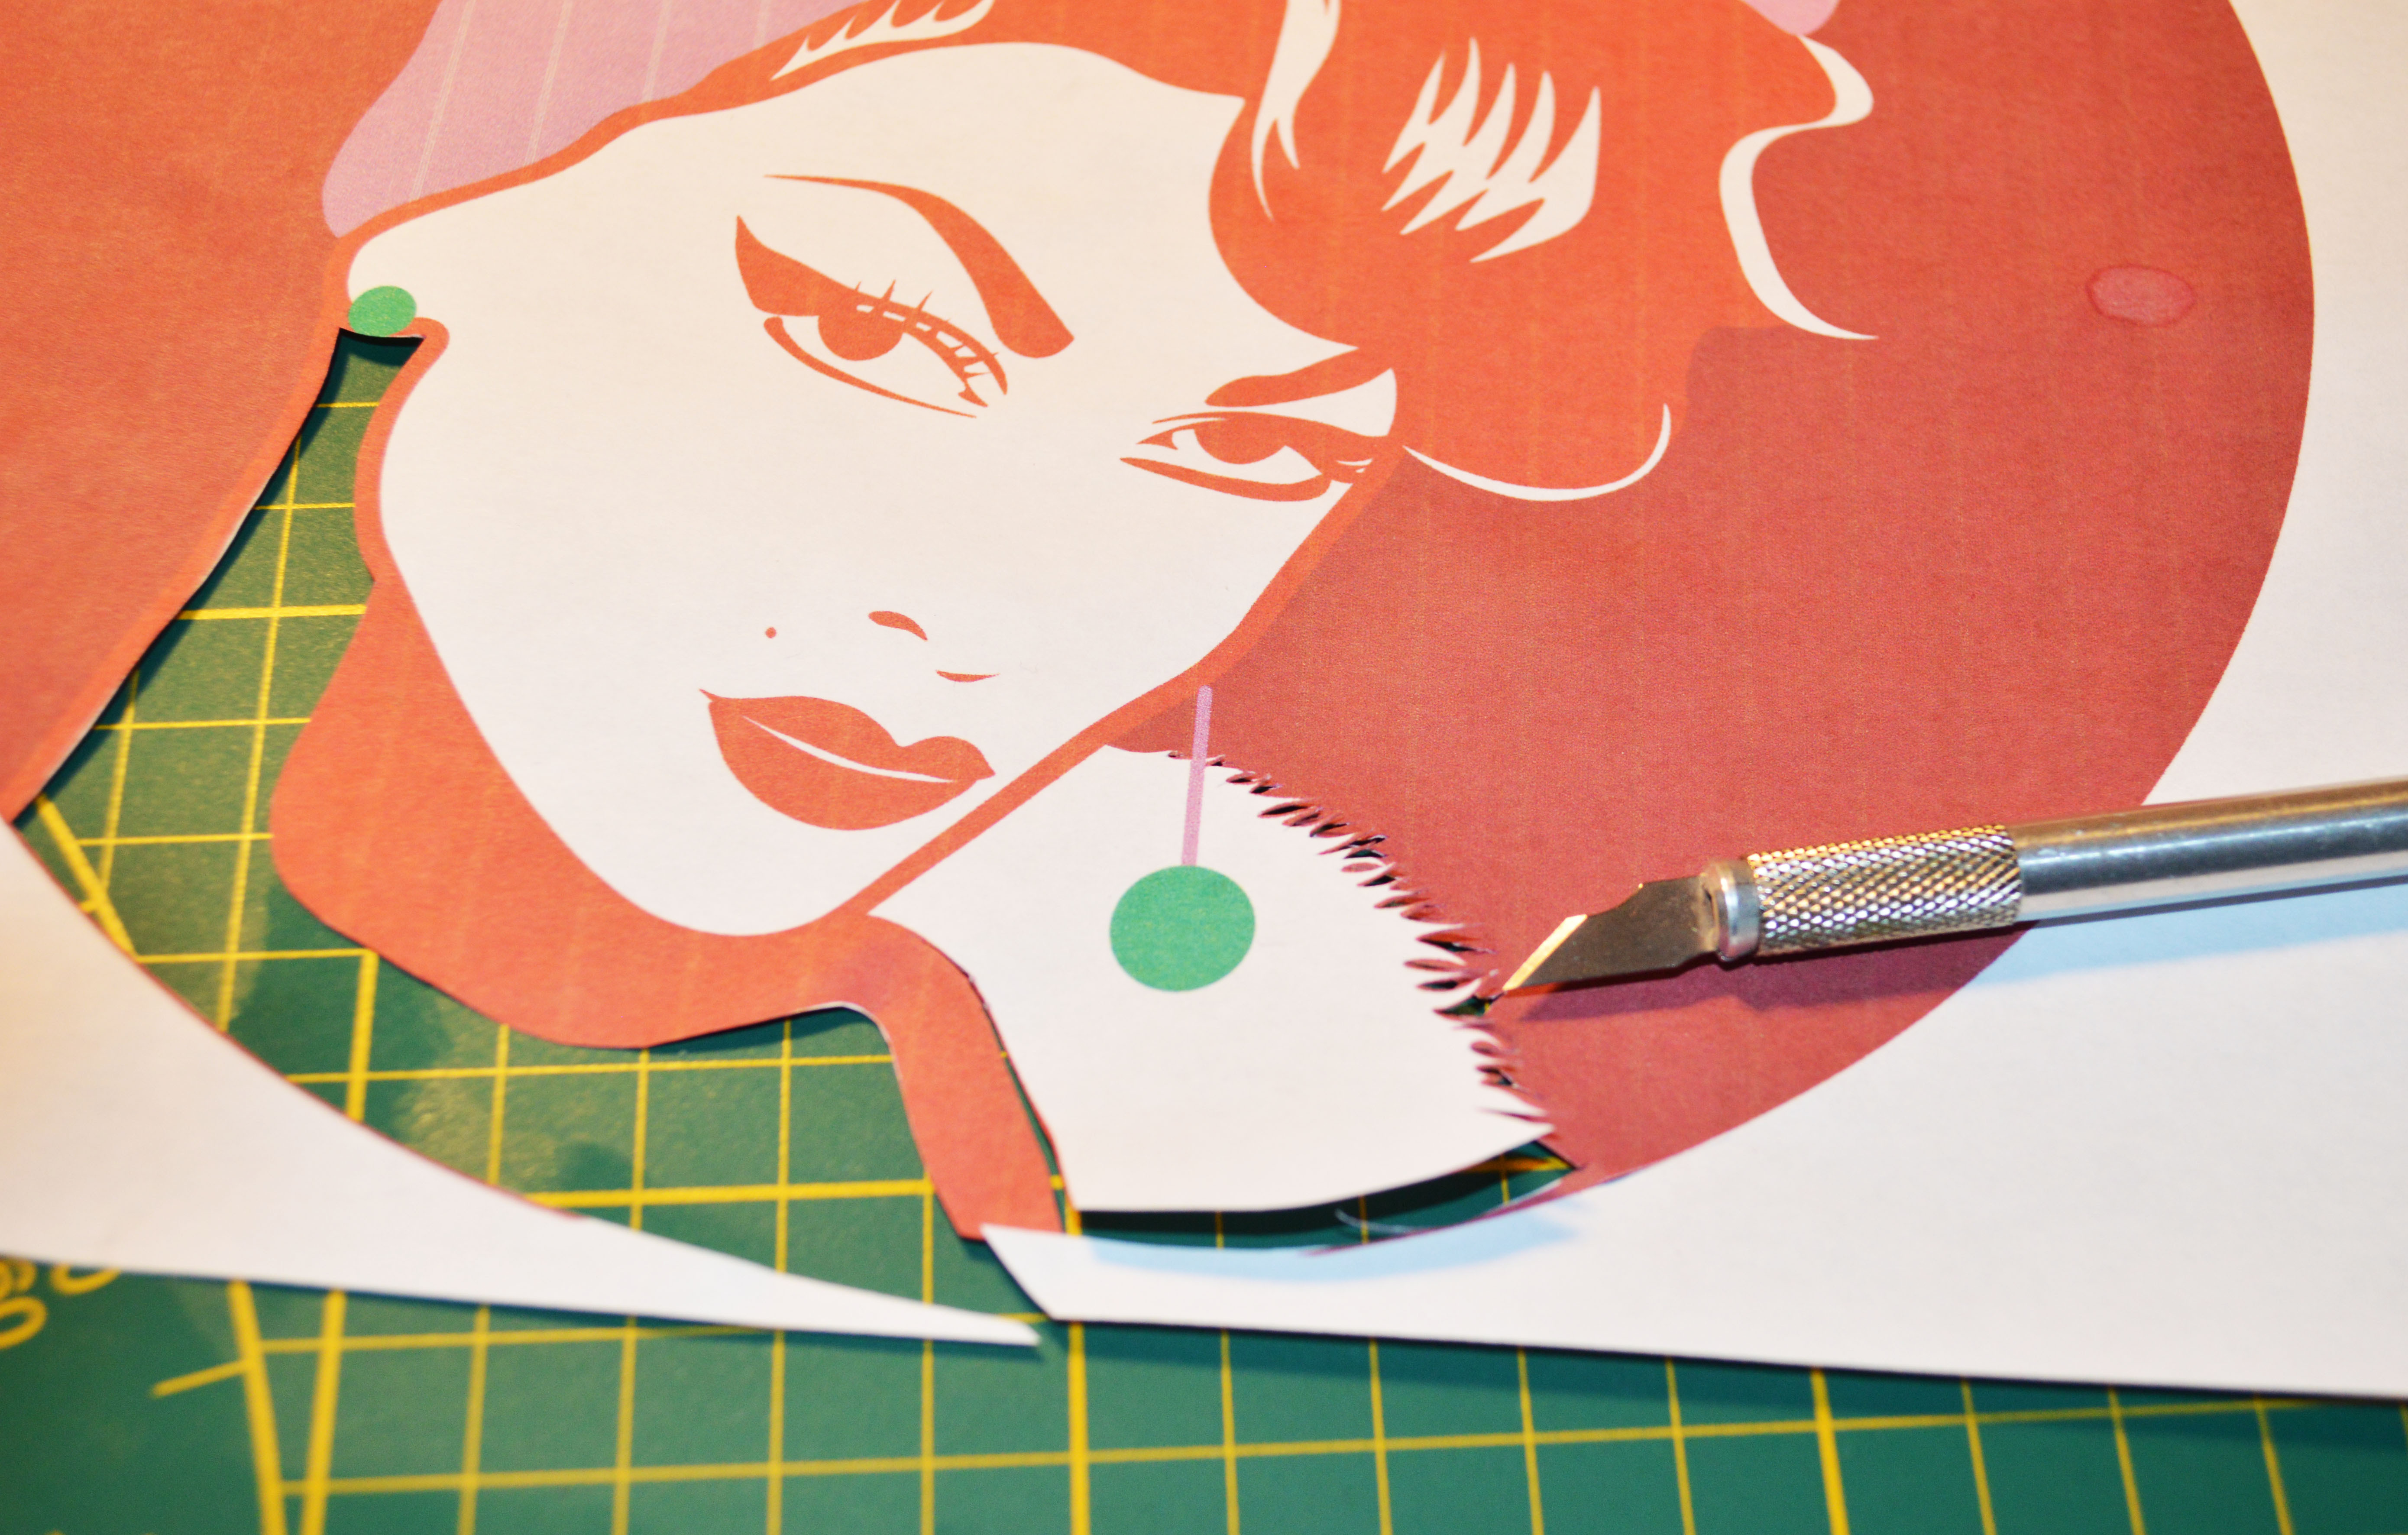
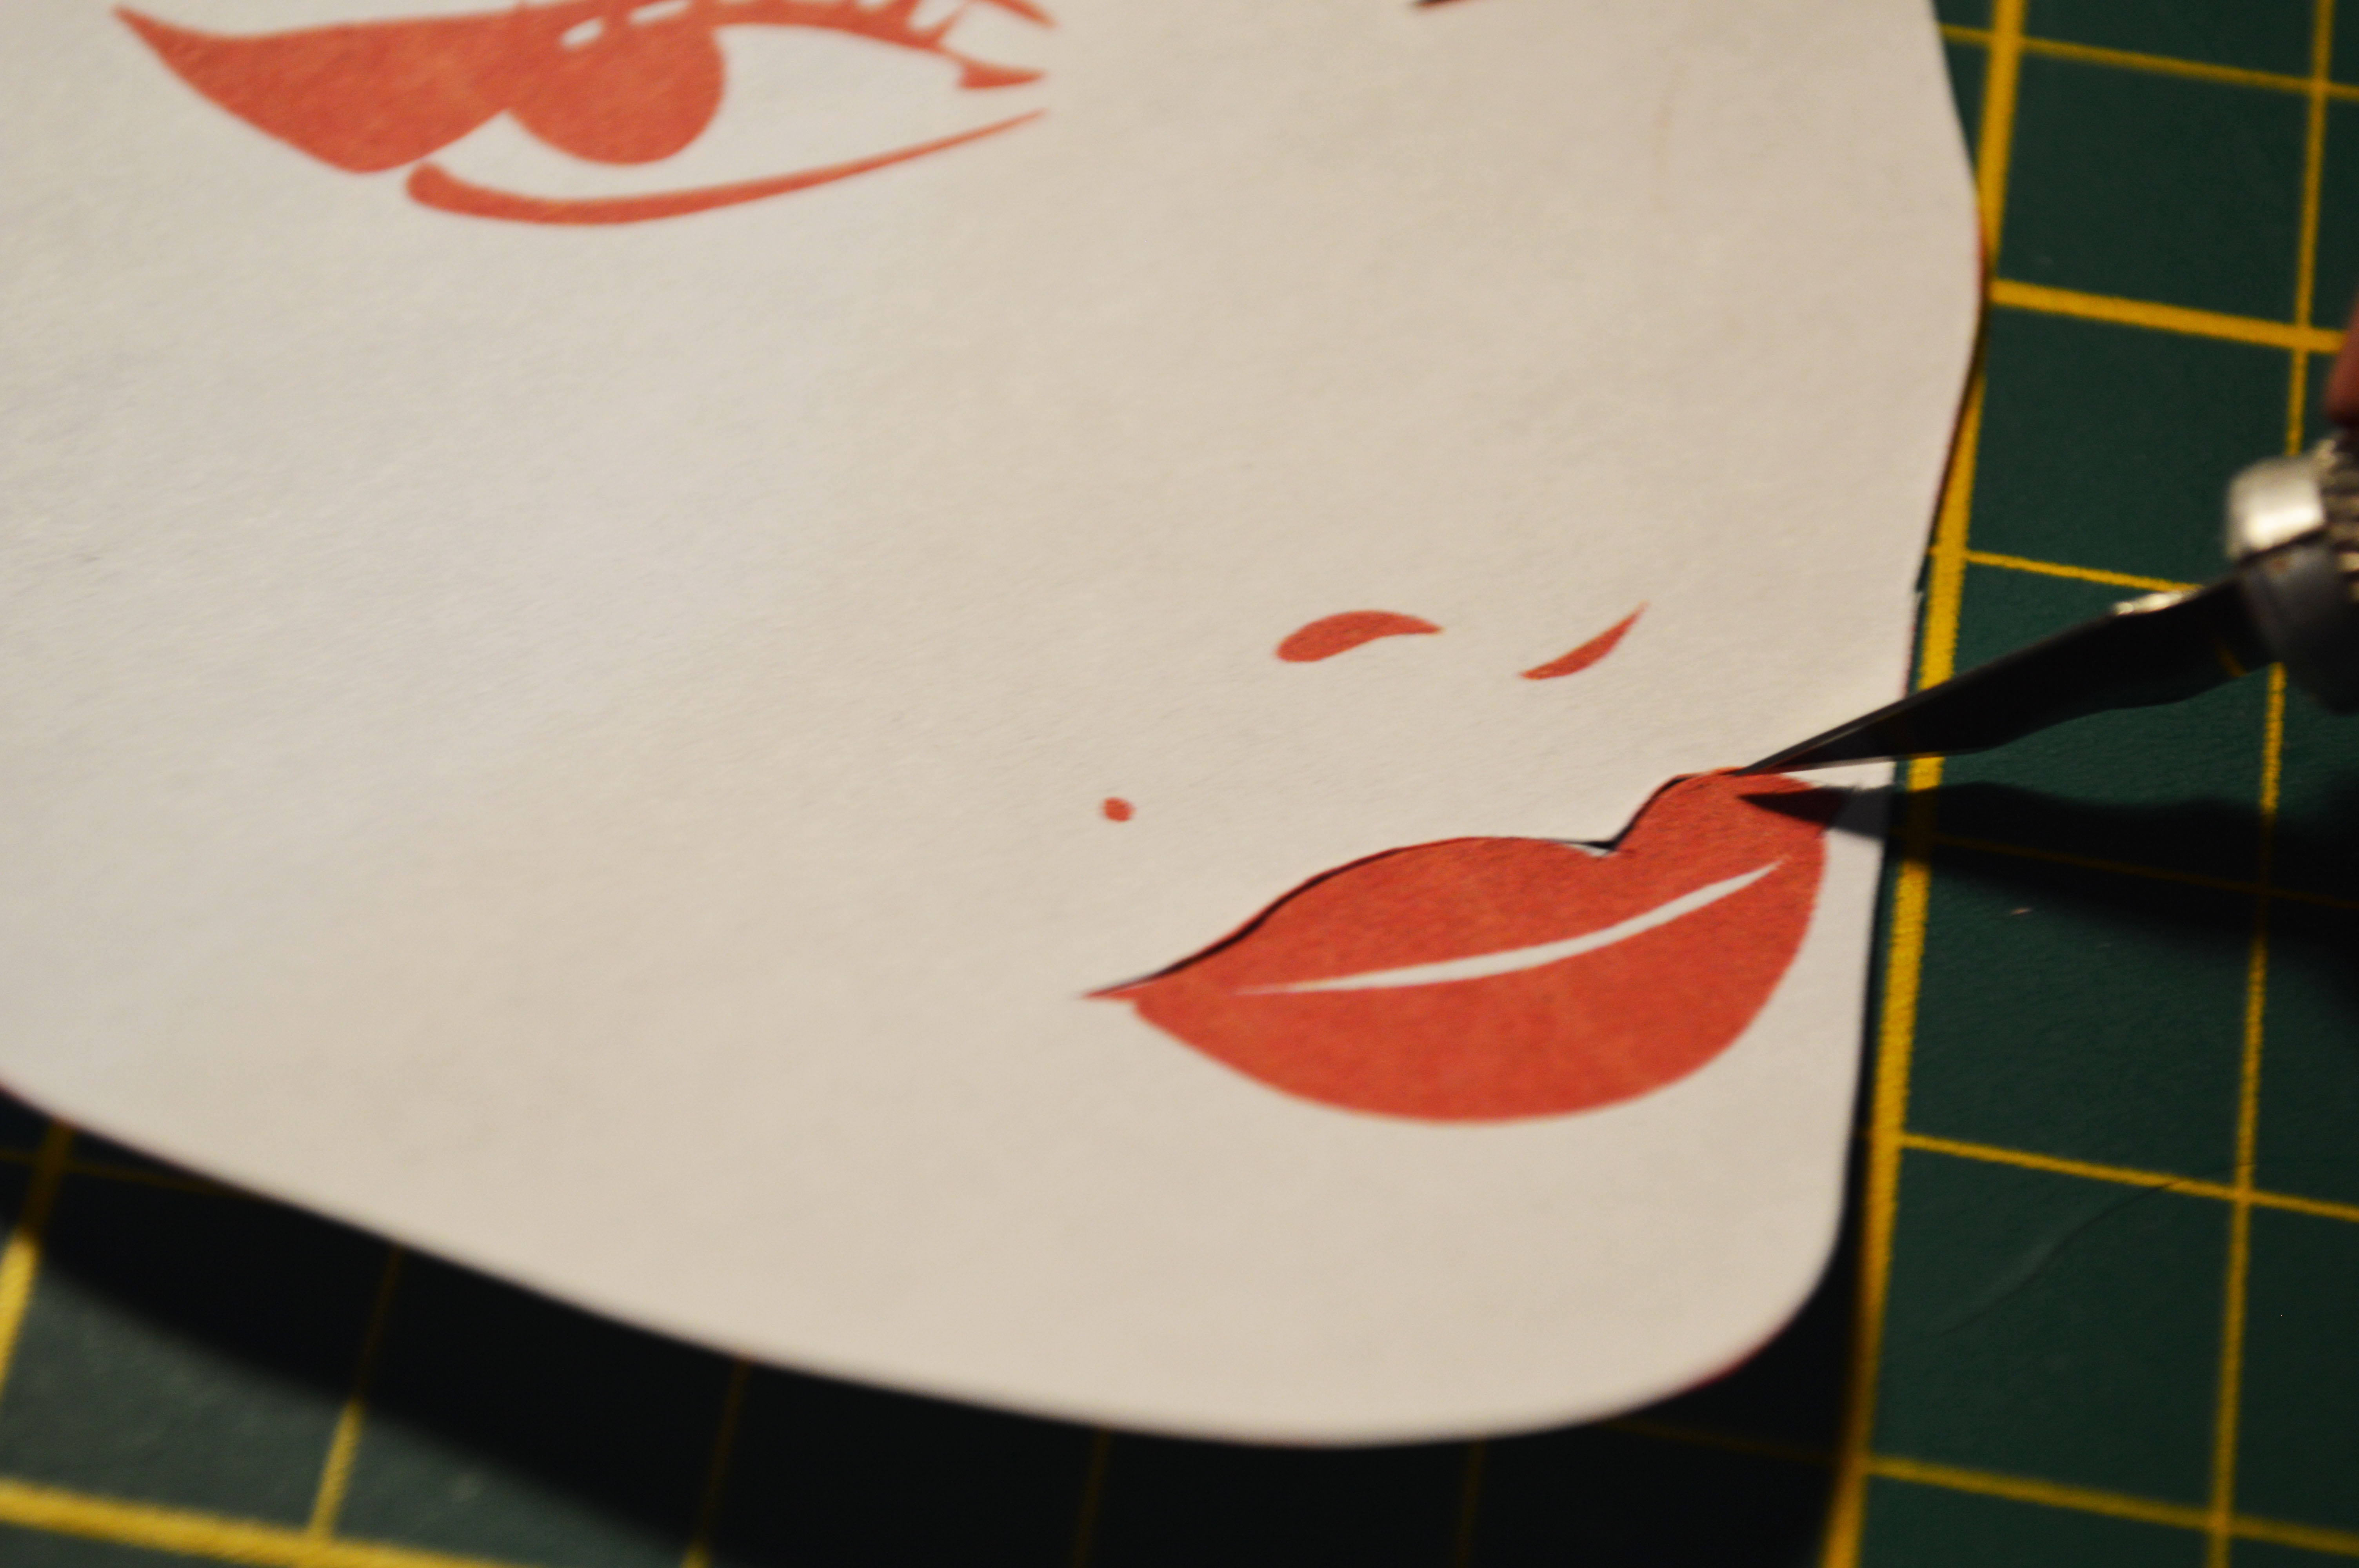
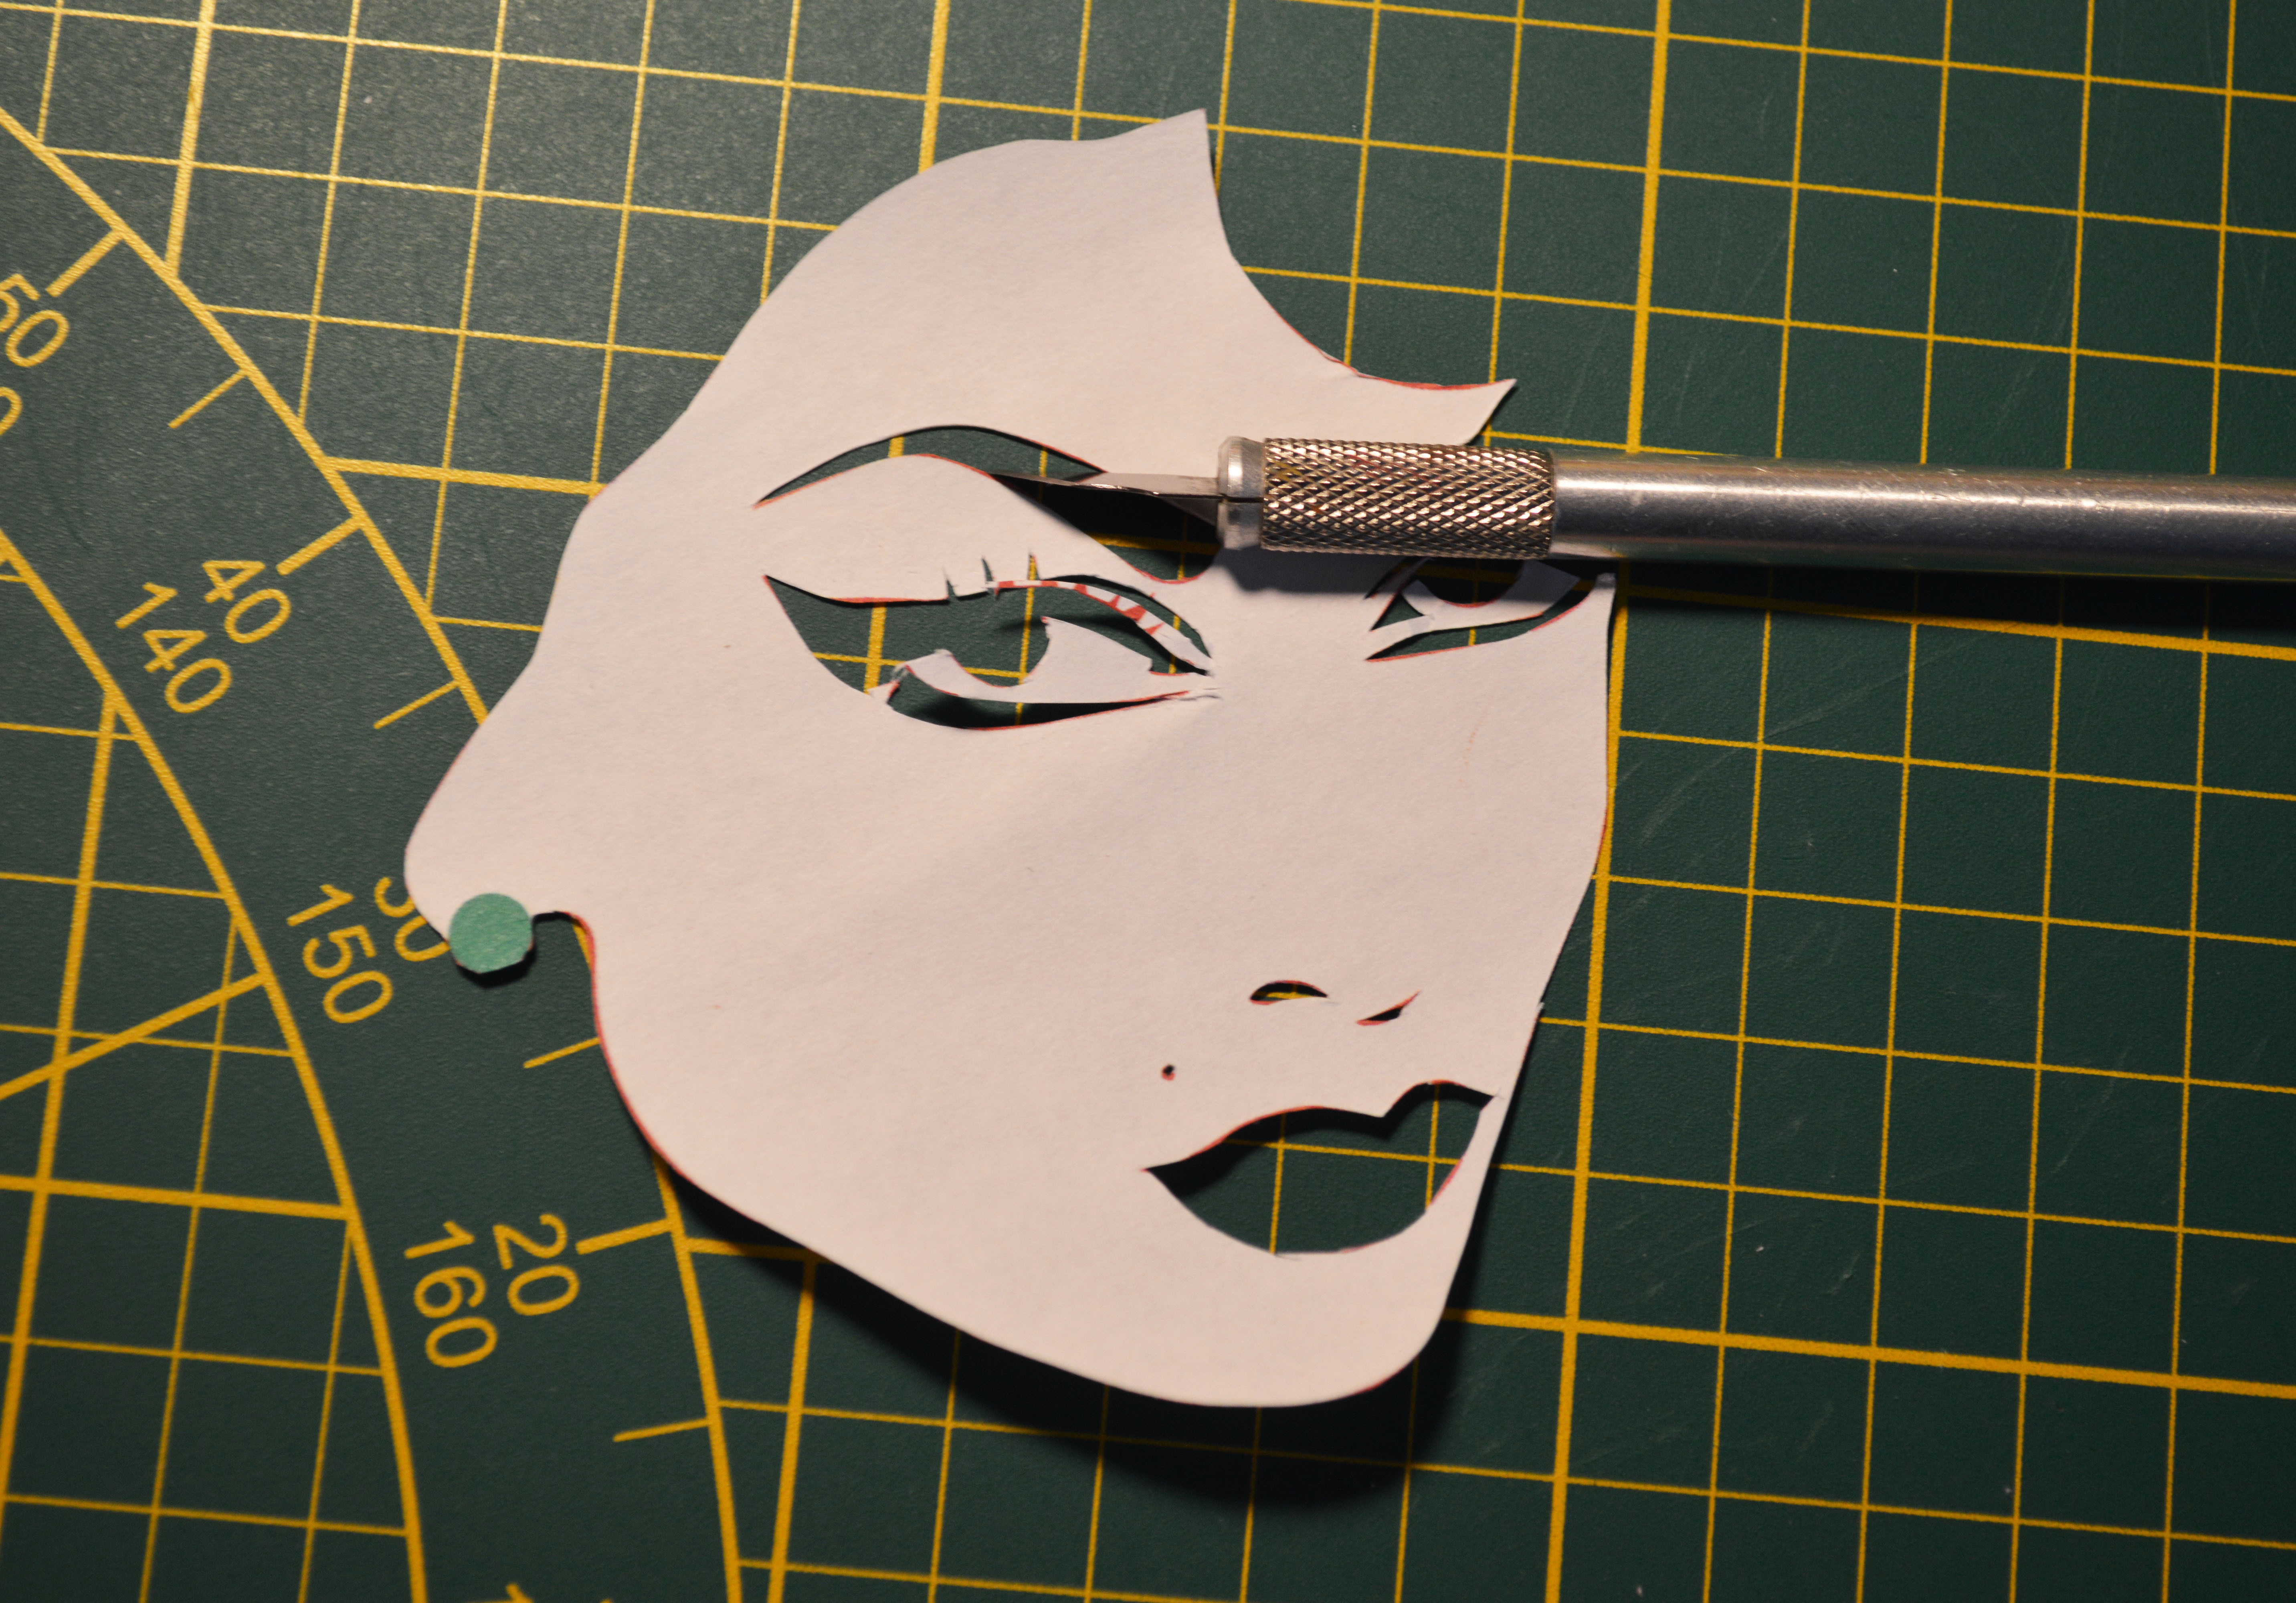
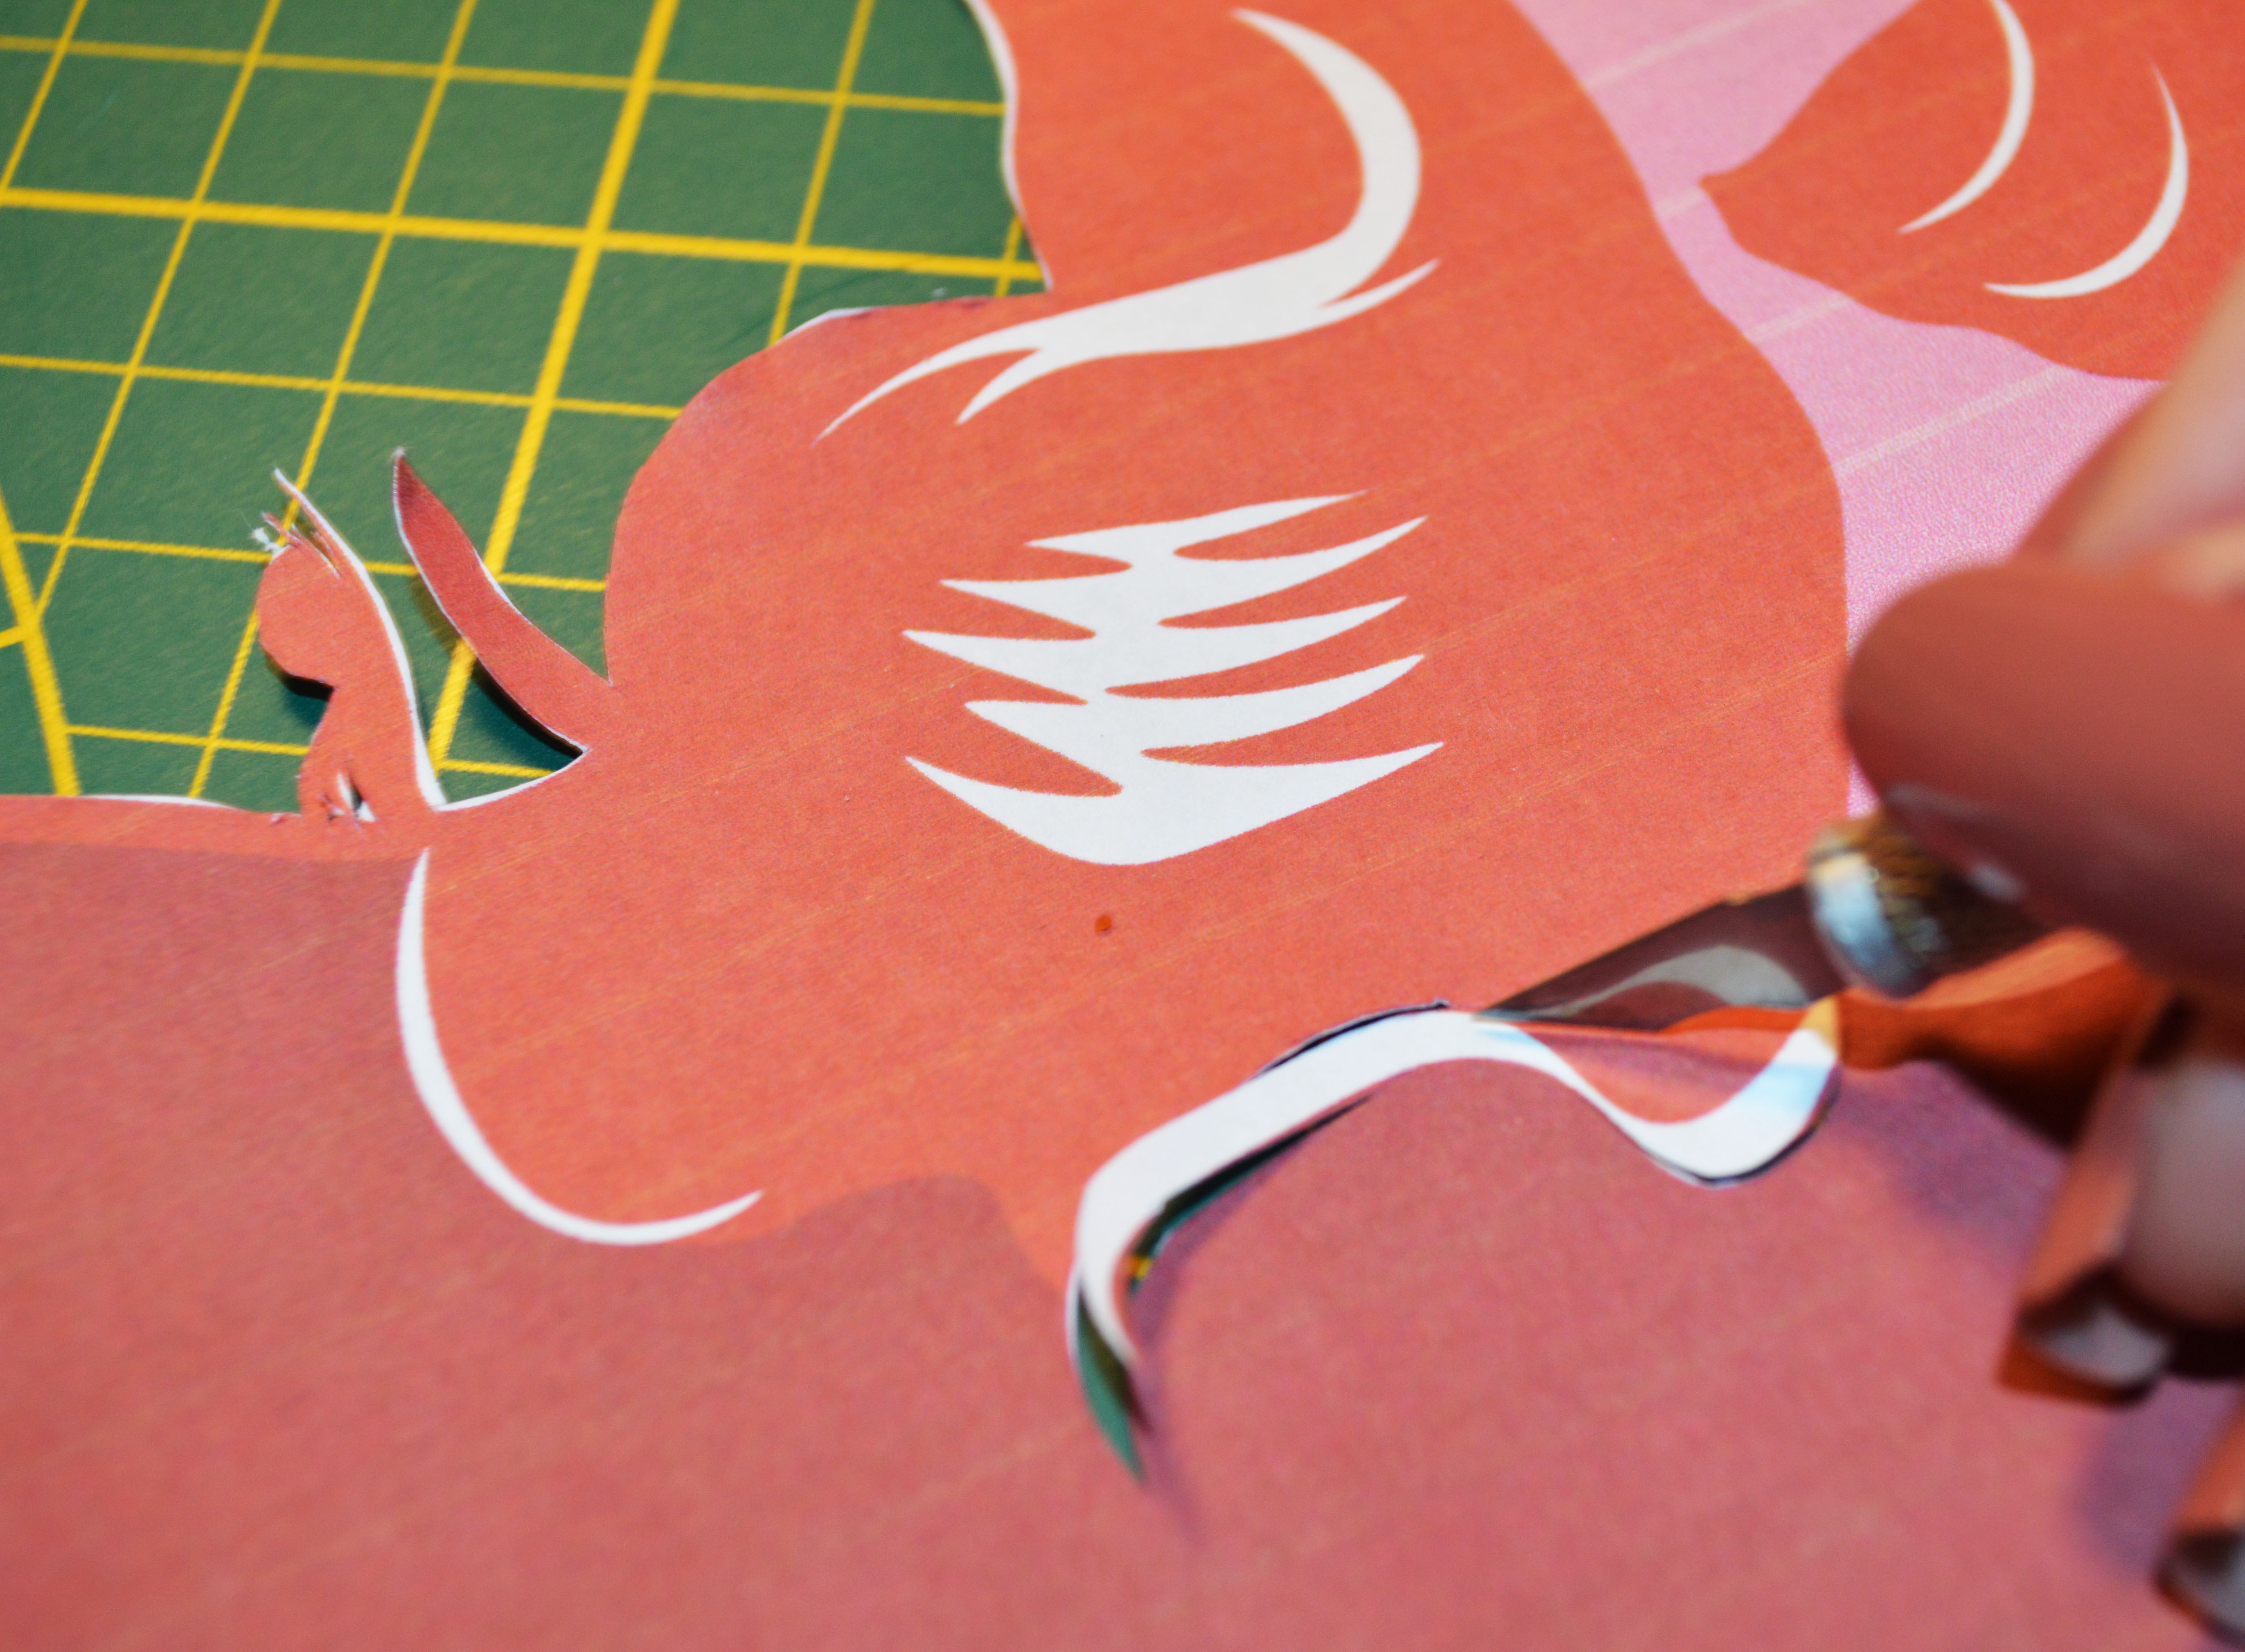
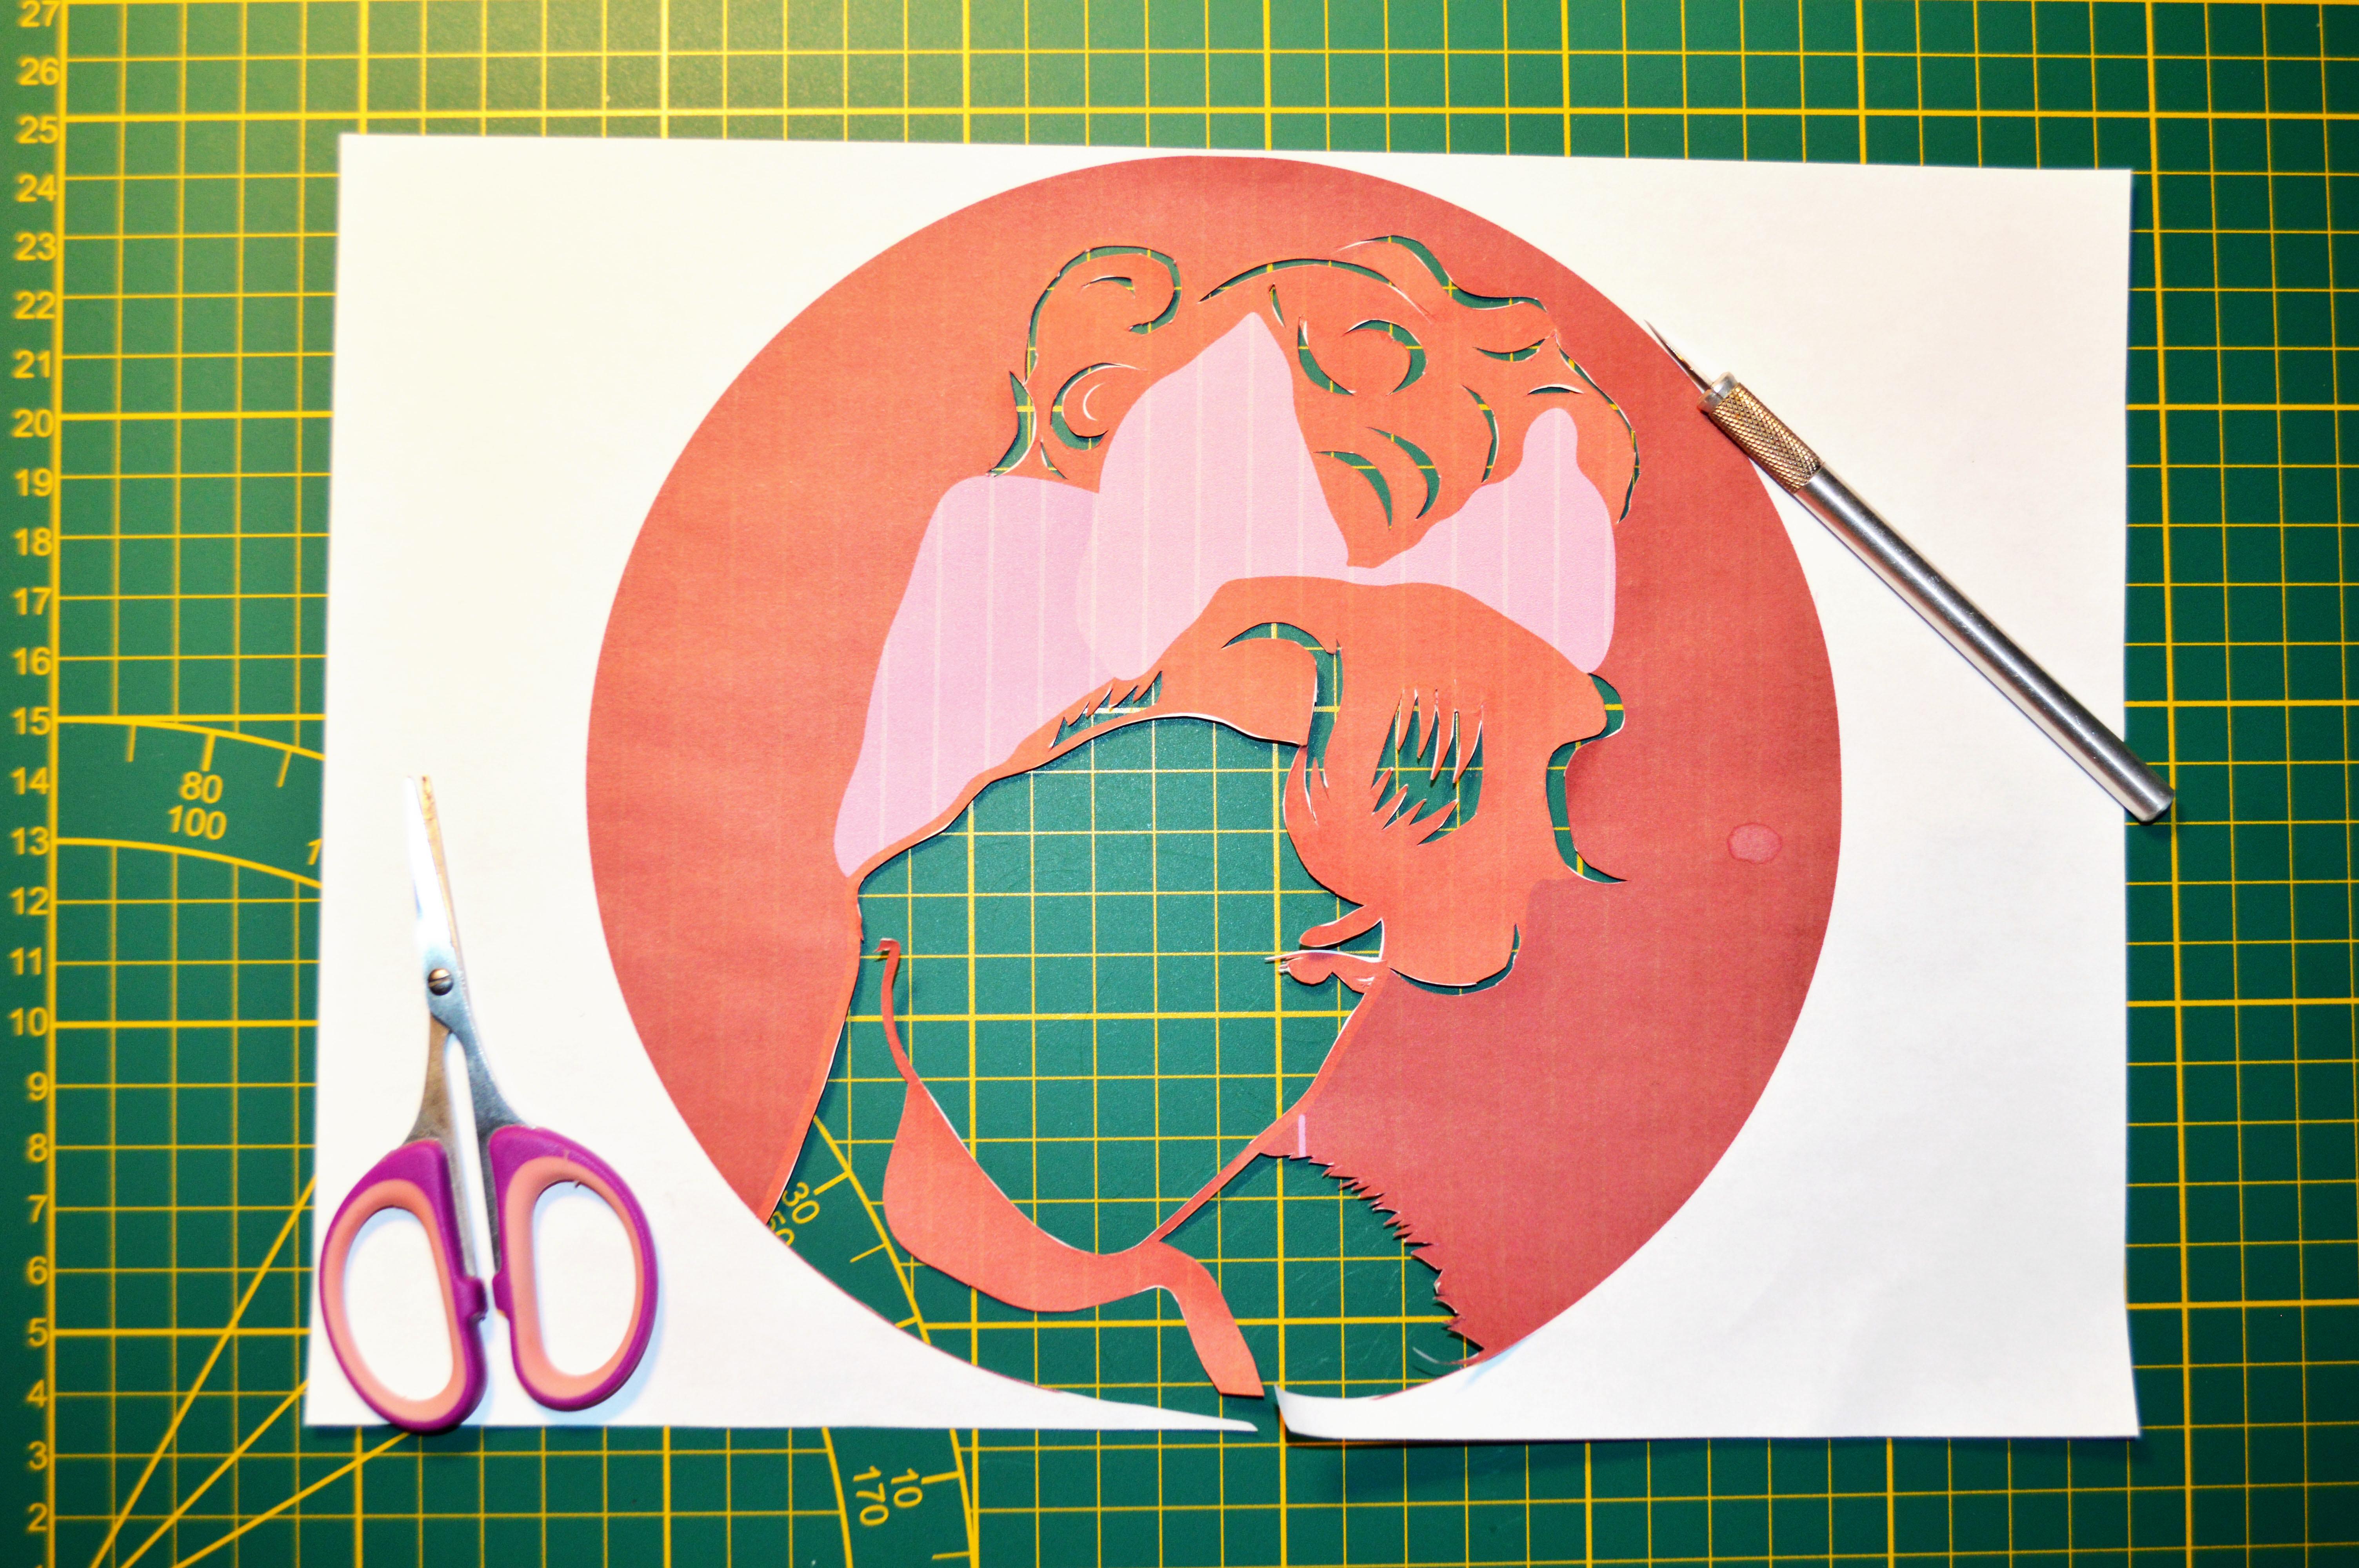
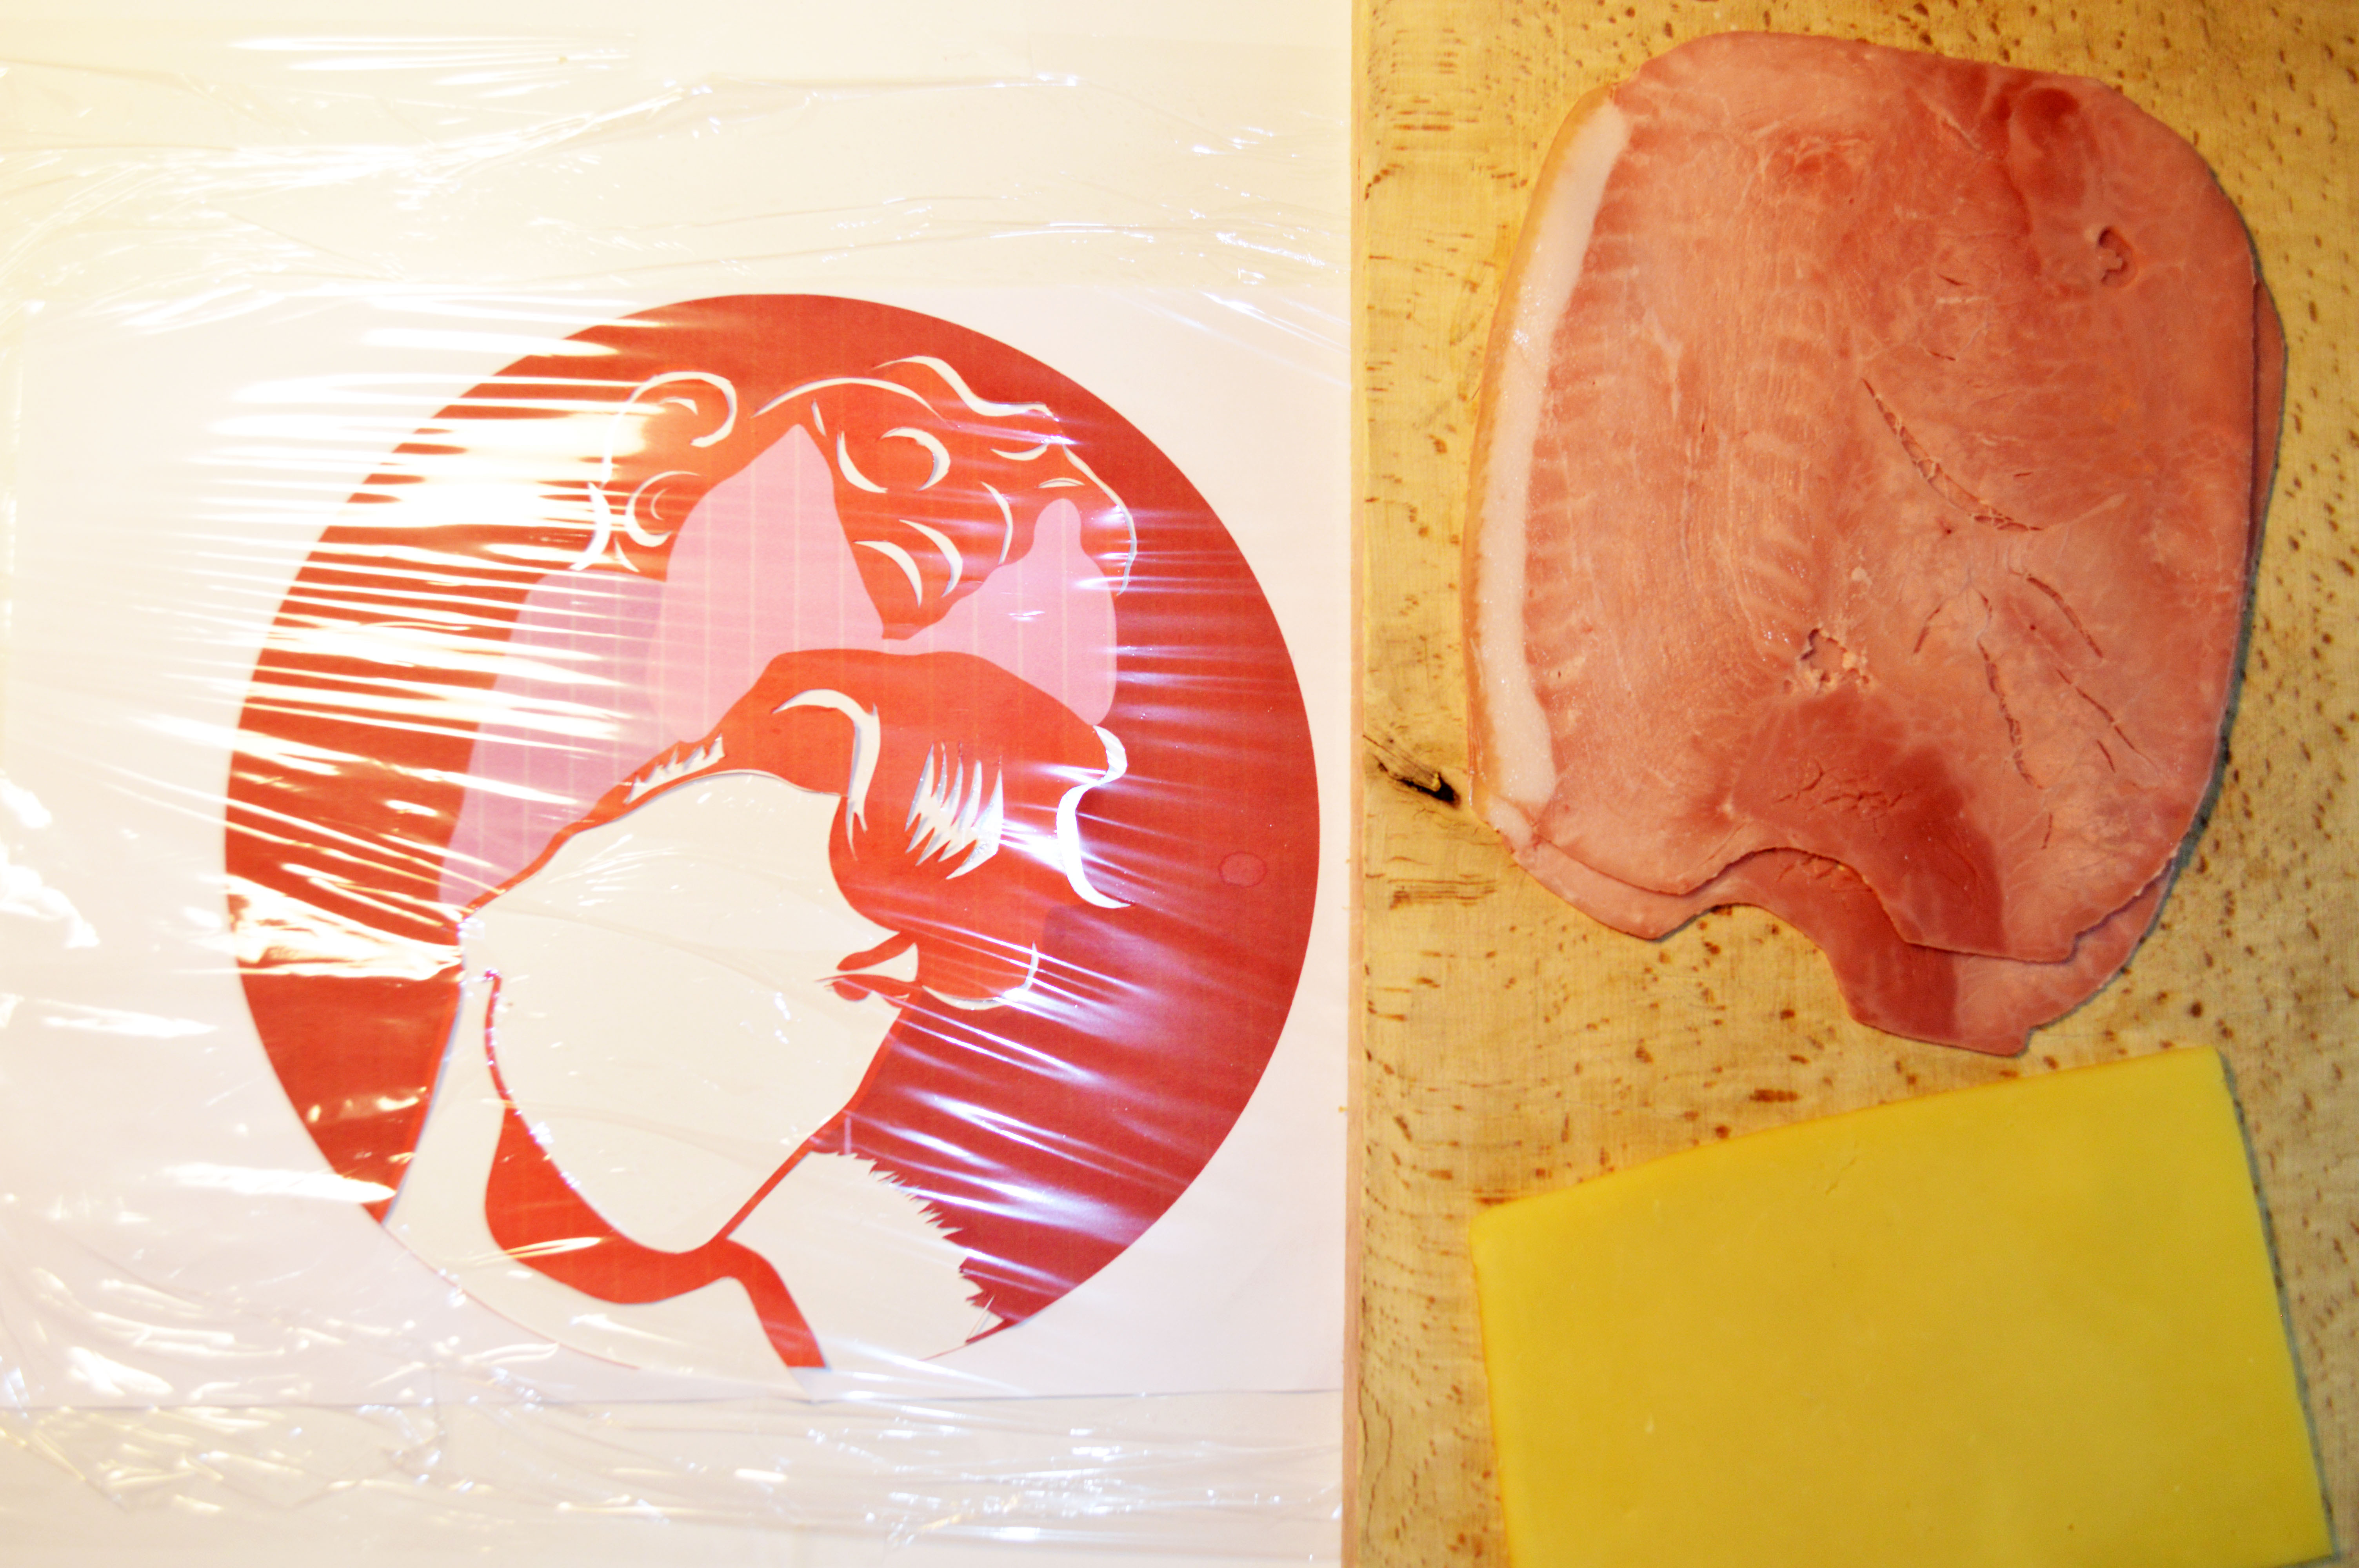
First, you will need to print the pdf file you created in the previous step. (You can also print a simple black and white pop art picture and use it as a stencil.)
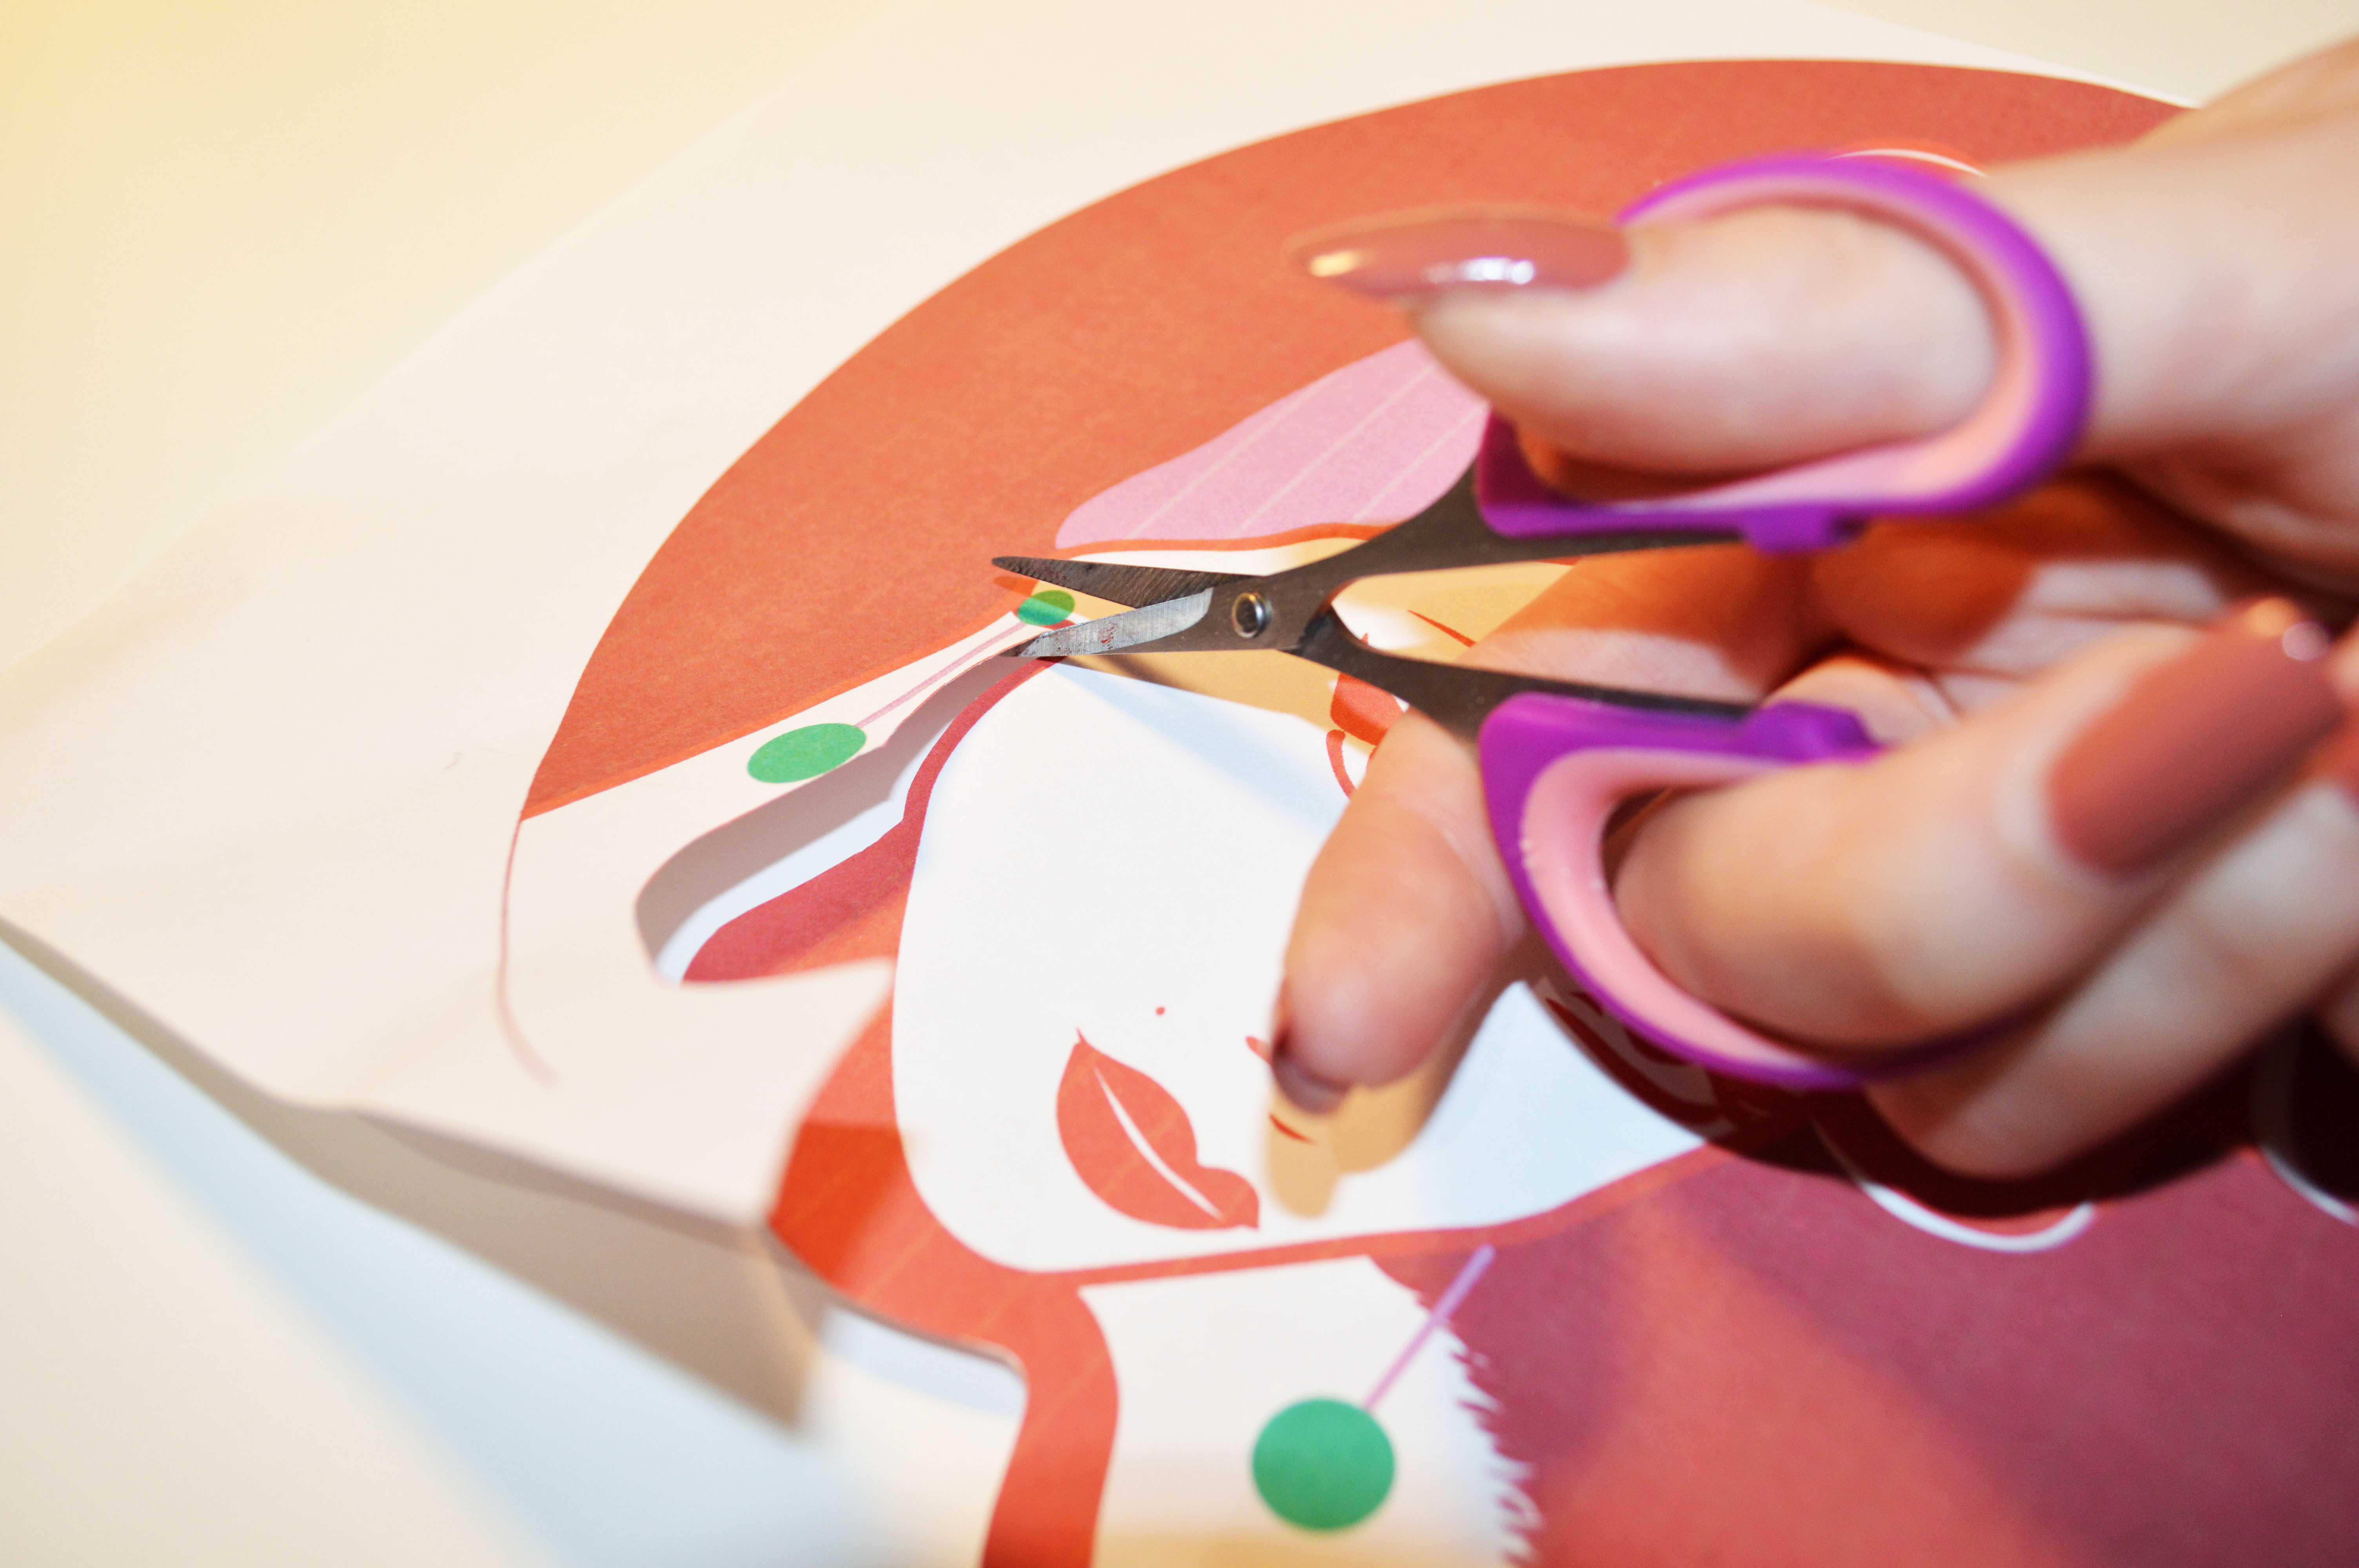
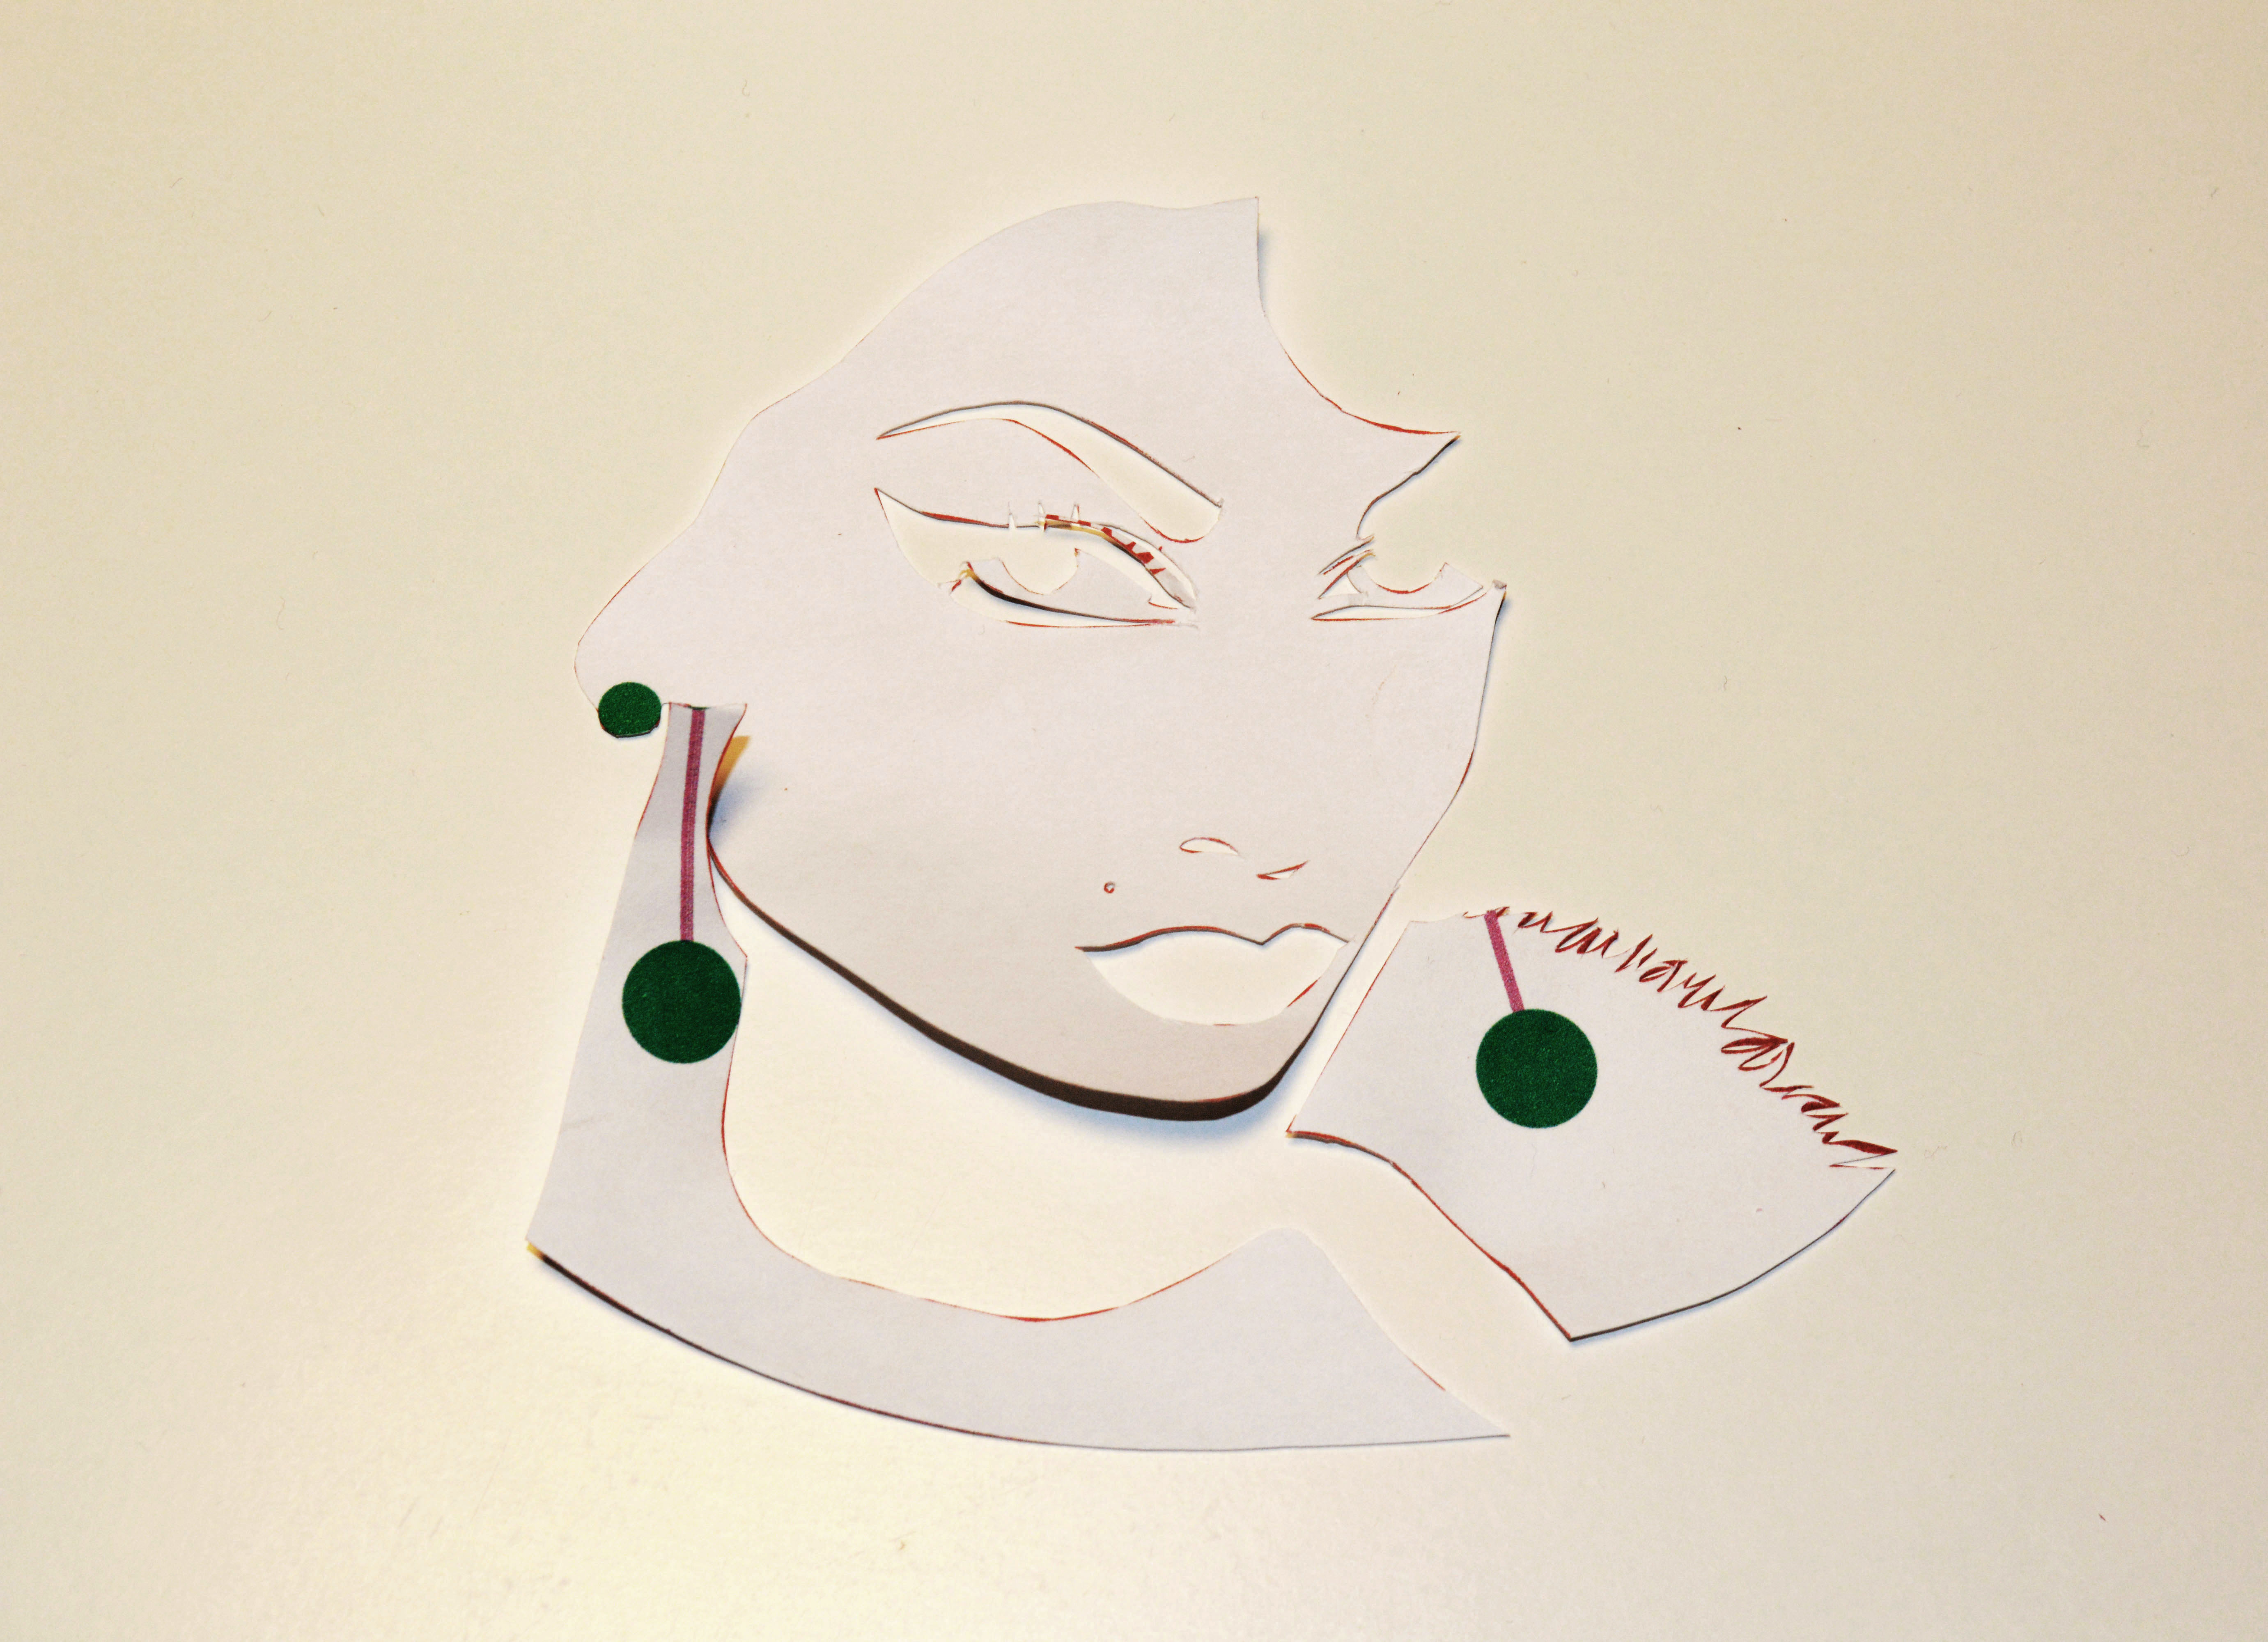
Using an X-acto knife or a pair of scissors, cut out all the white parts and keep them aside.
Downloads
Sculpt the Cheese !
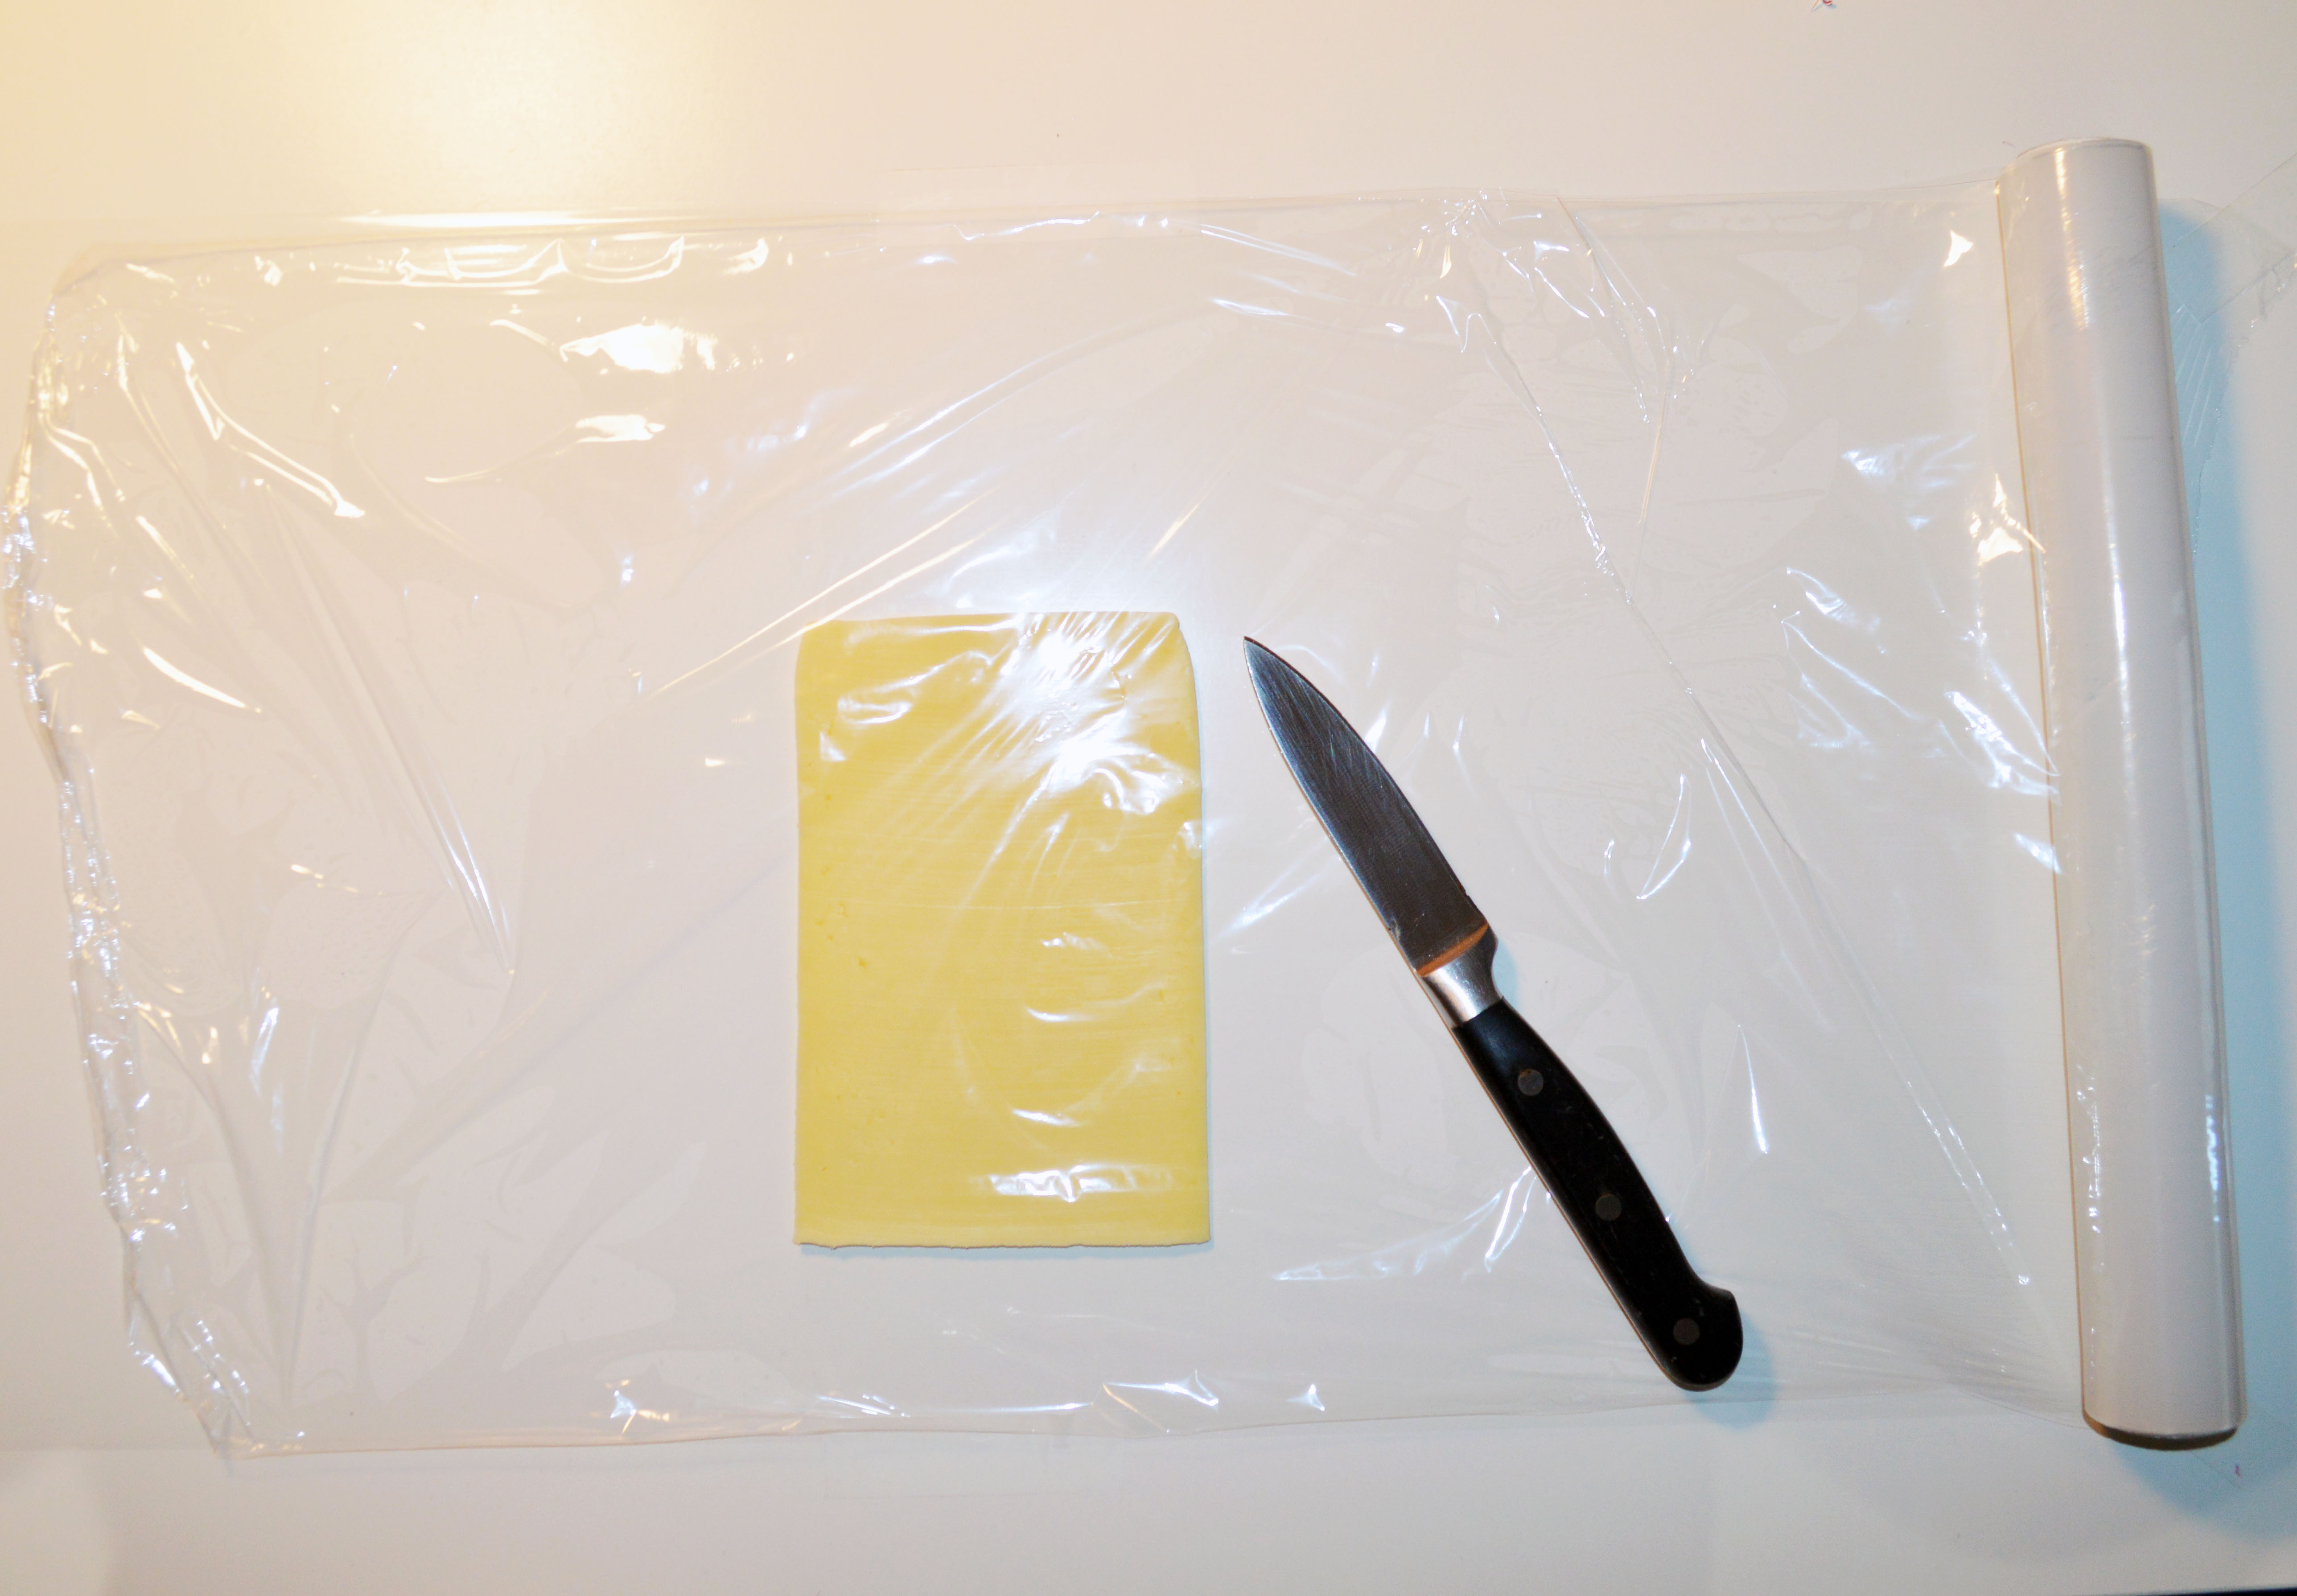
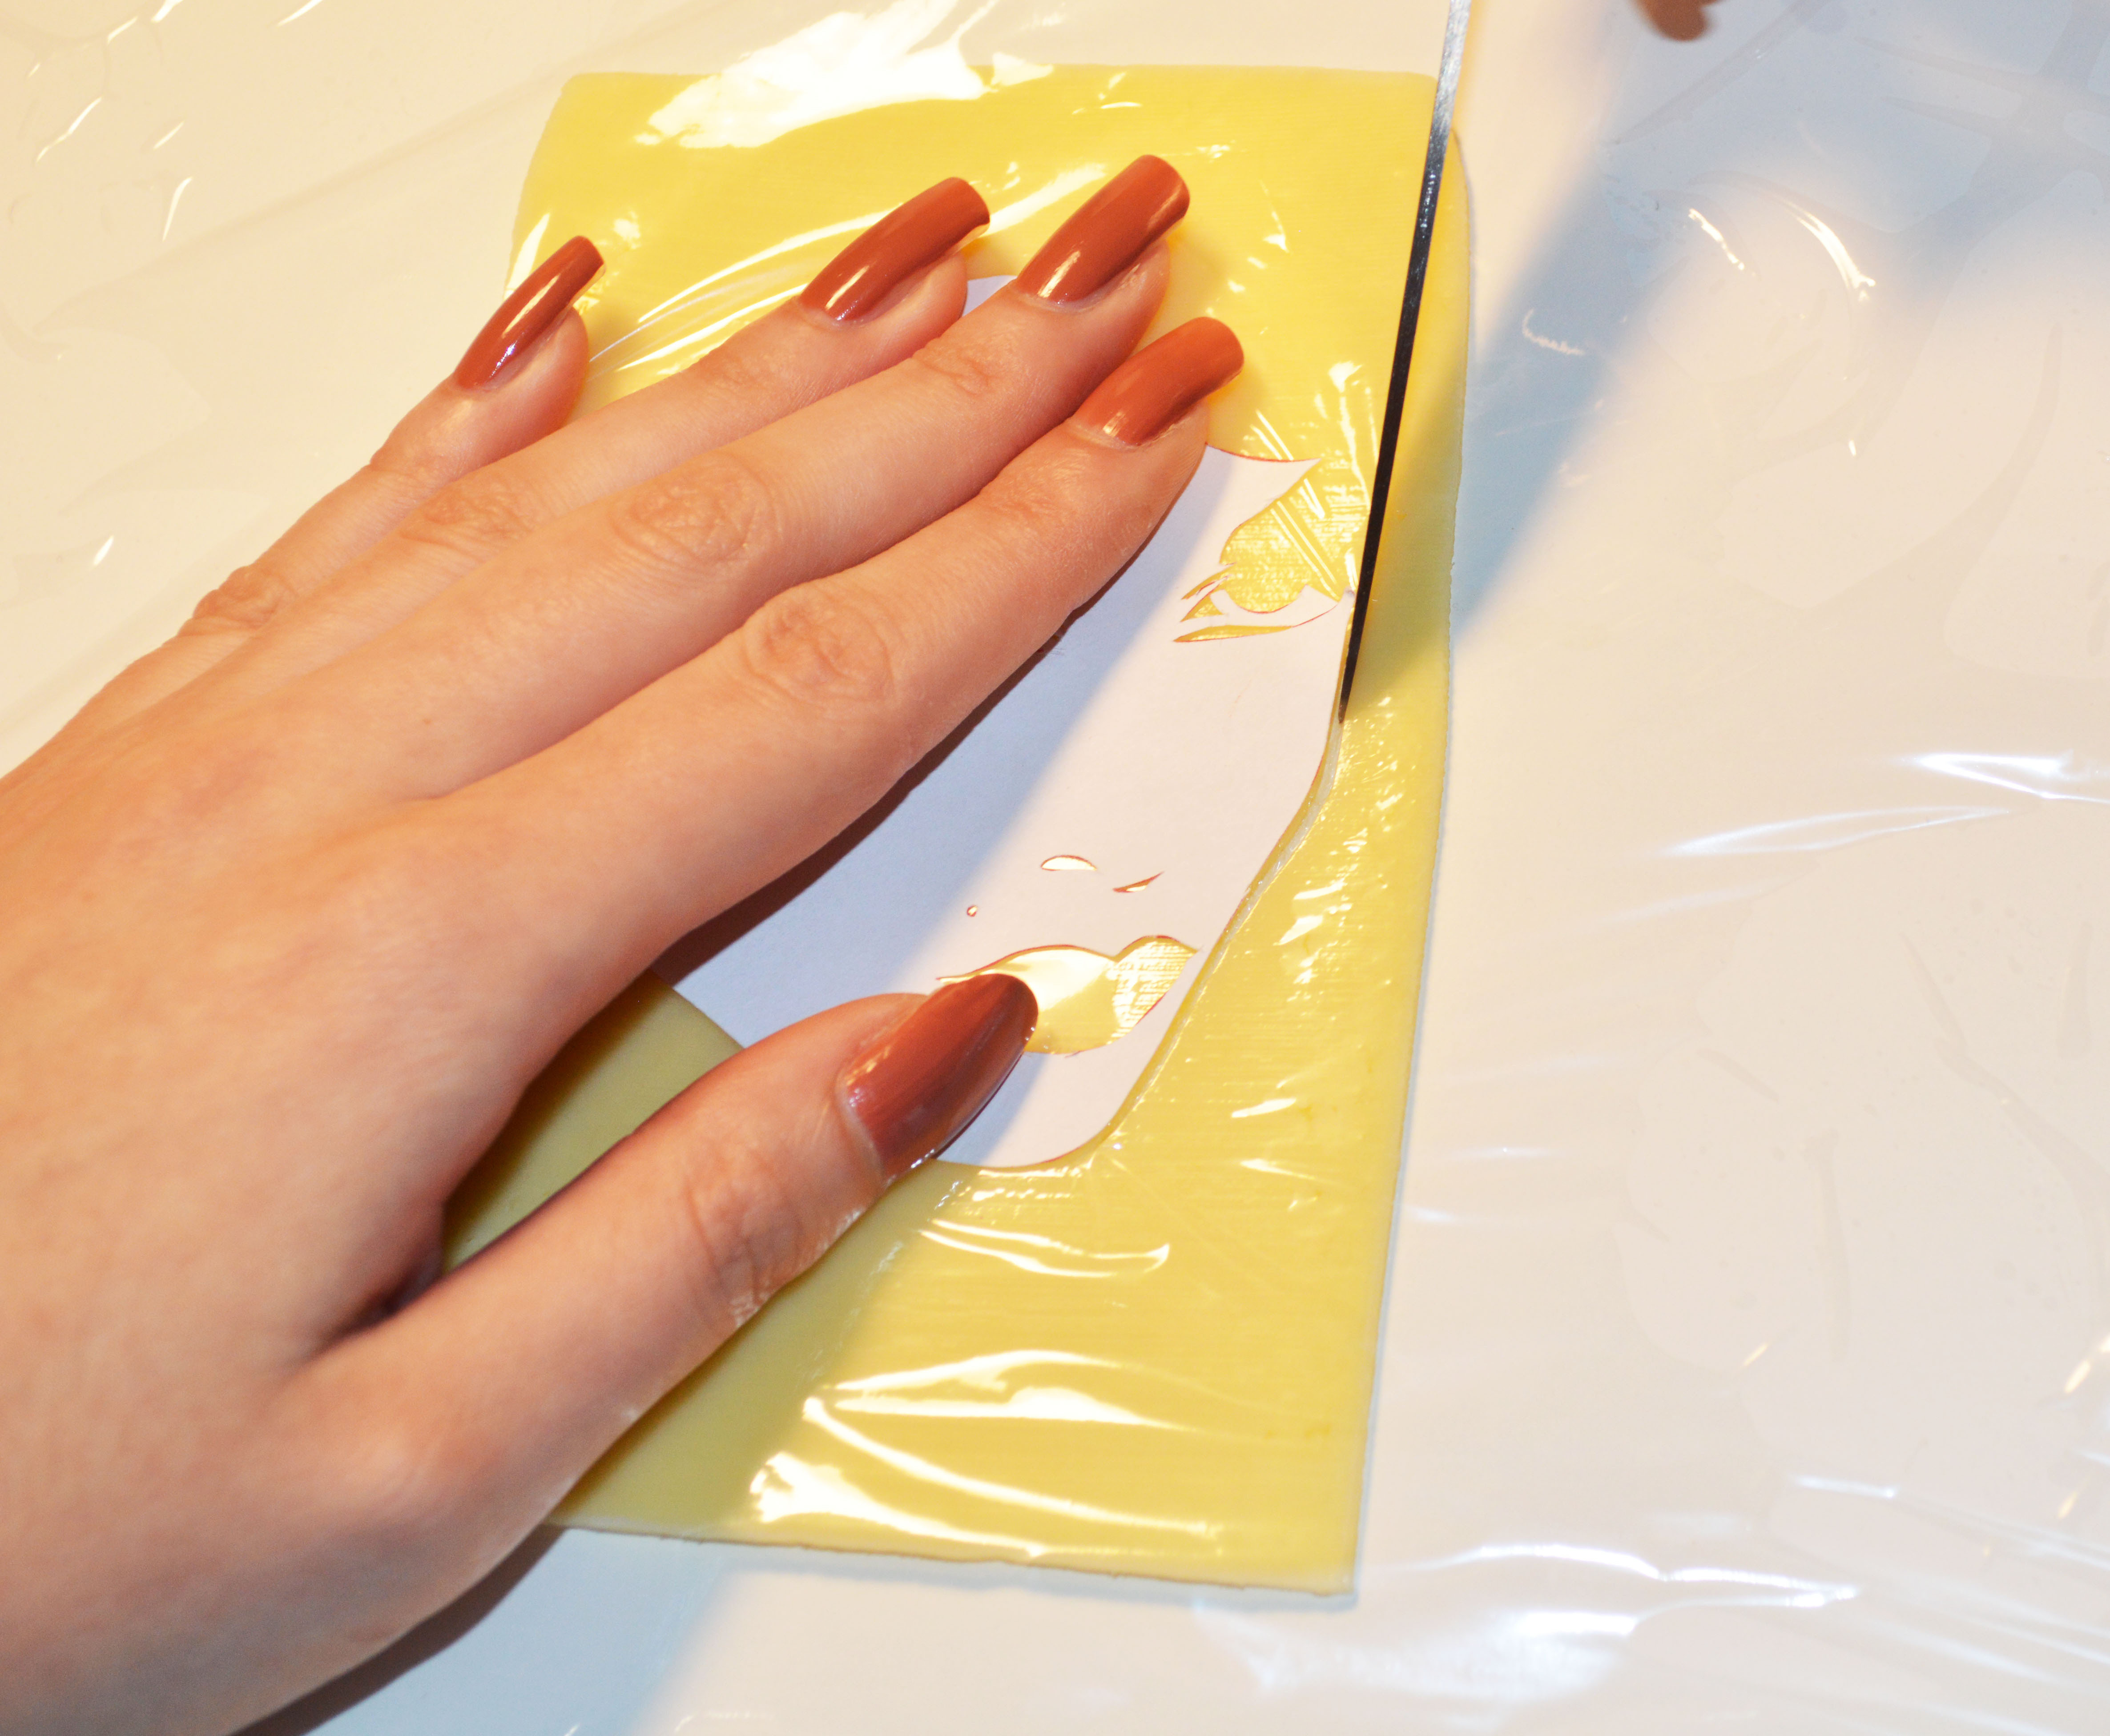
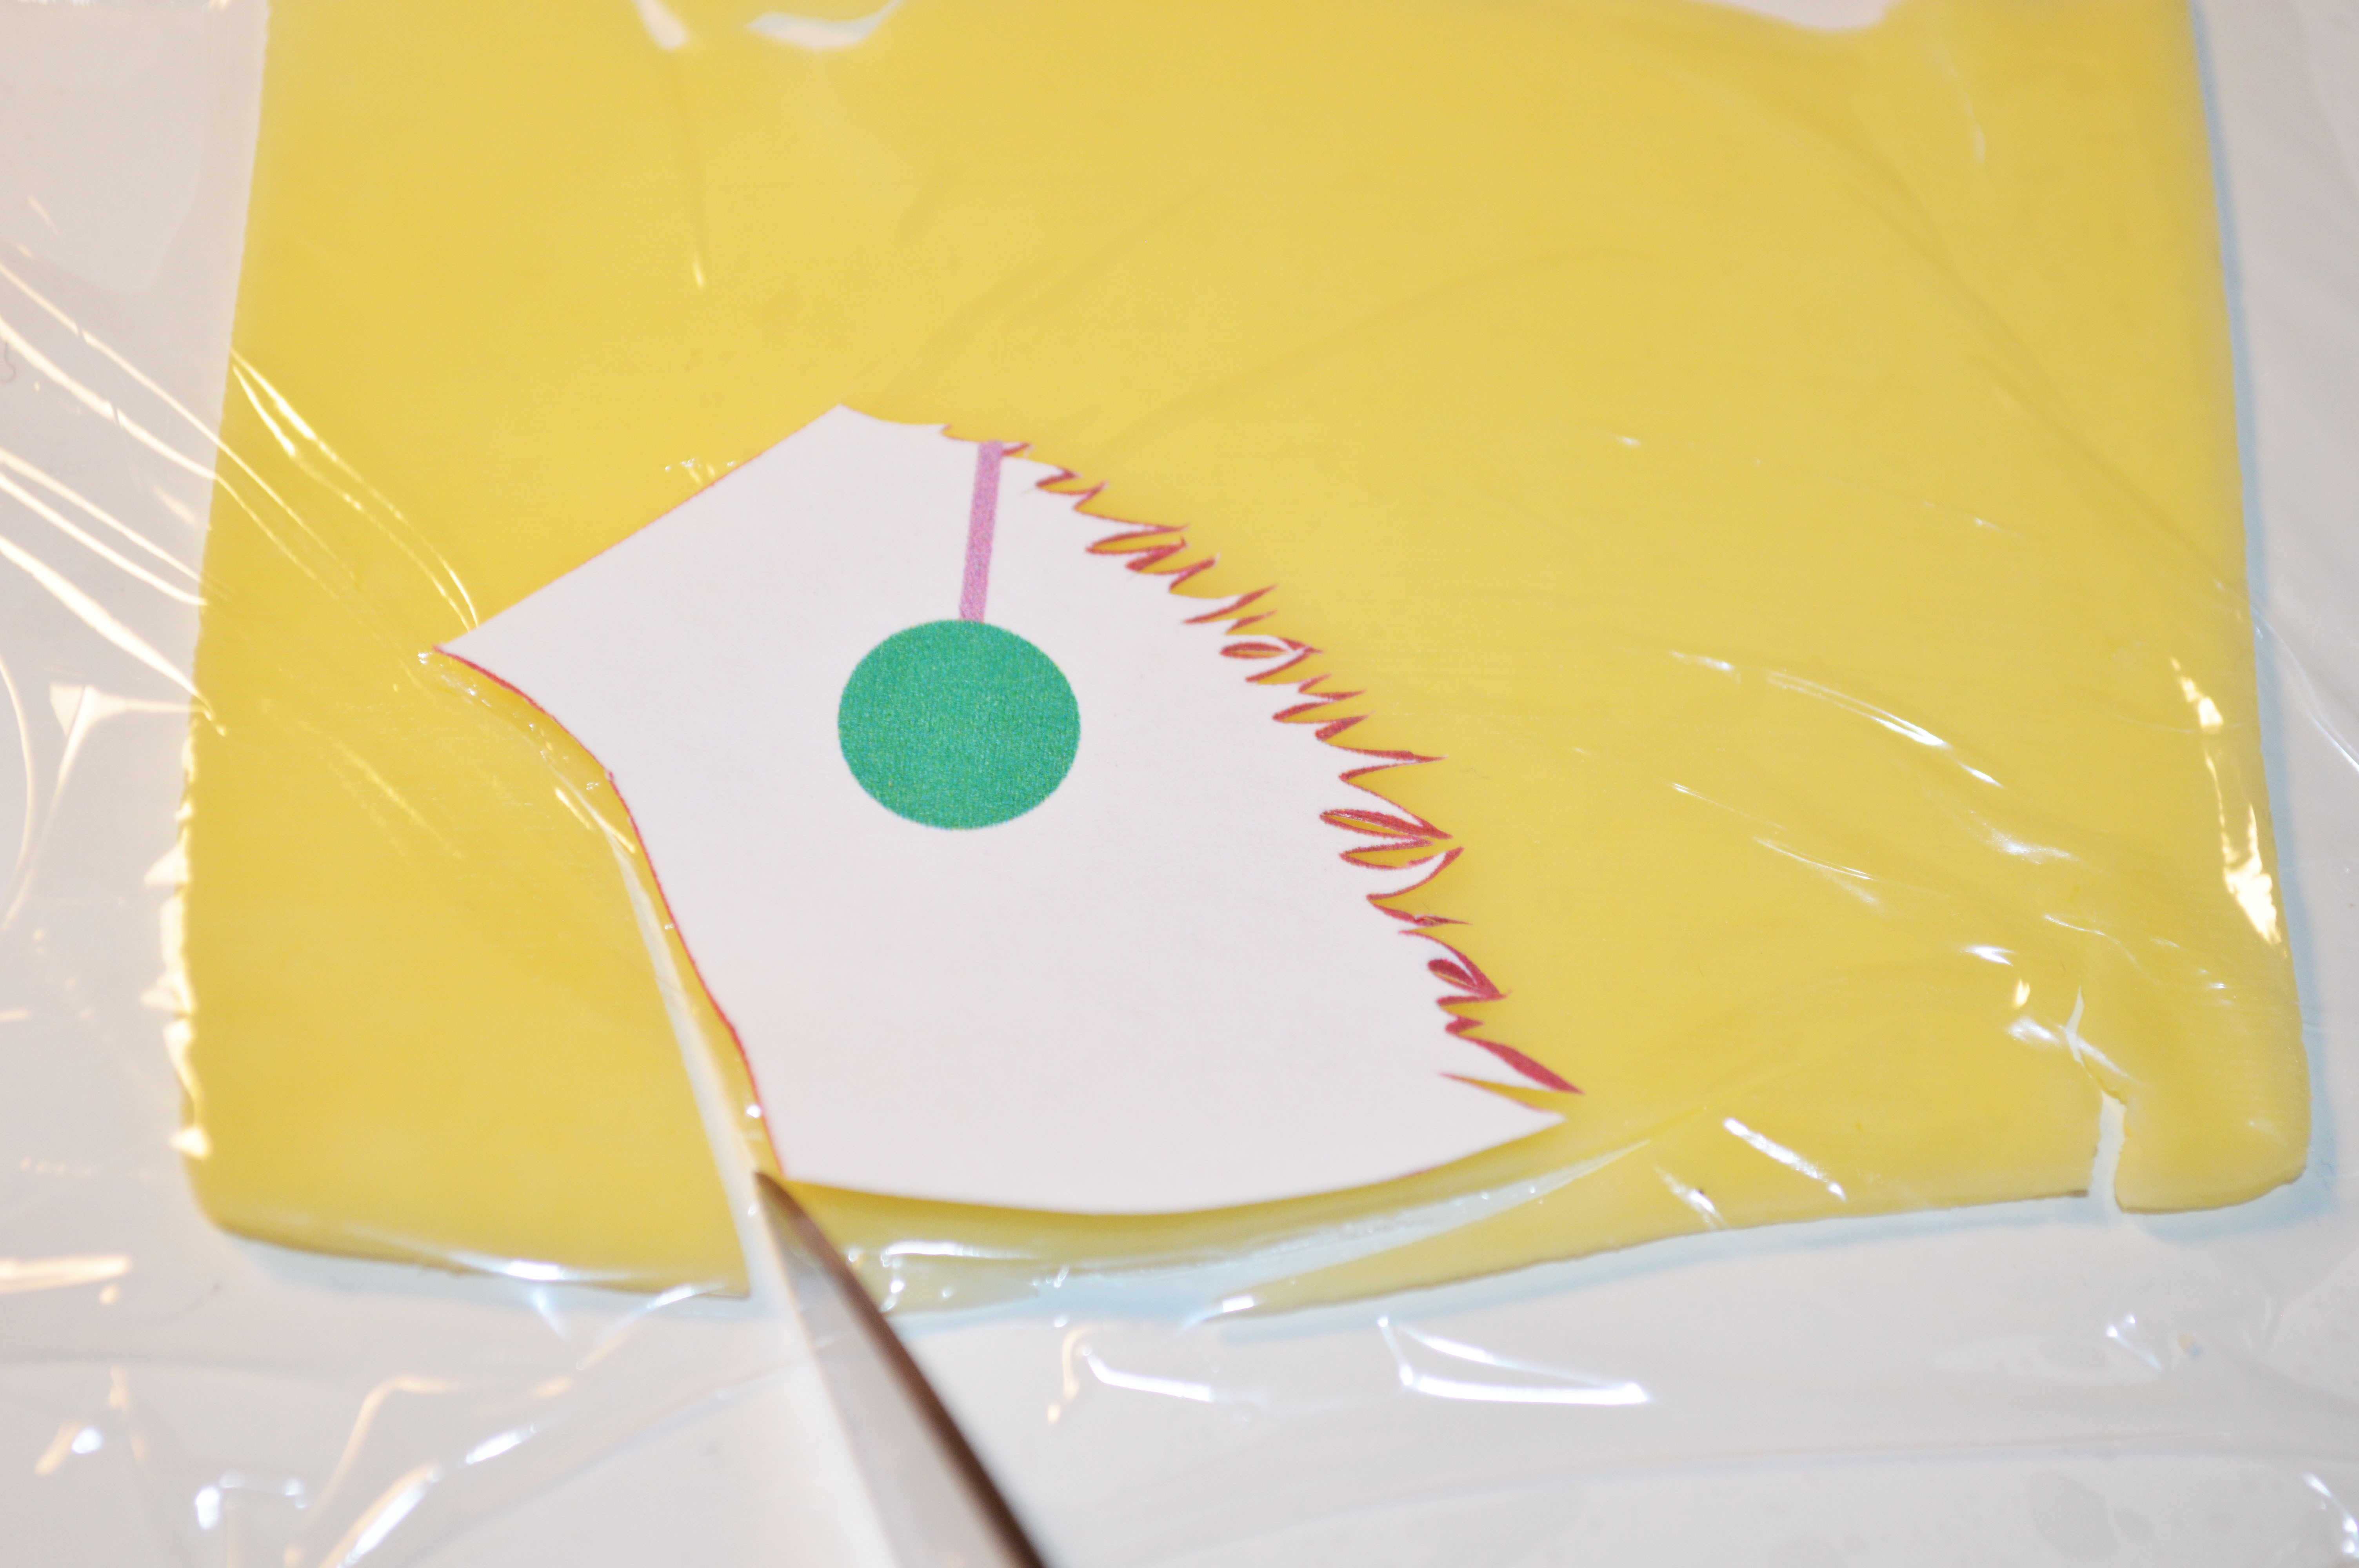
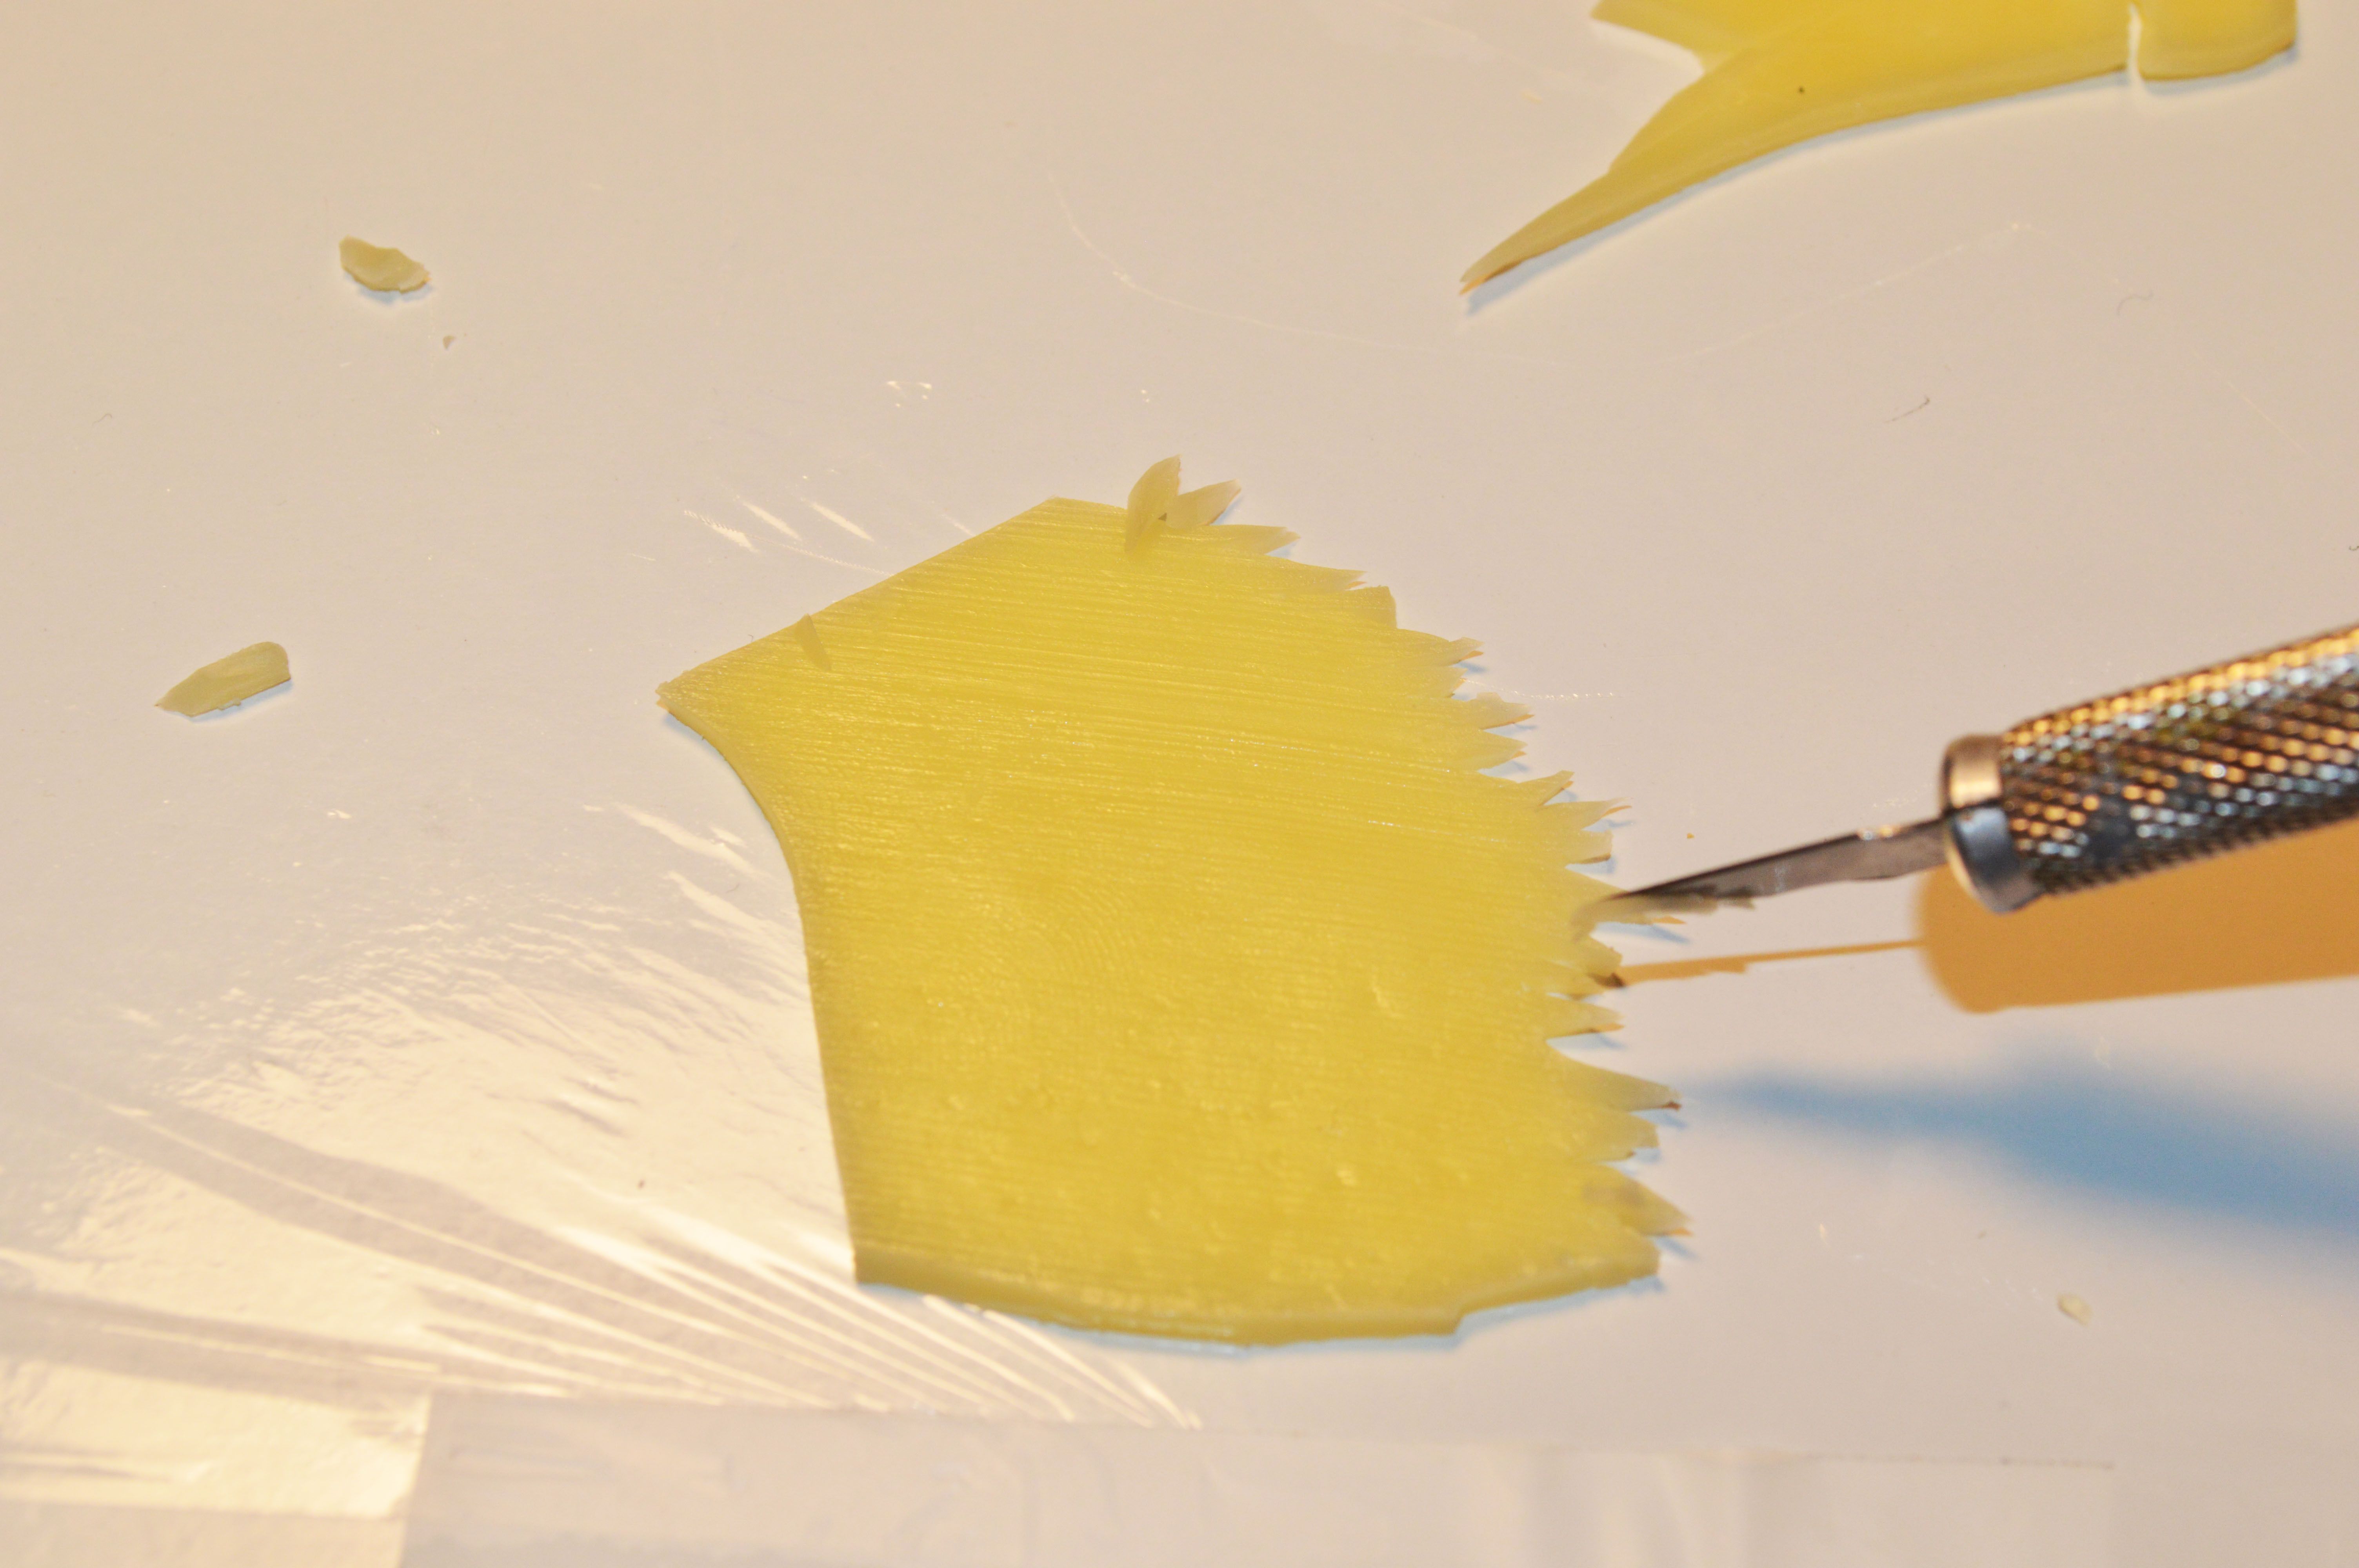

Take a few thin slices of gouda cheese and cover them with cellophane.
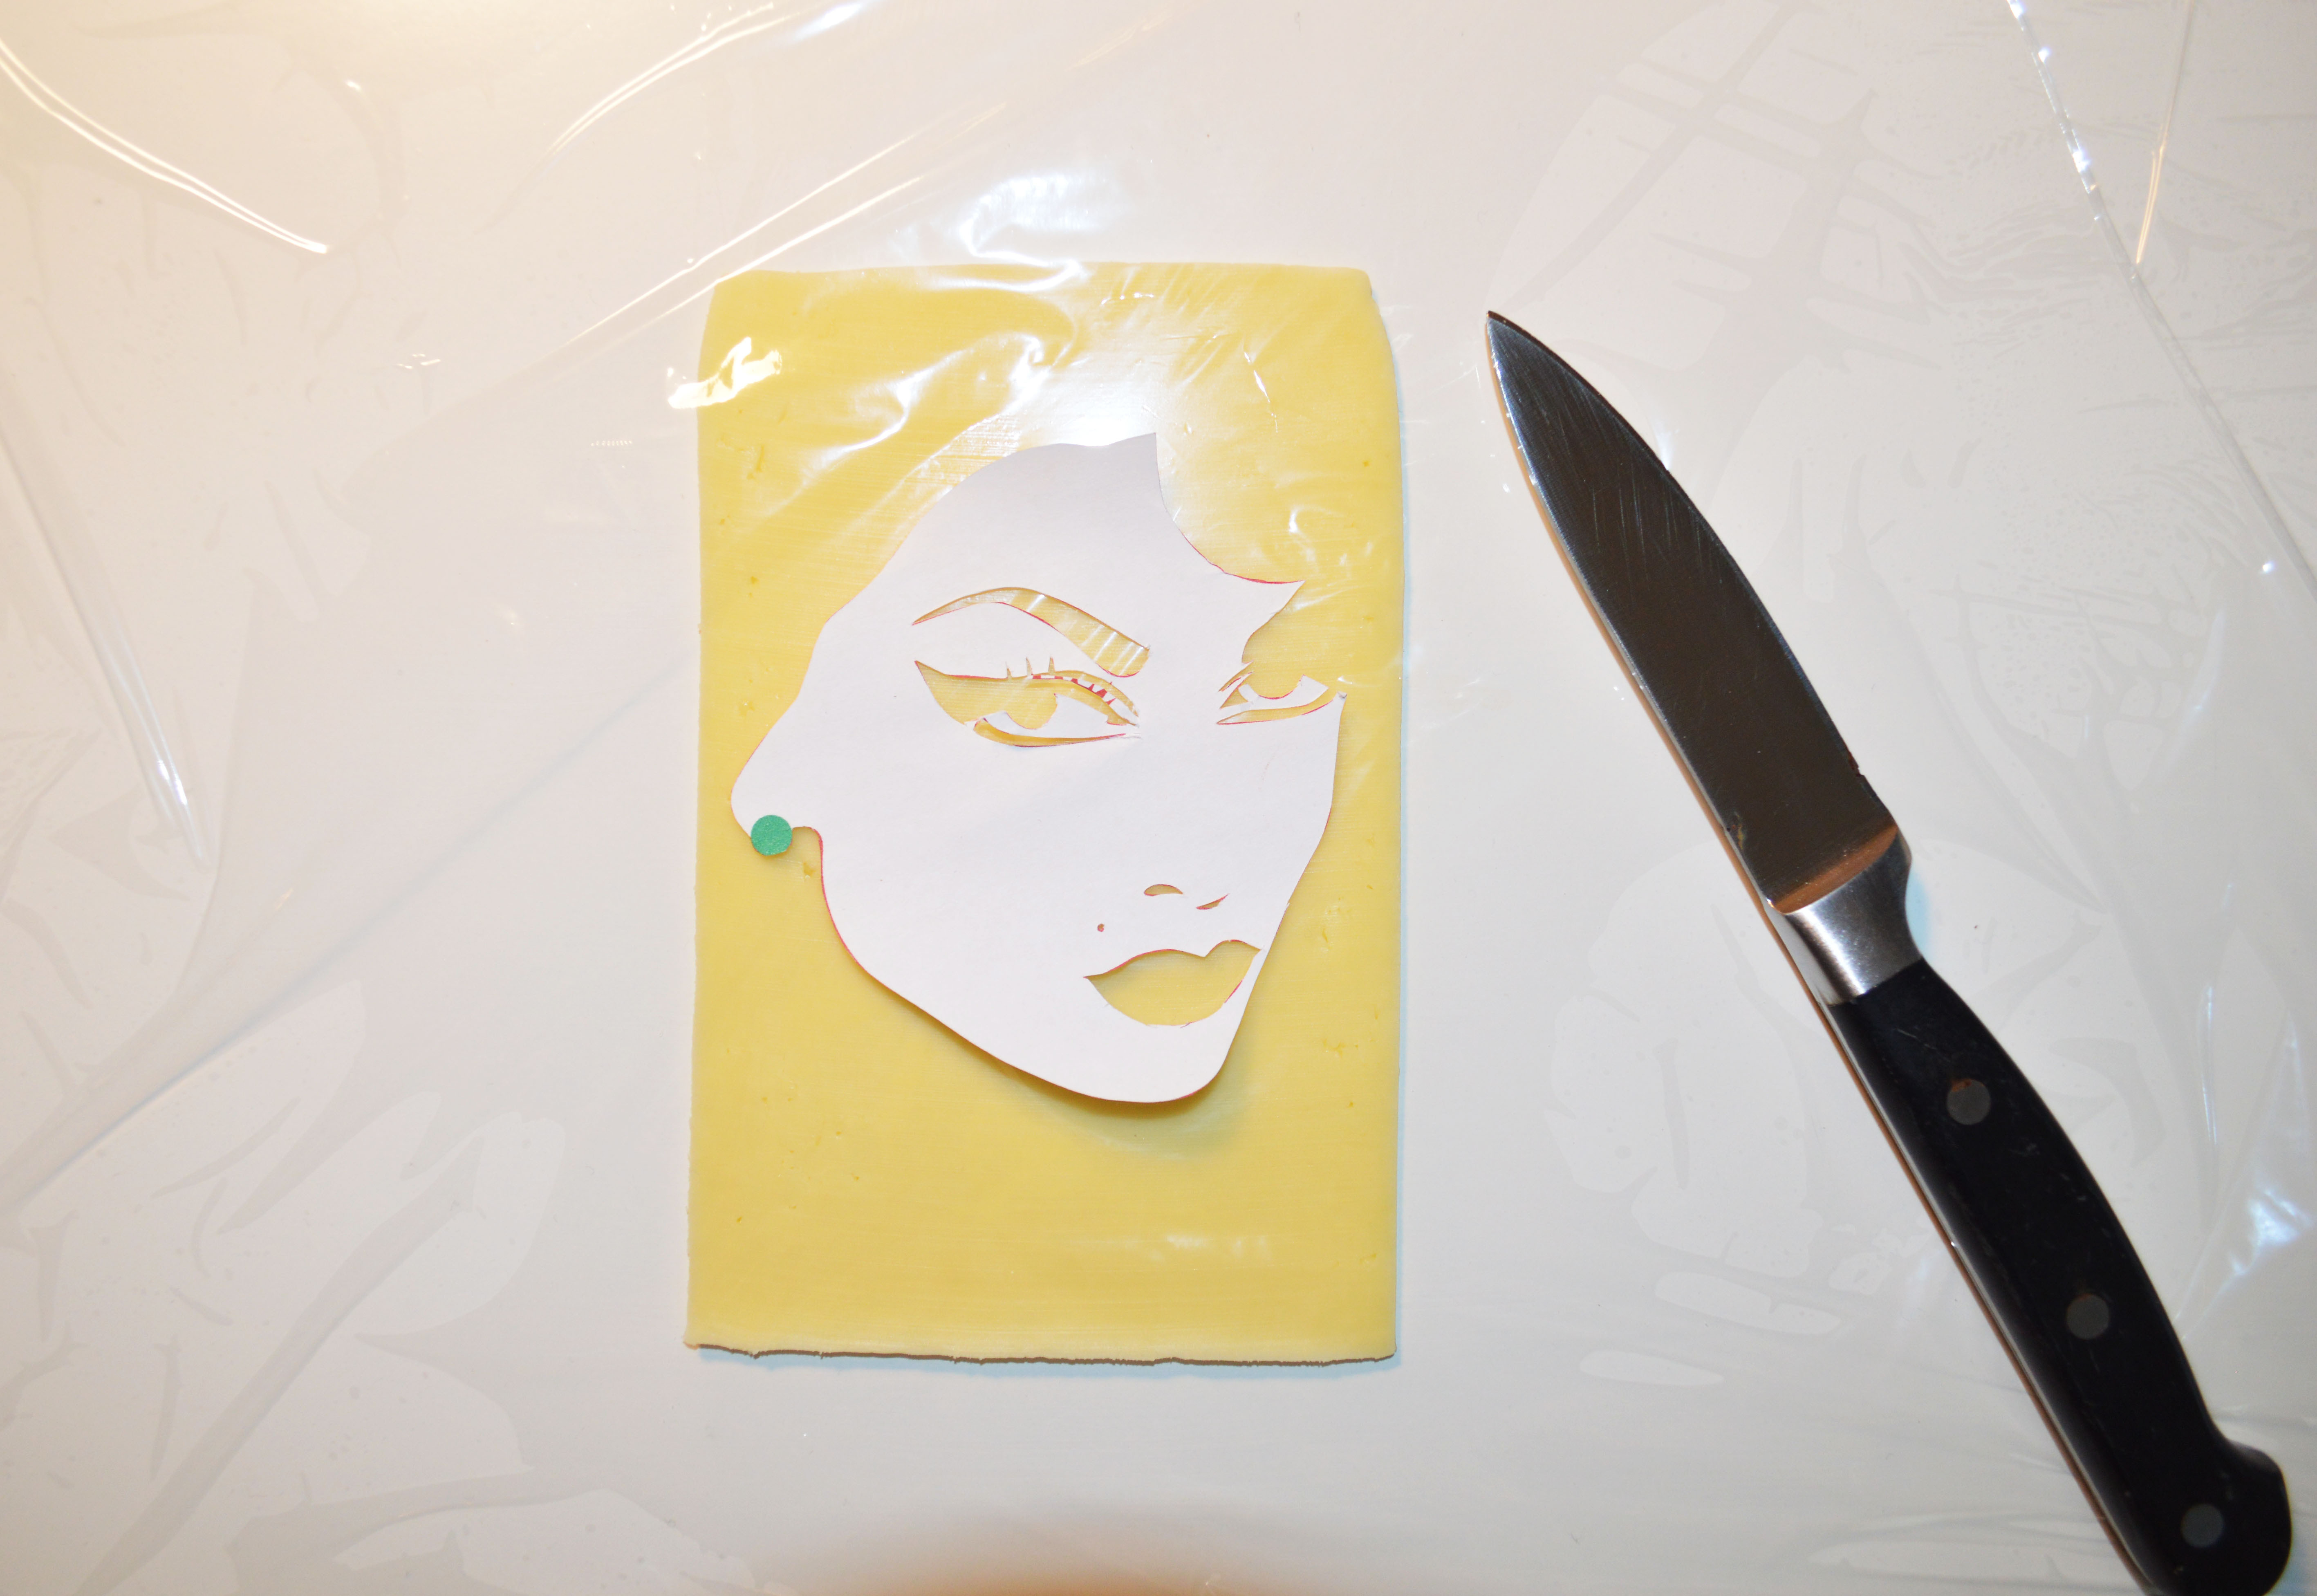
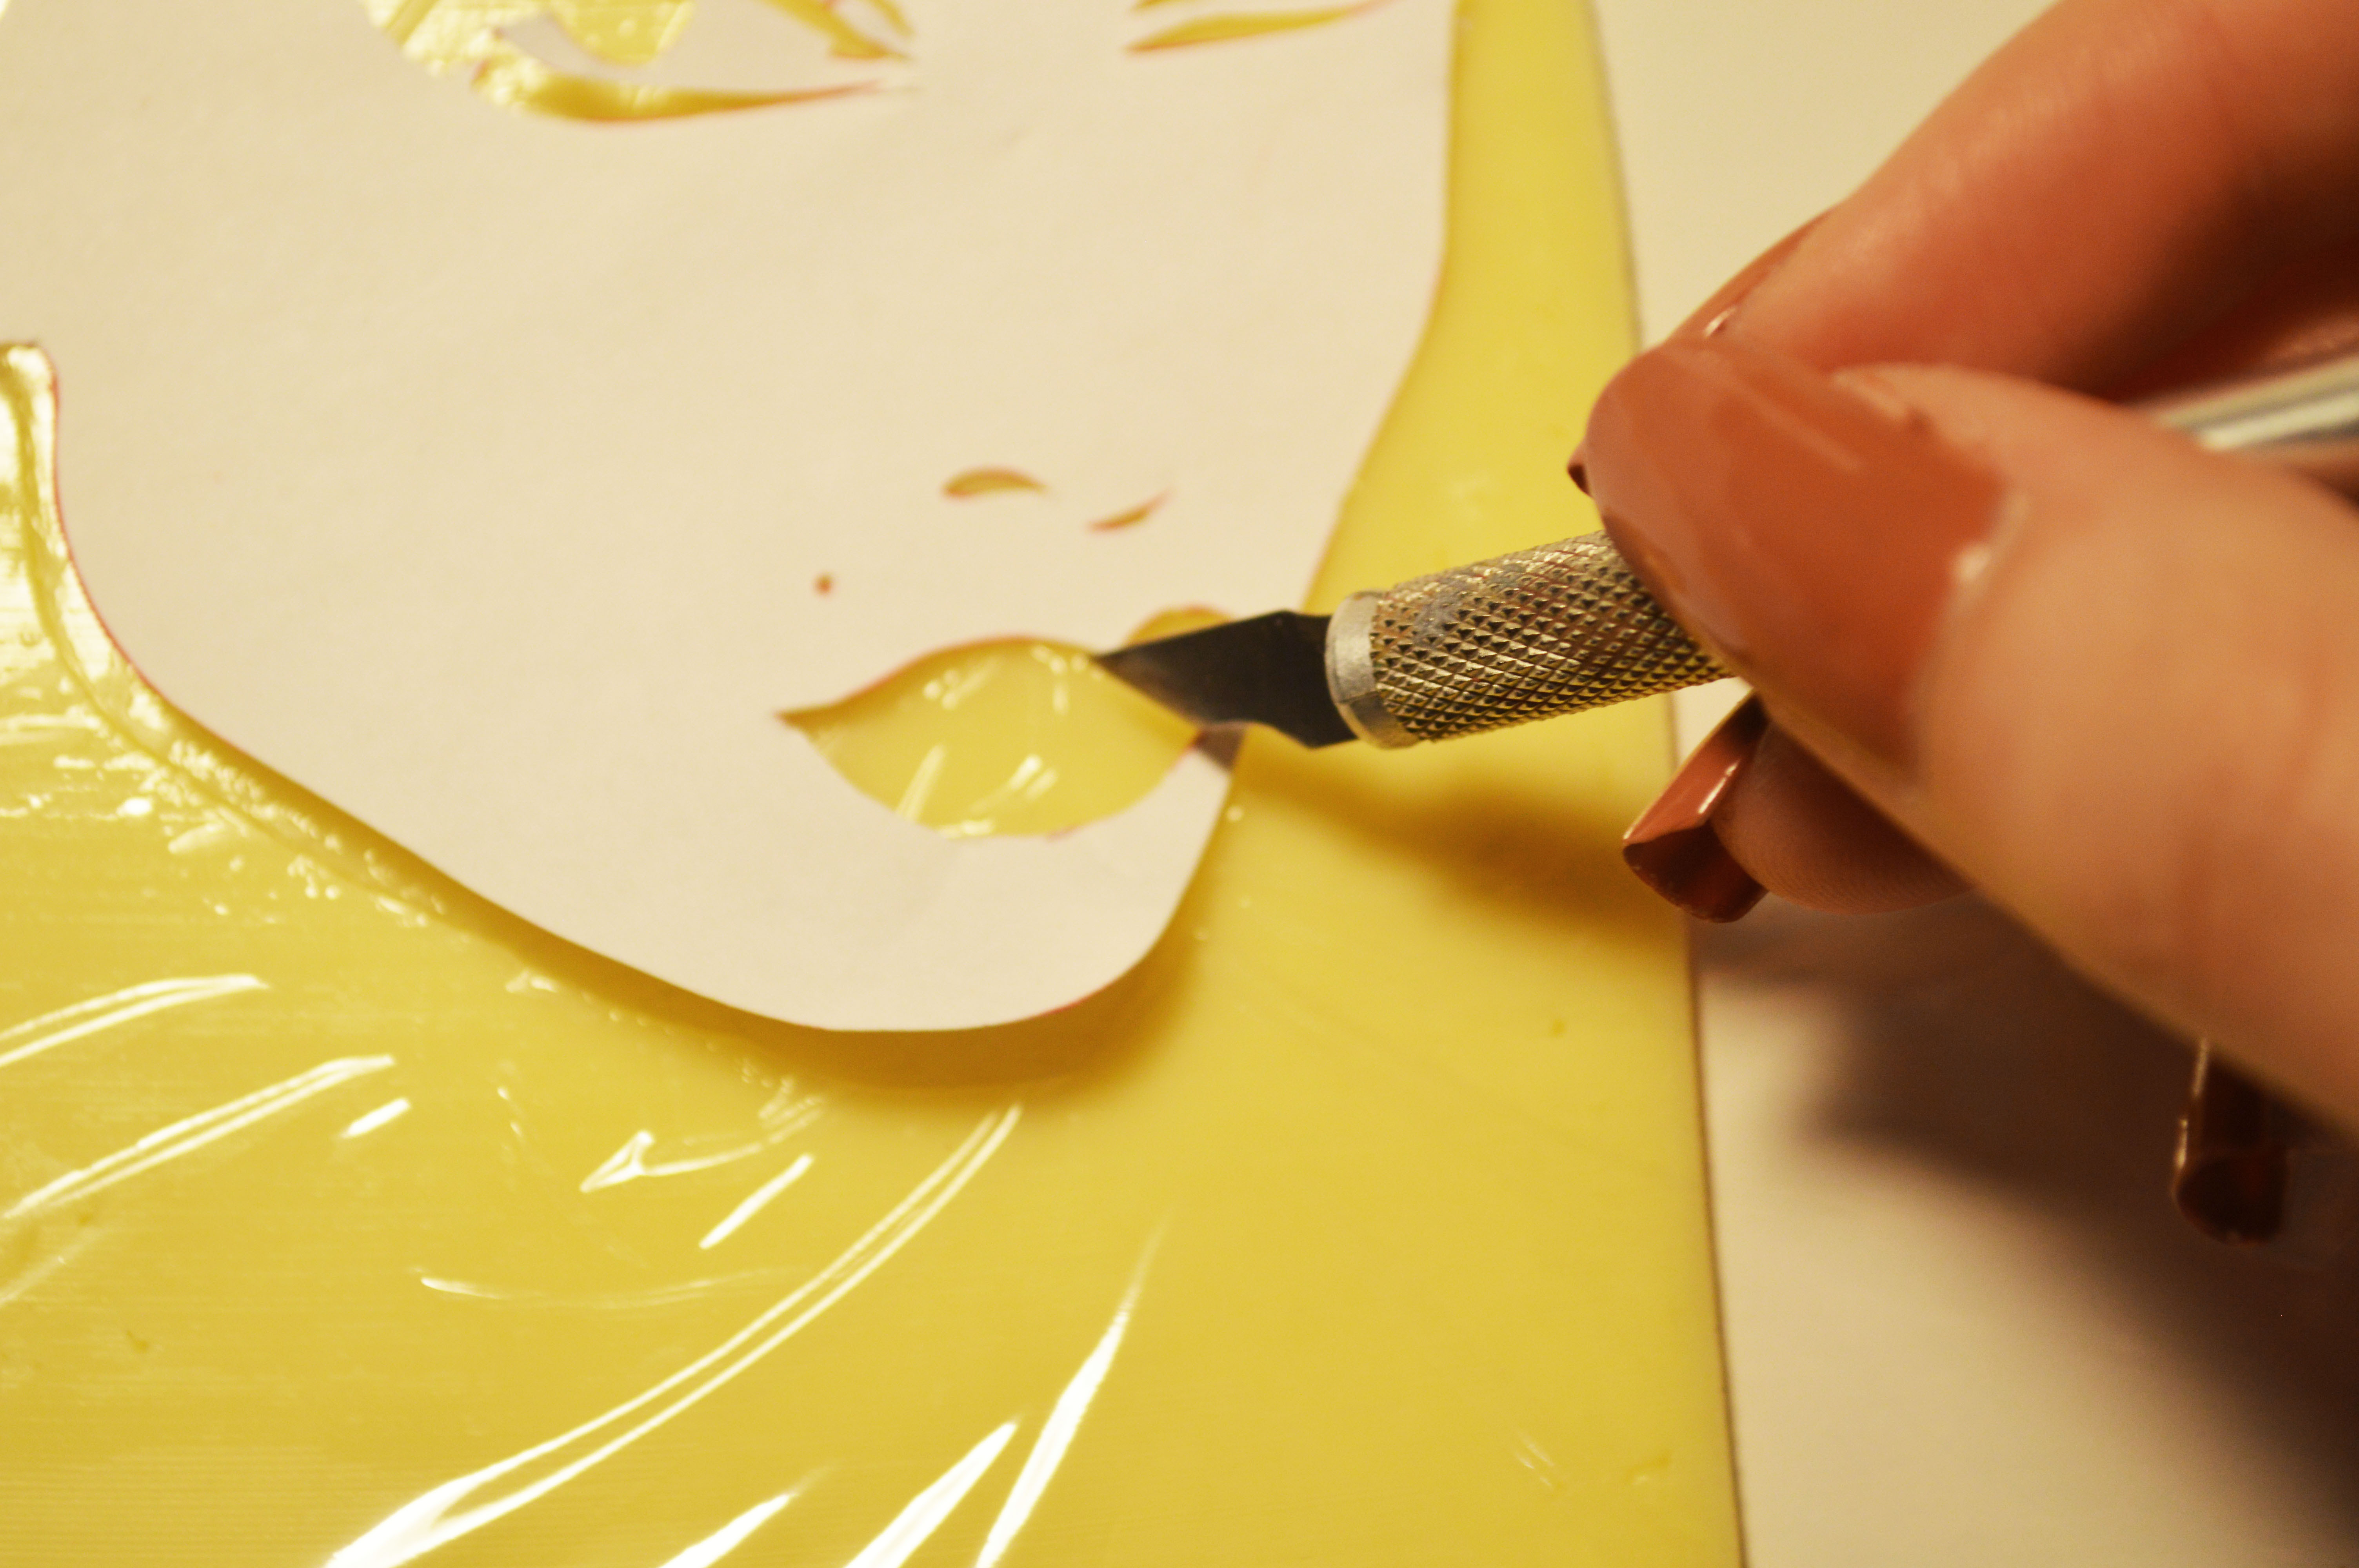
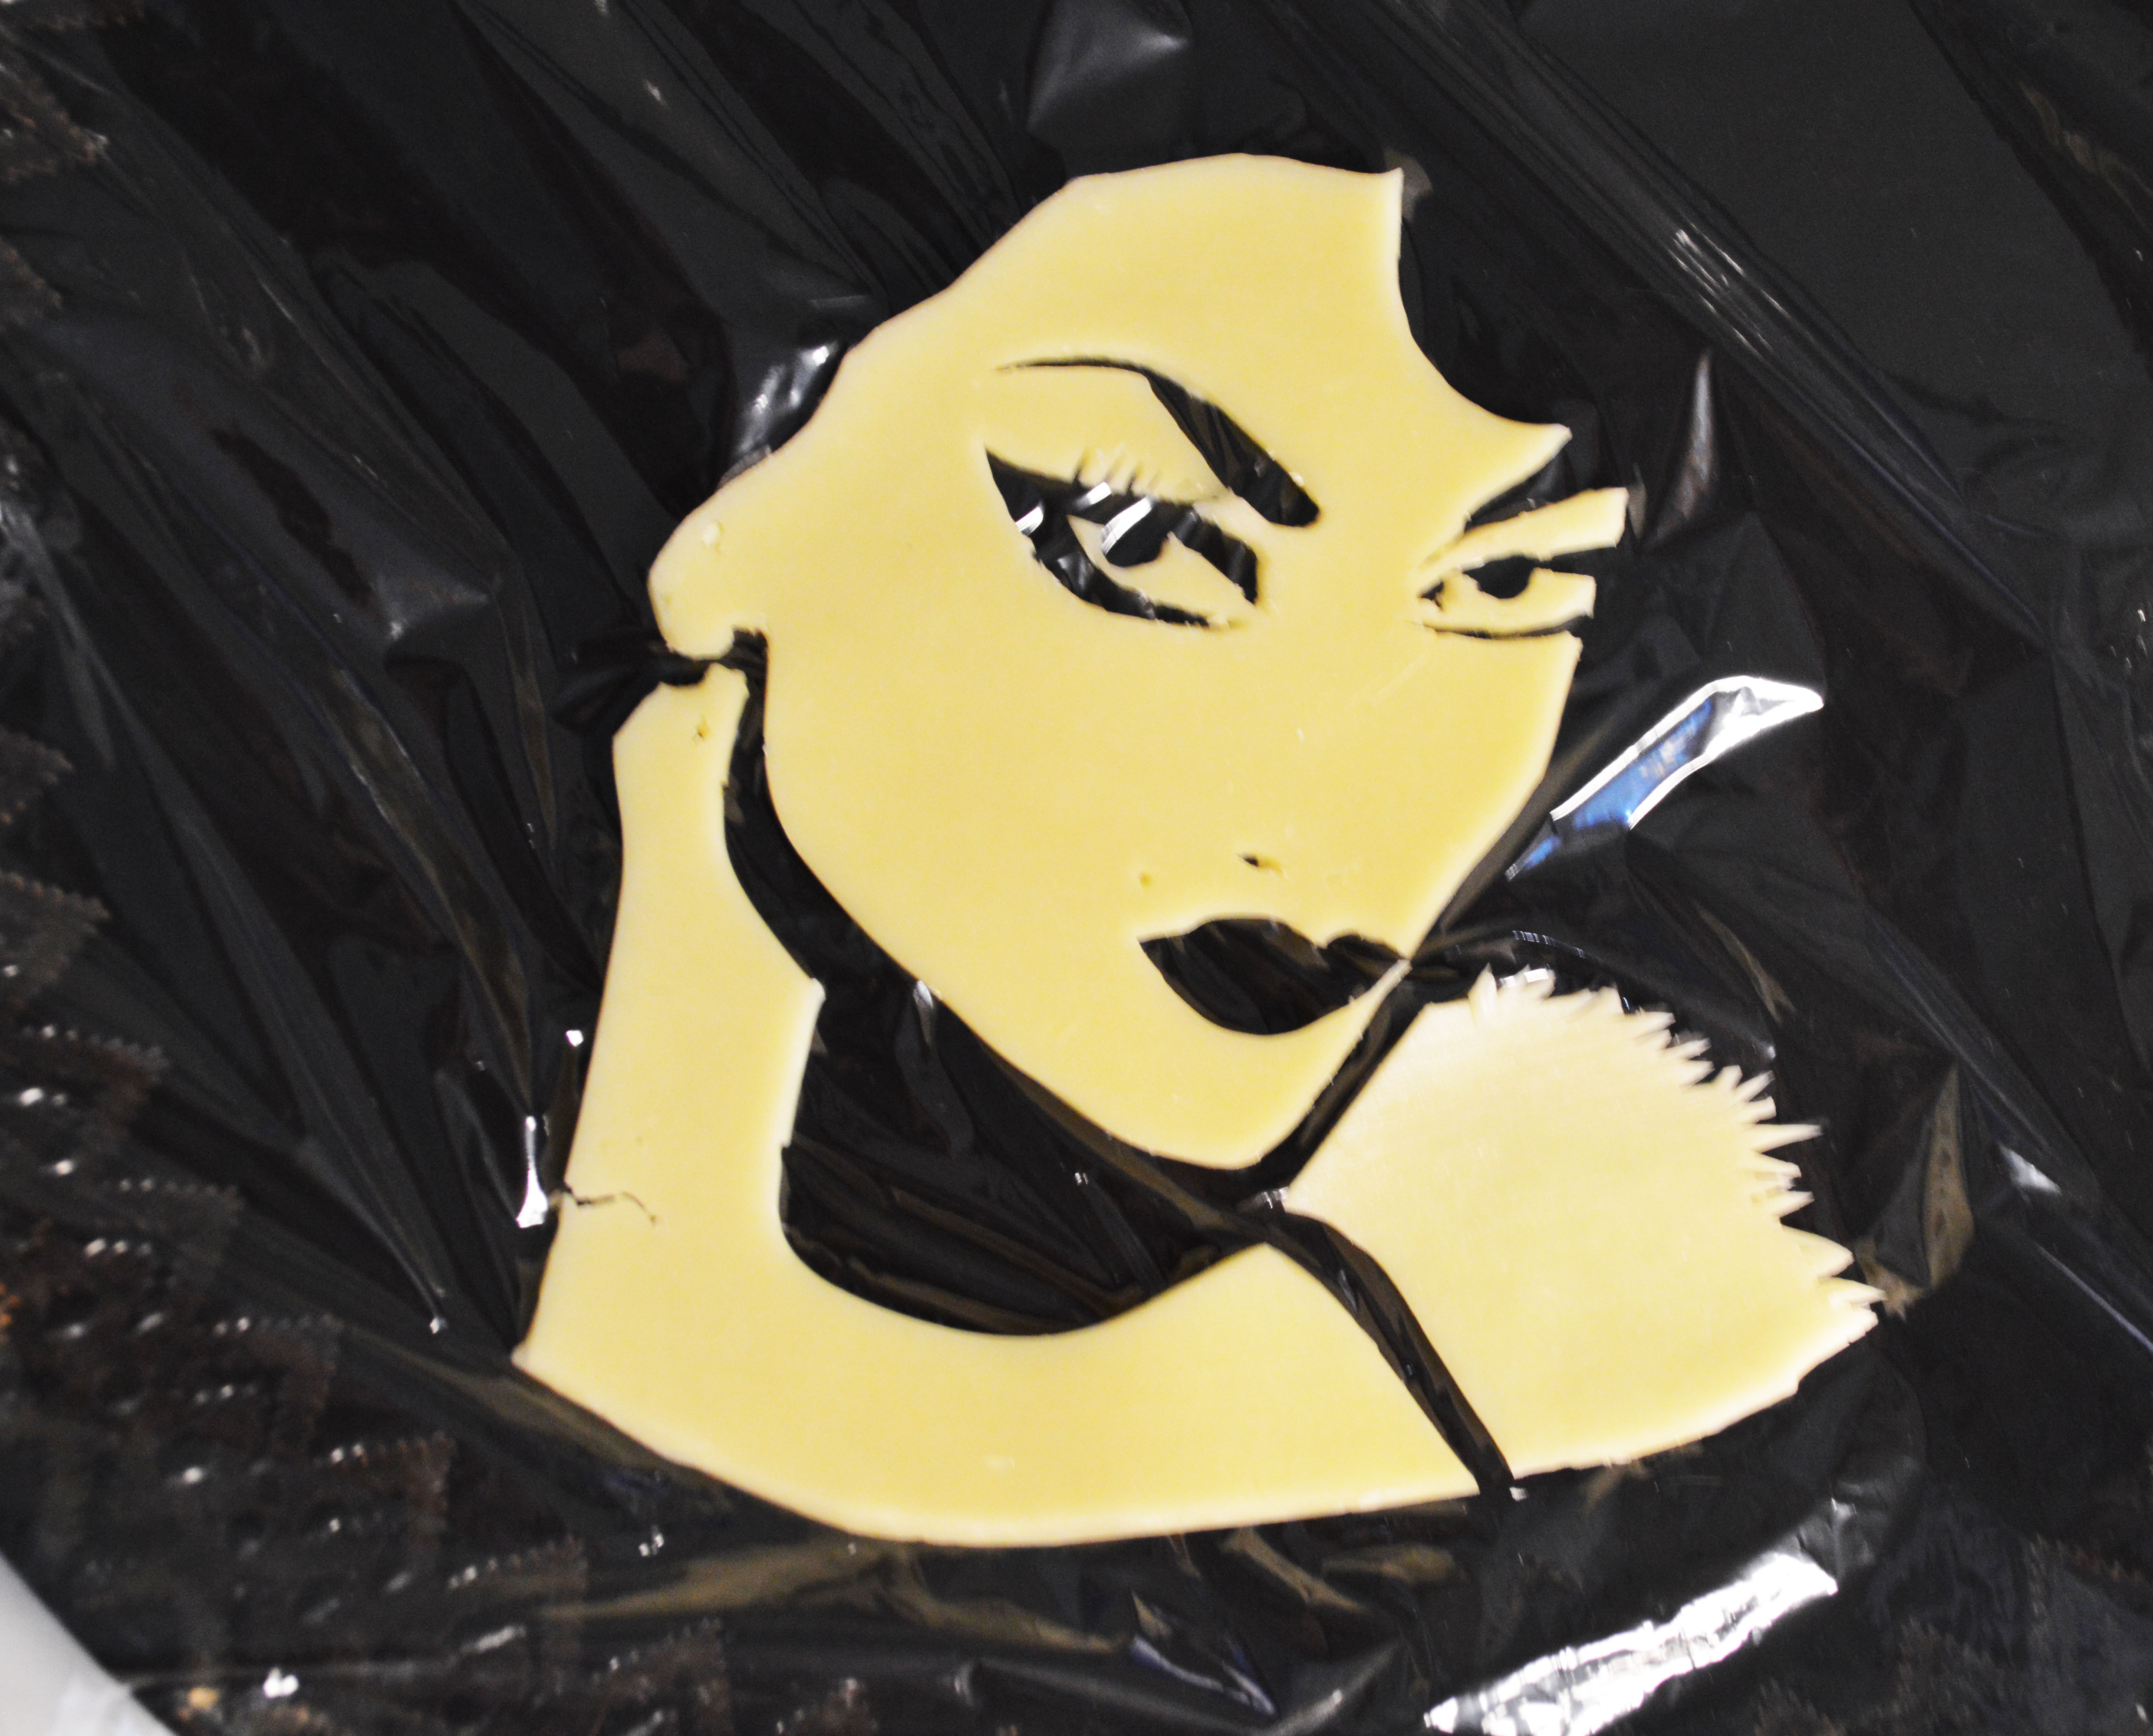
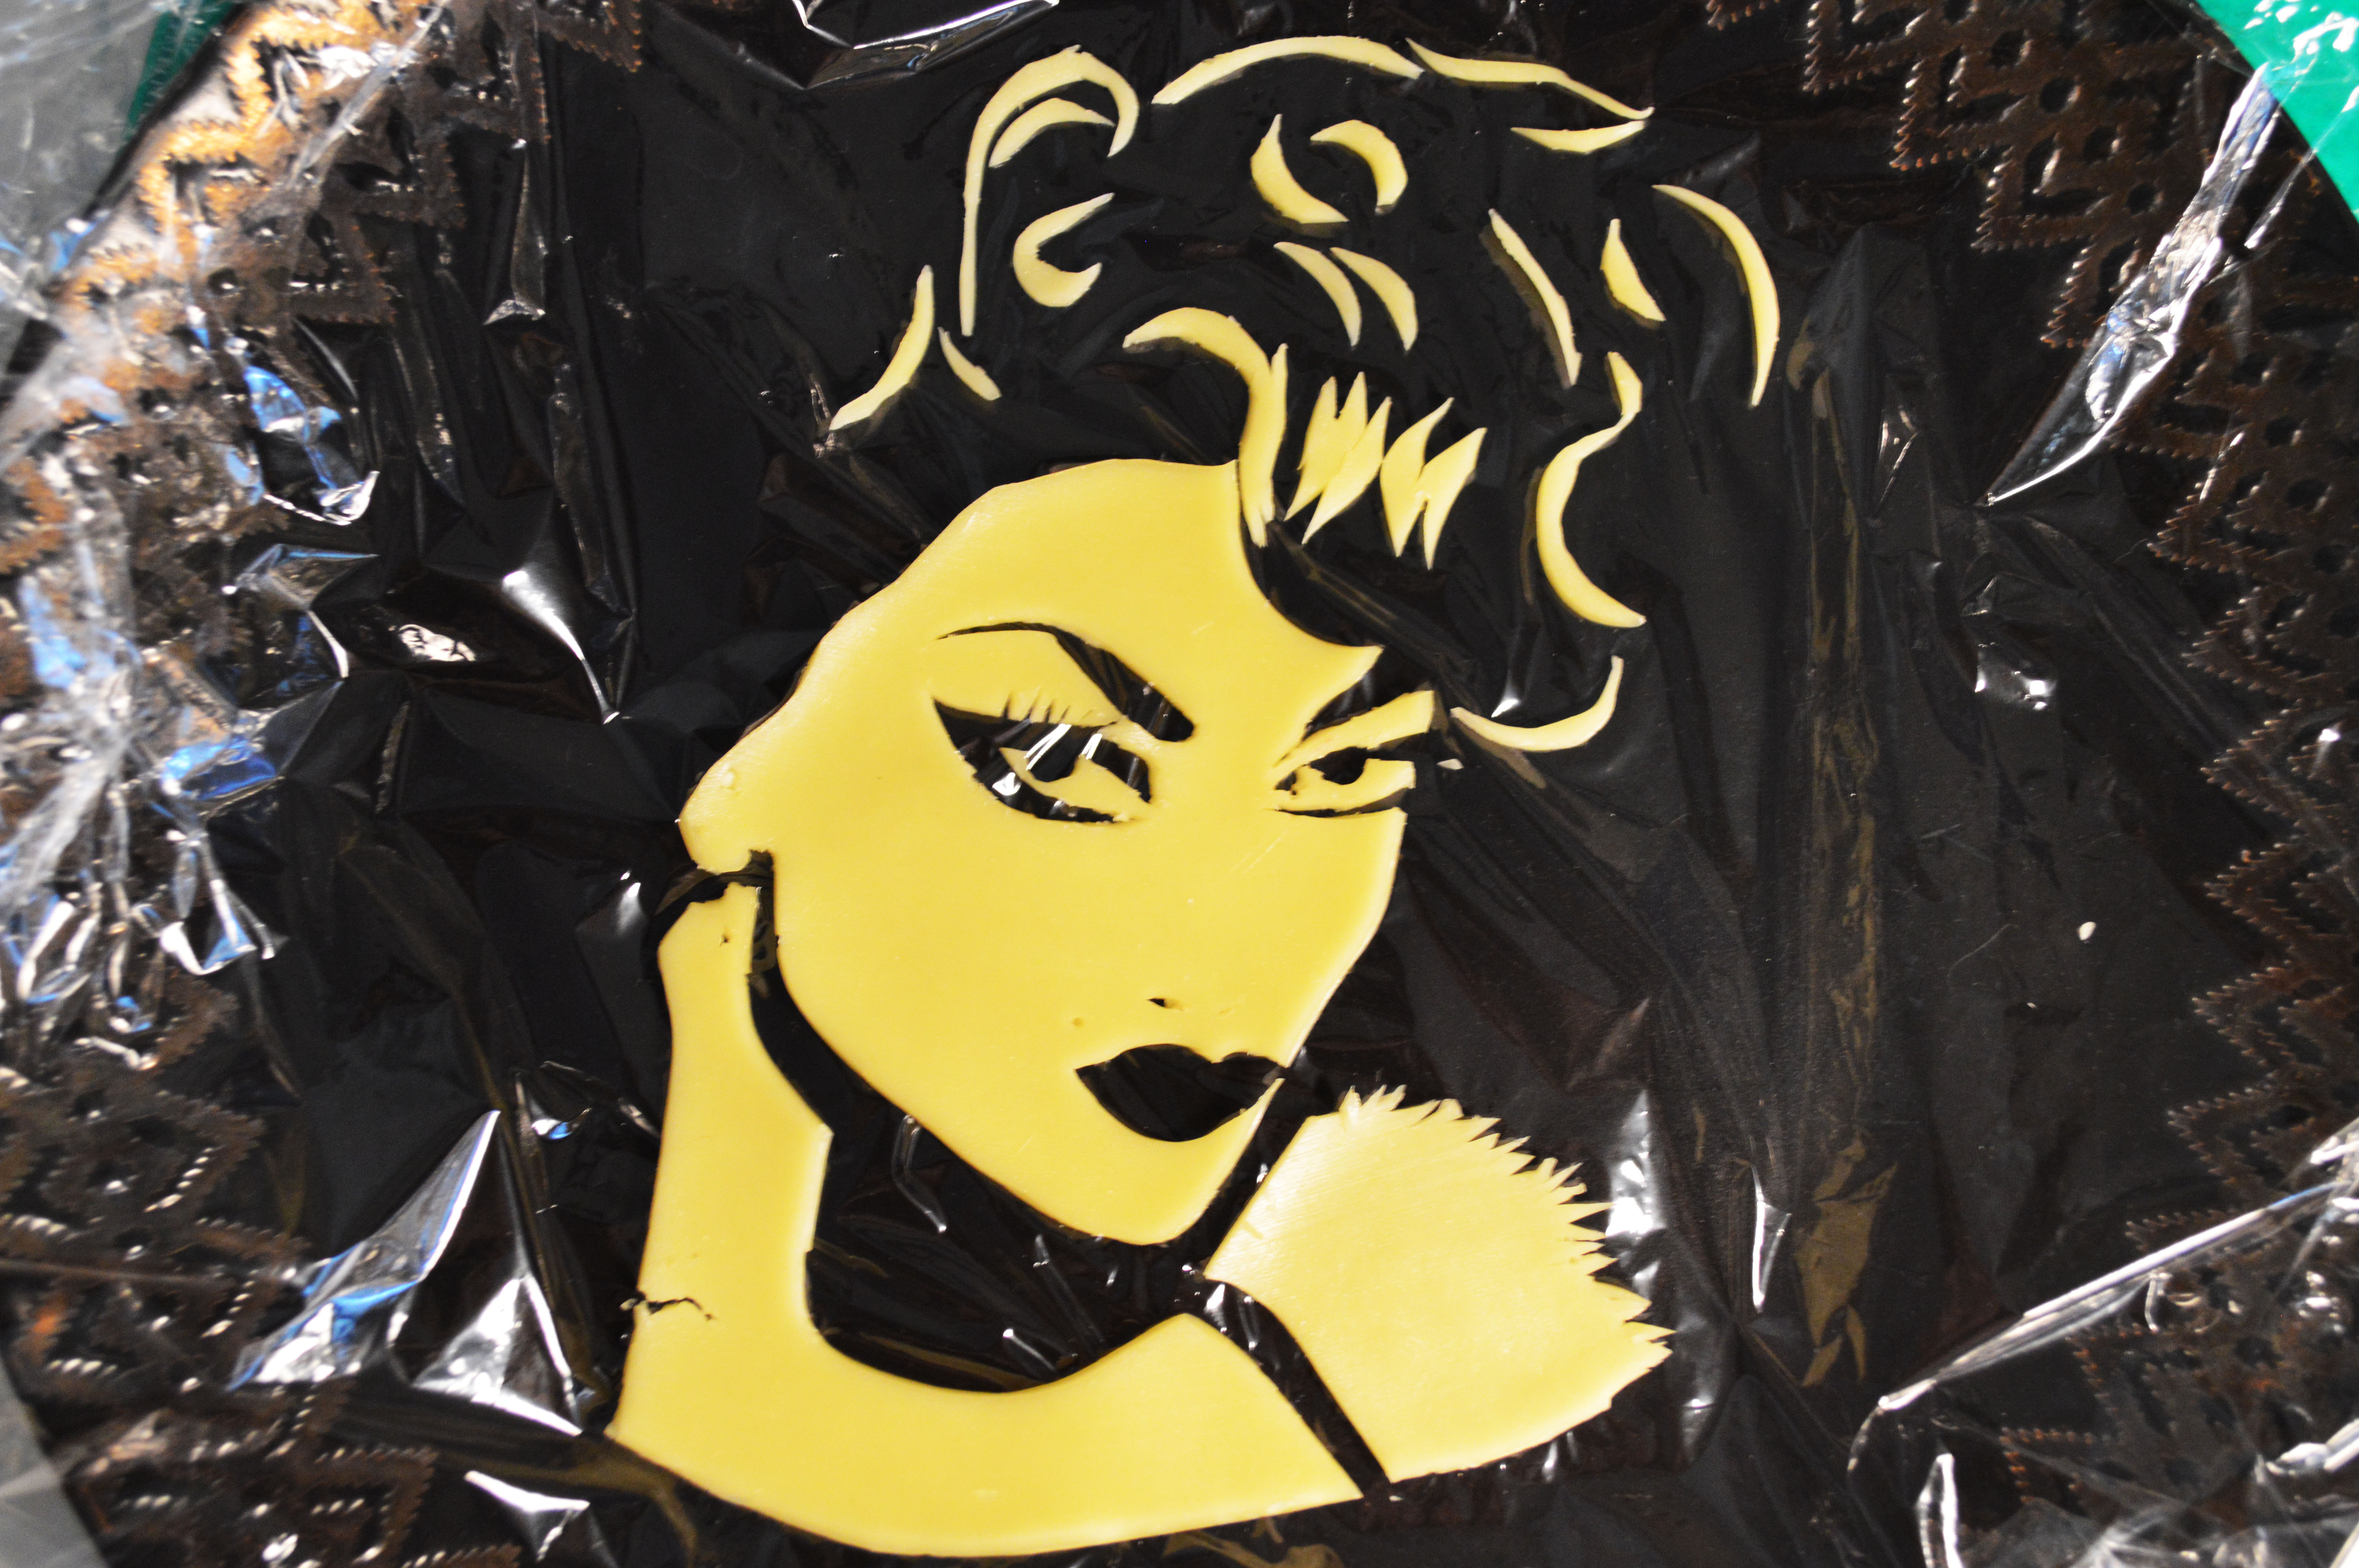
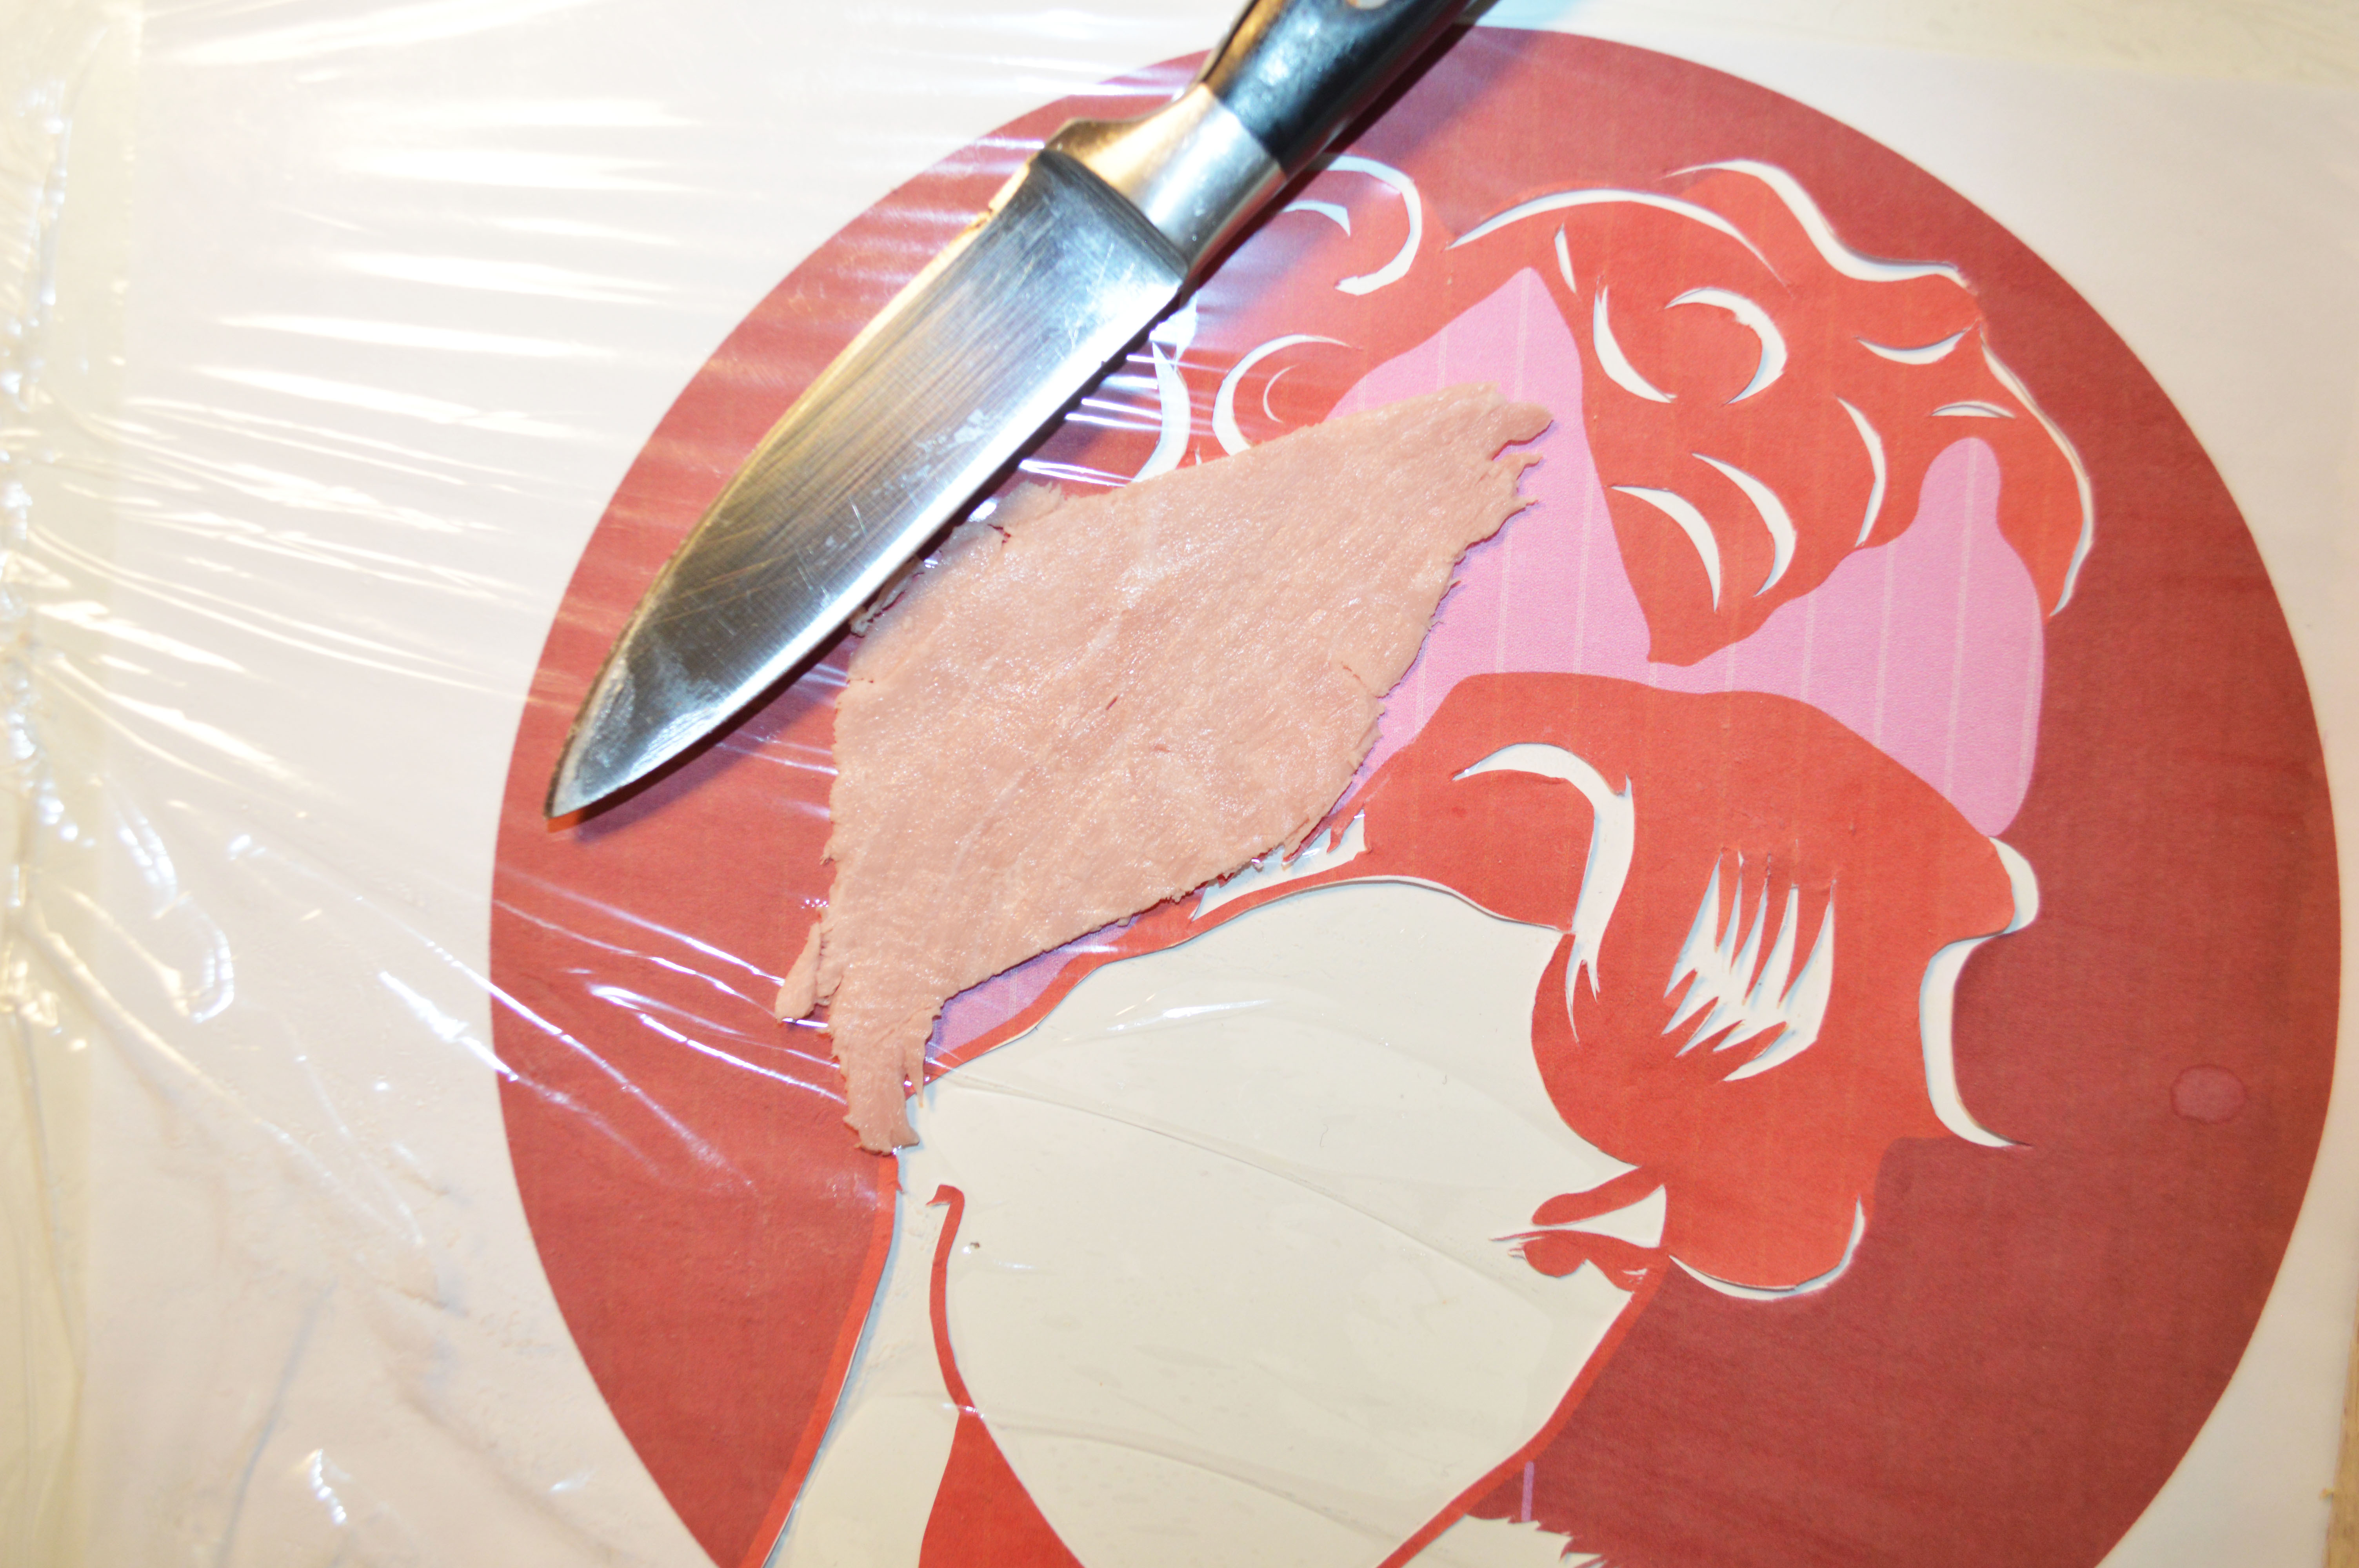
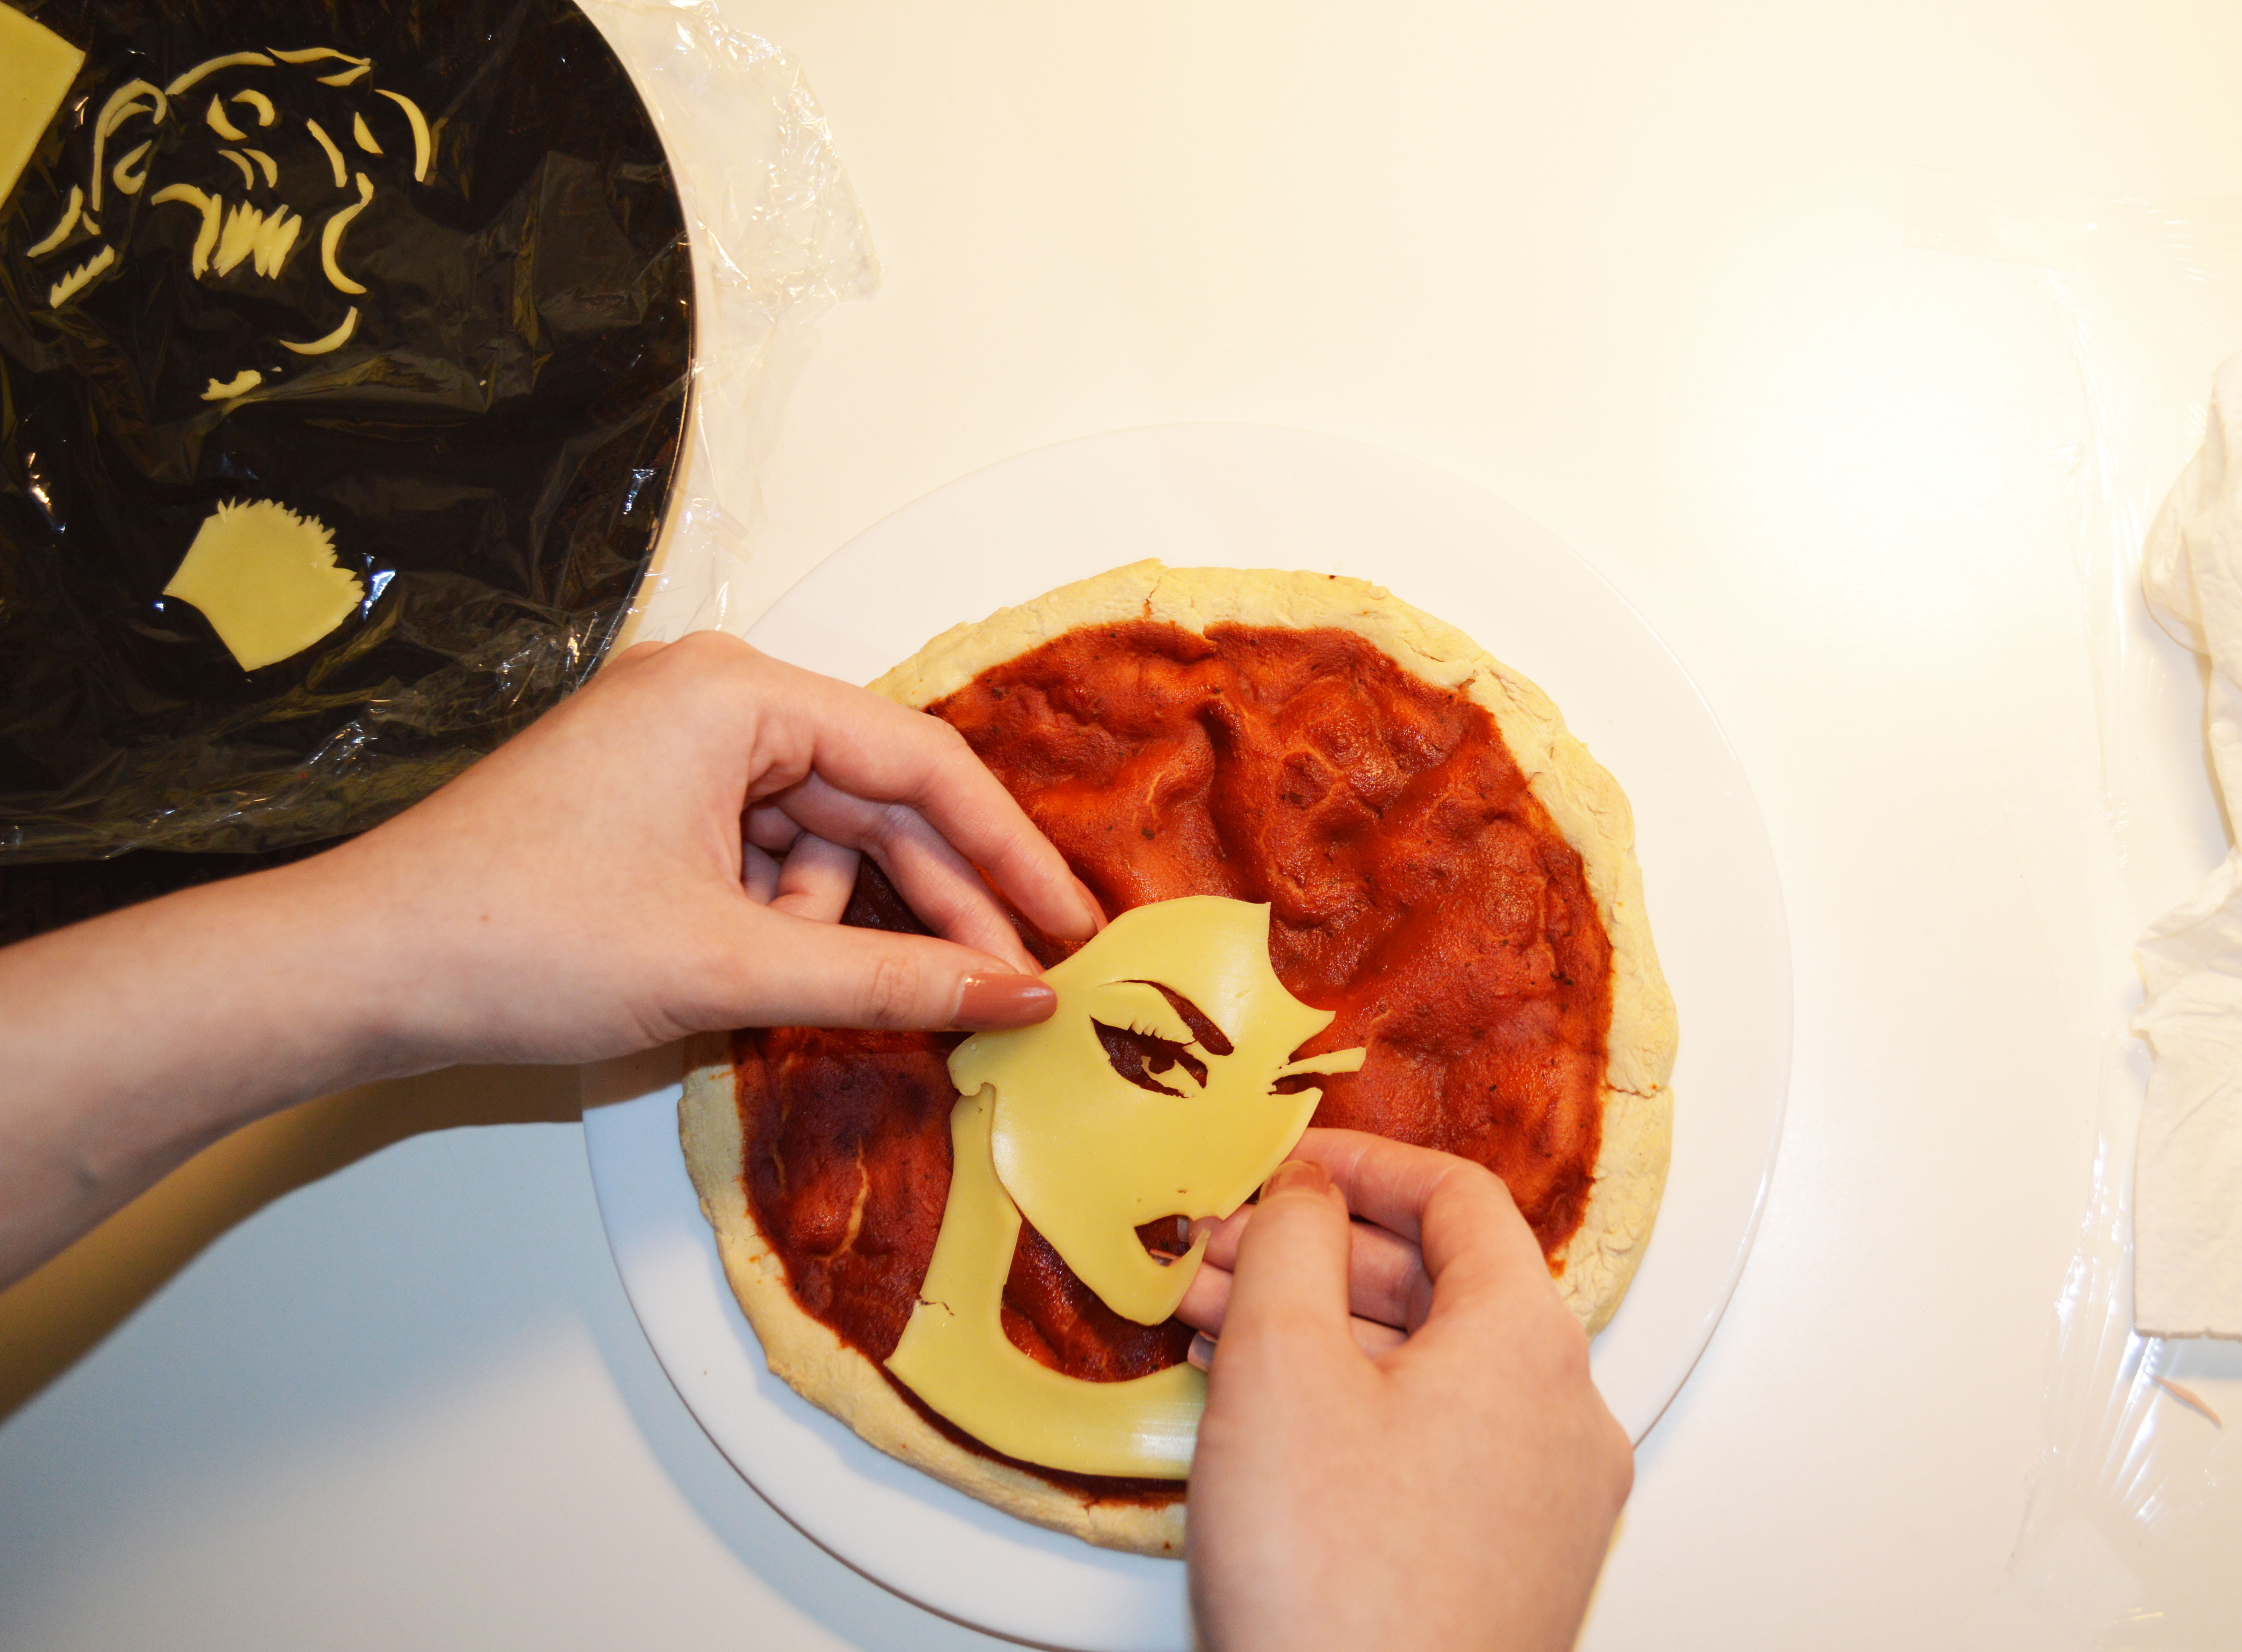
Next, place the stencil on the cellophane and use a sharp knife to trace the outline of the design on the cheese.
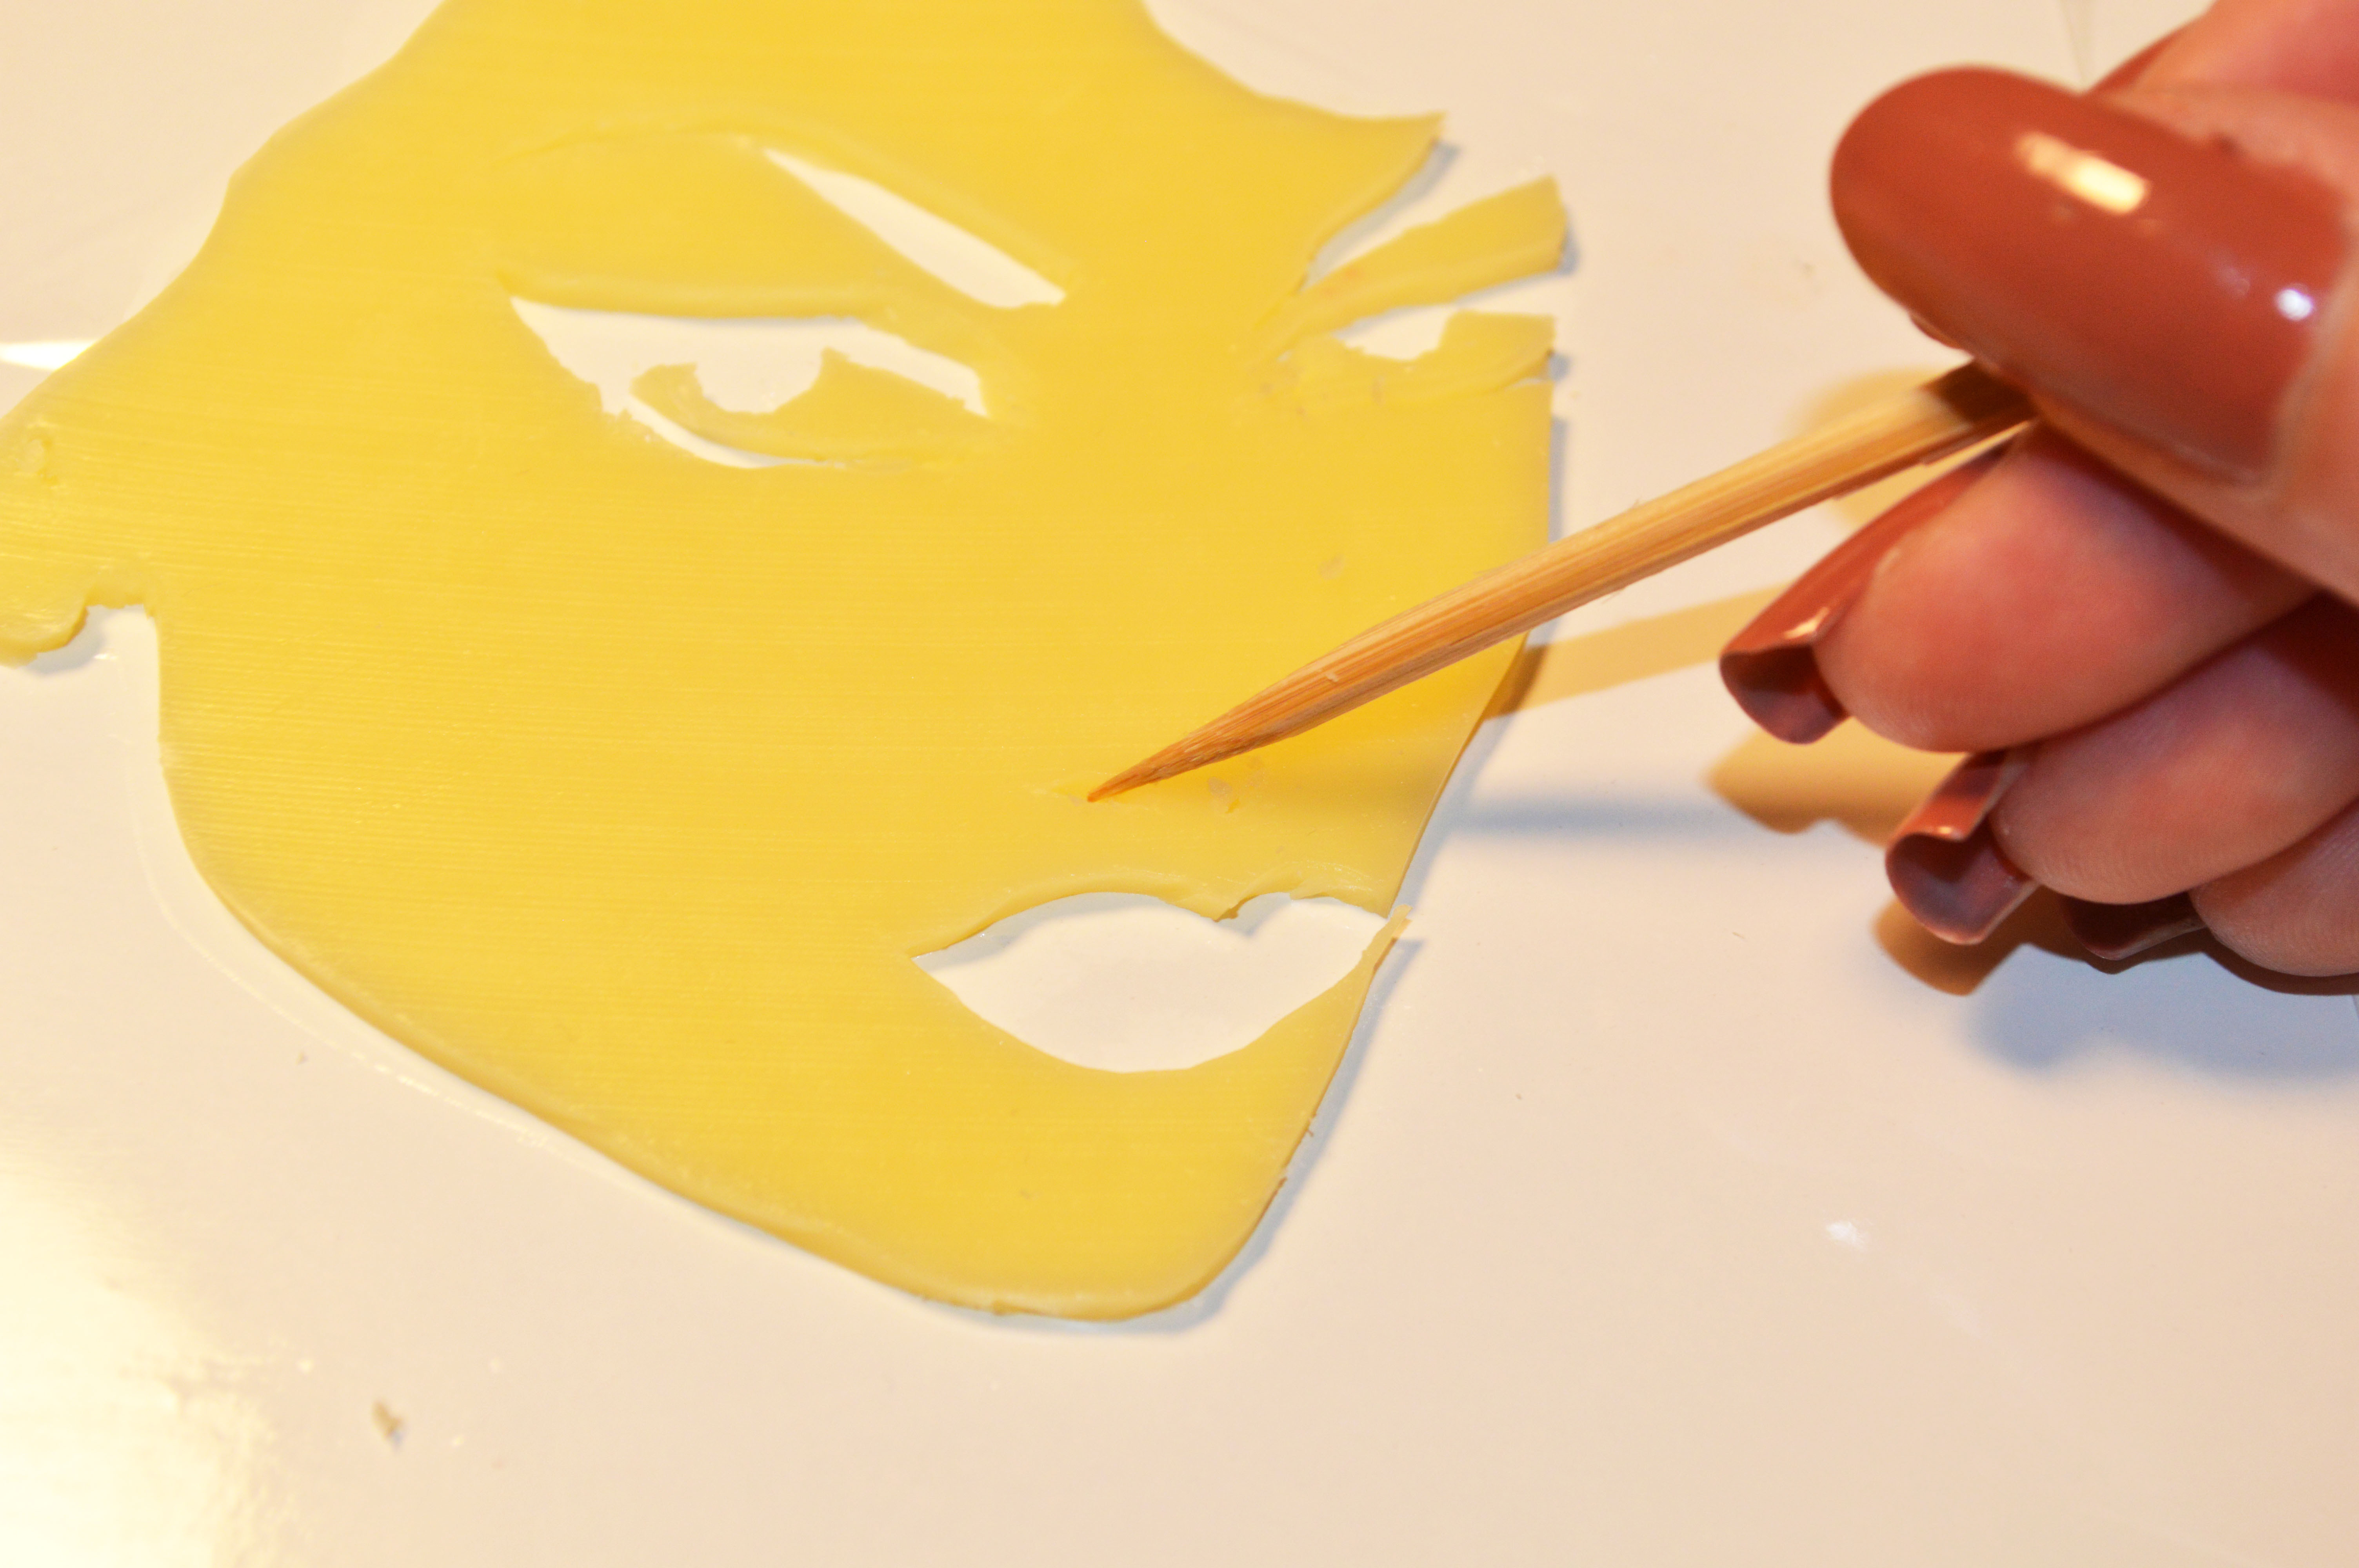
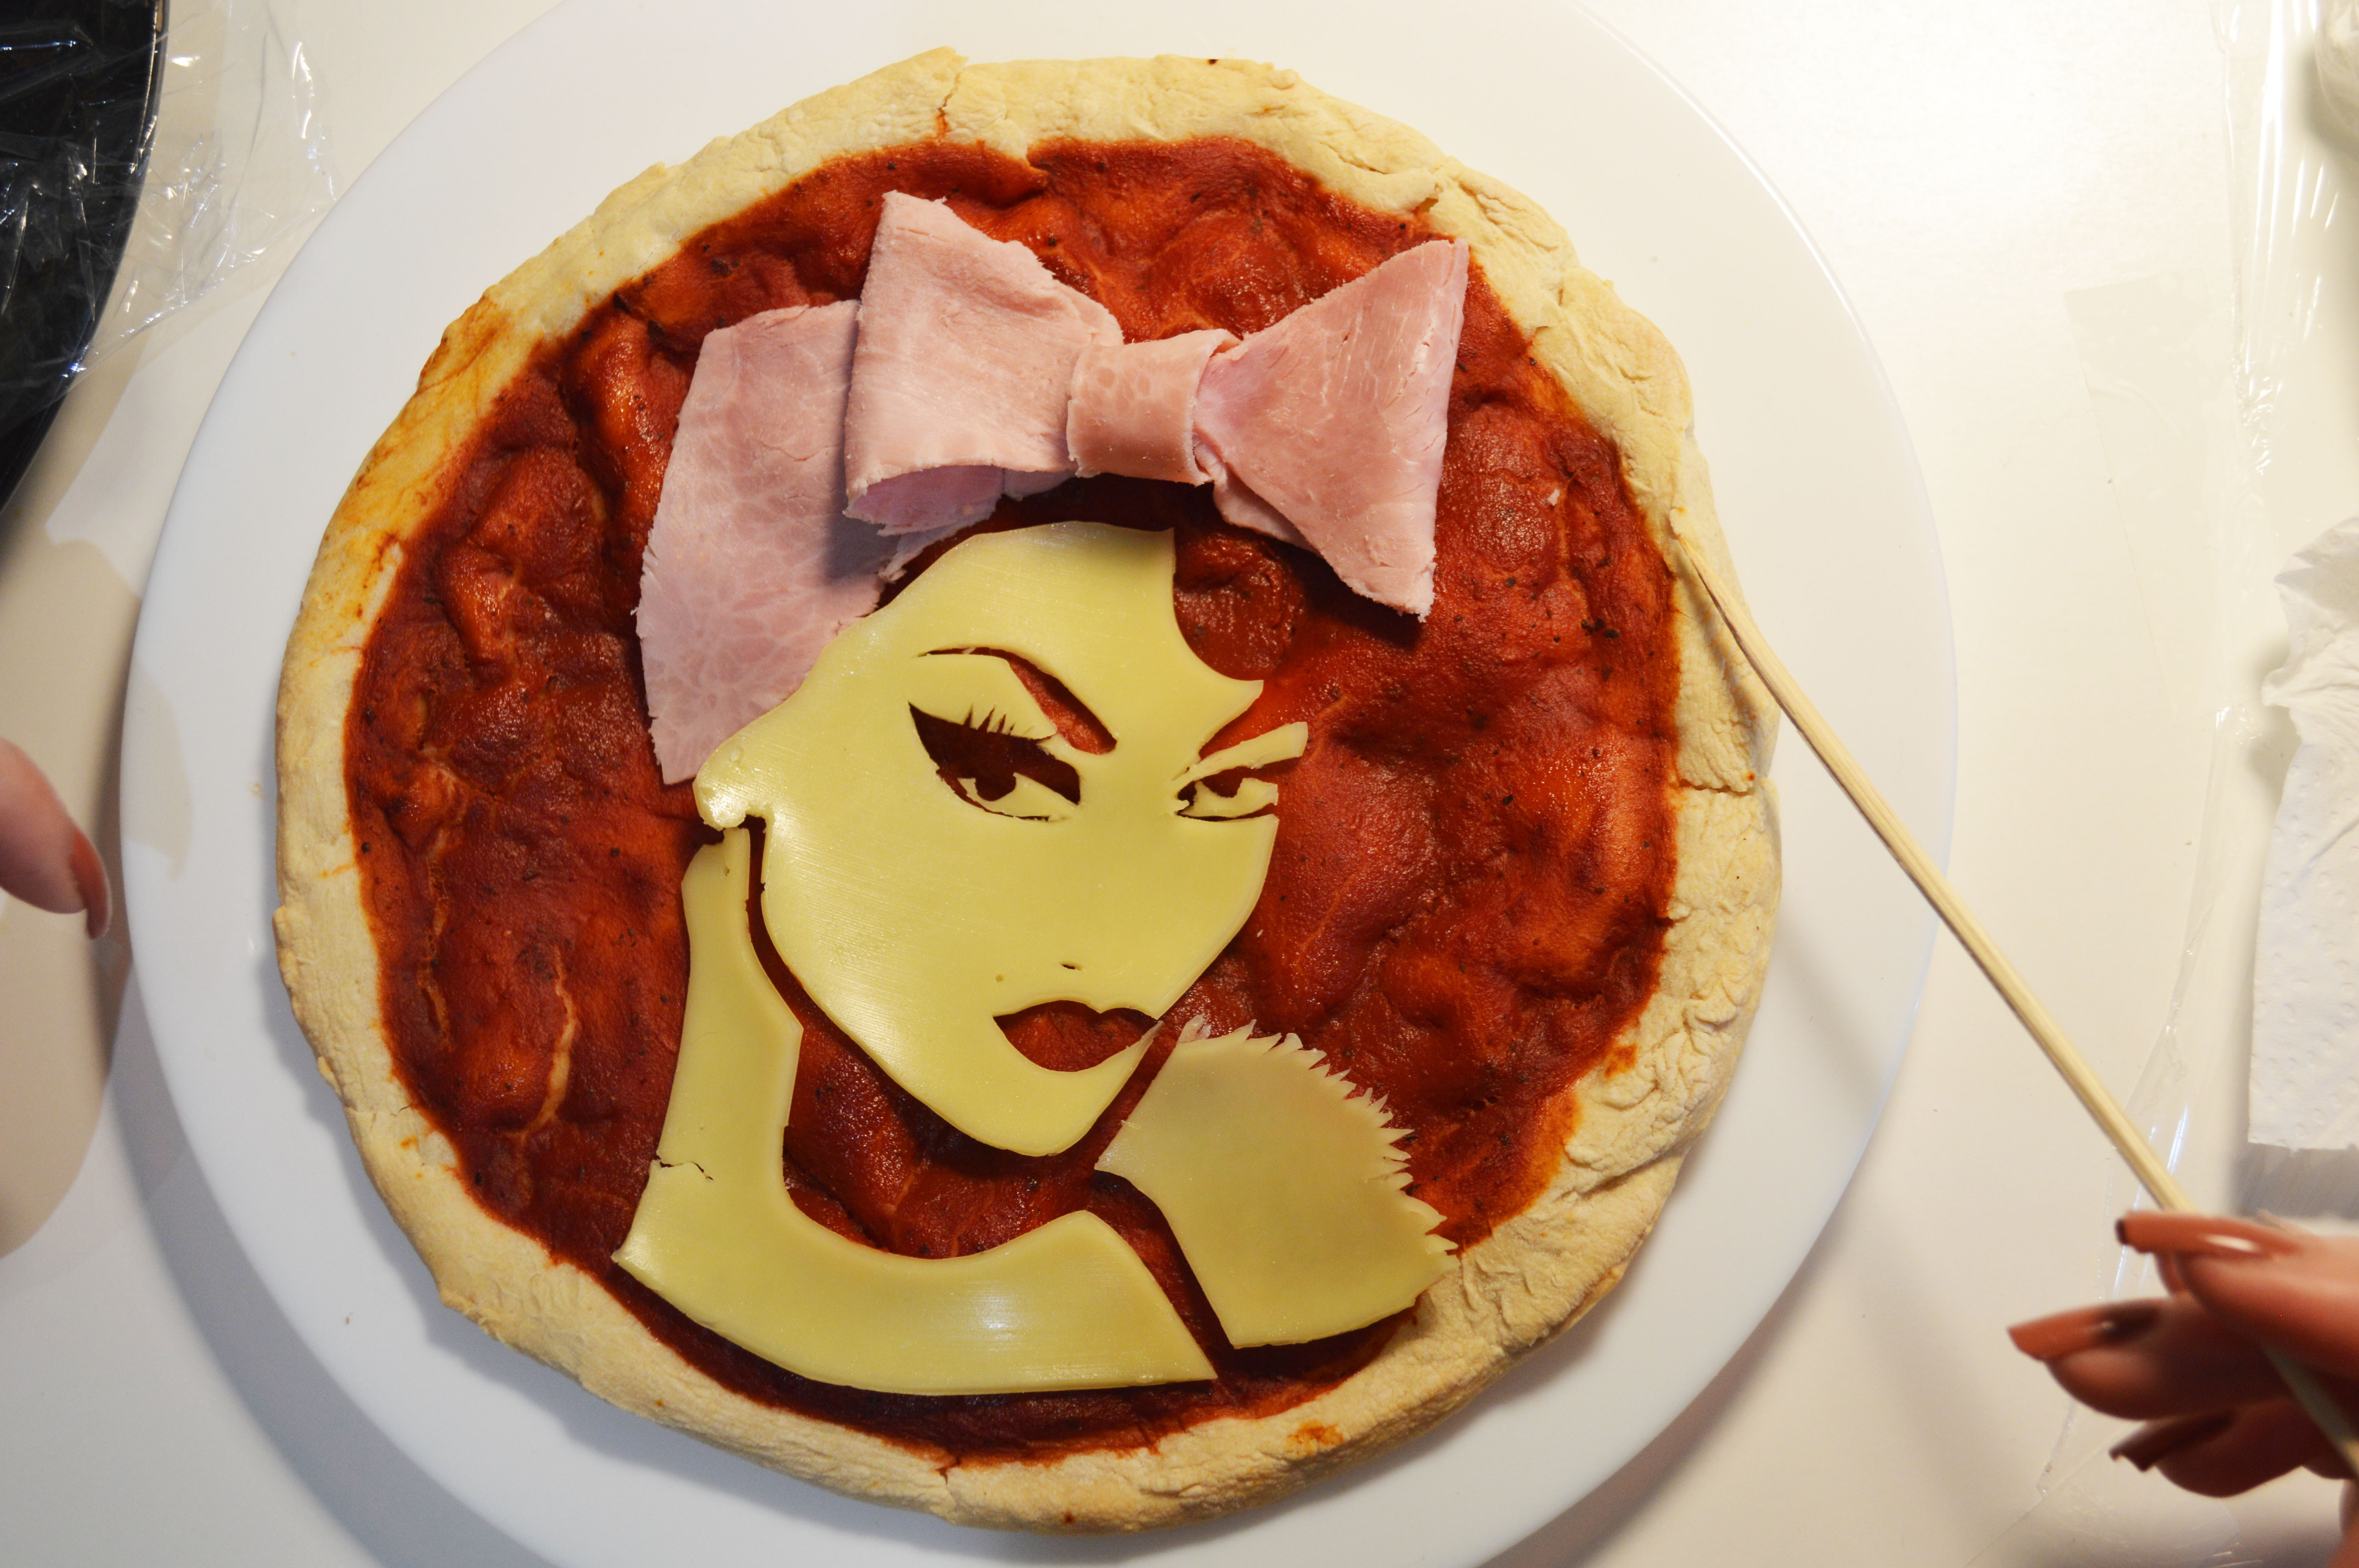
Use a toothpick or wooden skewer to trace extra details.
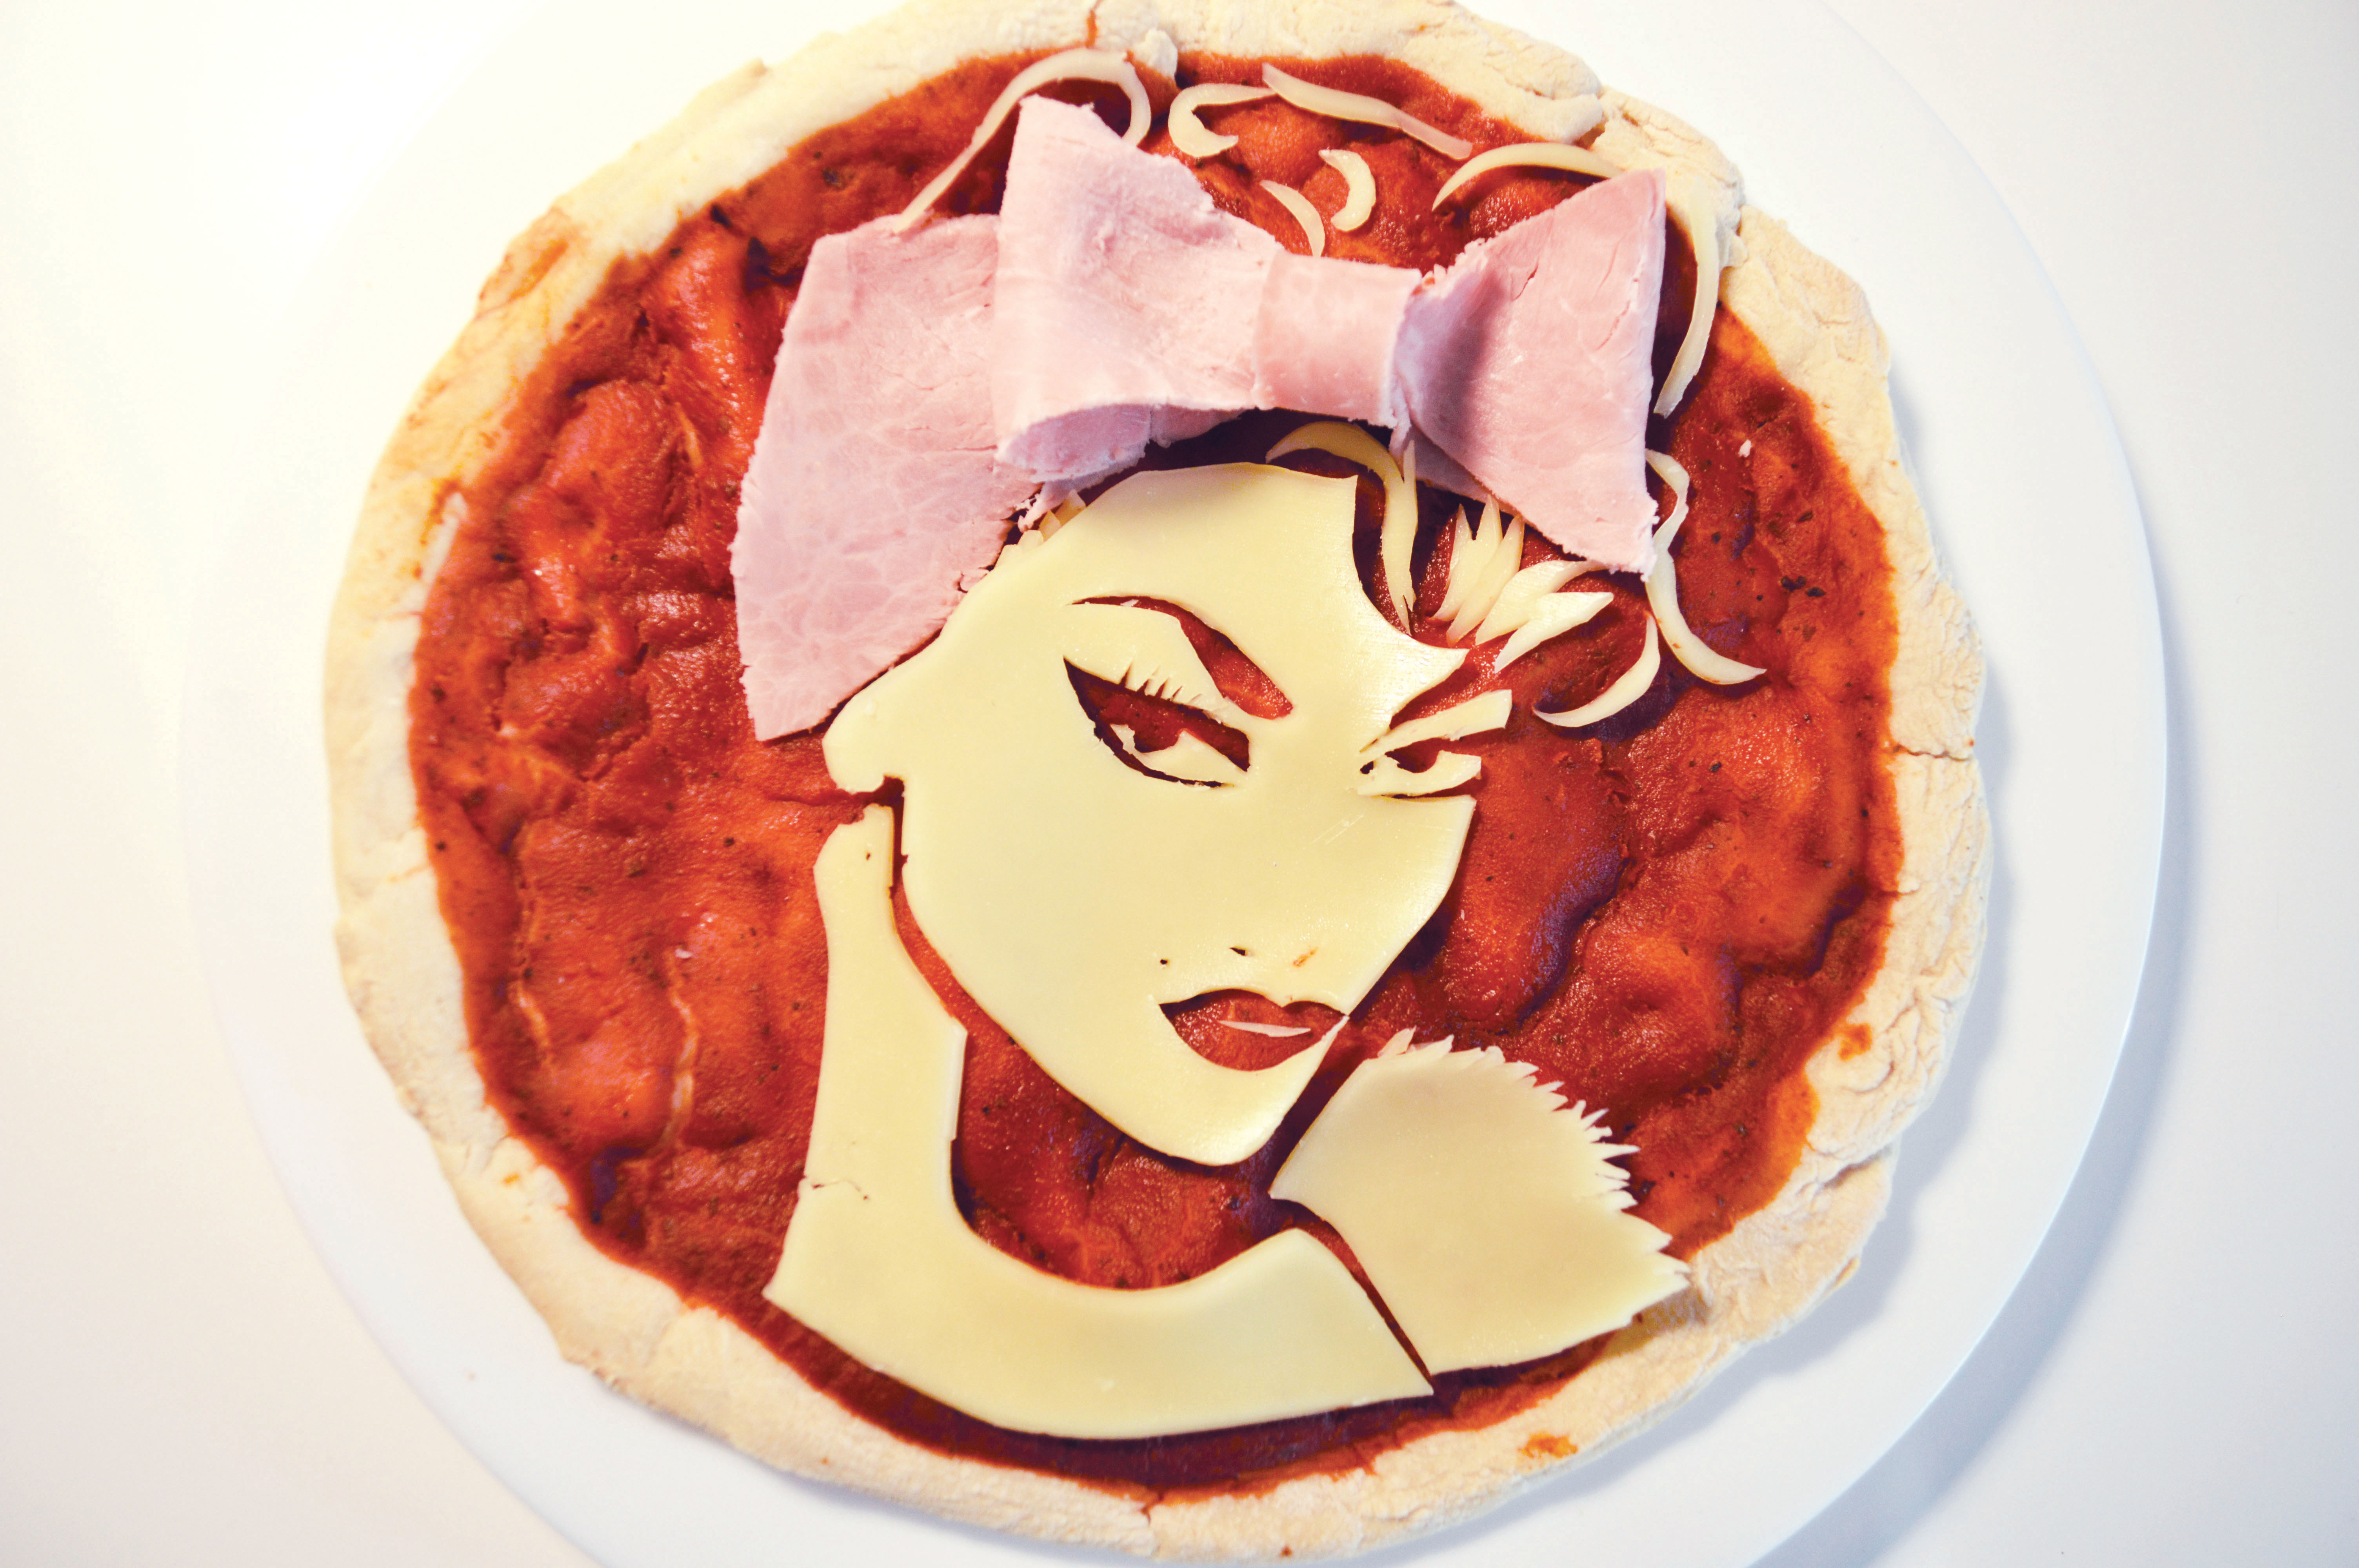
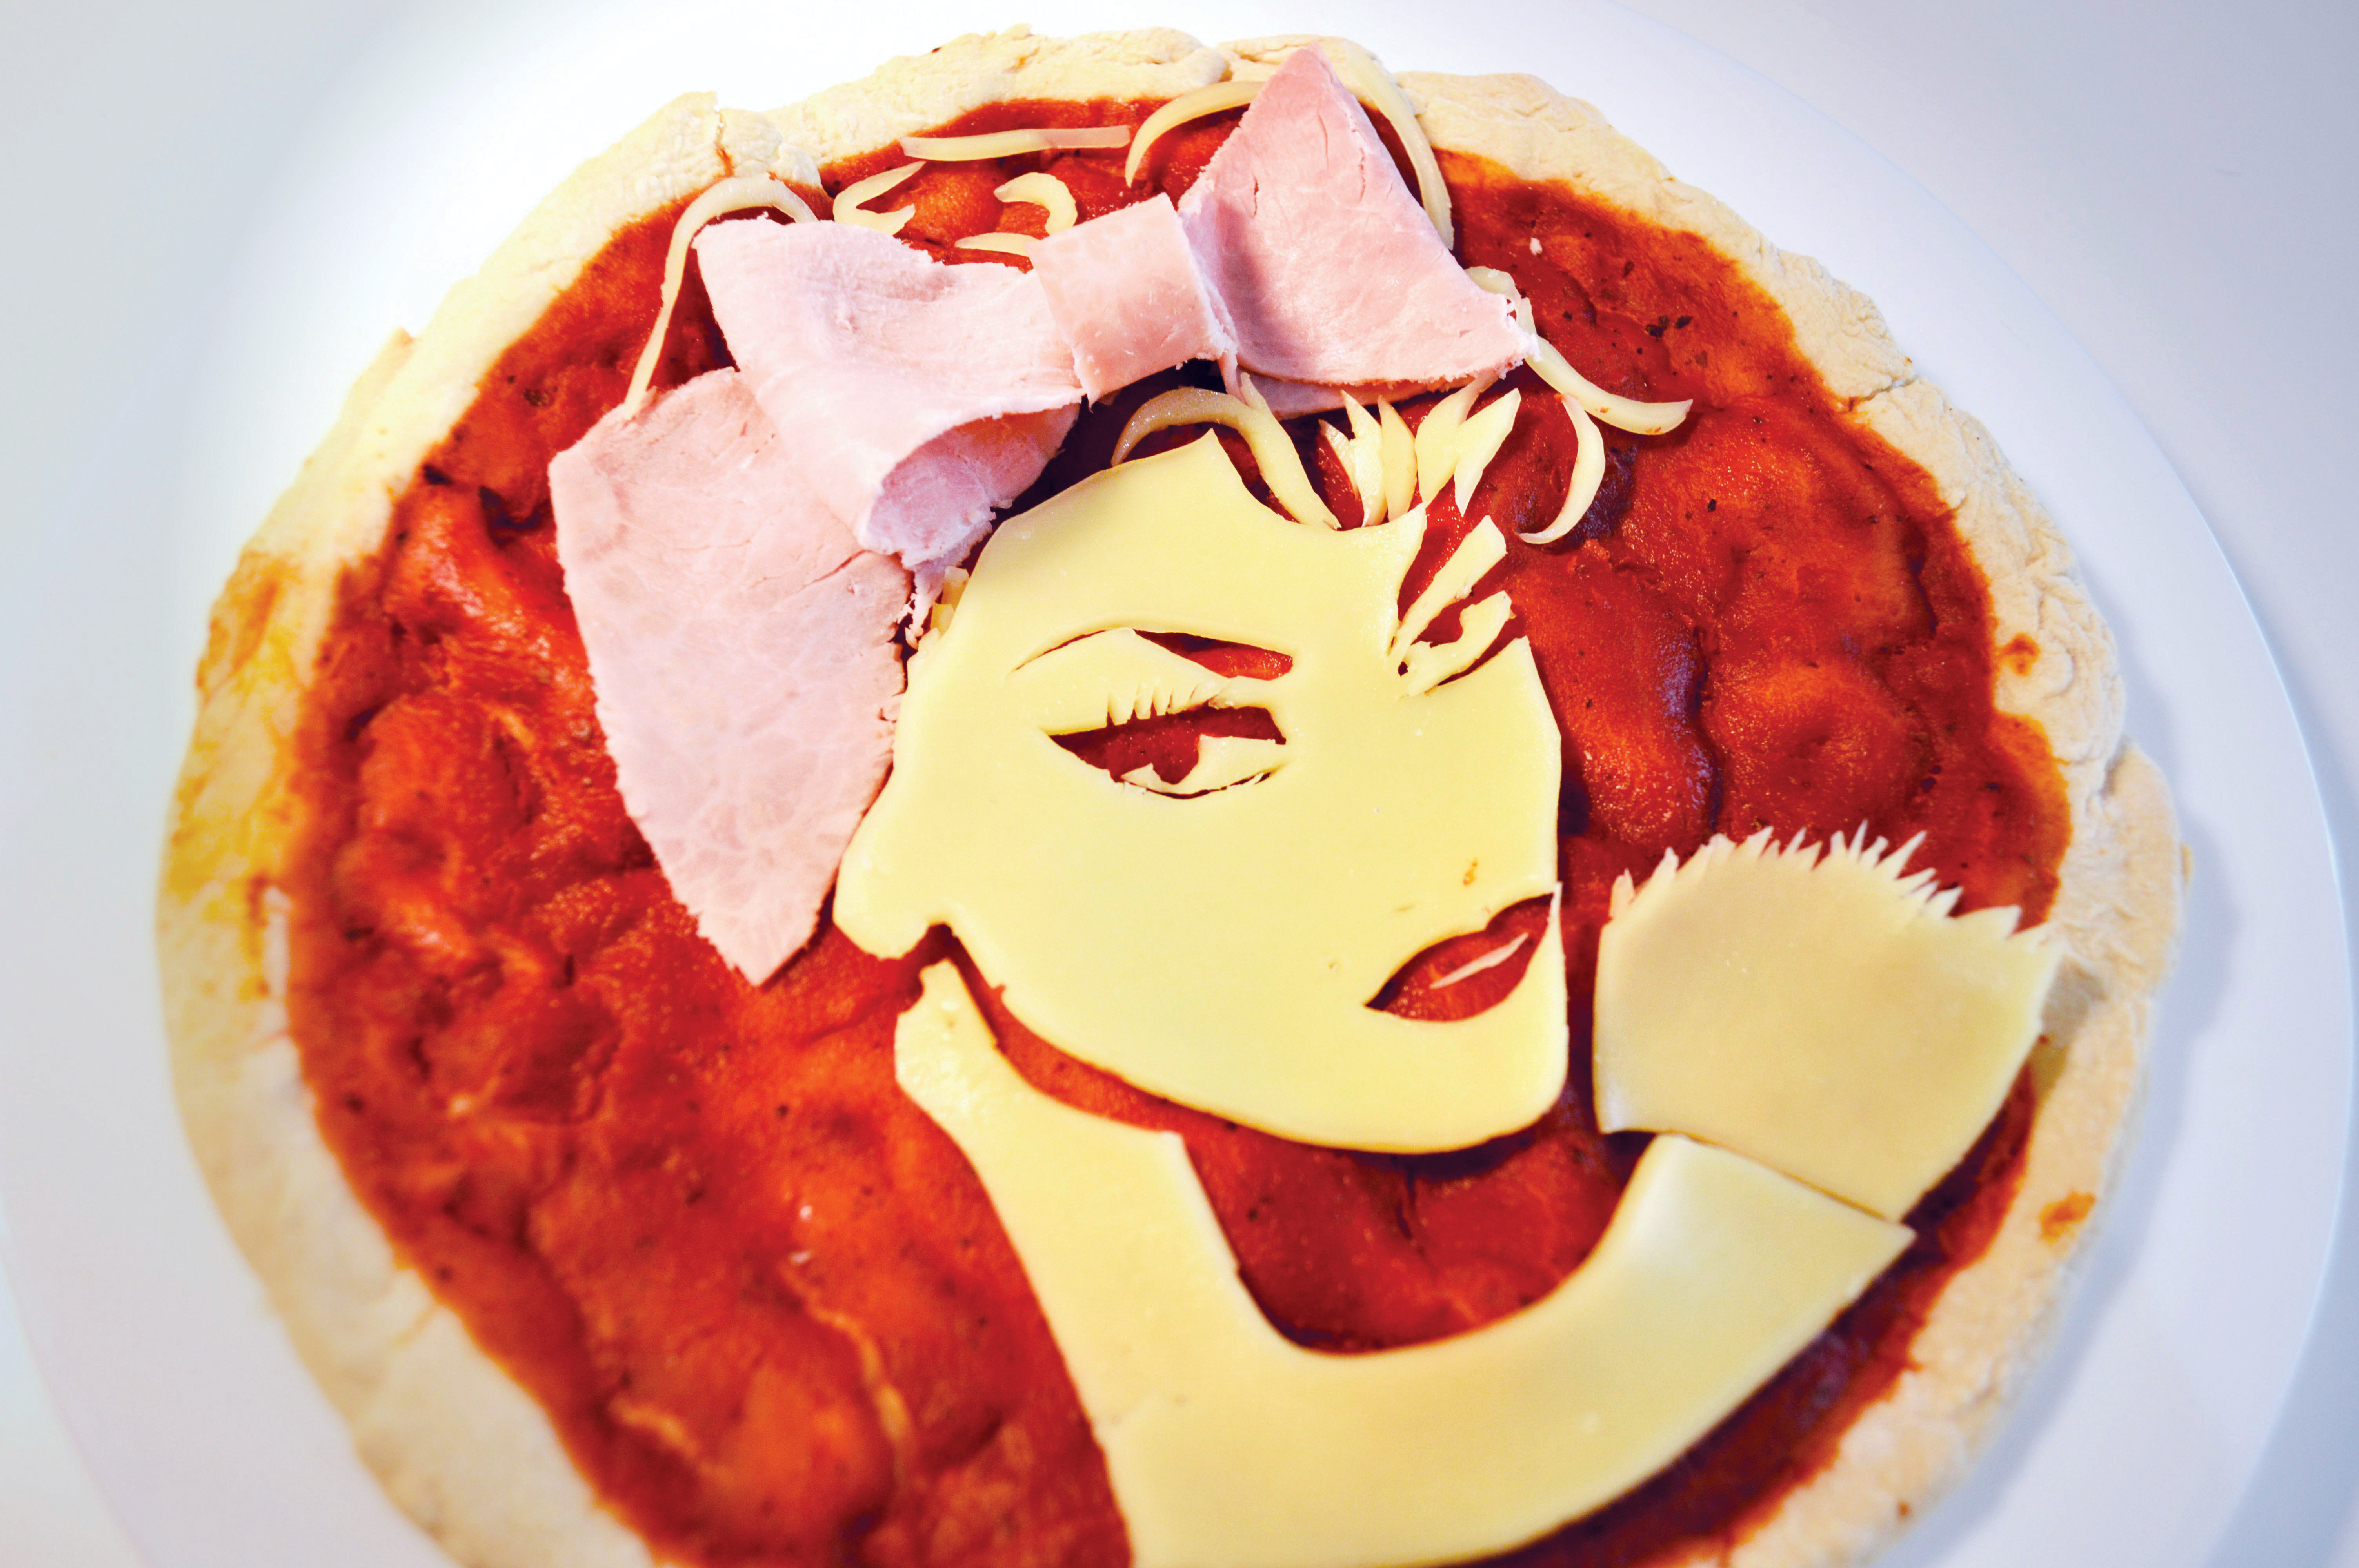
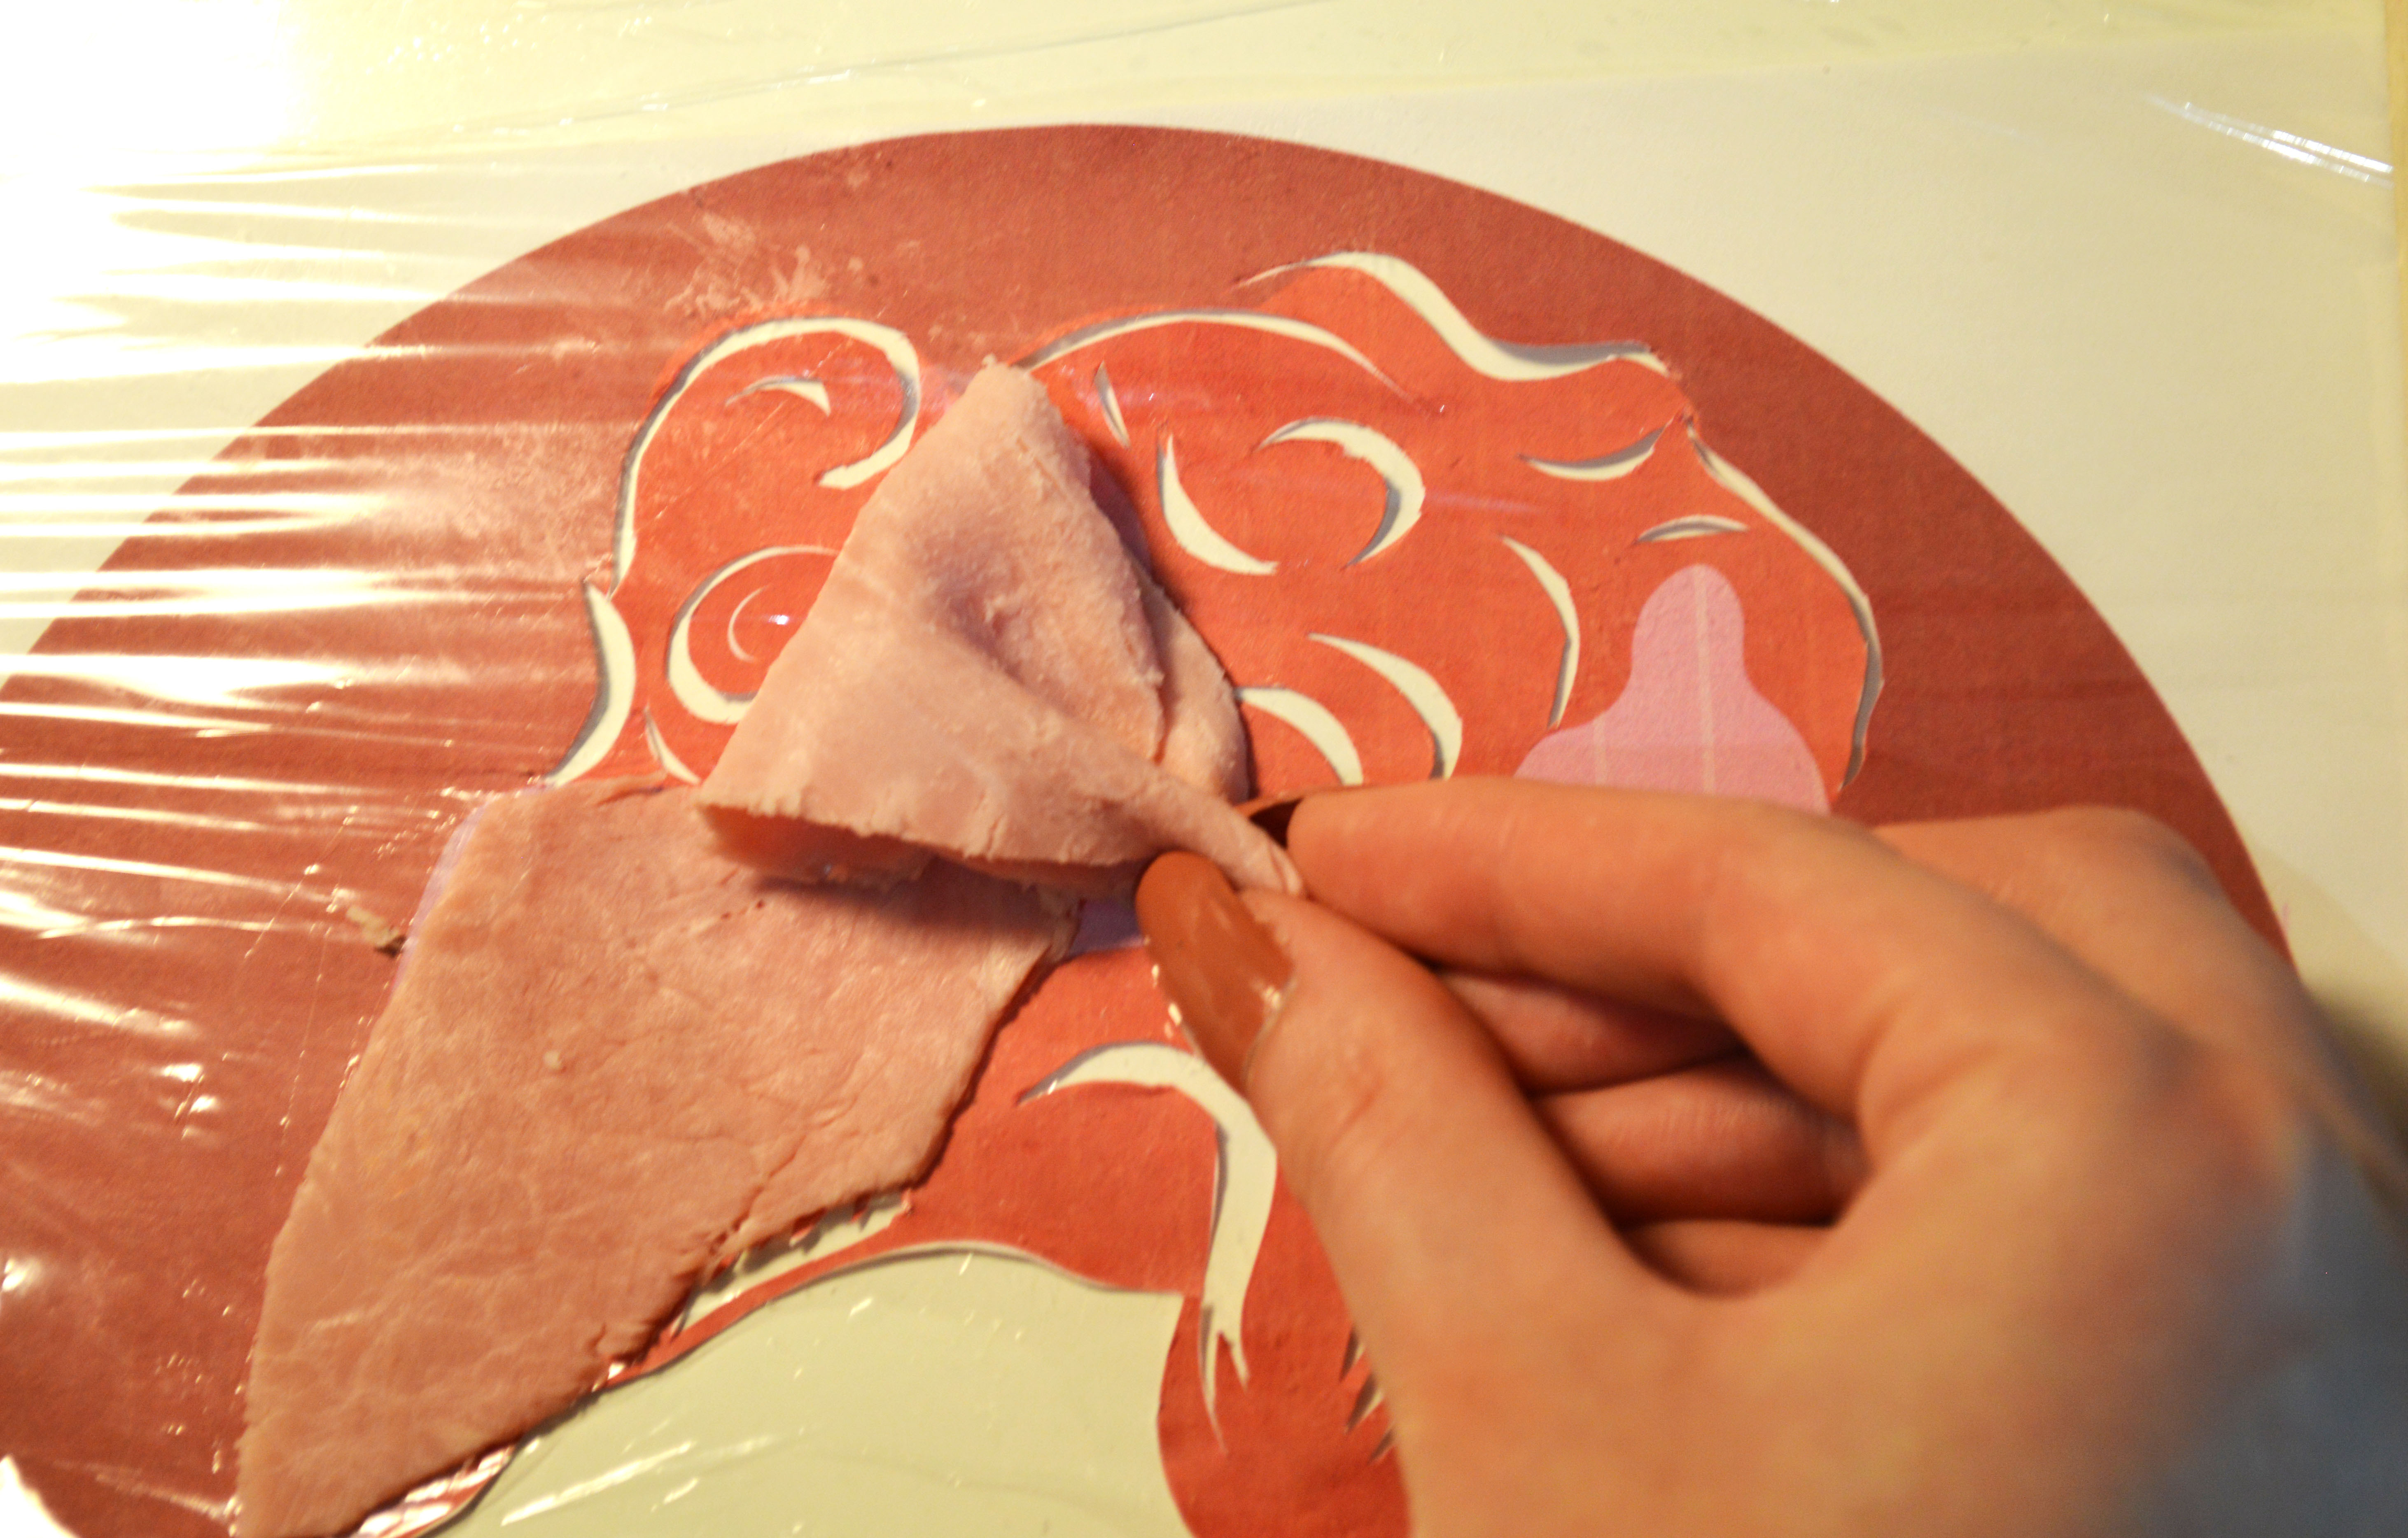
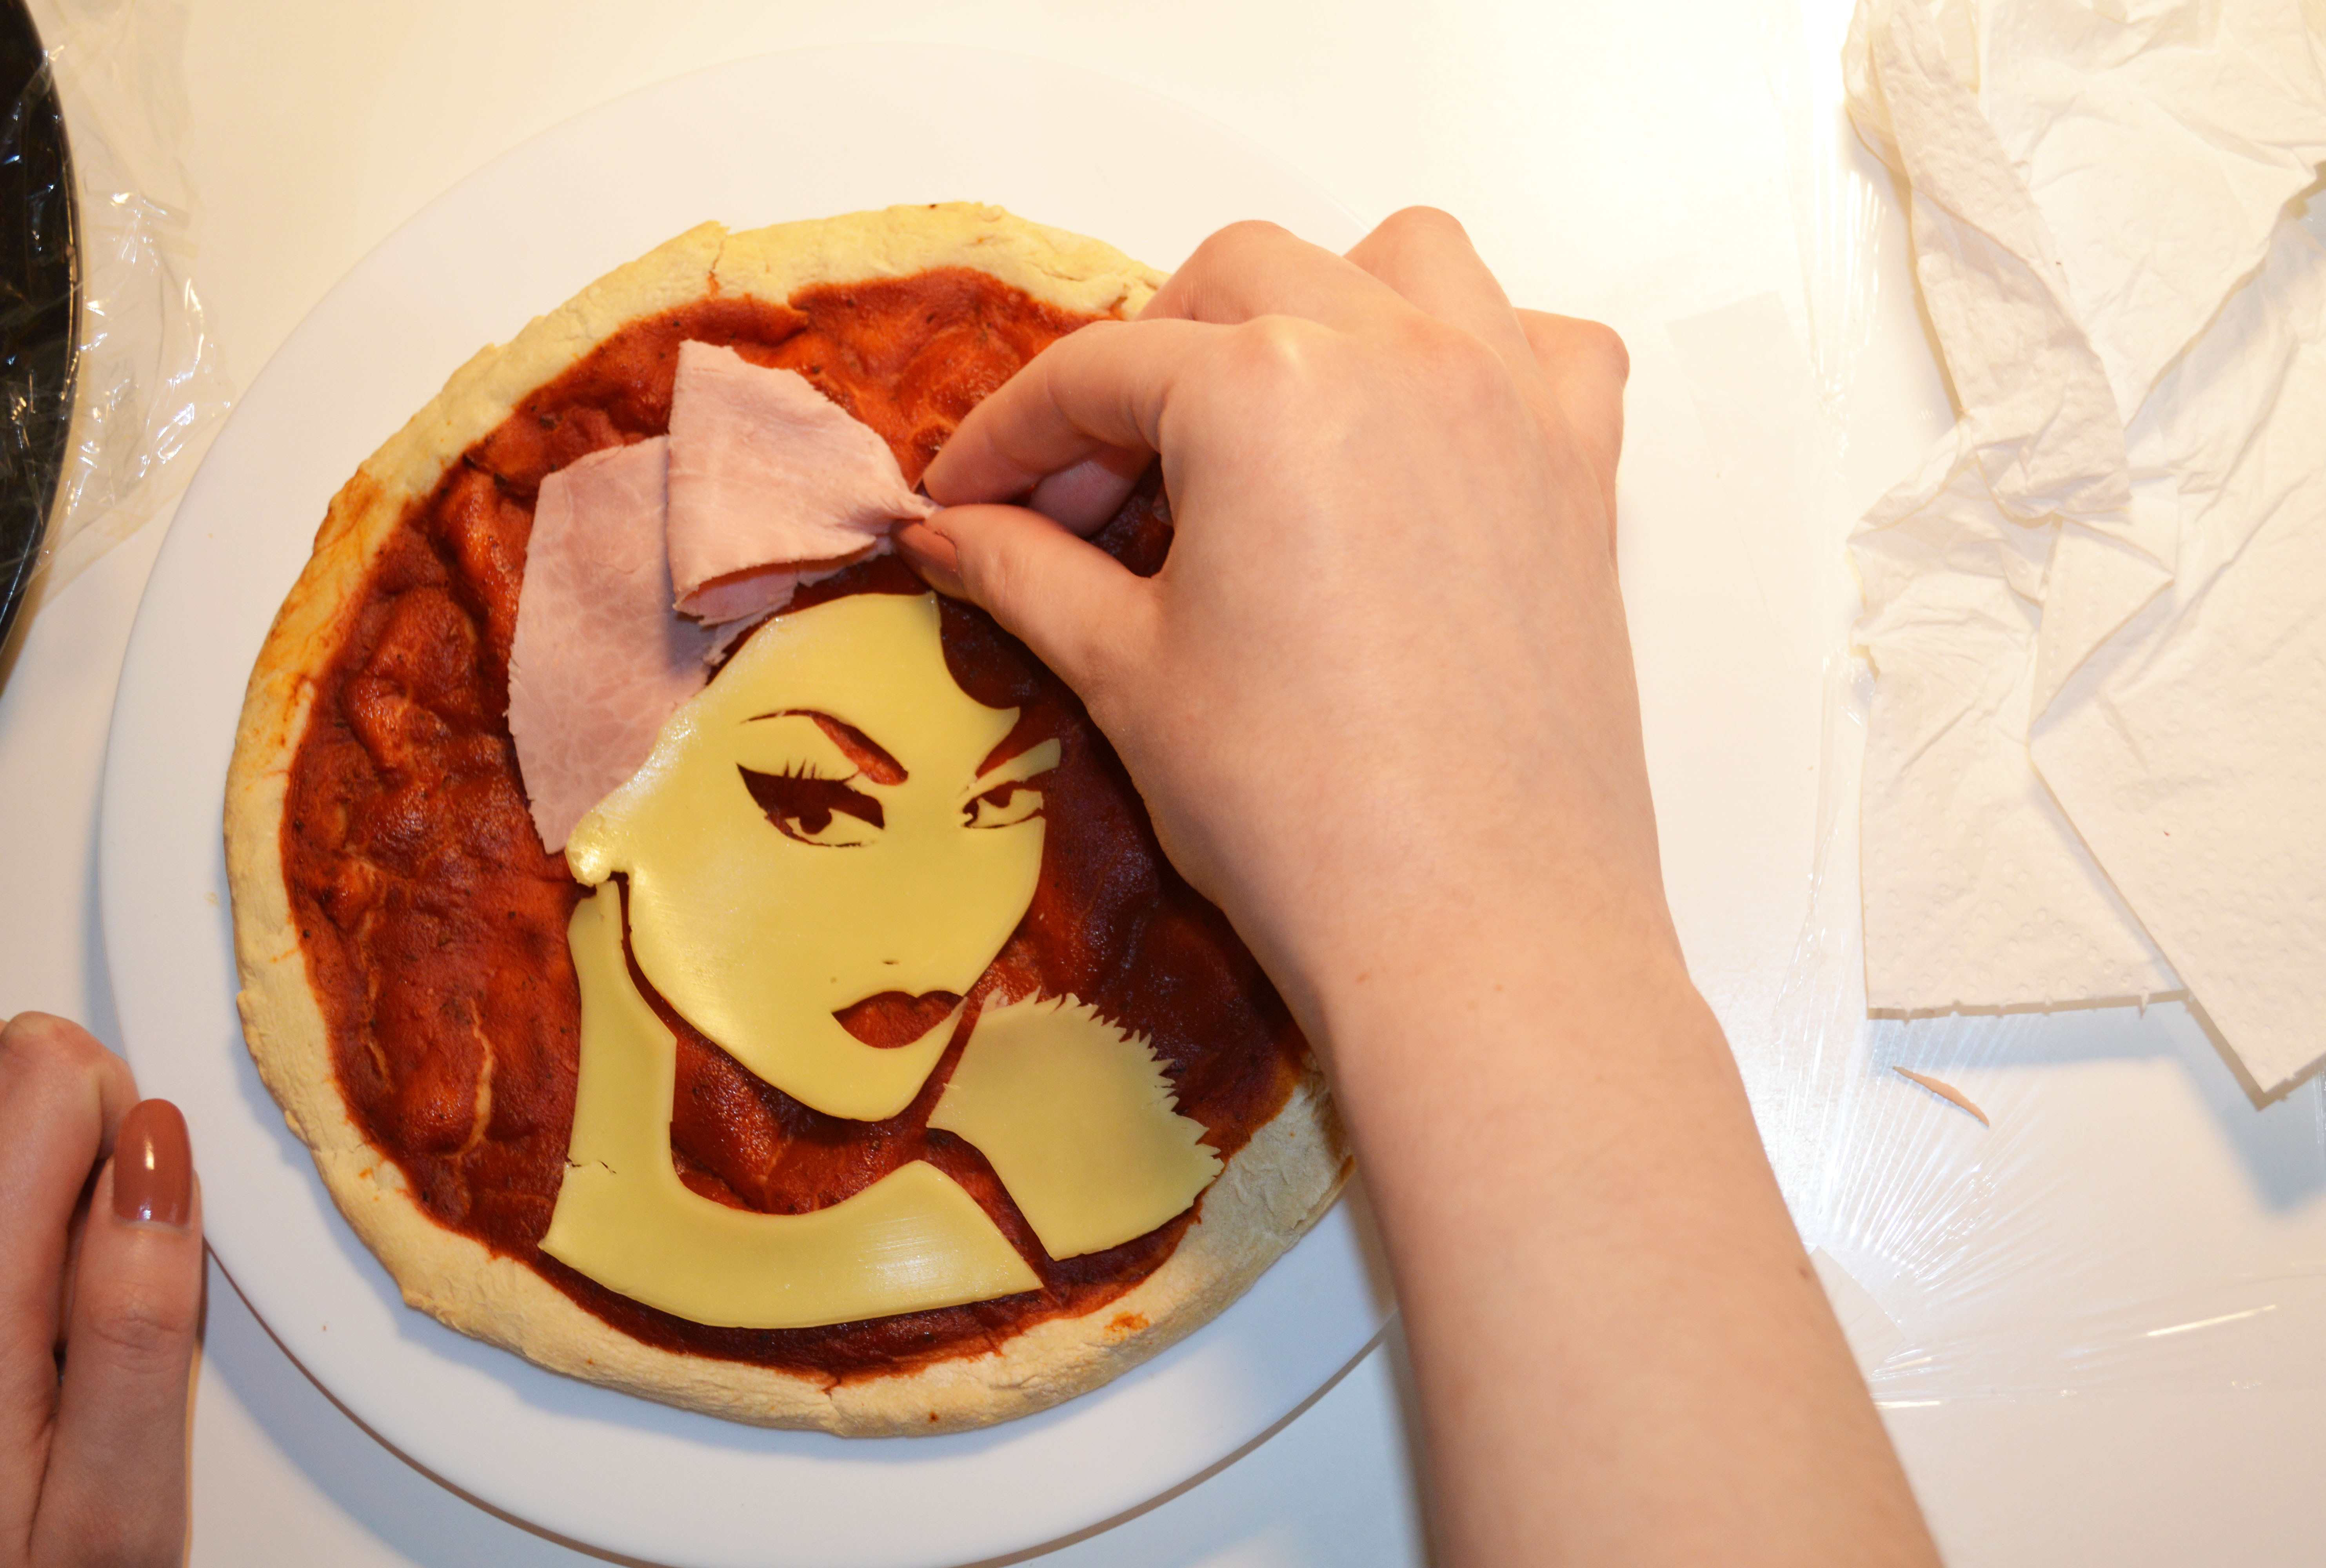
Once you're done cutting out the whole design, place the cheese on the pizza sauce.
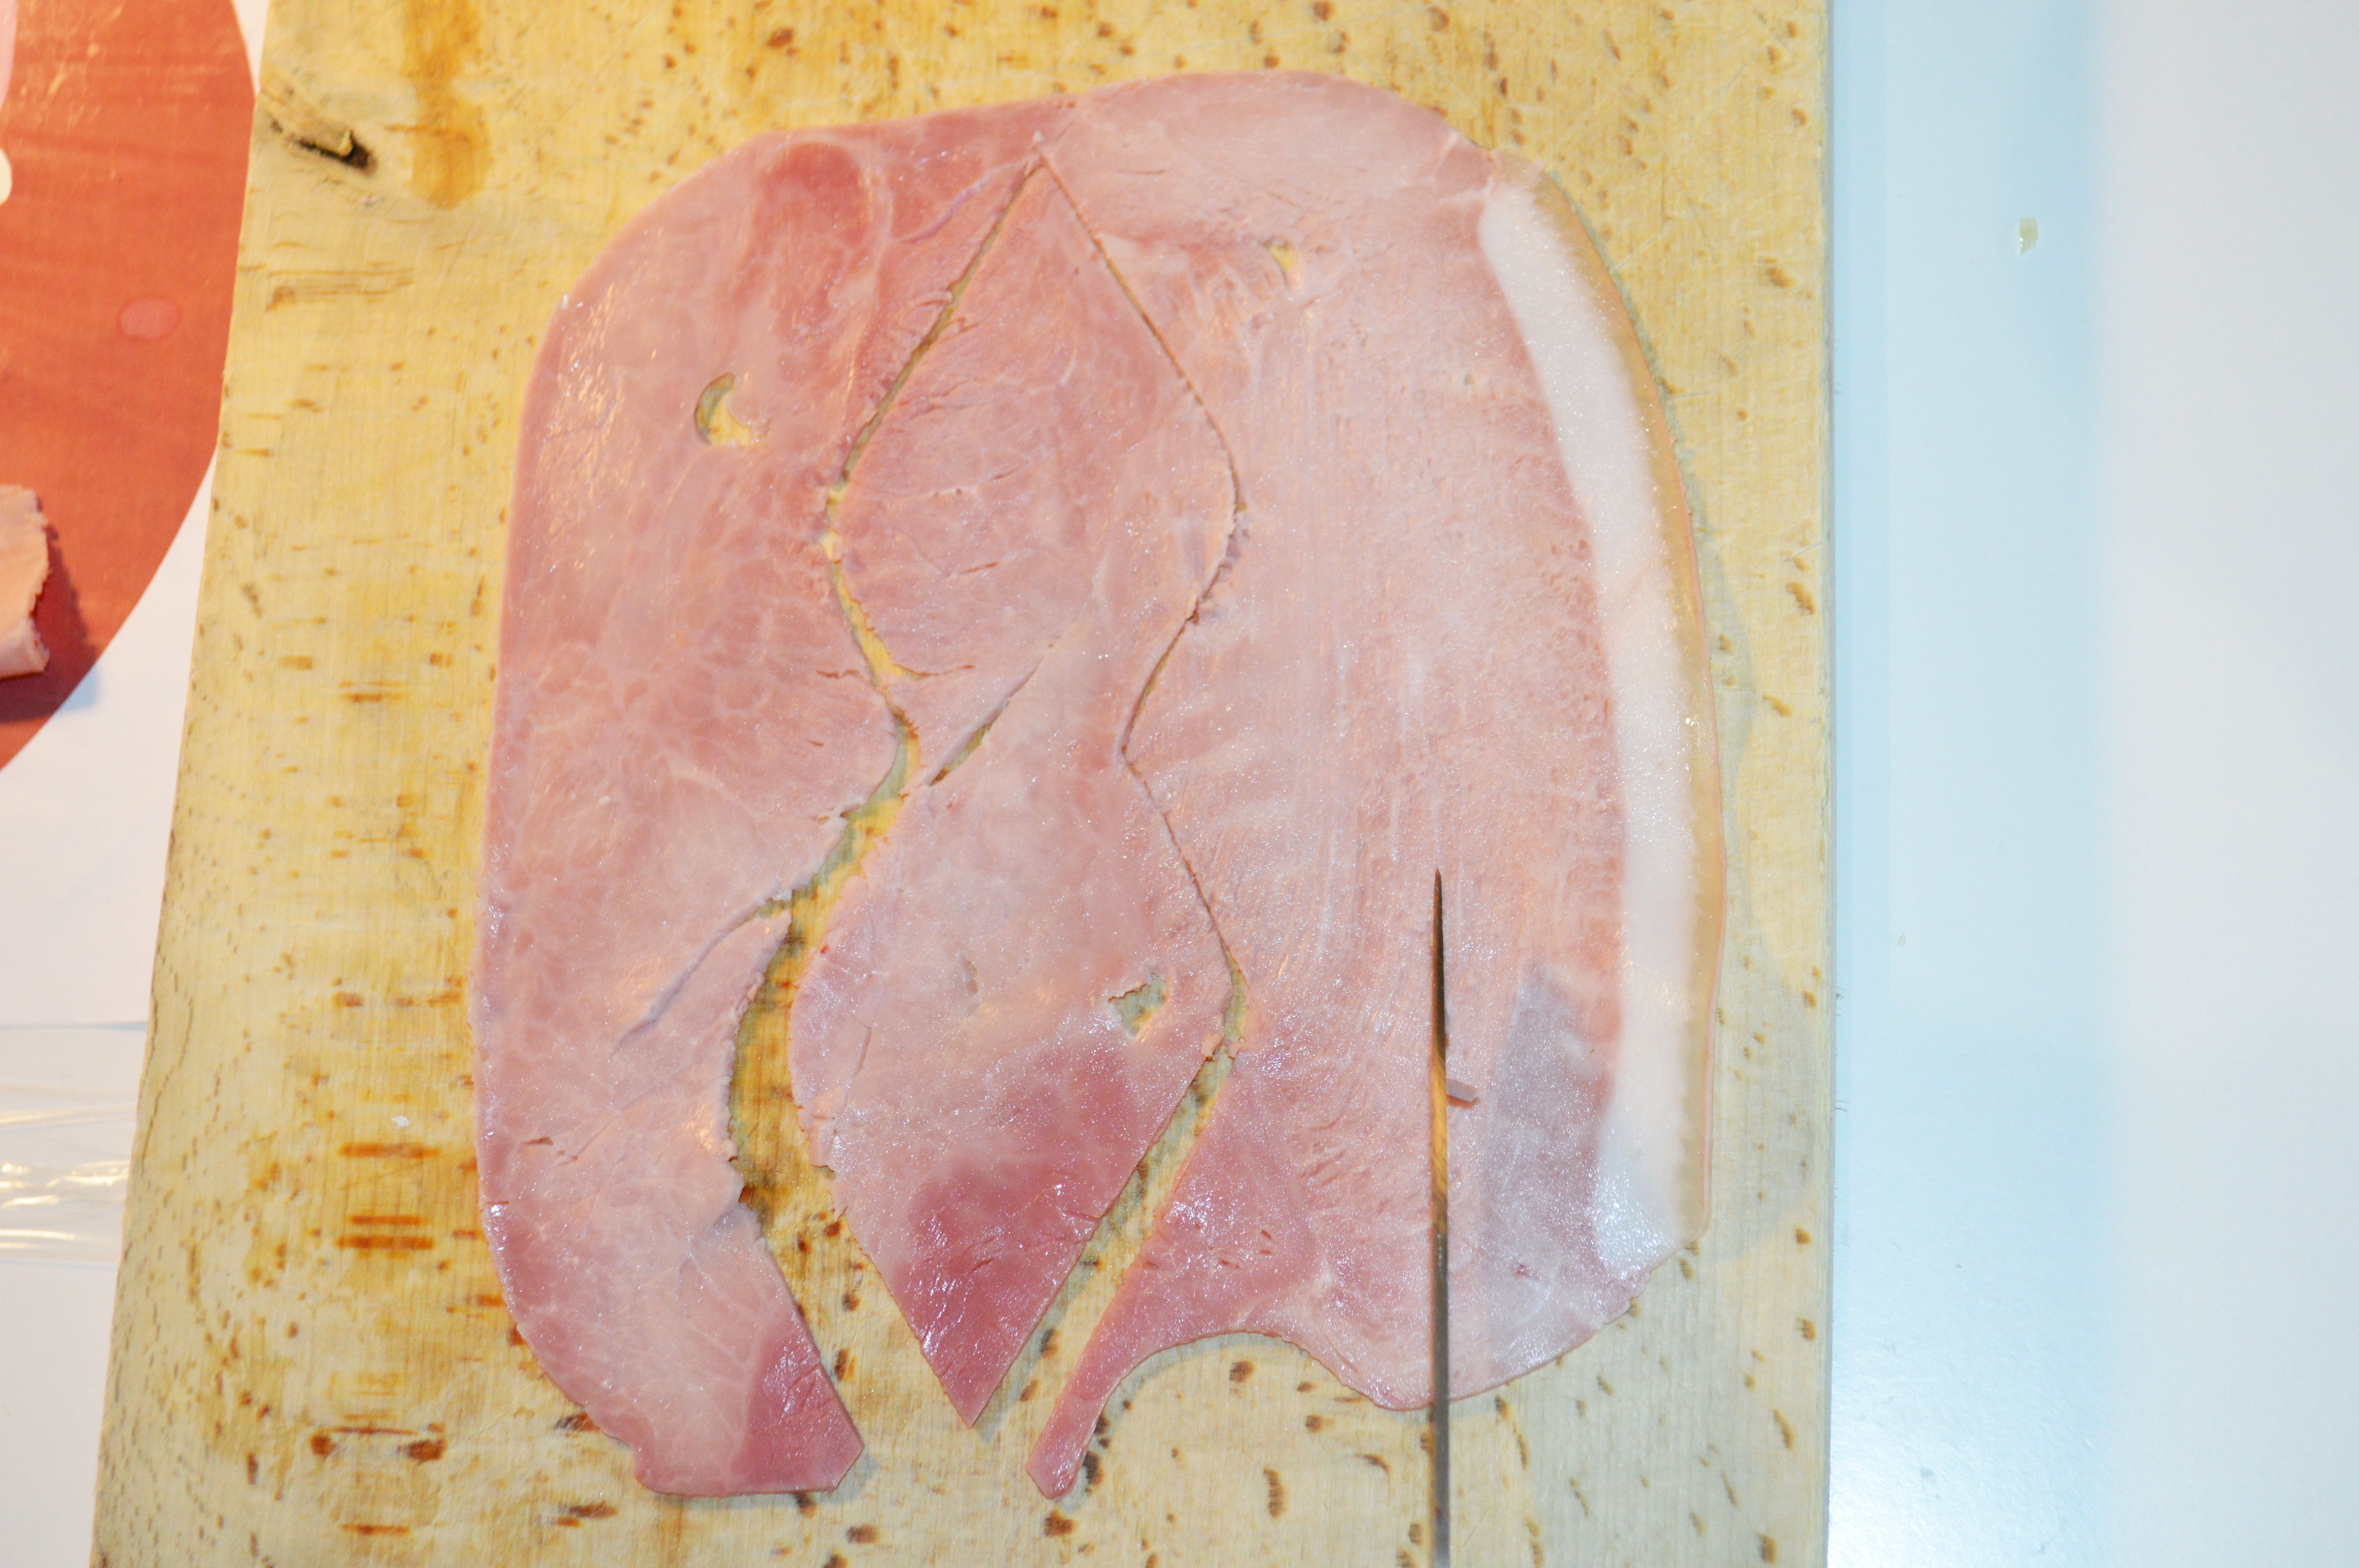
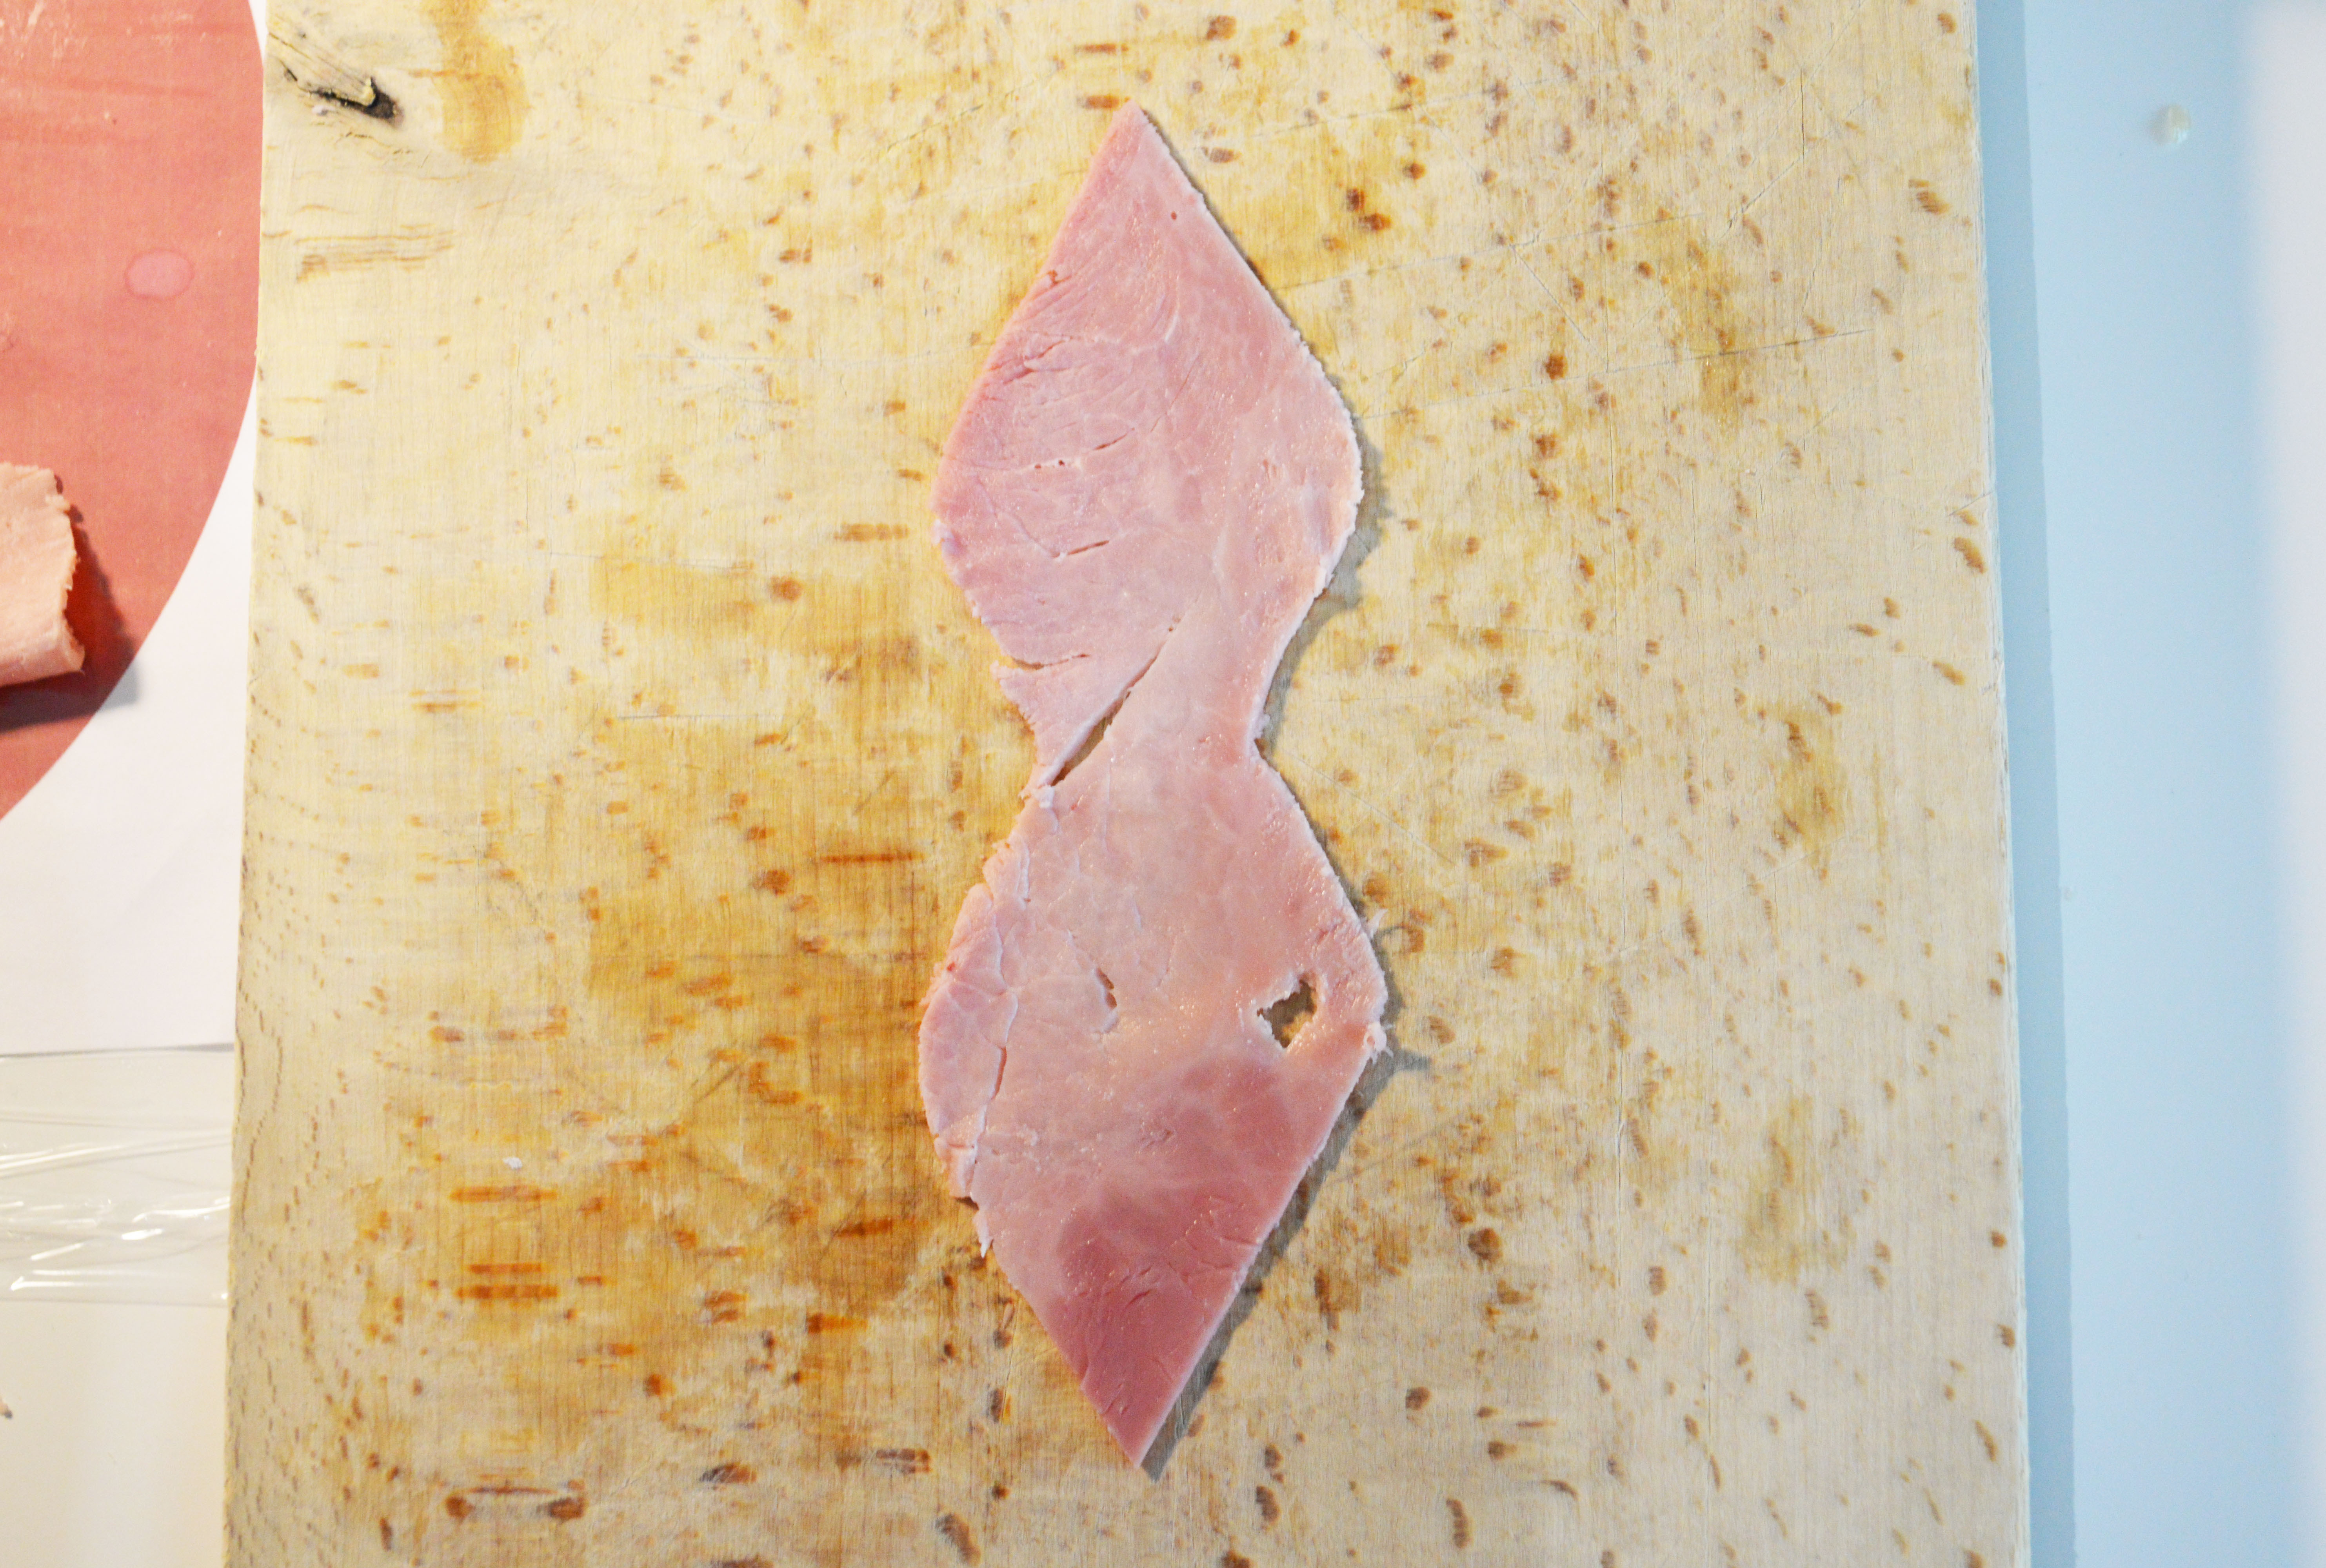
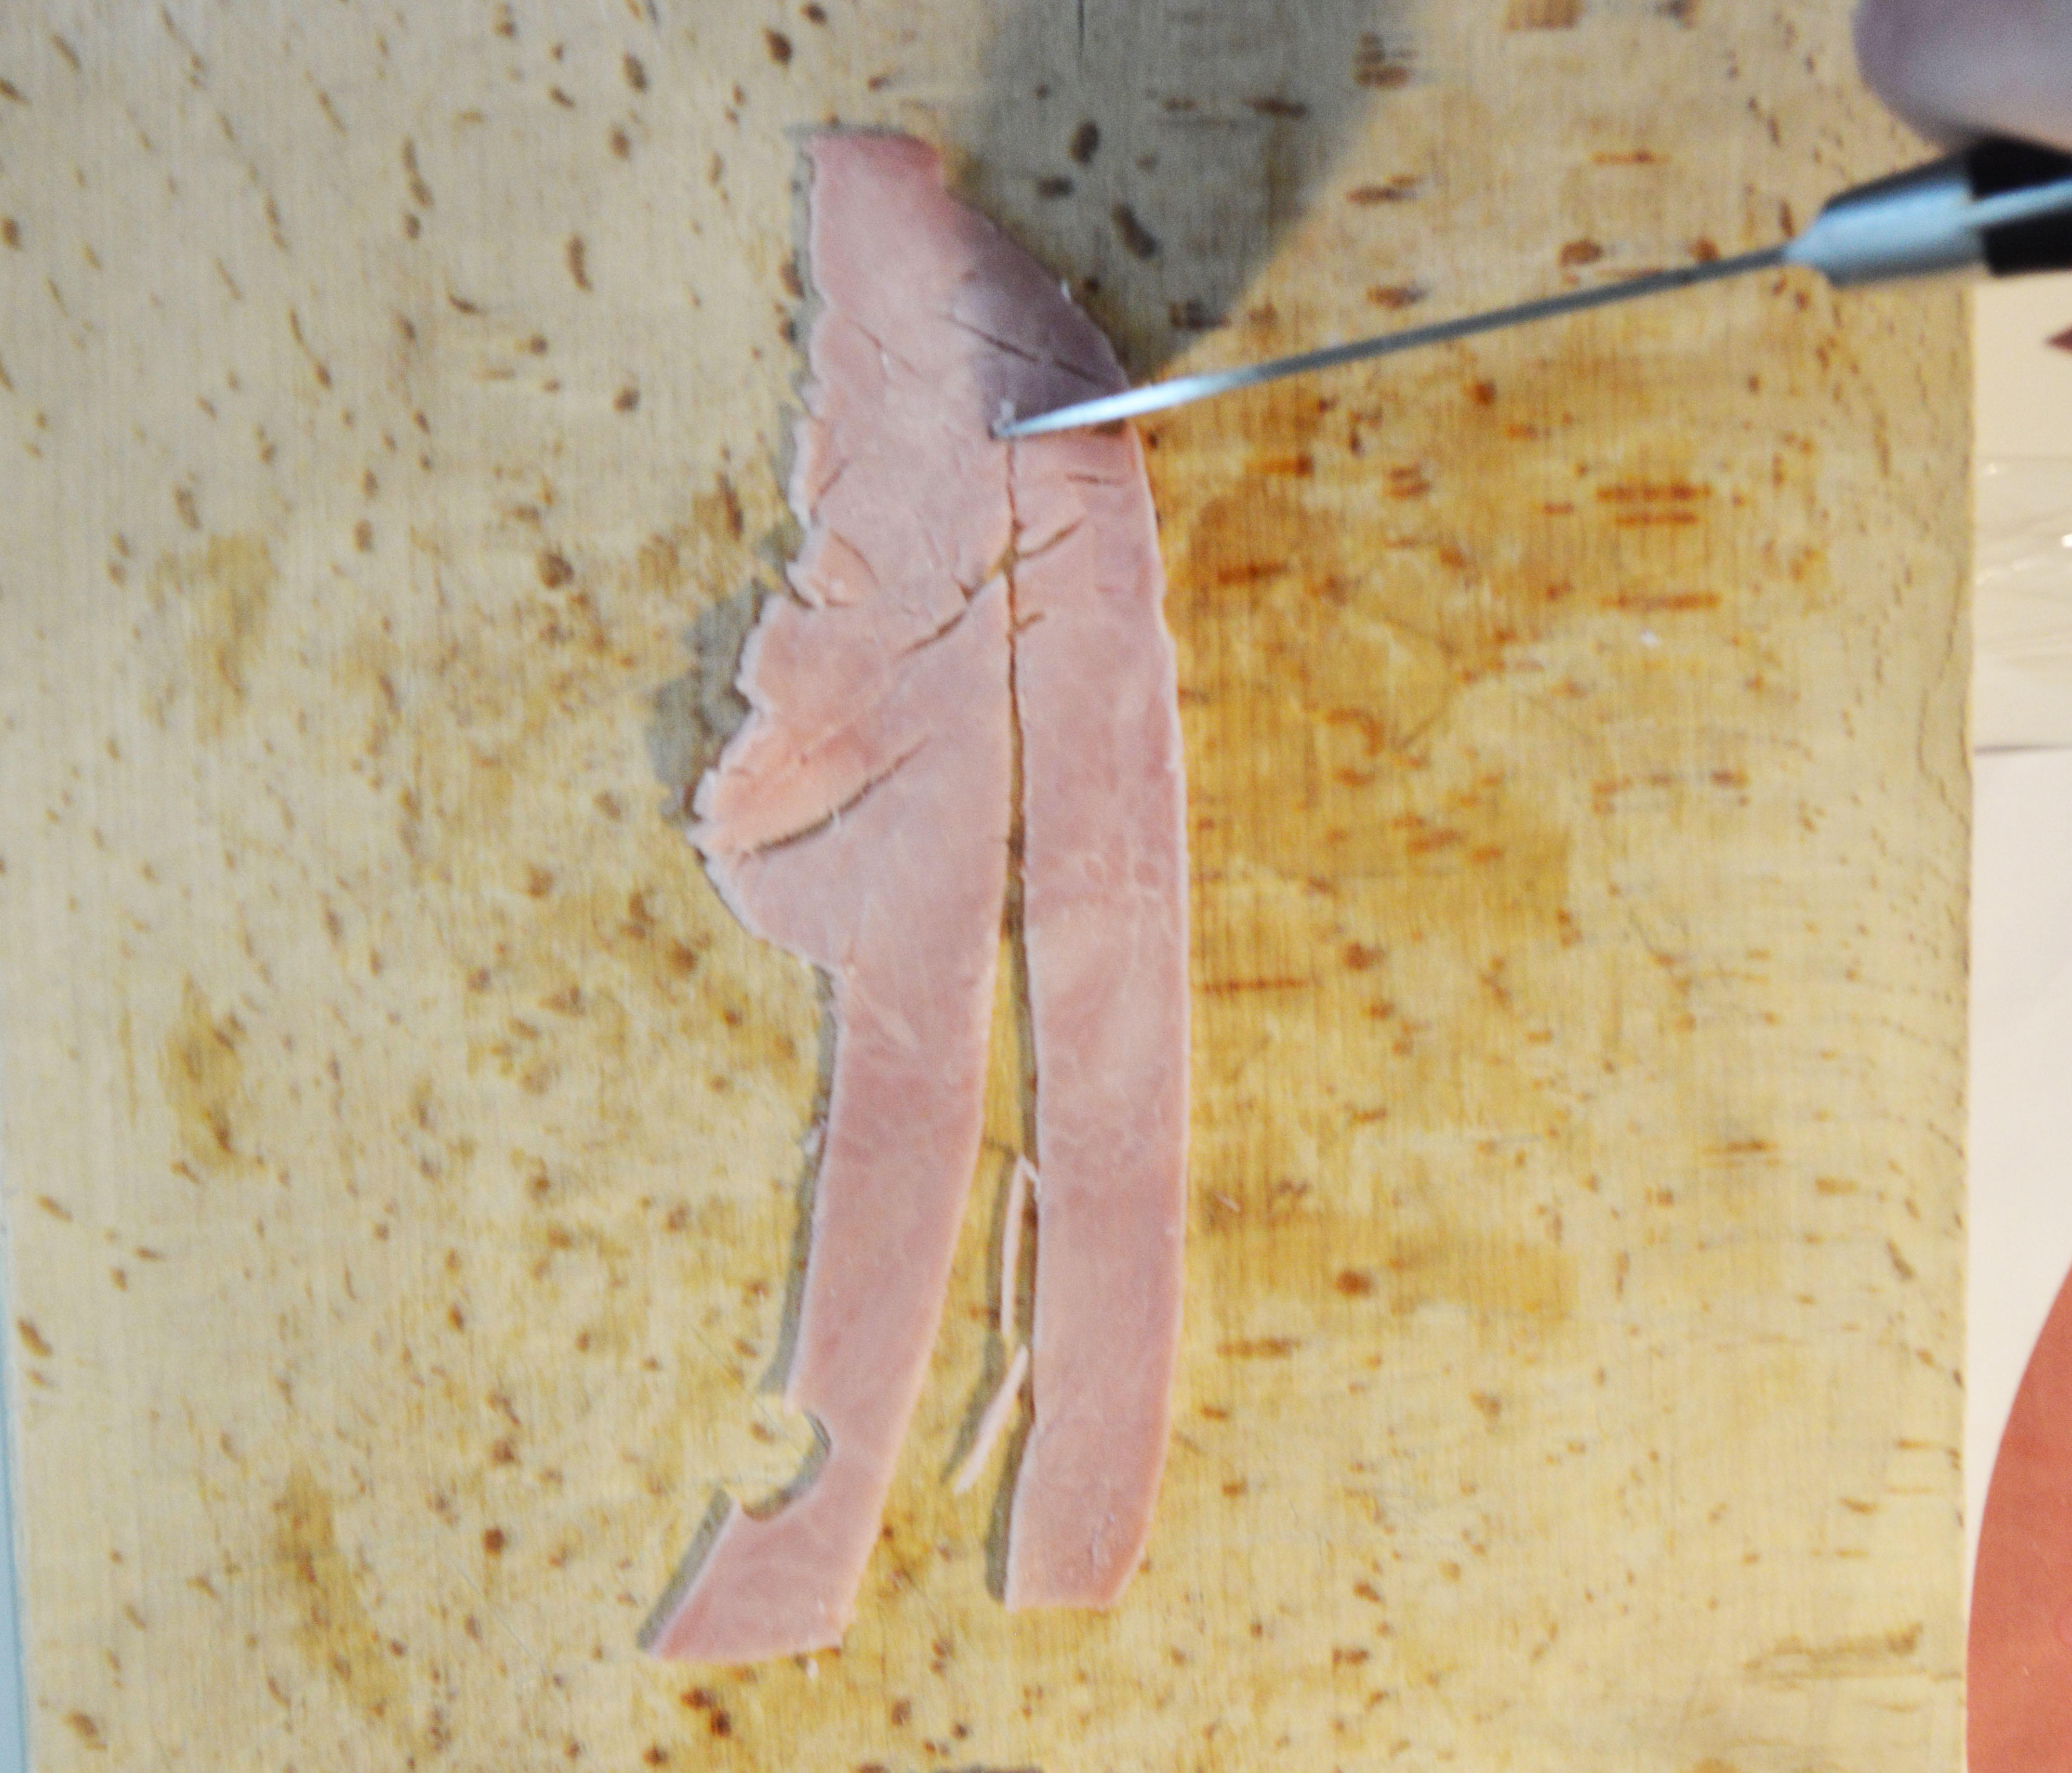
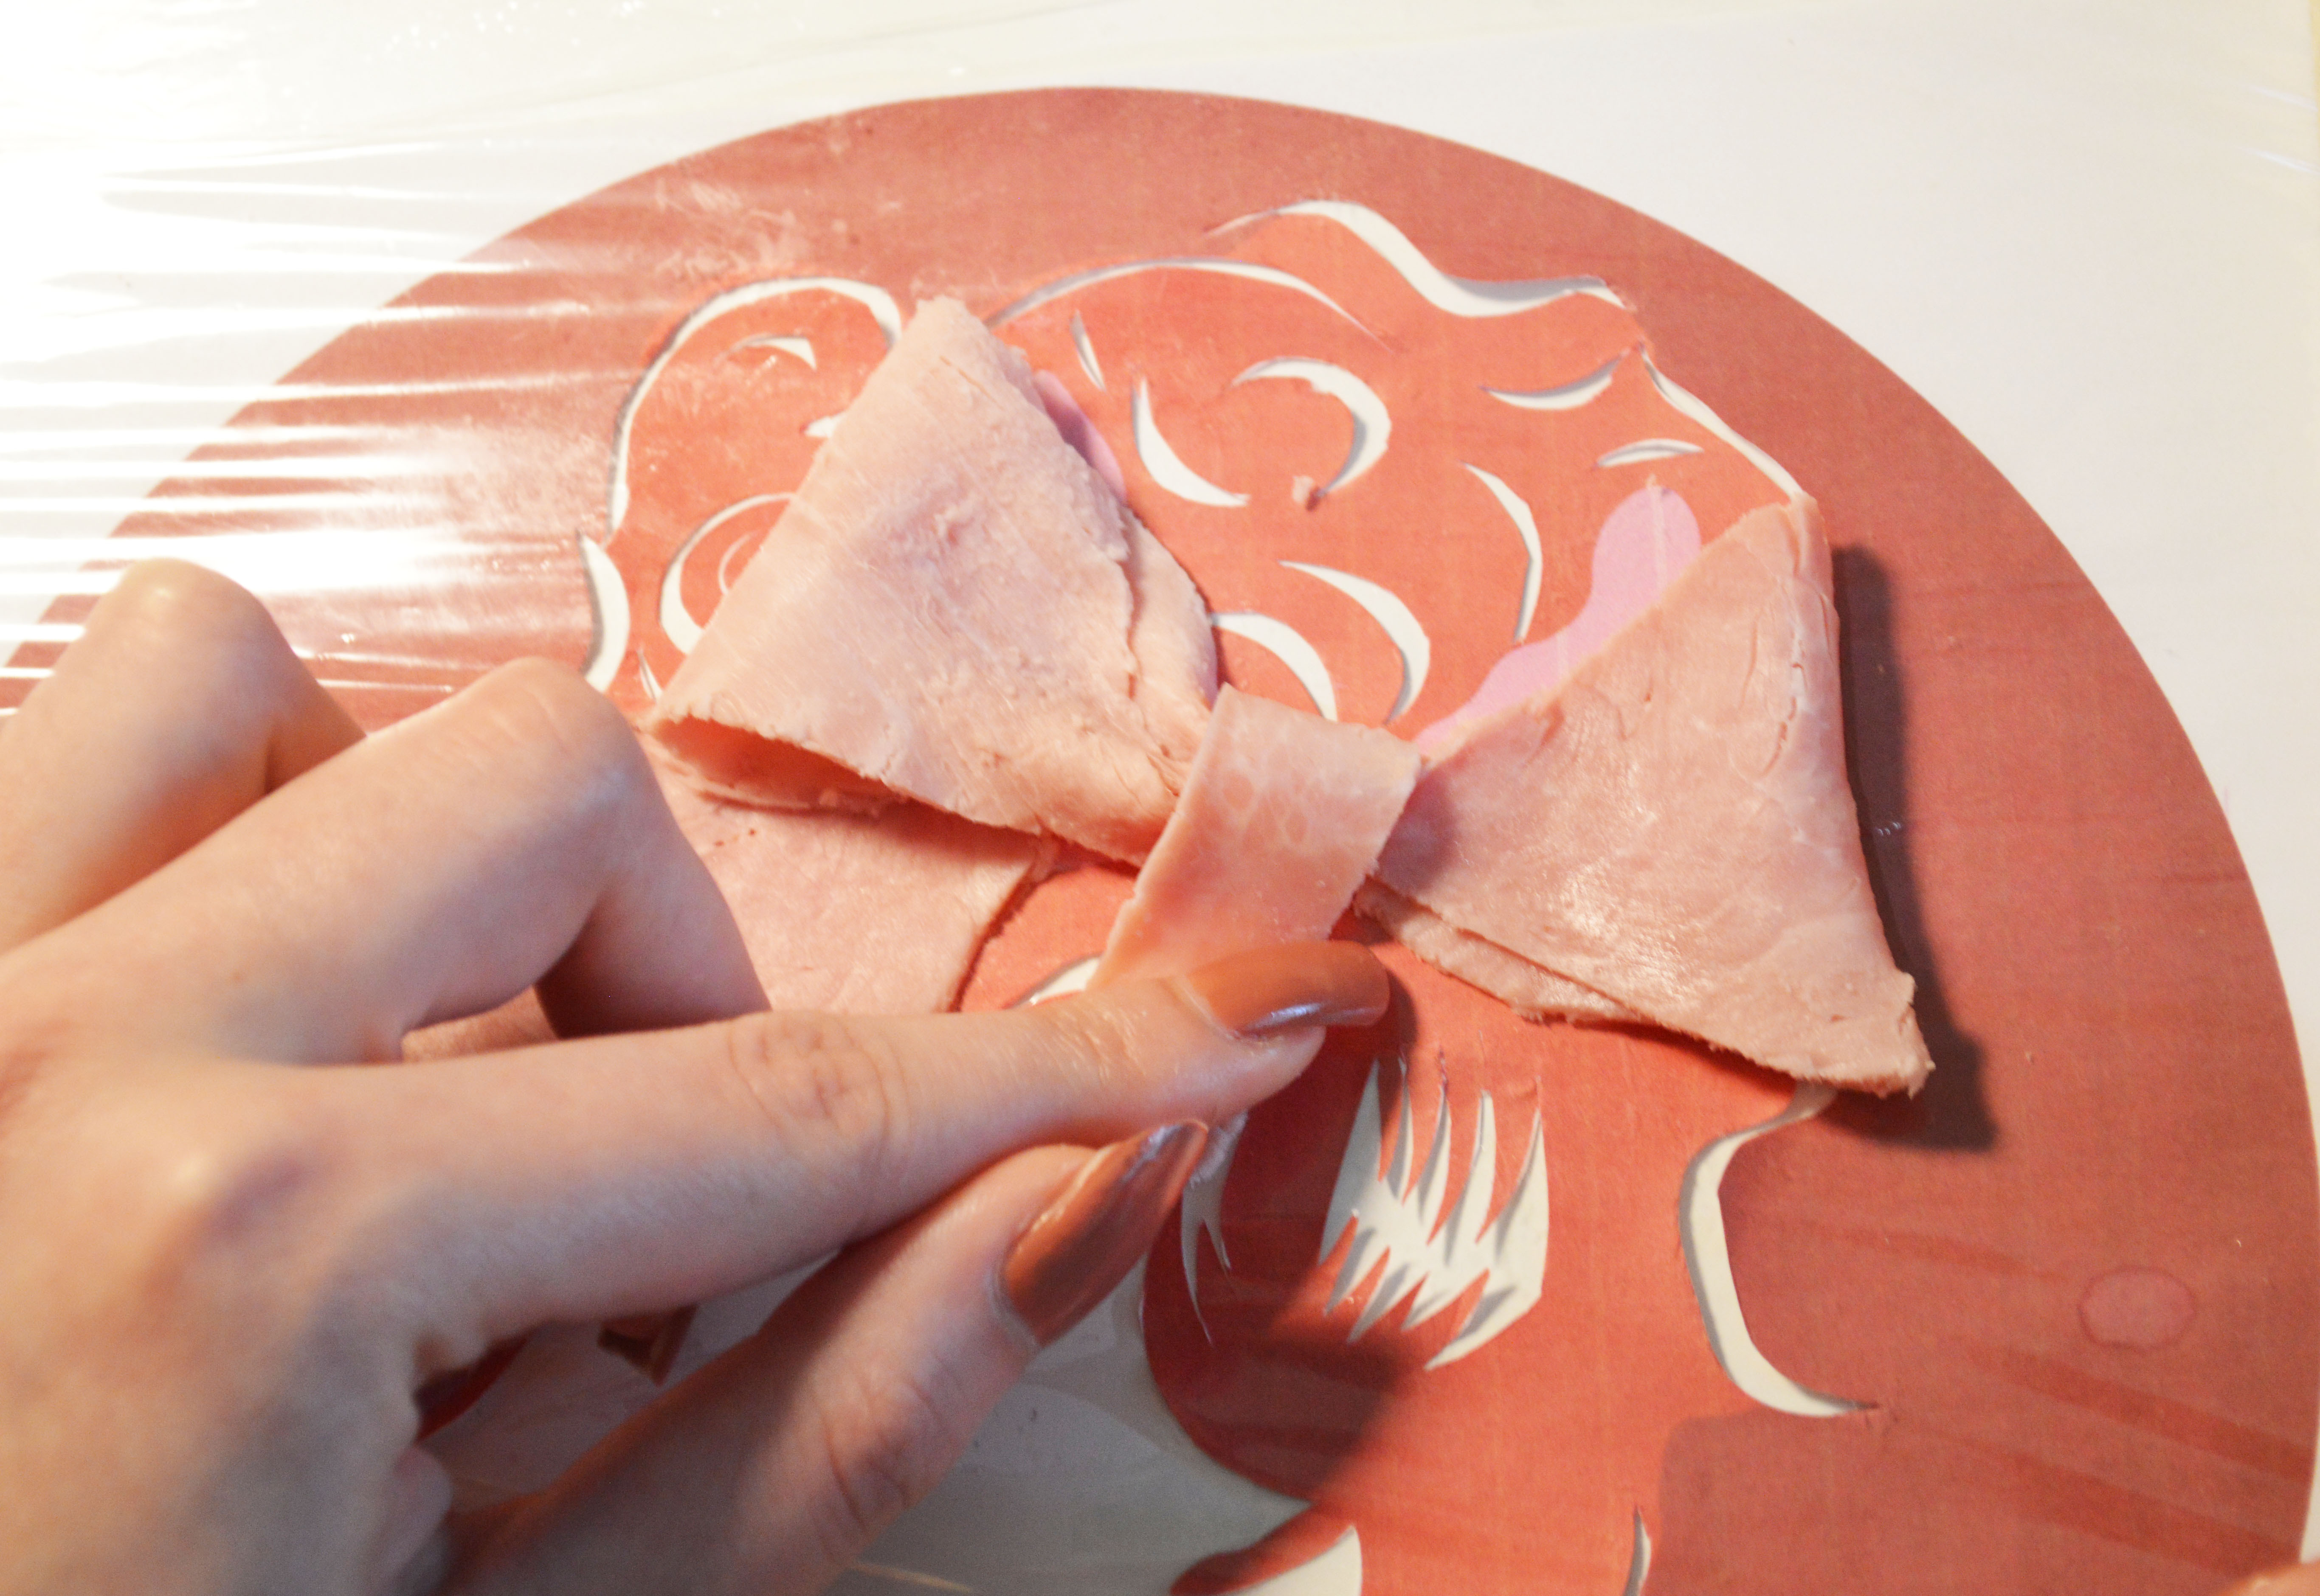
You can make a bow with ham as shown in the picture. Tie the bow with a thin slice of ham and gently press it down on the pizza.
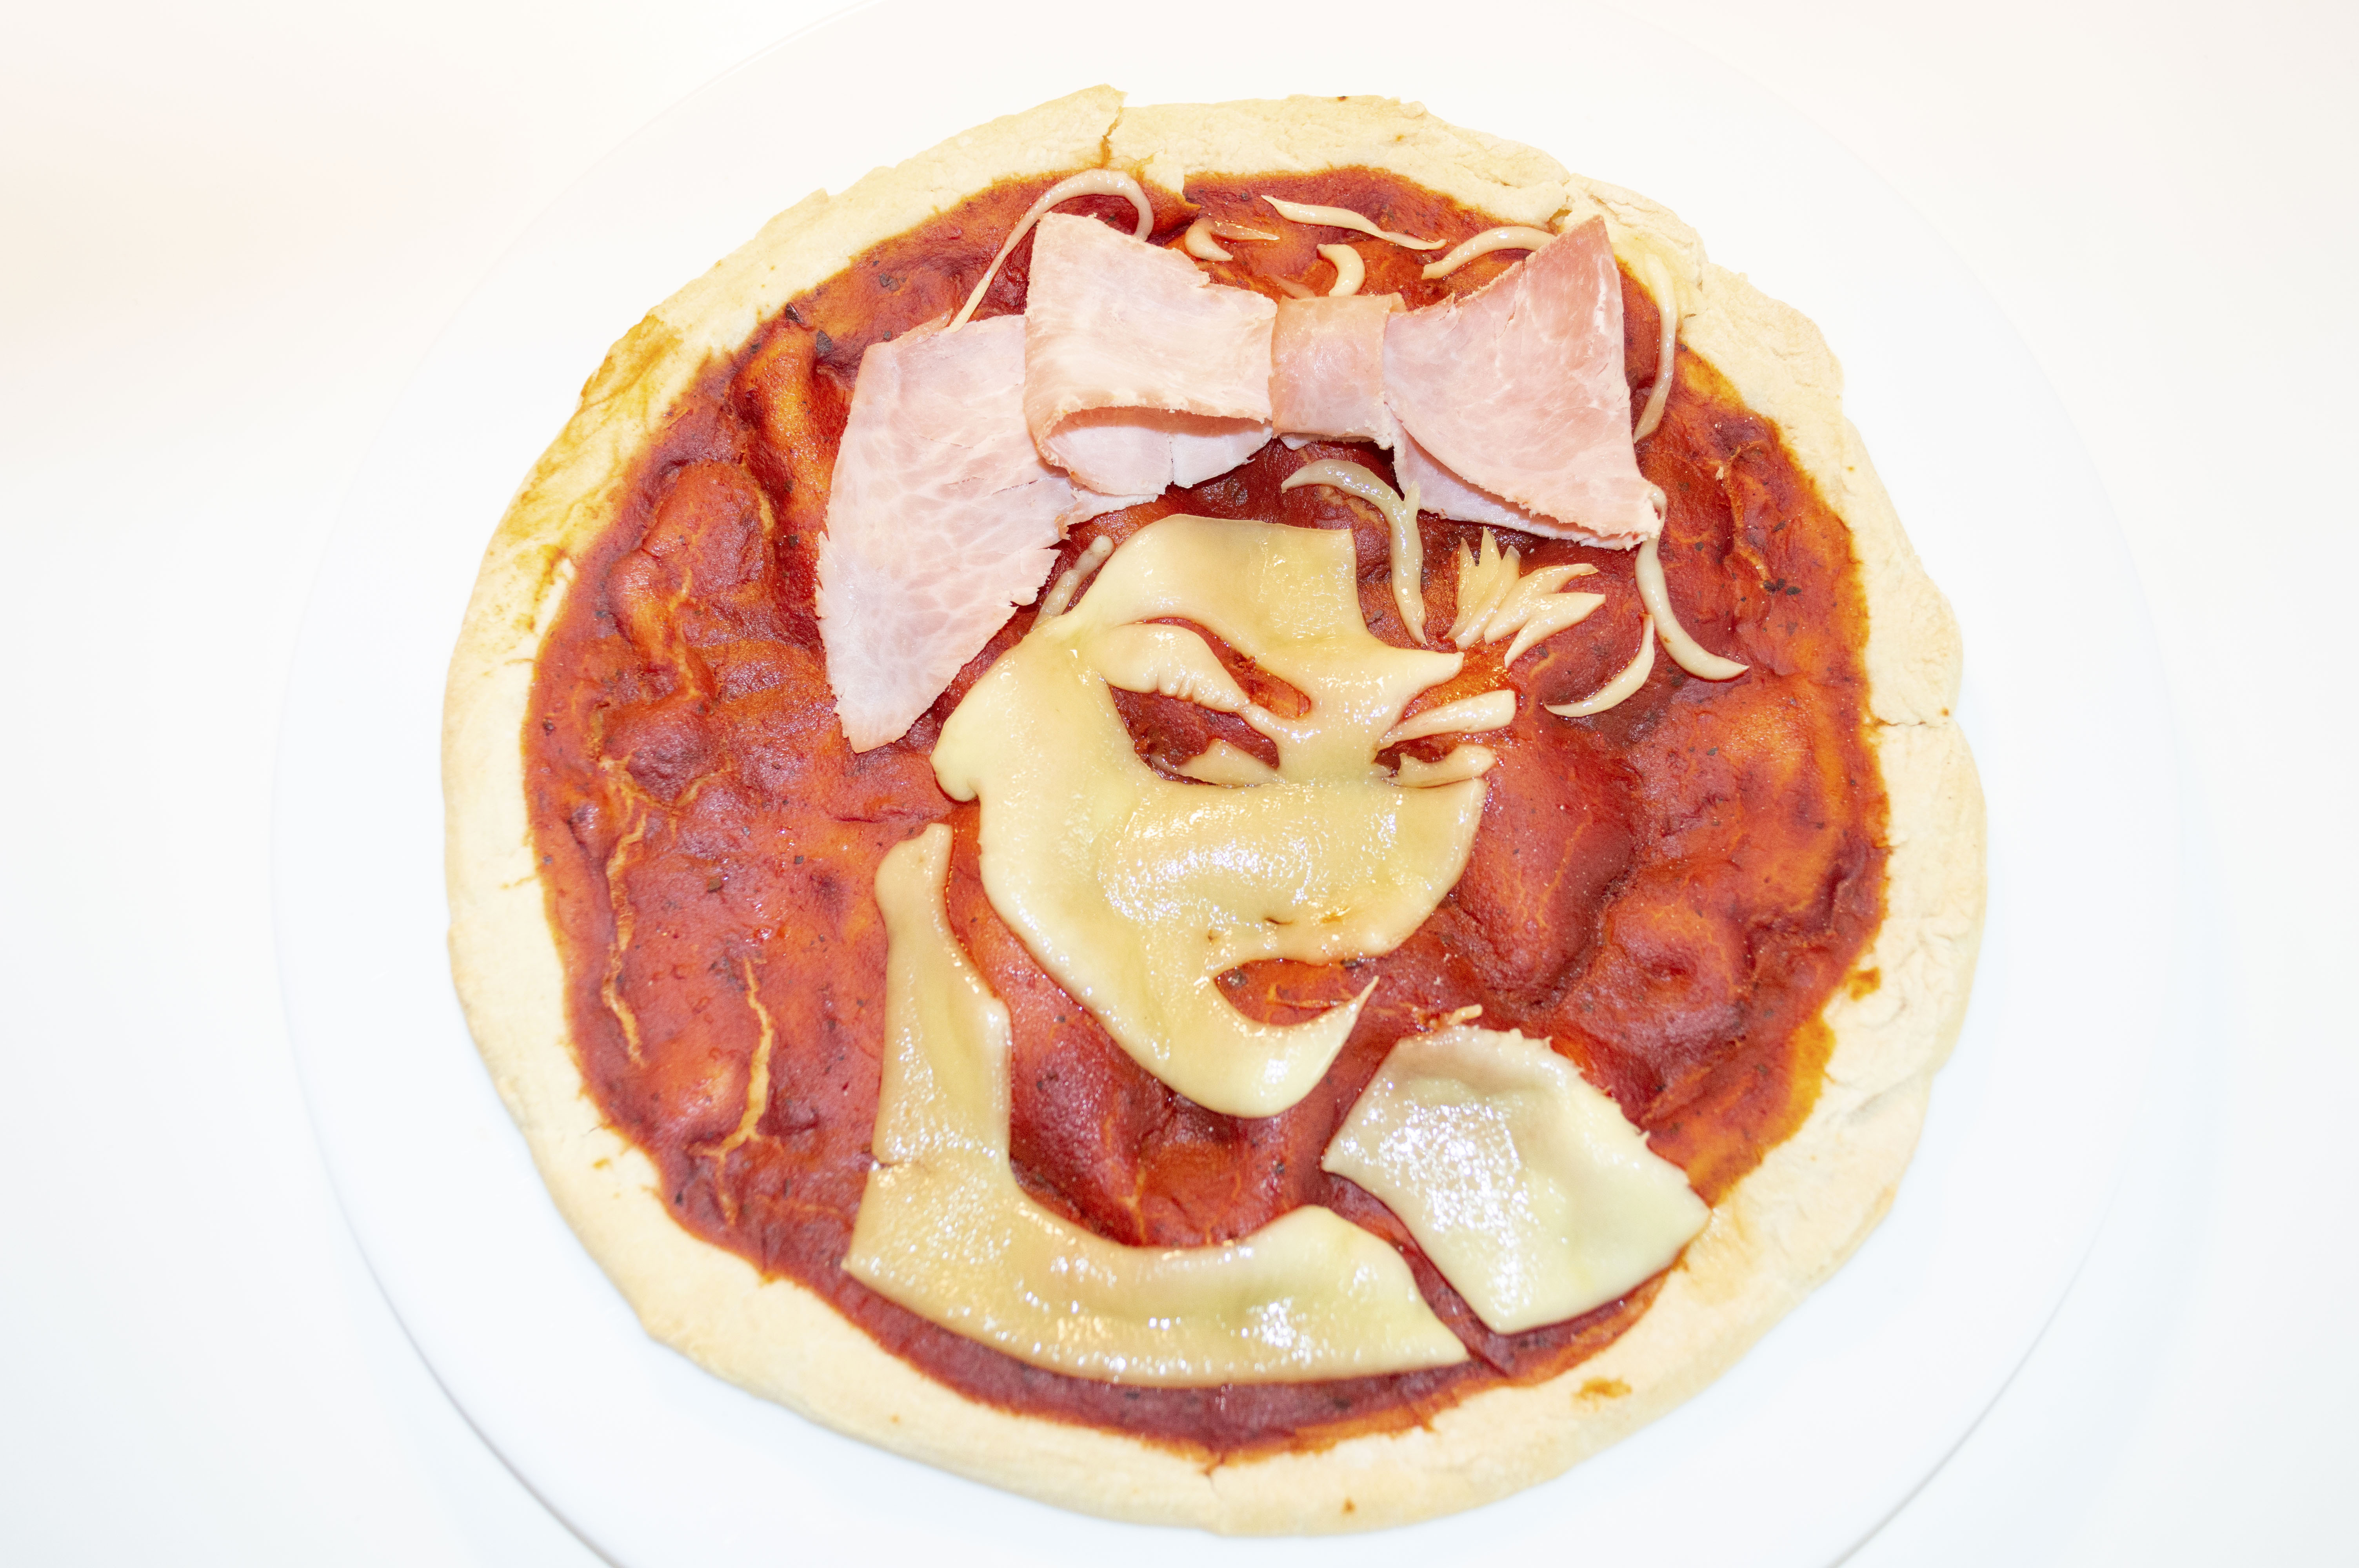
Bake the Pizza !

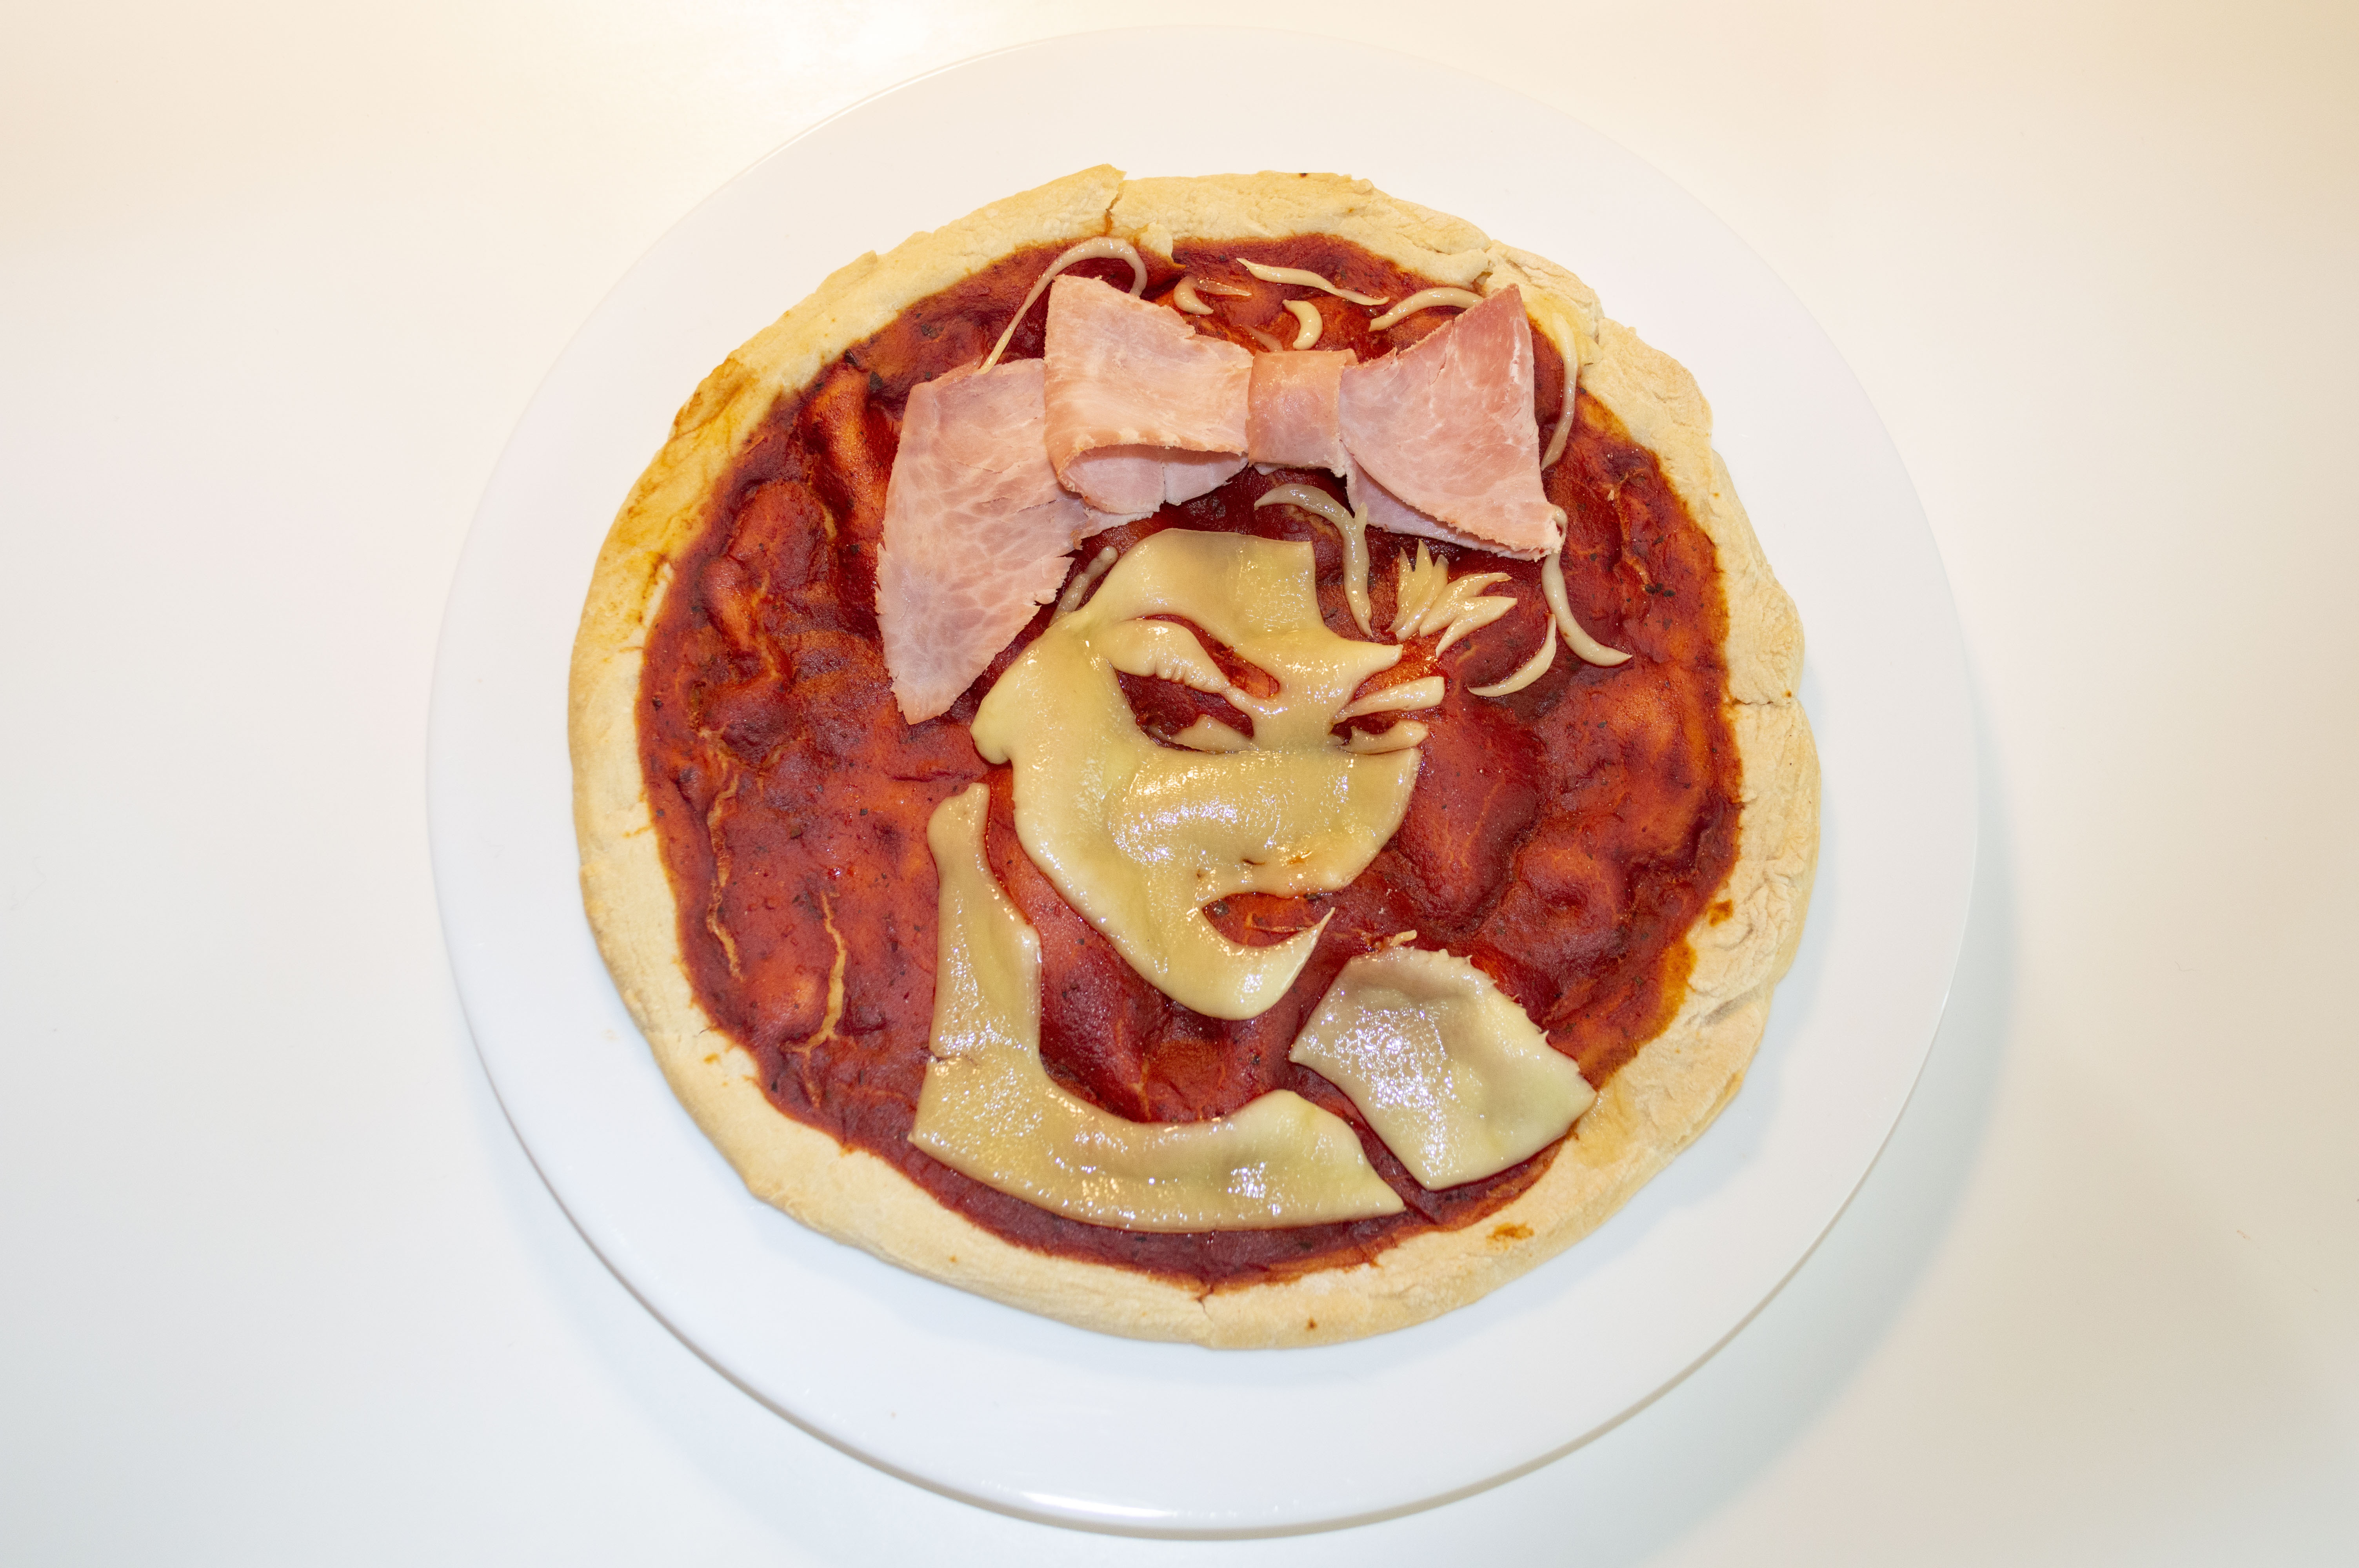
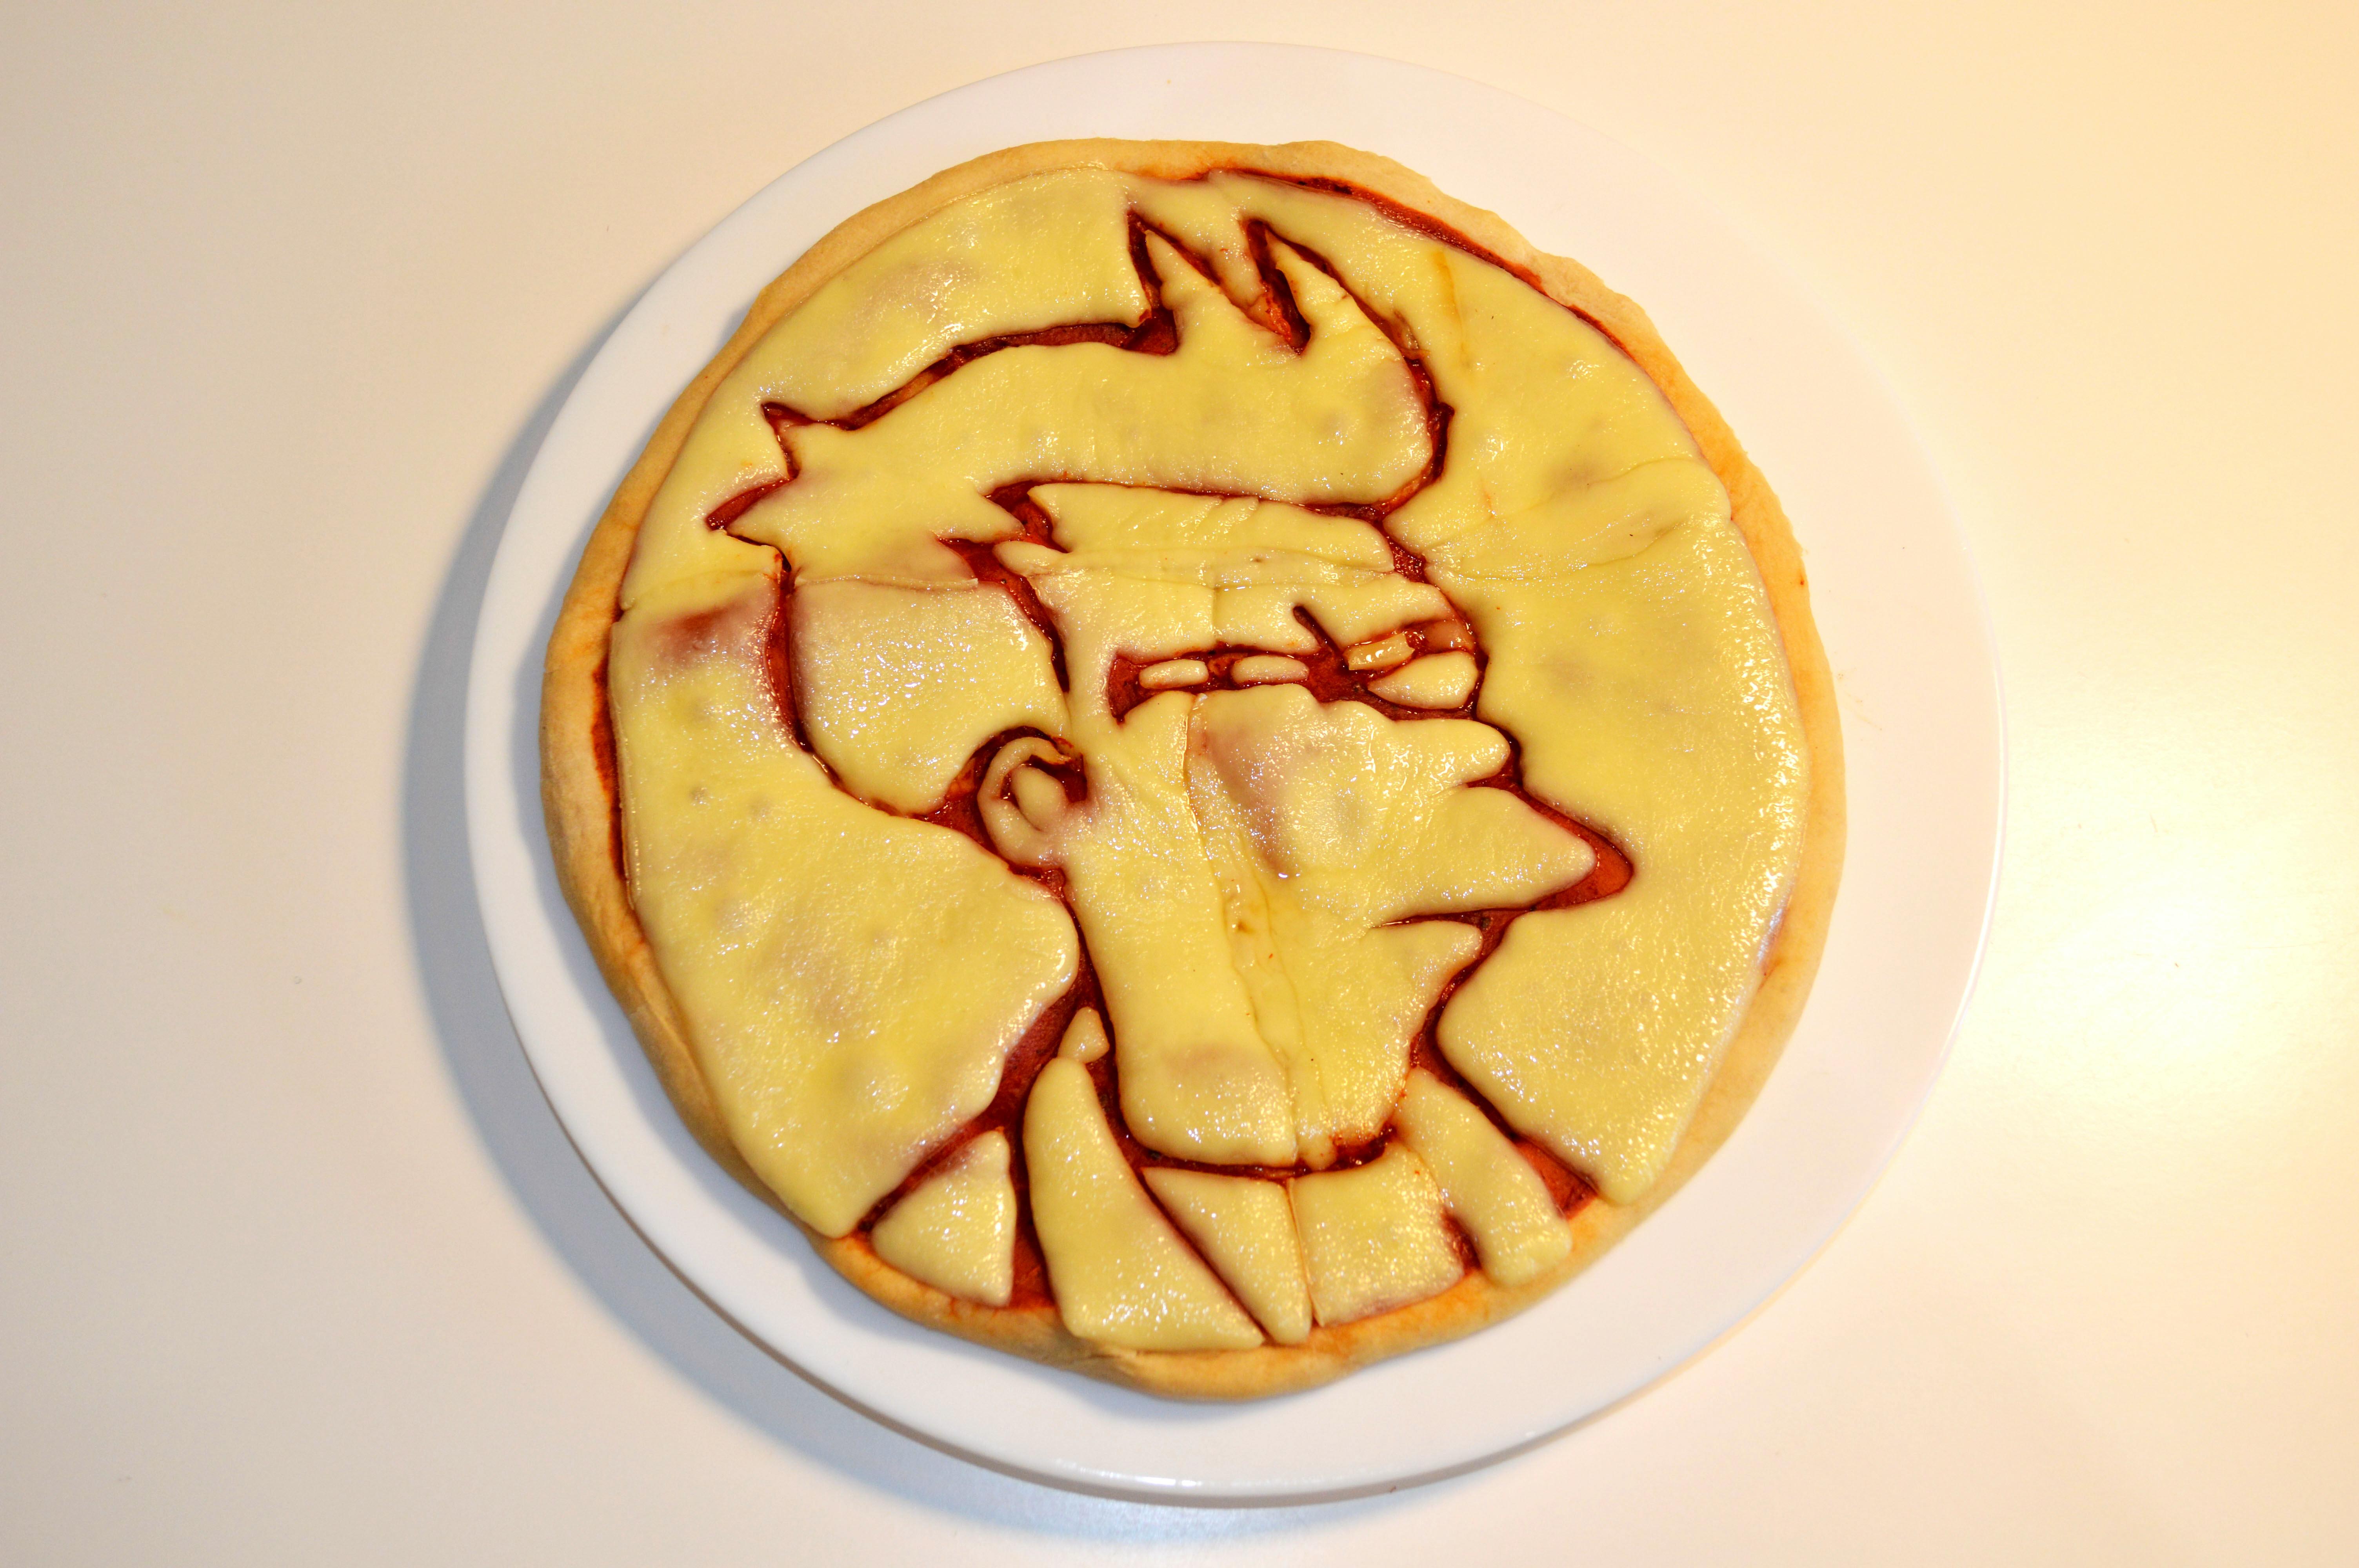

Bake the pizza for 3 min at 200 °C (392 °F).
I hope you enjoyed this tutorial. :)
Have fun making Pizza Portraits !