Make a (NFC-enhanced) Slip Case for Your Phone
by karma-laboratory in Circuits > Mobile
20343 Views, 50 Favorites, 0 Comments
Make a (NFC-enhanced) Slip Case for Your Phone
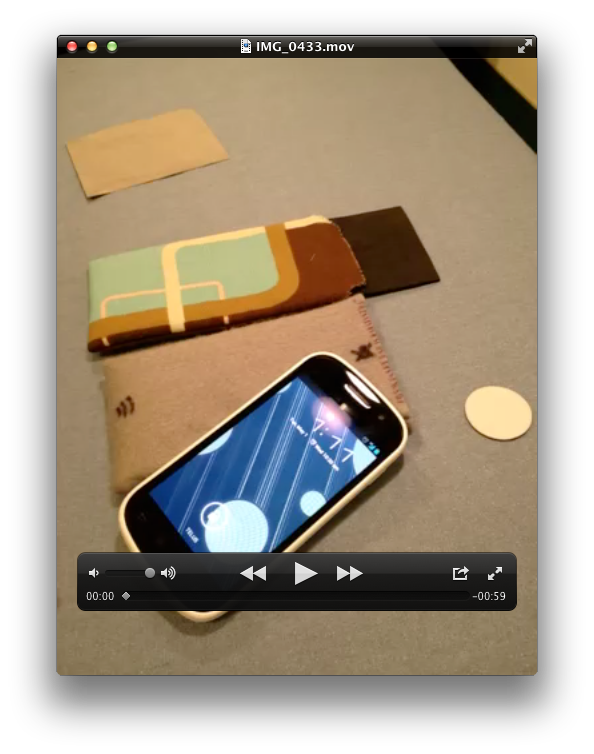
Have an Android phone with NFC capabilities? Make a multi-functional carrying case that automatically puts your ringer on silent, turns it up loud, or creates a Wi-Fi hotspot!
Watch IMG_0433.MOV below for an overview of what it'll look like and what it does.
If you don't have an Android (boo-urns!) then you can still use part of this guide (what you're looking at now) to make a case for ANY phone -- sans NFC tags.
Watch IMG_0433.MOV below for an overview of what it'll look like and what it does.
If you don't have an Android (boo-urns!) then you can still use part of this guide (what you're looking at now) to make a case for ANY phone -- sans NFC tags.
Downloads
Gather Your Materials.
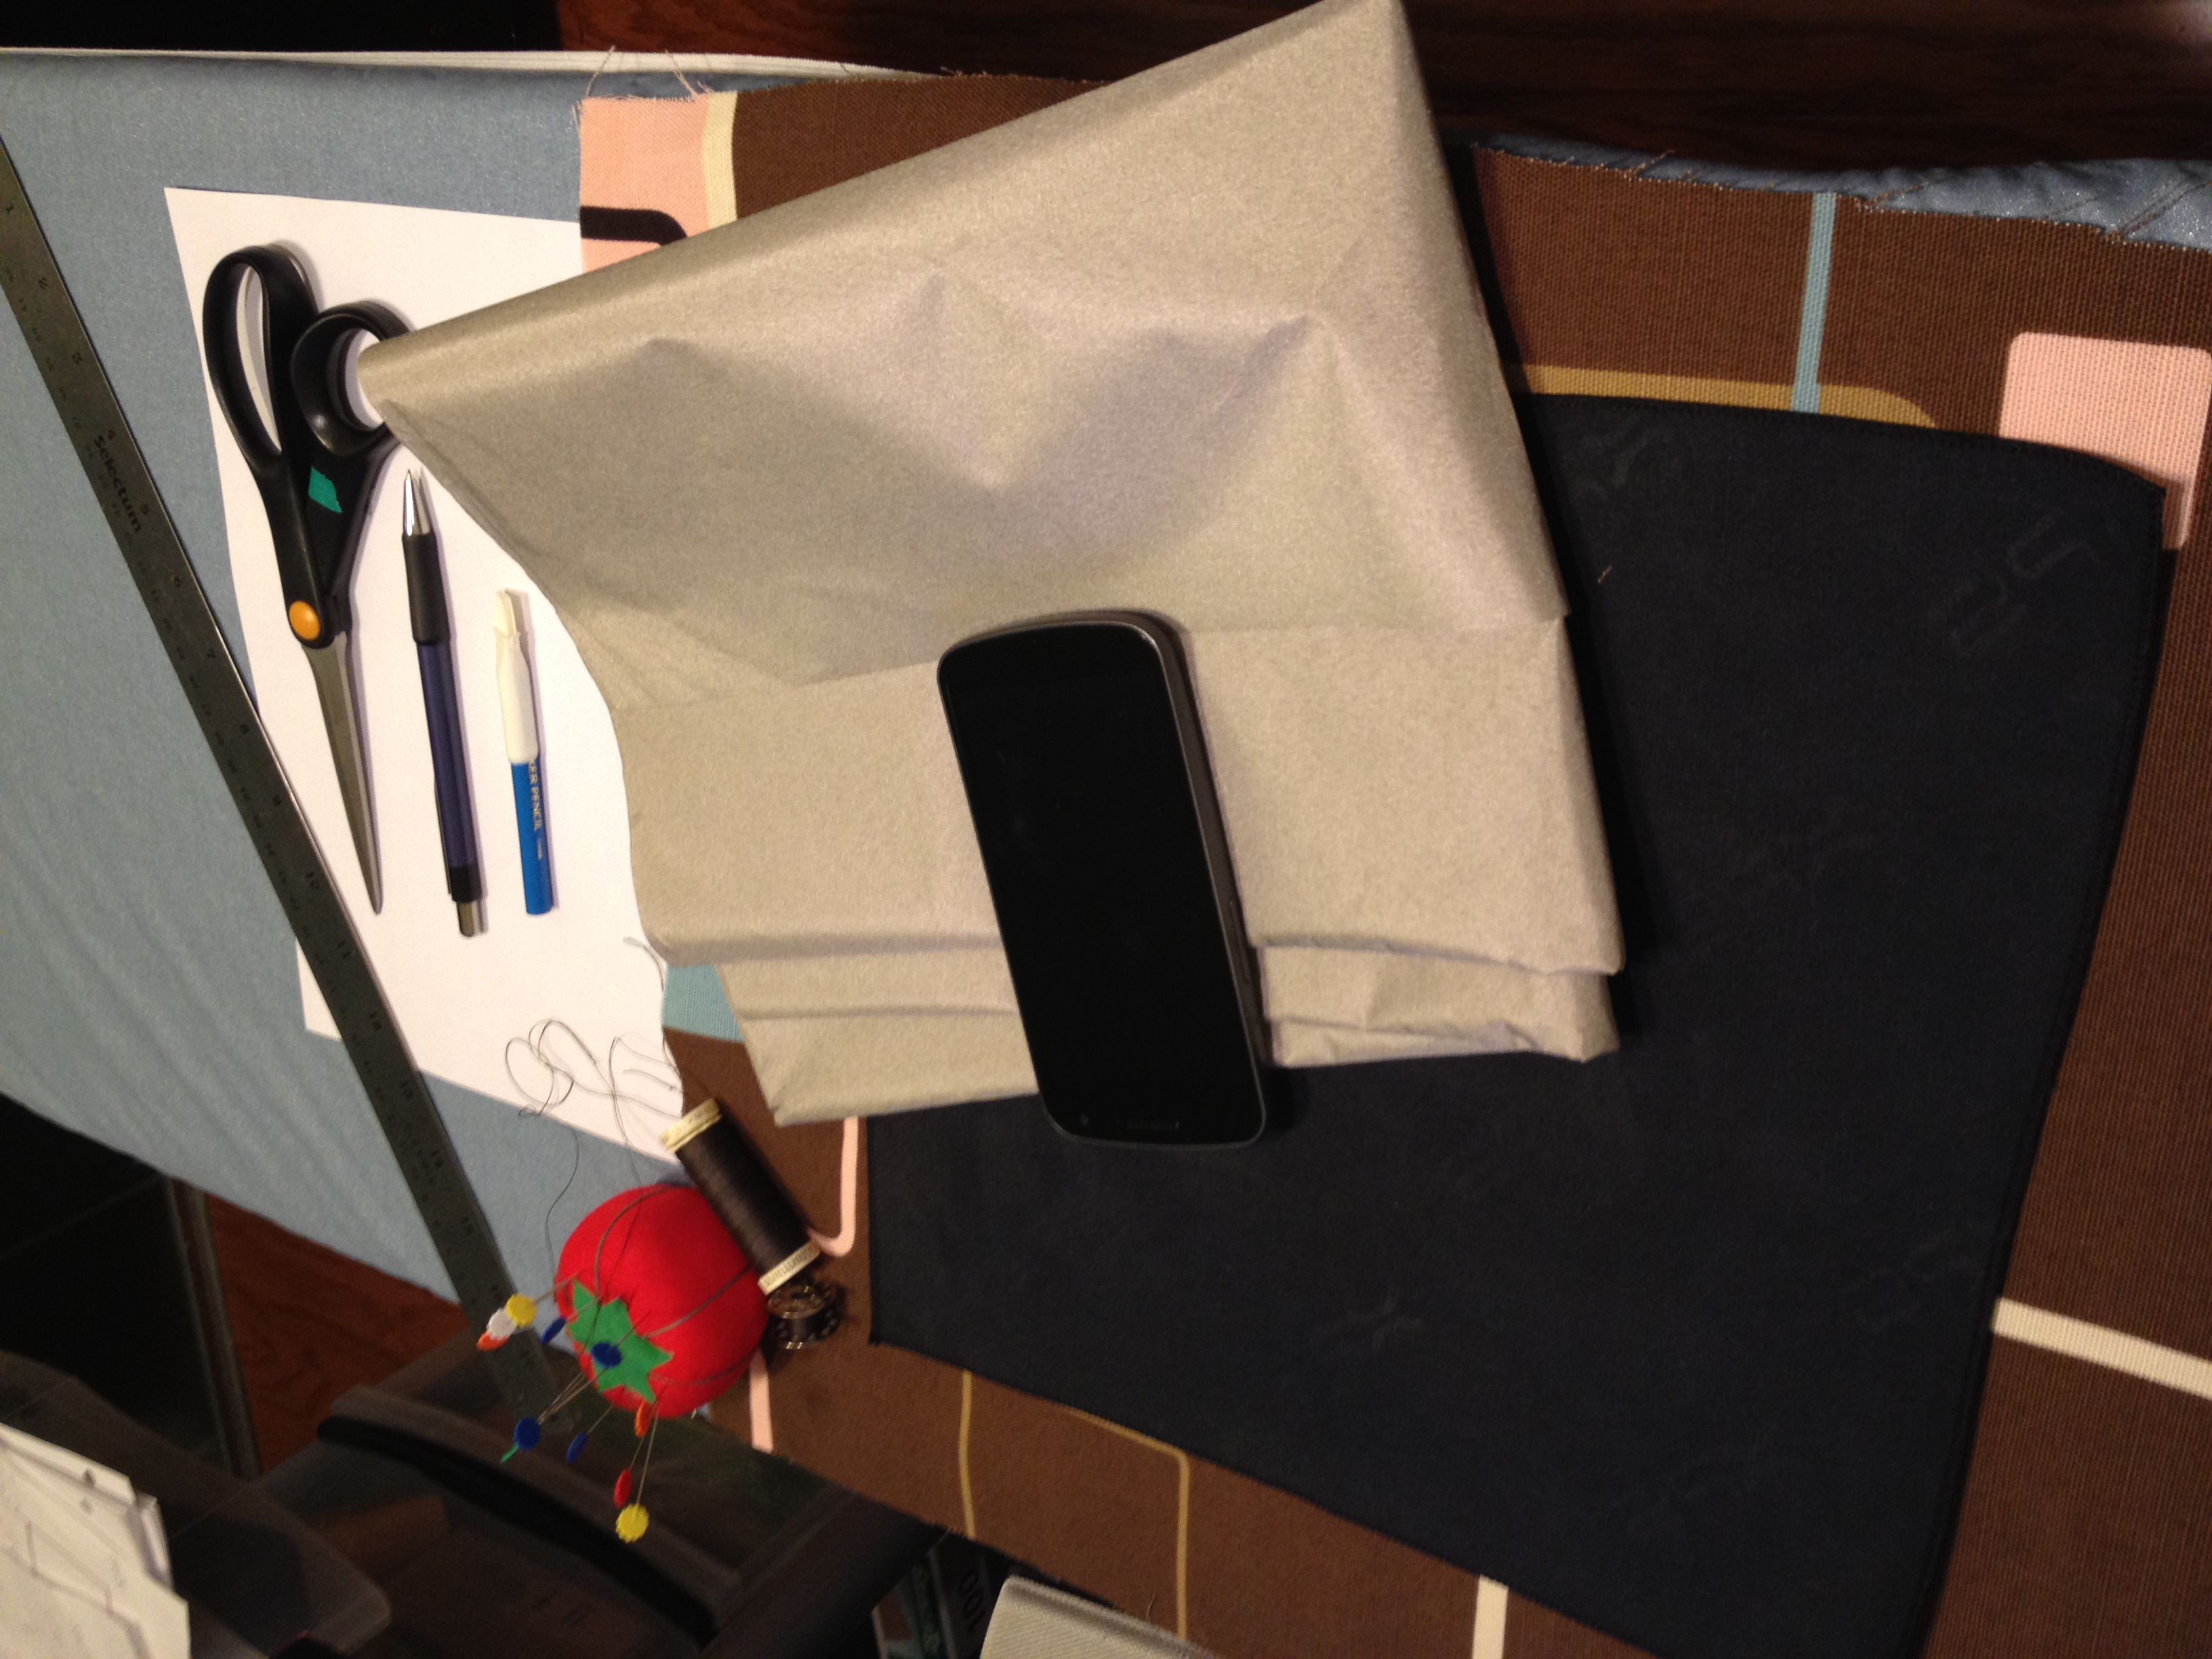
To make the paper sizing template:
* Blank sheet of paper
* Ruler
* Pencil
* Scissors
* Scotch tape or glue
To make the outer part of the case:
* Felt (or some other fabric for the outer part of the case)
* Thread to match felt
* Sewing pins
* Sewing machine (recommend but not required)
To make the inner part of the case:
* Foam sheet
To do the NFC stuff:
* 4 NFC stickers (the anti-metal kind): http://www.tagstand.com/collections/anti-metal-nfc-stickers/products/mifare-ultralight-white-metal-proof-nfc-sticker-circle-30mm-diameter
* Radio frequency blocking fabric: https://www.inventables.com/technologies/metalized-fabric
* Marker
* Hand sewing needle
And, of course, you'll need a phone. (An Android device with NFC support is required to complete the entire project.)
Make a Paper Sizing Template Using Your Phone and a Blank Piece of Paper.
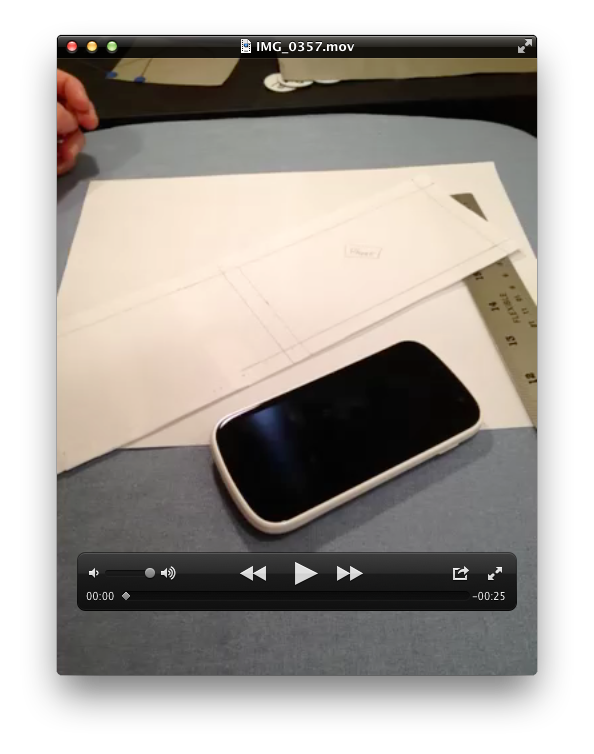
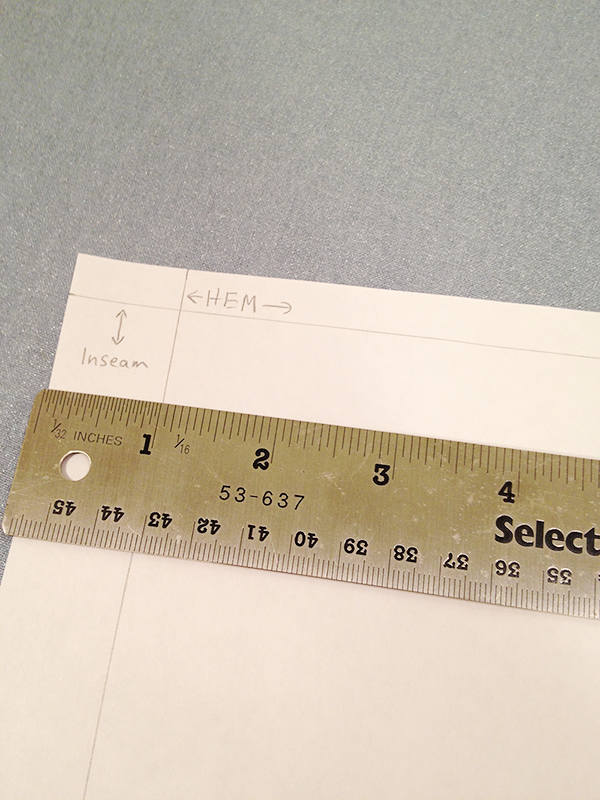
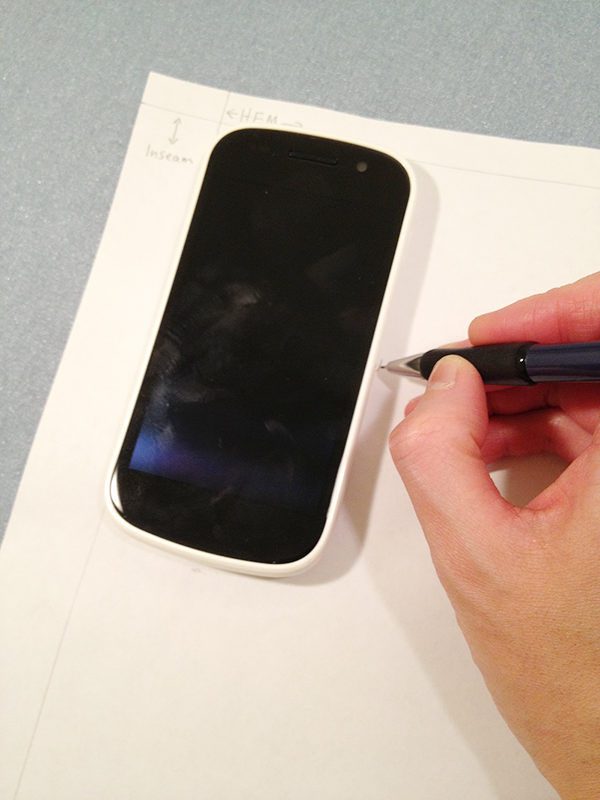
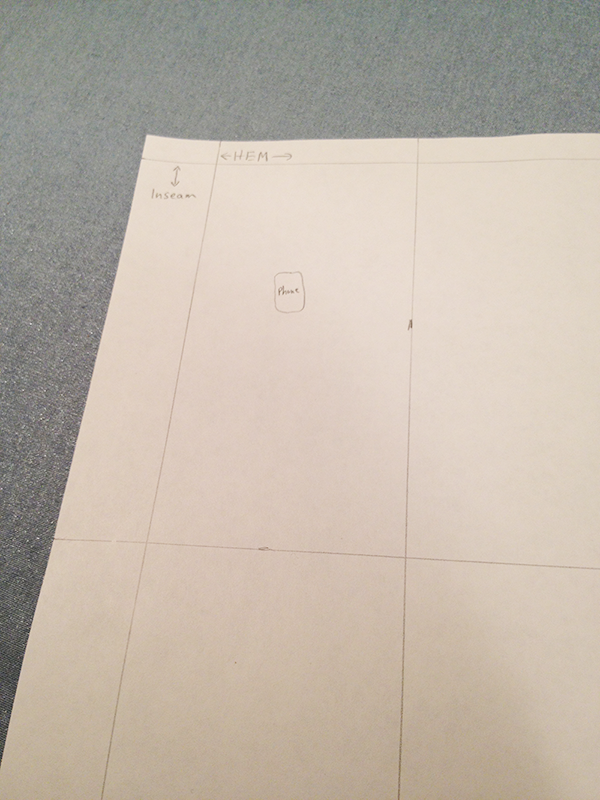
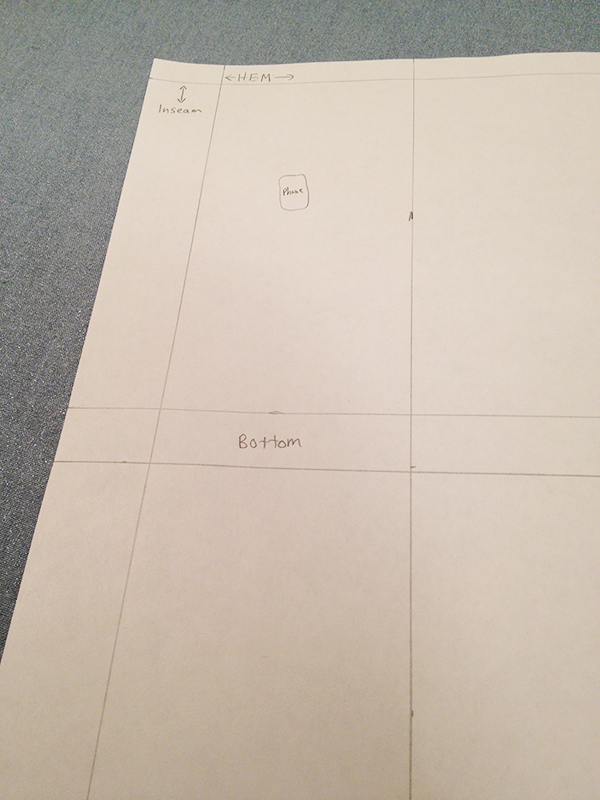
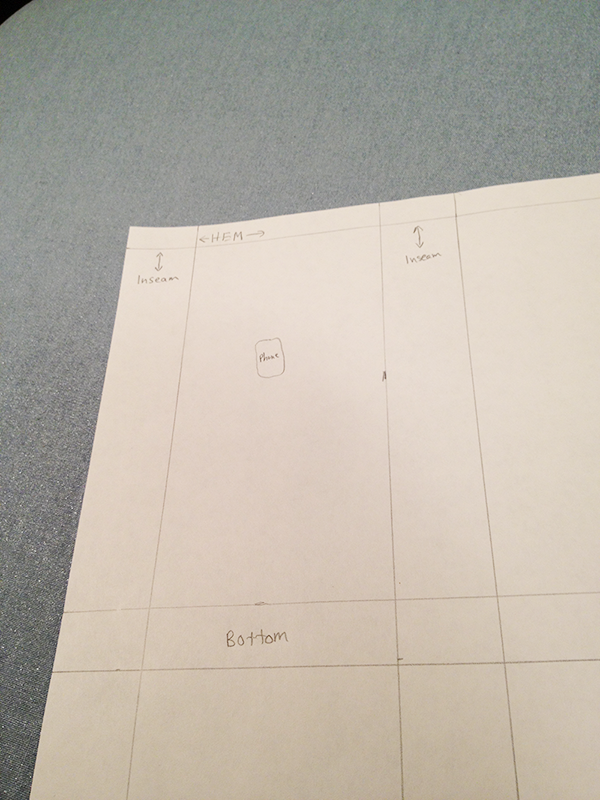
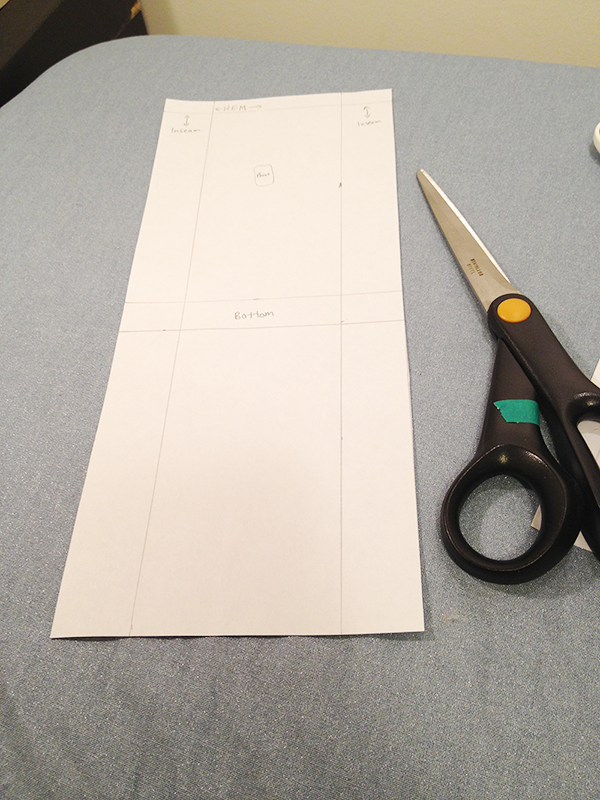
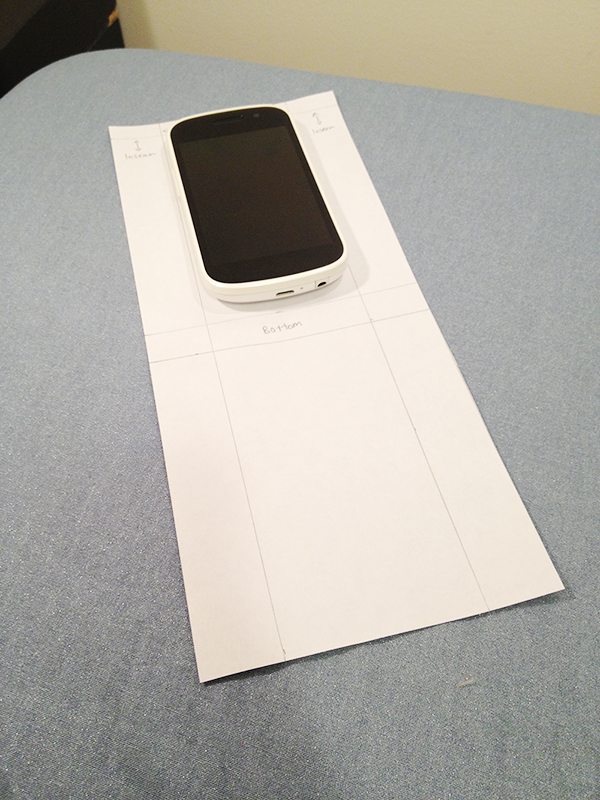
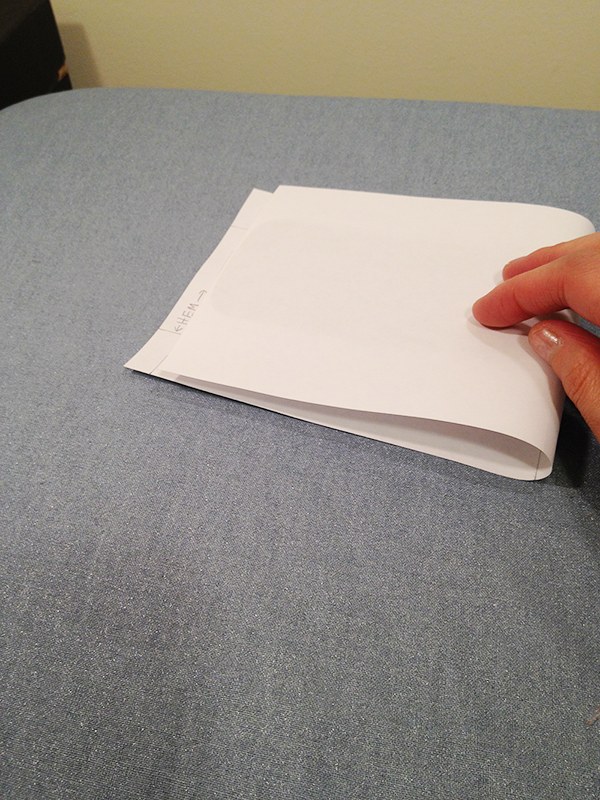
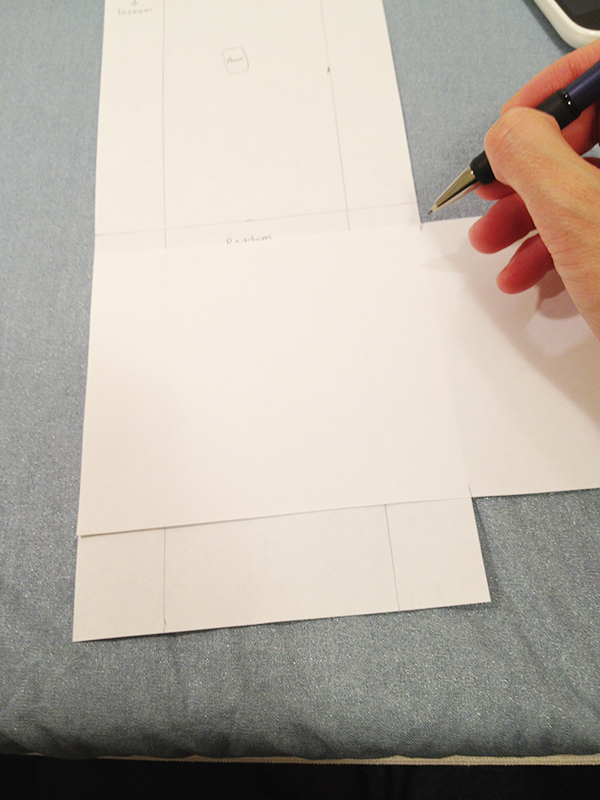
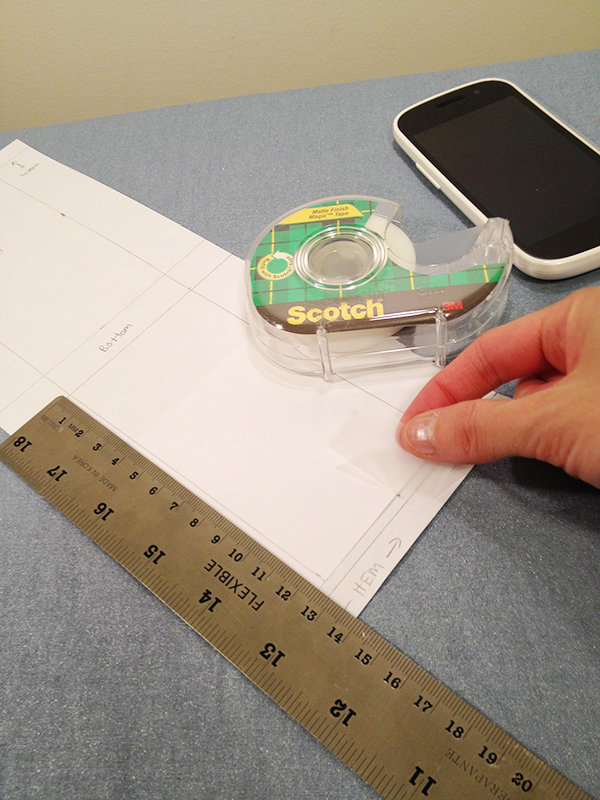
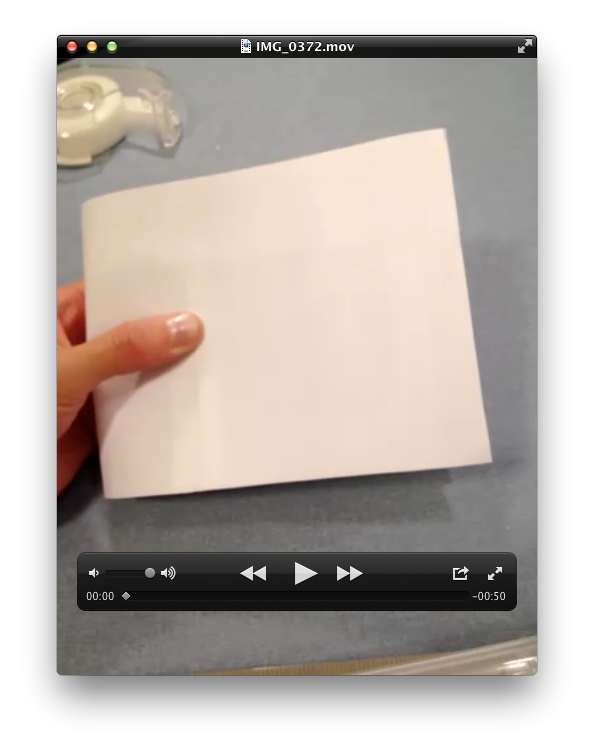
Make a cutting template out of paper. Grab your phone, a blank piece of paper, a ruler, and a pencil/pen.
Watch IMG_0357.MOV for an introduction. Click through the photos for notes. And watch IMG_0372.MOV for a look at the finished template.
Watch IMG_0357.MOV for an introduction. Click through the photos for notes. And watch IMG_0372.MOV for a look at the finished template.
Cut Out the Outer Fabric Using the Template. Fold and Pin.
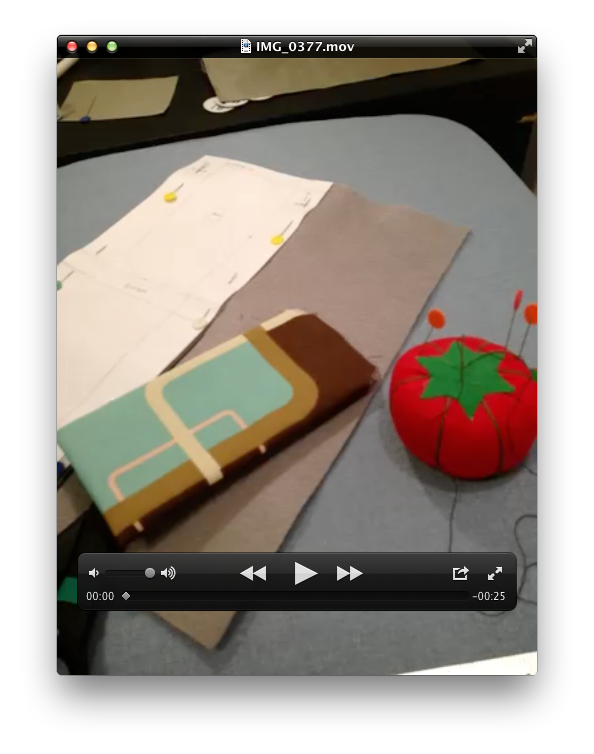
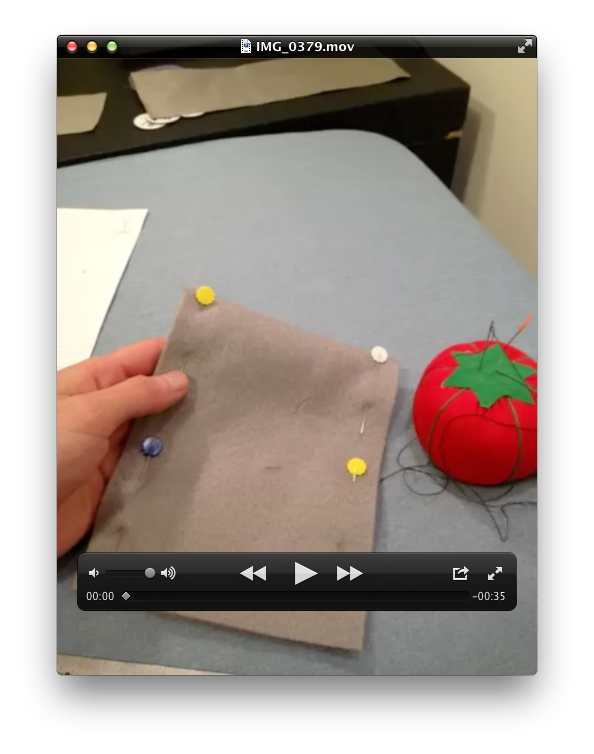
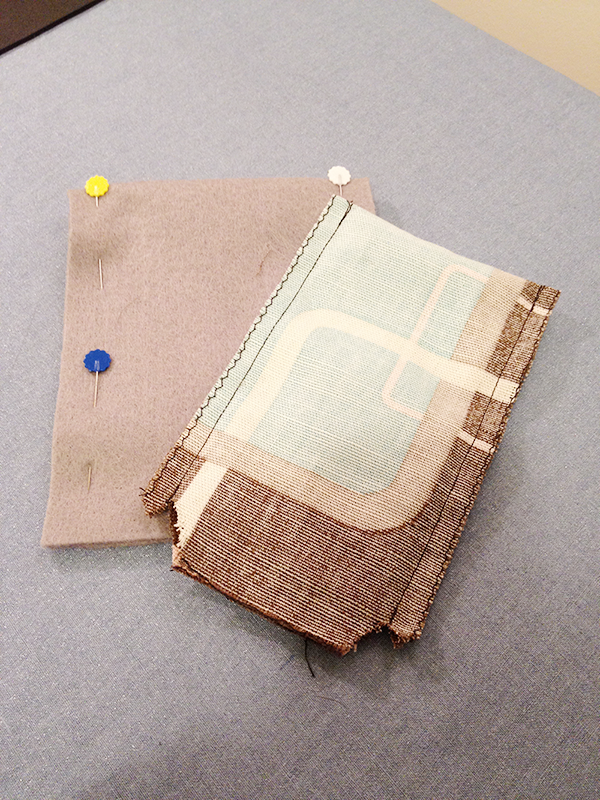
Use the template to cut out the outer layer fabric. I used grey felt here.
Watch IMG_0377.MOV for an intro. And IMG_0379.MOV for the folding/pinning part.
If your fabric has a "right" and a "wrong" way, make sure that you fold the fabric with the right way facing each other because you're going to be sewing the sides and then flipping it inside out.
Watch IMG_0377.MOV for an intro. And IMG_0379.MOV for the folding/pinning part.
If your fabric has a "right" and a "wrong" way, make sure that you fold the fabric with the right way facing each other because you're going to be sewing the sides and then flipping it inside out.
Cut Out Some Thin Foam for the Inside of the Case.
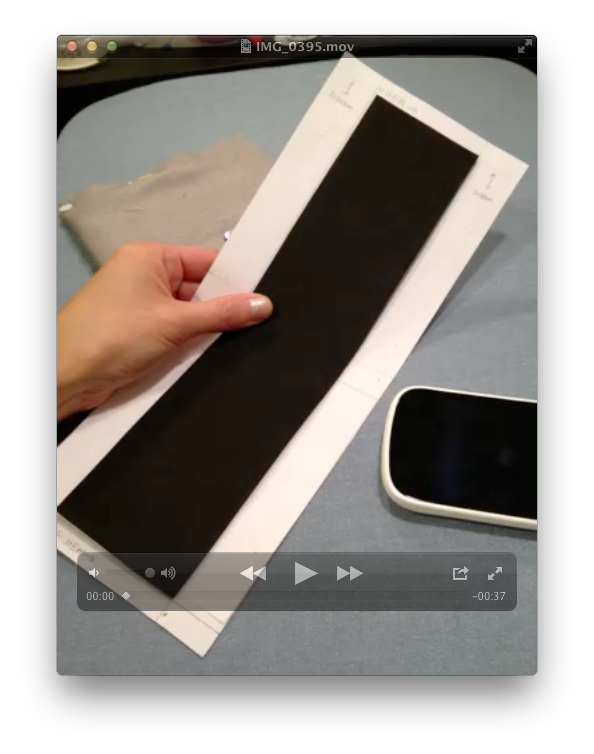
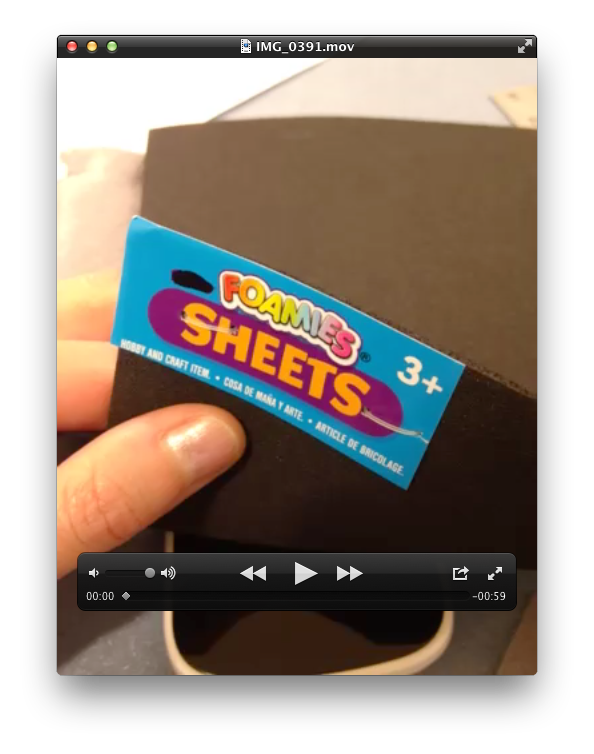
Moving onto the inside layer, cut out the foam but exclude the hem and inseam allowances.
IMG_0391.MOV answers the unasked question, "Why foam?"
IMG_0395.MOV shows how the cut foam will be placed in the outer layer with your phone. Double-check how well your phone and the foam fits into your outer case and re-pin for snugness if necessary.
IMG_0391.MOV answers the unasked question, "Why foam?"
IMG_0395.MOV shows how the cut foam will be placed in the outer layer with your phone. Double-check how well your phone and the foam fits into your outer case and re-pin for snugness if necessary.
Sew Up the Sides of the Outer Layer.
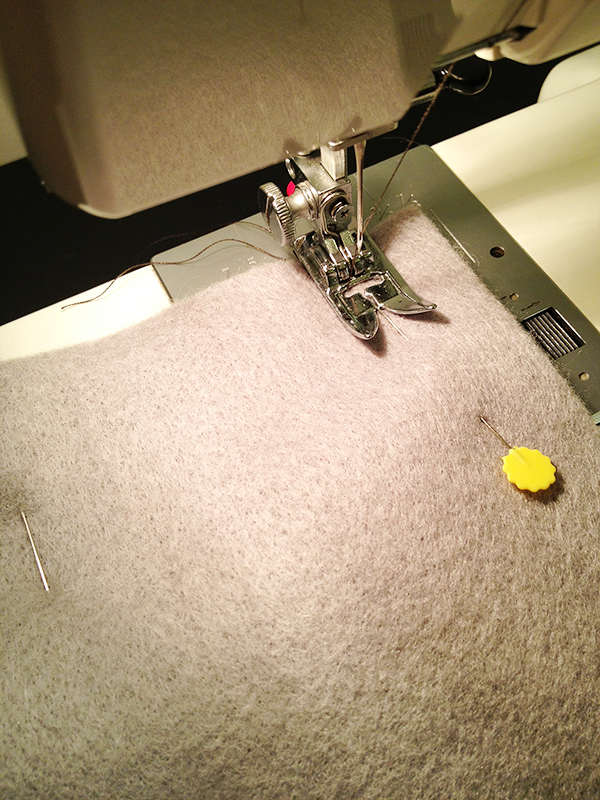
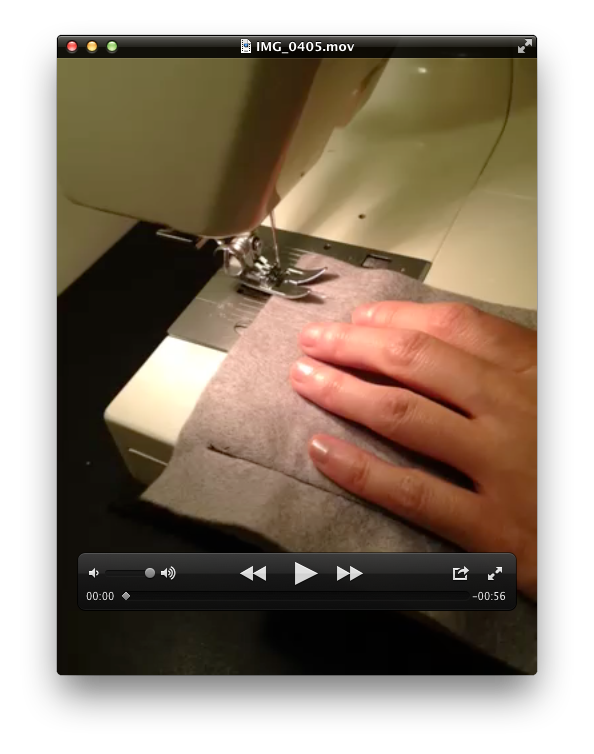
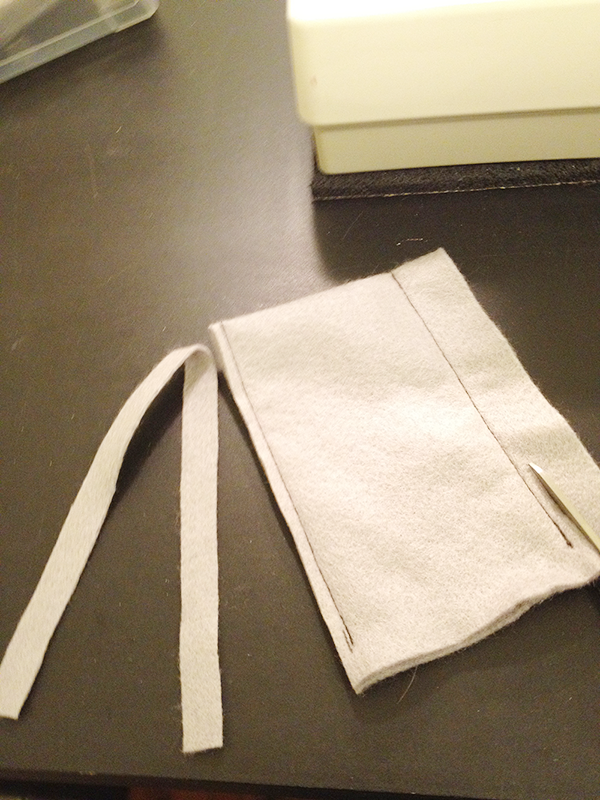
Head over to the sewing machine. If you don't have a sewing machine you could do this by hand.
Sew the inseam but start your stitch 1cm down from the top to allow for the hem to be folded down.
IMG_0405.MOV is a video version of the photo.
When you're done sewing, trim off the excess fabric in the inseam but don't get in too close to the stitch -- make sure there's a little bit of breathing room.
Downloads
Flip Fabric Inside Out and Re-insert Foam.
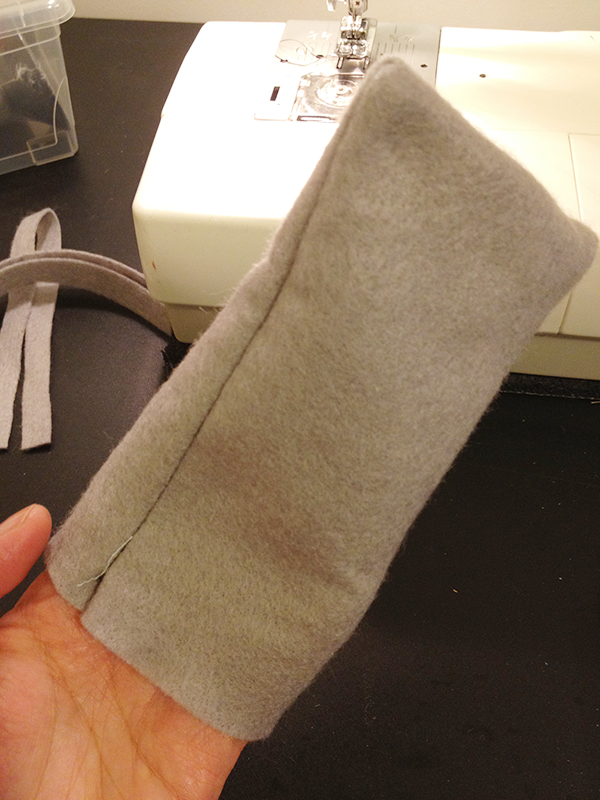
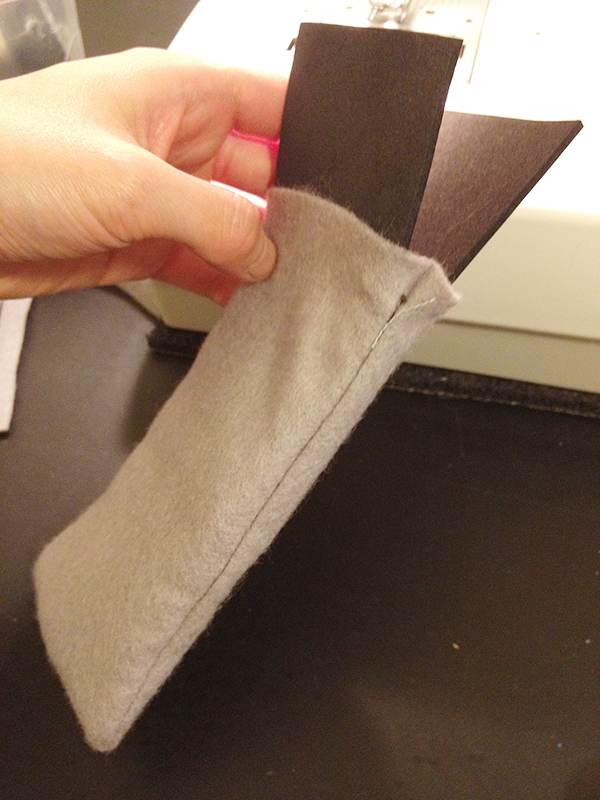
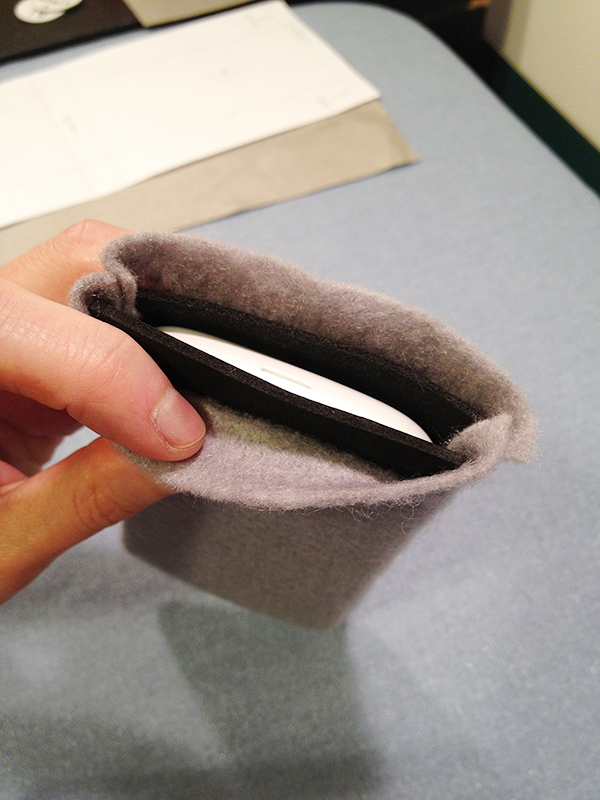
Flip the fabric right-side out and put the foam back in.
Then re-insert your phone. Ta da! It fits!
Then re-insert your phone. Ta da! It fits!
Program the NFC Tags.
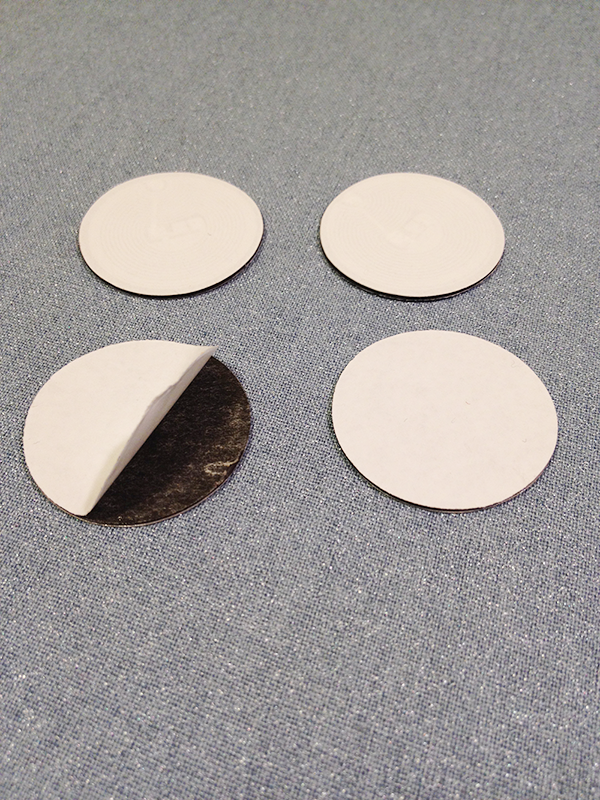
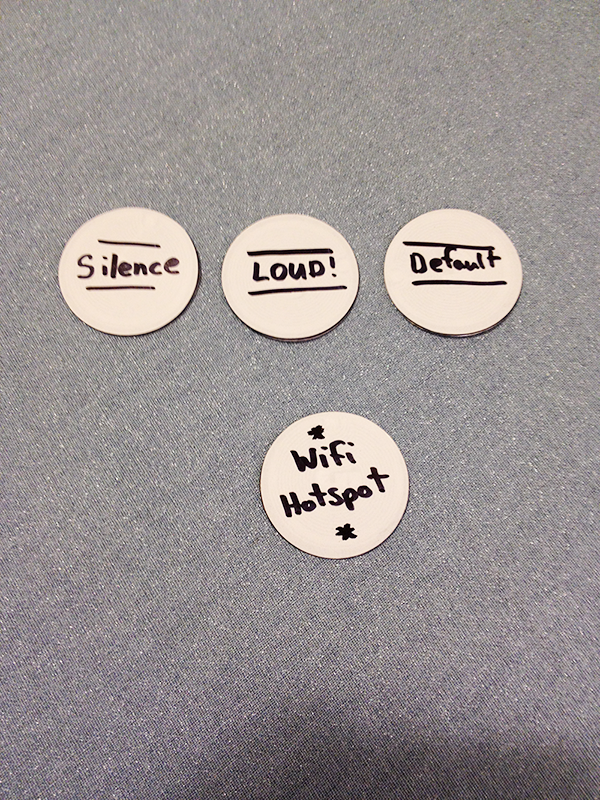
These are "anti-metal NFC stickers" purchased from tagstand.com: http://www.tagstand.com/collections/anti-metal-nfc-stickers/products/mifare-ultralight-white-metal-proof-nfc-sticker-circle-30mm-diameter
Because they are going to be placed onto a special radio frequency (RF) blocking fabric, we need the extra isolation that the anti-metal NFC tag offers.
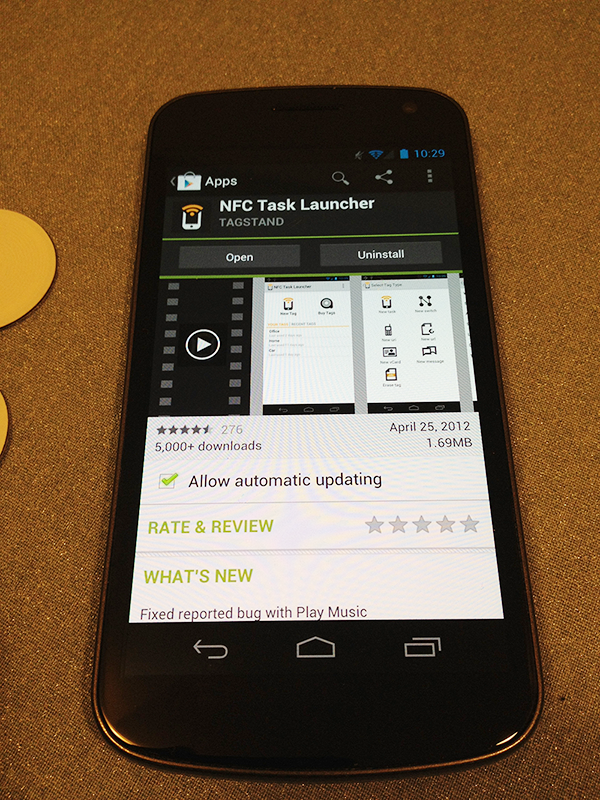
Download an app called "NFC Task Launcher" also by Tagstand from Google Play (aka Android Market, https://play.google.com/store/apps/details?id=com.jwsoft.nfcactionlauncher). It lets you save tasks to your NFC sticker so when it's scanned, it just does it automagically!
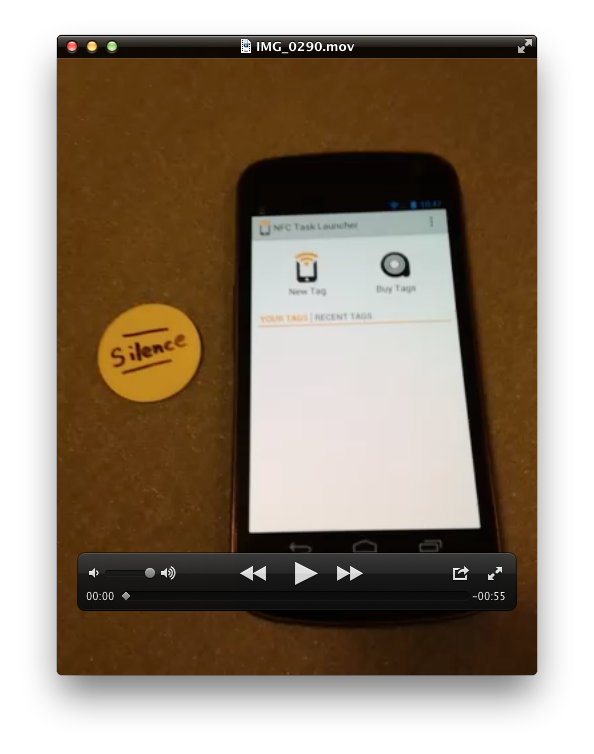
Watch IMG_0290.MOV on how to make an NFC tag for those times you need to be very quiet like during class, a meeting, or at the movies.
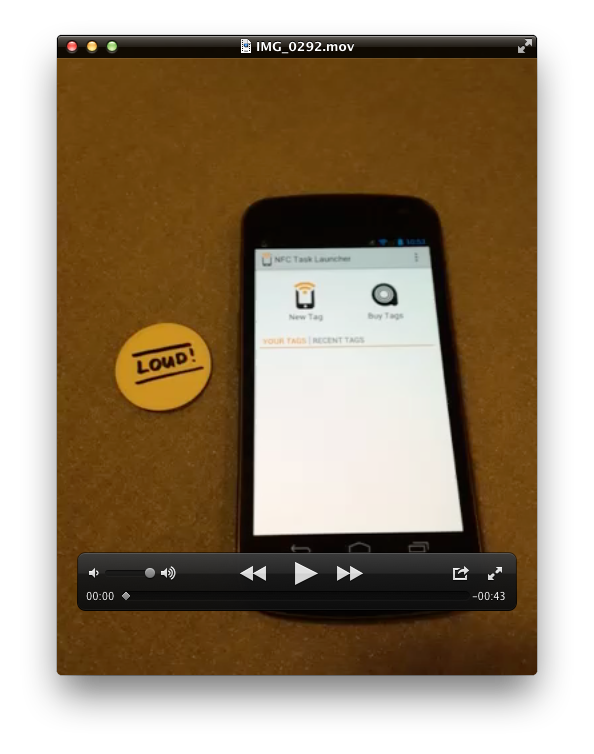
Watch IMG_0292.MOV on how to make an NFC tag for those times you have a hard time hearing your phone like at a party, or when your phone is at the bottom of your purse.
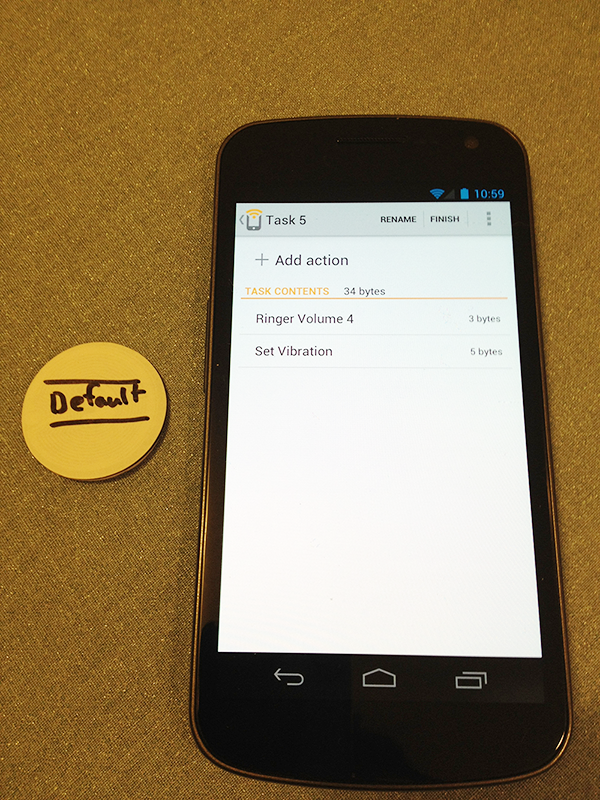
Repeat for "default" but use settings for how you typically would like to hear your phone ring/vibrate, outside of the case. Say you sit down at a cafe and want to see your screen; pull it out and rest it on top.
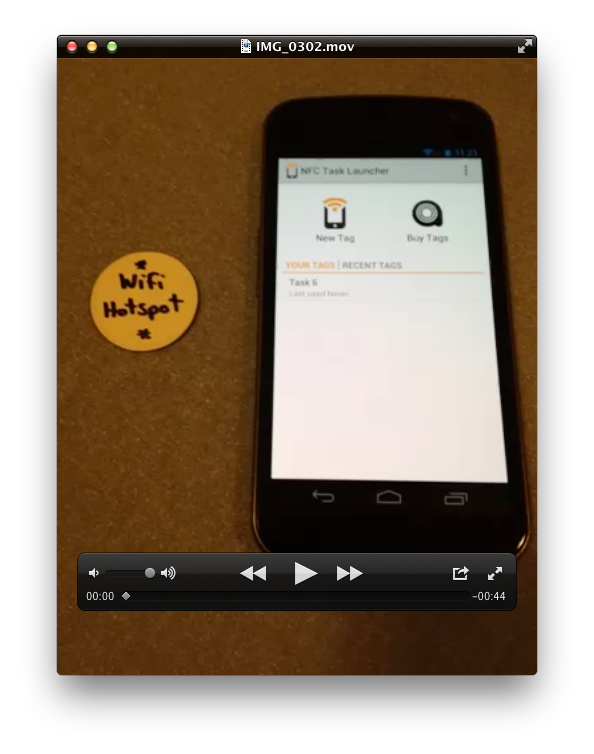
Watch IMG_0302.MOV on how to make a 4th tag for turning on a wifi hotspot, or leave this tag for another day.
Special Sauce: Radio Frequency (RF) Blocking Fabric
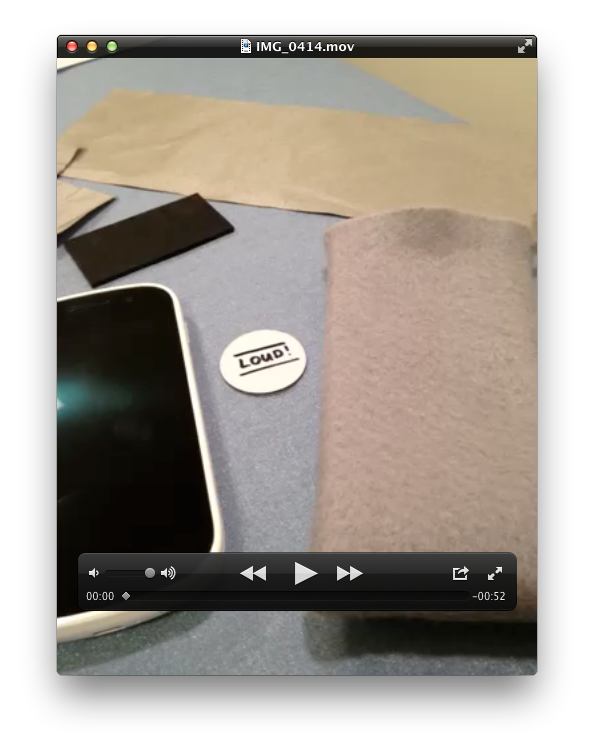
Watch IMG_0414.MOV so I can introduce you to this cool fabric that blocks radio waves. But only the radio waves of NFC chips. Science FTW!
I got this fabric from inventables.com: https://www.inventables.com/technologies/metalized-fabric
I got this fabric from inventables.com: https://www.inventables.com/technologies/metalized-fabric
Downloads
Place the Tags Onto the RF Blocking Fabric.
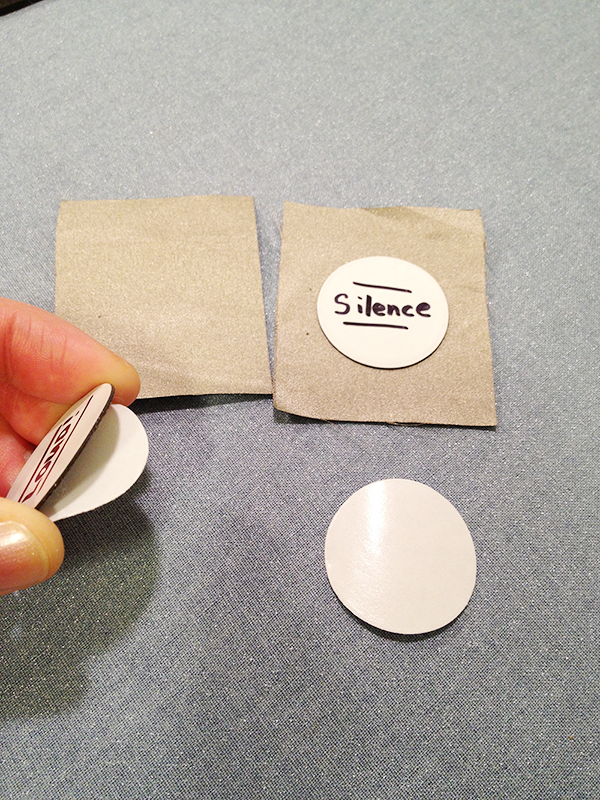
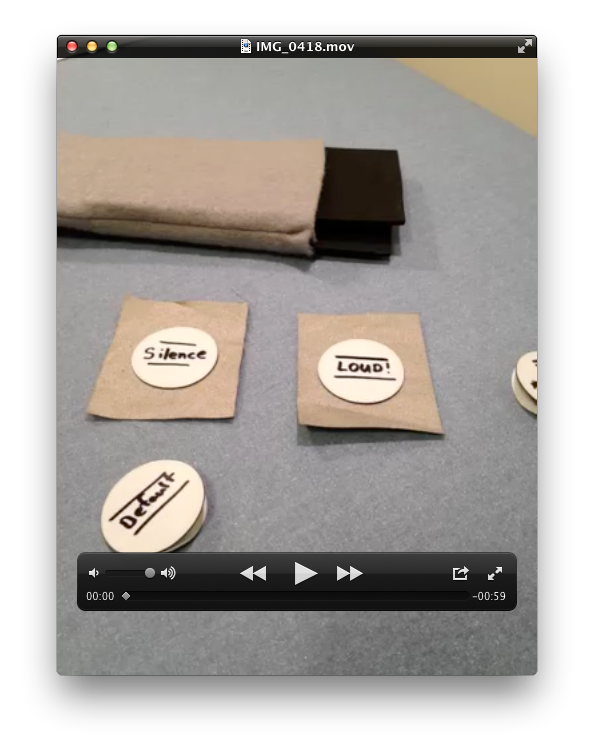
Cut out 2 small squares of this fabric.
Take your "quiet" NFC tag and peel off the sticker backing and place it onto one piece of fabric. Put "loud" onto the other.
Stick the 2 other tags to the other side of the fabric pieces.
Watch IMG_0418.MOV for how everything so far will fit together.
Take your "quiet" NFC tag and peel off the sticker backing and place it onto one piece of fabric. Put "loud" onto the other.
Stick the 2 other tags to the other side of the fabric pieces.
Watch IMG_0418.MOV for how everything so far will fit together.
Downloads
Sew the RF Fabric + Tags Onto the Foam.
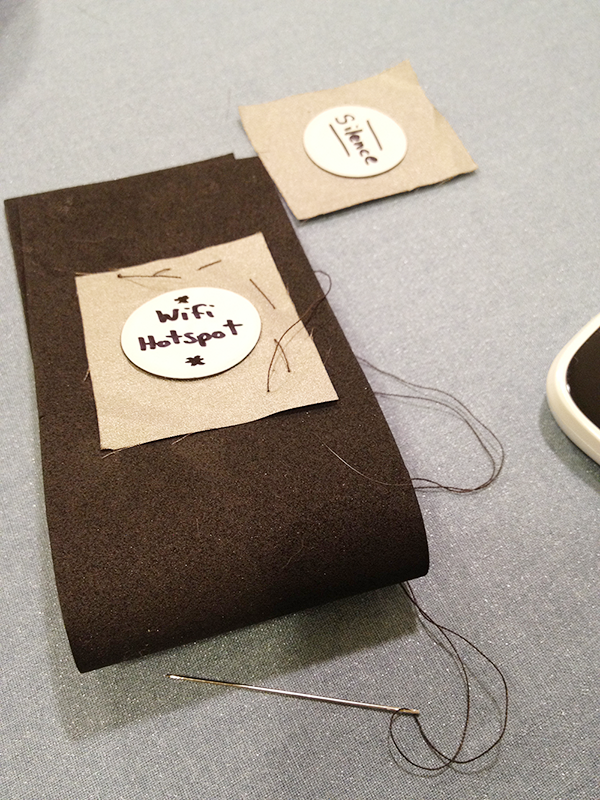
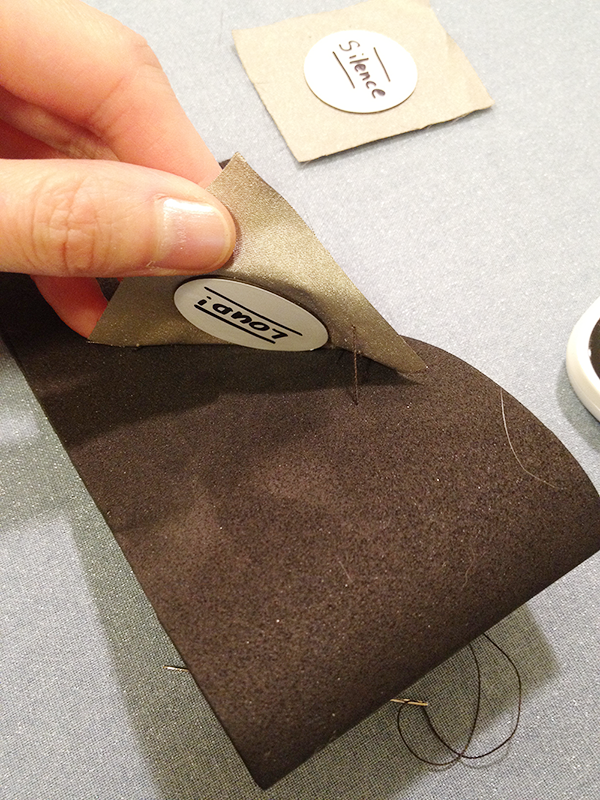
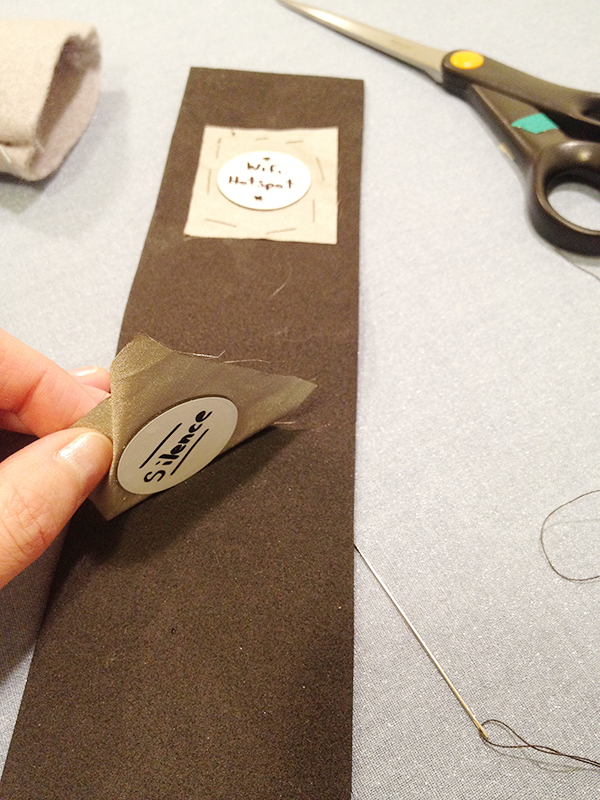
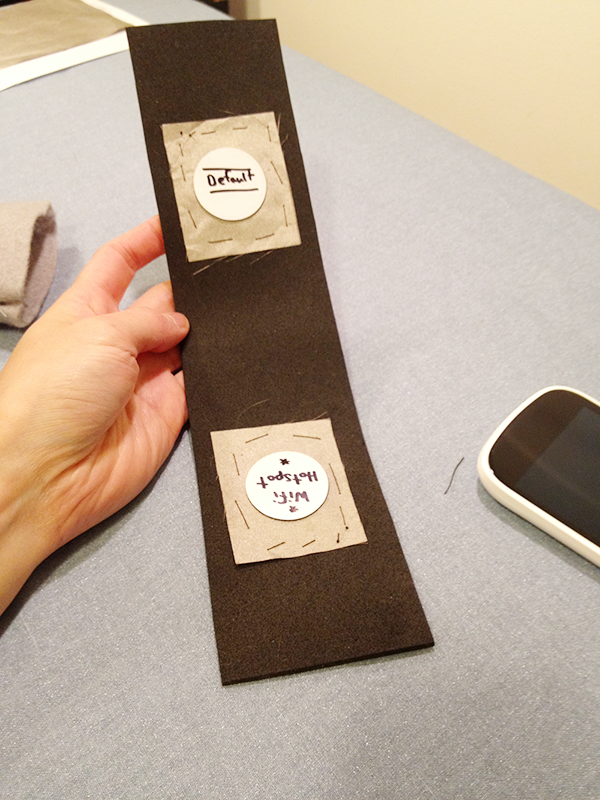
Take the foam out of the felt and sew the loud/wifi patch to the foam. It's important that the loud side is facing inwards!!
Repeat for the silence/default patch and make sure "silence" is facing inwards.
No one is going to see the stitching so it's okay if you're a bit sloppy. :) Just make sure it's in there securely.
When you're done, put it back into the outer felt layer.
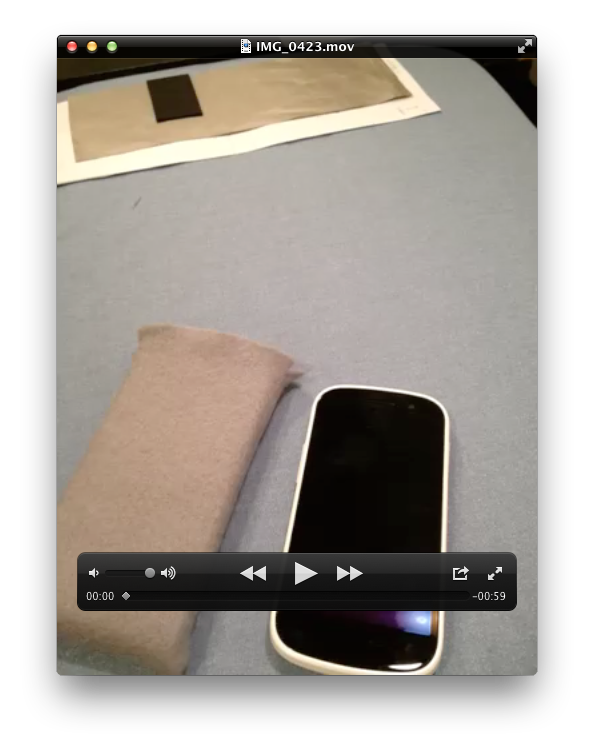
Watch IMG_0423.MOV to see it 90% assembled and the case in action!
This is a also a good time to mark the sides of the case with icons or decals so you know which side is which!
Downloads
Last Step! Clean Up the Opening Hem.
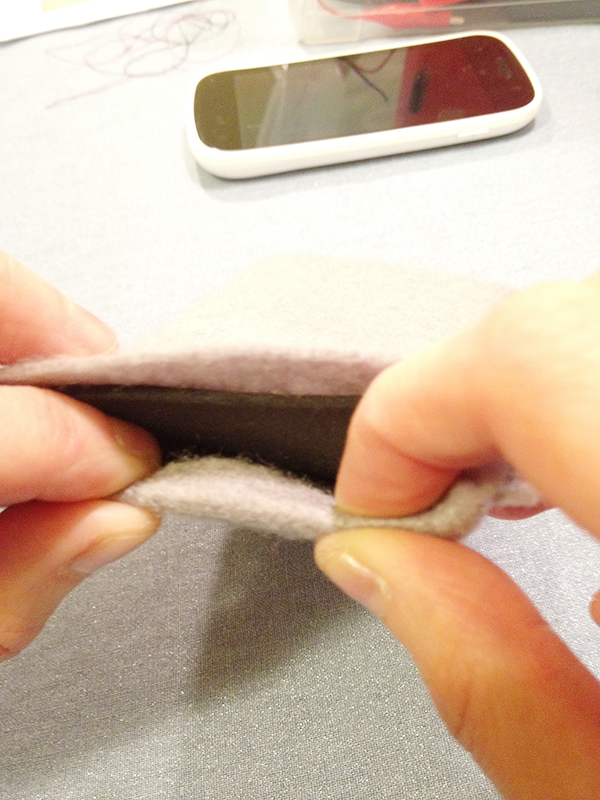
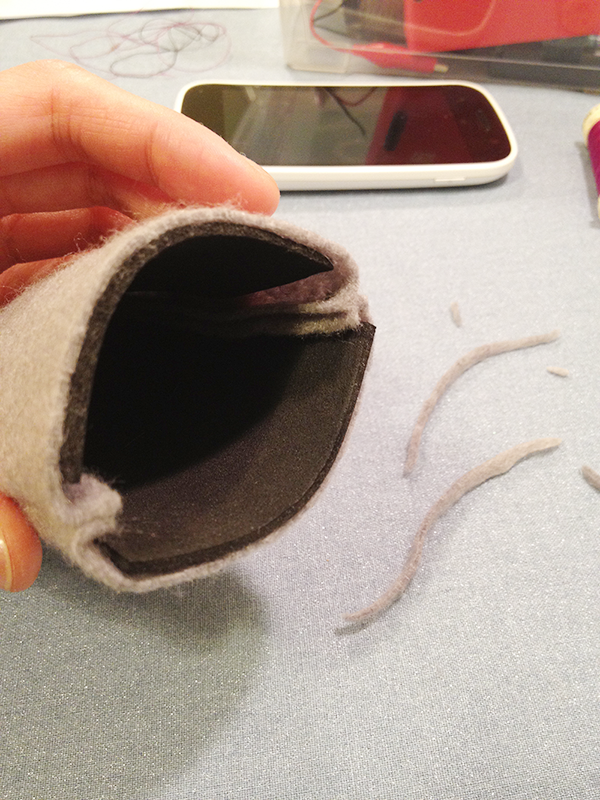
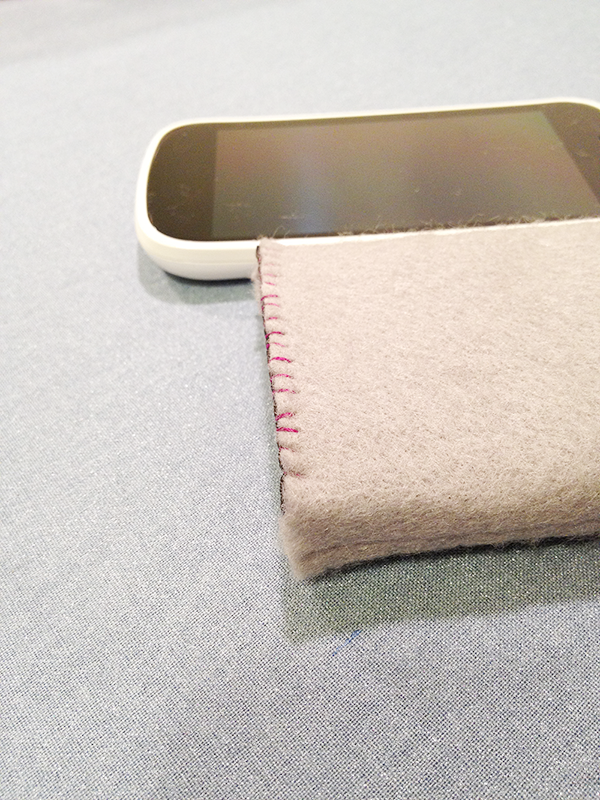
You can now fold the felt over the foam and hand sew to make a clean hem.
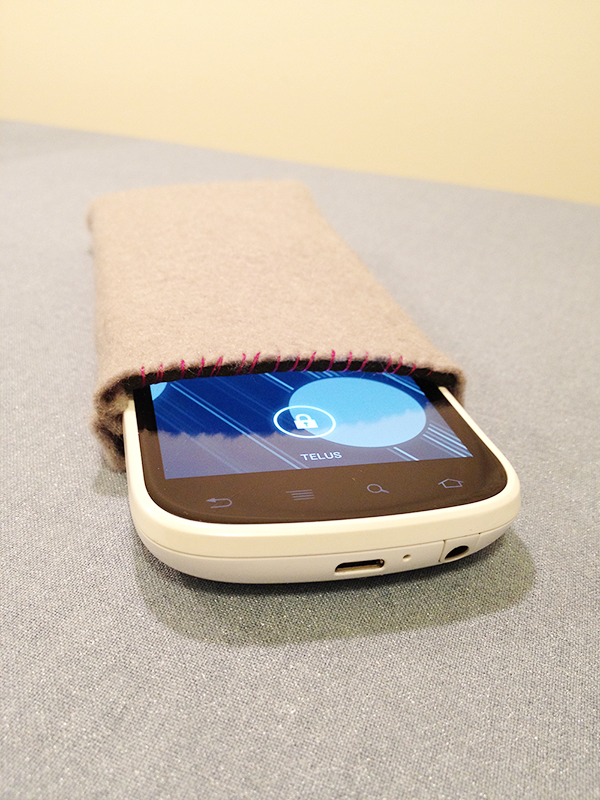
But I kind of liked this grey and black layering so I ended up evening the felt up with the foam by cutting off the excess, then hand stitched with purple thread.
Yay! Sexy and functional.
Hope you enjoyed my first Instructables!
But I kind of liked this grey and black layering so I ended up evening the felt up with the foam by cutting off the excess, then hand stitched with purple thread.
Yay! Sexy and functional.
Hope you enjoyed my first Instructables!